Little Passports: Thailand

LP Thailand (6)

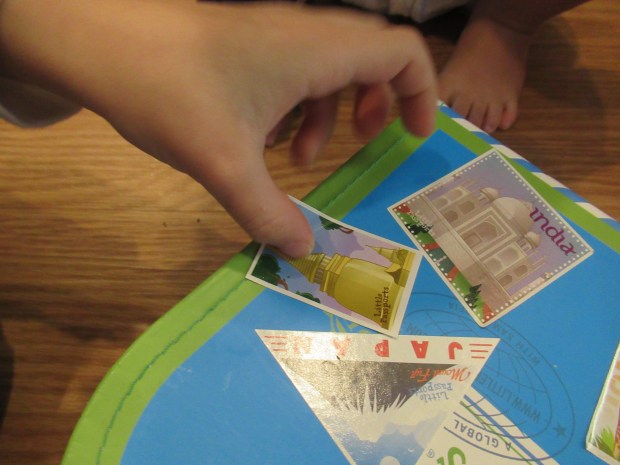
Travis’s latest package from Little Passports was a welcome find on a winter afternoon, taking him across the world to tropical Thailand. As always, he loved to locate the country on his world map and add a pin sticker, and to place the flag stamp in his passport.

LP Thailand (1)

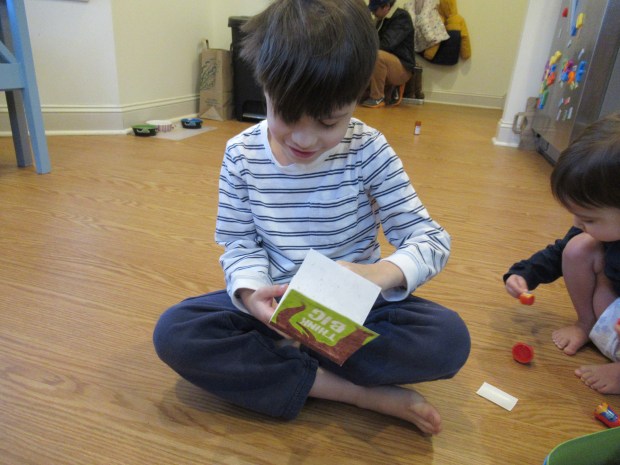
The booklet this month taught Travis lots about Thailand’s flora and fauna, especially elephants. The only activity too advanced for him as a 1st grader was a fill-in-the-blank about Thailand’s tuk-tuk vehicles.

LP Thailand (3)

Souvenir:

The biggest hit was the souvenir and no wonder because it involved… )Poop. Yup, a pad of paper made from recycled elephant poop, which was an idea so wacky and brilliant that the whole family loved it.

LP Thailand (2)

Further Activities:

His booklet featured a nice hands-on craft to make Paper Lotus Flowers, following along with the instructions that involved only green, purple, and yellow construction paper. They turned out quite pretty!

LP Thailand (4)

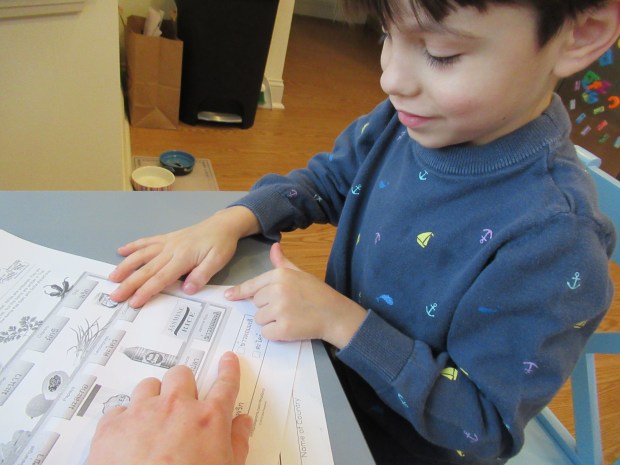
There was also a Thai grocery list activity that was a neat introduction to the beautiful characters of Thailand’s alphabet. Travis helped find each ingredient by matching up the words.

LP Thailand (5)

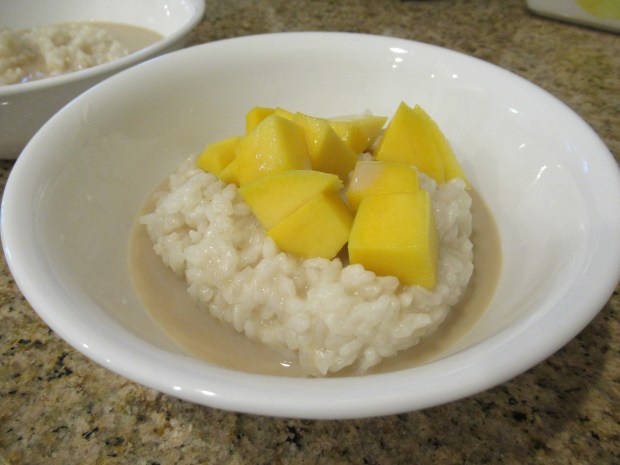
Some of those very ingredients were needed for a dessert recipe we whipped up for Mango Sticky Rice, which was declared a big hit!

Recipe:

The recipe in this month’s booklet was for a chicken soup called Tom Kha Gai, which we made vegan with a few easy swaps. Travis loved smelling and savoring the myriad ingredients that we don’t use often, including cilantro and ginger.
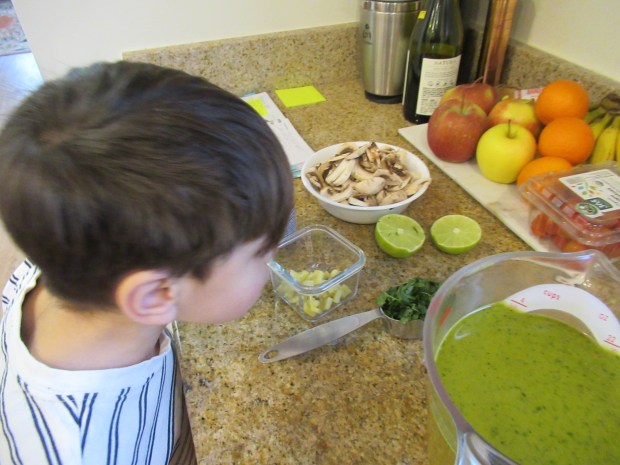
Tom Kha Gai alt

Ingredients:

  • 1 tablespoon vegetable oil
  • 2 tablespoons thinly sliced fresh ginger
  • 4 teaspoons Thai red curry paste
  • 4 cups vegetable broth
  • 1 tablespoon brown sugar
  • 3 tablespoons soy sauce
  • 3 and 1/2 cups coconut milk
  • 1 (8-ounce) package mushrooms, sliced
  • 1/4 cup chopped fresh cilantro
  • 2 tablespoons fresh-squeezed lime juice
  • 1 (9-ounce) package cooked Gardein chick’n strips
  1. Heat the oil in a large pot over medium heat. Add the ginger and curry paste; cook for 1 minute.
  2. Add 1 cup broth and whisk to combine, then add the remaining broth and brown sugar. Simmer for 15 minutes.
  3. Add the coconut milk and mushrooms; simmer for an additional 5 minutes.
  4. Just before serving, add the cooked chick’n, along with the cilantro and lime juice.

Tom Kha Gai

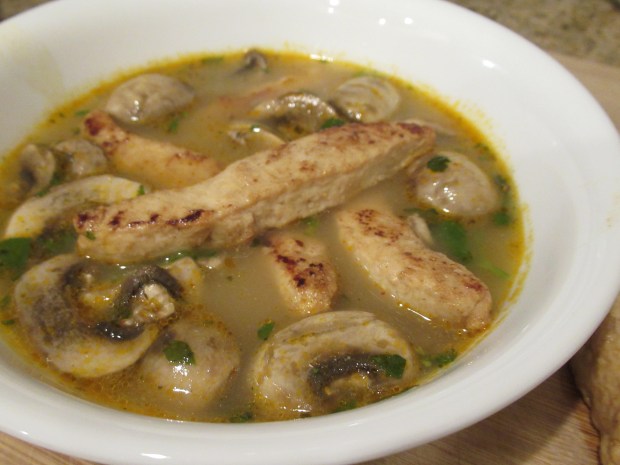
Not only did Travis eat up a full bowlful of this, but my toddler ate two!

Mango Sticky Rice

LP Thailand (8)

We loved this recipe from Little Passports’ blog that helped Travis learn more about Thai cuisine and culture as he explored the country in this month’s kit! It was the perfect tropical treat to warm up our kitchen during a winter snowstorm.

Ingredients:

  • 1 cup sushi rice
  • 1 and 1/2 cups room temperature water, divided
  • 1 (14-ounce) can full-fat coconut milk, divided
  • 4 tablespoons brown sugar, divided
  • 1/4 teaspoon salt
  • 2 mangoes, peeled and chopped
  1. Combine the rice and 1 cup water in a saucepan; let stand for 30 minutes.
  2. Add the remaining 1/2 cup water, half of the coconut milk (about 3/4 cup), 1 tablespoon brown sugar, and the salt. Bring to a boil over medium heat, then reduce heat to low, cover, and cook for 20 minutes.
  3. Turn off the heat and let stand, covered, for an additional 5 minutes.
  4. Meanwhile, warm the remaining coconut milk in the microwave for about 20 seconds. Whisk in the remaining 3 tablespoons brown sugar; set aside.
  5. Divide the rice mixture evenly among 4 bowls. Drizzle each with a little of the brown sugar sauce, and top evenly with the chopped mango.

Valentine Postcard

Valentine's Postcards (7)

Paper heart doilies always featured into the homemade Valentines of my youth, so imagine my surprise when I had to go to three stores before I could find them! Perhaps this classic decoration is becoming passe? That would be a shame, and I was glad Veronika got to enjoy the whimsy of doilies with this little craft. Our mission: to make Valentine postcards for the relatives.

To start, cut squares from sturdy white paper and then use a paper clip to attach a doily heart to each one.

Valentine's Postcards (1)

I then set out a tray with pink and red paint, along with a few sponges I had cut into small pieces so they would fit more easily in Veronika’s hands. I showed her how to dip a sponge in the paint and then dab over the hearts.

Valentine's Postcards (2)

When you lift up the doily, a beautiful heart shape is left behind!

Valentine's Postcards (3)

Note: We discovered that a light touch with the sponge works best here, or the image becomes a bit muddied.

Valentine's Postcards (4)

Let dry, then use stickers or markers for any final decorations before shipping off with love in the mail!

Valentine's Postcards (6)

Valentine’s Day Tissue Paper Wreath

Valentine's Tissue Wreath (5)

We thought it would be nice to decorate our door with a Valentine’s Day wreath, and I wanted one that even a toddler could help out with. I found inspiration from a tissue paper version from Hands on as We Grow! Veronika could fit in some arts-and-crafts for the day, and the end result would make a beautiful door decoration.

To start, I needed to cut a circle from cardboard. I opted for a scissor-friendly frozen pizza box rather than thicker cardboard packaging.

Valentine's Tissue Wreath (1)
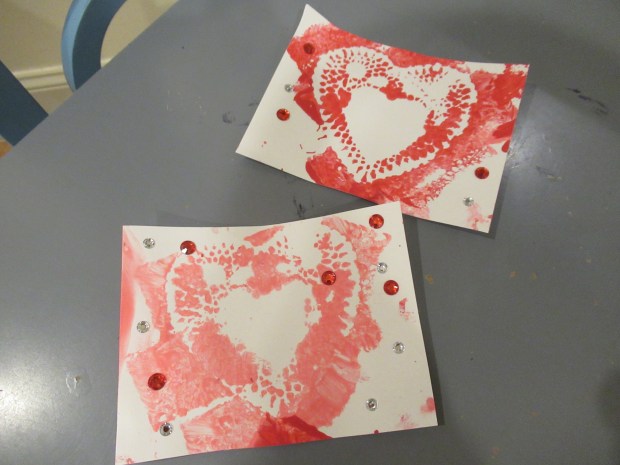
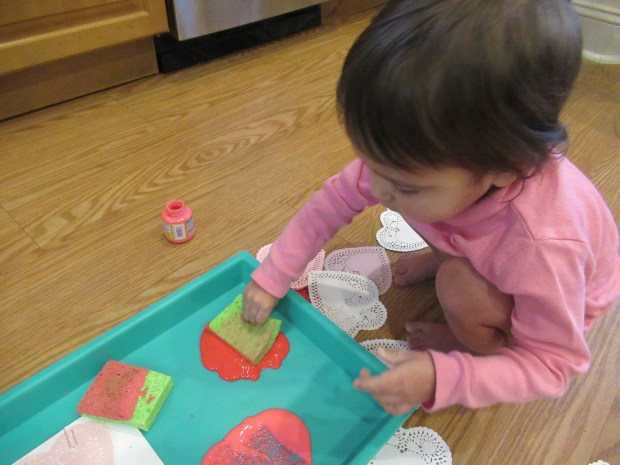
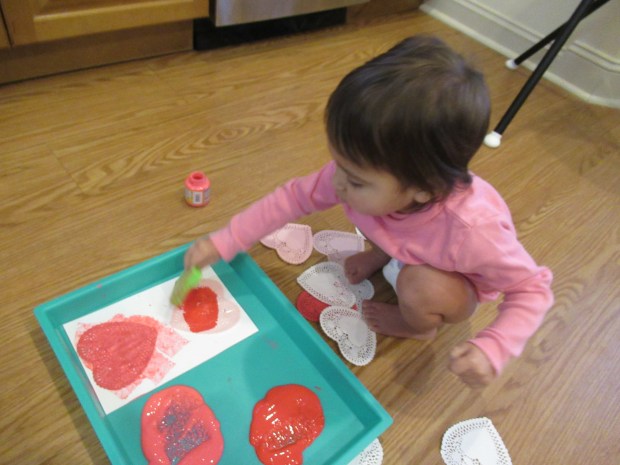
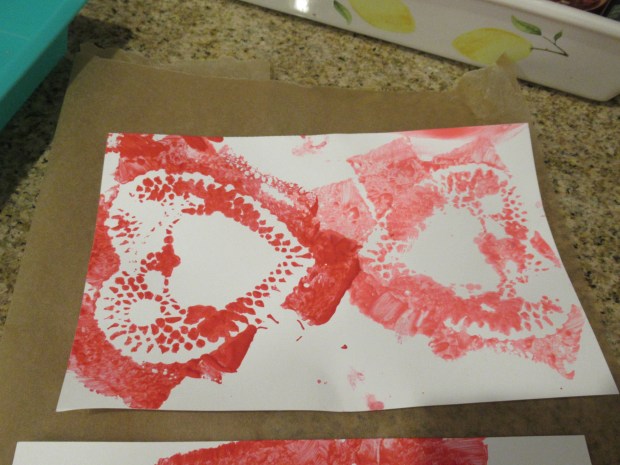
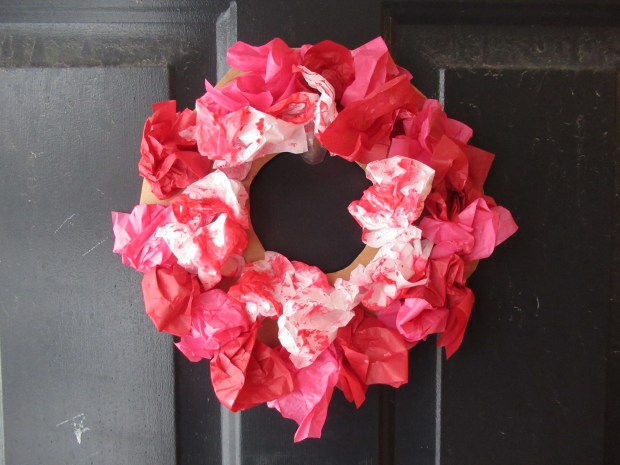
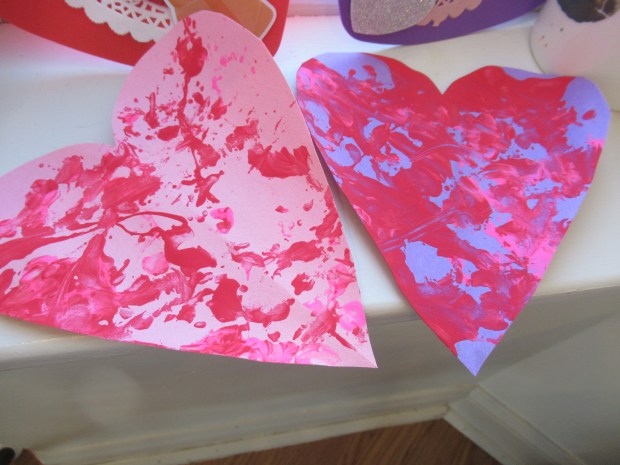
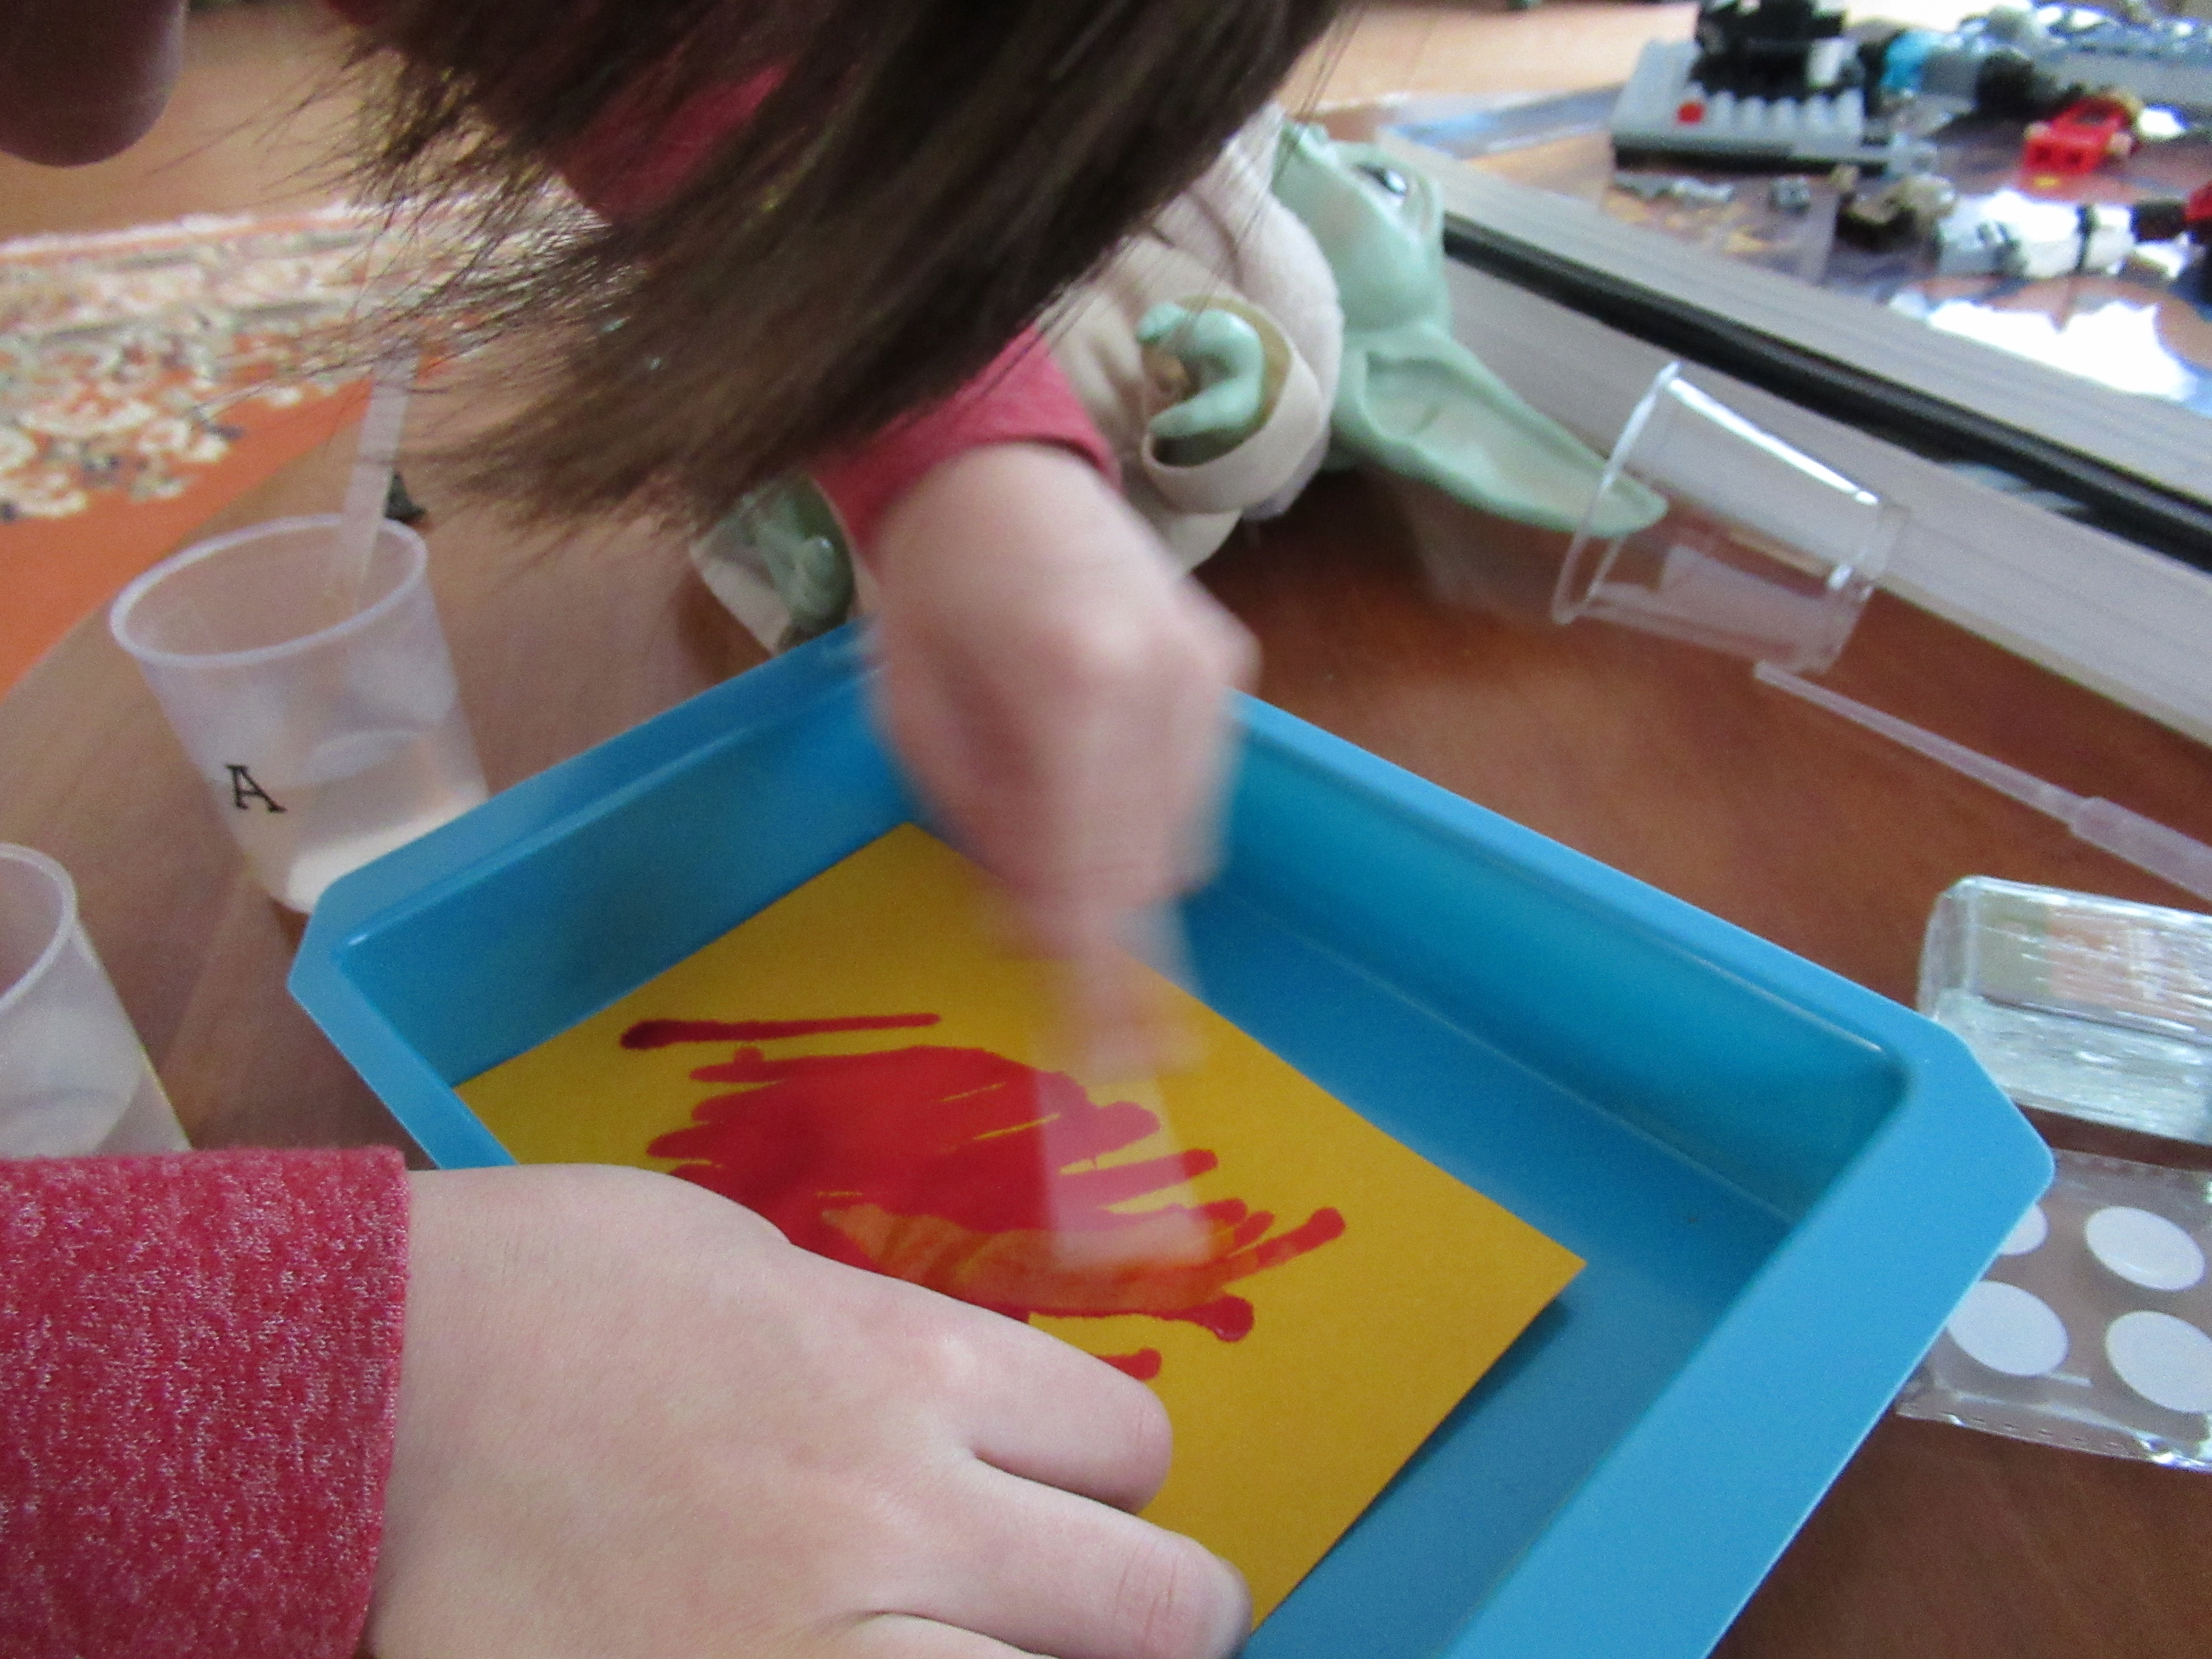
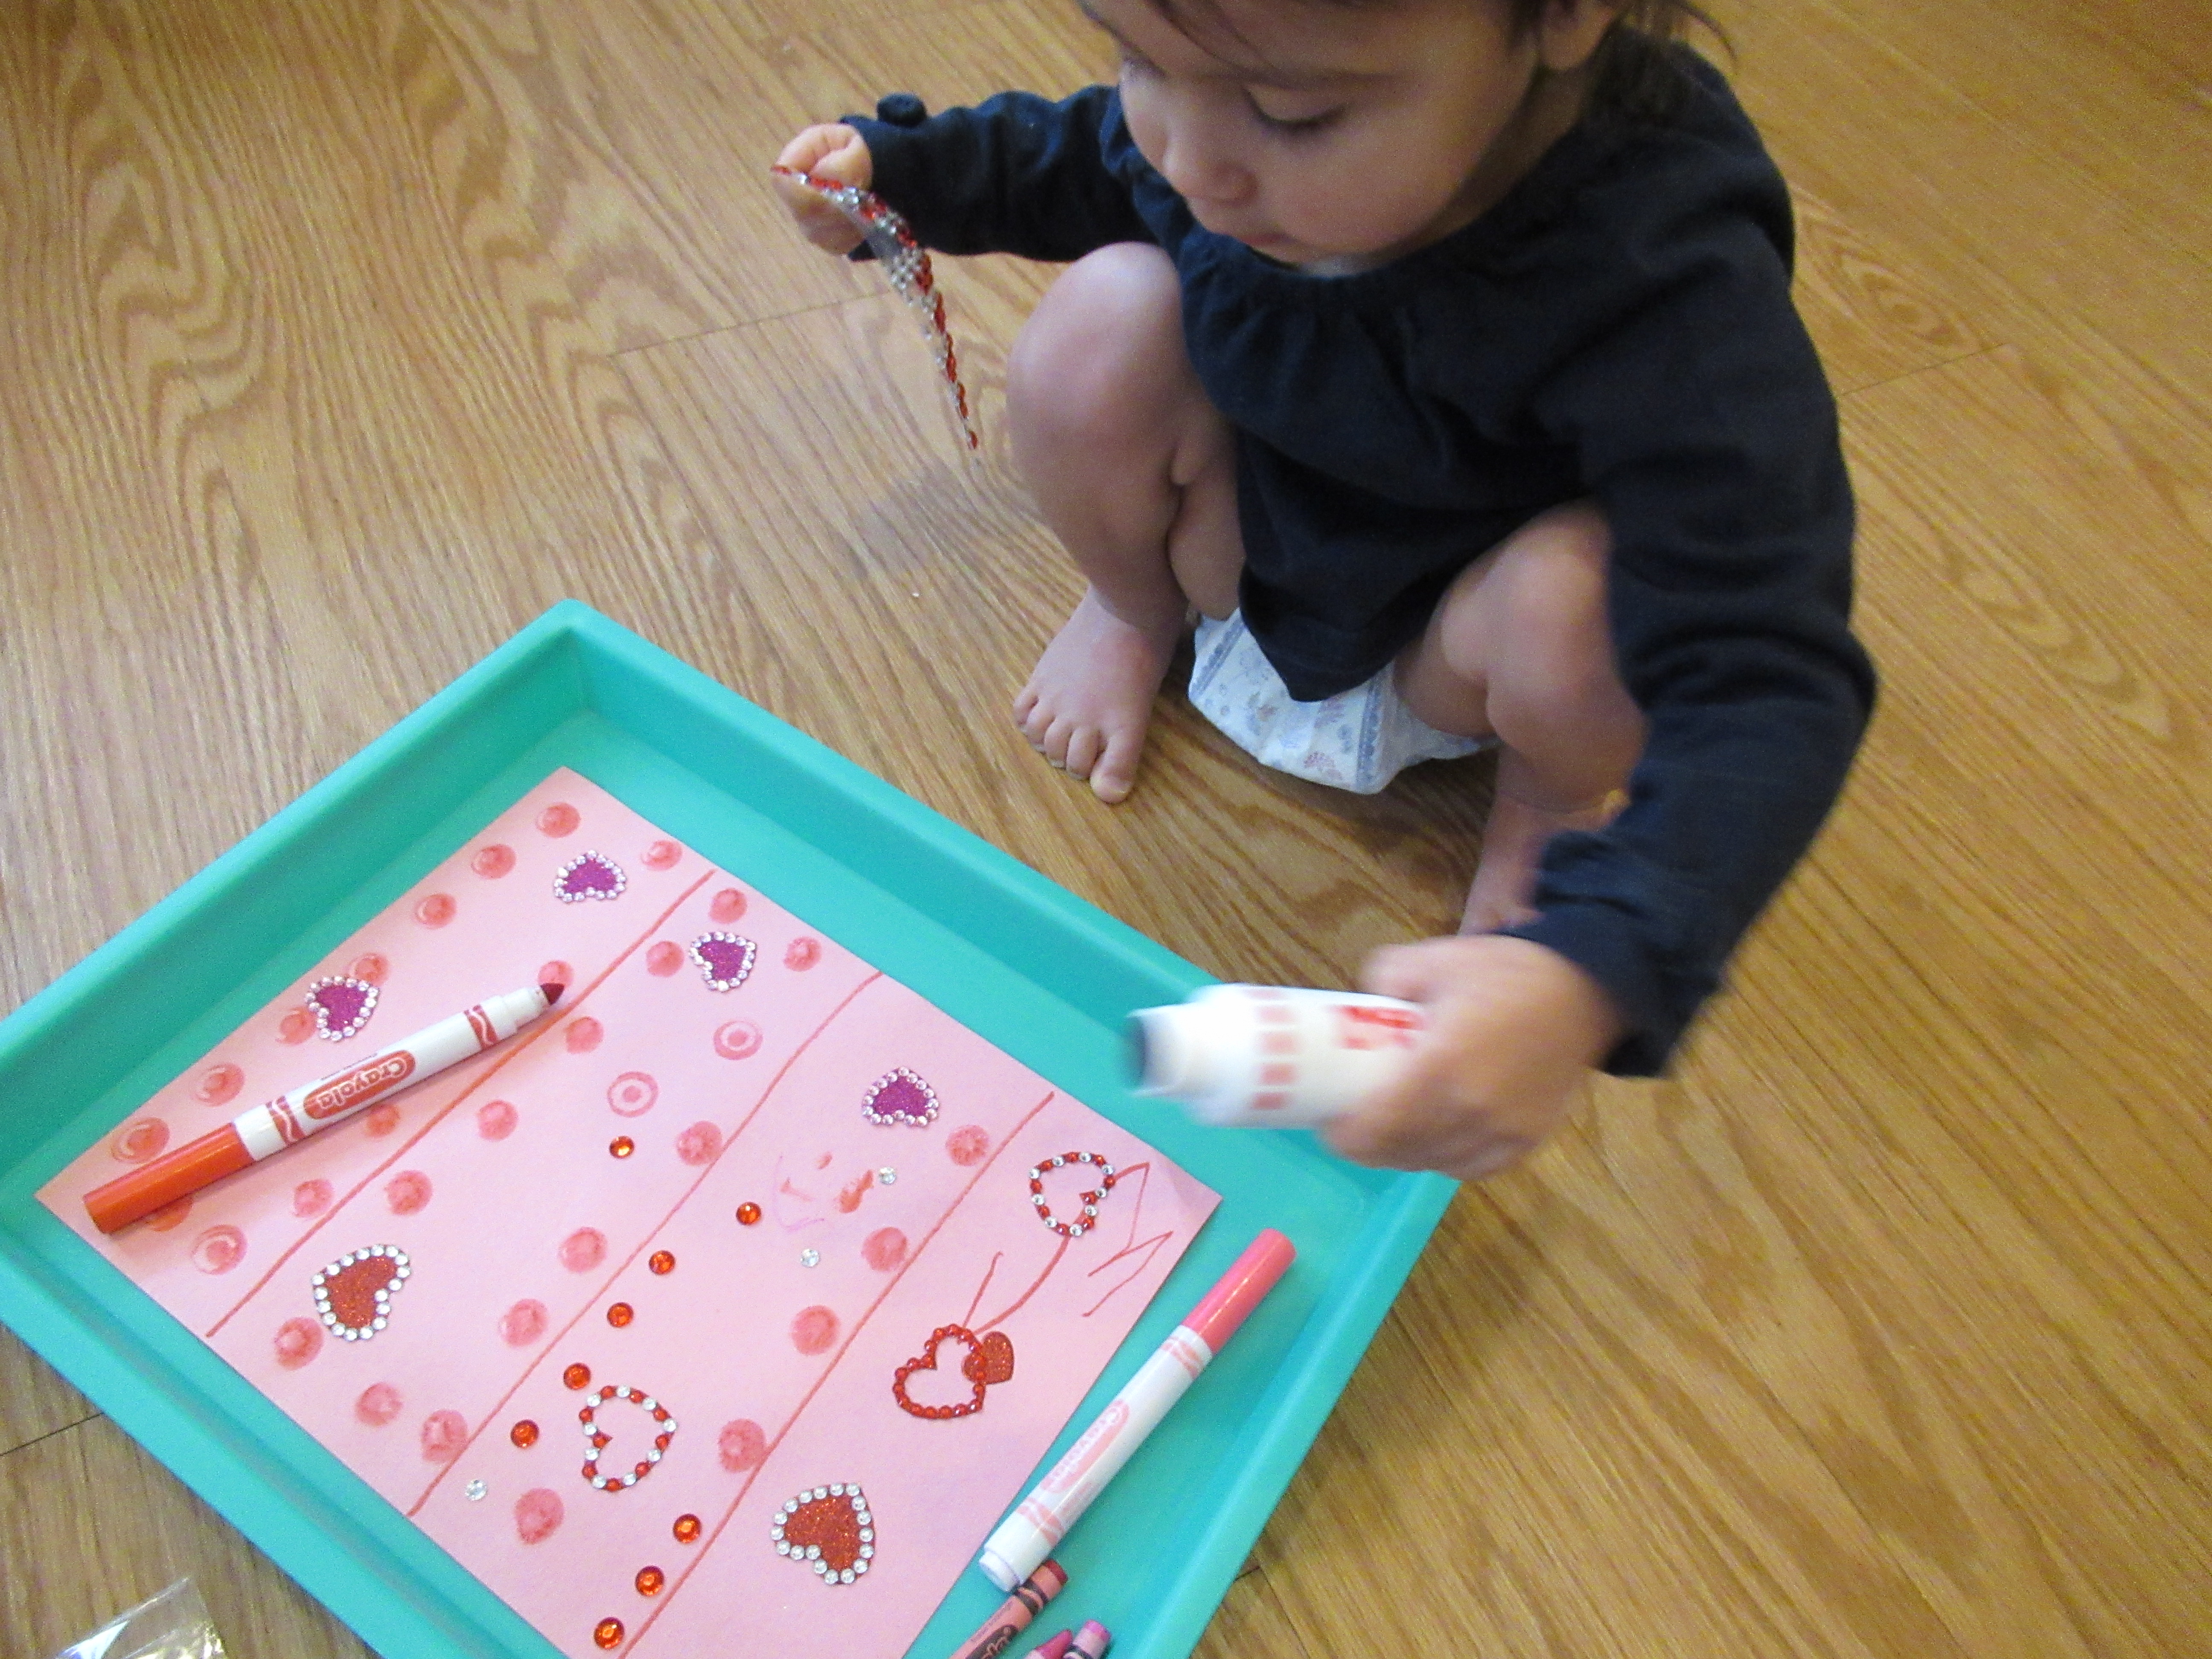
Next, I cut white tissue paper into squares about 8 inches long. I crumpled these into little “flowers” and then handed over to Veronika. Her job was to dip them in red and pink paint!

Valentine's Tissue Wreath (2)

This was way messier than I had imagined, but we set them aside to dry.

Valentine's Tissue Wreath (3)

Meanwhile, I also wadded up tissue paper that was already in shades of pink and red and stapled these around the outer rim of the cardboard circle. Once Veronika’s painted ones had dried, I stapled these along the inner rim.

If your kids want to add further details, consider painting and cutting out hearts from construction paper, or sprinkling on a dash of red glitter. We skipped those steps, though, and Veronika was delighted to help hang the wreath on the door.

Valentine's Tissue Wreath (6)

It looked so pretty and spot-in for the season, especially just after a snow storm!

Shaken Painted Hearts

Shaken Painted Hearts (6)

Veronika recently enjoyed painting with a ball dipped in paint, an idea from her Zoom Tinkergarten class. So today we put a simple Valentine’s Day twist on the activity!

I cut out a few heart shapes from construction paper, choosing pink, red, and purple as our background colors. I taped two of them at a time into the bottom of a shoebox with a lid, and added a few drops of pink paint. Make sure the paint is near the hearts, but not directly on them.

Shaken Painted Hearts (1)

Next, add any toys that can shake around! These don’t need to be round balls; in fact Veronika thought it was silly to put in some of her plastic vegetable toys. Anything plastic that can be rinsed and cleaned easily will work just fine.

Shaken Painted Hearts (2)

Close the lid and shake shake shake!

Shaken Painted Hearts (4)

We opened up the lid for the pretty reveal, with the hearts now splattered in paint.

Shaken Painted Hearts (5)

Repeat as many times as your toddler desires! These make great Valentine’s Day cards for relatives or friends, with the bonus that you can make quite a few in a short amount of time.

Jell-O Play for Valentine’s Day

Jello Paint (9)

Kids love painting with Jell-o (or vegan alternatives like the jel desserts from Simply Delish), and today we gave the activity a Valentine’s Day spin!

Instead of preparing the jel dessert, I simply stirred a packet of red powder (strawberry flavored) into a dish with a little water. We instantly had a gorgeous red paint that smelled incredible!

Jello Paint (1)

It’s hard to say which Veronika enjoyed more: smelling the paint or smearing it all over the white heart shape I had cut out!

Jello Paint (5)

The paint sets and dries nicely, and Veronika kept trotting over to this holiday decoration to say, “It smells really good!” She’ll display this one with pride until Valentine’s Day is over.

Jello Paint (10)

Meanwhile, I also prepared two more batches of the jel dessert (in yellow and orange) according to the true directions. That meant we had nice blobs to “paint” with, too.

Jello Paint (6)

You can set down dollops of it for a toddler on a large sheet of paper (or right on a high chair tray for a baby!) and simply let the smashing and painting fun begin. Don’t be surprised if the play tempts older kids, too; my 6-year-old came running over, because Lego figures trapped in Jell-o are decidedly good fun.

Jello Paint (3)

Fizzy Chemistry Kiwi Crate

Kiwi Chemistry alt

Travis’s latest crate from Kiwi Co had him hands-on with bubbly potions and concoctions! We mixed up one cup with an acid (the provided packet of citric acid) and one with a base (the provided packet of baking soda), and from there, there was a whole host of experiments to try.

First up was to make Color-Changing Doodles. Travis dipped a q-tip in the base solution first and made designs on the provided gold paper. (Hint: This is really litmus test paper). Surprise – the paper turns red!

Kiwi Chemistry (2)

We let it dry and then dipped a second q-tip in the acid solution. The paper turns “back” to gold. Note: Through trial and error we discovered that designs with thin lines worked better for this activity than thick doodles.

Kiwi Chemistry (3)

The reverse experiment was to use the acid first, leaving a “secret” message the blends in with the yellow. Rub over with the base using a second q-tip after the solution dries, and your secret code is revealed!

Kiwi Chemistry (5)

Travis also tested a few alternate ideas from the booklet, including dipping a toy in the base and then on the paper (dinosaur footprints!)…

Kiwi Chemistry (6)

…or adding a little of the provided bubble solution to the base. Blow bubbles with a straw and press onto the litmus paper for fun reddish outlines.

Kiwi Chemistry (7)

The version that didn’t work great for Travis was adding some base solution to a spritz bottle and spraying at the paper, which resulted in only a weak wash of red.

The second project, Multicolored Monsters, also relied on the litmus paper, but this time cut into fun monster shapes. Travis was less interested now that he knew how the paper would react, but he attached the provided wiggle eyes.

Kiwi Chemistry (12)

Then he could make the monsters yellow- or red-striped, depending whether he used the base or acid mixture.

Kiwi Chemistry (14)

It was definitely time for some Bubbly Reactions! We filled both cups A and B with 1 scoop of citric acid, then made a paste from the baking soda and bubble solution which could roll up into little “snowballs”. One cup of citric acid received cold water and the other gets warm. Travis dropped in the snowballs, and observed the differences! Kids can get nicely scientific here, drawing their observations in the booklet, testing different amount of citric acid, or measuring the temperature of each cup before and after the reaction!

Kiwi Chemistry (10)

For us, unfortunately, both our cups fizzed but the warm water cup not appreciably more so than the cold water one. Luckily, there was entire Chemistry Lab Booklet in Travis’s crate, full of further experiments! Some of these were repeats of games we’ve enjoyed at home before, but a few were entirely new.

First, he did a quick repeat to reinforce the idea of Acid or Base, using provided litmus test strips on liquids around the house. We tested vinegar, coffee, and almond milk!

Kiwi Chemistry (25)

Next came a Blow-Up Bag; spoon citric acid and baking soda onto a square of tissue paper and fold up. Add water to a zip-top bag, then place your tissue paper solution inside. Seal and watch the bag expand!

Kiwi Chemistry (27)

Homemade Snow Dough was similar to versions we’ve made recently, this time a combination of citric acid, baking soda, bubble gel, and water. This stuff was particularly neat because it felt cold just like real snow!

Kiwi Chemistry (23)

Dancing Raisins are an oldie but goodie: place raisins and 1 teaspoon baking soda in a cup with a little water. Squirt in the citric acid solution, and the raisins “swim” like little fish.

Kiwi Chemistry (21)

We also tried out Mix It Up, which involved pouring an acid (tinted with red food coloring) and a base (tinted yellow) into a center cup at the same time.

Kiwi Chemistry (18)

Fizzy explosions like this never get old!

Kiwi Chemistry (19)

The biggest hit by far was a Citrus Volcano. For this one, poke a pencil into a lemon and mush it around a little bit. Set the lemon in a plastic cup to hold it in place then use an eye dropper to squirt in a bit of the baking soda solution.

Kiwi Chemistry (16)

The liquid fizzes back out as it reacts with the lemon’s acid! This was an ooey gooey delight since you can squeeze the lemon to make more goo fizz out, or make a second hole so your lemon is erupting from both sides. In sum, this crate got high marks from Travis, full of activities that are sure to keep any little scientist busy.

Kiwi Chemistry (17)

Scratch, Roll, and Resist Valentine Art

Scratch Roll Resist Vday (8)

Veronika has made tape resist art before, but with this clever idea from Hands on As We Grow, she now had a chance to combine that art method with two others! I loved the mix of tools that went into this craft, making it a great way to hone a toddler’s fine motor skills.

To start, I used painter’s tape to create a heart shape on a piece of sturdy white paper. Smaller pieces of tape work best for the curvy parts of the heart.

Scratch Roll Resist Vday (1)

Time for the second method: a rolling pin! I placed the paper in a tray and squirted on a few blobs of pink and peach-colored paint, then showed Veronika how to use a plastic rolling pin to smear the paint. At first she wanted to use the rolling pin more like a paintbrush, stabbing down at the blobs, but then realized she could copy my motion and roll. With a little mommy help, we smeared our paint toward the edges of the paper.

Scratch Roll Resist Vday (3)

Now for the final method: a comb! I showed her how to drag a comb through the thick wet paint to make neat textured lines.

Scratch Roll Resist Vday (6)

She loved observing the squiggles and lines that appeared.

Scratch Roll Resist Vday (5)

I find that it’s best to remove the painter’s tape immediately, while the paint is still wet, and then set the project aside to dry at this point. Veronika loved spotting the heart she had made.

Scratch Roll Resist Vday (7)

Finally, big brother Travis wrote in a Valentine’s message for their grandmother, making this their second sibling collaboration of the day!

Scratch Roll Resist Vday (9)

Sibling Valentine’s Day Cards

Simple Valentine's Card (9)

Here’s a fantastic way for your kids to collaborate on cards for Valentine’s Day even if they are different ages, each contributing according to his or her own skill level. The brilliant hack is to make one big card then cut it into pieces at the end! This can make the task of making Valentine’s for multiple recipients feel less daunting.

Veronika was in charge of the decorating, because as a toddler she loves things like dot markers, crayons, and stickers. I set out pink construction paper and divided it into quarters with lines of pink marker. Then I gave her the above-mentioned supplies, all in various shades of pink and red.

Simple Valentine's Card (1)

First she wanted to add jeweled heart stickers, and loved placing these any which way on the paper.

Simple Valentine's Card (3)

Some fun with dot markers followed next!

Simple Valentine's Card (5)

Keep decorating with whatever other supplies you have on hand, whether pink or red crayons, pink or red colored pencils, or even heart stamps and ink pads.

Simple Valentine's Card (6)

When she was done, I cut along the lines so we now had not one card, but four, all decorated and ready to go.

Simple Valentine's Card (10)

Travis’s job was to write each cousin’s name at the top and sign the cards with love, all great writing practice!

Simple Valentine's Card (8)

We hope these cards bring big smiles to cousins’ faces when they arrive in the mail.

Kitchen Chemistry

Kitchen Chemistry (2)

Believe it or not, a very ordinary ingredient (red cabbage!) can actually serve as a litmus indicator, just like the fancy litmus paper in a school chemistry class. Today, Travis made a batch of this purple indicator solution and we tested a few liquids around the house.

To make the indicator, rip a head of red cabbage into shreds then cover with hot water in a bowl. Let stand for about 30 minutes. Strain through a sieve over a second bowl or measuring cup and you’ll have a bright purple liquid!

Kitchen Chemistry (1)

We started out with two separate solutions: the first was about a teaspoon of citric acid in 1/4 cup water, and the second was a teaspoon of baking soda in 1/4 cup water. Imagine Travis’s surprise when an eye dropper of the purple indicator solution turned the citric acid pink and the baking soda blue!

Kitchen Chemistry (3)

He immediately wanted to test other liquids. We tried water next, and he discovered that the indicator stayed exactly the same purple. I pointed out to him why this is so on the pH scale, with water “neutral” in the middle.

Kitchen Chemistry (5)

Vinegar turned his indicator very pink and soy milk turned it bluish, although this was a bit hard to see.

Kitchen Chemistry (6)

As a final test, he wanted to try apple juice, which turned a deep pinkish orange as well.

Note: We later learned that you can repeat this experiment with other fruits and vegetables, including onion, blueberries, cherries, and beets.

PH Plants (2)

Unfortunately, despite soaking these four foods in hot water just like the cabbage, we weren’t able to change the color of vinegar. Your kids can have fun testing this out, and please share any fun findings in the comments!

Kitchen Chemistry (4)