Nesting Cans

Nesting Cans (2)

Although Veronika has a set of stacking cups, she always seems to prefer using what I’m using, rather than her toys! I made this quick set of nesting cans from real kitchen supplies instead.

You’ll need at least three sizes of cans to make this activity, but certainly feel free to use more! I had a 28 ounce, 14 ounce, and 6 ounce can. Once the cans are cleaned, rinsed, and dried off, tape around the tops with duct tape to cover any sharp edges.

Nesting Cans (1)

They’re ready to nest!

Nesting Cans (4)

Veronika adored stacking them (one, two three!) and then taking them apart to do it again.

Nesting Cans (5)

Turn them upside down and they can be used for towers instead!

The cups were excellent for keeping her occupied while I cleaned up breakfast. Because the “toy” stows easily, I can trot it out as needed any time she needs a quick distraction.

Nesting Cans (6)

Activity Tubs

Activity Bin Doll (2)

Here’s a final post in a series of ways to keep your toddler entertained should you find yourself dealing with older kids and remote schooling this fall.

I used an old storage bin and turned it on its side to create a series of themed bins. Each of these was an open invitation to Veronika to play with familiar items, with the hope that seeing them set up deliberately would encourage her to play in new ways. Over one week of big brother’s school, here were 6 ways to set up the bin.

Bin 1: Tools and Trucks

For the first variation, I set up the bin with Veronika’s plastic toolbox, her set of take-apart trucks, and a few other items that could be conceived of as tools, like a wide bristle paintbrush.

Activity Bin Tool (8)

She approached it with excitement; this girl loves trucks, and she was very busy driving them around. The toolbox inspired her not just to drive, but also to take her trucks to the “mechanic shop”.

Activity Bin Tool (6)

She used her saw to “cut” and her wrench to fix them up. The paintbrush was used to “sweep” the trucks clean.

Activity Bin Tool (4)

The actual mechanics of the battery-powered drill are beyond her skills right now, but she loves helping out by adding the wheels before I drill in the plastic screws.

Activity Bin Tool (2)

In sum, we’ll dinfinitely revisit this set-up.

Activity Bin Tool (10)

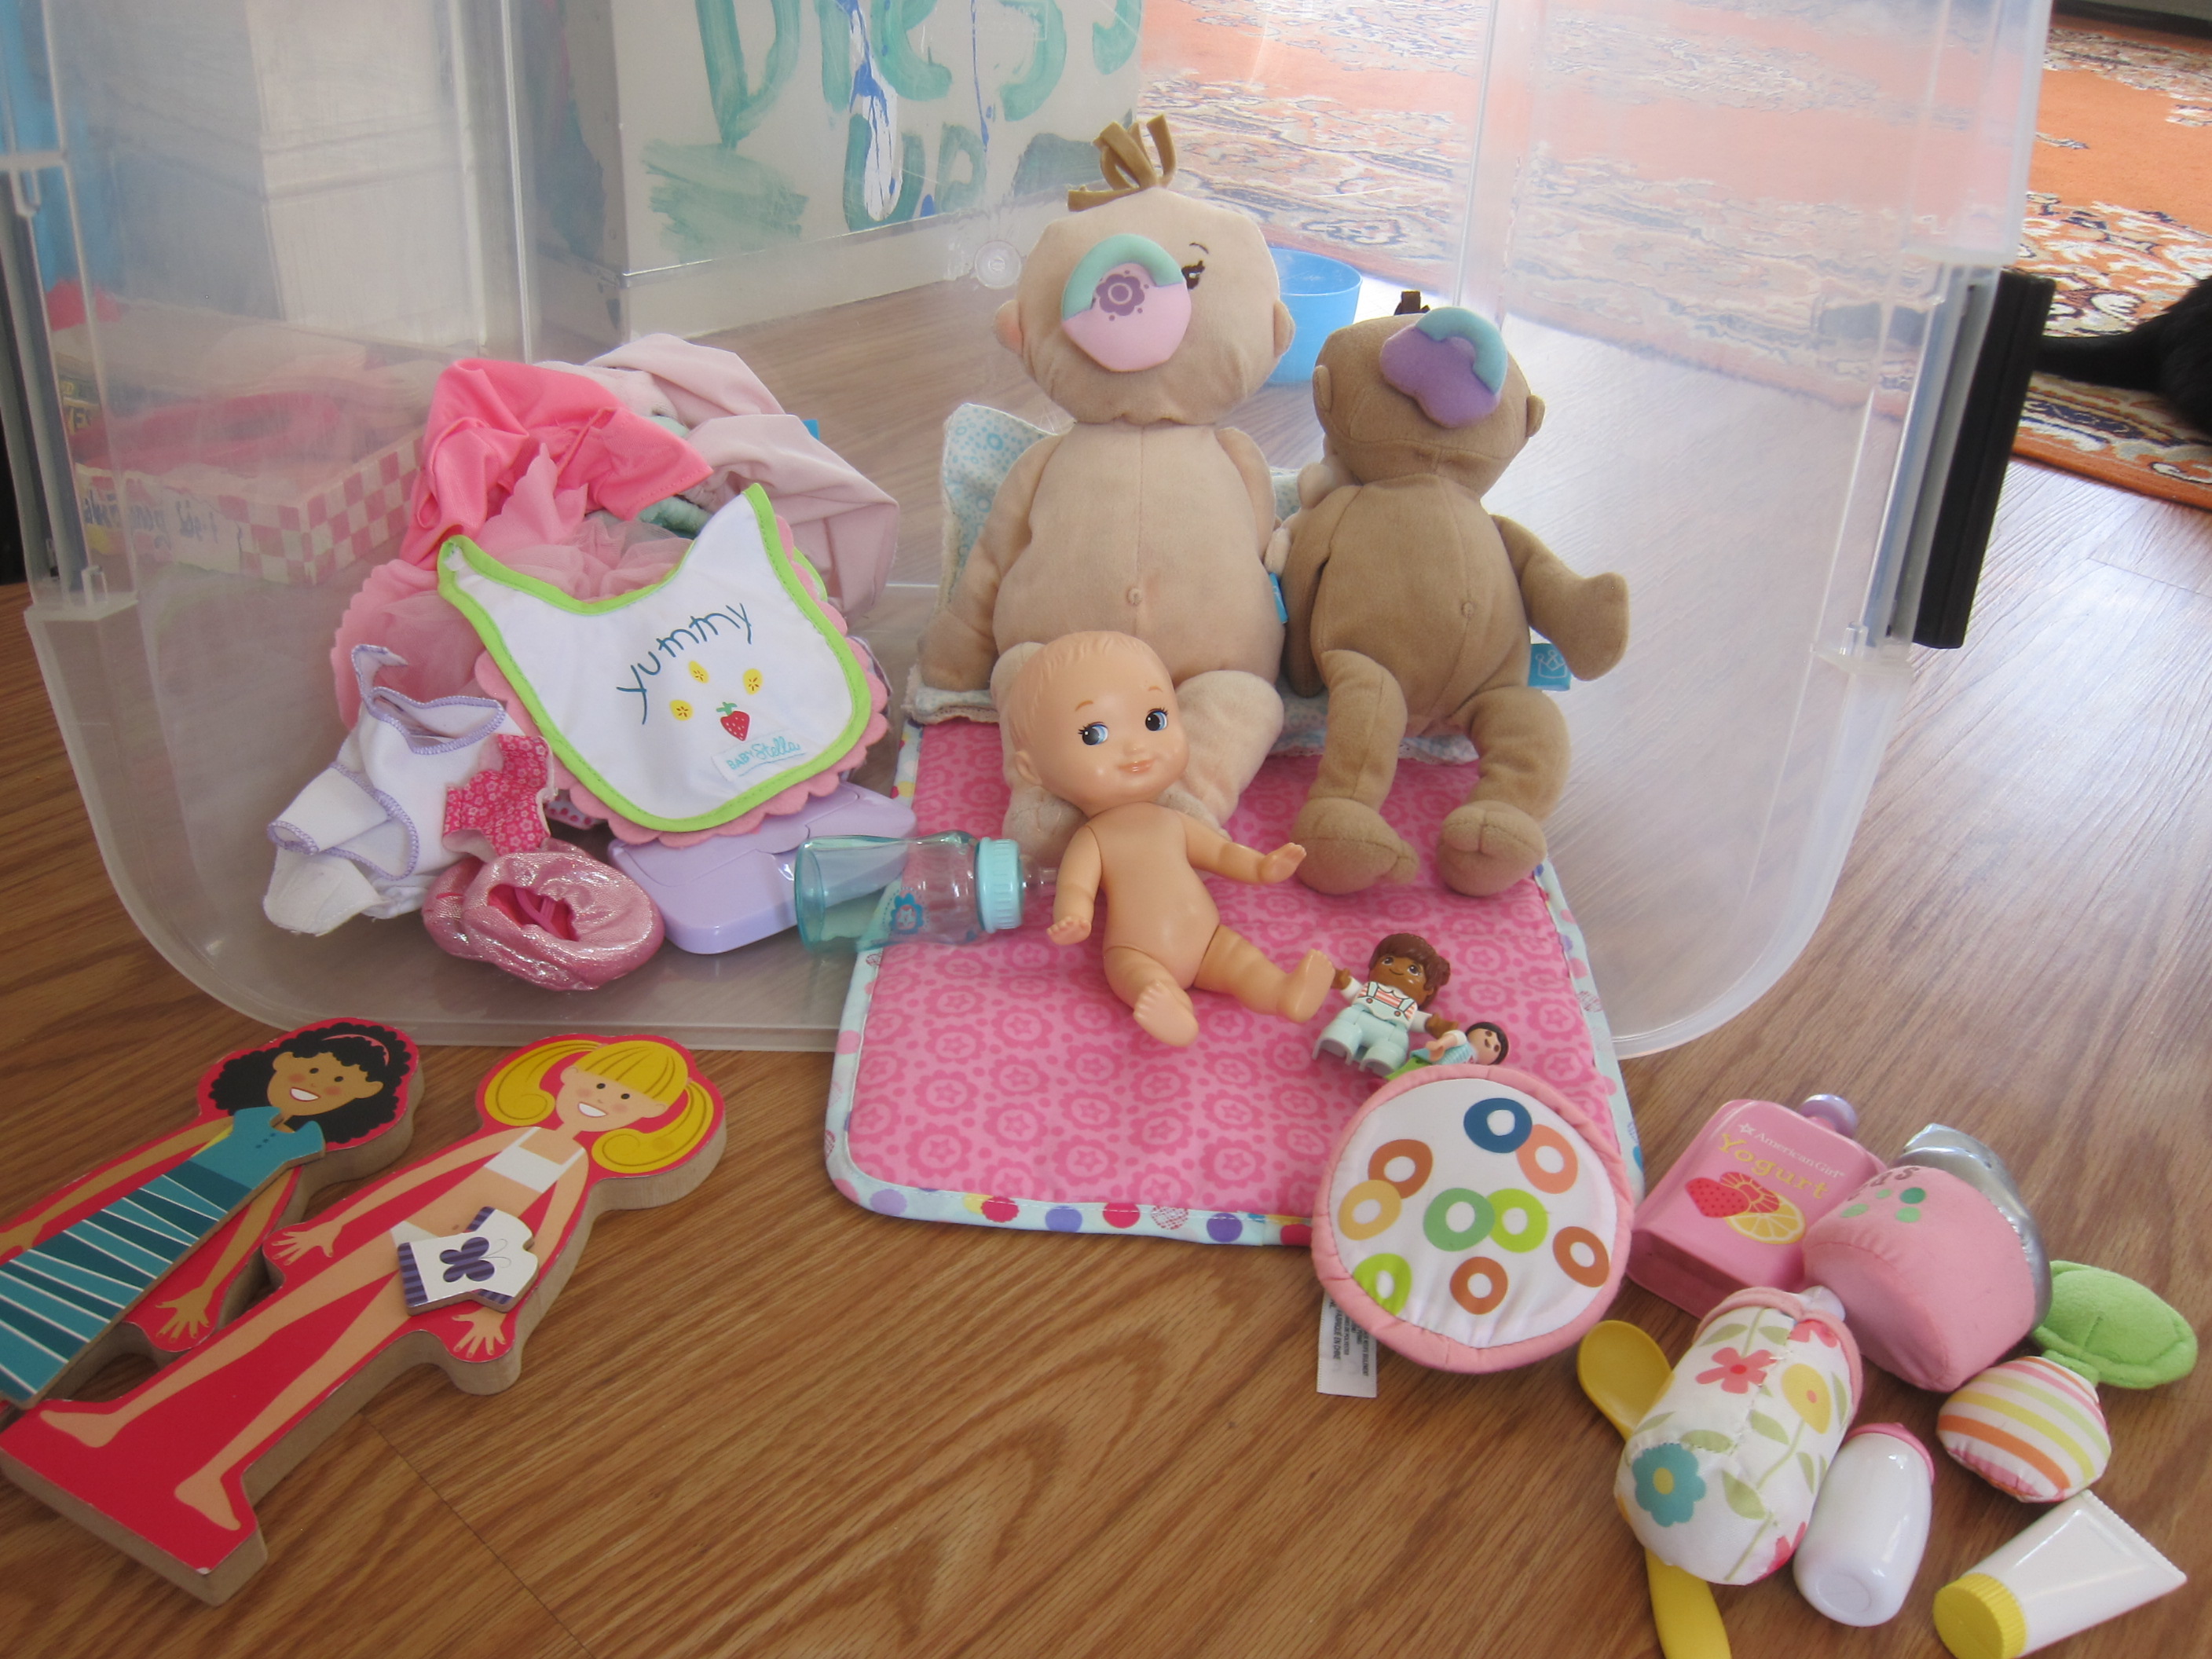
Bin 2: Dolls and Dresses

Veronika loves her dolls, but they’ve been neglected lately. To make what’s old seem new again, I once more tipped the bin on its side and carefully arranged the dolls on their mattress with clothes to one side and food to the other. I also added in a few other types of “doll”, including Duplo figures and dress-up magnet dolls.

Activity Bin Doll (5)

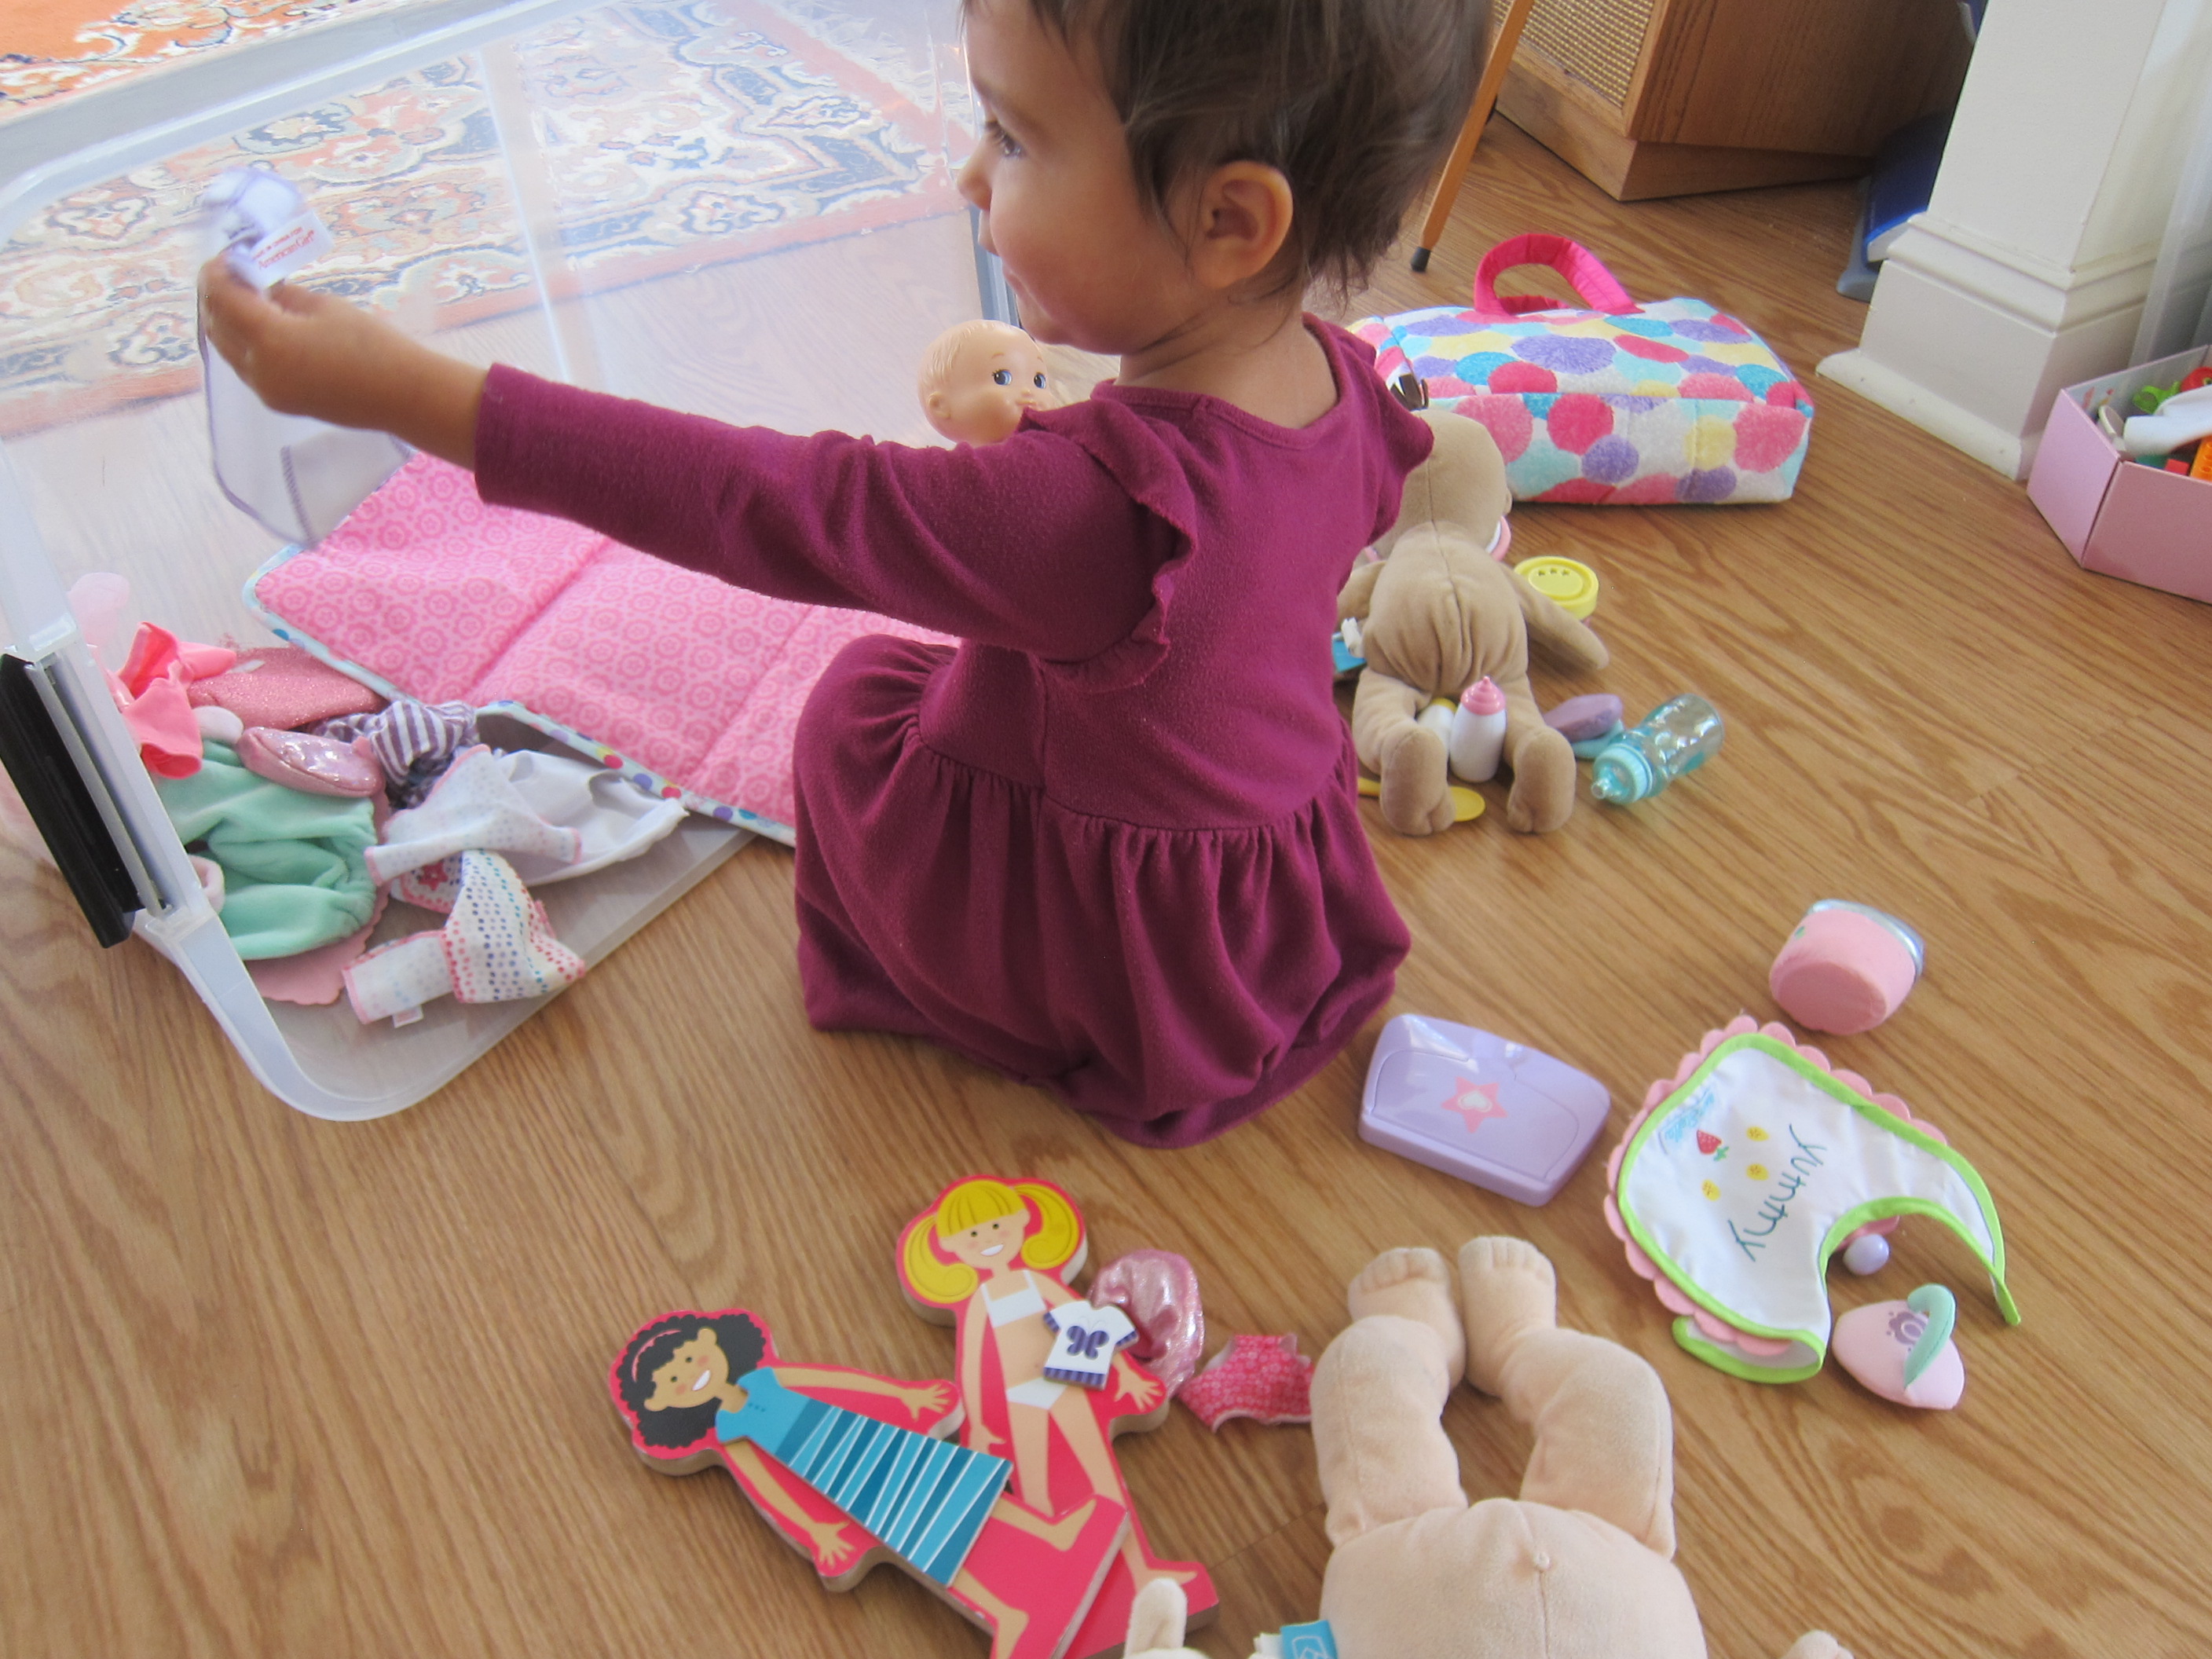
The set-up definitely intrigued her. For the first time in a while, she spent time feeding her “little babies”.

Activity Bin Doll (1)

She also enjoyed dressing them or just parading them around. This was a good example of “what’s old is new again”.

Activity Bin Doll (4)

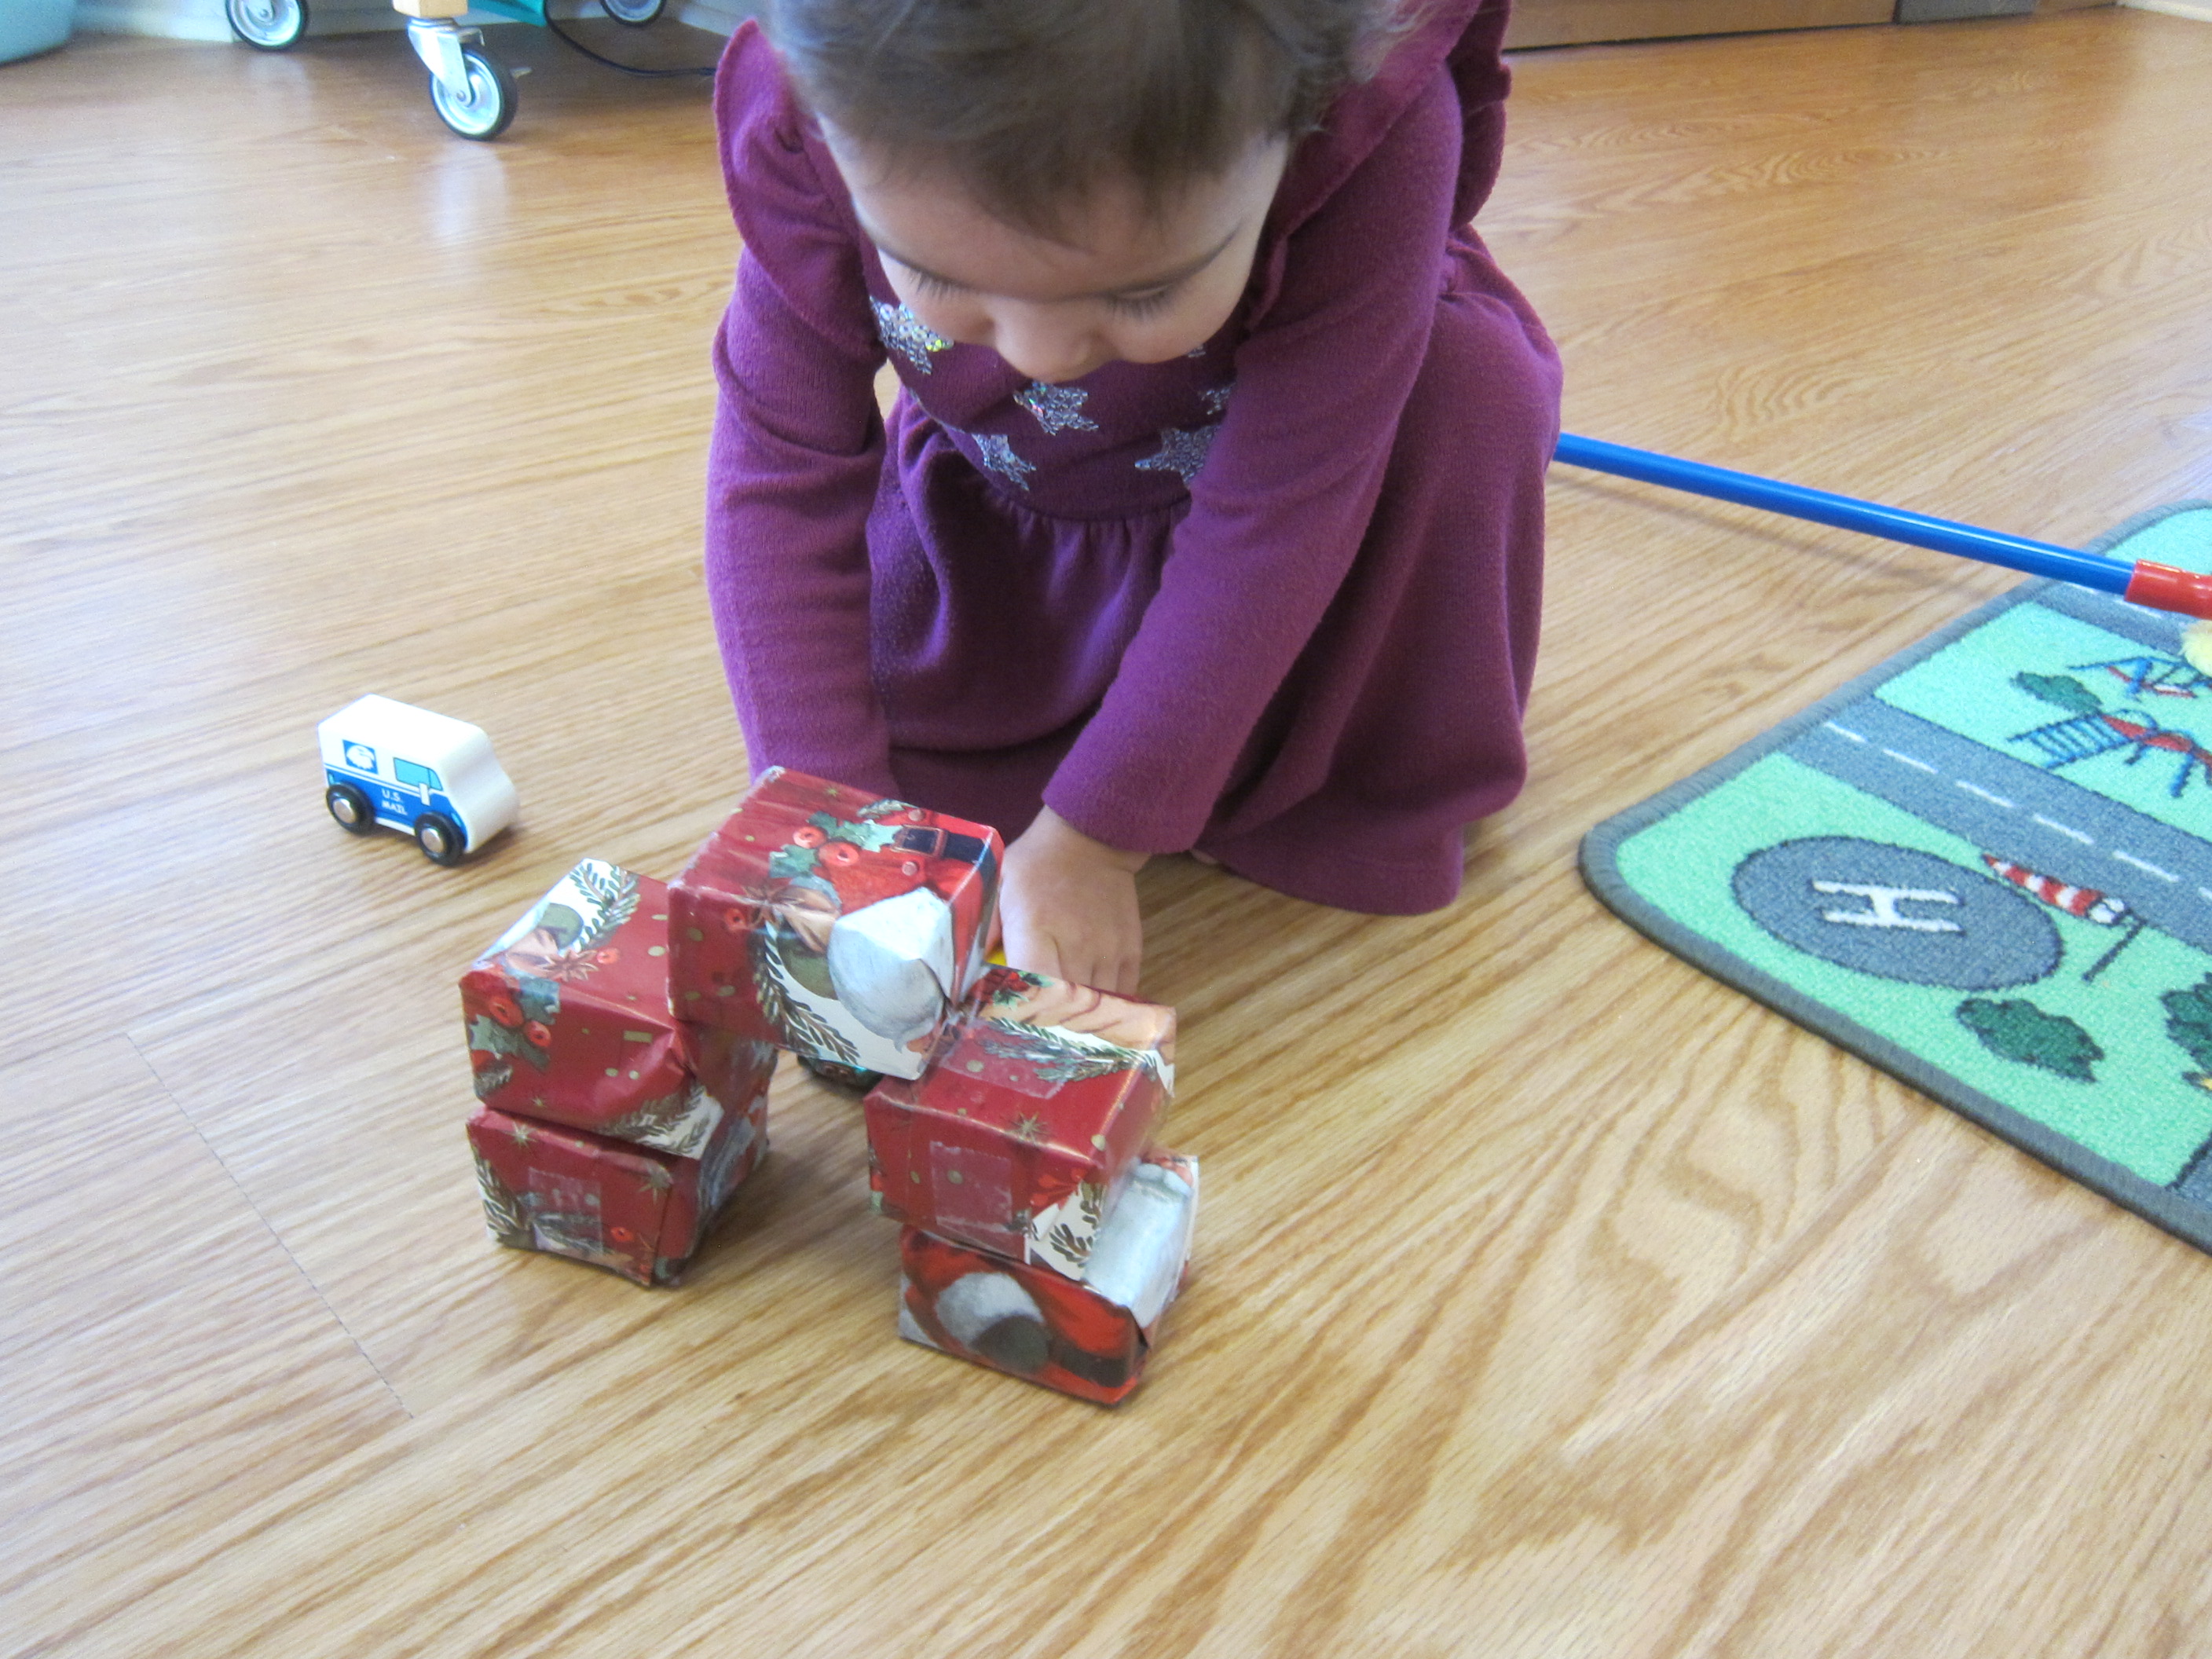
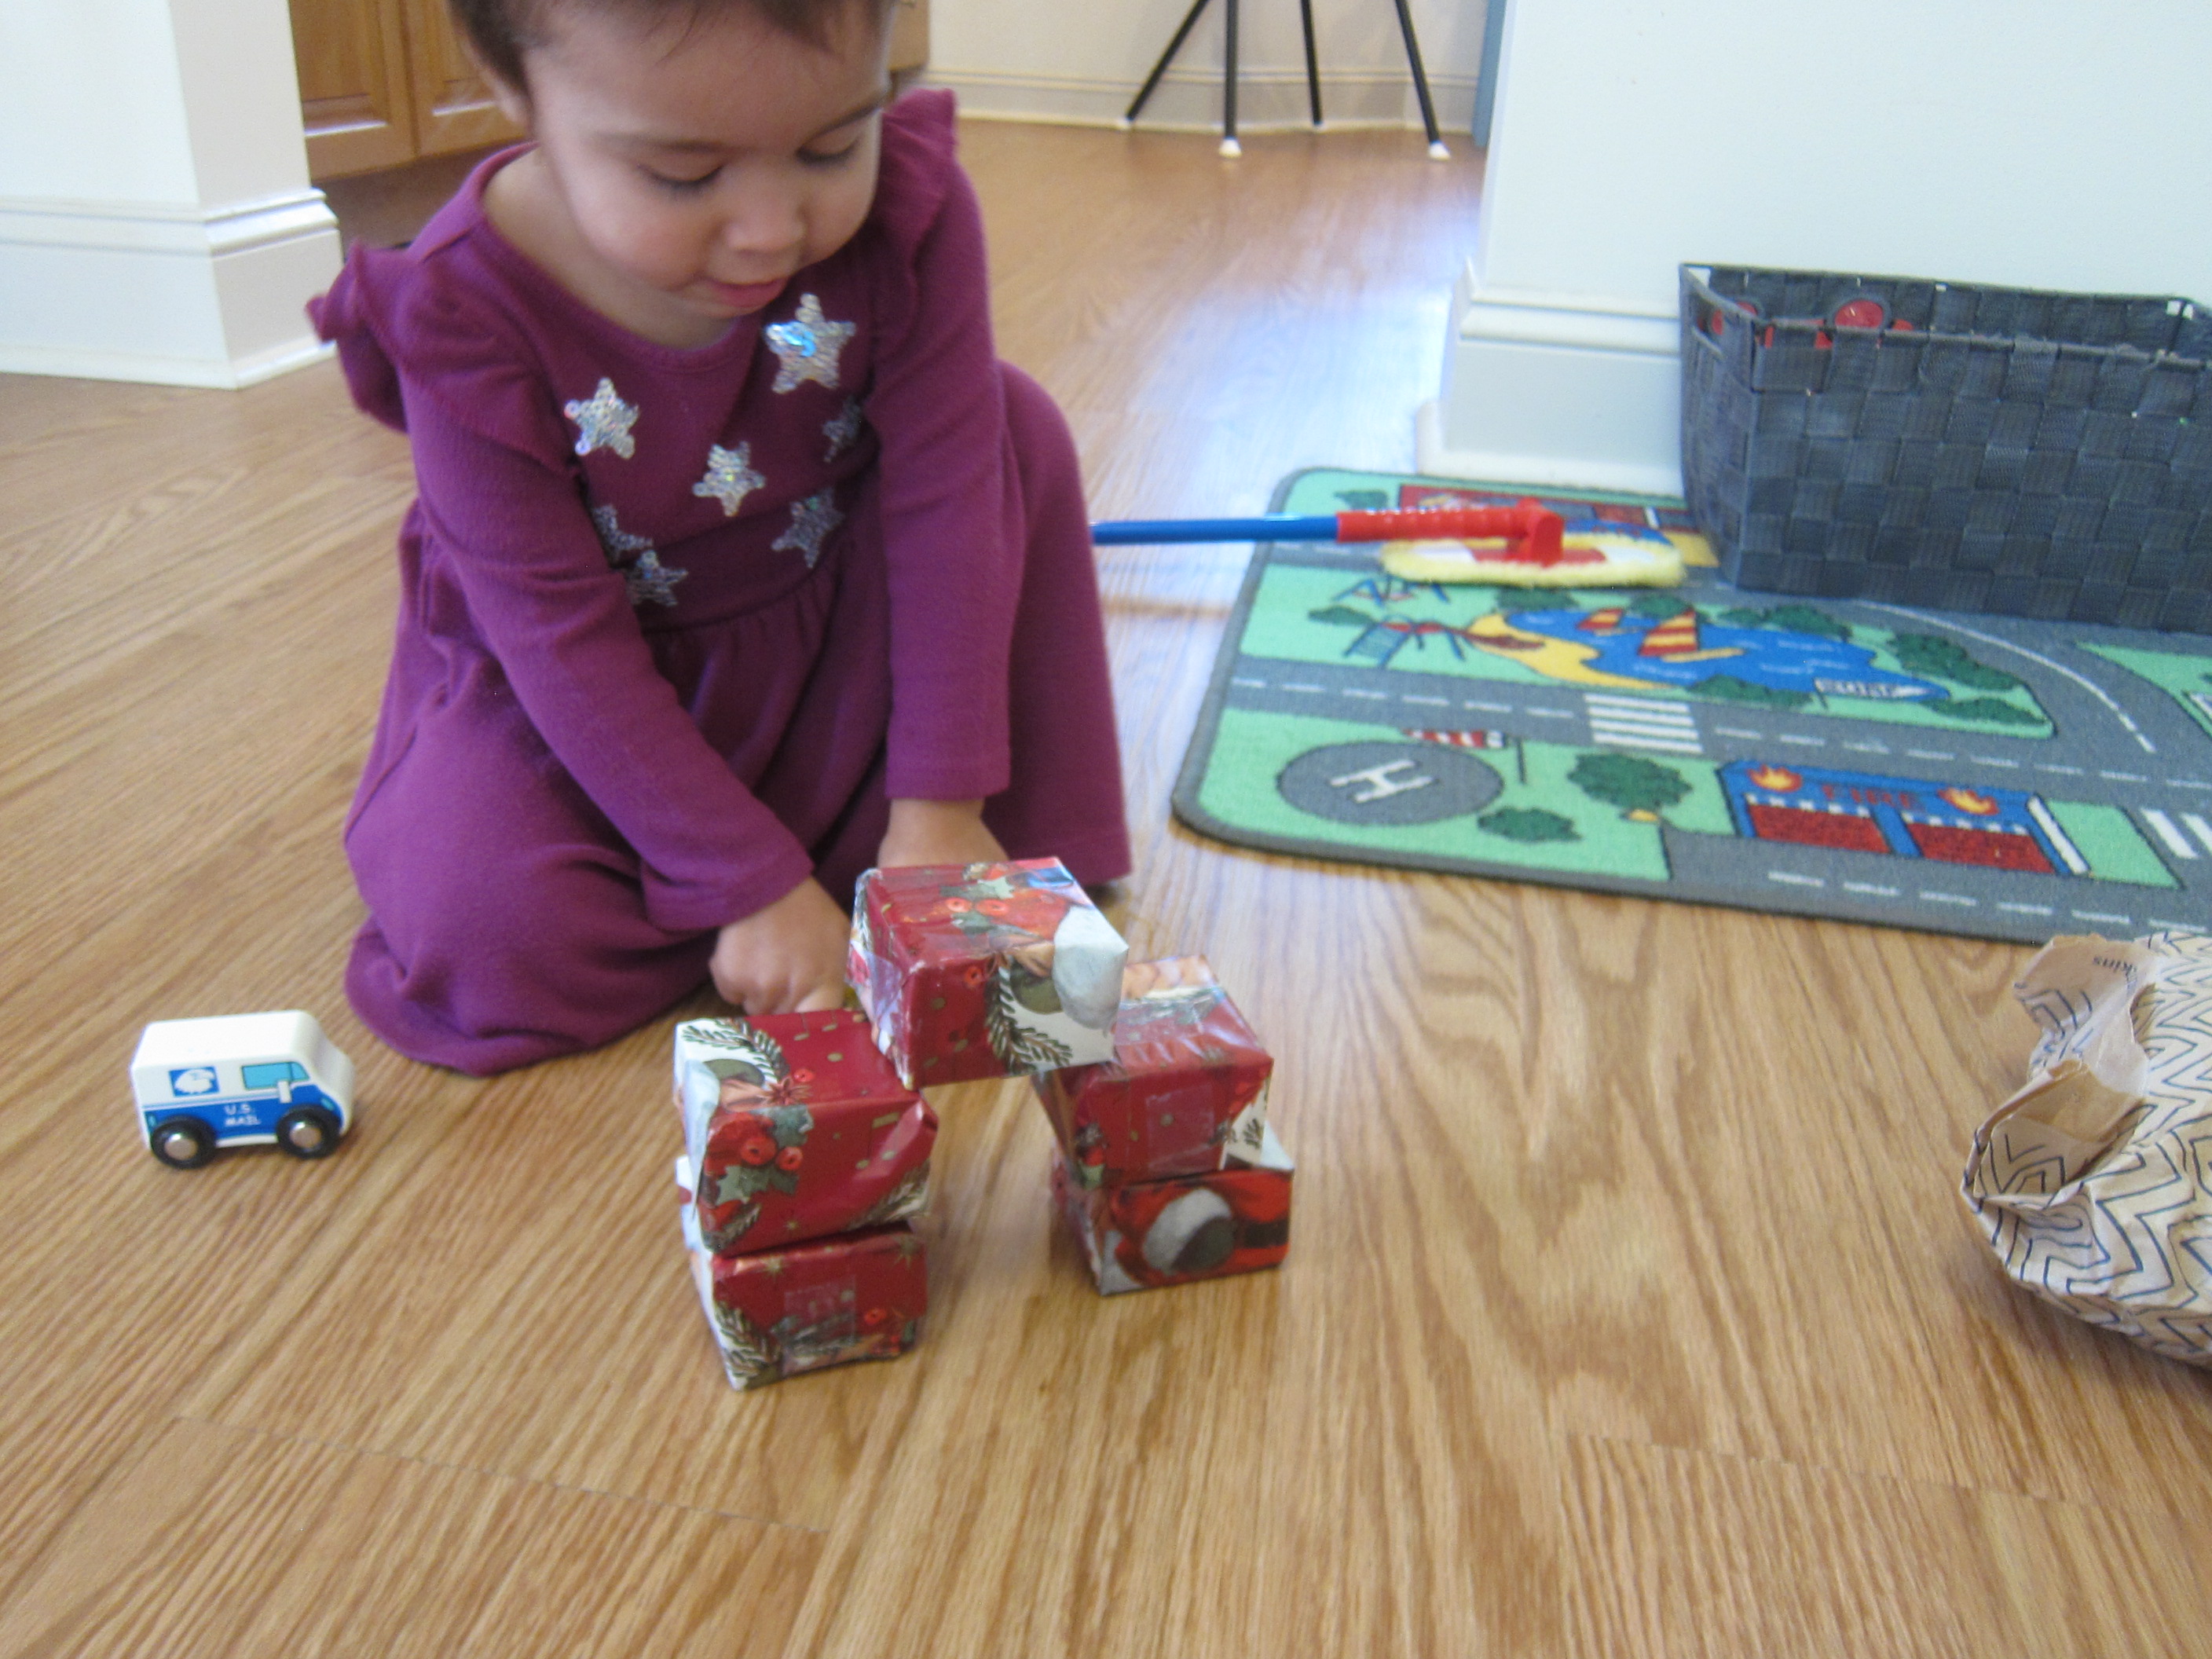
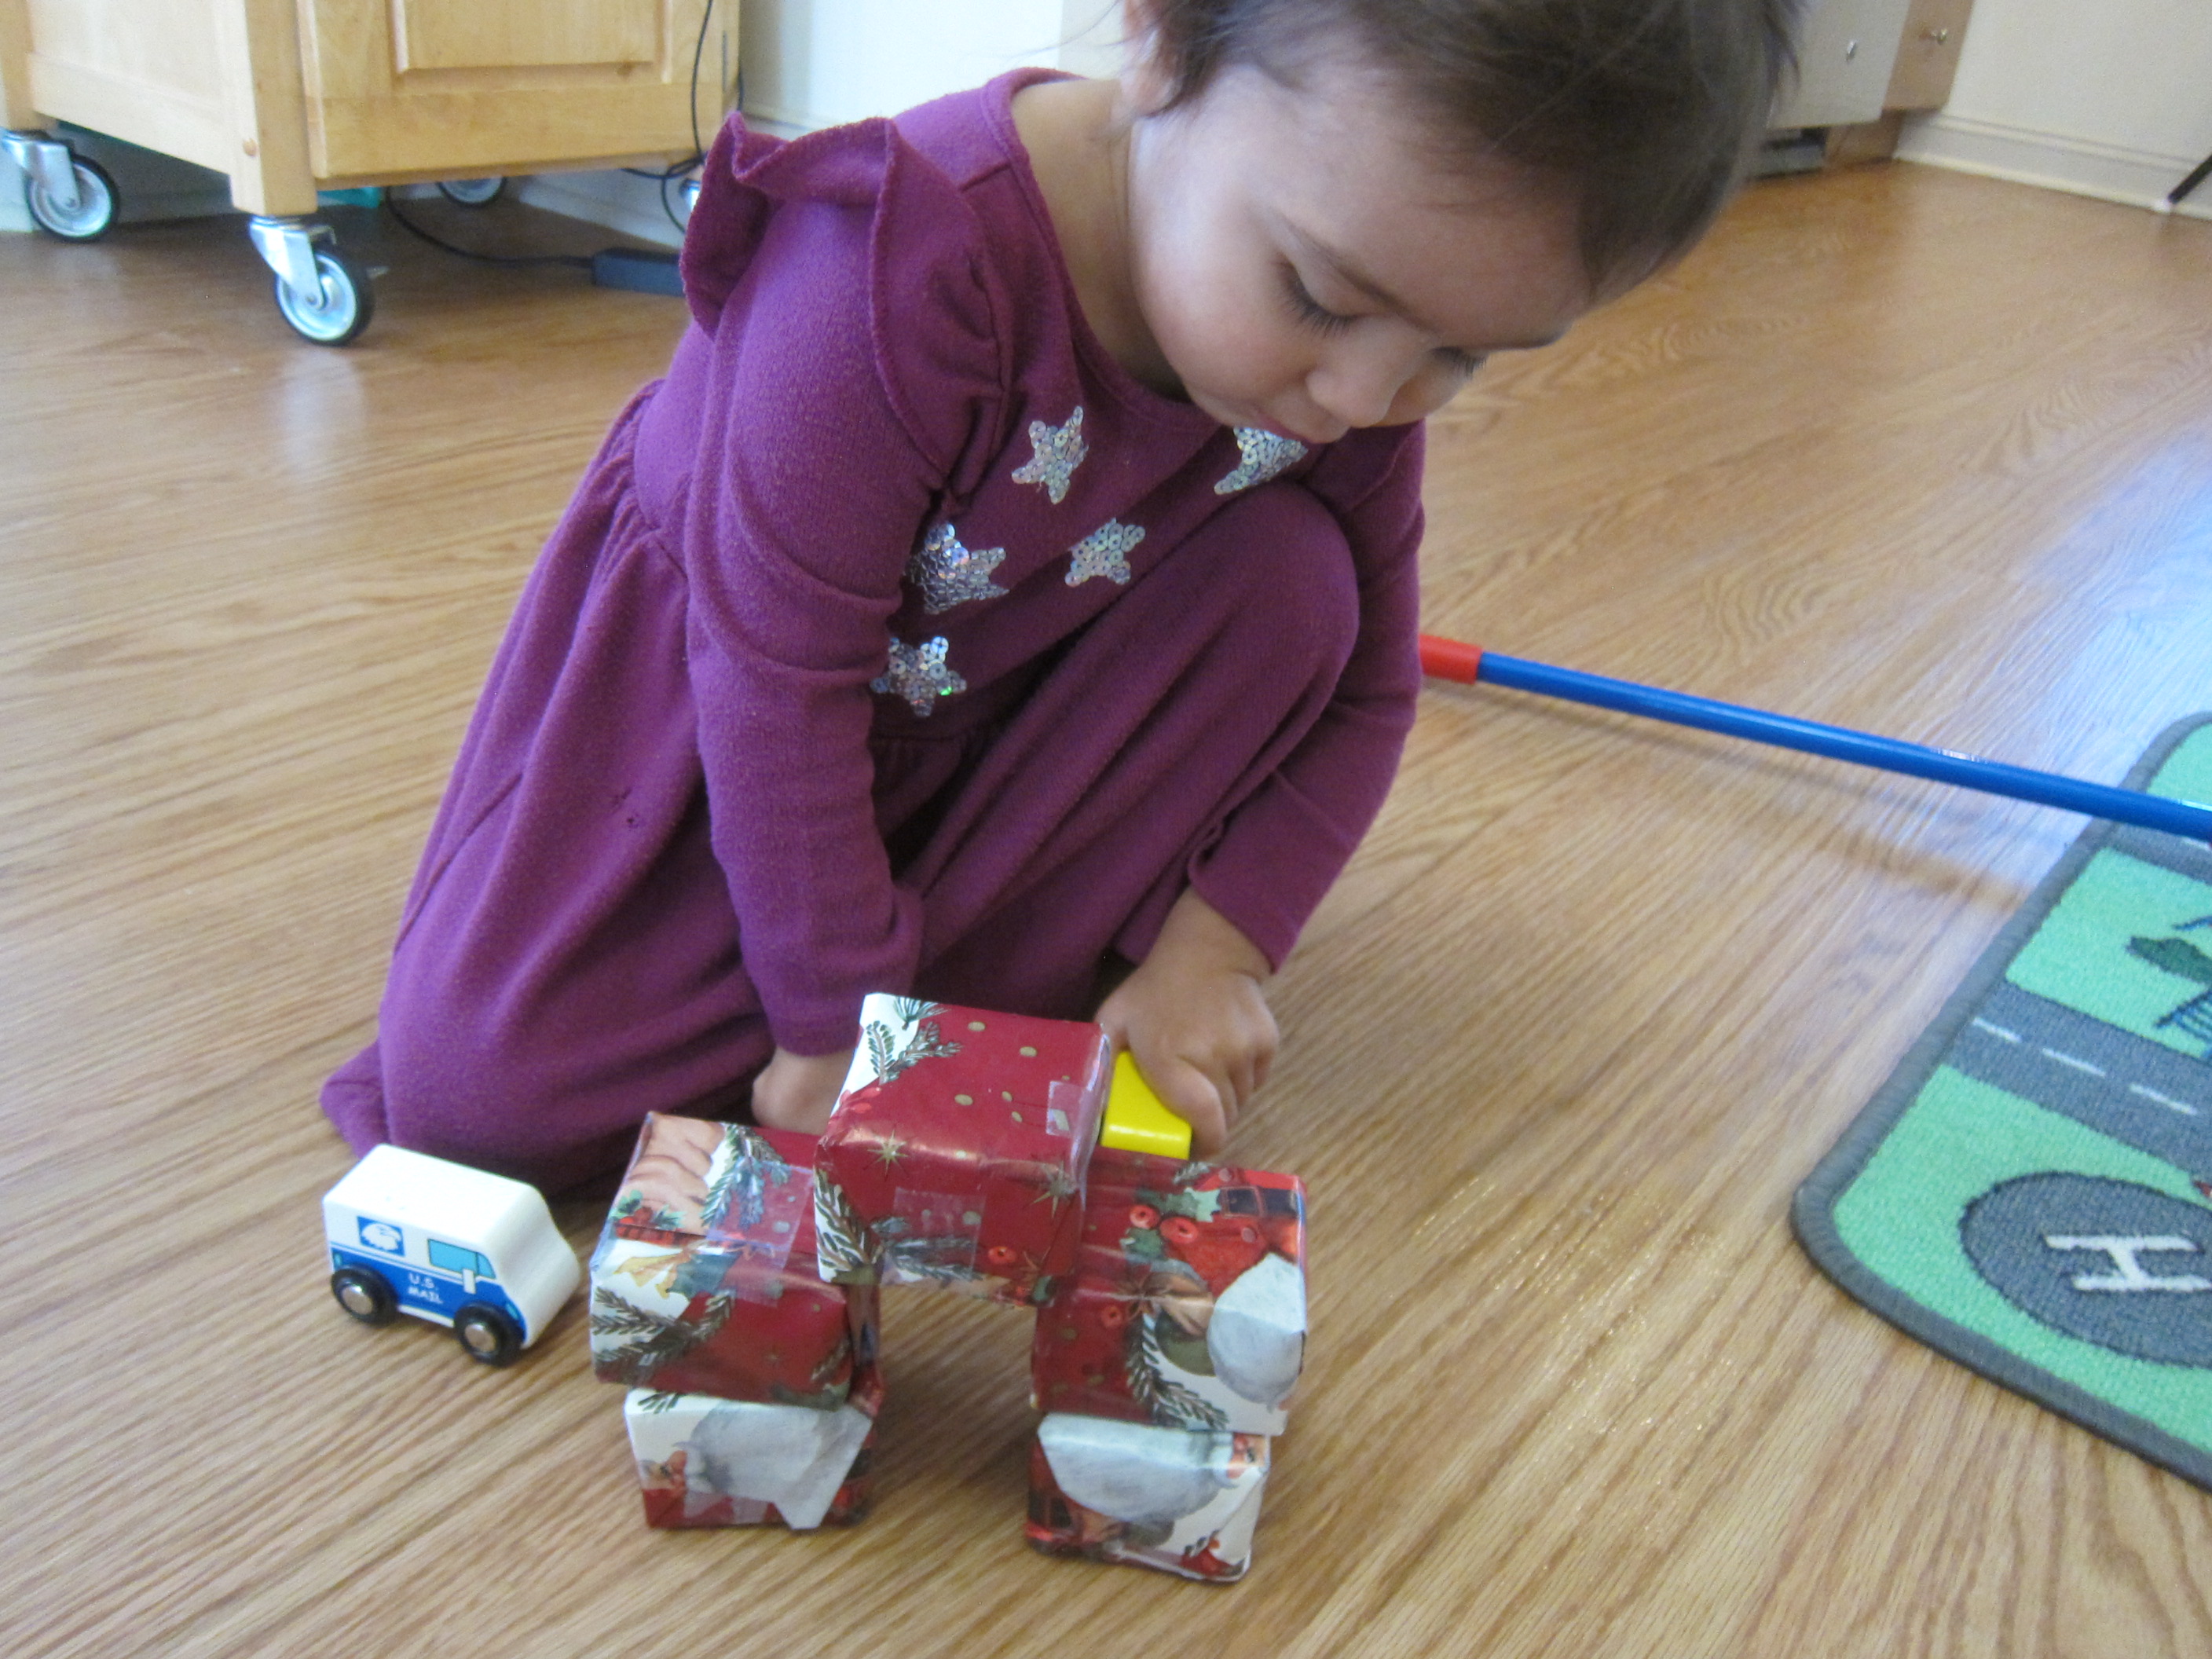
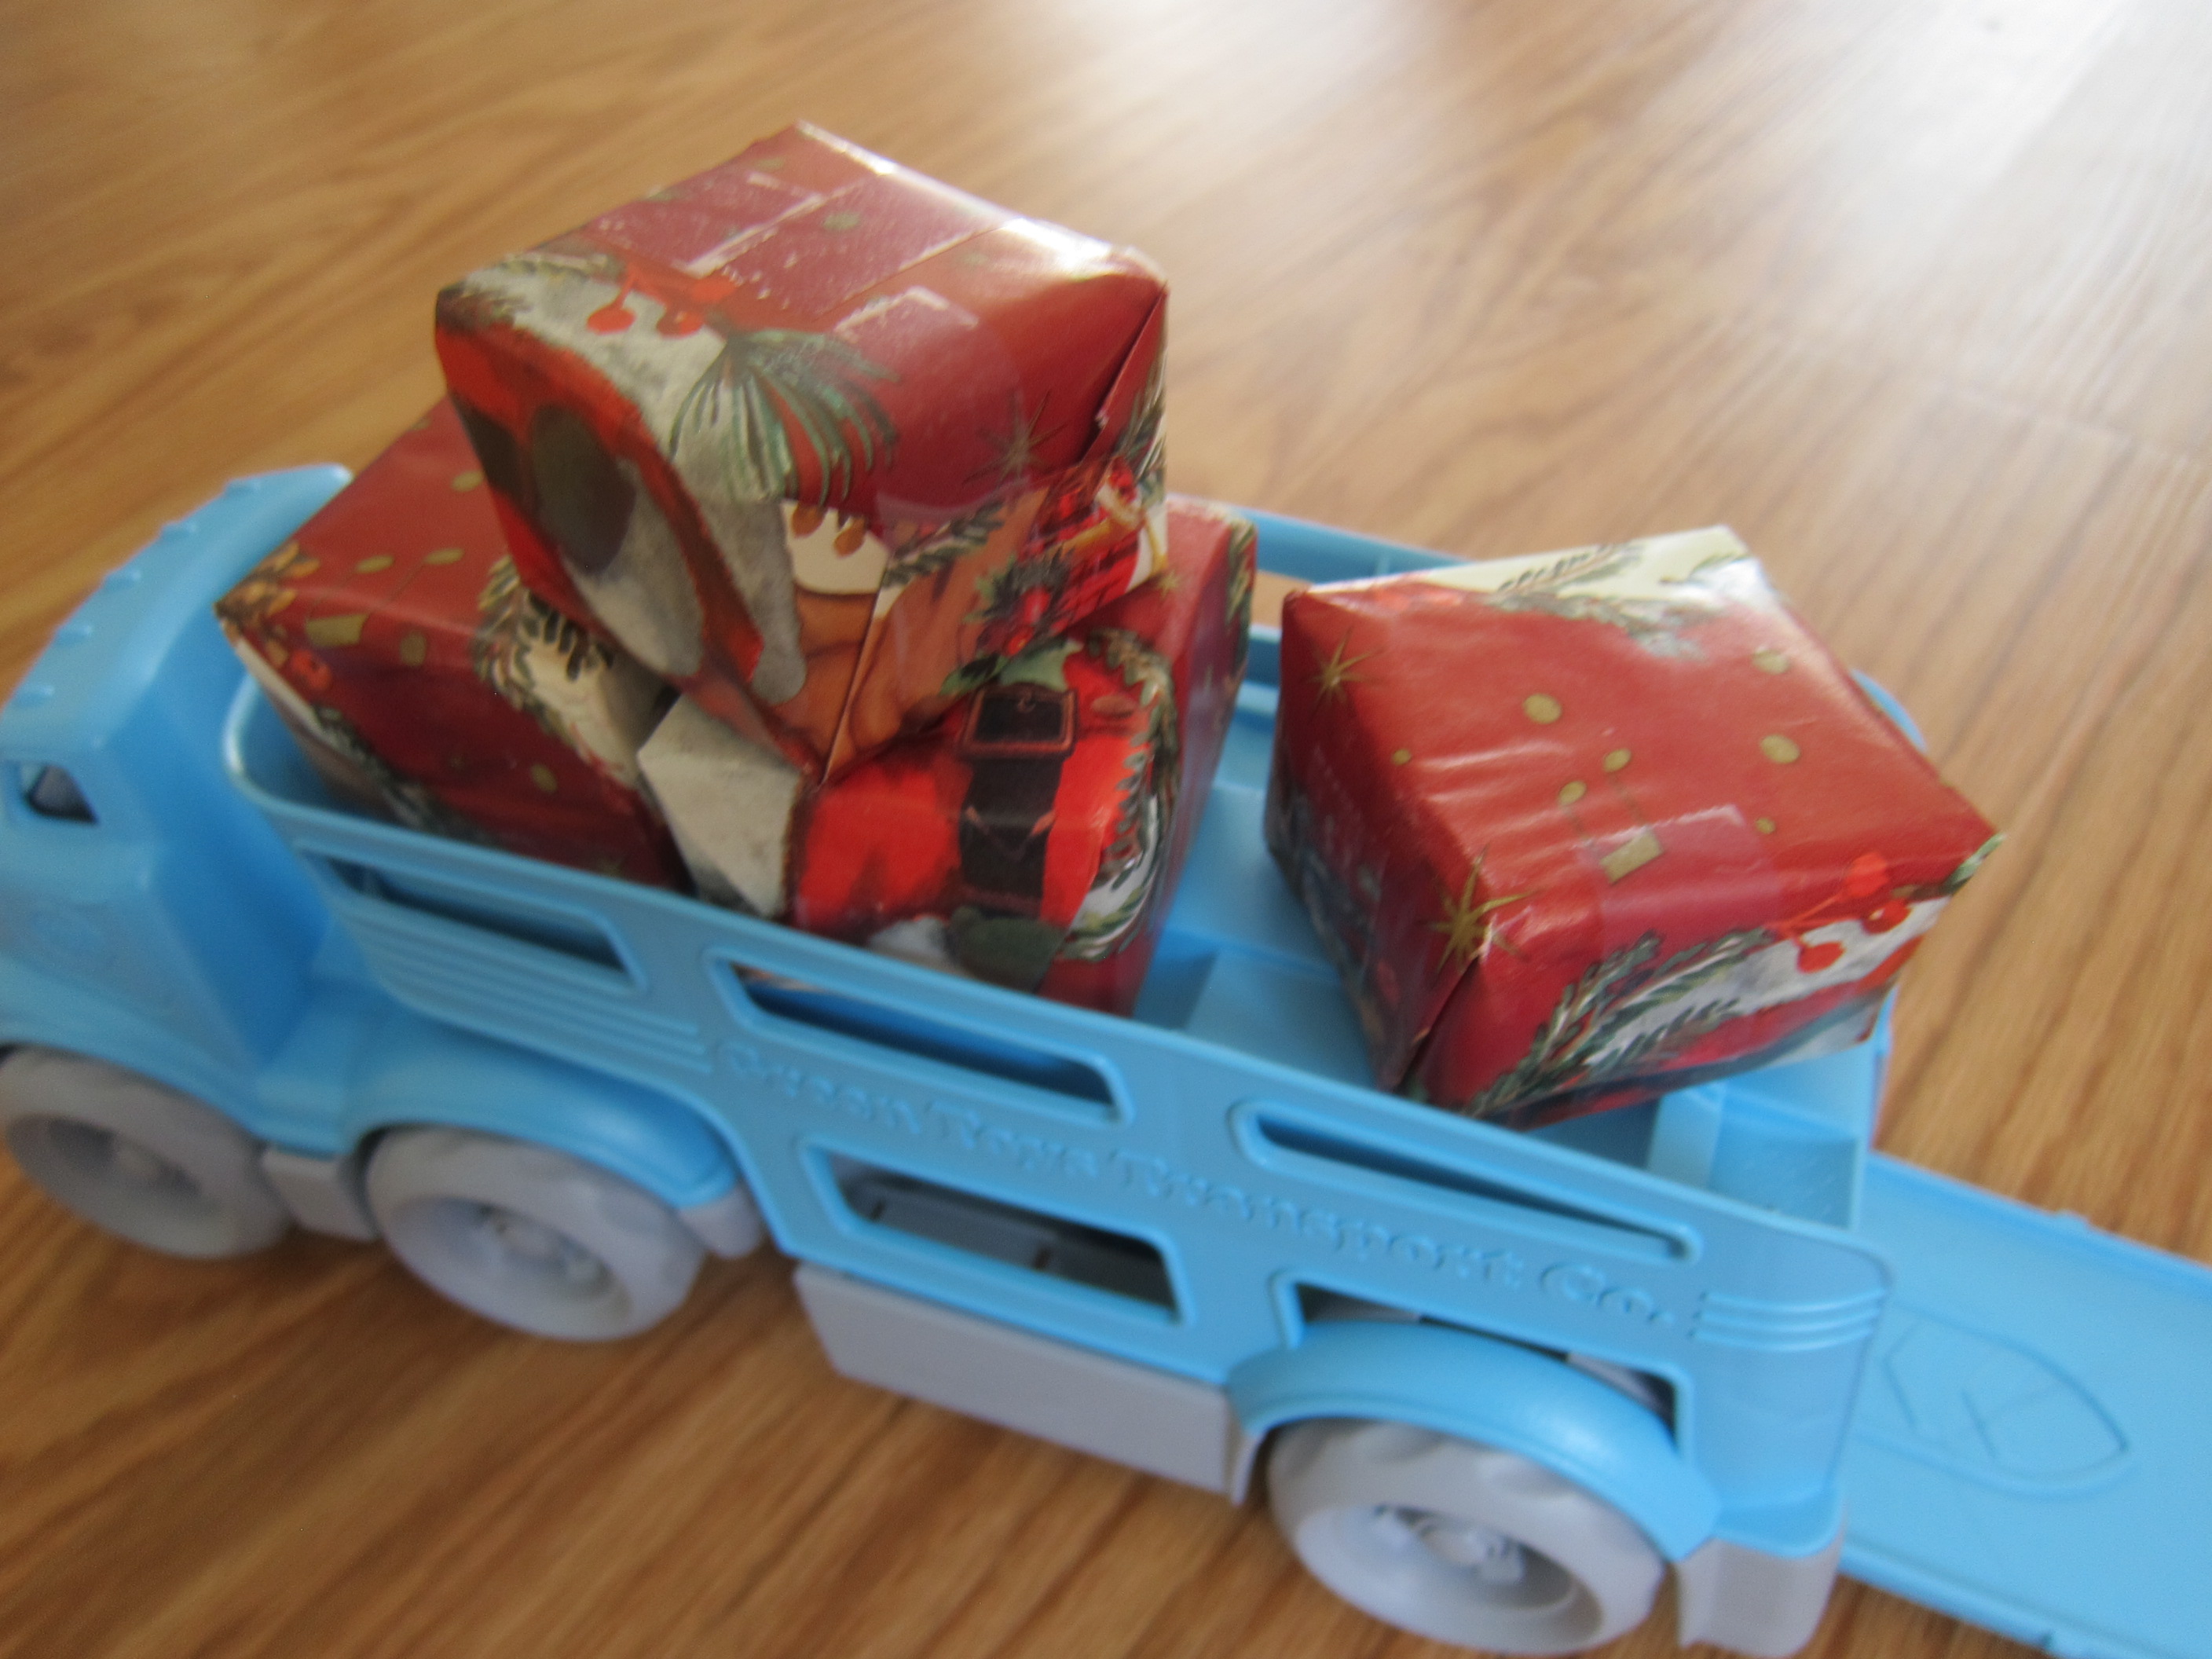
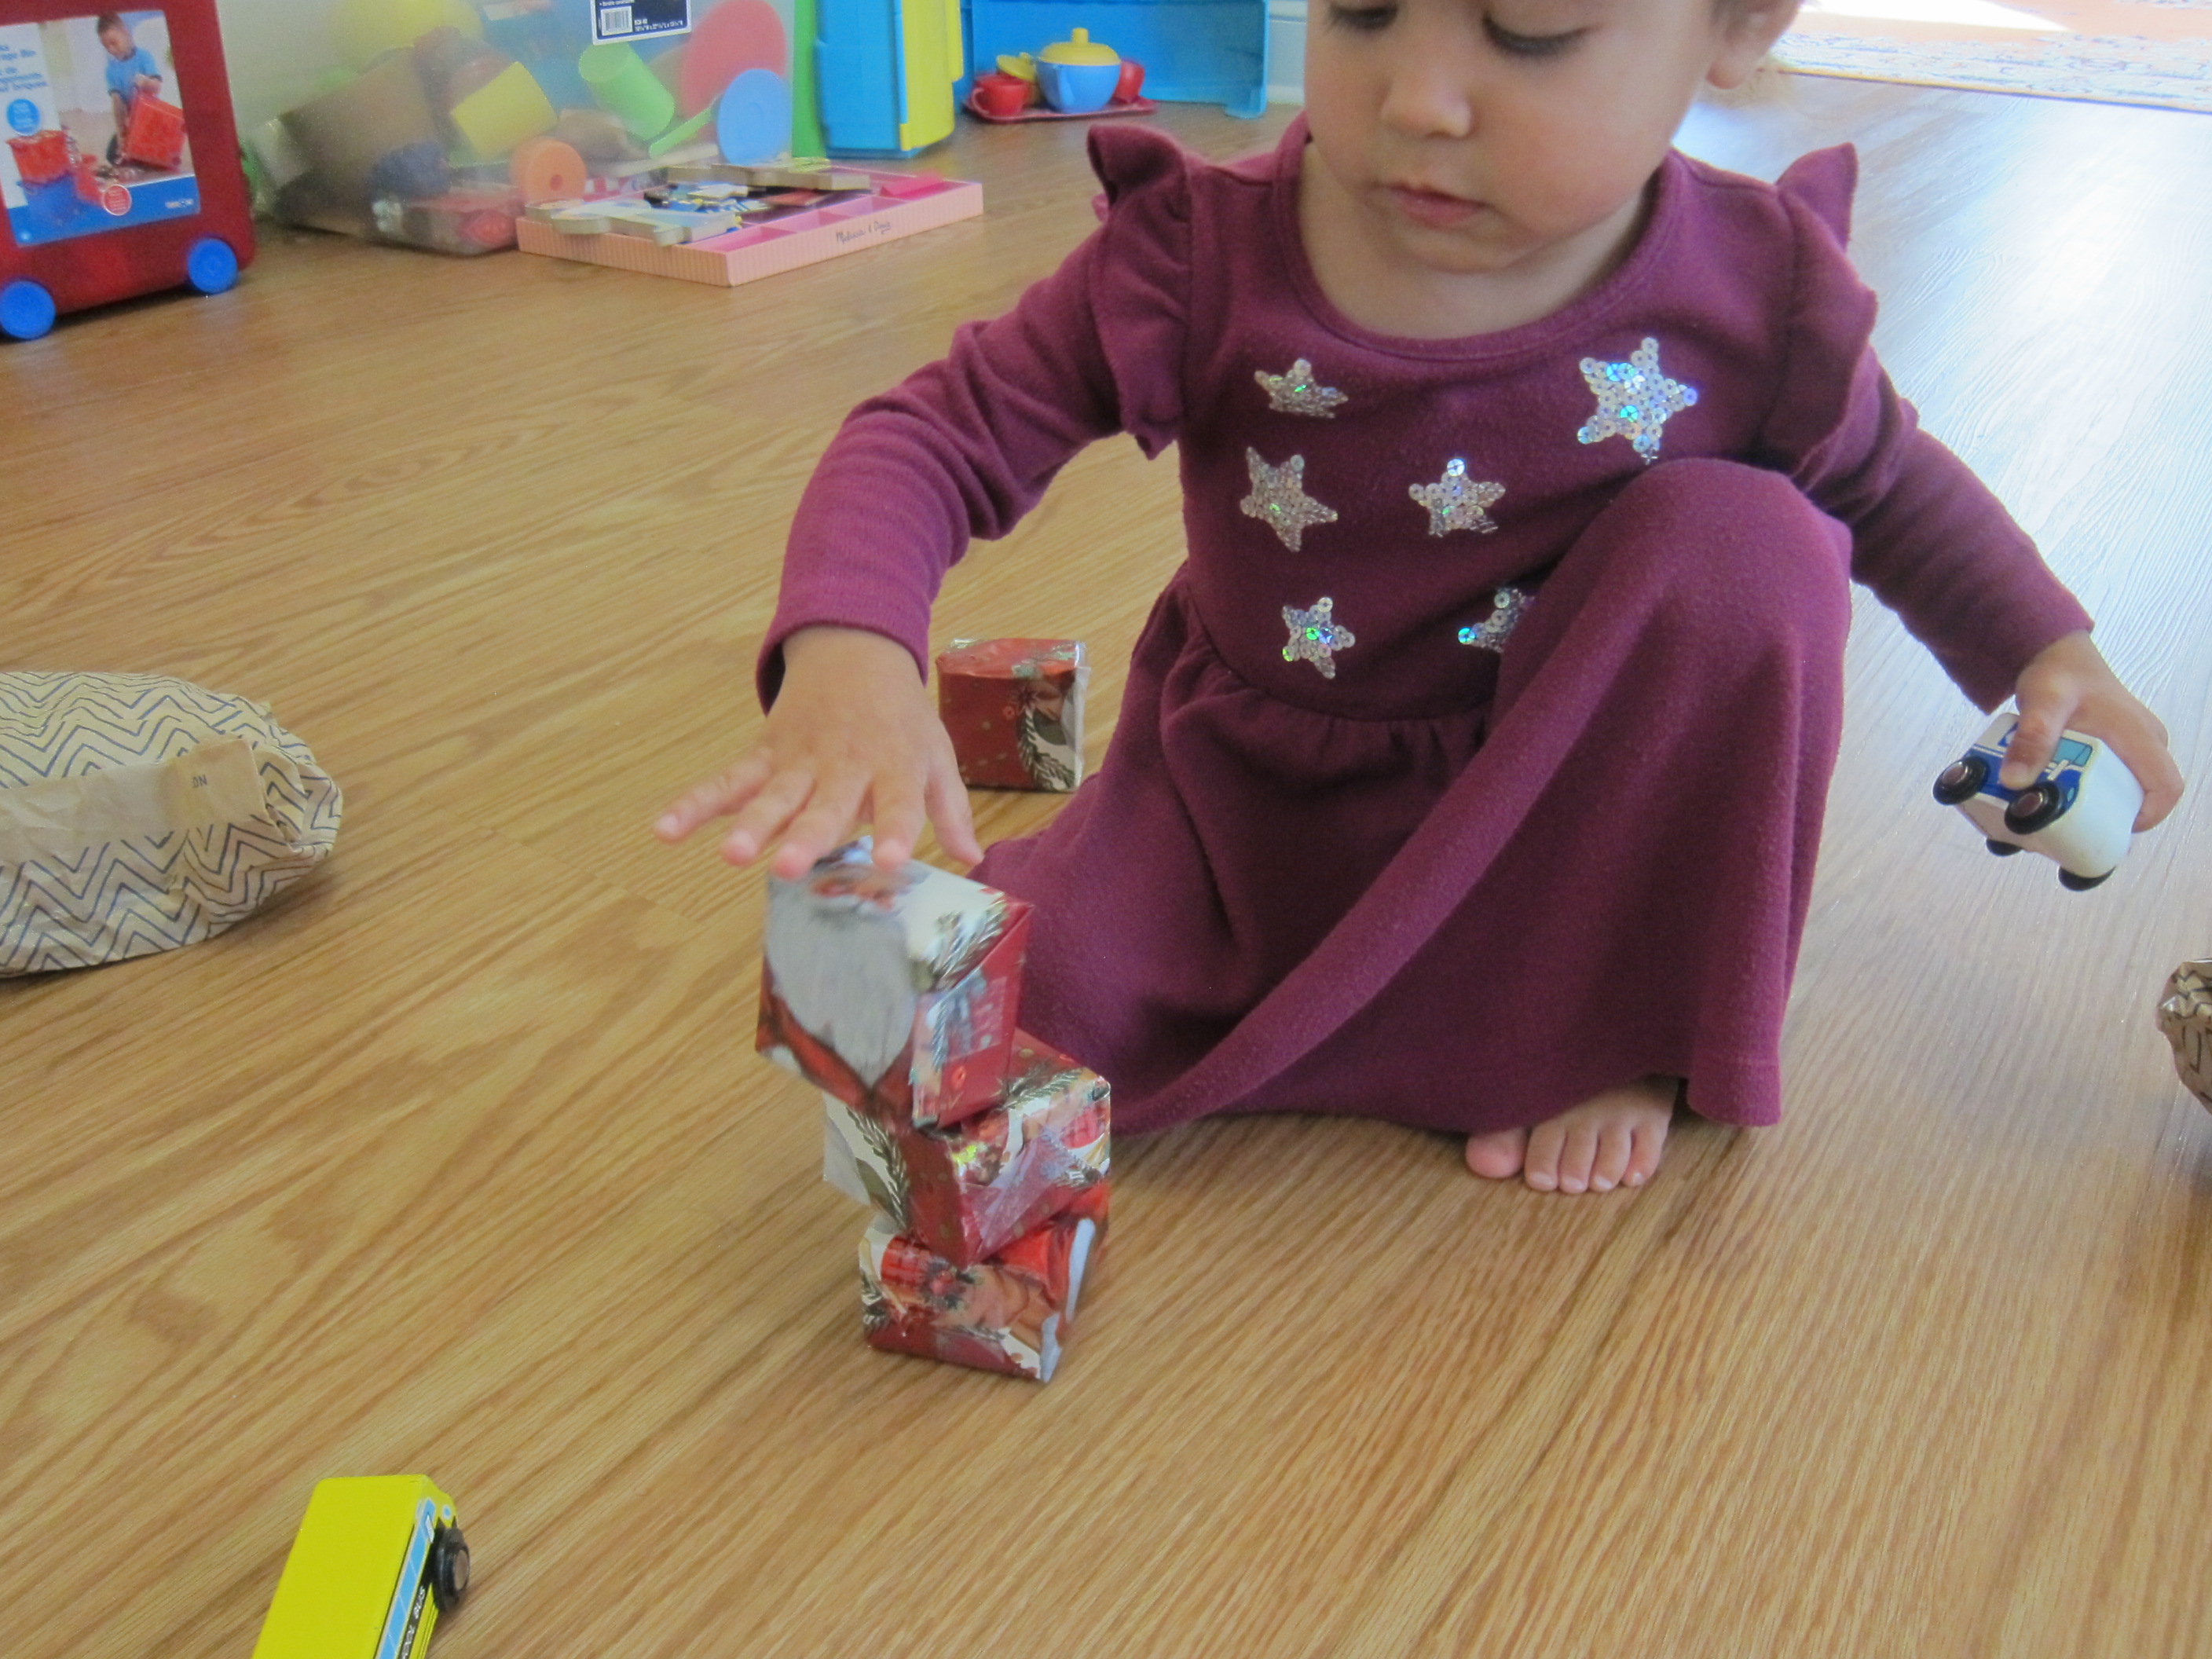
Bin 3: Cars and Chutes

This was the most extended version of the bin, taping the lid off the back end so it was angled like a ramp, and then leaving a smaller basket at the bottom to be the “garage”.

Activity Bin Cars (3)

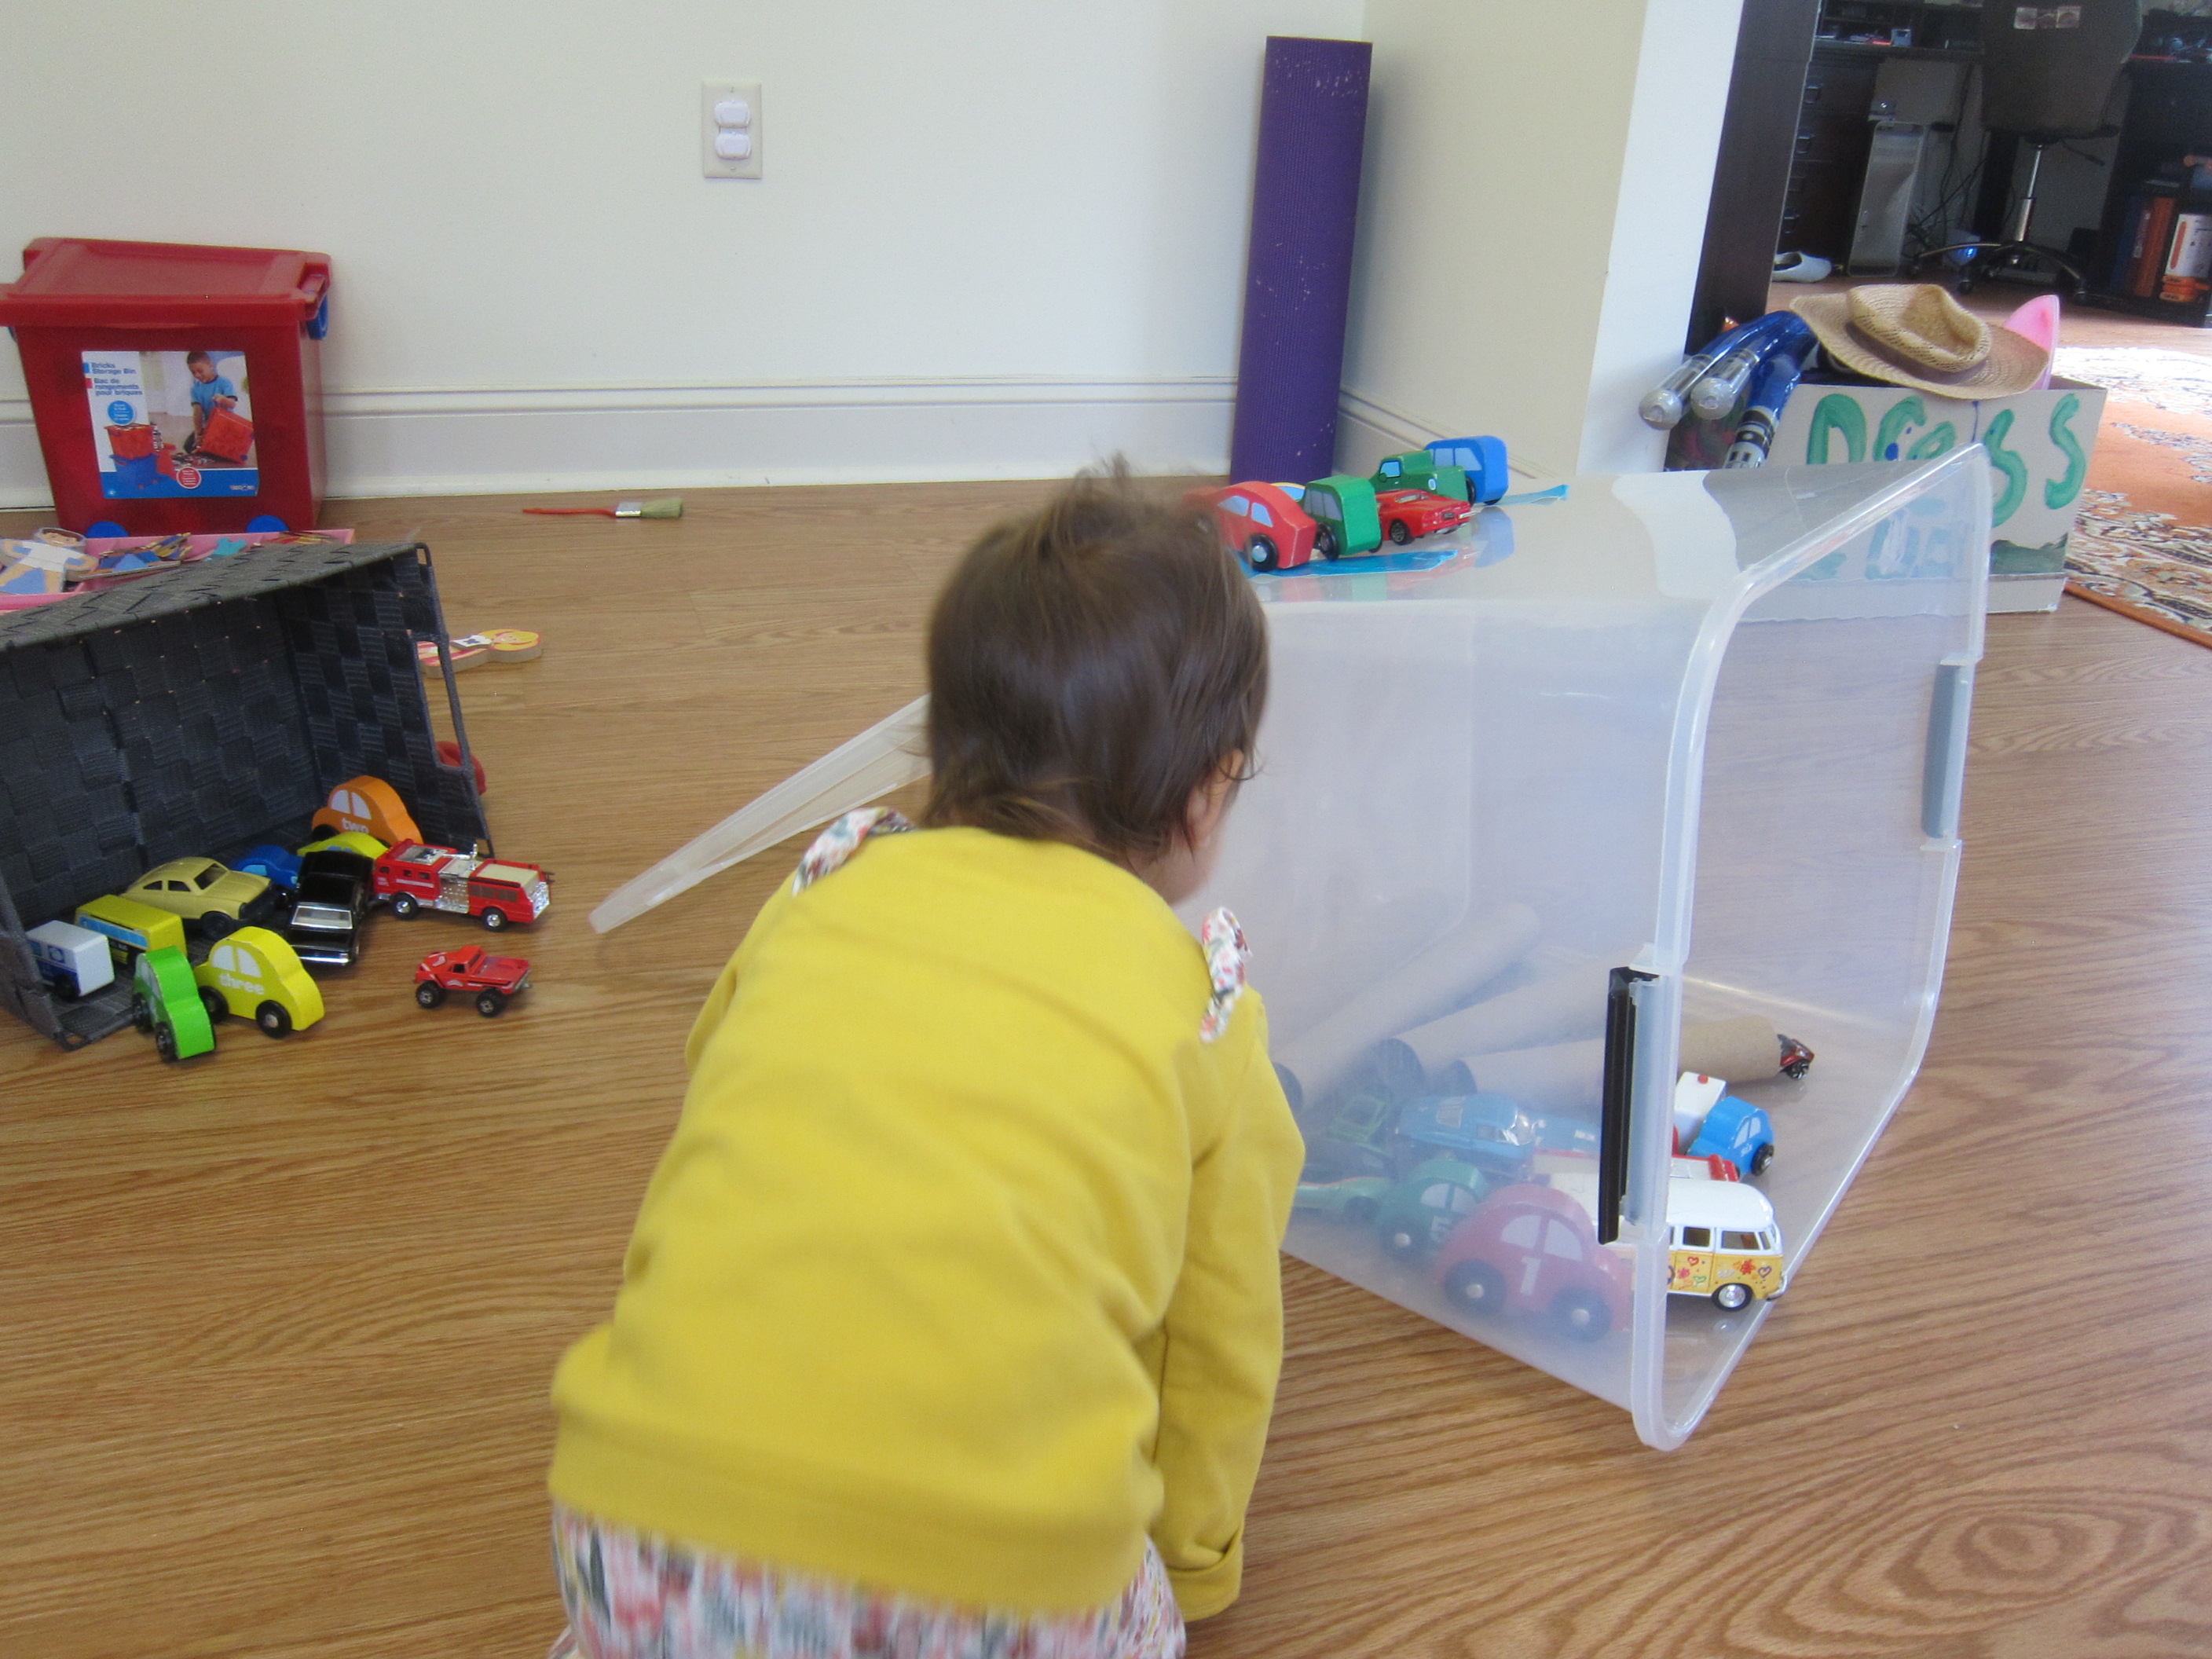
Add toy cars and let the fun begin! I also included a cut-up gift wrap tube so the pieces of it could be tunnels for smaller cars to drive through.

Activity Bin Cars (5)

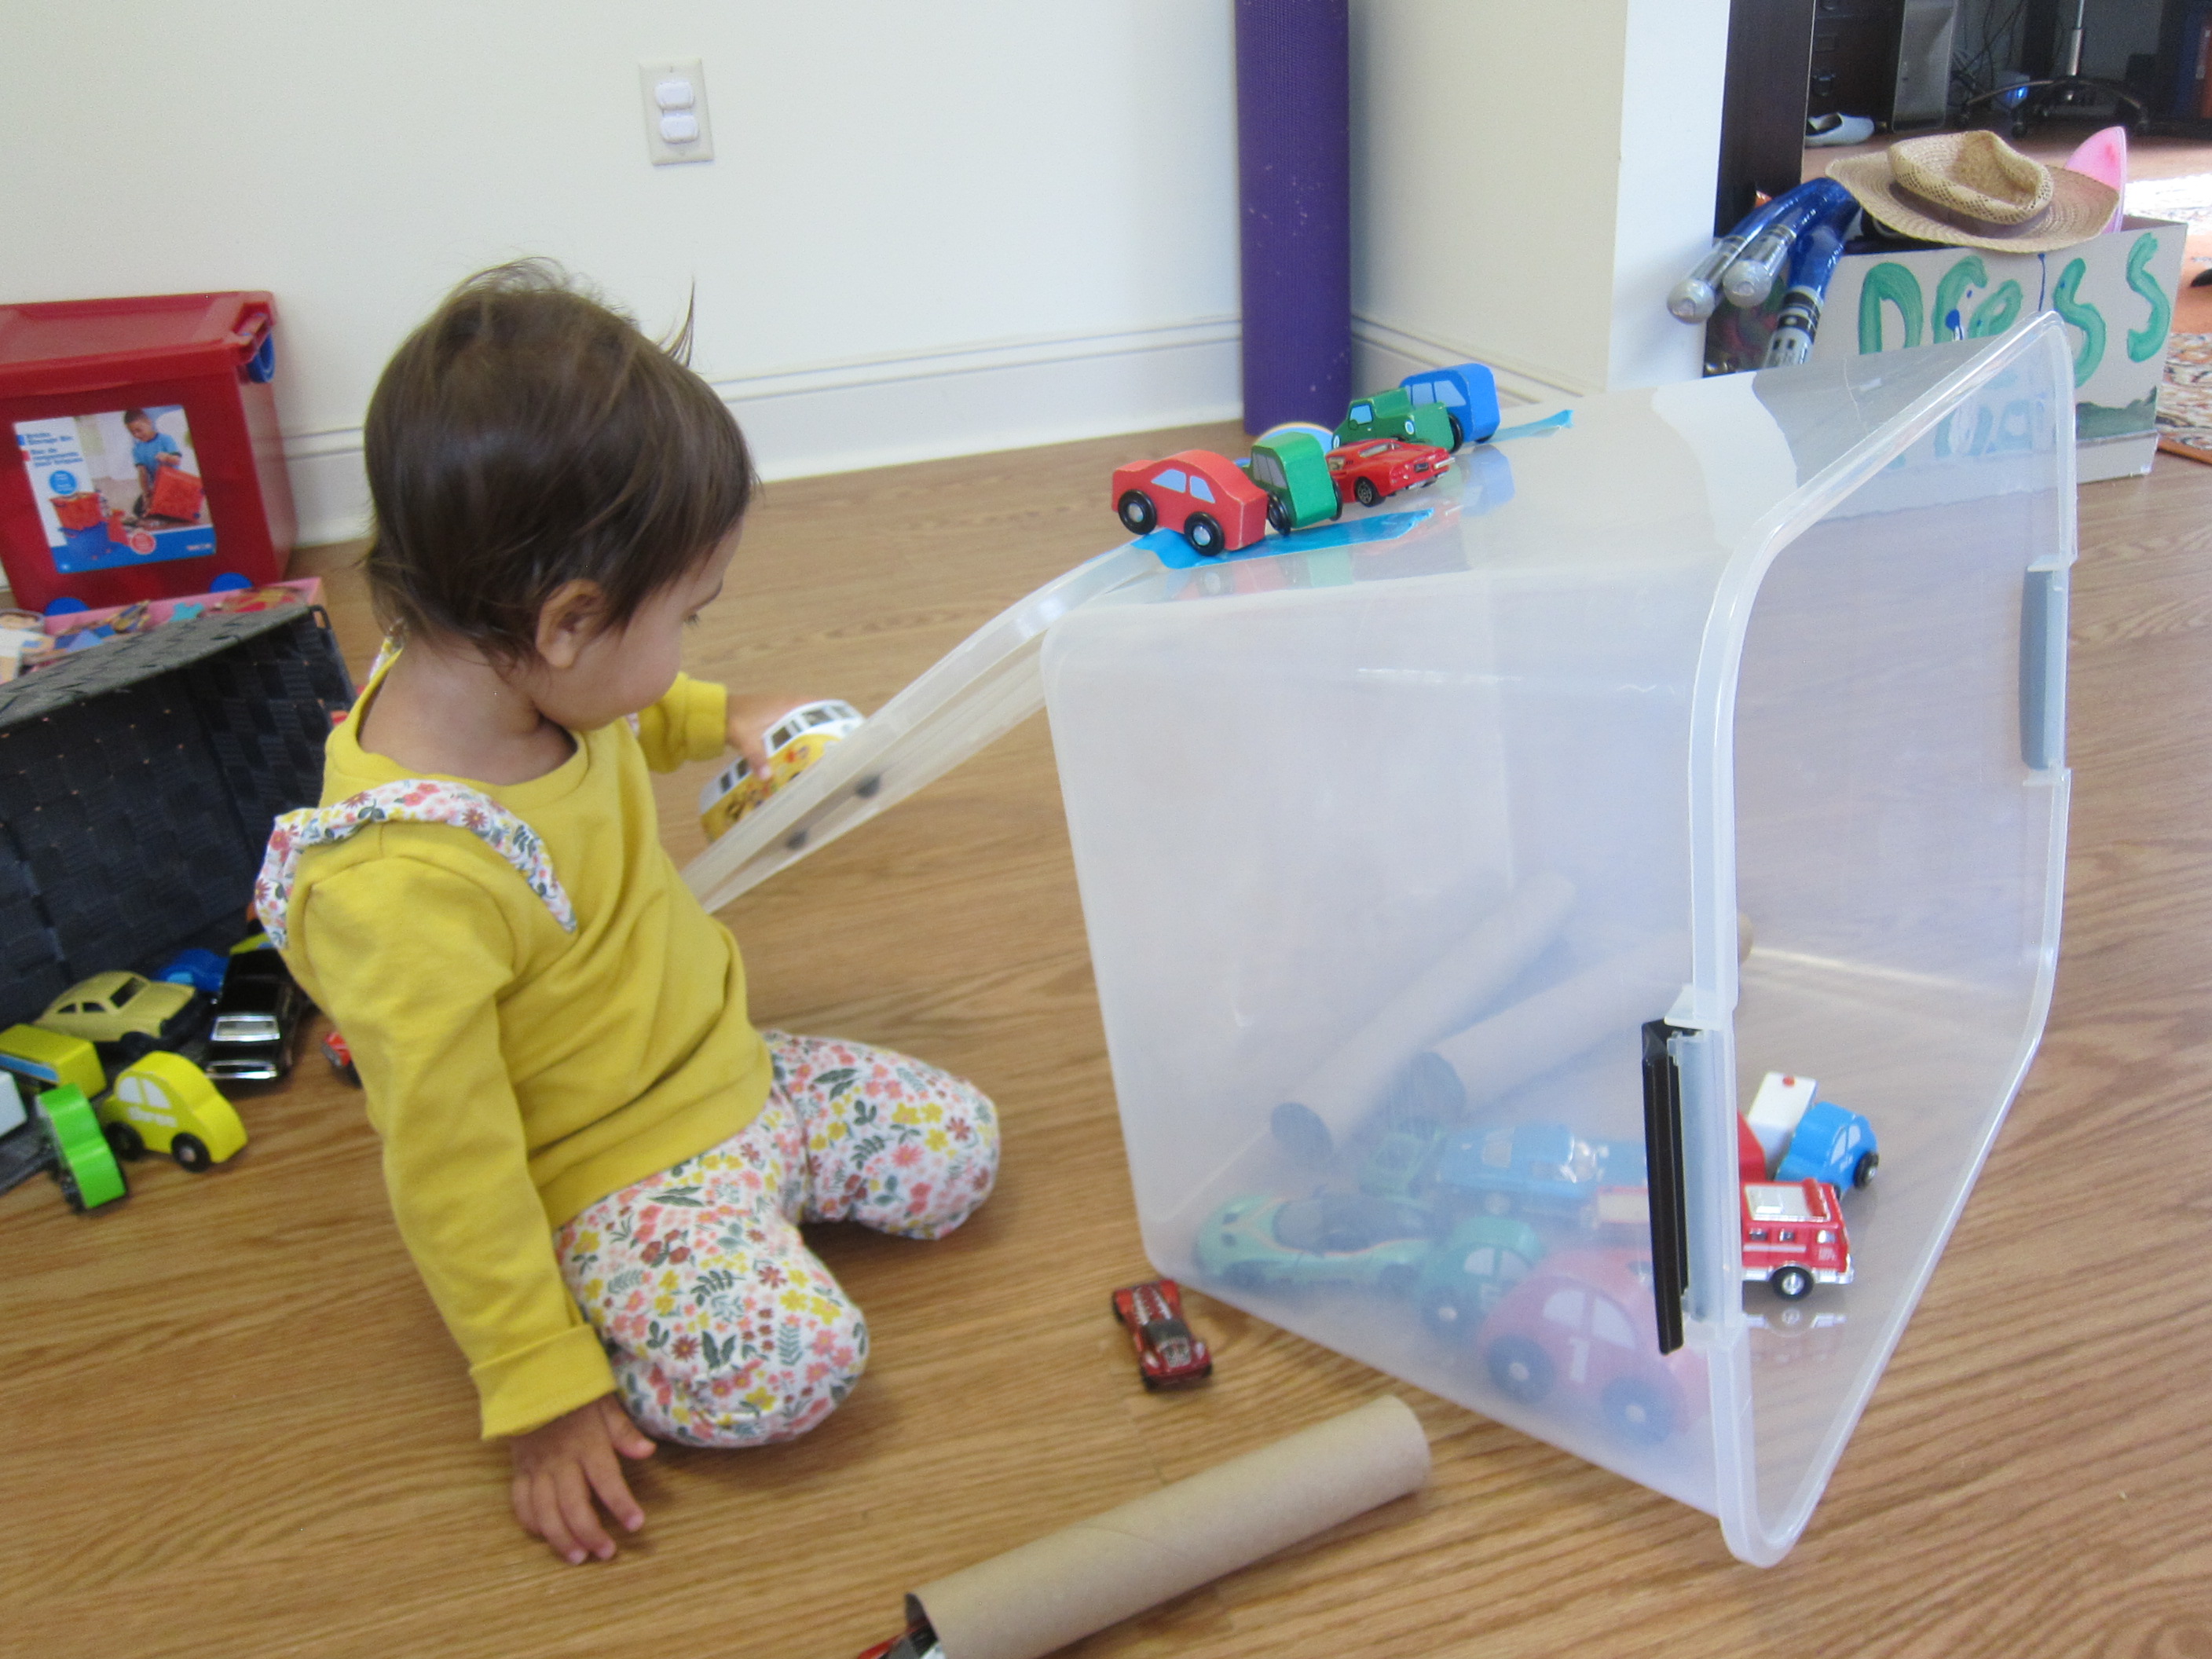
Veronika wasted no time zooming cars up and down the ramp, which was definitely the biggest draw here. She was less interested in the tube tunnels.

Activity Bin Cars (2)

Bin 4: Stuffed with Stuffies

We have a game we sometimes play when I need the kids safely contained called “All the Stuffies in the Crib”, which is exactly what it sounds like: We toss every stuffed animal into the crib and the kids sit and play in the huge pile.

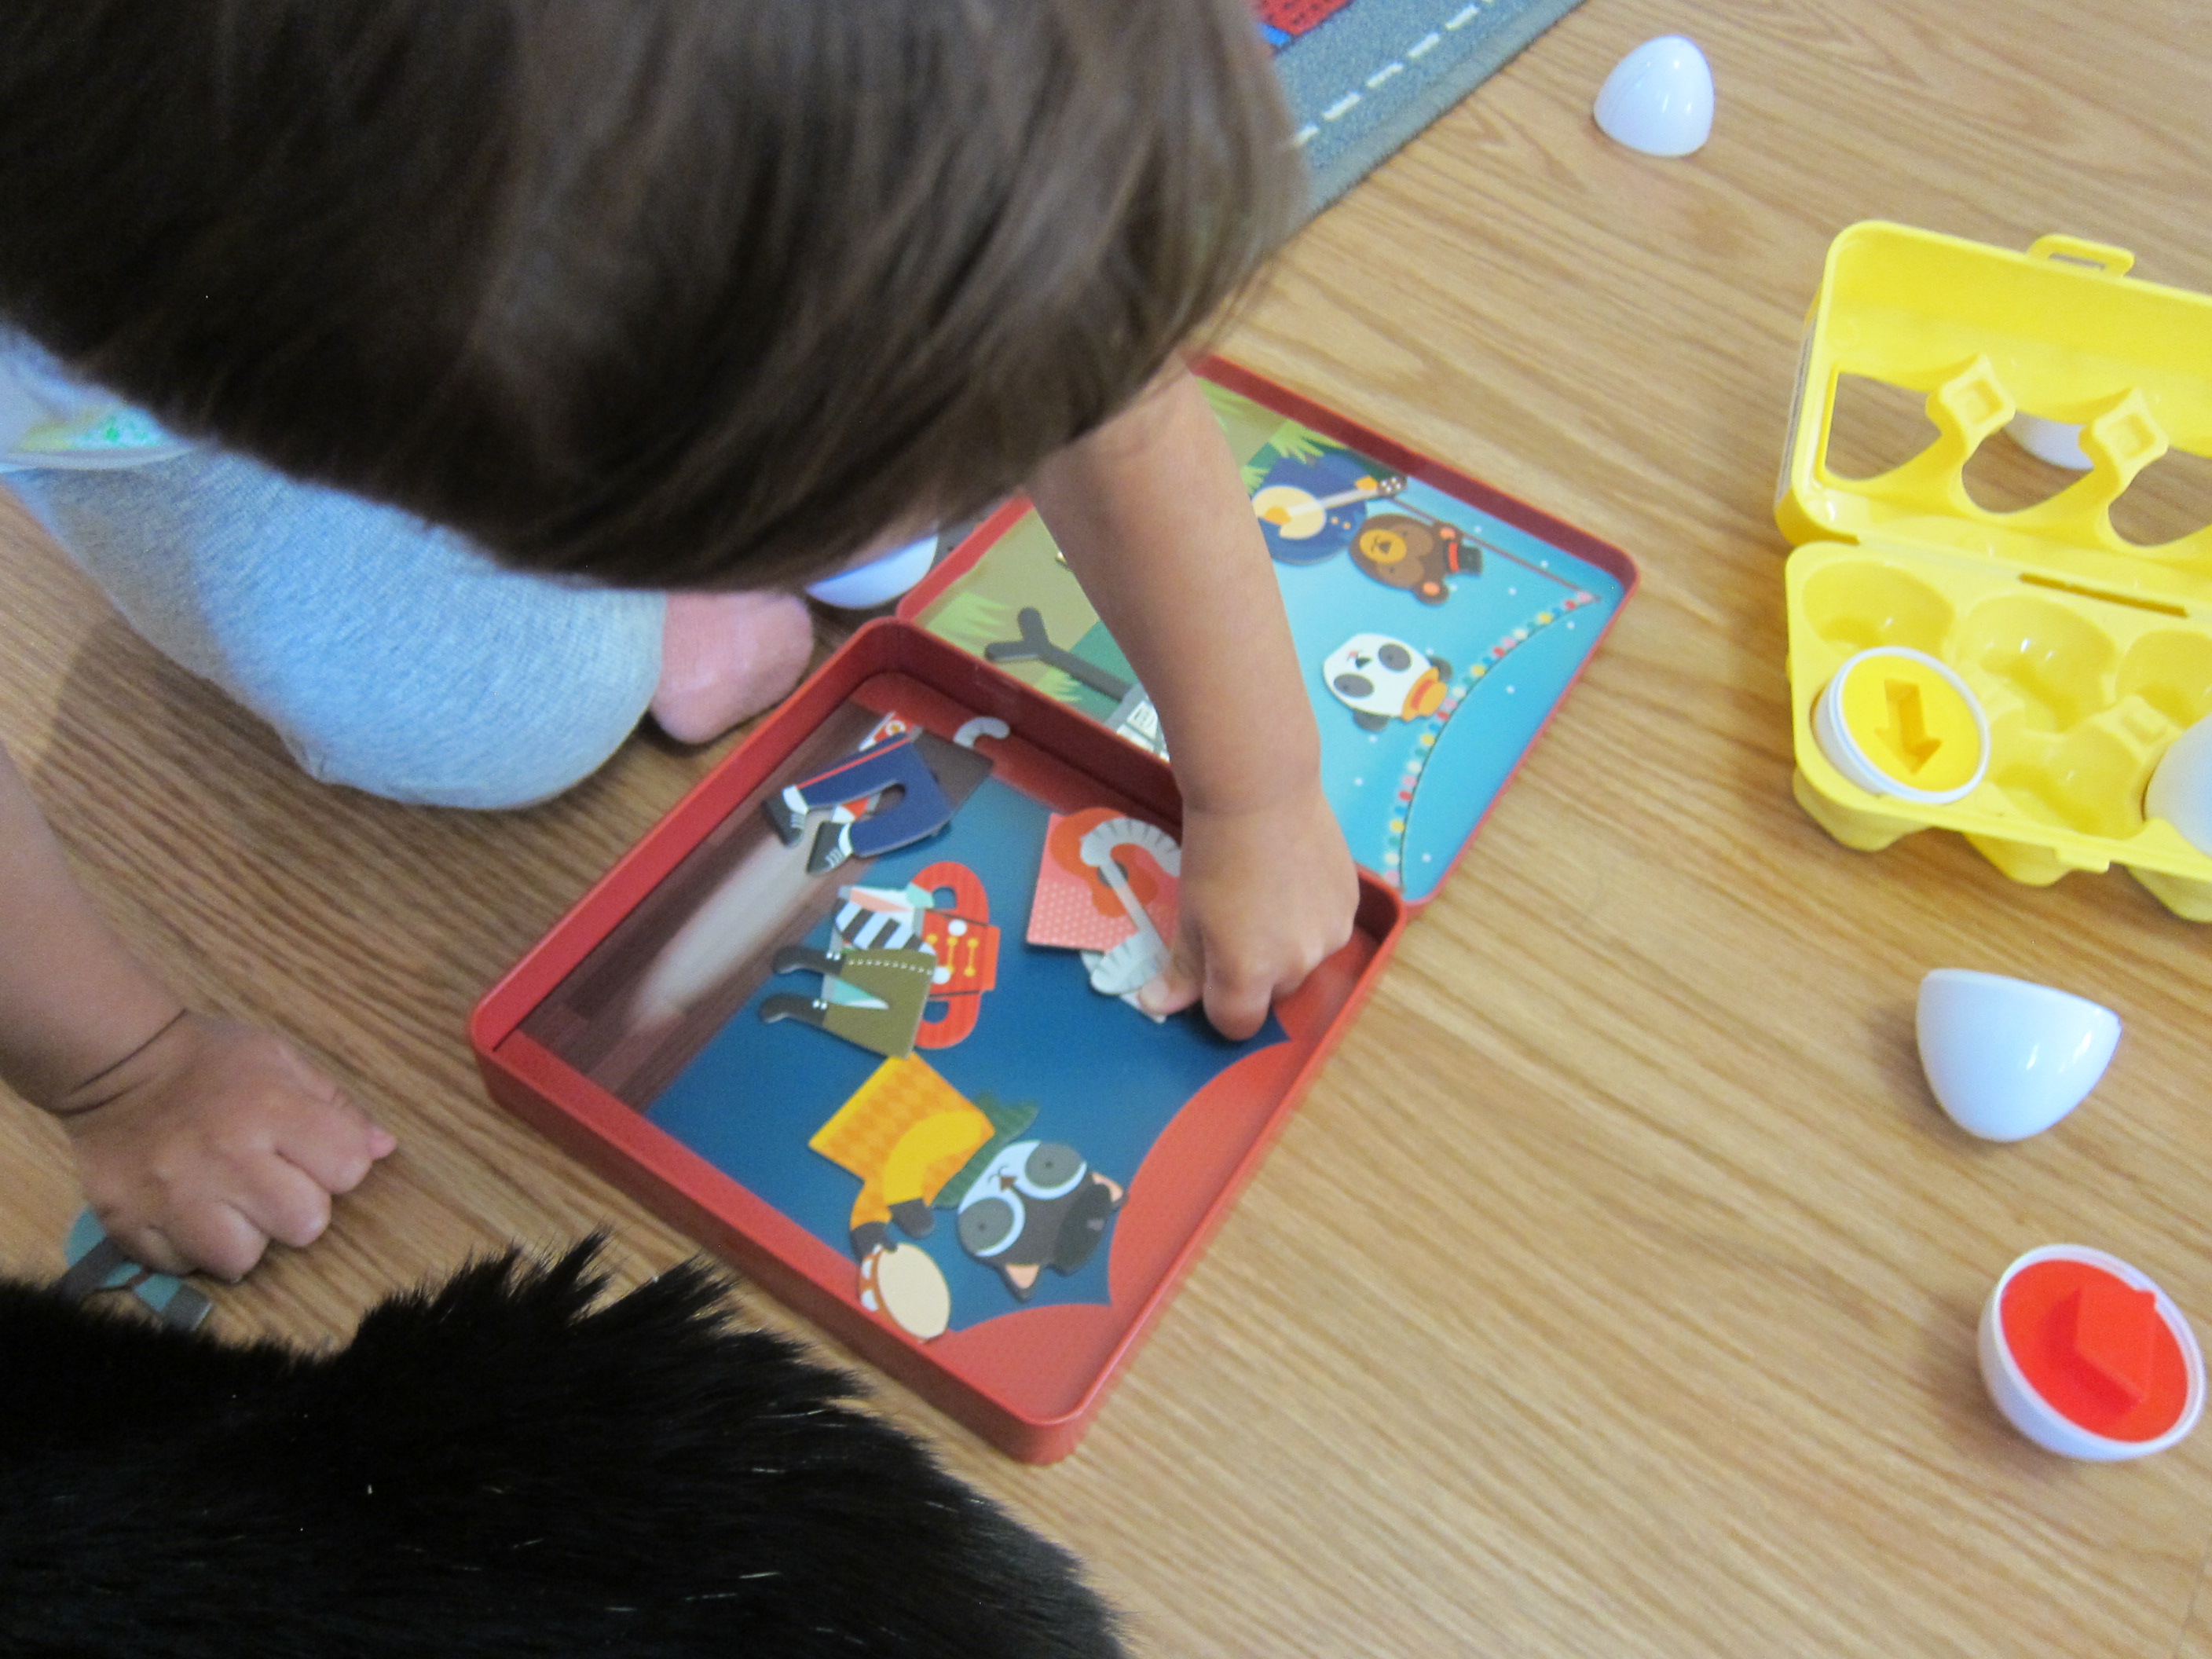
This bin was a more curated version of that. I added a toy tree house and  woodland creatures that fit the theme to go through its doors and windows. Her dog and cat went in, along with a few vet tools. Teddy bear sat next to the tea pot in case anyone wanted a teddy bear tea party. And a couple of dinosaurs stood guard over plastic eggs.

Activity Bin Stuffies (5)

She was most interested, though, in an old snake toy I draped over the top that makes a crinkly sound. She loved slithering it along the top of the bin and turning to me to say, “hiss!”.

Activity Bin Stuffies (6)

The other big draw was giving dog and cat some vet care.

Activity Bin Stuffies (8)

Overall, this one was a big winner.

Activity Bin Stuffies (7)

Bin 5: Awesome Art

For this one, aim for arts and crafts items that your toddler can safely use solo without making a mess. In other words, leave the paints and watercolors for another day!

Activity Bin Art (1)

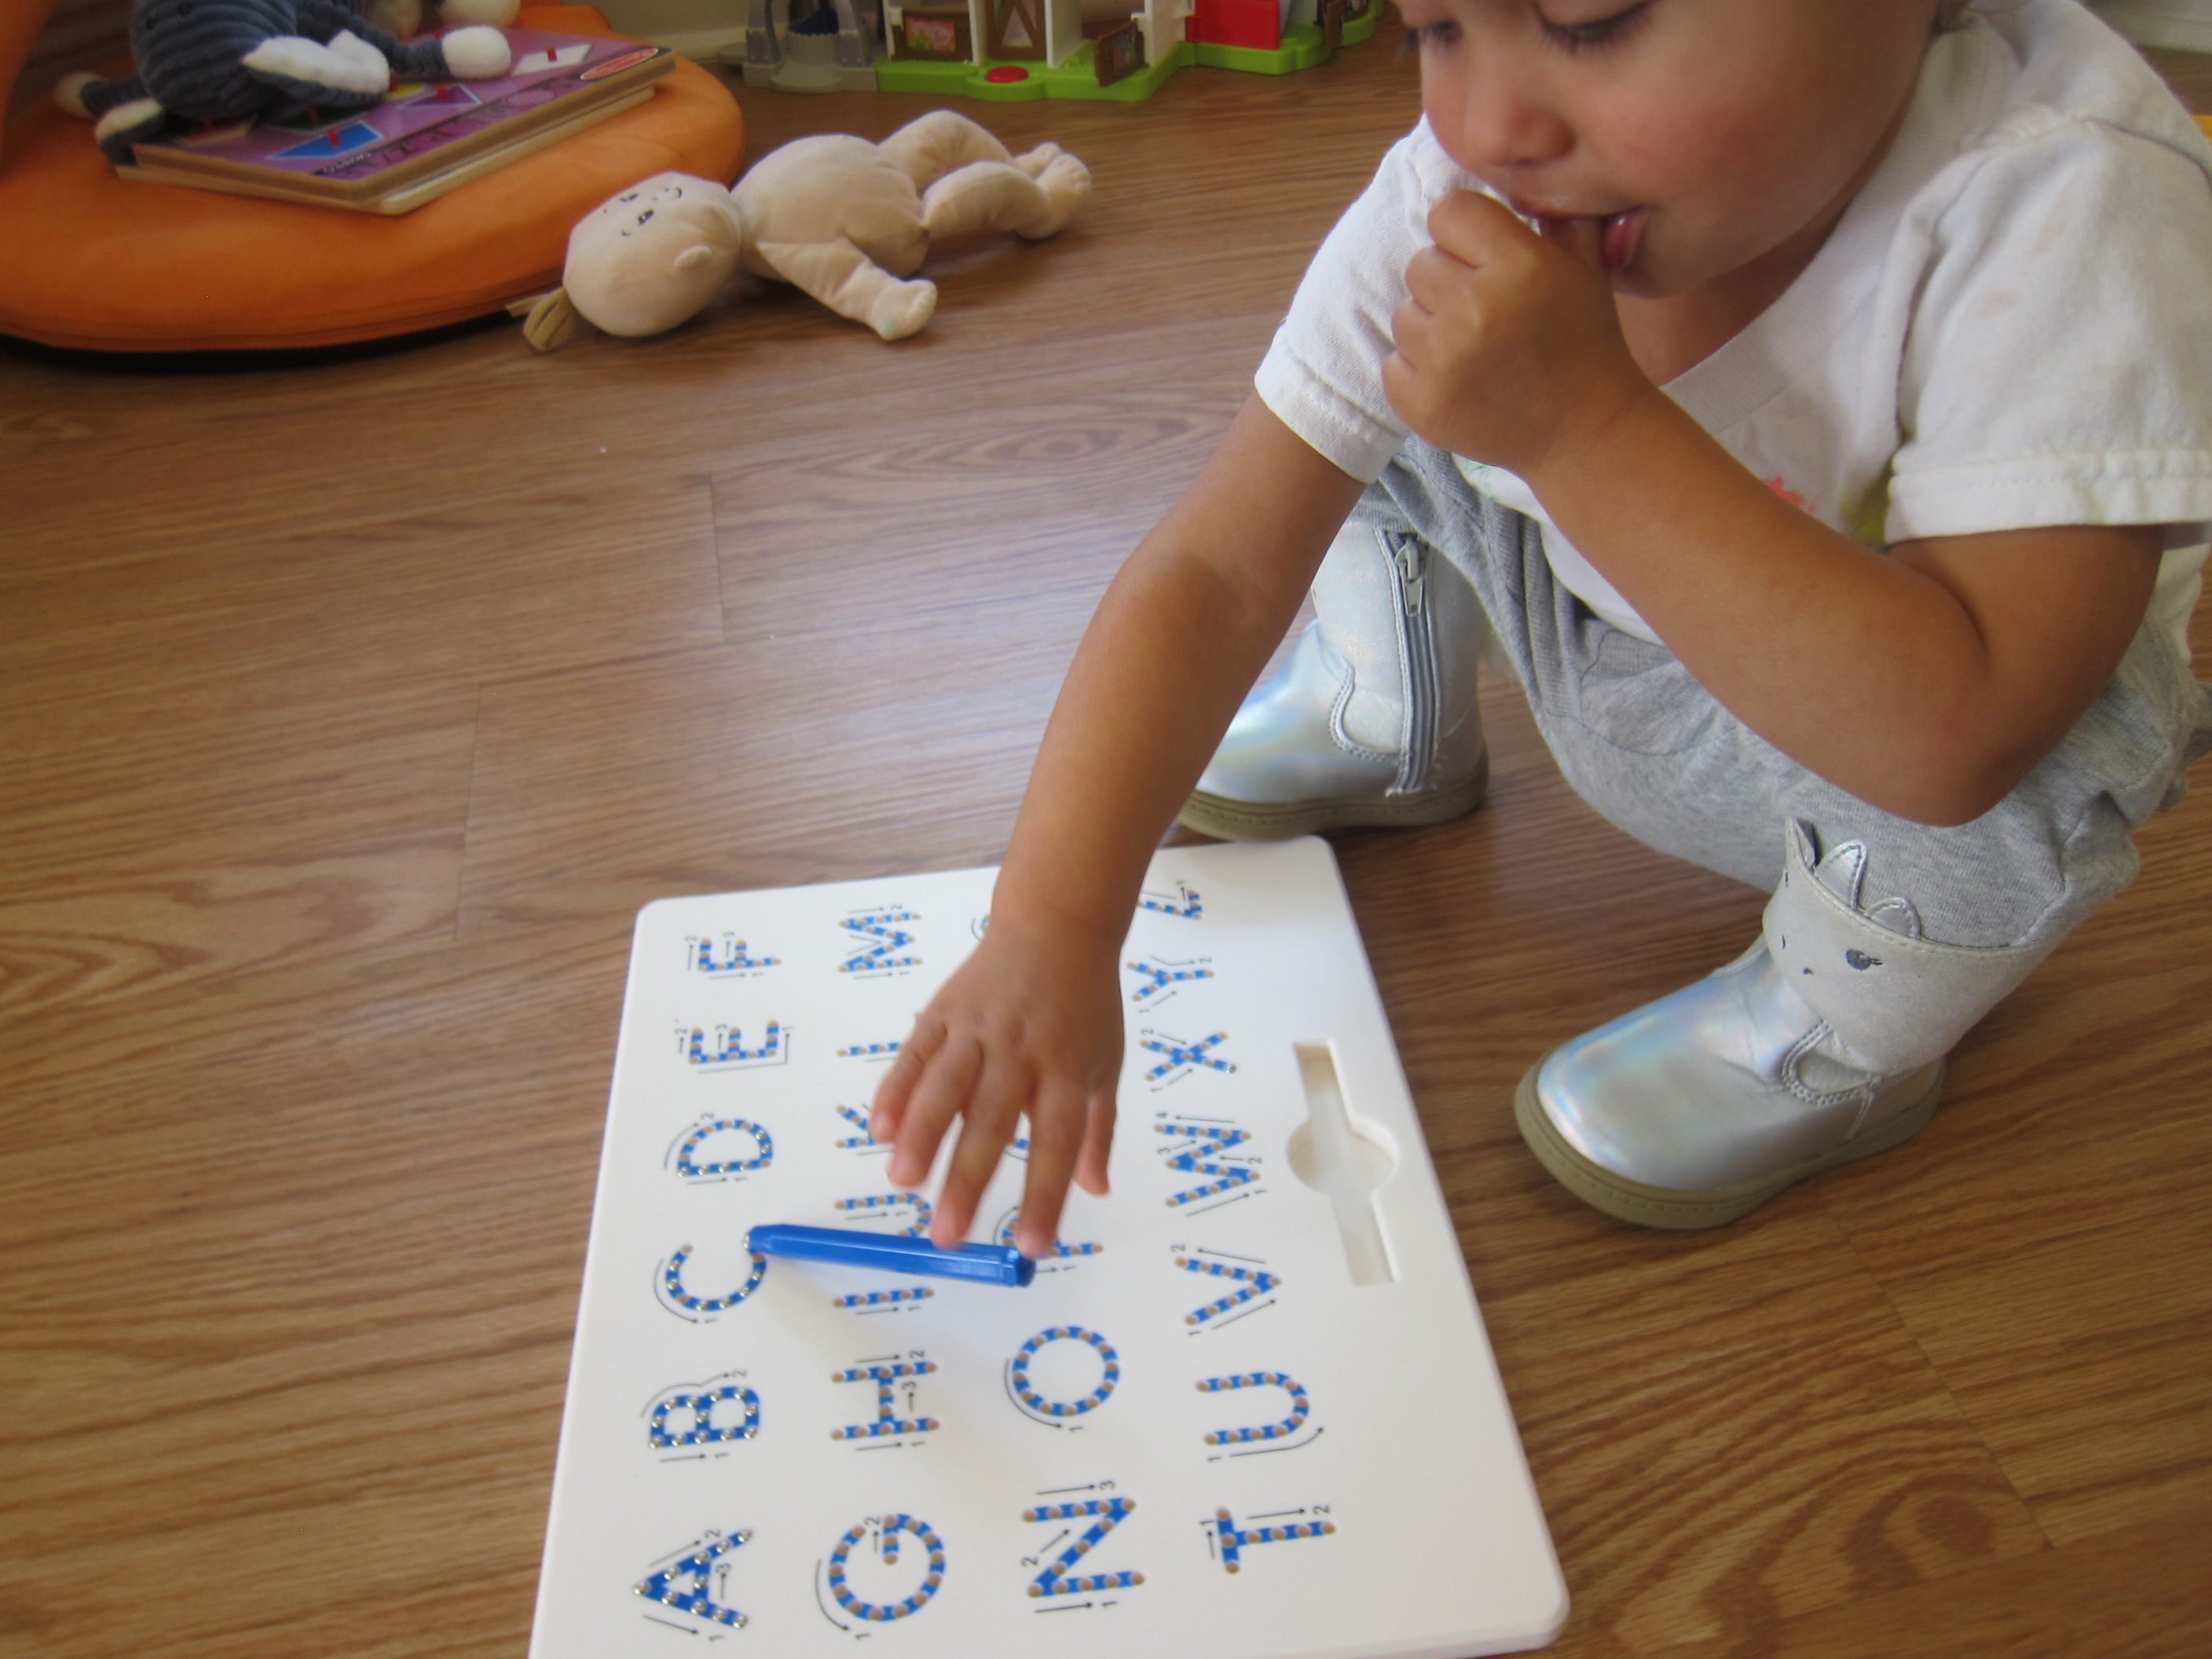
I included a Daniel Tiger coloring book and jumbo crayons, which are just right for little hands.

Then I added extra paper for her to scribble on (or crumple, or rip up), as well as safety scissors for practice and pieces of tape.

Activity Bin Art (5)

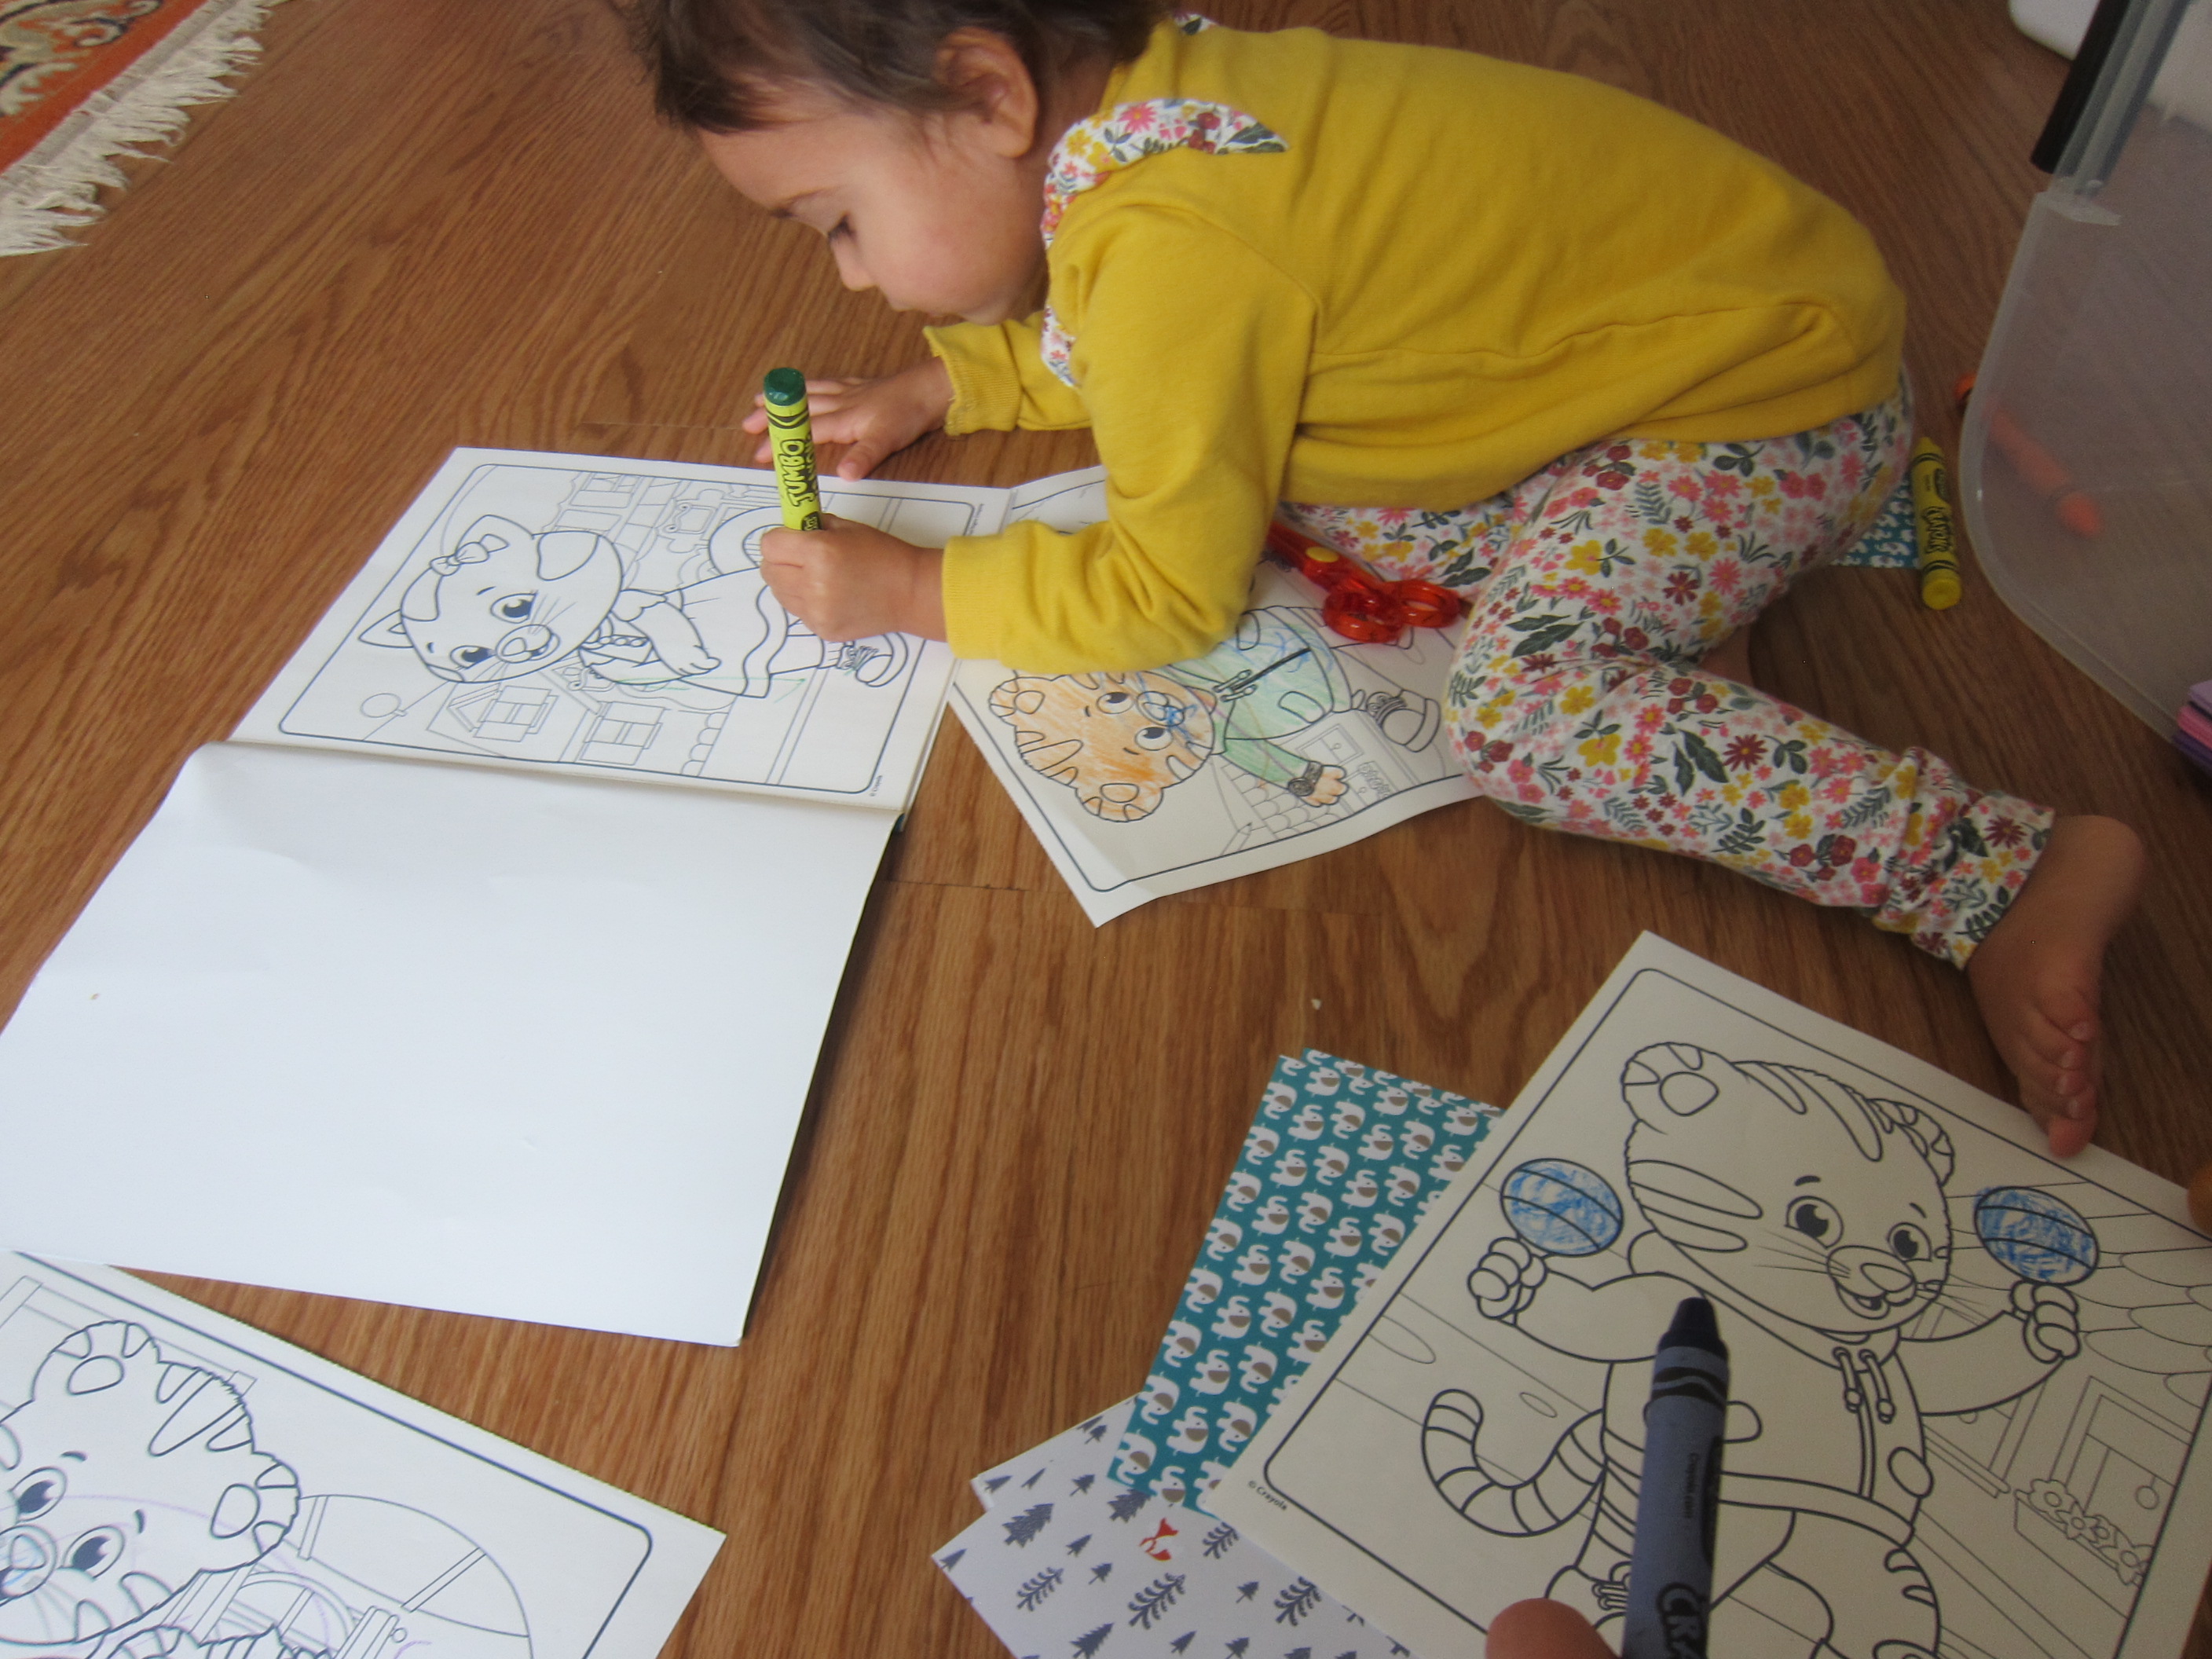
She loved when I stuck several lengths of the tape to the top of the bin so she could grab them down and use them like stickers on her artwork – or herself!

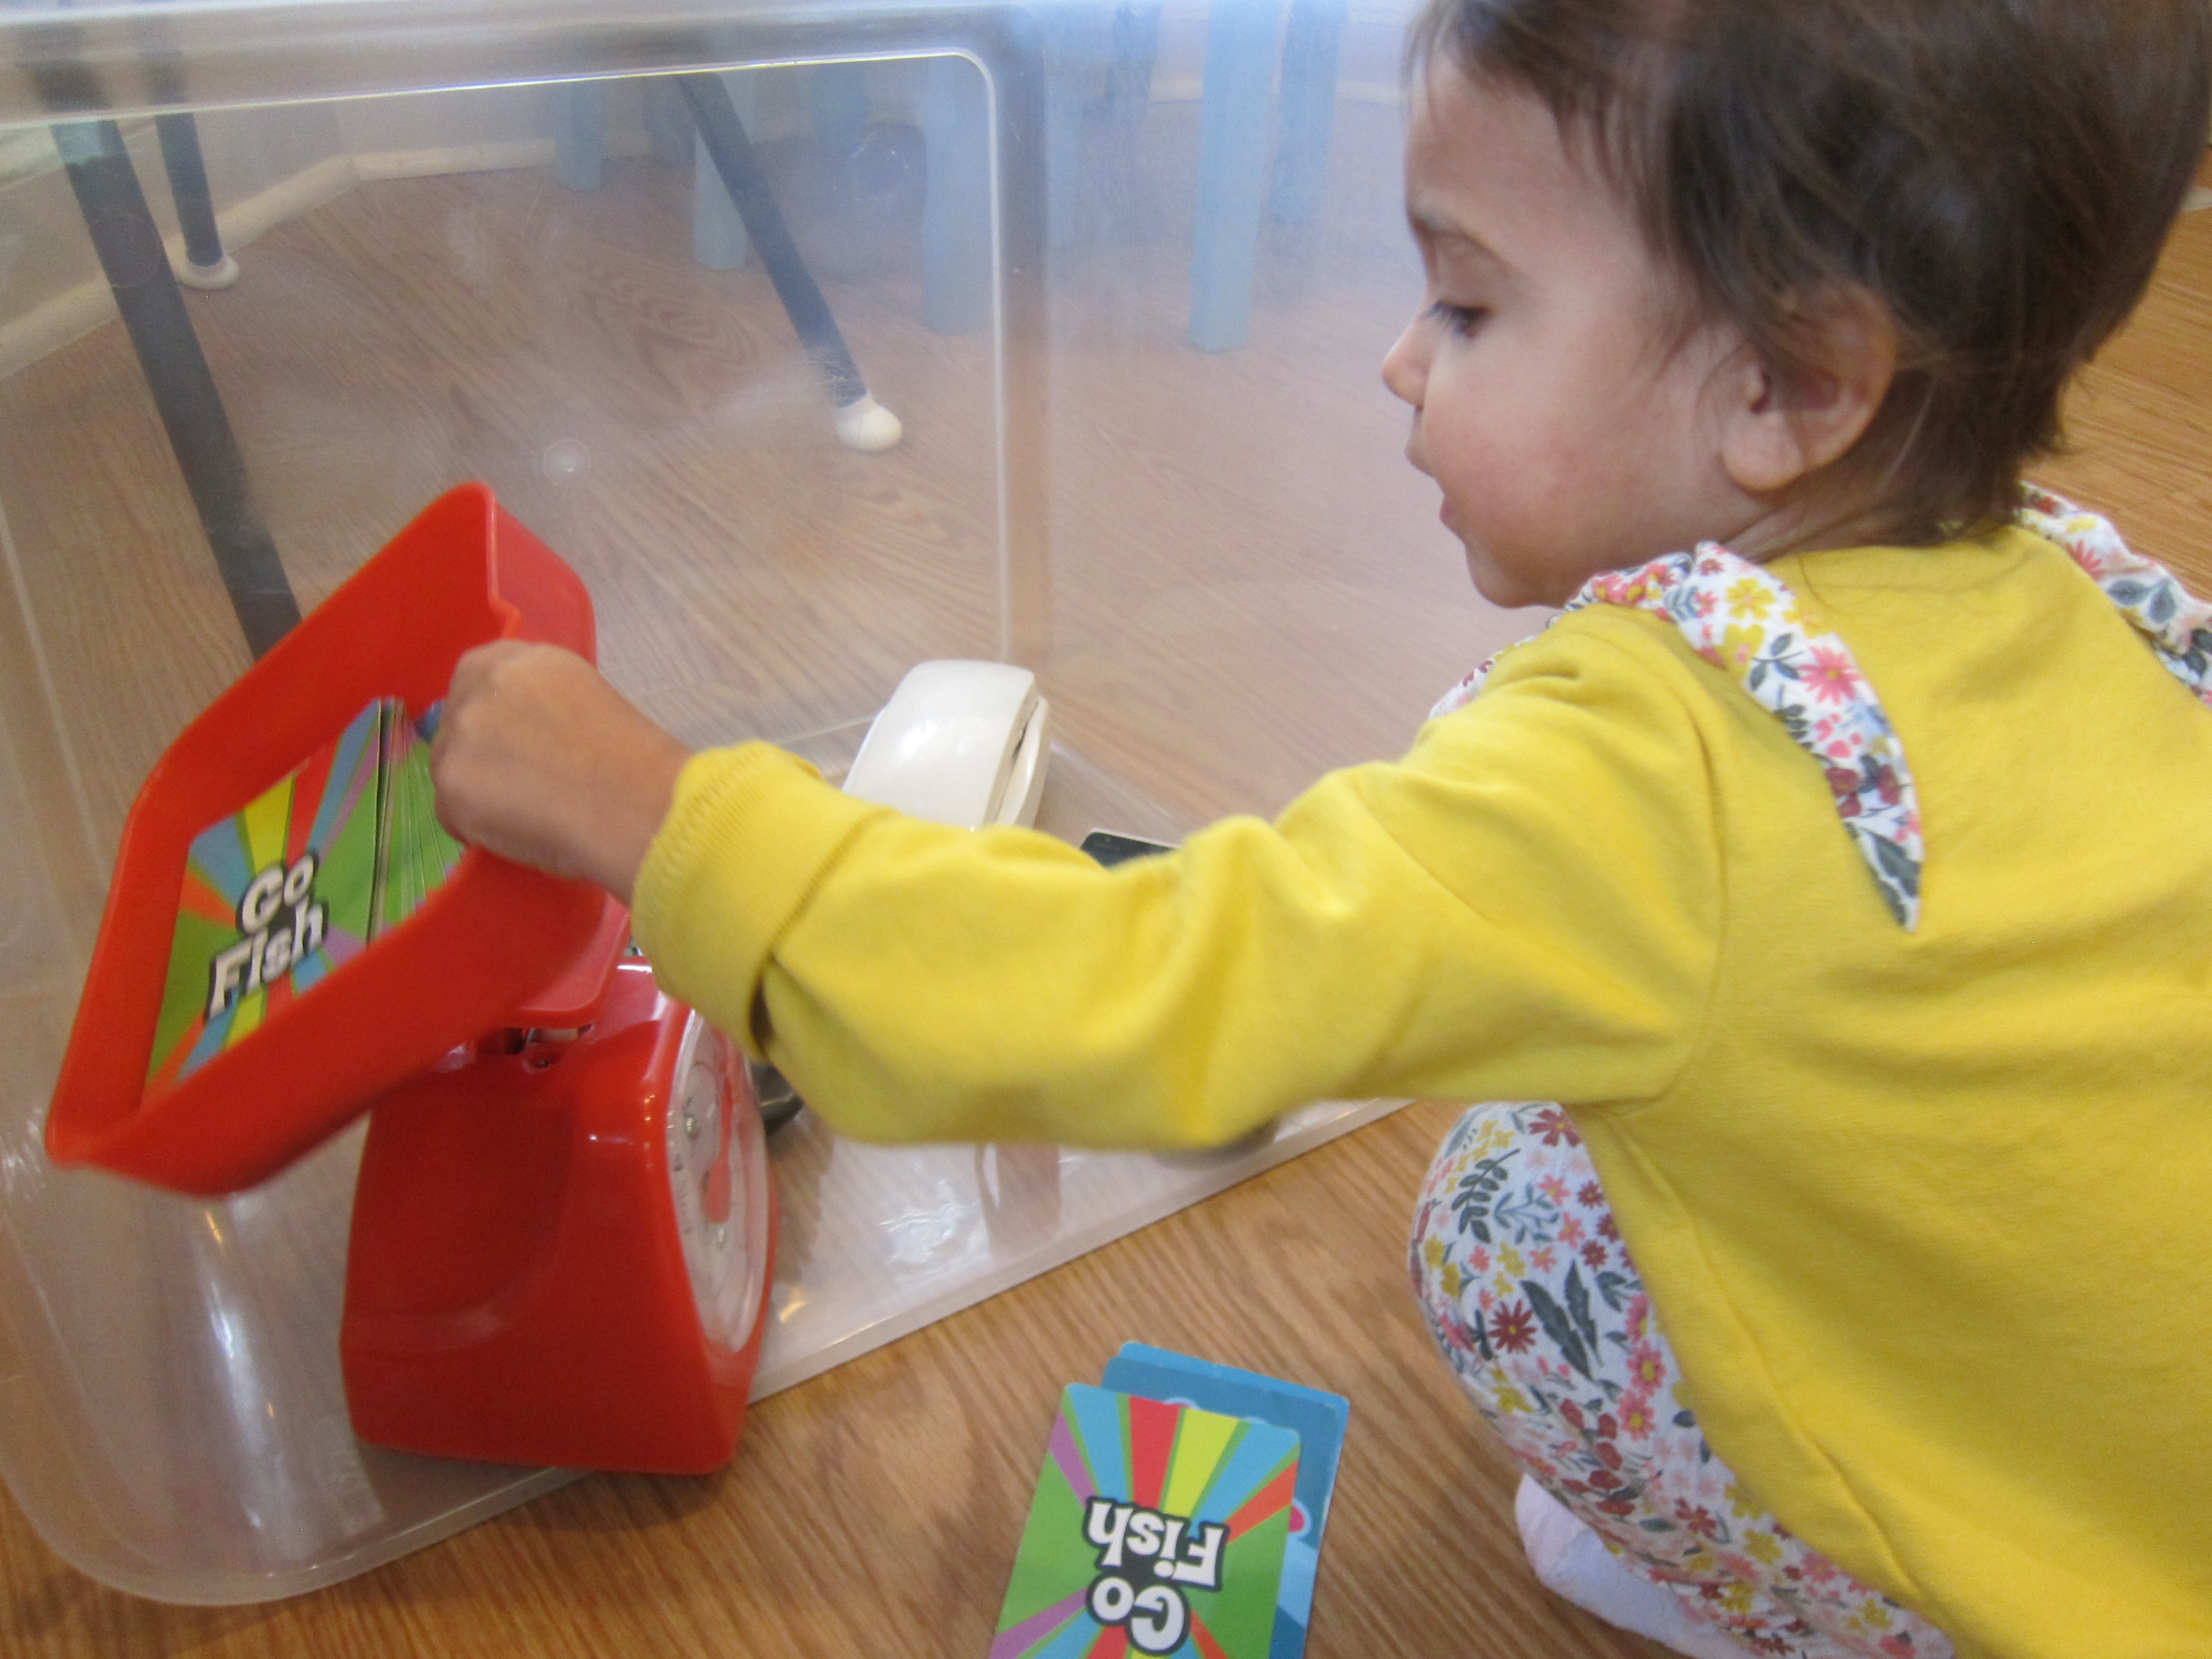
Bin 6: Gadgets Galore

Let’s call this final bin the miscellaneous leftovers. Think anything with buttons your little one can push (old remotes, old cellphones, old cameras) as well as anything that spurs the imagination.

Activity Bin Gadgets (1)

Okay, Veronika is too young to really play detective, but armed with a magnifying glass, flashlight, and balance scale, perhaps she could start to dig up clues.

Activity Bin Gadgets (2)

Certainly she caught on to my excitement when I pretended this was the game!

Activity Bin Gadgets (5)

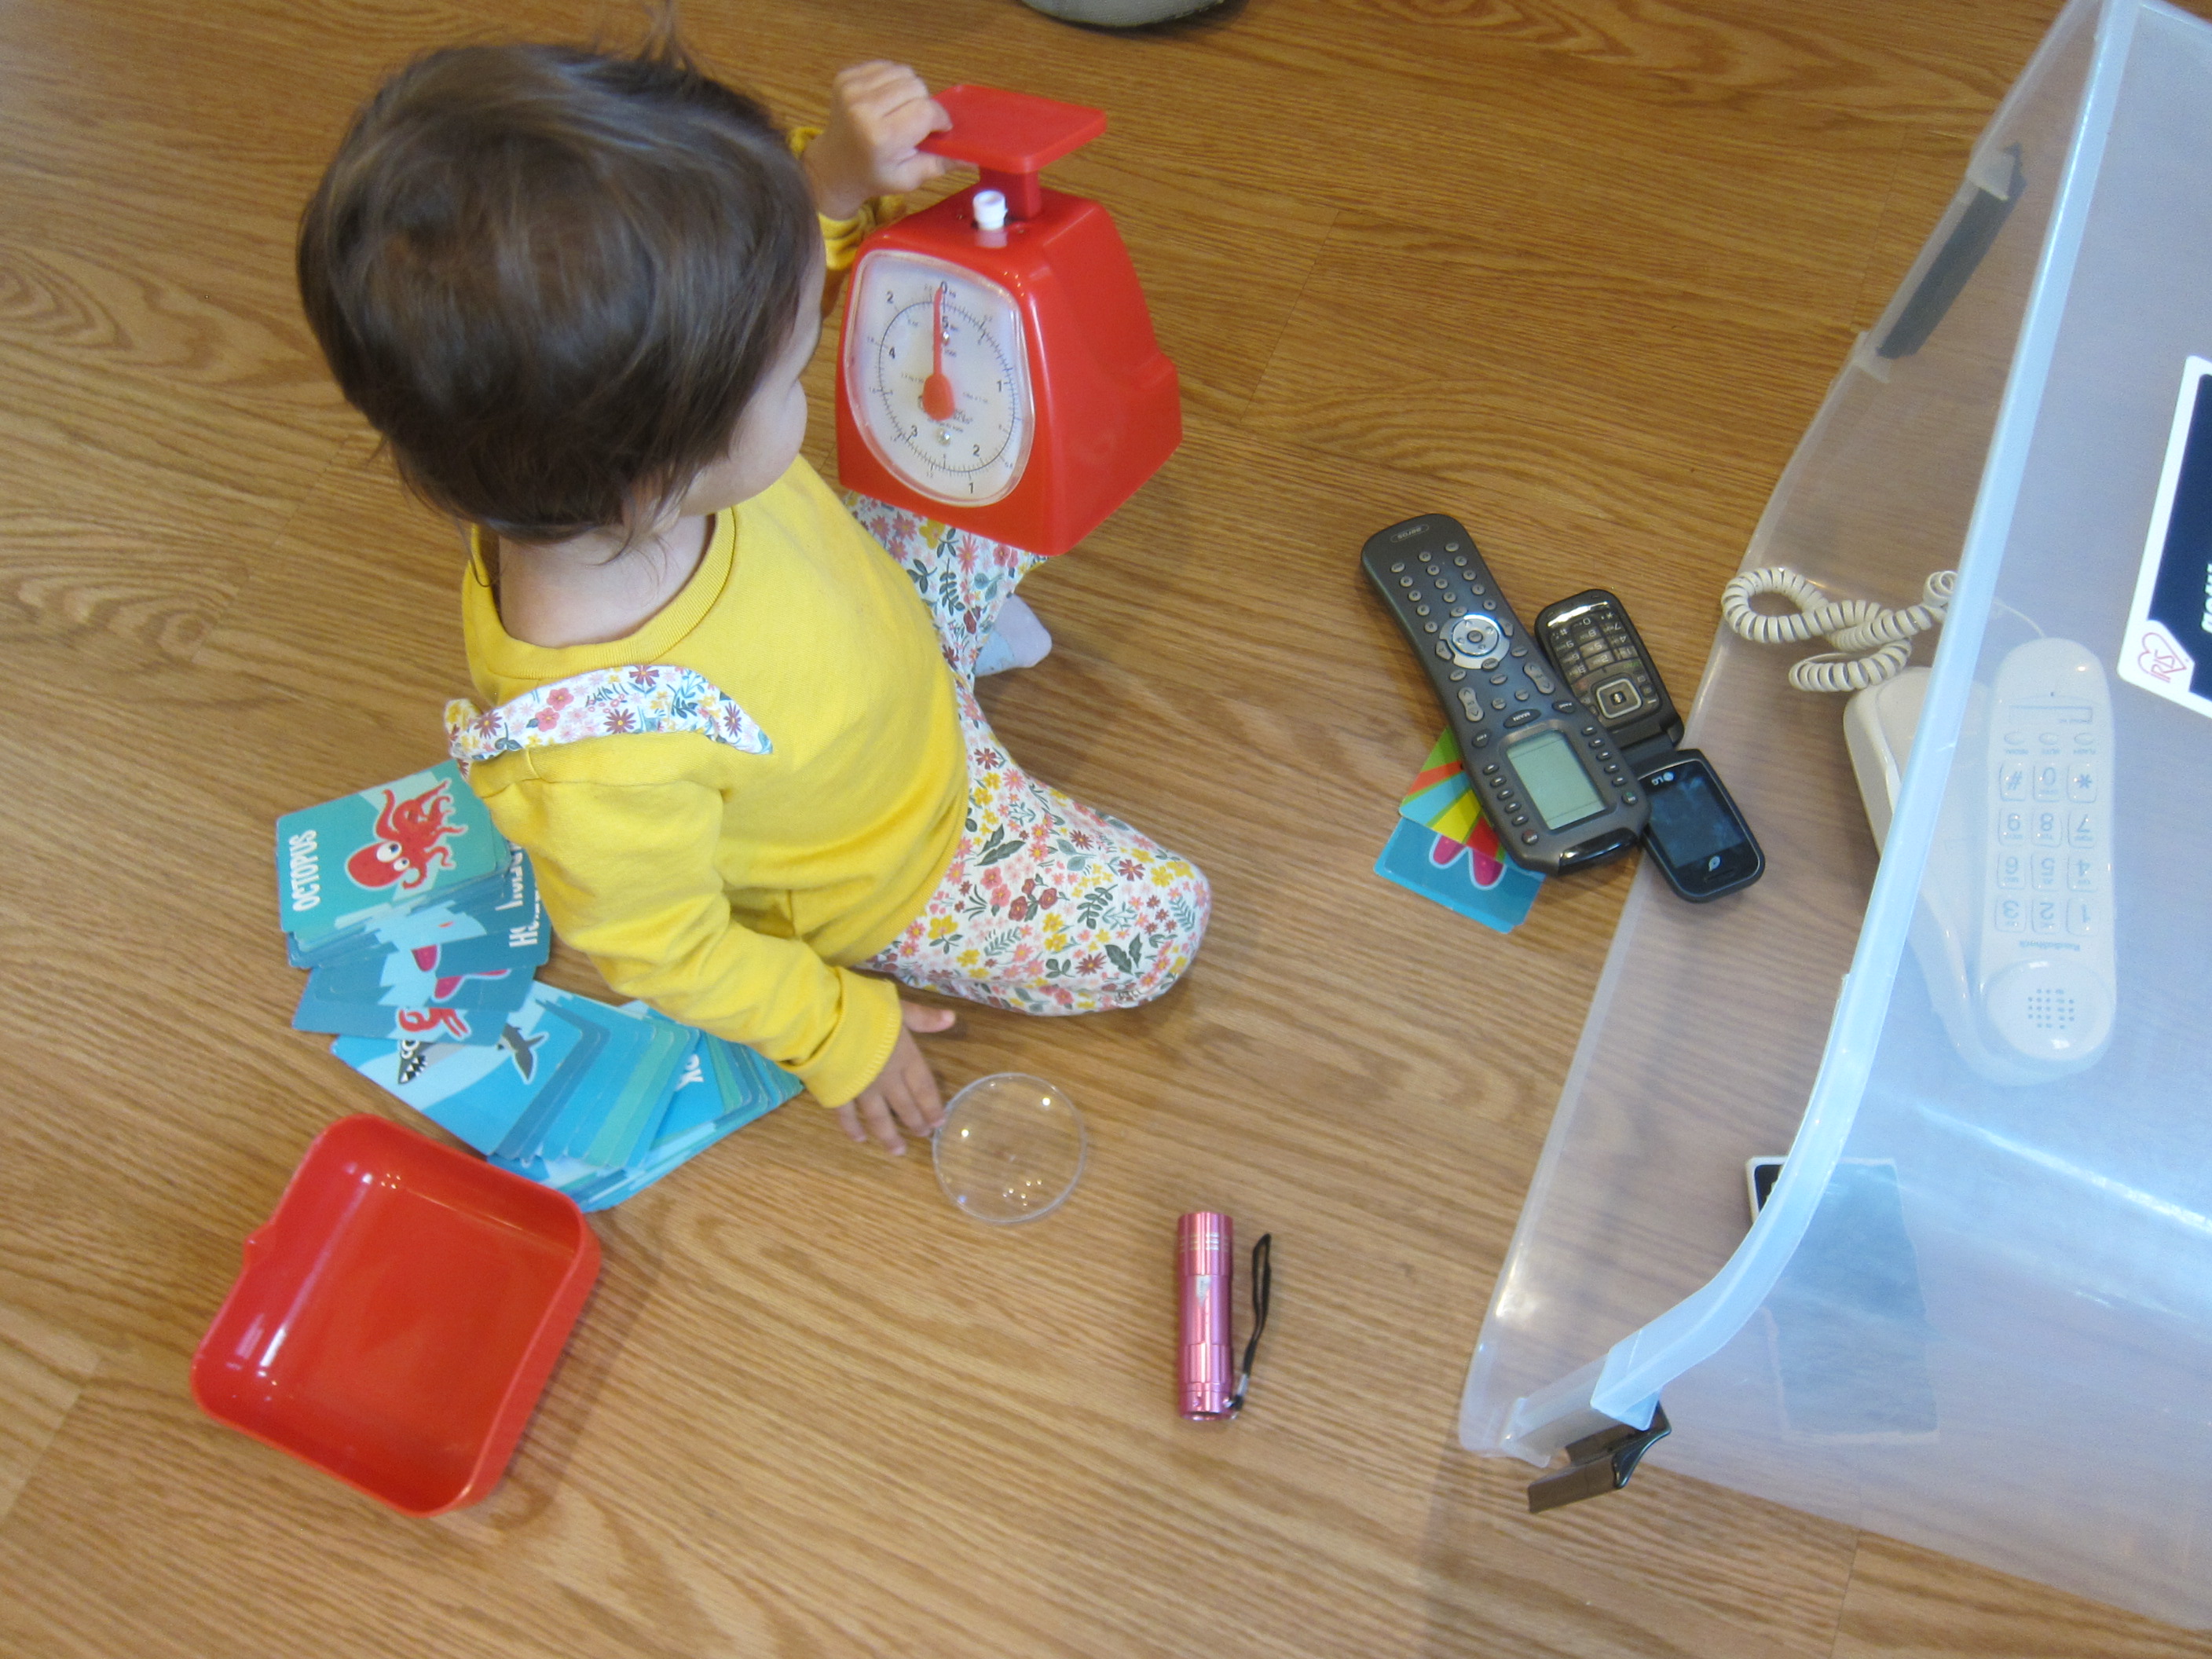
Simply having all these old gadgets out is sure to fascinate your toddler. And yes, this is when parents realize that the items from our childhood are now antiques.

Activity Bin Gadgets (3)

Picture Menus

Picture Menus (2)

If your toddler loves playing with toy food and kitchen sets, here’s a fun way to extend the play!

I went through old magazines and clipped out images of food, then glued them onto small paper plates. You can either attach one food item per plate, or make little “meals”.

Picture Menus (1)

Now I set Veronika up with her own “restaurant”. I mimicked how to be a server, bringing over a plate. “Here is your soup and sandwich,” I could say. Or, I flipped the game on its head and said, “I’d like the pasta please,” to see if she could bring me the right plate.

Picture Menus (3)

Of course she wanted to combine these plates with her food toys, which meant the game could extend into solo play.

Picture Menus (5)

The plates are also great vocab builders, because there might be foods that your toddler has never seen before.

Picture Menus (4)

Incidentally, if your child is having a difficult time vocalizing their wants, these images would be a great way to ease frustration at meal time. Cut out images of foods you actually cook or keep in the pantry, and ask your child to point to the one they want!

Hummus Veggie Wrap

Hummus Veggie Wrap (2)

This quick wrap makes the perfect lunch on a school day.

Ingredients:

  • 2 tortillas
  • 2 tablespoons hummus
  • 1/4 cup chopped or sliced tomato
  • 2 tablespoons sprouts
  • 1/2 cup avocado
  1. Spread the hummus evenly over the two tortillas.
  2. Divide the tomato, sprouts, and avocado evenly down the middles, then roll up tightly and cut in half to serve.

Hummus Veggie Wrap (1)

Toddler Blocks

Toddler Blocks (8)

Leftover juice boxes make perfectly-sized blocks for toddler hands. Really the only limit on how many of these you make depends on a) how many boxes of juice you’ve saved and b) your own patience!

Toddler Blocks (7)

To make each block, cut a juice box in half. (Make sure the inside is clean and dry). Fit the top of the box over the bottom so they nest together, and then tape shut.

Toddler Blocks (2)

Now cover with wrapping paper! The only paper I had on hand was leftover from last Christmas, which meant the finished blocks almost looked like presents.

Toddler Blocks (3)

I had originally intended to make a dozen or so, but by the time we had five, Veronika just wanted to play!

Toddler Blocks (4)

Of course these were great for stacking into wobbly towers.

Toddler Blocks (5)

We could also make a tunnel just big enough for her smallest toy cars to drive through.

Toddler Blocks (9)

This was a big hit, and she requested I repair the tunnel each time it tumbled over.

Toddler Blocks (6)

She could also load them into her larger trucks as cargo!

Toddler Blocks (11)

In sum, these were fun little blocks for not too much parental effort.

Toddler Blocks (10)

Car Busy Bag

Car Busy Bag (3)

We’ll be in the car a lot more this fall than back in the spring, but I don’t want Veronika feeling bored as we shuttle big brother to and from school each day. I created a toddler-sized tote full of goodies for her to make car rides feel special.

For the tote itself, I repurposed an old craft, a bag with her handprint from when she turned one. It was just the right size to tuck in a few items.

Car Busy Bag (4)

First, add something to read. Small board books are great, but Veronika especially loves flipping through her Hello magazines.

Car Busy Bag (6)

Next, I tucked in a few small toys. Alphabet robots and mini toy trucks were perfect. These are small enough that she can stash them in her seat’s cup holder when she tires of playing.

Car Busy Bag (2)

Don’t forget the tunes! I’m so thankful for all the Music Together CDs we can rotate through so we never get stuck with the same song on repeat. That said, Veronika definitely has her favorites from each collection!

Car Busy Bag (7)

Finally, don’t forget a snack. Think mess-free and easy for a toddler to self-feed, like a dry O cereal or crackers.

Car Busy Bag alt

We’re ready to roll!

Busy B’s Basket

Busy B's (2)

I raided our toy bins today and filled a basket with items that can keep Veronika as busy as a bee by herself. Although the basket for your “busy bee” might look a little different than mine, here are some categories of toys she could manipulate solo.

To start, we went through all the items together for special mommy-and-me time. That way, I knew she’d be able to handle the toys solo later!

Busy Building: The first category includes any toys a toddler can build or manipulate, to hone fine motor skills. I gave Veronika a set of take-apart eggs with matching shapes. She loved looking inside. “I got a blue egg!” she might say before cracking open the next.

Busy B's (3)

These were great because she could take them apart, fit them together, stack them back into the egg crate, and numerous variations thereof.

Busy B's (4)

Busy Basket: Next up, look for anything with baskets or barrels that a toddler can fill, dump, refill, and repeat. I included a veggie farm set for Veronika. She loved “planting” the veggies in the pretend farm and pouring them from one bushel into another.

Busy B's (9)

I love that this one tosses in a little learning for colors and counting.

Busy Board: For a board to keep her busy, I gave Veronika a magnetic tracing set. Although she’s too young to know her letters, this activity is excellent for future pen control. Plus she loves the click of the magnets as they pop to the top! Another option in this category would be a classic toddler latch board.

Busy B's (12)

Busy Band: Finally, I included a magnet animal band set, featuring lots of magnets for her to mix and match. As always, supervise magnet play to make sure none are ingested. Veronika is interested in articles of clothing right now, so she was particularly interested in the outfits she could give each silly animal.

Busy B's (6)

Needless to say, she was a busy little bee! What’s Busy B’s would you include? Please share in the comments!

Busy B's (13)


Butterfly Pasta Salad

Butterfly Pasta Salad (1)

Butterfly-shaped farfalle pasta add a whimsical touch to this easy lunch. With my son home from in-person school by lunchtime now, we’ll be making lots of new midday recipes in the weeks to come!

Ingredients:

  • 8 ounces farfalle pasta
  • 2 cups water
  • 2 cups frozen mixed vegetables
  • 1/2 cup vegan Parmesan
  • 2 tablespoons olive oil
  1. Combine the pasta and water in a large skillet. Bring to a boil; continue to cook for 3 minutes, stirring frequently, then reduce heat and simmer for 10 minutes, or until the liquid is absorbed.
  2. Add the mixed vegetables, Parmesan, and olive oil, stirring to combine. Let cool before serving.

Cherry Apple Coconut Rice Pudding

Cherry Coconut Rice Pudding (1)
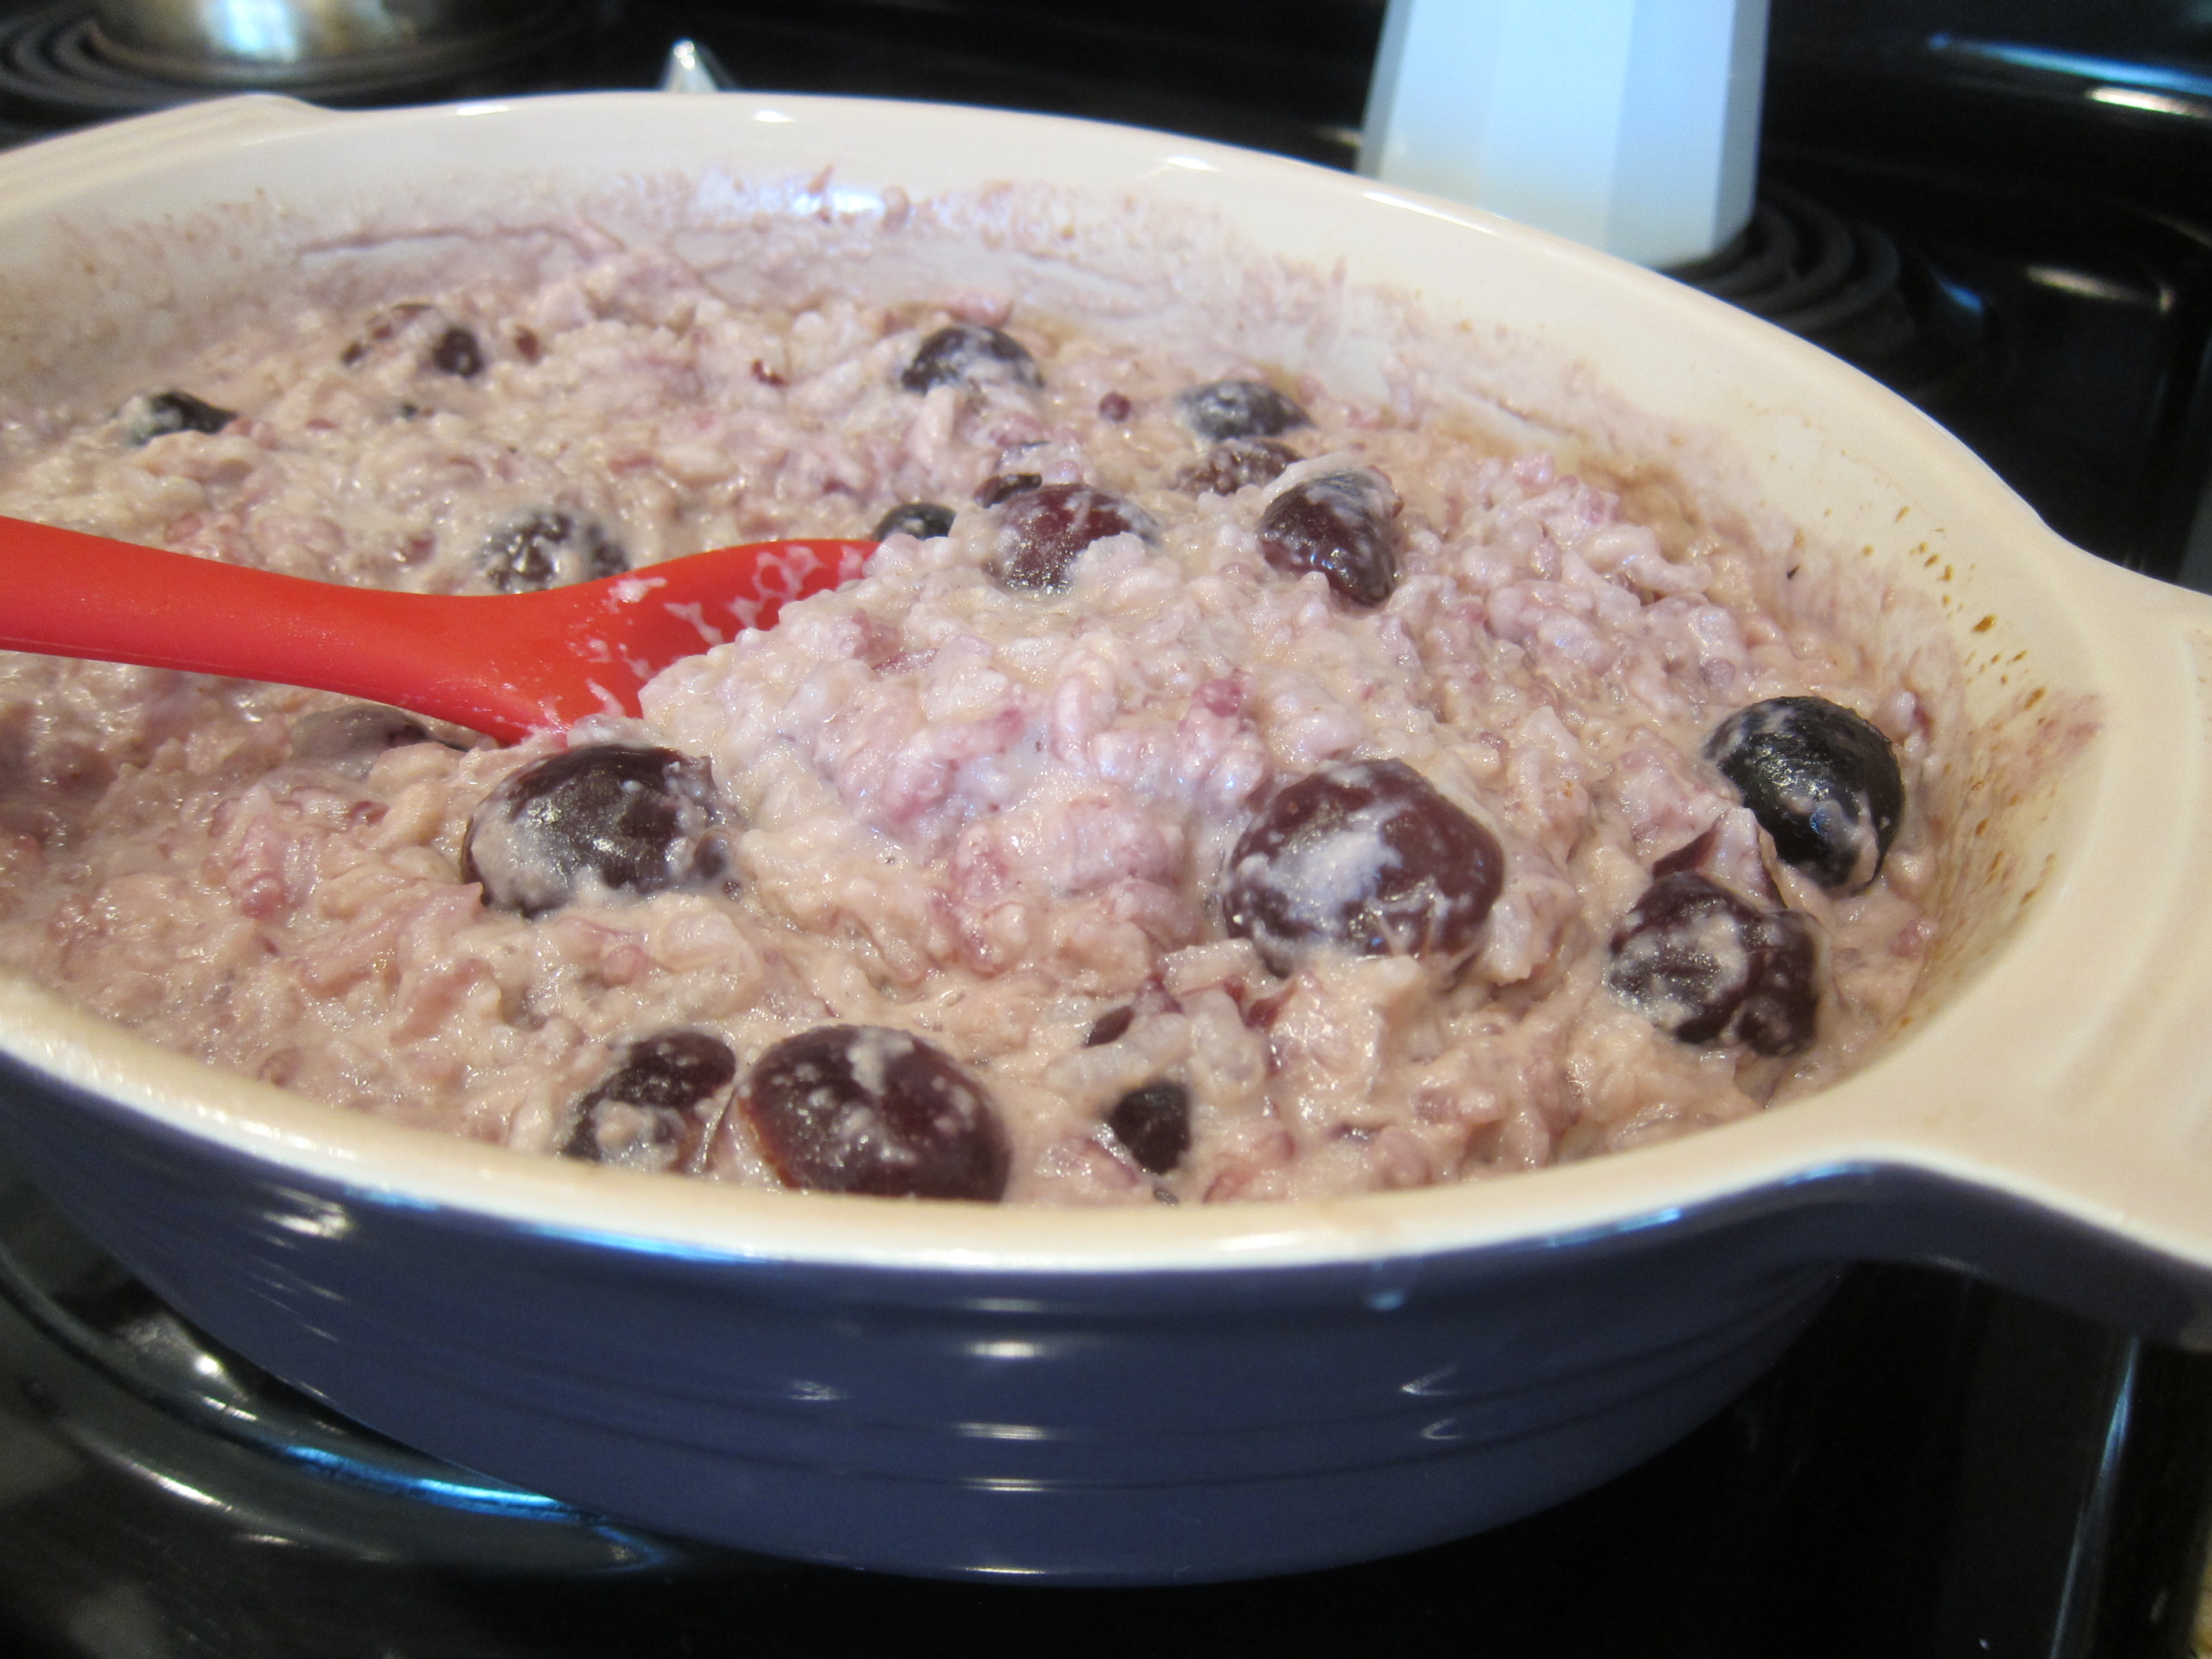
This dessert pudding couldn’t be easier to put together or bake, making it easy enough for even a weeknight.

Ingredients:

  • 1 cup Arborio rice
  • 1 (15-ounce) can coconut milk
  • 1 cup frozen cherries, thawed
  • 1 cup applesauce
  1. Combine all the ingredients in a 2-quart casserole dish.
  2. Cover and bake at 325 degrees for 1 hour.

Cookie Dough Log

Cookie Log (2)

Cookie dough is one of the easiest and earliest ways to get toddlers in the kitchen. I loved this variation on simply making cookies together, allotting Veronika her own portion of dough to play with in a log.

I kept this activity as simple as could be, whipping up a batch of chocolate chip cookies from a mix instead of from scratch. Because this only required three ingredients (the bag of mix, a stick of Earth Balance butter, and a flaxseed egg) it meant Veronika could stir it all together. She was so proud to help!

Cookie Log (1)

Once the dough came together, I divided it in half. Half was for real cookies (of course) and the other half I rolled into a log. I handed across a craft stick and she used this as a knife to “slice” the cookies.

Cookie Log (3)

And of course the stick was also useful for tasting. Then we divided the log into separate portions, and I showed her how to roll it into balls.

Cookie Log (4)

I thought she might want to play pretend bakery for a little while, but she was more interested in the real cookies that were now baking in the oven, asking when they would be done.

Cookie Log (5)

So then it was snack time!

Cookie Log (6)