Science of Air Kiwi Crate

Kiwi Air (10)

Travis latest crate from Kiwi Co. focused on the science of air, using a game of homemade air hockey to illustrate that air has matter, weight, can push things around, and more. This kit earns high marks for both the Science and Art components of the STEAM acronym.

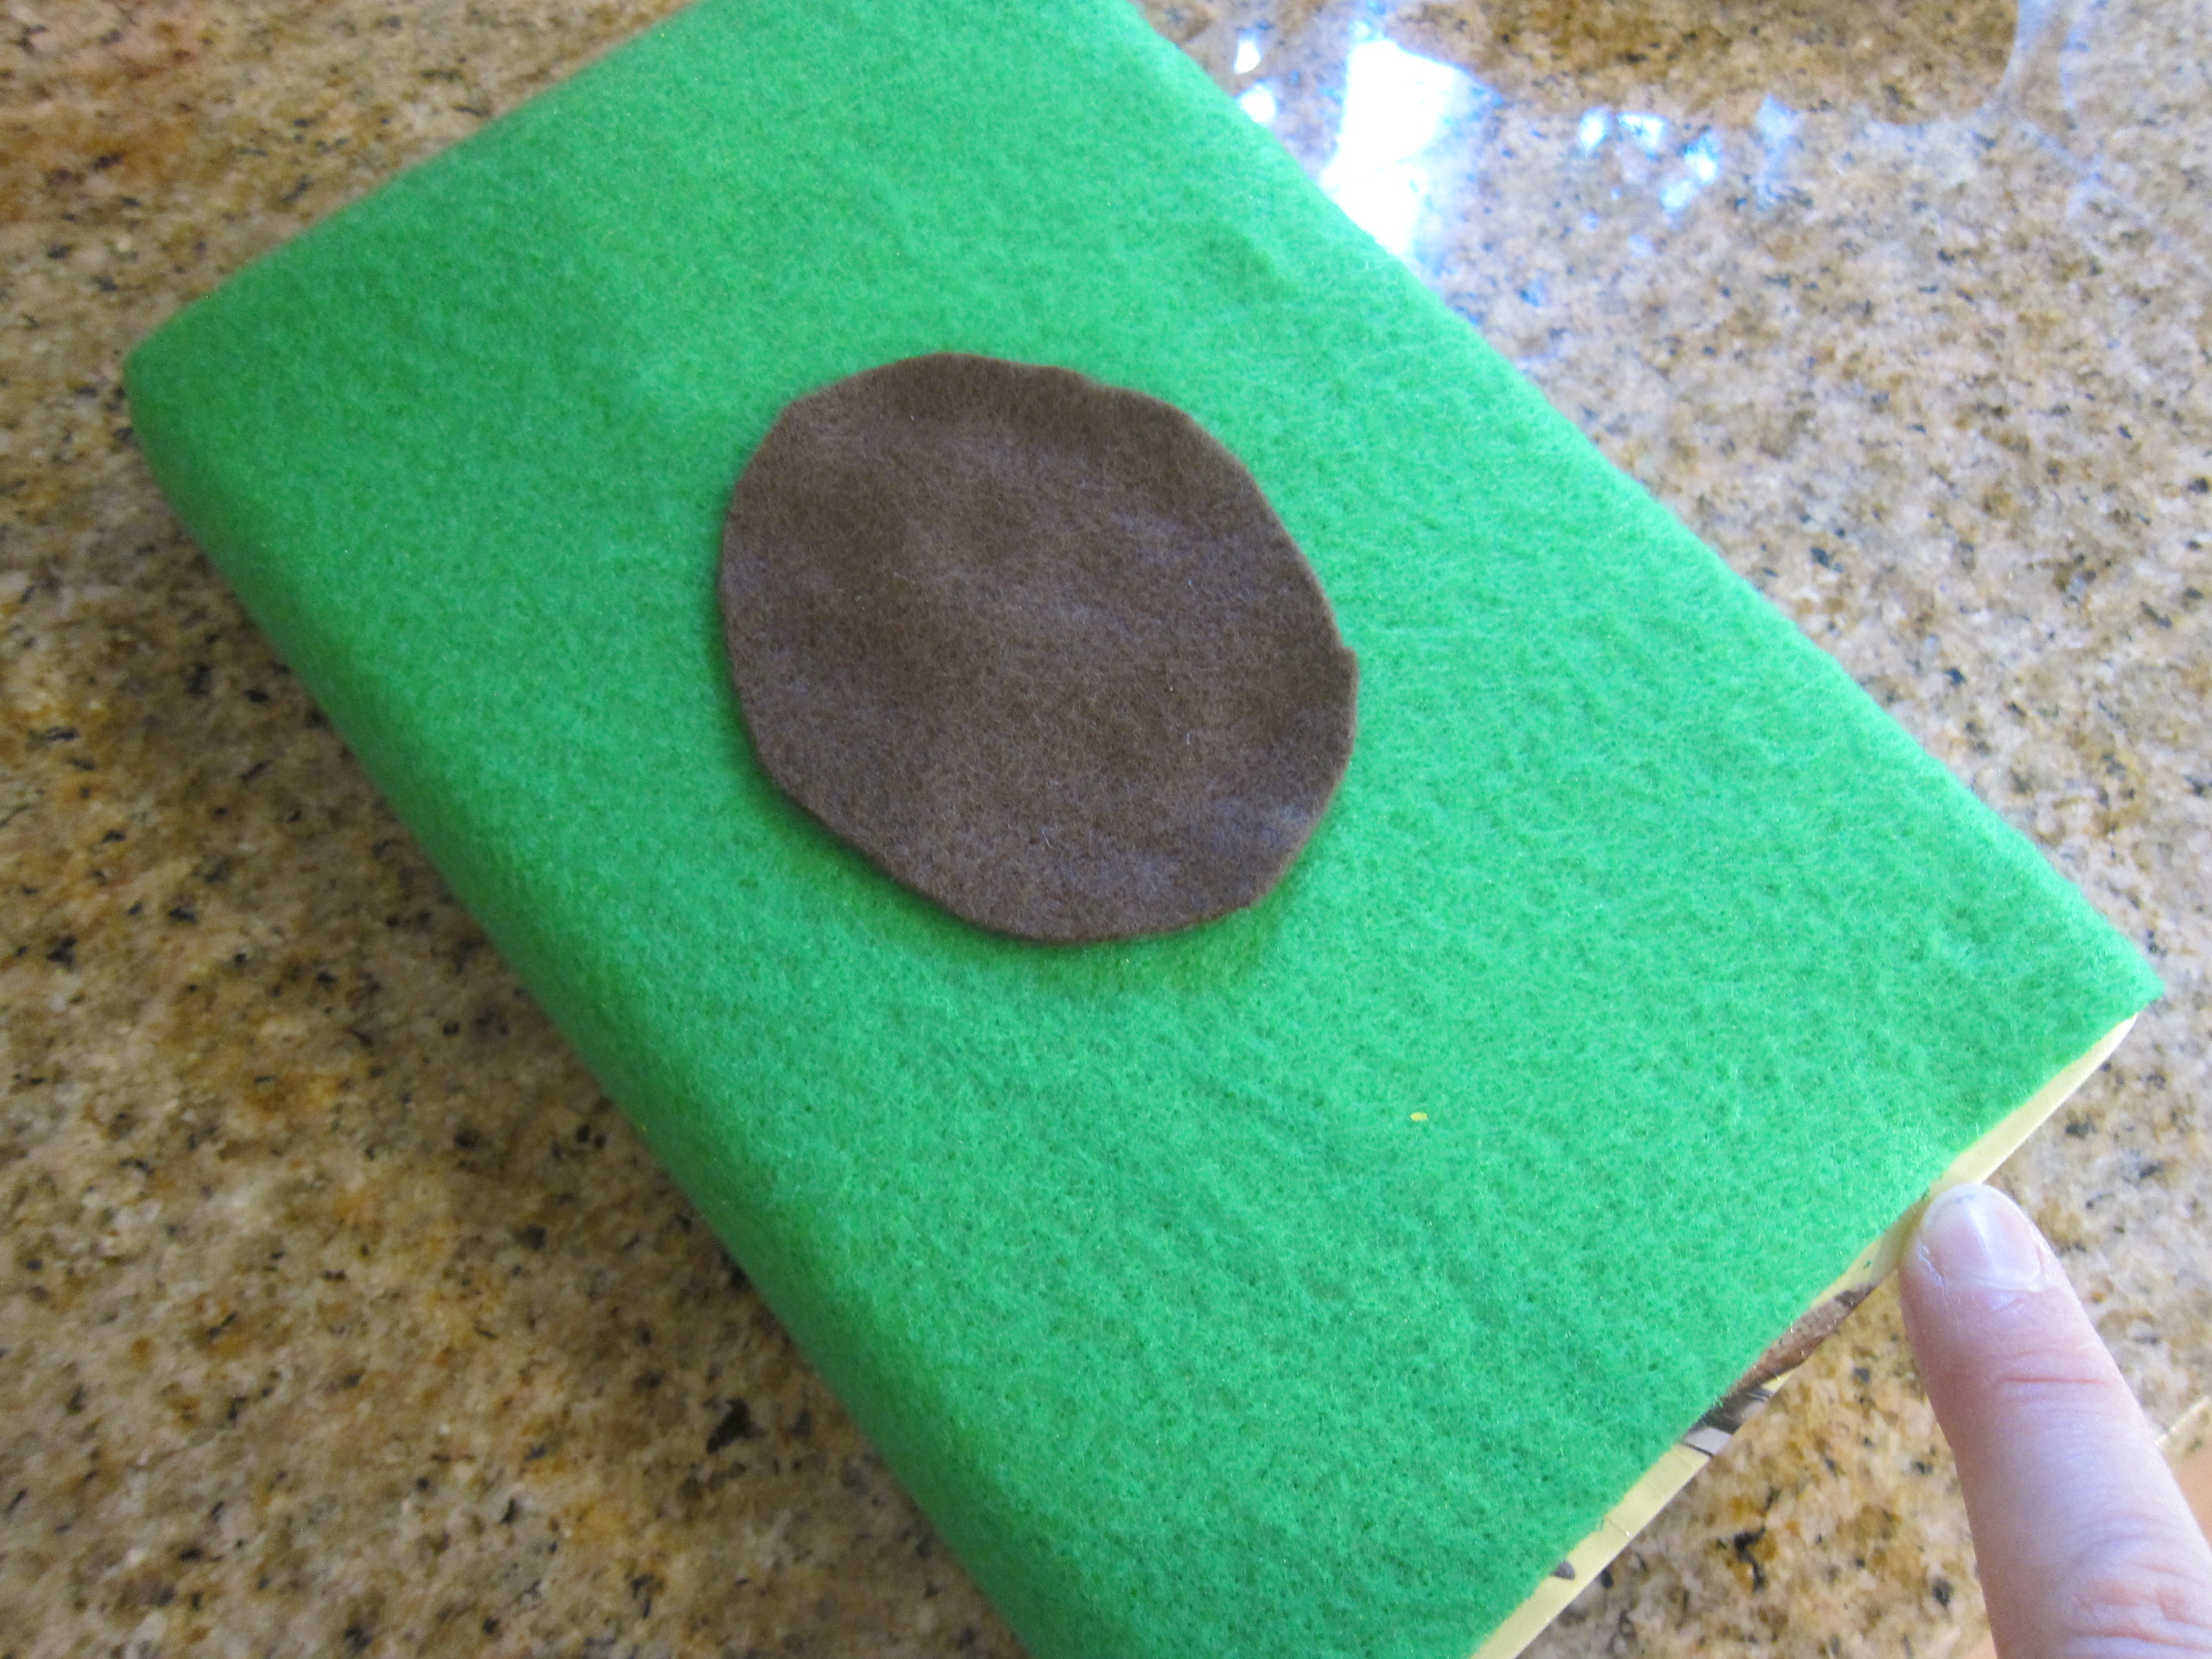
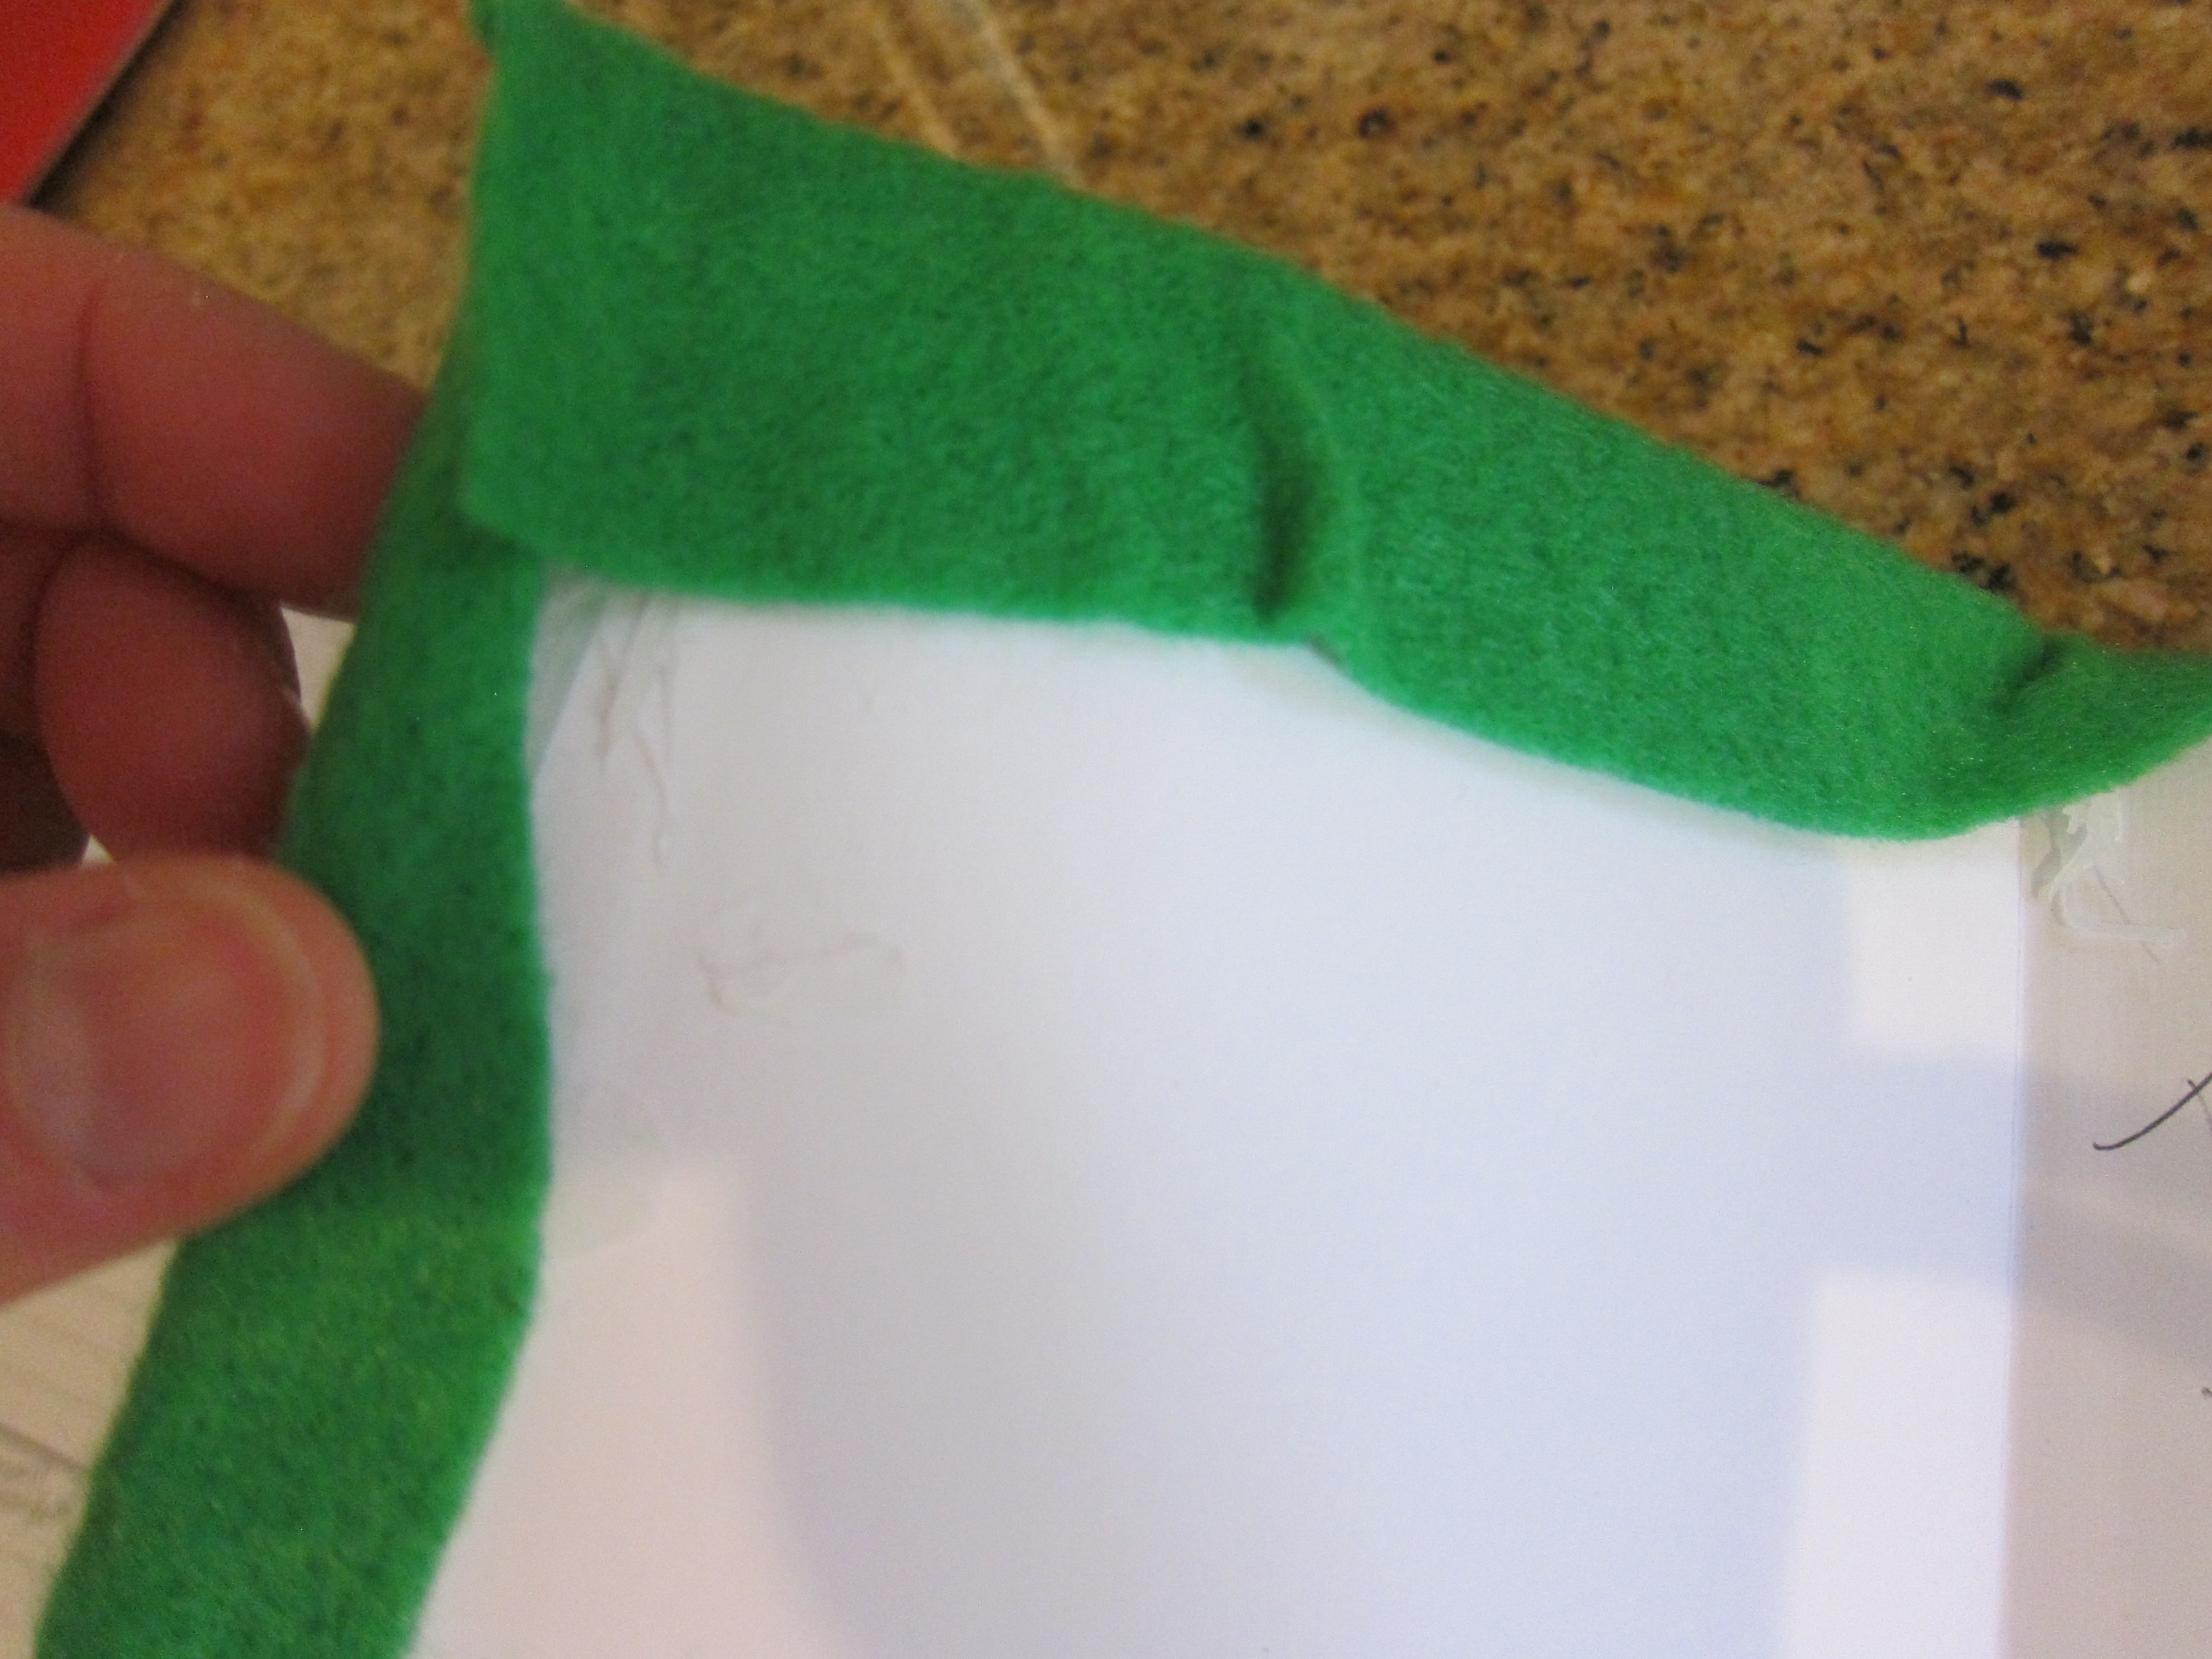
First, we made the various parts of Balloon-Powered Air Hockey. The mallets are a simple matter of attaching felt to the bottom of provided cardboard circles, with a foam donut on top as the handle.

Kiwi Air (1)

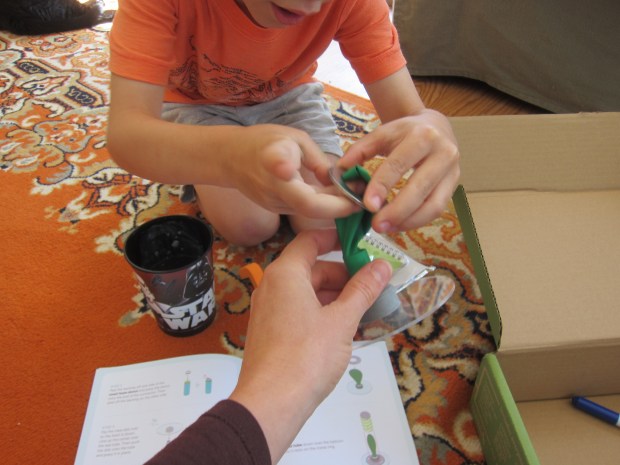
The puck was a touch complicated to rig together, with a balloon stretched over a tube on top of a smooth clear disk. There is a hole to insert the provided air pump and inflate the balloon. Travis loved doing this and wanted to practice over and over, before we even set it down on a table.

Once on a table, the air is released from the balloon, which then propels the disk forward.

Kiwi Air (2)

To make Spray-Art Scoreboards, we again needed to use the crate’s air pump. Now, it attaches to the lid of the Kiwi Crate (or any shoebox) with a sticky foam piece. Attach a provided ink marker just below where the air will come out.

Kiwi Air (4)

We then affixed number stencils to the paper on the provided scorecard pads. When you squeeze the air pump (hard!), it blows on the marker so forcefully that ink sprays down onto the paper around the stencil.

Kiwi Air (5)

This had definite wow factor. You do need to pump the air quite hard, so some grown-up assistance was required. Repeat until you’ve covered all the scorecards, then remove the number stencils.

Kiwi Air (6)

Now it was time play! We rigged our regular table into an air hickey table which form the alleyways on either side that will stop the puck from flying off sideways.

Kiwi Air (8)

Pump up the balloon and play!

Kiwi Air (9)

I do have a few small quibbles with this crate. It comes with two balloons, but both had an air leak after only one round of air hockey. Also, because the balloon puck lasts under a minute each time you inflate it, you really can’t get into a rhythm of playing the game.

But in terms of illustrating the science of air, it made its point. And my 6 year old liked beating mommy at the game!

We turned to the Explore magazine for a few final experiments. First up was an oldie-but-goodie (a Coat Hanger Balance), that gives an easy visualization that air has weight. Attach two balloons to either end of a hanger, one inflated and one not. Suspend the hanger from a pencil and notice the slight tilt.

Kiwi Air (11)

Then we made a Marshmallow Squasher! Add mini marshmallows to an empty plastic water bottle until it is about half full. Insert the air pump into the bottle, sealing around the top of the bottle with play dough so no air can escape.

Kiwi Air (13)

Hold the play dough firmly with one hand and squeeze the pump with the other… and watch the marshmallows squish down!

Kiwi Air (14)

People Puppets

People Puppets (6)

Veronika loved a recent twist on block play, where we adorned regular building blocks with faces. Today I used roughly the same idea to make people puppets!

Simply cut out faces of family and friends from photographs, then attach each one to a jumbo craft stick. Cover with clear contact paper to seal and protect.

People Puppets (1)

That quickly, the puppets were ready to play. Veronika loved saying hello to them!

People Puppets (4)

(Though she sometimes seemed put out that they didn’t respond back!).

People Puppets (5)

We acted out all sorts of familiar scenarios between parents and kids, or just made up silly stories. Either way, she definitely marveled at the fact that people she knows were right in her hands in puppet form.

She also just loved carrying them around.

People Puppets (3)

This was simple but engaging puppet play, and easy enough for any day.

Balloon Fun


Balloon Fun (4)

I’m of the firm opinion that balloons are not just for birthdays. To wit, here was a fun way to play with a few on a random rainy morning!

I blew up about five balloons, which of course is half the fun right there. Veronika loves to pretend she’s blowing them up with me. (Note: always supervise balloon play closely, as they can be a choking hazard).

Balloon Fun (1)

I then hung each balloon from a string and suspended them from an archway. Give your child a wiffle bat and let the balloon bopping begin!

Balloon Fun (2)

Veronika took a few swings, but then honestly preferred just walking underneath them. She loved the way they bounced on top of her head.

Balloon Fun (3)

We invited big brother Travis over, but one whack of the bat took them all down from the ceiling – whoops! So perhaps you’ll want to save this one for younger toddlers.

Balloon Fun (5)


Blueberry and Banana Yogurt

Blueberry Banana Yogurt (2)

Here’s an instant upgrade over a standard cup of yogurt in the morning!

Ingredients:

  • 1 banana
  • 2 (5-ounce) non-dairy blueberry yogurts
  • 1/2 cup rice cereal
  1. Divide the banana evenly among two bowls and mash with a fork.
  2. Add 5 ounces yogurt to each bowl, and stir in 1/4 cup rice cereal.

How I Feel

How I Feel (6)

Here’s a great activity for siblings that gets giggles (because it tickles!), checks off the arts and crafts box for the day, and will have siblings thinking about what they love best about each other. You can do this with two or more siblings of any age.

I needed to first trace both kids on a big sheet of craft paper, and Travis volunteered to lie down first. Veronika laughed as I traced around him with crayon.

How I Feel (1)

She was clearly eager for her turn!

How I Feel (2)

This little one loved being traced!

How I Feel (3)

Next, fill in the outline of each sibling with how they feel about each other. I posed the question to Travis, asking him to describe words about Veronika and his emotions. I thought he might mention some of their inside jokes or games, but instead he said, “I love her, that’s all!” Can’t argue with that, so we wrote that in.

How I Feel (5)

Pose the same question to a second sibling. Obviously if you play the game with a baby or toddler, he or she won’t understand the concept. In that case, older siblings get to fill in words about the baby inside their outline. Travis said “copy” (because she always loves to copy him!), “cute”, and “love”.

How I Feel (4)

If your kids want to get creative, you can then draw on faces, hair, or other feature. My kids just liked rolling around on the paper afterwards, and that was fine, too!

Threading for Toddlers

Threading (7)

Veronika wanted to copy along when Travis threaded beads to make friendship bracelets back in the spring, so today I thought I’d introduce her to the skill! Threading is a fantastic fine motor activity for toddlers, and although I didn’t expect Veronika to ace it today, the idea was to introduce the concept and see if she could loop some items with large holes onto string.

Threading (3)

Good, early items for toddlers to thread include dried tube-shaped pasta, cut up pieces of a paper towel tube, beads with big holes, and wooden craft spools.

Threading (1)

At first I was going to have her thread onto shoe laces…

Threading (2)

…but these were a little droopy and wobbly. We switched over to pipe cleaners which were much sturdier for her!

Threading (3)

She was most interested in the pasta, which was by far the easiest item for her to thread. She could loop it onto the shoelace or the pipe cleaner with a little assistance.

Threading (5)

She also loved testing out the beads, although these were tough for her fingers.

Threading (4)

After a short while, she was mostly just interested in playing with the materials.

Threading (9)

But I thought it was so sweet when big brother Travis swooped in and created a “bracelet” for Veronika.

Threading (11)

She loved his creation!

Threading (8)

Taco Notebook

Taco Notebook (6)

On the heels of a fun avocado textbook, here was another project to kit out Travis’s school supplies for the first day next week!

Travis helped glue a piece of brown cardstock to the cover of a standard spiral notebook. Then we glued scrapbook paper in a gingham print (which reminded us of a picnic blanket!) on to the first sheet of paper of the notebook; let dry.

Taco Notebook (1)

Trim the edge of the cover so it is rounded like a taco shell.

Taco Notebook (3)

Next up was cutting taco fillings (lettuce, tomato, and cheese shreds) from felt. This was great scissor practice for Travis since felt is tough to cut.

Taco Notebook (2)

We glued the felt shapes along the inside cover of the “taco shell”.

Taco Notebook (5)

Once closed, it looked almost good enough to eat!


Fuzzy Book Covers

Furry Book Covers (2)

With back-to-school just around the corner, I’m starting to put together fun supplies for Travis to help ease his transition. These fuzzy book covers, a cute idea from Highlights magazine, will make any textbook go from daunting to exciting.

Since Travis hasn’t actually received books from his new teacher yet, we practiced the craft with a favorite book from home: his nature field guide.

Furry Book Covers (1)

Cut a piece of green felt so it completely covers a textbook, leaving an extra 1/2-inch or so on the sides and top. Use hot glue (or tacky glue) to adhere the felt along the inside cover.

Furry Book Covers (3)

Cut an oval from brown felt, and glue in the center of the cover. Now you have an avocado… so we avocadon’t forget to study, as Highlights pointed out.

You can have fun with this and make lots of different fruits and veggies from different colors of felt. You could make them even fluffier with craft fur instead of felt, too!

Block Sorter

Block Sorter (10)

Veronika loves her bus shape-sorter toy, with slots on top for squares, triangles, and circles, but with one caveat: she can’t open it back up to retrieve the shapes once they’re inside! I solved the problem for her today with this quick DIY version.

Block Sorter (1)

Use any shoebox with a lid (brother Travis’s old Kiwi Crate was perfect) and cut holes for each shape you’ll be using. Veronika loved watching me work: “Mommy’s cutting a triangle!” and the triangle had to go right in. “Mommy’s making a square!” She tested each hole as it was made.

Block Sorter (6)

Now all of the shapes were inside.

Block Sorter (9)

I showed her that she could open the lid… all by herself! She was thrilled. “Triangle is inside!” she said, but not for long. She took them out for a second round, now having to find and fill all three holes with the shapes in a jumble, which was a great challenge.

Block Sorter (7)

I loved that she could use this toy solo. She was evidently so proud of it that she wanted to pick it up and carry it around with her!

Block Sorter (11)

A definite hit, for almost no effort at all on my part.

Block Sorter (8)

Video Visits

Video Visits (4)

We tend to take lots of photos in our current era, but less so home videos. Here’s a cute project to encourage home video memories, as well as to promote bonding between siblings.

The idea is to have an older sibling narrate a video about any favorite destinations for your younger tot. Our first stop was the playground and Travis described where we were (with a little bit of cheeky humor!), as well as Veronika’s favorite things on the playground, and what they were having for snack.

Video Visits (2)

I then filmed several fun clips as they played on the equipment together!

Once home, I played the video back. Both kids were so delighted to see themselves on screen, little mini celebrities!

Video Visits (5)

They loved it so much that we repeated the game the next day on a bike trail. Travis once more narrated the scene.

Out Doors (6)

And one more the kids were smitten as they watched themselves, after. I intend to keep up this activity, since it’s clear that the kids are going to treasure these clips for years to come.