Easy Edible Paint Made with Real Fruit

Edible Fruit Paint (3)

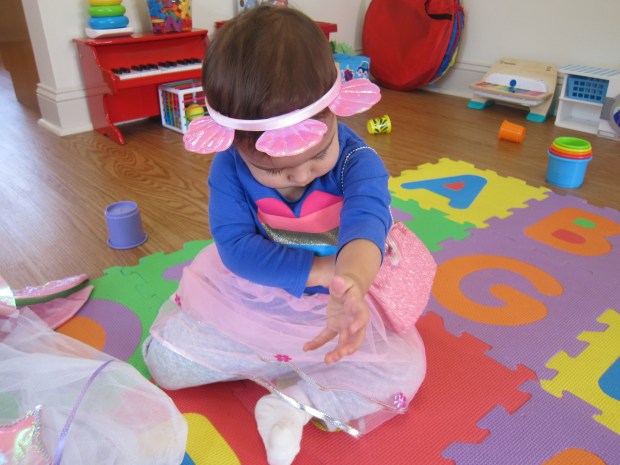
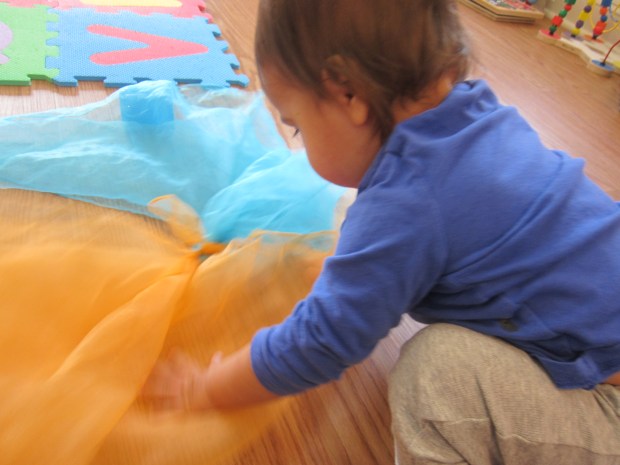
Veronika wants to paint every time big brother gets paints and brushes, but I worry still that she’ll put the paintbrush in her mouth. With this fruit paint, there’s no need to fret; these brushes were made for tasting!

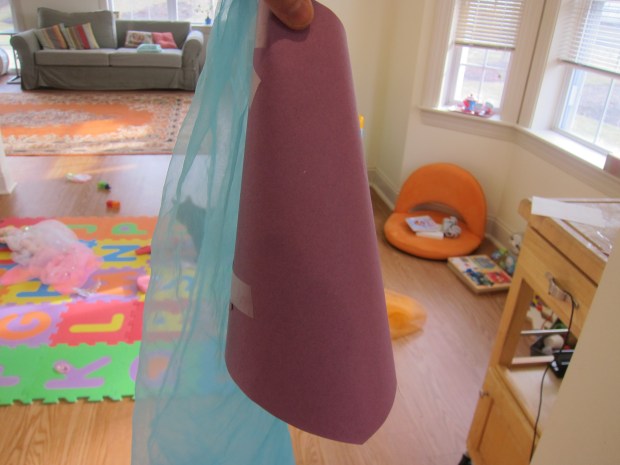
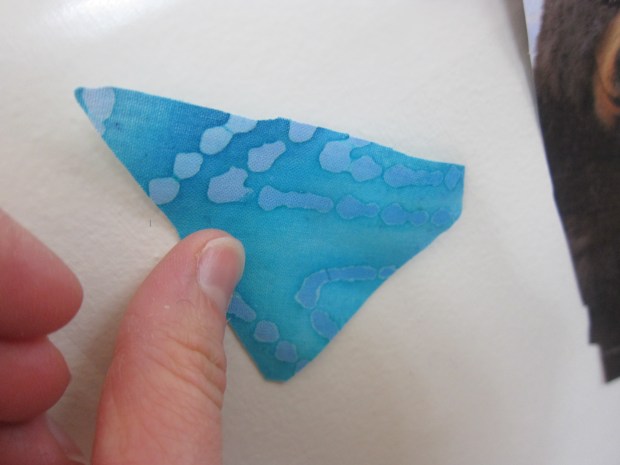
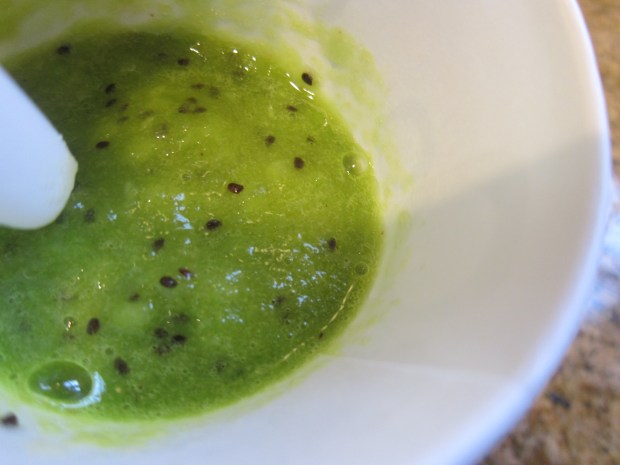
To prepare three colors of paint, I pureed a batch each of: blueberries, bananas, and kiwi. For the bananas and kiwi, I thickened the “paint” slightly with a little applesauce from a pouch, and then added a few drops of all-natural food coloring (in yellow and green, respectively) to amp up the color. Here’s the before of the kiwi:
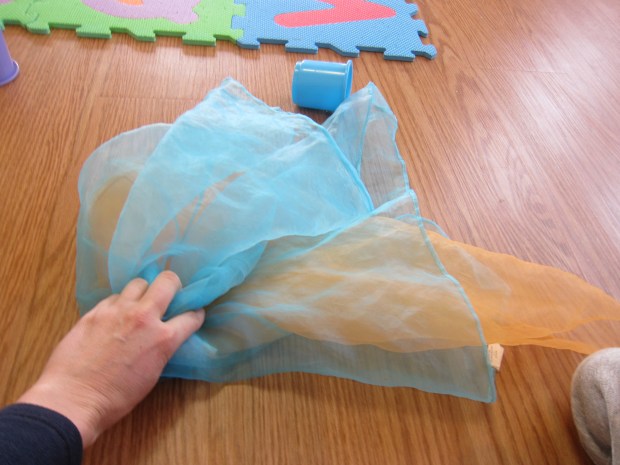
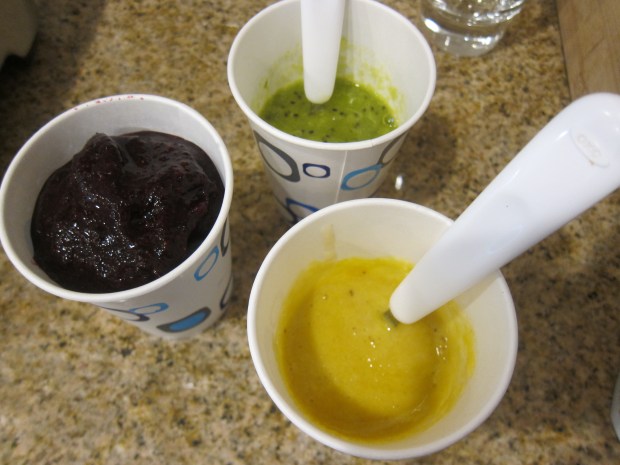
Edible Fruit Paint (1)

Versus the after:

Edible Fruit Paint (2)

I used frozen blueberries, which pureed into a deep, thick purple that needed no embellishment. If you use fresh blueberries, you may find you also want a squeeze of applesauce and a few drops of blue food coloring.

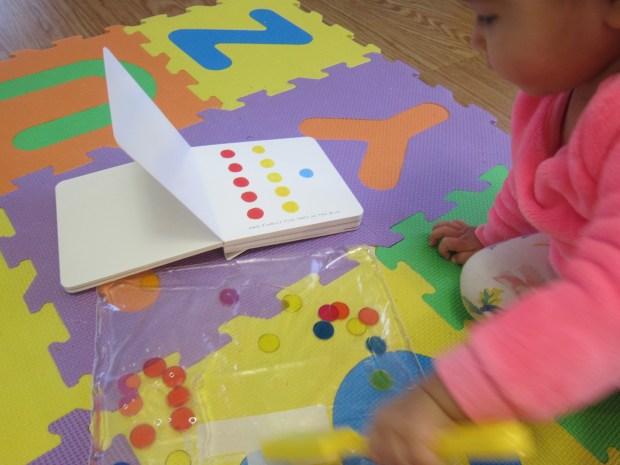
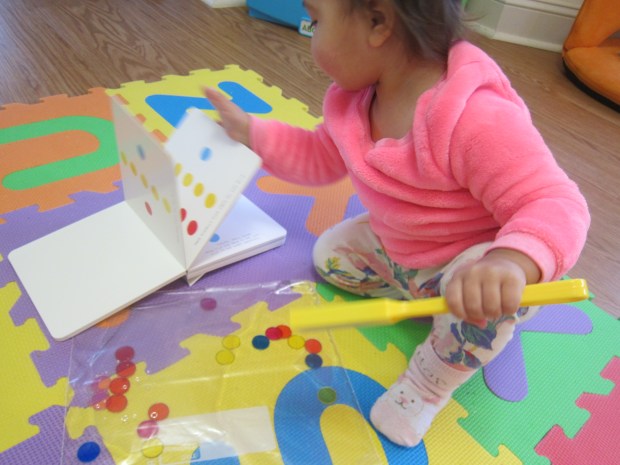
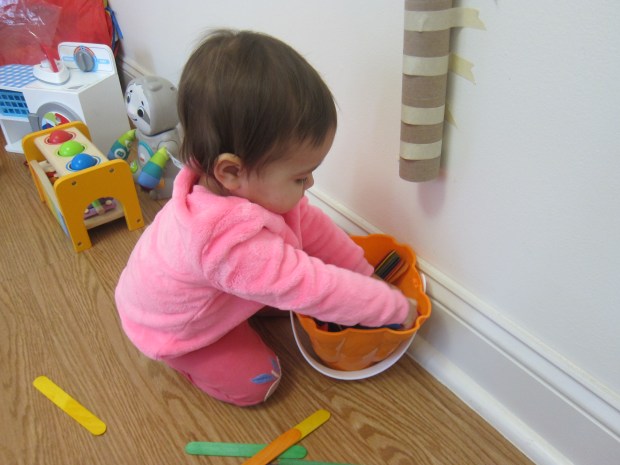
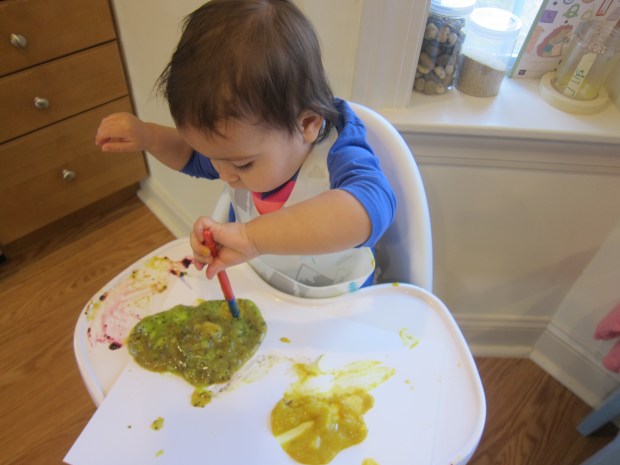
I set out all three colors in paper cups for Veronika, along with paintbrushes and a thick piece of watercolor paper.

Edible Fruit Paint (4)

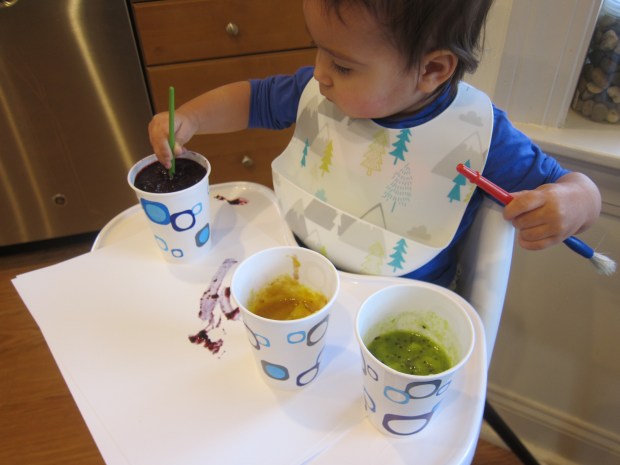
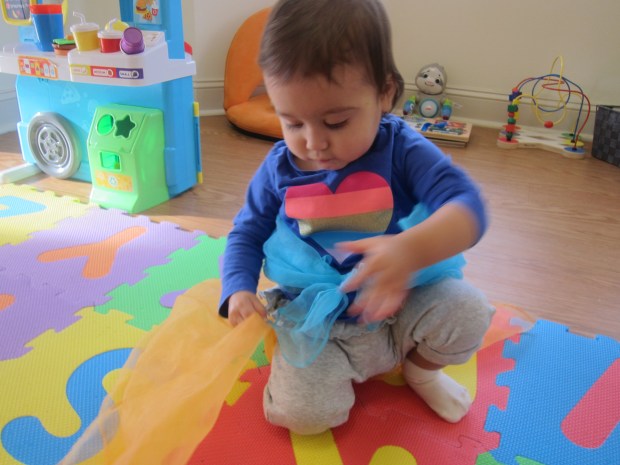
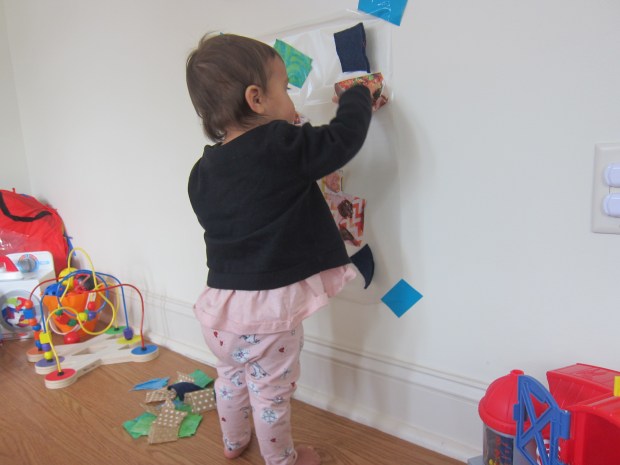
Say no more, she absolutely loved it! First she just wanted to dip the paintbrush into the blueberry paint over and over. I prompted her to think about her sense of smell as she played, the fresh fruit filling her nostrils.

Then she moved paintbrush to paper experimentally. She loved discovering she could make blobs and swirls.

Edible Fruit Paint (5)

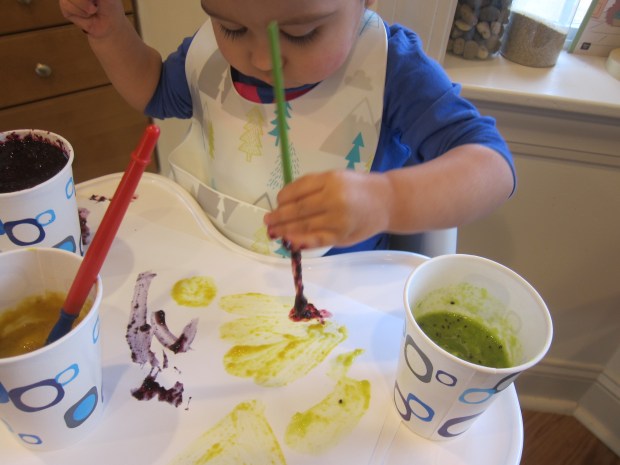
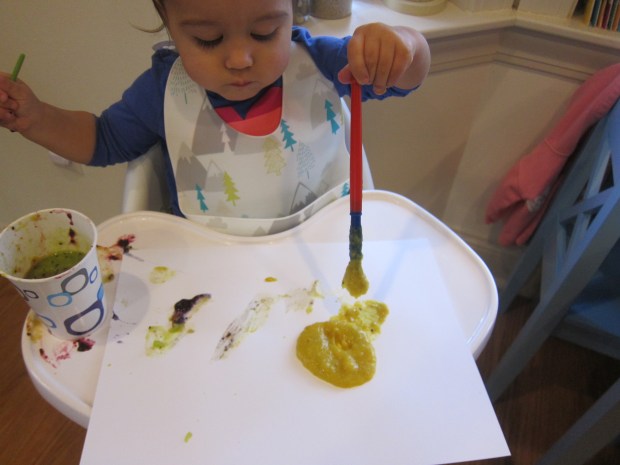
I worried that the blueberry would stain little fingers and clothes, so I gently pushed the banana and kiwi into prime position. She was equally entranced!

Edible Fruit Paint (6)

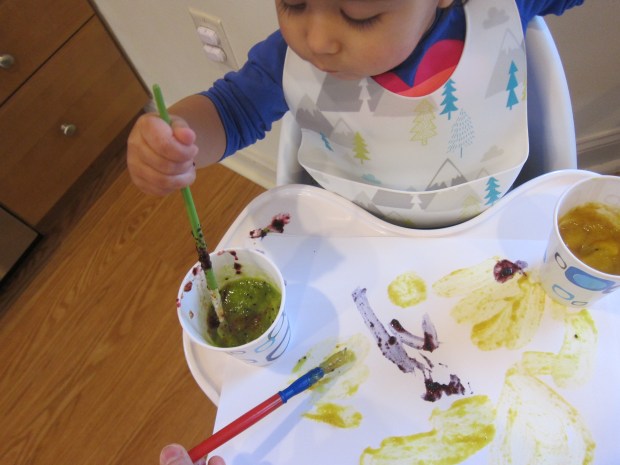
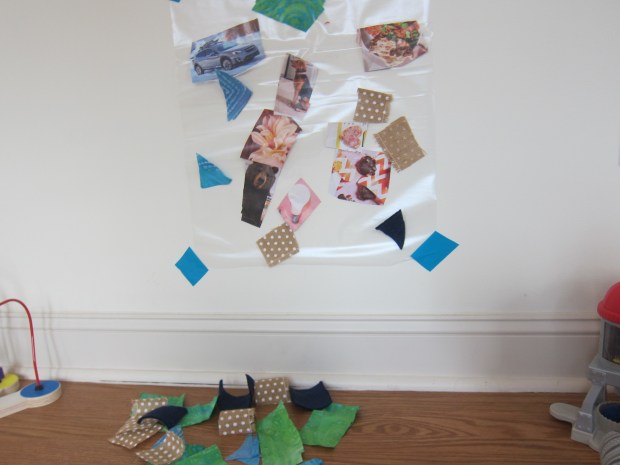
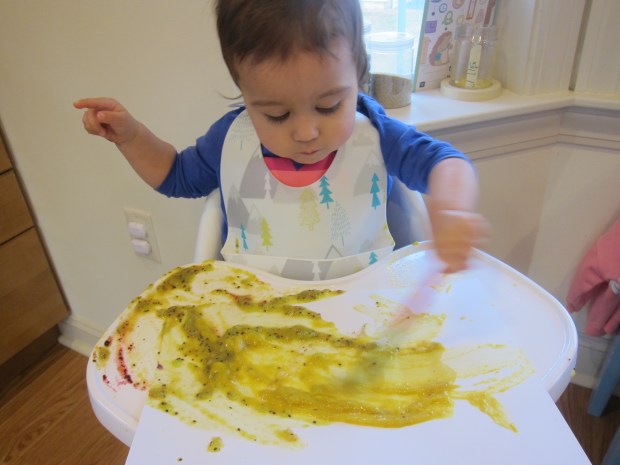
She kept busy with this for quite some time before eventually dumping some of the kiwi paint onto the paper.

Edible Fruit Paint (9)

At this point I simply moved the paper aside and it was fun for her to smear.

Edible Fruit Paint (10)

Did she taste it? Not really, actually! I think she might have gotten a tiny lick of the banana once, but mostly she seemed happy to paint with it.

Edible Fruit Paint (7)

It was fantastic to see her so engaged with this artistically, and to know that even a nibble was worry-free.

Edible Fruit Paint (8)

Simple Costume Design

Simple Costume (5)

As someone who dresses purely for comfort, it has been a source of endless amusement to me that Veronika loves to accessorize. A spare sock, a random belt; whatever she finds lying around the apartment she immediately drapes over herself and strikes a pose. So today we had some costume fun, starting out with the simplest prop: scarves!

Play scarves can be so many things. I tied one around her waist for an instant “tutu”. You could tell she felt glamorous!

Simple Costume (1)

Then I made a simple medieval hat by twisting a piece of construction paper into a cone and taping a scarf on the top. It was a little wobbly, but she still loved it.

Simple Costume (8)

Scarves are great for further make-believe while your child is in costume. We tied two together and “swam” them through her noble court as fish.

Simple Costume (3)

She recently watched real fish in a tank, so loved saying the word as the scarves swam around us.

Simple Costume (2)

To further engage her imagination, we did then play dress-up with a kit. I stayed away from named characters, knowing that she would love draping herself in lace, beads, and fancy headgear from a generic boxed set. And did she ever!

Simple Costume (4)

Whether it’s as simple scarves or more complicated like purchased dress-up, play clothes are great fuel for the imagination.

Simple Costume (6)

She wanted to dress “Baby” up, too!

Simple Costume (7)


A Magnetic Polka Dot Sensory Bag

Magnetic Dot Sensory (5)

The inspiration for this sensory bag was the book Press Here, one of big brother’s favorite books from a young age, and one that never gets old.

Today I read the book with Veronika for the first time, and although she is on the young side for it, she delighted in the actions: tapping on dots, blowing on pages, and especially clapping at the end.

Magnetic Dot Sensory (1)

But we weren’t finished when the book was done; the fun had only just begun! Using magnetic discs and a wand from a magnet set we have, all I needed to complete the activity was a gallon-sized zip-top bag. I added just a little water to the bag, and then sprinkled in the discs. In keeping with Press Here‘s primary color scheme, I used only red, yellow, and blue ones.

Magnetic Dot Sensory (2)

Note: If you’re playing this game with a preschooler, this is a great chance to color sort, first, before adding the discs to the bag!

I showed Veronika how the wand attracted the magnets when waved over the bag (yes magnets work in water), and she loved the seeming magic of this.

Magnetic Dot Sensory (3)

This sensory bag interested her for much longer than previous activity bags we’ve made, and she returned to it throughout the day for more magical wand waving.

Magnetic Dot Sensory (4)

Again, you can engage big kids further with the activity. See if your child can separate the magnets by color in the bag. Or get silly by tapping them or moving them in ways that mimic the art on each page of Press Here.

Magnetic Dot Sensory (6)

This game was so simple to put together, and I know we’ll play it again as Veronika grows!

Dropping Games

Dropping Game (6)

Chances are your toddler sometimes throws a tantrum by dropping objects, a tactic that I find far more adorable than effective. It’s a good thing tantrums are so darn cute at this age! Harness that toddler love of all-things-dropping with this fun game, and you might just turn a tantrum into giggles.

When we first played, Veronika was in a good mood. The idea was just to have fun dropping! Over an empty oatmeal canister, we dropped in clothespins (the non-pinching kind) and small golf balls.

Dropping Game (2)

Veronika loved peering inside to see where the items landed, as well as the “plink” that they made as they fell.

For a little extra strength-building, put the clothespins on the edge of the canister so your child has to pull them off before he or she can drop them in.

Dropping Game (3)

I also encouraged her to stand up so she could see the items falling from a greater height. This turned out to be easier using a large storage container instead of the small oatmeal one. If you’re comfortable with the idea, you could even let your child stand on a chair for greater height!

Dropping Game (1)

Returning to the oatmeal container: once it was full, we put on the lid and rolled it across the floor.

Dropping Game (4)

Then she delighted in prying off the lid to begin again.

Dropping Game (7)

Drop anything else in the container that seems fun, too! Little stuffed toys got lots of giggles.

Dropping Game (8)

Later in the day came the real test; could a dropping game turn a tantrum frown upside down? She was quite moody in her high chair, so I set out the three items we had used earlier: the clothespins, the golf balls, and the small soft toys.

She immediately scattered some to the ground, no doubt daring me to make a stern mommy face and to say, “No”.

Dropping Game (9)

Imagine her surprise, then, when I exclaimed, “Dropsie!” and returned the items to her tray with a smile.

Dropping Game (12)

So she tried it again. Take that, mommy. “Dropsie!” I said happily.

Dropping Game (11)

Well now she was smiling!

Dropping Game (13)

This was such a fun way to divert a tantrum, to harness her love of dropping, and to teach cause-and-effect, too. Plus toddlers will love seeing a parent scramble around to pick up the dropped items and return them to the tray.

The only note of caution here is not to play this game too often, else you’ll find yourself endlessly playing “dropsie”.

Dropping Game (14)

Hanging Instruments to Crash, Rattle, and Bang!

Hanging Instruments (5)

Old toys that don’t get much attention can seem novel if presented to your kids in a different way. To wit, Veronika hasn’t been very into her musical instruments lately… until I strung up a few on a cord and introduced this novel way to have musical play!

We played this game indoors against a dresser, but if it’s a beautiful sunny day and a warm time of year, it works equally well against a fence!

Using colored twine, I threaded instruments that could slot easily along the line, namely tambourines, bells, and a triangle. Get creative with your definition of “instrument” here, too; a colander from the kitchen added some percussion!

Hanging Instruments (1)

Once I had everything threaded up, I presented Veronika with wooden spoons and rhythm sticks, and it was time to make music!

She loved using the wooden spoon in particular and soon there was bashing…

Hanging Instruments (2)

…crashing…

Hanging Instruments (3)

…tapping, and jingling. She also loved reaching out with a hand to shake the bells on the cord.

Hanging Instruments (4)

This game will no doubt entice older siblings over to play, too! A great way to revive a bag of old instruments.

Hanging Instruments (6)

Finger Puppet Play

Finger Puppet Play (1)

There’s an easy way to play this game and a hard way, and I definitely went with the easier for the obvious reason that I’m not a seamstress. Using an old pair of children’s gloves, I simply attached a smiley face sticker to each fingertip and these became friendly little puppets to interact with Veronika!

FInger Puppet Play (5)

She grinned as soon as she saw the smiling stickers and loved hearing them say hello to her, give kisses to cheeks, and sing songs (like “If You’re Happy and You Know It”).

Finger Puppet Play (2)

Then they played peekaboo from behind her teddy bear!

Finger Puppet Play (3)

Of course she also loved the fact that the faces were stickers, which she soon impishly pulled off.

For a version that will last much longer, cut the fingers from an old glove instead and then sew on felt pieces to be ears, noses, whiskers, and more. Then slide these onto each finger as individual puppets.

(Note: A middle-of-the-road option might be just to draw the details on with a fabric pen instead of sewing on all that felt).

And if you don’t want to get crafty at all, just play with store-bought finger puppets! We have an assortment that includes cows, cats, Halloween ghosts, and more.

Finger Puppet Play (4)

Today I trotted them all out and they sang to Veronika, chatted with her, wiggled around, and made silly noises. These little toys are perfect for car rides, so I stash a few in my purse.

Does your child have a favorite finger puppet? Please share in the comments!

Food Exploration Station

Food Explore Station (3)

The compartments of an ice cube tray are just the right size for setting up a station that allows your toddler to touch, taste, poke at, and other wise explore food! This game is great for soon after a meal so that the emphasis is on all the senses, not just on eating.

I wanted to fill the tray with a variety, but not an overwhelming amount of different objects for Veronika. I included warm cooked carrots, chilled slices of watermelon just out of the fridge, soft chunks of room temperature banana, and a crumbly cookie.

Food Explore Station (2)

Veronika wasted no time getting her hands in there! “Hot!” she said to me, feeling the carrot, quickly follow by a surprised, “Cold!” to the watermelon. She smooshed one of the banana pieces in her hand, but mostly passed that over in favor of the watermelon.

Food Explore Station (4)

The cookie certainly got a few nibbles, too. You can use any fruits or veggies (or cookies!) for this activity, or play multiple times with seasonal fruits at different times of the year. Because all of the foods were about the same size, they are fun for stacking, too.

For some slipperier tactile play, I cooked up green linguine noodles. These were great both for the texture (somewhat slimy, which can take toddlers a while to get used to) and for the color.

Food Explore Station (5)

I thought she might hesitate, but she loved mushing through the noodles with her fingers. Once she took a nibble, she looked at me with recognition. “Pasta!” she said.

Food Explore Station (6)

Don’t forget, toddlers learn about food when exploring like this. So the next time this happens…

Food Explore Station (1)

…don’t scold. It’s all about the process! And kind of like an art project, too.

Muffin Tin Color Sort

Matching Muffin Tin (3)

Although a toddler at Veronika’s age (14 months old) probably won’t be able to sort colors yet, this activity introduces the idea of color matching, plus includes all sorts of fun elements to play with.

I lined the bottoms of a 6-cup muffin tin with circles of colored paper. Use colored construction paper for this (or in a pinch, you can use marker on white paper for any colors you are missing).

Matching Muffin Tin (1)

Next, I set out a rainbow assortment of colored sensory balls. I couldn’t find our purple ball (which is course turned up right after!) so substituted a small purple toy.

Finally, I handed Veronika an ice cream scoop with an eye towards teaching her to transfer the balls from the bucket to the muffin tins. She loved this element of the game…

Matching Muffin Tin (2)

…though needless to say her colors weren’t always right.

Matching Muffin Tin (5)

She also wanted to move the balls from cup to cup, which left ample opportunity to talk about the pieces of colored paper she revealed and where each ball “should” go.

Matching Muffin Tin (4)

Again, this was not meant to be an activity for Veronika to get correct, but rather a great chance to introduce color matching as a concept.

Popsicle Stick Drop

Popsicle Drop (1)

Coordination, learning colors, and the endless surprise of watching a stick disappear and then reappear; this game has it all for toddlers!

As prep, simply use masking tape to attach an empty paper towel tube to a wall. I recommend using multiple strips of tape for extra security. I then provided Veronika with craft sticks to drop into it and placed a bucket at the bottom to catch them. That’s it!

Popsicle Drop (3)

The game will have the most visual appeal if you use a rainbow assortment of craft sticks (which you can purchase already colored at the craft store).

Popsicle Drop (6)

It took Veronika a few tries watching me release a stick into the tube before she realized she needed to release her grip to achieve the same affect. And then she was hooked!

Popsicle Drop (2)

Of course toddlers will also just love playing around with the sticks in the bucket at the bottom.

Popsicle Drop (4)

For a touch of color learning, I sorted the sticks for her into different colored piles. Needless to say, they didn’t stay sorted for long!

Popsicle Drop (5)

Contact Collage

Contact Collage (7)

Sticky contact paper might just be the perfect medium for art projects with toddlers; everything sticks instantly but there’s no glue required (i.e. no mess and no drying time). This particular project also incorporates great ways to talk about shapes, build vocabulary, and more.

To start, I taped a piece of contact paper up to the wall, and peeled off the backing so the sticky side faced Veronika. You can make this surface as small or as large as you want. Feel free to cover the full length of a wall! Veronika trotted over and was quite curious about the way the paper stuck to her fingertips.

Contact Collage (2)

I gave her a pile of things to stick up on the paper, including pictures cut from magazines and fabric scraps in various textures, everything from soft cotton to bumpy burlap to fuzzy felt.

Contact Collage (1)

She immediately began sticking things up, declaring, “Sticker, sticker!”

Contact Collage (3)

I let her select which items to put on where. The magazine pictures interested her far more than the fabric to begin with, and I said the name of each item (“dog!”) as she applied it.

Contact Collage (5)

For a little learning, I cut some of the fabric scraps into squares and others into triangles. I also pointed out the different textures as she hung them, using descriptive words for how each one felt.

Contact Collage (6)

She was so proud arranging and rearranging her canvas. Although the magazine pictures were stuck in place, the fabric could be pulled off and moved elsewhere.

Contact Collage (7)

My girl looked so big, standing at her artwork. This one really made me feel like I have a toddler, no longer a baby.

Contact Collage (8)

What a masterpiece!

Contact Collage (9)