Water Table: Pretend Salon and Sous-Chef

Water Table Salon Sous Chef (3)

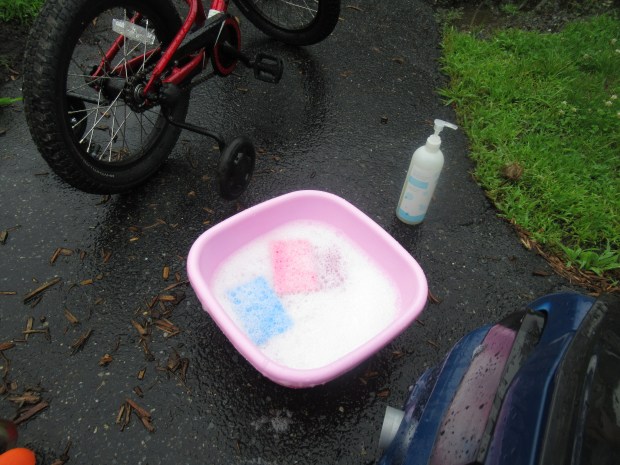
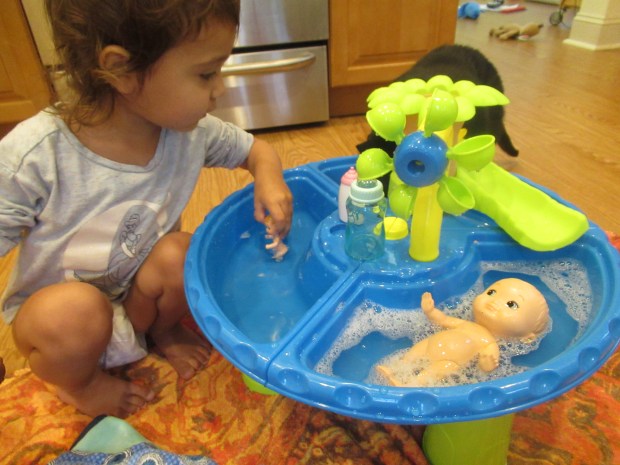
Rainy weather means we’ve been bringing the patio water table… inside! Here are two fun ways to play with the table indoors that won’t create too much splashing. That said, you’ll probably want a beach towel underneath to prevent spills or slips!

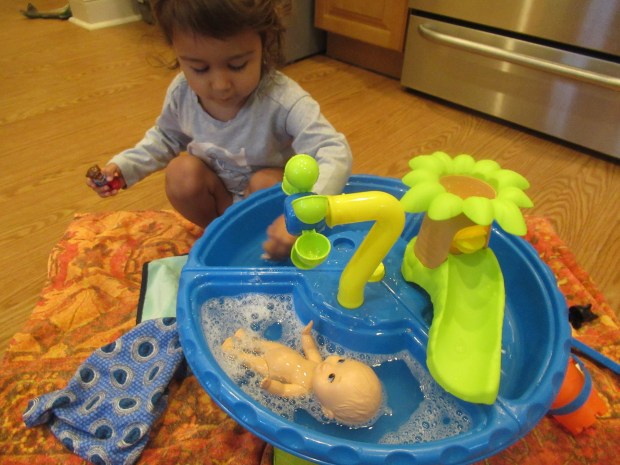
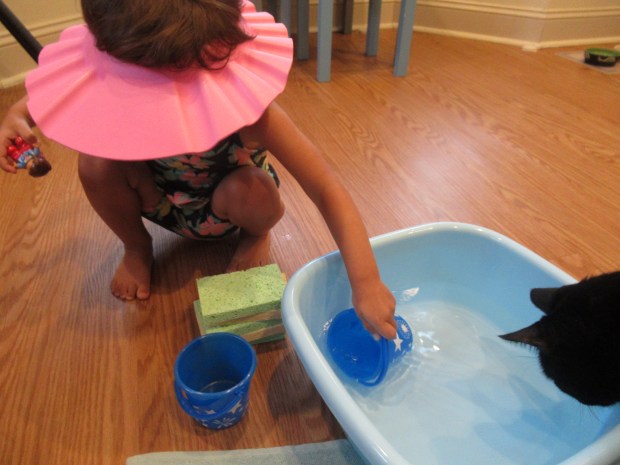
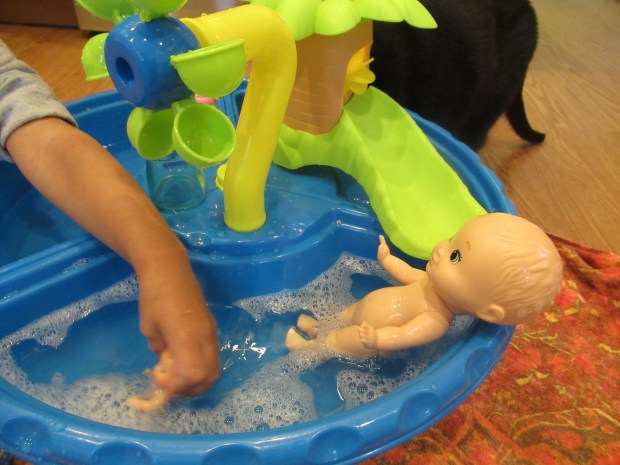
Our first game was a spa day for Veronika’s dolls. We filled one compartment of the water table with soapy water and the other had clean water for rinsing.

Water Table Salon Sous Chef (1)

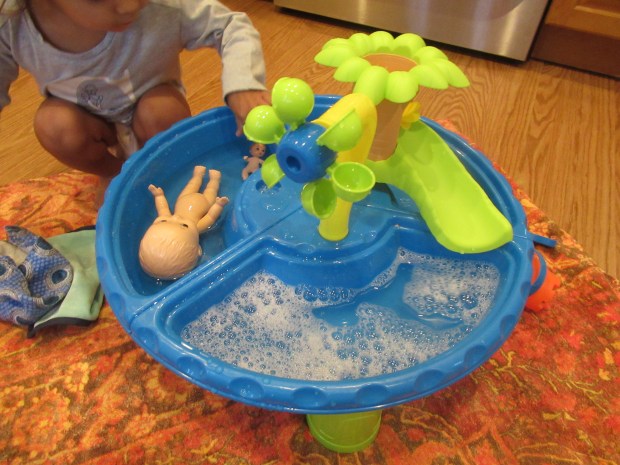
The dollies were soon loving their warm bath. This “spa” even included a water slide!

Water Table Salon Sous Chef (6)

Veronika loved giving them bottles of milk in the tub, too. How luxurious!

Water Table Salon Sous Chef (7)

Then they had full body wraps before being toweled off.

Water Table Salon Sous Chef (8)

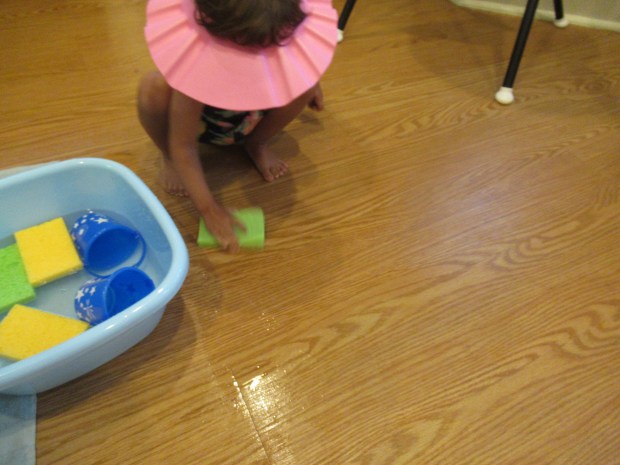
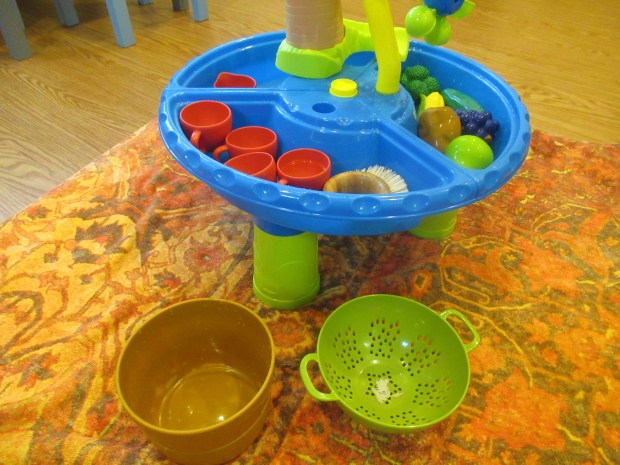
Veronika then closed her salon business to open up a restaurant! Incidentally, this is the perfect activity to keep a toddler busy while you prep real food. I handed across a variety of toy fruits and veggies, along with our real vegetable scrubber brush, and she soon was happily preparing “soup”.

Water Table Salon Sous Chef (9)

Cups and a colander for pouring added to the splashy fun.

Water Table Salon Sous Chef (11)

In sum, we managed to enjoy great water play on a rainy day… without getting rained on!

Water Table Salon Sous Chef (2)

Sprinkler Fun, Six Ways

Sprinkler 6 ways (8)

Sometimes all you need to occupy those long summer days are an old-fashioned sprinkler and a hose. To wit, we headed outside today and found so many ways to get wet and wild!

First, I used the hose to fill up the baby pool with an ankle-deep layer of water. A toddler slide aimed into it plus a few hula hoops to jump through, and voila, it was an instant teeny water park-slash-obstacle course!

Sprinkler 6 ways (1)

The kids were hesitant about the splashy finish at first…

Sprinkler 6 ways (4)

But soon this was like their own mini trip to Disney World’s Splash Mountain!

Sprinkler 6 ways (6)

Then we set up the sprinkler on the lawn and tested out Freeze Dance. Just crank your kids’ favorite radio station from the car or a speaker, and turn down the volume now and then. Freeze!

Sprinkler 6 ways (7)

Next up was acting like an animal. Travis hopped through the spray bravely like a frog…

Sprinkler 6 ways (9)

…and trotted like a horse!

Sprinkler 6 ways (10)

Veronika was a little hesitant to run right through the spray, so we took it down a notch to try out some toddler-friendly games. She wasn’t brave enough to put her whole body in, but she was brave enough for the Hokey Pokey!

Sprinkler 6 ways (12)

“You put your left arm in, you put your left arm out…” Simon Says is ideal, too, for coaxing little kids to get wet one body part at a time. We ended with some final big kid fun, taking out our Twister mat but making the game extra slippery and tricky. Left foot on red everyone!

Sprinkler 6 ways (3)

What’s your family’s favorite way to play with a sprinkler? Please share in the comments!

Sprinkler 6 ways (11)

Science at the Kiddie Pool

It was a scorching hot day, so I filled the kiddie pool with a shallow layer of water and assumed Veronika would want to jump right in. When she was a little hesitant, I wondered what would happen if a few objects “jumped” in first.

I brought out a bag of objects and she began tossing them in one at a time. As each landed, we shouted out whether it sank or floated.

“It floats!” she said of a Duplo block.

“It sinks!” she called for a comb, toy car, and nickles. (And of course we made wishes while tossing in the coins).

A few favorite toys were next, all of which could swim i.e. floated. Now she was ready to climb in.

Pretty soon she was loving the way the water cooled off her little feet, and as a bonus, now there were tons of toys to play with in the water!

Between my big kid practicing his math with chalk games and my toddler practicing science at the kiddie pool, it was a day of fun and learning.

Treat Kids to a Car Wash

Car Wash (4)

You can cross two items off your to-do list on a summer day with this fun activity: Clean off the kids’ ride-on toys and cool off!

The goal is to get out the hose, put some soapy water in a bucket, and well, just get everything wet. To start, Travis was in charge of spraying the hose over all the kids’ vehicles, including a battery-powered car, scooters and bicycles!.

Car Wash (1)

If your kids are game, a grown-up can hold the hose in an arc and kids can ride right through it… just like the automated car wash!

Car Wash (2)

Next up was a round of scrubbing and sudsing. The kids eagerly reached into the basin for soapy sponges. Note: I used baby shampoo for the soap, for suds that would be gentle on toddler skin.

Car Wash (5)

That car was soon sparkly clean.

Car Wash (3)

So were the scooters and bikes!

Car Wash (6)

As the final touch, run the hose for a second rinse, bonus points again for anyone who rides right through the water stream.

Car Wash (7)

Of course you’ll want to end the festivities with a parade. Veronika proudly took off on the scooter…

Car Wash (8)

… and Travis took the wheel!

Car Wash (9)

Fill ‘Er Up

Fill Er Up (4)

How many ways can your toddler fill a bucket? Here’s one fun way to find out! Grab two summer beach pails and do some experimenting on a day that’s too rainy to make it to the real beach.

To start, I set out a basin of water for Veronika, along with two small beach pails and a few kitchen sponges. Her first instinct was simply to dip the pails in the basin to fill them. And of course this worked just fine!

Fill Er Up (1)

She also spent some time transferring water from one pail to another, a second method that worked quite well.

Fill Er Up (3)

But next I showed her how to saturate a sponge and squeeze it out over a pail. Each big squeeze would fill one of her buckets about 1/4 of the way.

Fill Er Up (5)

Note: Older kids might enjoy the challenge of filling a big pail with the sponges (how many squeezes will it take!), but I liked using small pails for Veronika so she was rewarded quickly for her efforts.

From here she took over with dipping the sponges, squeezing, filling buckets, dumping them and starting all over. Of course soon she discovered that it was equally delightful to squeeze the water out on the floor and scrub.

Fill Er Up (6)

So as a bonus, my kitchen got clean, too!

Fill Er Up (7)

Paint in a New Way

Paint in New Way (5)

This project is the exact opposite of those times you give your children a direction for painting. Set out all your painting supplies (including some that might not be obvious painting supplies!) and let your children lead the way.

Our paints included dot paints, watercolors, fingerpaints, and regular tempera paint.  Our supplies included paintbrushes, craft sticks, sponges, pom poms, a rolling pin… and fingers of course! I simply set all of this out, along with lots of thick white paper.

Paint in New Way (1)

Veronika was first most interested in the fingerpaint, wanting to use her fingers.

Paint in New Way (2)

But then she loved moving the rolling pin through the blobs of paint.

Paint in New Way (3)

The resulting artwork on this sheet was so beautiful and shimmery!

Paint in New Way (8)

Next she loved using the sponges (I had both shape sponges and makeup sponges), which she pressed and swirled through the paint in such lovely ways.

Paint in New Way (7)

Soon she was dotting all over this masterpiece with dot markers!

Paint in New Way (6)

Finally, she moved onto the watercolors. It quickly became clear, though, that the water was more of a hit than the hues!

Paint in New Way (9)

Meanwhile, this hodgepodge of painting supplies even enticed big brother Travis over. Although he normally likes to color in coloring books these days, he decided watercolor might be fun, especially if tied into favorite TV show characters.

Paint in New Way (10)

What interesting shapes or creations will your children paint when you set them loose? Please share in the comments!

Paint in New Way (5)

Better Than Water Balloons

My kids love water balloons but there’s lots about these tiny water bombs not to love; the painstaking process of filling each one; how quickly they pop; and all those plastic bits that pose a hazard to animals, just to name a few.

So this summer we’re making “sponge balloons” instead! Okay so they’re not actually balloons, but these sponge bombs are equally icy cold and wet, making them perfect for summer games.

To start, I snipped kitchen sponges into 8 strips each, then secured in the middle with a rubber band. On vacation, a hair elastic worked in a pinch to cinch the strips together, without access to our craft bin. Veronika loved sorting the finished bundles on top of sponges in corresponding colors before we even took them outside to get wet.

I then set out a bucket of water…

…and it was sponge bombs away!

Travis’s favorite way to play was to see who could get the most sponge bombs into a bucket for target practice.

The bundles are also perfect for an old-fashioned game of Sponge Tag! Thanks to their soft texture and light weight, the sponges are perfect for tossing and tag with even young toddlers.

Spritz Away

Spritz Away (4)

We’ve used water to make art before, but today we used water to wash away art, the perfect activity for a summer morning!

To start, I drew a garden of flowers for Veronika with chalk, including brown dirt below and blue sky above. Her task was to “water” the garden with her toy watering can!

Spritz Away (1)

She loved the way the chalk washed away with each pour. Note: You could also use a spritz bottle for more controlled, slow dissolving of the chalk, but Veronika loves her watering can.

Spritz Away (5)

Of course then there was lots of fun stomping in the resulting puddles!

Spritz Away (7)

It all looked like so much fun that big brother Travis hurried out to join us! Pretty soon we were making big abstract shapes with the chalk and then pouring the water over them. You can then use a thick paintbrush to swipe at the resulting swirls of color on the pavement to make abstract pictures.

Spritz Away (6)

Near the end, Travis filled a cup with water and was splattering “paint” against the patio door with a big flourish. So we did make art with water after all!

Spritz Away (8)

Fourth of July Salad

Fourth Salad

Help your toddler learn the colors of the American flag this Fourth of July with this super-simple salad. It’s perfect for an Independence Day picnic or barbecue.

To start, add 1 pint raspberries, 1 pint blueberries, and 1 (5-ounce) container vanilla non-dairy yogurt to a bowl. I loved showing Veronika the three colors in separate piles first.

Fourth Salad (1)

Stir together for a red-white-and-blue combo that’s sure to be patriotic and delicious!

Fourth Salad (2)

Build a Cool House

This prompt from Parents magazine was the perfect project for a rainy summer day! We raided the craft bin to build a house. What kind of house you ask? It can be made of anything and for any toys your kids desire. To wit, my toddler loved it for her Calico Critters, and my son loved it as a Lego fortress!

To start, I pulled out a bunch of old delivery boxes in various sizes, as well as other building materials like empty cardboard tubes, craft sticks, pipe cleaners, masking tape, and rubber bands.

To start, we taped a few of the boxes together in a configuration that took shape piece by piece. Older kids can design their own layout. With two-year-old Veronika as the guide, I taped things together according to how she wanted it.

She loved “helping” as we added towers and turrets from the paper towel tubes and toilet paper tubes. There was a even a secret room around back.

A few craft sticks taped together made neat fences.

At this stage Veronika used it as a house for little cats and bunnies. We added some of her toy furniture inside, and it kept her so busy and playful!

Later when big brother Travis got home, he immediately wanted to tape on a few extra towers. He also used the pipe cleaners for decoration. Pom poms, paint, and anything else that strikes your kids’ fancy can be added as embellishments, too!

Needless to say it was soon a fortress for his Lego figures.

Let your children’s imaginations take the lead on this one, because it’s the perfect project for open-ended play.