Build a Scrapbook

Scrapbook (5)

If kids love books, then kids adore books about themselves. This cute scrapbook idea came from Ranger Rick Jr., and was the perfect indoor activity for a cold winter afternoon!

First we needed to take pictures, which was by far the most exciting part of the whole project for Travis. An instant camera is so great to have on hand for moments like this; we love the Instax instant mini camera.

Scrapbook (2)

Travis proudly helped load up the film, decide which items around the house needed to be captured on film, and of course pointing and shooting.

Scrapbook (1)

Once we had about 20 photos, we sorted them into categories, such as family members, daily activities, and favorite things.

Scrapbook (3)

How you arrange your scrapbook from here is up to you! We affixed pictures onto colorful construction paper (cut in half, an easier size for little hands to turn the pages). You could also decorate plain white paper with wrapping paper scraps, or marker and crayon designs.

Scrapbook (4)

I helped with the layout and writing on each page, and Travis added stickers.

Scrapbook (7)

To bind your scrapbook, punch out holes with a hole puncher and tie together with colored ribbon.

Scrapbook (8)

The best part was curling up for a nighttime read of the book. Travis was so proud pointing to the pictures he’d taken! Definitely a treasure that we’ll leaf through again and again.

Scrapbook (9)

What pages would you include in your child’s scrapbook? Please share in the comments!

Scrapbook (10)


Early Explorers Science

LP Science alt.JPG

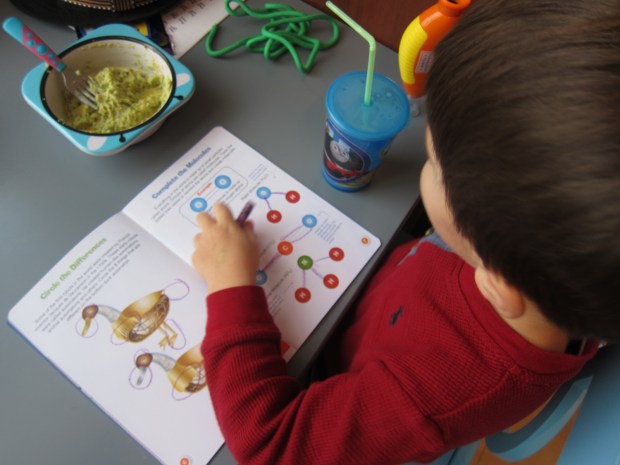
We were thrilled to discover our packet from Little Passports this month was all about science around the world. This topic lined up perfectly with Travis’s interests, so I knew it was going to be a big hit. As always, we received stickers for our world map, trivia cards, a flashlight game, and a tag for his suitcase. The Science activity booklet was so enjoyable to go through together, touching on everything from atoms to x-ray bones to historical figures like Einstein and Marie Curie. 

LP Science (4)

Science Craft:

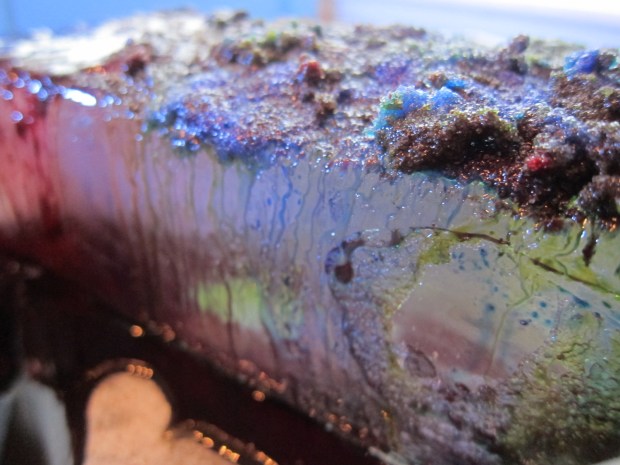
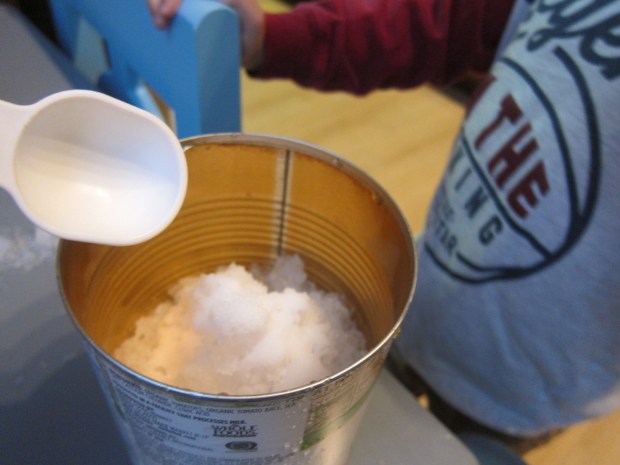
 “Craft” is a misnomer here; every suggestion in our booklet this month was more science-y than artsy! Still, it was a neat project to put together to learn about how clouds form. I told Travis the pointers from the booklet: warm air cools quickly and misty water vapor forms – think of your breath on a cold winter day. Then I asked Travis if he’d like to recreate cloud formation at home.

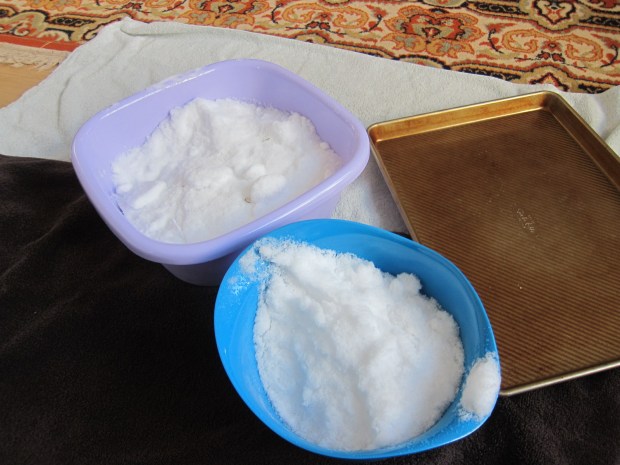
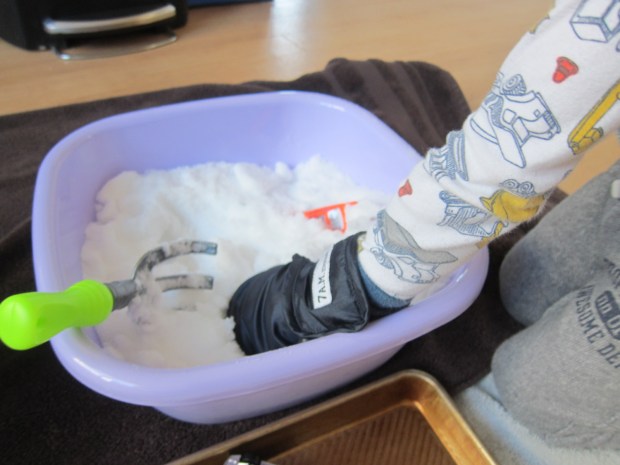
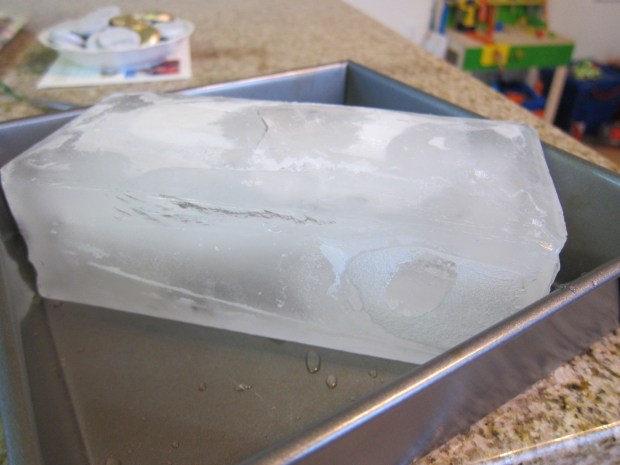
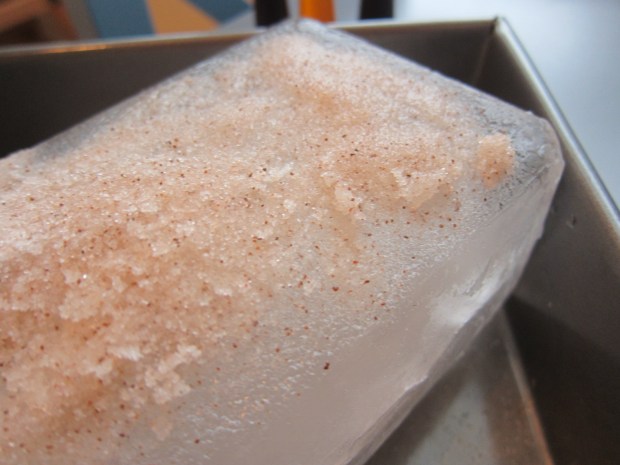
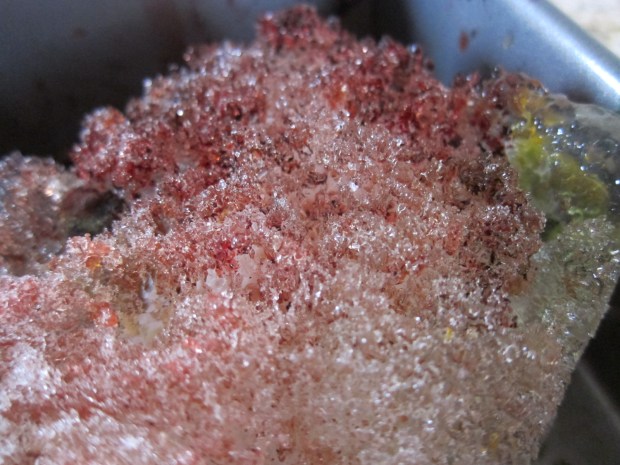
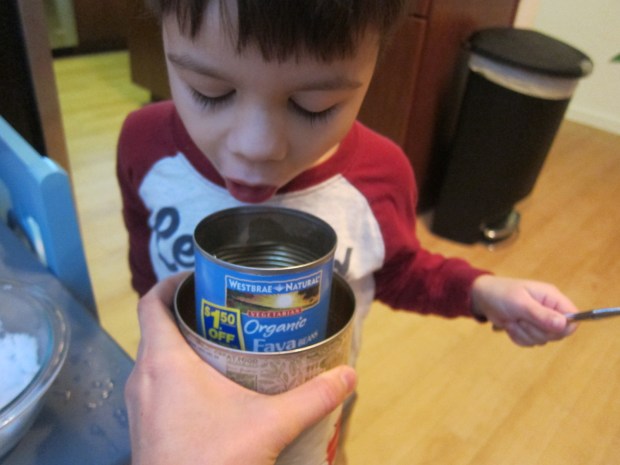
To do so, fill a large aluminum can halfway with crushed ice. Sprinkle with about 1 tablespoon salt.

LP Science (16)

Place a small aluminum can inside the large one and let it get cold. Now blow into it. Ideally, you’ll see steam (water vapor) appear as your hot breath hits the cold can and cools down instantly.

LP Science (18)

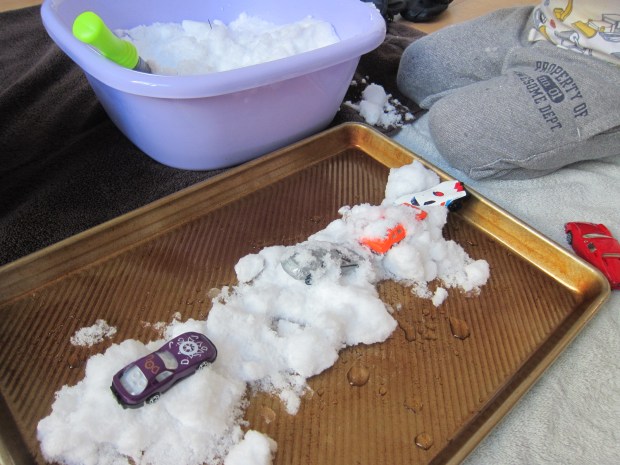
Alas, as is sometimes the case following Early Explorer’s instructions, we didn’t have much luck. But Travis loved spooning around leftover salt and ice.

Science Science:

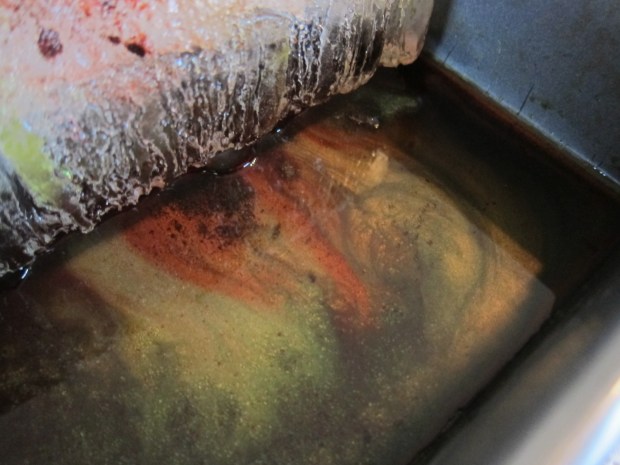
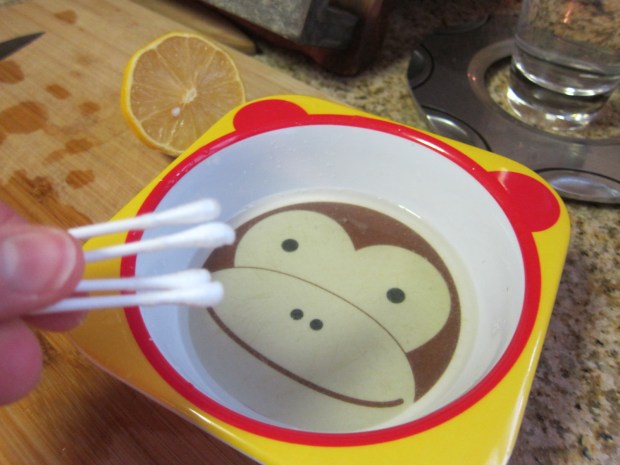
The next suggestion was a much bigger hit, investigating the make-up of milk (which is part of what helped Louis Pasteur invent his famous pasteurization method). Vegans: Look for a fatty non-dairy option or this experiment won’t work. We chose hemp milk, with a nice 5 grams of fat per serving.

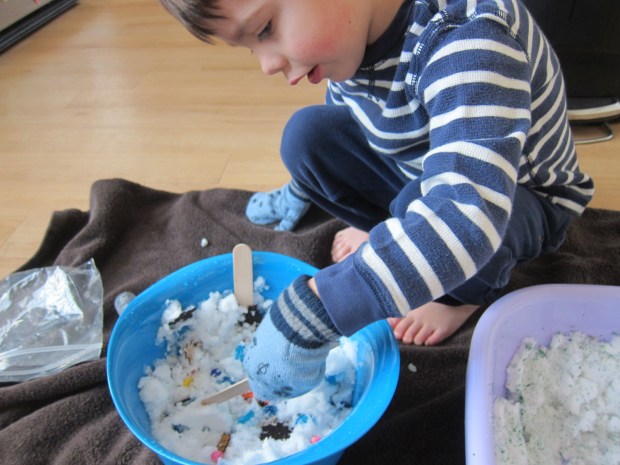
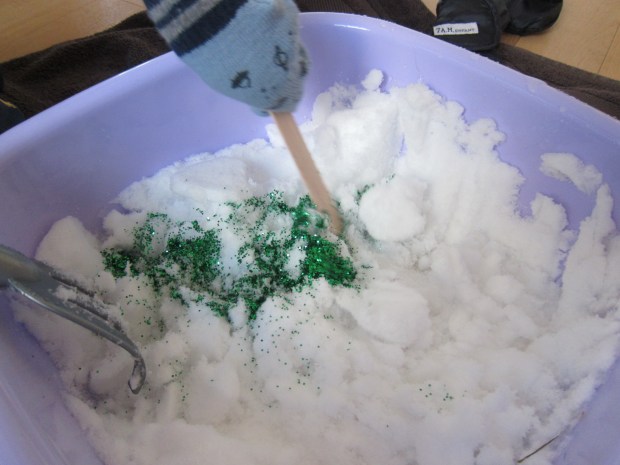
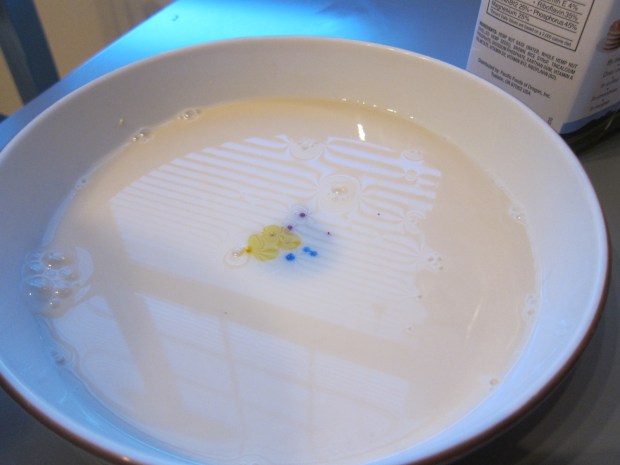
Pour 1/2 cup milk in the bottom of a shallow bowl. Add drops of food coloring in three or four different colors all together in the center of the bowl.

LP Science (10)

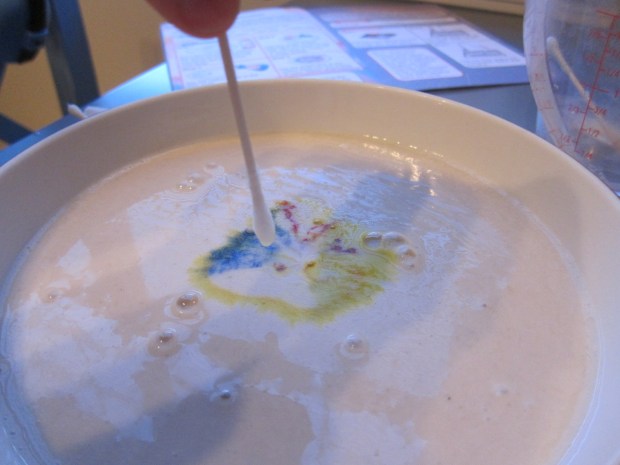
Dip a cotton swap in dish soap, then simply hold the soapy end into the food coloring (don’t stir!). The color will run away from the soap and disperse through the bowl, as the molecules in the soap move to bind with fat molecules. 

LP Science (13)

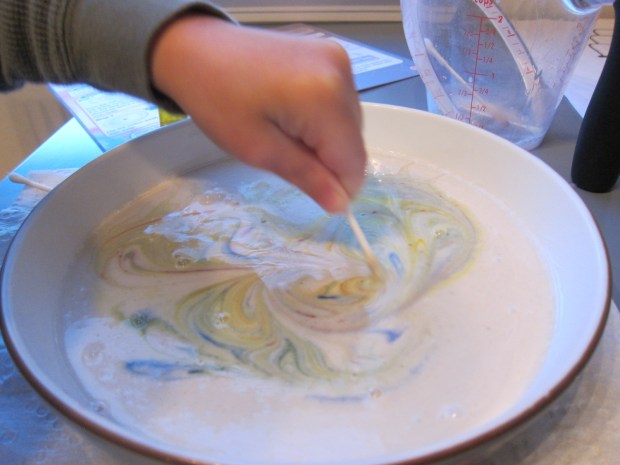
Okay, maybe mama thought this was way cooler than Travis, who had equal amounts of fun just stirring and making beautiful swirls through the milk with the cotton swabs. But we had to repeat the experiment about 4 times before he’d had his fill!

LP Science (14)

Science Keepsake:

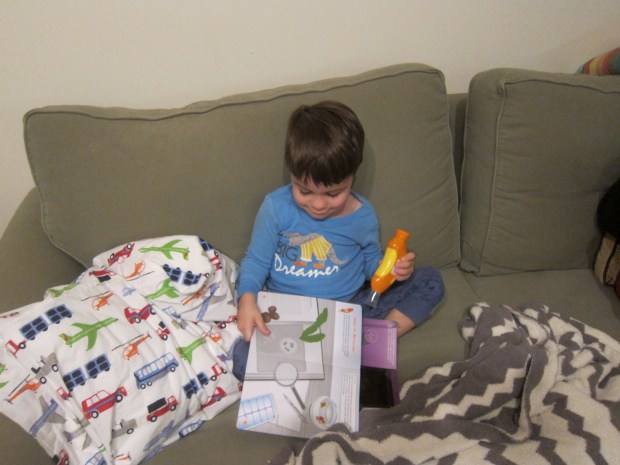
Our gift from “Max and Mia” this month was a microscope, pretty much Travis’s dream item! There was a page in the booklet designed just for it, to peer closely at images of seaweed and fish scales.

LP Science (3)

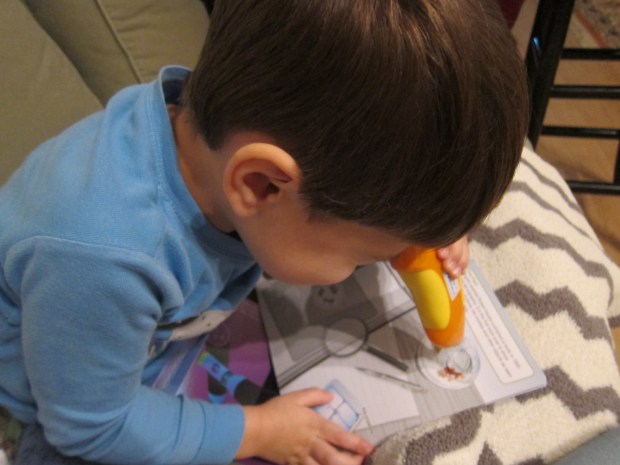
We tried it around the house and outside, where unfortunately it didn’t work quite as well. Travis loves it though, and it saved the day when we had to lie low with a stomach bug.
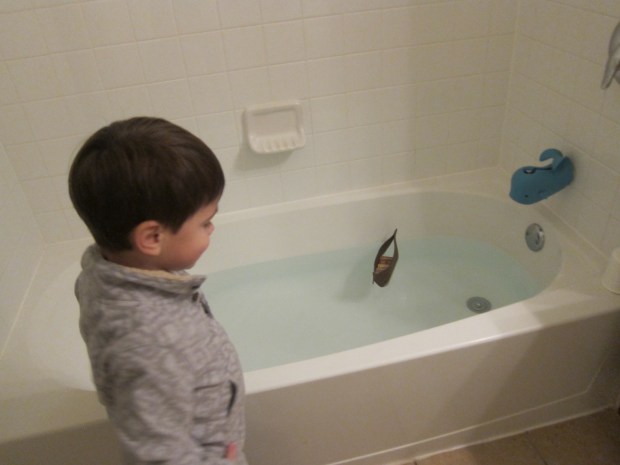
LP Science (2)

Science Field Trip:

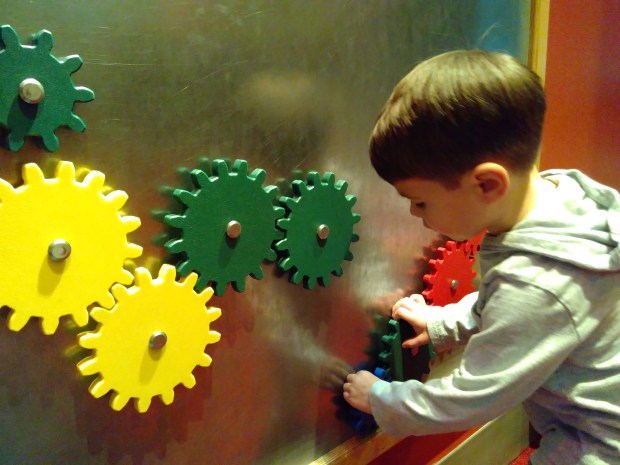
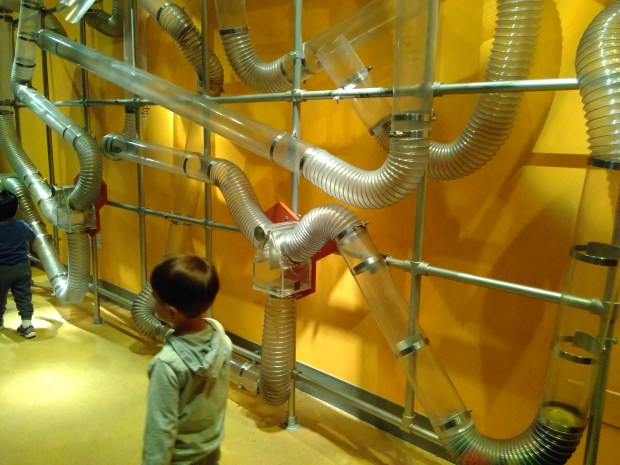
We had to head to a science museum of course! I wanted to visit one which Travis had never been to before, so we made it a special event, driving a bit out of our way one afternoon over winter break. Science museums introduce kids to so many topics that it’s hard to tell if they’re learning or just overwhelmed in the chaos, but Travis loved so many stations at the museum including: gears;

LP Science (21)

Light pegs;

science (5).jpg

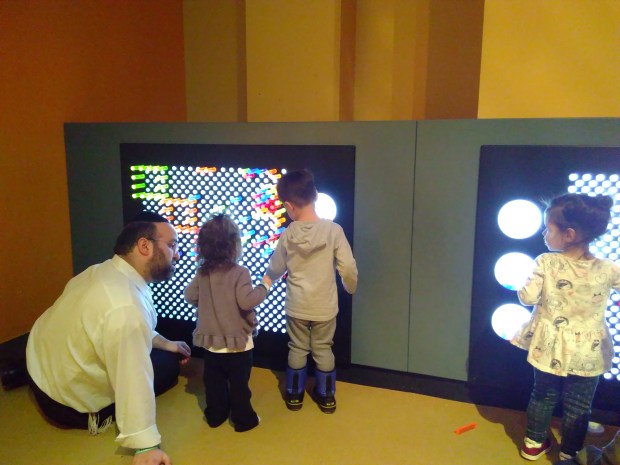
A giant air vacuum tube; and so much more.

science (1)

Science Further Activities:

The booklet included one final science experiment that unfortunately didn’t work for us: Generating static electricity to move a thin stream of water.

LP Science (7)

This sounded so neat, but whether we rubbed a comb on a sweater or in our dry hair, we didn’t generate enough electricity to make any difference to the trickle from our faucet…

LP Science (8)

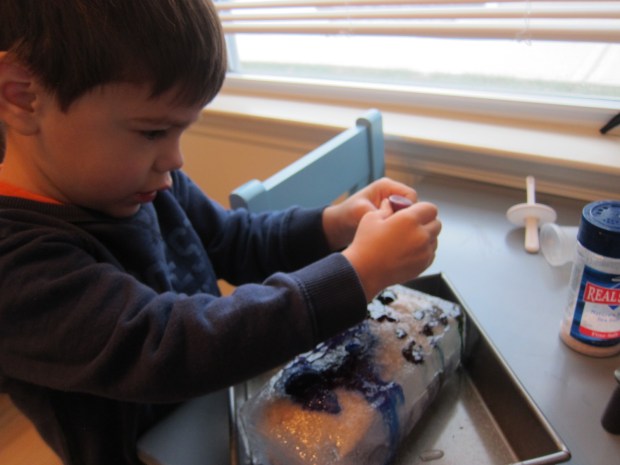
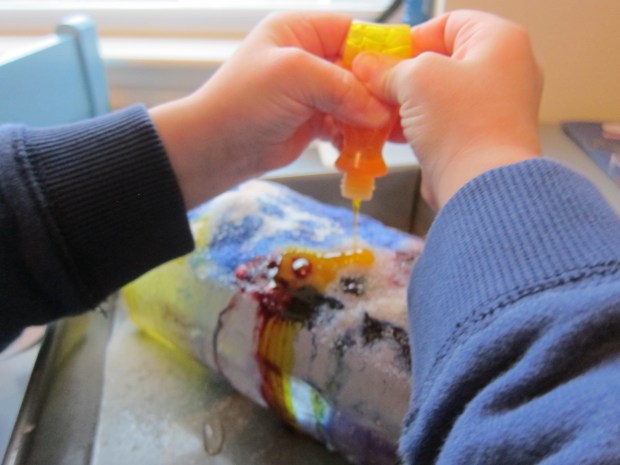
We were so into the Science topic, though, that I trolled Little Passport’s blog for other experiments. A few we had done before, but oldies can be goodies. First we repeated the old trick of invisible ink made from lemon juice. Squeeze half a lemon into a bowl and add 1 spoonful water. Use cotton swabs to make secret invisible messages on white paper.

Invisible Ink (1)

Let dry, then hold up to a light source like a candle (be careful if using a real flame) or lightbulb.

Invisible Ink (3)

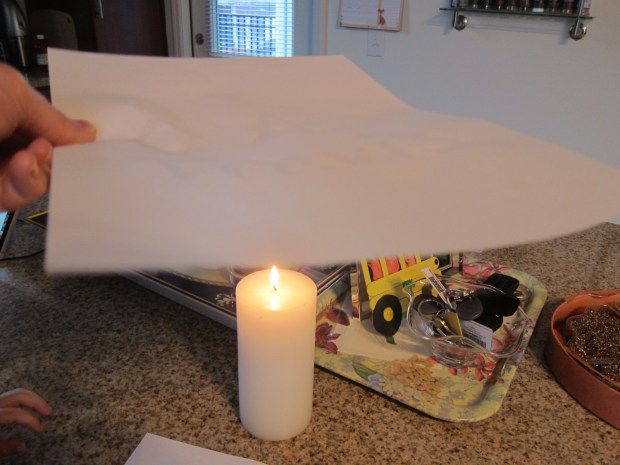
This works because the lemon juice leaves acid behind, which browns faster than the rest of the paper when held near a heat source.

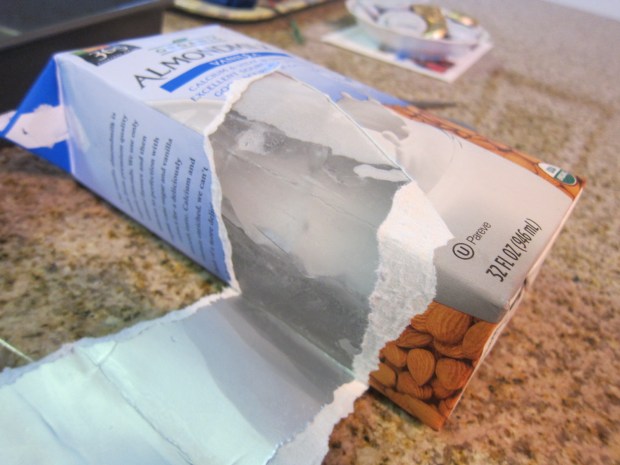
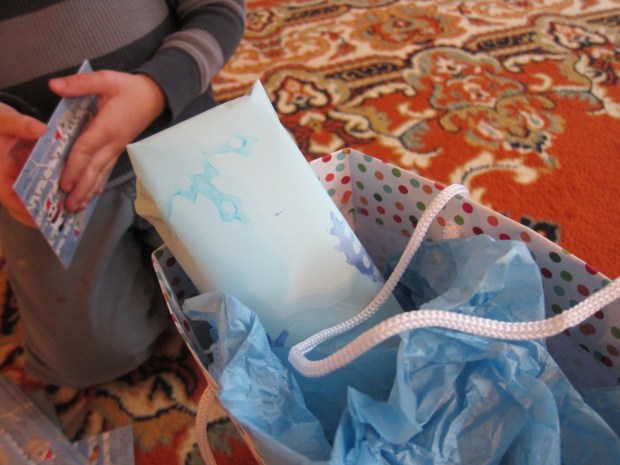
Meanwhile, other activities were so awesome they merited blog posts of their own, such as a leak proof bag:
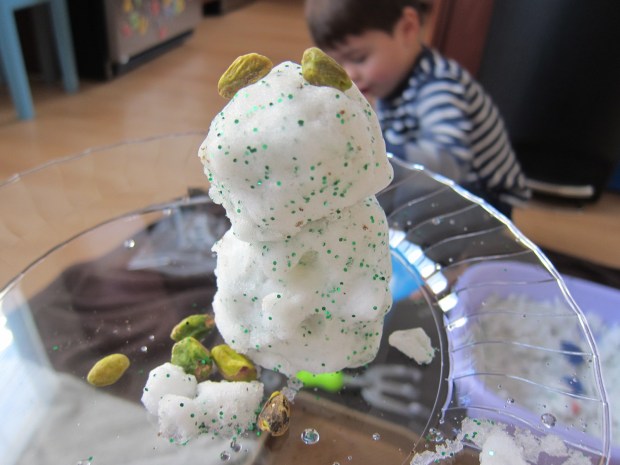
Leak Proof (3)

Dancing raisins:

Dancing Raisins (5)

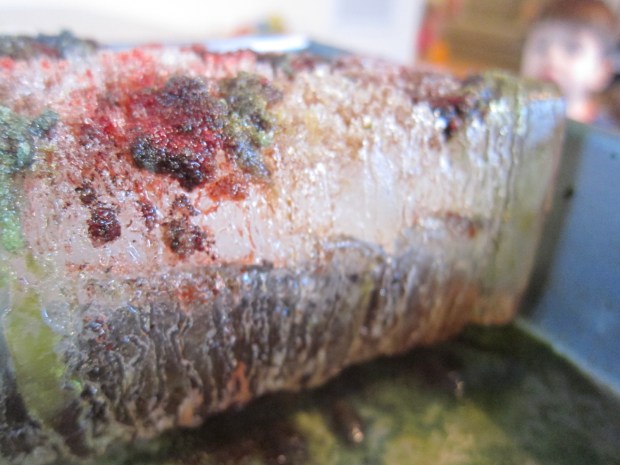
And turning pennies green.

Pennies Green (9)

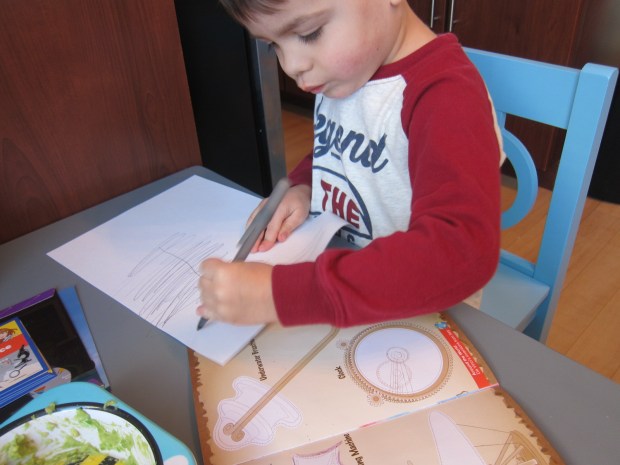
Finally, we pretended to be like DaVinci, who (apparently!) had all the same obsessions as my son – helicopters, scuba gear, airplane wings, and clocks. So we sat down to sketch “inventions” such as those four featured in our booklet. Travis said he was designing a parachute with ten handles – he’s got the right idea! 

LP Science (20)

Overall, definitely the best packet we’ve received in our Early Explorer’s journey thus far. Can’t wait for the next!


Indoor Snow Play

Indoor Snow (6)

Baby it’s cold outside! When the kids want to play out in the snow but the temperatures are hovering near zero, do the opposite: Bring the snow inside! If nothing else, the novelty of this idea is sure to delight any little ones feeling cabin fever.

First, we braved the cold for just a few minutes to shovel up snow, filling a few large plastic bins. Travis loves his child-sized shovel, and would happily have stayed outside longer if I let him.

Indoor Snow (1)

Inside, set down your snow on towels to contain any drips.

Indoor Snow (2)

Waterproof mittens are a definite plus…

Indoor Snow (3)

… although Travis decided he liked using his regular mittens best.

Now just have fun with the snow! Fist we made snowy roads for his cars to drive down.

Indoor Snow (4)

By far his favorite activity was stirring together a snow soup. I gave him little odds and ends from our craft bin, such as blue stones, buttons, and sparkly pom poms.

Indoor Snow (8)

You can’t have indoor snow play without adding some glitter.

Indoor Snow (7)

Finally, we made a little indoor snowman! The snow wasn’t the right texture for perfect snowman building, so two tiers was the best we could do. We decided he looked more like a Snowfrog, and put him outside on the patio where he won’t melt.

Indoor Snow (9)

Here’s wishing you and yours a happy and healthy 2018, hopefully with warmer weather to come soon!

Salt Painting Ice Sculptures

Salt Sculpture (12)

Not only is this project visually stunning, but it’s a neat way to teach kids why they see salt on the sidewalks and roads in the wake of a snowstorm… bcause the salt helps the ice to melt faster! Bring the concept to life with this fun activity.

First, fill an empty milk container with water and freeze overnight. In the morning, cut away the box (make a slit with sharp scissors, and the rest will peel away) to reveal a huge ice cube.

Salt Sculpture (1)

Travis was quite impressed – the biggest ice cube ever! Place in a baking tray to catch the mess you’re about to make.

Salt Sculpture (2)

Next, sprinkle a healthy dose of salt over the top of the ice cube.

Salt Sculpture (4)

Set out food coloring and invite your child to drip it all over the ice. You’ll soon see runnels of color and salt melting away at the ice block.

Salt Sculpture (5)

The effect is quite stunning! Travis had fun mixing colors, and watching it all run down the sides.

Salt Sculpture (7)

It was his idea to pull out a flashlight; lighting up the rivulets made them appear even cooler!

Salt Sculpture (10)

Of course then we needed to add extra salt and more color a few times. We then left the ice block out all morning, and checked on its progress. I had to pour off the melted water a few times, and then we could watch new pools of colored water form.

Salt Sculpture (13)

The craggy surface was fascinating for Travis!

Salt Sculpture (14)

And it turns out we had perfect timing since we got another snowstorm today – and another chance to see salt out on the sidewalks and pavement.


Arctic Crate

Koala arctic (12).JPG

Last winter we received a Snow Crate through our Koala Crate subscription, so it seemed sort of redundant to receive an Arcitc Crate this time around; I worried the crafts inside might not be novel enough. Luckily the projects were quite different. So even if learning about the Arctic in particular and snow in general had some overlap, we had plenty to keep us entertained. 

As always, you can copy the ideas below with materials from a craft store. First though…

…it was tough to get going on the crafts because Travis loved the materials themselves when we popped open the box. Fluffy ribbon that would later be used to make a “snowball” first had to be incorporated into music and movement play.

Koala arctic (4)

After that he decided it was “snow” and shoveled it up off our carpet. Koala Crate wins for sparking imagination with this one! 

Koala arctic (5)

Once he was ready, we started by putting together the Polar Bear Dress-Up costume, and I was impressed by his focus. He decided all by himself where the felt stickers should go to be the pads and claws on the paws.

Koala arctic (2)

Next he laced around a whole paw with the white string provided. I thought for sure he would tire of the task – polar bear paws are big! – but he insisted on finishing the whole paw himself. (I did lace up the second one for him).

Koala arctic (16)

The headband ears were simple: attach white felt stickers with black felt dots in the middle to a white headband, and you have polar bear ears. Lots of roaring ensued once he had the ears and paws on!

Koala arctic (8)

Next up was Snowball Toss, a craft that doubles as a sports game. We covered a Styrofoam ball with sticky Velcro stickers to make the “scratchy snowball.”

Koala arctic (11)

To make the “fluffy snowball,” we wound white fluffy yarn (mentioned earlier!) around a bath loofah. Now it was time to test out games of catch!

Koala arctic (9)

Travis was amazed when the scratchy snowball latched right onto a felt polar bear paw.

koala arctic (19)

The soft snowball took more dexterity. As you play, you can ask your little one questions about the differences between the two balls, and why one is easier to catch than the other.

koala arctic (18)

The final craft, Snowflake Stamps, was remarkably similar to a wrapping paper activity we enjoyed just before Christmas. Travis was super eager to see how the snowflake stamps worked, but he lost interest quickly.

Koala arctic (6)

As a minor gripe, the ink pads were smaller than the snowflake stamps, which frustrated him and led to his disinterest. He decided it was more fun to stamp ink pad squares directly onto the paper.

Koala arctic (13)

Still, we ended up with enough stamps to cover the provided blue paper, which can then be used to wrap gifts.

Koala arctic (14)

Perfect for winter holidays or upcoming winter birthdays!

Koala arctic (15)

In sum, I didn’t necessarily feel like Koala needed to send us a wintery themed crate just because it’s cold outside… but they did an admirable job of making this one quite different from last year’s Snow. 


Salt Dough Snowflakes

Salt Snowflake (13)

Here’s a beautiful snow-themed project, perfect for Christmas tree ornaments or for hanging around the house as wintery decoration even once the holidays are over. We loved the idea of the craft, but had no snowflake cookie cutter at home. Read on for our improvised version!

To prepare the salt dough, mix together 1/2 cup salt…

Salt Snowflake (1)

1/2 cup water…

Salt Snowflake (2)

and 1 cup flour. Travis was a very happy mixer. If the dough is too sticky, add a bit more flour.

Roll the dough to about 1/4-inch thick, then cut out snowflake shapes with a cookie cutter.

Salt Snowflake (5)

As mentioned, we didn’t have the right cookie cutter… but I did have a snowflake-shaped pendant, that I thought we could press into the dough.

Salt Snowflake (4)

After some trial and error…

Salt Snowflake (6)

…we found it worked best to cut out squares of dough first and place them on a baking sheet, then to imprint the snowflake.

Salt Snowflake (7)

Poke a small hole in one corner of each snowflake using a straw, then bake at 275 degrees F for 90 minutes, or until hard.

Salt Snowflake (8)

They looked so pretty when they came out of the oven!

Salt Snowflake (9)

As the final touch, your child can decorate with paints or markers. I had fun coloring in a few with Christmas-y colors. Travis was equally delighted to paint several of them, and although perhaps not as “pretty”, I loved his creativity as he worked.

Salt Snowflake (10)

Thread a string through the hole in each one,. As mentioned, they make great ornaments (we’ll have to save ours for next year’s tree!) or even work as gift tags if you use a marker to write the name of the recipient on the reverse.

Salt Snowflake (12)


Mitten Match: Alphabet Game


Mitten Match (5).JPG

Here’s a cute and seasonal alphabet match game to keep little mind’s sharp over winter break!

You’ll need 52 mitten shapes to play the game, labeled with all the letters in both upper and lower case. So yes there’s quite a bit of parental prep-work, but you can spread out the task over the course of an afternoon.

Mitten Match (2)

First, I printed out a mitten template (just Google and dozens will pop up), and traced a pair of mittens onto paper for every letter. You can trace onto any paper you like; colored construction paper would be pretty, although white paper would work just fine. I have a pad of patterned paper which worked great because each letter pair could have its own distinct pattern. This served as a cue for finding matches if Travis was in doubt, later on.

Label each mitten pair with the capital and lower case of each letter. Cut out.

Mitten Match (6)

Now it’s time to play with your mittens, and there’s no right or wrong way to do it!

You can set up a hide-and-seek around the house. If playing this version, choose just a few mitten pairs – 26 letters would require a lot of patience and good hiding spots.

Mitten Match (3)

Travis balked a little at the learning aspect of the game, until we found ways to make it exciting. Before bed, I showed him an upper case letter, and he used a flashlight to pinpoint the matching lower case, for example.

Mitten Match (7)

Even more fun, Travis loves loading up toy trucks and cars like they are dump trucks, and I encouraged him to load all the mittens – but only once he had an upper and lower case match.

Mitten Match (8)

He was so thrilled that he went through all 26 pairs, proudly showing me each before it was loaded up into the truck.

Mitten Match (9)

How else will you play with your mittens? Please share ideas in the comments!

Mitten Match (4)


Foam and Cork Canoe

Foam Canoe (11).JPG

This was not so much a craft that Travis and I did together, but more of a toy that I put together for him. It mainly involves scissors and hot glue, so definitely grown-up materials! If your kids are8 years old and up, they can help out with the hot glue under careful supervision.

I had actually hoped to put the little canoe together around Thanksgiving, when Travis learned about Native Americans and the holiday. But alas, at the time I didn’t have enough wine corks! With a trove of 5 corks now on hand, I finally got around to making the canoe. If you want a bigger boat, use up to 8 wine corks.

foam canoe (3)

To start, I drew a canoe shape on white paper, and traced that two times on brown craft foam. Cut out; these are the two sides of the canoe.

foam canoe (1)

To make your boat buoyant, hot glue together the wine corks in a row. Travis did venture over to see this stage, thinking it was pretty neat!

foam canoe (6)

Glue the corks near the bottom edge of one canoe half, then add drops of glue to each cork and press on the other half of the canoe.

foam canoe (7)

Seal the top edges of the canoe together with more hot glue.

foam canoe (8)

You can assemble your canoe’s passenger from additional shapes of craft foam. I snipped out red rectangles for body and arms, a brown square for the face, and a larger square of black foam for the hair, all of which I attached together with hot glue.

foam canoe (4)

Cut fringe in the black foam for a cute touch.

foam canoe (5)

Now we needed to test if he would float! To Travis’s delight, the canoe worked great.

Foam Canoe (10)

It wasn’t long before he grew impish and wanted to see if our little foam person could swim.

Foam Canoe (12)

This being closer to Christmas than Thanksgiving, he turned the canoe into Santa’s “sleigh” during his bath. Bath was nearly double its normal length because he was having so much fun. However you use it, a great floating toy.

Foam Canoe (13)

How to Make Pennies Turn Green

Pennies Green (7)

We’re on winter break and the science fun continues! With this easy experiment, you’ll create a simple chemical reaction – and help explain to your kids why the once copper-colored Statue of Liberty is now green!

The project was fun from start to finish because first we had to break into Travis’s piggy bank. This meant using a screwdriver (under careful adult supervision of course). We separated out the pennies from the rest of the coins, making it a quick lesson in currency denominations too.

Pennies Green (1)

Place your pennies in a bowl covered with a paper towel.

Pennies Green (2)

Pour white vinegar into the bowl, making sure the paper towel is completely saturated.

Pennies Green (4)

Now observe! We were surprised when the first penny had green spots after only a few hours.

Pennies Green (6)

The next morning, several of them were quite green!

Pennies Green (8)

I honestly have no idea why some of the pennies turned green and others did not, but here’s what’s happening: The metal copper and the acid in the vinegar react with oxygen, and form a new blue material, called malachite.

Make sure to observe under a magnifying glass, too!

Pennies Green (9).JPG


Dancing Raisins

Dancing Raisins (4)

Well, school’s out for winter break and we’re stuck indoors on a rainy day. What did we do? Science experiments of course!

Don’t be daunted when it comes to science and preschoolers. The goal is not to hammer home the scientific concepts, but rather to introduce tots to the strange, silly, and downright amazing things that happen when substances mix. I love this experiment because it epitomizes the fact. It couldn’t be simpler – all you need is club soda and raisins – but has easy-to-see, immediate, and delightful results.

First, fill a glass (or two) about 2/3 of the way with club soda.

Dancing Raisins (1)

Add about 4 raisins to each glass. Now watch what happens!

Dancing Raisins (2)

We immediately observed that the raisins sank to the bottom of the glass, but were very quickly covered in bubbles.

Dancing Raisins (3)

We only needed to wait a moment before we were rewarded…. with dancing raisins!

Dancing Raisins (5)

They swim up to the top, do a pirouette or two, and then sink back down. The best raisins did this over and over again. (Honestly, I’m not sure why some raisins were more “active” than others, but we definitely had some movers-and-shakers, and a few that just stayed inert).

I asked Travis why he thought the raisins were dancing, and he answered, “The bubbles!” He’s pretty much got it: the carbon-dioxide filled bubbles coat the raisins and rise to the top of the glass like all the bubbles in the water. Once they reach the top and pop, the raisin is released and sinks back down. For kids who can’t see molecules and atoms yet, it’s a neat visual of forces at work.

Of course Travis then needed to see what would happen if we dumped his entire snack pack of raisins into a glass. As you’d expect, the raisins mostly weighed one another down, but those on the top layer still danced for us!

Dancing Raisins (6)

Honestly, you’ll be entertained watching this experiment for quite some time; raisins are adorable dancers.

Dancing Raisins (7)

Note: We tried something similar with Halloween candy in October. What other foods can you make dance in a glass? Rice? Dried pasta? If you experiment further, please share in the comments!