Little Passports: Argentina

LP Argentina alt

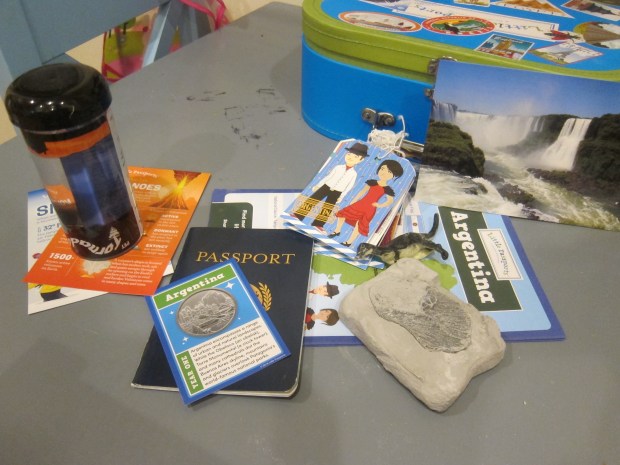
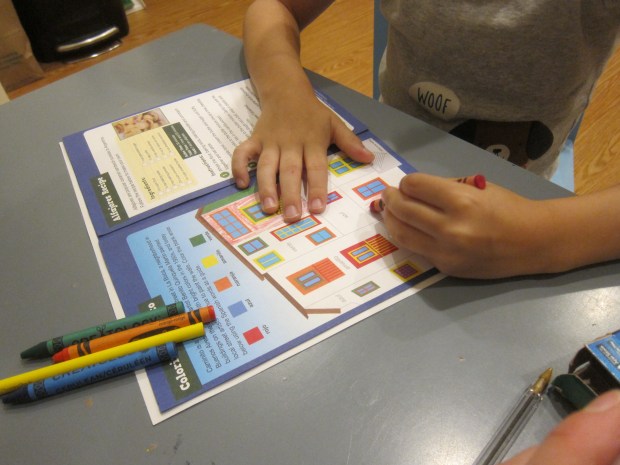
Travis quite enjoyed his Argentina package from Little Passports, particular how hands-on this particular country’s activities were.

LP Argentina (1)

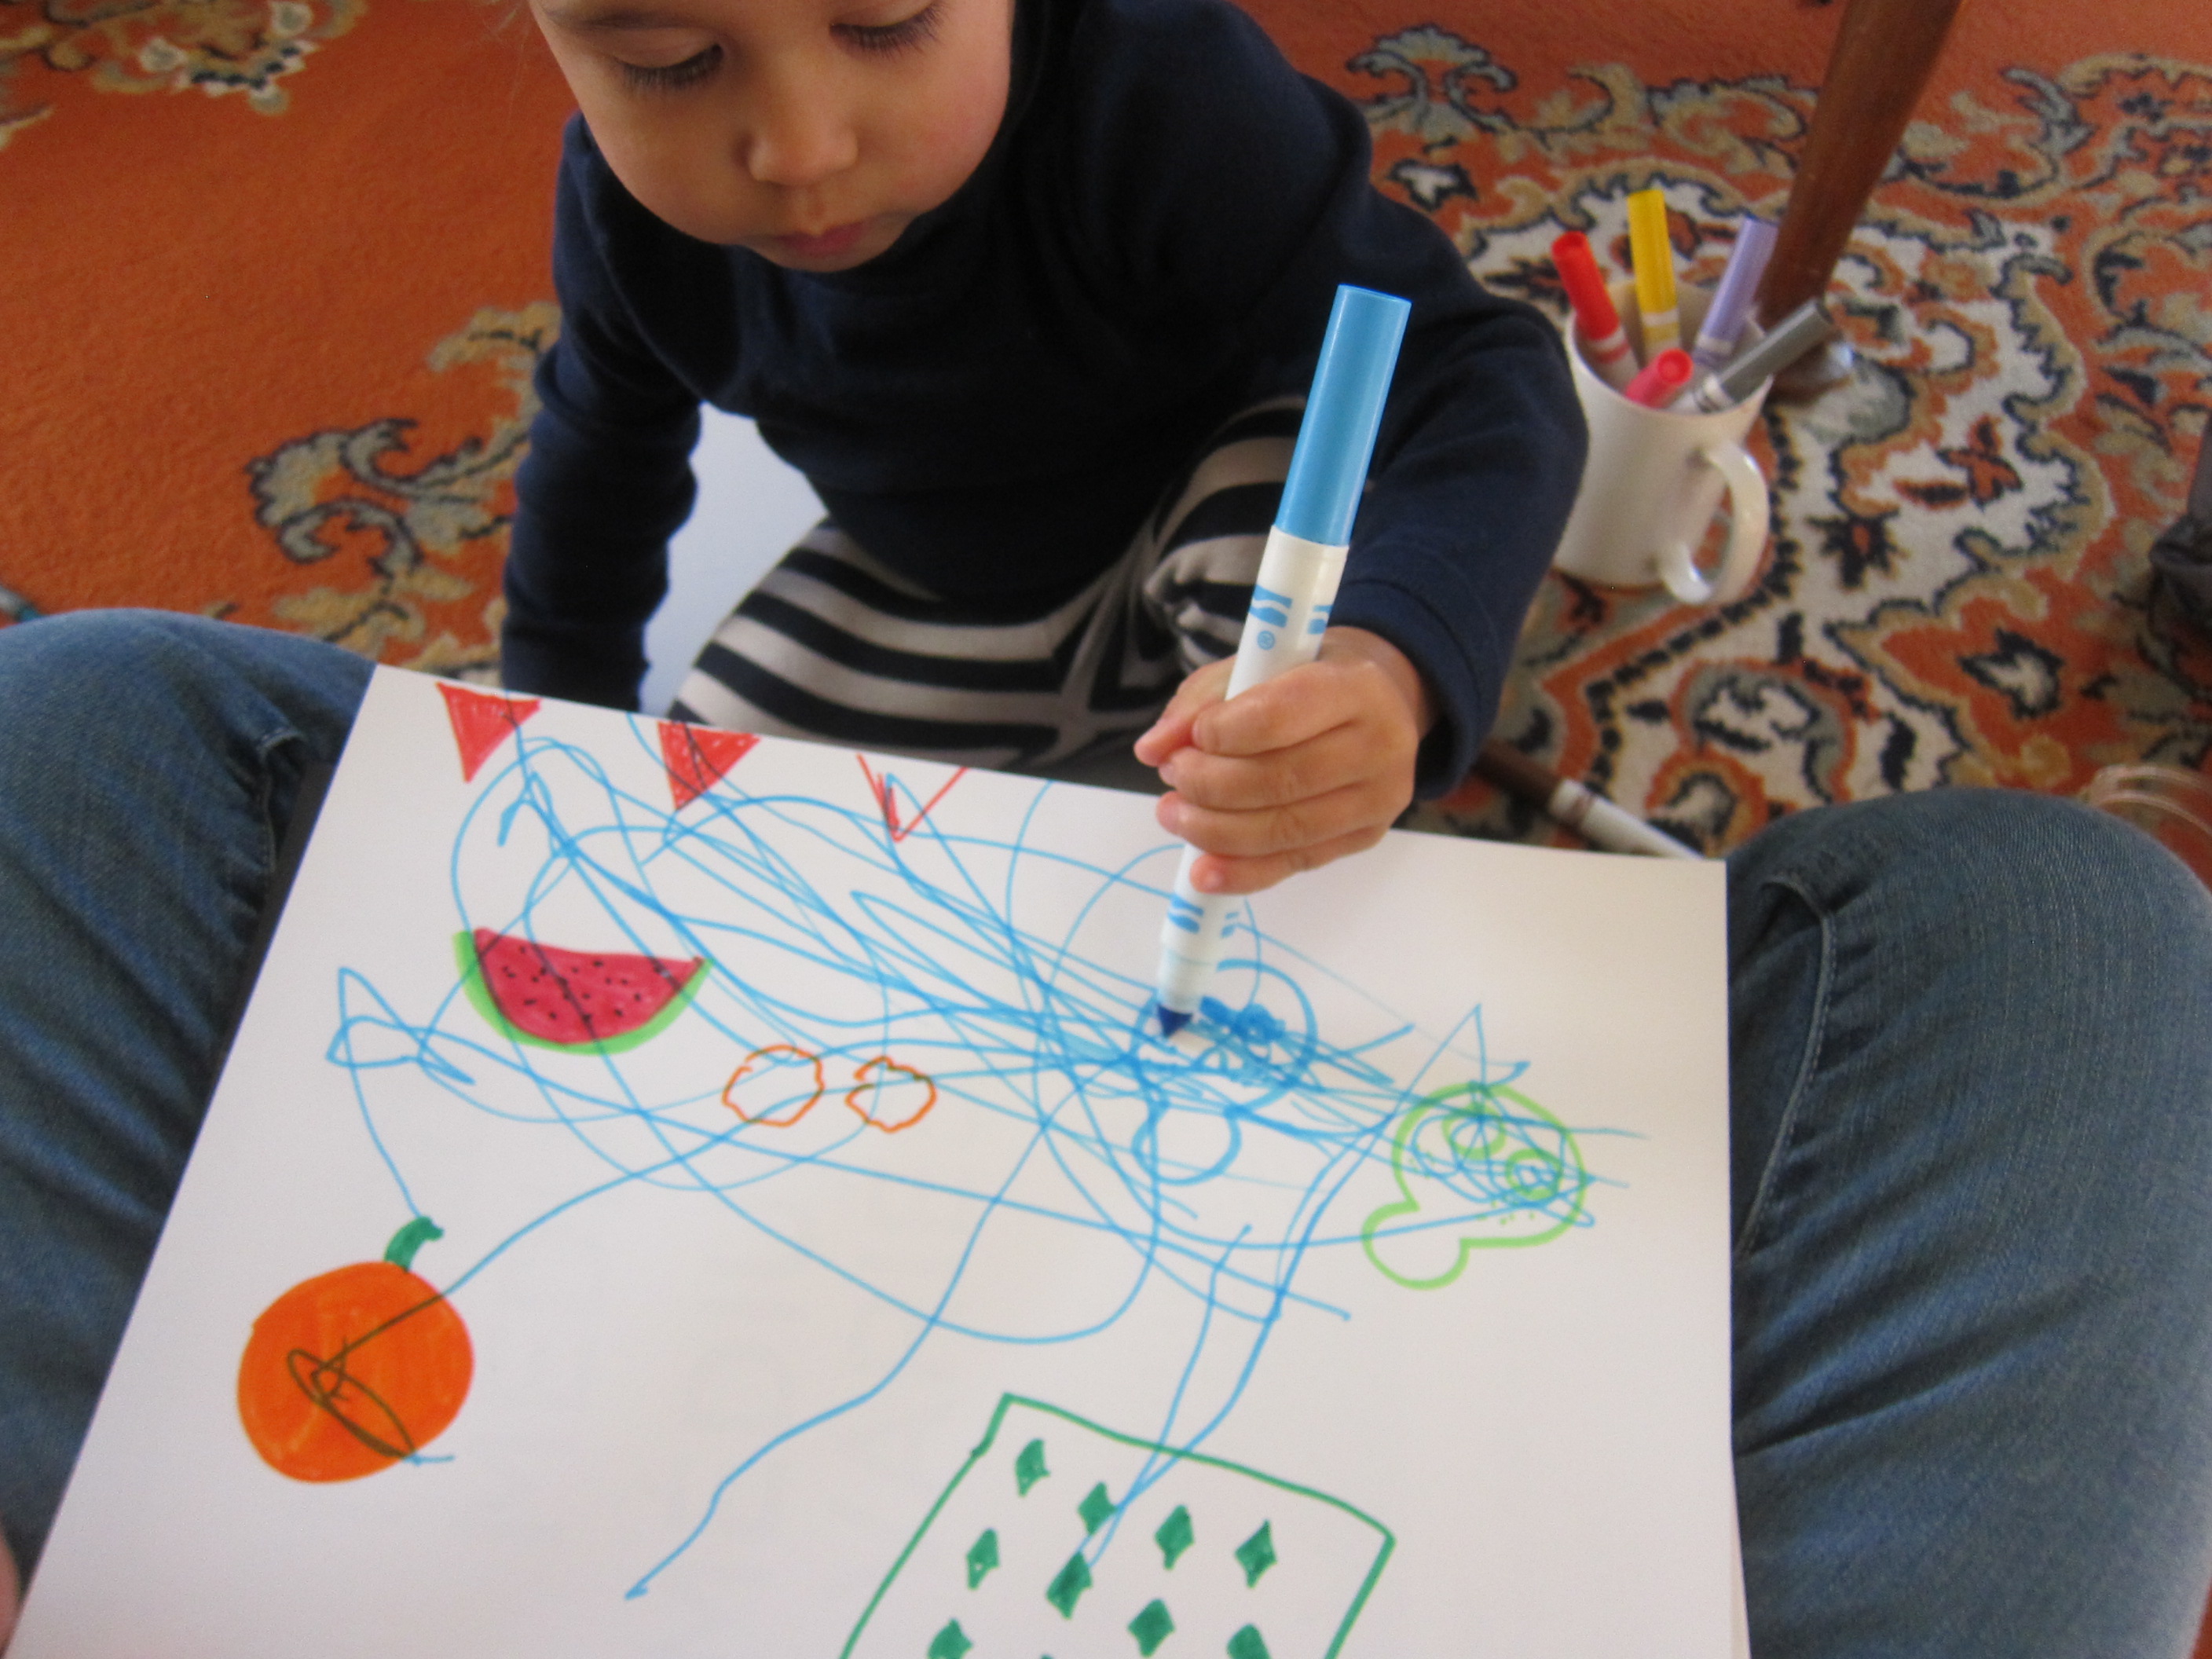
He dove right into the usual fare (a passport stamp, a sticker for his suitcase). The booklet had a few activities that were right at his grade level (learning colors in Spanish, a dot-to-dot) and some that were tricky to grasp as a first grader (adding team scores for Argentina’s national game of Pato).

LP Argentina (9)

Souvenir:

Travis always wants to know what “Sam and Sofia” have sent right away, and this one did not disappoint. After learning that some of the world’s largest dinosaurs have been found in Argentina, kids will have a little fossil kit to dig up their own Gigantosaurus.

LP Argentina (4)

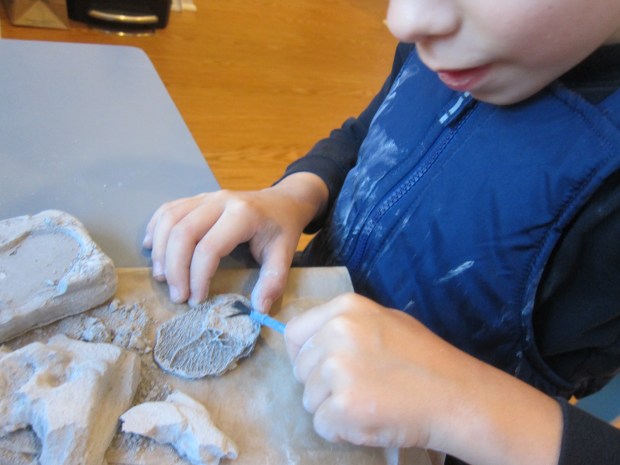
Travis loved alternating between the pick and the brush until he had carefully unearthed the skeleton.

LP Argentina (3)

Further Activities:

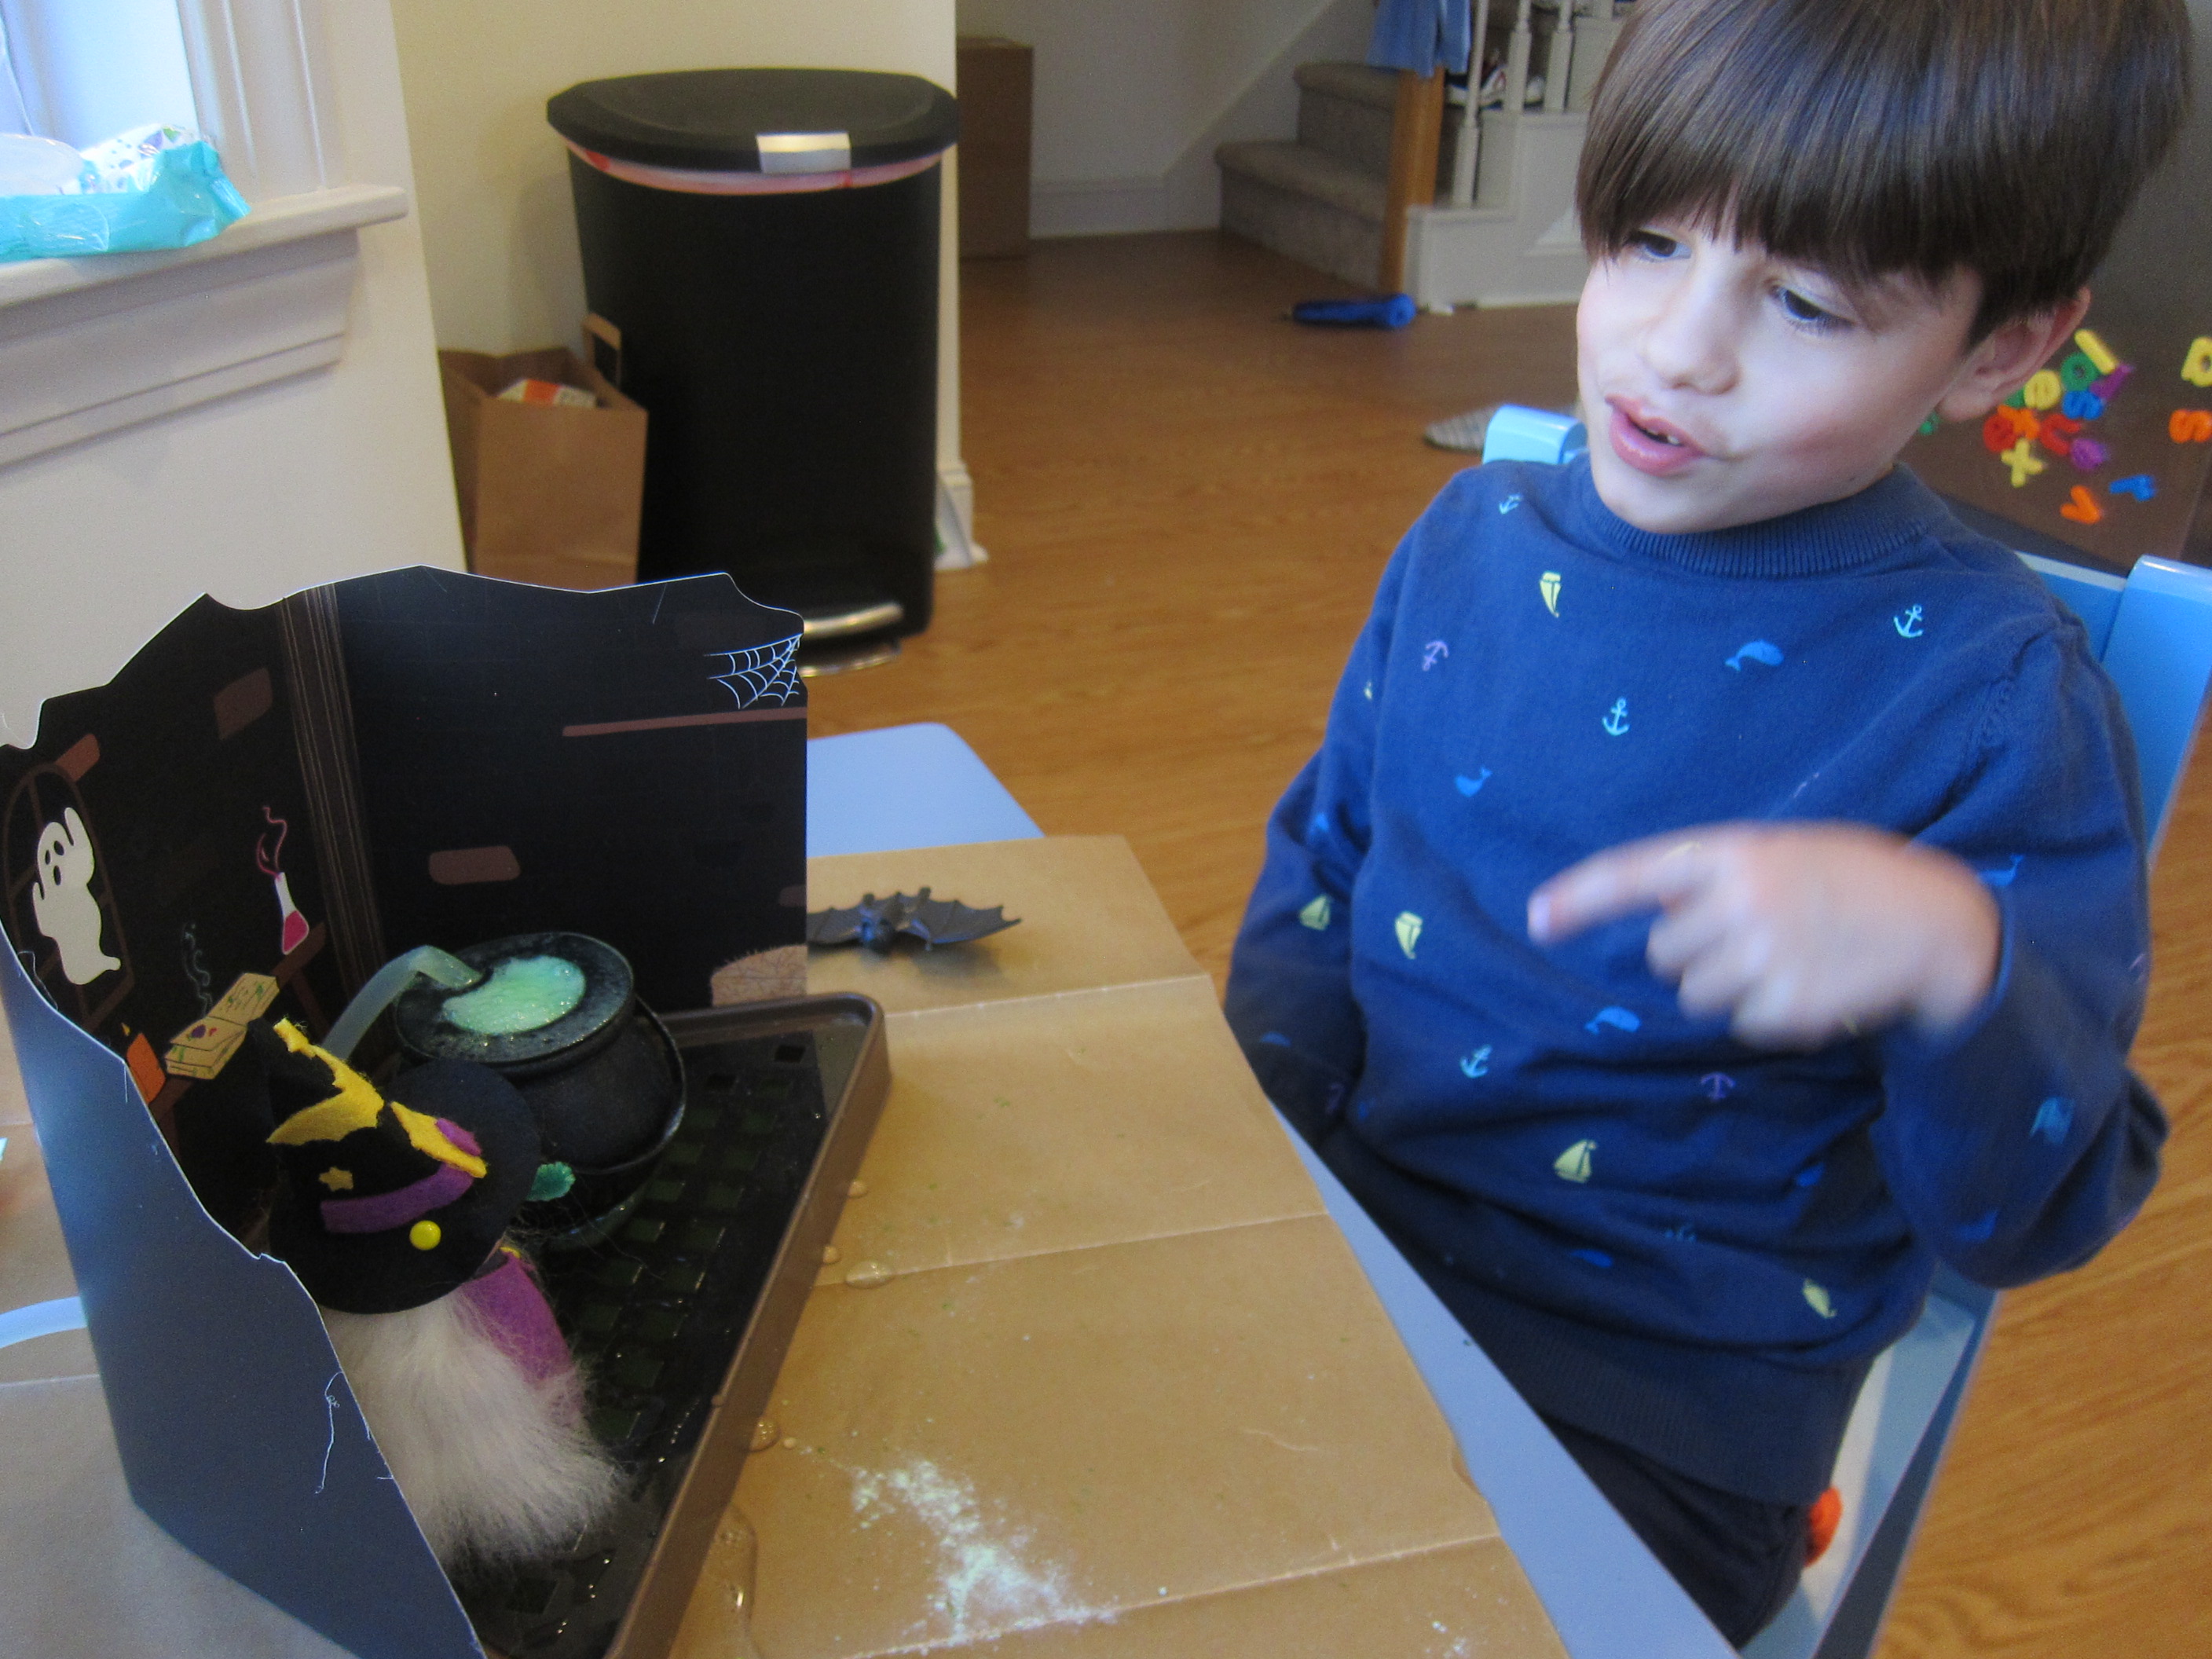
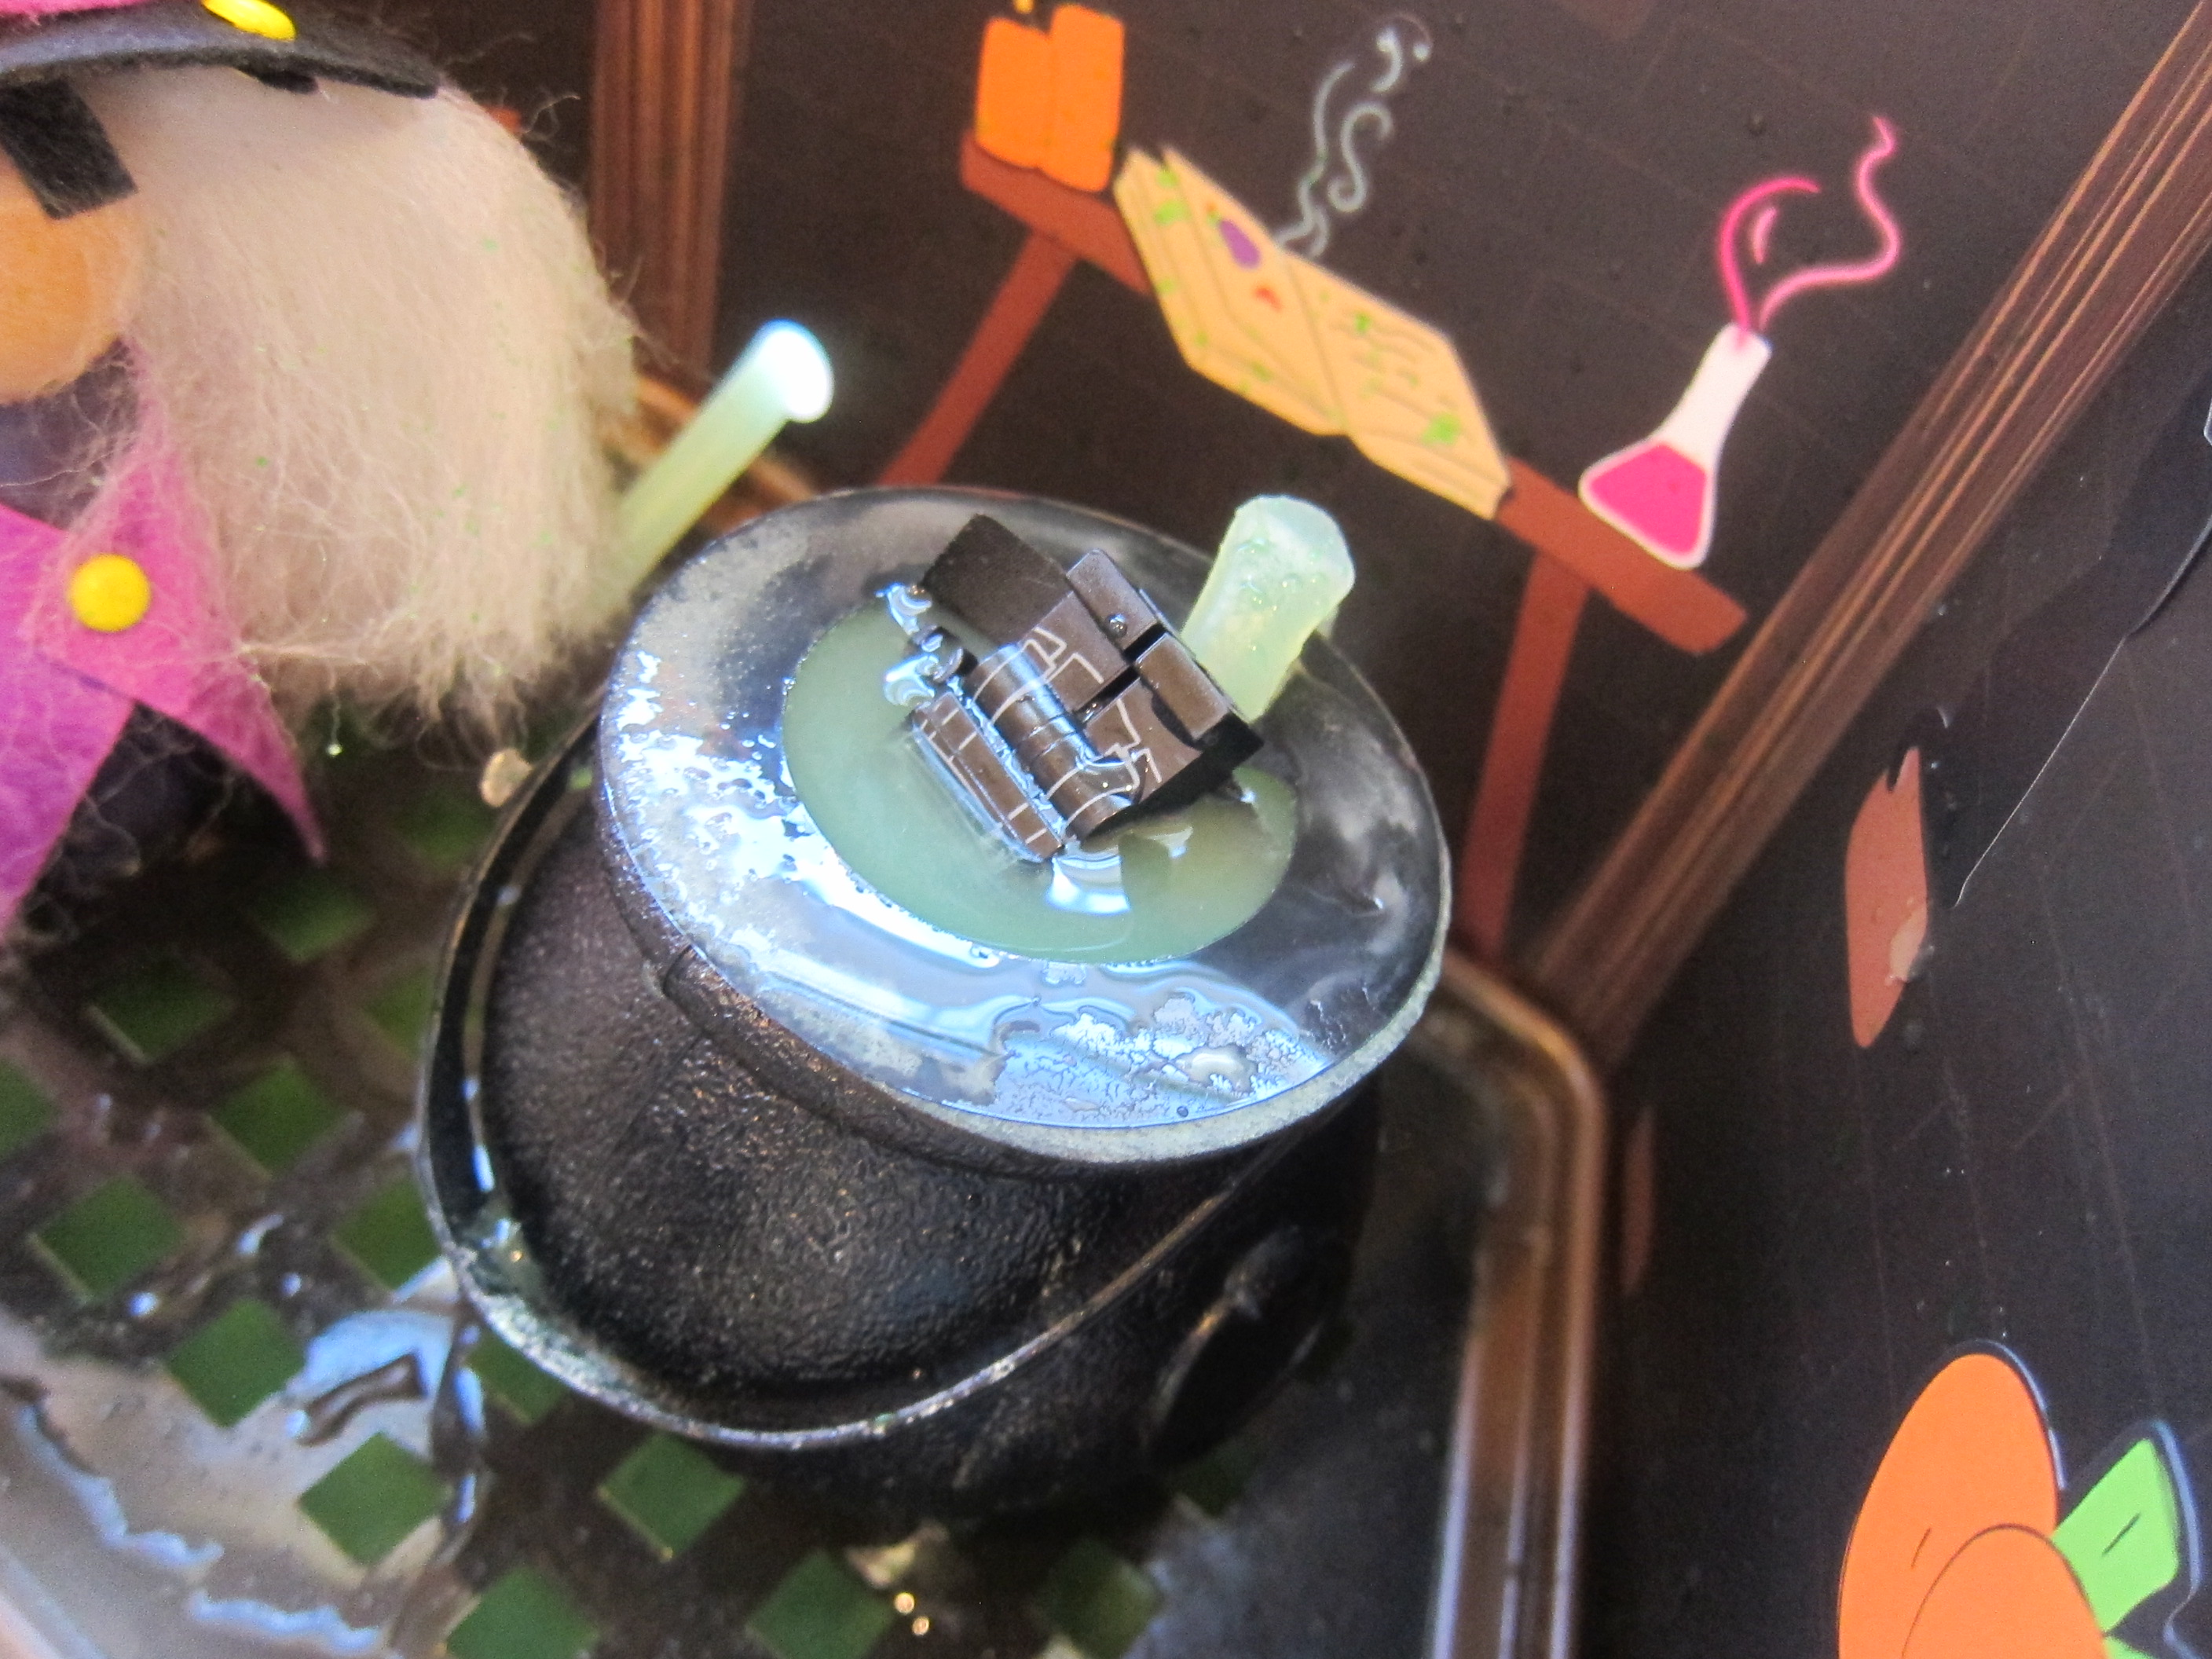
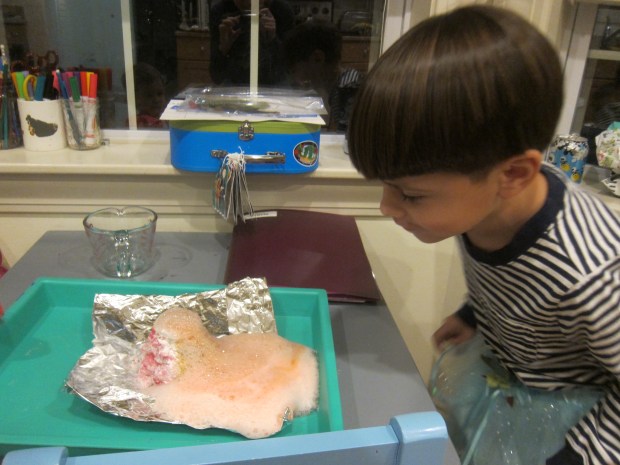
The optional add-on for Argentina was a Weather Lab kit, based on Argentina’s active Andean volcanoes and snowfall in Patagonia. We’re so glad we opted for it! First we made instant snow, which little sister Veronika loved playing with even more than Travis.

LP Argentina (6)

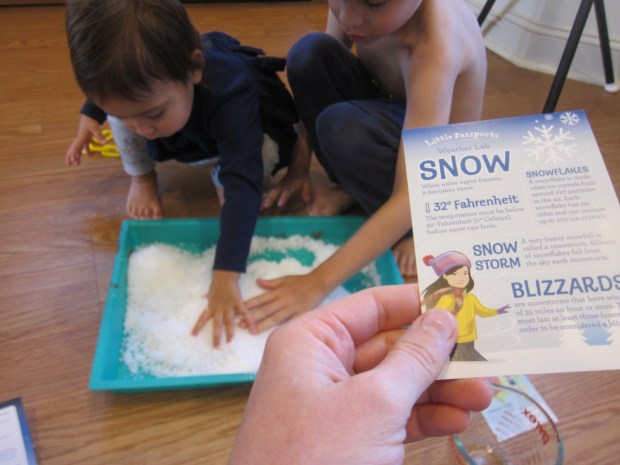
I read them facts about how ice crystals form as the kids played with the neat mixture. Next was a tornado jar which Travis could spin to watch a funnel cloud form.

LP Argentina (11)

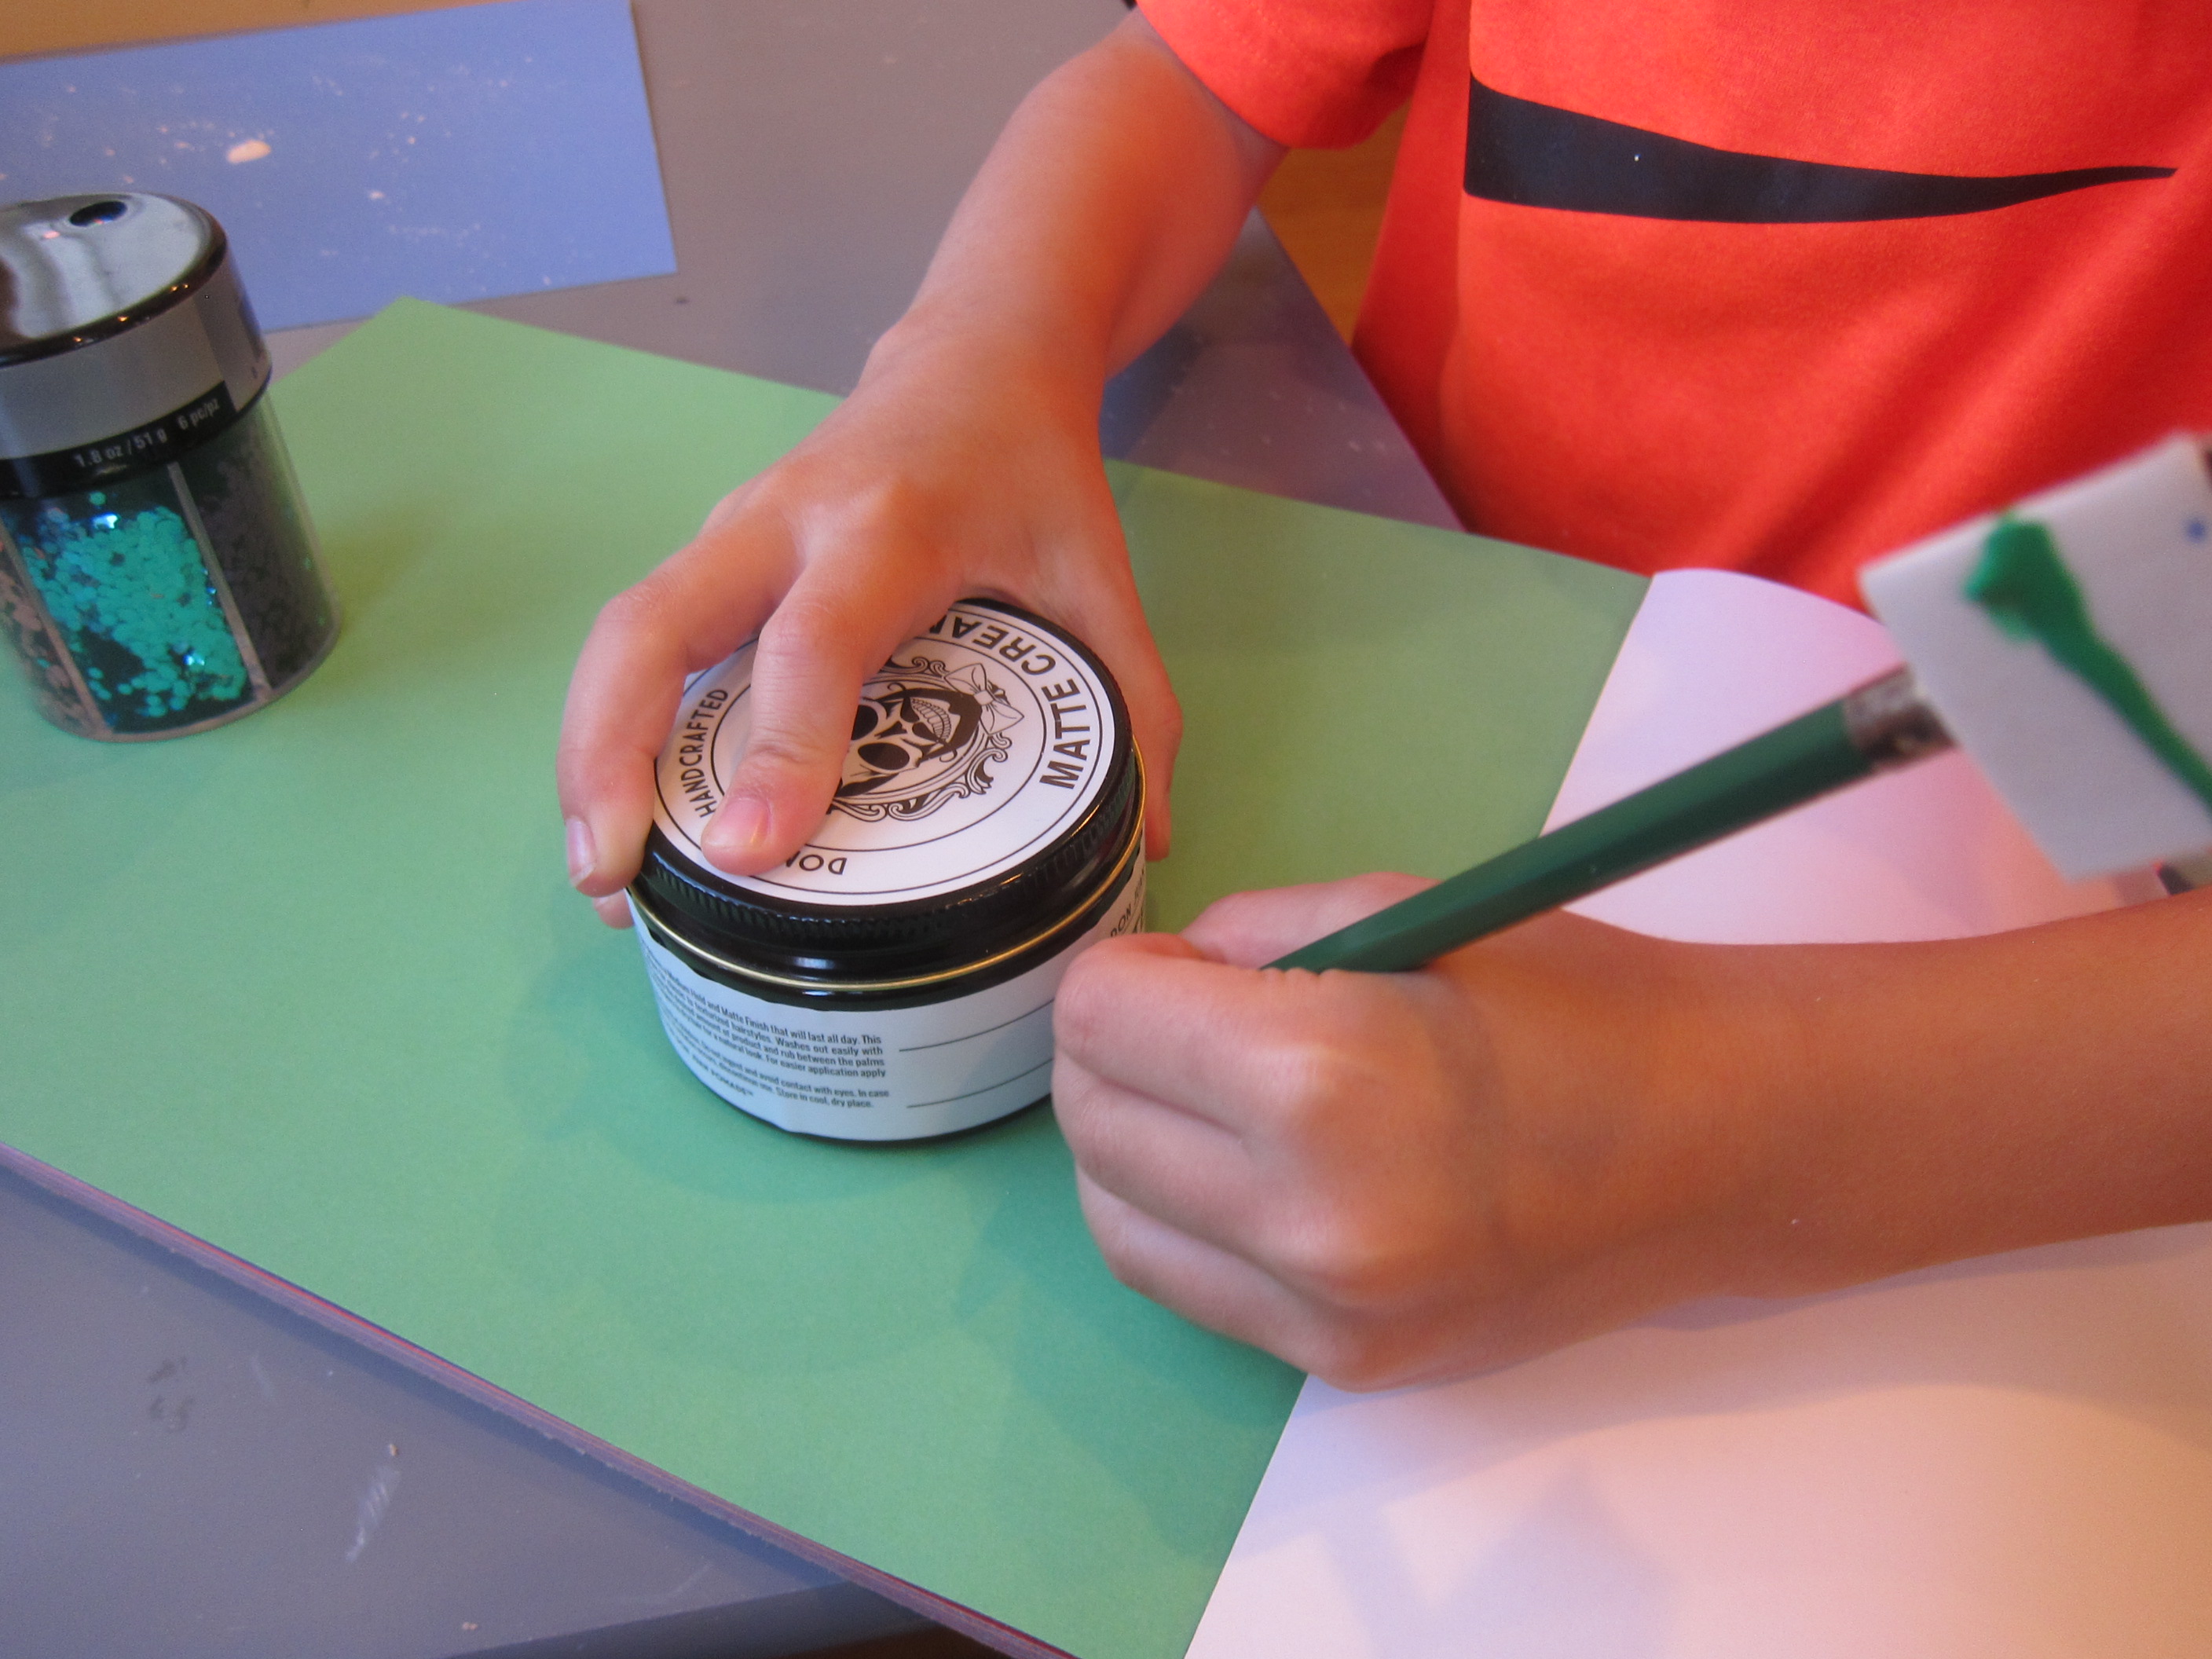
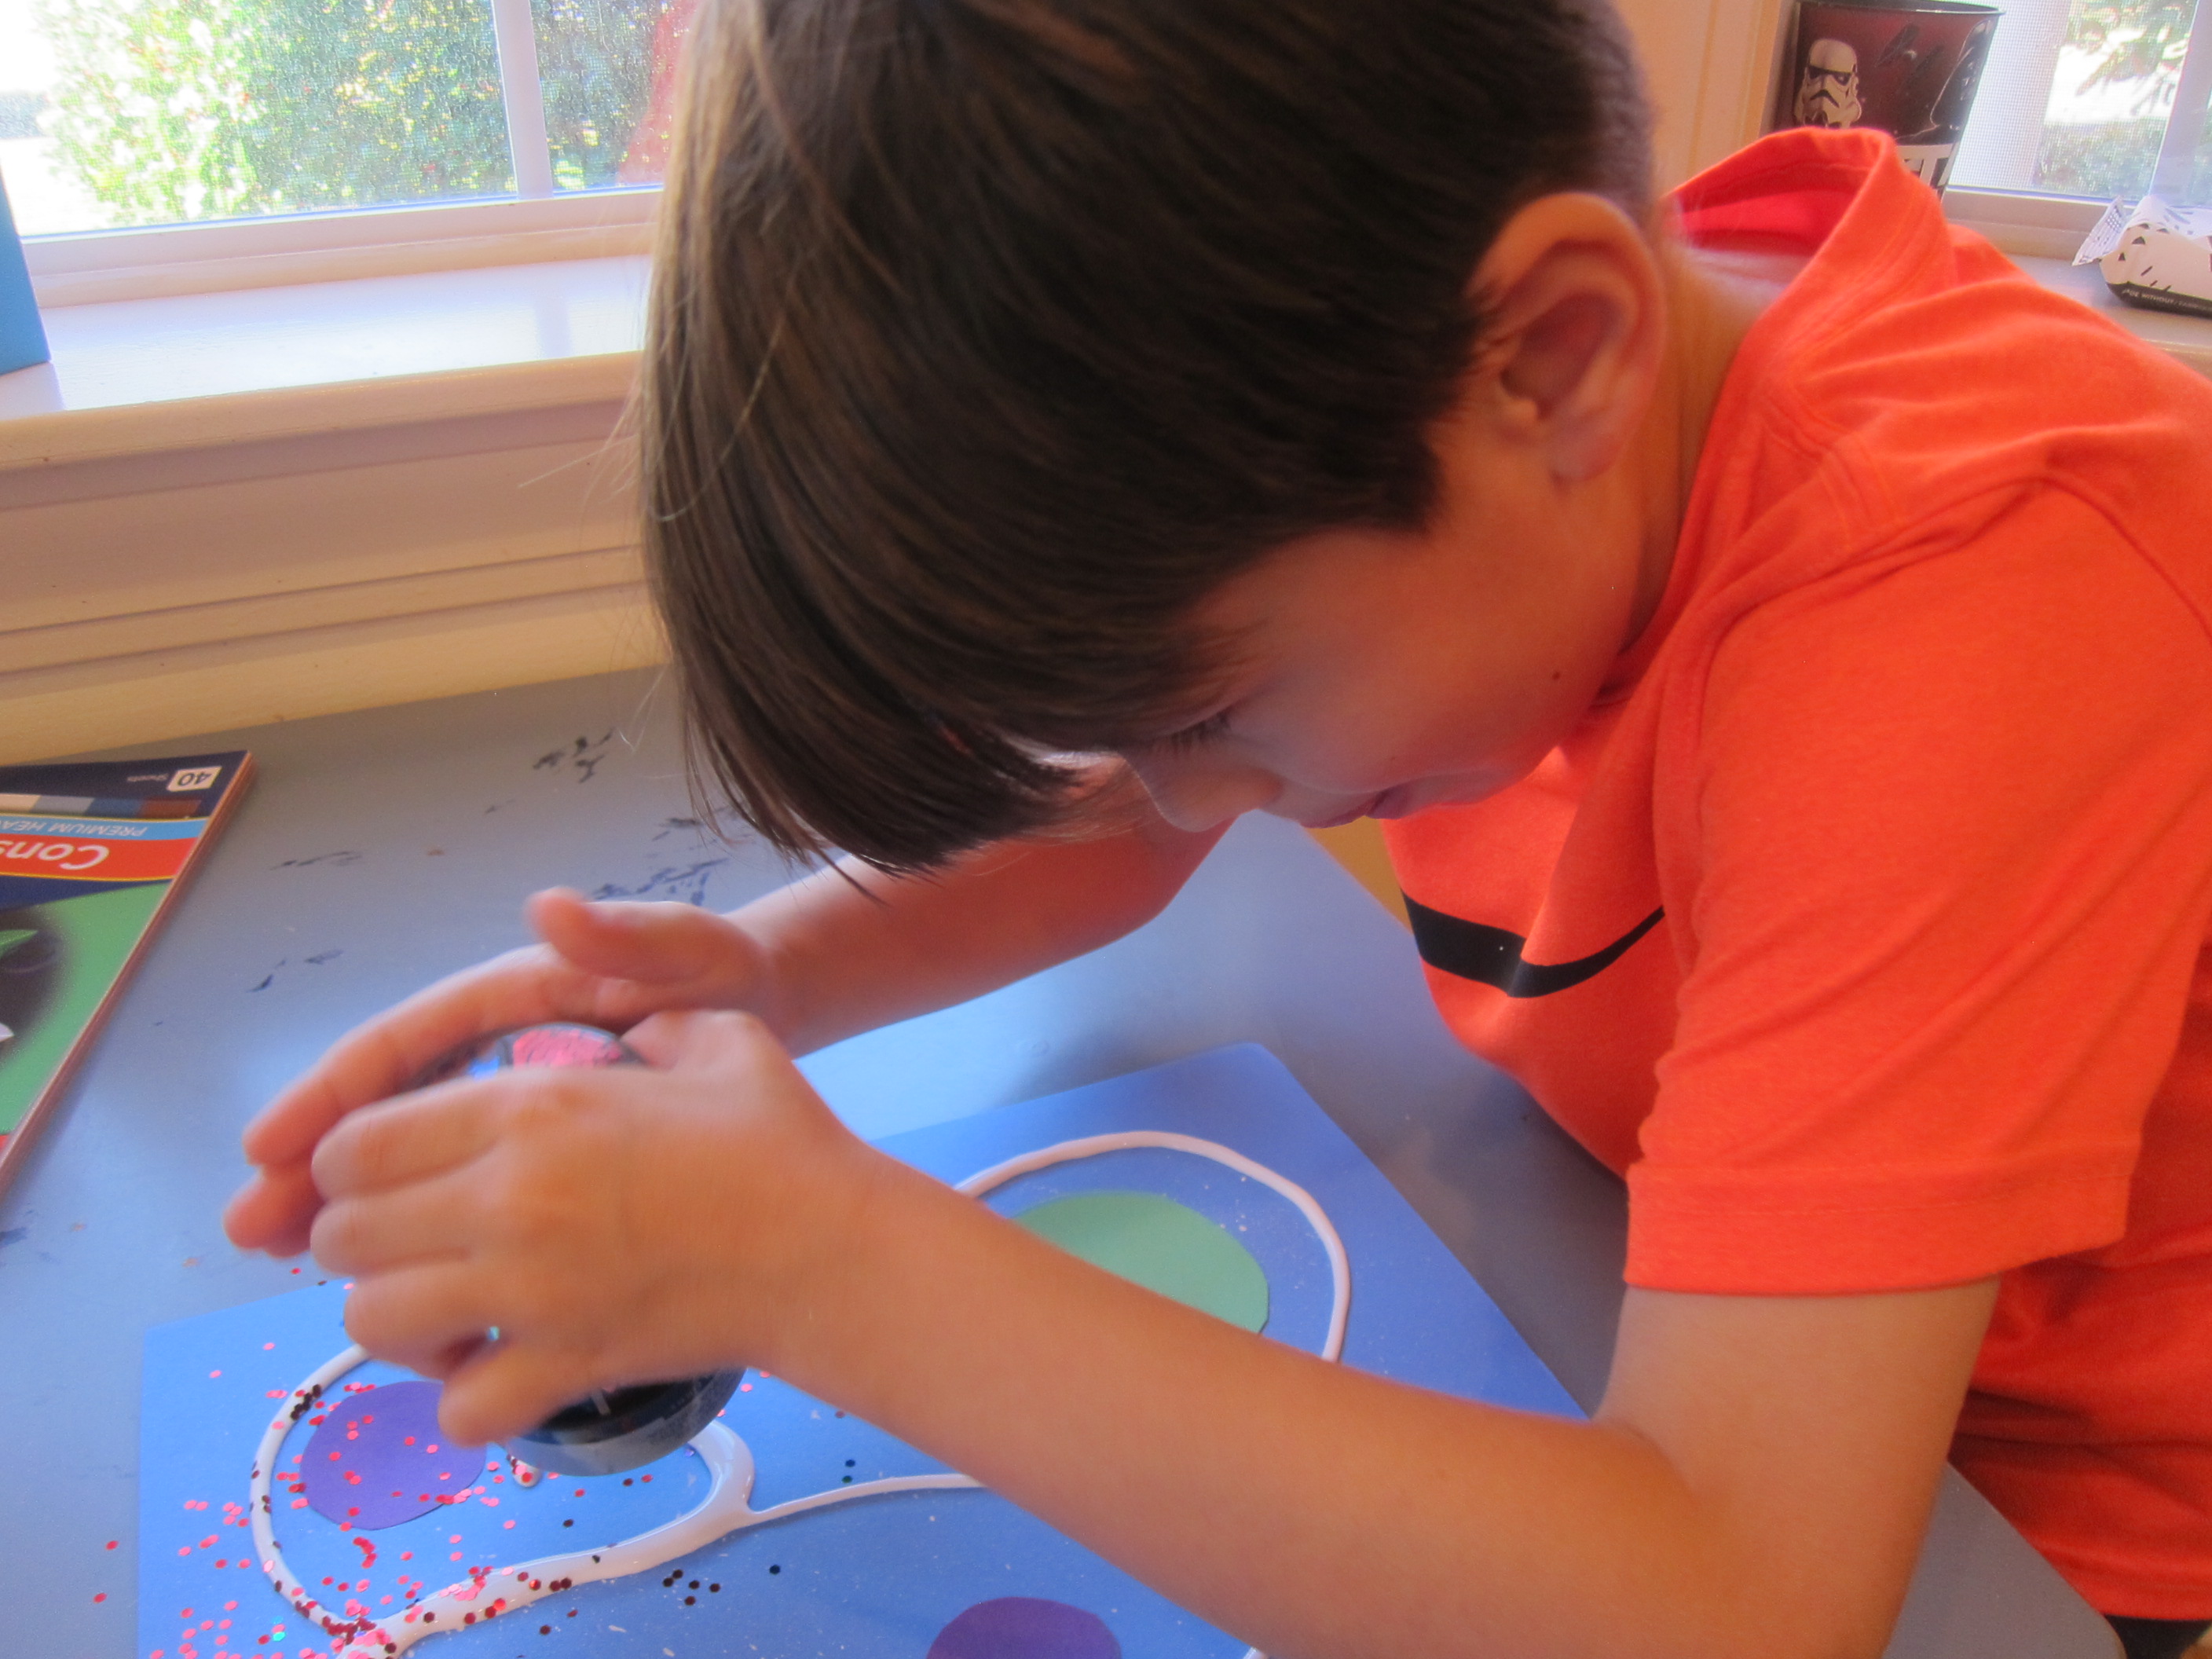
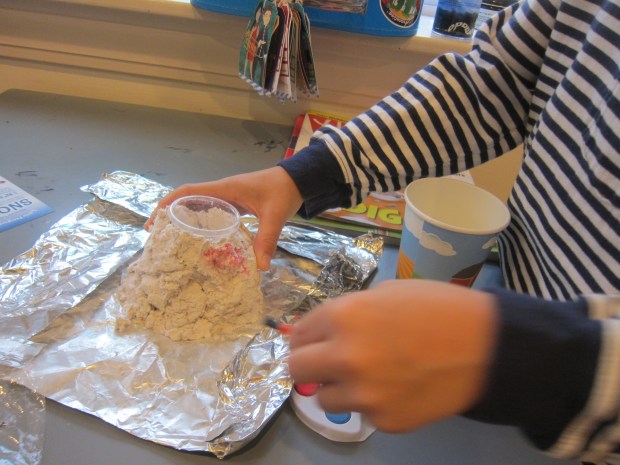
But best of all were the provided materials to make a volcano. We mixed warm water into powdered clay (I was proud of Travis getting his hands in there!) and then shaped a little volcano around the provided plastic cups.

LP Argentina (7)

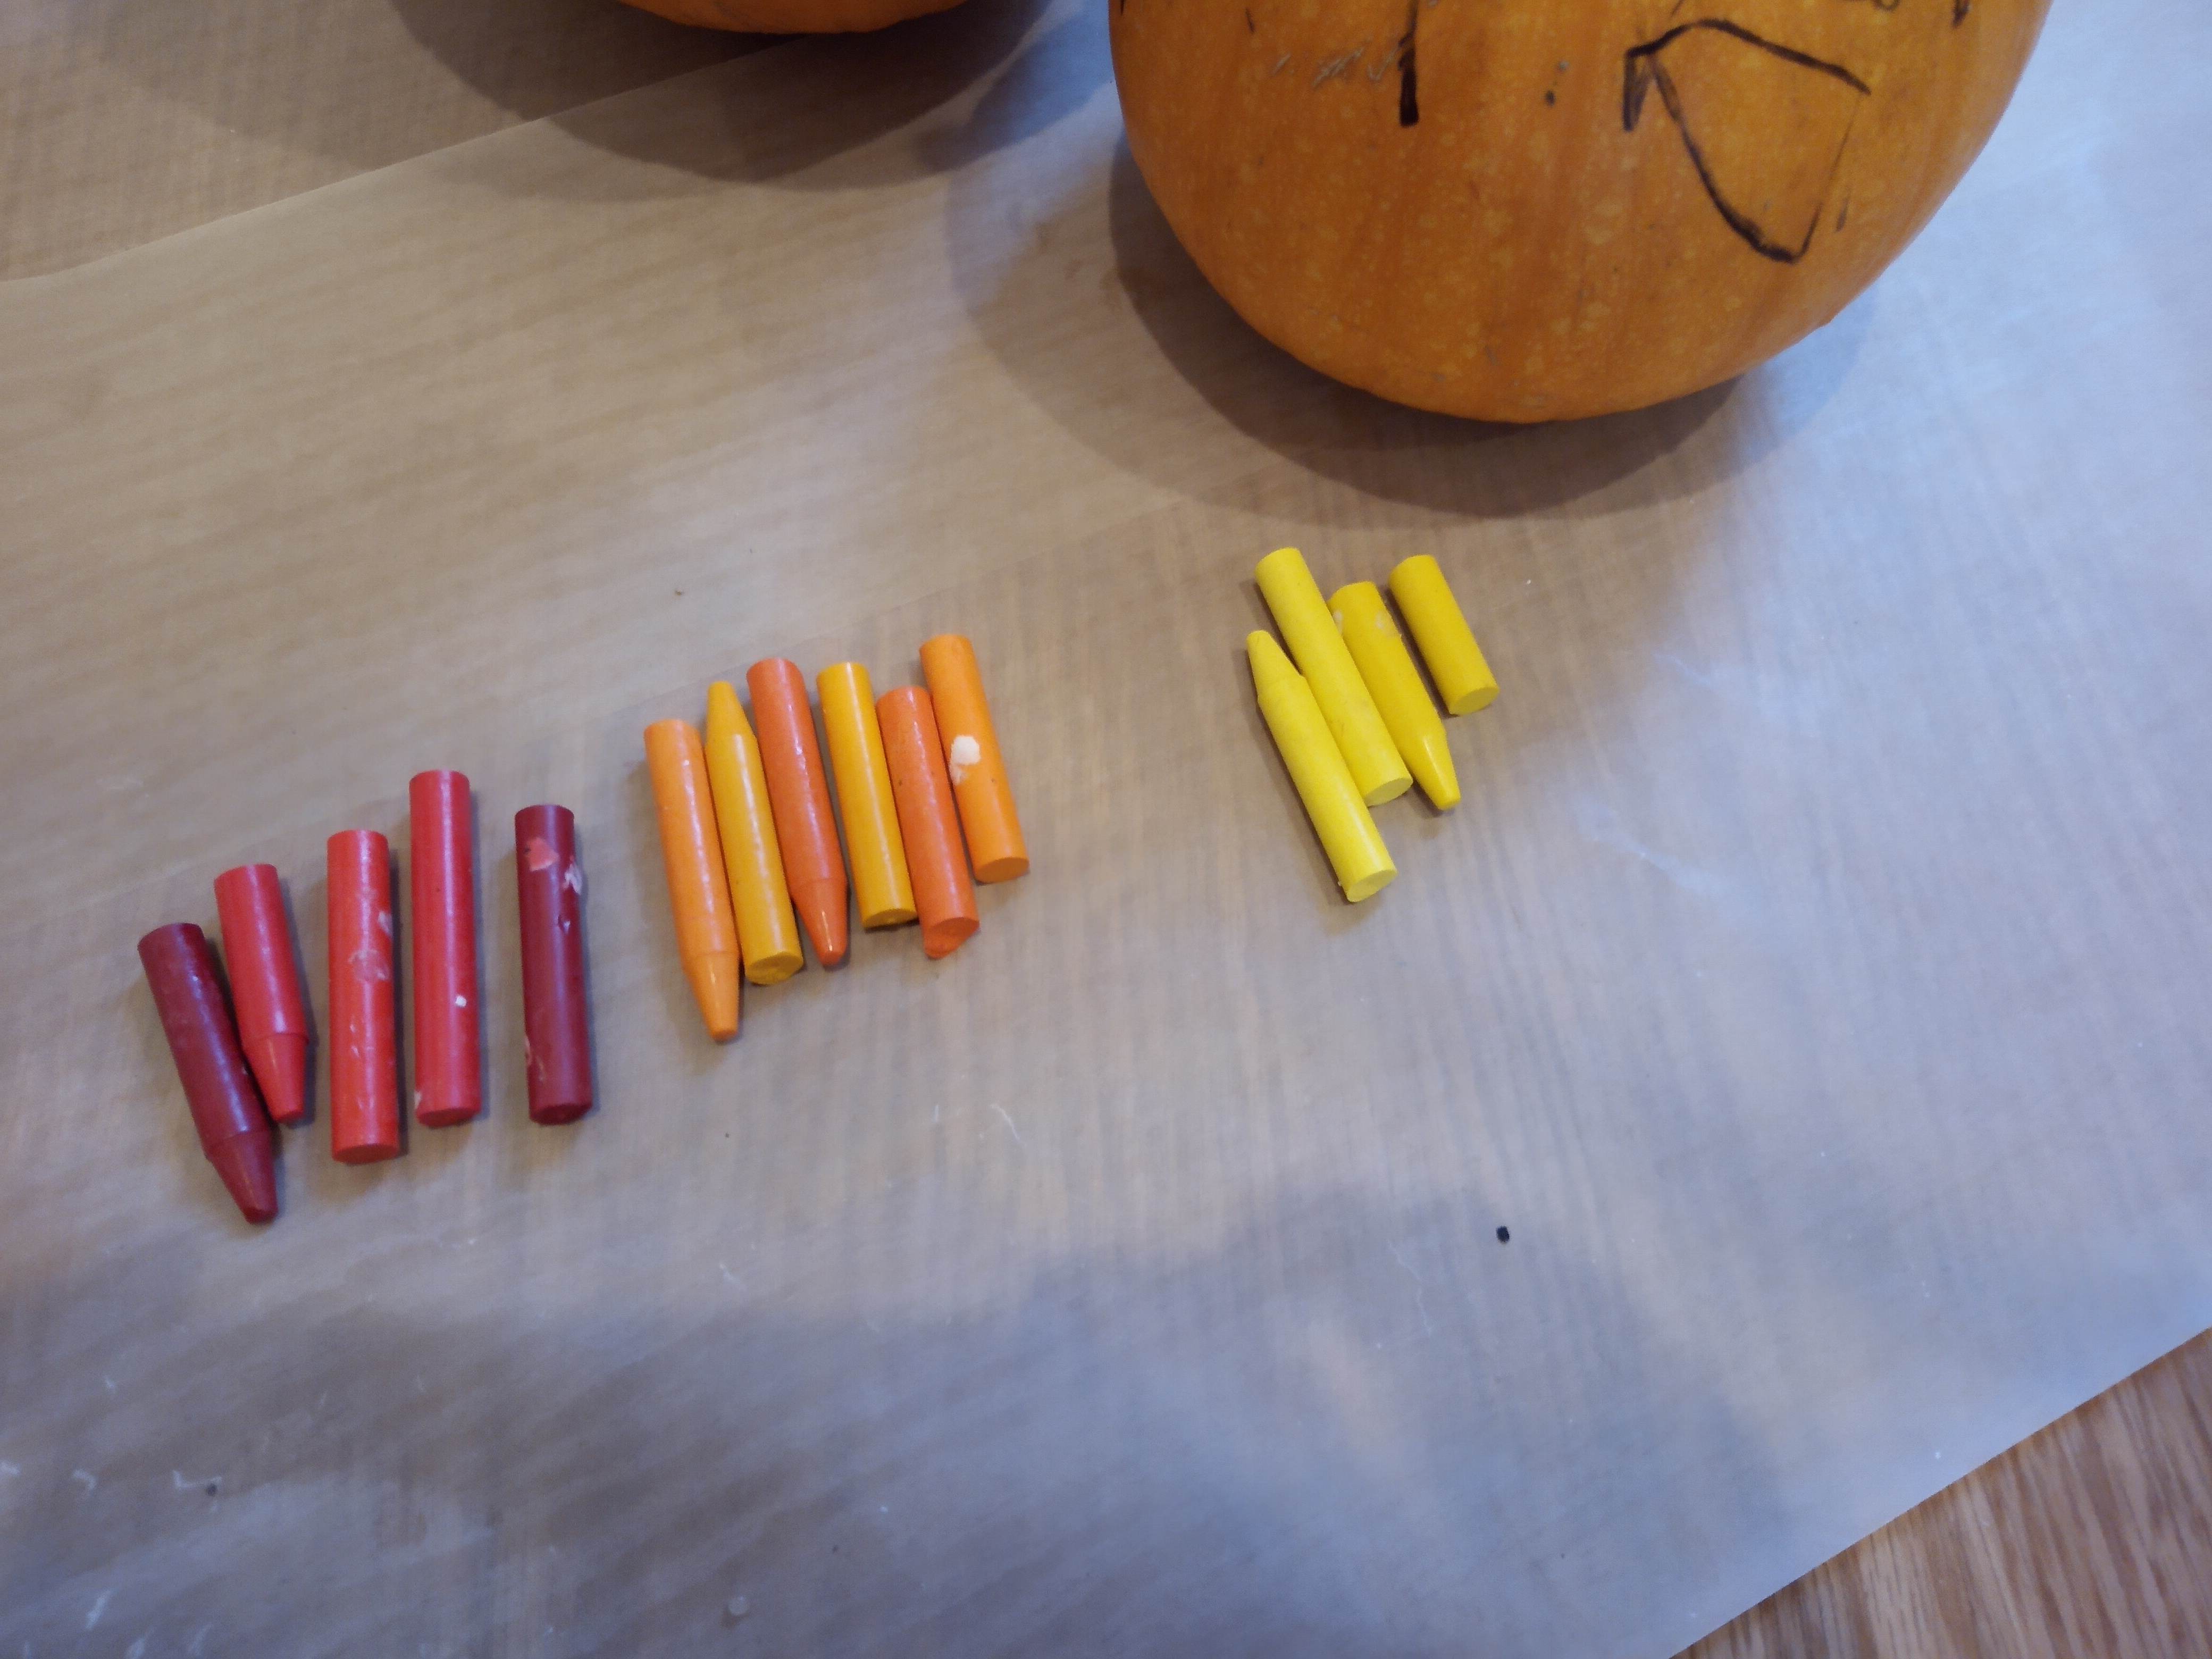
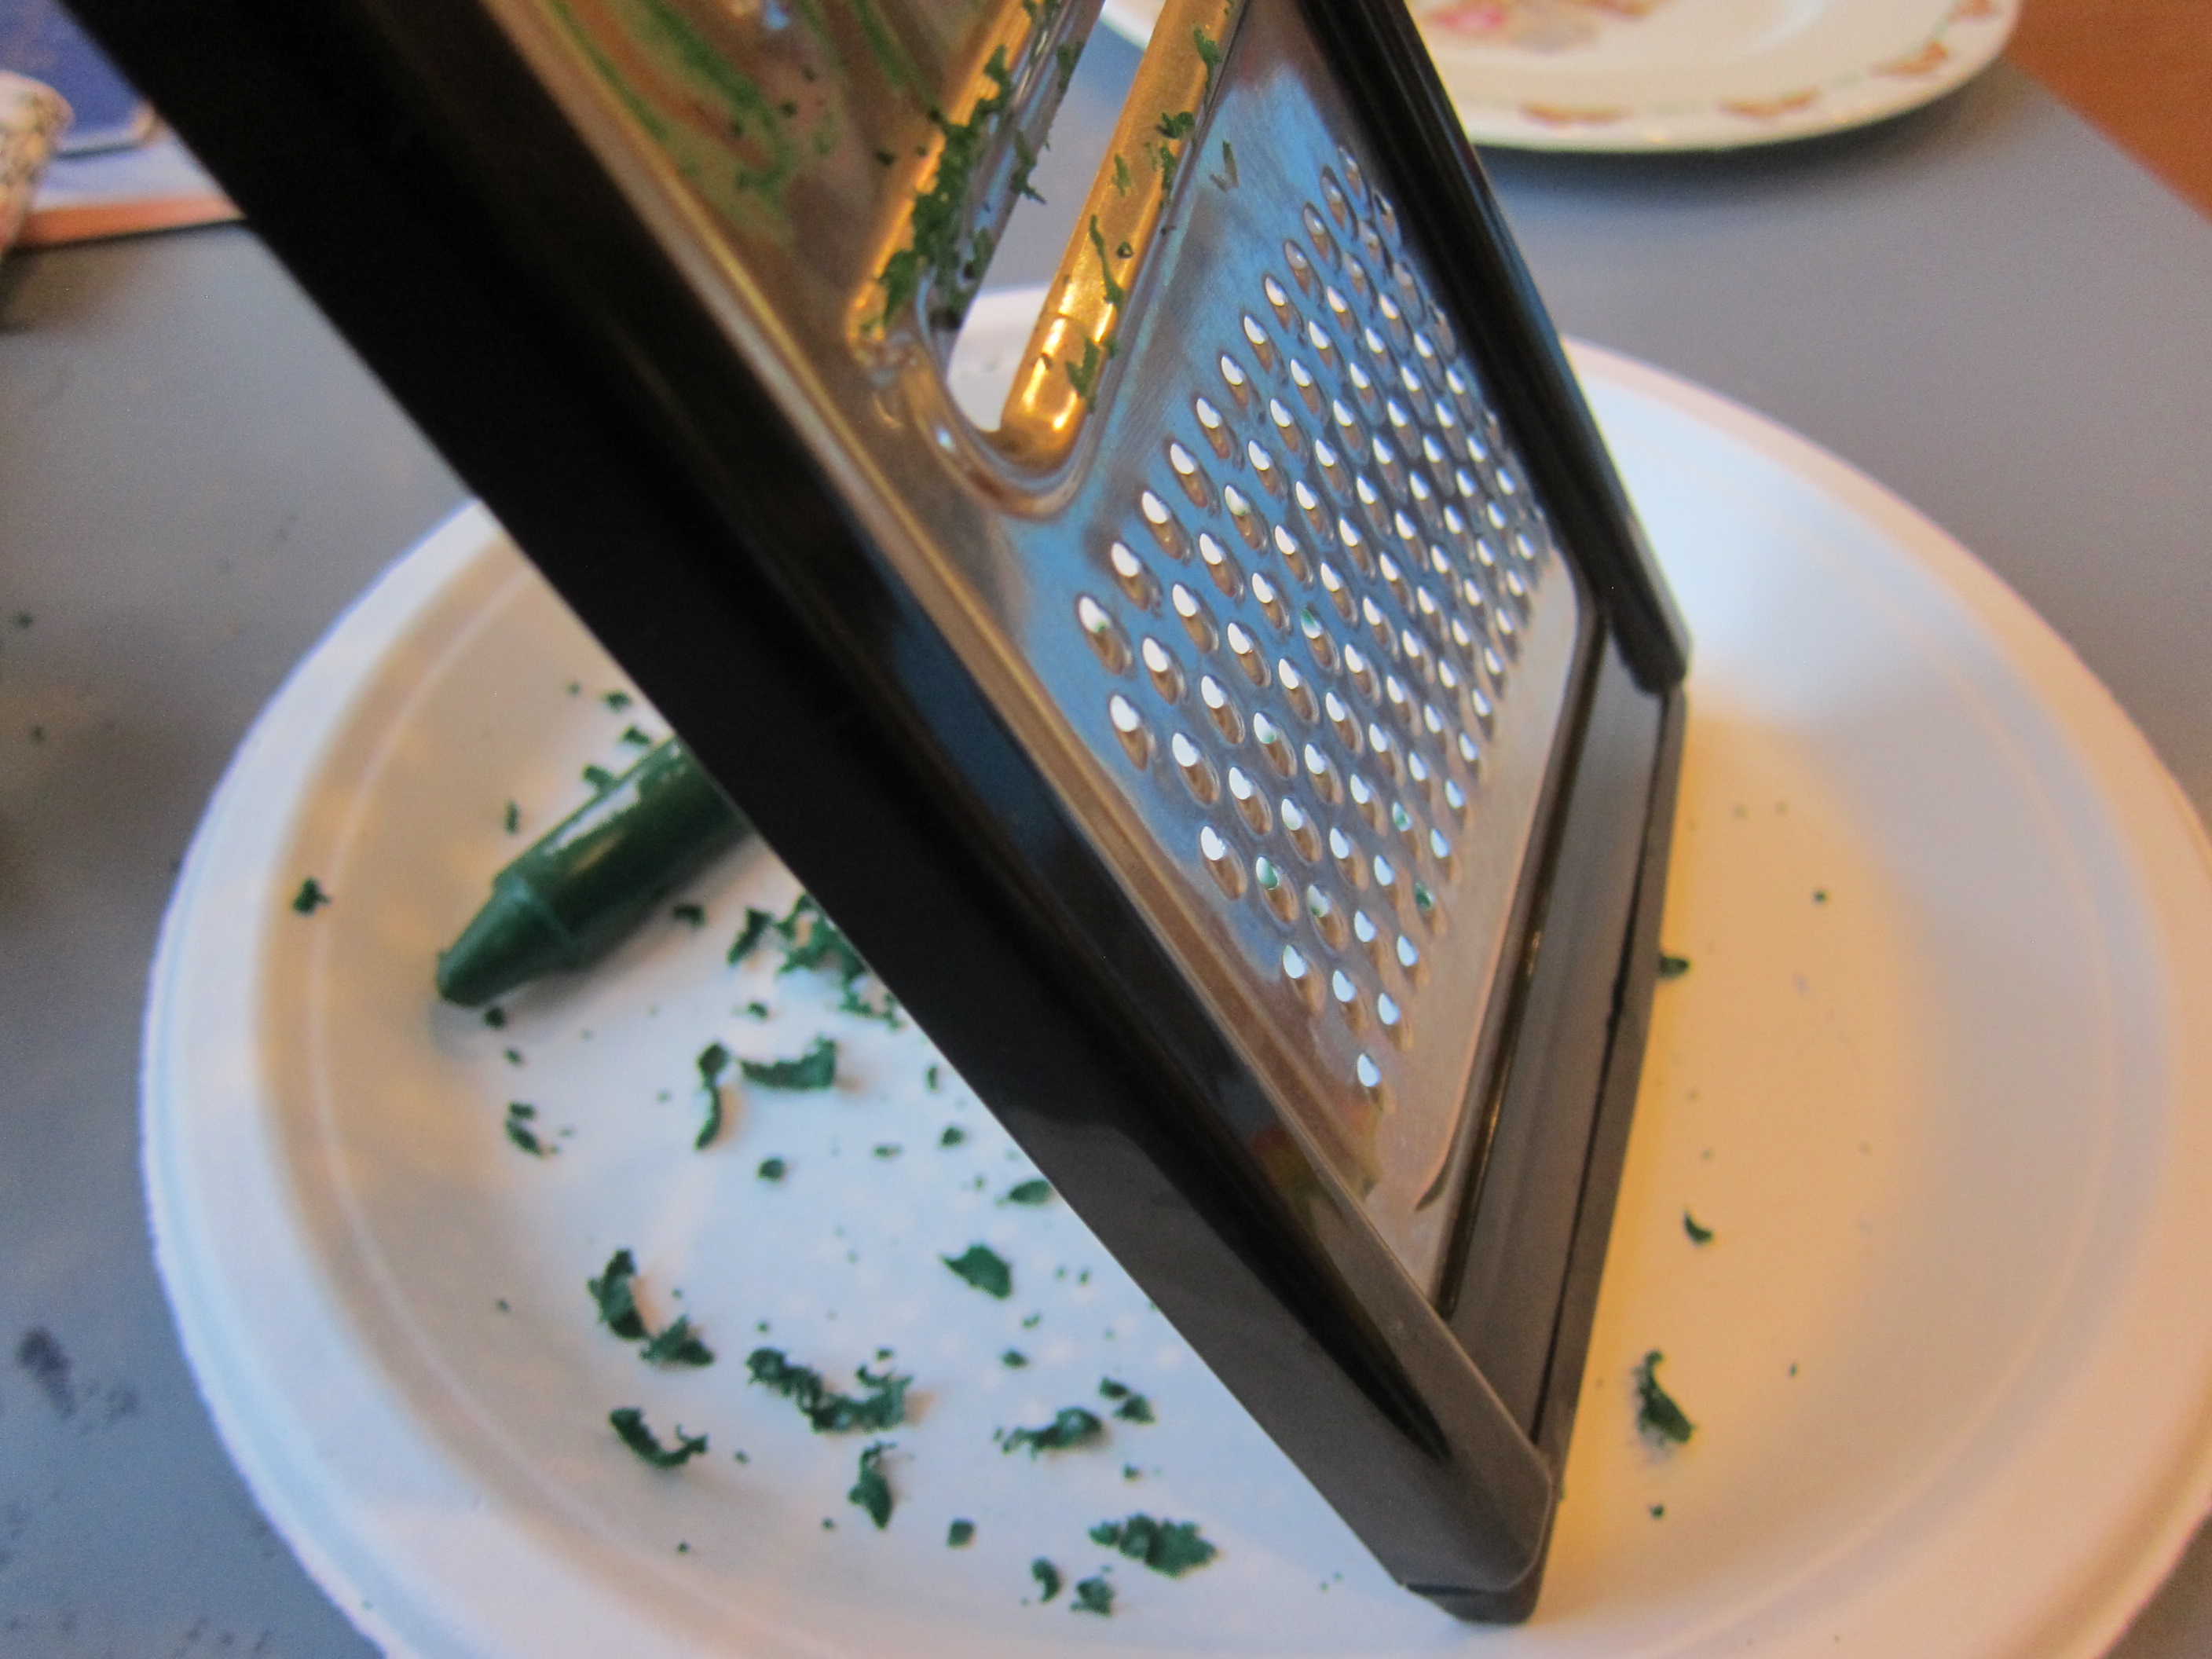
To be honest, this clay was hard to work with, but we got something vaguely resembling a volcano. Once it dried (which may take a few days), Travis painted it with the provided watercolors.

LP Argentina (12)

Time for an explosion! Fill that central plastic cup with 1 tablespoon baking soda. Add a few drops of red food coloring and liquid dish soap, then pour in 1/4 cup vinegar.

LP Argentina (15)

Whoa!

LP Argentina (17)

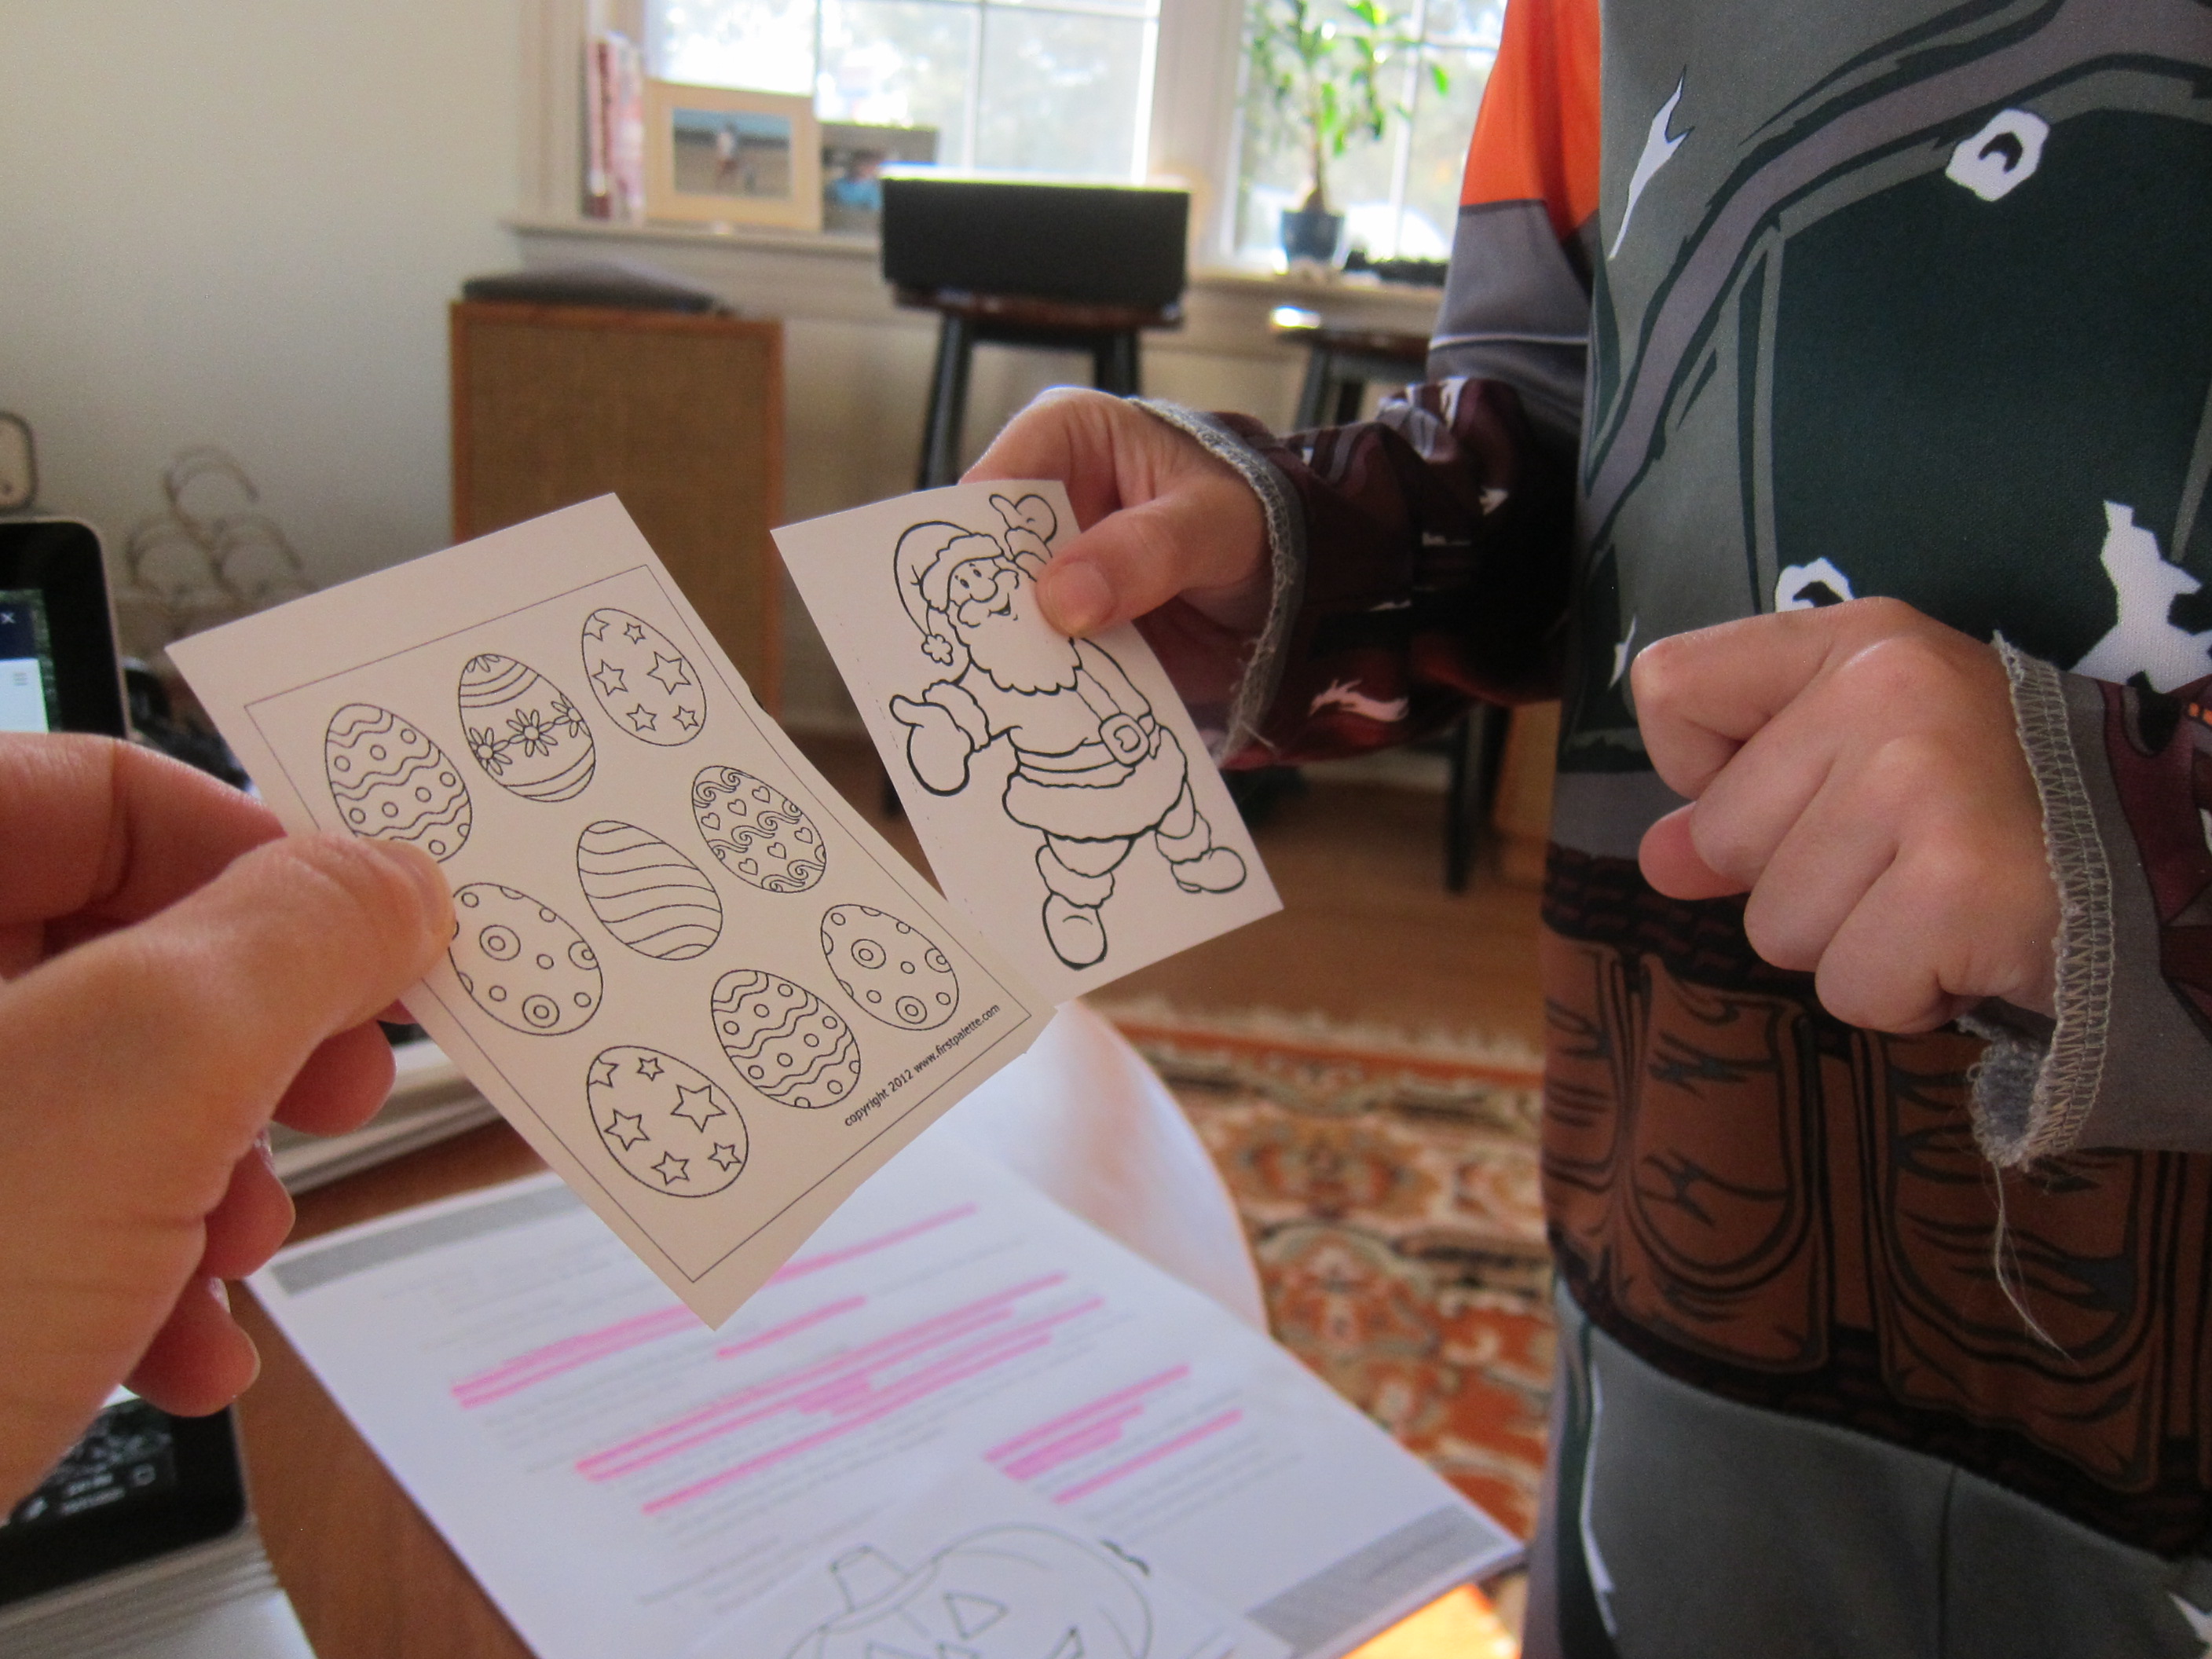
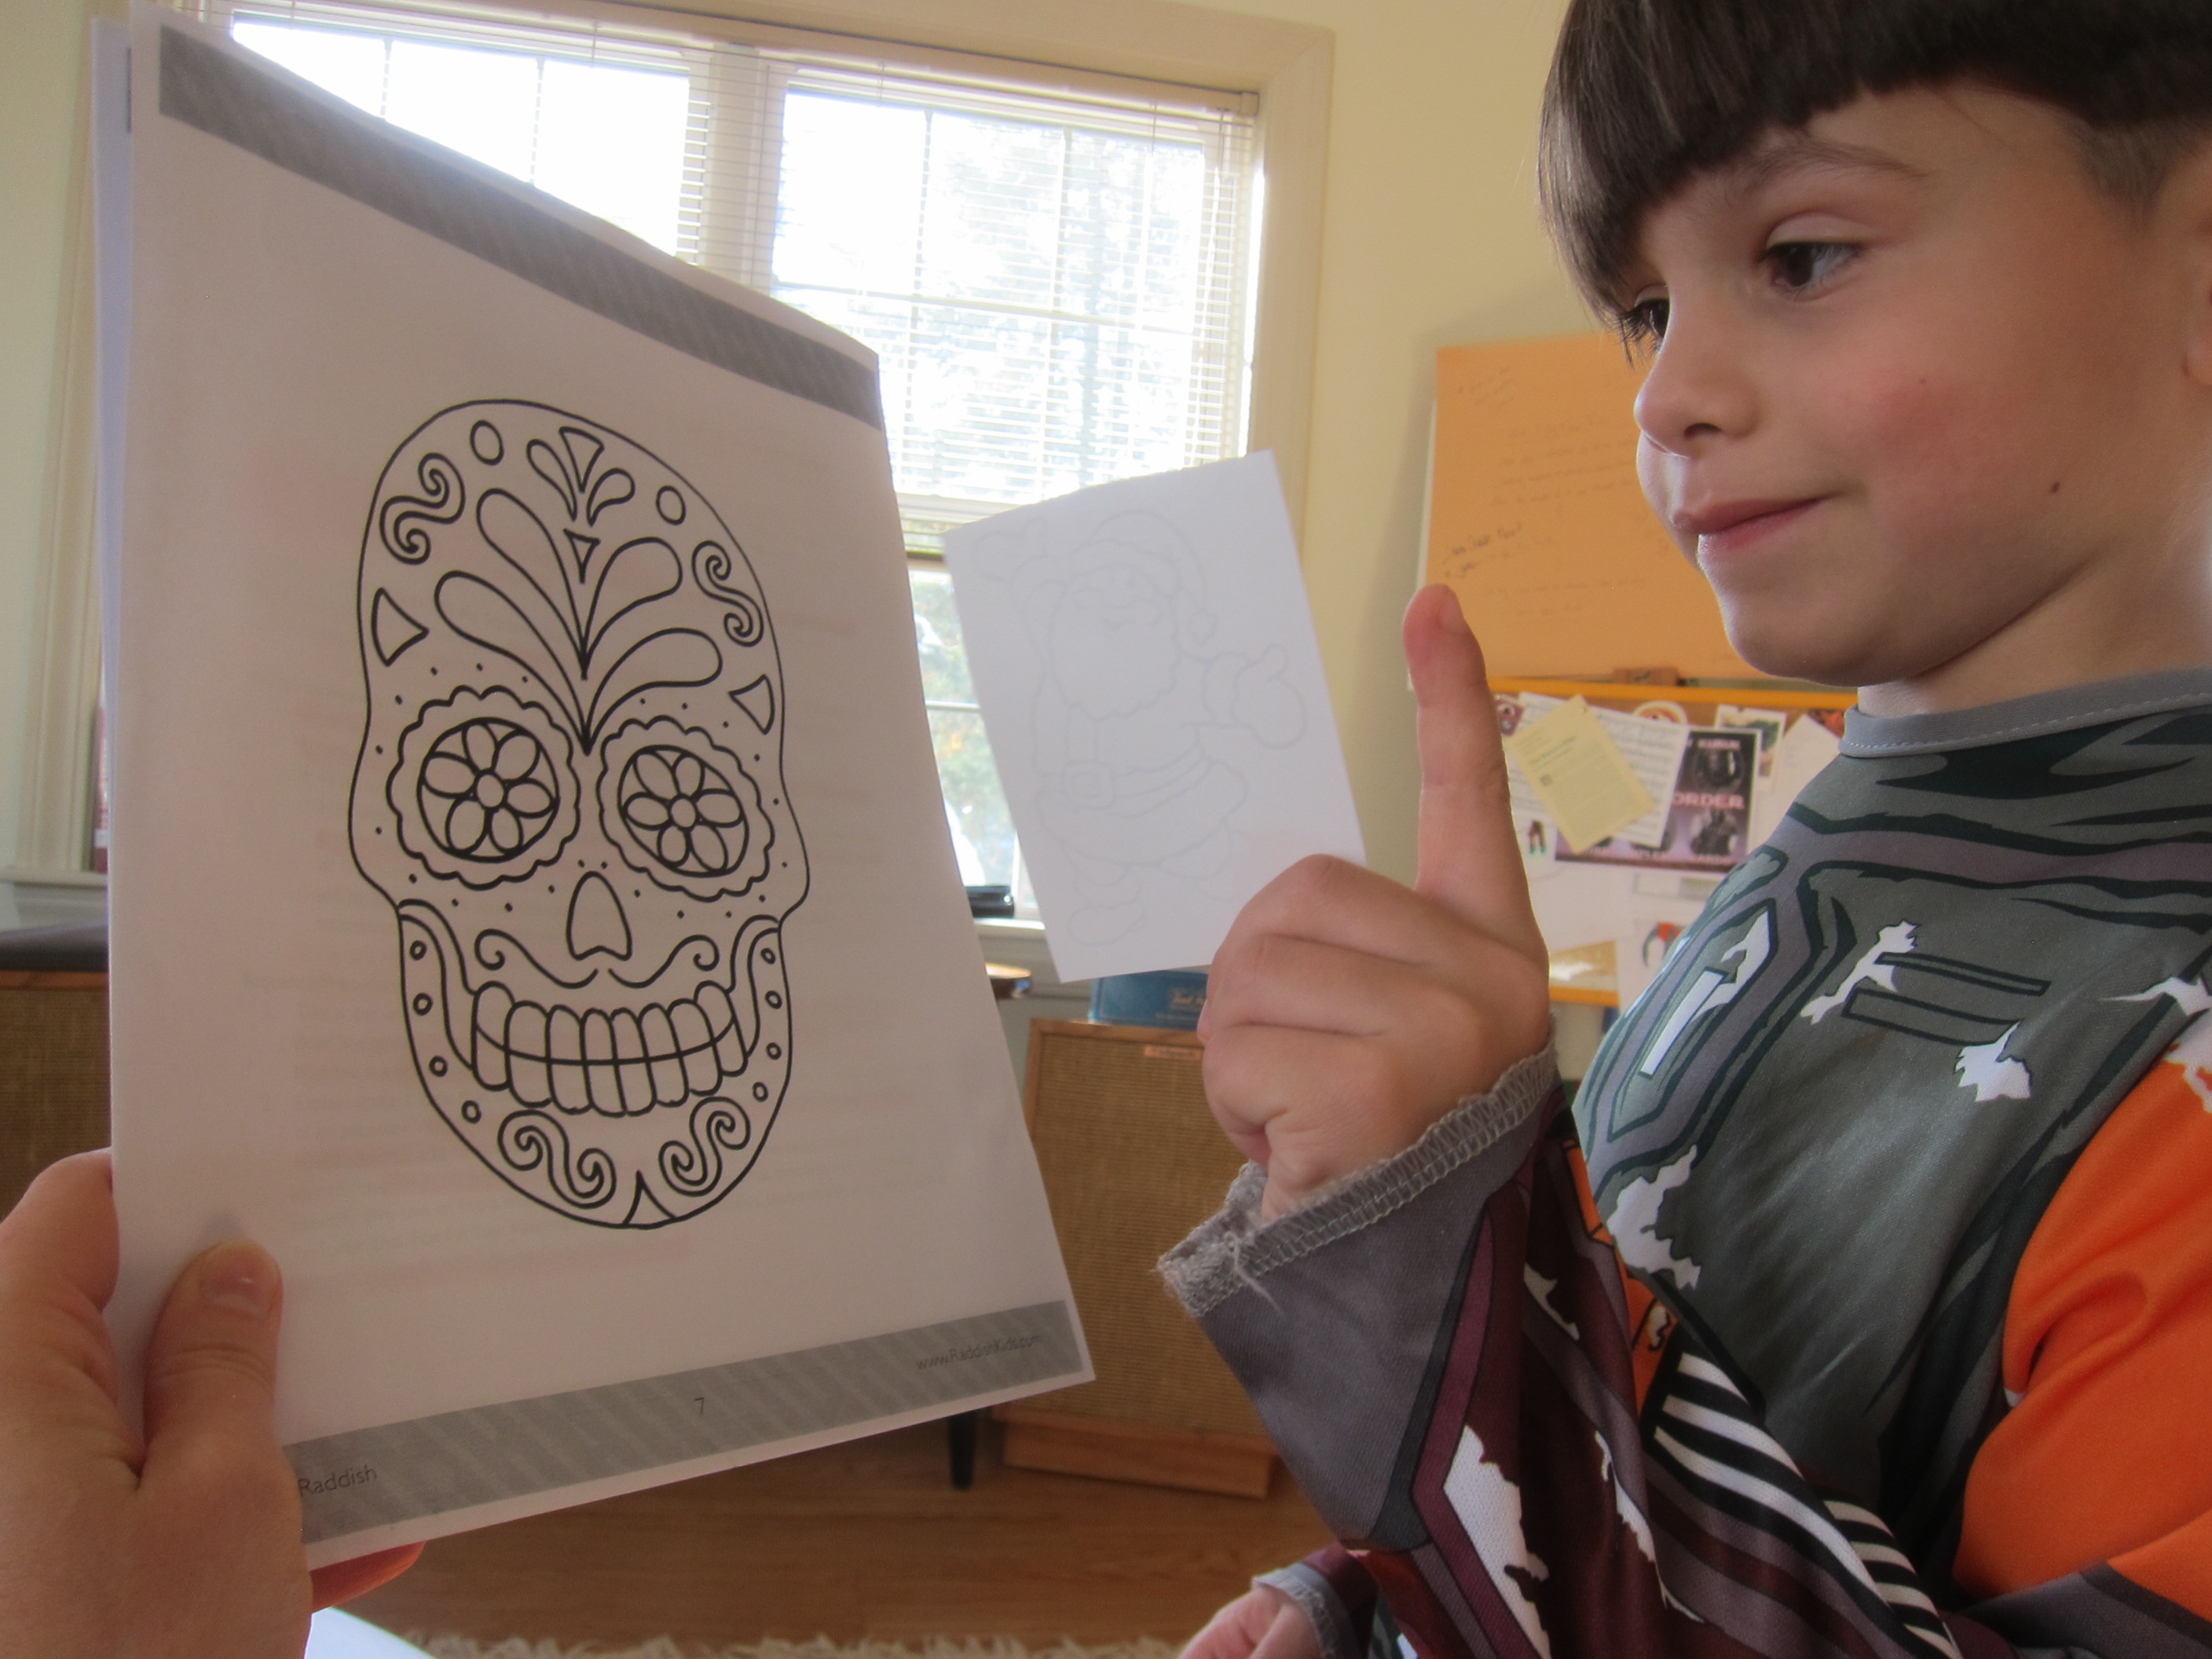
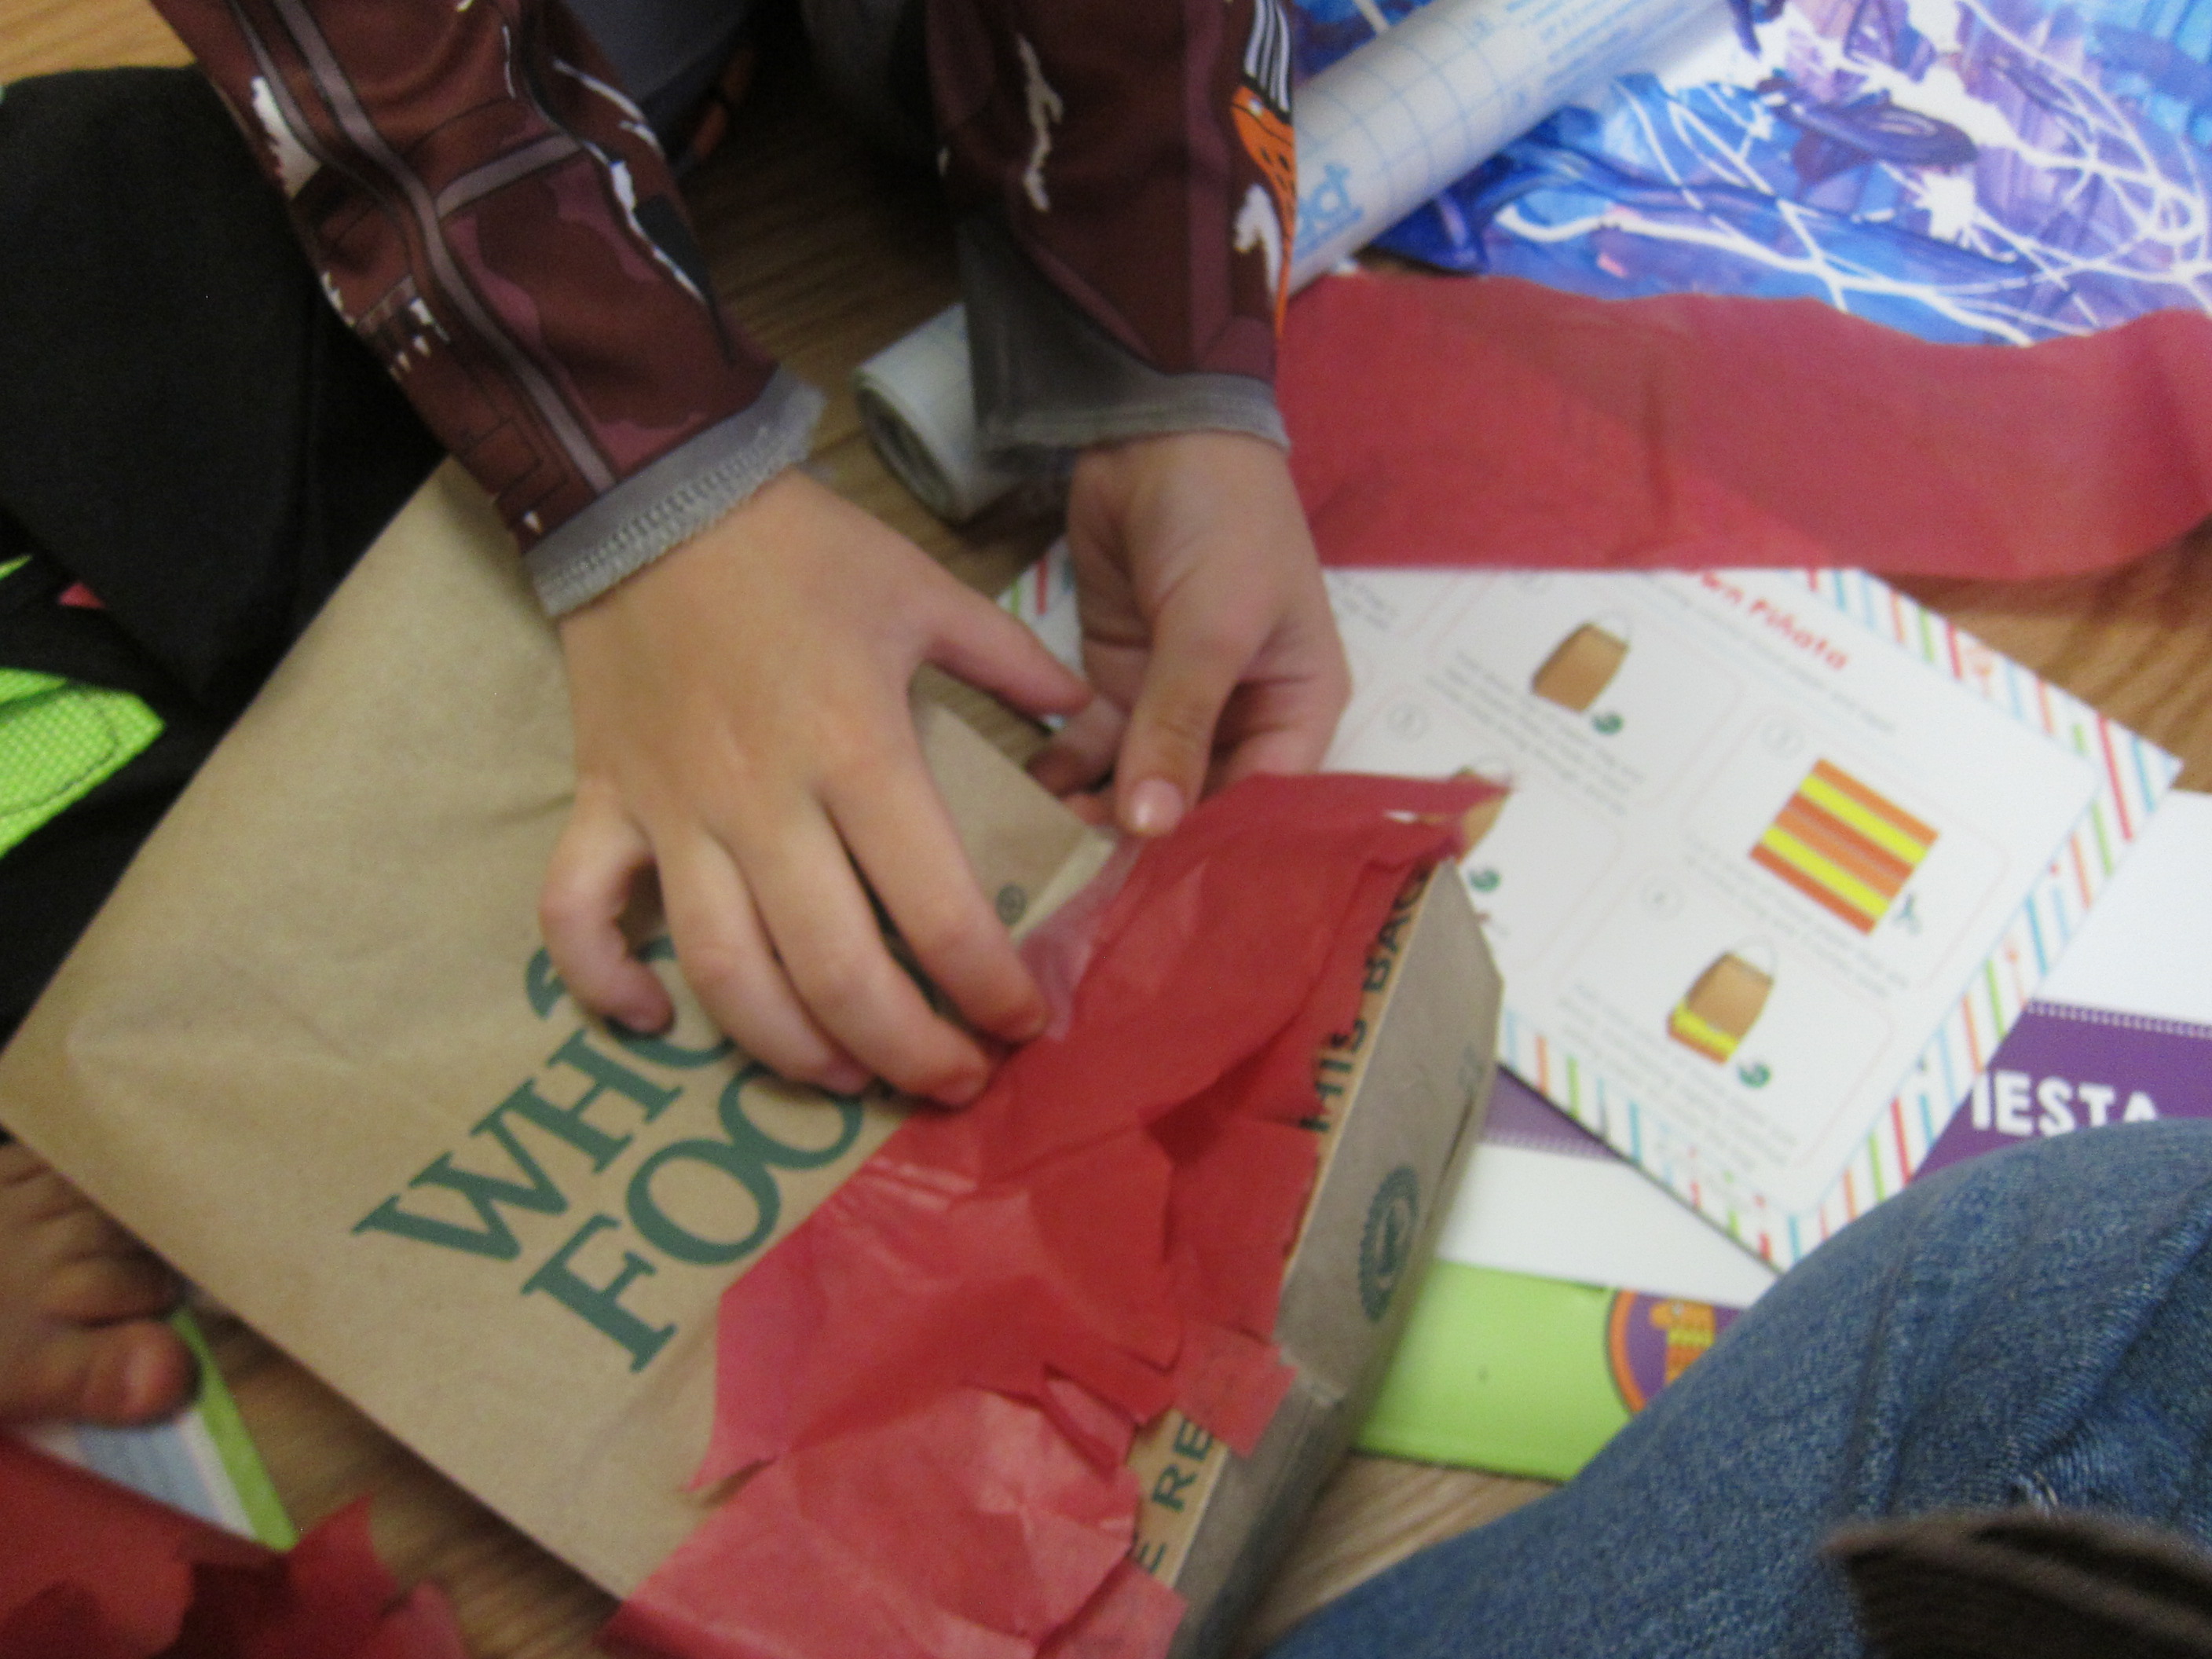
Online, the fun continued with an Argentine flag to color and a picture-search based on the prehistoric paintings in Cueva de las Manos. The latter was definitely aimed at older subscribers, requiring multiplication, but Travis still a learned a little something.

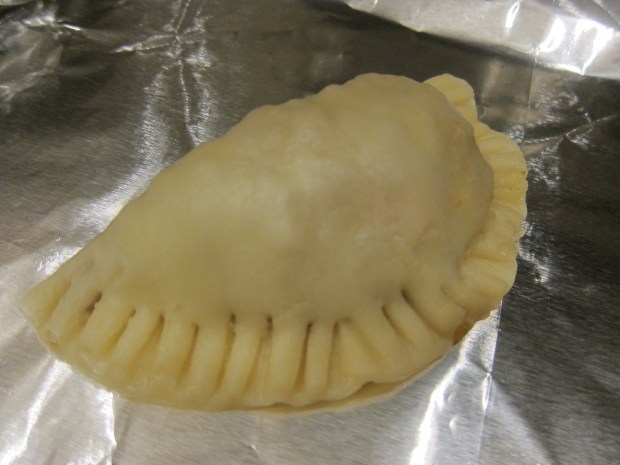
The final website activity was a bonus recipe for empanadas, yum!

LP Argentina (21)

Recipe:

At last it was time for dessert. The dulce de leche-filled cookies called alfajores were tough to make vegan, but we did our best.

Alfajores (2)

Ingredients:

  • 1 and 1/2 cups flour
  • 1/2 teaspoon baking soda
  • 2 teaspoons baking powder
  • 2 and 1/2 cups cornstarch
  • 1 and 1/2 cups Earth Balance butter, softened
  • 1 cup sugar
  • 3 tablespoon ground flaxseed
  • 8 tablespoons warm water
  • 1/2 teaspoon vanilla extract
  • 1 (14-ounce) can sweetened condensed coconut milk
  • Shredded coconut
  1. To prepare the dough, combine the flour, baking soda, baking powder, and cornstarch in a bowl ;set aside.
  2. In the bowl of a stand mixer, beat the butter and sugar until combined. Whisk the flaxseed into the warm water to make vegan egg yolks. Add to the butter mixture, along with the vanilla and beat until combined.
  3. Stir  the dry ingredients into the wet ingredients to form a soft dough. Wrap the dough in plastic wrap and refrigerate for 30 minutes.
  4. Roll the dough to about 1/4-inch thick and use a 2-inch round cookie cutter to make circles. Bake at 350 degrees F for 10 minutes; transfer to a wire rack to cool.
  5. Once cool, spread half of the cookies with a little of the sweetened coconut milk and top with the remaining cookies. Roll the edges in shredded coconut before serving.

Alfajores (5)

Empanadas

LP Argentina (23)

Frozen pie crust means these empanadas are easy enough for even a busy night!

LP Argentina (20)

Ingredients:

  • 2 tablespoons olive oil
  • 1 (12-ounce) package meatless crumbles
  • 1 chopped onion
  • 1 chopped red bell pepper
  • 3 minced garlic cloves
  • 1/2 teaspoon oregano
  • 1 teaspoon cumin
  • 1 teaspoon paprika
  • 1 teaspoon chili powder
  • 1 cup vegetable broth
  • 1 tablespoon brown sugar
  • 1/4 cup raisins
  • 2 (9-inch) prepared vegan pie crusts (Such as Wholly Wholesome)
  1. To prepare the filling, heat the olive oil in a large skillet over medium-high heat. Add the meatless crumbles and cook for 6 minutes.
  2. Add the onion, bell pepper, and garlic to the pan; continue to cook for about 5 minutes, until the onion is soft.
  3. Add the oregano, cumin, paprika, and chili powder; cook for 1 minute, then stir in the broth and brown sugar. Continue to cook for about 5 minutes, or until the liquid is nearly all evaporated.
  4. Stir in the raisins and remove from heat.
  5. Meanwhile, use a 4-inch round cookie cutter to cut circles from the pie dough. (Note: you’ll need to gather and re-roll your scraps several times).
  6. Spoon a heaping tablespoon filling into the center of each circle. Fold the dough over the filling and crimp the edges with a fork to seal.
  7. Transfer to a baking sheet and repeat with the remaining dough and filling. Bake at 375 degrees F for 20 minutes.

LP Argentina (22)

Dia de los Muertos Artifacts

Dia de los Muertos (8)

The lesson plan to go with Travis’s “Frightful Fiesta” recipes was all about Mexico’s Dia de los Muertos, or Day of the Dead. As a parent, I appreciated the cultural lesson, as well as the inclusion of crafts and entertainment, all rolled into one lesson plan.

We started with a sort of pop quiz. I printed out iconic images that go along with other holidays (Santa for Christmas, hearts for Valentine’s Day, etc.) and asked Travis which holiday each represented.

Dia de los Muertos (1)

Then I showed him a provided image of a sugar skull. Having learned briefly about the holiday before, he guessed Dia de los Muertos right away!

Dia de los Muertos (2)

As he colored in the sugar skull, we watched a read-aloud of a wonderful children’s book that helped explain the holiday.

The lesson plan suggested drawing along to everything as your child listens to the story, focusing on the bright colors and happiness associated with the holiday, rather than grief.

Dia de los Muertos (4)

Little sister Veronika wanted to color, too!

Dia de los Muertos (5)

Next came the most beautiful part of the lesson: setting up an offrenda for a loved one. We looked at National Geographic Kids for inspiration, then brainstormed some items that would be dear to our loved one (Travis’s grandfather).

The next day, we put together the offrenda! It included an old sweater of Papa’s, his photo, flowers from the market, battery-operated candles, a sugar skull lantern, and some of Papa’s favorite foods, including cashews, chips, and plantains.

Dia de los Muertos (7)

I loved watching the children interact with the display joyfully (especially stealing the chips to eat!). Having never celebrated the Day of the Dead before, it truly was a moving experience.

Dia de los Muertos (9)

Note: You could also have your children create an offrenda for a deceased pet or a historical figure, if that is more appropriate in your home.

To extend the lesson, we made two crafts. First up, was a Paper Bag Pinata. Fill a sandwich-size brown bag with candy, then fold the top over and tape shut. Cut 6 (18-inch long) strips from tissue paper, and then fringe the edges with scissors.

Make a Pinata (2)

Tape the first strip to the bottom of the bag. Continue taping on the strips, overlapping them so the fringe dangles over the one below.

Make a Pinata (3)

We suspended the pinata from the ceiling, then… Fiesta time! Travis and Veronika loved taking turns whacking at it.

Make a Pinata (4)

Inflatable light sabers weren’t strong enough, but a wiffle ball bat was. Candy!

Make a Pinata (5)

Next we created Papel Picado. This is a fun tissue paper craft that is normally strung up during the festival, and the process is similar to making paper snowflakes. Fold a square of tissue paper in half twice, and then into a triangle. Fold one side down like you’re making a paper airplane fin. Begin making little slits and shapes with scissors. Travis loves fine scissor work like this, so was thrilled that this was the “assignment”.

Papel Picado (3)

Open up for the big reveal!

Papel Picado (4)

We taped them to a string so we could suspend them across one archway in our home, where they looked especially gorgeous when the sun was shining through.

Papel Picado (5)

We finished by watching the movie Coco. This was a fantastic way for Travis to understand the nuances of the holiday. The film is highly recommended for those who have not viewed it.

Dia de los Muertos (11)

Halloween Countdown Day 26: Pumpkin Power

Pumpkin Power (7)

It turns out that October 26 is Pumpkin Day, as if the gourd needs one specific day in a month that seems to be all about it! But we took the opportunity to test an unappreciated ability of pumpkins: to generate electricity!

Pumpkin Power (1)

Much like those old potato or lemon experiments, you can hook up two pumpkins to make a clock run or an LED light turn on.

I originally tried to follow online instructions, but had to maneuver things a little differently to line up with the particular items that came in a fruit-battery kit we purchased. The set-up looks like this: lnsert a cooper strip and a zinc strip into each of 2 small pumpkins.

Pumpkin Power (2)

Use an alligator clip wire to attach the copper strip from one pumpkin to the zinc strip from the second pumpkin.

Now, use a second wire with alligator clip to attach the zinc strip from the first pumpkin to the negative node of either a multimeter, clock, or LED light.

Use a third wire with alligator clip to attach the copper strip from the second pumpkin to the positive node of the multimeter, clock, or LED light. Hopefully the photos in this post make all that clearer!

Pumpkin Power (3)

Your circuit should be complete.

Pumpkin Power (6)

Travis was wowed watching our clock blink on. At one point we left it running for over an hour.

Pumpkin Power (4)

Why does this work? Pumpkin flesh has acid (though not as much as lemons), which means the zinc strip will start to lose electron ions. Those ions travel over to copper, which generates electricity.

Pumpkin Power (5)

Now that’s pumpkin power!

Harvest Word Games

Harvest Word Games (7)

To finish the fun with Travis’s Harvest Party Raddish Kids, it was time for harvest party games! These were fun to play just with our family, but would also be the perfect games if you’re able to safely social distance with extended family. Perhaps over a tractor harvest-themed party?

First up was Autumn Doodles. Shuffle a pile of harvest word cards. (Note: Raddish provided these, but you could also make your own.

Harvest Word Games (1)

Write an autumn word or phrase on each slip of paper, such as “apple picking” or “hay ride”).

Harvest Word Games (4)

Select a card (we got “scarecrow”) and everyone in the family then draws their interpretation! We simply had fun laughing and checking out each other’s different takes on the same topic. Older kids might want to make it a competition, in which case you can appoint a judge who picks the “best” drawing.

Harvest Word Games (3)

Next up: Fall Danger! One player picks a card and then has to describe that harvest word, but can’t say three danger words listed below it (e.g. for “apple cider” you couldn’t say “juice” “drink” or “fruit”). This one was a little hard for Travis to grasp, but he caught on after his dad and I demonstrated a few rounds! If you’re playing with a larger crowd, make teams.

Harvest Word Games (5)

You won’t be able to play the final game with anyone outside of your COVID-19 bubble since this one does involve leaning in close, but get ready for… Farmer’s Telephone!

Harvest Word Games (2)

This one had us roaring with laughter. For example, “I like the smell in the kitchen when I’m baking a pie” turned into “I like the smell of witches while they’re drinking rye” turned into “I like smelly witches!”

Harvest Word Games (6)

Waffle Rover

Waffle Rover (7)

What’s better than a little Mars Rover your kids can steer around the house? One they can eat, of course!

Waffle Rover (1)

This cute recipe comes together in mere moments. Toast two waffles and then trim the edges so you have 2 squares instead of 2 circles. Reserve one of the cut pieces and trim into a small rectangle (this will later be the rover’s head).

Waffle Rover (3)

Spread one waffle square with any sweet sticky spread. We tried one version with chocolate-hazelnut butter and a second with sunflower seed butter. Place the second waffle square on top. Spread additional sticky spread along two sides of the square and attach banana slices as wheels.

Waffle Rover (4)

To build the head of the rover, thread 2 blueberries onto a toothpick, followed by the small waffle rectangle and a final blueberry.

Waffle Rover (5)

We found that our rover head stood up better if we used two toothpicks instead of one.

Waffle Rover (6)

Chances are your rovers won’t have long to explore before they’re gobbled up!

Melted Crayon Pumpkins

Melted Crayon Pumpkins (6)

After melting crayons to make planets, Travis wanted more melt-y fun this morning. So we thought we could decorate pumpkins this way!

Our pack of crayons had multiple hues in the red, orange, and yellow family, so I took all those from the box and soaked them briefly in water. This will help the wrappers slip right off. Snap each crayon in half.

Melted Crayon Pumpkins (7)

At first we tried arranging them around the stem of our medium-sized pumpkins, but realized they were going to slide off, as they was not enough surface area to rest on.

Melted Crayon Pumpkins (1)

So then we thought to do the project on our biggest pumpkin, even though the original intent was to save this one for carving. Now, although the crayons could balance, they flew off as soon as we turned the hair dryer on!

Thinking quickly, we backtracked to our medium pumpkins (phew, the big guy can safely await carving day), but this time I used a dab of hot glue to secure each crayon near the stem.

Melted Crayon Pumpkins (8)

Success! Now we could turn the hair dryer to high heat without the crayons flying off. It’ll take a few moments of patience, but sure enough, they’ll begin to ooze and melt.

Melted Crayon Pumpkins (9)

This was fantastic fun, all the more so because the goriness of melting crayons just feels downright Halloween-y. It takes longer than I would have thought, but Travis insisted on watching every dripping, melting moment.

Melted Crayon Pumpkins (10)

He loved when rivulets of wax would drip down but cool almost instantly (in much the same way that icicles form), leaving neat strings of wax behind.

Melted Crayon Pumpkins (4)

These were fun to snap off, too!

Melted Crayon Pumpkins (2)

Keep going until all your crayons are completely melted.

Melted Crayon Pumpkins (5)

One note of caution: the melted wax will fly further than you think, due to the force of air coming out of the hair dryer. So be sure to cover your surface area completely with wax paper or newspaper.

Melted Crayon Pumpkins (11)

The end result is a beautiful way to decorate your pumpkins with no carving knife!

Melted Crayon Planets

Melted Crayon Planet (3)

Here’s a novel way to talk about the different colors of the various planets in our Solar System, while making a neat piece of art. Kids are sure to love this craft because anything involving melted crayons is just cool.

We only had two paper plates, so decided to make a blue and green one for Earth and a orange and yellow one for Jupiter.

I cut the wrappers from jumbo crayons, and first we tried making small pieces by grating them on the large holes of a grater.

Melted Crayon Planets (1)

This didn’t work that well, so I ended up chopping the crayons with a knife instead. Arrange the pieces as you want them to look on each paper plate, then begin microwaving at about 1 minute intervals until the wax melts (you may need less time, depending how thick your crayon pieces are).

Melted Crayon Planet (2)

As they start to melt, swirl the colors into the design you want with a toothpick. Our Earth came out pretty neat!

Melted Crayon Planet (4)

The orange and yellow, unfortunately, mostly just blurred together for Jupiter, but we added next textured lines with a toothpick.

Melted Crayon Planet (5)

Without even a single prompt, Travis realized, “Mom, we need the giant red spot!”. Simply add pieces of red crayon to one portion of your plate for that.

If you have enough plates and crayons, go ahead and make all eight planets!

Bubbling Cauldron

Bubbling Cauldron (10)

Halloween-themed crates from Kiwi Co have been a huge hit in the past, and this year’s did not disappoint!

This year we opted for a witch’s Bubbling Cauldron, which relies on that old trick of baking soda plus an acid (in this case citric acid) to make a bubbly explosion.

The first step was to Make the Witch of course. Travis helped fold the provided felt pieces into her cape and hat, which he decorated with spooky stickers (bats!), and which then slide onto the wooden peg body.

Bubbling Cauldron (1)

A pipe cleaner forms her warty nose and we added spooky features with black marker.

Bubbling Cauldron (2)

Next he needed to Build the Witch’s Lair. Decorate the provided backdrop with more stickers, then attach to the base with sticky foam dots.

Bubbling Cauldron (3)

The witch and her cauldron are then attached to the base with additional sticky foam.

Bubbling Cauldron (5)

An air pump is then threaded through the back of the scenery. One hose dangles down into the base, and the other dangles into the cauldron (these are helpfully color-coded red and black so your child can be sure the pump is going to flow in the right direction).

Bubbling Cauldron (6)

It’s time for some bubbly science! Pour the provided packets of citric acid and baking soda (colored green!) into the provided cup and mix well.

Bubbling Cauldron (7)

Add 4 scoops to the cauldron; Travis loved being in charge of his own “potion” here. Pour 1 and 1/2 cups water into the holes of the base, and then start squeezing the air pump…

Bubbling Cauldron (8)

…and marvel at the bubbling cauldron that results!

Bubbling Cauldron (9)

This was so cool and eerie and scientific and magical all at once. And needless to say, pretty soon there were poor Lego fellows drowning in the witch’s pot.

Bubbling Cauldron (11)

A definite win for a Halloween project.

Galactic Art

Galactic Art (7)

Travis isn’t as interested in simple arts and crafts as when he was younger. So I love when I can still find ways to pique his interest, and I thought this quick craft might fit the bill. It involved a novel tool to paint billions of stars in a made-up galaxy: an old toothbrush!

I showed him how to dip the toothbrush in a plate filled with white paint, then scrape his finger along the bristles so little speckles of white jet out.

Galactic Art (1)

Pretty soon we had a whole Milky Way!

Galactic Art (2)

Next we needed to add planets to our galaxy. We definitely weren’t going for an exact replica of the Solar System here, but did have fun rounding up a pile of items that were circular to trace, aiming for a variety of different size circles.

Galactic Art (3)

One of those items happened to be a glitter jar, so then Travis insisted our galaxy needed glitter! Once the planets had all been glued down, we made a thick stream of white glue and sprinkled the glitter over this. Tap off any excess into the trash.

Galactic Art (6)

The glitter sort of eclipsed those original speckles of white “stars” we’d made with the toothbrush. But oh well, Travis was so engaged and happy with the process that I was happy, too.

Galactic Art (8)