Tipping Egg Toy

Tipping Egg Toy (9)

Here’s a silly DIY bobble toy, for which all you need is a leftover Easter egg, either plastic or wooden.

We used a wooden one because we wanted to paint it first. Little blue pants, an orange tie, and a thick black mustache made a dapper looking little fellow. Kids could also paint their egg more like traditional Easter eggs, with dots or stripes.

Tipping Egg Toy (1)

Travis giggled when he saw the little fellow!

Tipping Egg Toy (2)

Next, you’ll need to add a weight in the bottom half of the egg. Travis loved pressing clay down into the bottom of ours, and we added a marble for good measure. If you have no clay, you may need to secure your weight with hot glue.

Tipping Egg Toy (3)

Give it a push with a finger and watch your egg wobble up and down, thanks to the weight at the bottom!

Tipping Egg Toy (7)

Here he is in mid-motion!

Tipping Egg Toy (6)

As a bonus, Travis loved playing with leftover clay for a while after, being artistic in a way I haven’t seen from him in quite a while!

Tipping Egg Toy (8)

Spinning Penny

Spinning Penny (4)

Balloons are always fun but balloons with objects inside are even better! And this particular version has some science thrown in, too.

To start, we wanted to see how an object would move inside a balloon, which means clear balloons are definitely best for this project. Before inflating, add a penny (or similar round metal object). Inflate and tie a knot.

Spinning Penny (1)

Now give that balloon a shake! You want to shake in a tight, circular motion to get the penny rotating. Even once you stop, the penny will “climb” the walls of the balloon in a circular motion. Travis was thrilled that he could make this work all by himself!

Spinning Penny (4)

The penny can seemingly defy gravity in this way because as soon as the balloon is spinning, the force of the penny pushes outward. It will stop after a few rotations, but was so much fun for Travis to watch, plus made an echoing bouncy sound.

Spinning Penny (3)

We intend to try this with other objects in the balloon, too, and see whether they work better or worse than the penny. Here’s the quickest of quick clips:

Magical Watercolors

Extreme Watercolor (5)

Nothing brings my kids running faster than when they get to do something that’s normally taboo or off-limits. In our house, one of those things is permanent marker. So my question of, “Who wants to color with permanent marker?” immediately had two pairs of feet racing to join the fun!

I invited the kids to draw whatever they wanted on sheets of white poster board. Travis drew a favorite TV character, and Veronika narrated to herself as she scribbled (including telling me she drew a Q for Queen and a T for Truck!).

Extreme Watercolor (1)

Once they were satisfied with their drawings, I gave each a sheet of aluminum foil. A second normally off-limits item! Now the task was to scribble over it with washable markers.

Extreme Watercolor (3)

Encourage your kids to be abstract and use lots of colors here, the more the better.

Extreme Watercolor (2)

For a third fun component, I handed them the spritz bottle! I had to help Veronika with this part, but Travis loved using the spritz bottle solo, saturating his black marker drawing completely.

Extreme Watercolor (4)

Place the black marker drawings face down over the colorful foil and press firmly, then lift up. Just like magic, your white paper has been covered with “watercolor” paint! The kids oohed and aahed at the big reveal.

Extreme Watercolor (6)

These were so pretty that we had to hang them up in the playroom for display. Thanks to Parents magazine for this fun idea!

Extreme Watercolor (7)

Monster Automaton

Monster Automaton (10)

Here’s a neat way to show kids how the parts work and move in a very simple automaton (e.g. moving machines like cuckoo clocks), with no fancy equipment required!

Monster Automaton (1)

To start, place a plastic cup over cardboard and trace four times to make four circles. Use hot glue to make two stacks of 2 circles, then poke a sewer up through the center of each pair. The cardboard circles are the “cams” and the skewer is the axle.

Monster Automaton (2)

Next, poke a hole in the top of a shoebox, as well as one in each side. Widen the holes so they are big enough for cut pieces of a plastic straw to fit through; use a little hot glue to secure the straw in the holes.

Monster Automaton (3)

Slide the skewers through the straws; they should be able to spin freely.

Monster Automaton (5)

Arrange the cams such that the lower one holds up the top one. When you spin the horizontal bottom skewer, the top cam spins! I only got a few second of video, but it was neat for the kids to see this in motion!

For a little fun, we added a “monster” on top. A little green marker, wiggle eyes, and a jagged mouth turned a simple paper cup into a scary creature.

Monster Automaton (6)

Origami Fidget Spinner

Origami Fidget Spinner (9)

Travis can have a hard time concentrating during school Zoom sessions, and we’ve tested out a few kinds of fidget spinner as a solution. There’s more behind these spinners than just a fad; they really can help kids focus by keeping fingers busy. Here’s a way to make a beautiful fidget spinner at home that rivals any store-bought version!

To start, Travis selected two patterns from our pack of origami paper. Fold in half, then open up and tear each sheet in half (so you now have 4 pieces of paper). Set aside two of these and work with the remaining two.

Origami Fidget Spinner (1)

I loved how focused Travis was as we went through the first few steps together. Fold the pieces of paper in half again, so you have two skinny rectangles. Next bend down at the tops and bottoms so they look almost like Zs. From here, the fingerwork grew too tricky for Travis, and I took over.

Origami Fidget Spinner (2)

Rather than reinvent the wheel, check out the full instructions from Kiwi Co, where the steps for folding are described far better than I can. At the end, you’ll have one finished side of your fidget spinner, which looks like this:

Origami Fidget Spinner (4)

Repeat the folding steps with the two sheets of paper you set aside at the beginning, and both sides of the fidget spinner are now complete. Next, poke a push pin down through the center of each side. Using hot glue, add a small coin (like a dime or penny) to each of the four arms on one side of your spinner.

Origami Fidget Spinner (5)

Hot glue the second half of the spinner over the coins.

Origami Fidget Spinner (6)

Finally, straighten a paper clip and push through the holes you’ve made in the middle, then bend the ends so they provide finger holds.

Origami Fidget Spinner (7)

Give that fidget spinner a whirl! Thanks to the colorful origami paper, these look so beautiful as they spin.

Origami Fidget Spinner (8)

Pretend Play Vet Clinic

Pretend Vet (5)

The kids have enjoyed several different scenarios of imaginative play lately, which I love not just because it gets them playing together so well, but also that it breaks them out of playing with the same old toys. So today we tested a third pretend game: a vet clinic!

I set out the various pieces of a toy vet set on the table, including thermometers, stethoscopes, creams, and medicines. But to up the fun factor, Travis and Veronika got some real medical supplies today too, including gauze pads, an ace bandage, and band-aids.

Pretend Vet (2)

As the final touch, I printed out a patient checklist from Mess for Less, so the kids could register each animal that came to the clinic. Now we just needed patients! I lined up several of their stuffed animals along the couch as the “waiting room”. You could even use a small chair for each separate animal if you have several in your home!

Pretend Vet (4)

Brother and sister both rushed over to see what was going on. Veronika immediately took to the task quite seriously. She loved administering shots and testing out the thermometer.

Pretend Vet (8)

She also thought it was so fun to “fill out” the forms, circling the animal species and scribbling notes. (Hey, she already has doctor handwriting!).

Pretend Vet (11)

Her favorite, though, was the real band-aids, and she was soon covering boo-boos and wiping animals with the gauze with such care.

Pretend Vet (7)

Travis, meanwhile, was very into the forms and particularly liked recording high temperatures for all his sick patients.

Pretend Vet (10)

Pretty soon, he took the game in a whole different direction: it turns out action figures need band-aids, too!

Pretend Vet (9)

This had them imagining and playing together so well, making it a big win for a cold winter morning.

Pretend Vet (12)

Spin Art

Spin Art (6)

Warning: This project is a messy one! After playing with lots of spinning tops recently thanks to his latest Kiwi Crate, Travis helped test out this homemade way to make spin art. We thought it was way cooler (if a lot messier!) than a spin art machine from the store.

To make a spinning top “paintbrush”, cut several 1/2-inch wide strips of construction paper. We used about 5 strips for each top we made, but you can make them thicker (up to 10 strips) if desired.

Spin Art (1)

Tape one end of a paper strip to a toothpick and begin winding up tightly. As you reach the end of each strip, tape down and then tape on the beginning of the next strip. As mentioned, we only used 5 strips, mostly because my fingers started to cramp up. Here’s an image of it in motion, hence why it is so blurry. These made fun toys in their own right!

Spin Art (2)

Next, we set down white cardstock and added three blobs of color near the center of each, in the primary colors of red, yellow, and blue.

Spin Art (3)

Give your spinning top a whirl!

Spin Art (4)

Through trial and error, we found that this worked best when the paint blobs were very small, otherwise the top just got stuck. Since I had already dolloped on rather thick paint, ours made the best art when we set it spinning near the edges.

Spin Art (5)

The resulting spray and splatter was so fun for the kids to watch!

Spinning Science Kiwi Crate

Kiwi Spinning (24)

Here’s our unboxing of Travis’s latest arrival from Kiwi Crate, with projects devoted to angular momentum (otherwise known as spinning!). We give this one high marks for science and art, both.

First we needed to assemble a few Stacking Tops from the provided plastic pins and wooden discs.

Kiwi Spinning (2)

These were neat since Travis could mix and match the sizes of discs (labeled 1 through 4 from smallest to largest) and see how this affected the way they would spin. Little sister Veronika wanted to try her hand at building a top, too!

Kiwi Spinning (1)

The different pegs spin differently, for added experimentation. Blue ones spin in place, whereas the green ones could skitter across a table, making for lots of squeals of delight.

Kiwi Spinning (6)

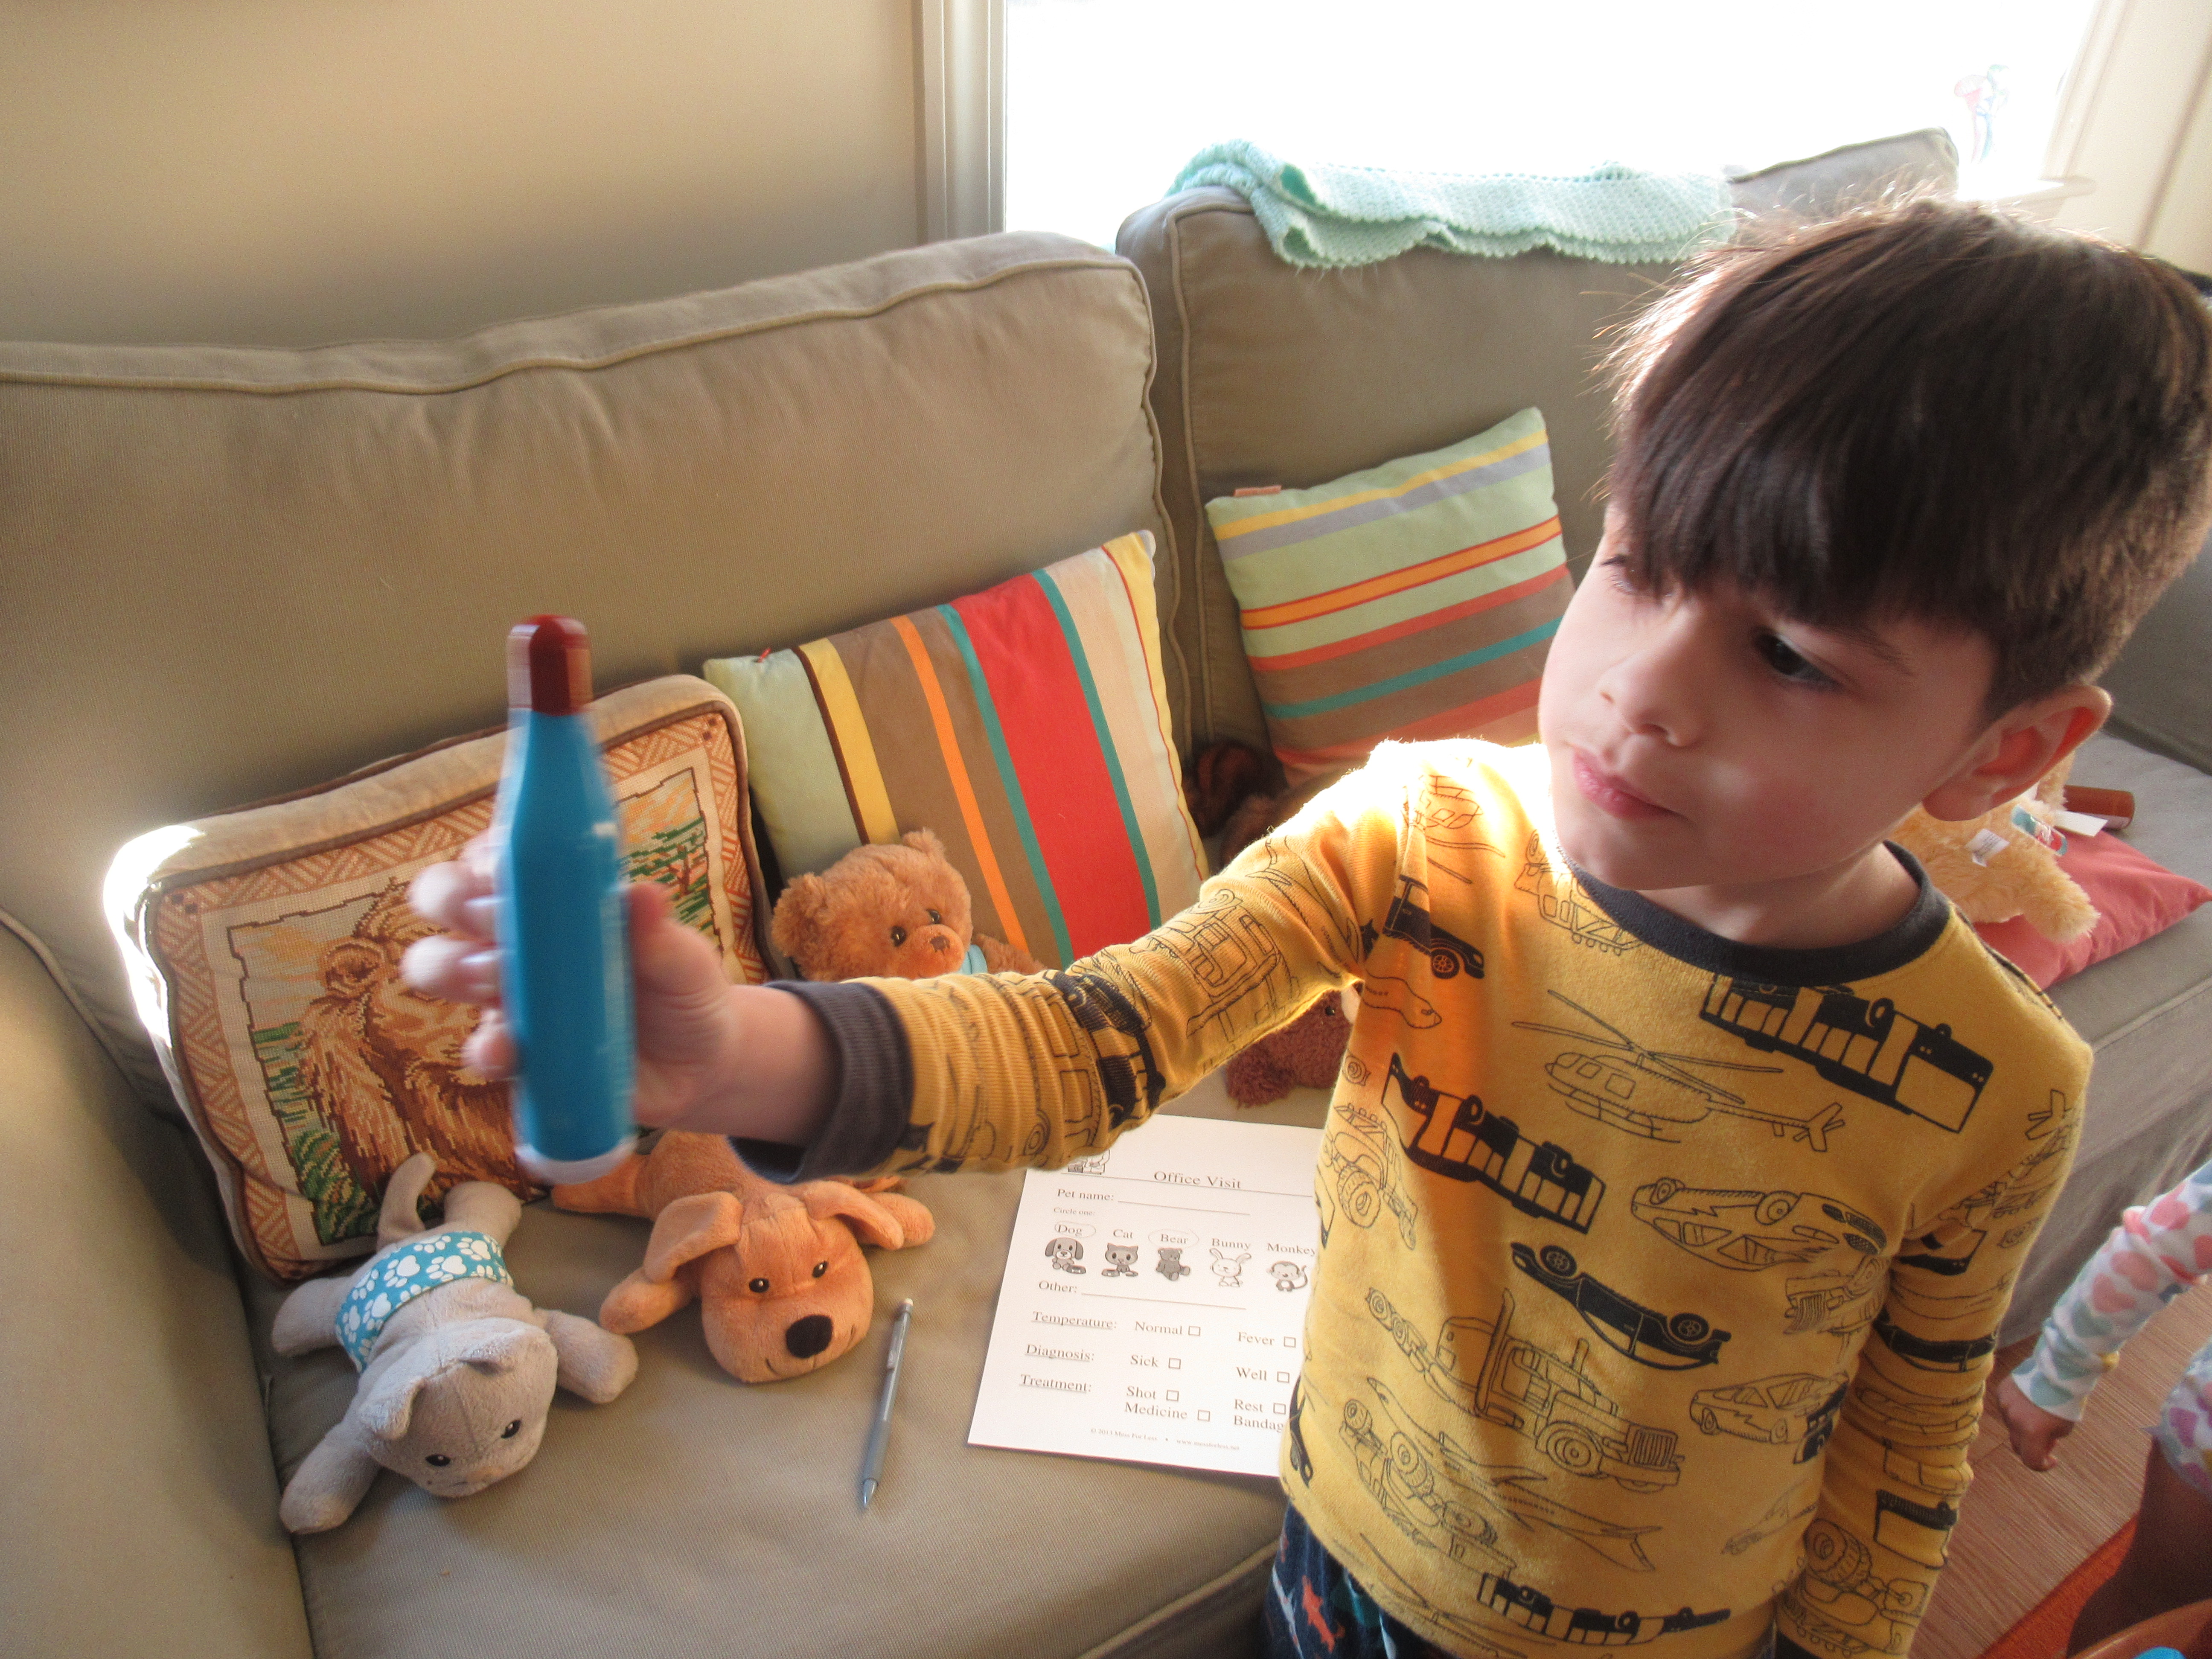
Once the tops are made, you can move on to Spinning Top Games. Travis helped assemble a launcher, which is a wooden arm fastened to a weighted cup.

Kiwi Spinning (7)

The tops slot up into the arm, and when you pull the felt release, should ideally spin well when they hit the ground. Unfortunately, we found the mechanism to be a bit faulty and had better luck just spinning by hand!

Kiwi Spinning (9)

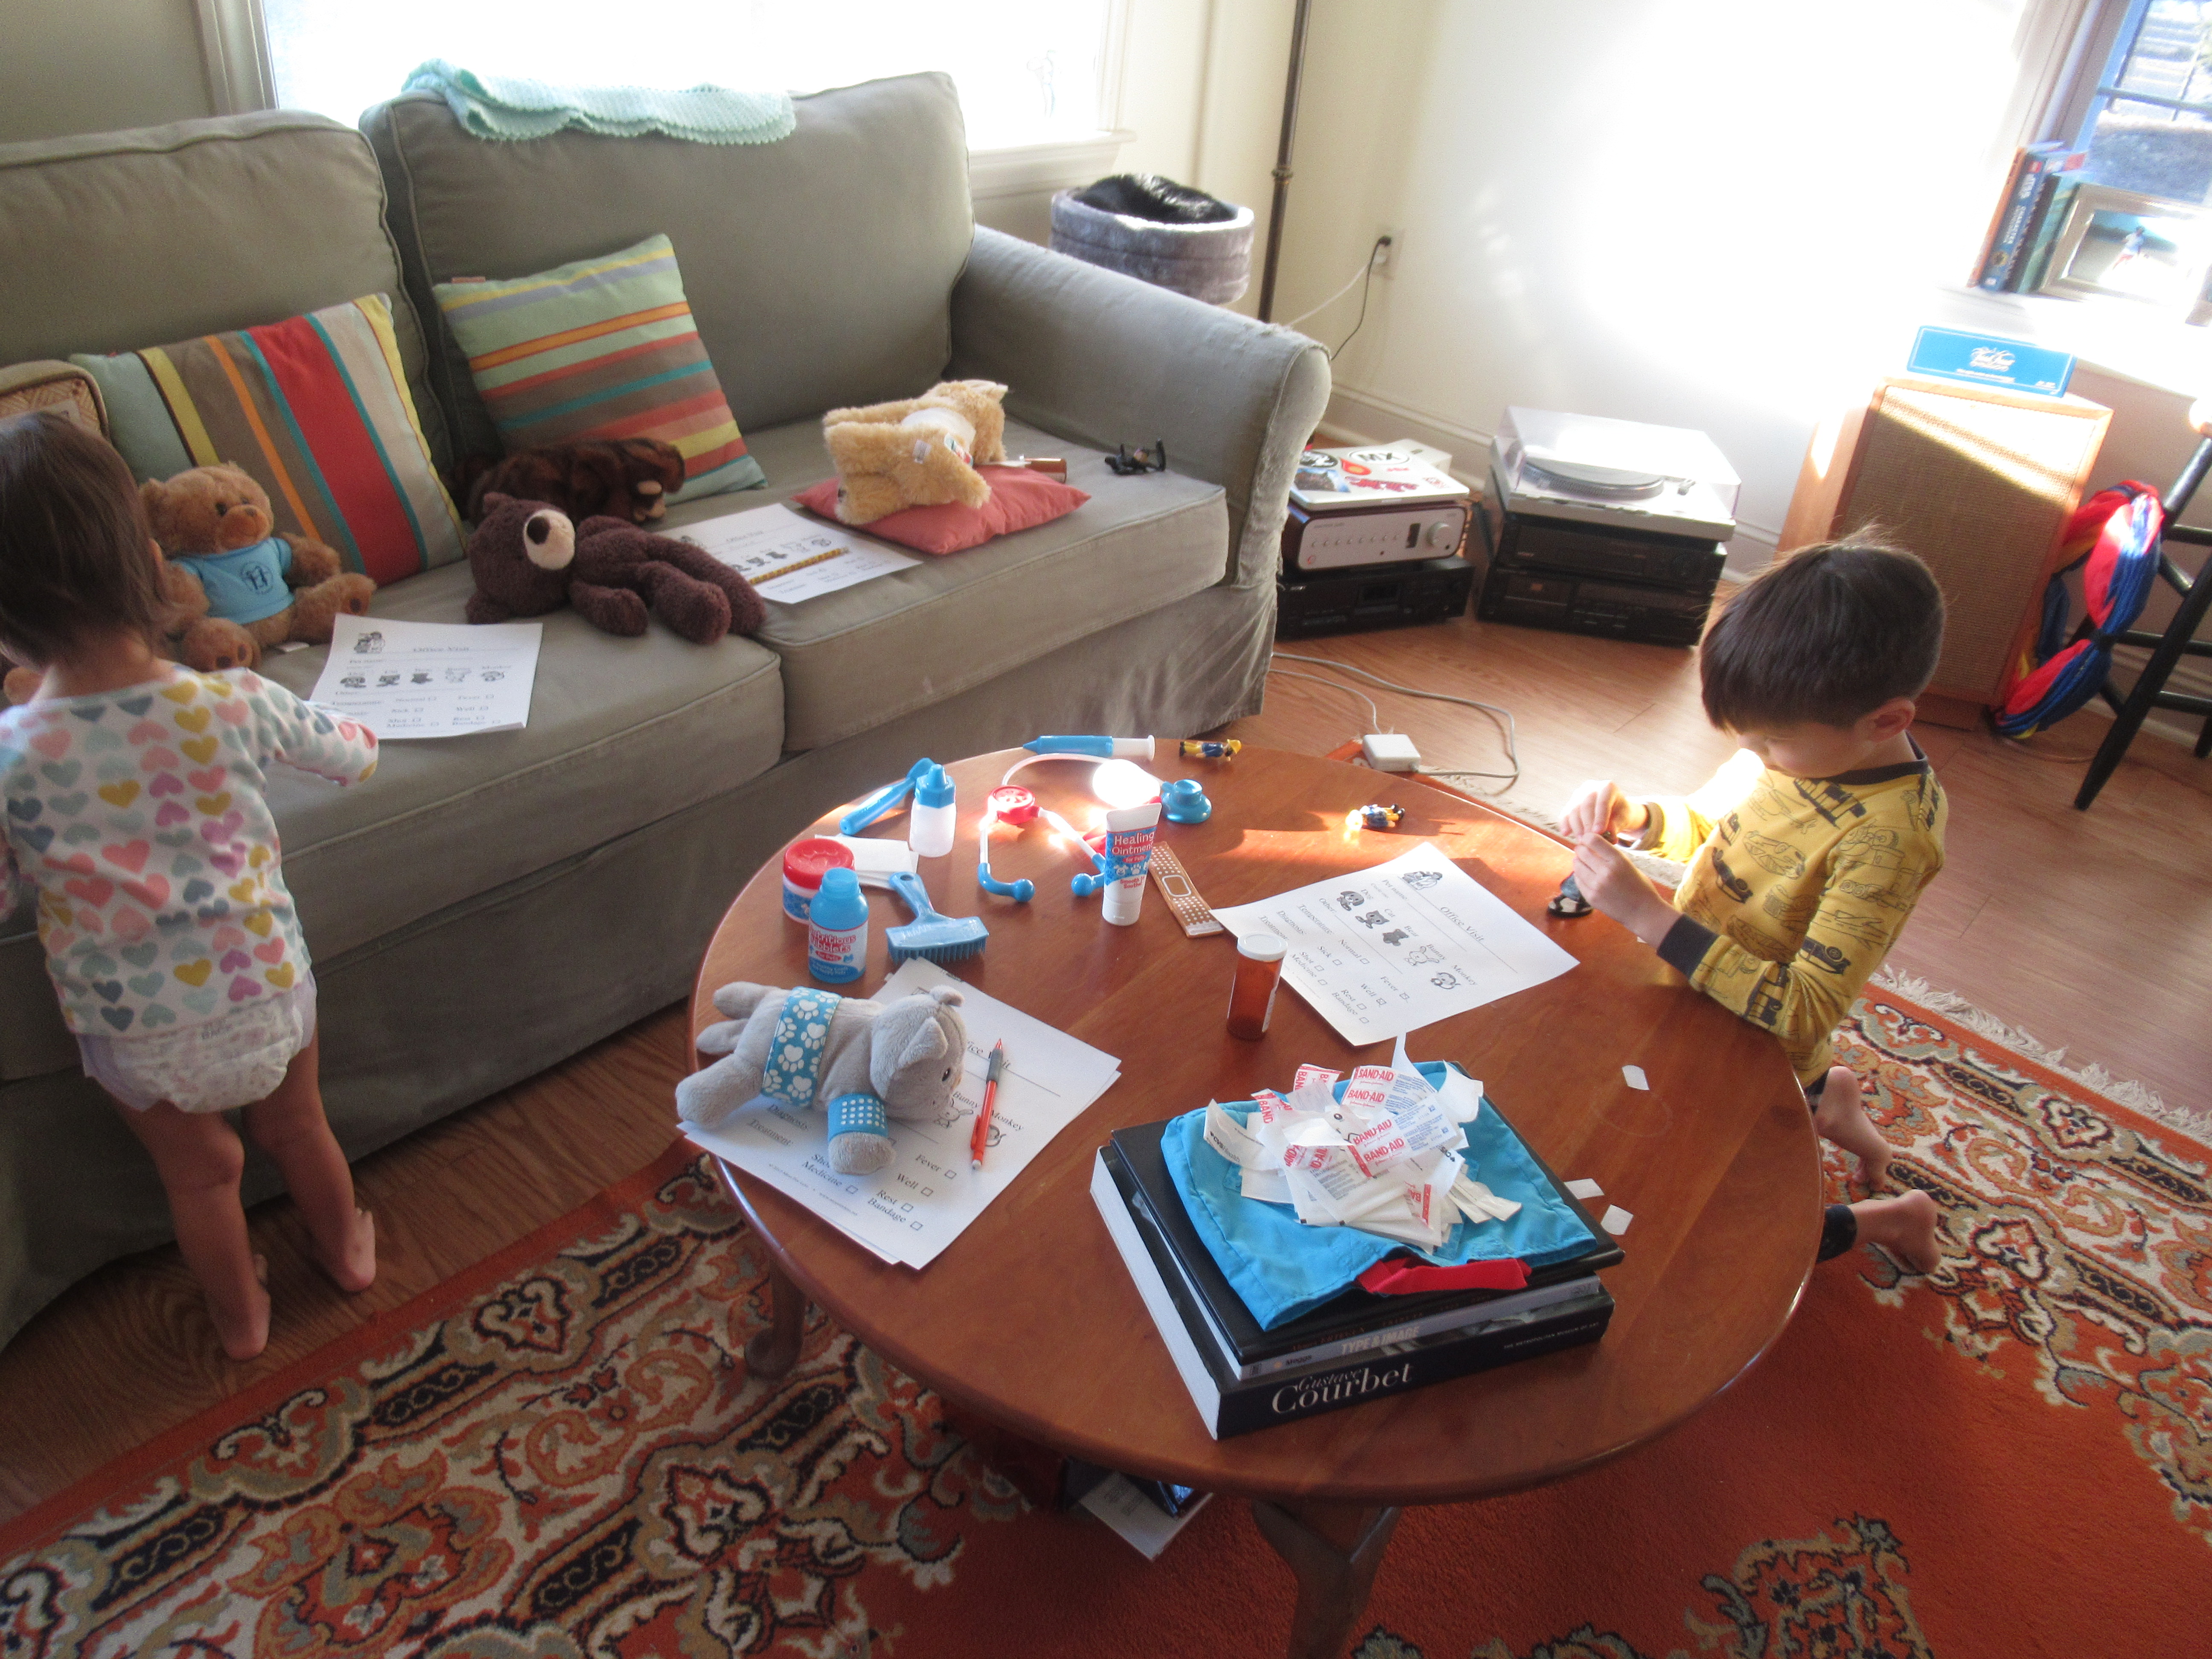
Travis then made a frame for the games from wooden pieces that slot together like a jigsaw puzzle. The first game was called Point Walk: Spin the top and score a point for every time it “walks” across the colored dots on the game board. Travis’s high score was 8!

Kiwi Spinning (8)

The second game was Pom-Pom Knockdown, for which we placed the provided small pom-poms in piles. Launch the top, then see if you can make the pom-poms fly off the frame. Travis thought it was so funny every time a pom-pom went skittering.

Kiwi Spinning (11)

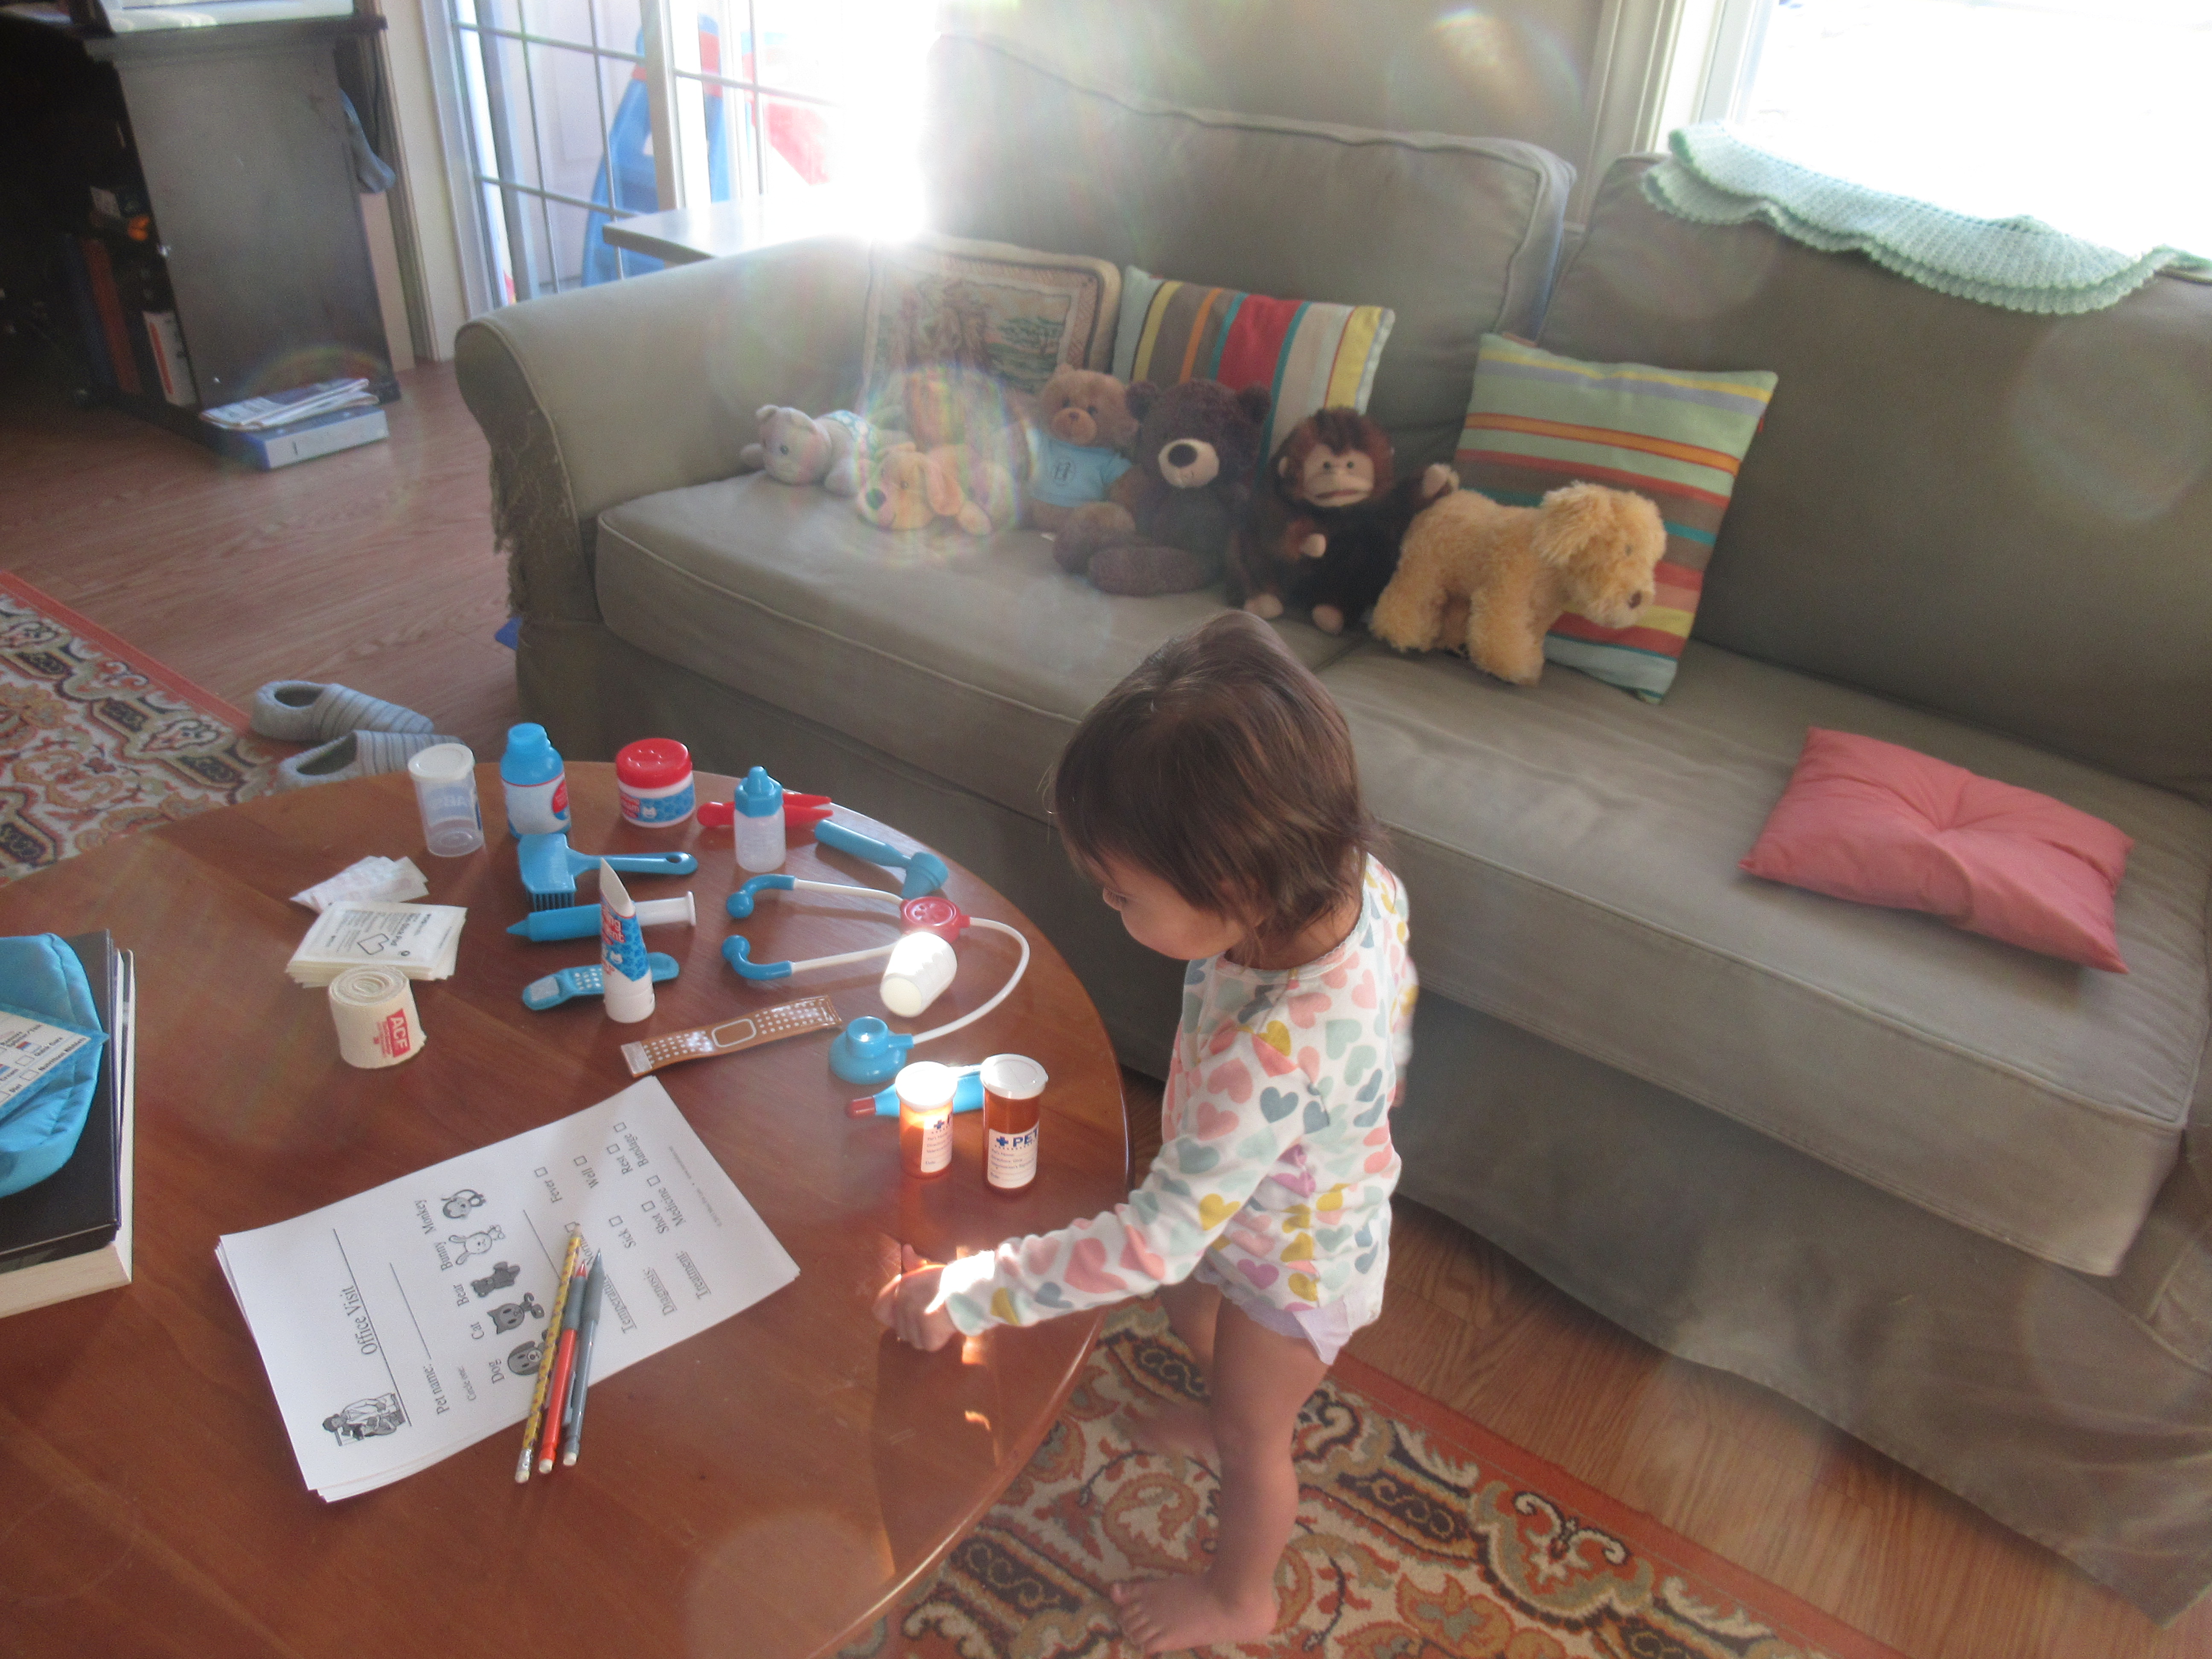
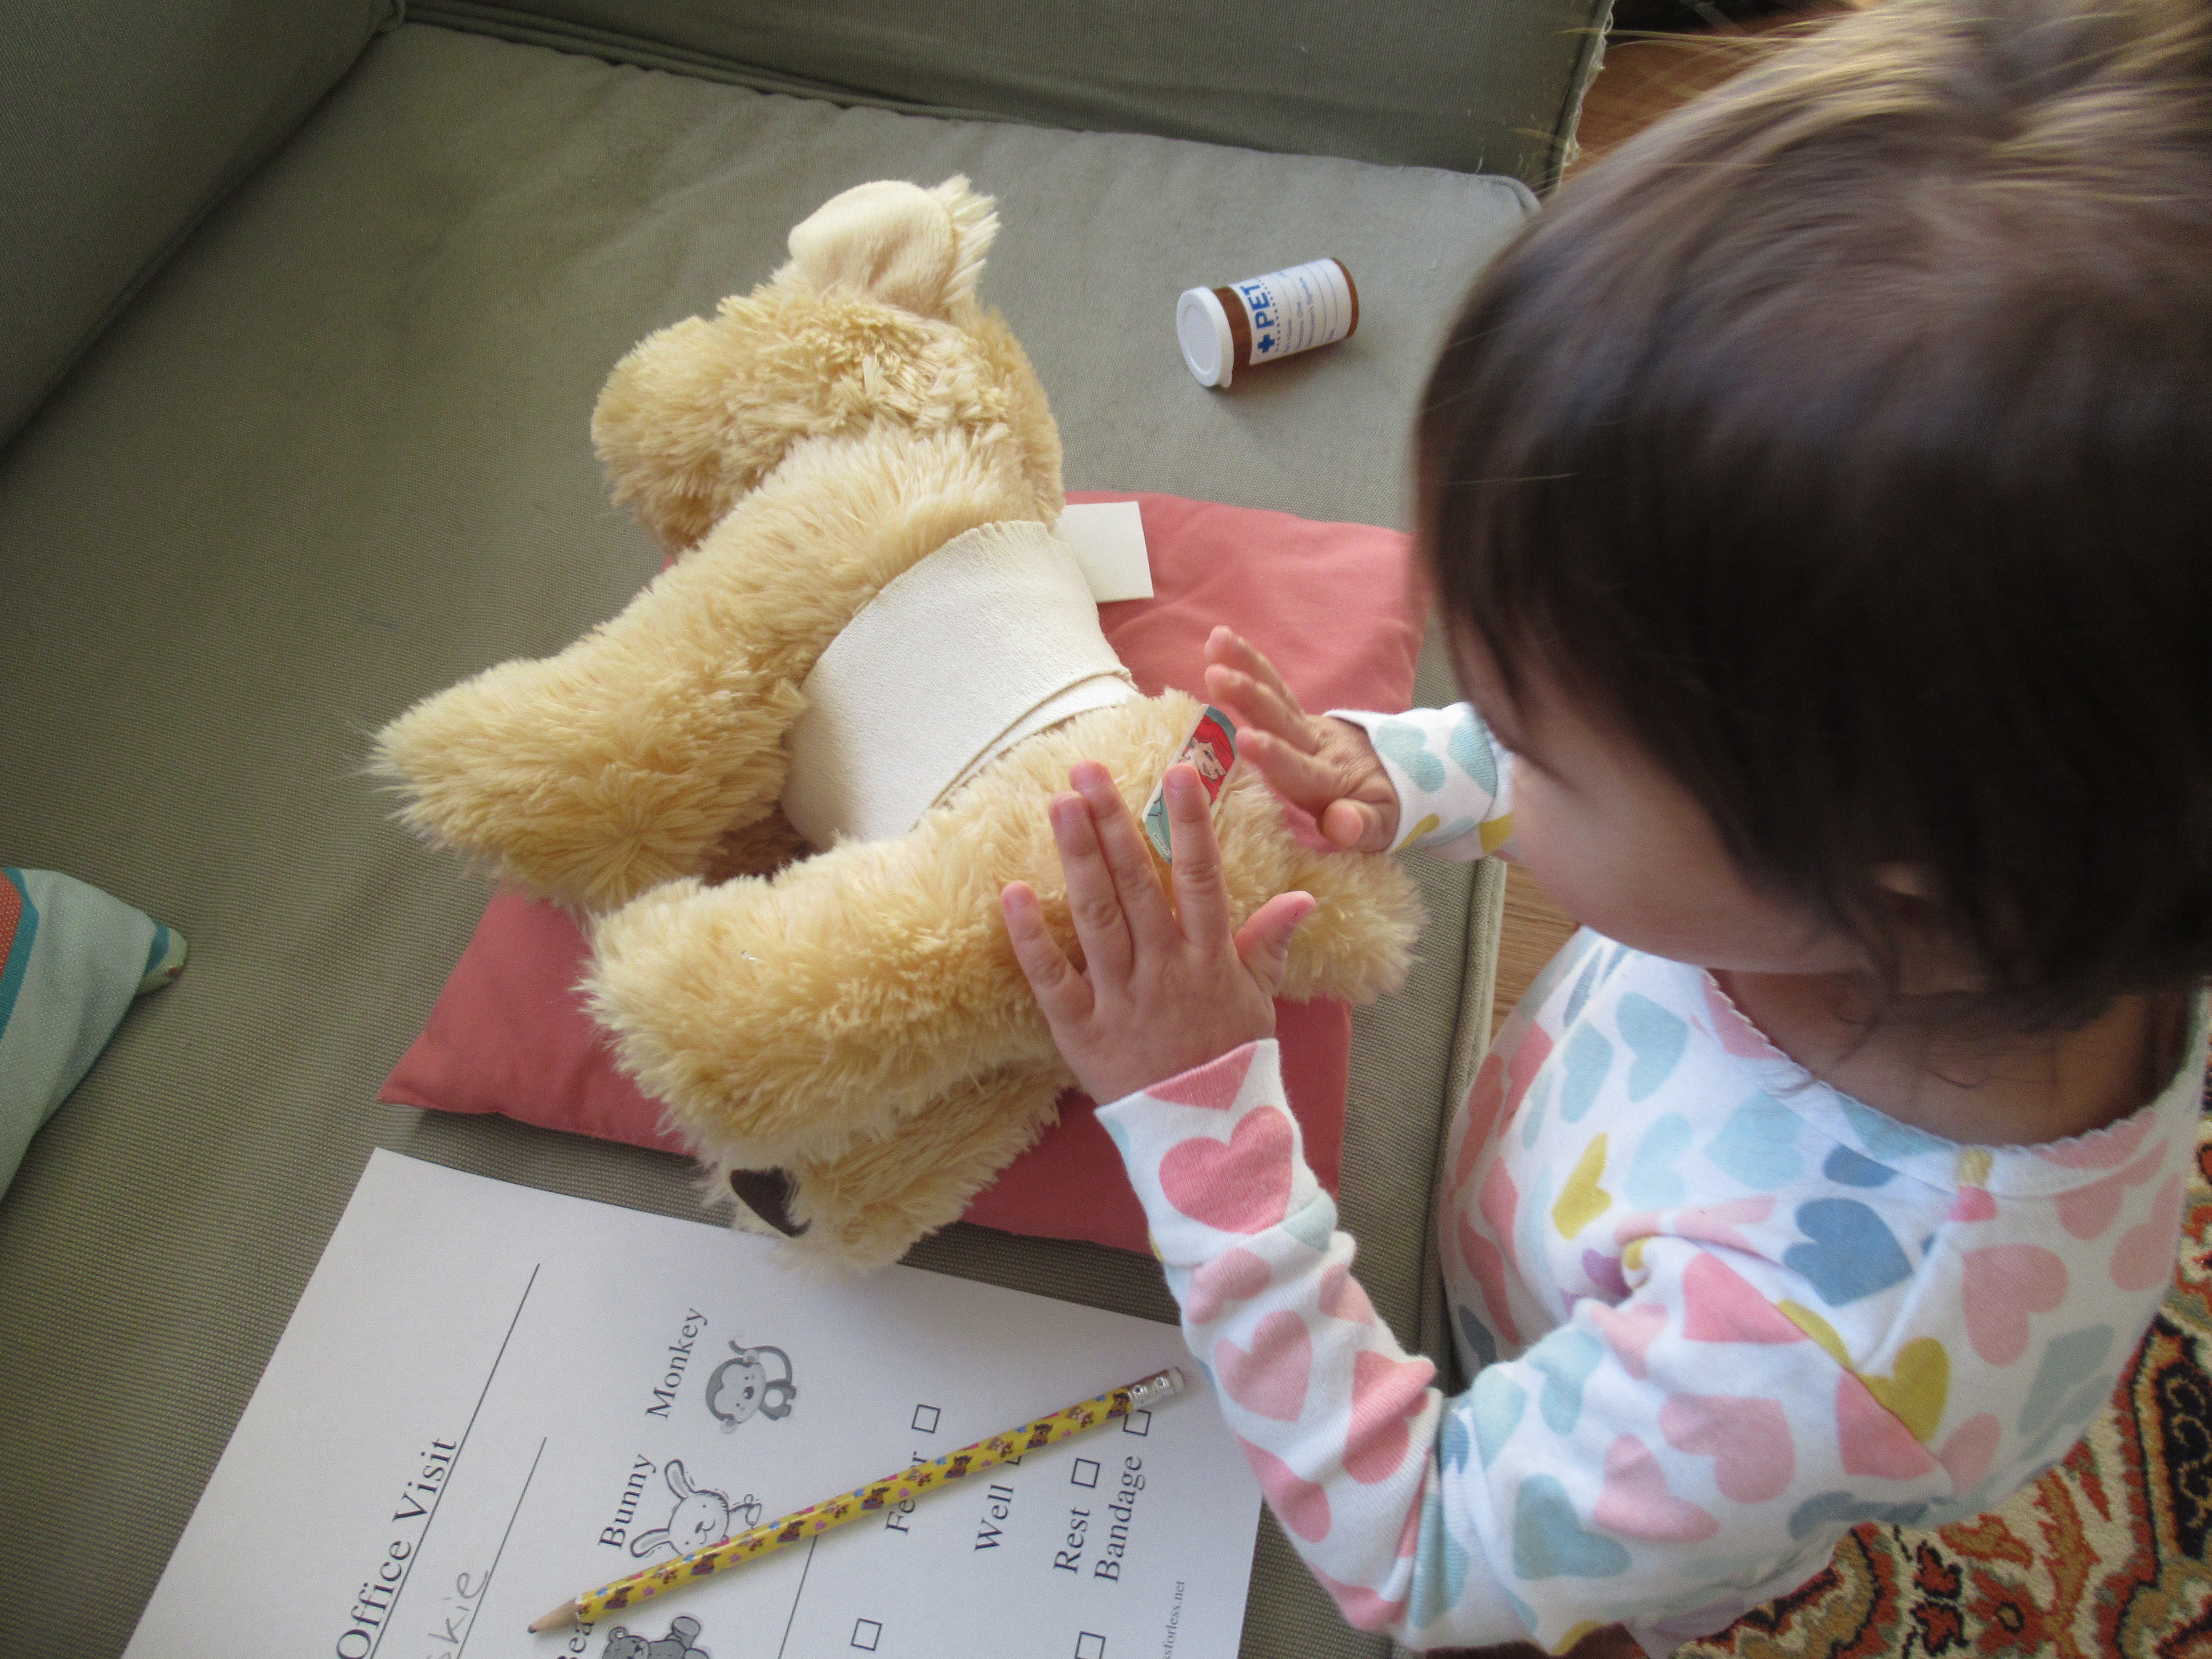
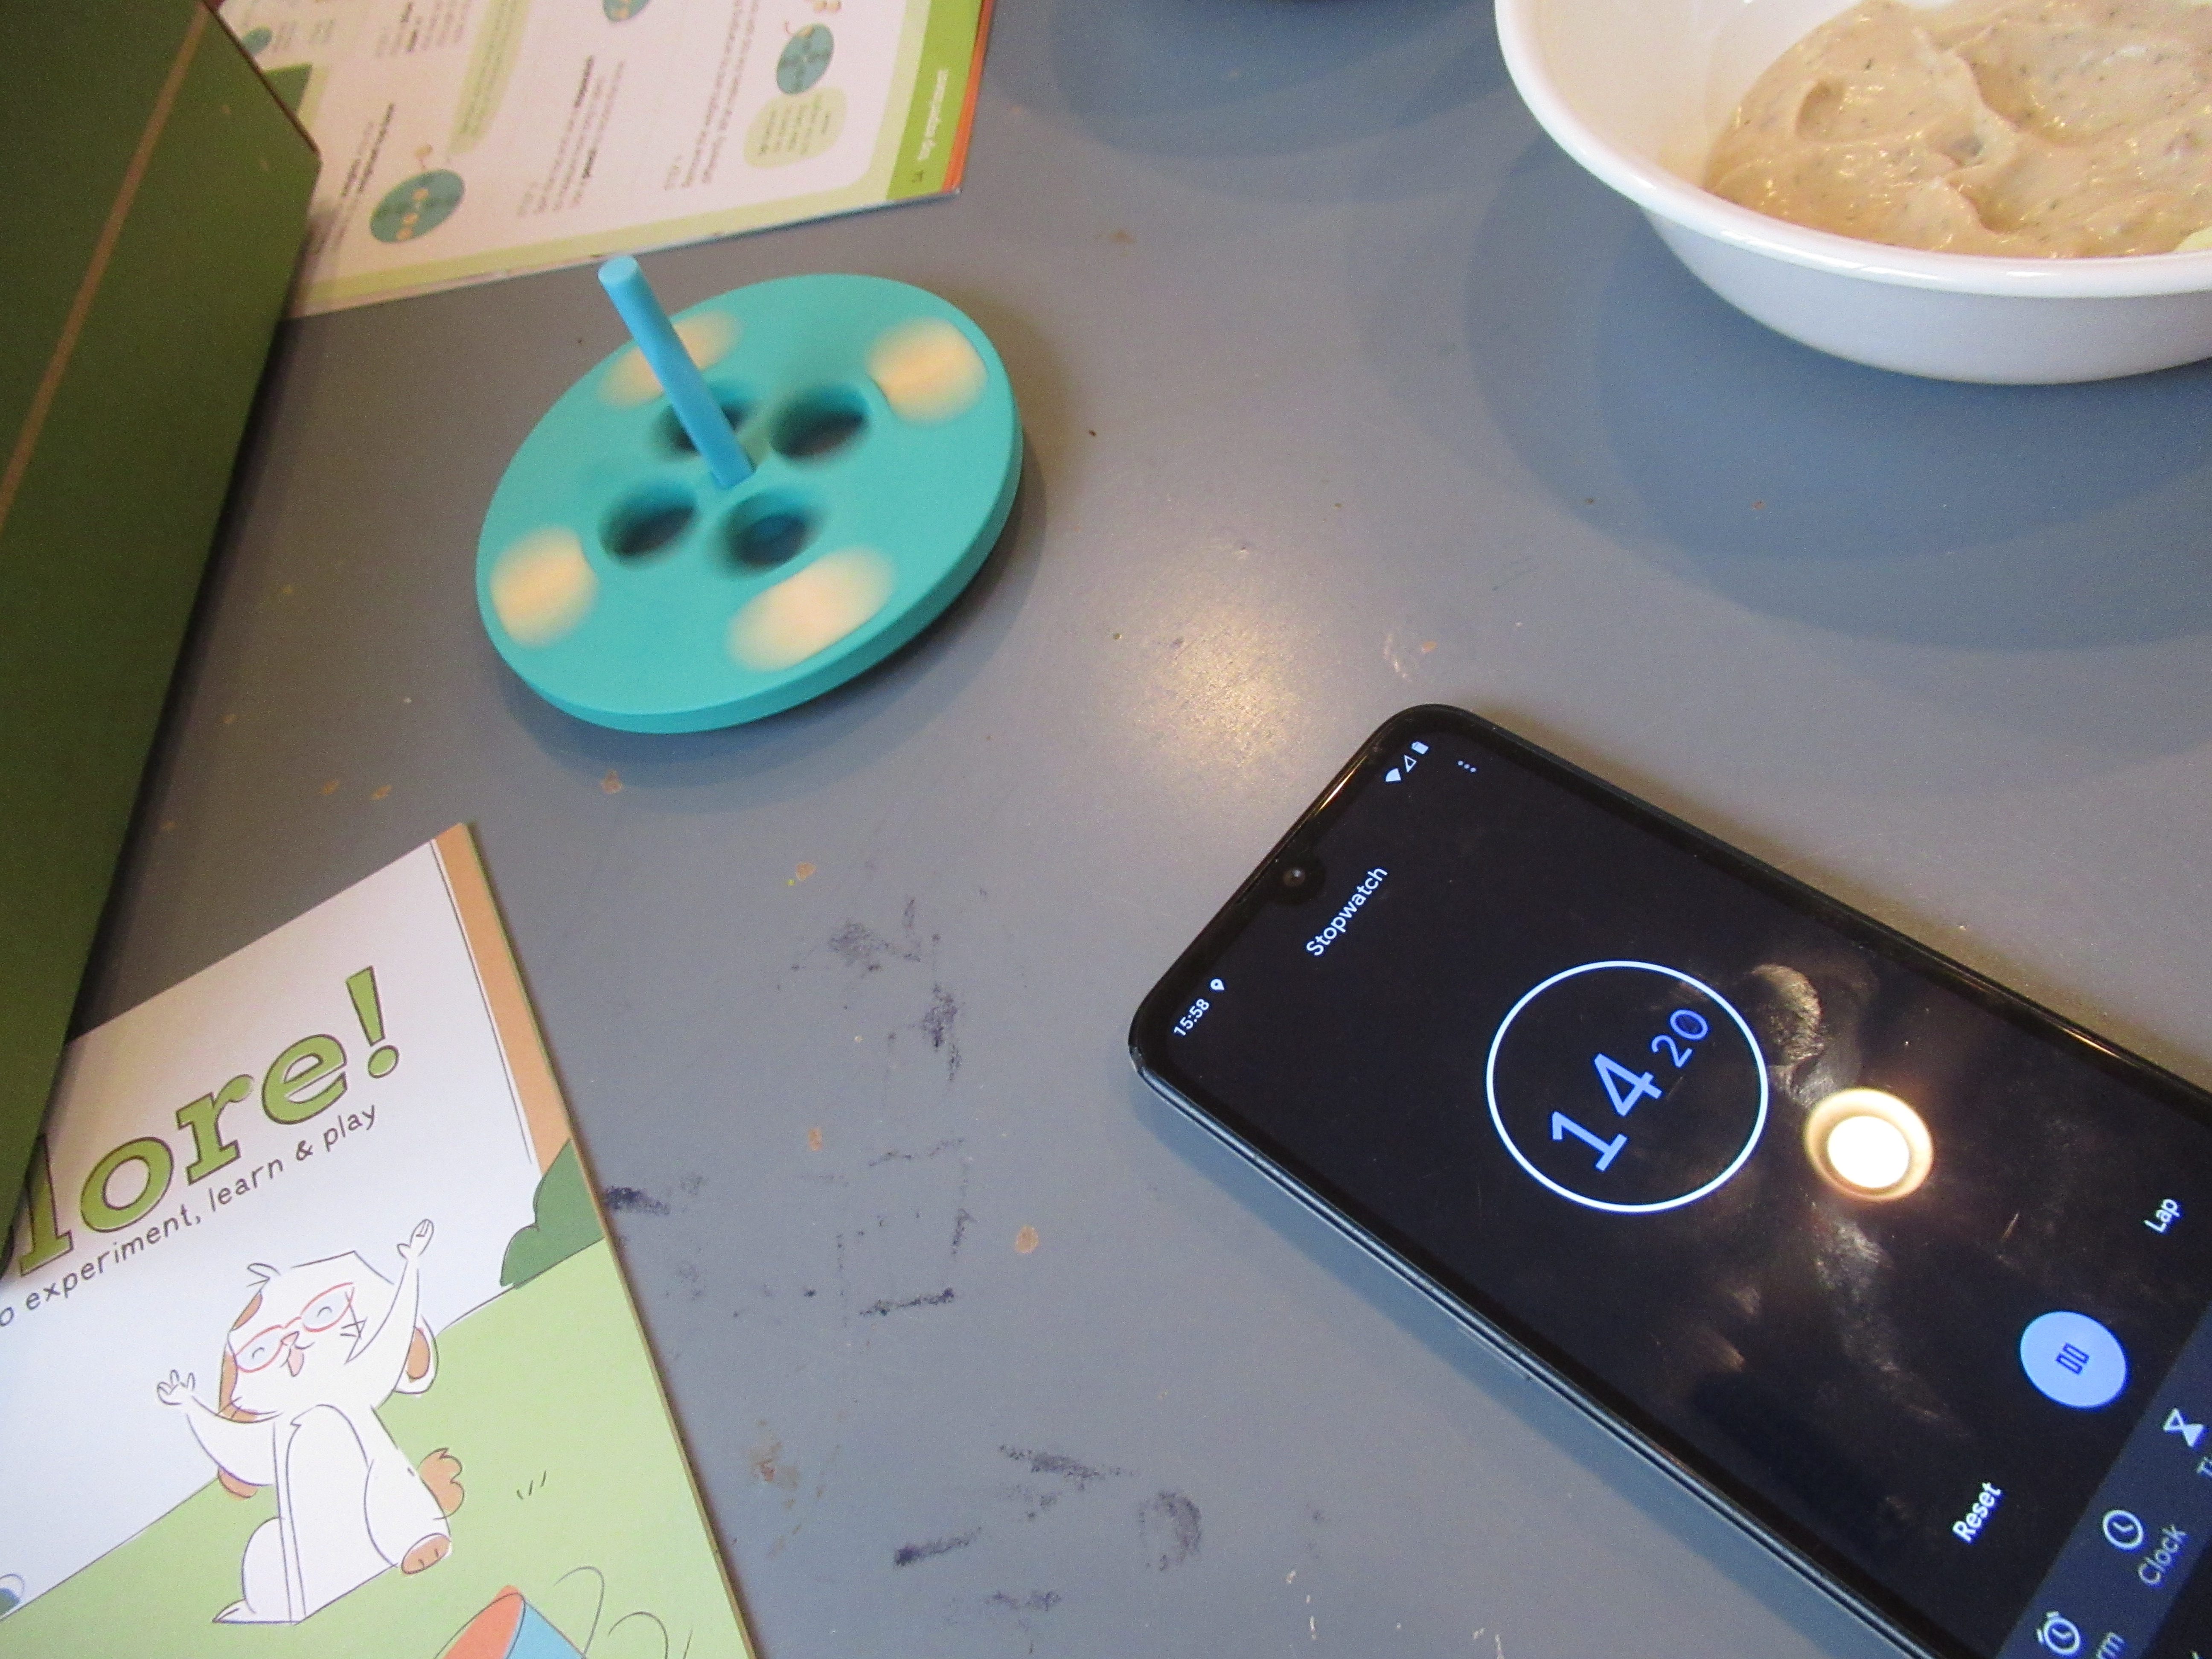
We set aside the games and turned to a very STEM-based Top Experiment. If Travis attached the blue peg to a provided disc and then added various wooden weights, he could record differences in how long the top could spin.

Kiwi Spinning (12)

Kids can use a stopwatch and pencil to record results, making this feel like a real “lab” experiment. Quite honestly, everyone was wowed when the version with the most balanced weights spun a full 31 seconds, whereas our other attempts averaged about 8 seconds.

Kiwi Spinning (13)

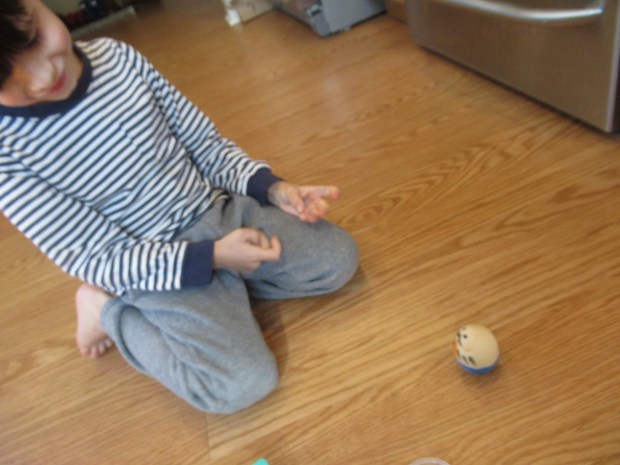
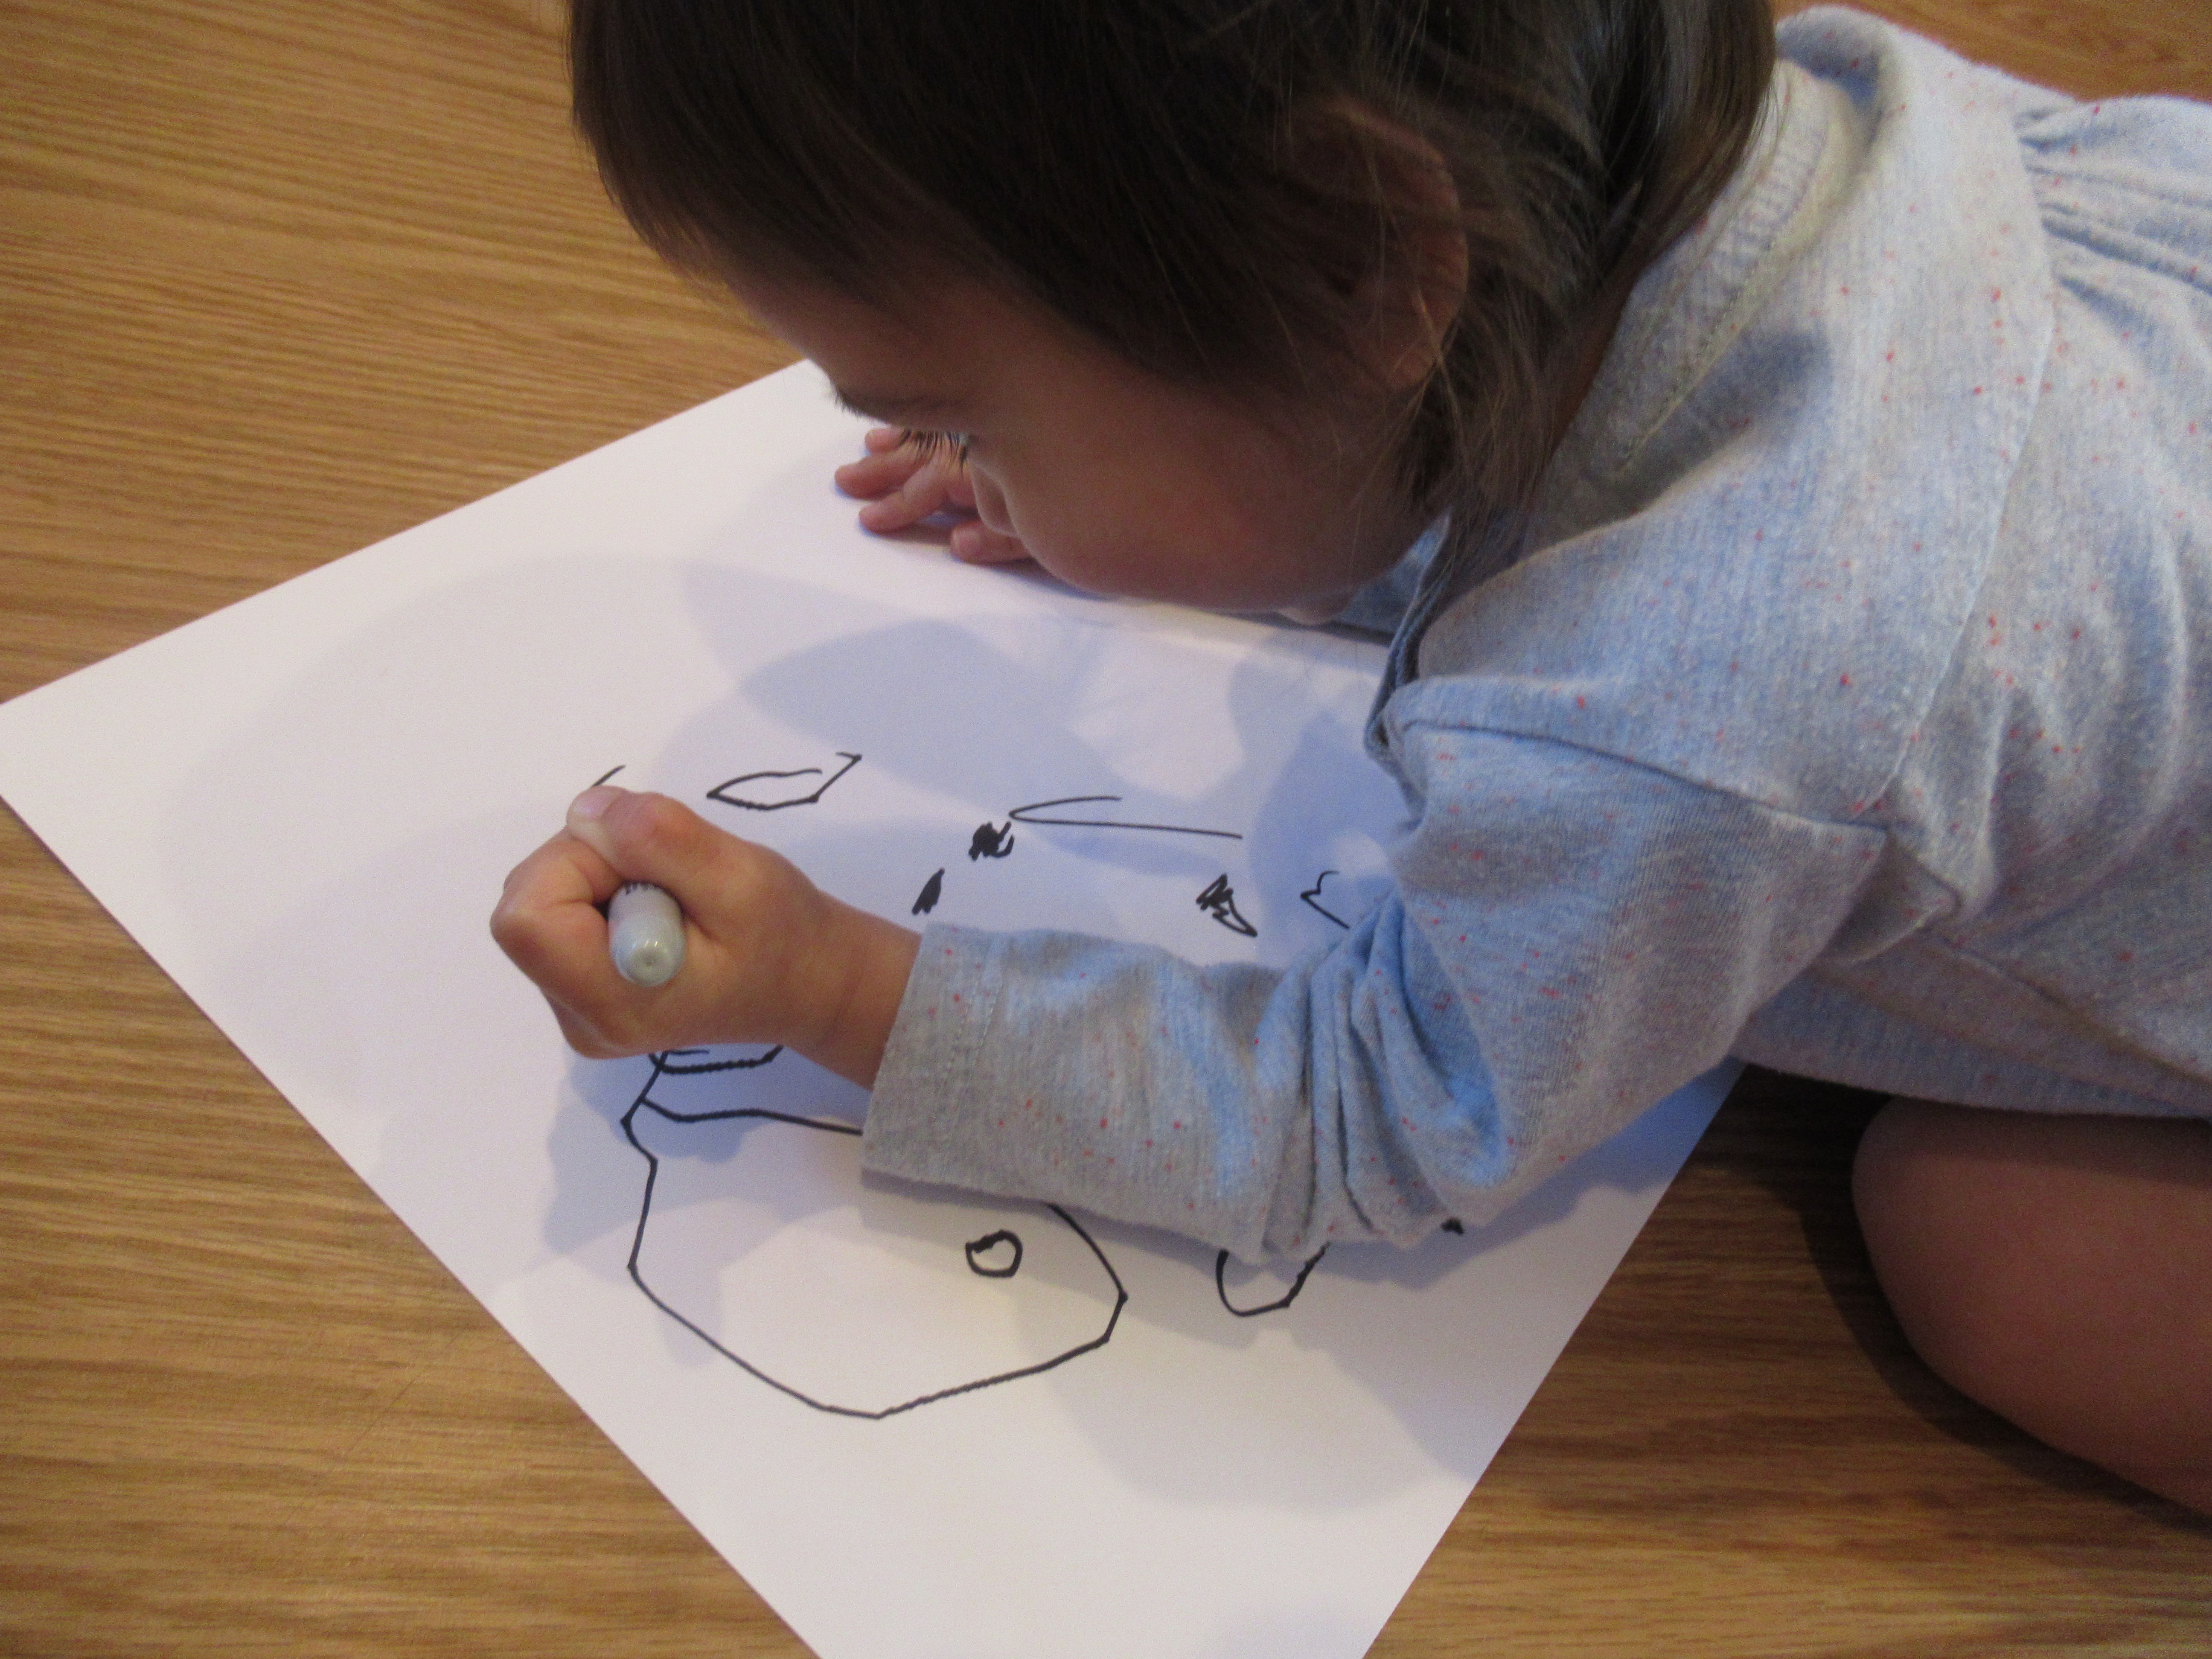
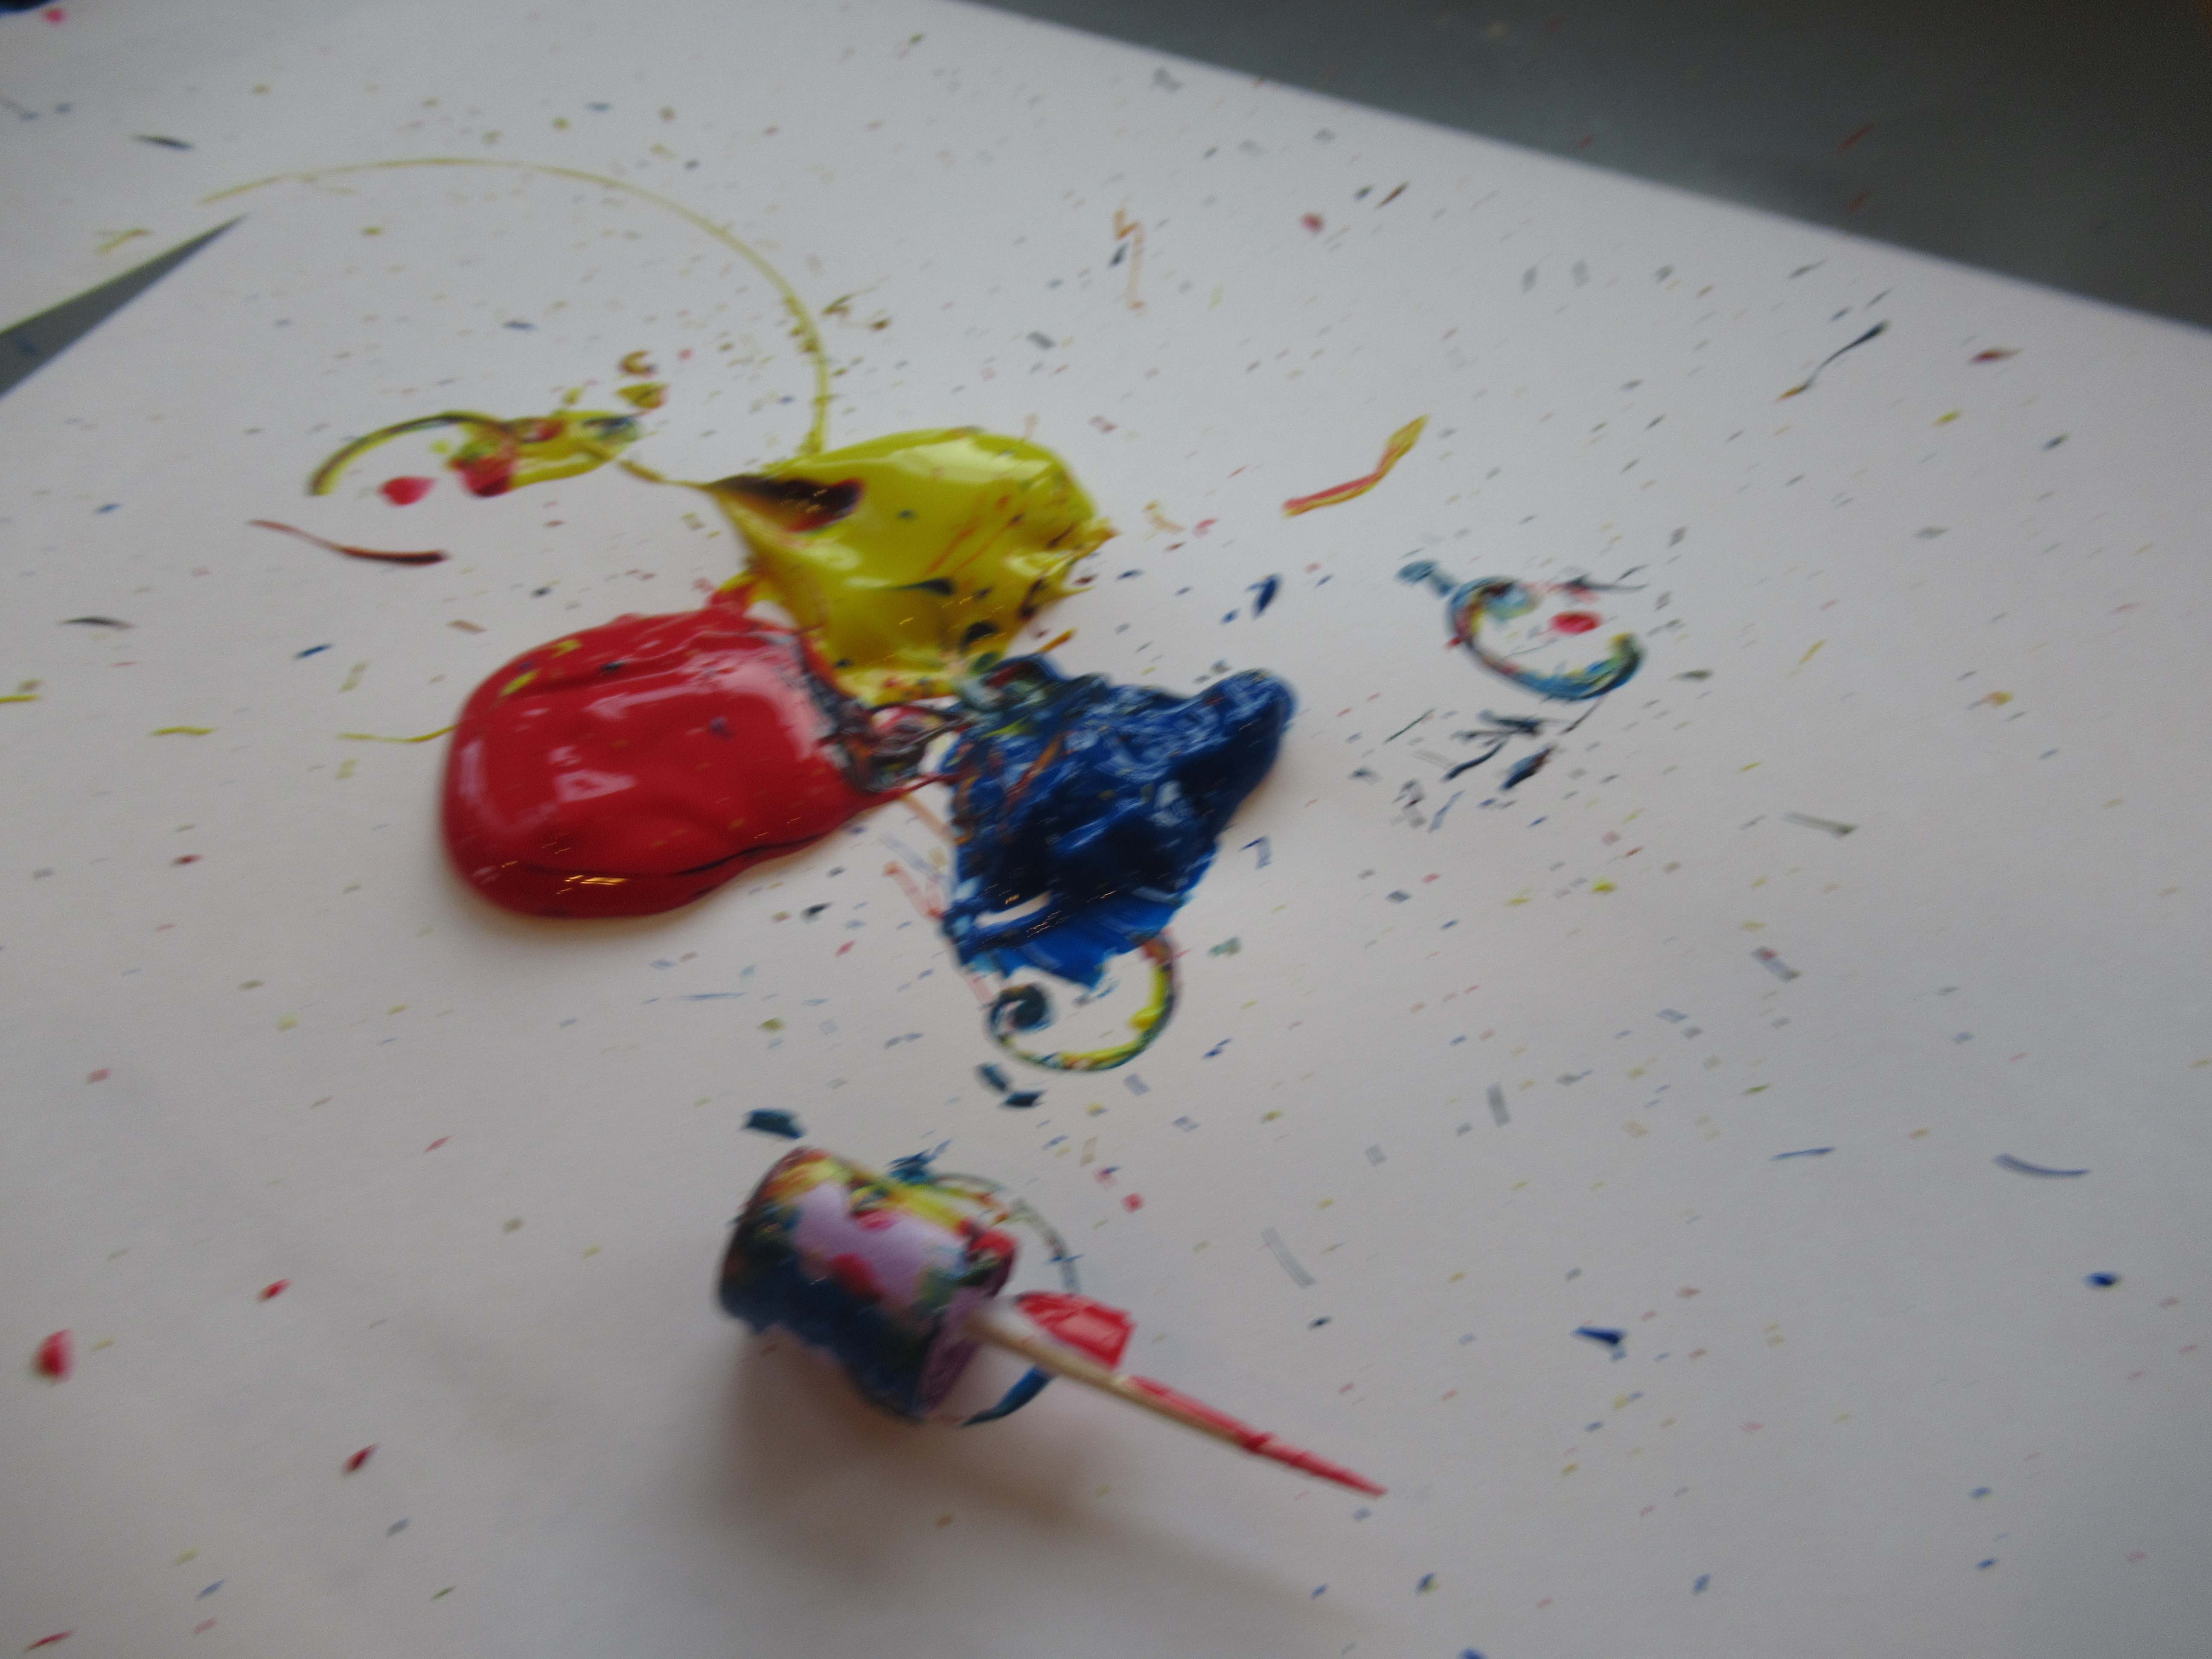
For some art in all this, the final project was to use a plastic top as a Doodle Top. The provided mini markers fit right into this plastic spinner, and we placed a piece of provided circular paper under the wooden game frame. Give it a spin and make some swirly art!

Kiwi Spinning (15)

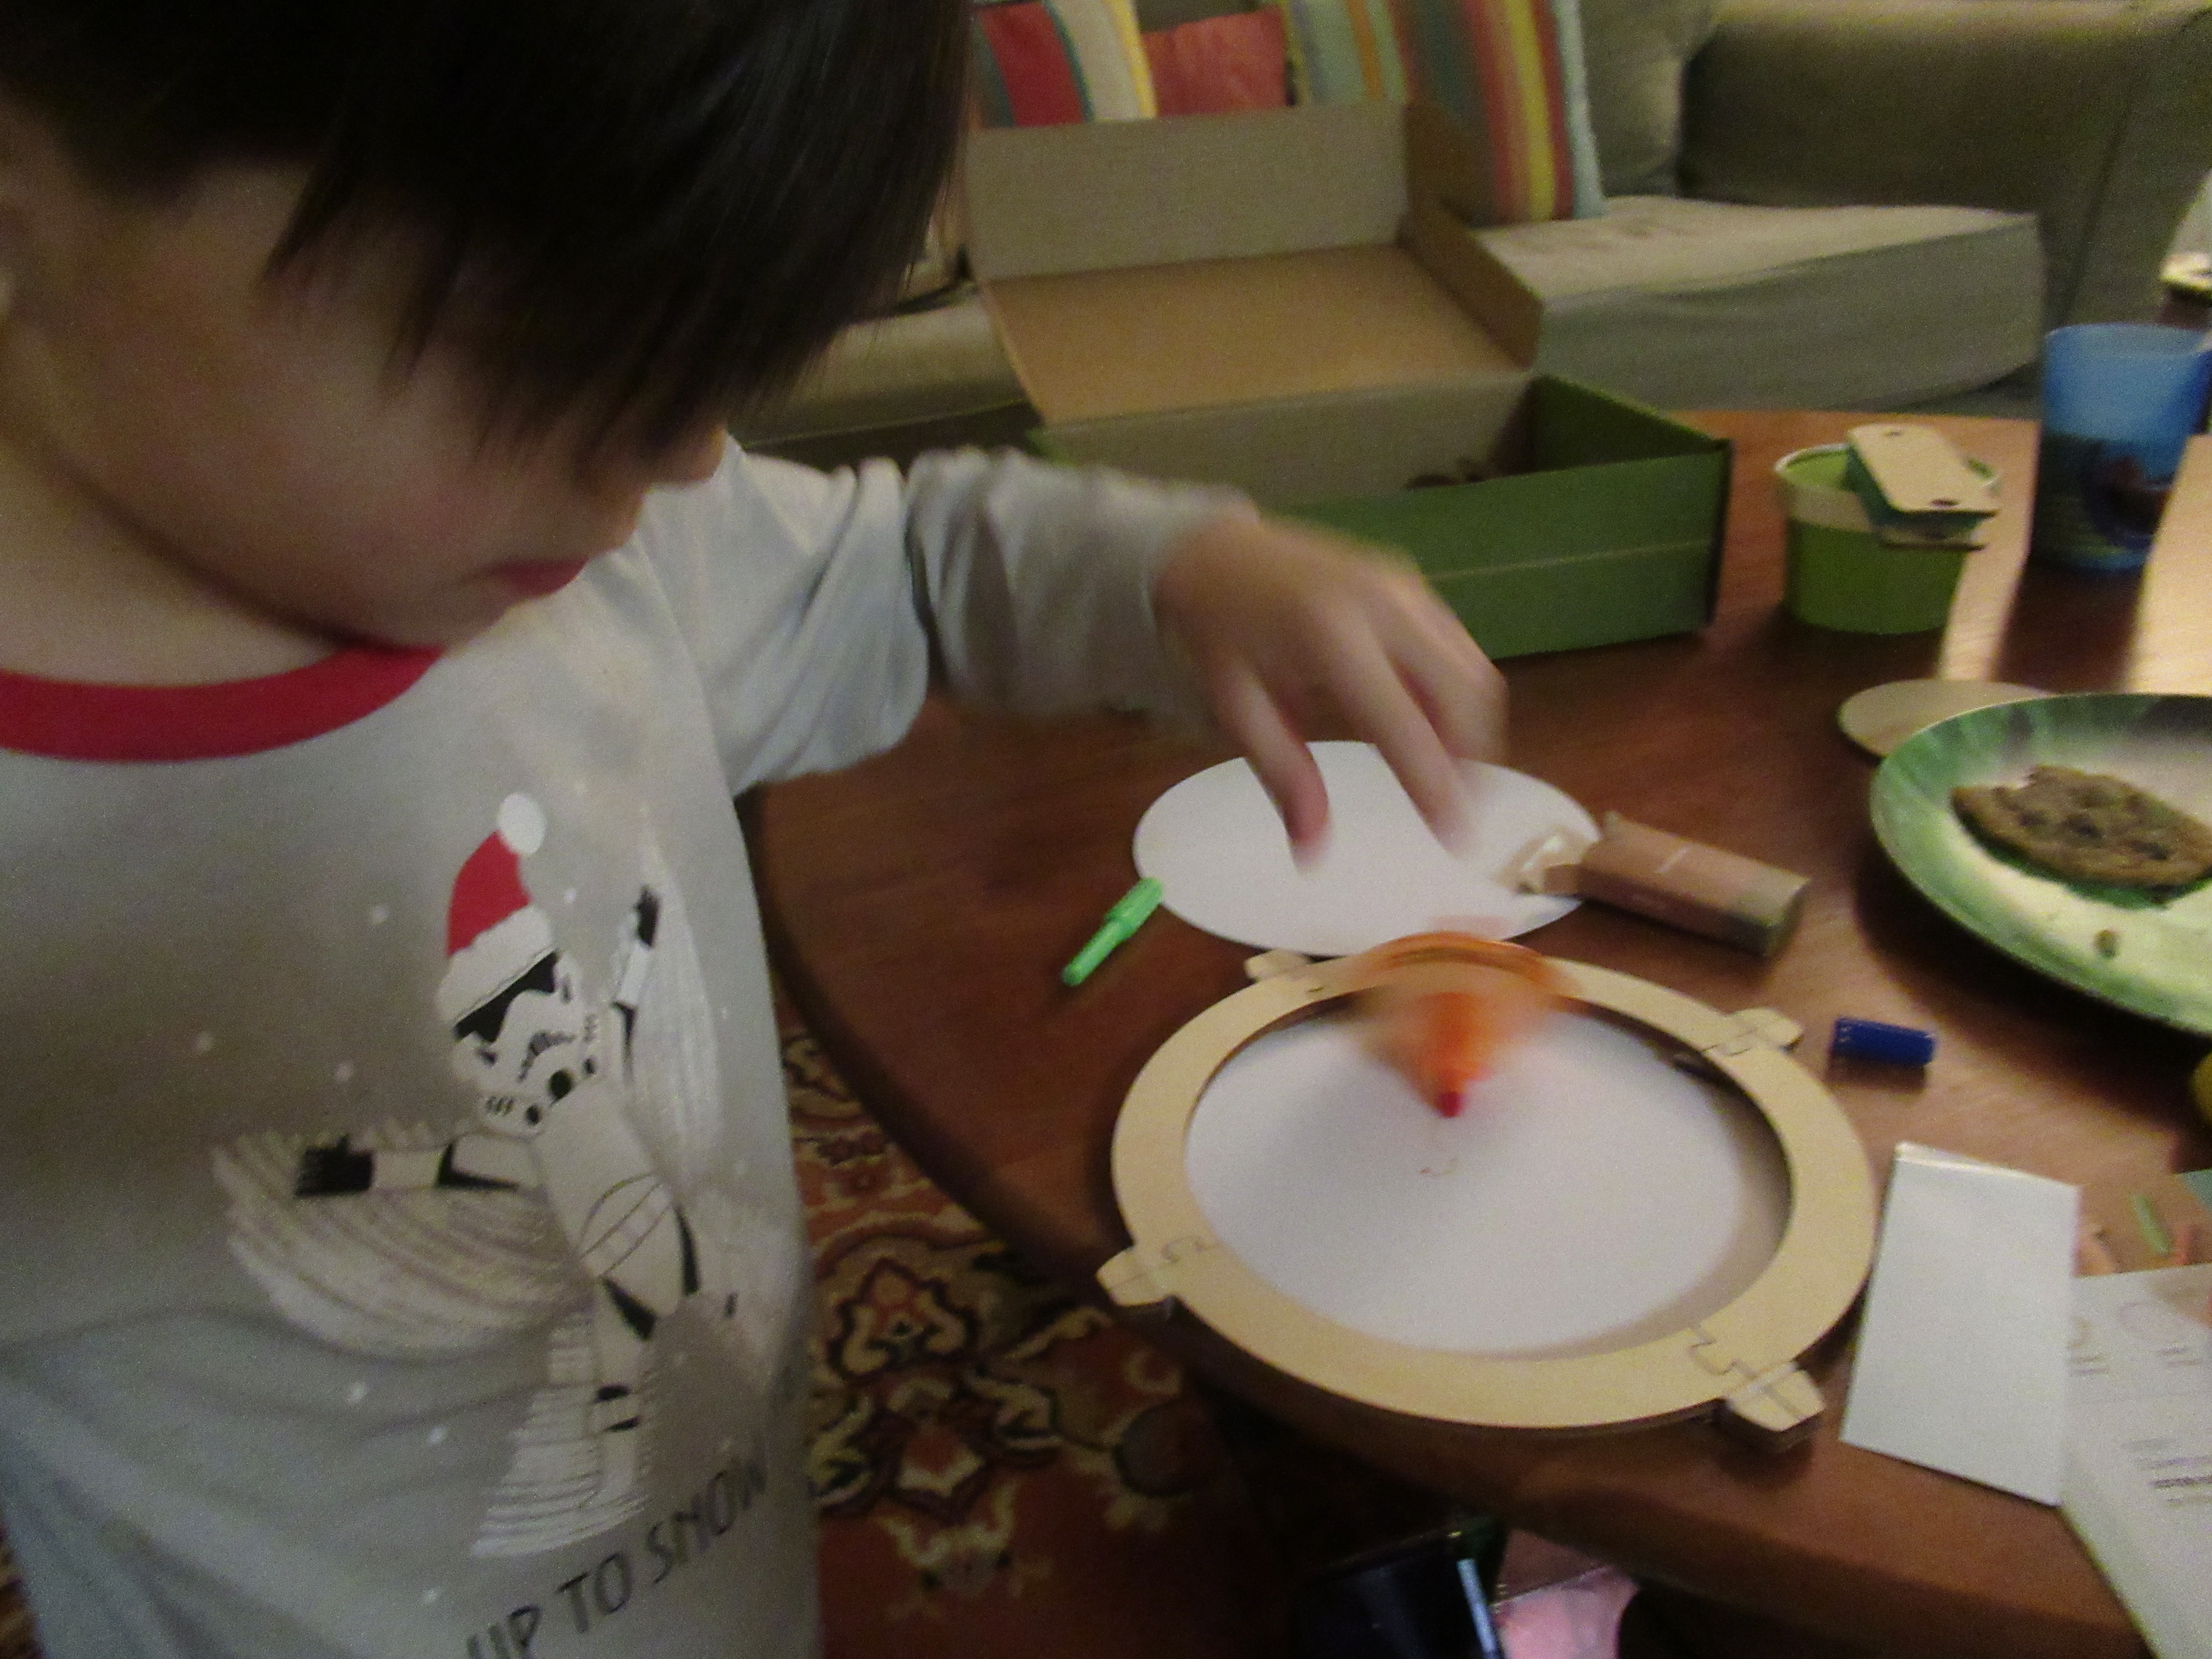
Unfortunately we never got this top to spin for long (I’m not sure if that was due to a faulty top or the fault of our spinning abilities), resulting only one time in what could be called a doodle, and mostly getting scratchy scribbles.

Kiwi Spinning (16)

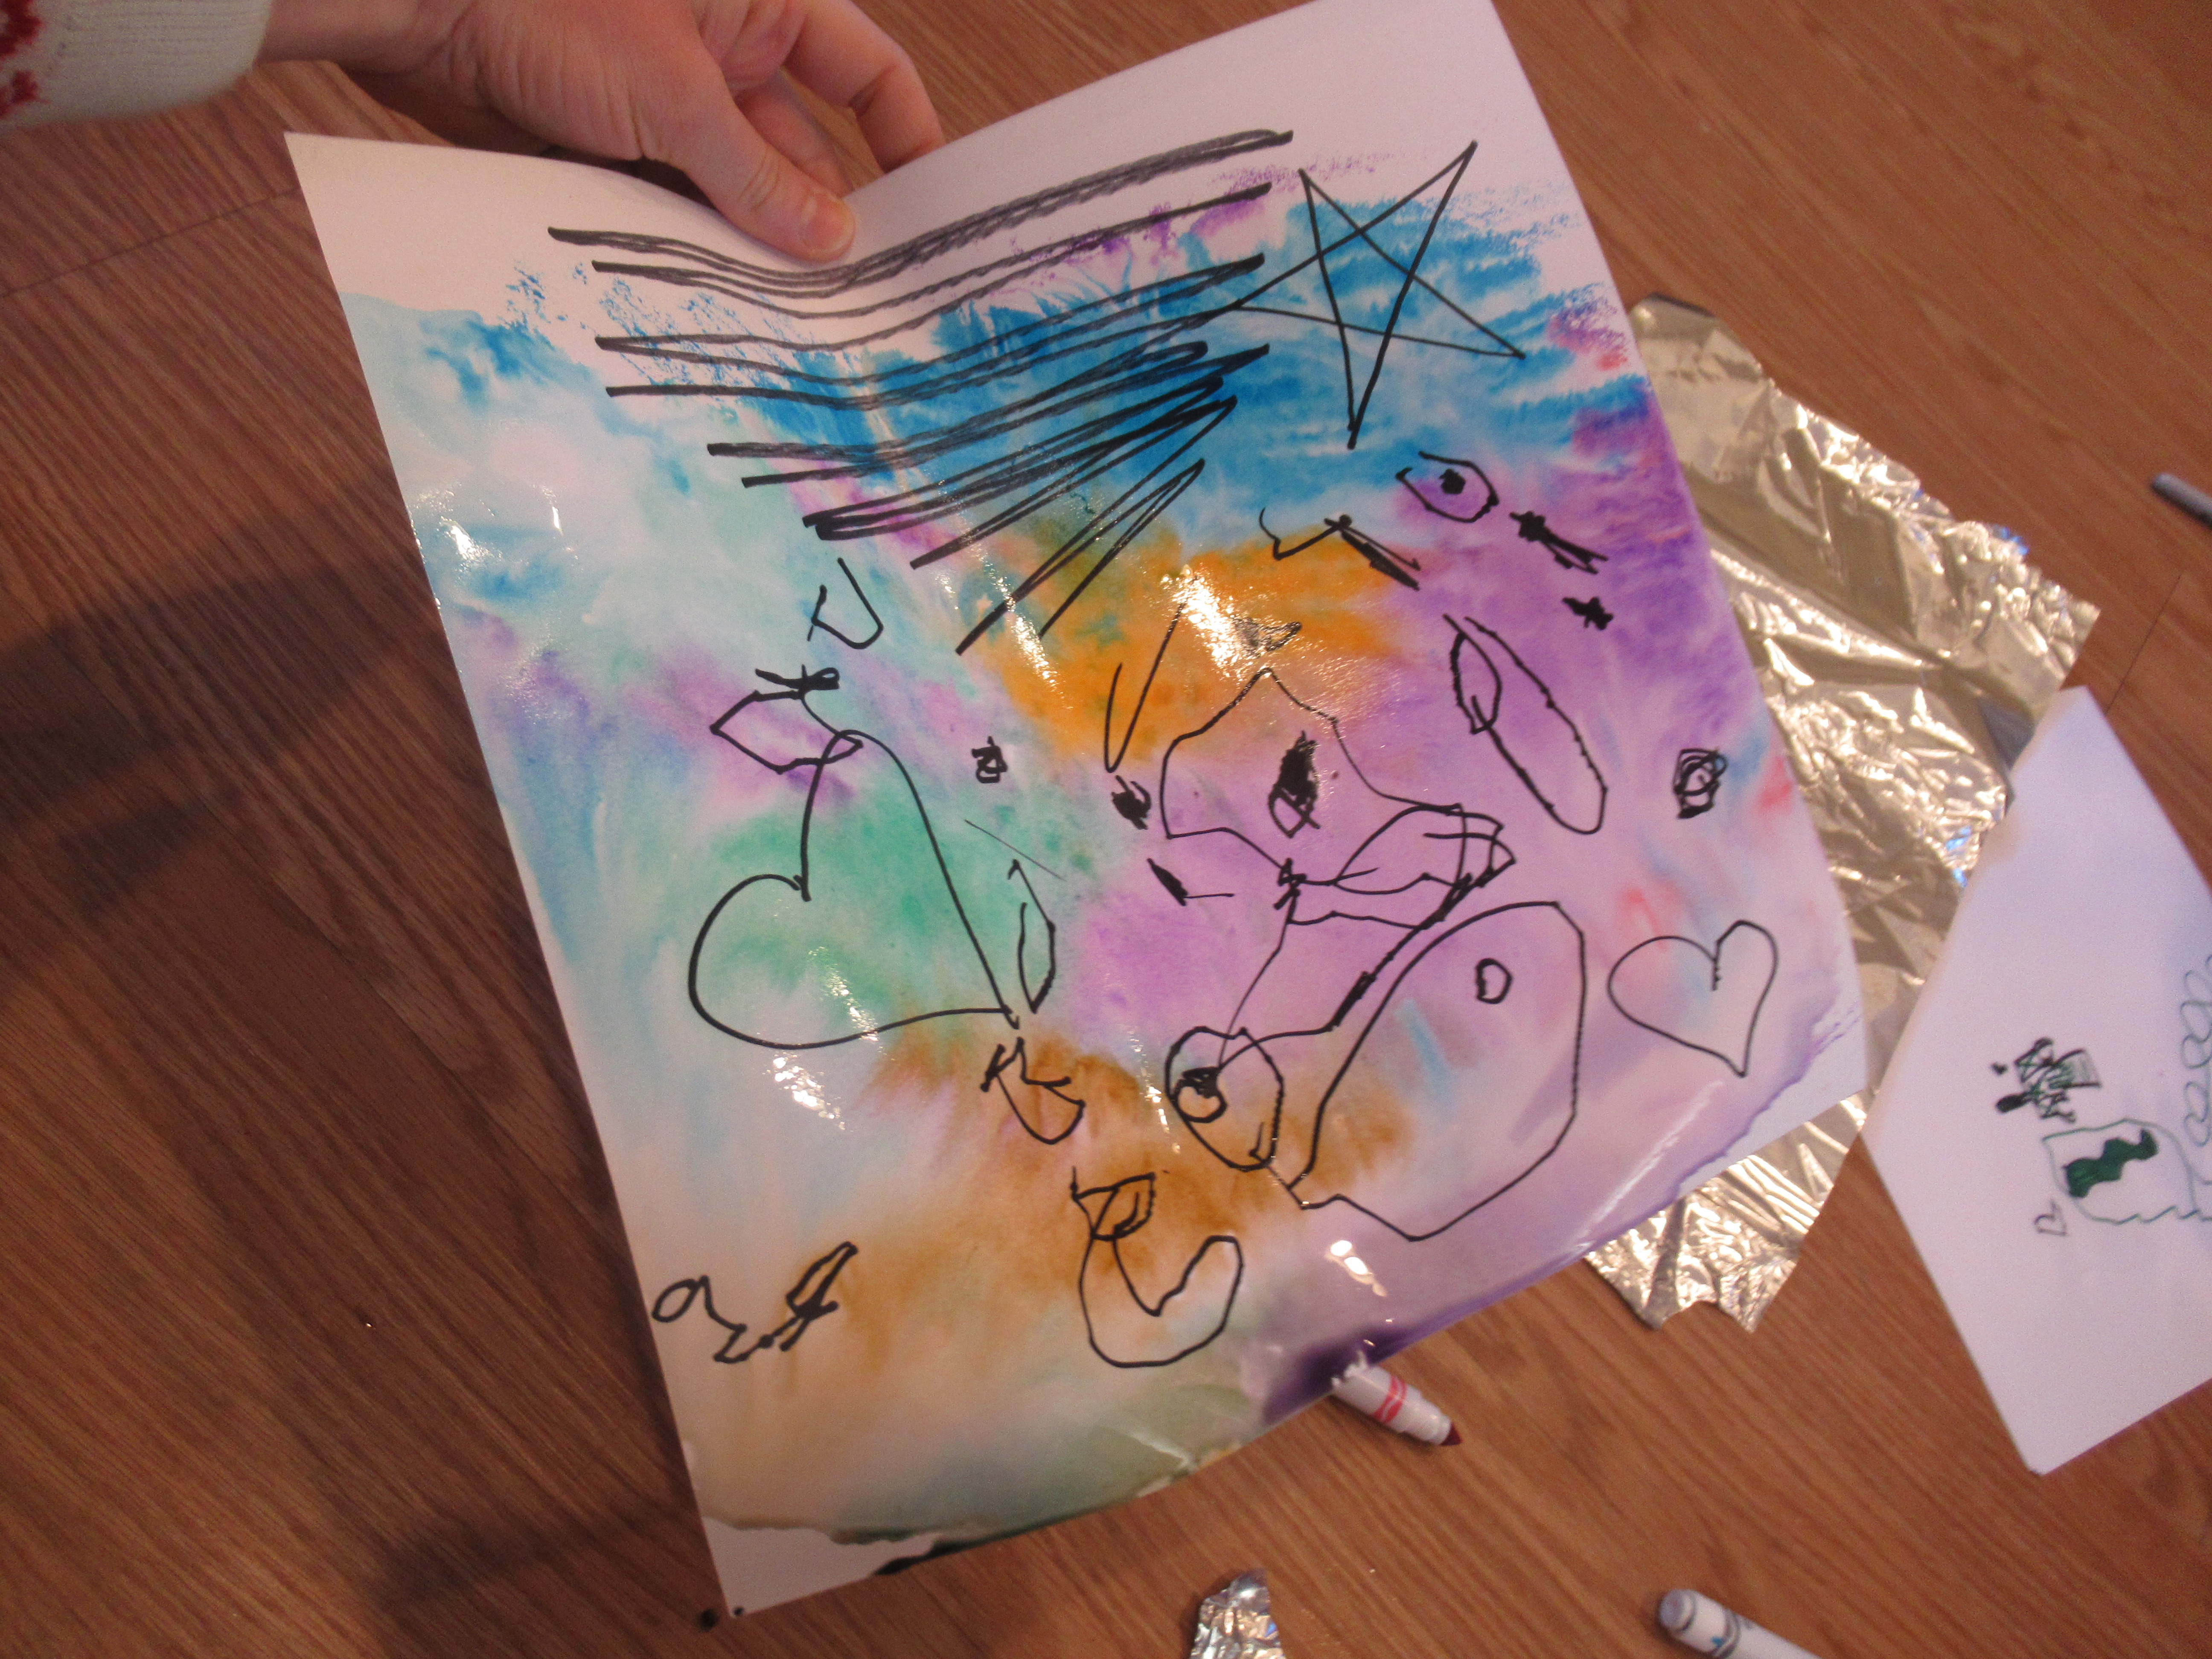
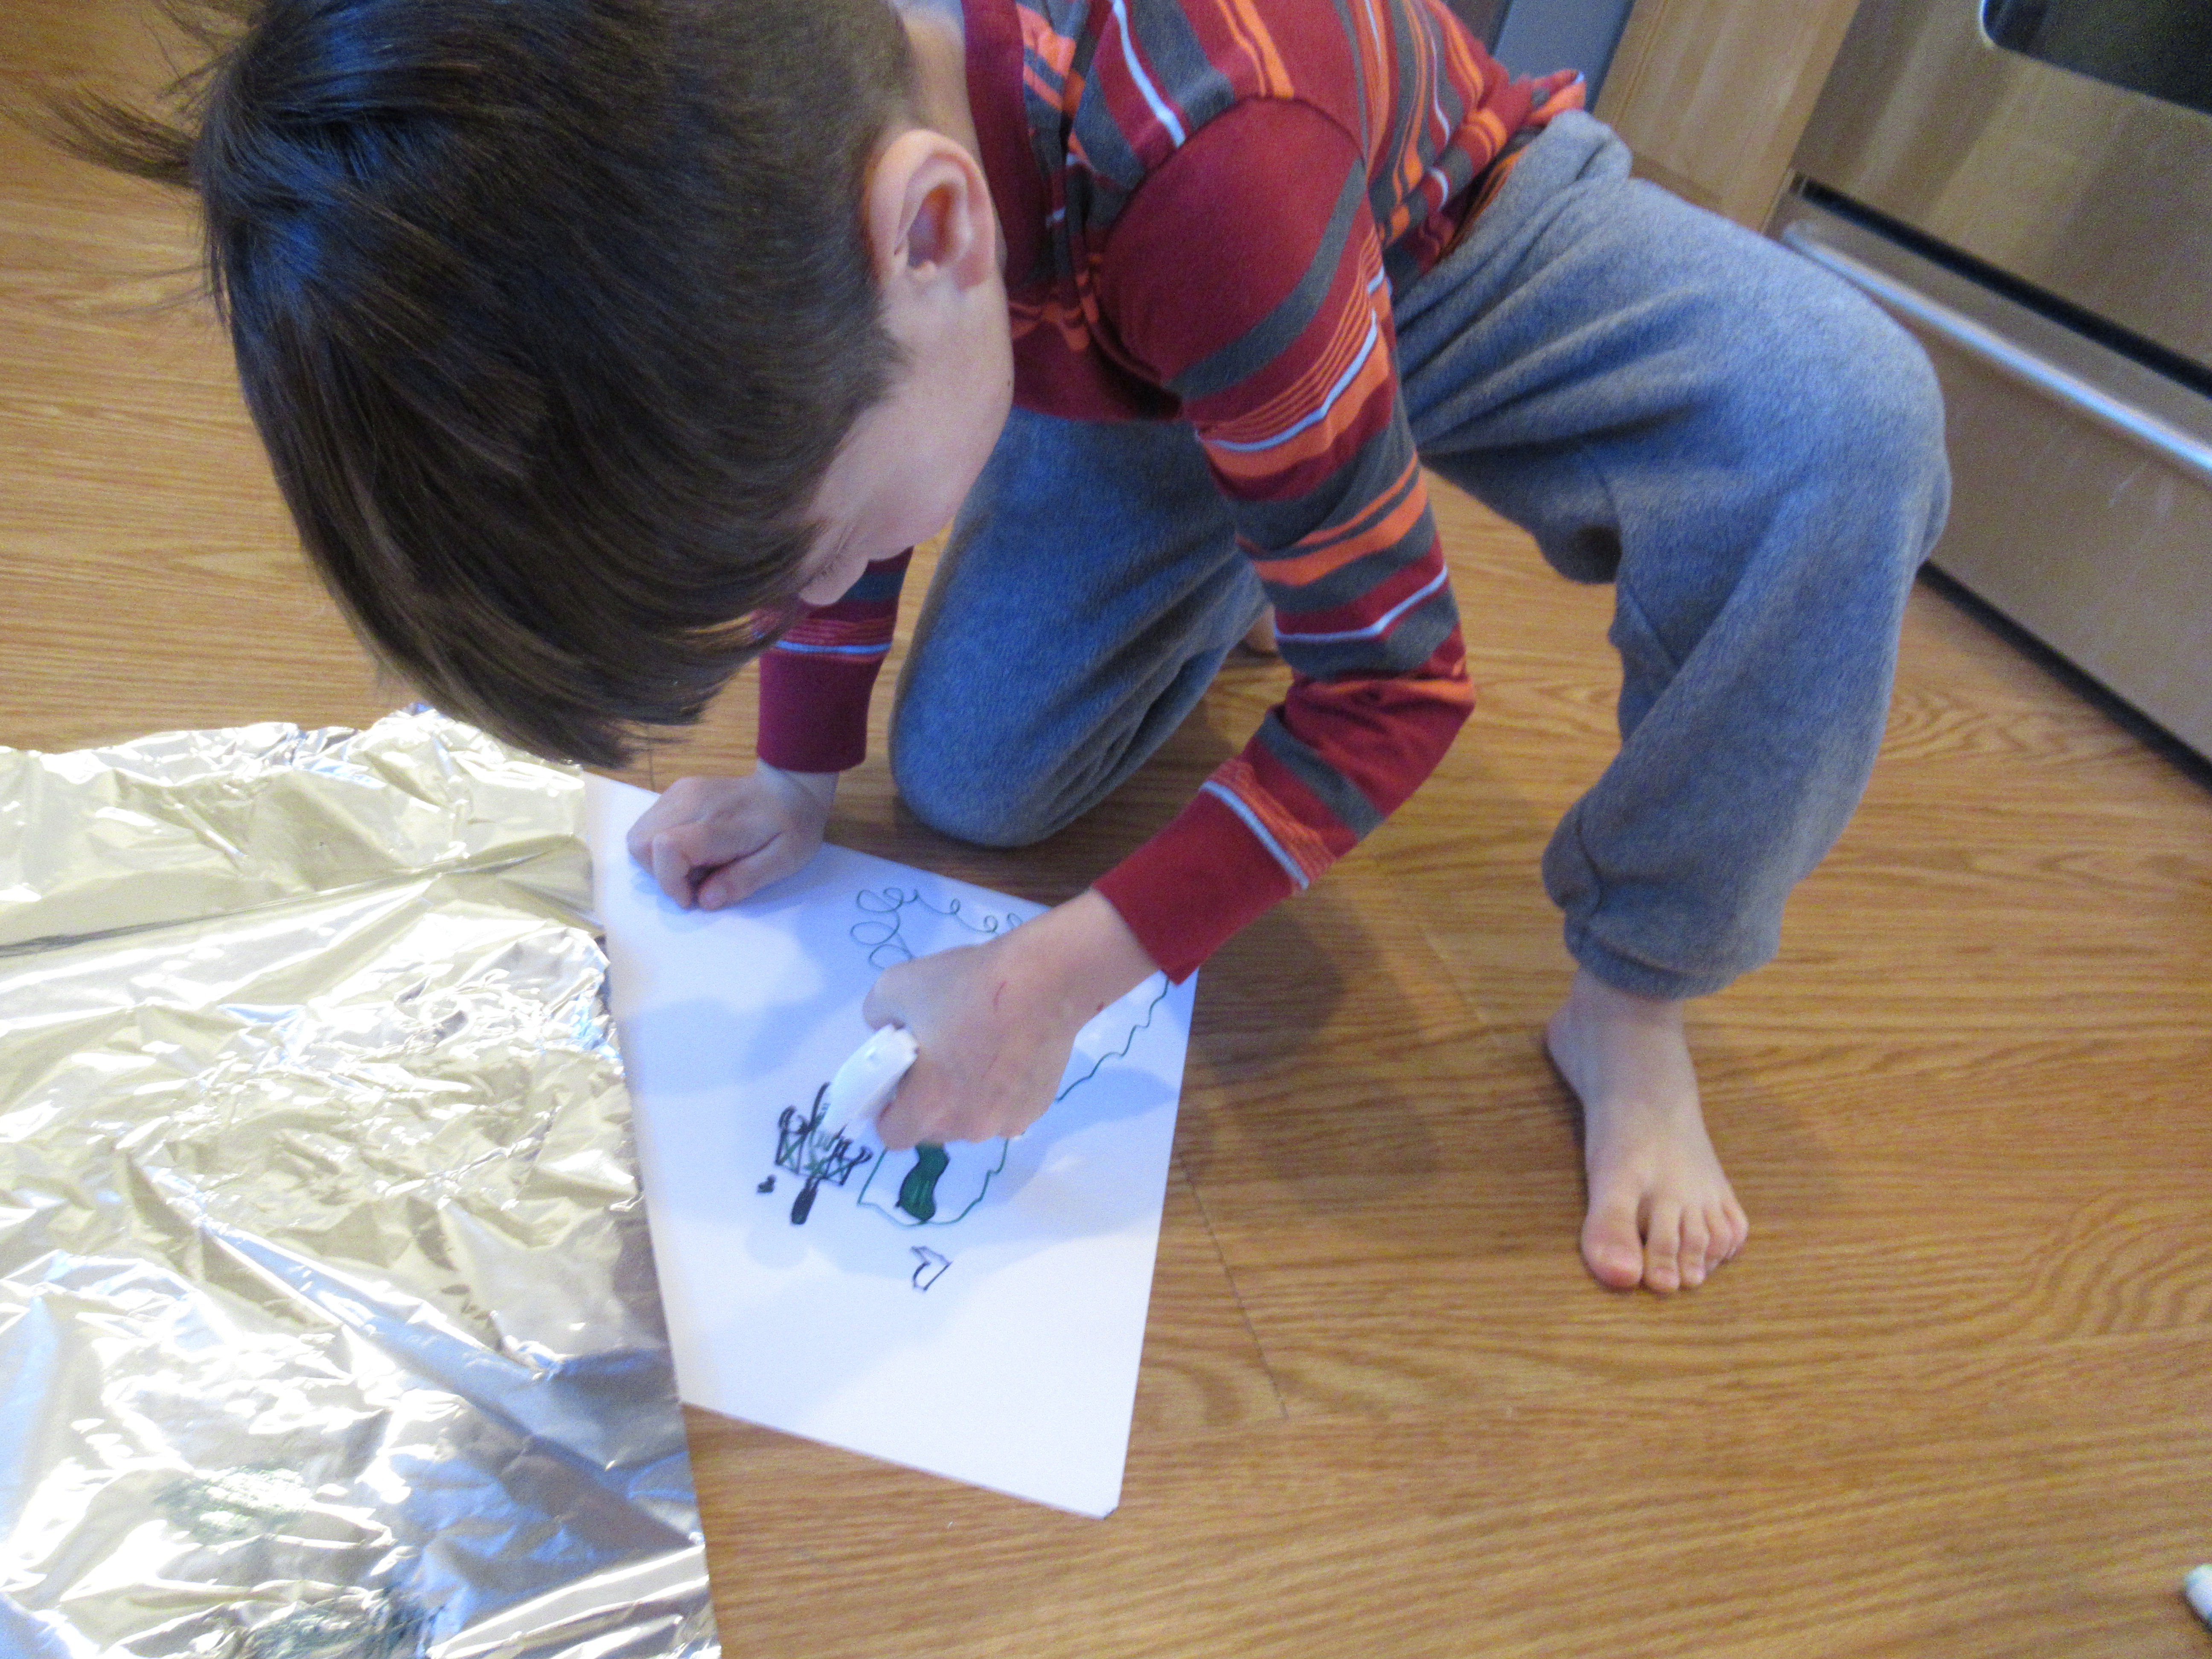
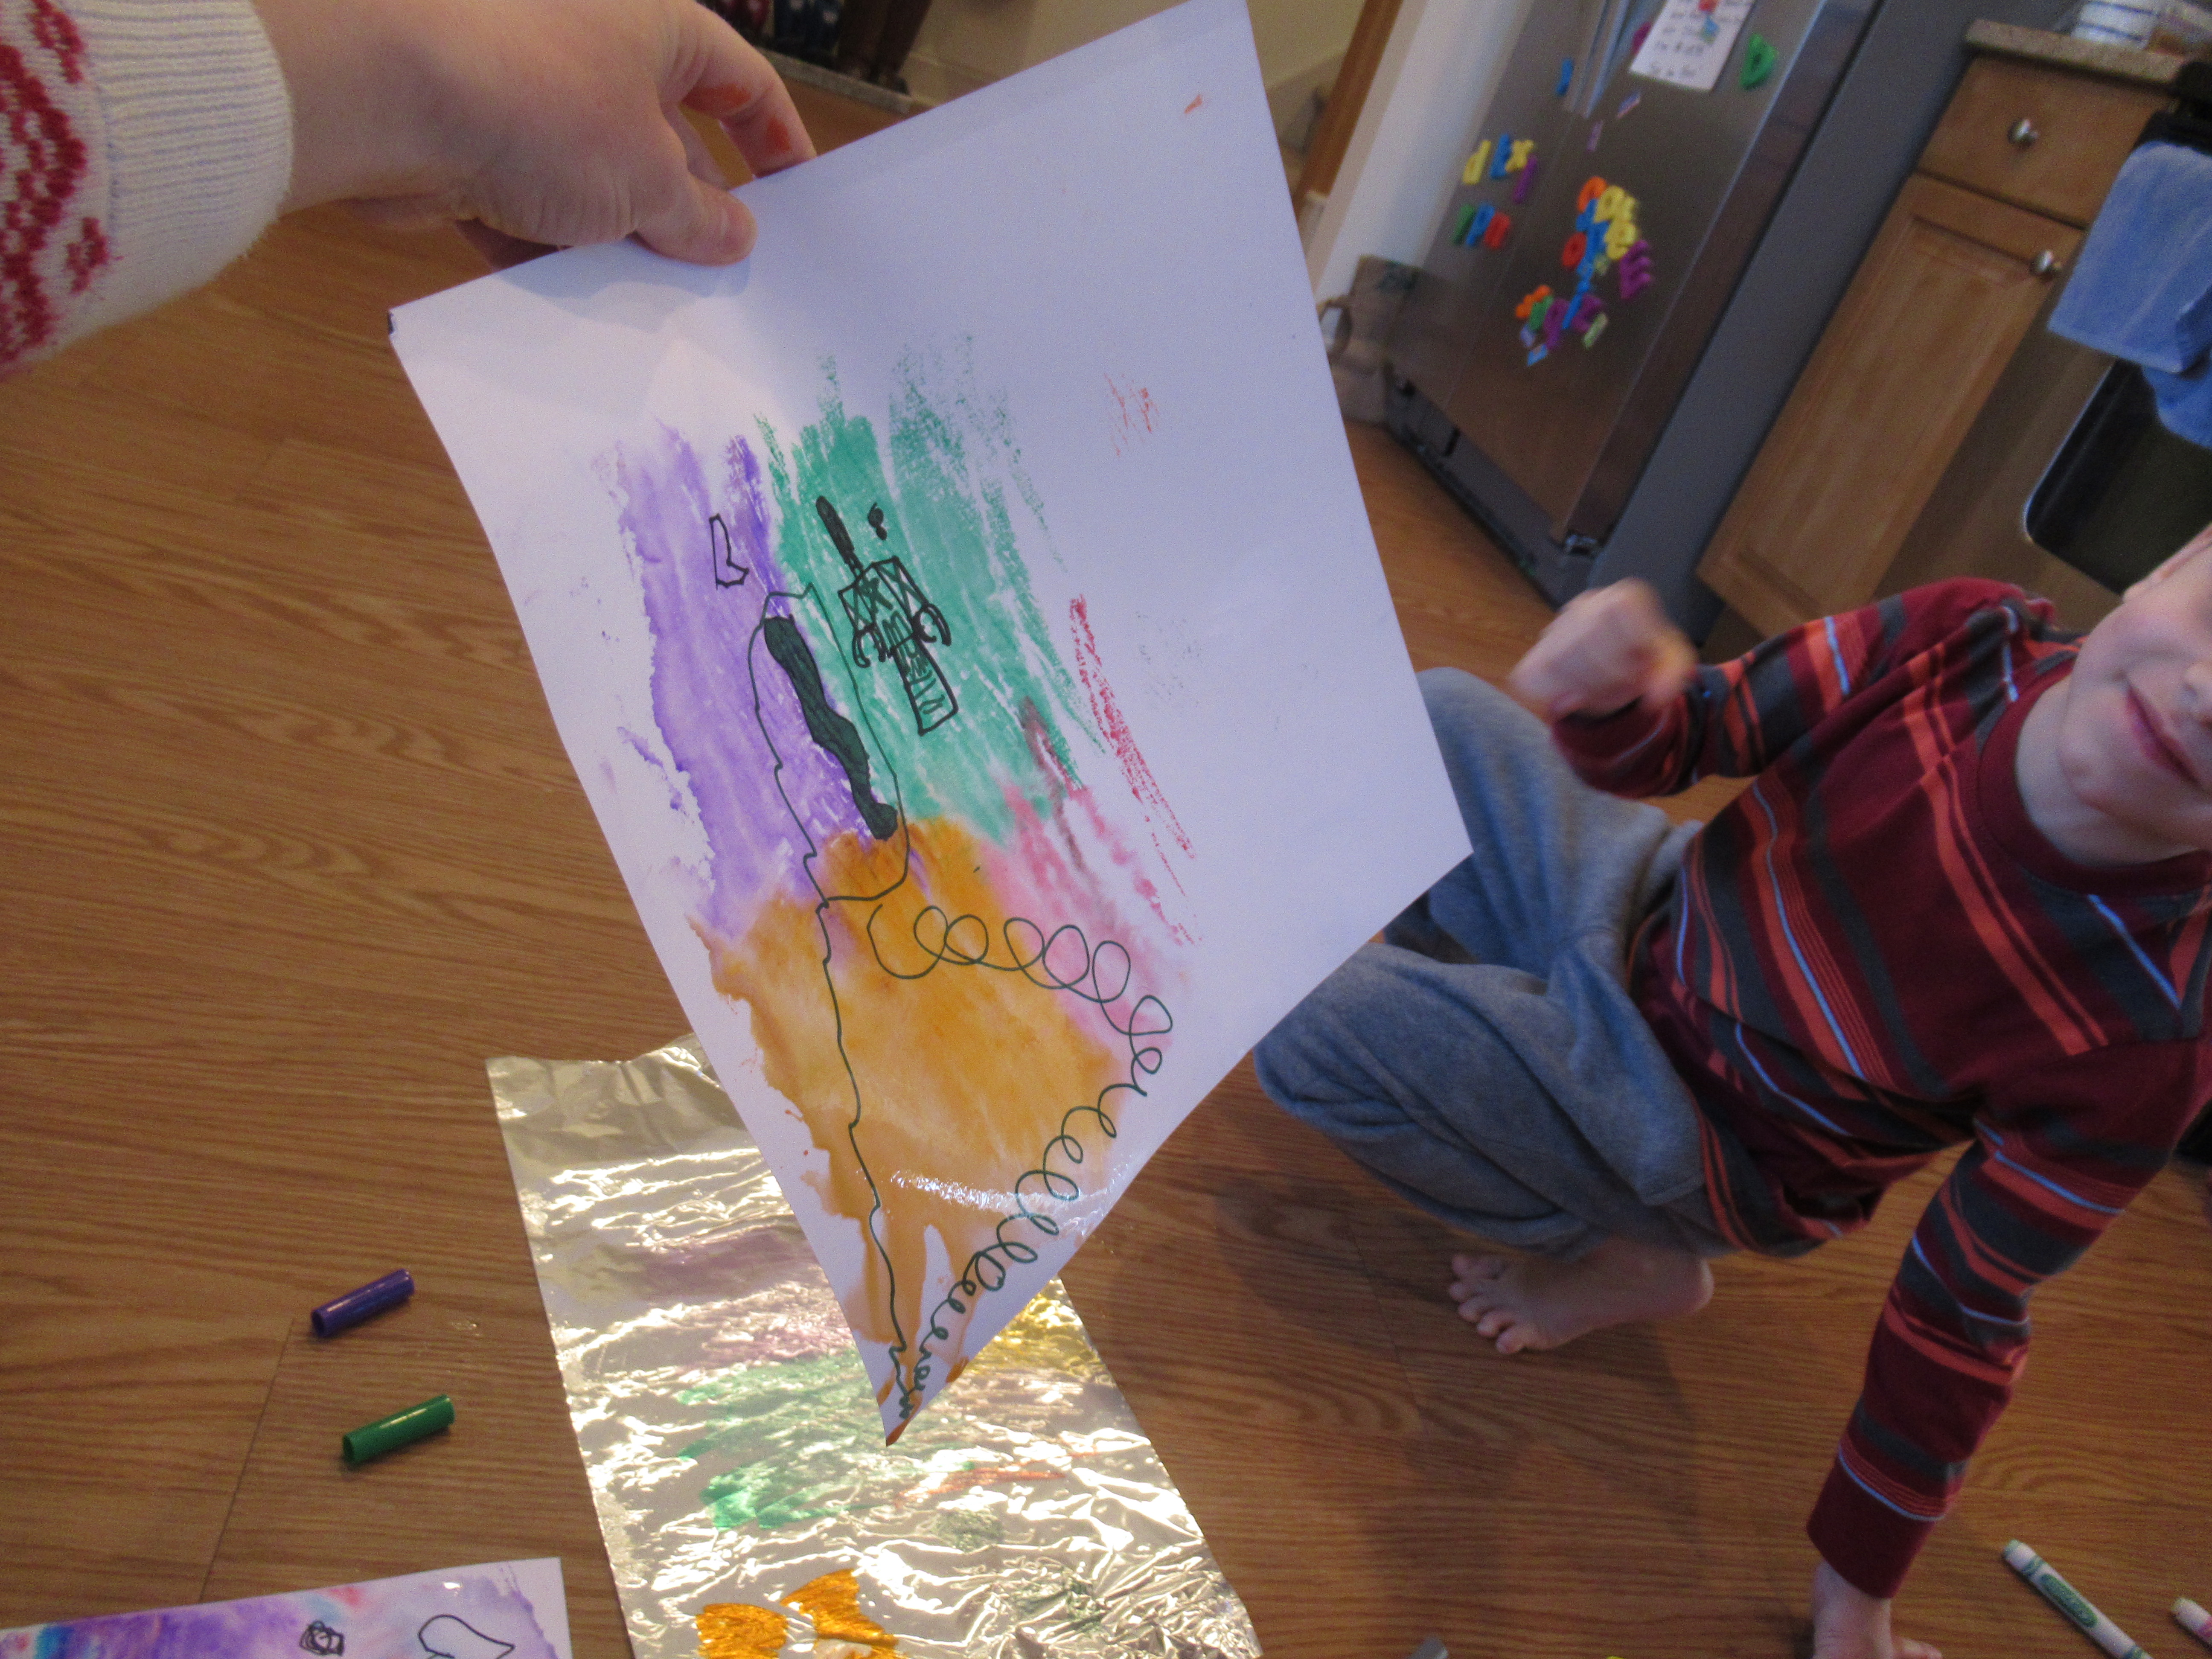
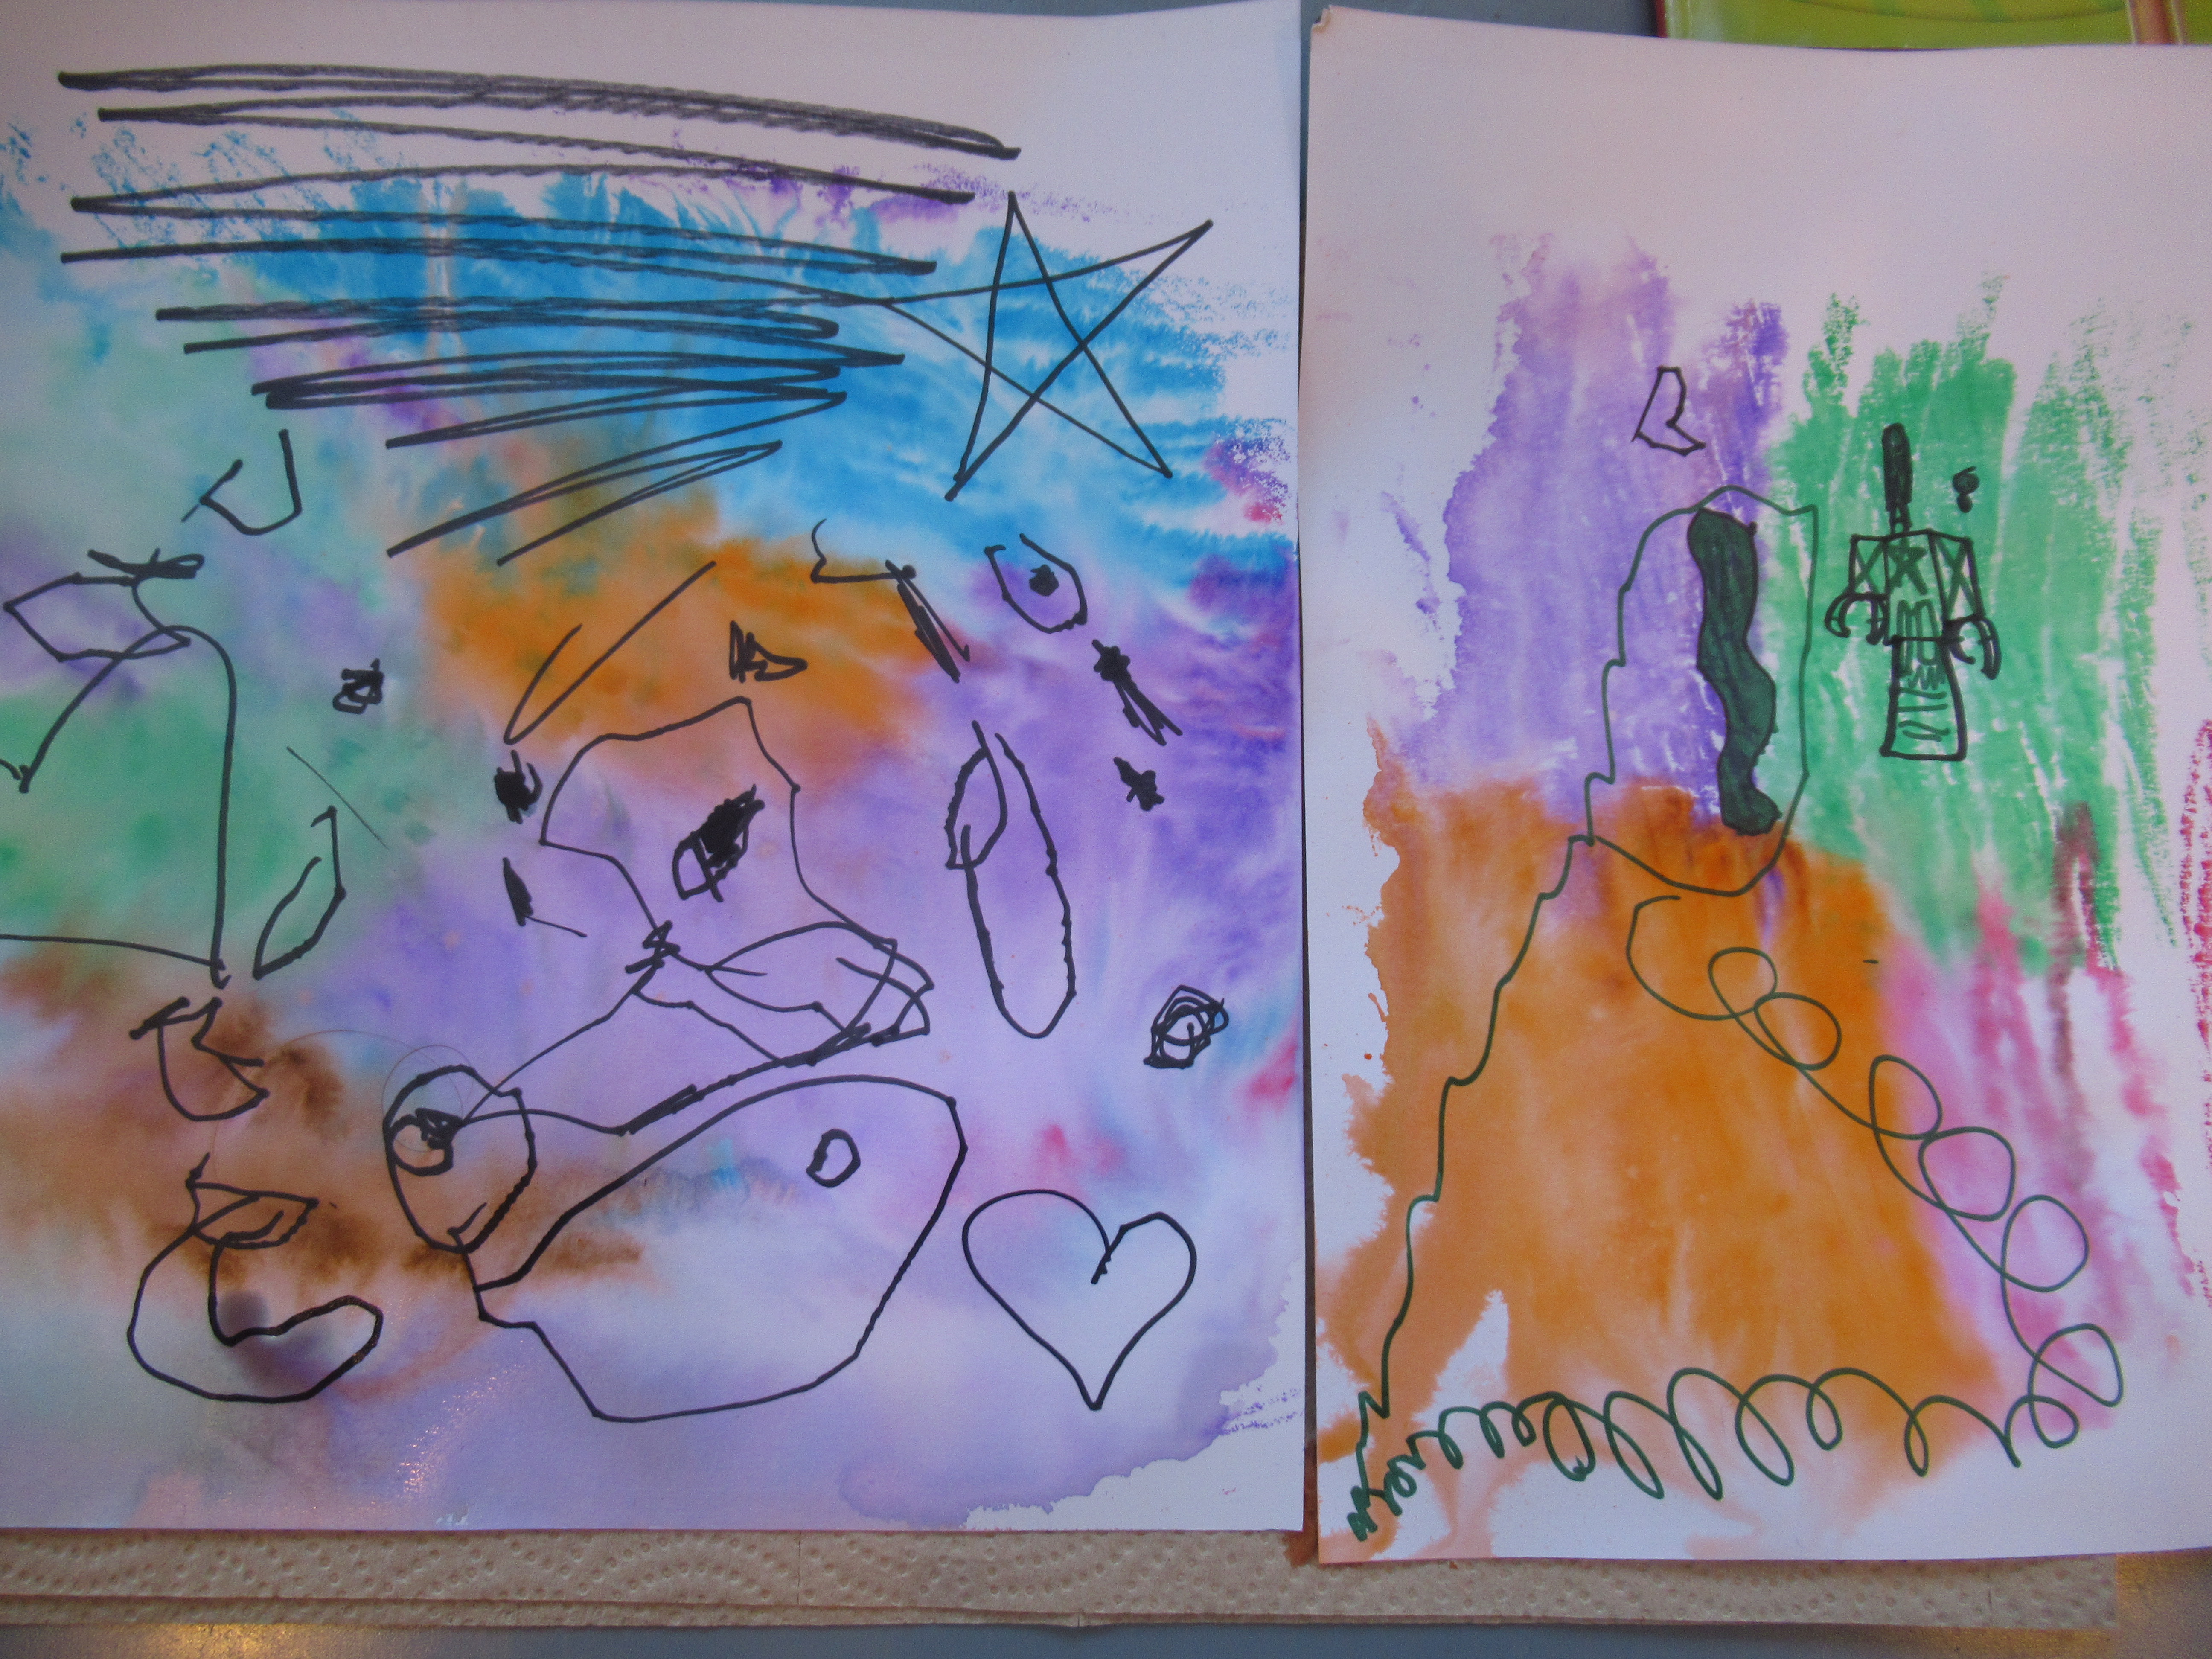
However, Travis liked the suggestion to see if he could turn the doodle into something recognizable. I loved watching him trace the lines and then tell me this was a Person, a Sun Pig, and a Dancing Flower.

Kiwi Spinning (18)

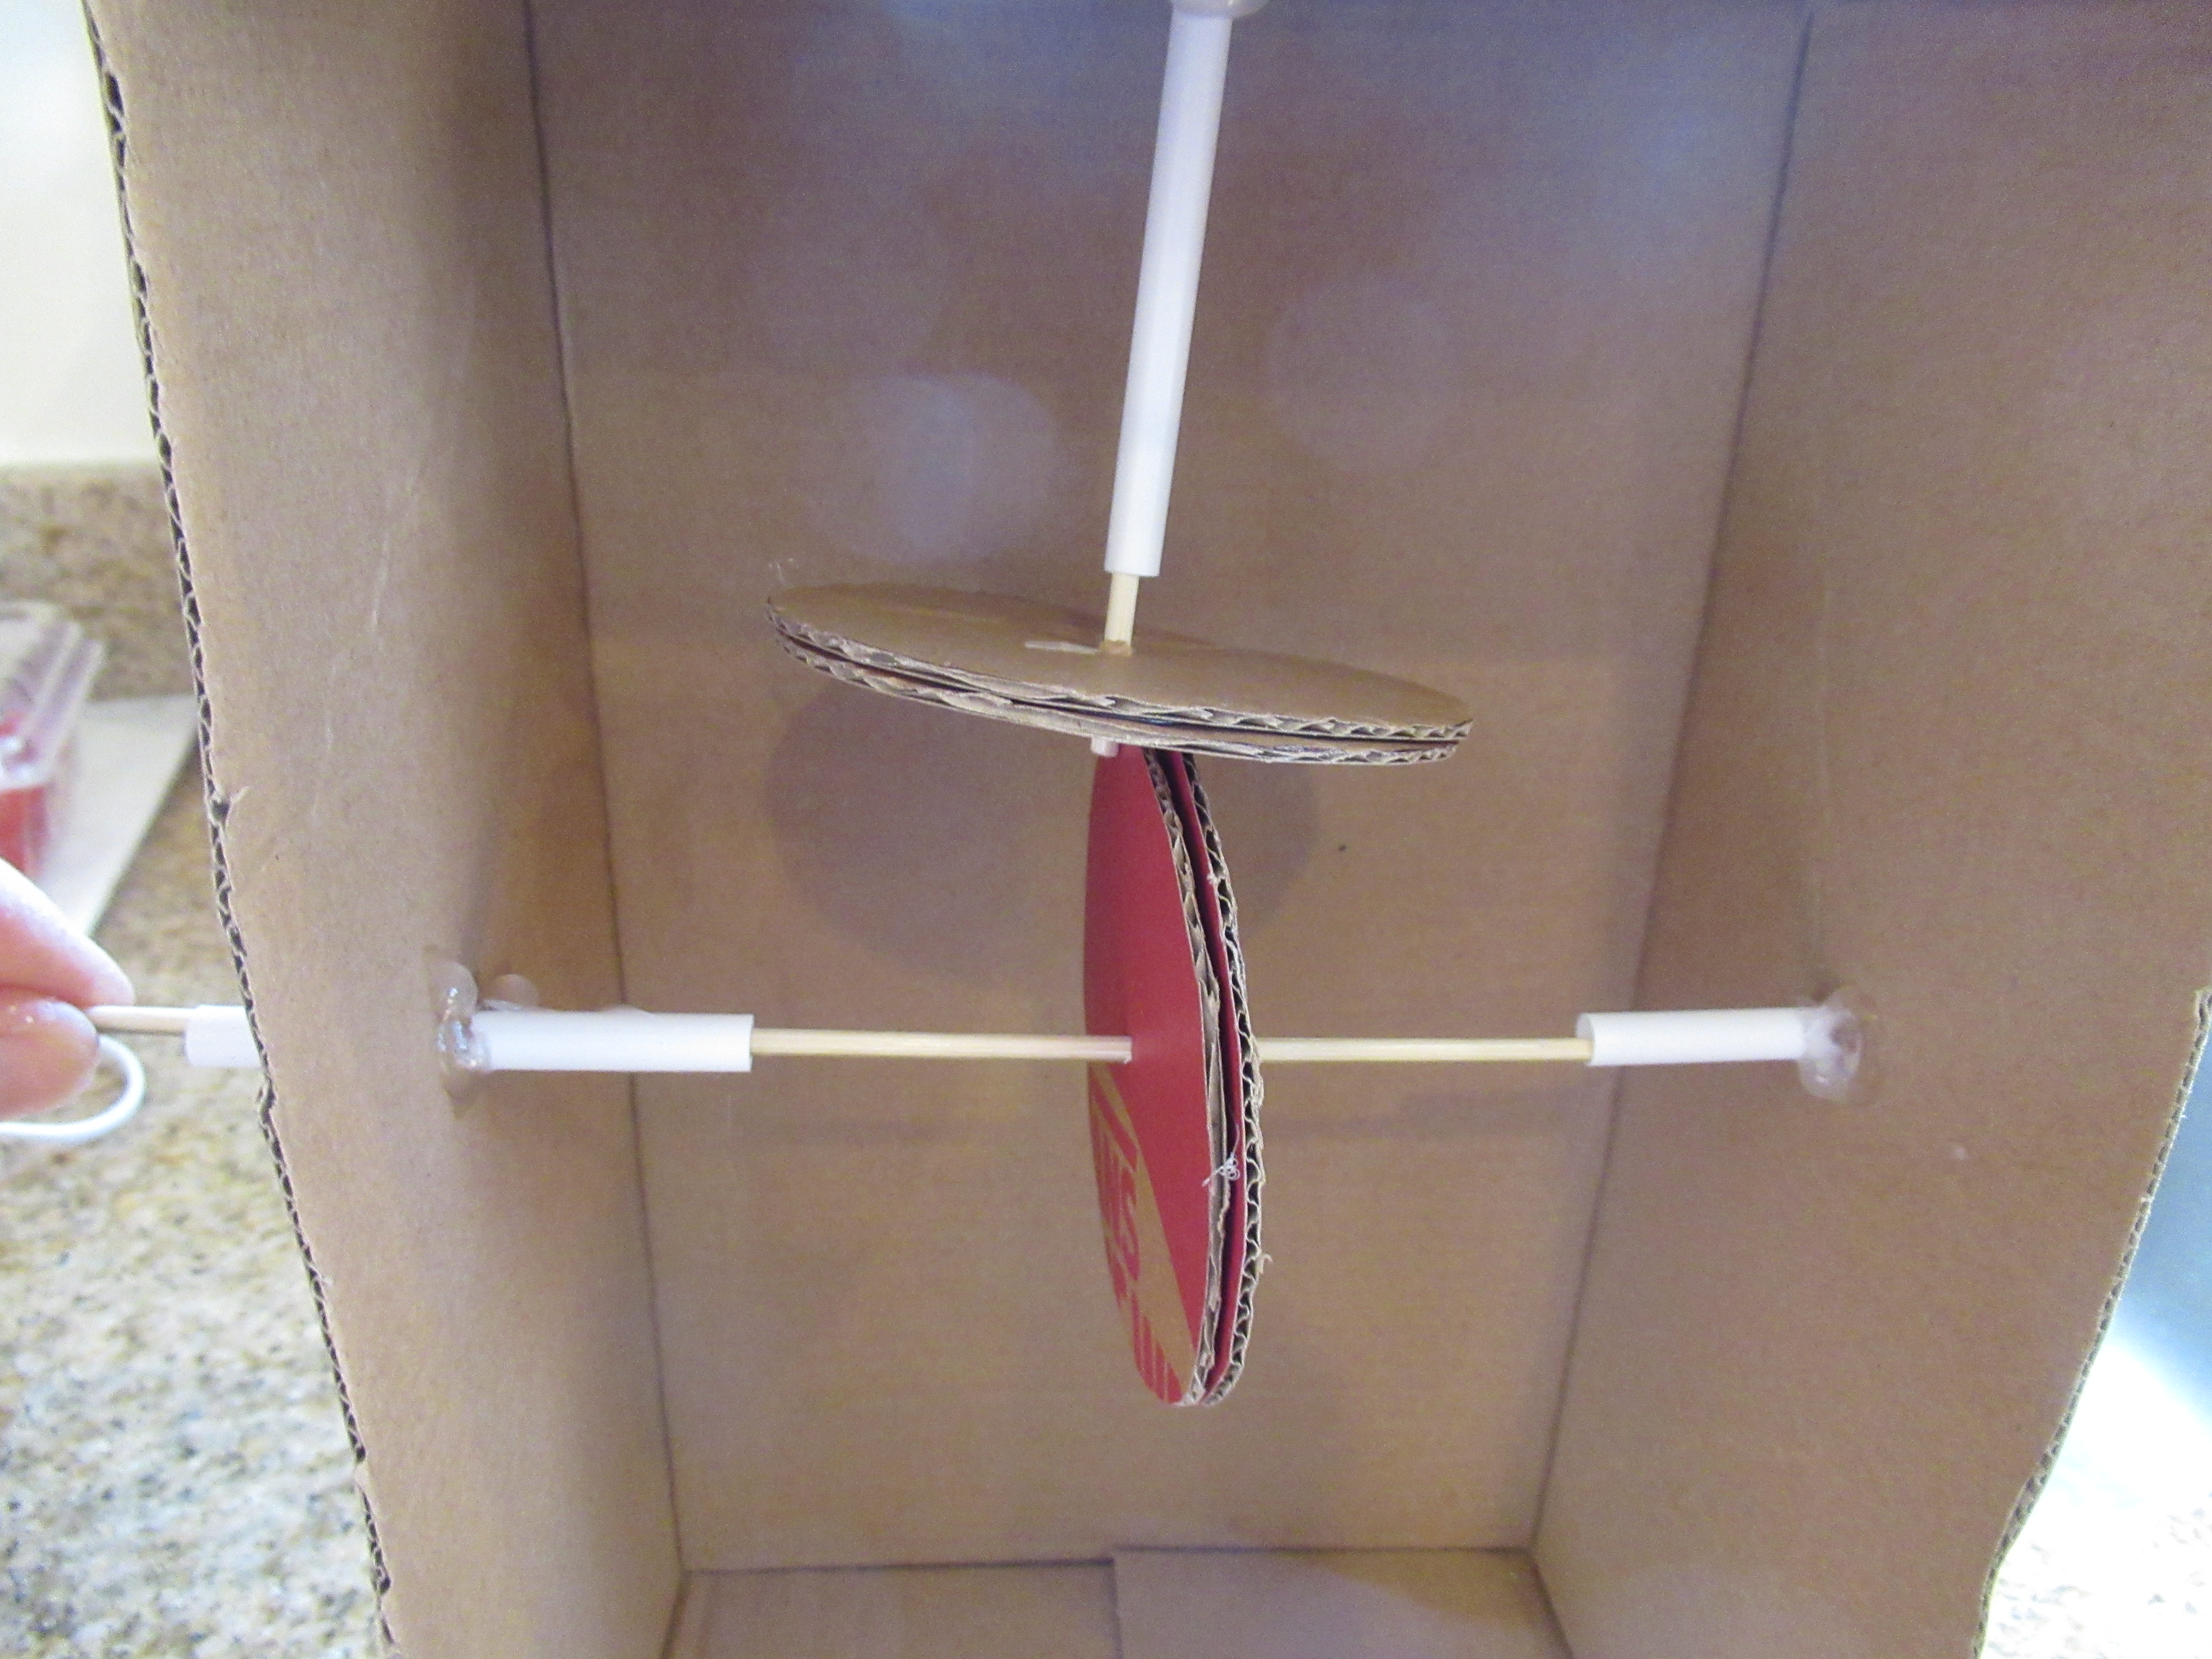
Kiwi almost always provides a suggestion to upcycle the crate that all these fantastic materials come in, and this month was no different. Travis traced circles onto the lid of the cardboard box, and I cut them out. Kids can get as artistic as they want decorating the resulting circles, although Travis was more interested in the next step.

Kiwi Spinning (21)

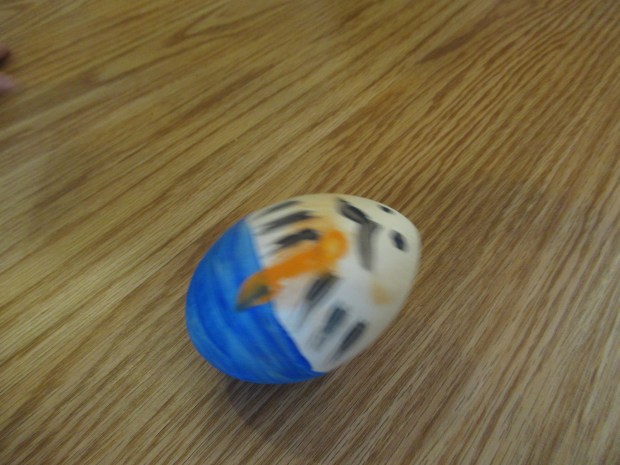
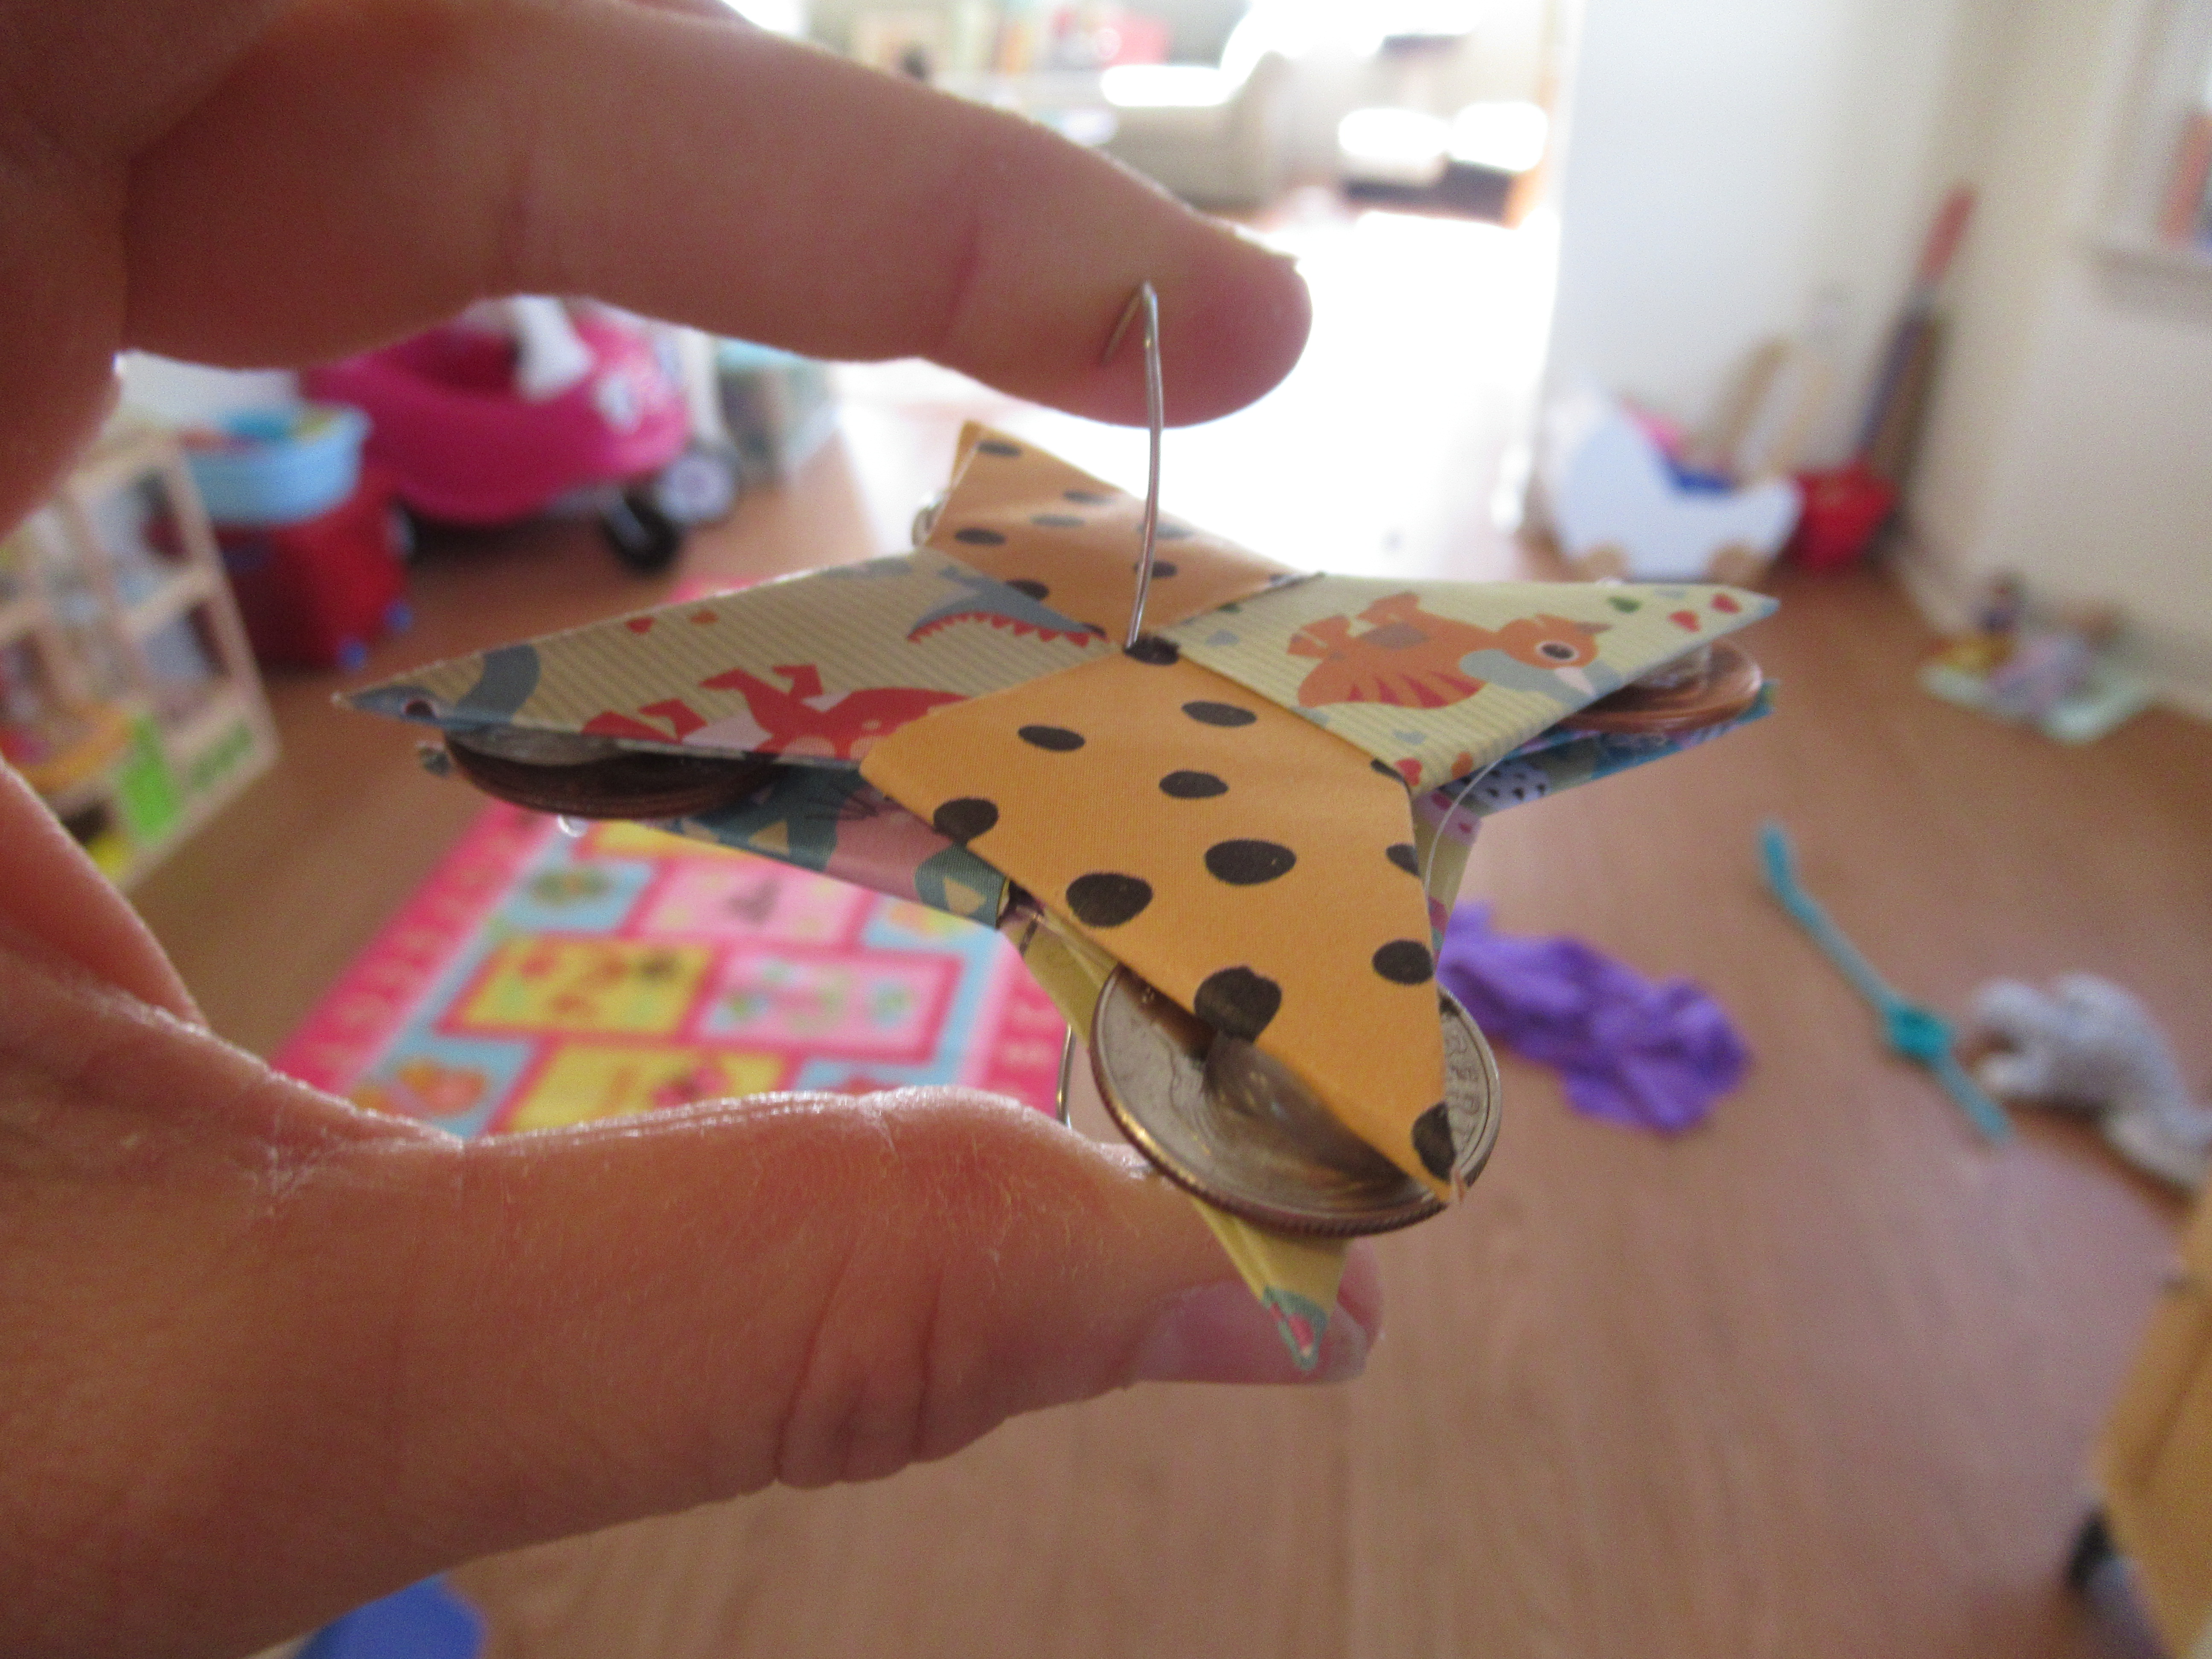
Poke a hole in the center, then wedge in a coin (quarters work best). Give this Box Top Coin Top a twirl!

Kiwi Spinning (23)

Explore magazine had lots of great info on the science behind spinning, as well as a quick Toppling Coin Top experiment: Simply place on a coin on a surface and let go; of course it plops down immediately. But if Travis gave it a spin first… angular momentum keeps it up!

Kiwi Spinning (19)

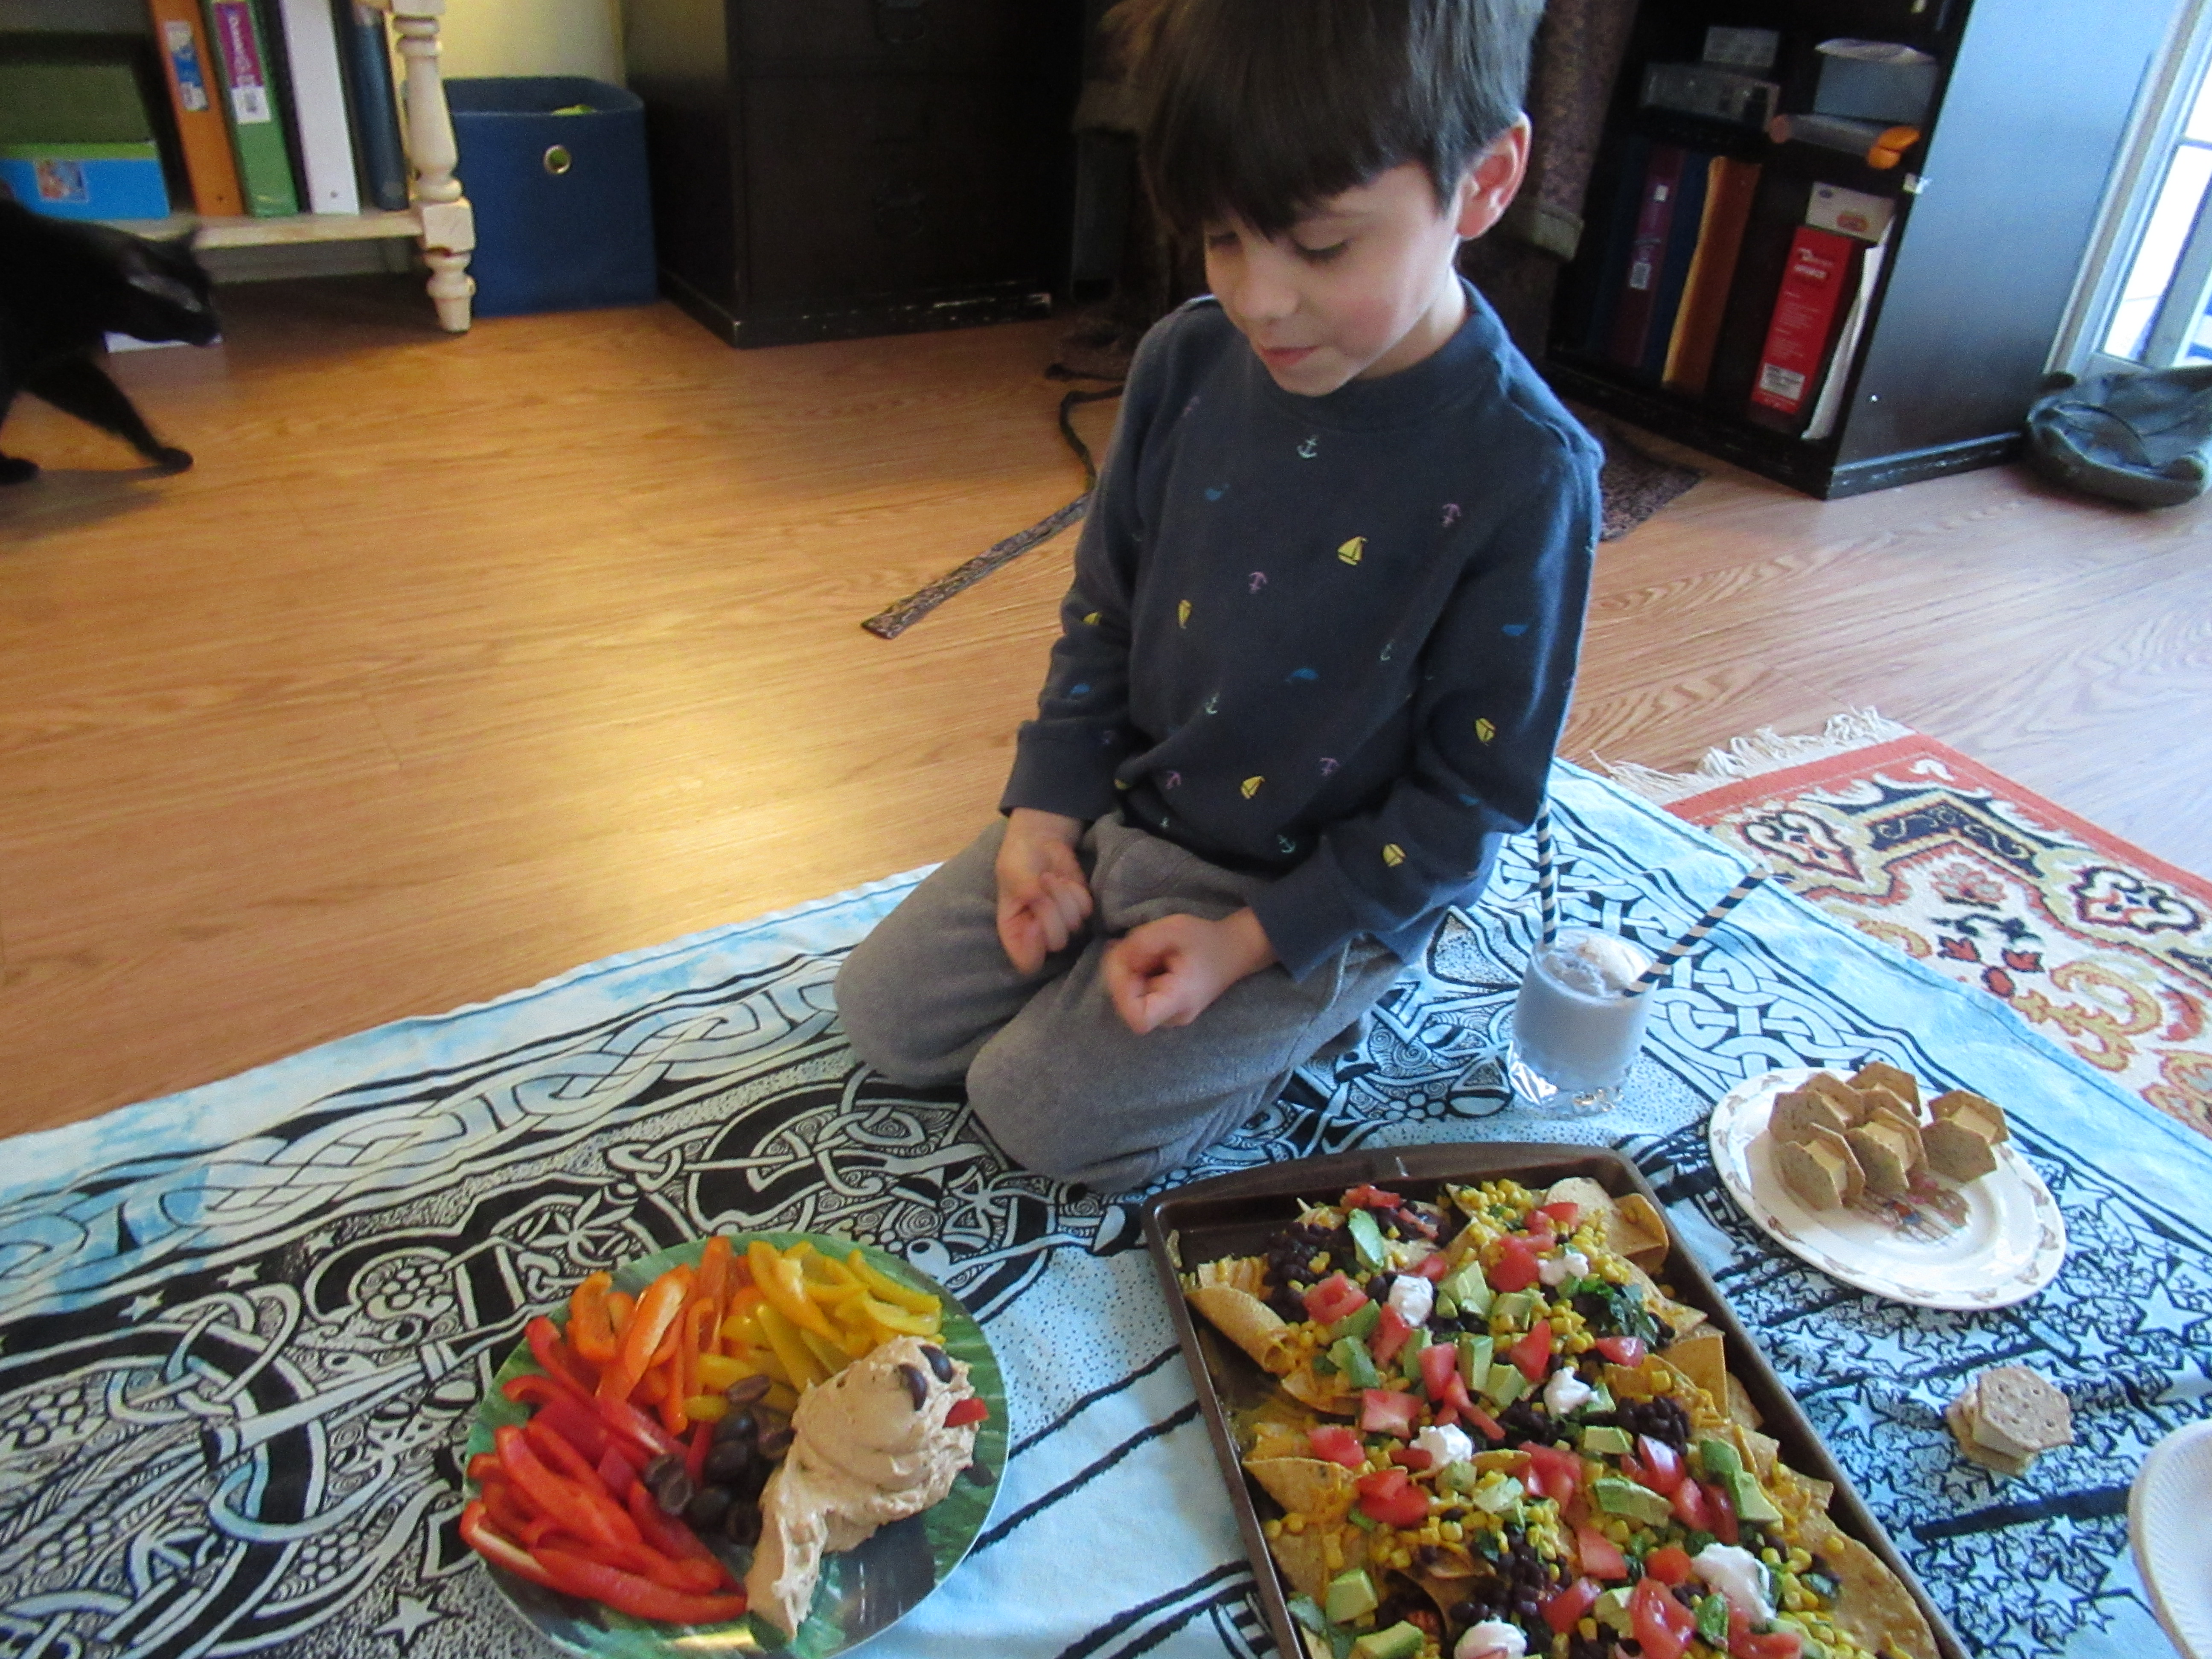
We couldn’t end the fun without edible tops, of course, namely Apple-Top Tops. Use a tablespoon to carve little semi-circles from an apple, then insert lollipop sticks into the skin side of each piece. The kids loved these little fruit “lollipops”, as well as testing out their spin-ability!

Apple Pop Tops (1)

Overall, an excellent crate from Kiwi Co that we highly recommend. Cheers!

Apple Pop Tops (3)

Turn Soy Milk into Tofu!

Milk into Cheese (2)

Travis and I spotted a neat way to turn cow’s milk into cheese on Kiwi Co’s website, by adding an acid (lemon juice) which makes the proteins clump up (the curds) out of the leftover liquid (the whey). All thoughts of Little Miss Muffet aside, we wondered if we could make this work with soy milk!

To start, place 1 and 1/2 cups soy milk in a pot over medium heat. Continue to cook, stirring constantly, until the soy milk is frothy and hot, but do not let it boil. Immediately remove from heat and add 2 tablespoons lemon juice. Travis and I were thrilled to see it seize up immediately, like tiny flecks of crumbled tofu.

Milk into Cheese (1)

We strained the mixture through a fine-mesh sieve over a bowl, resulting in a small bowl of fresh soy “cheese” left behind in the sieve. We added a sprinkle of salt and a drizzle of agave nectar, and did a curious taste test.

Milk into Cheese (3)

Travis’s expression pretty much says it all; he declared this simultaneously “good but weird”. I don’t recommend this over purchasing tofu at the store, but it was a neat chemistry experiment!

Milk into Cheese (4)

Movie Dinner Night

Movie Dinner Night (5)

Last week the kids loved a picnic dinner-and-movie night so much that today we took it a step further. We repeated the picnic, but specifically designed a meal to fit the movie we were going to watch! This would work for any movie your kids love, and in our house that means Star Wars.

Movie Dinner Night (1)

That meant we were soon dining on TIE fighters made from crackers and vegan cheese (original idea on the Star Wars website here), blue Bantha milk (recipe care of Baking Mischief), and Jabba the Hummus (a quirky idea from ASDA Good Living).

Movie Dinner Night (6)

Combine that with a pan of nachos (tortilla chips topped with vegan shredded cheddar, black beans, corn, tomatoes, cilantro, avocado, and non-dairy sour cream), and we had all the fixings for a galactic banquet.

Sheet Pan Nachos (2)

All of this literally came together in under half an hour.

Movie Dinner Night (2)

The kids couldn’t get enough of the Bantha milk!

Movie Dinner Night (3)

Again, it doesn’t matter what the movie theme is. Pick the one your family loves most, find a few easy recipes, and you have a dinner they’ll never forget.

Movie Dinner Night (4)

The kids loved it so much we might just make this a tradition, revisiting the idea once a month with a new movie each time!

Movie Dinner Night (7)