Sponge Towers and Stamps

Sponge Towers (3)

Large kitchen sponges are easy to buy cheaply and in bulk, so consider stocking up the next time you’re at the store. I love keeping a few in the craft bin because they always come in handy, and not just for watery outdoor summer play.

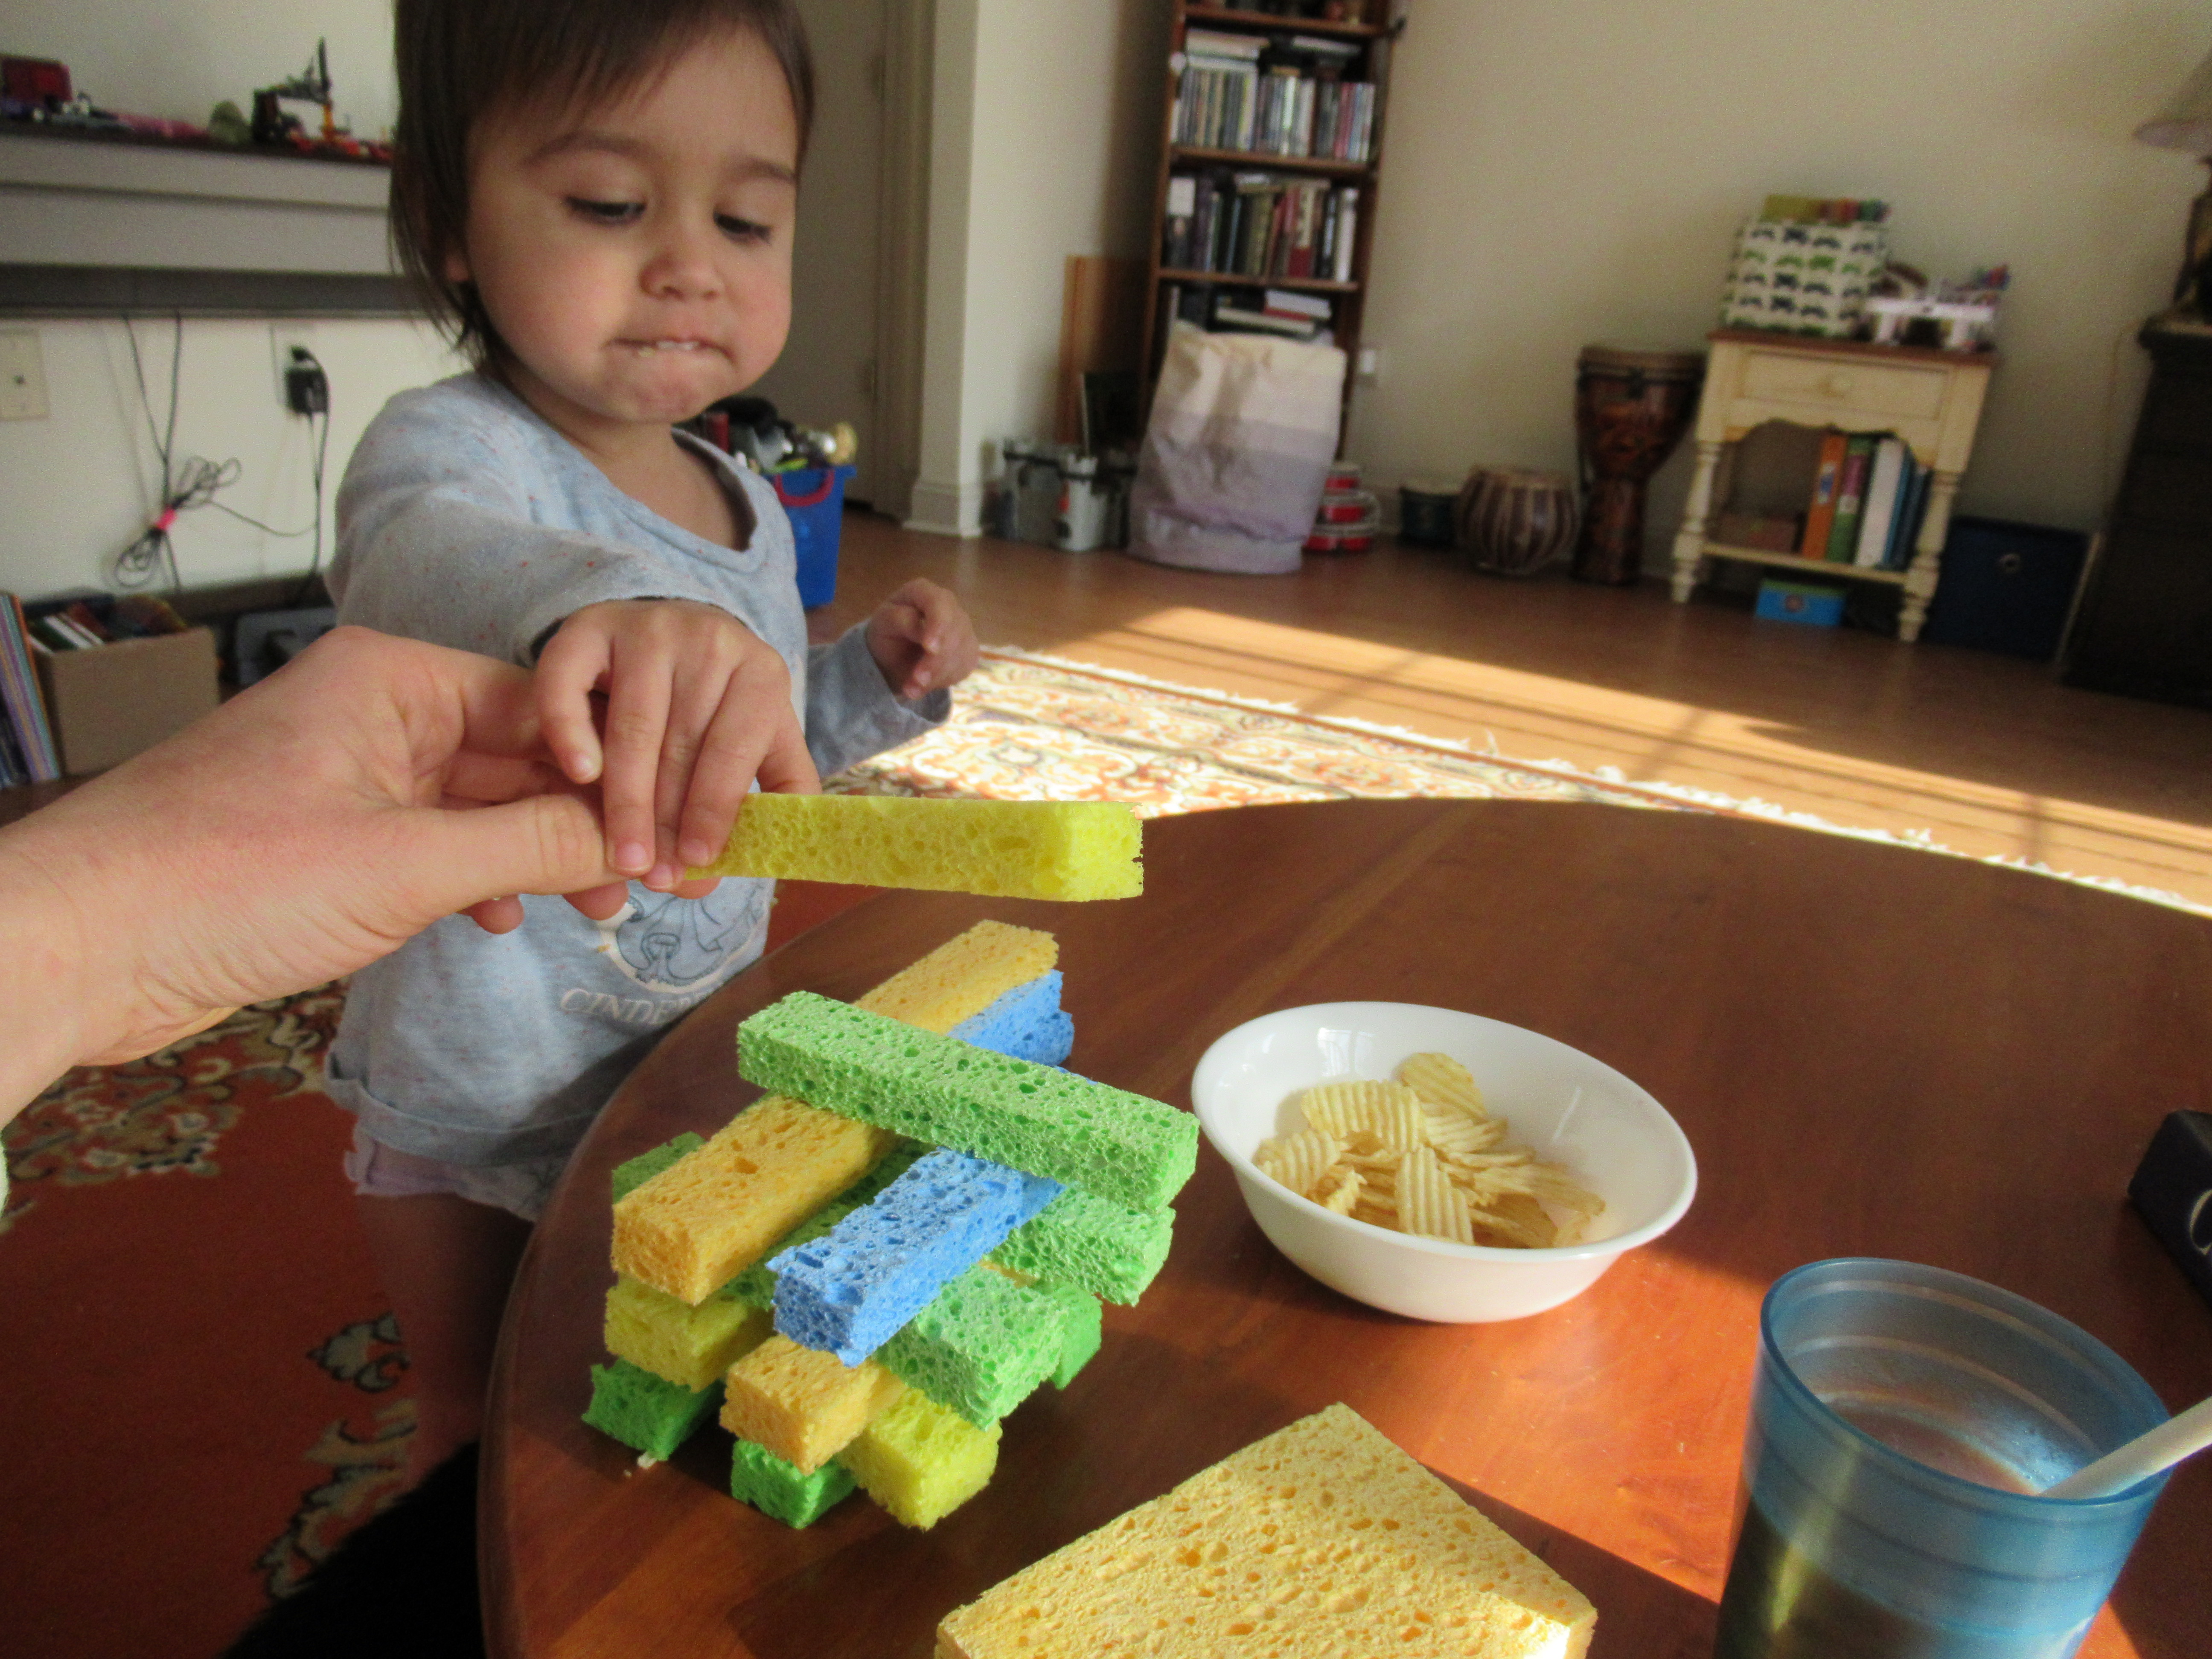
Veronika and I found two fun ways to play with them this winter afternoon! First, I cut several of the sponges into strips so they made almost a soft foam version of Jenga blocks! I showed her to stack these into layers, and she loved helping add to each strata as our tower grew taller.

Sponge Towers (2)

And of course she loved knocking the sponges over.

Sponge Towers (4)

She also came up with her own way to stack them, simply one strip atop another, and I loved watching her concentration!

Sponge Towers (1)

Note: If building up the Jenga-style towers is too tough for your toddler, you can also make simple shape blocks. Aside from the obvious opportunity to talk about shapes or short by shape, toddlers will no doubt find many uses for these soft (danger-free!) blocks.

Sponge Blocks (2)

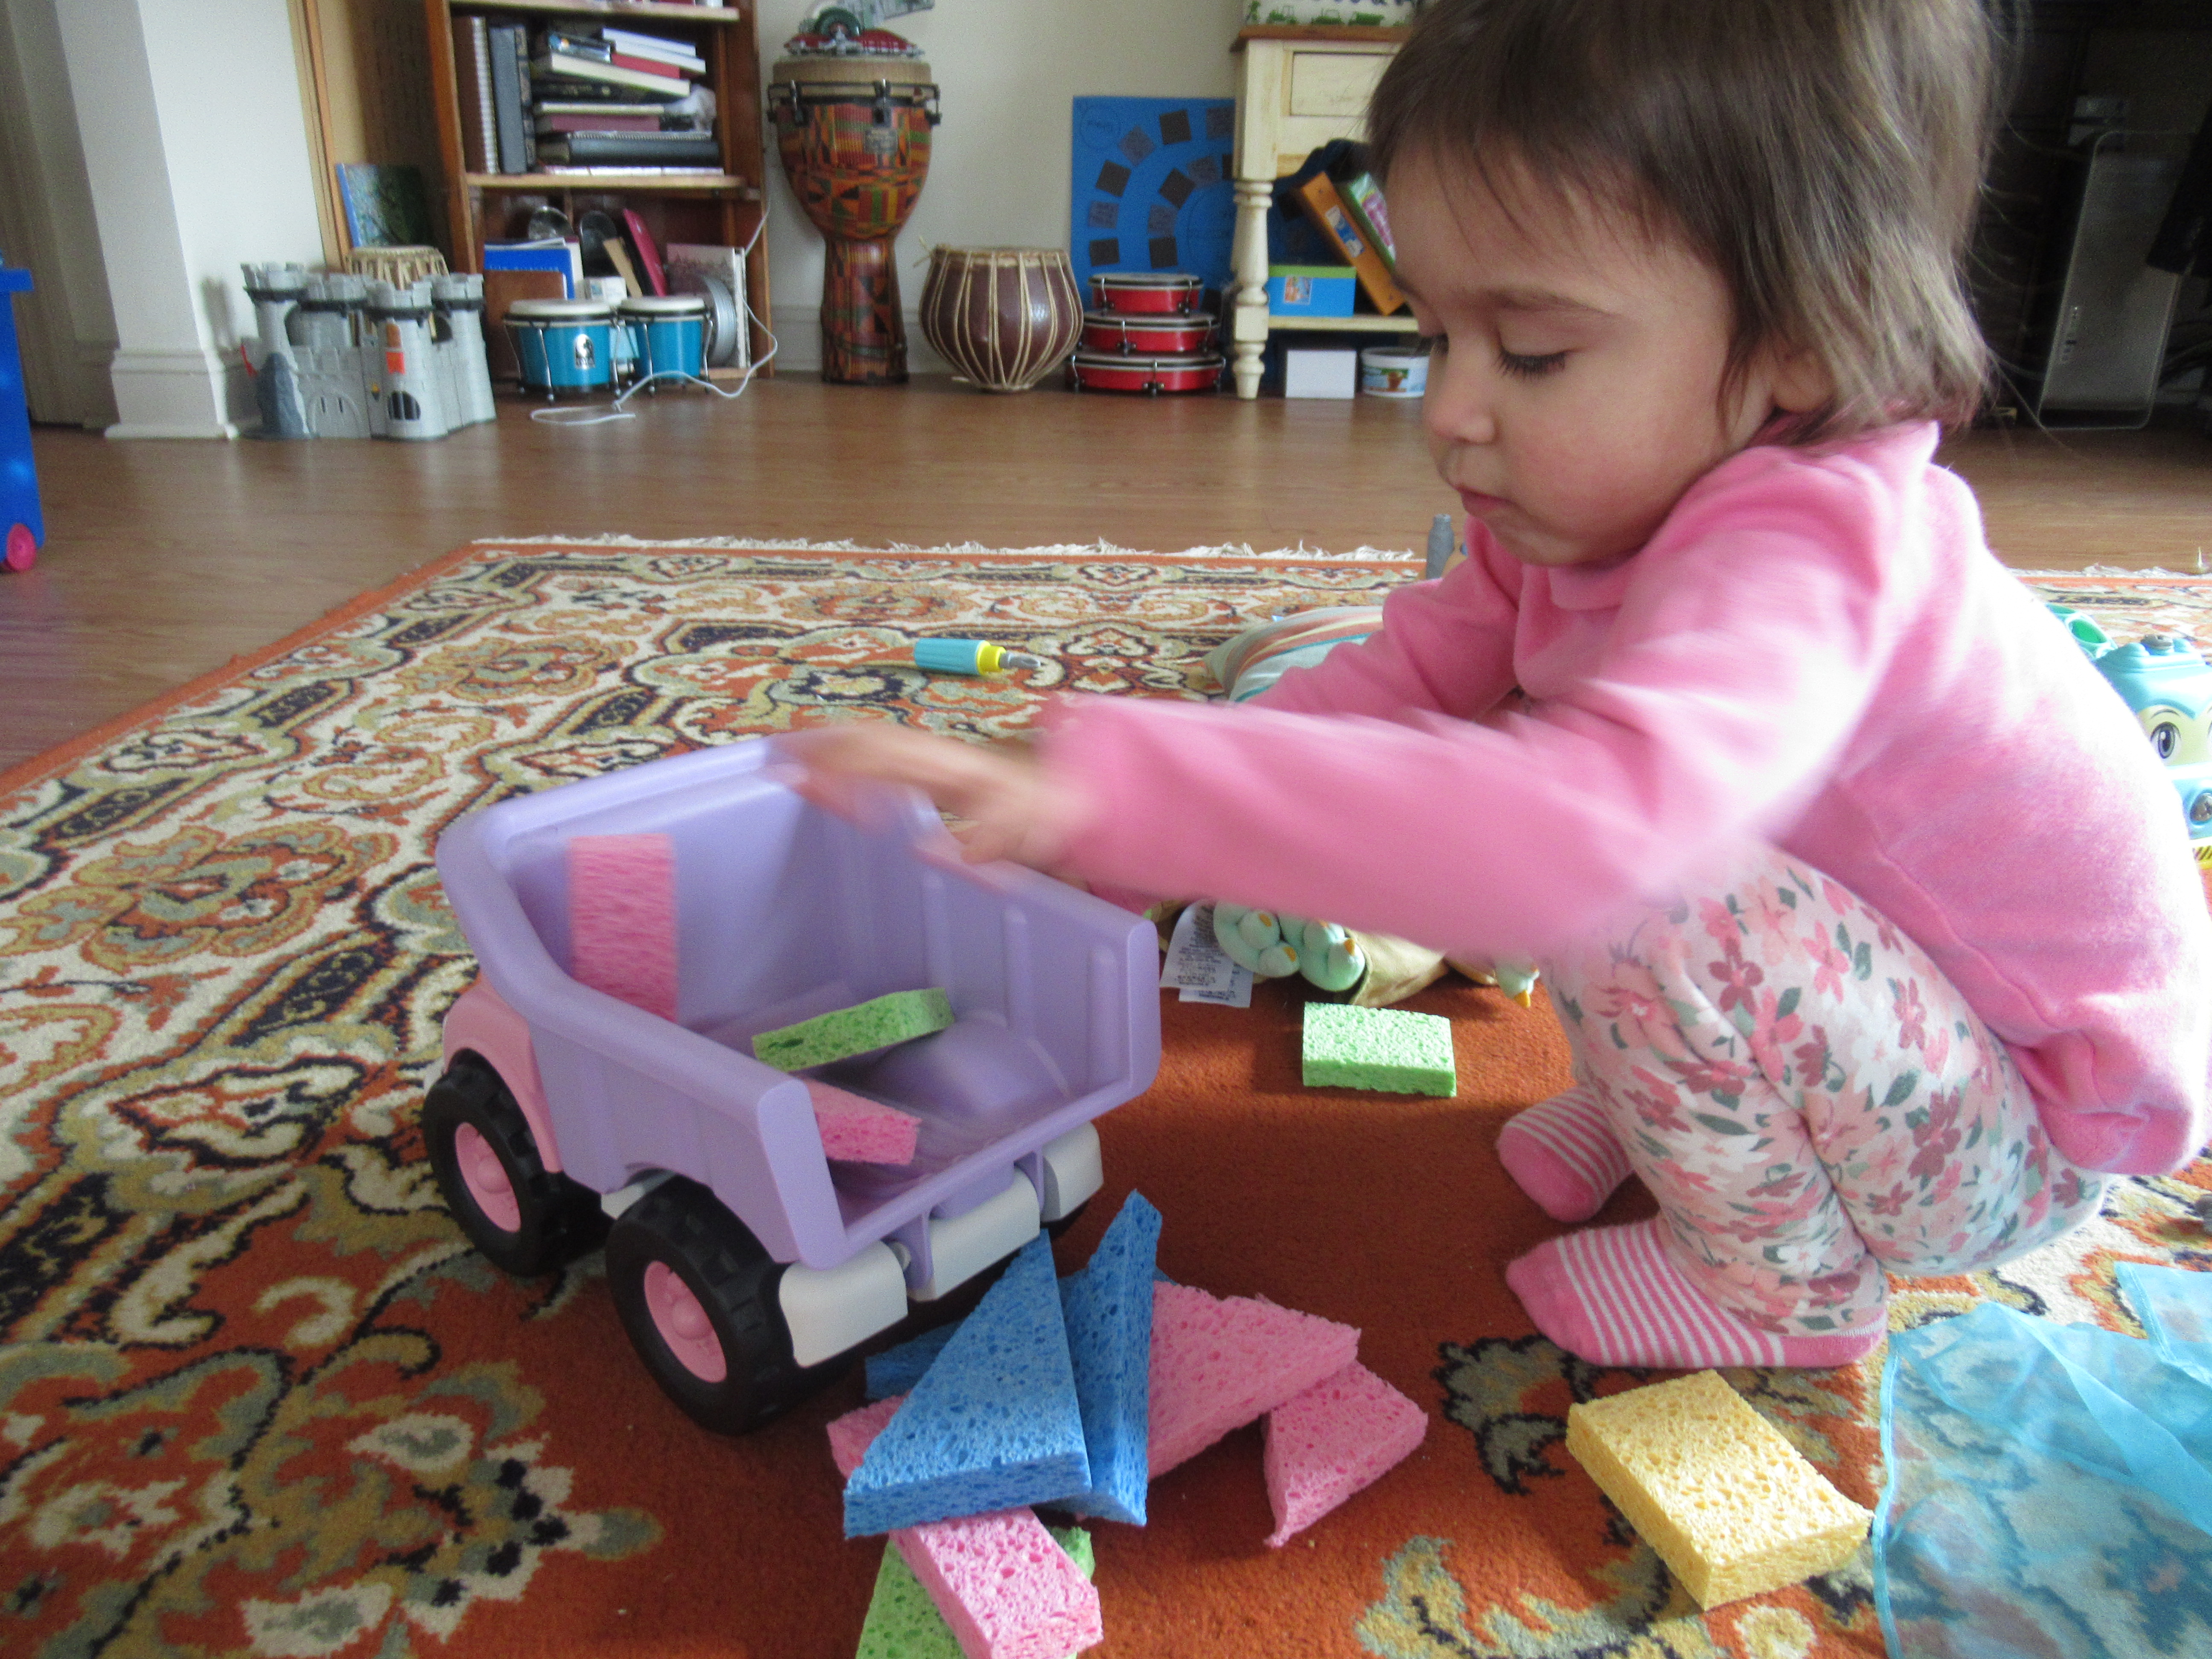
They were great fun for hauling around in her dump truck…

Sponge Blocks (4)

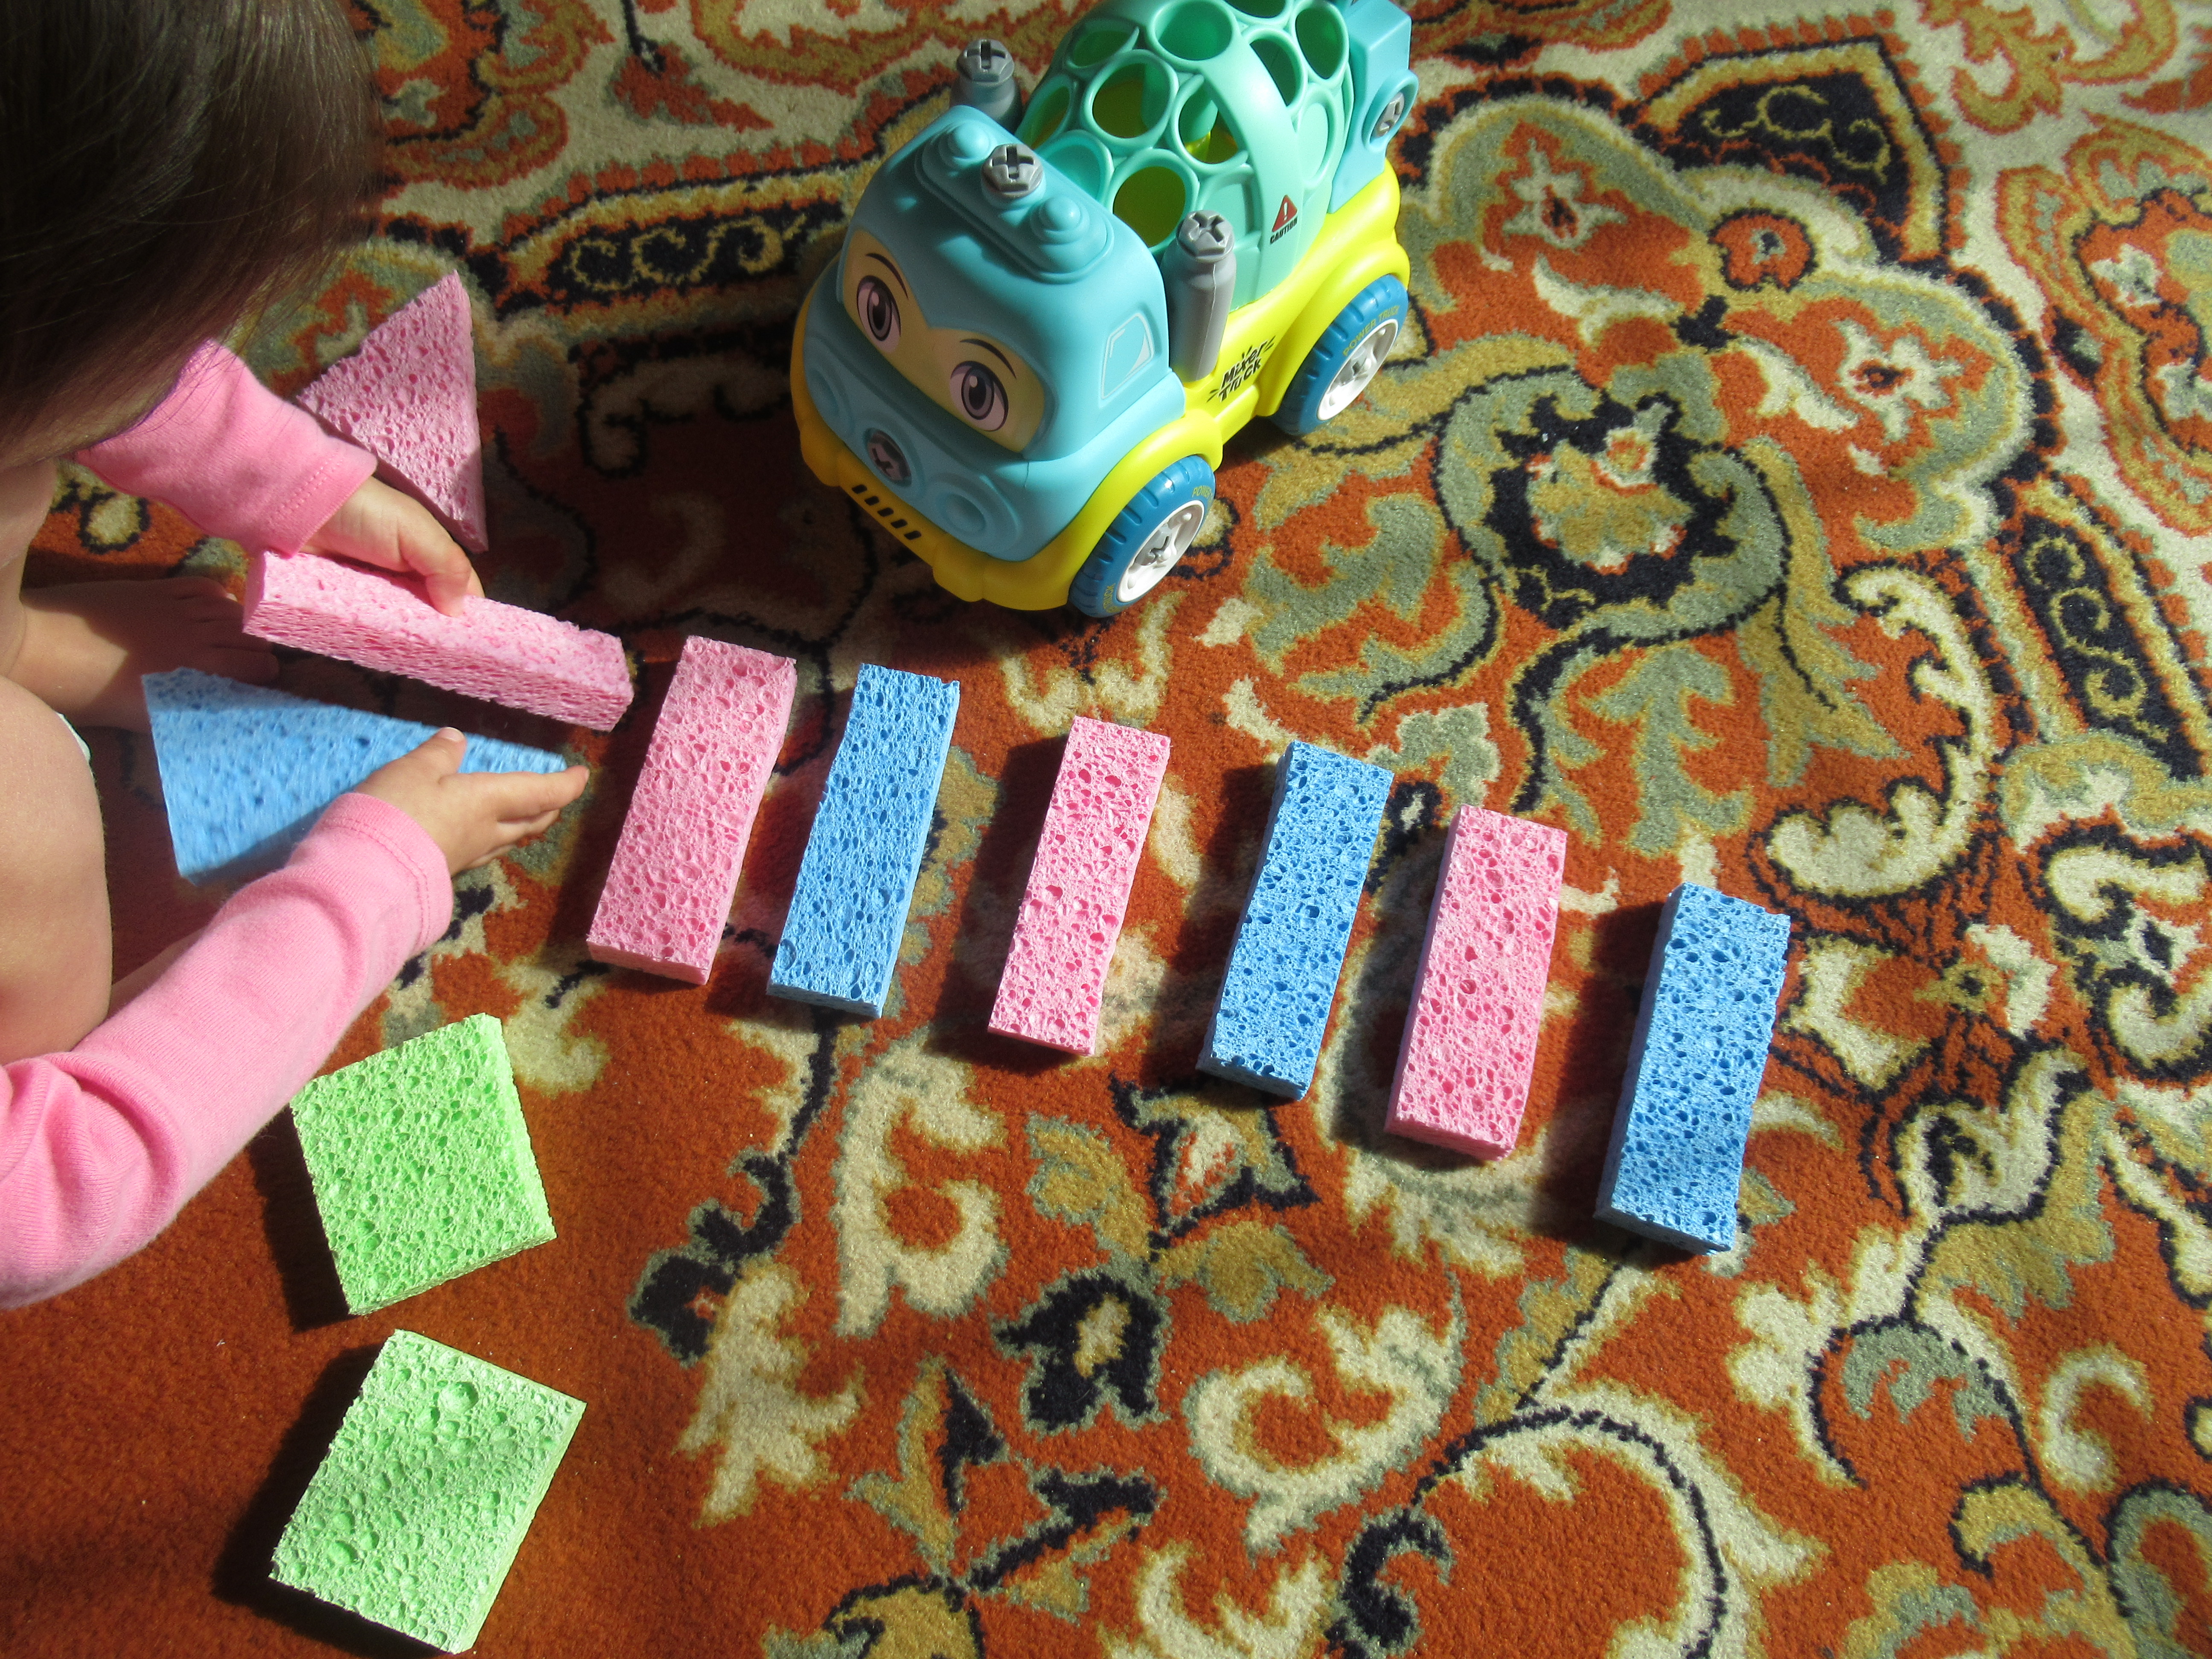
…or teaching an early intro to simple patterns, like alternating pink and blue.

Sponge Blocks (5)

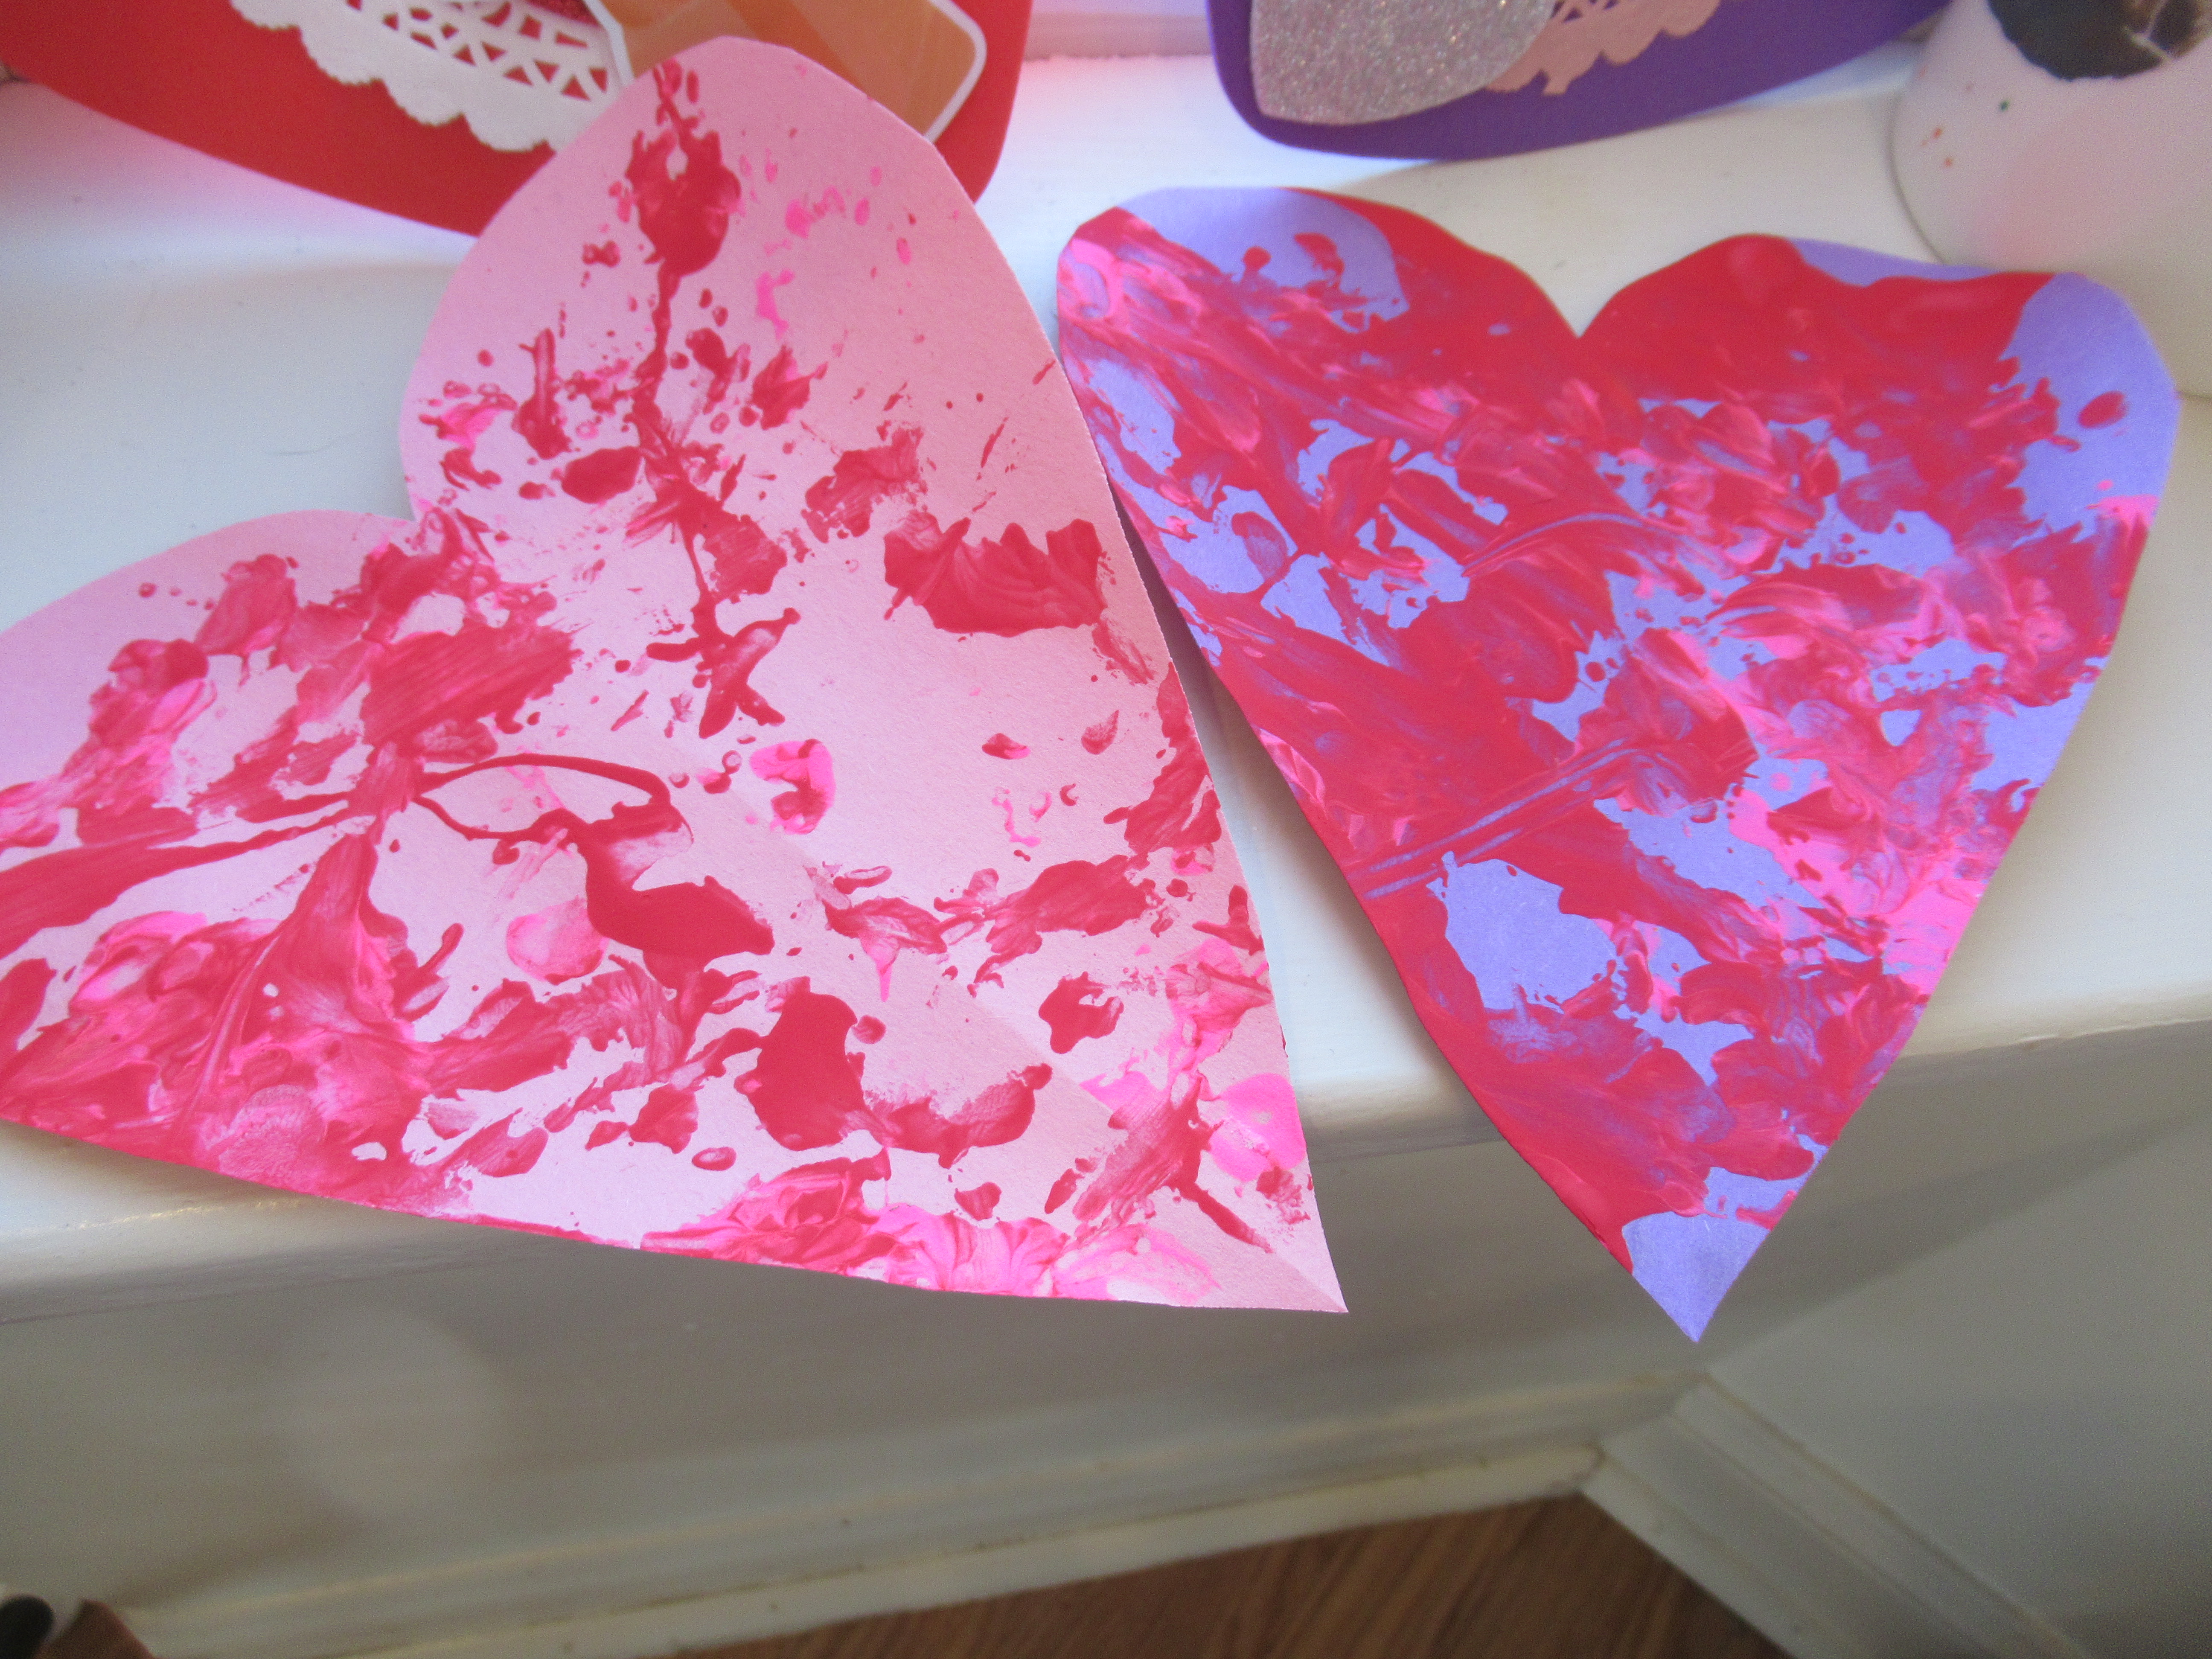
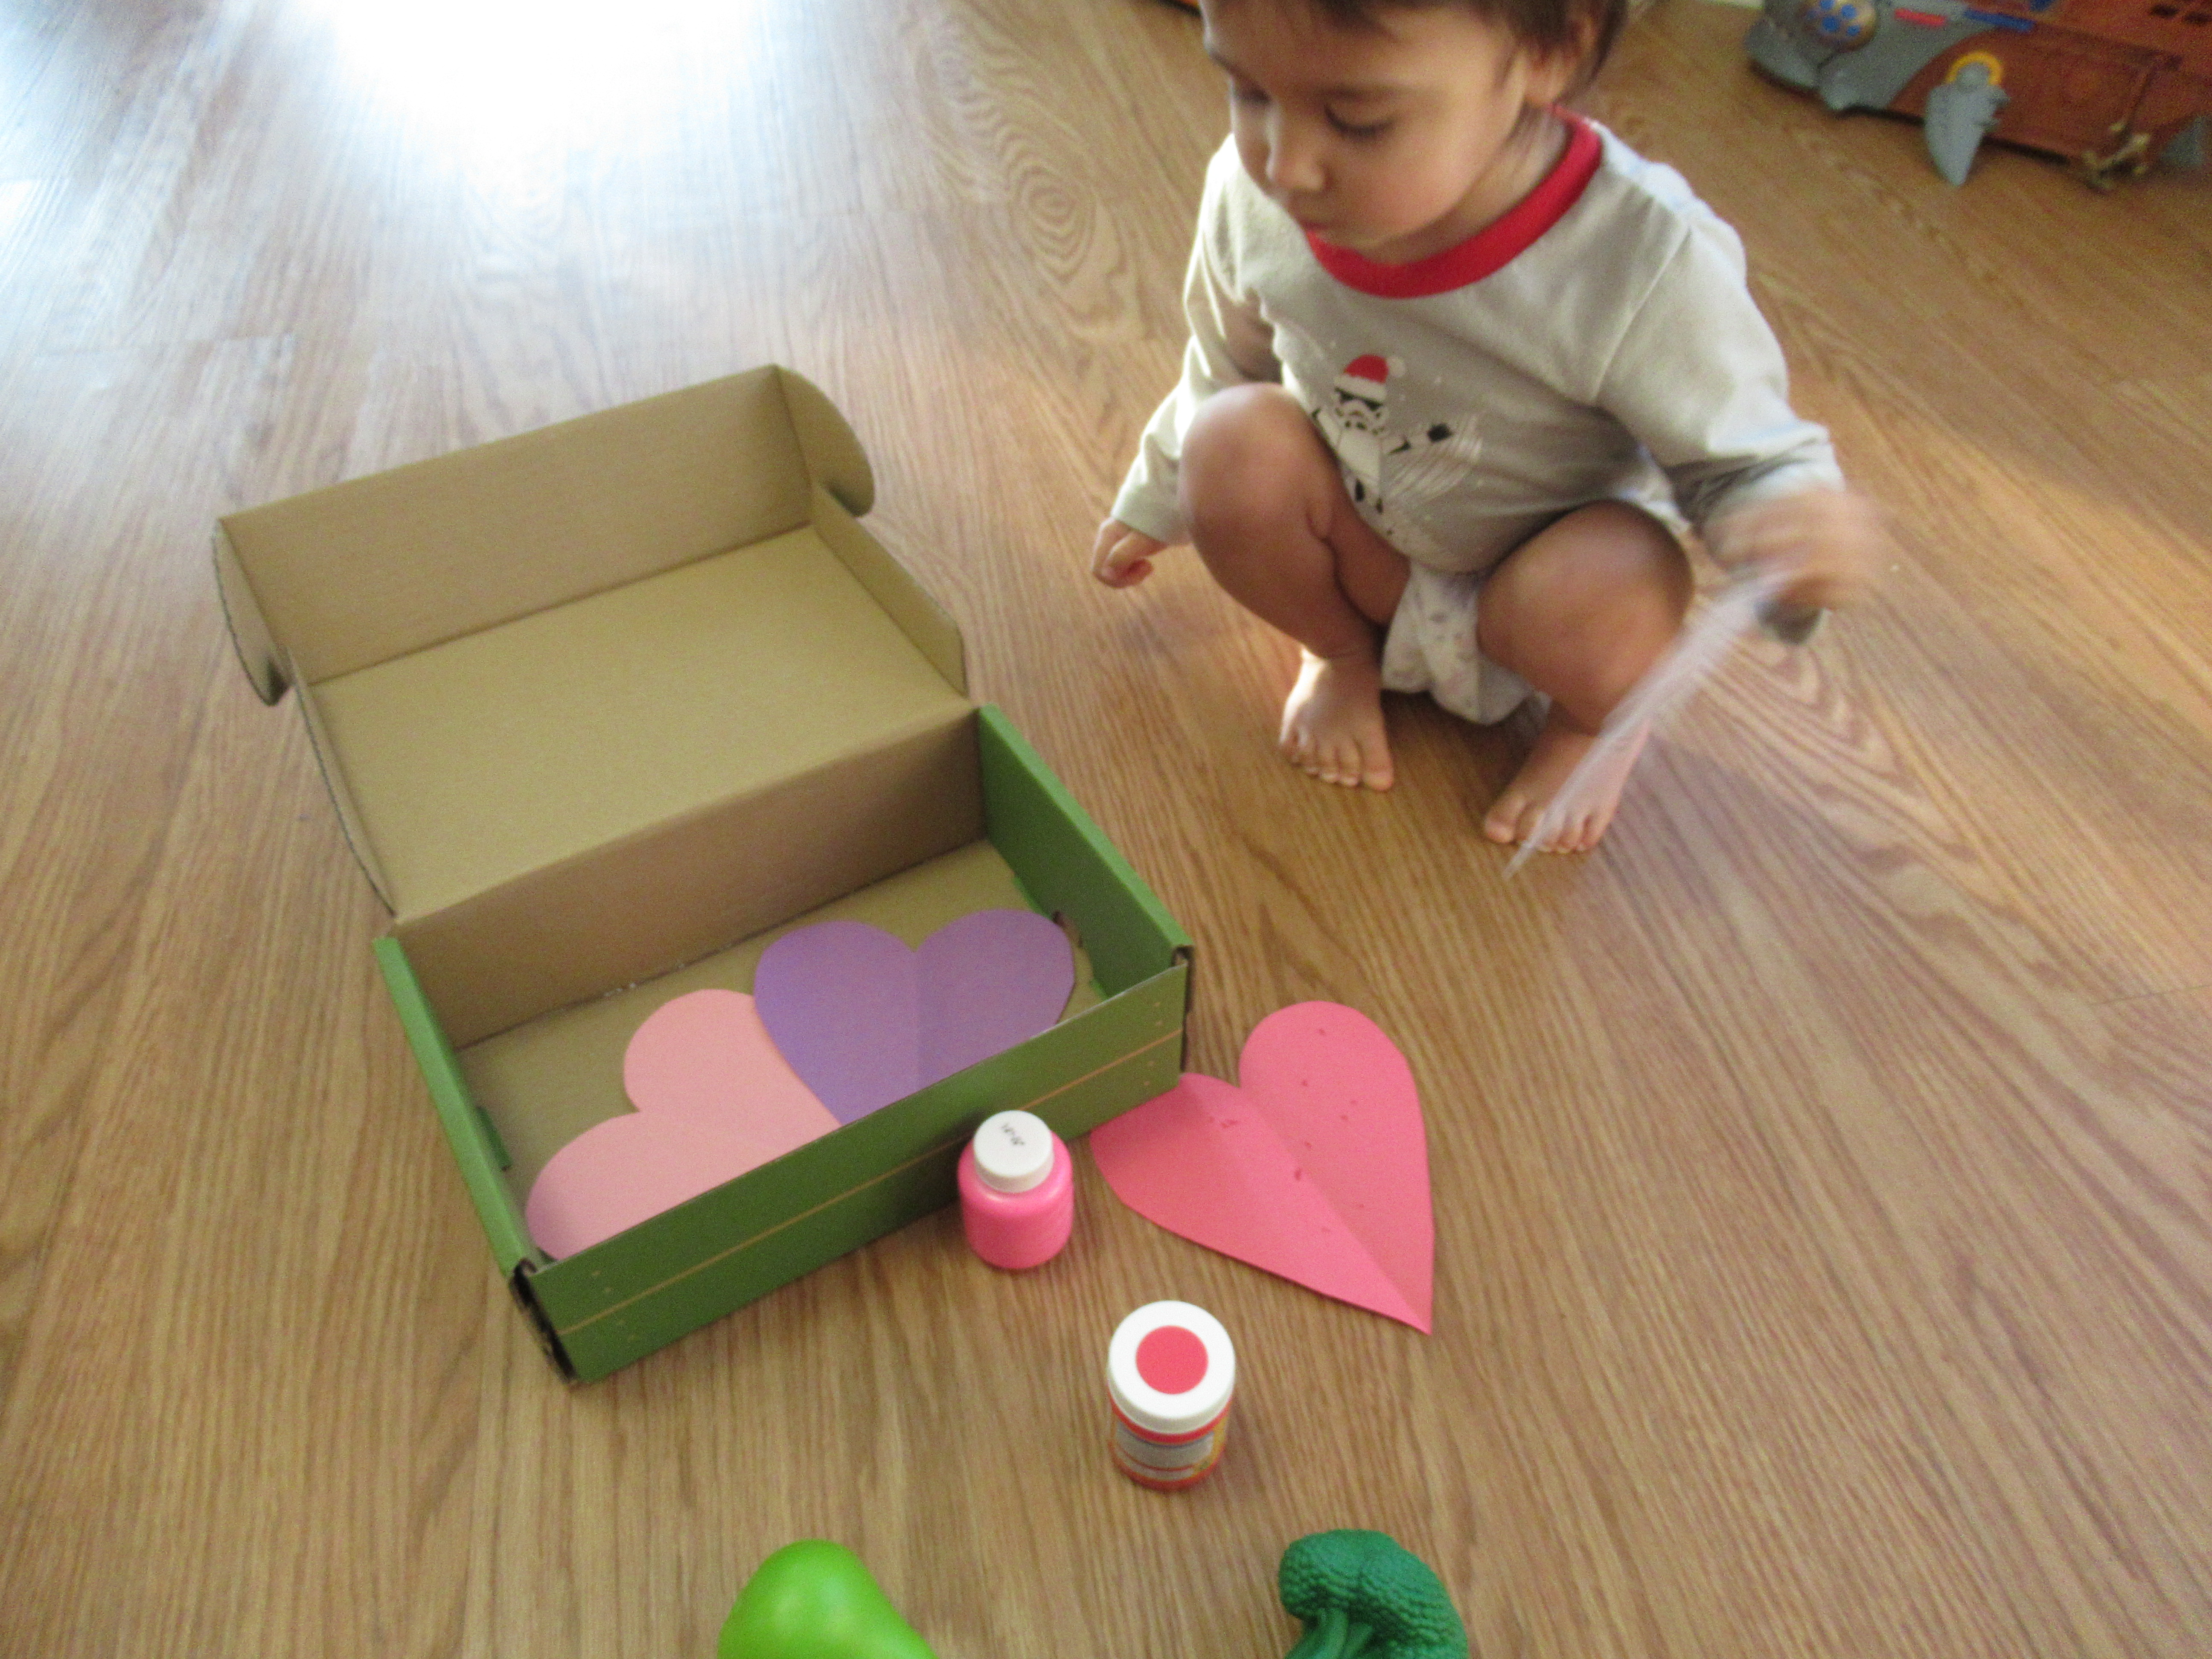
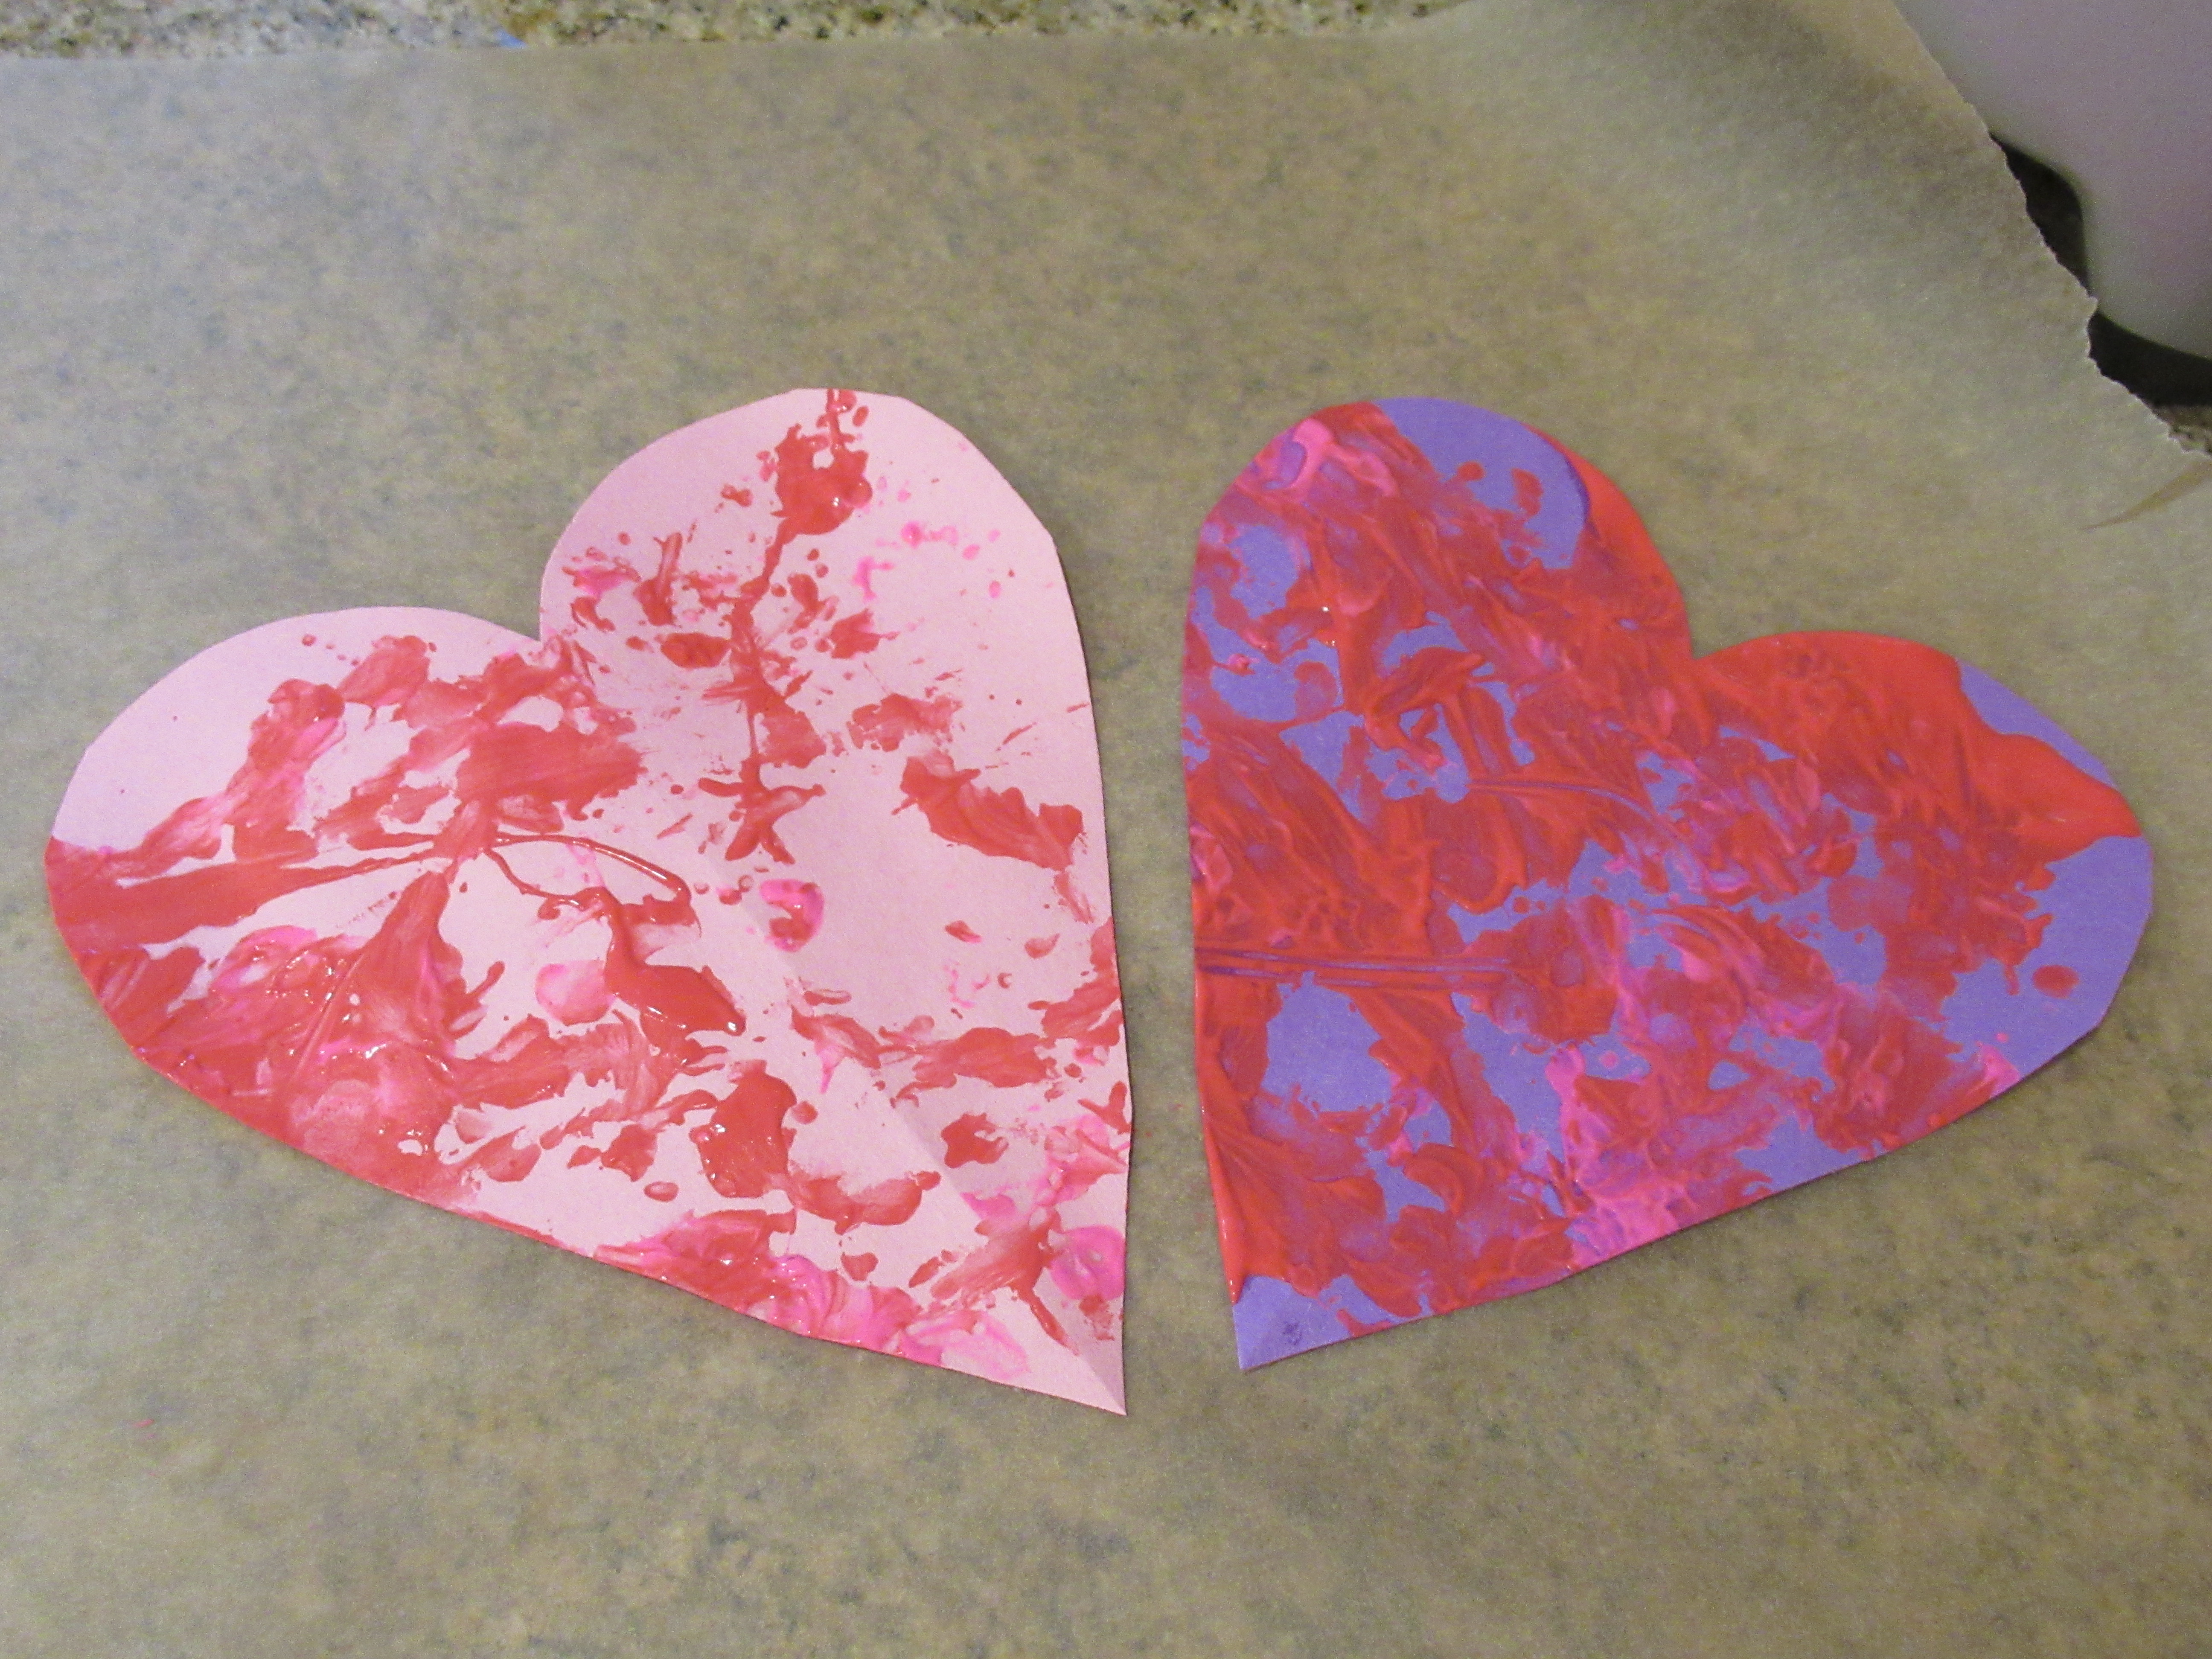
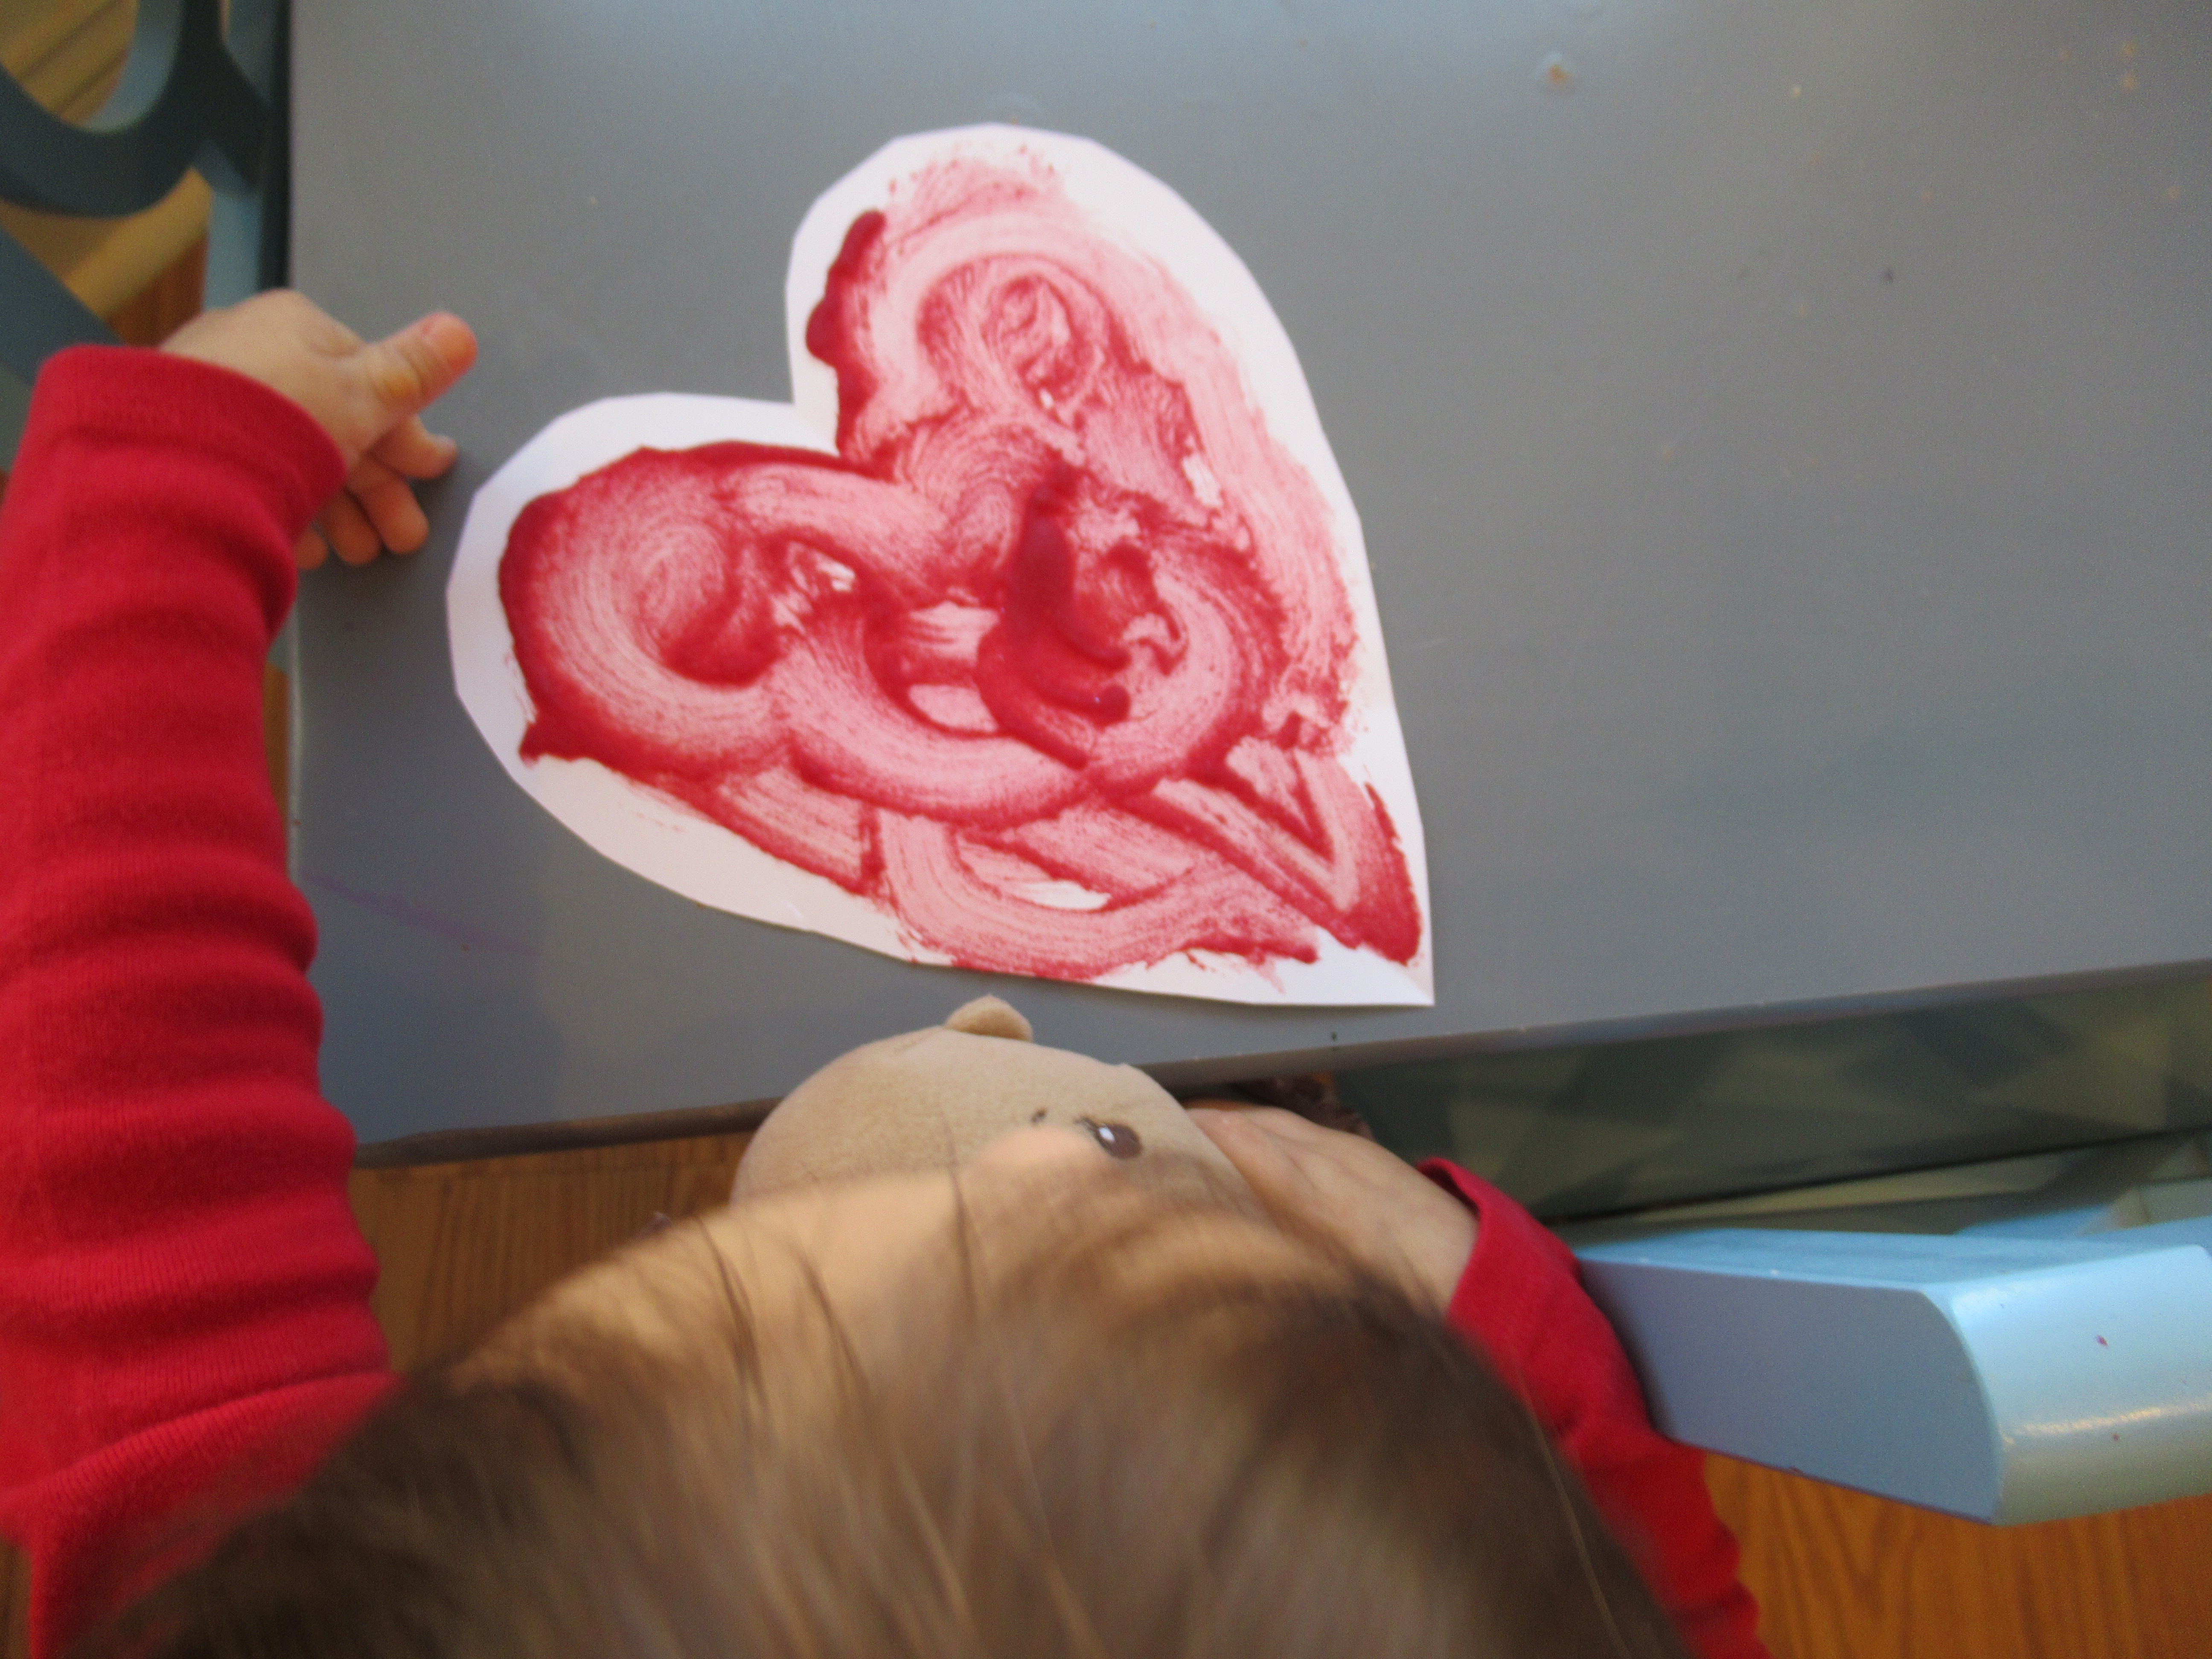
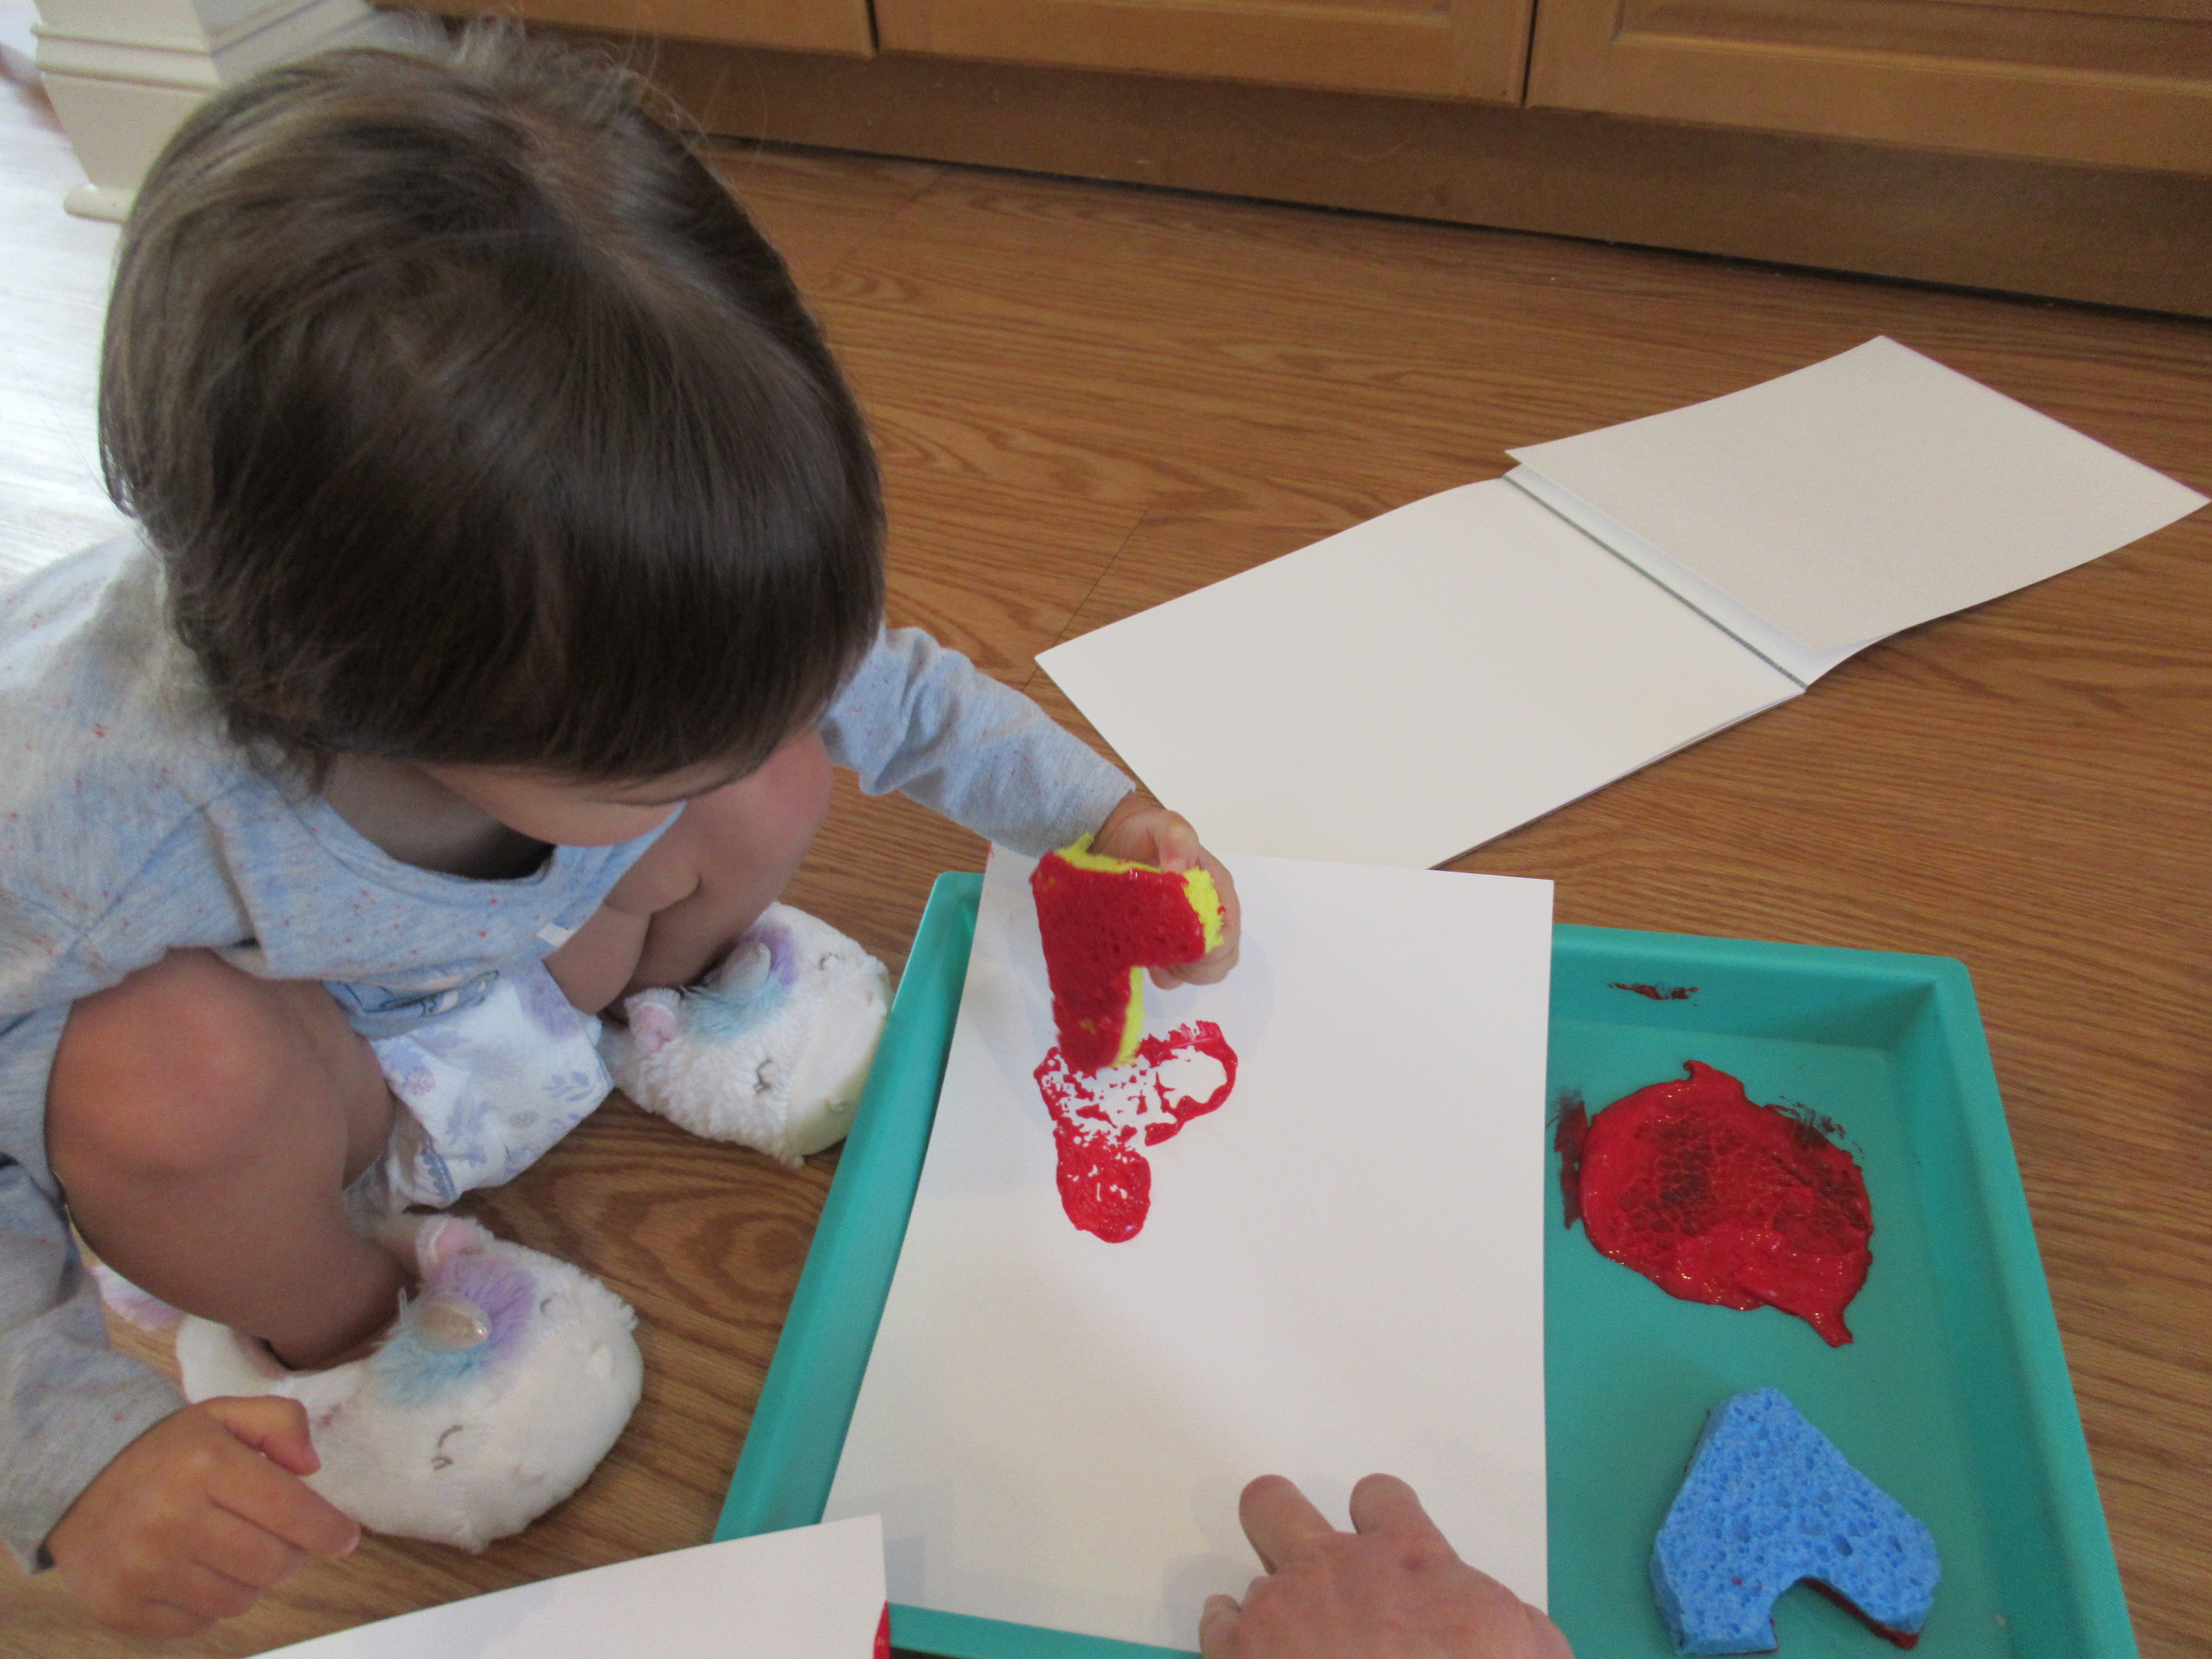
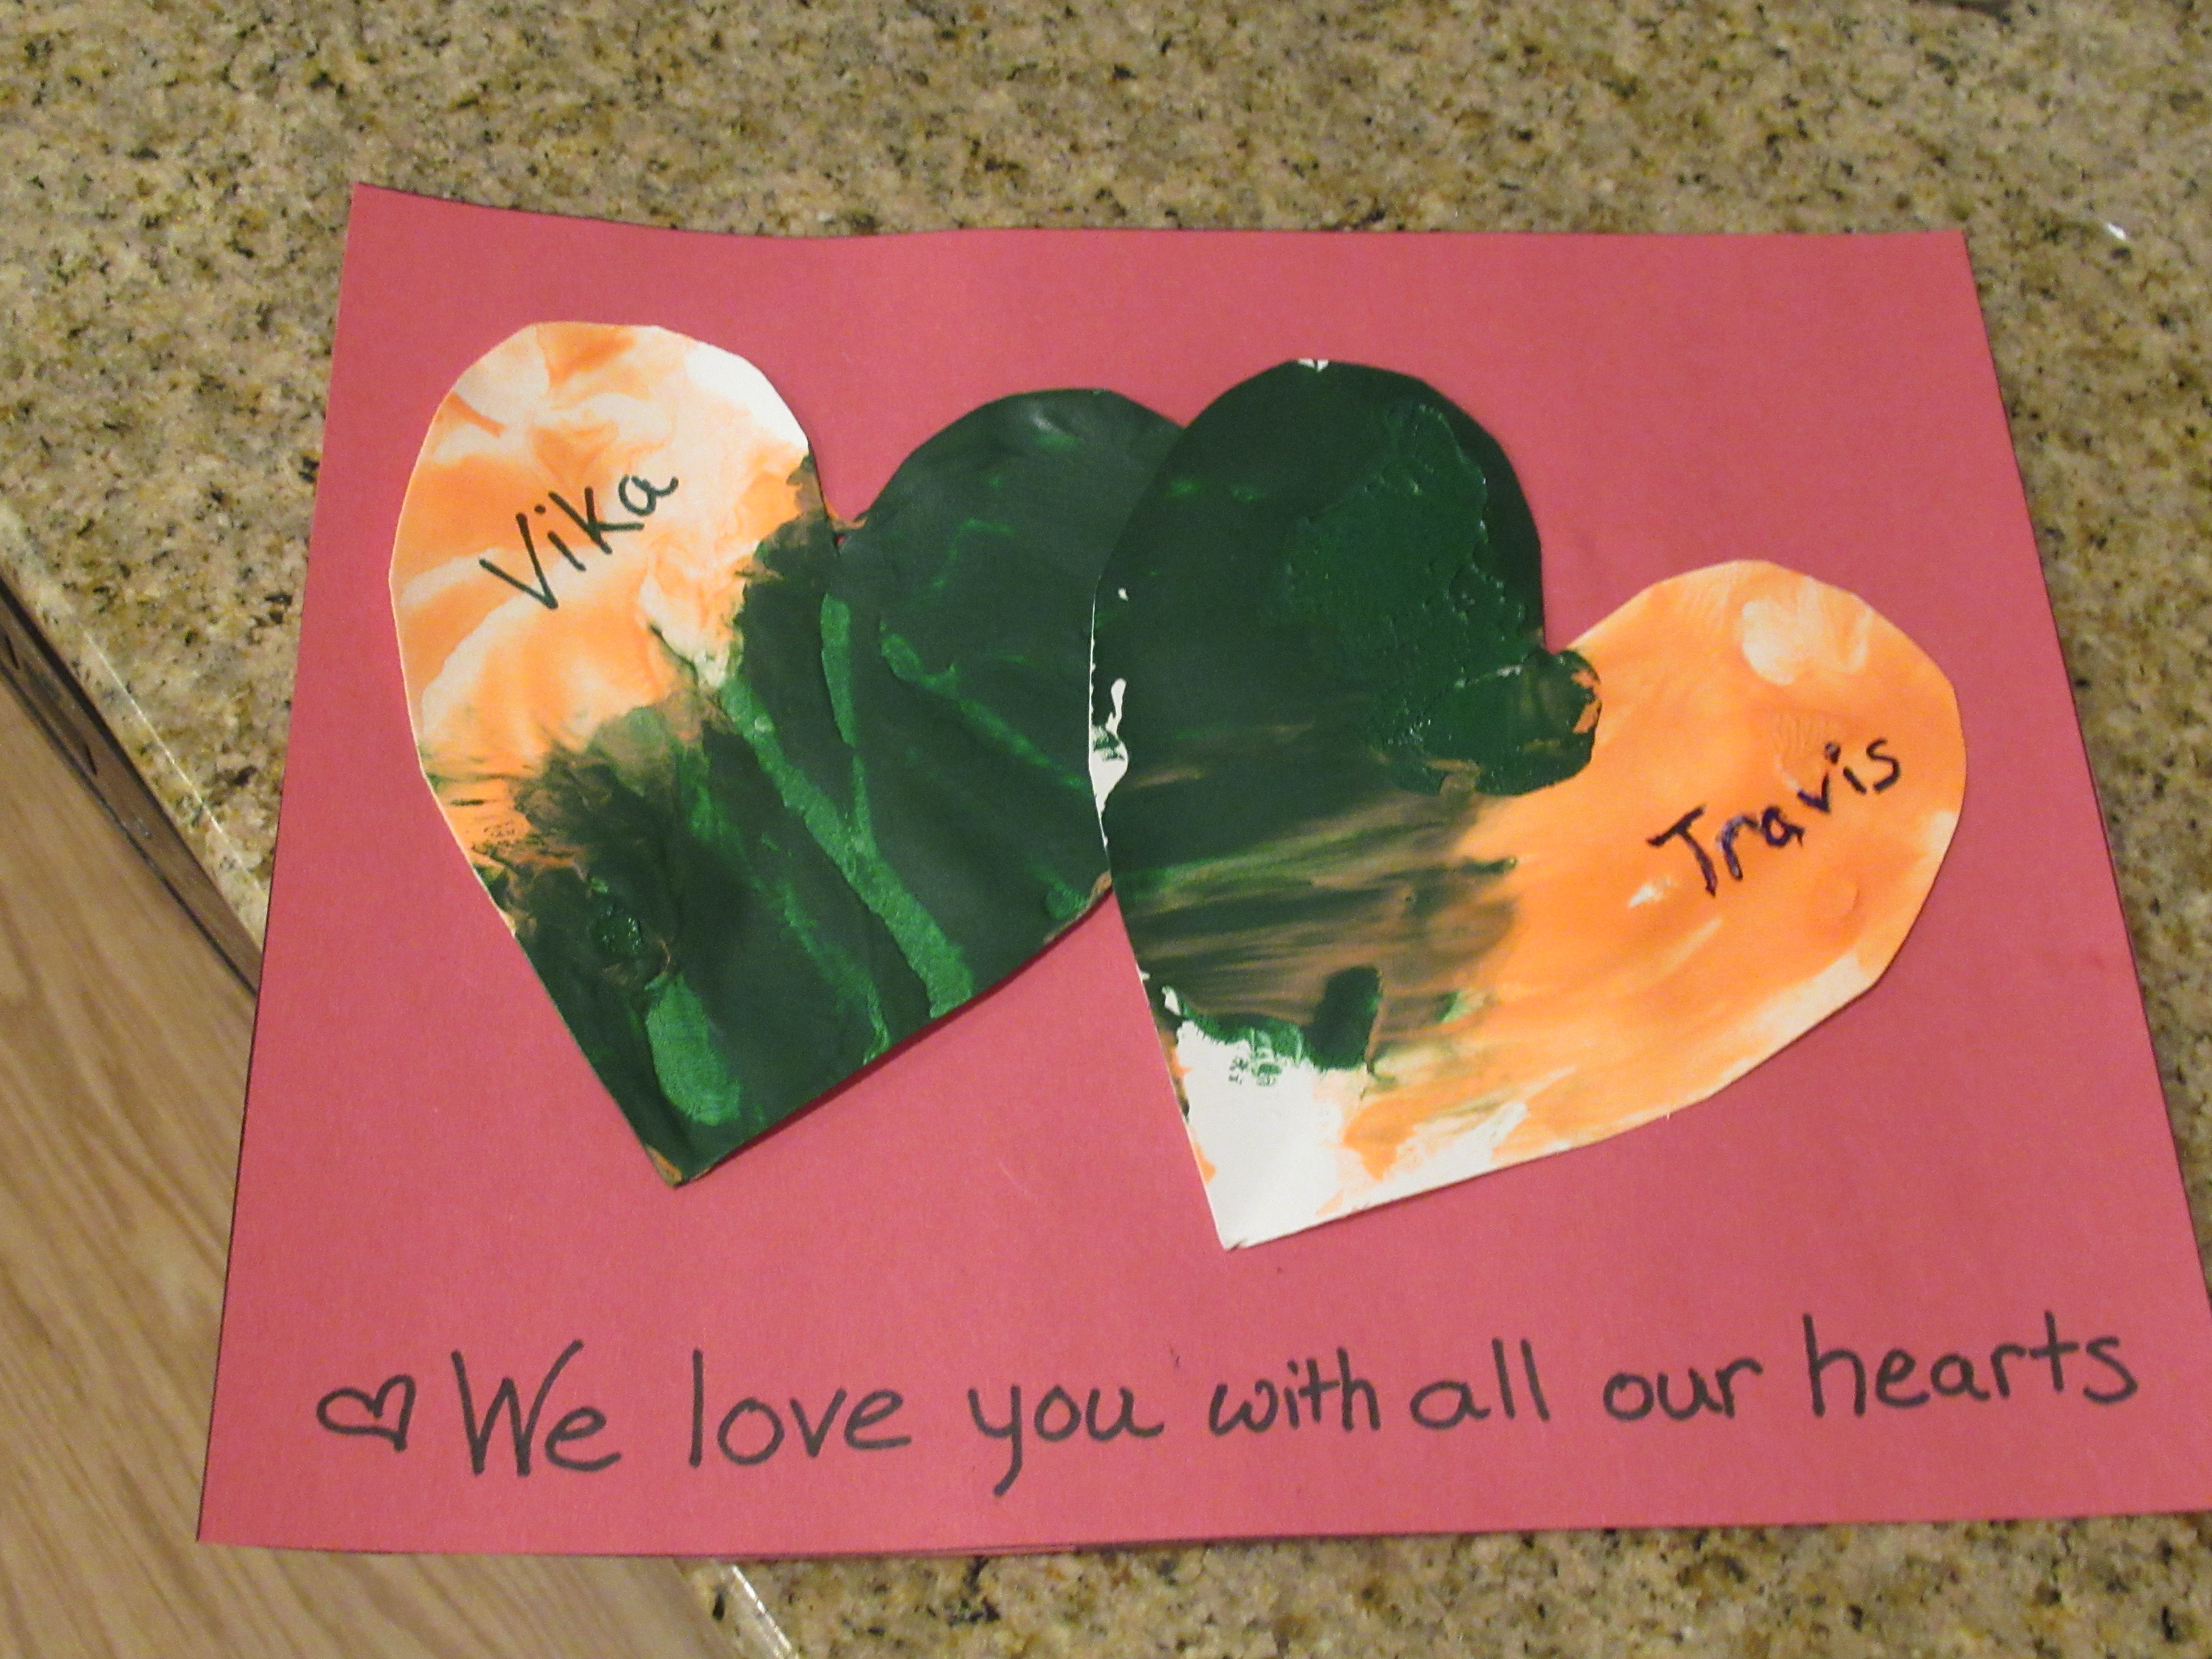
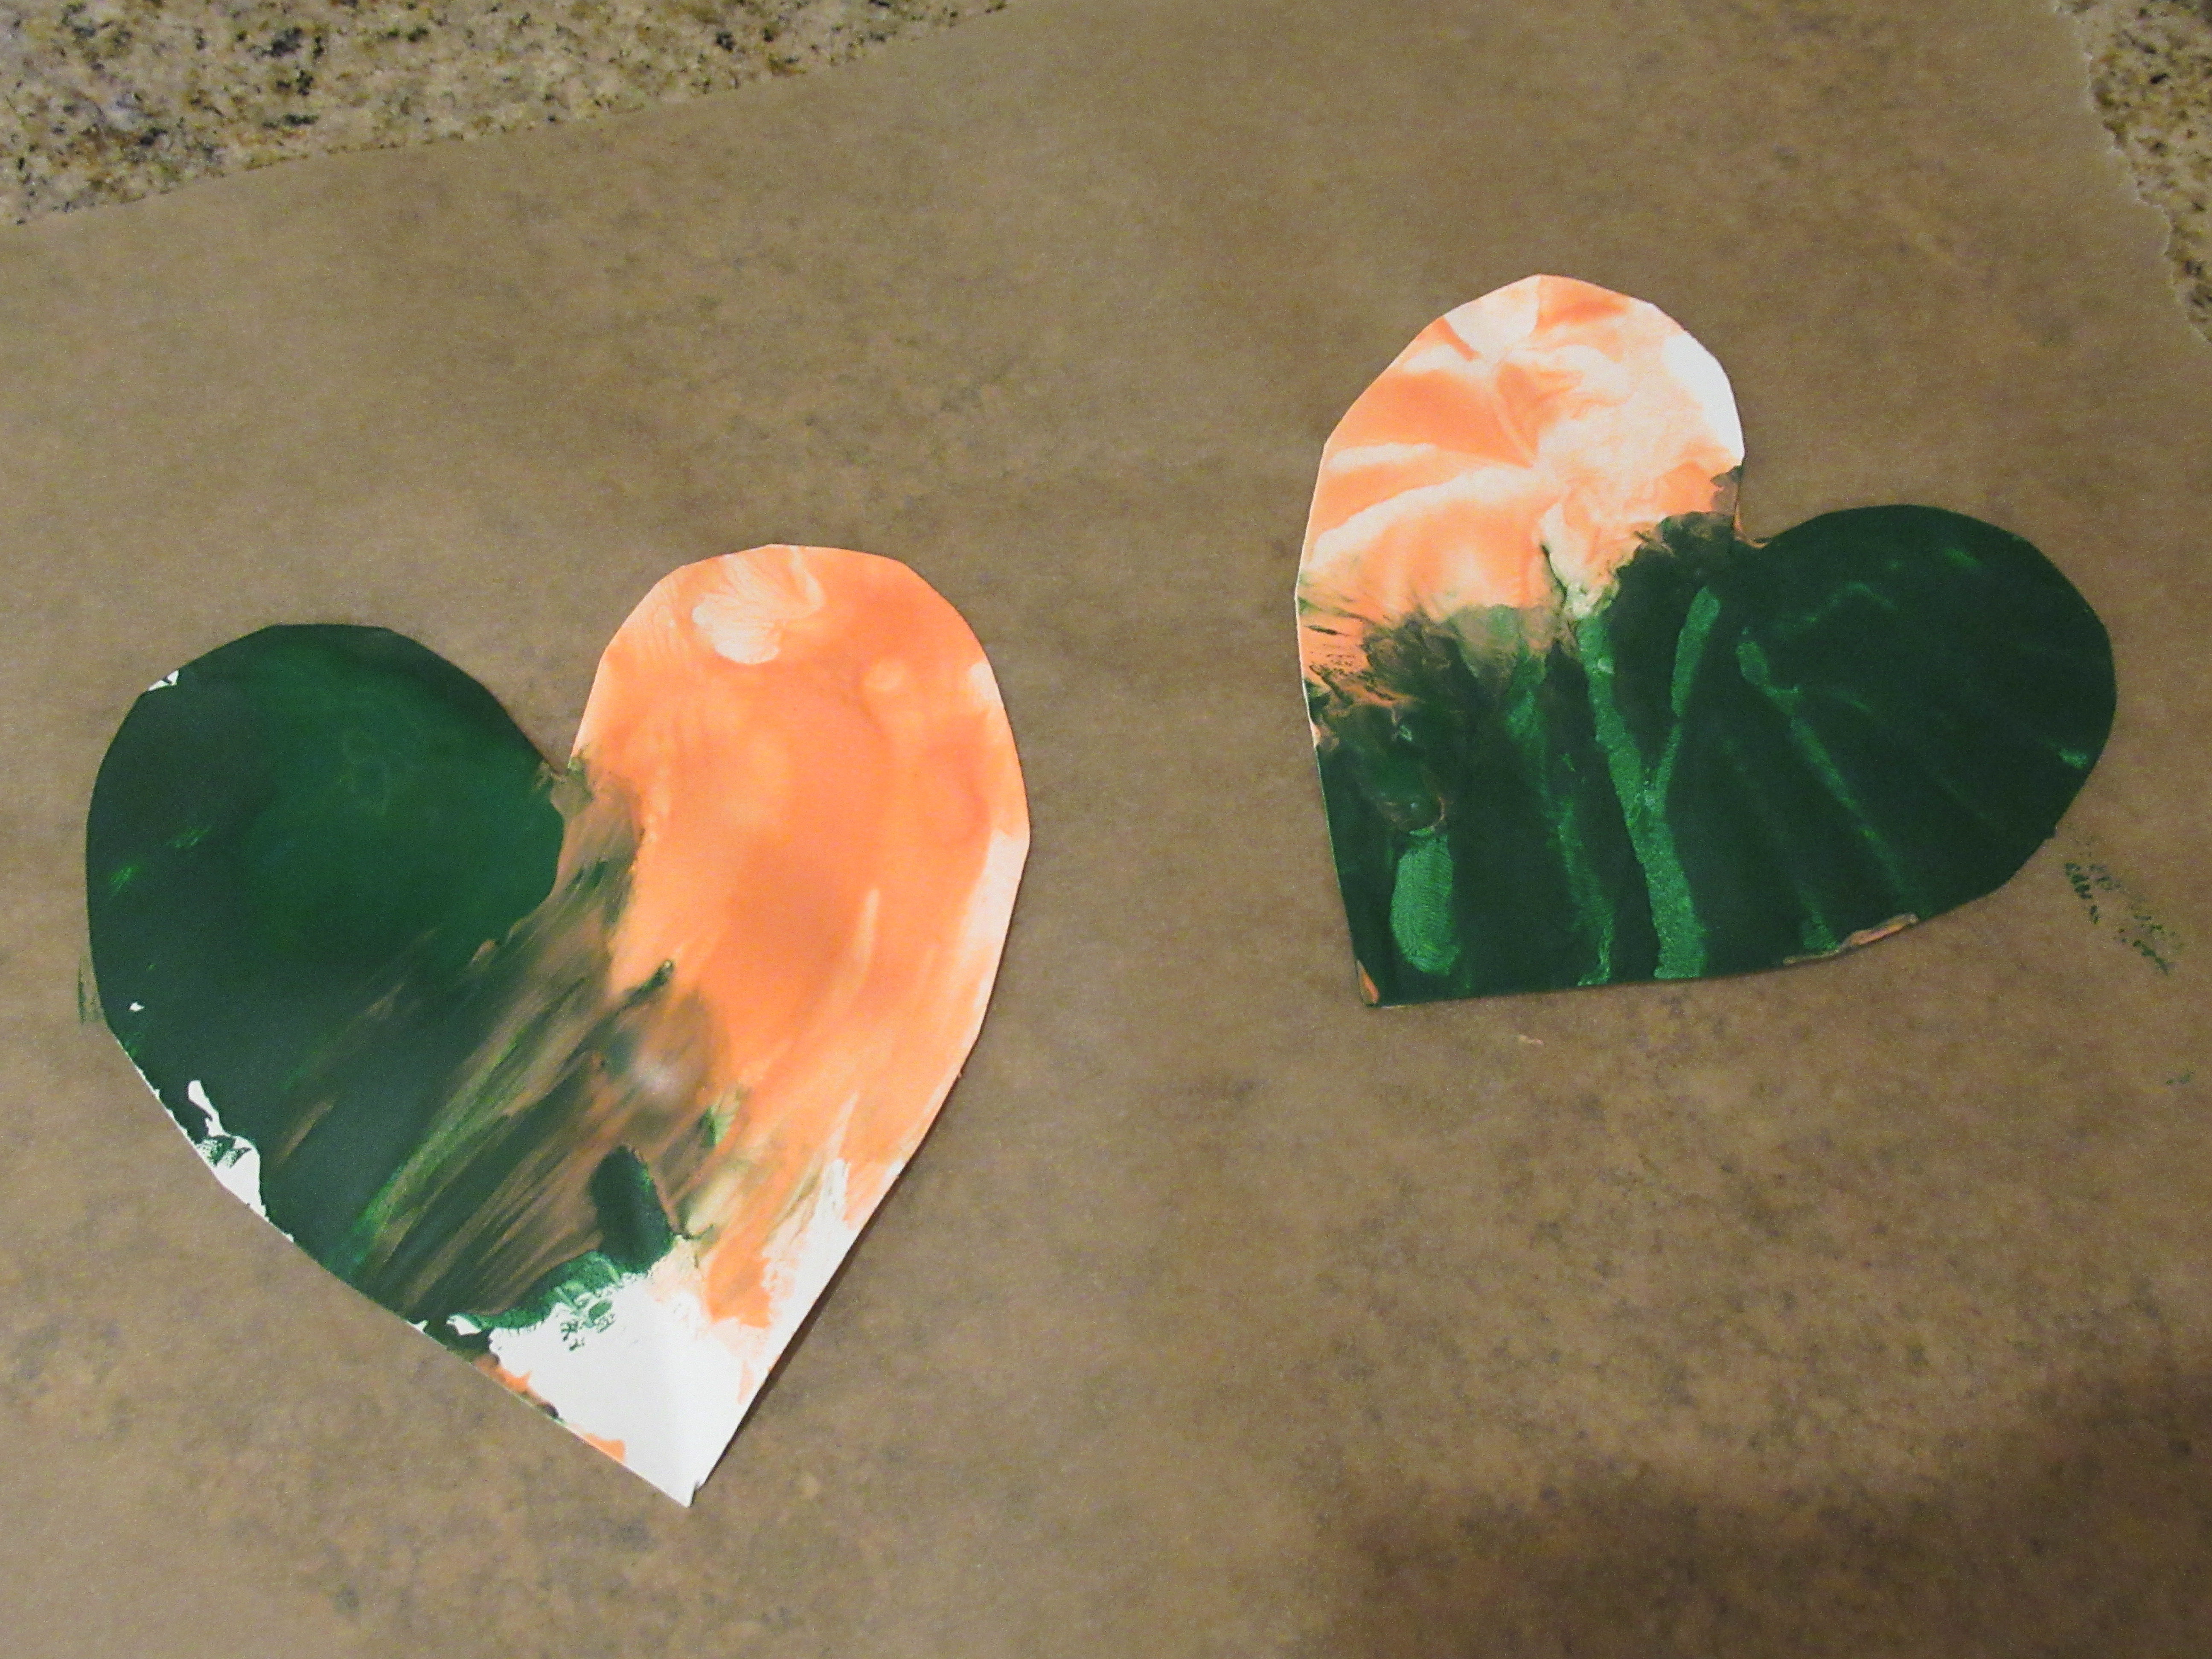
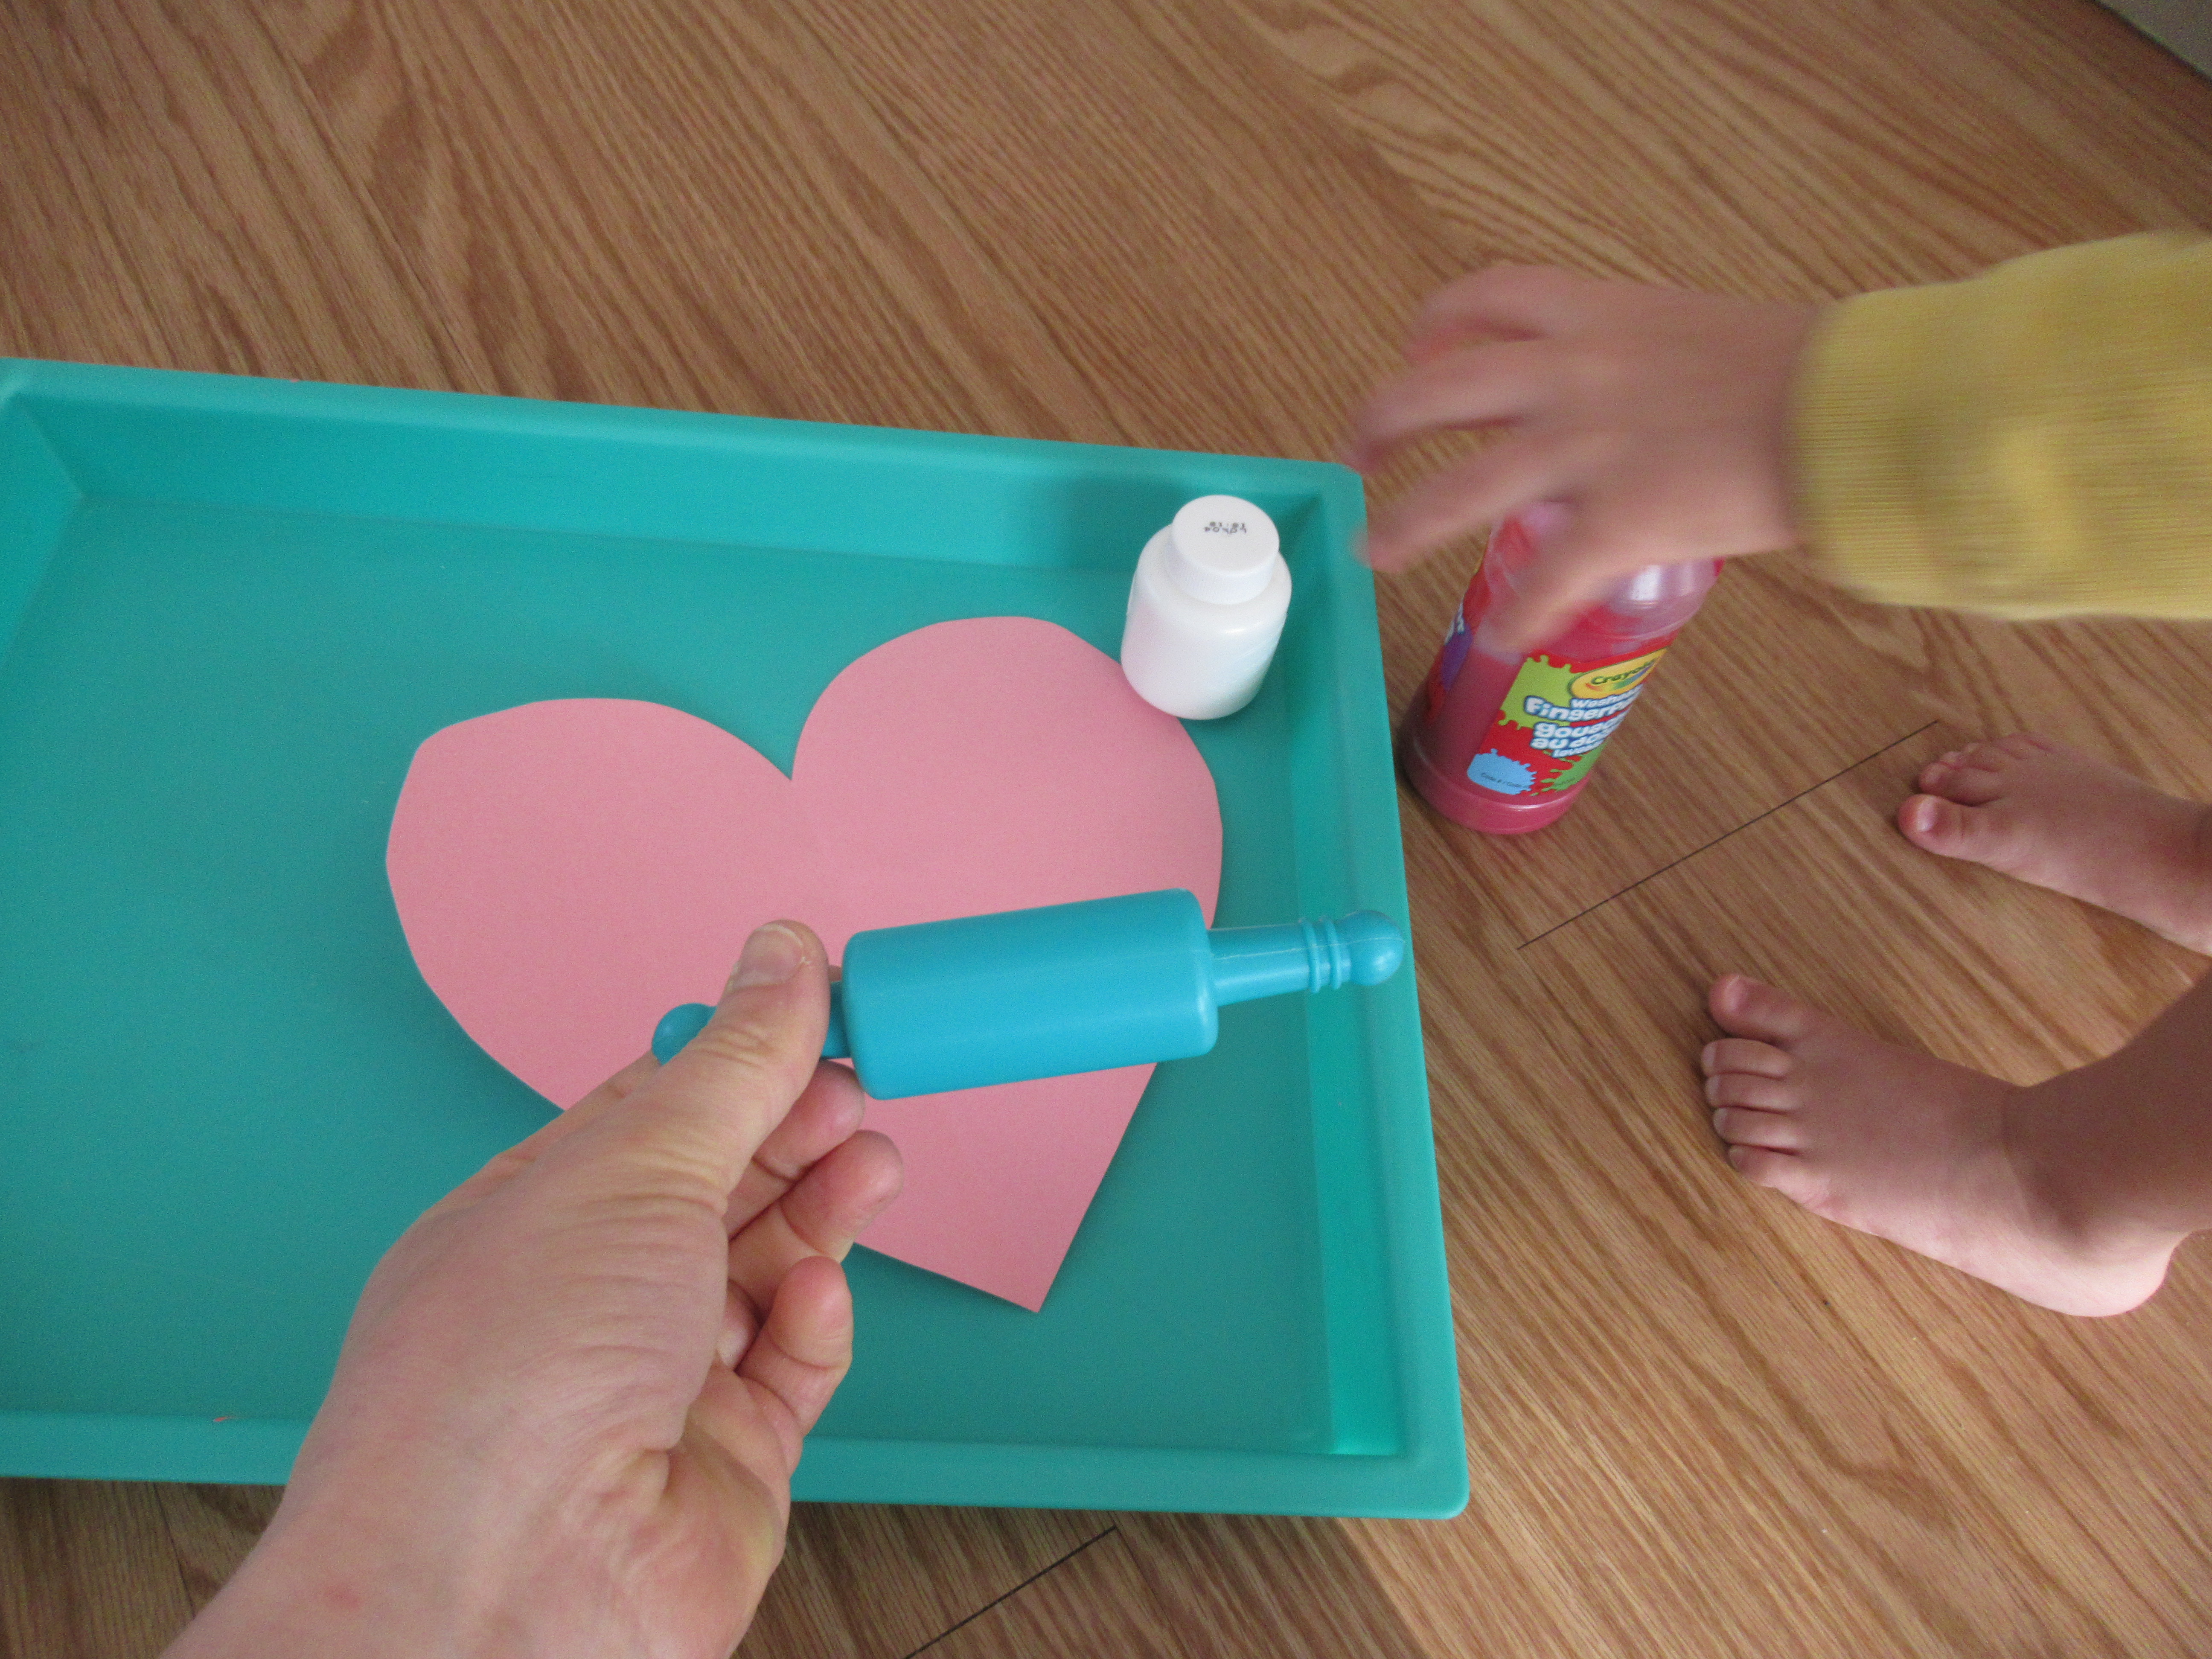
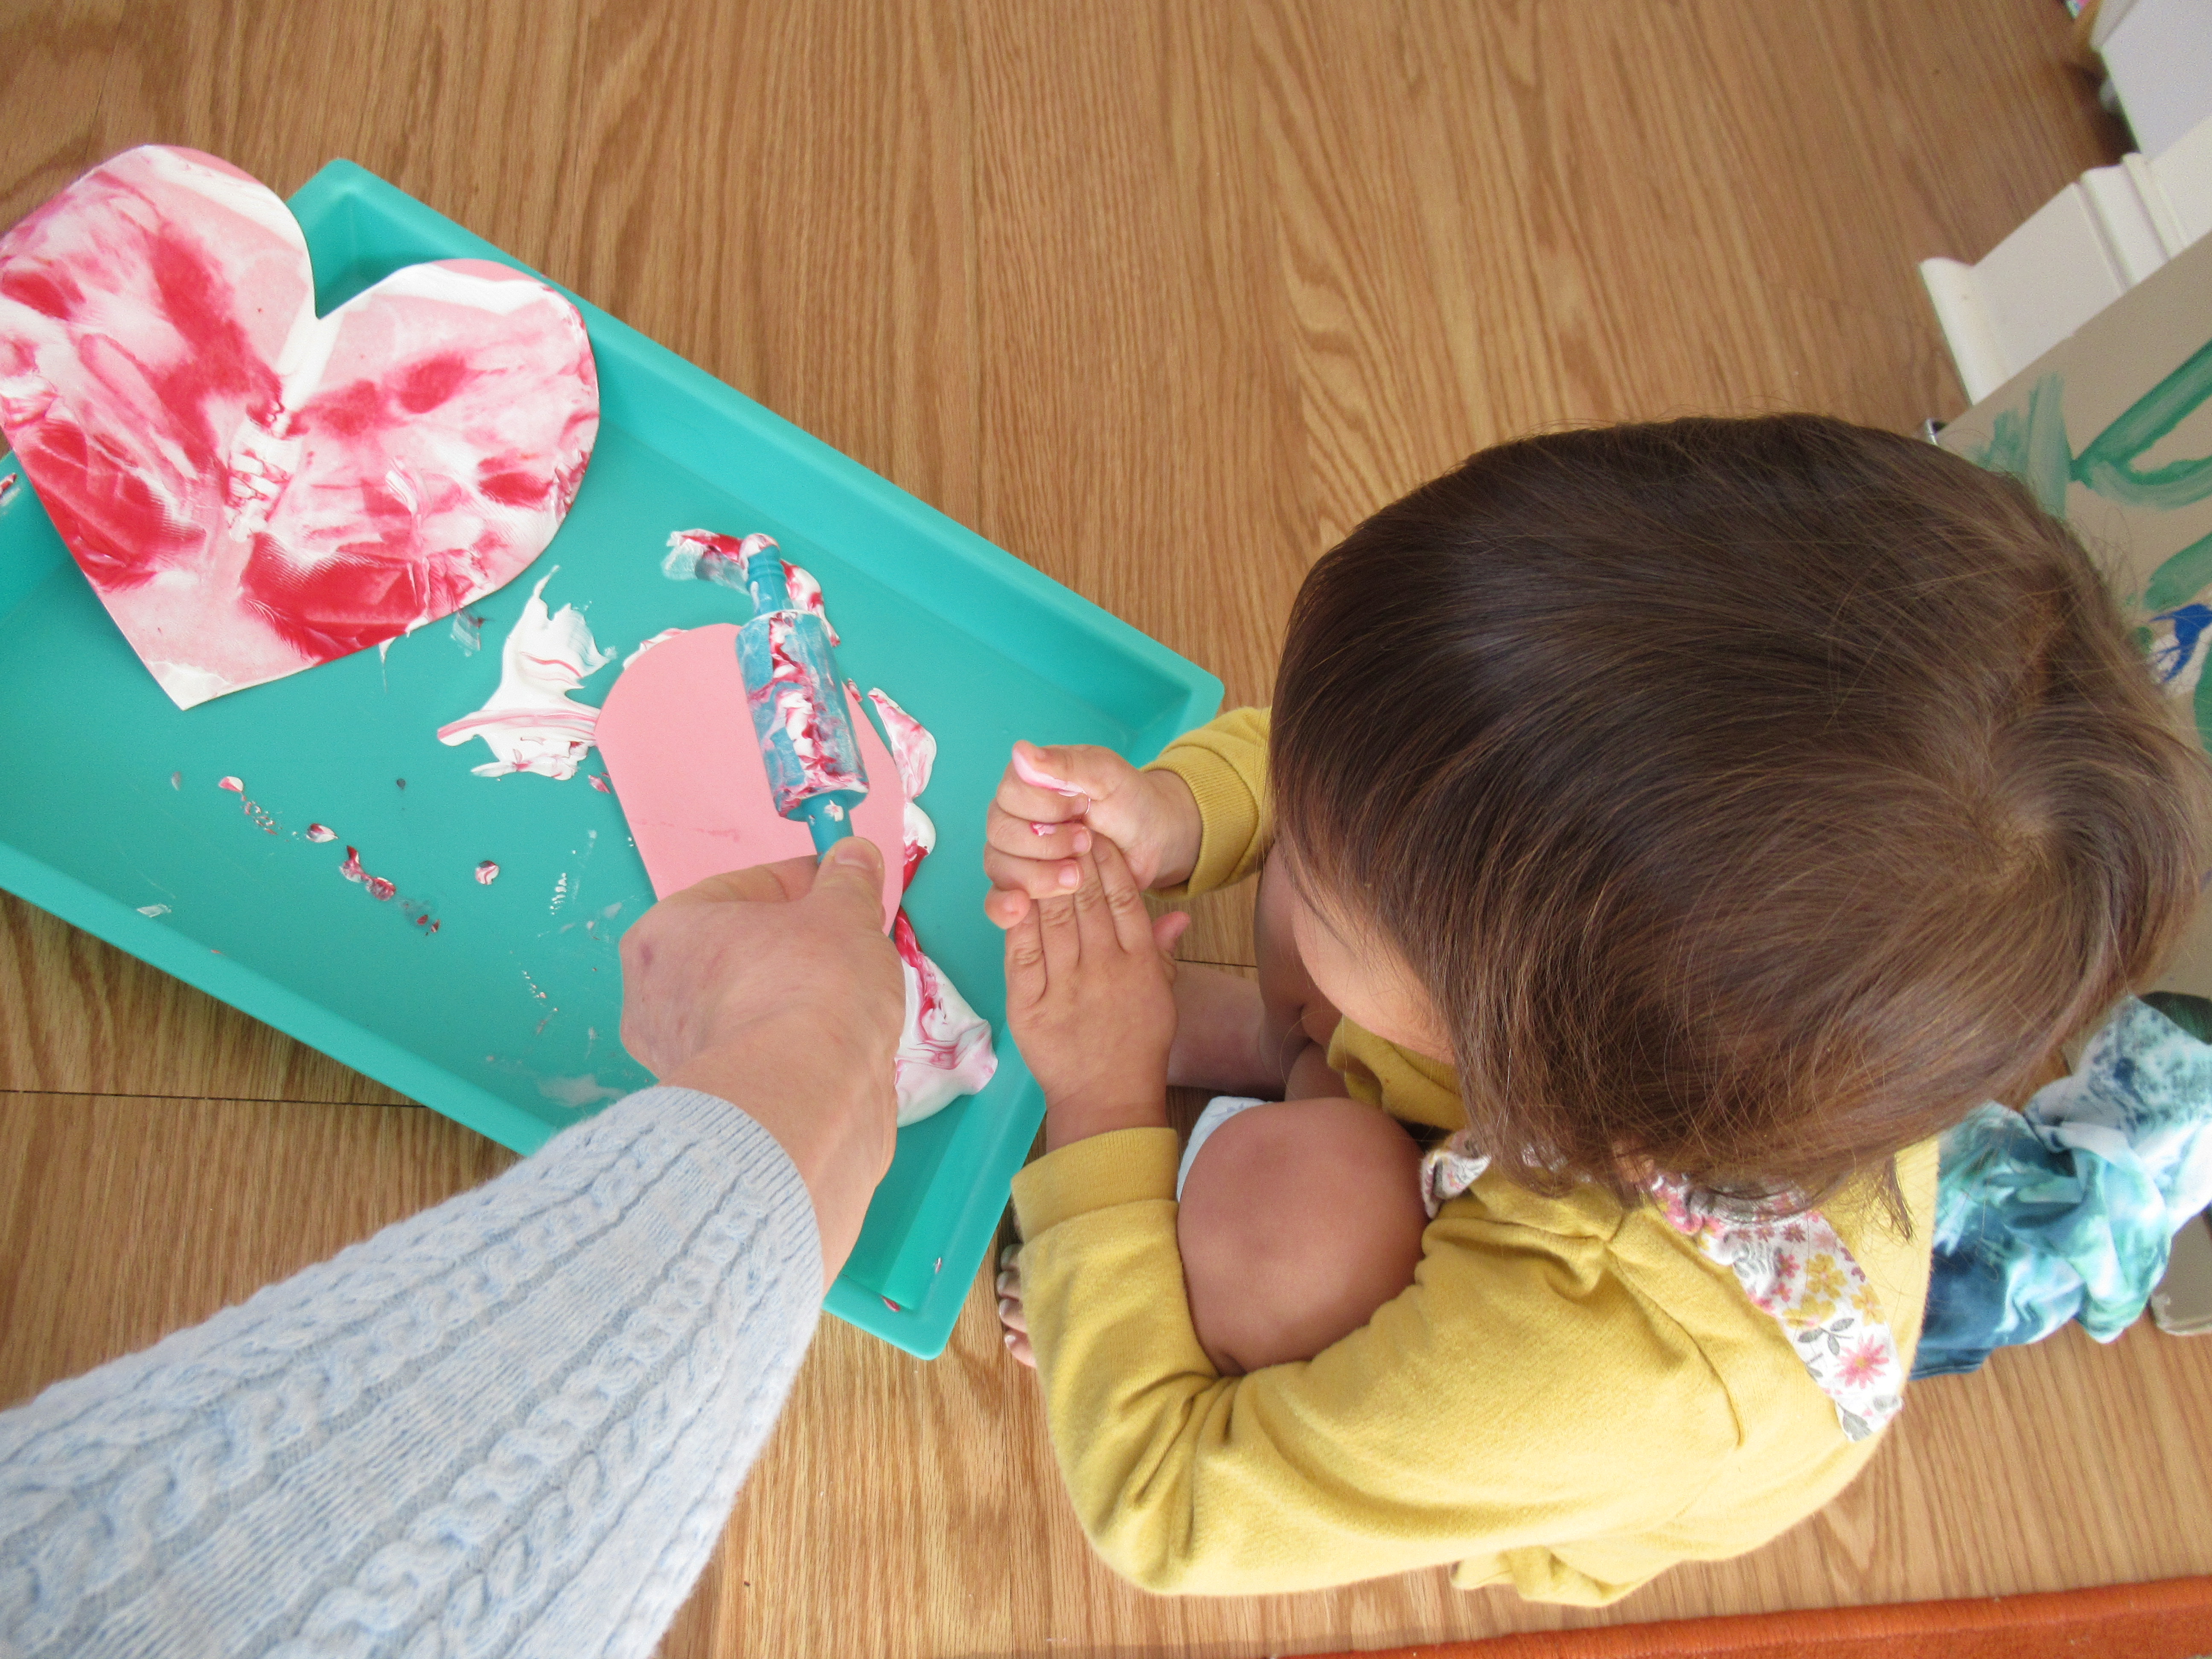
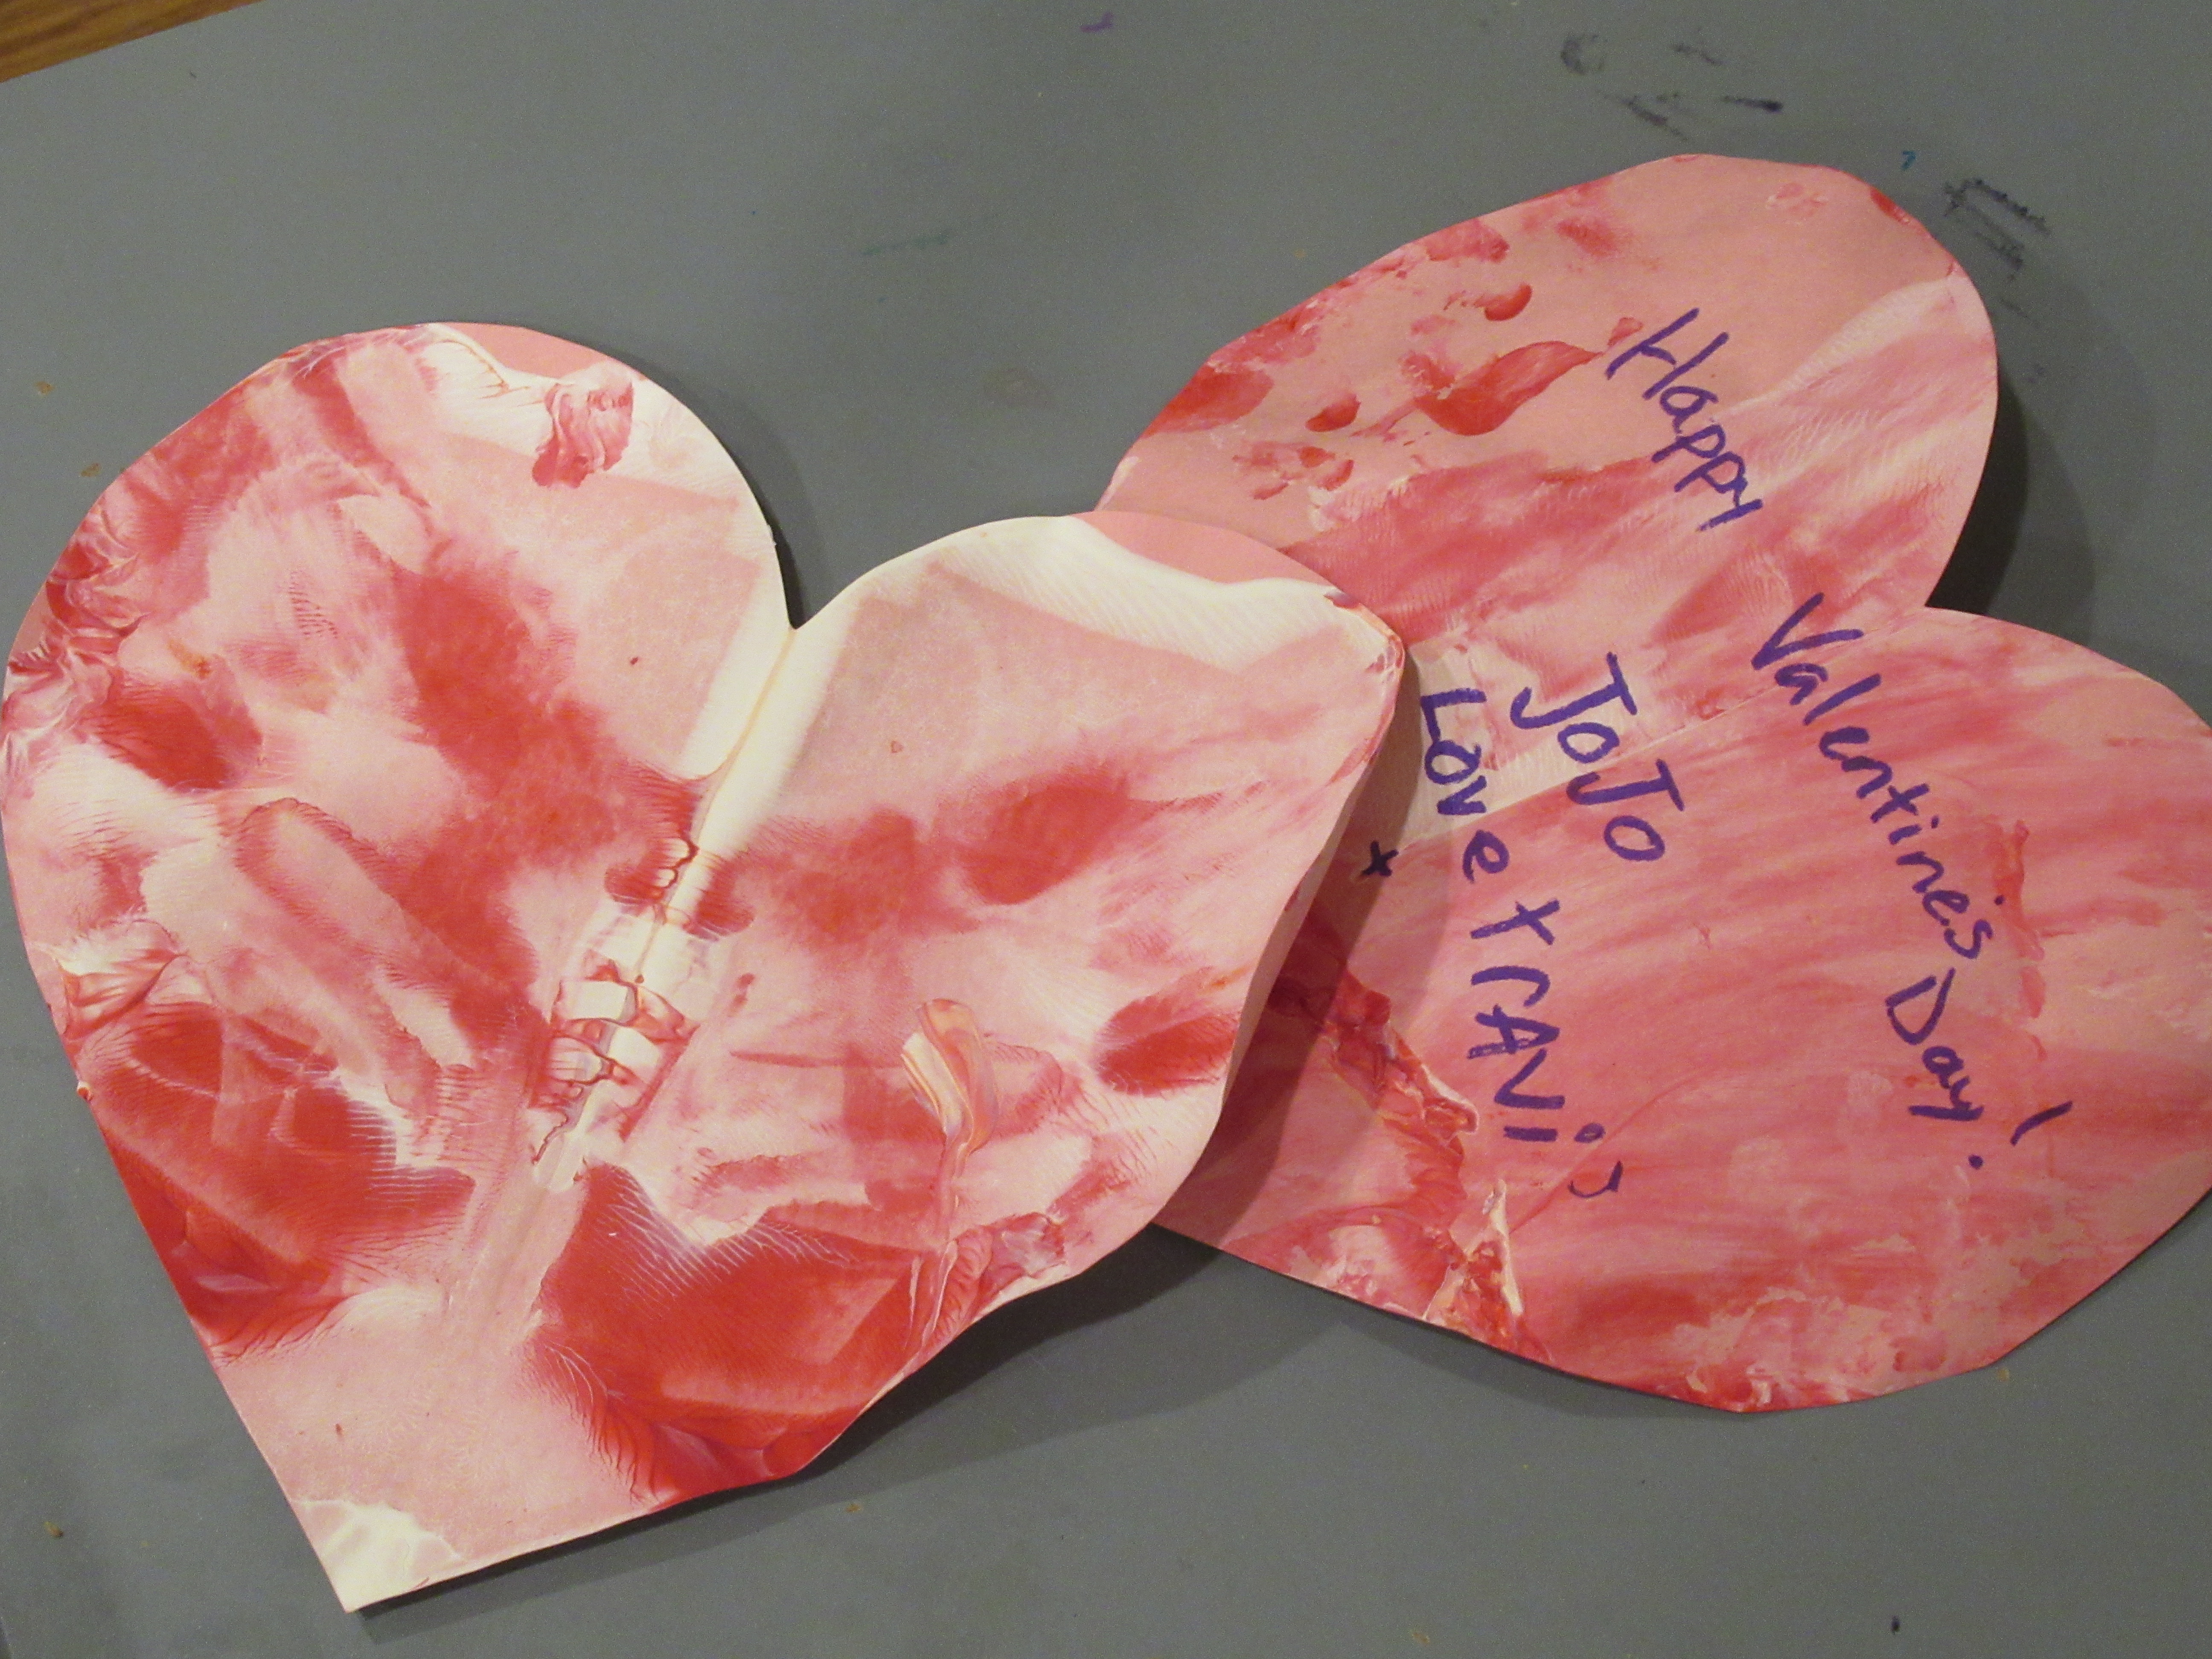
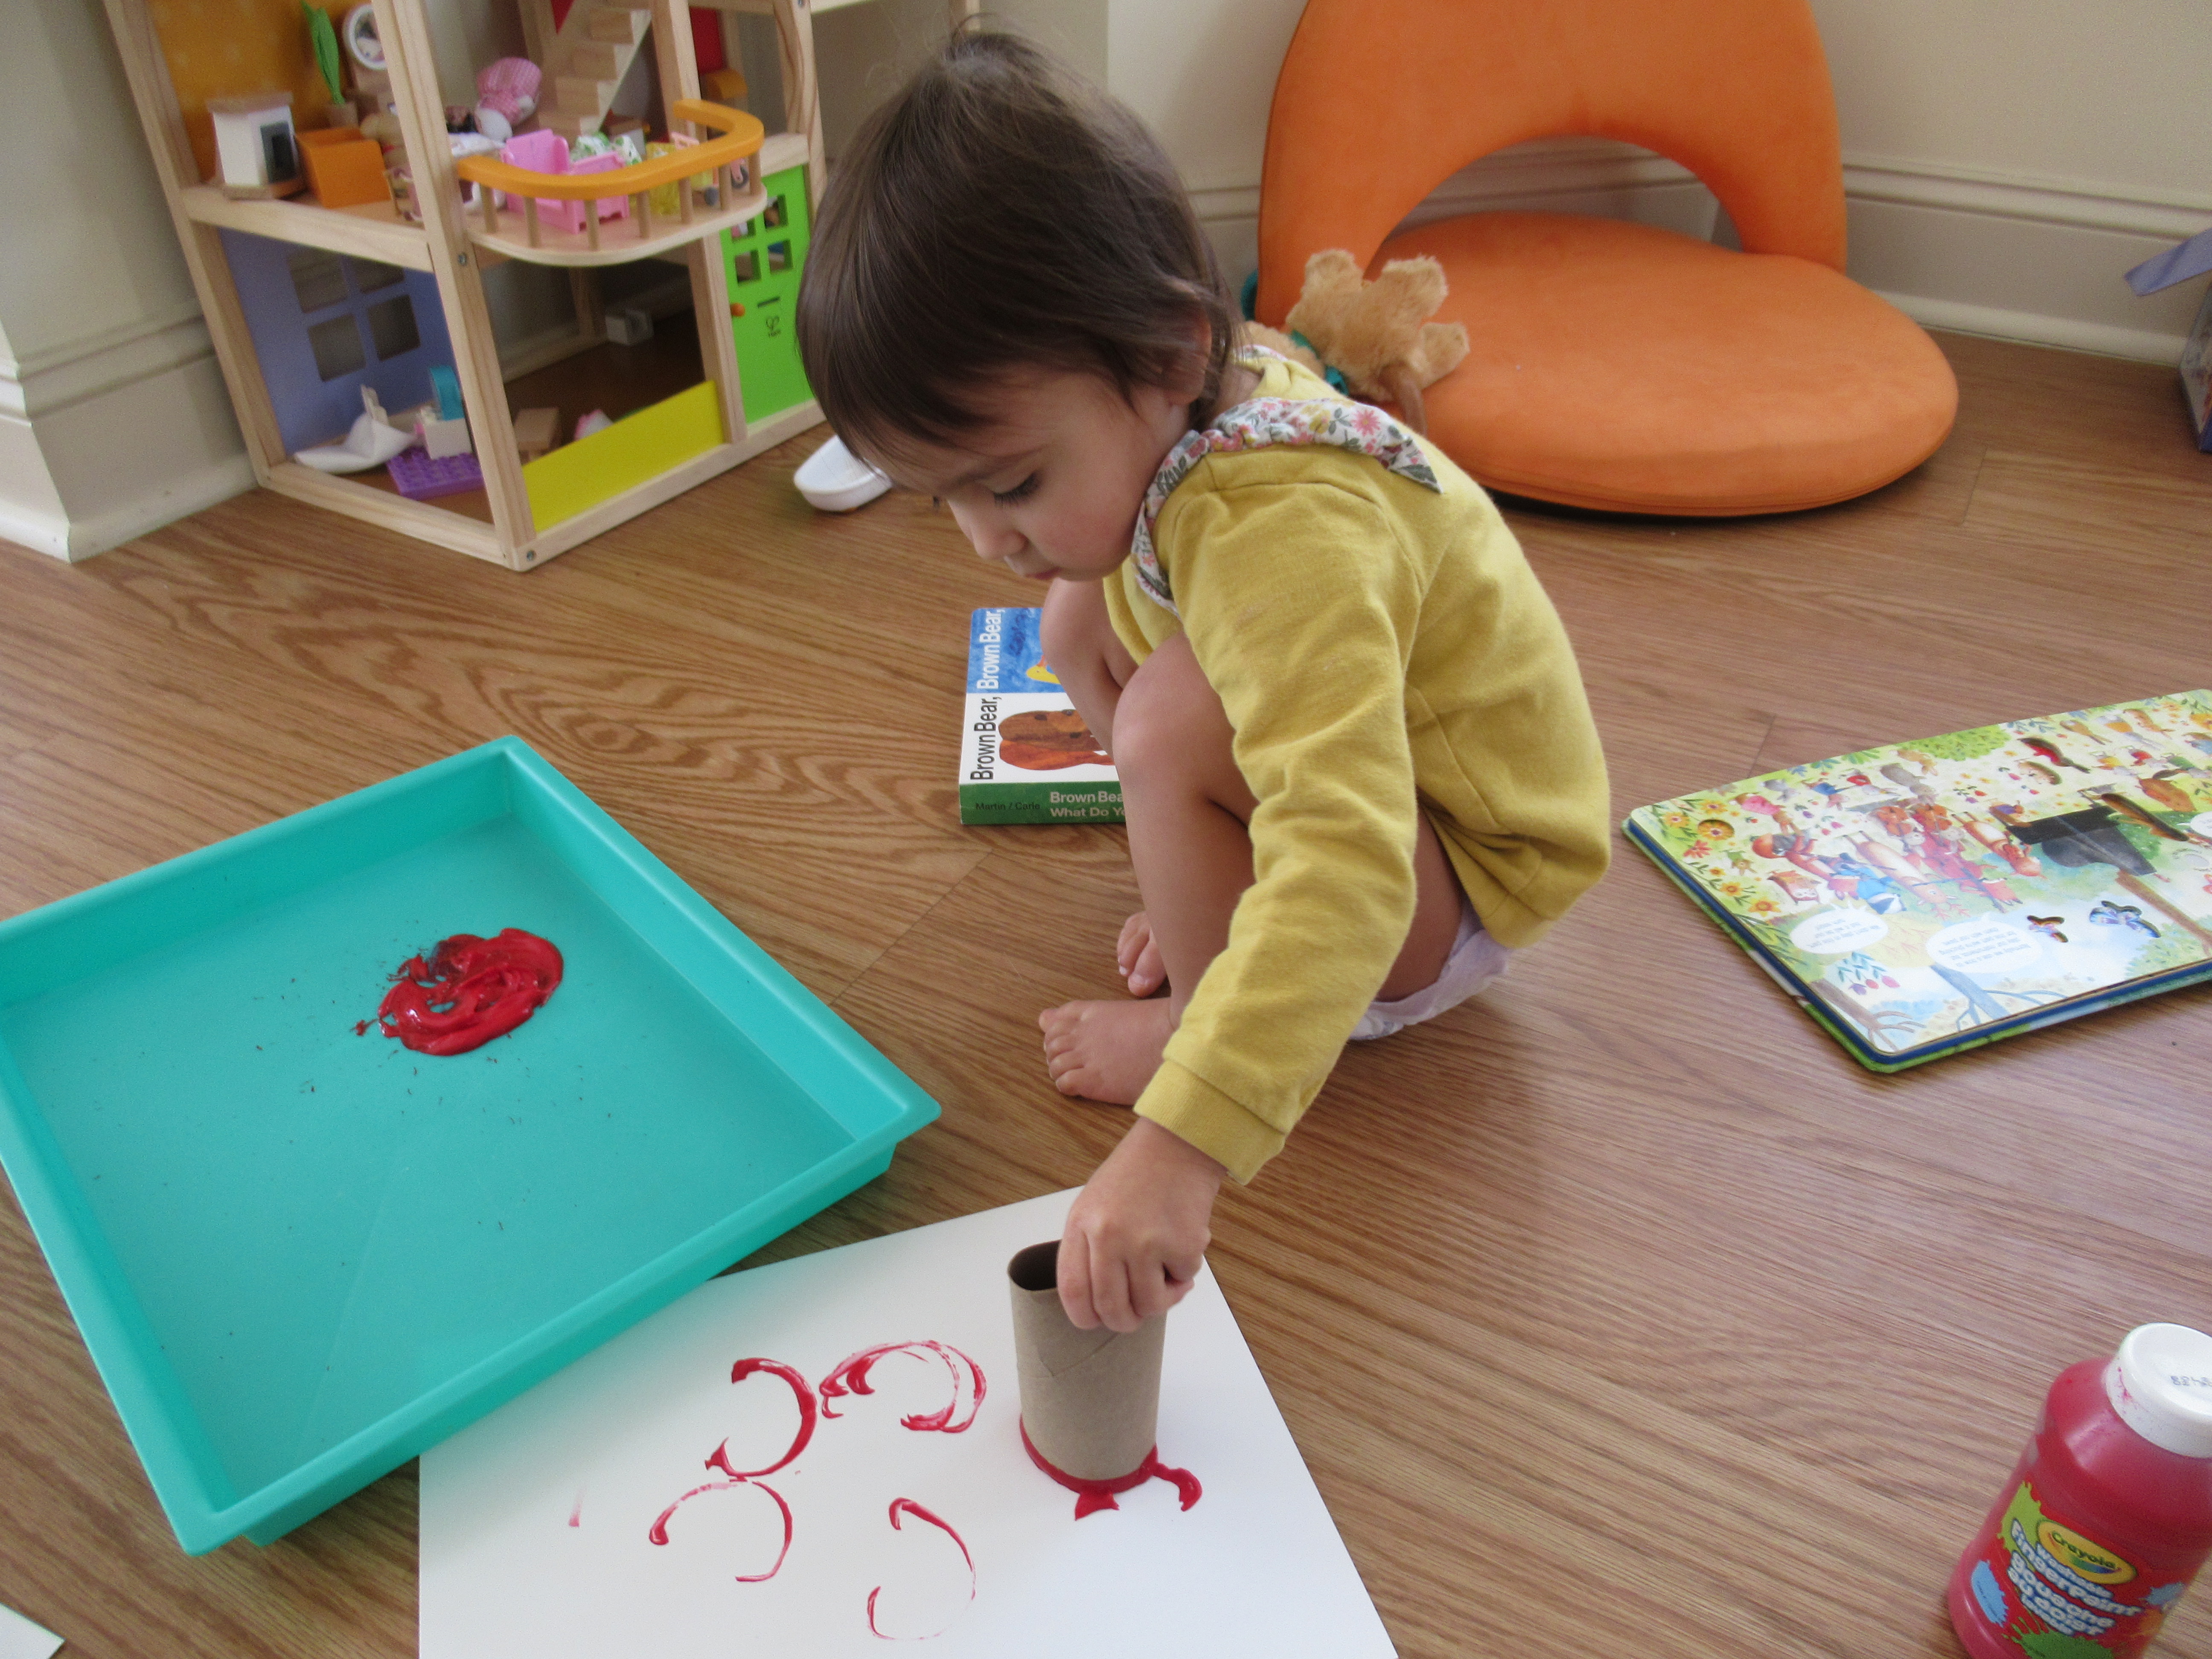
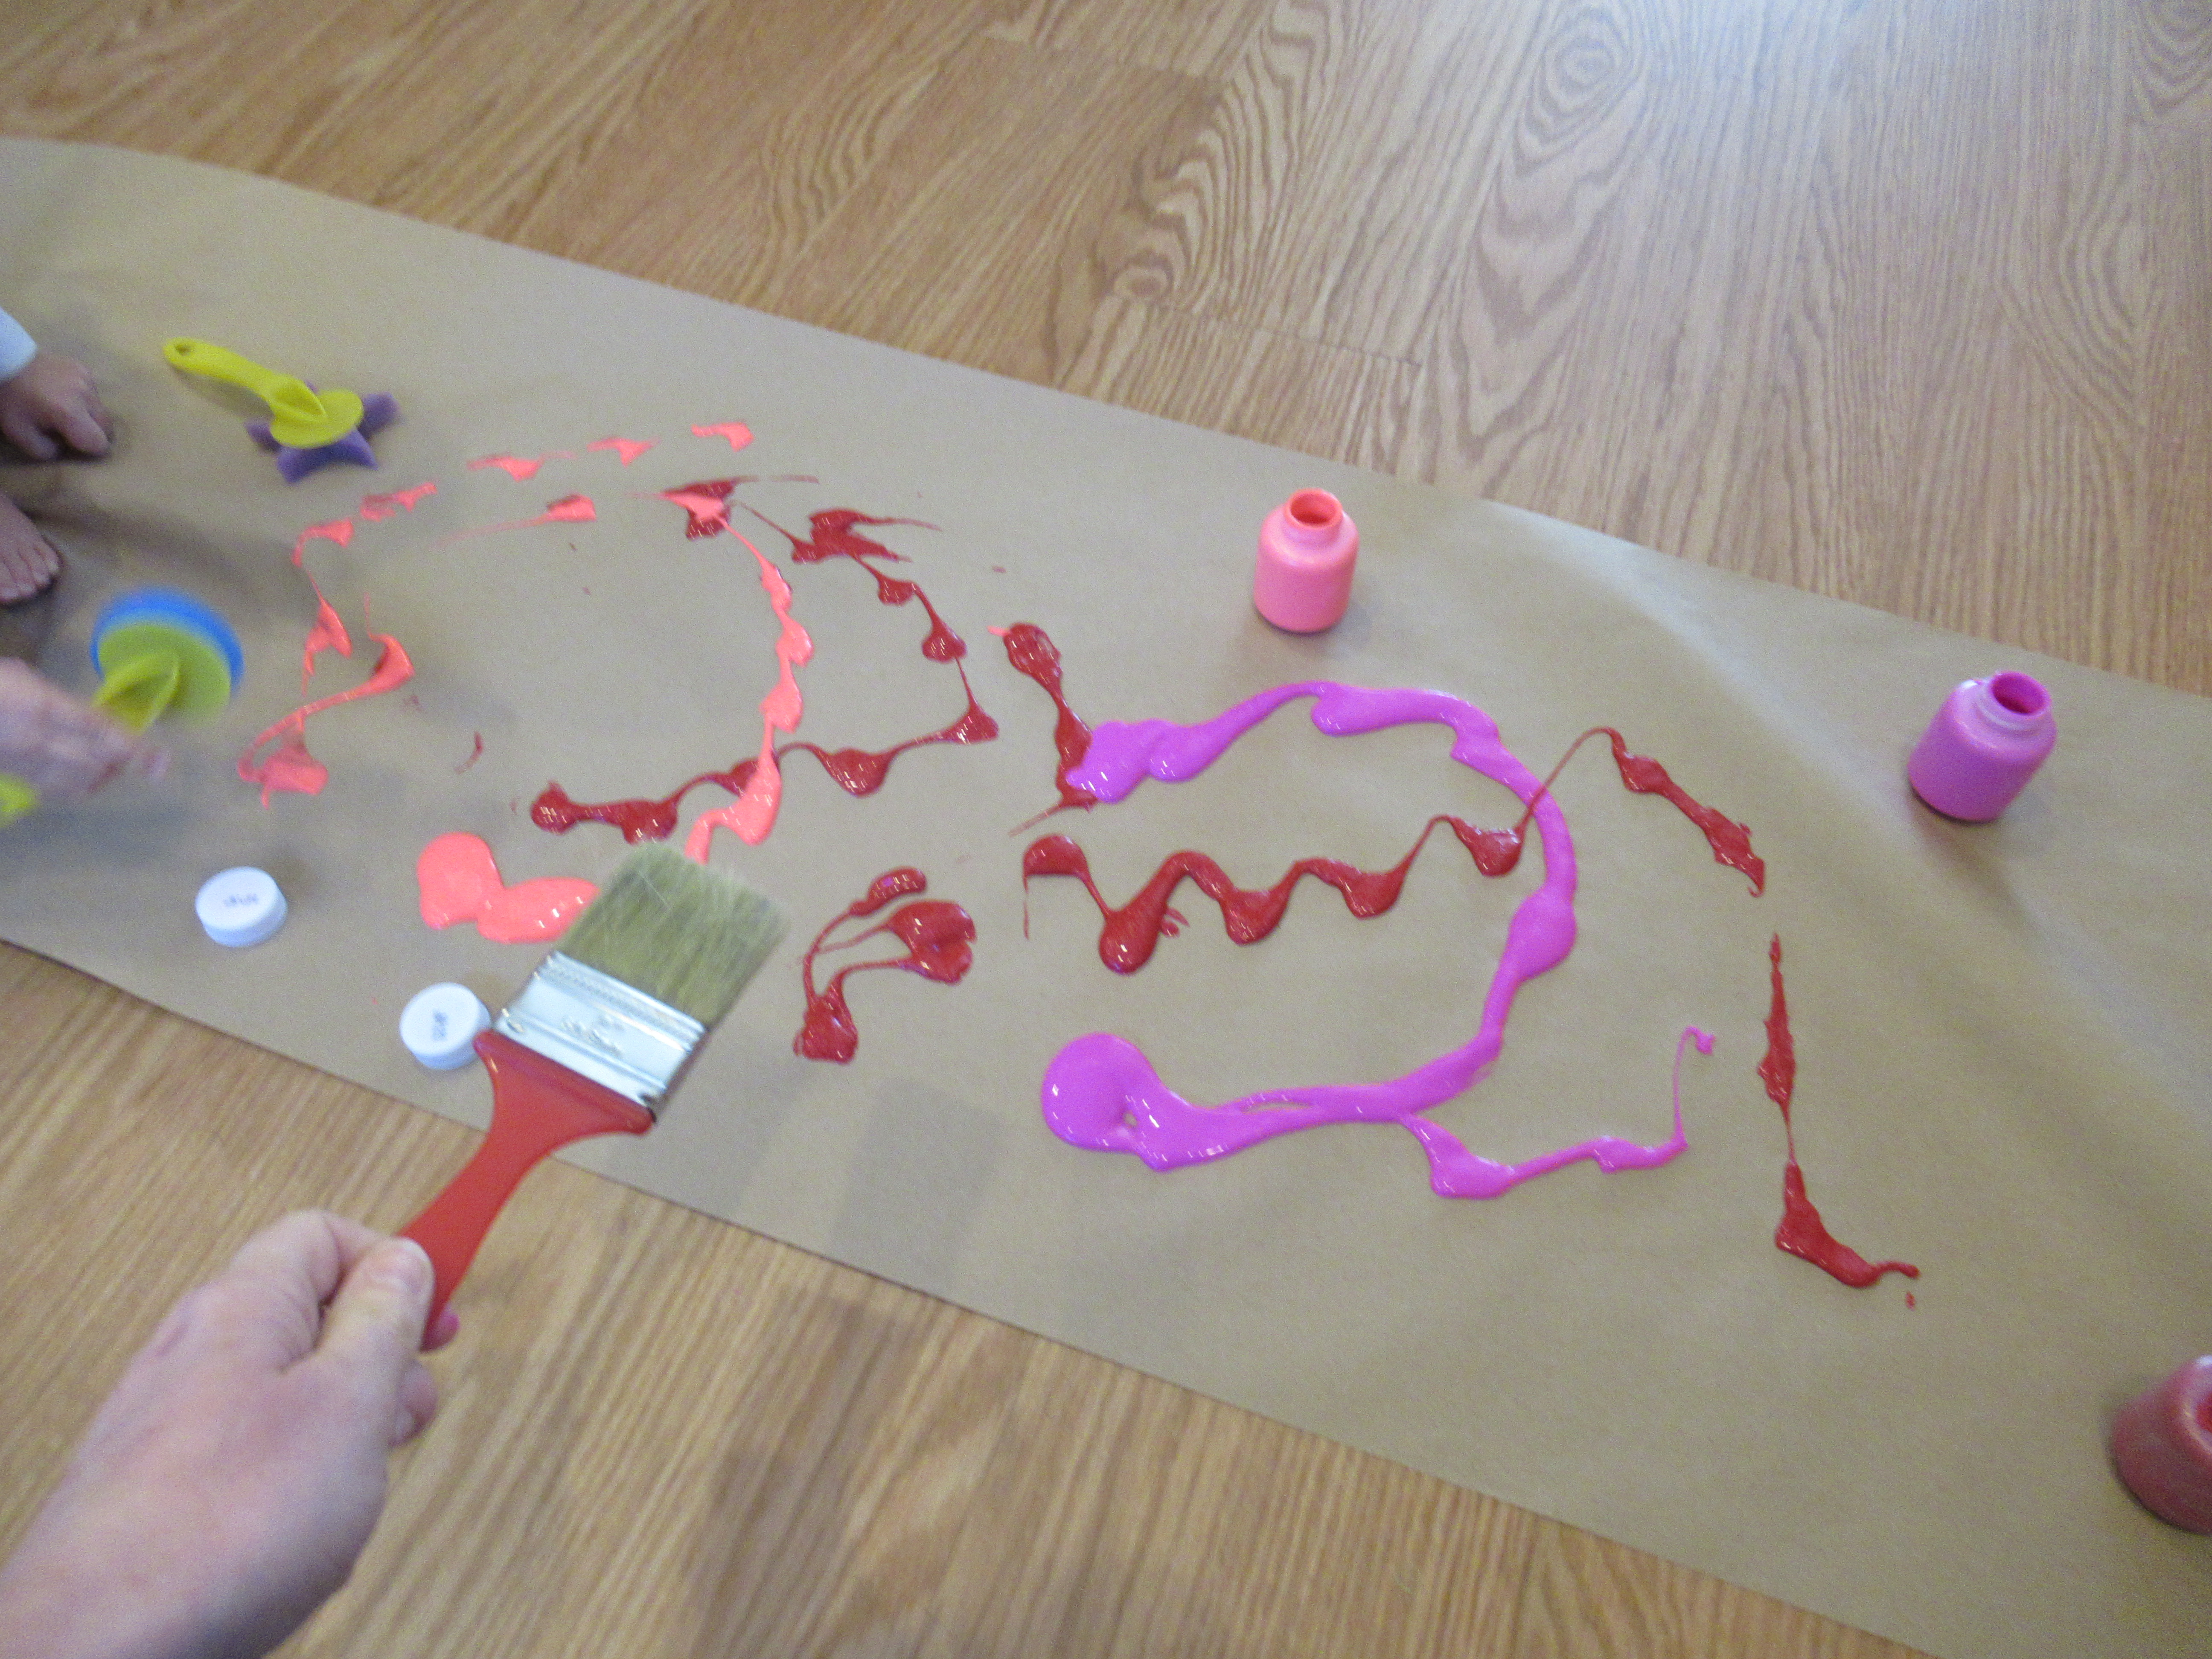
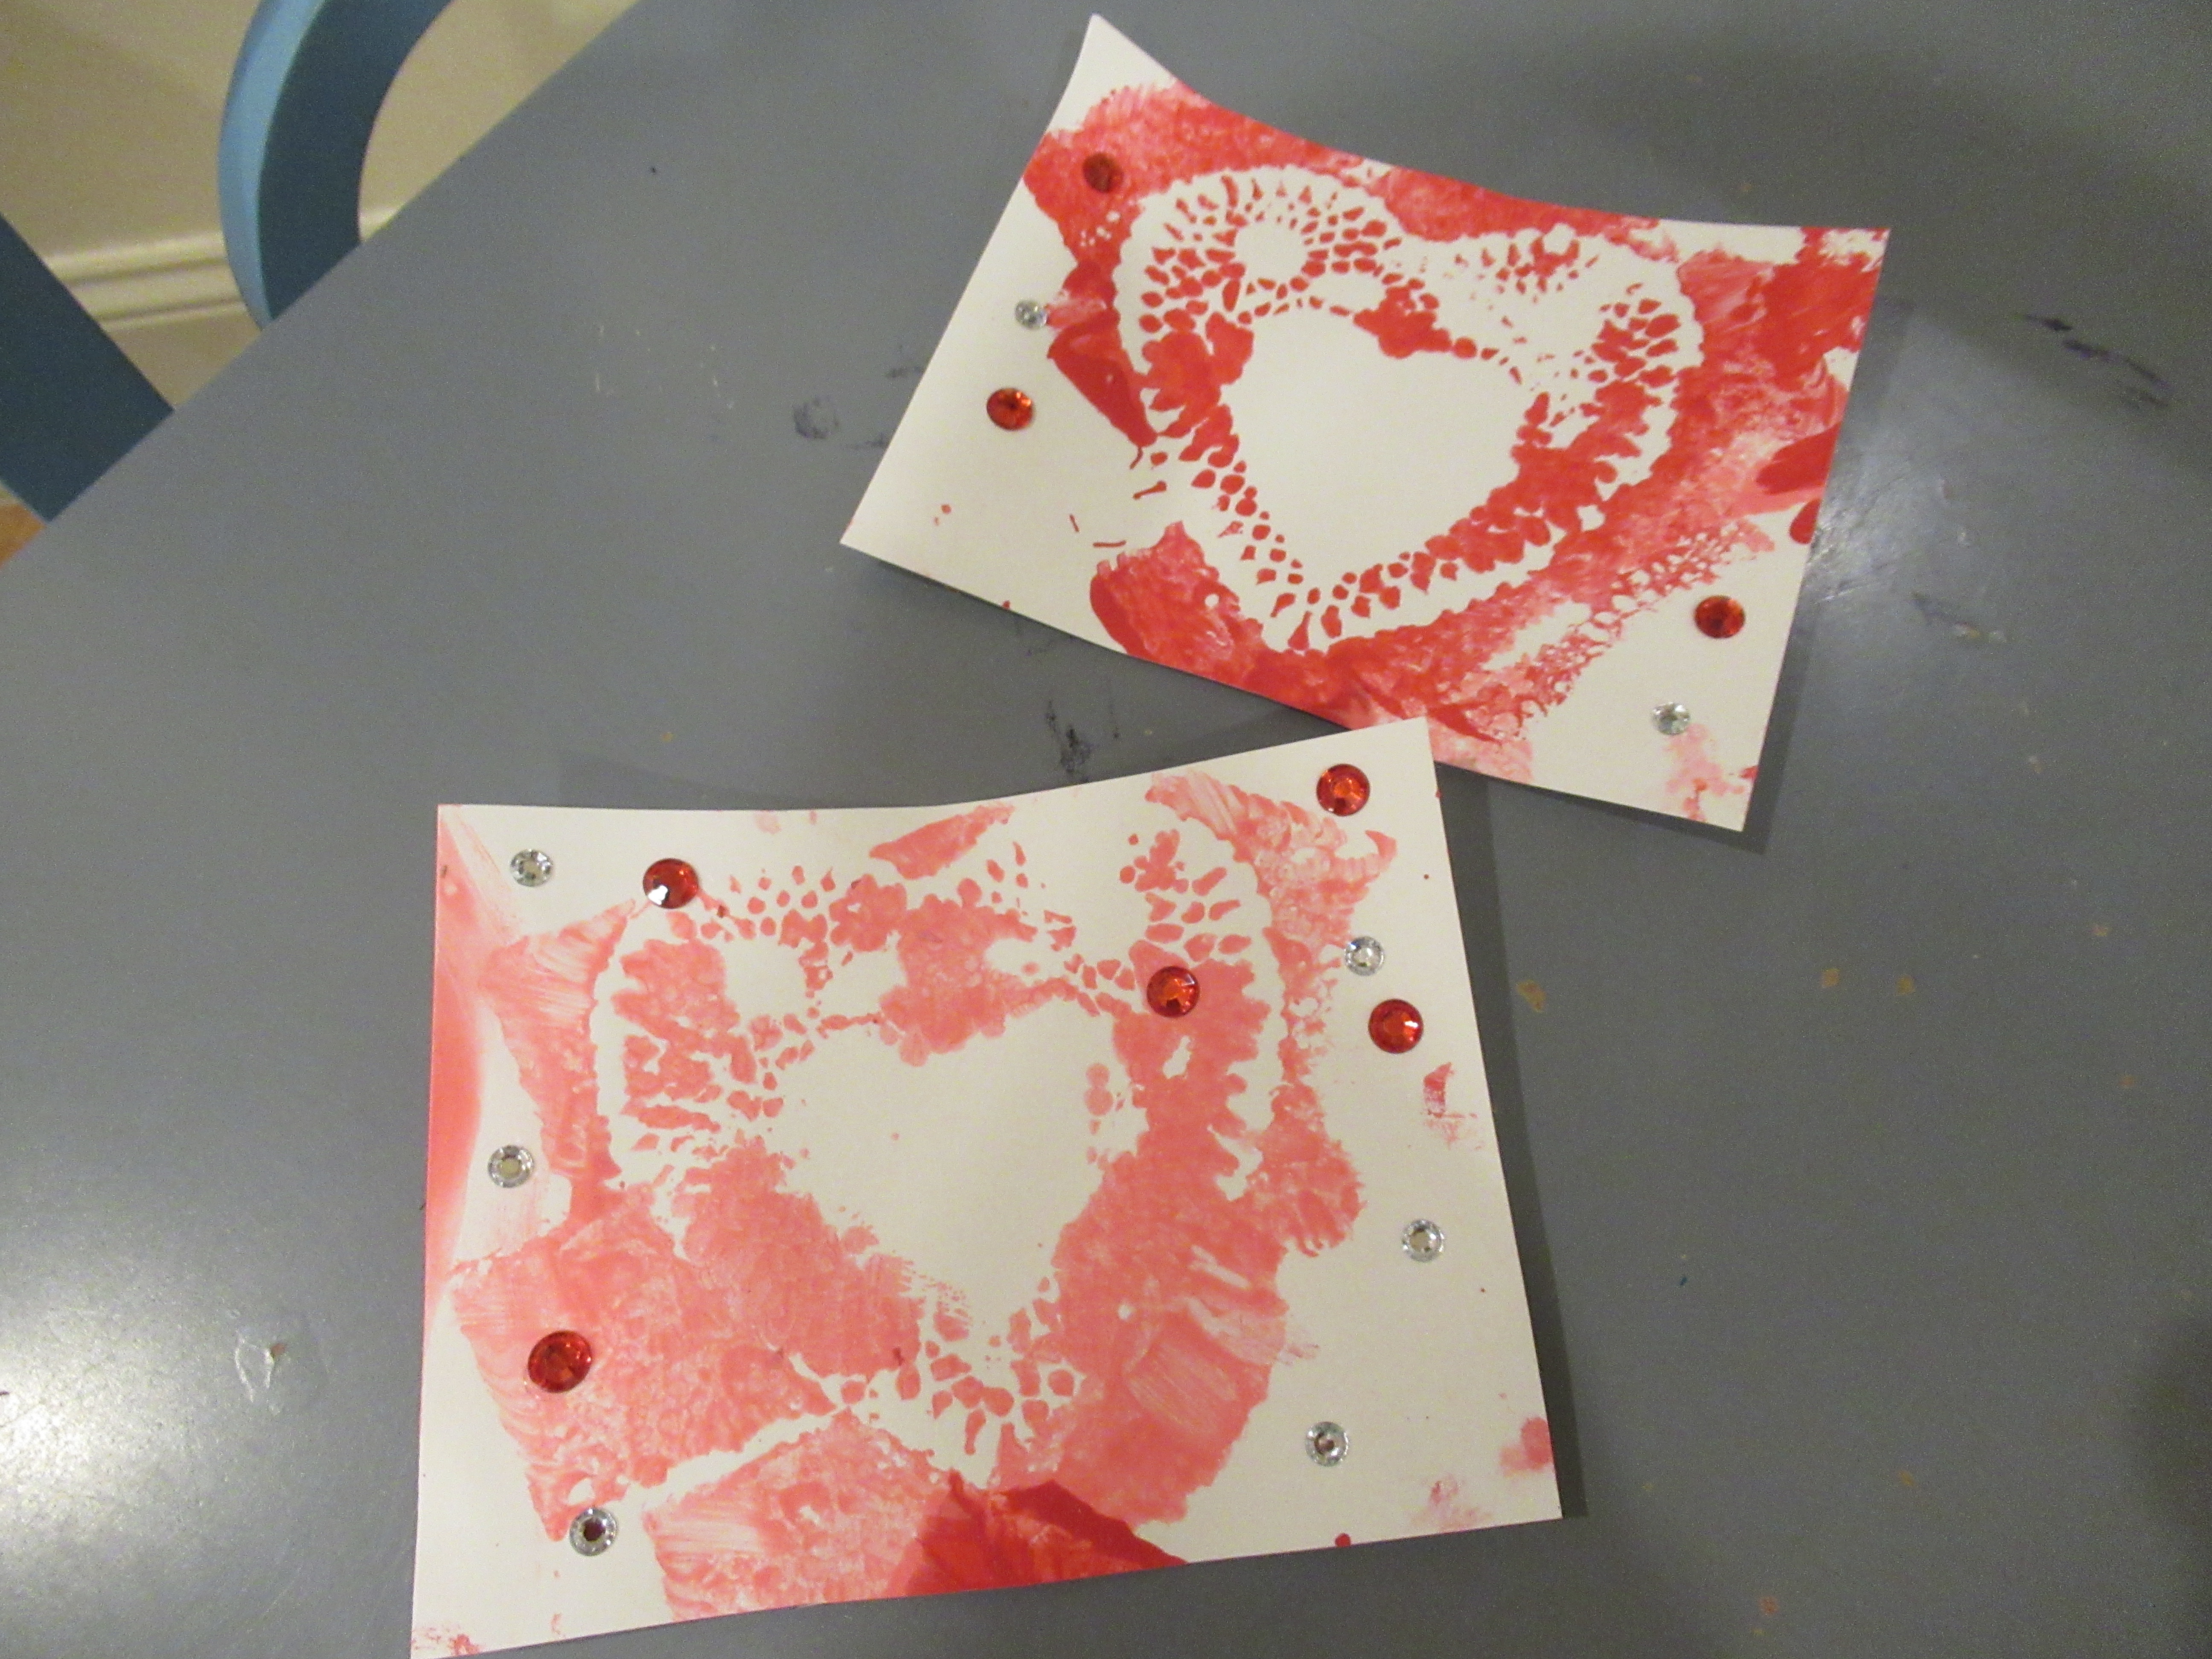
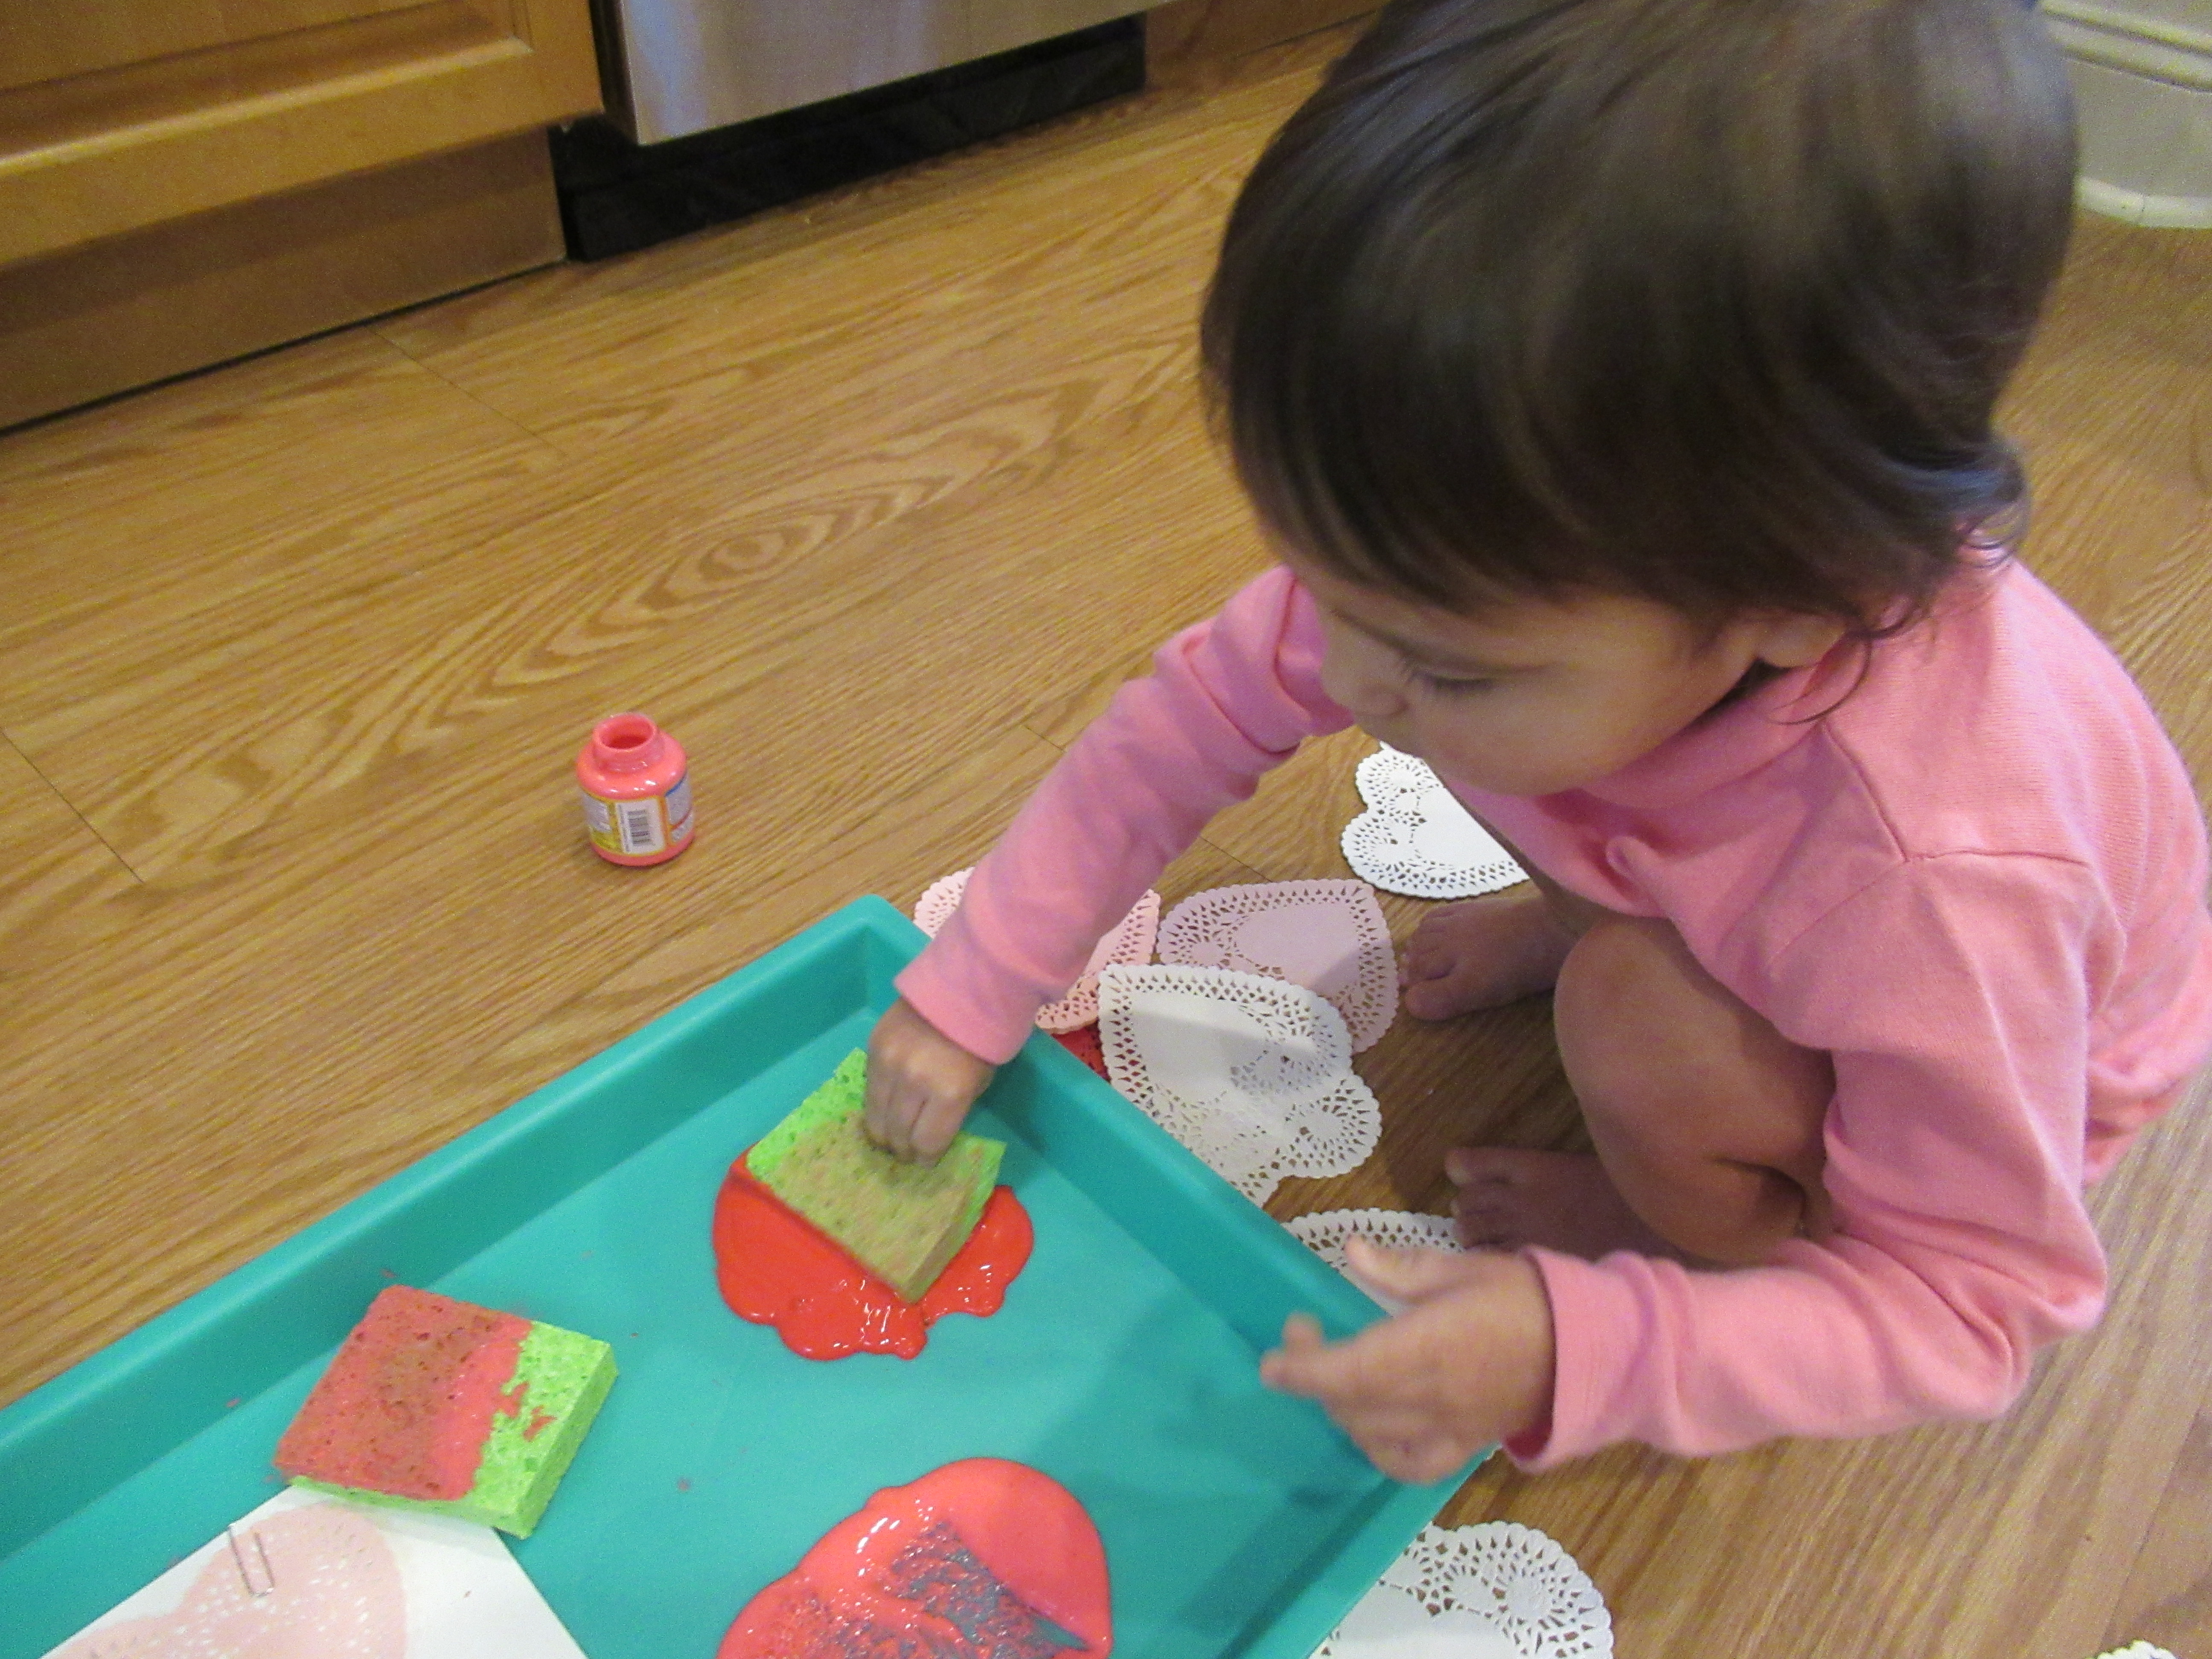
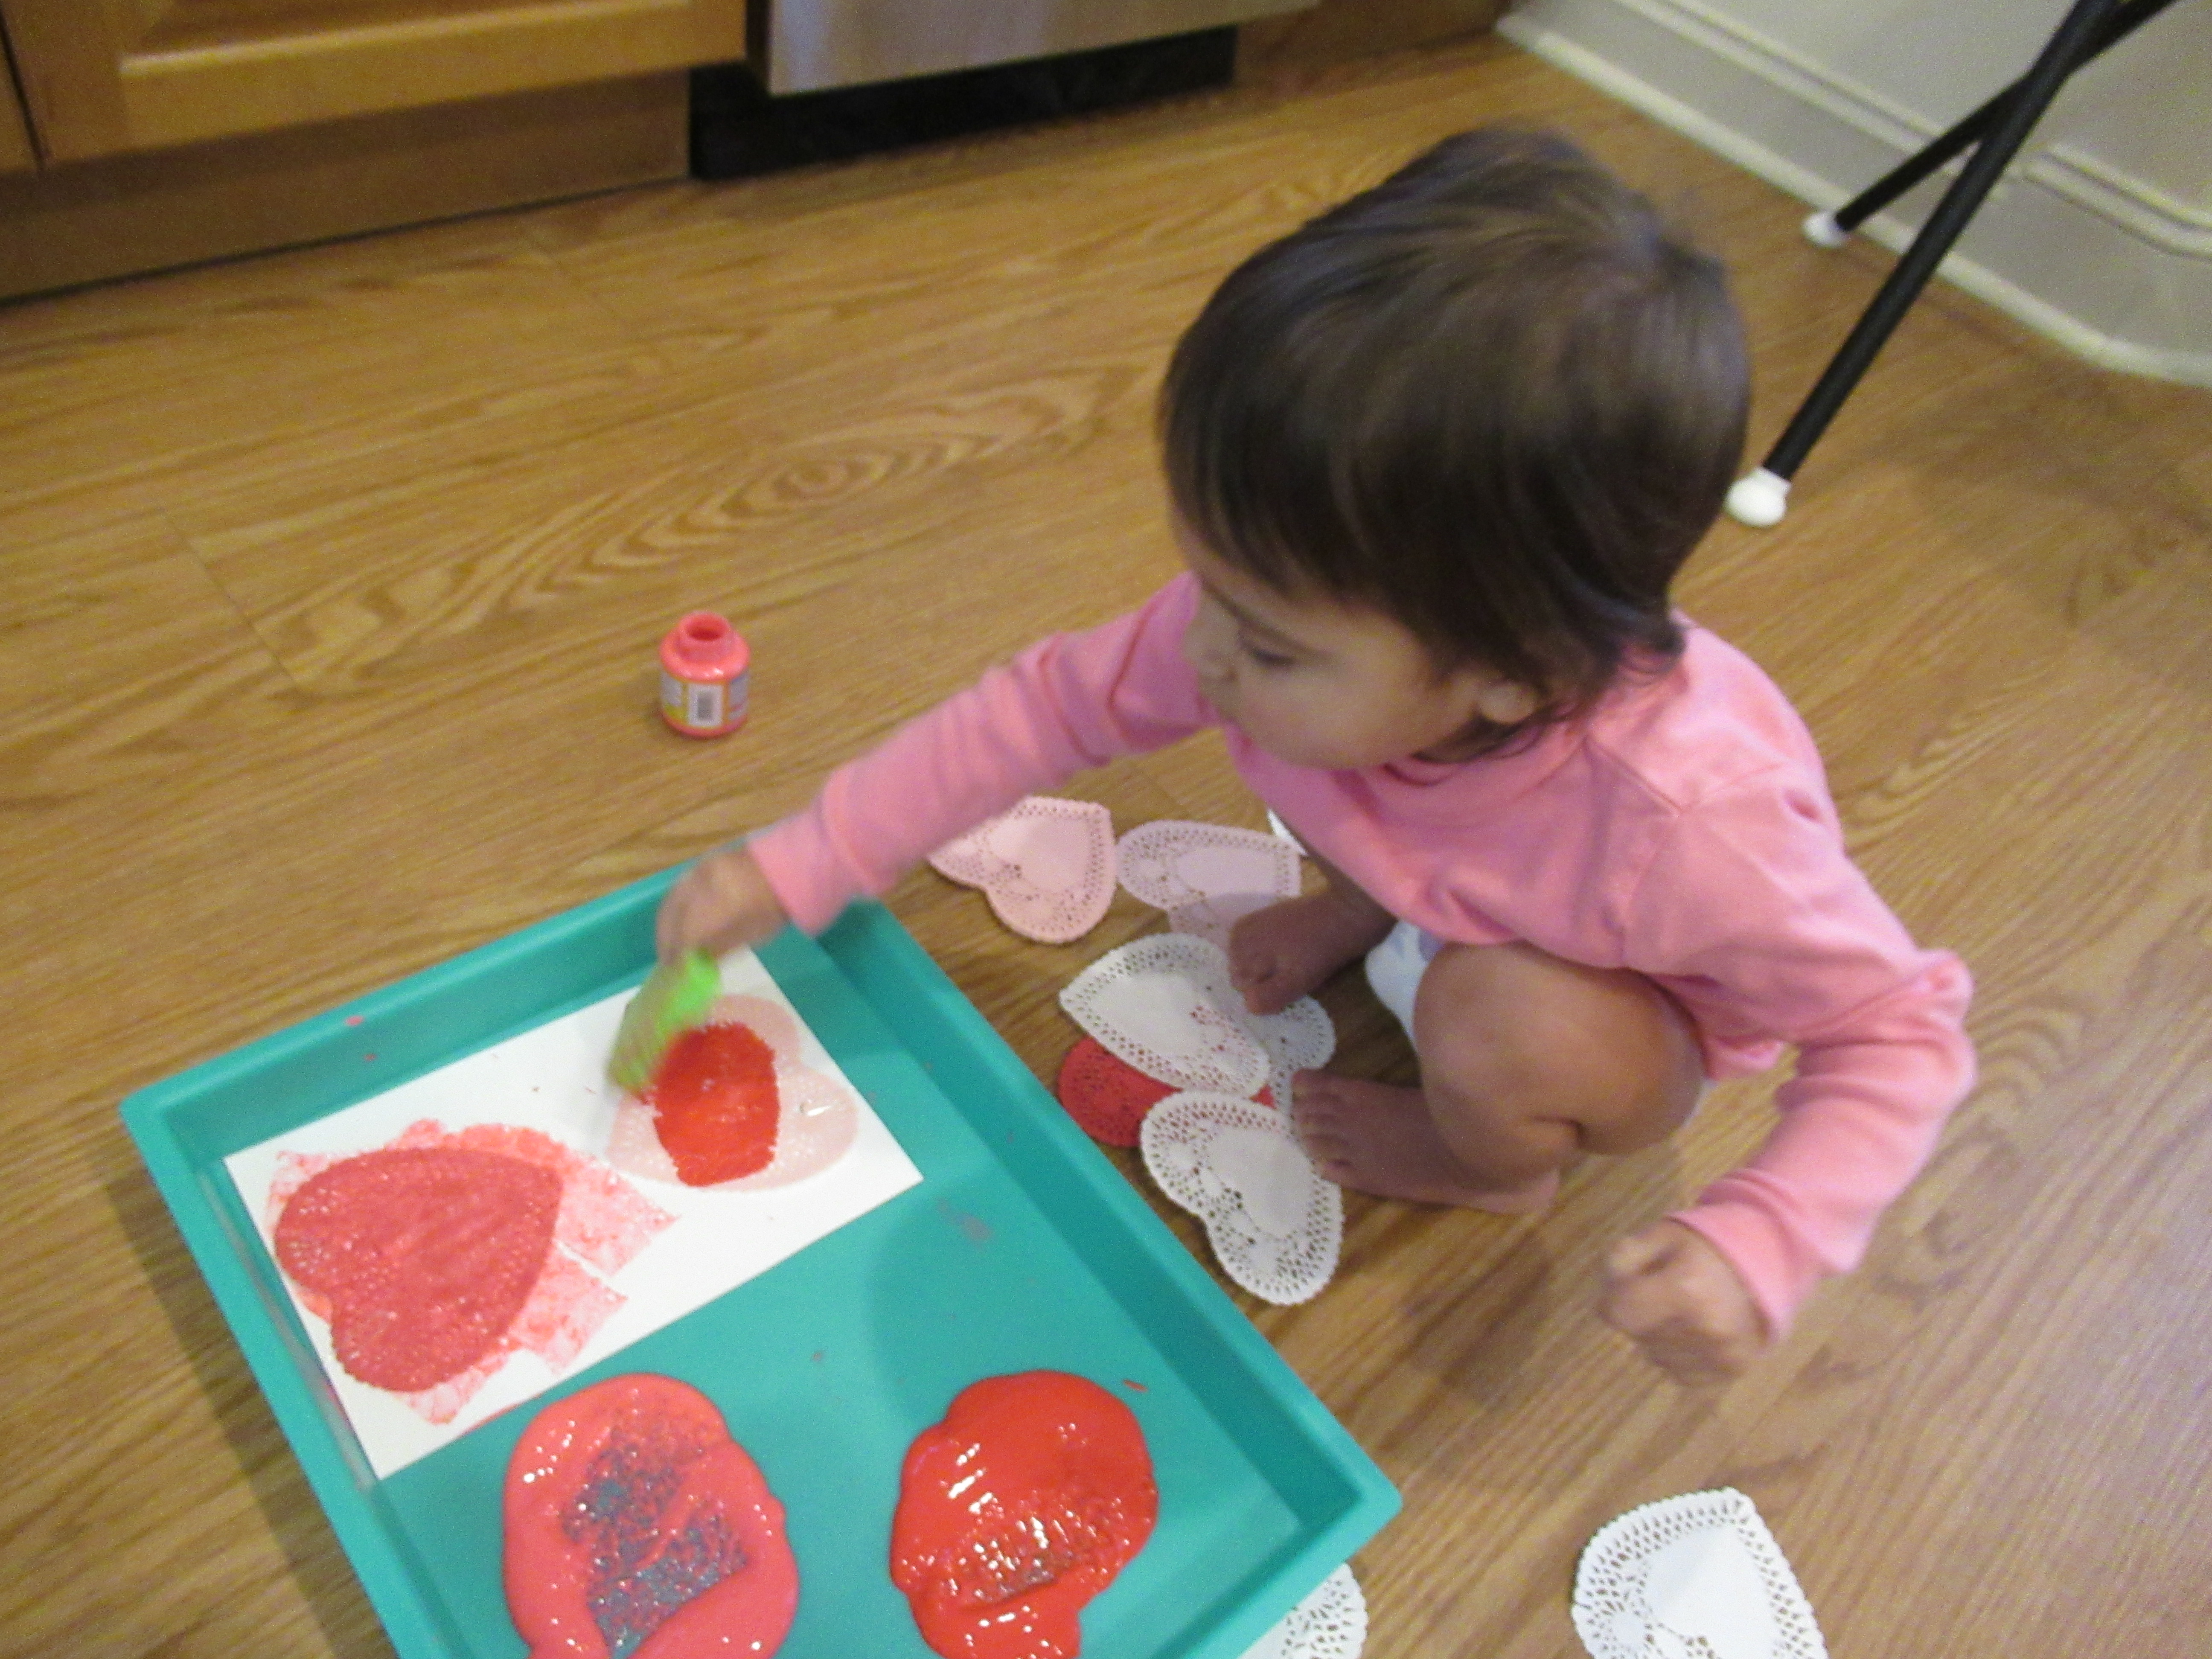
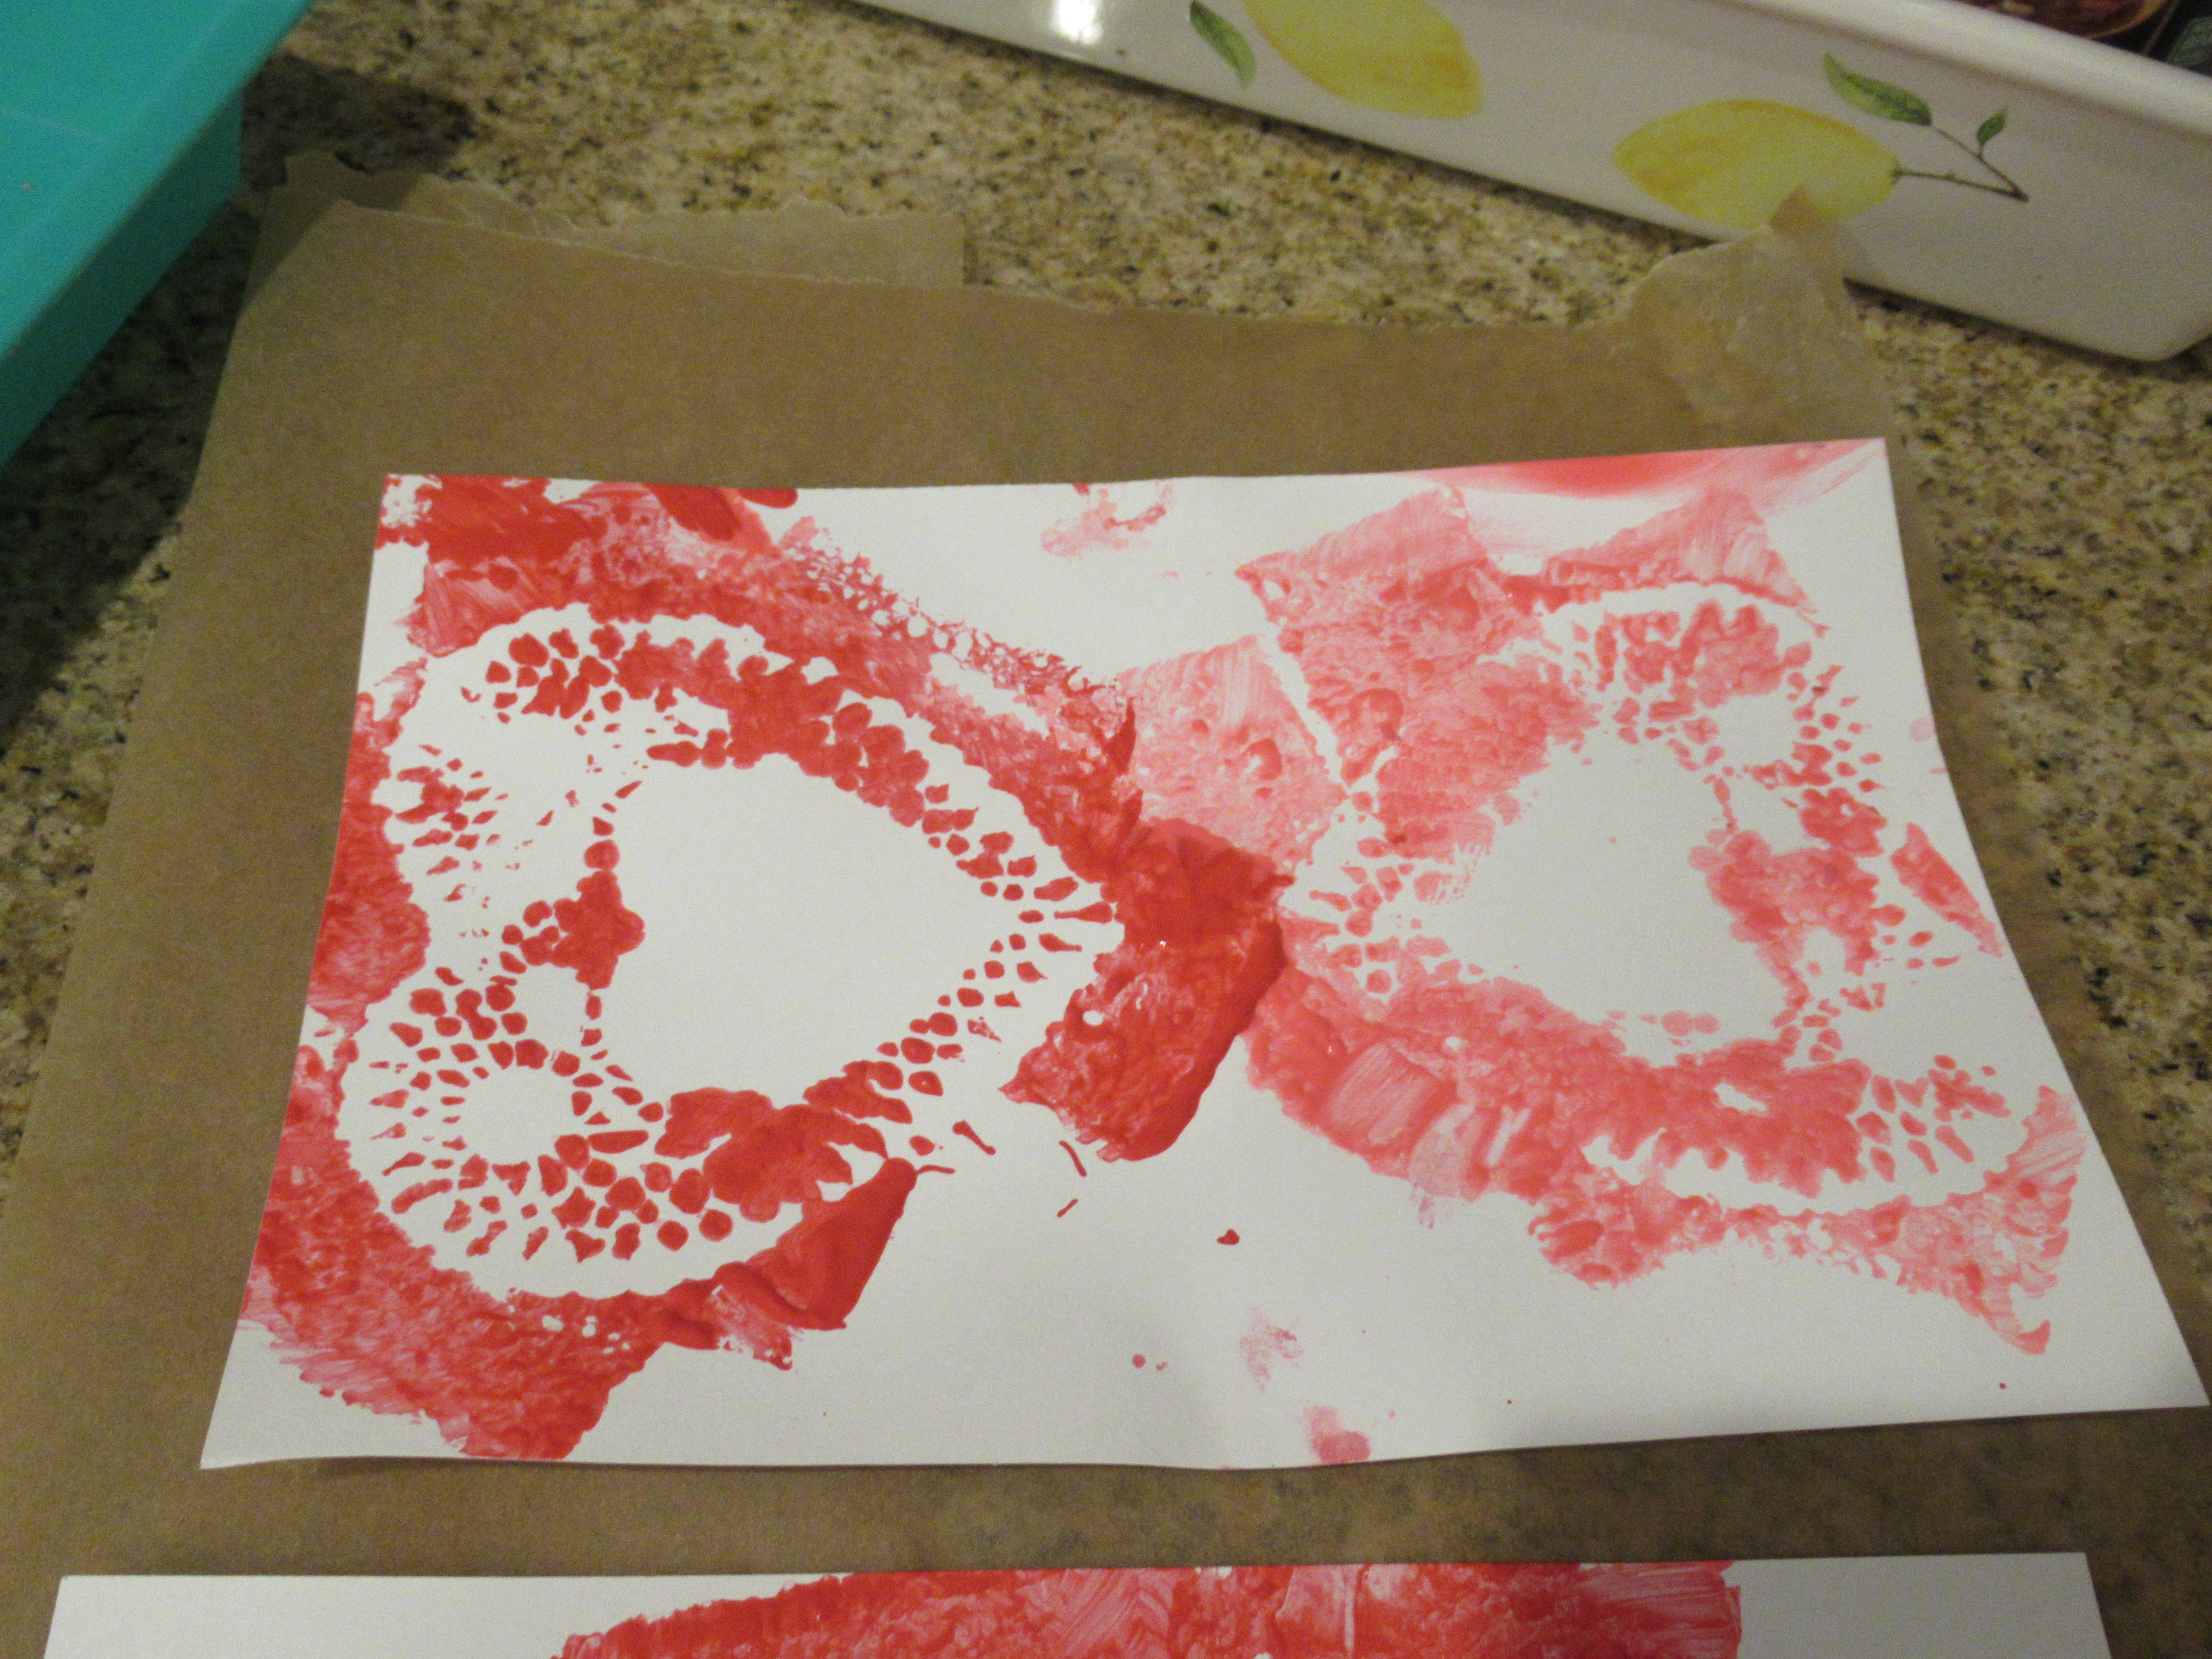
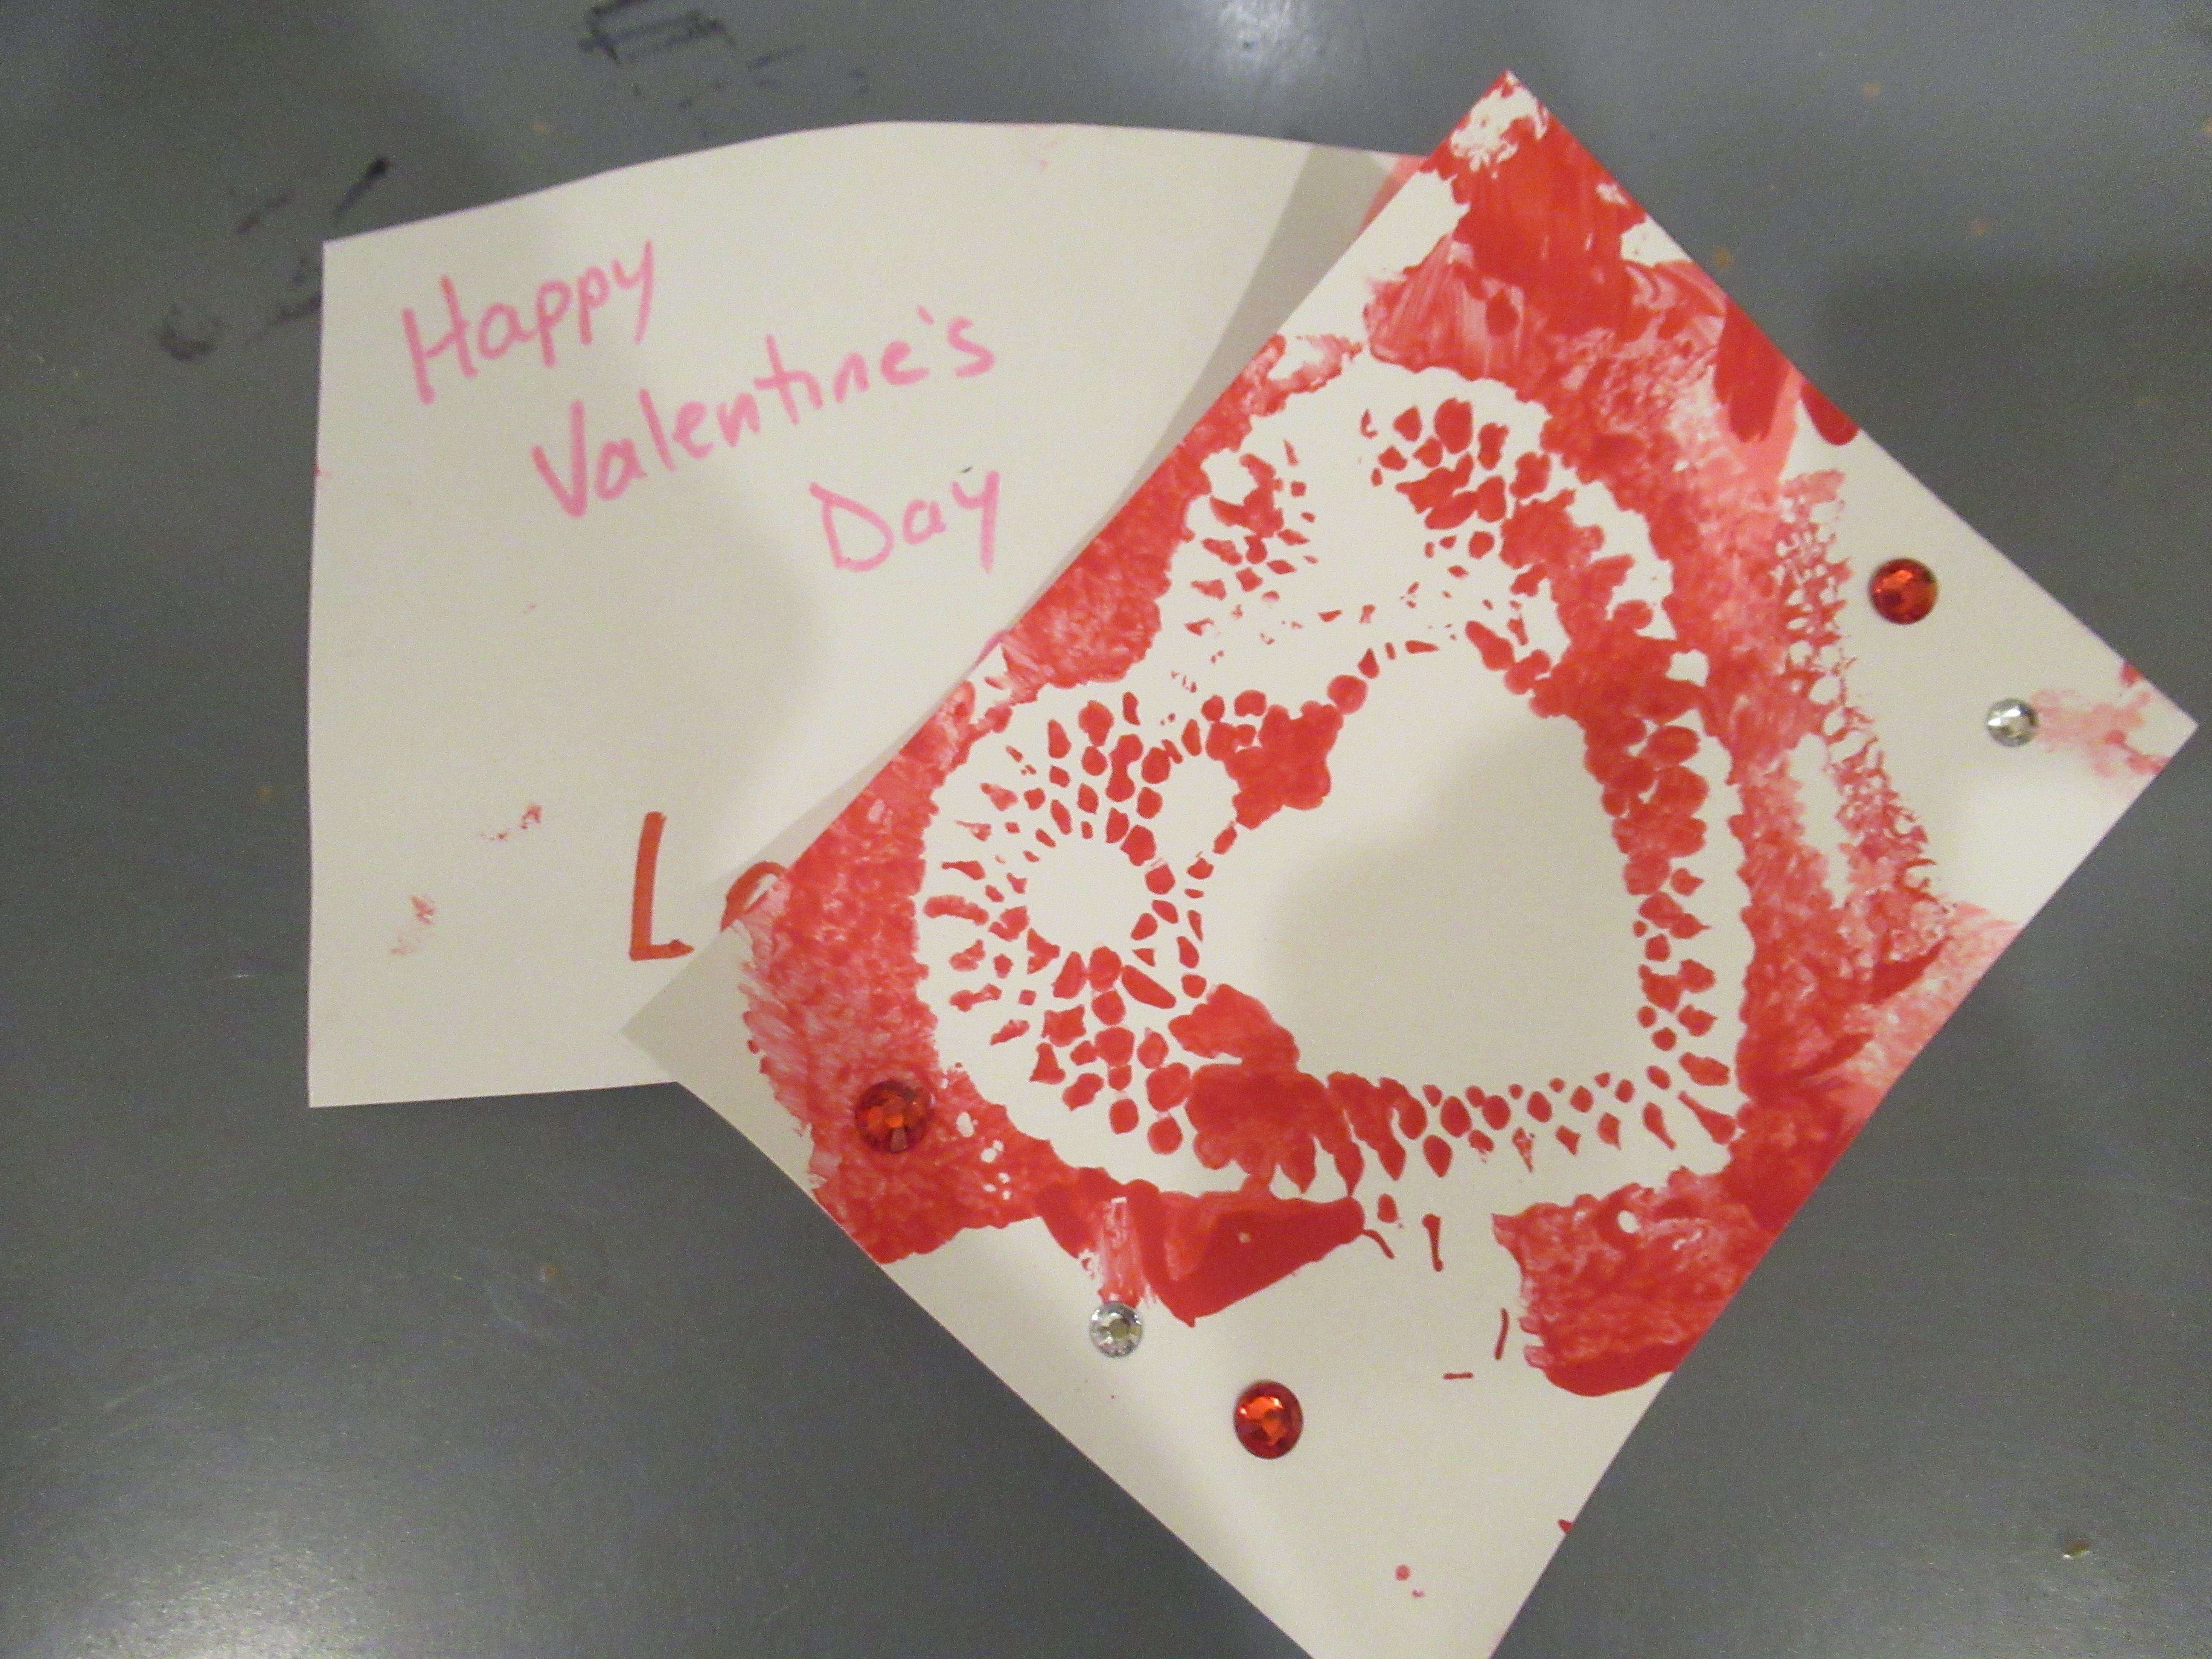
When the stacking was done, we still had a few sponges left over so I wanted to use them for more of an artsy craft. Sponges make perfect “stamps” for painting and since we’re so near to Valentine’s Day, I cut them into heart shapes.

Sponge Heart Stamping (2)

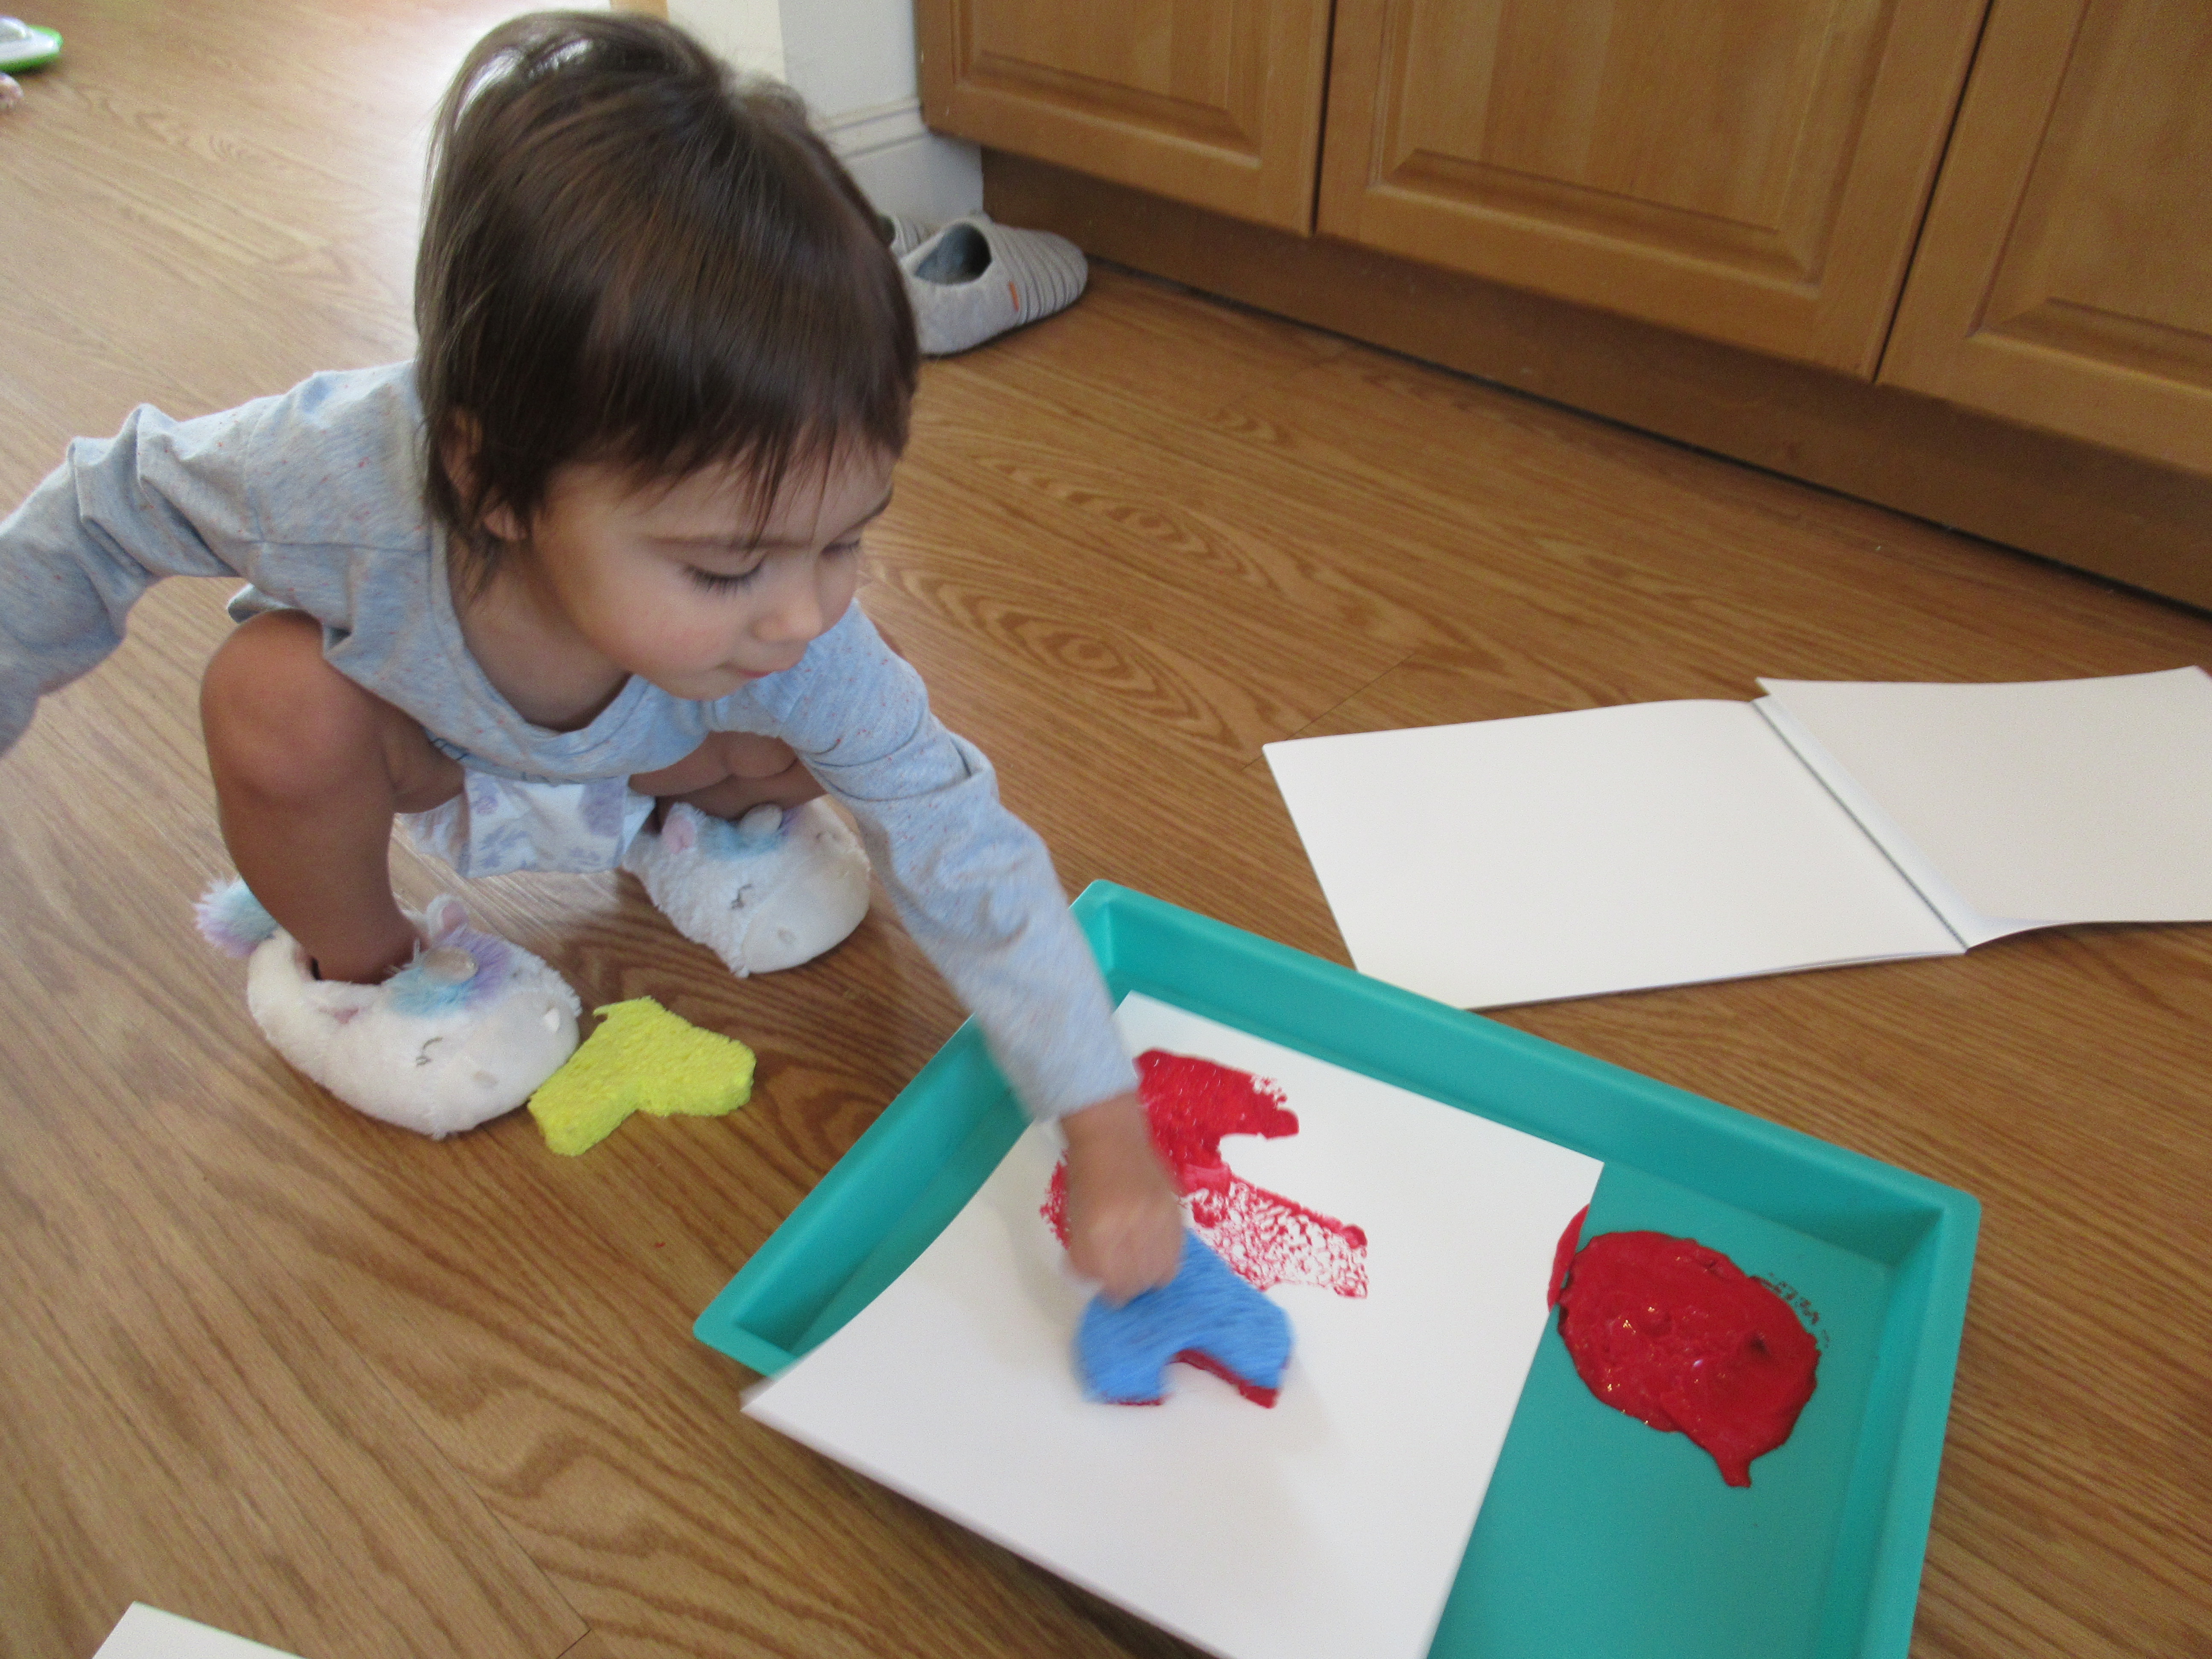
These made great prints, and Veronika was especially intrigued with the fact that the color that appeared on the paper wasn’t the yellow or blue of the sponge…

Sponge Heart Stamping (3)

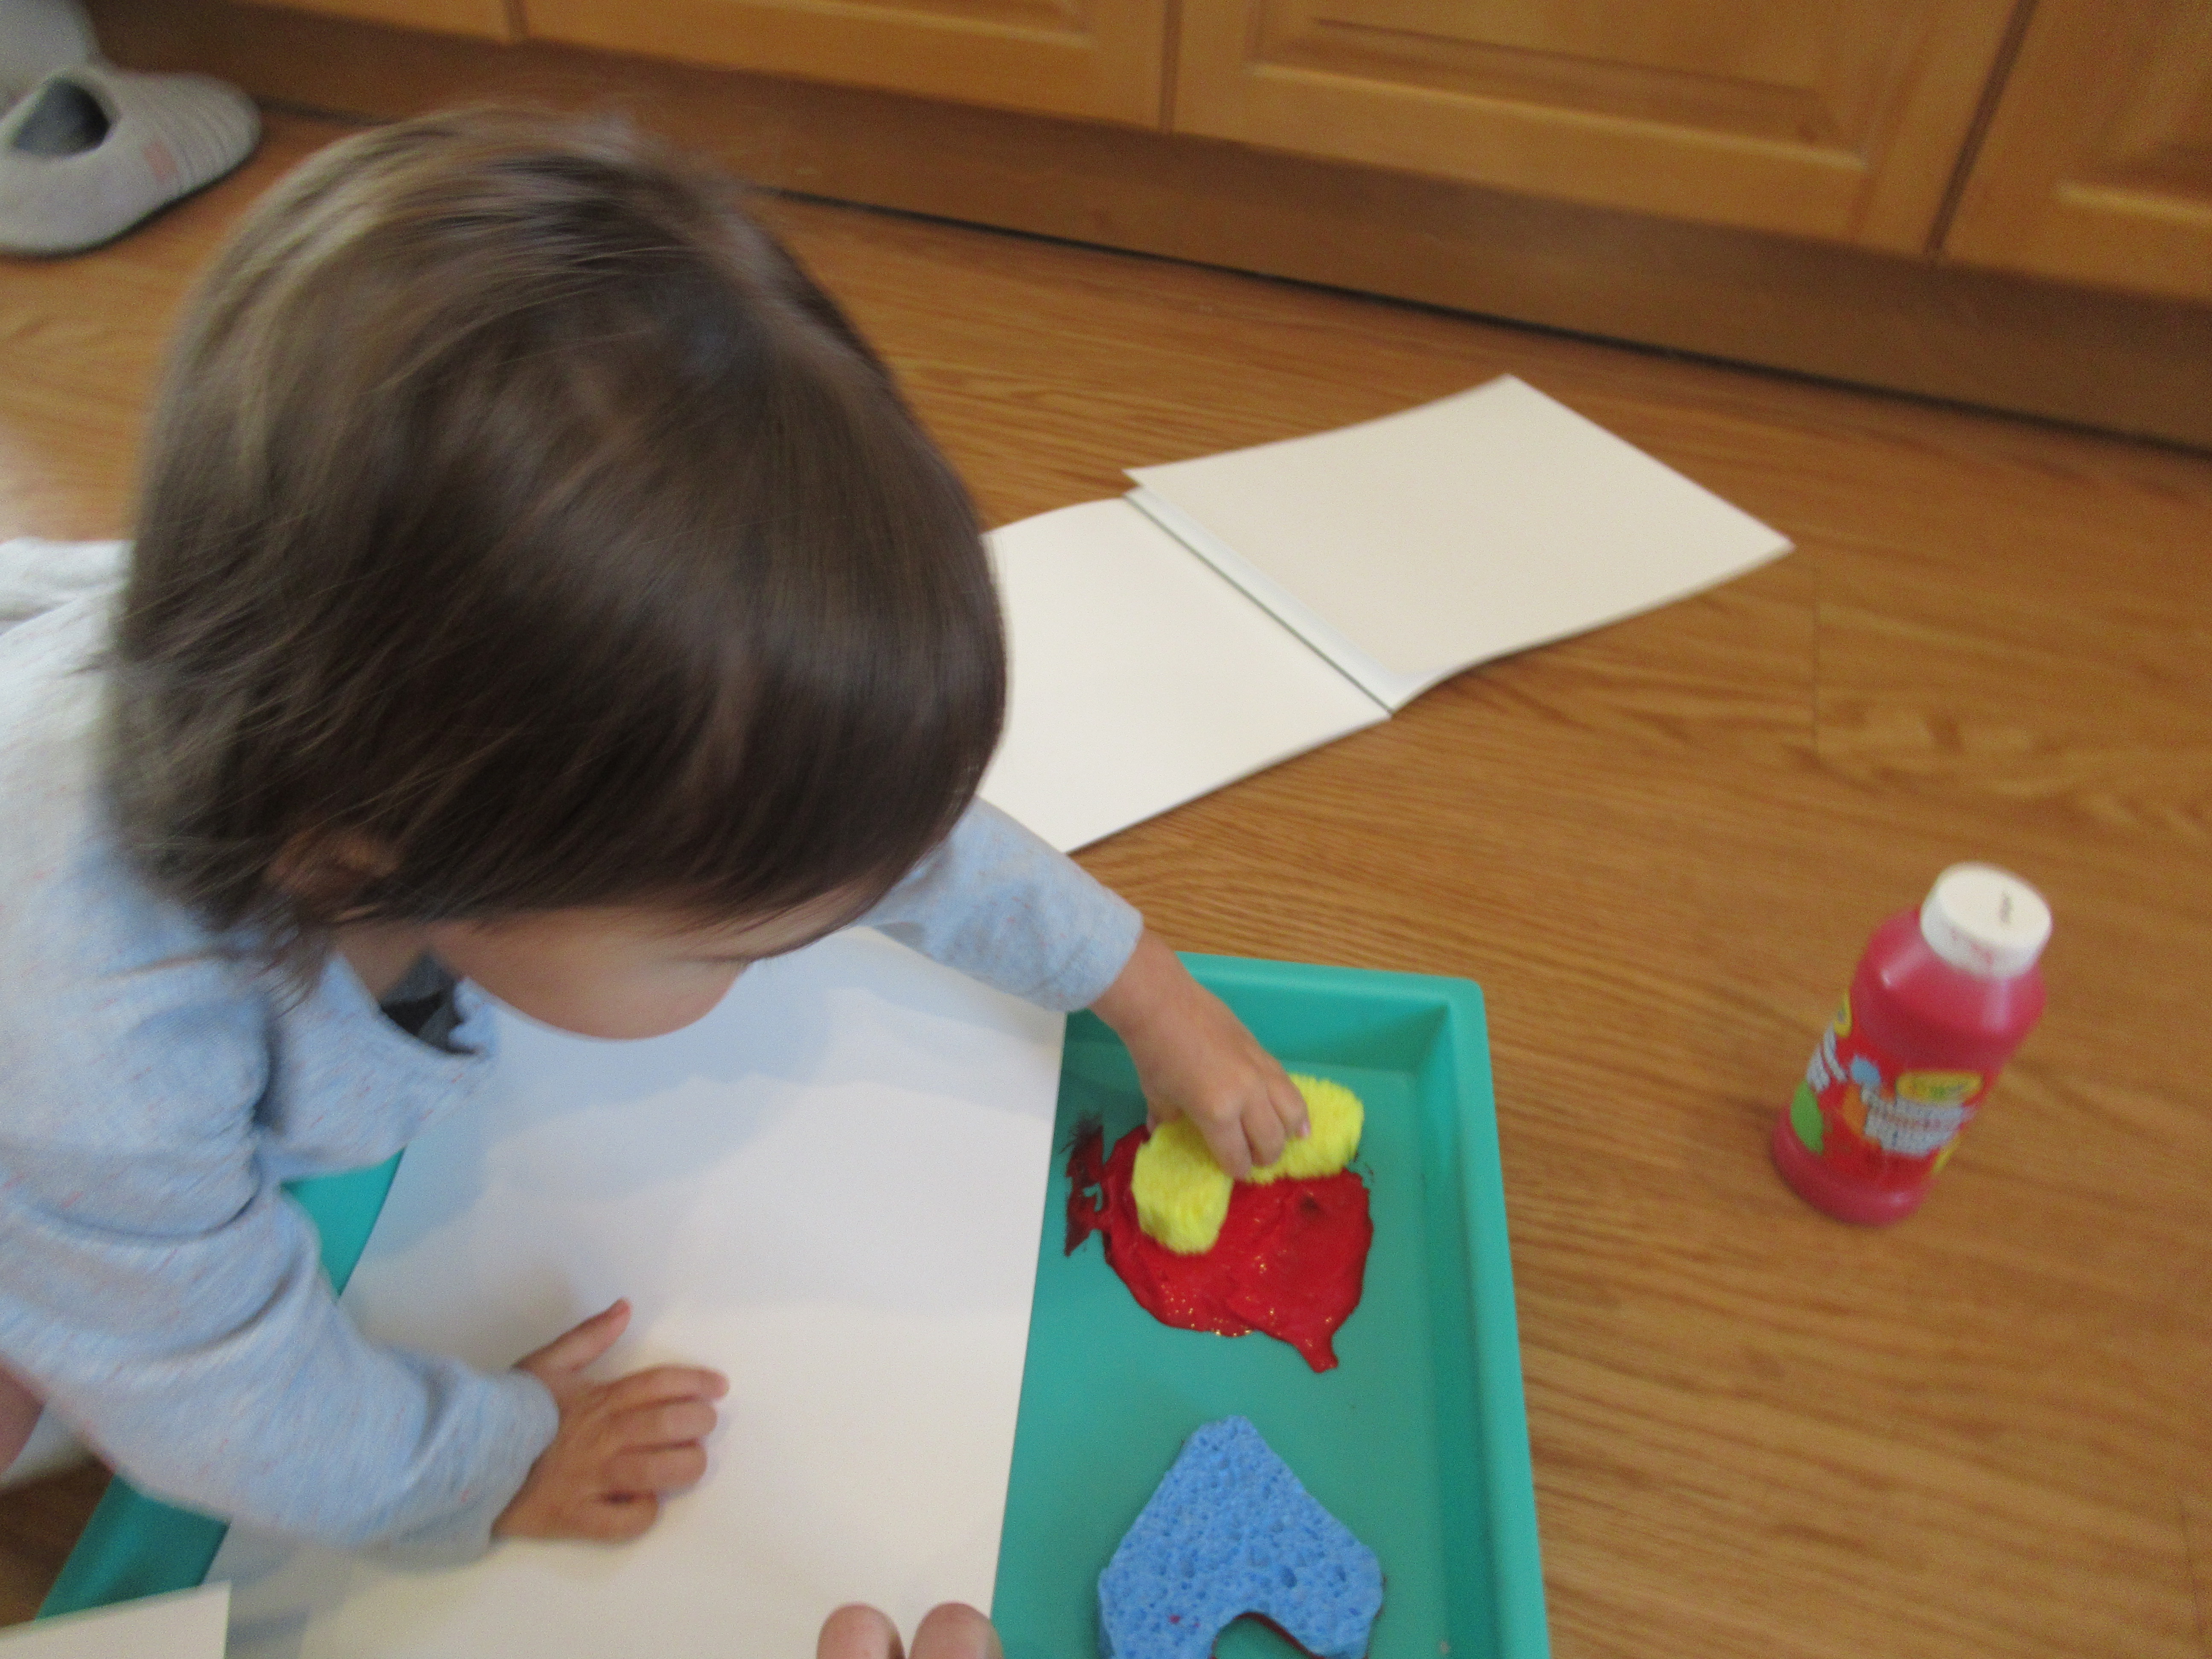
…but red paint! So this accidentally turned into a quick lesson on cause and effect.

Sponge Heart Stamping (4)

Want more ways to play with DIY sponge blocks? Check out what big brother Travis was doing with them 4 years ago!

Sponge Heart Stamping (5)

Kids’ Hearts Valentine Gift

Kids Hearts (5)

The kids gave daddy their hearts for Valentine’s Day – literally! This is a great craft for siblings to work on together, and results in a beautiful keepsake for any family member.

First, I wanted the kids to each paint “their” heart, so I cut two heart shapes from sturdy white paper (older kids can do their own cutting), and set out different colors of paint. But neither kid wanted to get messy! So I slipped the hearts into plastic zip-top bags and squirted in their requested colors of paint: peach and green.

Kids Hearts (2)

The kids loved smearing the paint on through the bag. Veronika loved that she made circles of paint as she pressed, and Travis loved that he could cover the heart completely without getting a drop of paint on his fingers, my neat boy.

Kids Hearts (3)

I set the hearts aside to dry.

Kids Hearts (4)

Meanwhile, I removed the mat from inside a frame and traced it onto red construction paper instead. Once the hearts dried, I wrote each child’s name on the one they had painted, then glued to the red mat.

Kids Hearts (1)

Write a sweet message along the top or bottom, replace inside the frame, and then wait for the big smile on your recipient’s face!

Kids Hearts (6)

Valentine Hearts, Two Ways

Valentine Heart (5)

The heart crafts with Veronika continue, a great way to teach toddlers about the connection between Valentine’s Day and love… and messy crafts! Today we used hearts in our painting, but in two very different ways.

For the first, I cut heart shapes from pink construction paper and placed these on a tray. Dribble on a little red and white paint, then fold the heart in half.

Valentine Heart (1)

I encouraged Veronika to flatten out the heart! She could either use her hands or roll over it with a small rolling pin. Because we’d used too much paint, this turned out to be a very smooshy messy process!

Valentine Heart (4)

Open the heart up for the big reveal!

Valentine Heart (3)

Let dry, then write a Valentine message on the back for someone special.

Valentine Heart (7)

The second method is one I did with Travis when he was not much older than Veronika is now (!), making it one of the earliest posts from this blog. It’s fun to repeat activities with my kids and see how they differ across the years. All you need is an empty toilet paper tube; push in one edge slightly to form a heart shape.

Stamped Heart (1)

I showed Veronika how to dip this “stamp” in red paint and print!

Stamped Heart (2)

Make as many heart prints as your child desires. I remember Travis wanted to cover his whole paper, but Veronika tired out about half way through.

Stamped Heart (5)

If you try both of these heart crafts, please share in the comments which one your toddler liked best!

Mustache Pops

Mustache Pops (7)

This Valentine’s card idea from Highlights magazine was so adorable we just had to make it, not only for Travis’s classmates but a few extra for ourselves, too!

To start, find any mustache template online and print out. Mustaches range from very simple to the very curved and curly, and I would caution against the latter unless you really enjoy fine scissor work. We found a mustache with a nice country western vibe and I traced it onto sparkly sticky-back foam (available at craft stores), one for each member of Travis’s class.

Mustache Pops (1)

Cut out and then adhere the sticky side to a regular sheet of craft foam (we used red). I needed 2 large sheets to fit 18 mustaches total, 9 per sheet. Cut out around the mustache shape again, this time leaving some of the red visible as trim. Set aside.

Mustache Pops (4)

Meanwhile, cut rectangles from pink or red cardstock. I printed out the message “I mustache you to be my Valentine” on regular paper and then glued to the top of each piece of cardstock. If you have a printer that can handle thick cardstock, print directly onto it instead!

Mustache Pops (5)

Next, I poked a hole in the center of each mustache with a pin, and then inserted a lollipop stick. Fold the cardstock in half horizontally just slightly and make two snips with scissors near the bottom; this creates slits that the lollipop stick can slot through. Finally, have your child write in each recipient’s name and the mustache pops are ready to go!

Mustache Pops (6)

These were adorable on paper, but of course the best part was taking them off the cardstock to sport a lollipop ‘stache. Travis loved looking quizzical and grown-up in his.

Mustache Pops(9)

Little sister Veronika was skeptical at first…

Mustache Pops (8)

But one lick of watermelon lollilop made her a mustache convert!

Mustache Pops (10)

Stuffed Heart Pillow

Stuffed Heart (6)

We’ve been making lots of Valentine’s Day cards and crafts to send, but Veronika wanted something to be hers around the house! This “stuffie” heart was the perfect Valentine’s friend to keep.

First, I knew we’d need to cover a large area with paint so I laid down our roll of craft paper. I decided the easiest way for her to paint this would be simply to dollop paint all over the paper and let her smear it with a wide-bristle paintbrush.

Stuffed Heart (1)

We used three shades of red, pink, and purple, one of which was glittery, so it all combined into a nice mix.Stuffed Heart (3)

Once we had covered the paper, I set it upstairs to dry where little feet wouldn’t accidentally walk across it!

Later in the day, it was time to make the heart into a “stuffed animal”. I drew a heart shape on the paper and cut out, then traced it so we had two hearts. Use hot glue to attach these at the edges (so much easier than sewing!).

Stuffed Heart (4)

We used cotton roving for stuffing, but if you don’t have any roving, wadded up newspaper would probably work just fine.

Stuffed Heart (5)

I drew on a smiley face as the final touch.

Stuffed Heart (7)

It turns out Veronika wasn’t the only one smitten with this new stuffed friend. It brought an instant smile to big brother Travis’s face.

Stuffed Heart (8)

And needed a big hug, too!

Stuffed Heart (9)

Kids are sure to love this Valentine’s Day friend.


Wonder Wheel Valentines

Wonder Wheel Valentine (5)

These sweet Valentine’s (thanks Parents magazine!) are sure to give every one of your kid’s classmates an ego boost. No matter where the spinning arrow points, a compliment is waiting!

To start, trace a 3-inch round cookie cutter onto cardstock, making enough circles for each recipient. Next, trace additional circles on two different colors of cardstock (we used shades in the red and pink family). Divide each of these circles into 6 segments and cut out. You’ll need double the number of segments as you have classmates (so for Travis’s class of 15 kids, I needed 30 red segments and 30 pink segments).

Wonder Wheel Valentine (1)

Using a glue stick, attach these segments onto your base circles, alternating colors. Such a pretty tricolor effect!

Wonder Wheel Valentine (3)

Next, write in sweet and empowering messages on each wedge of the wheel. Older kids can take charge of this step, but I knew it would be overwhelming for Travis to do so much handwriting. Instead, I wrote 5 of the wedges for each card (with statements like “You’re Gr8!” or “Superstar!”) and left the final wedge blank for him to write in the classmate recipient’s name.

Wonder Wheel Valentine (4)

For the arrow spinner, I traced an arrow on a fourth color of cardstock, then traced and cut out 15 of them. Poke a brad fastener through the arrow and then through the center of the wheel, folding down to secure in place.

Wonder Wheel Valentine (2)

Give that wonder wheel a spin!

Wonder Wheel alt

Valentine Postcard

Valentine's Postcards (7)

Paper heart doilies always featured into the homemade Valentines of my youth, so imagine my surprise when I had to go to three stores before I could find them! Perhaps this classic decoration is becoming passe? That would be a shame, and I was glad Veronika got to enjoy the whimsy of doilies with this little craft. Our mission: to make Valentine postcards for the relatives.

To start, cut squares from sturdy white paper and then use a paper clip to attach a doily heart to each one.

Valentine's Postcards (1)

I then set out a tray with pink and red paint, along with a few sponges I had cut into small pieces so they would fit more easily in Veronika’s hands. I showed her how to dip a sponge in the paint and then dab over the hearts.

Valentine's Postcards (2)

When you lift up the doily, a beautiful heart shape is left behind!

Valentine's Postcards (3)

Note: We discovered that a light touch with the sponge works best here, or the image becomes a bit muddied.

Valentine's Postcards (4)

Let dry, then use stickers or markers for any final decorations before shipping off with love in the mail!

Valentine's Postcards (6)

Valentine’s Day Tissue Paper Wreath

Valentine's Tissue Wreath (5)

We thought it would be nice to decorate our door with a Valentine’s Day wreath, and I wanted one that even a toddler could help out with. I found inspiration from a tissue paper version from Hands on as We Grow! Veronika could fit in some arts-and-crafts for the day, and the end result would make a beautiful door decoration.

To start, I needed to cut a circle from cardboard. I opted for a scissor-friendly frozen pizza box rather than thicker cardboard packaging.

Valentine's Tissue Wreath (1)
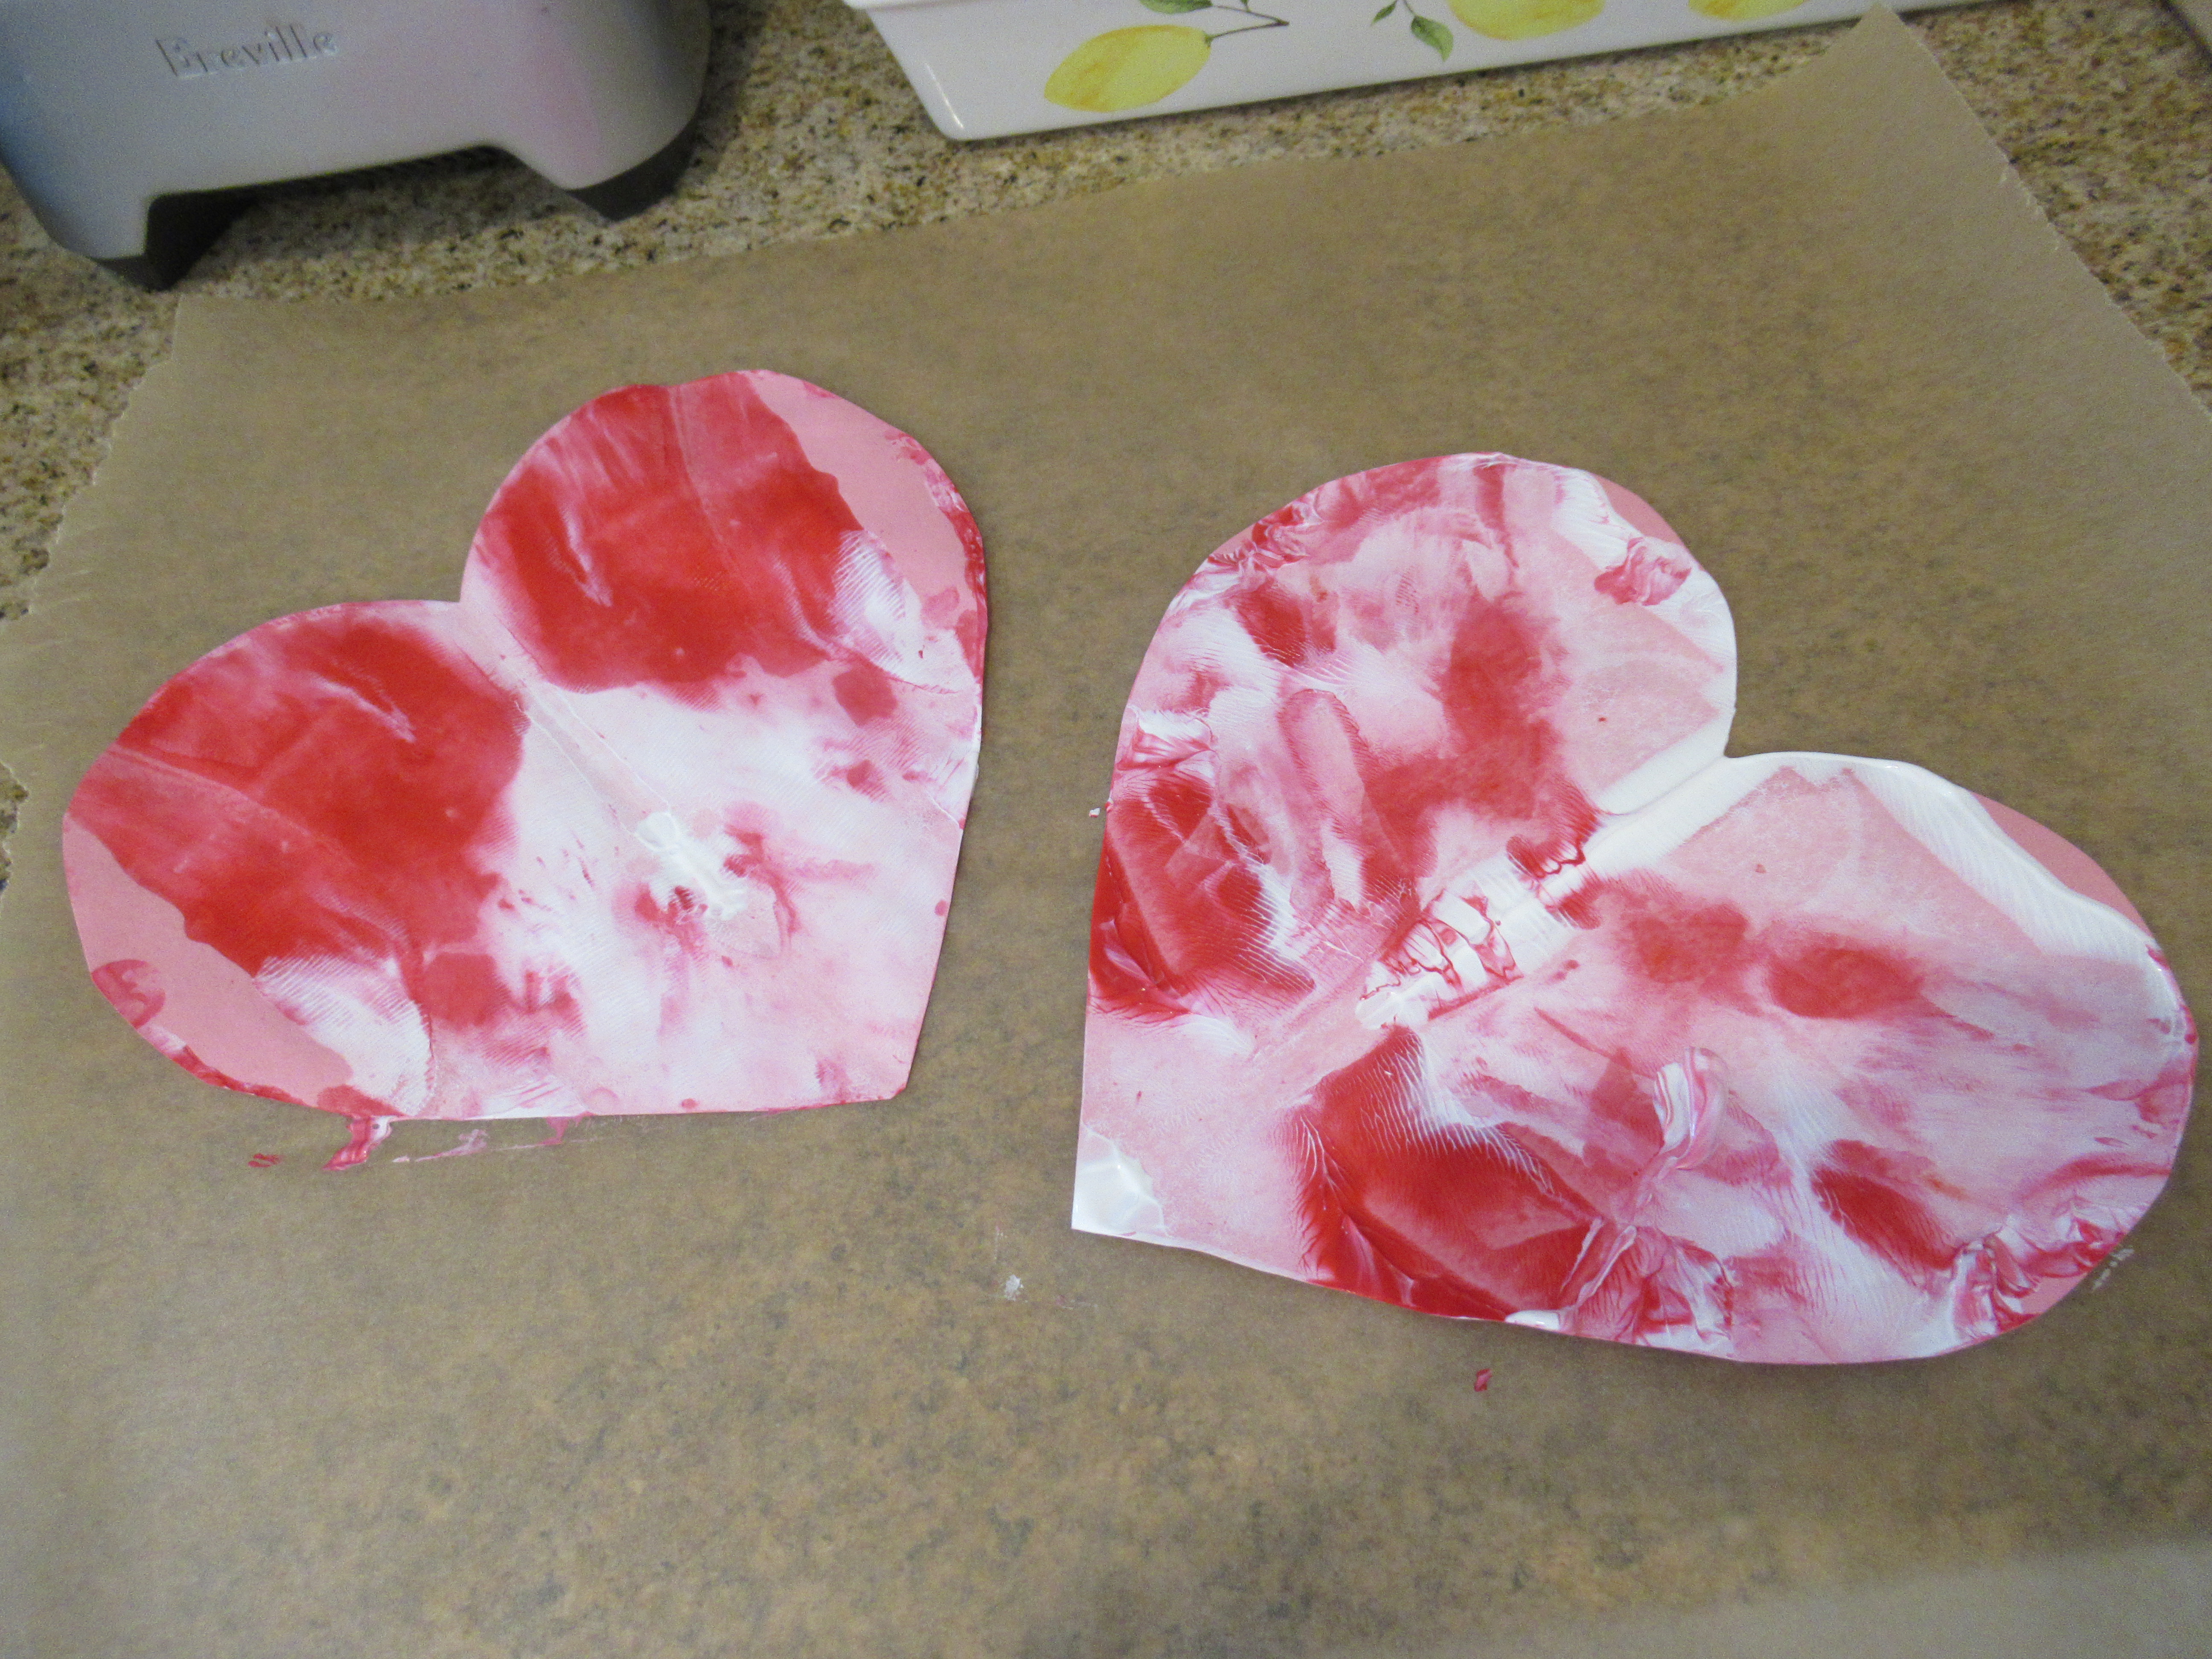
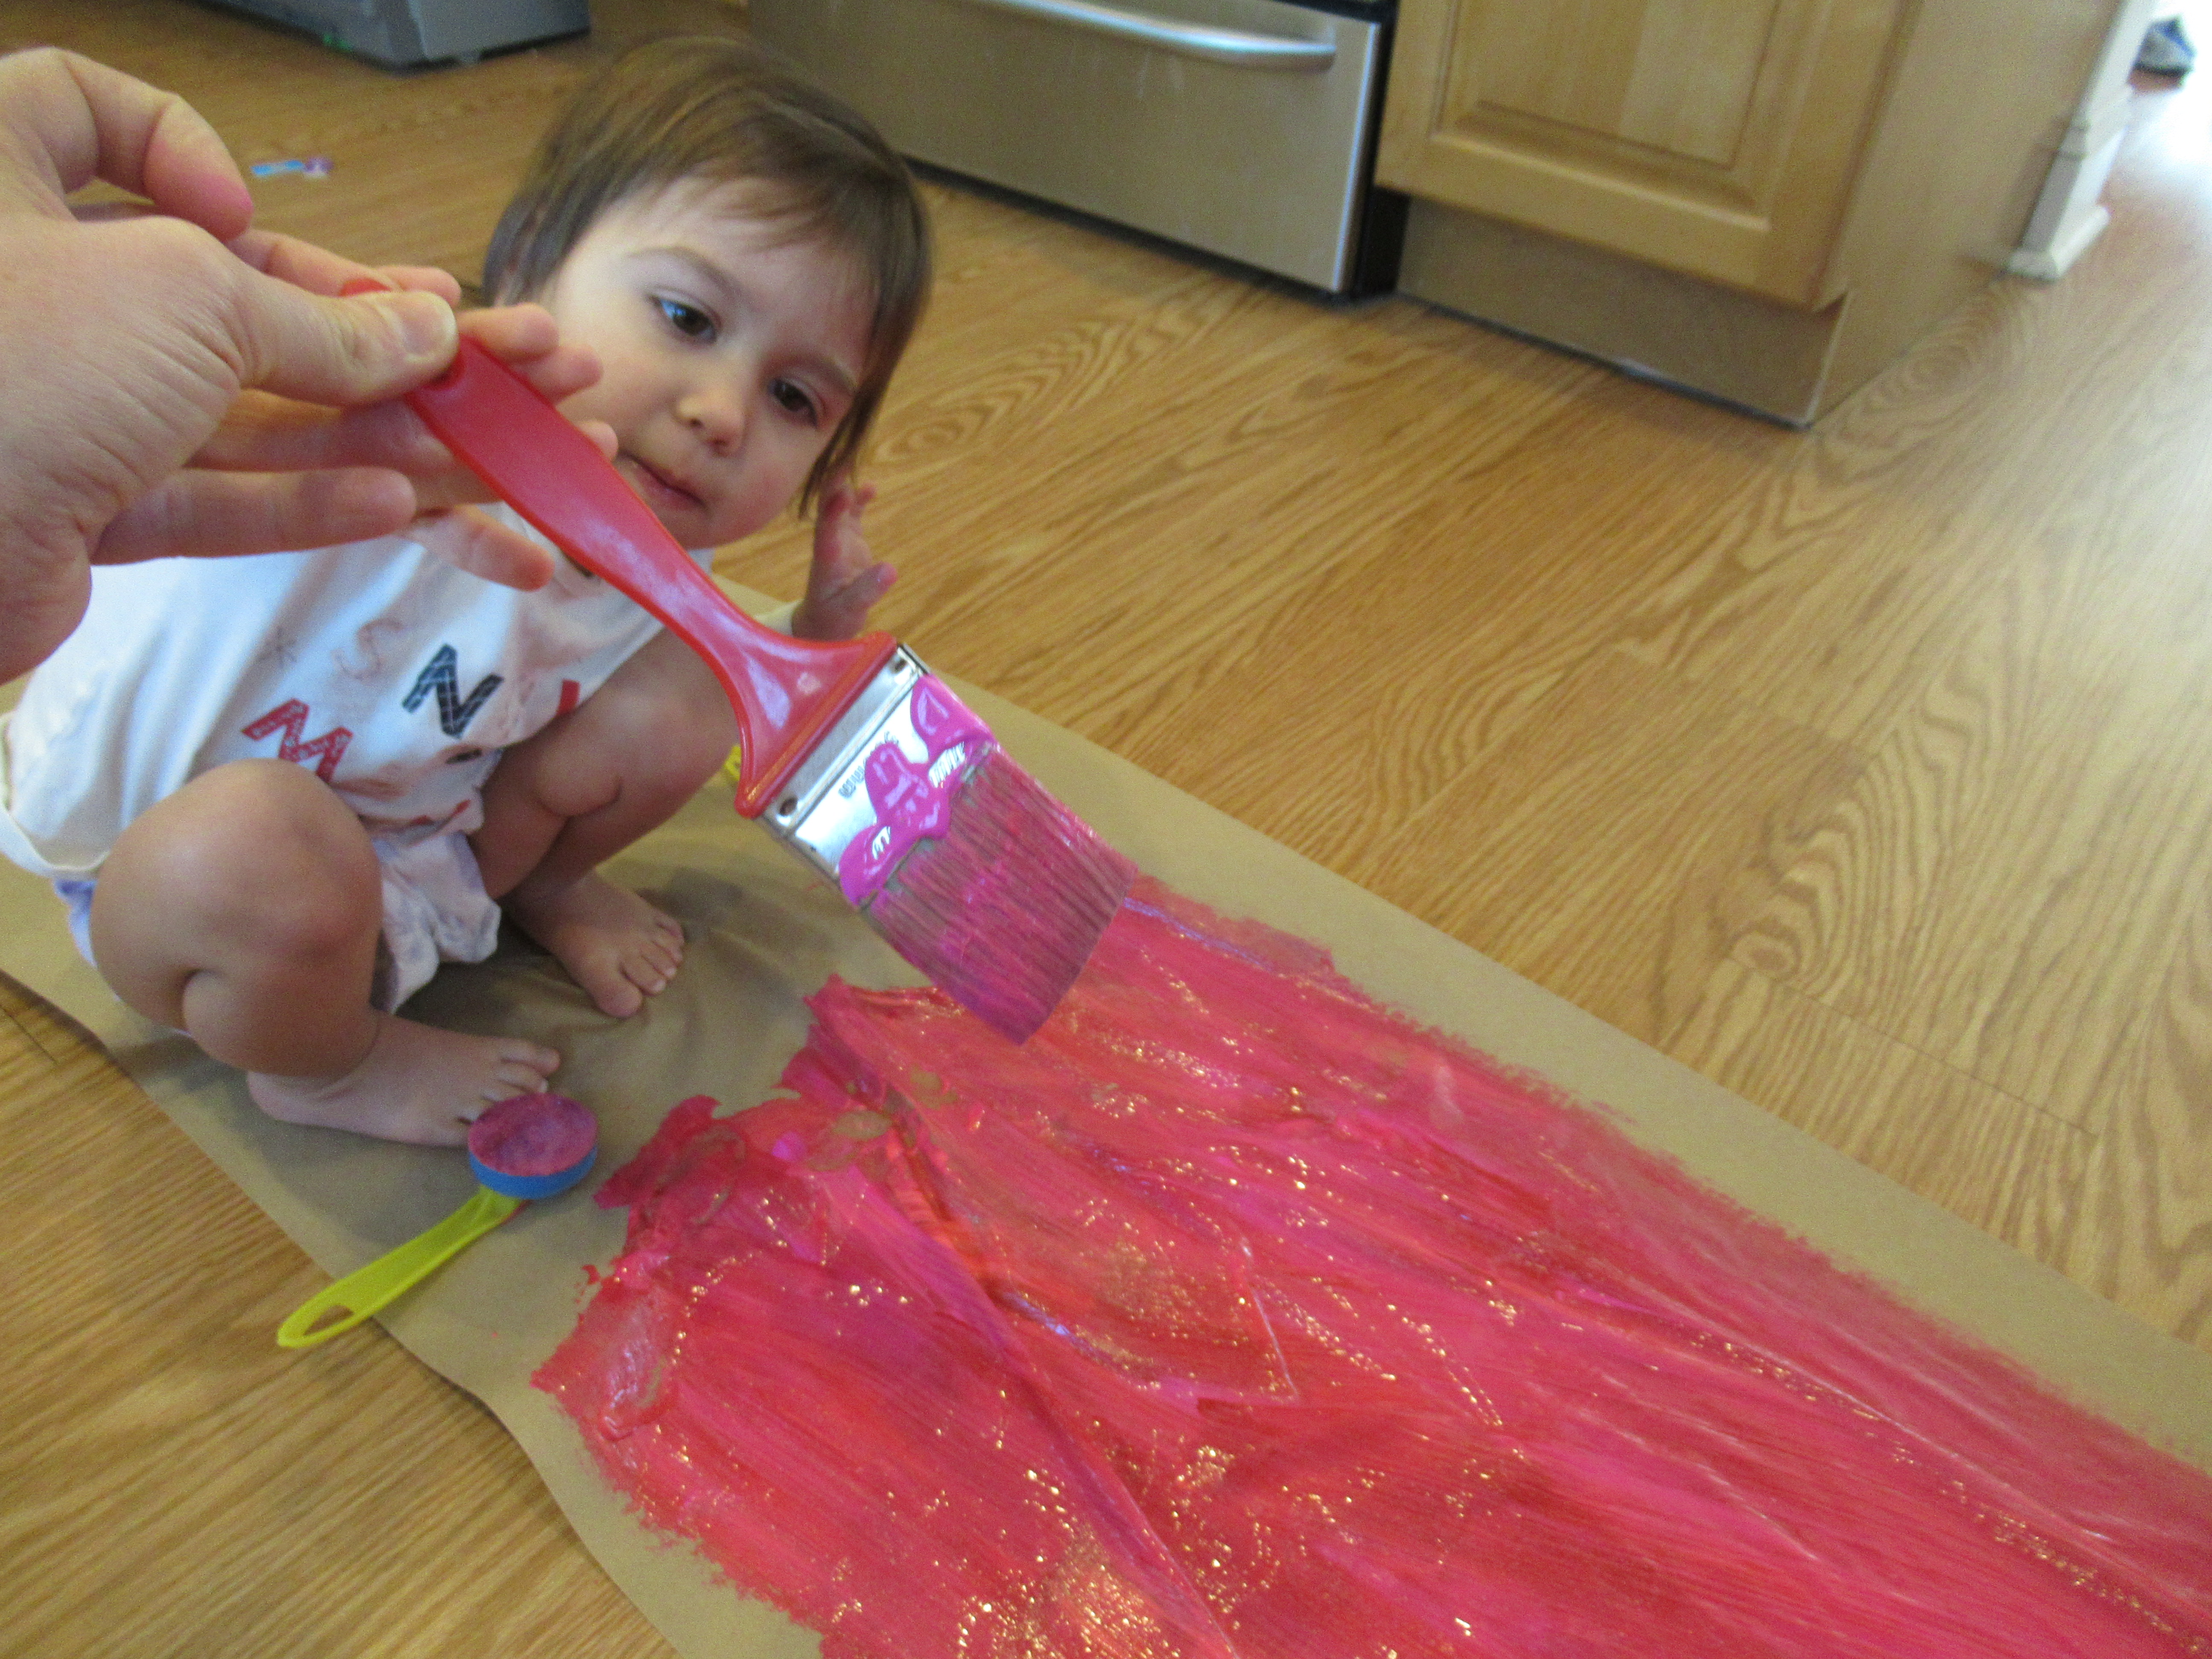
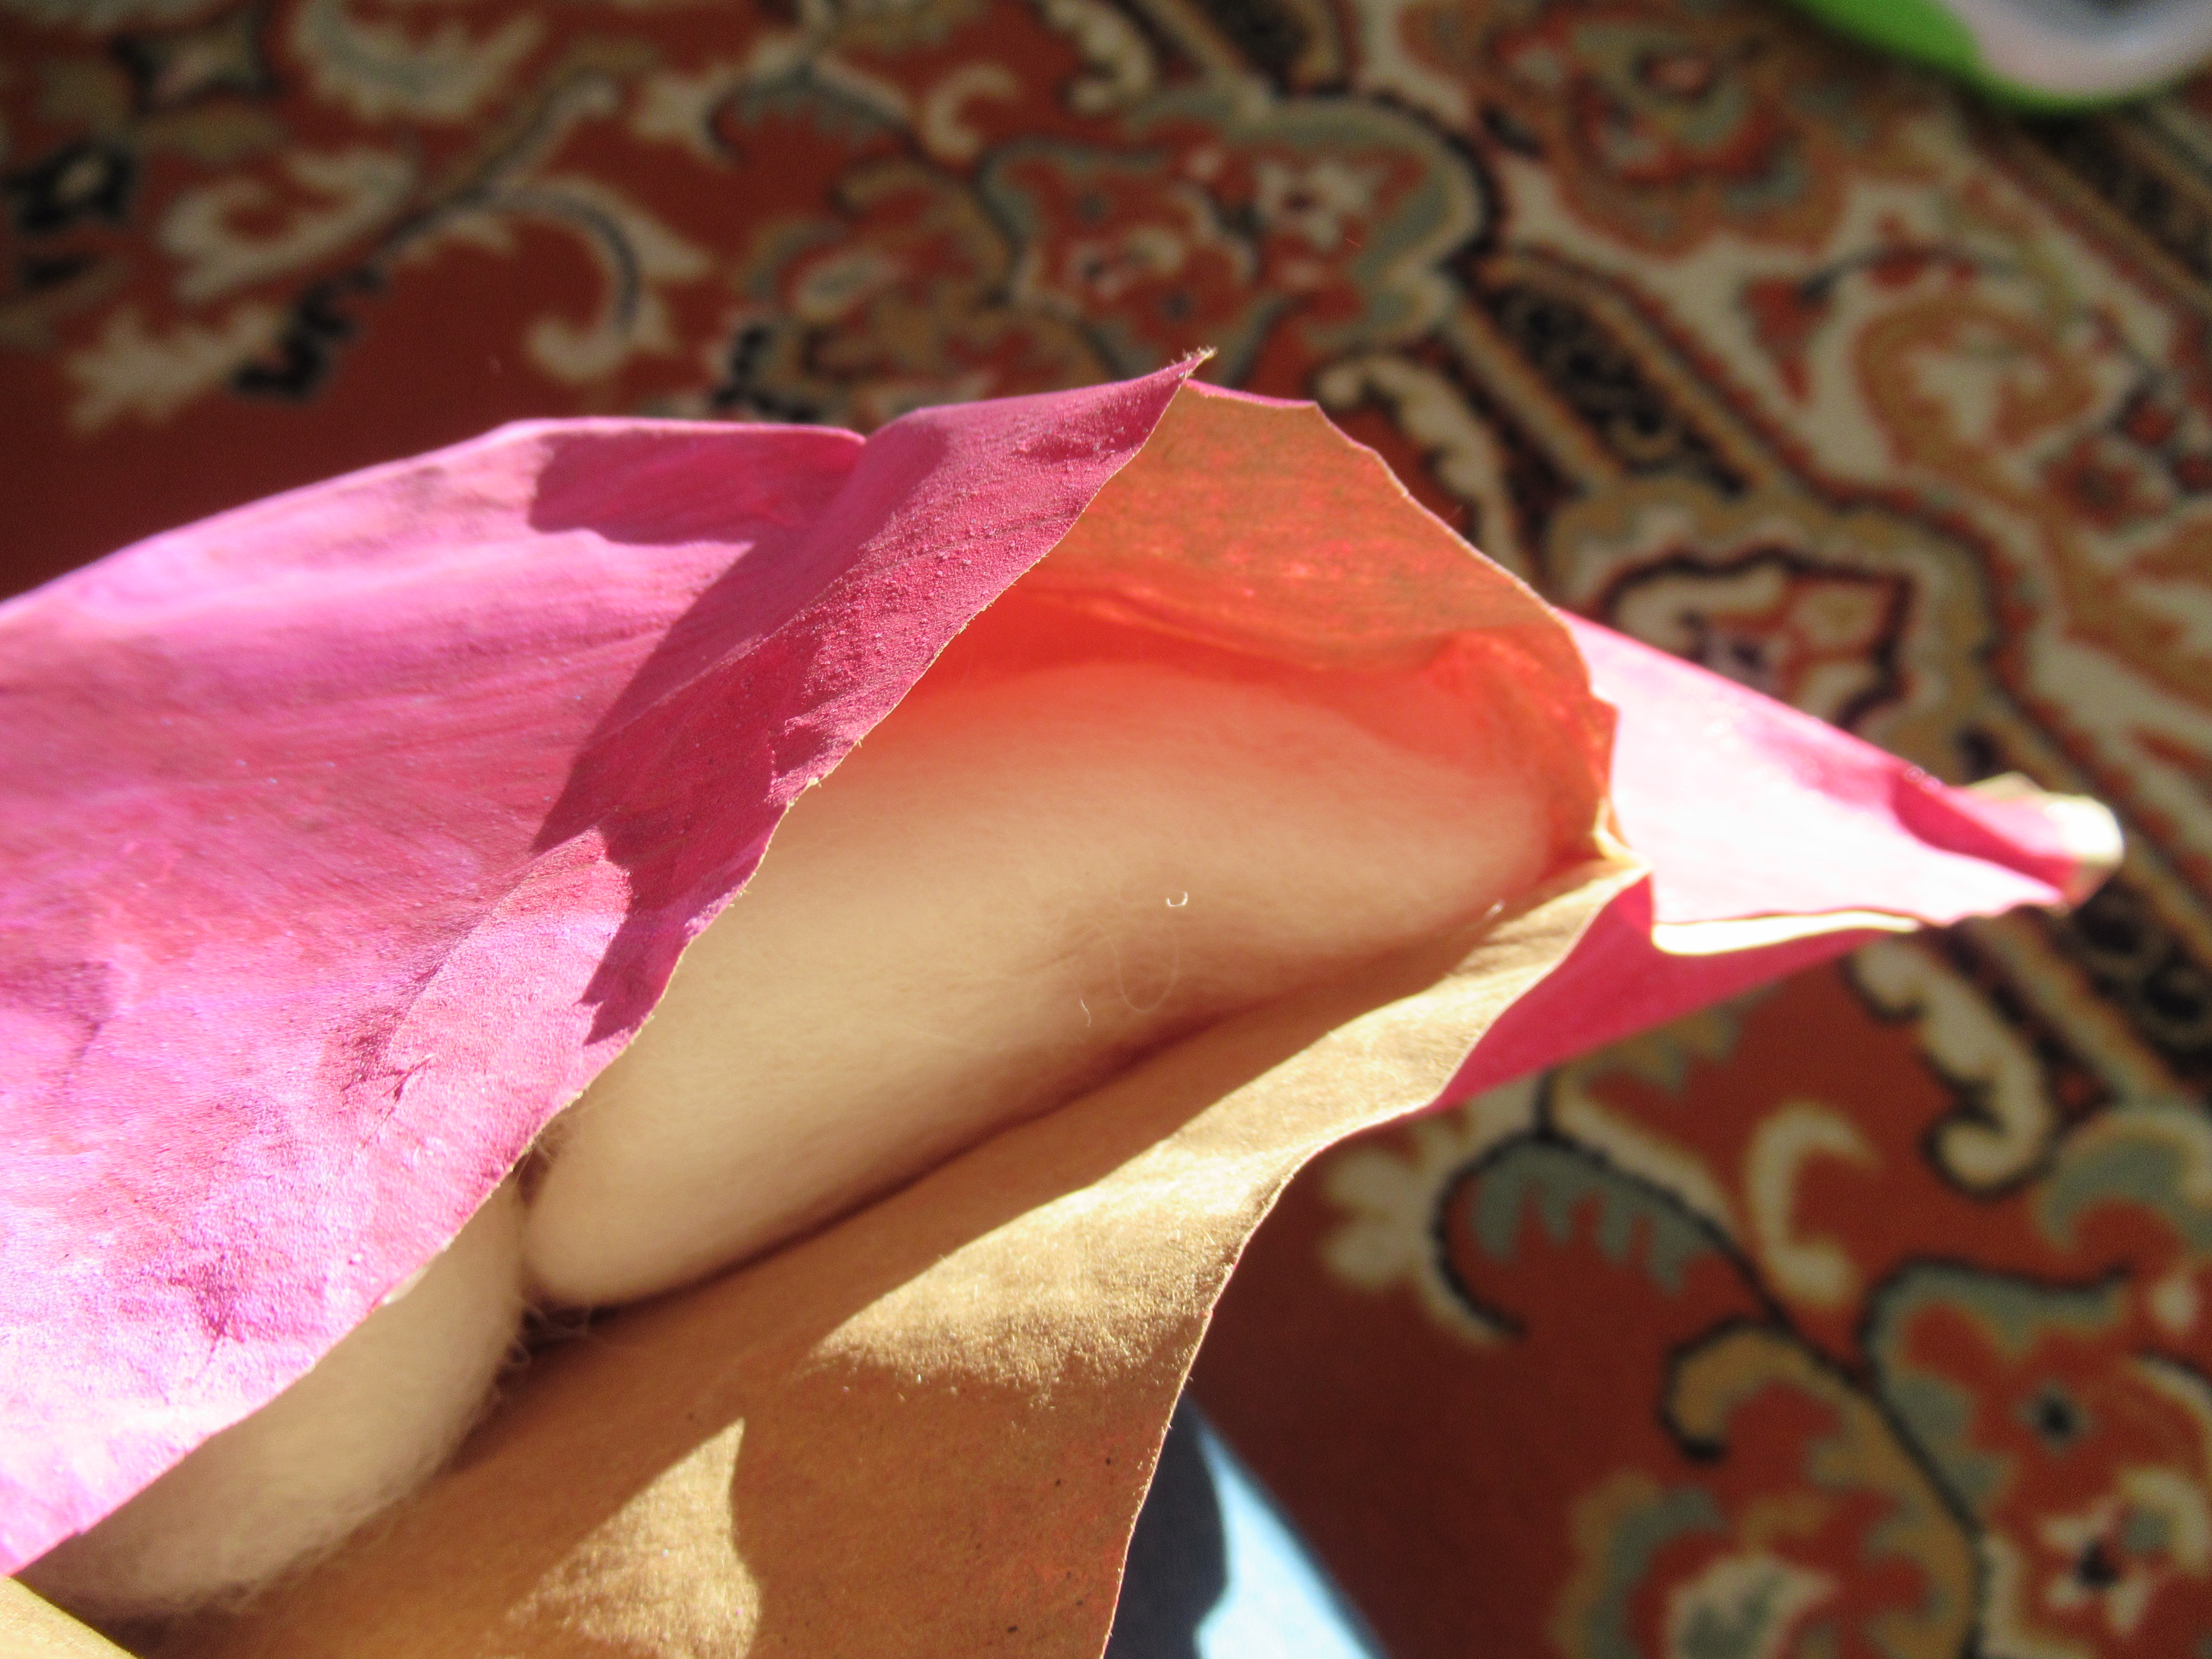
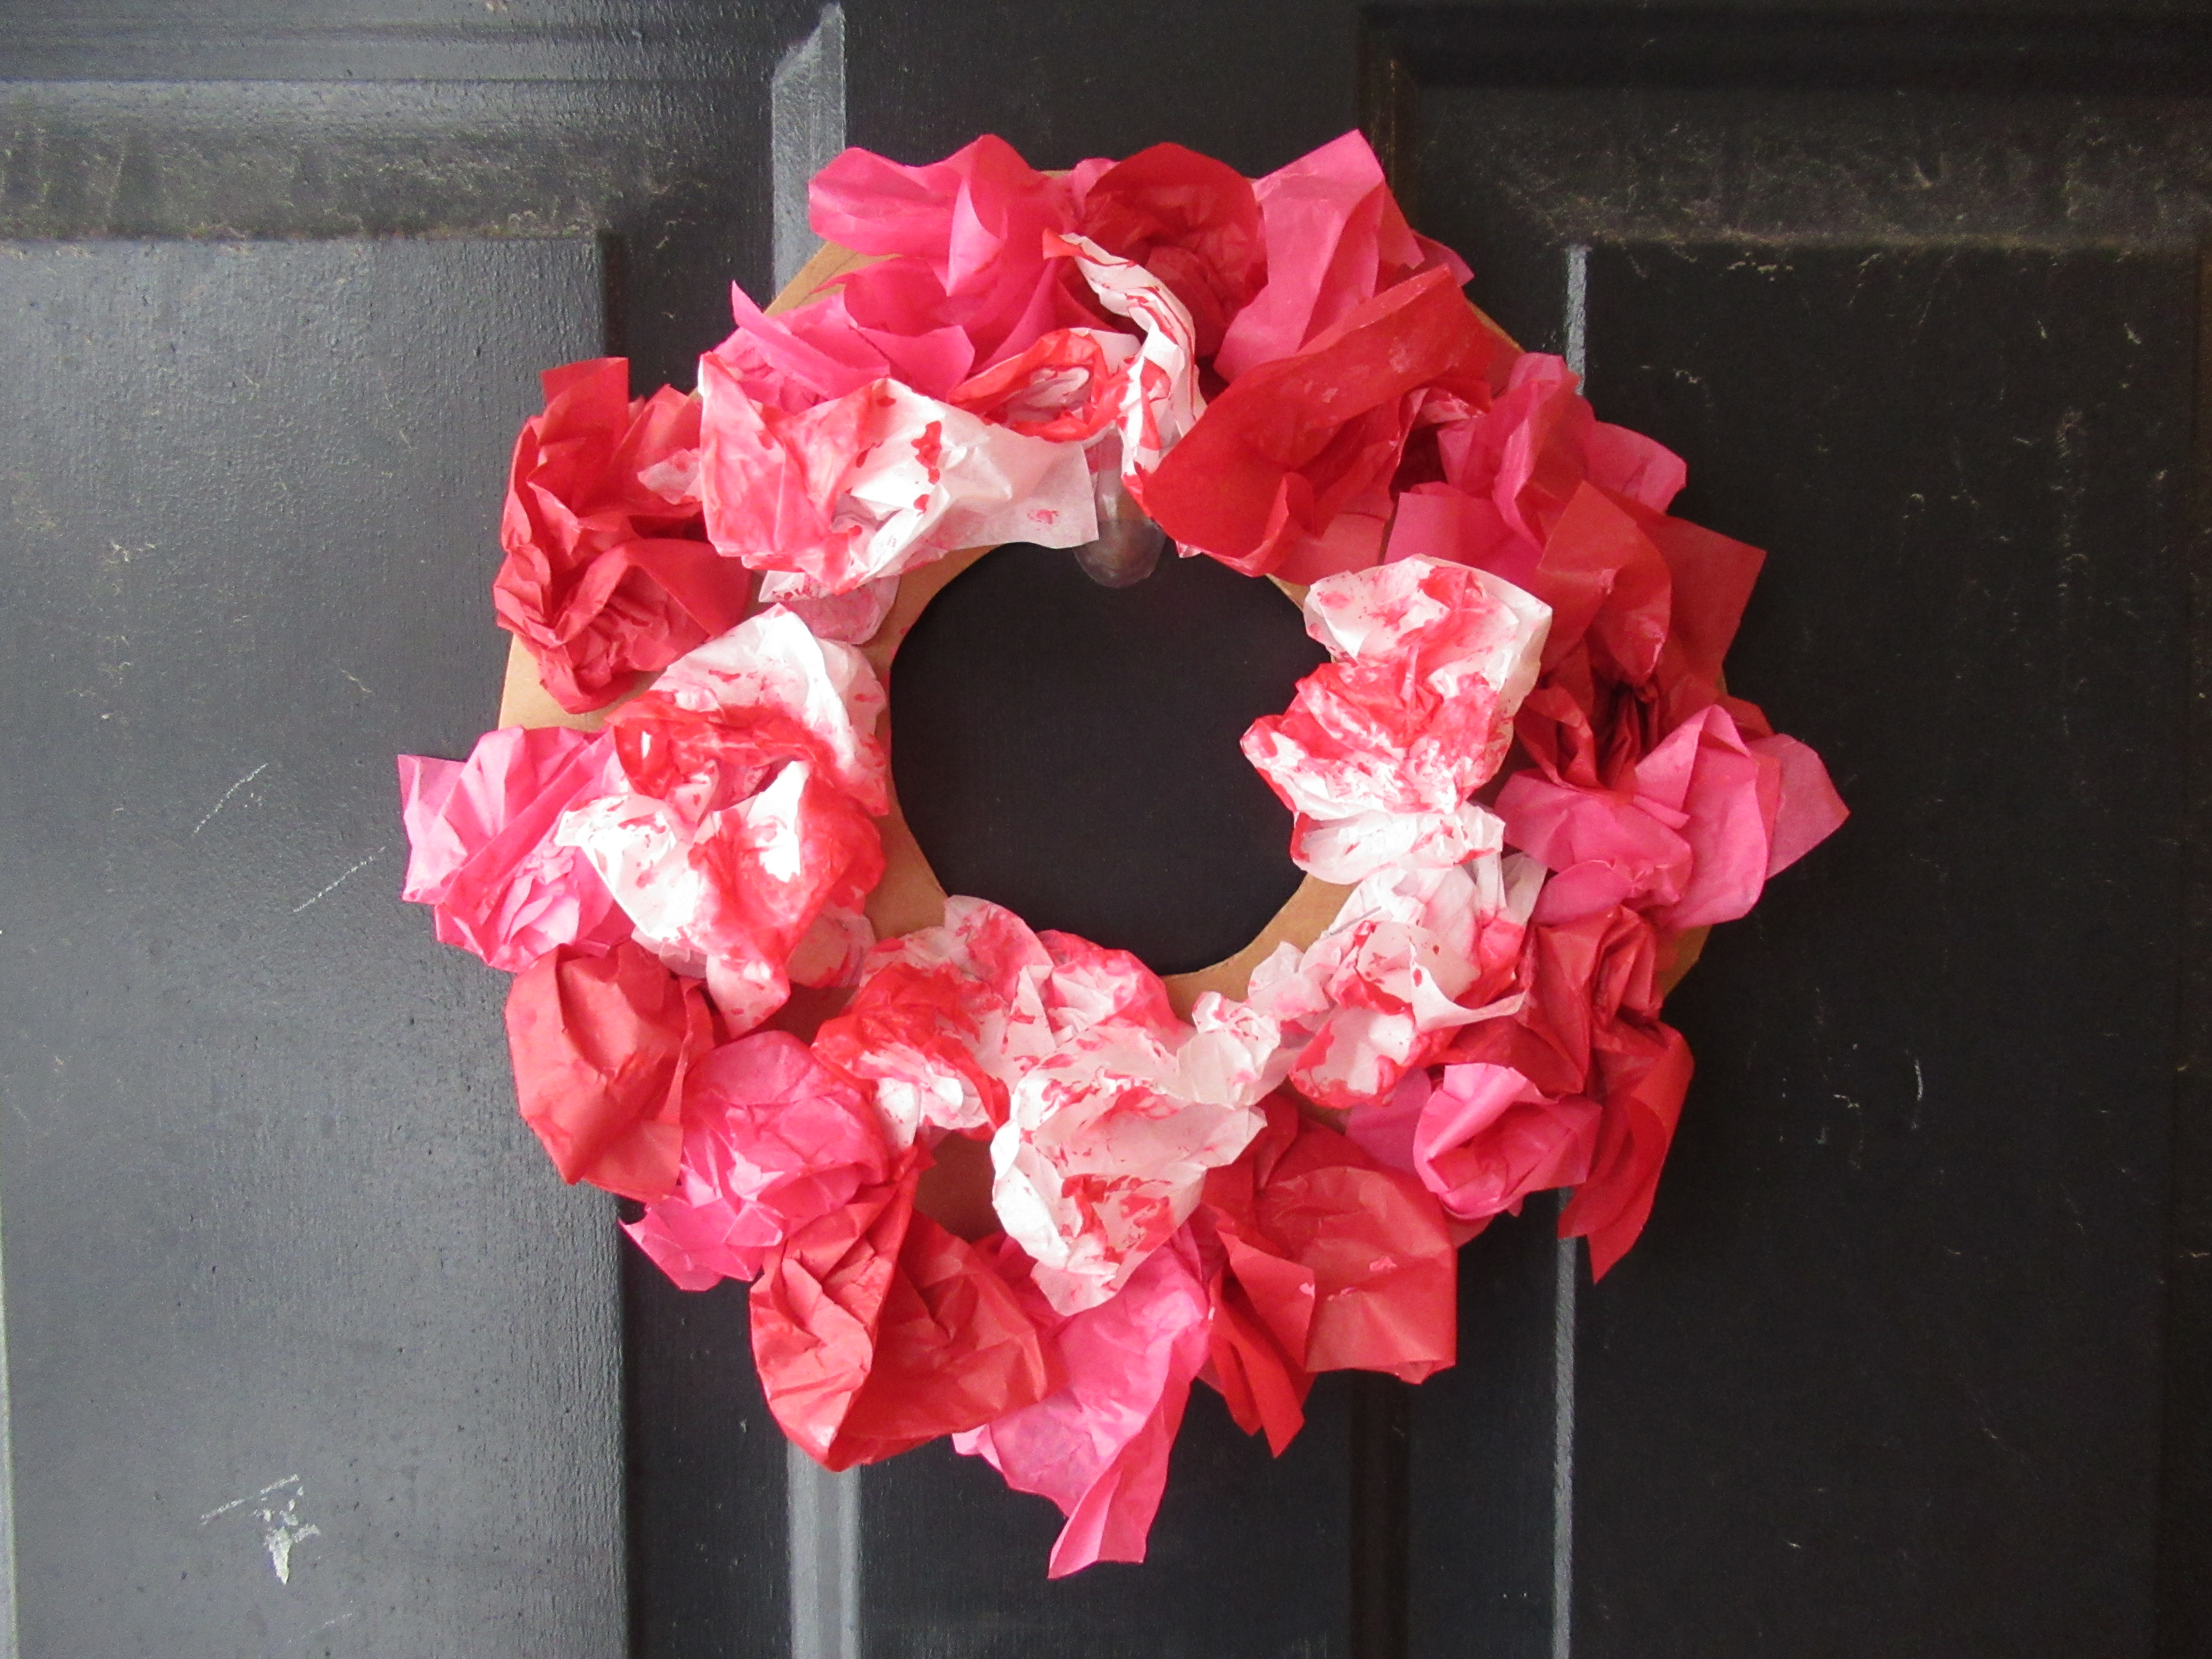
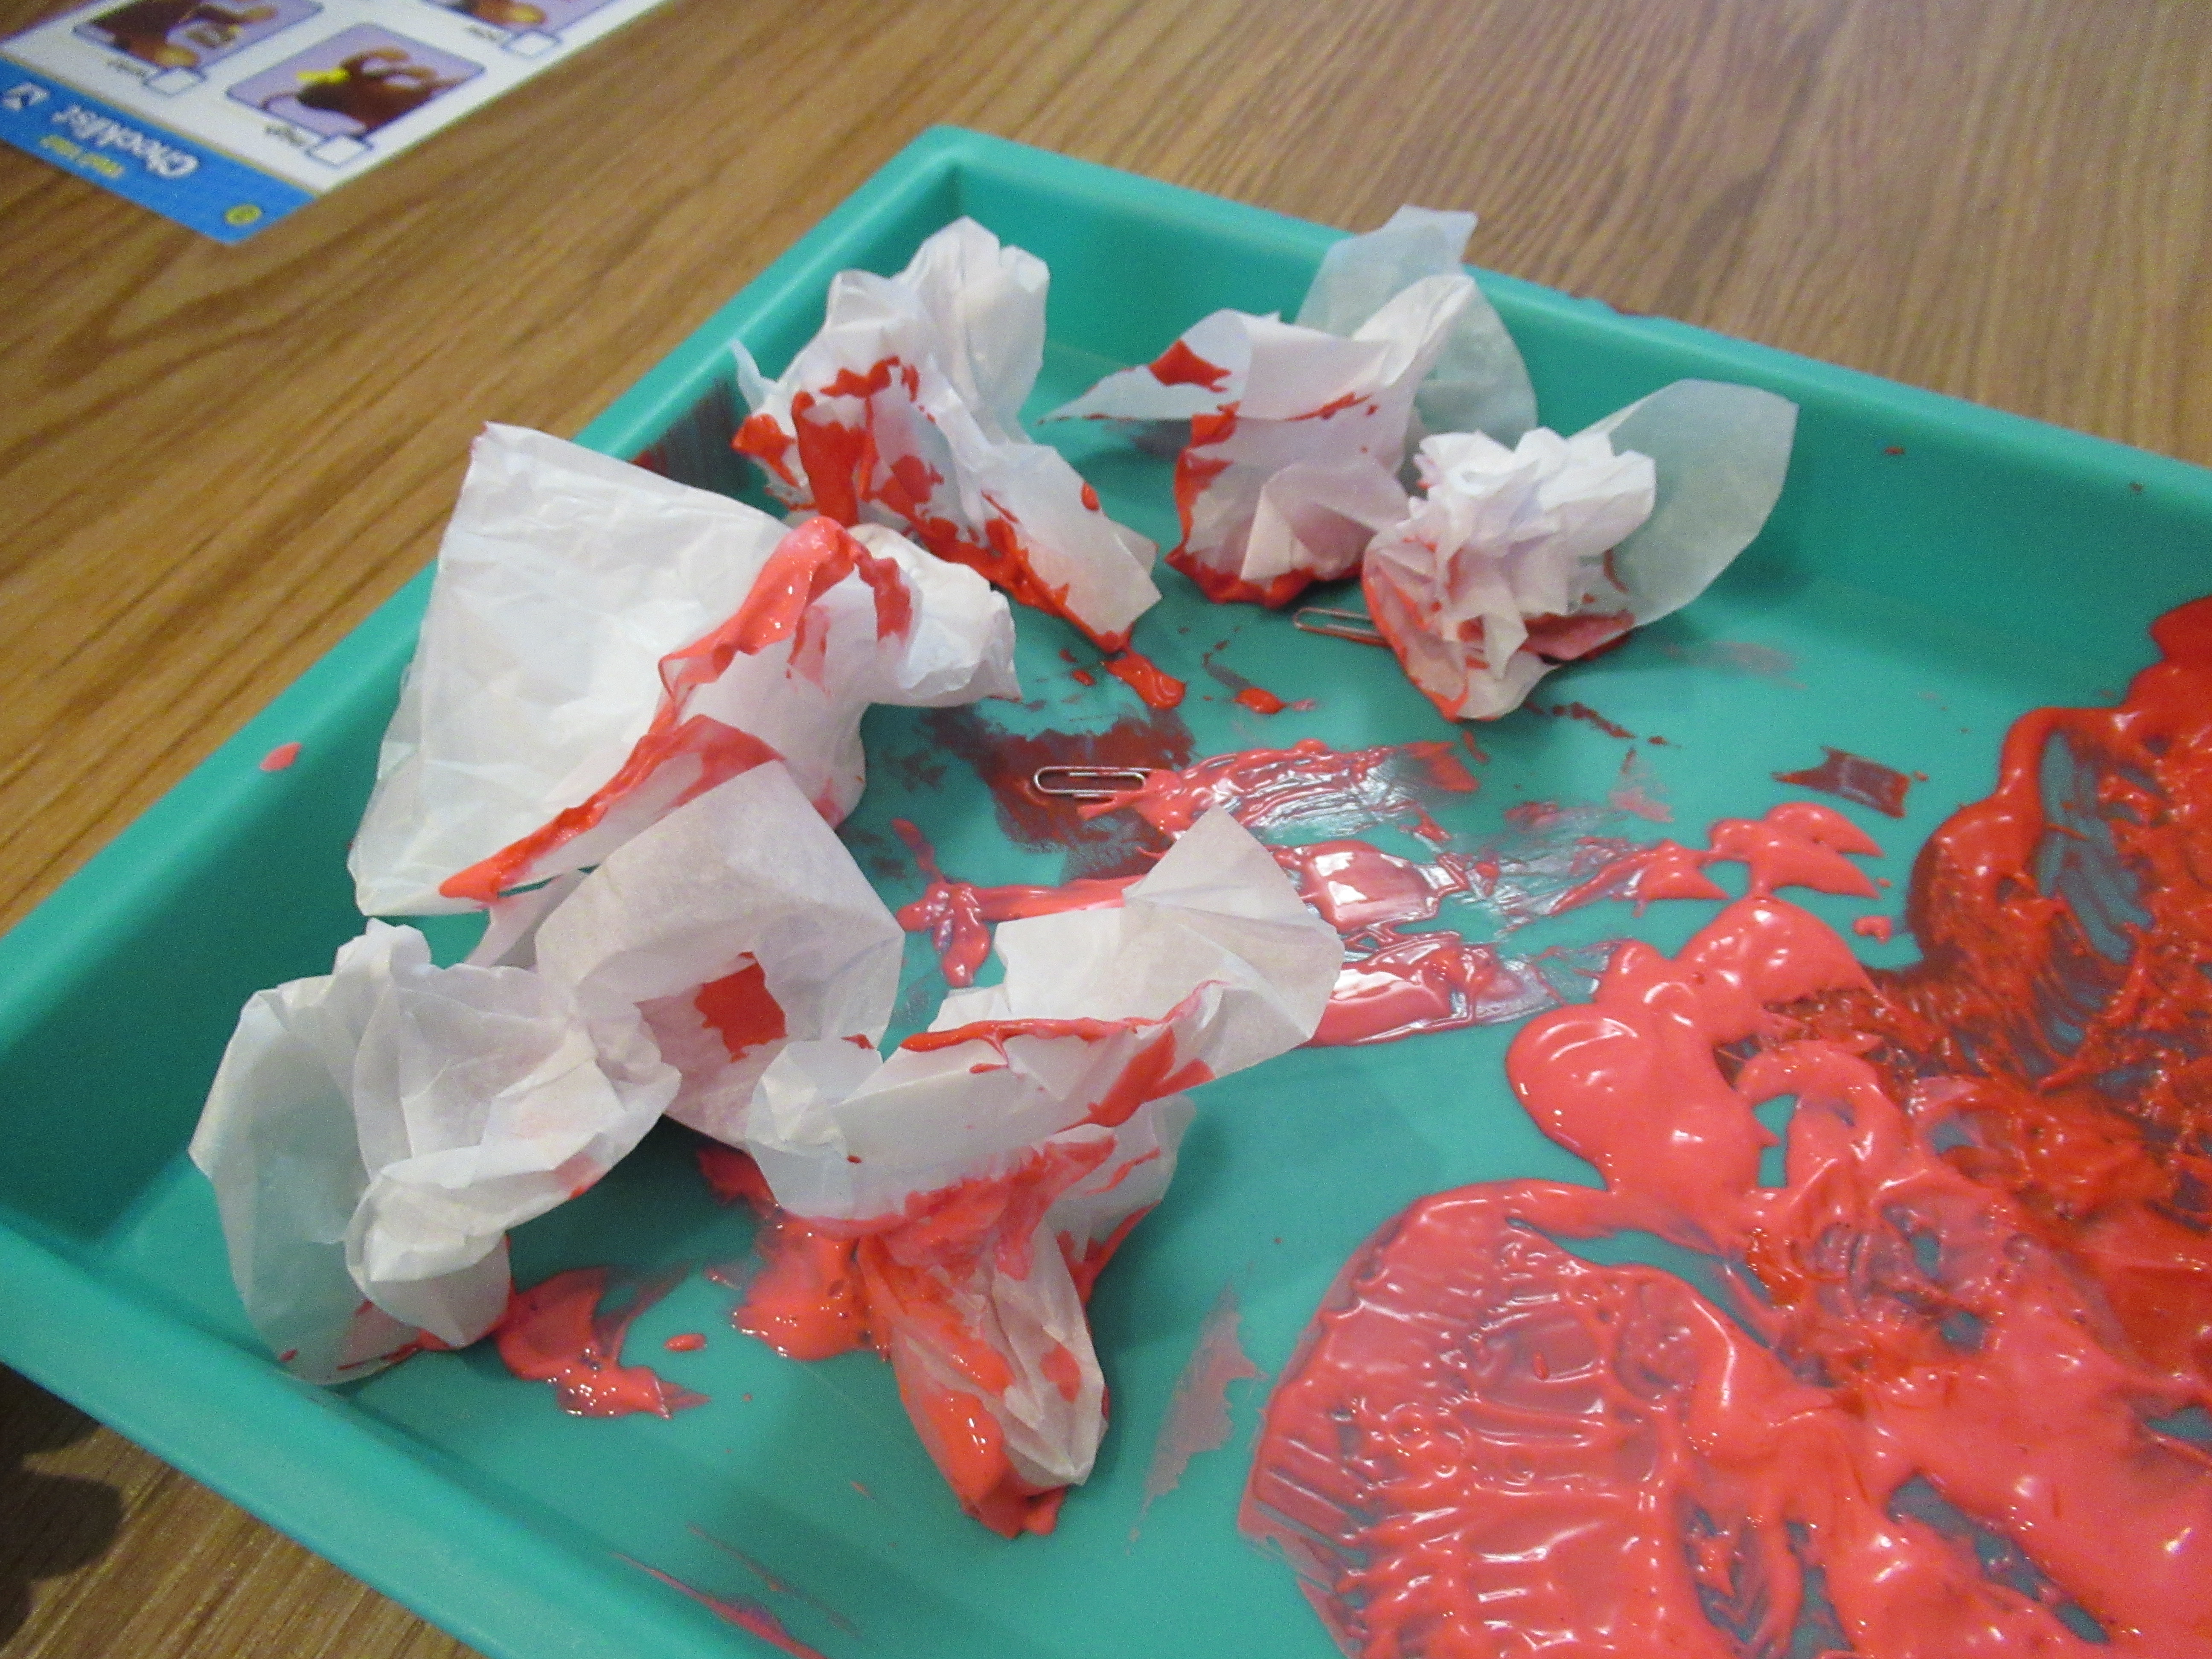
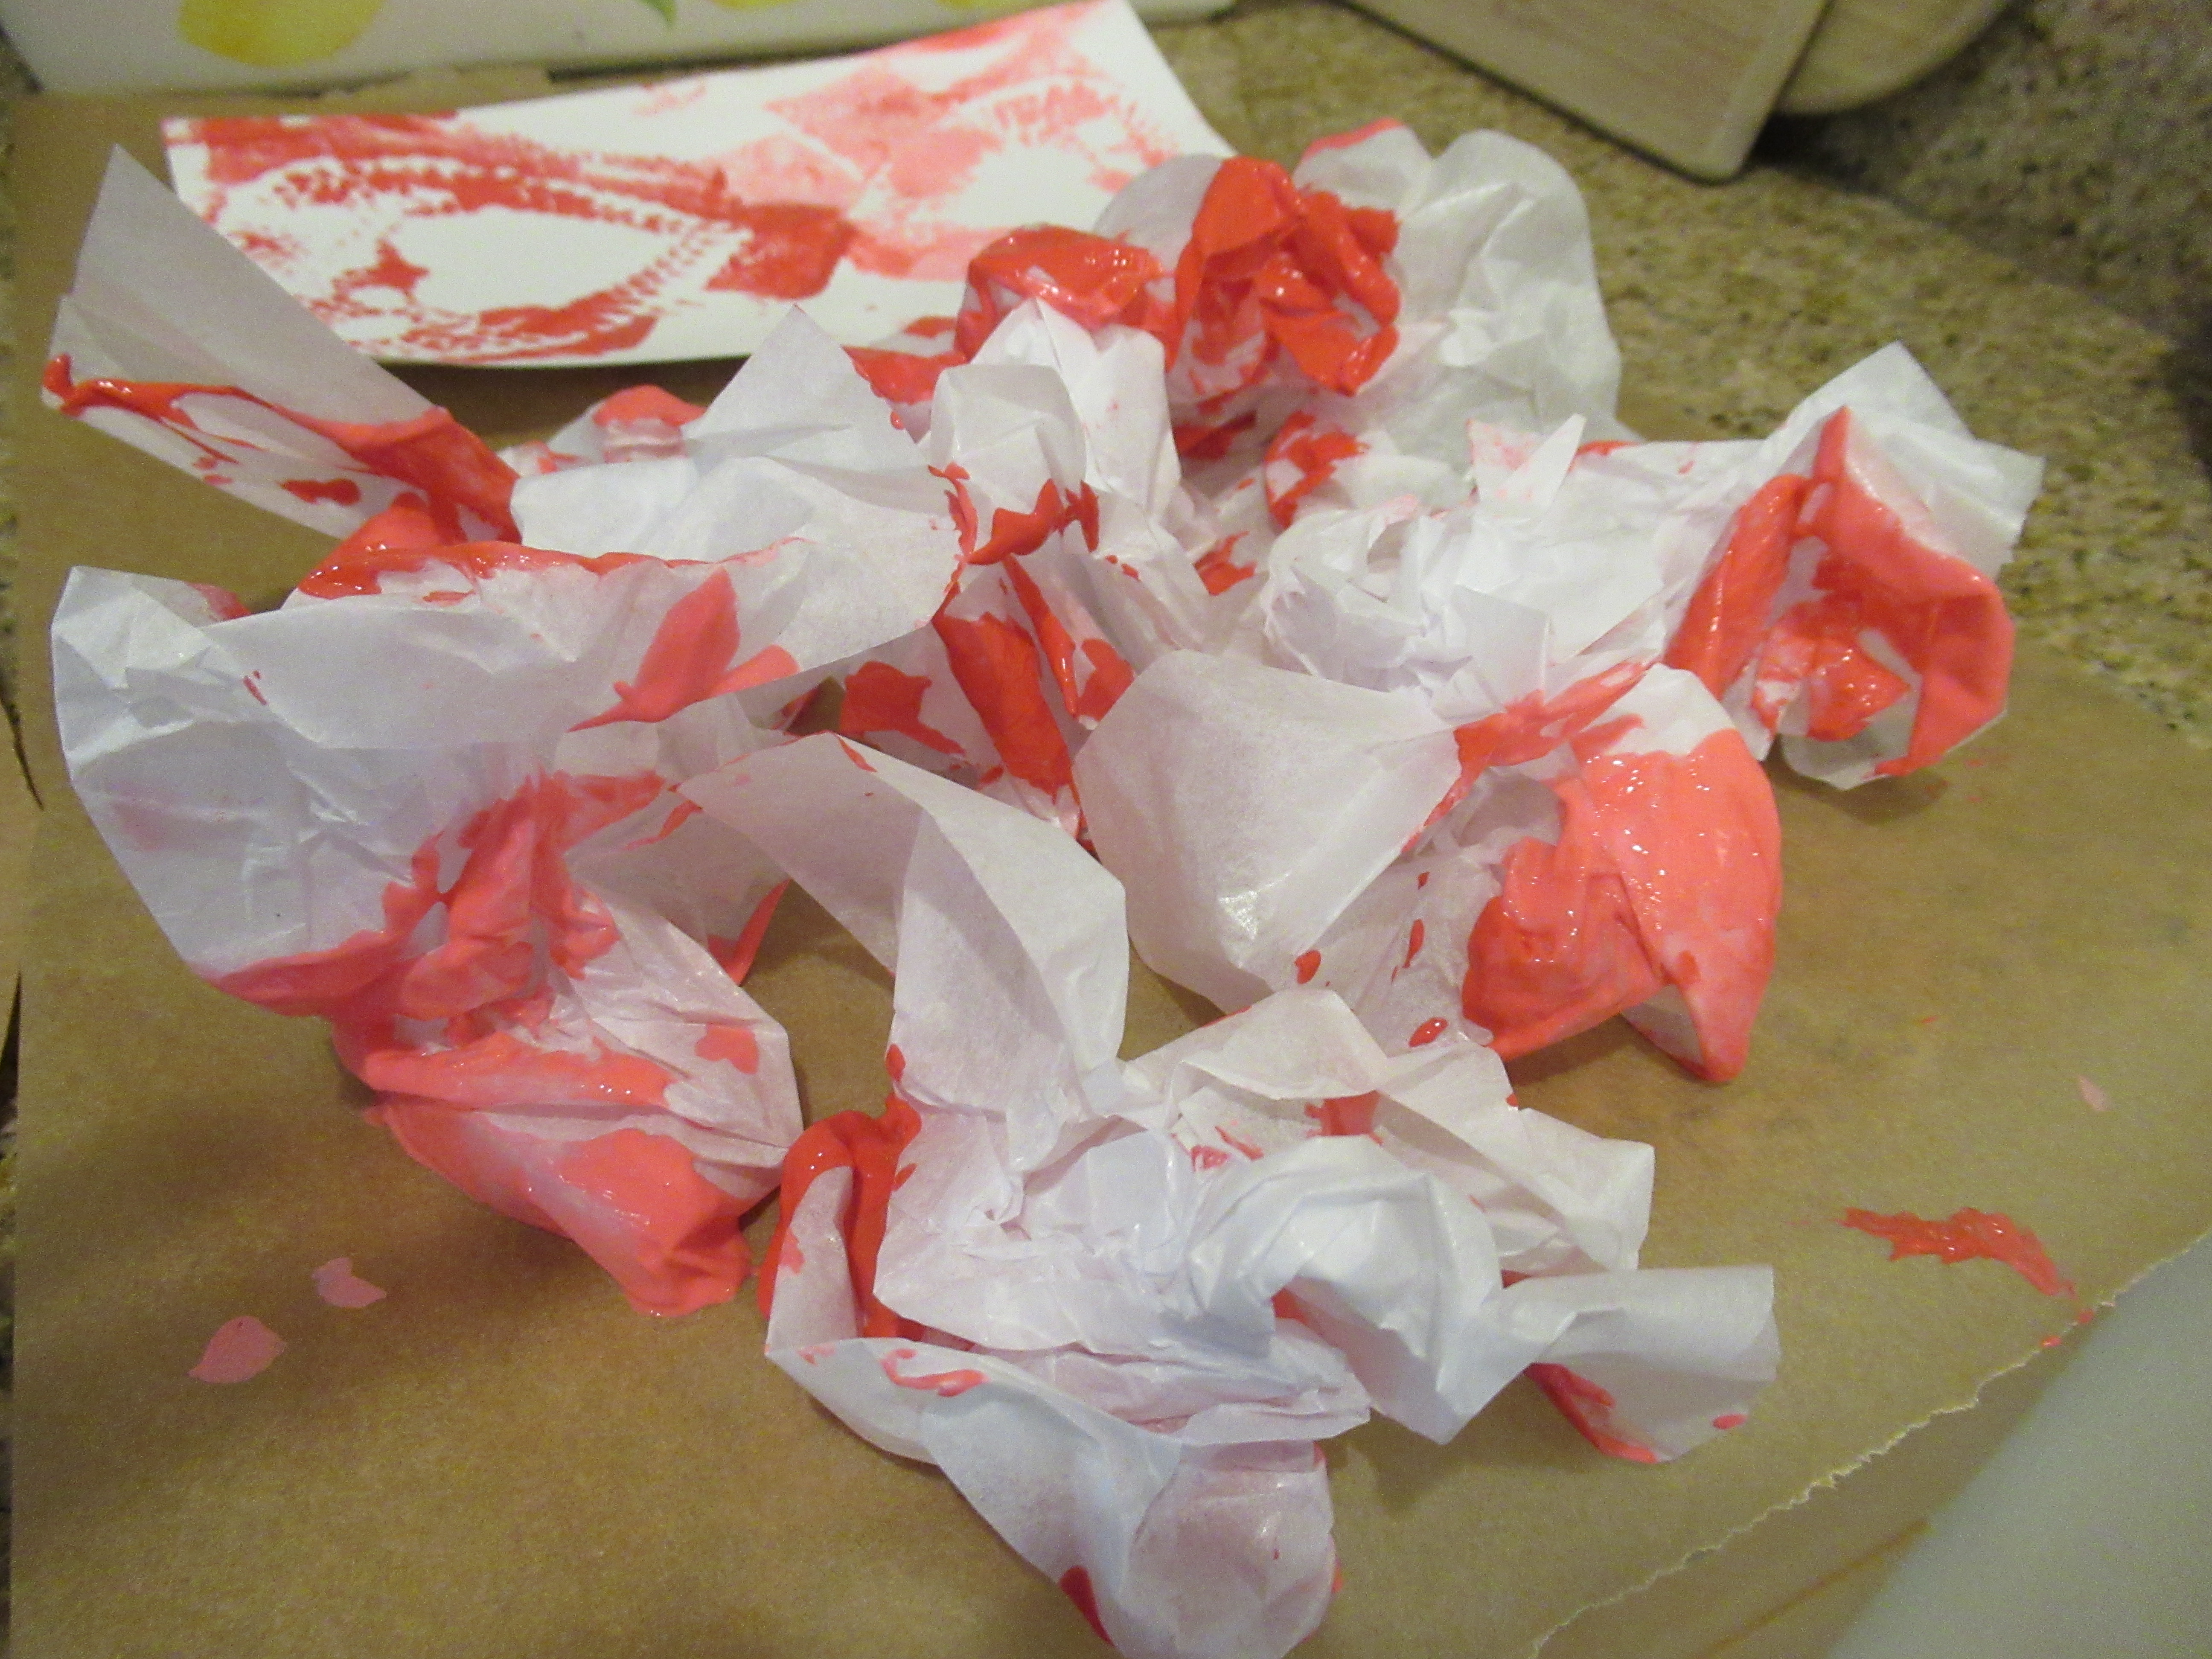
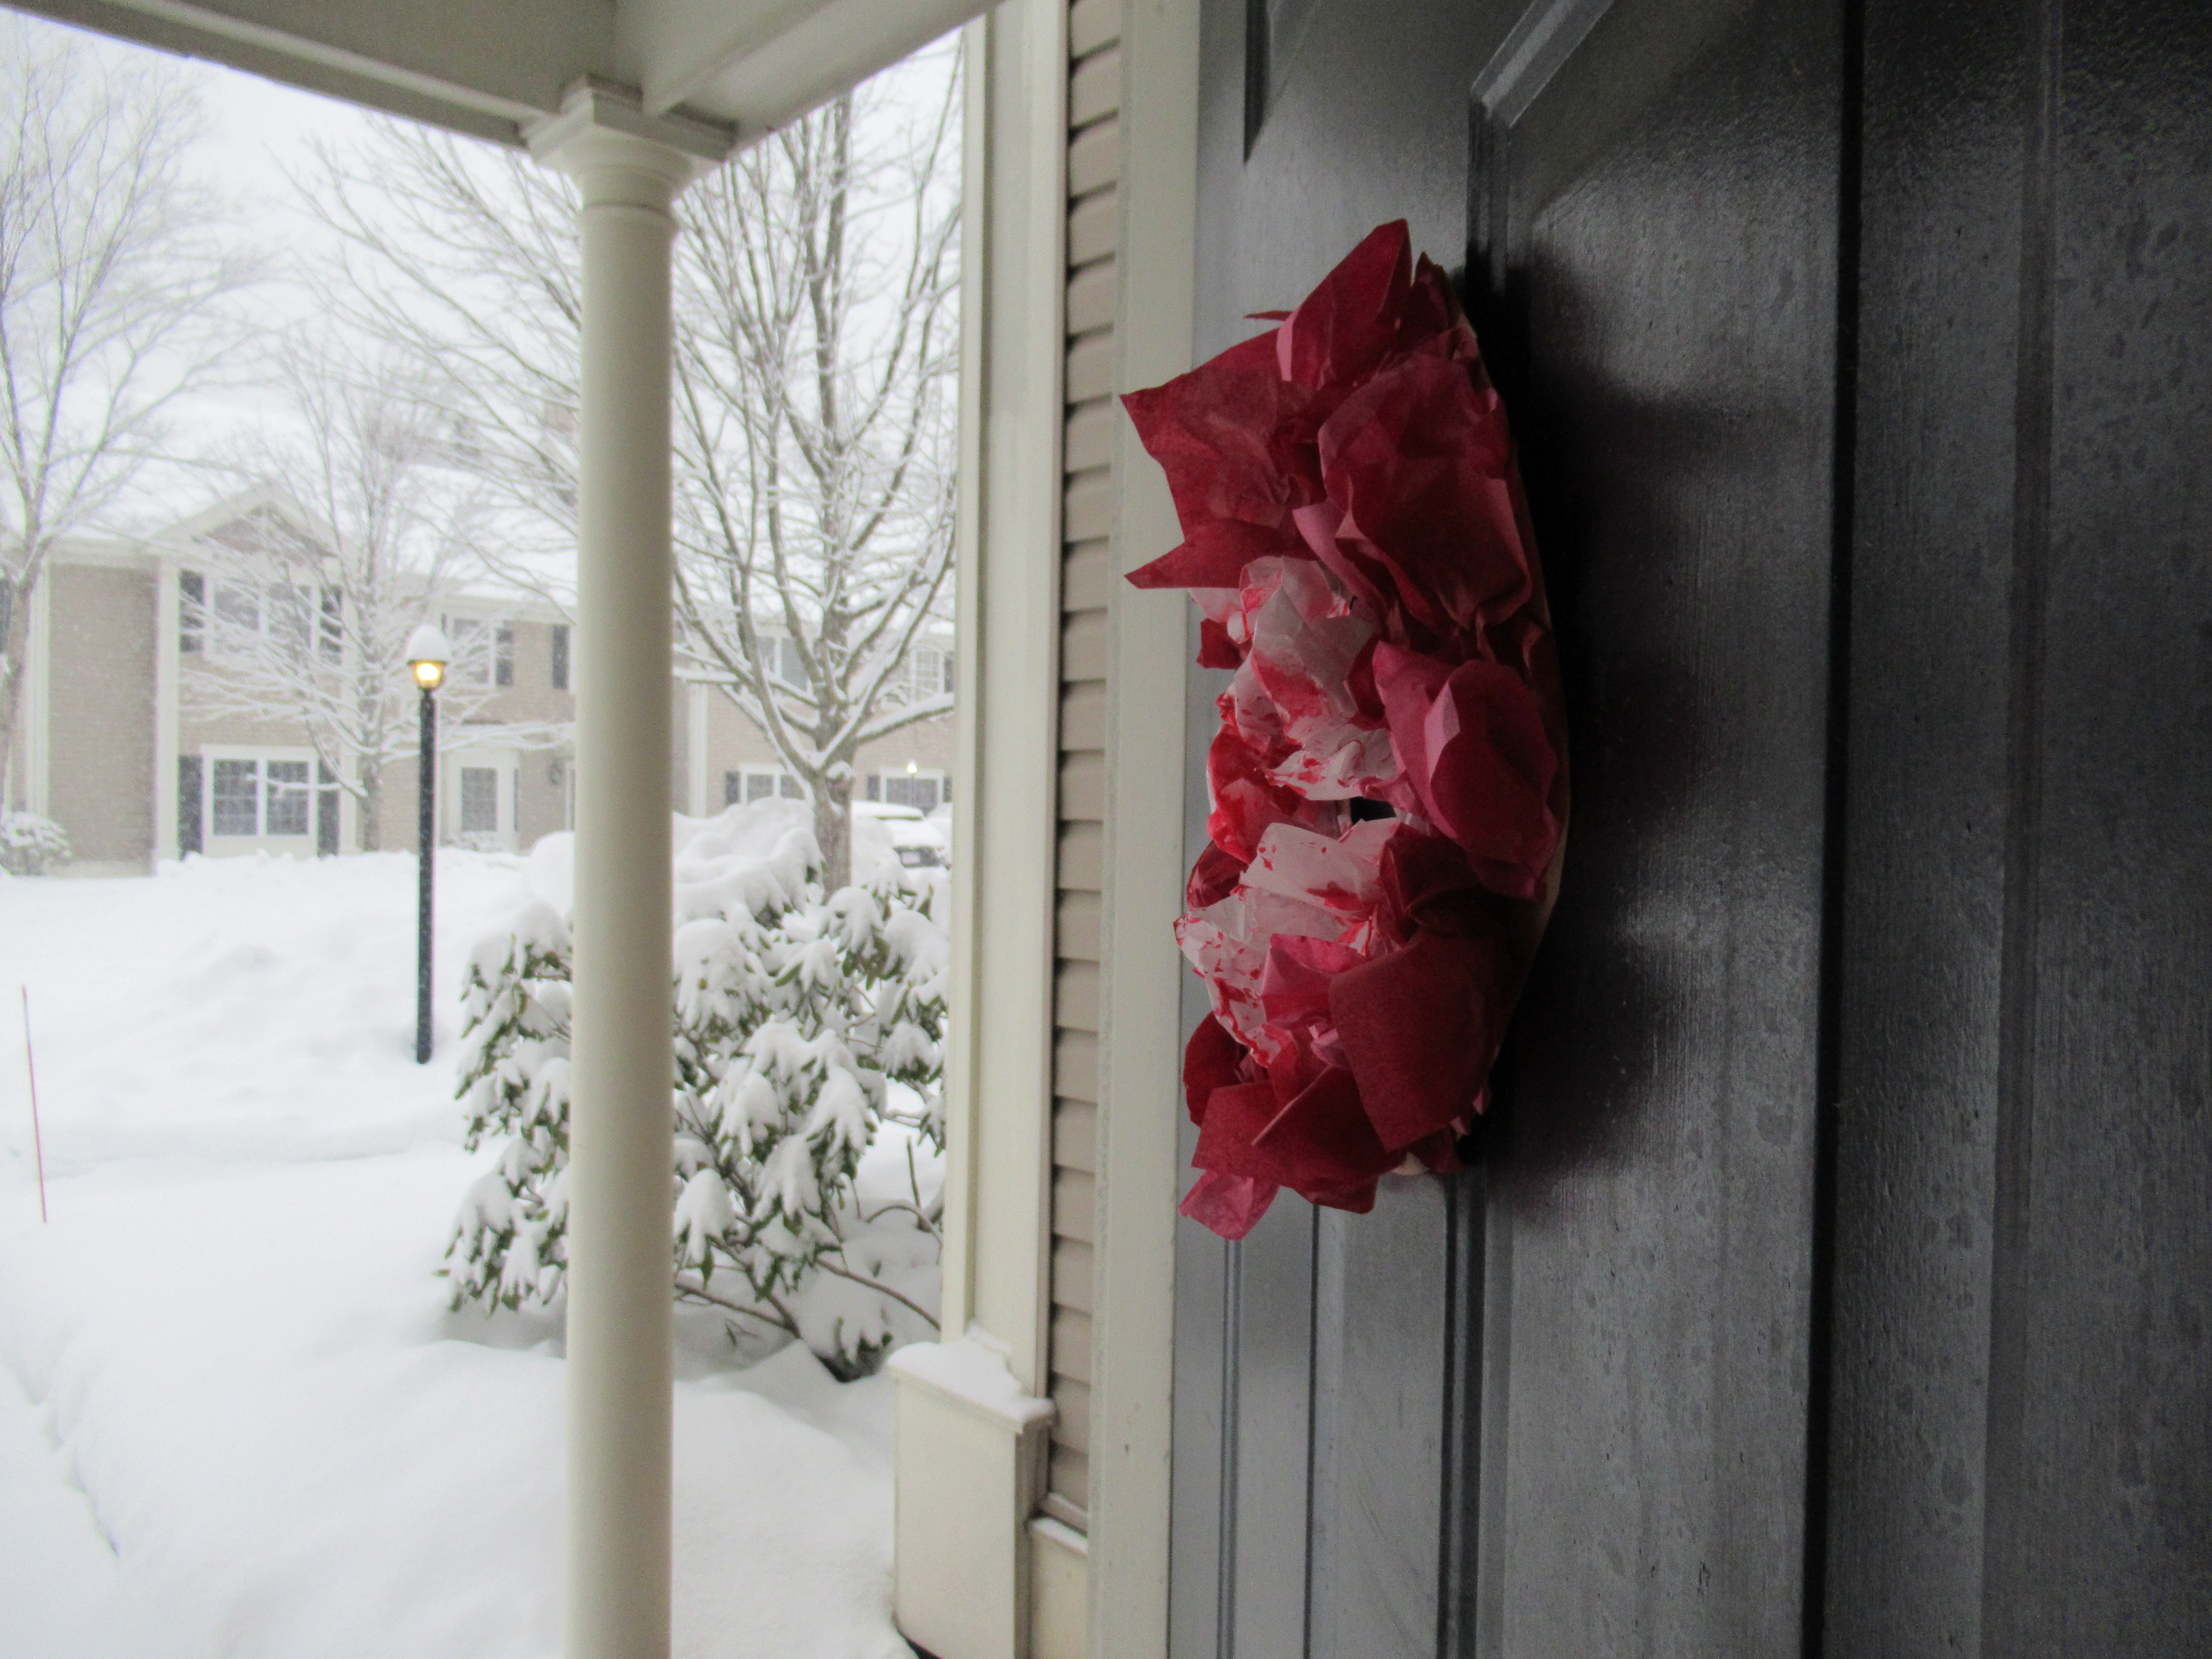
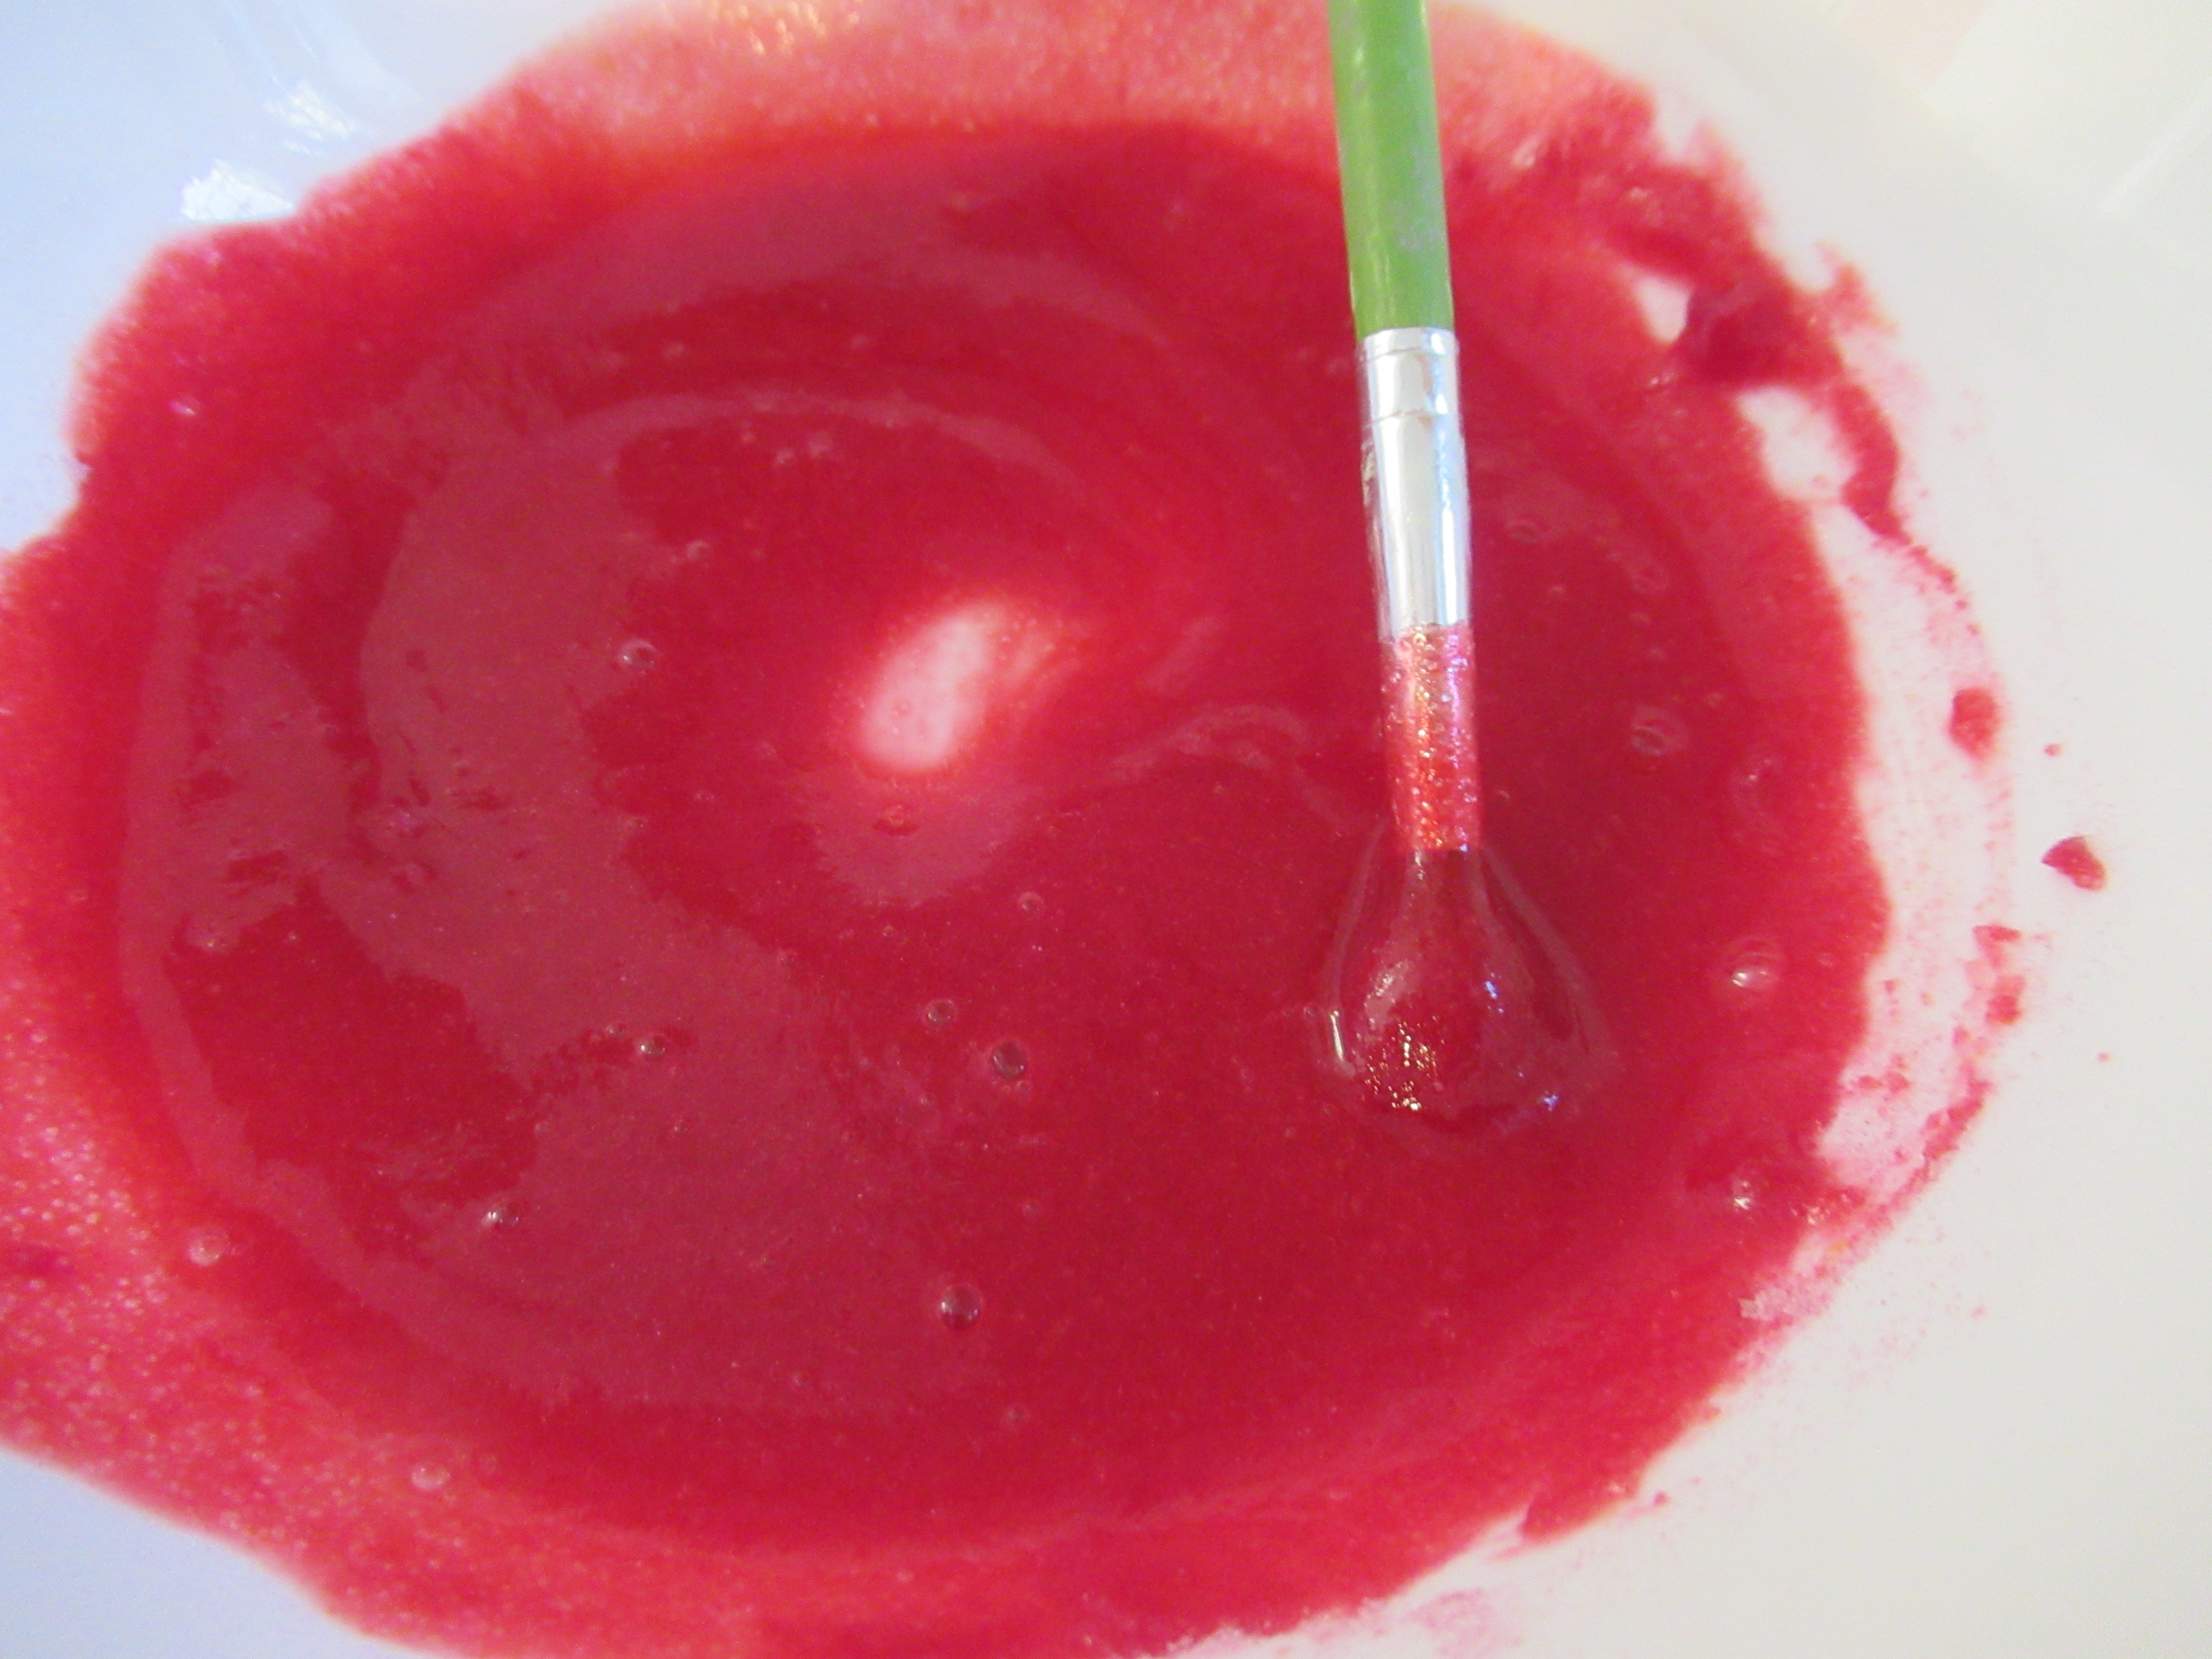
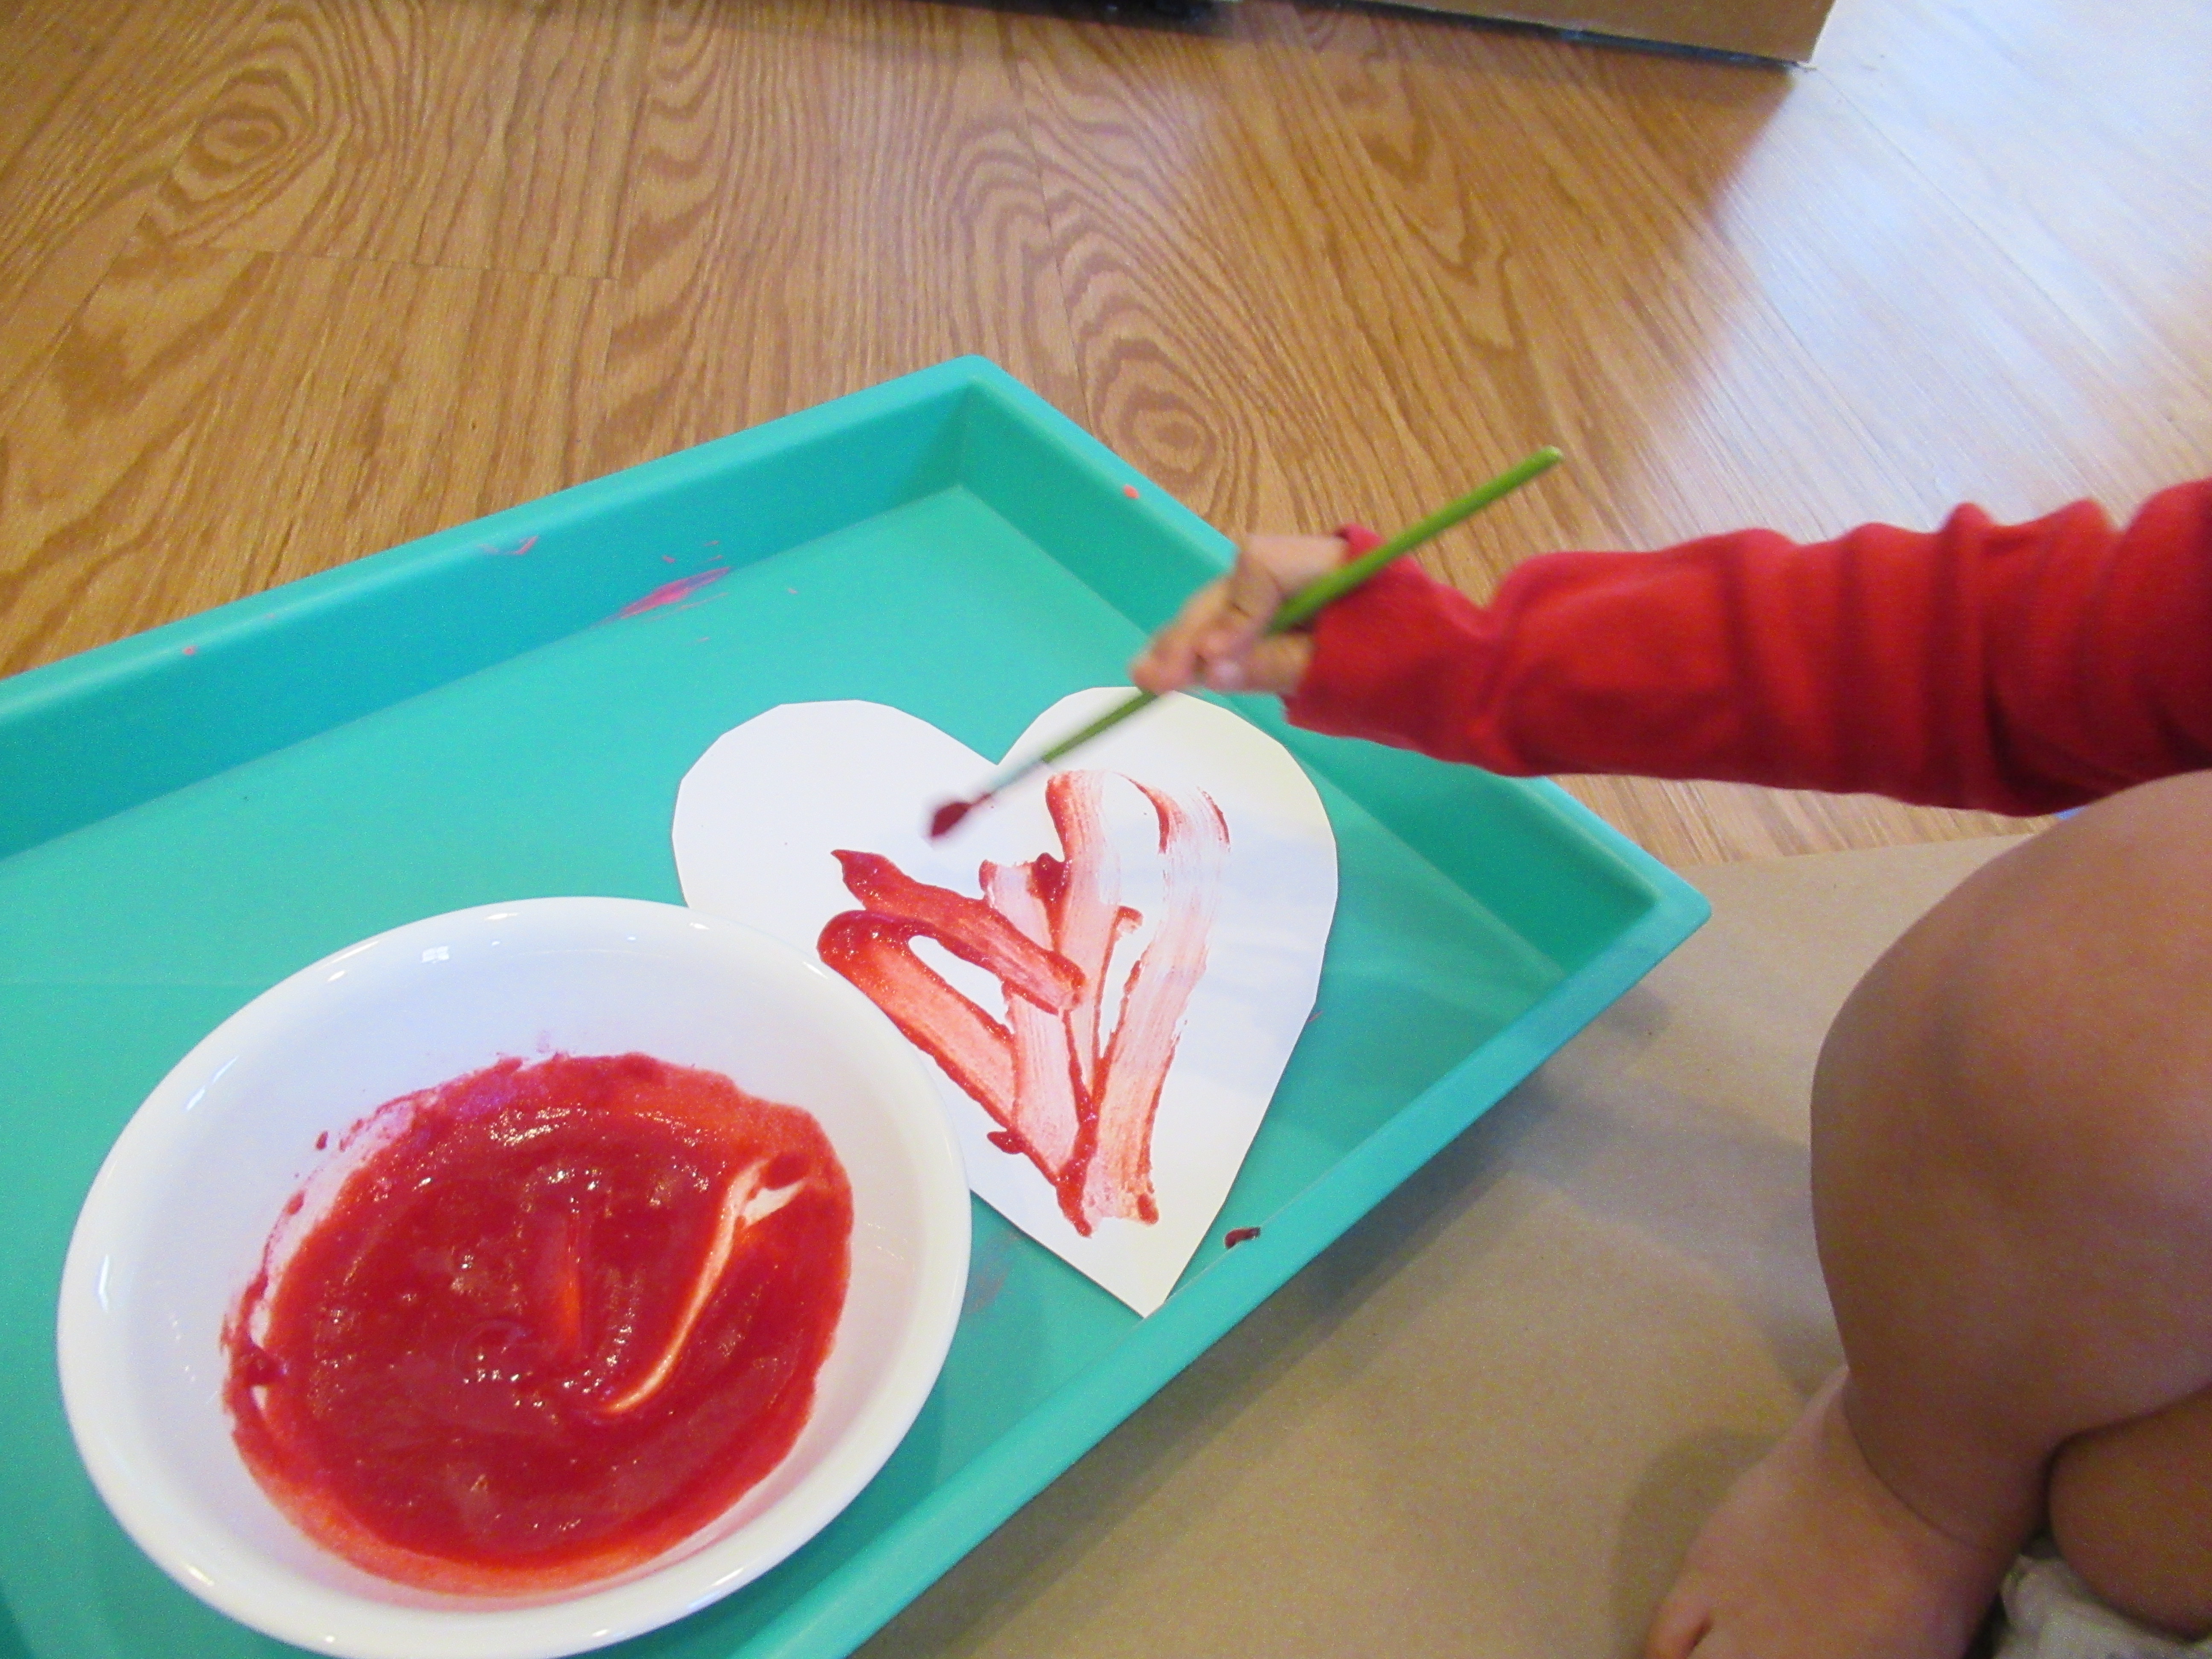
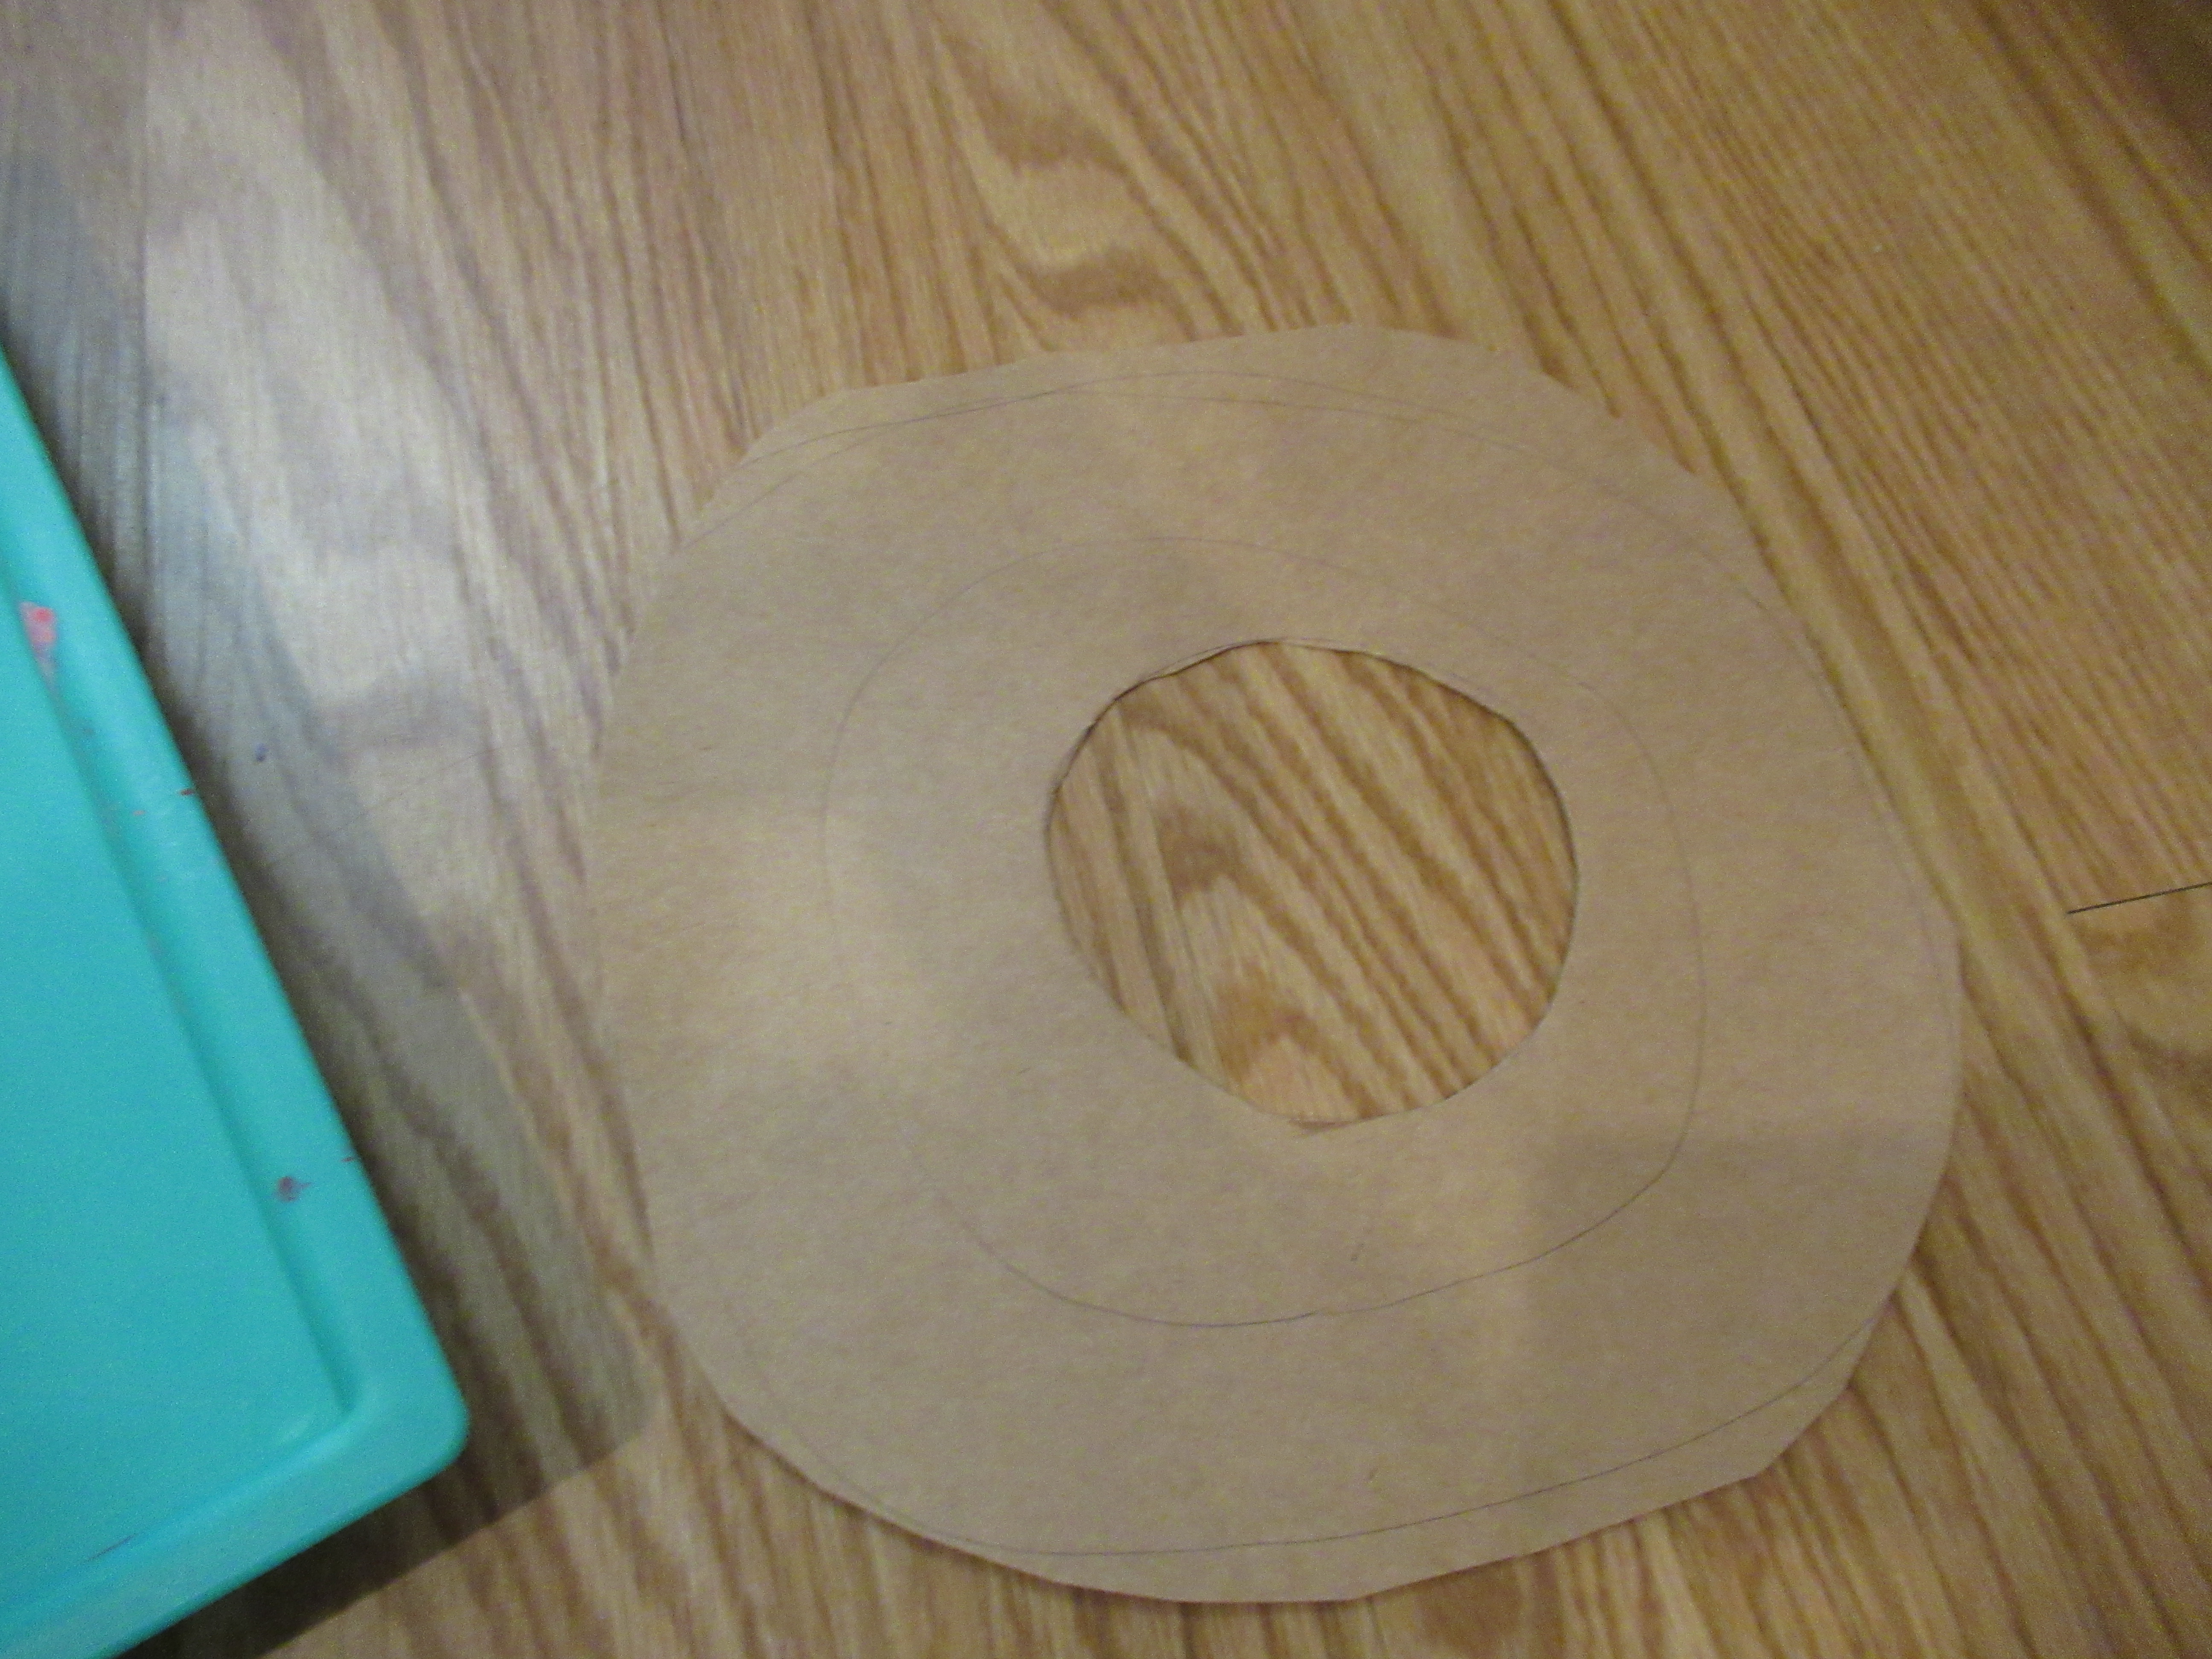
Next, I cut white tissue paper into squares about 8 inches long. I crumpled these into little “flowers” and then handed over to Veronika. Her job was to dip them in red and pink paint!

Valentine's Tissue Wreath (2)

This was way messier than I had imagined, but we set them aside to dry.

Valentine's Tissue Wreath (3)

Meanwhile, I also wadded up tissue paper that was already in shades of pink and red and stapled these around the outer rim of the cardboard circle. Once Veronika’s painted ones had dried, I stapled these along the inner rim.

If your kids want to add further details, consider painting and cutting out hearts from construction paper, or sprinkling on a dash of red glitter. We skipped those steps, though, and Veronika was delighted to help hang the wreath on the door.

Valentine's Tissue Wreath (6)

It looked so pretty and spot-in for the season, especially just after a snow storm!

Shaken Painted Hearts

Shaken Painted Hearts (6)

Veronika recently enjoyed painting with a ball dipped in paint, an idea from her Zoom Tinkergarten class. So today we put a simple Valentine’s Day twist on the activity!

I cut out a few heart shapes from construction paper, choosing pink, red, and purple as our background colors. I taped two of them at a time into the bottom of a shoebox with a lid, and added a few drops of pink paint. Make sure the paint is near the hearts, but not directly on them.

Shaken Painted Hearts (1)

Next, add any toys that can shake around! These don’t need to be round balls; in fact Veronika thought it was silly to put in some of her plastic vegetable toys. Anything plastic that can be rinsed and cleaned easily will work just fine.

Shaken Painted Hearts (2)

Close the lid and shake shake shake!

Shaken Painted Hearts (4)

We opened up the lid for the pretty reveal, with the hearts now splattered in paint.

Shaken Painted Hearts (5)

Repeat as many times as your toddler desires! These make great Valentine’s Day cards for relatives or friends, with the bonus that you can make quite a few in a short amount of time.

Jell-O Play for Valentine’s Day

Jello Paint (9)

Kids love painting with Jell-o (or vegan alternatives like the jel desserts from Simply Delish), and today we gave the activity a Valentine’s Day spin!

Instead of preparing the jel dessert, I simply stirred a packet of red powder (strawberry flavored) into a dish with a little water. We instantly had a gorgeous red paint that smelled incredible!

Jello Paint (1)

It’s hard to say which Veronika enjoyed more: smelling the paint or smearing it all over the white heart shape I had cut out!

Jello Paint (5)

The paint sets and dries nicely, and Veronika kept trotting over to this holiday decoration to say, “It smells really good!” She’ll display this one with pride until Valentine’s Day is over.

Jello Paint (10)

Meanwhile, I also prepared two more batches of the jel dessert (in yellow and orange) according to the true directions. That meant we had nice blobs to “paint” with, too.

Jello Paint (6)

You can set down dollops of it for a toddler on a large sheet of paper (or right on a high chair tray for a baby!) and simply let the smashing and painting fun begin. Don’t be surprised if the play tempts older kids, too; my 6-year-old came running over, because Lego figures trapped in Jell-o are decidedly good fun.

Jello Paint (3)