Scratch, Roll, and Resist Valentine Art

Scratch Roll Resist Vday (8)

Veronika has made tape resist art before, but with this clever idea from Hands on As We Grow, she now had a chance to combine that art method with two others! I loved the mix of tools that went into this craft, making it a great way to hone a toddler’s fine motor skills.

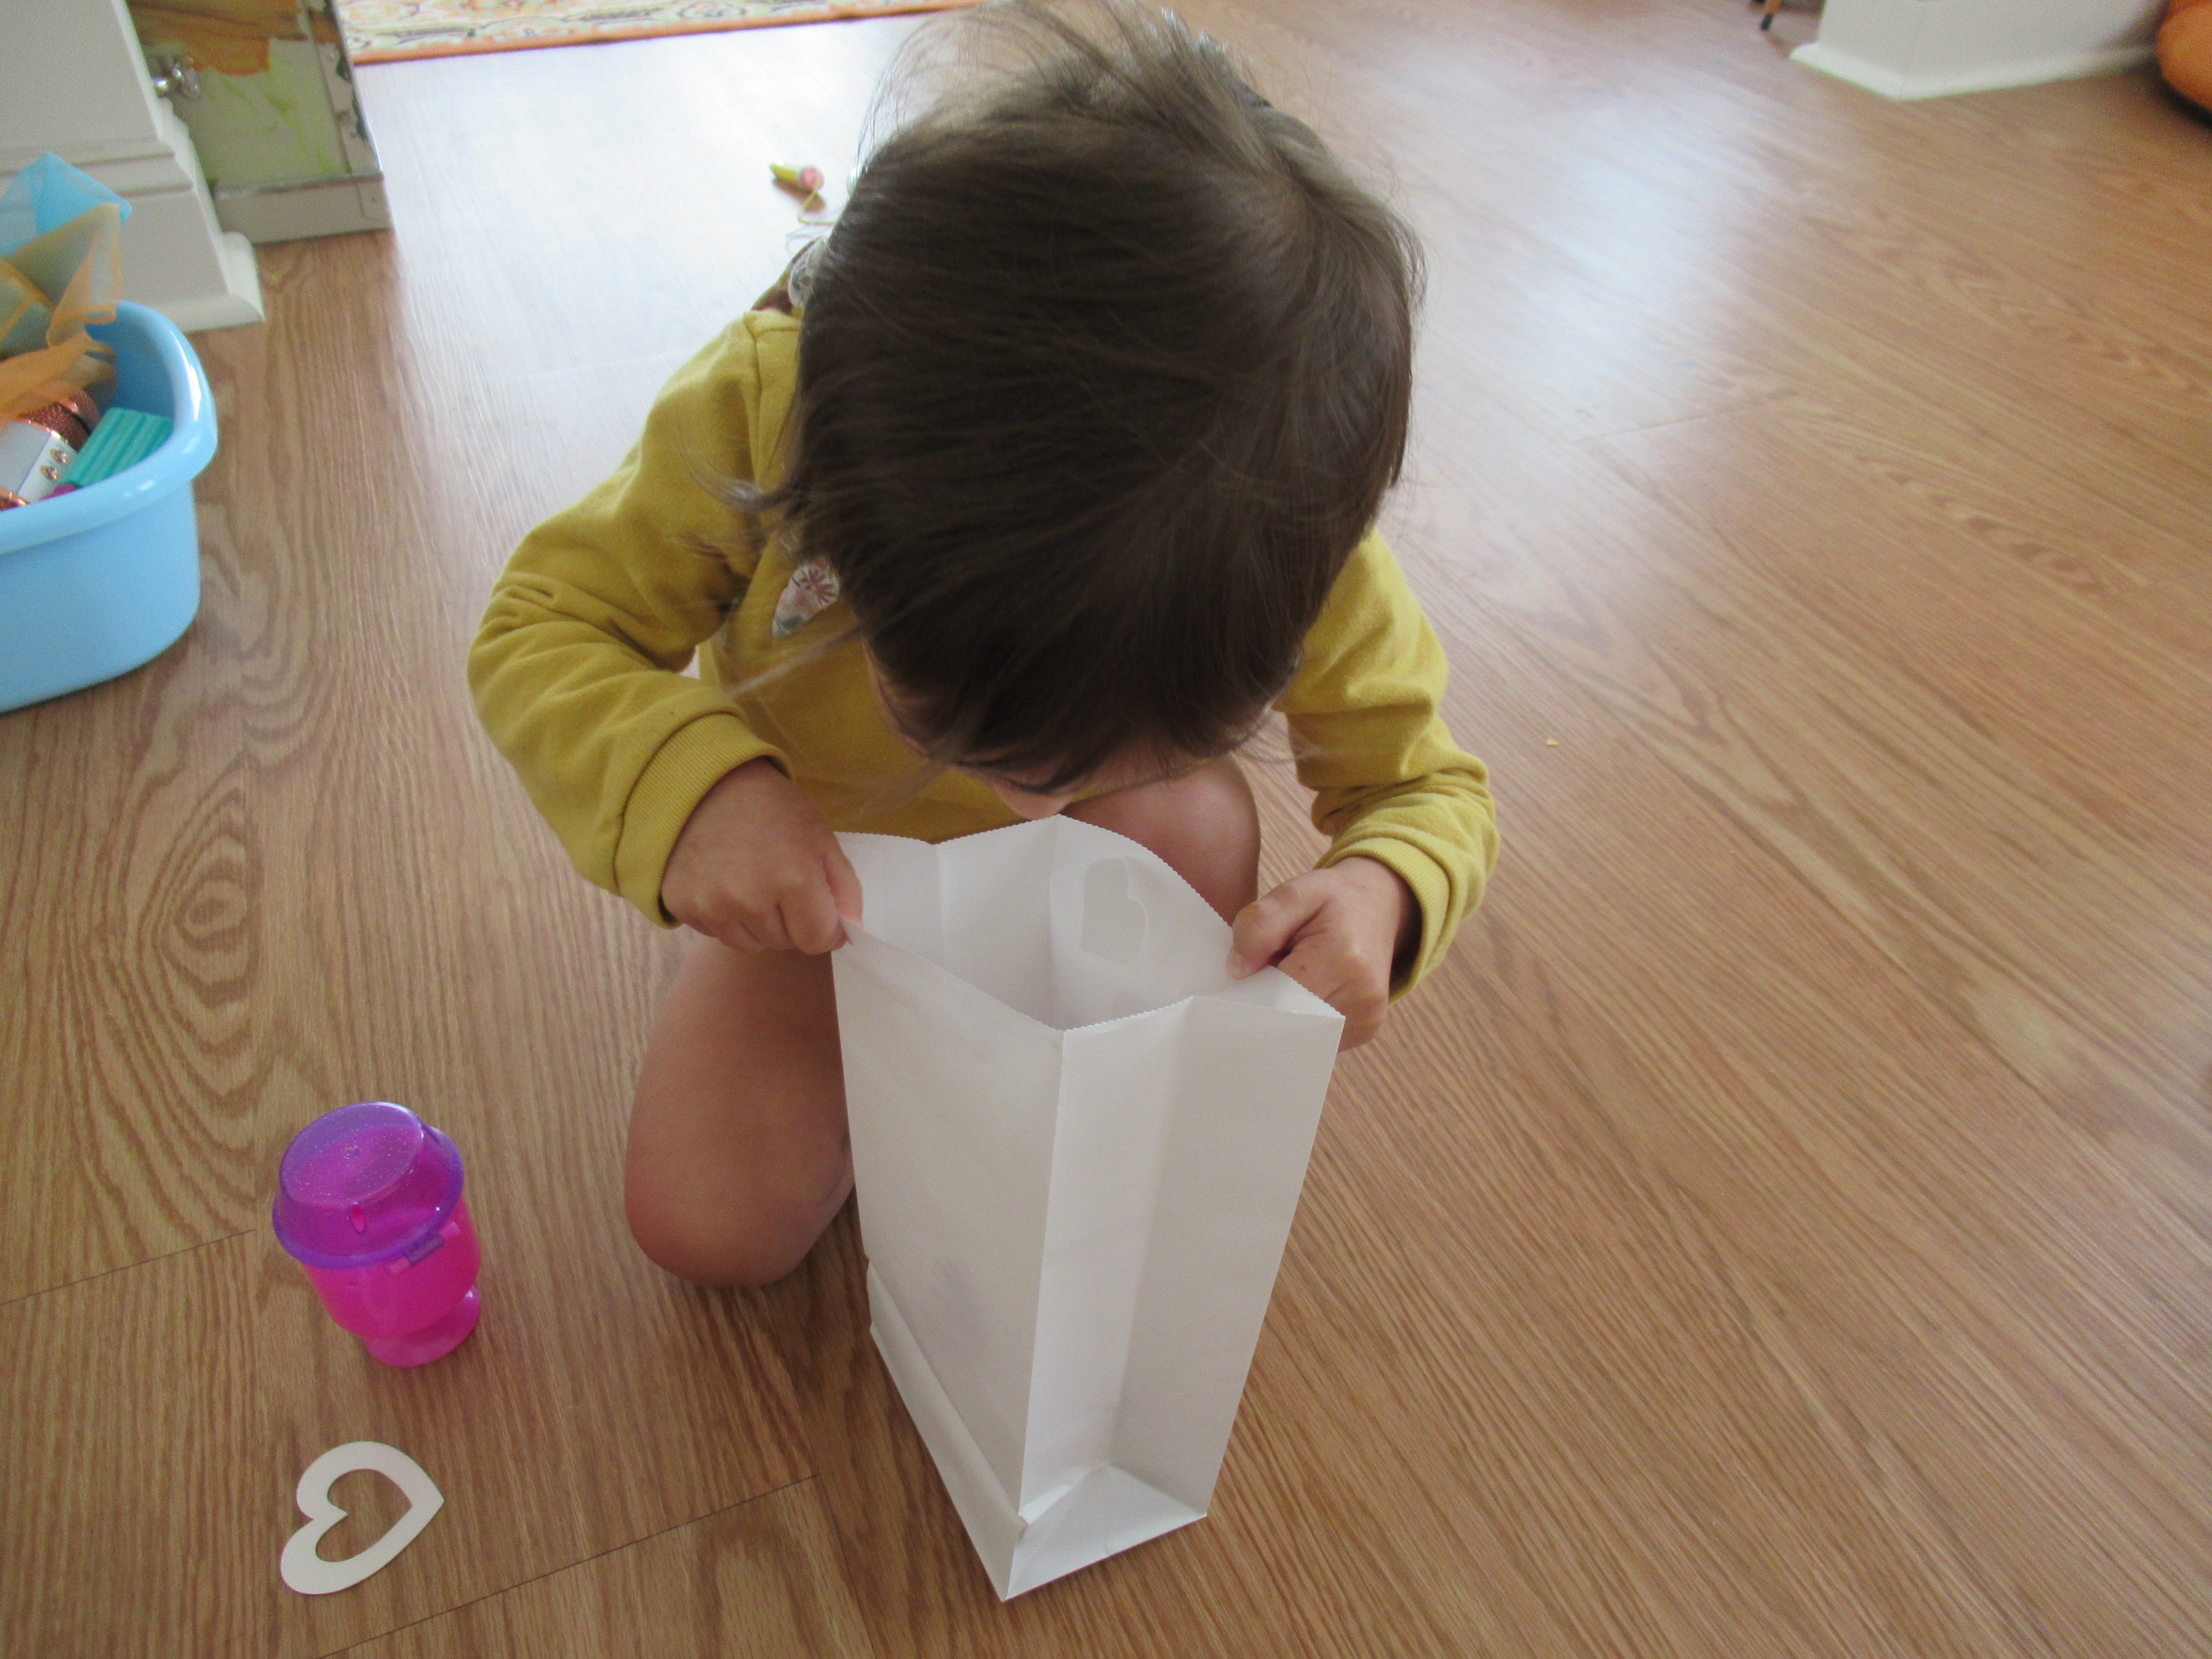
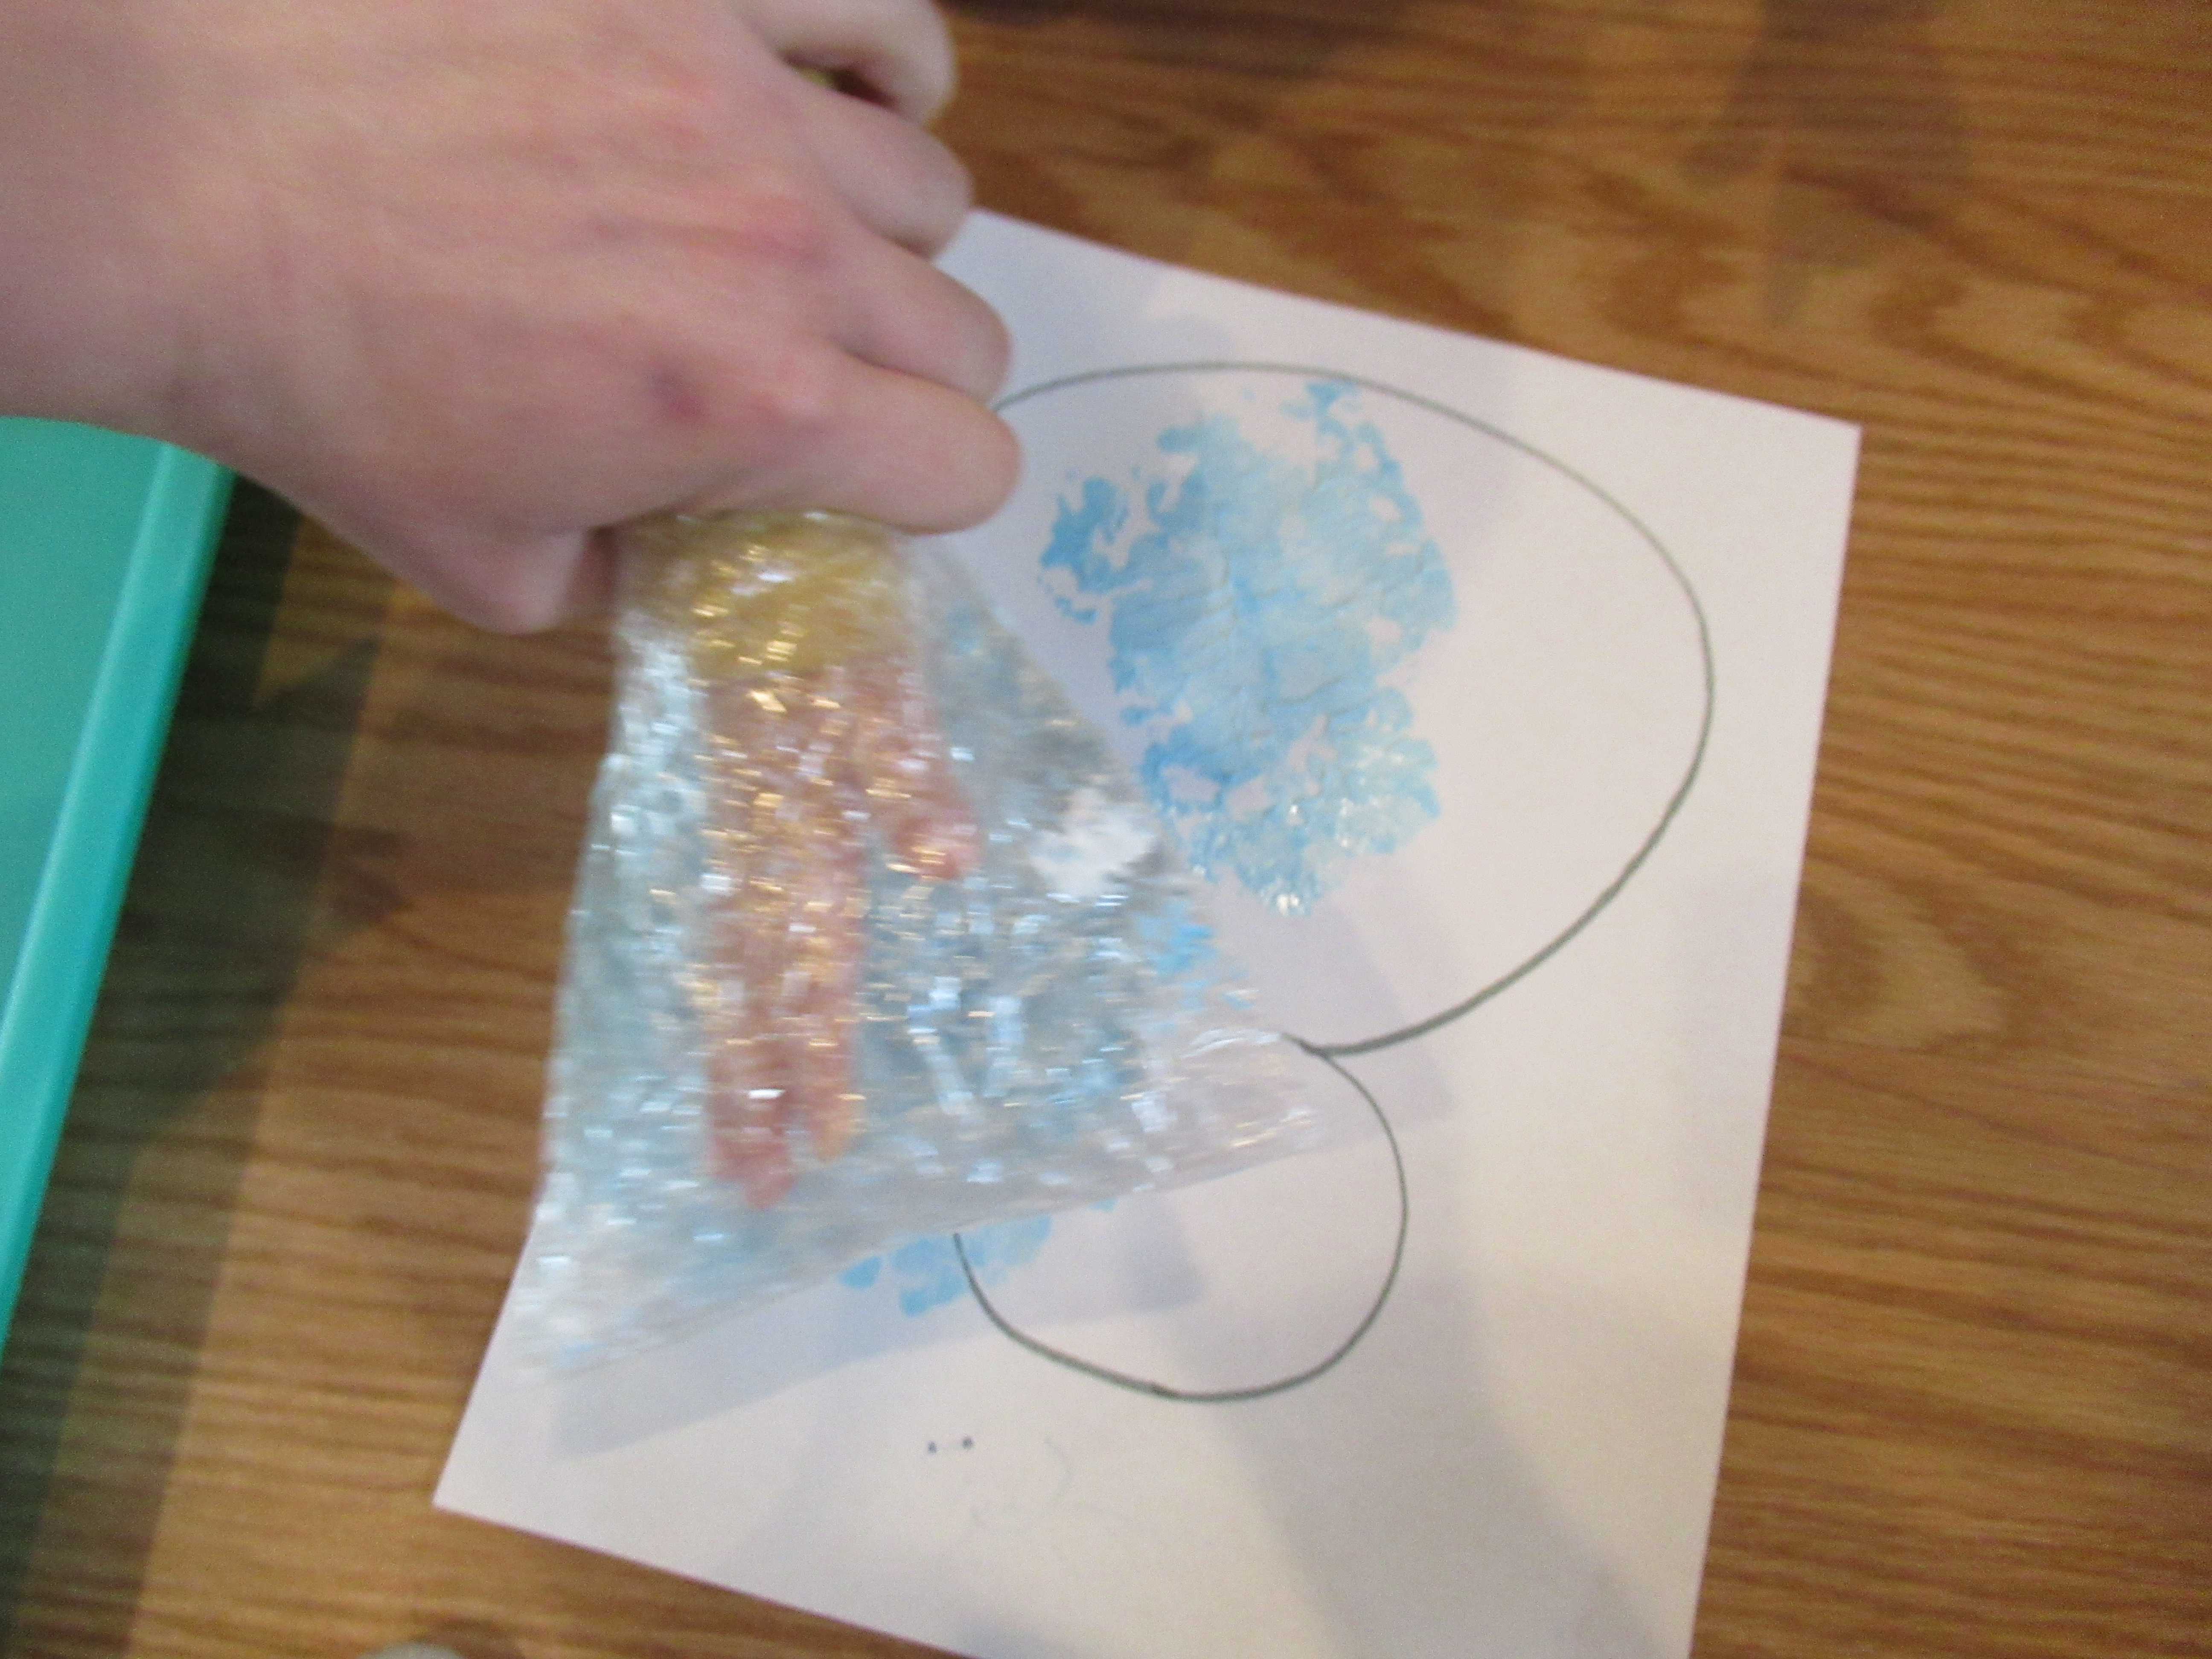
To start, I used painter’s tape to create a heart shape on a piece of sturdy white paper. Smaller pieces of tape work best for the curvy parts of the heart.

Scratch Roll Resist Vday (1)

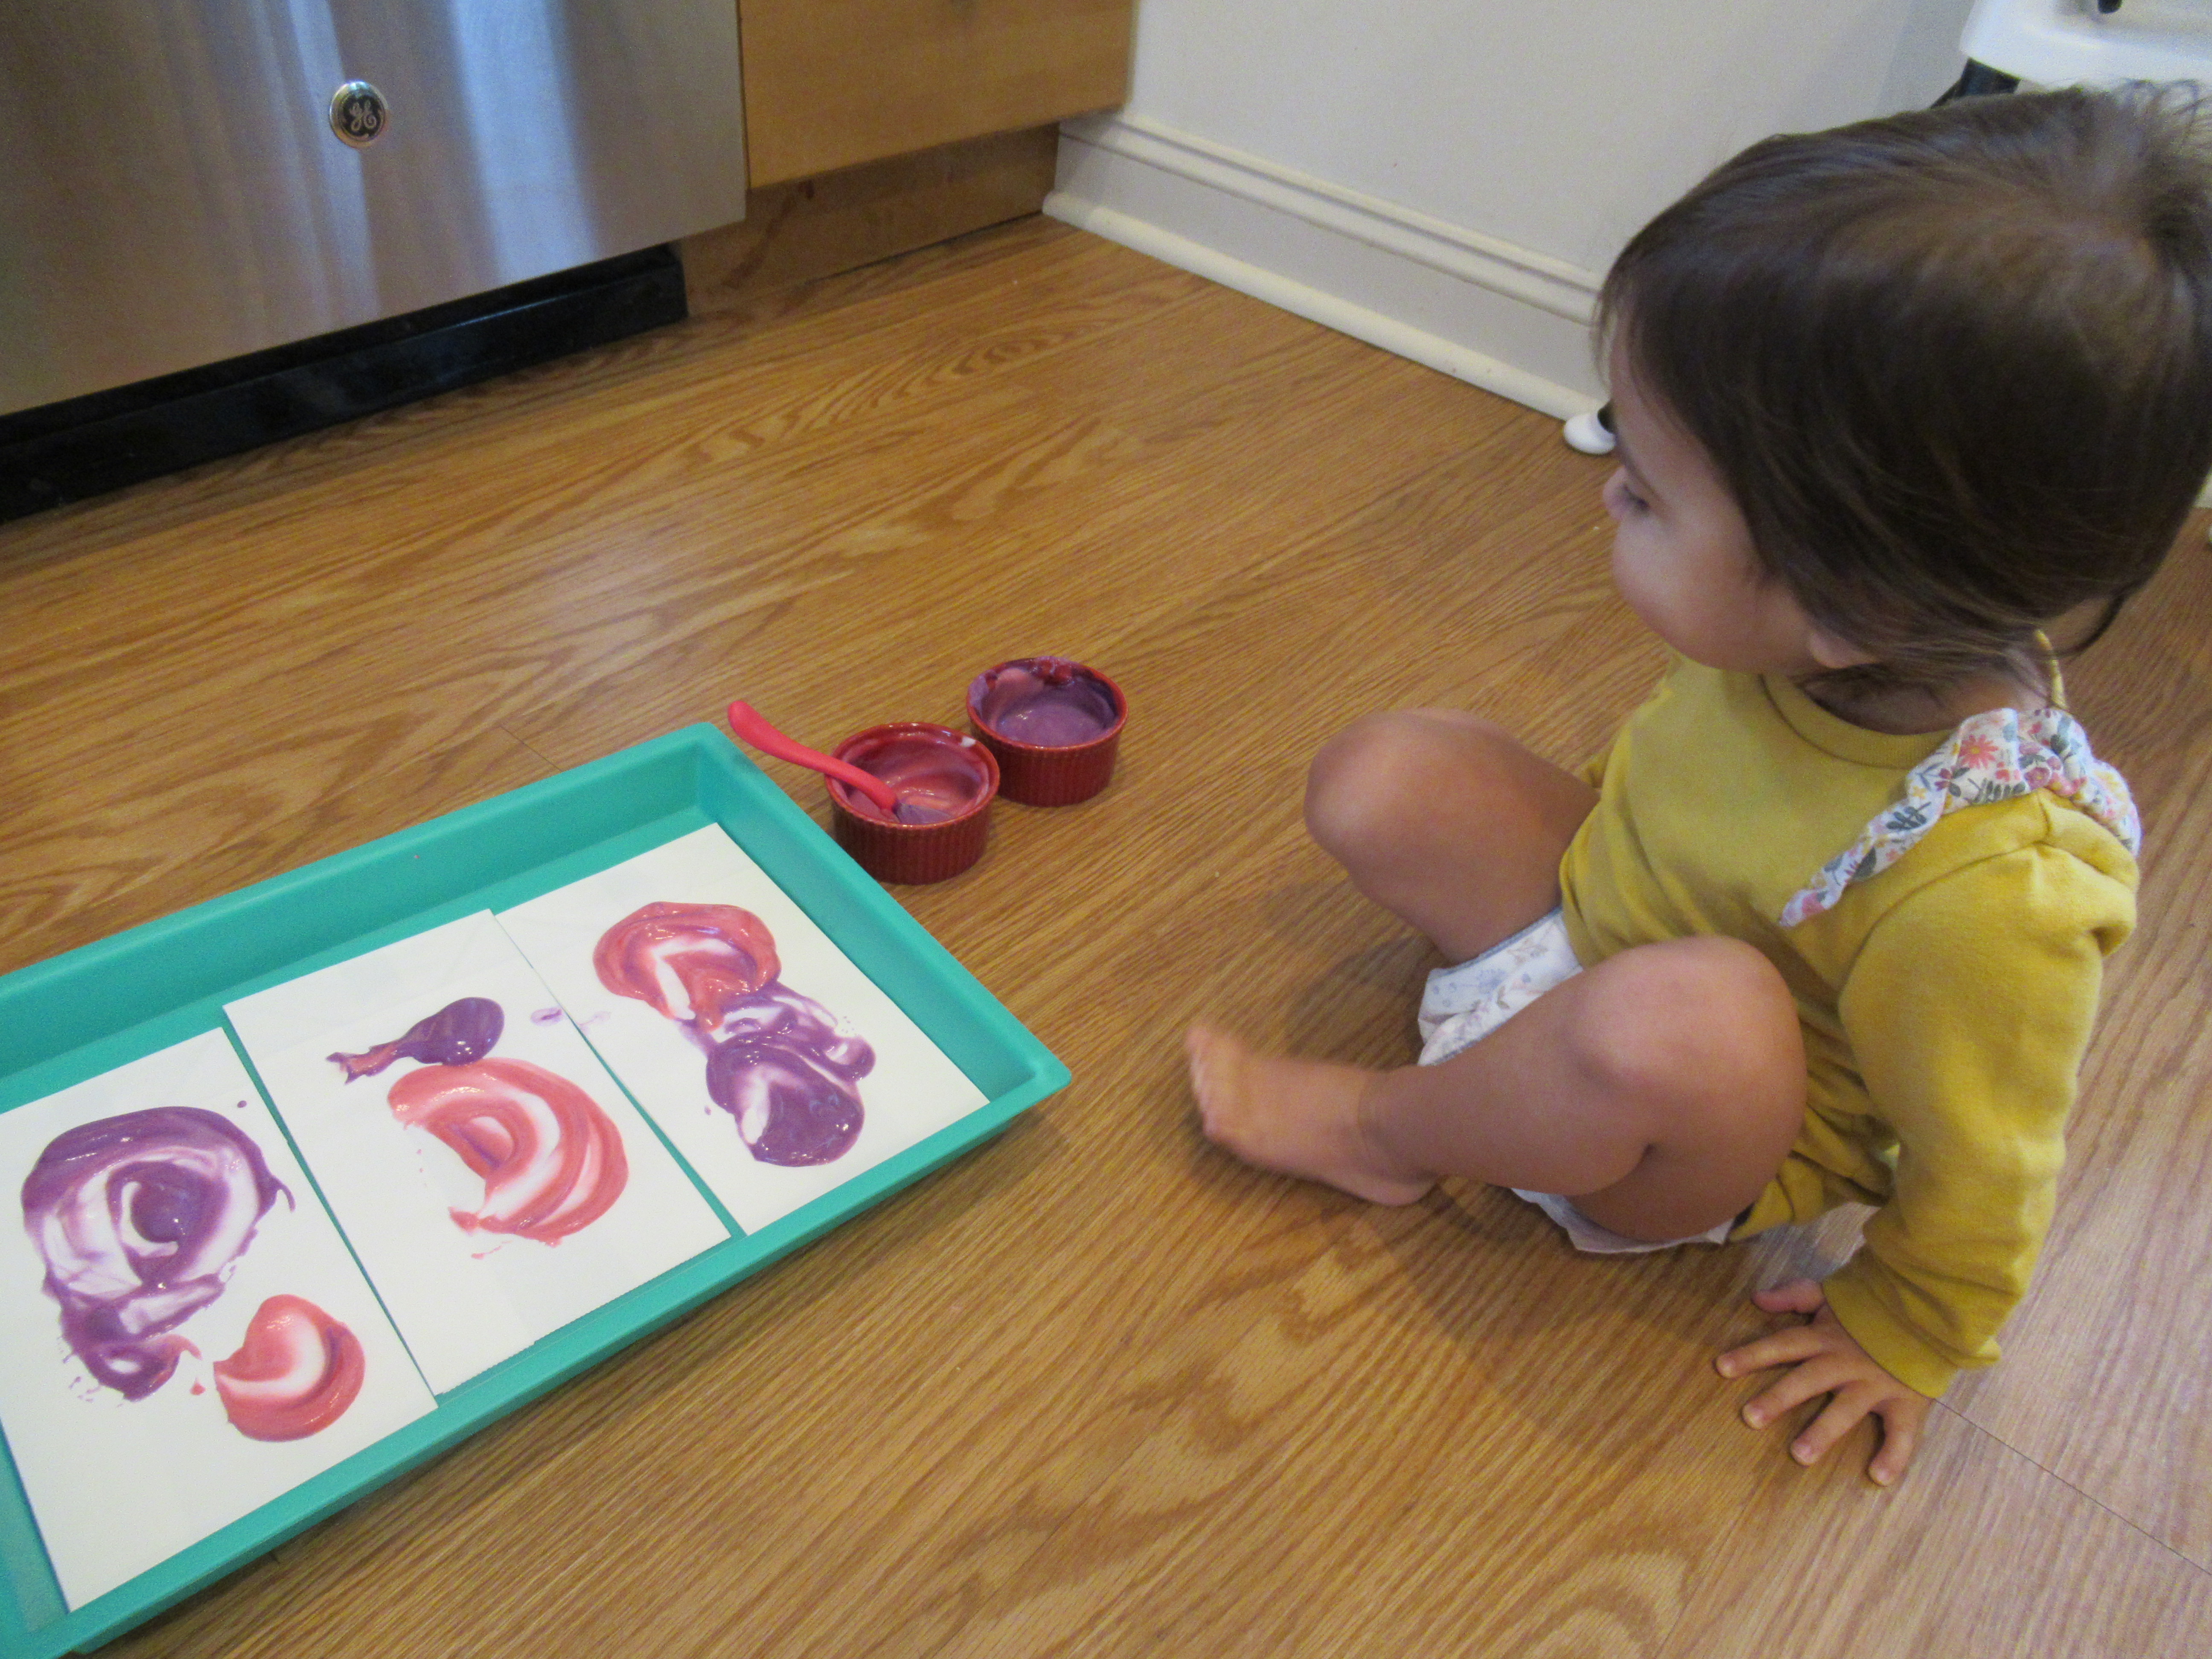
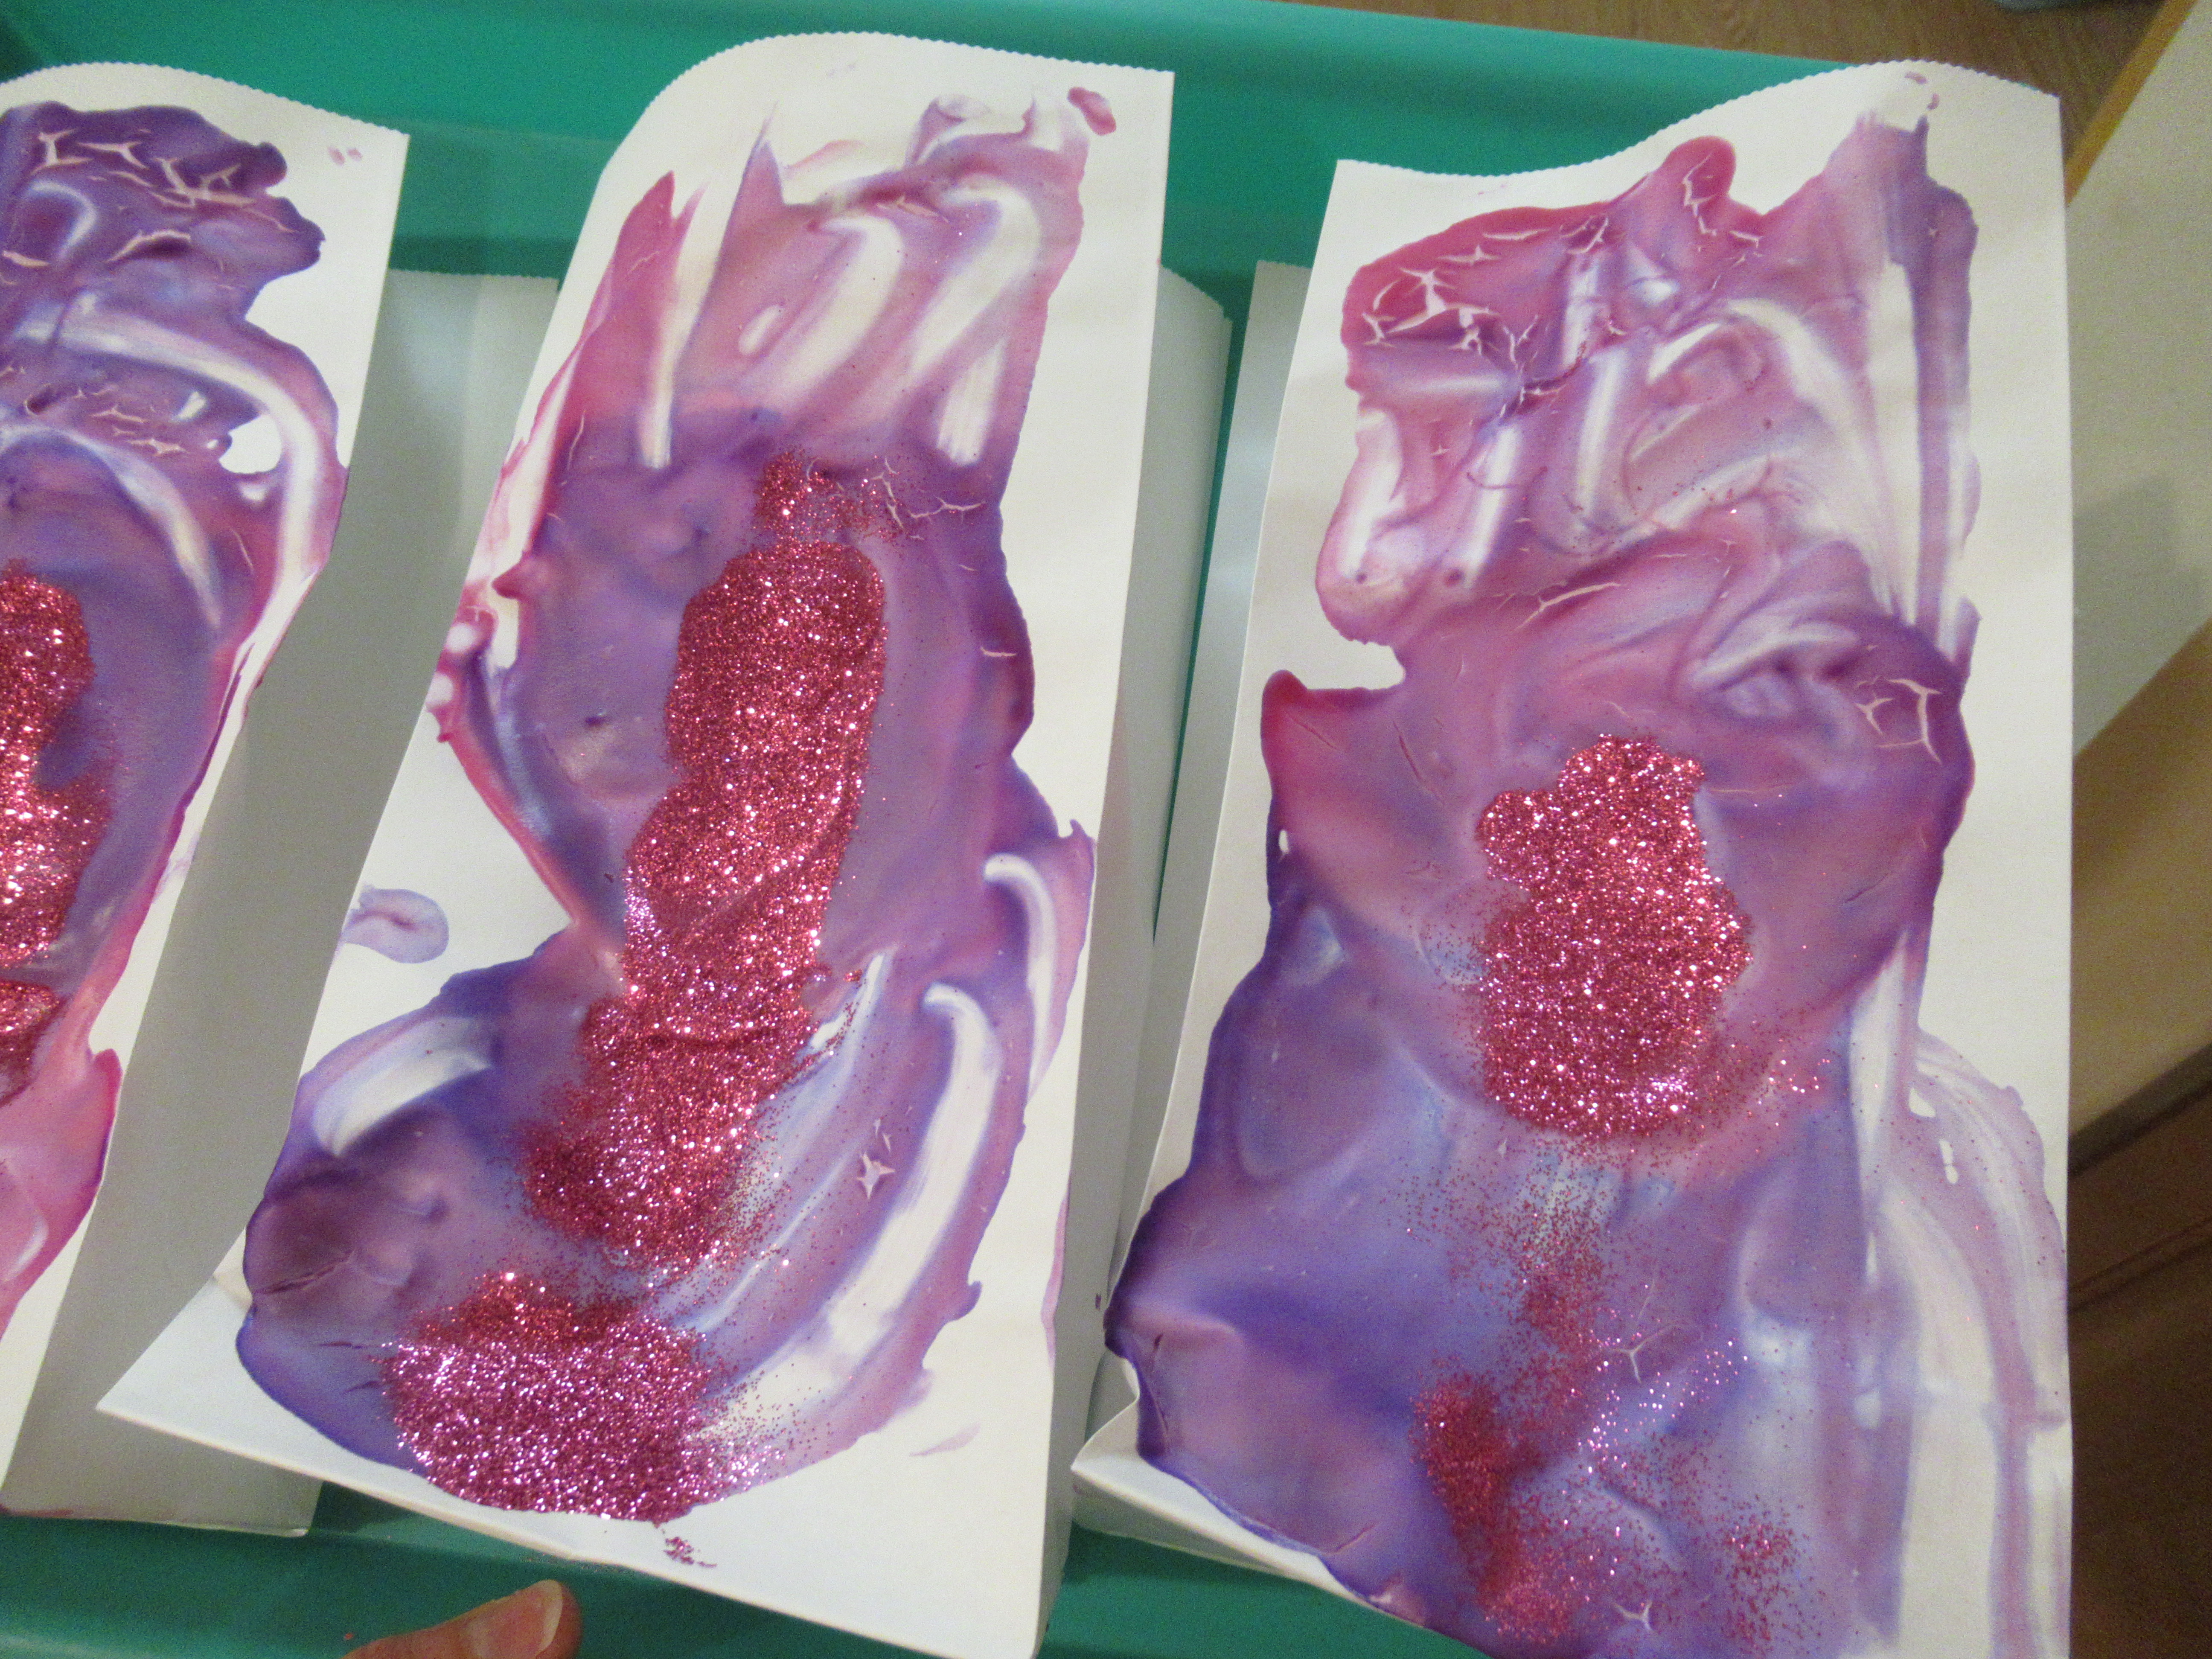
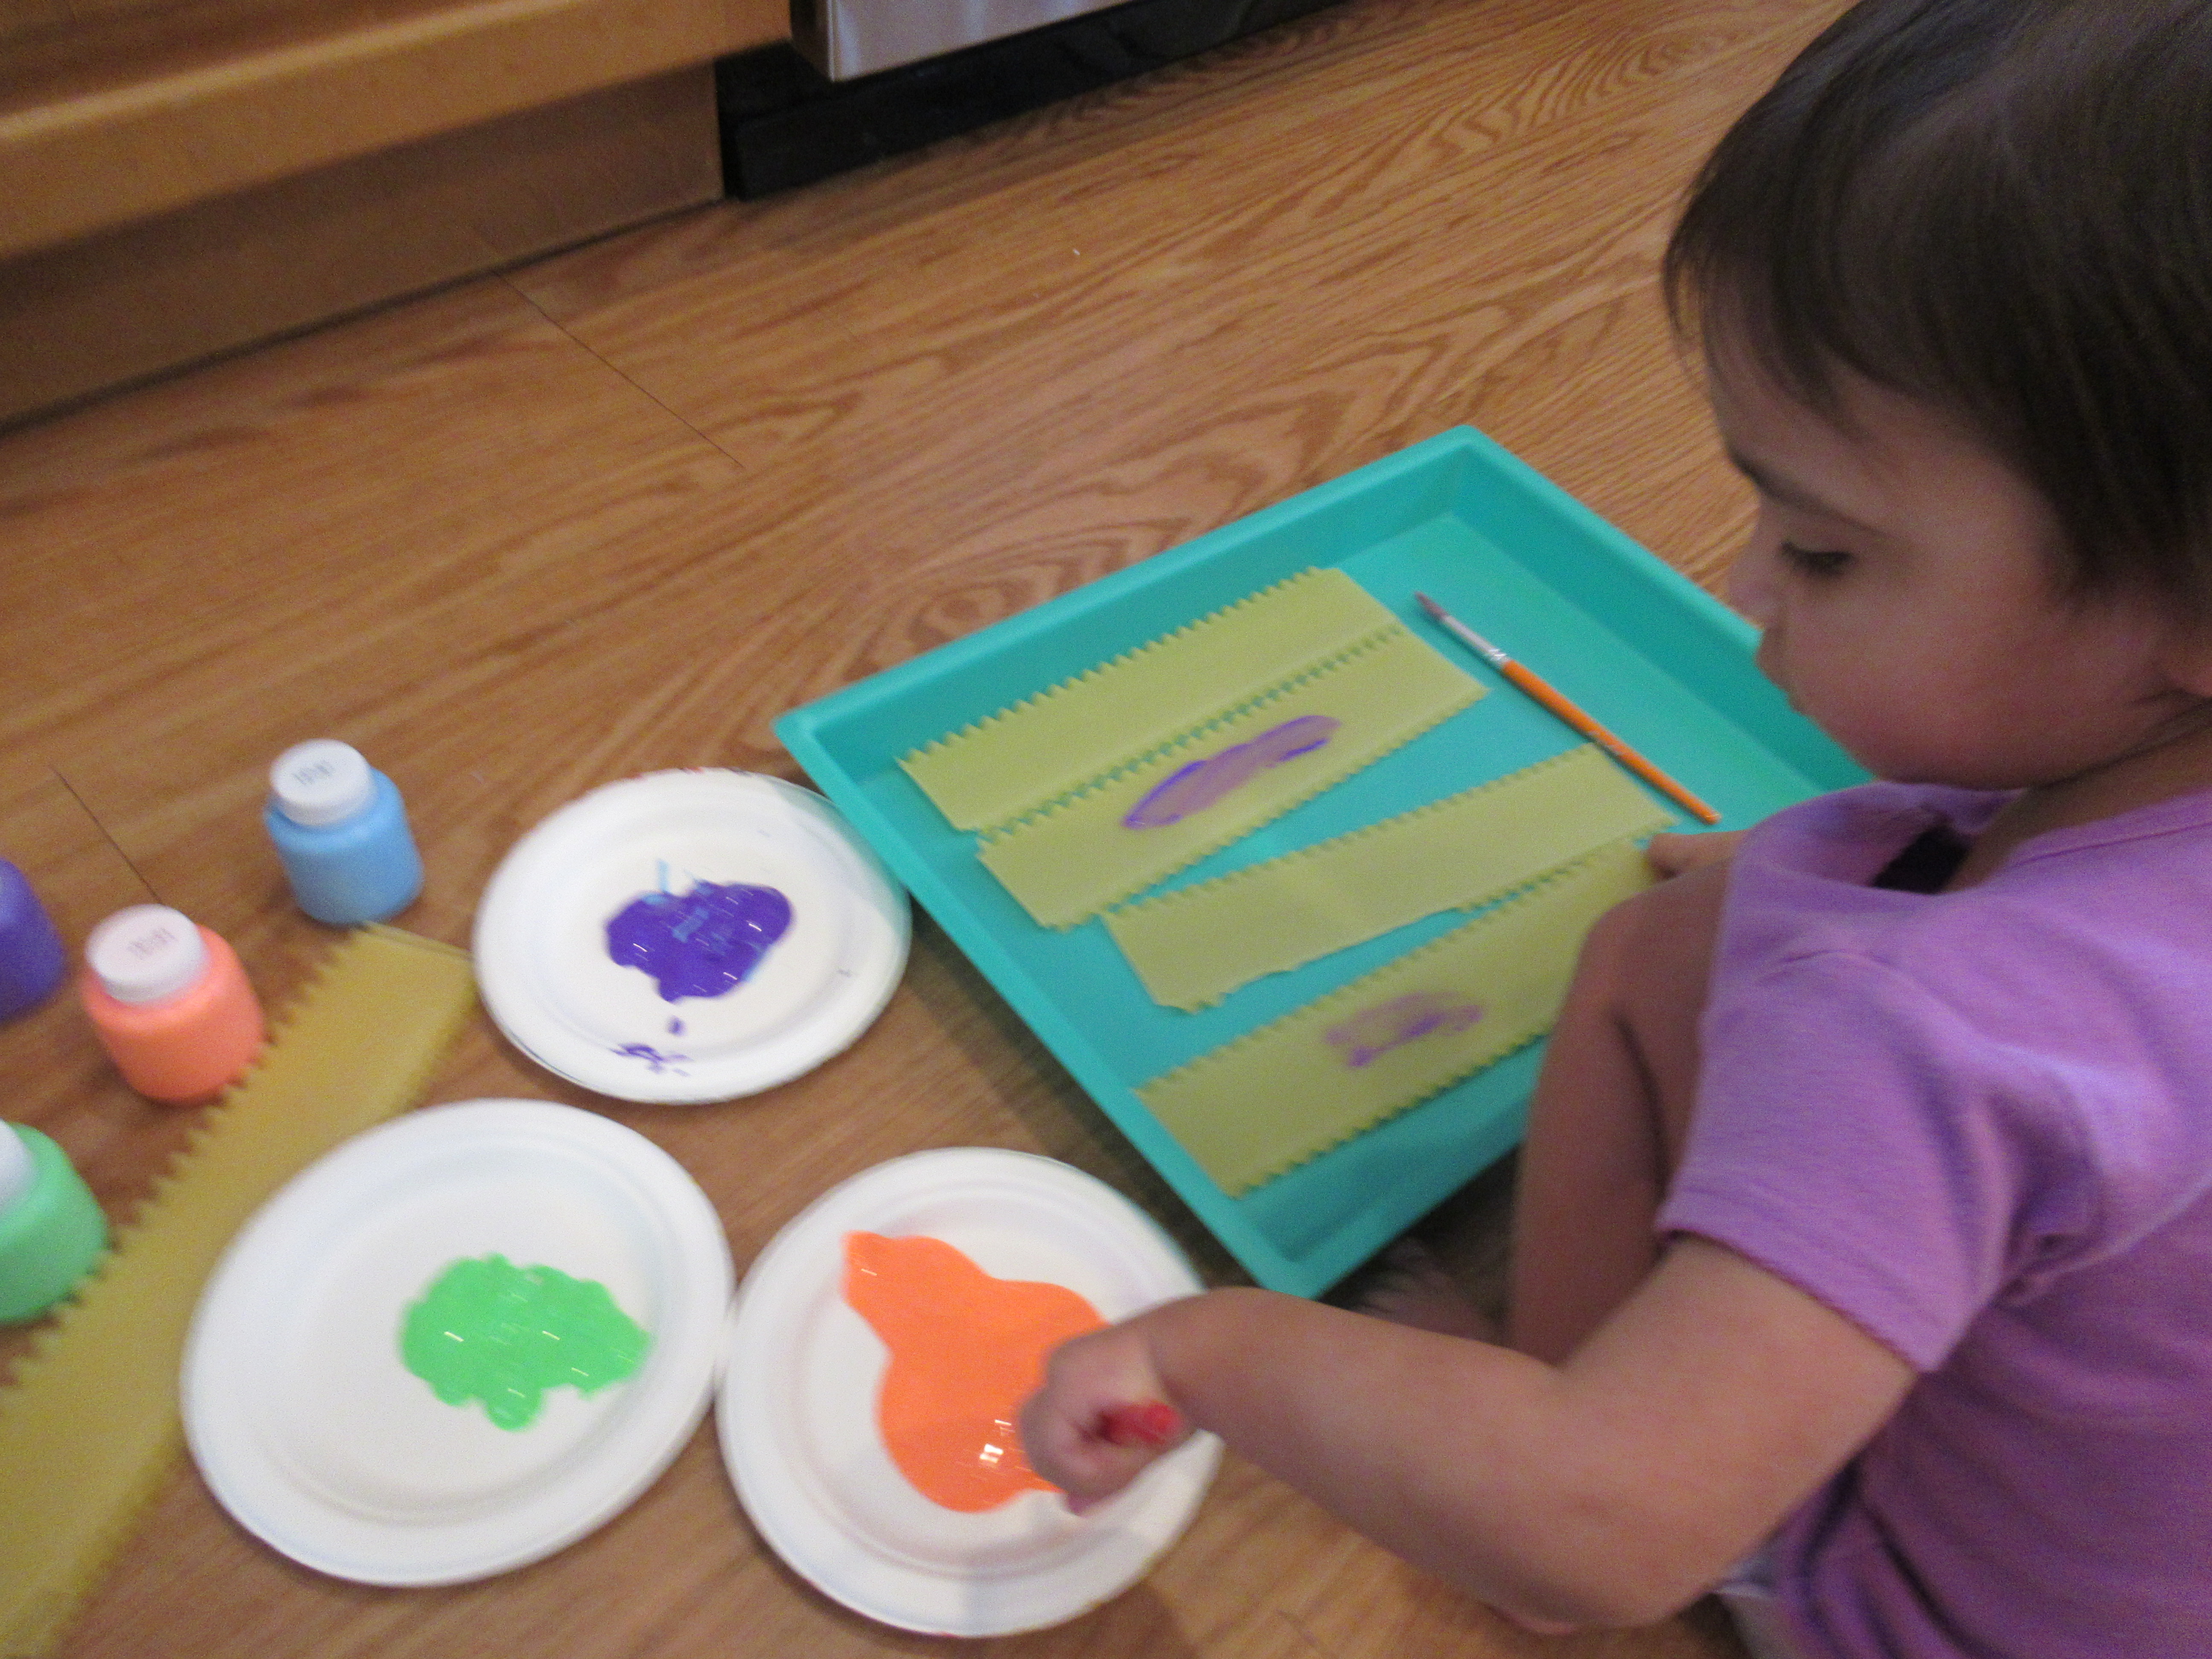
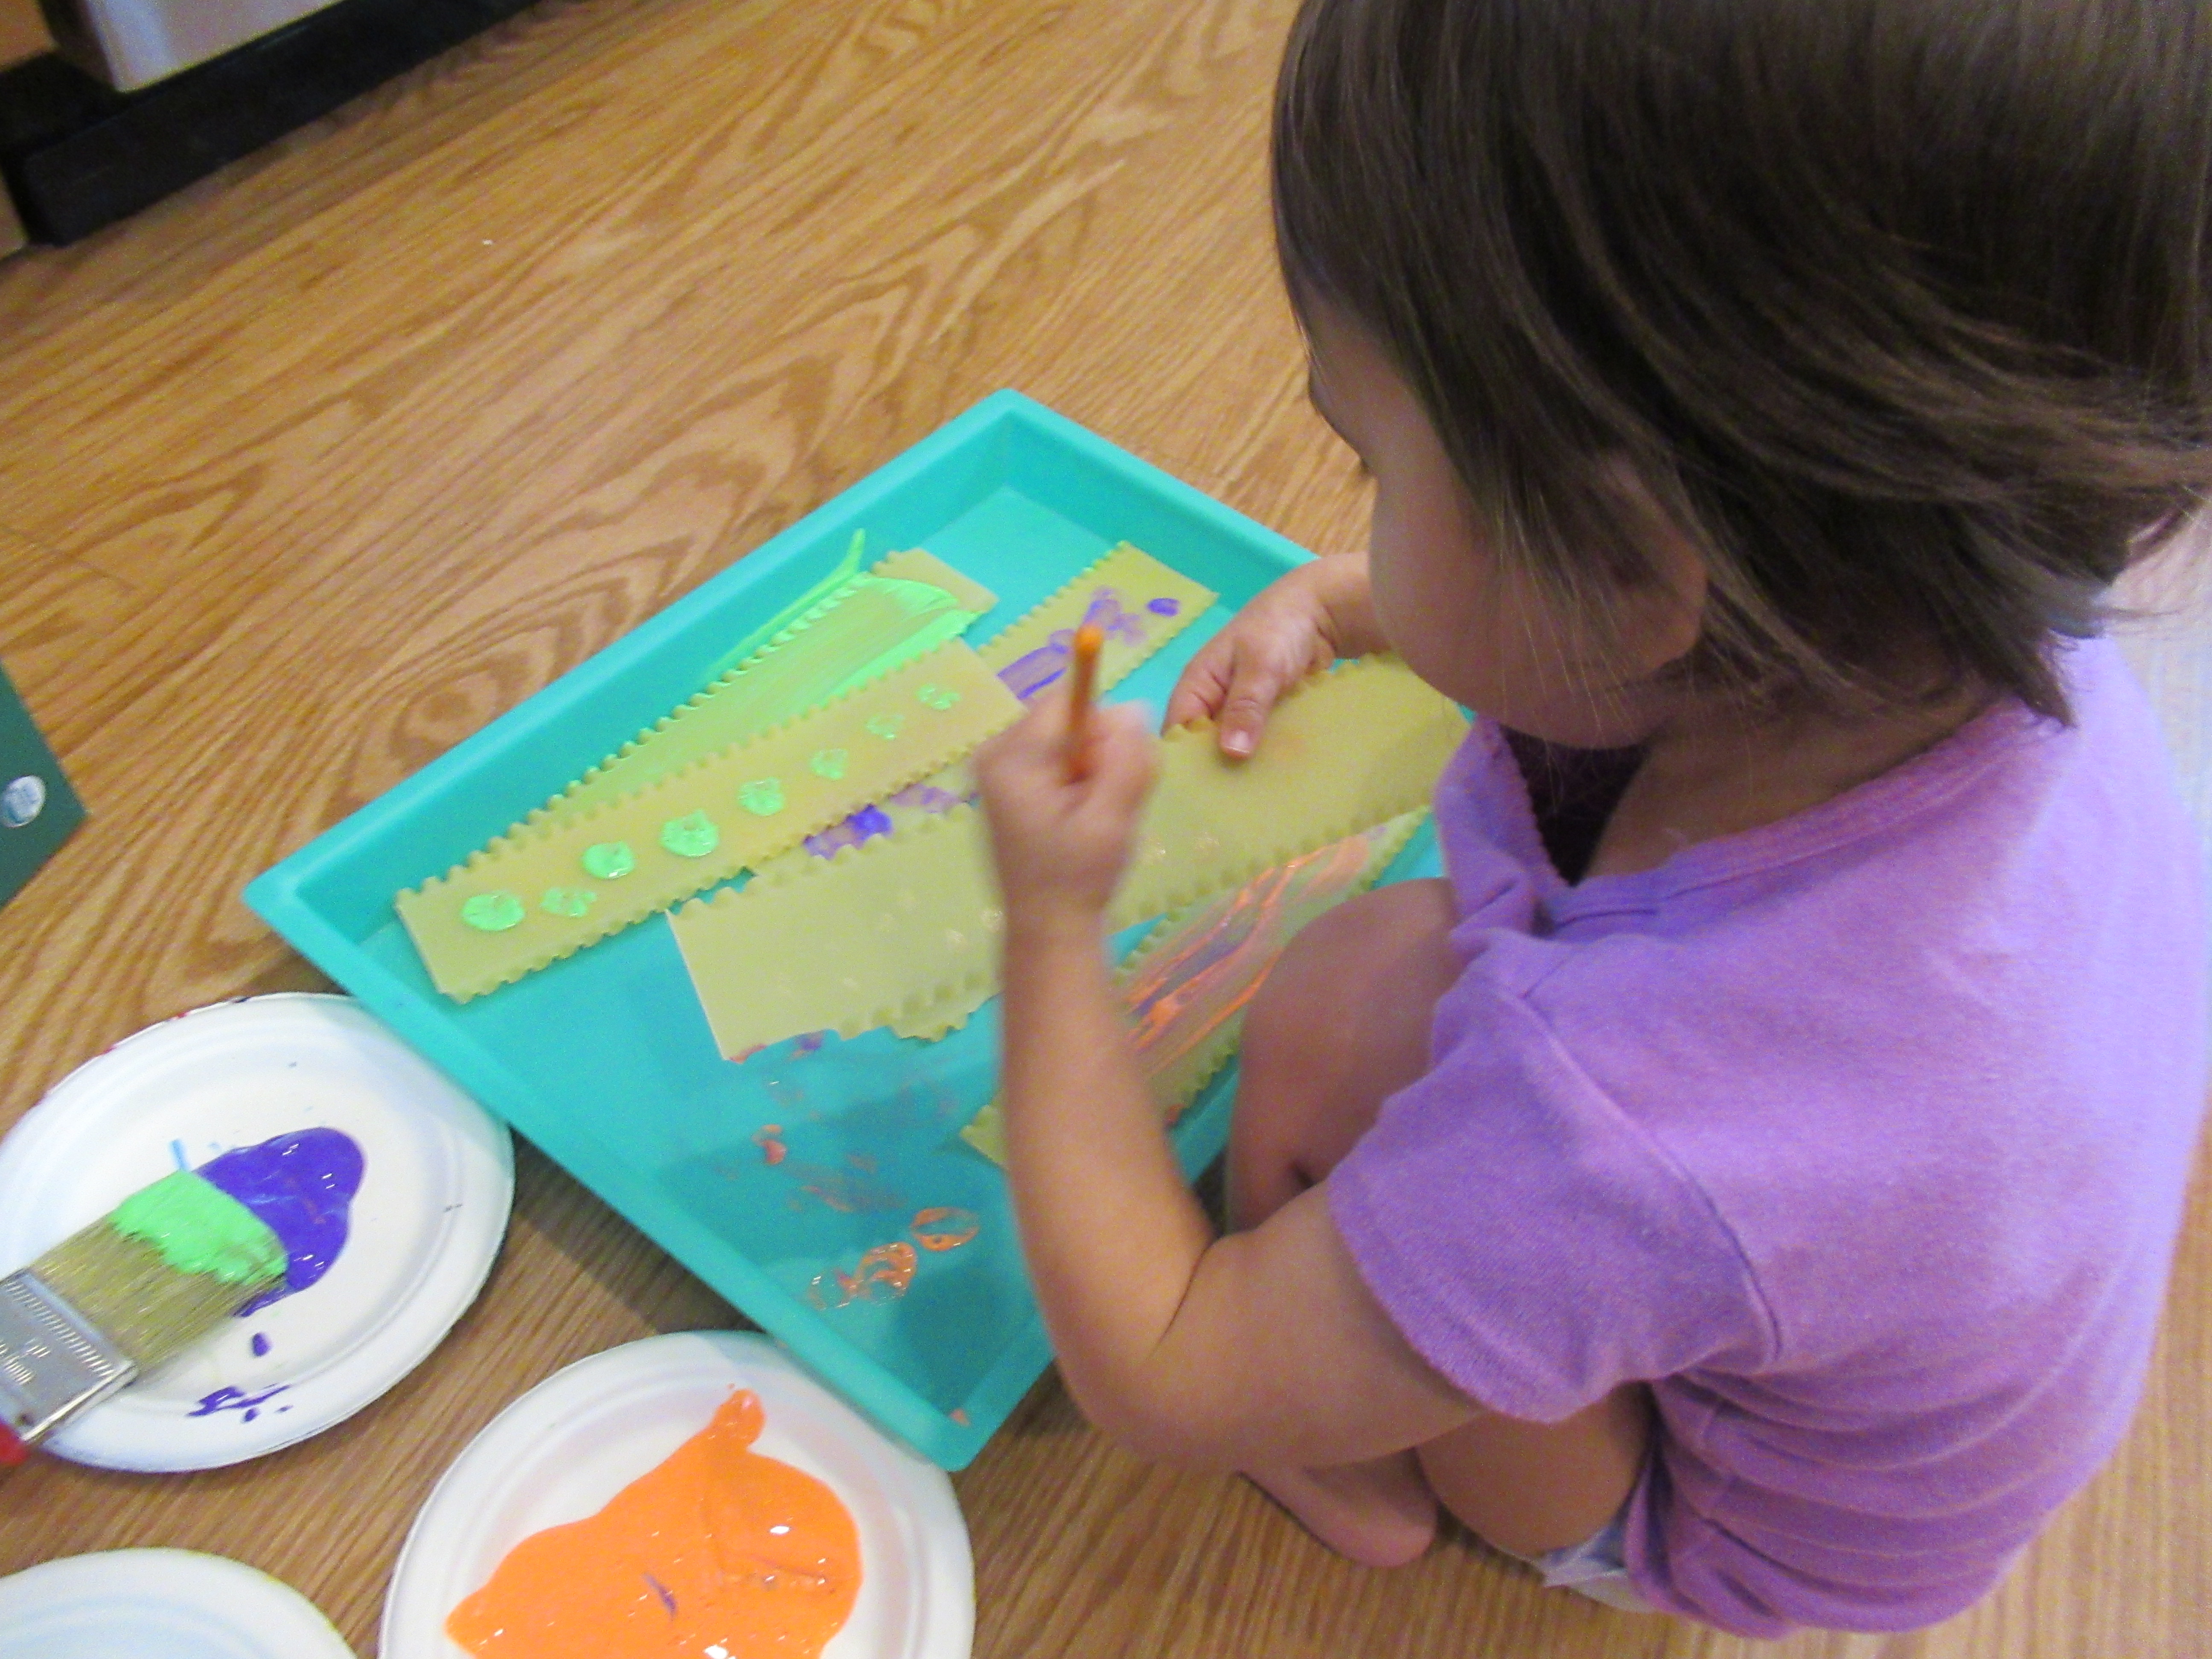
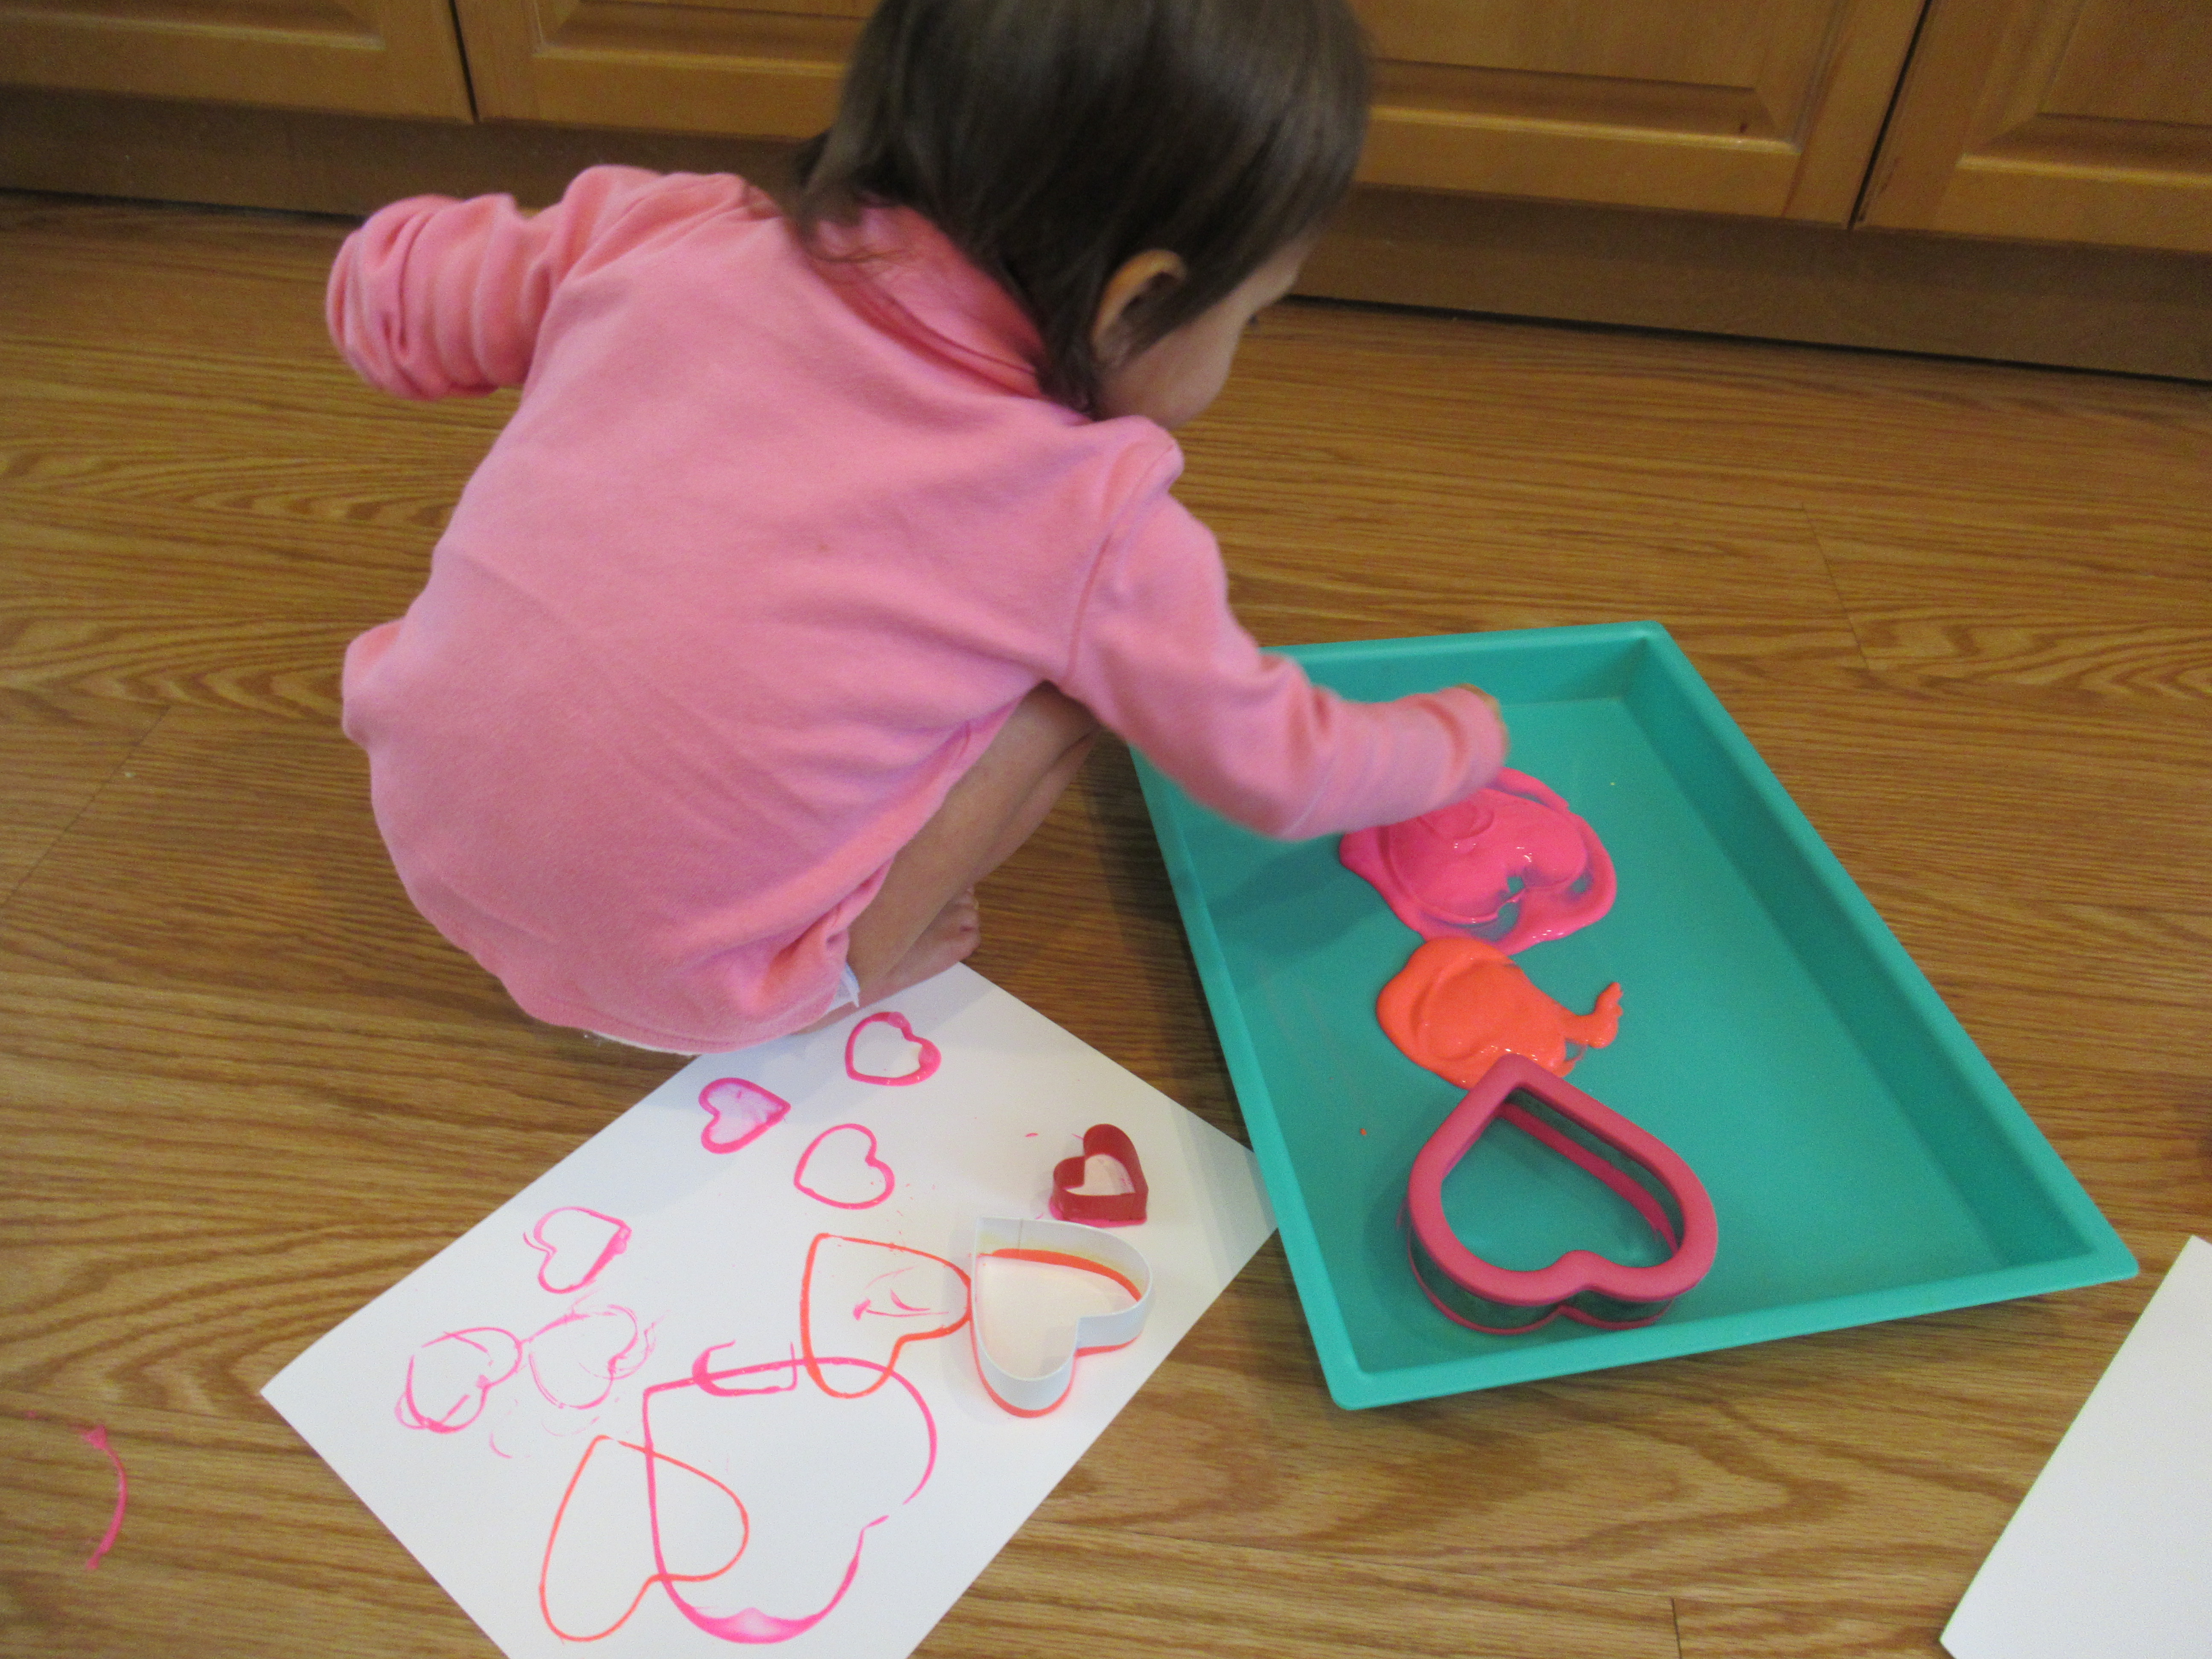
Time for the second method: a rolling pin! I placed the paper in a tray and squirted on a few blobs of pink and peach-colored paint, then showed Veronika how to use a plastic rolling pin to smear the paint. At first she wanted to use the rolling pin more like a paintbrush, stabbing down at the blobs, but then realized she could copy my motion and roll. With a little mommy help, we smeared our paint toward the edges of the paper.

Scratch Roll Resist Vday (3)

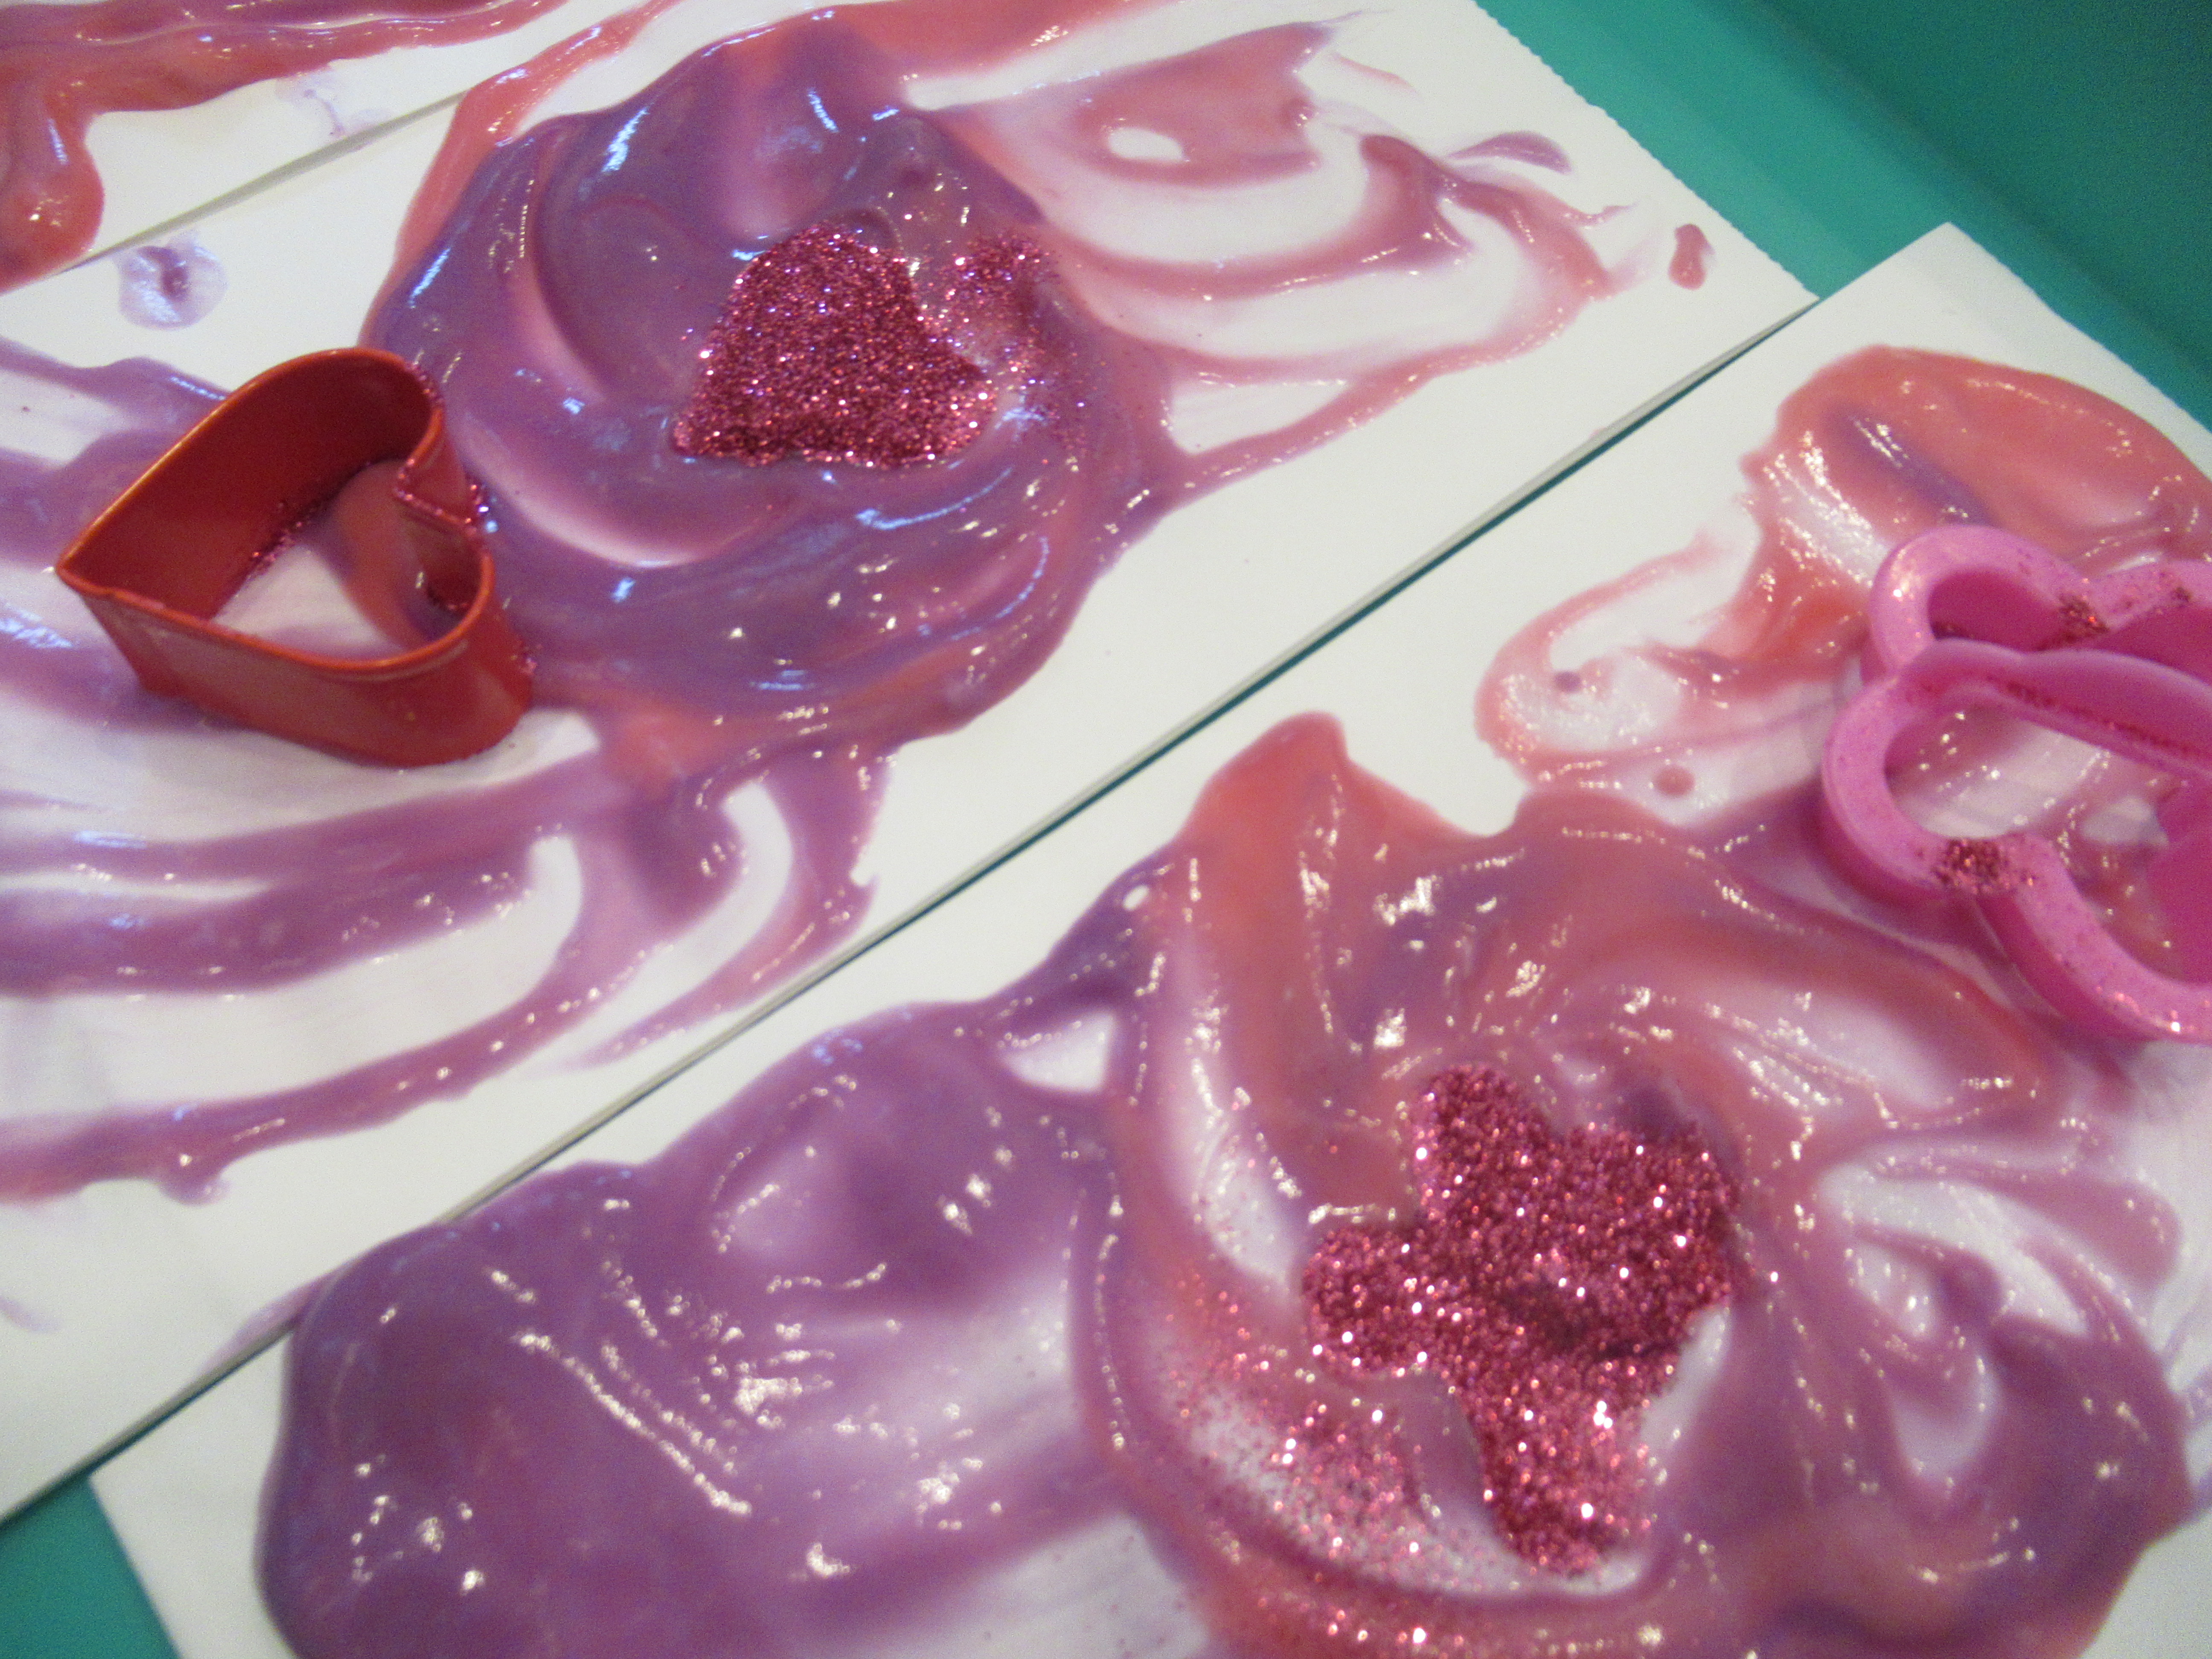
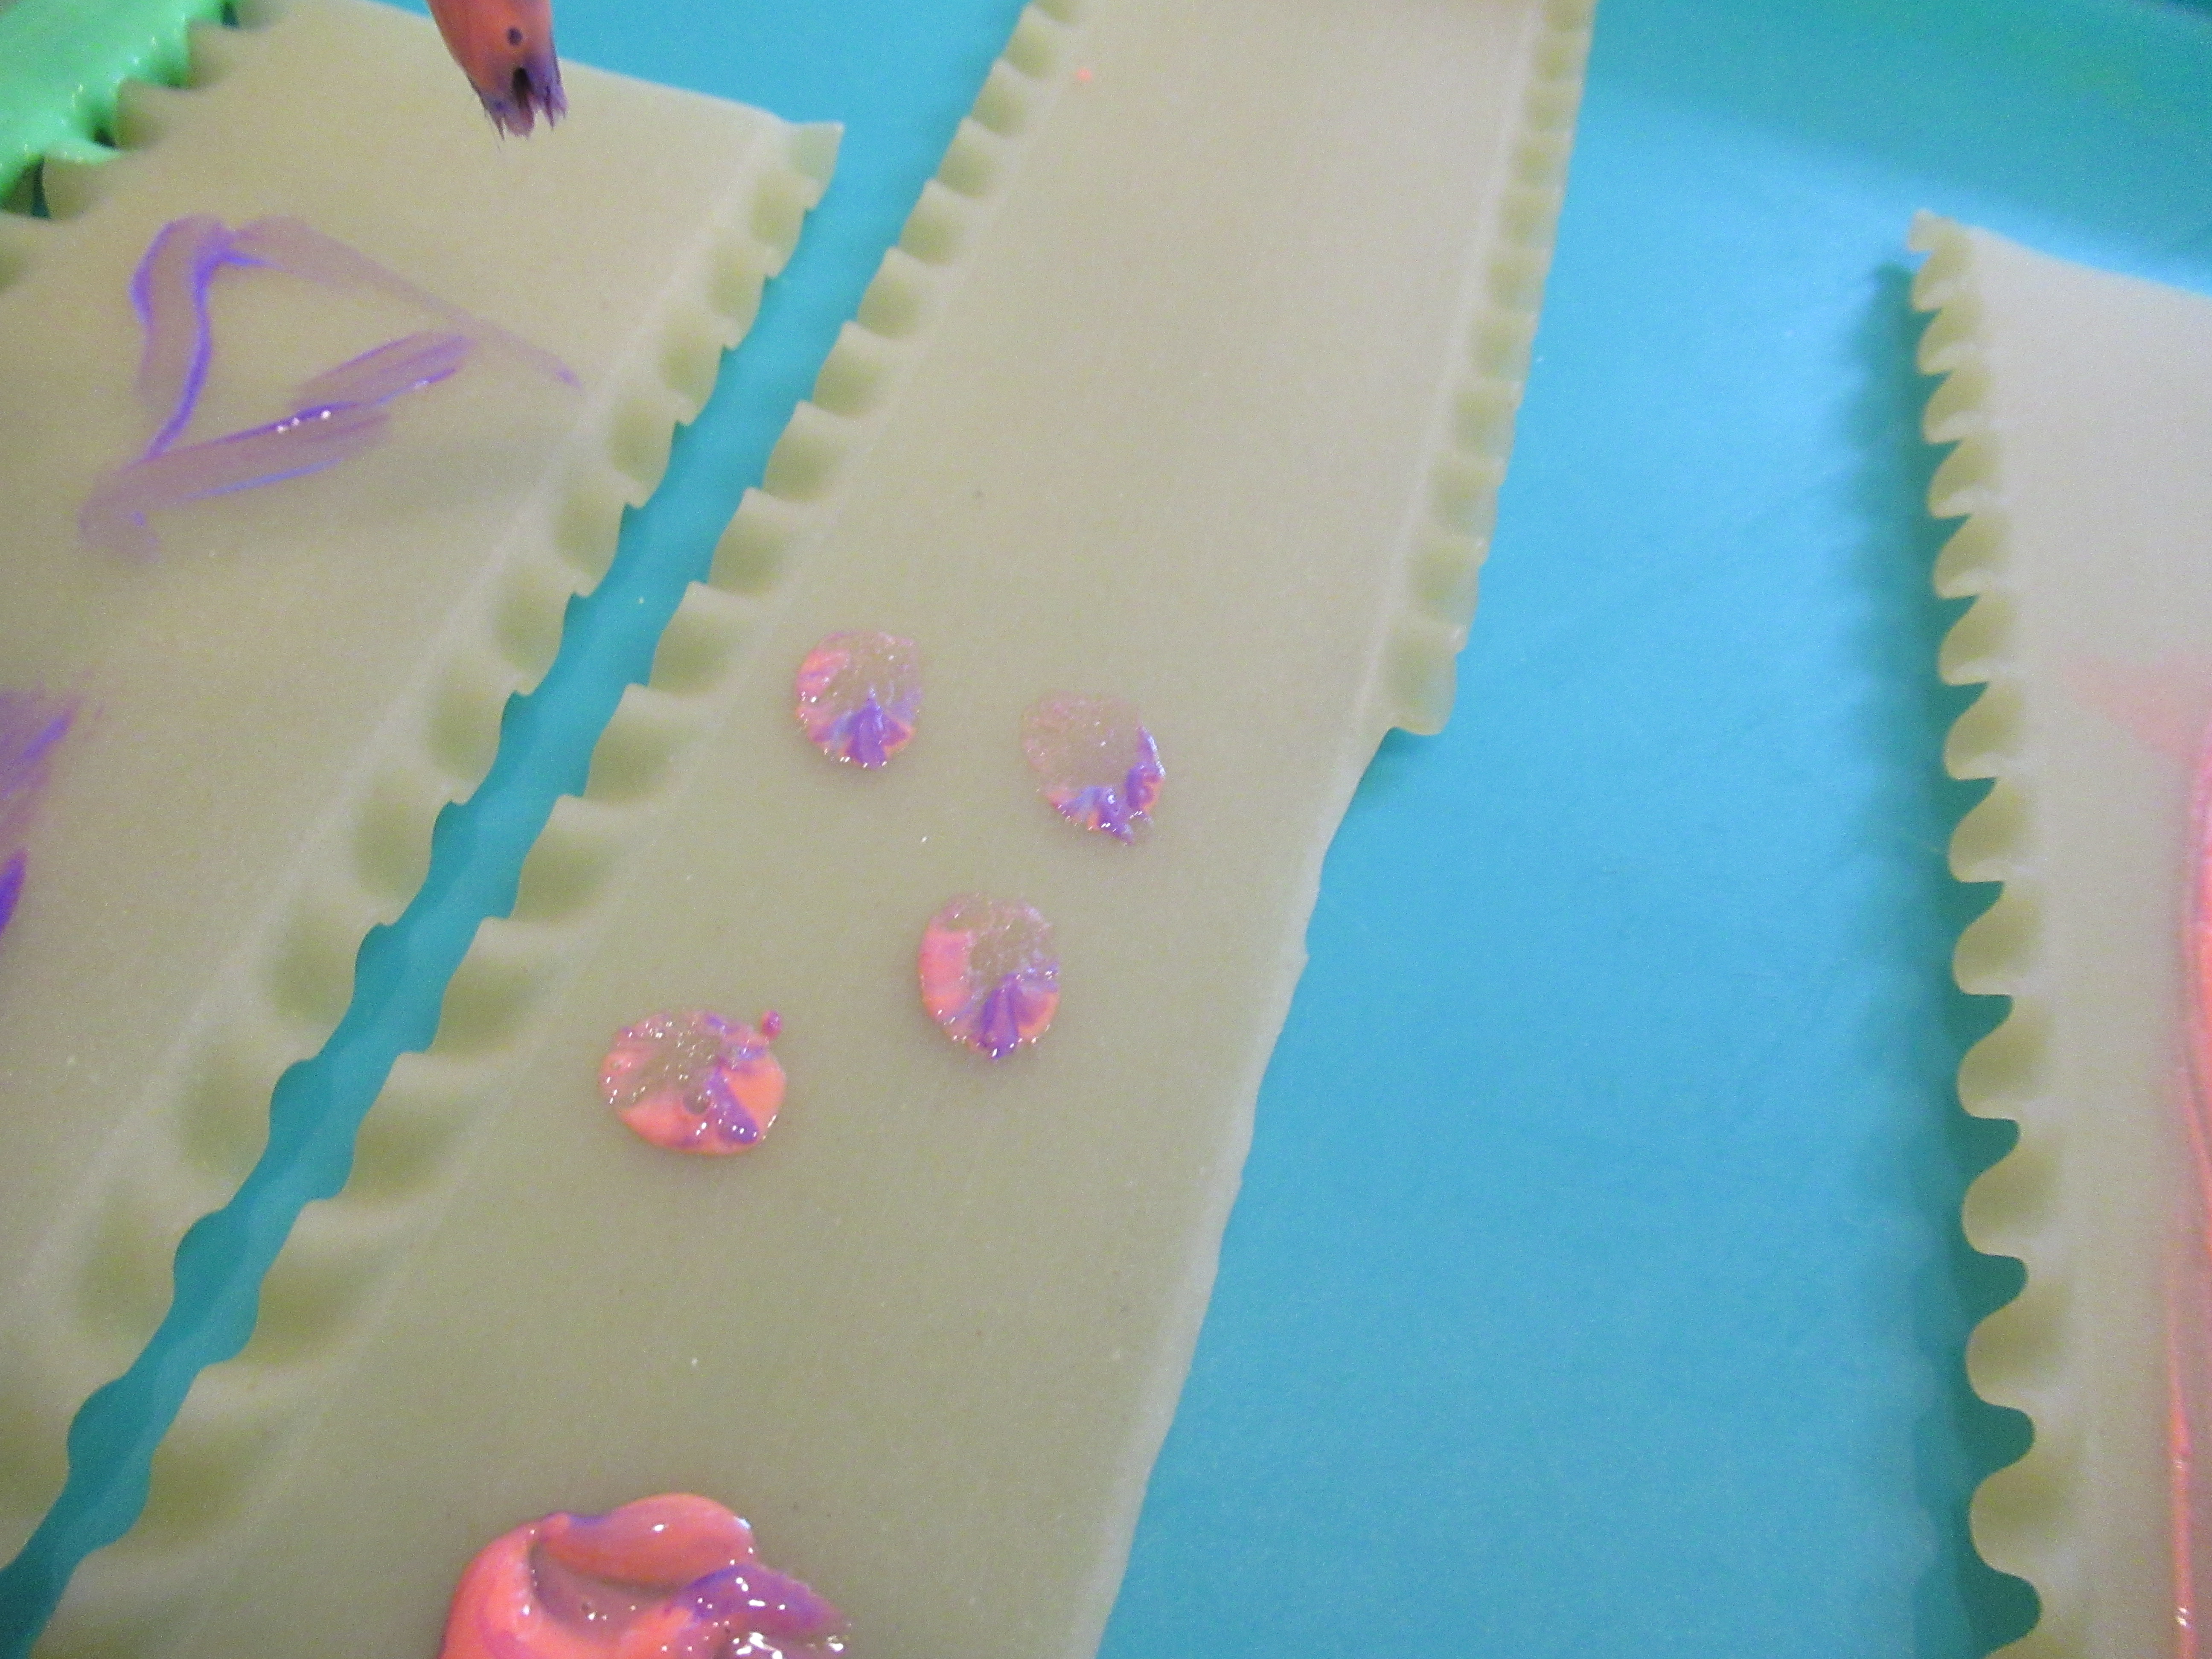
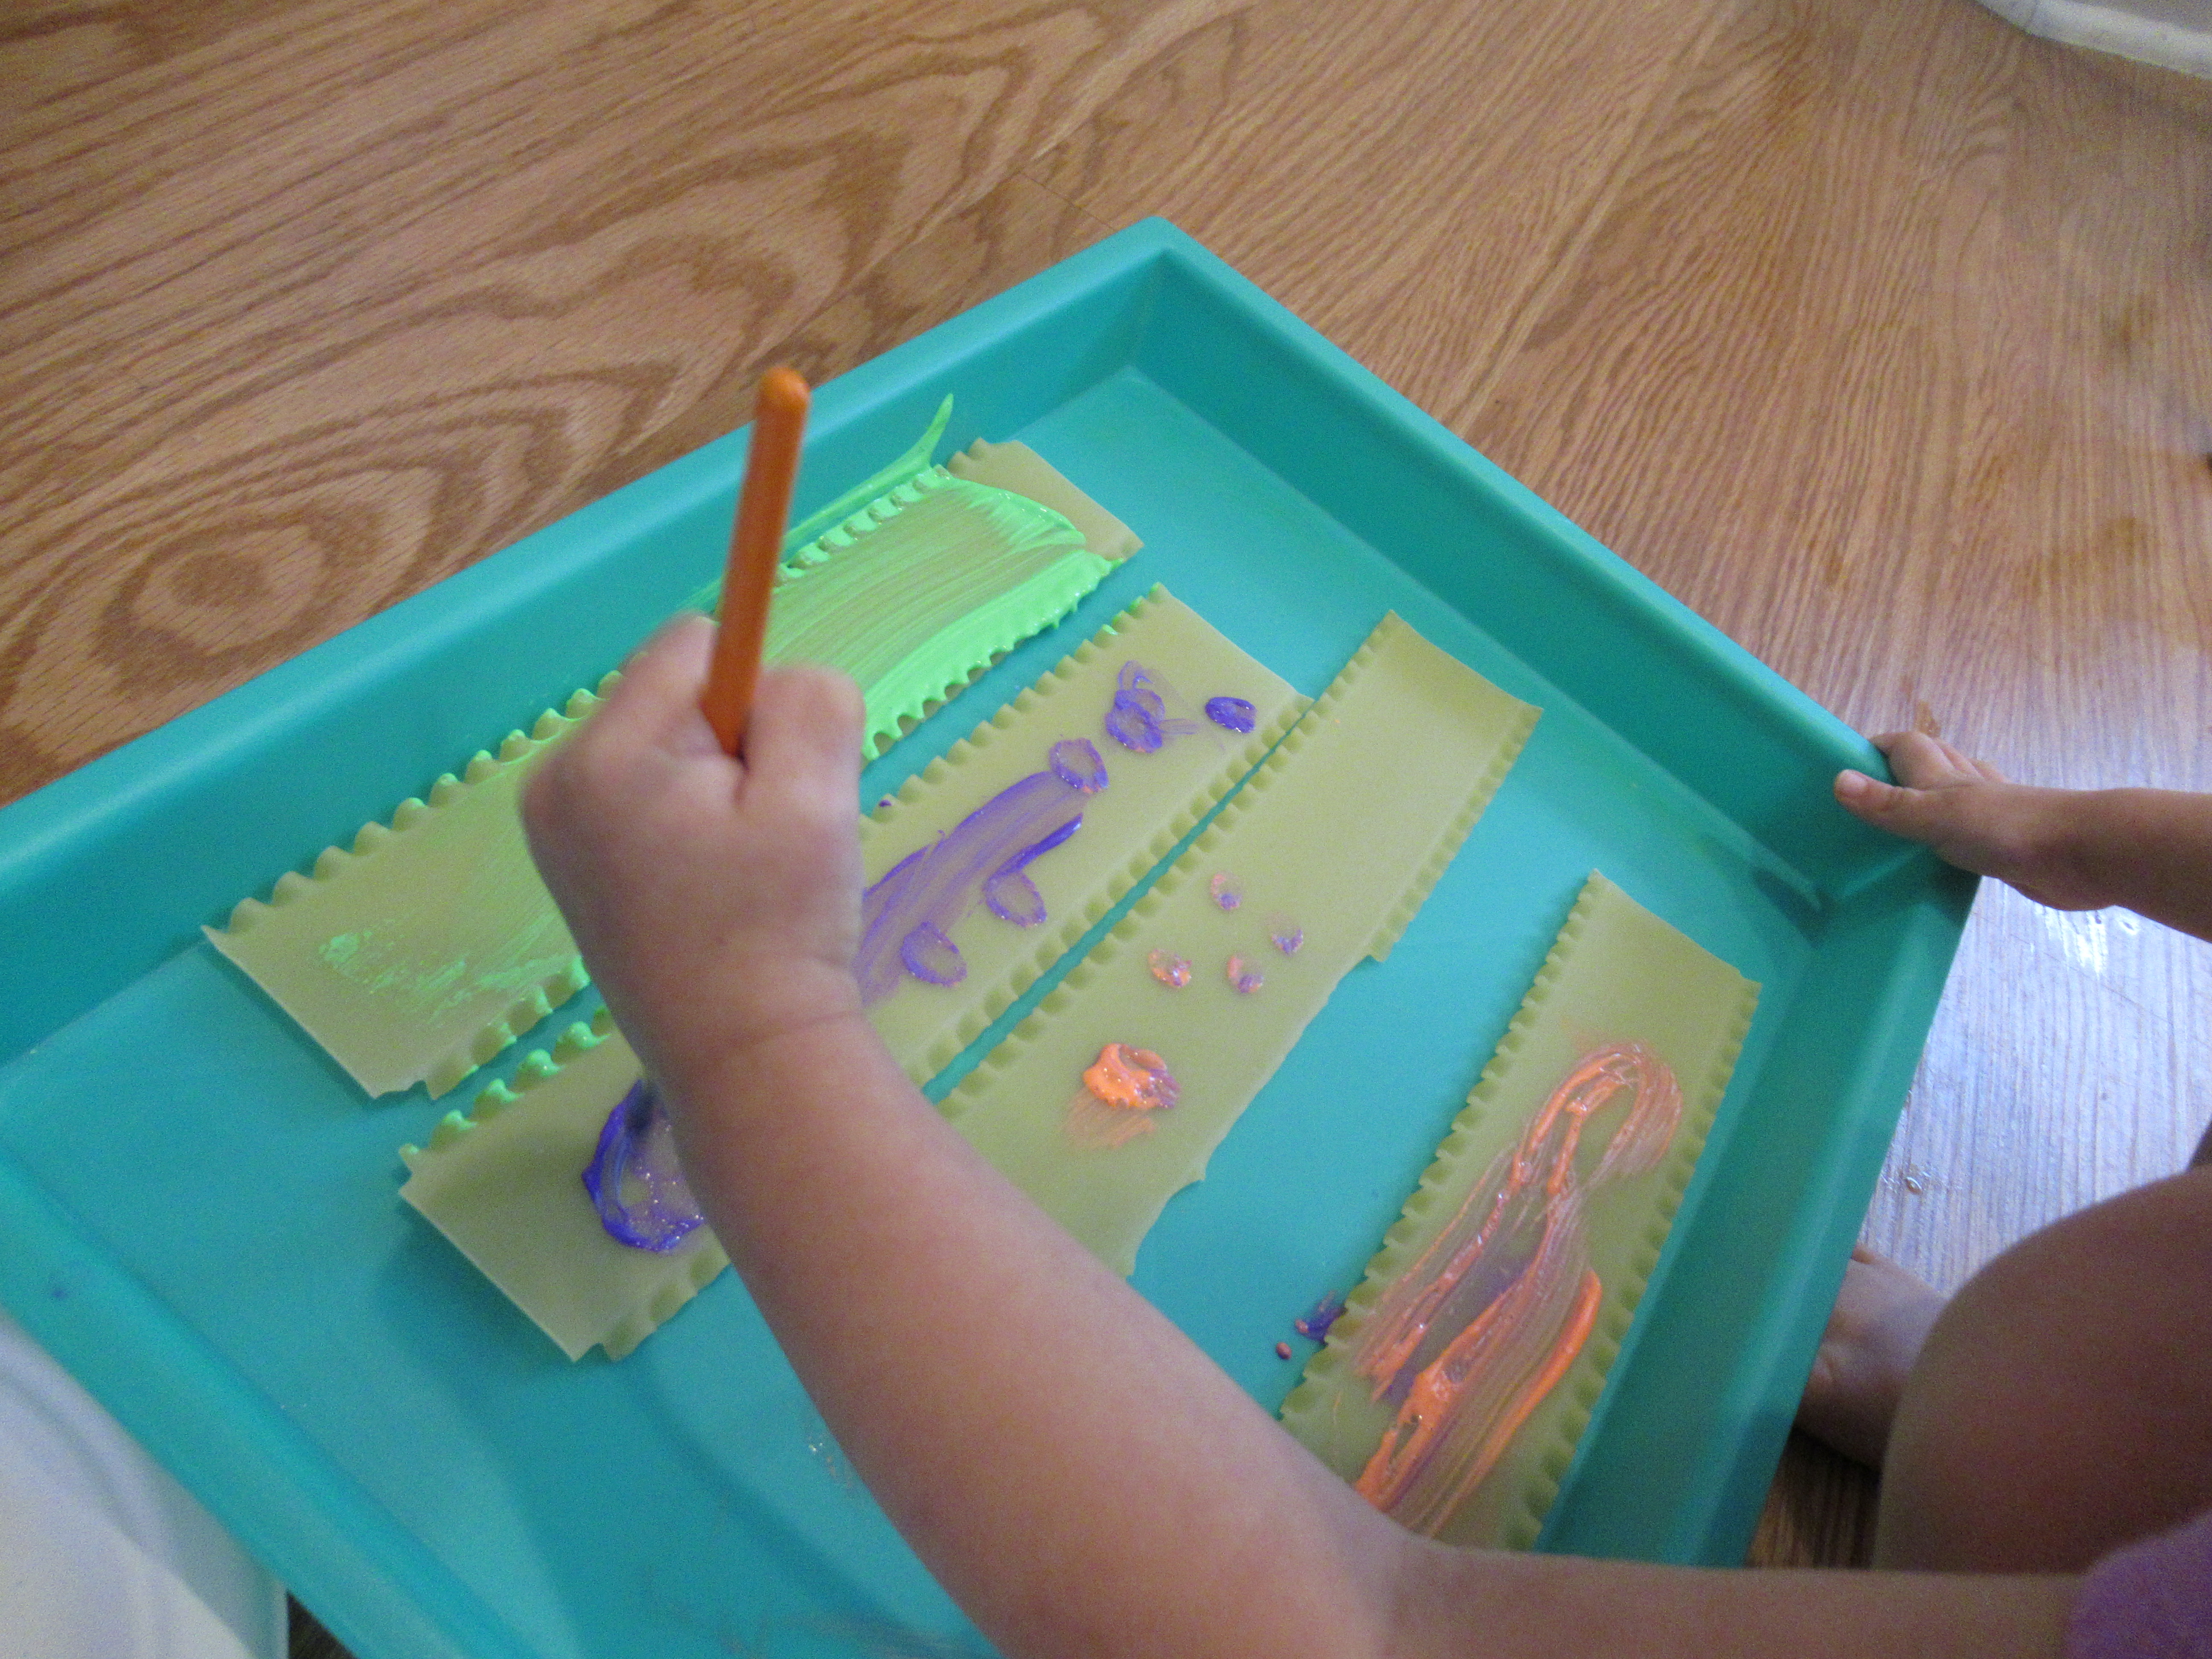
Now for the final method: a comb! I showed her how to drag a comb through the thick wet paint to make neat textured lines.

Scratch Roll Resist Vday (6)

She loved observing the squiggles and lines that appeared.

Scratch Roll Resist Vday (5)

I find that it’s best to remove the painter’s tape immediately, while the paint is still wet, and then set the project aside to dry at this point. Veronika loved spotting the heart she had made.

Scratch Roll Resist Vday (7)

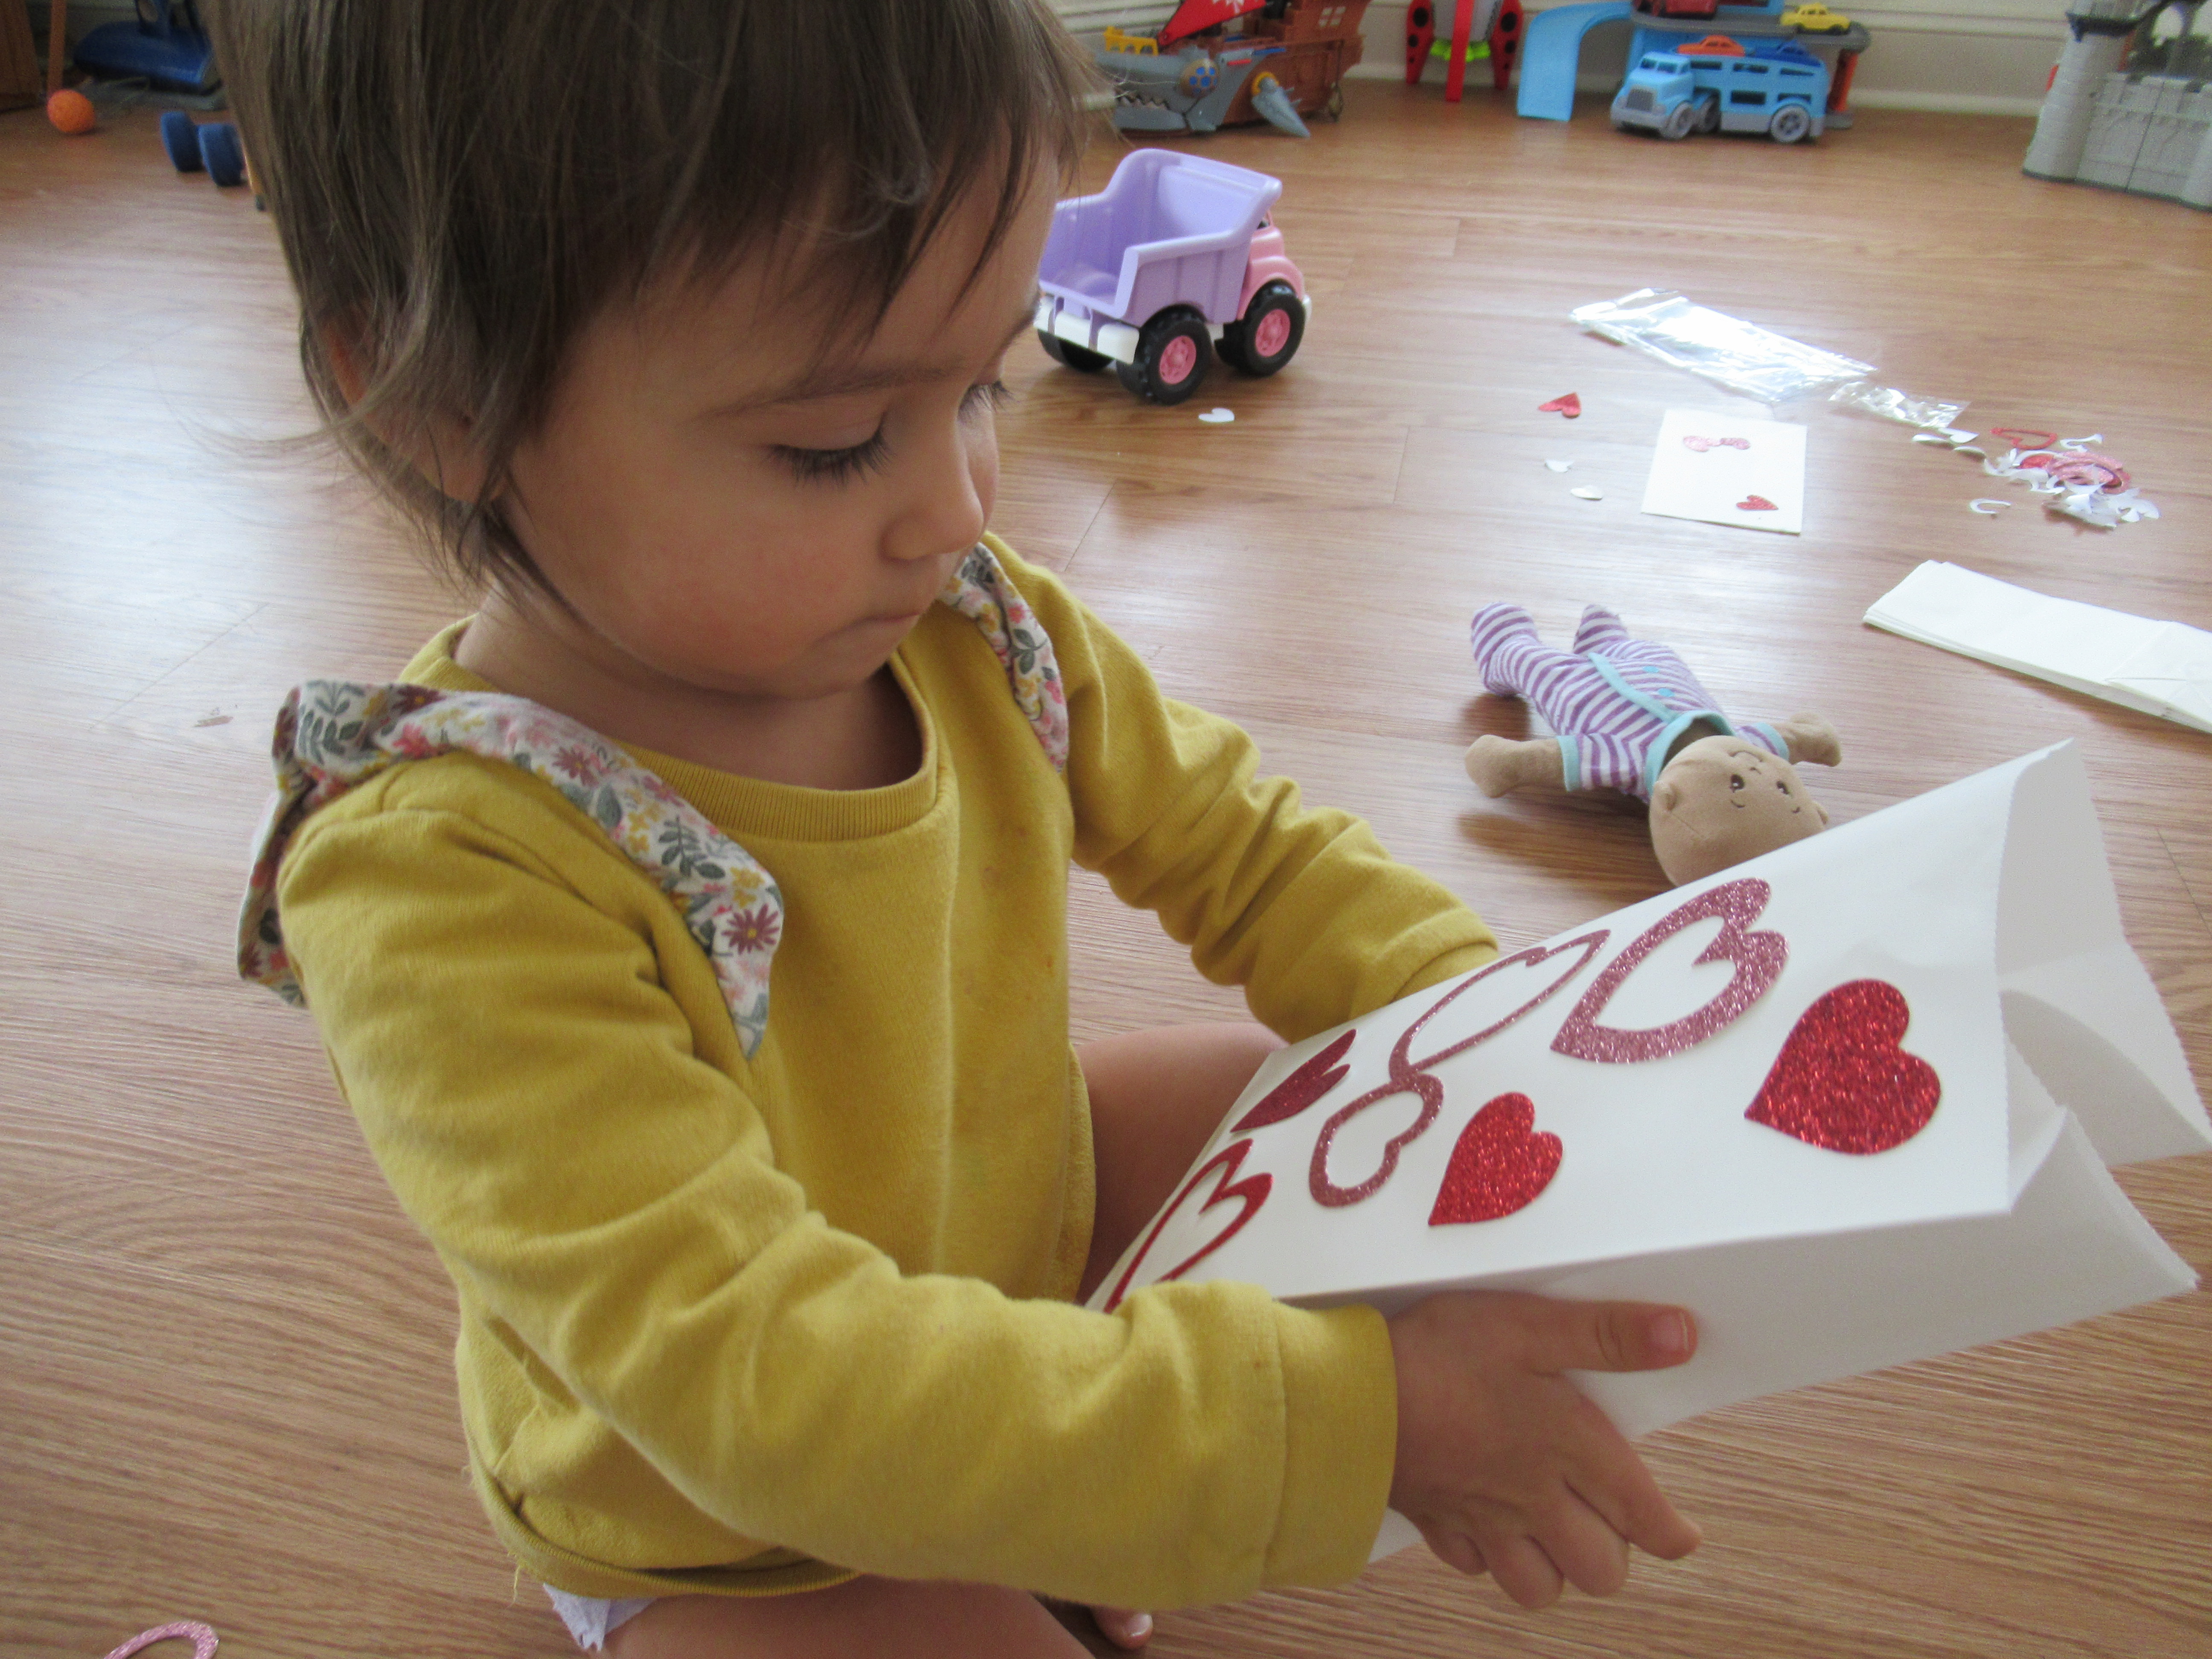
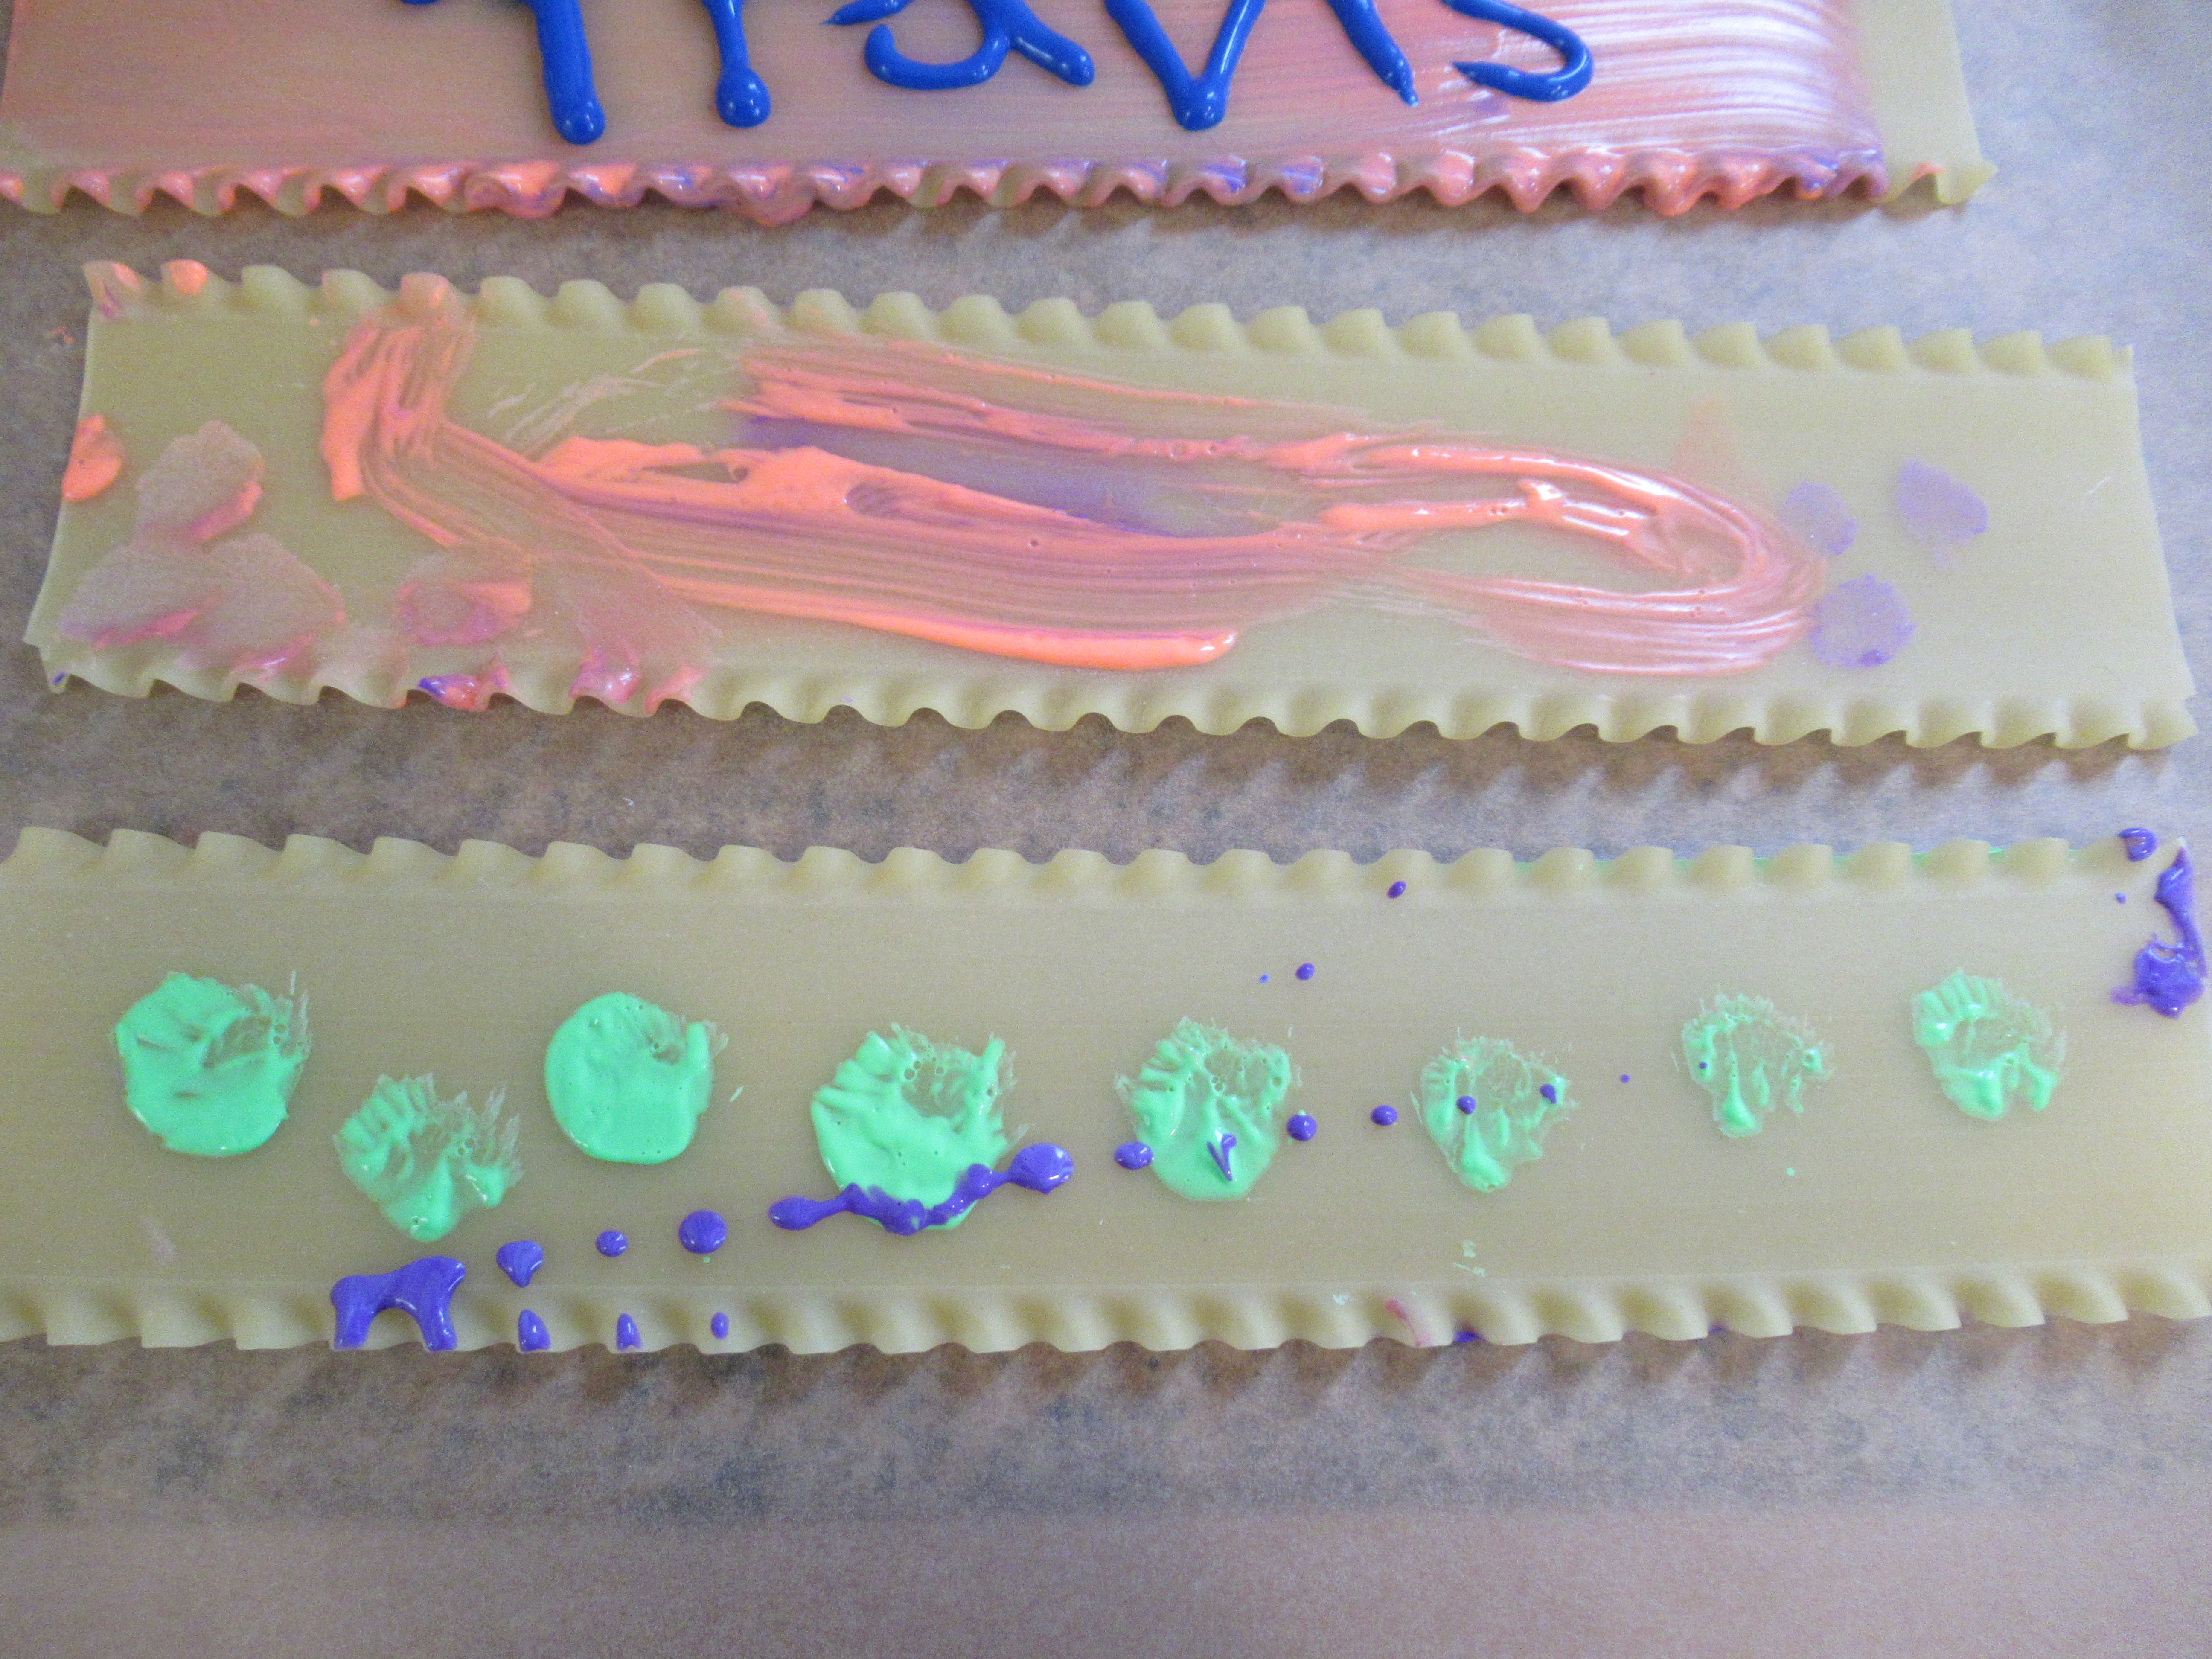
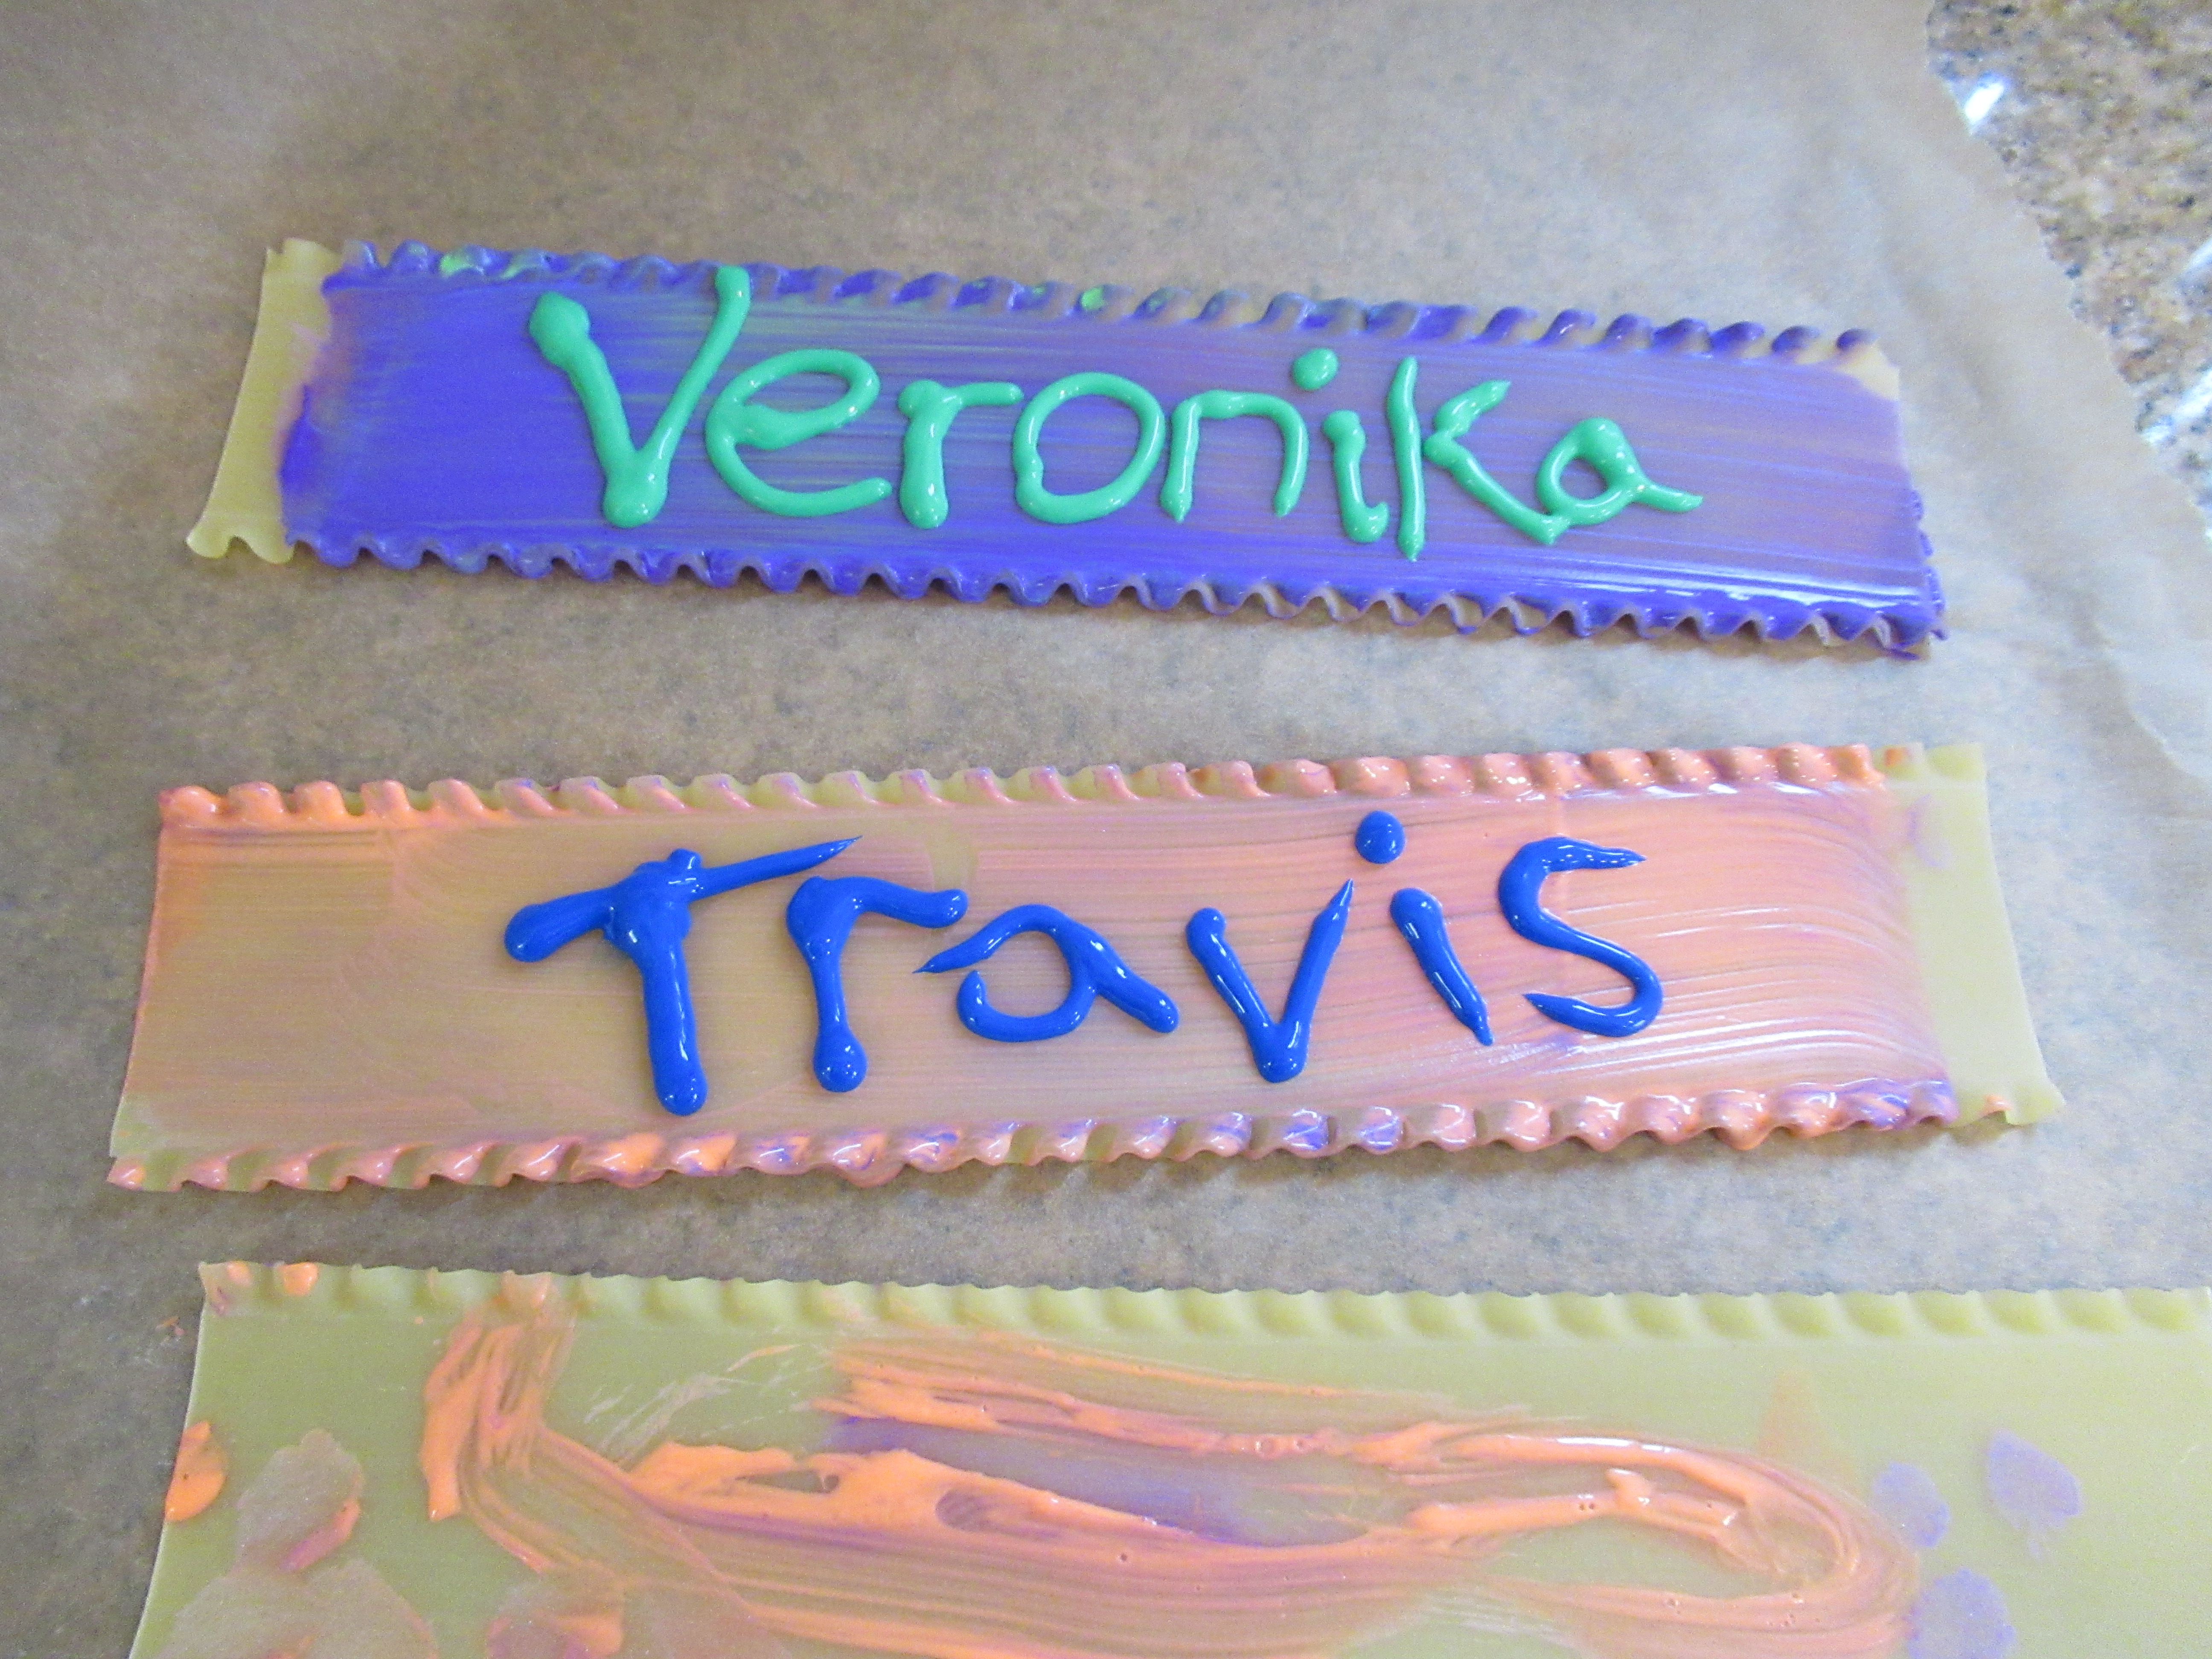
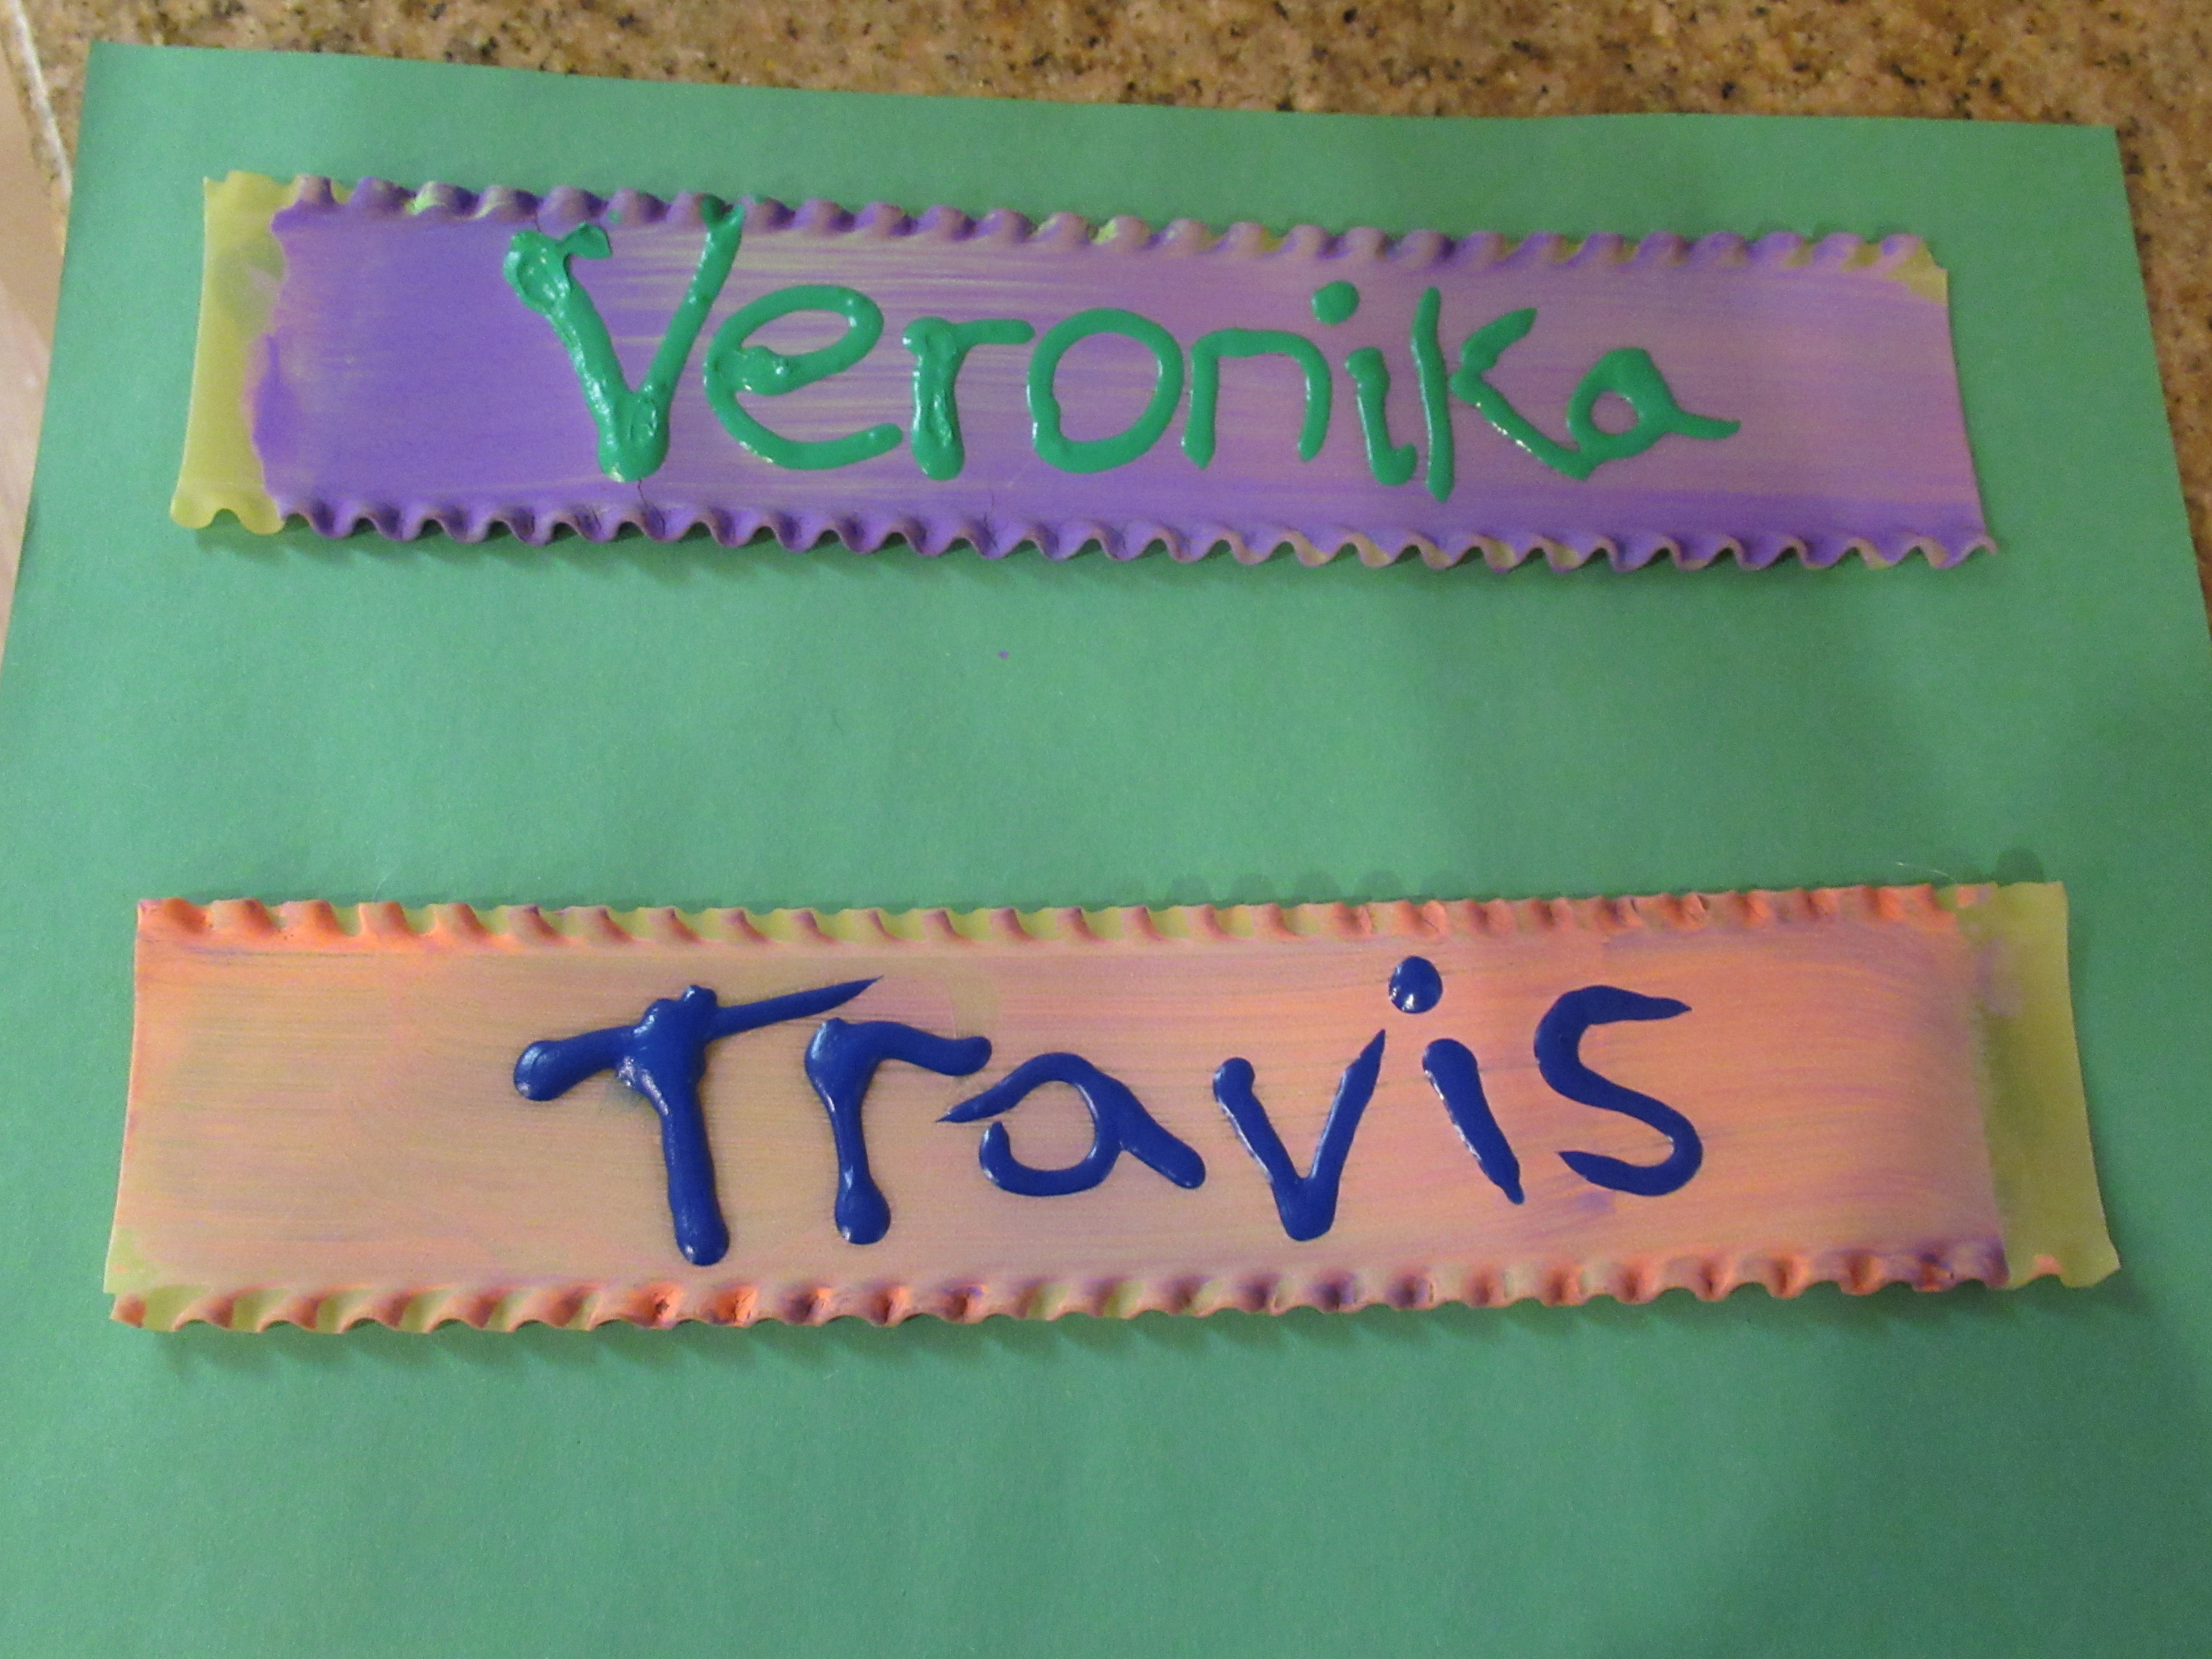
Finally, big brother Travis wrote in a Valentine’s message for their grandmother, making this their second sibling collaboration of the day!

Scratch Roll Resist Vday (9)

Sibling Valentine’s Day Cards

Simple Valentine's Card (9)

Here’s a fantastic way for your kids to collaborate on cards for Valentine’s Day even if they are different ages, each contributing according to his or her own skill level. The brilliant hack is to make one big card then cut it into pieces at the end! This can make the task of making Valentine’s for multiple recipients feel less daunting.

Veronika was in charge of the decorating, because as a toddler she loves things like dot markers, crayons, and stickers. I set out pink construction paper and divided it into quarters with lines of pink marker. Then I gave her the above-mentioned supplies, all in various shades of pink and red.

Simple Valentine's Card (1)

First she wanted to add jeweled heart stickers, and loved placing these any which way on the paper.

Simple Valentine's Card (3)

Some fun with dot markers followed next!

Simple Valentine's Card (5)

Keep decorating with whatever other supplies you have on hand, whether pink or red crayons, pink or red colored pencils, or even heart stamps and ink pads.

Simple Valentine's Card (6)

When she was done, I cut along the lines so we now had not one card, but four, all decorated and ready to go.

Simple Valentine's Card (10)

Travis’s job was to write each cousin’s name at the top and sign the cards with love, all great writing practice!

Simple Valentine's Card (8)

We hope these cards bring big smiles to cousins’ faces when they arrive in the mail.

Hunt for Love Bags

Hunt for Love (10)

Here’s an adorable way to teach even young toddlers about the connection between Valentine’s Day and love (both in terms of the emotion and in terms of things they love).

First, Veronika and I decorated bags for the upcoming love hunt, and I thought edible paint would make the project even more fun (not to mention delicious!). I poured some coconut yogurt into containers and we tinted one pink and one purple.

Hunt for Love (2)

Veronika was almost too busy eating (she particularly loved the purple!) to paint, but eventually we had smeared three white treat bags with the yogurt paint.

Hunt for Love (3)

We tried adding glitter in the middle using a heart cookie cutter as a stencil. Veronika requested a butterfly, too!

Hunt for Love (4)

Unfortunately once I stood the bags upright to dry, the glitter sprinkled right off – whoops! I left them to dry lying down but propped open slightly by old paper towel tubes (newspaper would work, too), since the yogurt paint is so thick and messy.

Hunt for Love (12)

It became quite clear, though, that this paint was going to take forever to dry. So when Veronika was impatient for the next part of the activity, we quickly made a plan B and decorated a few more treat bags with heart stickers.

Hunt for Love (5)

No drying time required now! As we put on the heart stickers, I talked to her about how hearts represent love, and we were going to hunt around the house for things she loves. I put in one of her favorite toys as an example. “You love penguin. Penguin goes in the bag!”

Hunt for Love (6)

I was amazed at how quickly she understood the concept! She filled the bag with favorite toys and began talking about how much she loves them.

Hunt for Love (7)

This is not a term she normally uses in her play, so I knew she was making the connection for the first time. Don’t be surprised if your toddler wants to add loved items that don’t fit in the bag. That’s just fine, and serves as a quick lesson on relative sizes! Baby doll didn’t fit, but Veronika can still love her.

Hunt for Love (11)

Once the bag was full, she was delighted with her little bag. “I got anything I love!” she said. And then when I asked her what big brother Travis might put in his bag, she said without any prompting, “Travis will put in all his Lego guys!”

Hunt for Love (9)

She really understood! Note: Eventually the yogurt painted bags did dry, so we might keep these on hand to fill with Valentine’s goodies as the holiday approaches.

Lasagna Noodle Painting

Lasagna Noodle Painting (6)

We love finding new “canvases” for painting, but today’s choice was one of the most unusual yet! I had a box of lasagna noodles in the pantry, so simply placed a few of them on a craft tray for Veronika. The long rectangles are practically begging to be painted!

Veronika picked out her colors of paint, opting for a mix of neon orange, green, and purple.

Lasagna Noodle Painting (1)

At first I just let her smear the noodles with the paint any which way. After she had painted a few noodles, I showed her that she could also create circles, wiggly lines, or dots.

Lasagna Noodle Painting (3)

She particularly loved dotting with her paintbrush after that!

Lasagna Noodle Painting (5)

We also had one wide-bristle brush which could coat a whole lasagna noodle in one swipe. I showed her how to do this, but she asked for her smaller brush back. If your child wants to finish the noodles with a sprinkle of glitter, that would look great, too.

Lasagna Noodle Painting (4)

As the noodles were drying, I decided to add Veronika and Travis’s names with puffy paint. Once the paint dried, I attached them to colored construction paper with hot glue.

Lasagna Noodle Painting (7)

Now they made beautiful labels for the playroom! We’ll see how long our lasagna plaques last. 

Lasagna Noodle Painting (8)

Cookie Cutter Painting for Valentine’s Day

Cookie Cutter Valentines (7)

It’s February, which means we’re starting to think about all things Valentine’s Day, especially with regards to crafts. Cookie cutters are a great medium for toddlers because your child will delight in creating a recognizable shape on paper, even before he or she is able to draw shapes by hand.

I set out a tray for Veronika with two shades of pink paint and heart cookie cutters in various sizes.

Cookie Cutter Valentines (1)

Veronika loved seeing all the hearts! She quickly had a knack for dipping a heart in the paint, transferring to the paper, and then turning back to dip again. “I made a heart!” she said proudly.

Cookie Cutter Valentines (4)

Because we happen to have several heart cutters, this was also a great moment to talk about size. I had her point out to me which was the big heart, which was the small, and – the tricky one! – the medium.

Cookie Cutter Valentines (5)

I love that cookie cutter crafts like this result in fool-proof art even for toddlers, meaning you wind up with great art to send to relatives or friends. Folded in half, the resulting heart paintings would make lovely Valentine’s Day cards.

Cookie Cutter Valentines (6)

Rice Art

Rice Art (4)

This easy colored rice not only serves as the base material for a pretty craft, but doubles as a sensory material for toddlers!

You’ll need to prepare the batches of rice the night before. For each color, spoon 1 cup uncooked rice into a small zip-top plastic bag, then add 3 tablespoons white vinegar and 5 to 10 drops of food coloring, depending how saturated you want the color to be. I would have made a full rainbow of 6 colors but only had 5 cups of rice, so we skipped orange!

Rice Art (8)

Spoon each color onto a paper plate and let dry overnight.

In the morning, Veronika spotted the rice and instantly wanted to play. I spooned it onto a craft tray, where the rows of colors were almost pretty enough to be a game in their own right!

Rice Art (2)

But we had other plans for this particular rice. I set out pieces of cardboard to be Veronika’s canvas, because you’ll need a sturdy background for this particular art medium. We dumped on big pools of white glue and I showed her how to sprinkle the rice down to make pretty colored designs.

Rice Art (3)

Veronika loved choosing which colors to add where. As a two-year-old, her design was obviously very abstract, but older kids can make deliberate pictures with the glue before covering with rice. Sunny skies, rainbows, or flowers would all be beautiful made from the rice!

Rice Art (6)

Whenever you need to, pat the rice onto the glue and then tilt the cardboard over the tray to dump off any excess. Keep working until the design comes out to your child’s satisfaction.

Rice Art (5)

And of course, when the artwork was done, the leftover rice was a delight for Veronika to scoop through. She loved seeing the beautiful colored grains on her fingers!

Rice Art (7)

Rainbow Sensory Bags

Rainbow Sensory Bag (4)

Mixing paint is such a great way to teach kids about the difference between primary and secondary colors (namely, that you achieve one of the latter by mixing two of the former), and I’m always looking for ways to make the lesson hands on. These hair gel bags make it easy to mix the colors together in a fun and squishy way!

Rainbow Sensory Bag (2)

To start, squirt a little clear hair gel into each of three sandwich-sized zip-top bags. Add the primary colors on either side of the gel, so you have one bag that contains red + yellow, a second that contains yellow+ blue, and a third that contains blue + red.

Rainbow Sensory Bag (1)

Seal tightly and add a strip of duct tape at the top of each for security. Now invite your toddler to squish and mush!

Rainbow Sensory Bag (3)

Veronika was particularly pleased when the red and blue combined to make her favorite color (purple).

Rainbow Sensory Bag (8)

We simply made this about the squishy sensory play today, but see my previous post on primary color storytime for reading suggestions that can go along with it.

Rainbow Sensory Bag (5)

If you have enough paint, you might consider making one bag that contains just red paint + hair gel, one with yellow paint + hair gel, and one with blue paint + hair gel, in which case you’ll wind up with the full rainbow lineup at the end.

Snow Painting

Snow Painting (3)

When nature turns the world white with snow, then it becomes one giant canvas for your toddler to paint! To wit, Veronika and I tested two methods to paint the snow today. I recommend using all-natural food coloring for this activity, since the “paint” will be left behind once the snow melts, although technically you can use liquid watercolors.

Snow Painting (2)

First, I filled a spritz bottle with water and a generous amount of purple food coloring (a mix of red and blue). Veronika is still building up the strength to use the spritz bottle, so I helped her out to make neat purple “spray paint” splotches on the snow.

Snow Painting (1)

The second method was easier for her little hands. Fill a container with water and drops of food coloring, then hand over a wide bristle paintbrush.

Snow Painting (4)

All Veronika had to do was dip and paint! Soon we had a patio that was a vibrant mix of purple and green. As a note of caution, you may want to skip yellow for this particular project, since people tend to be leery of yellow snow!

Snow Painting (5)

In sum, this was a novel and fun way to play with the world’s white canvas.

Bubble Wrap Snowman

Bubble Wrap Snowman (7)

While we’re eagerly awaiting the next snowfall ample enough to build a real snowman, Veronika made do with this painted version today!

The novelty here was painting the snowman using only a piece of bubble wrap. Little bubble wrap pouches are better for this particular project than a sheet of bubble wrap, since they can easily slip over a hand.

Bubble Wrap Snowman (2)

First, we painted the bubble wrap in wintry shades of white and pale blue. While Veronika painted, I drew an outline of a snowman on white paper.

Bubble Wrap Snowman (1)

I slipped the bubble wrap over her hand like a mitten and showed her how to press down. She loved this, and also wanted to check out the way the painted bubble wrap felt with the other hand. I recommend having a pack of wipes handy, in case your toddler does the same!

Bubble Wrap Snowman (3)

Set your snowman aside to dry, then cut out and glue onto a blue construction paper background.

Bubble Wrap Snowman (5)

Finally, I cut out a few accessories for our snowman.

Bubble Wrap Snowman (6)

For a little vocabulary exercise, Veronika named all of these as we used a glue stick to attach them: a black top hat, red buttons, a red scarf, and an orange carrot nose!

Bubble Wrap Snowman (8)

Cartons of Fun

Cartons of Fun (2)

This is the type of activity that’s great to do when you’re using up the odds and ends in your craft bin before restocking. Any clean and washed food containers make great bins for small hands. I used empty non-dairy yogurt and sour cream containers, but juice cartons would work, too, with the tops cut open.

Simply fill each container with a different craft material. I presented Veronika with an assortment that included fabric scraps, felt pieces, ribbon, buttons, beads, and stickers. Then I set these down for her along with glue and pieces of construction paper.

Cartons of Fun (1)

Older preschoolers can take it from here solo! If your child is old enough, you can also provide safety scissors. For Veronika at age 2, I had to supervise the activity a bit more closely, but I tried to sit back and see how she wanted to use the materials, instead of guiding.

Cartons of Fun (3)

She liked the buttons best and wanted to glue them down. I helped her make dots of glue that she could press the buttons on. We added a few bits of fabric and ribbon to this first creation, too.

Then I made a “cake” for her with fabric scraps for the cake and ribbon as candles. This time, I added dots of glue so she could add “icing on the cake” with more buttons and beads.

Cartons of Fun (4)

For the final creation, I smeared glue all over a piece of construction paper, This meant that no matter where she pressed down an item, it was sure to stick. This page was soon covered with the fabric and felt scraps.

Cartons of Fun (5)

And don’t discount just letting your toddler fill a page with stickers. That counts as art, too!

Cartons of Fun (6)