Toddler Color Chart with Colorful Fall Leaves

Toddler Fall Leaf Chart (6)

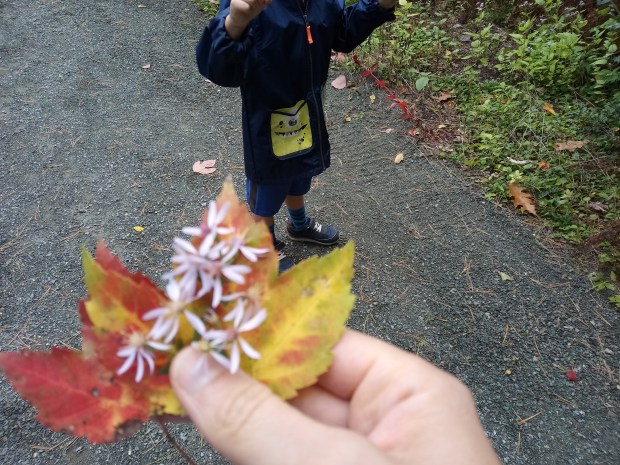
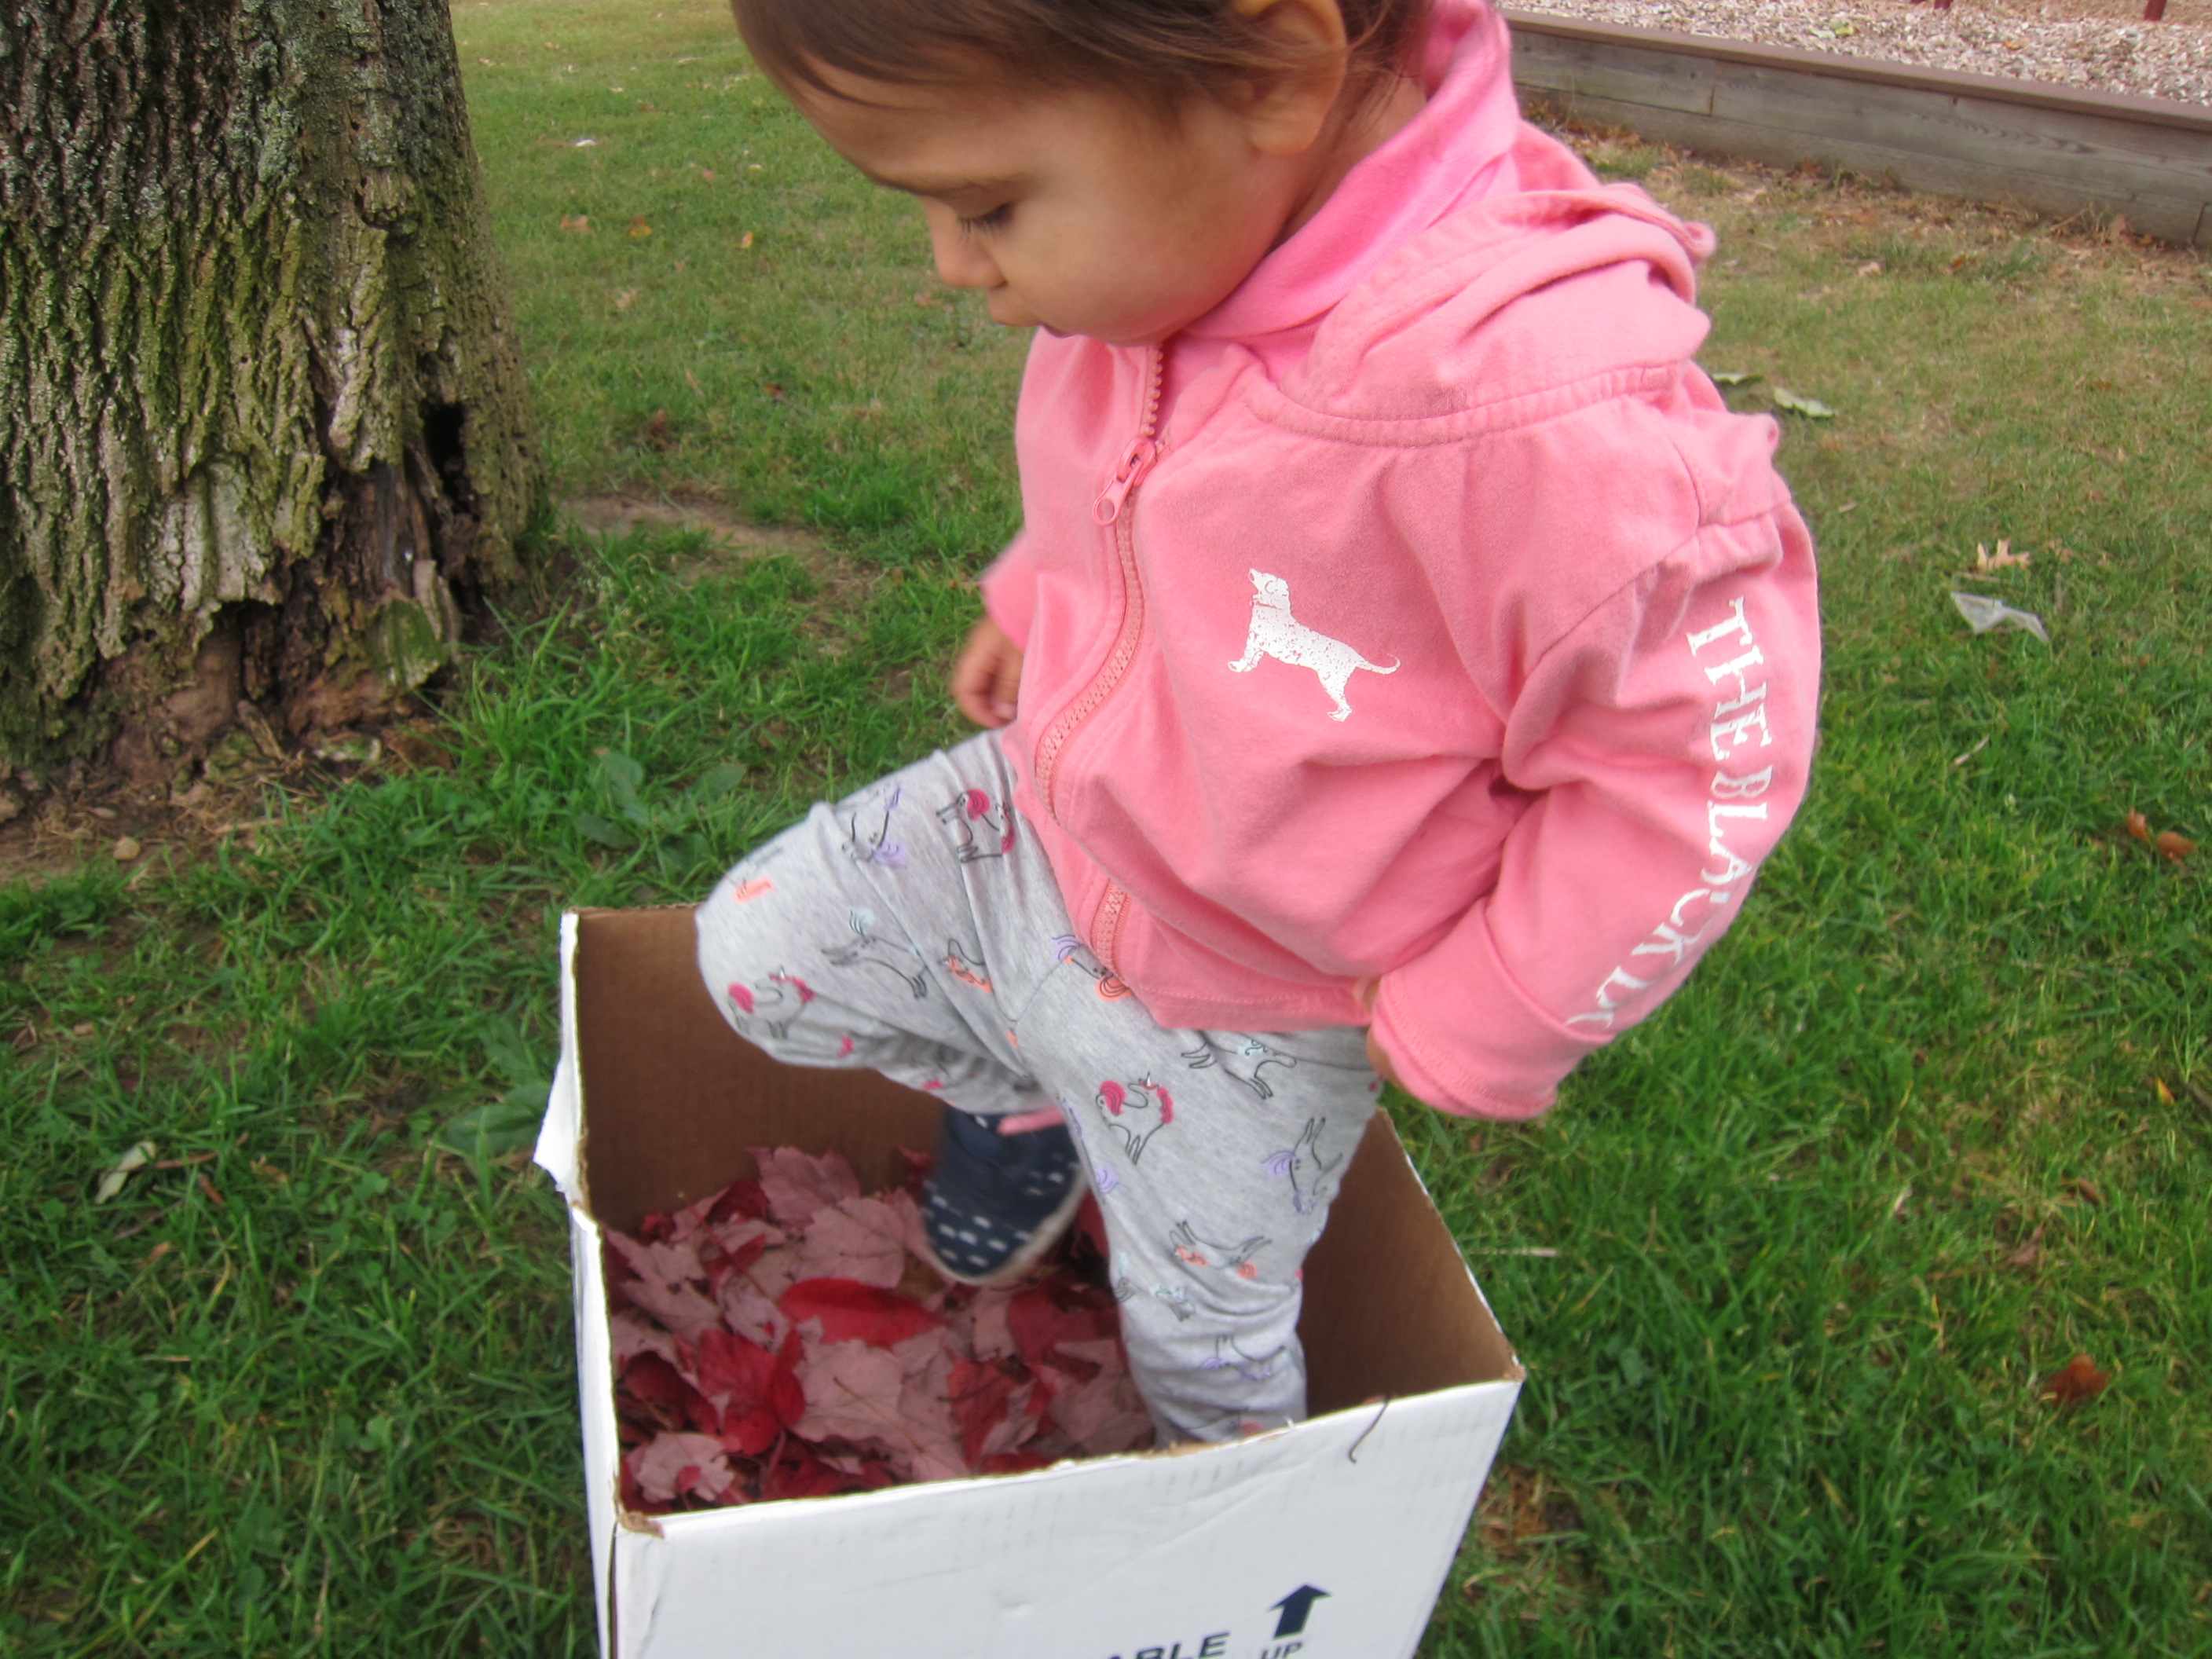
We turned a beautiful stroll among the leaves into a chance for a little color review this morning.

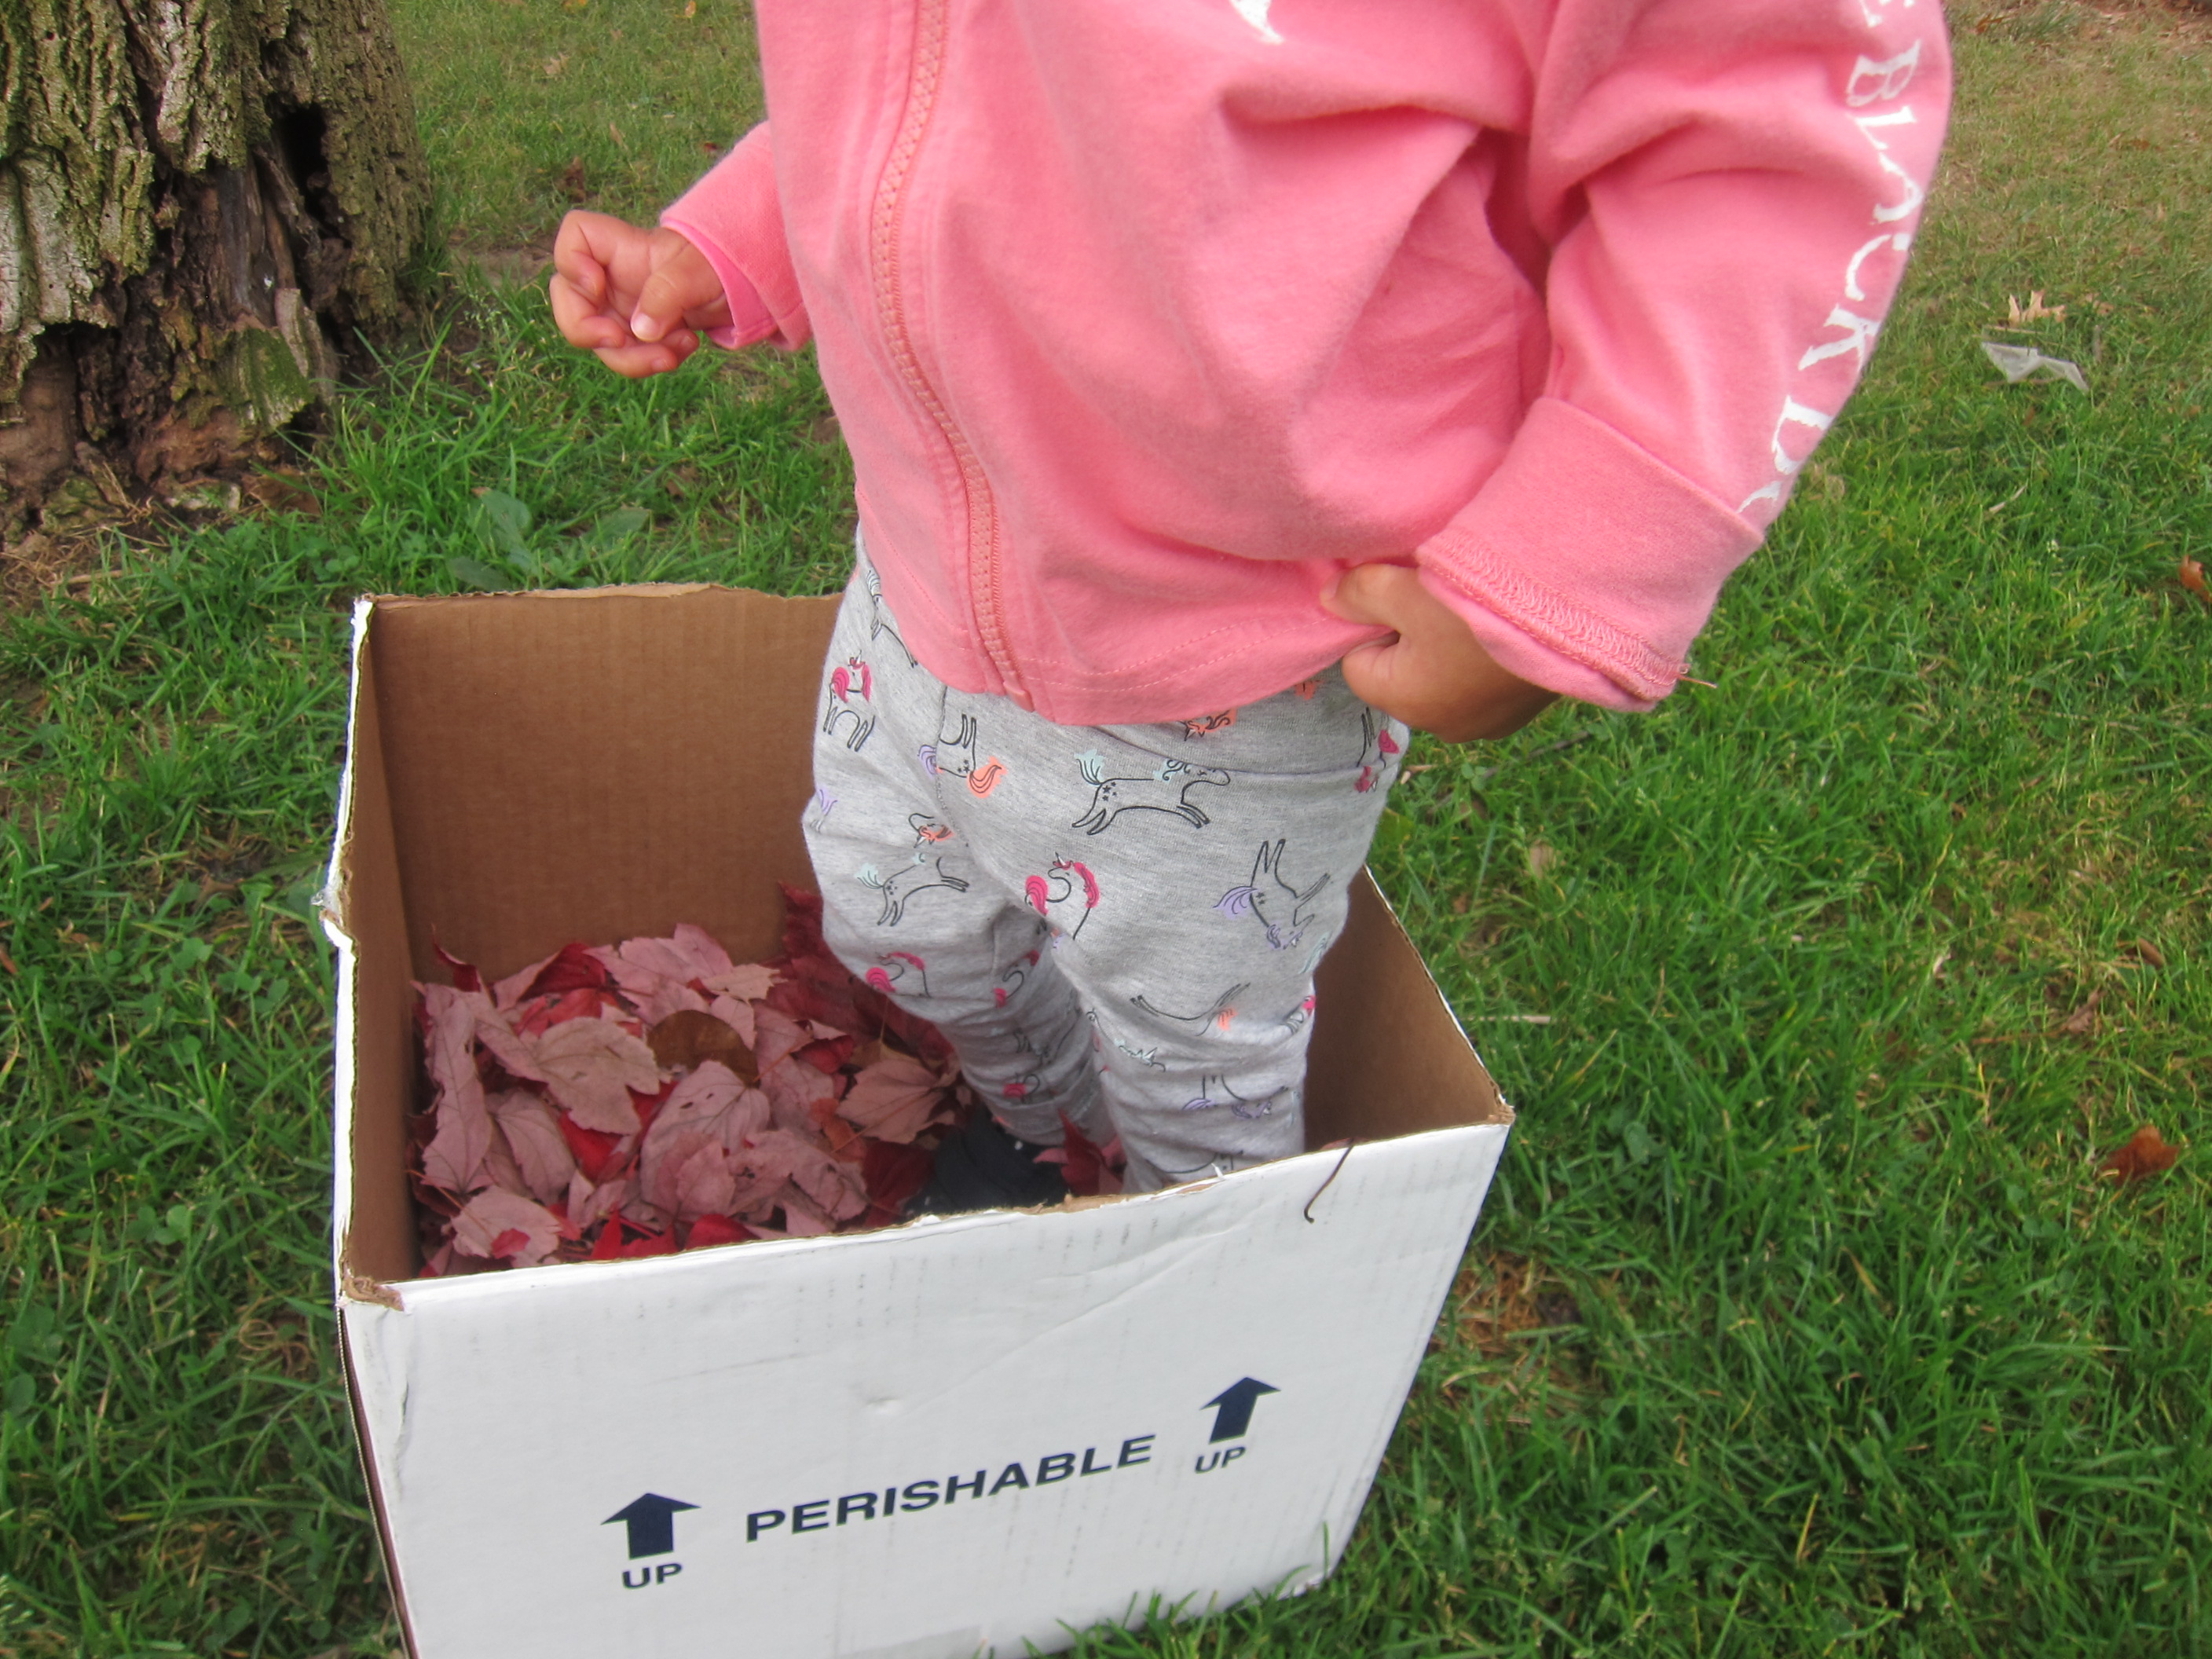
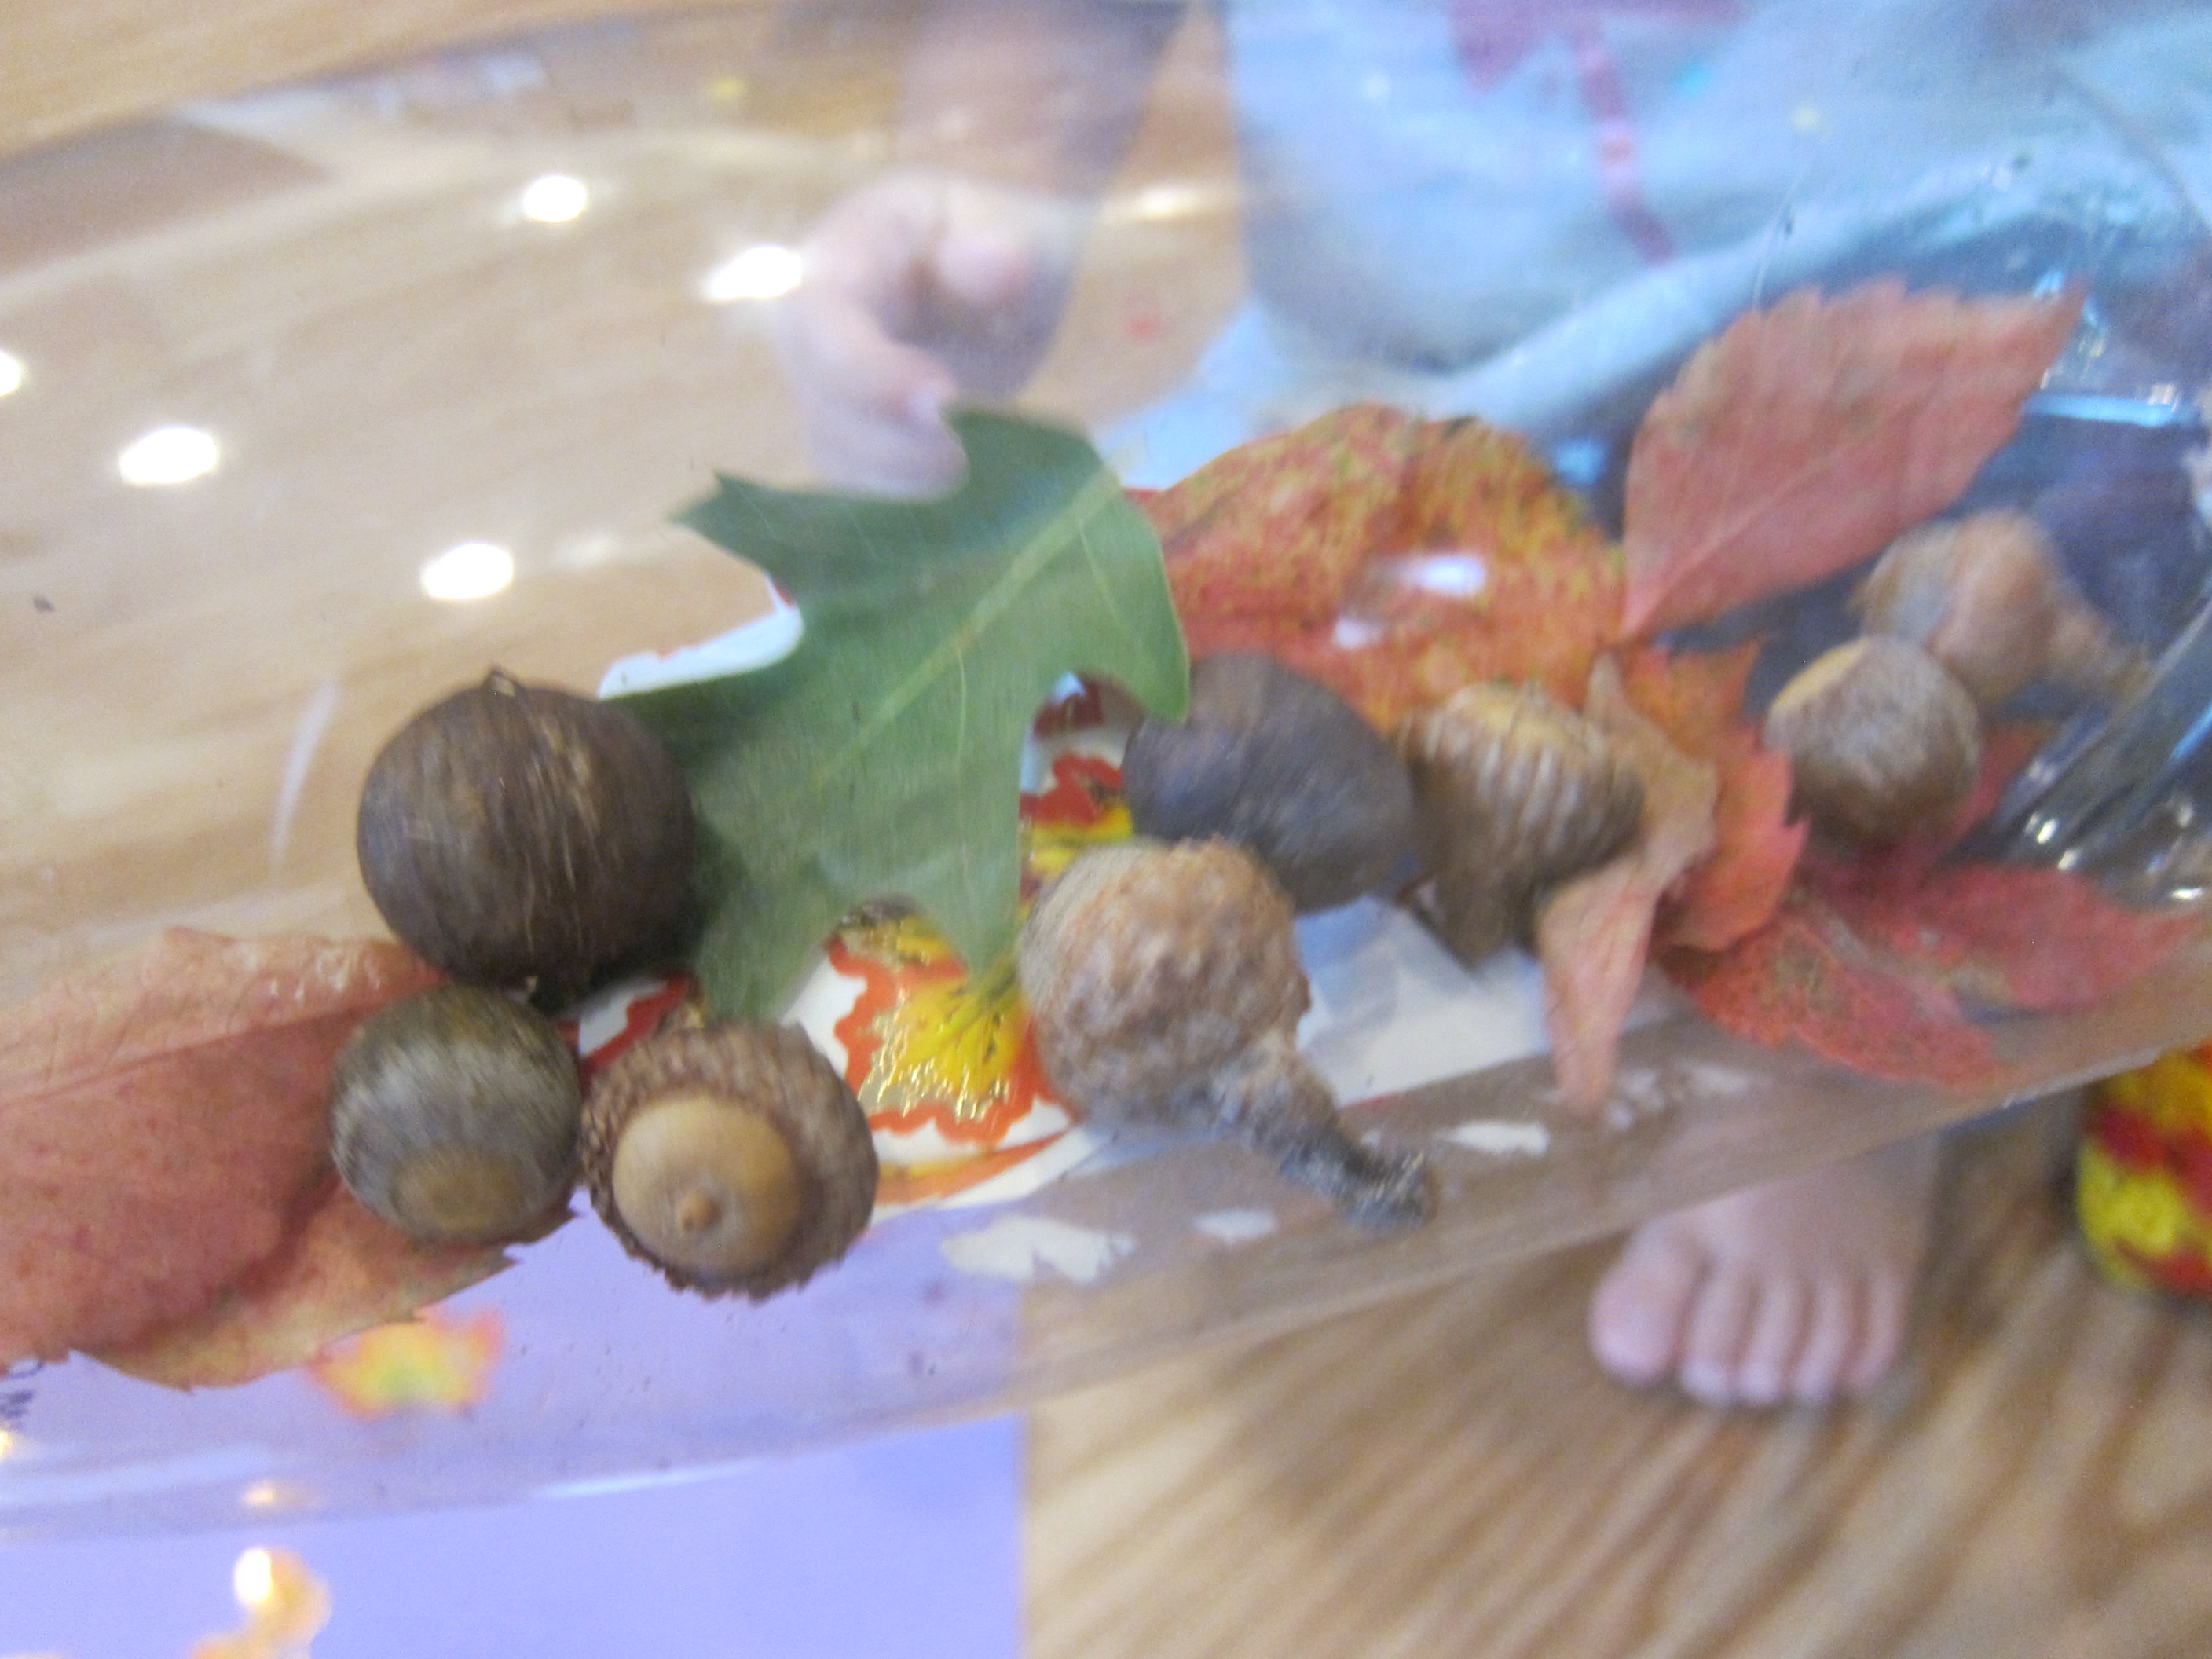
And I mean stroll literally. Veronika was determined to push her doll around in a stroller “all by self”, crunching through autumn leaves. As we walked, we started a little collection of the most vibrant ones we could find.

Toddler Fall Leaf Chart (2)

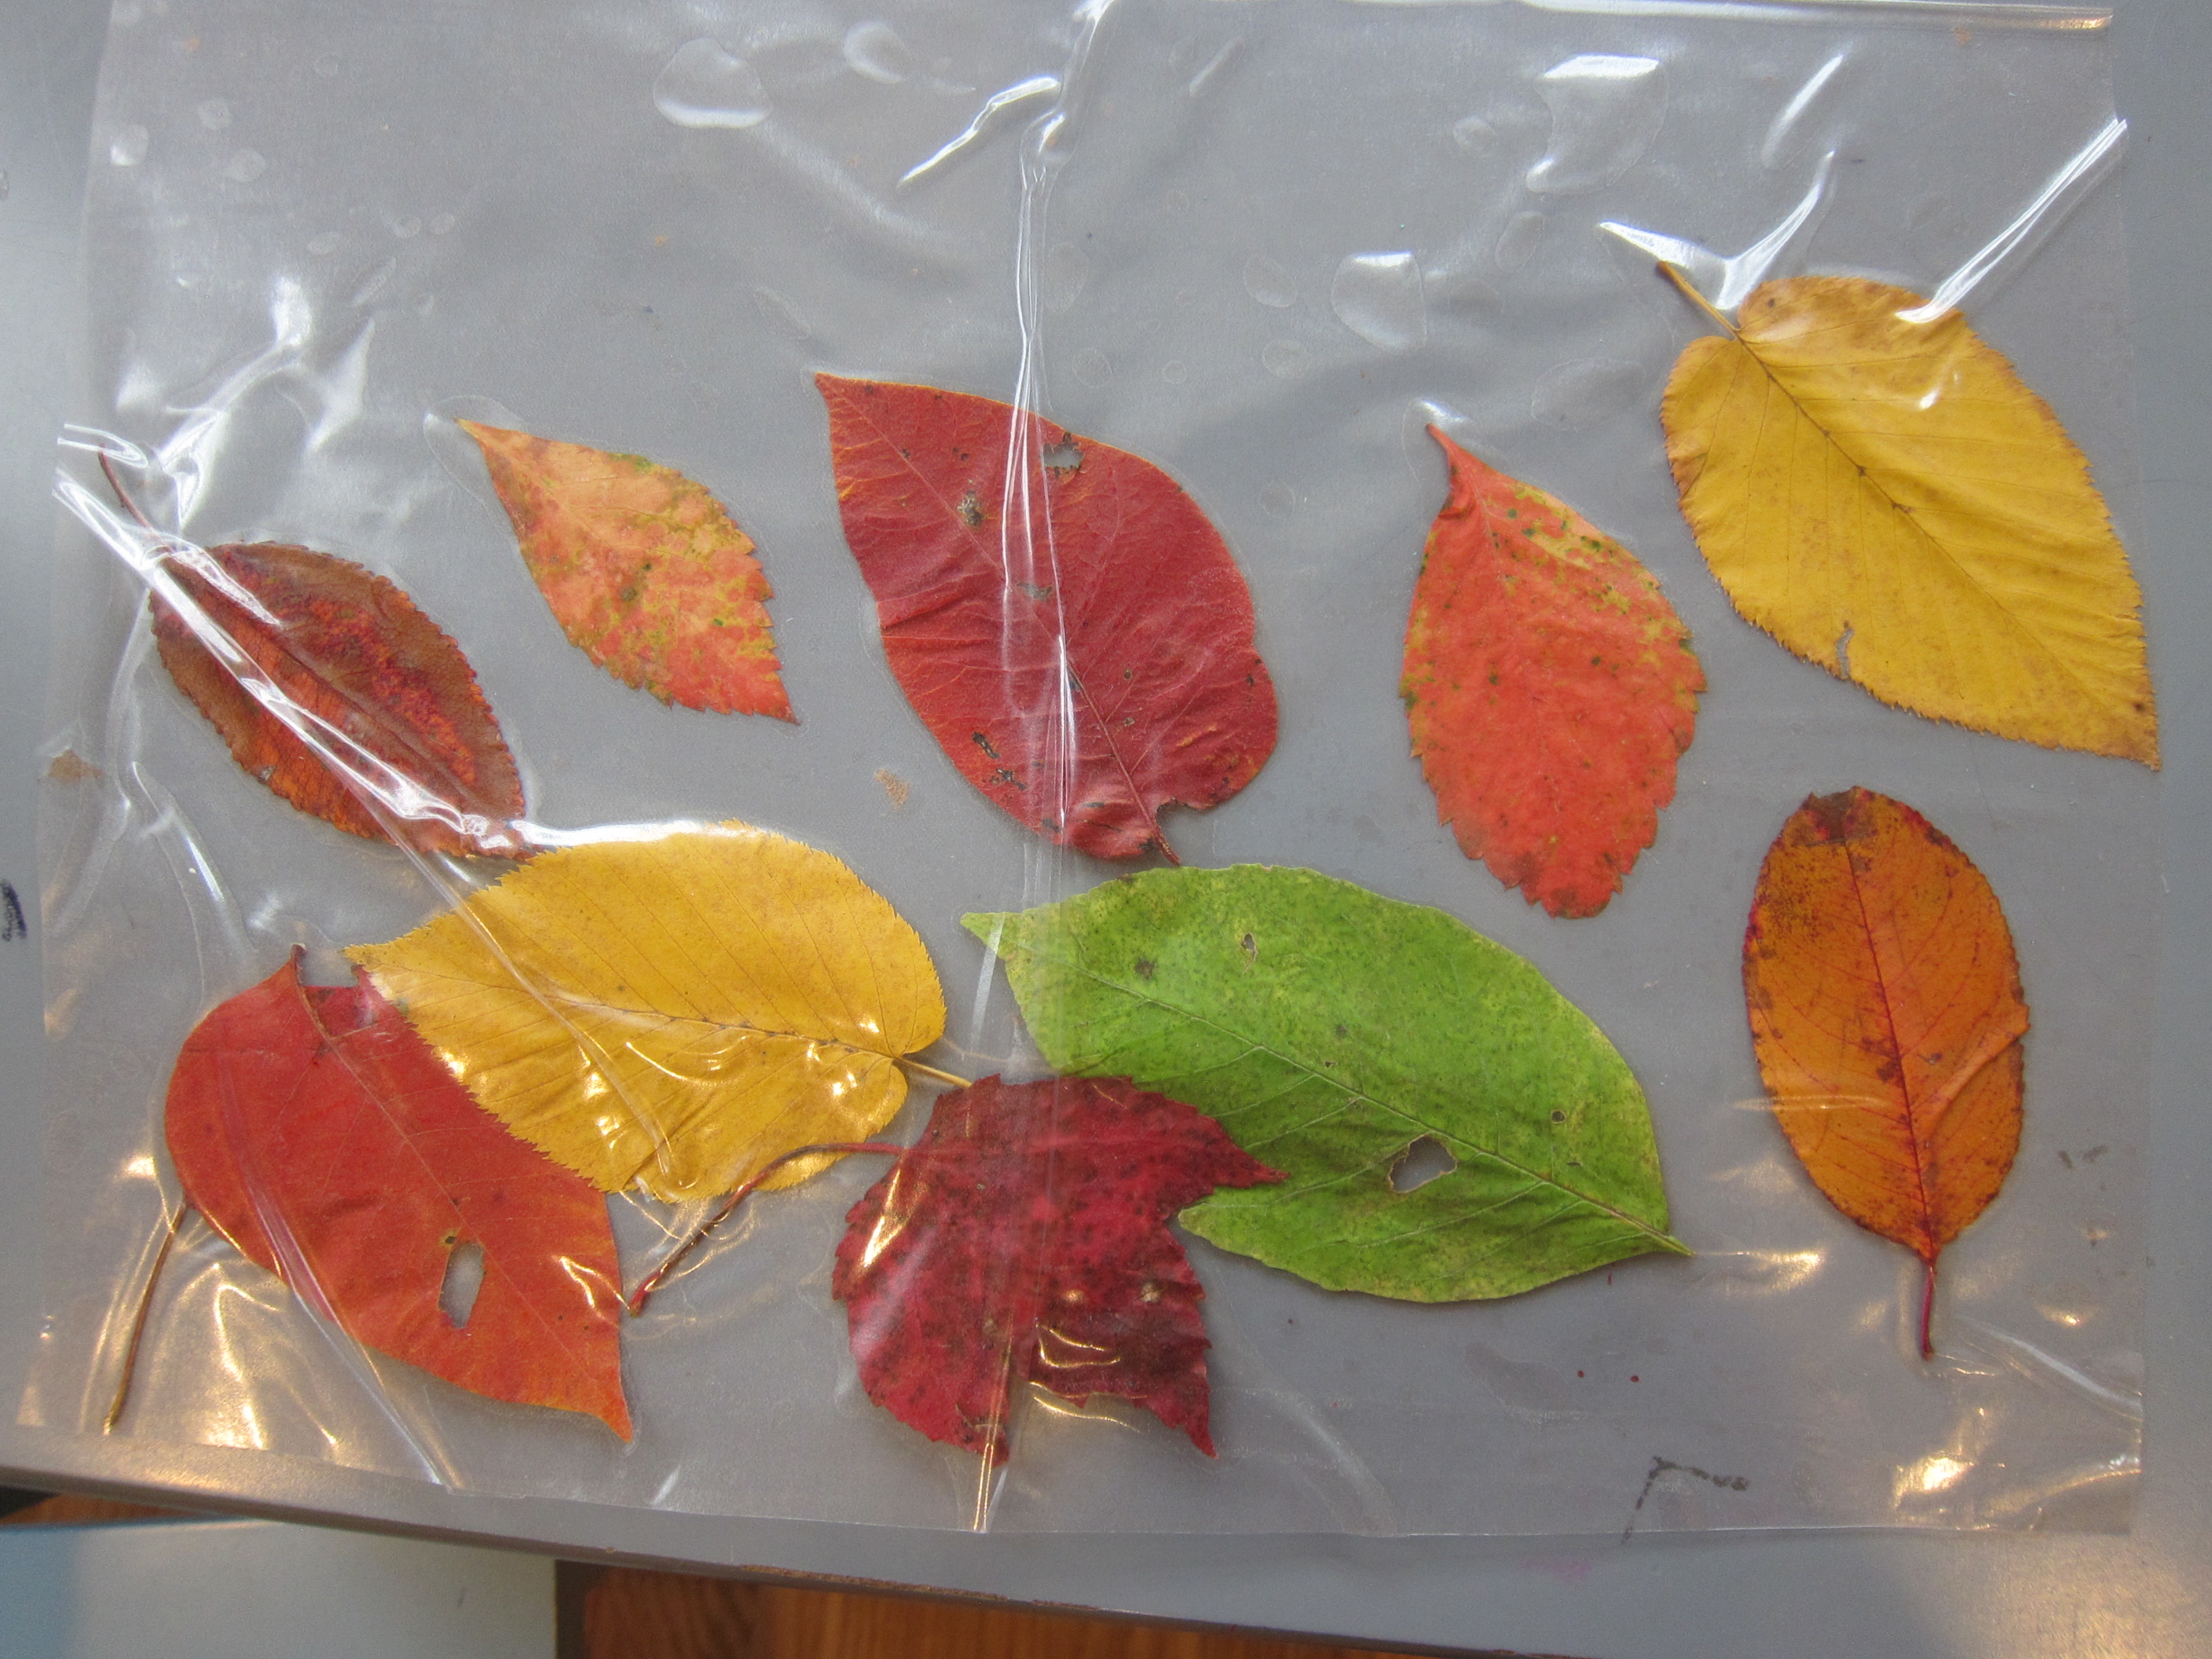
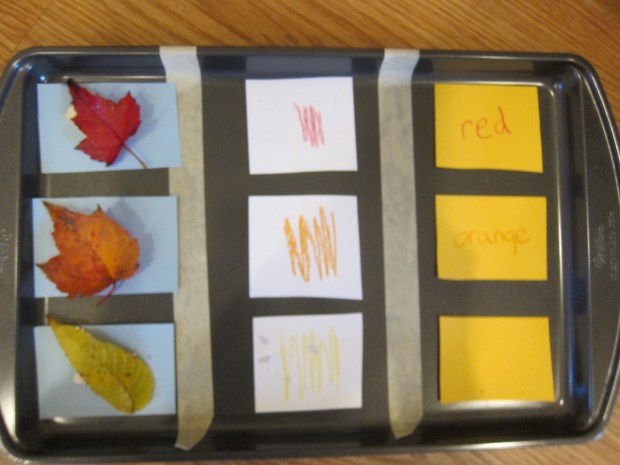
Once home, I set up a quick “chart” for her. Divide a baking sheet into a 3×3 grid with masking tape. In the first column, I taped down three leaves: red, orange, and yellow.

Toddler Fall Leaf Chart (1)

In the second column, I had blank white squares of paper for Veronika to fill in with colors. I asked her what color each leaf was and then to find the matching crayon. To simplify this for a two year old, I only had out the three crayons we needed. You can make this more of a hunt through the whole pack for preschoolers!

Toddler Fall Leaf Chart (4)

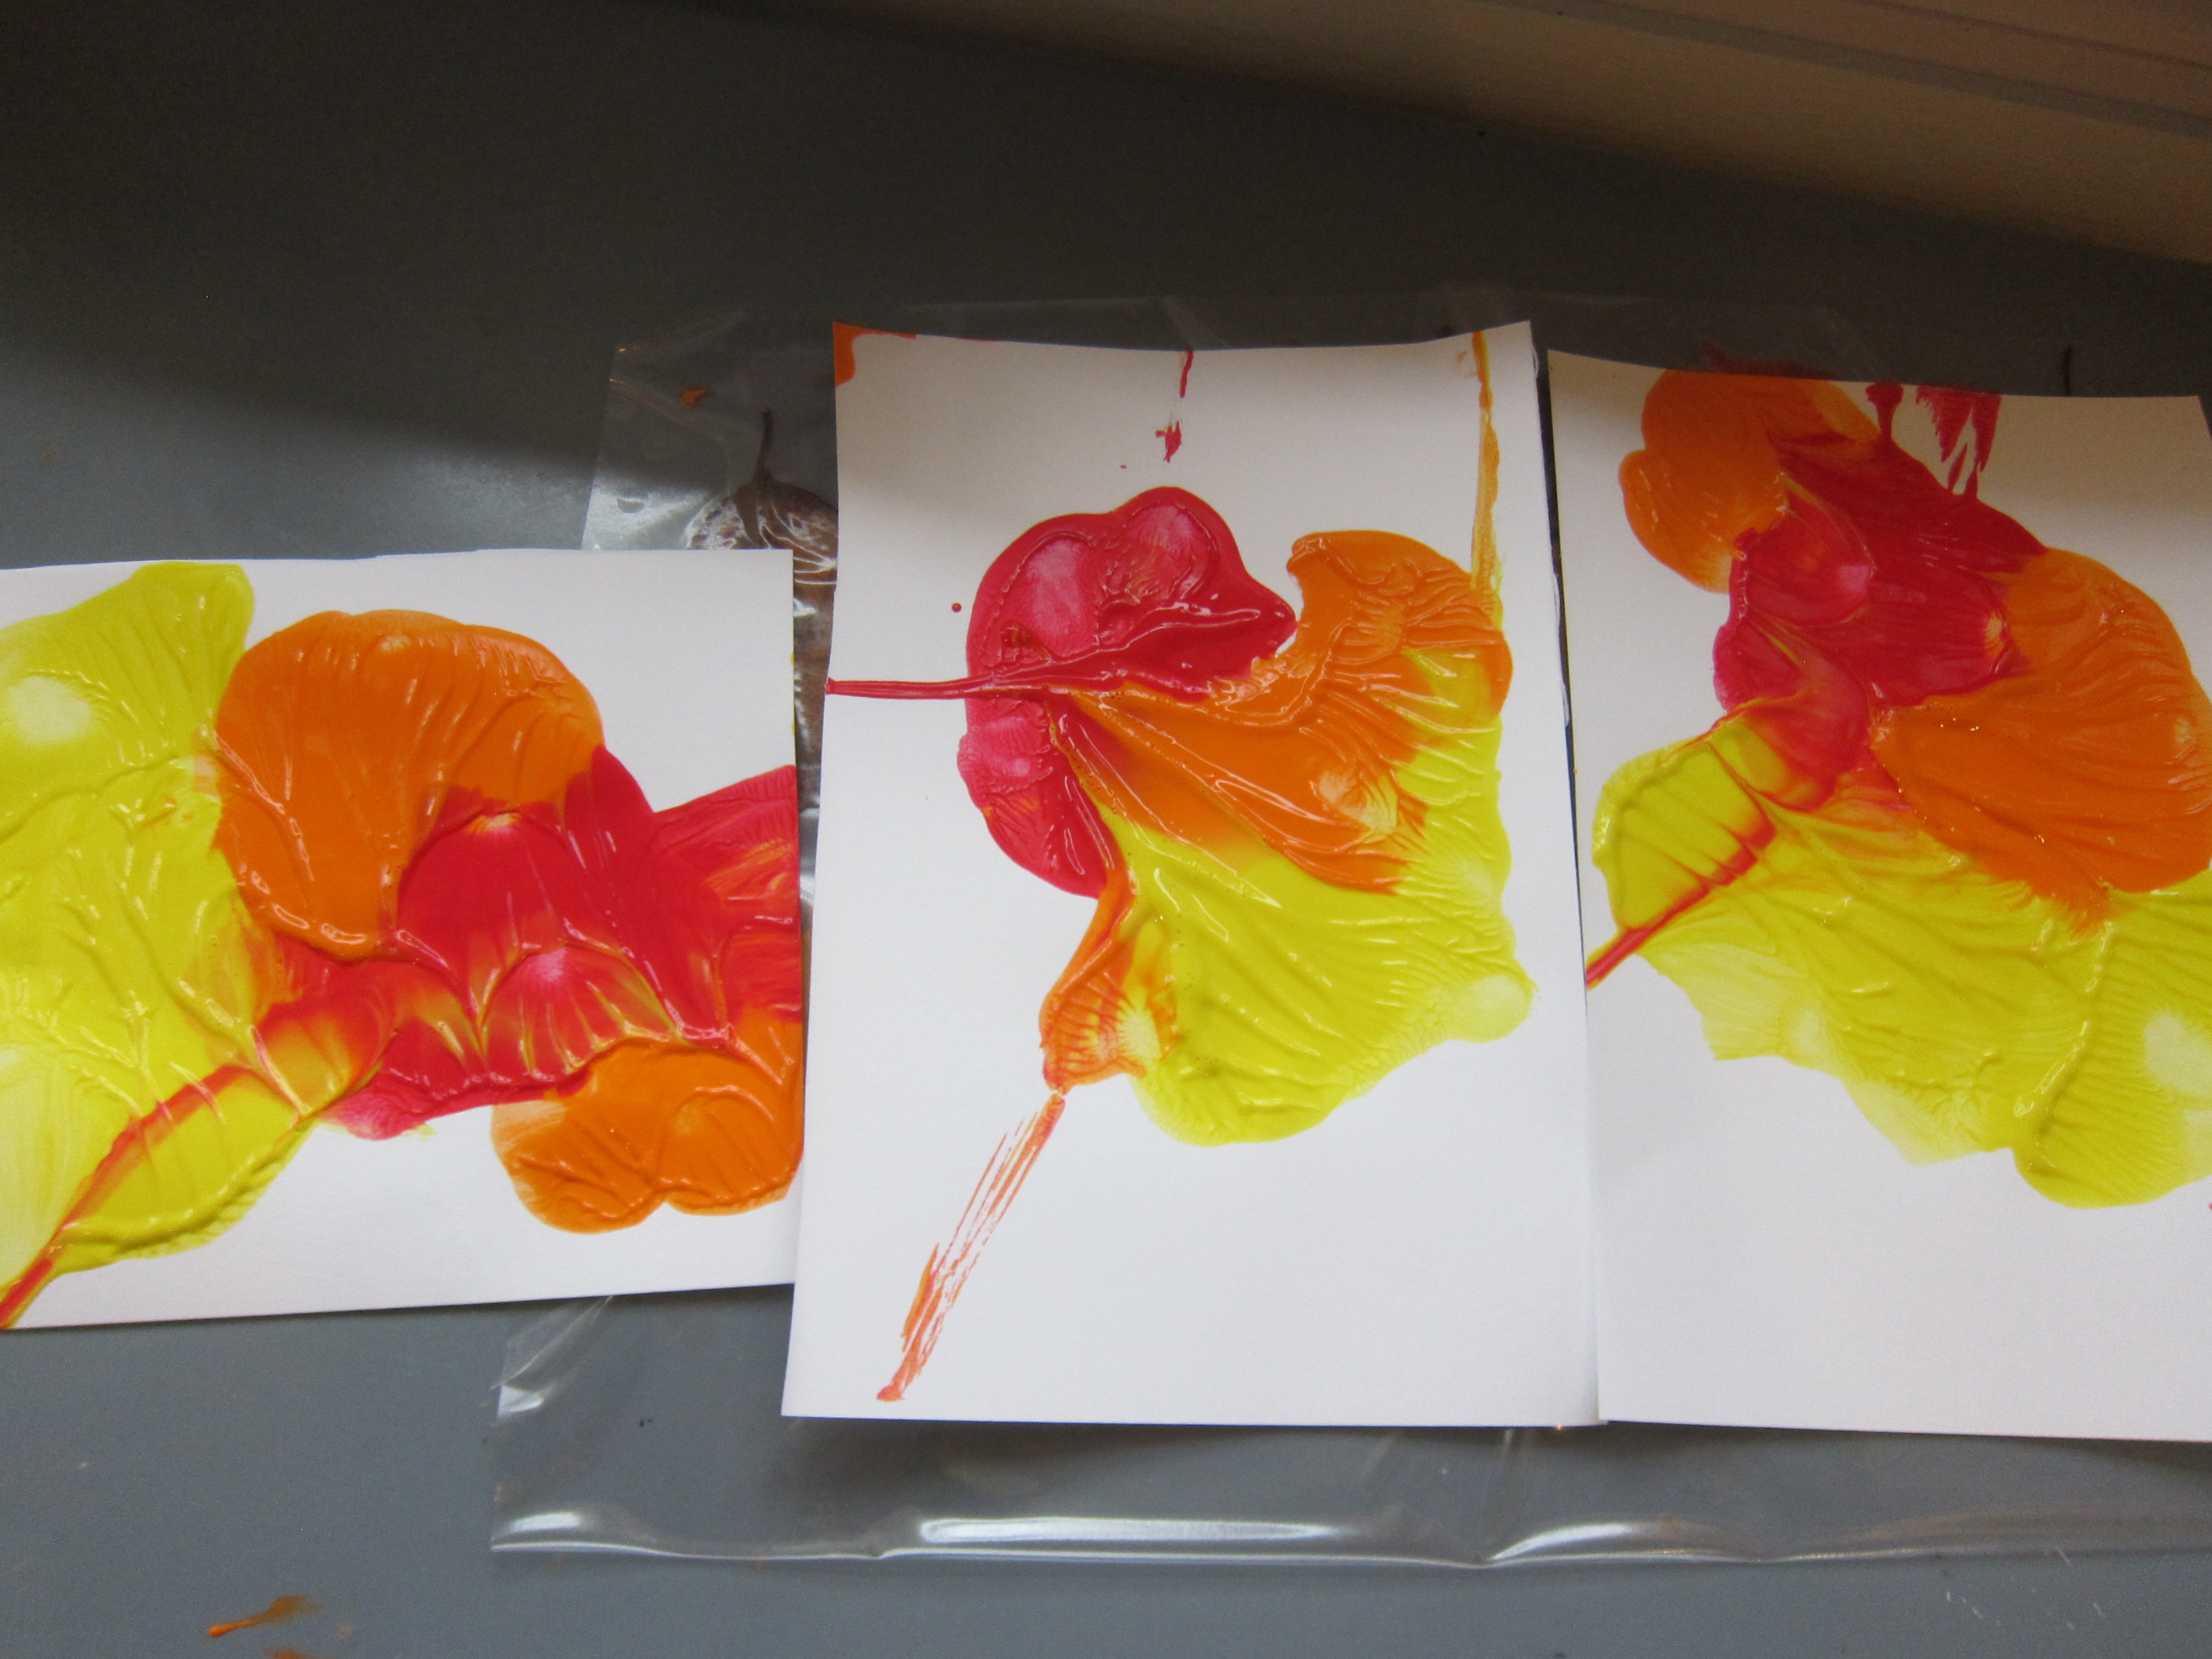
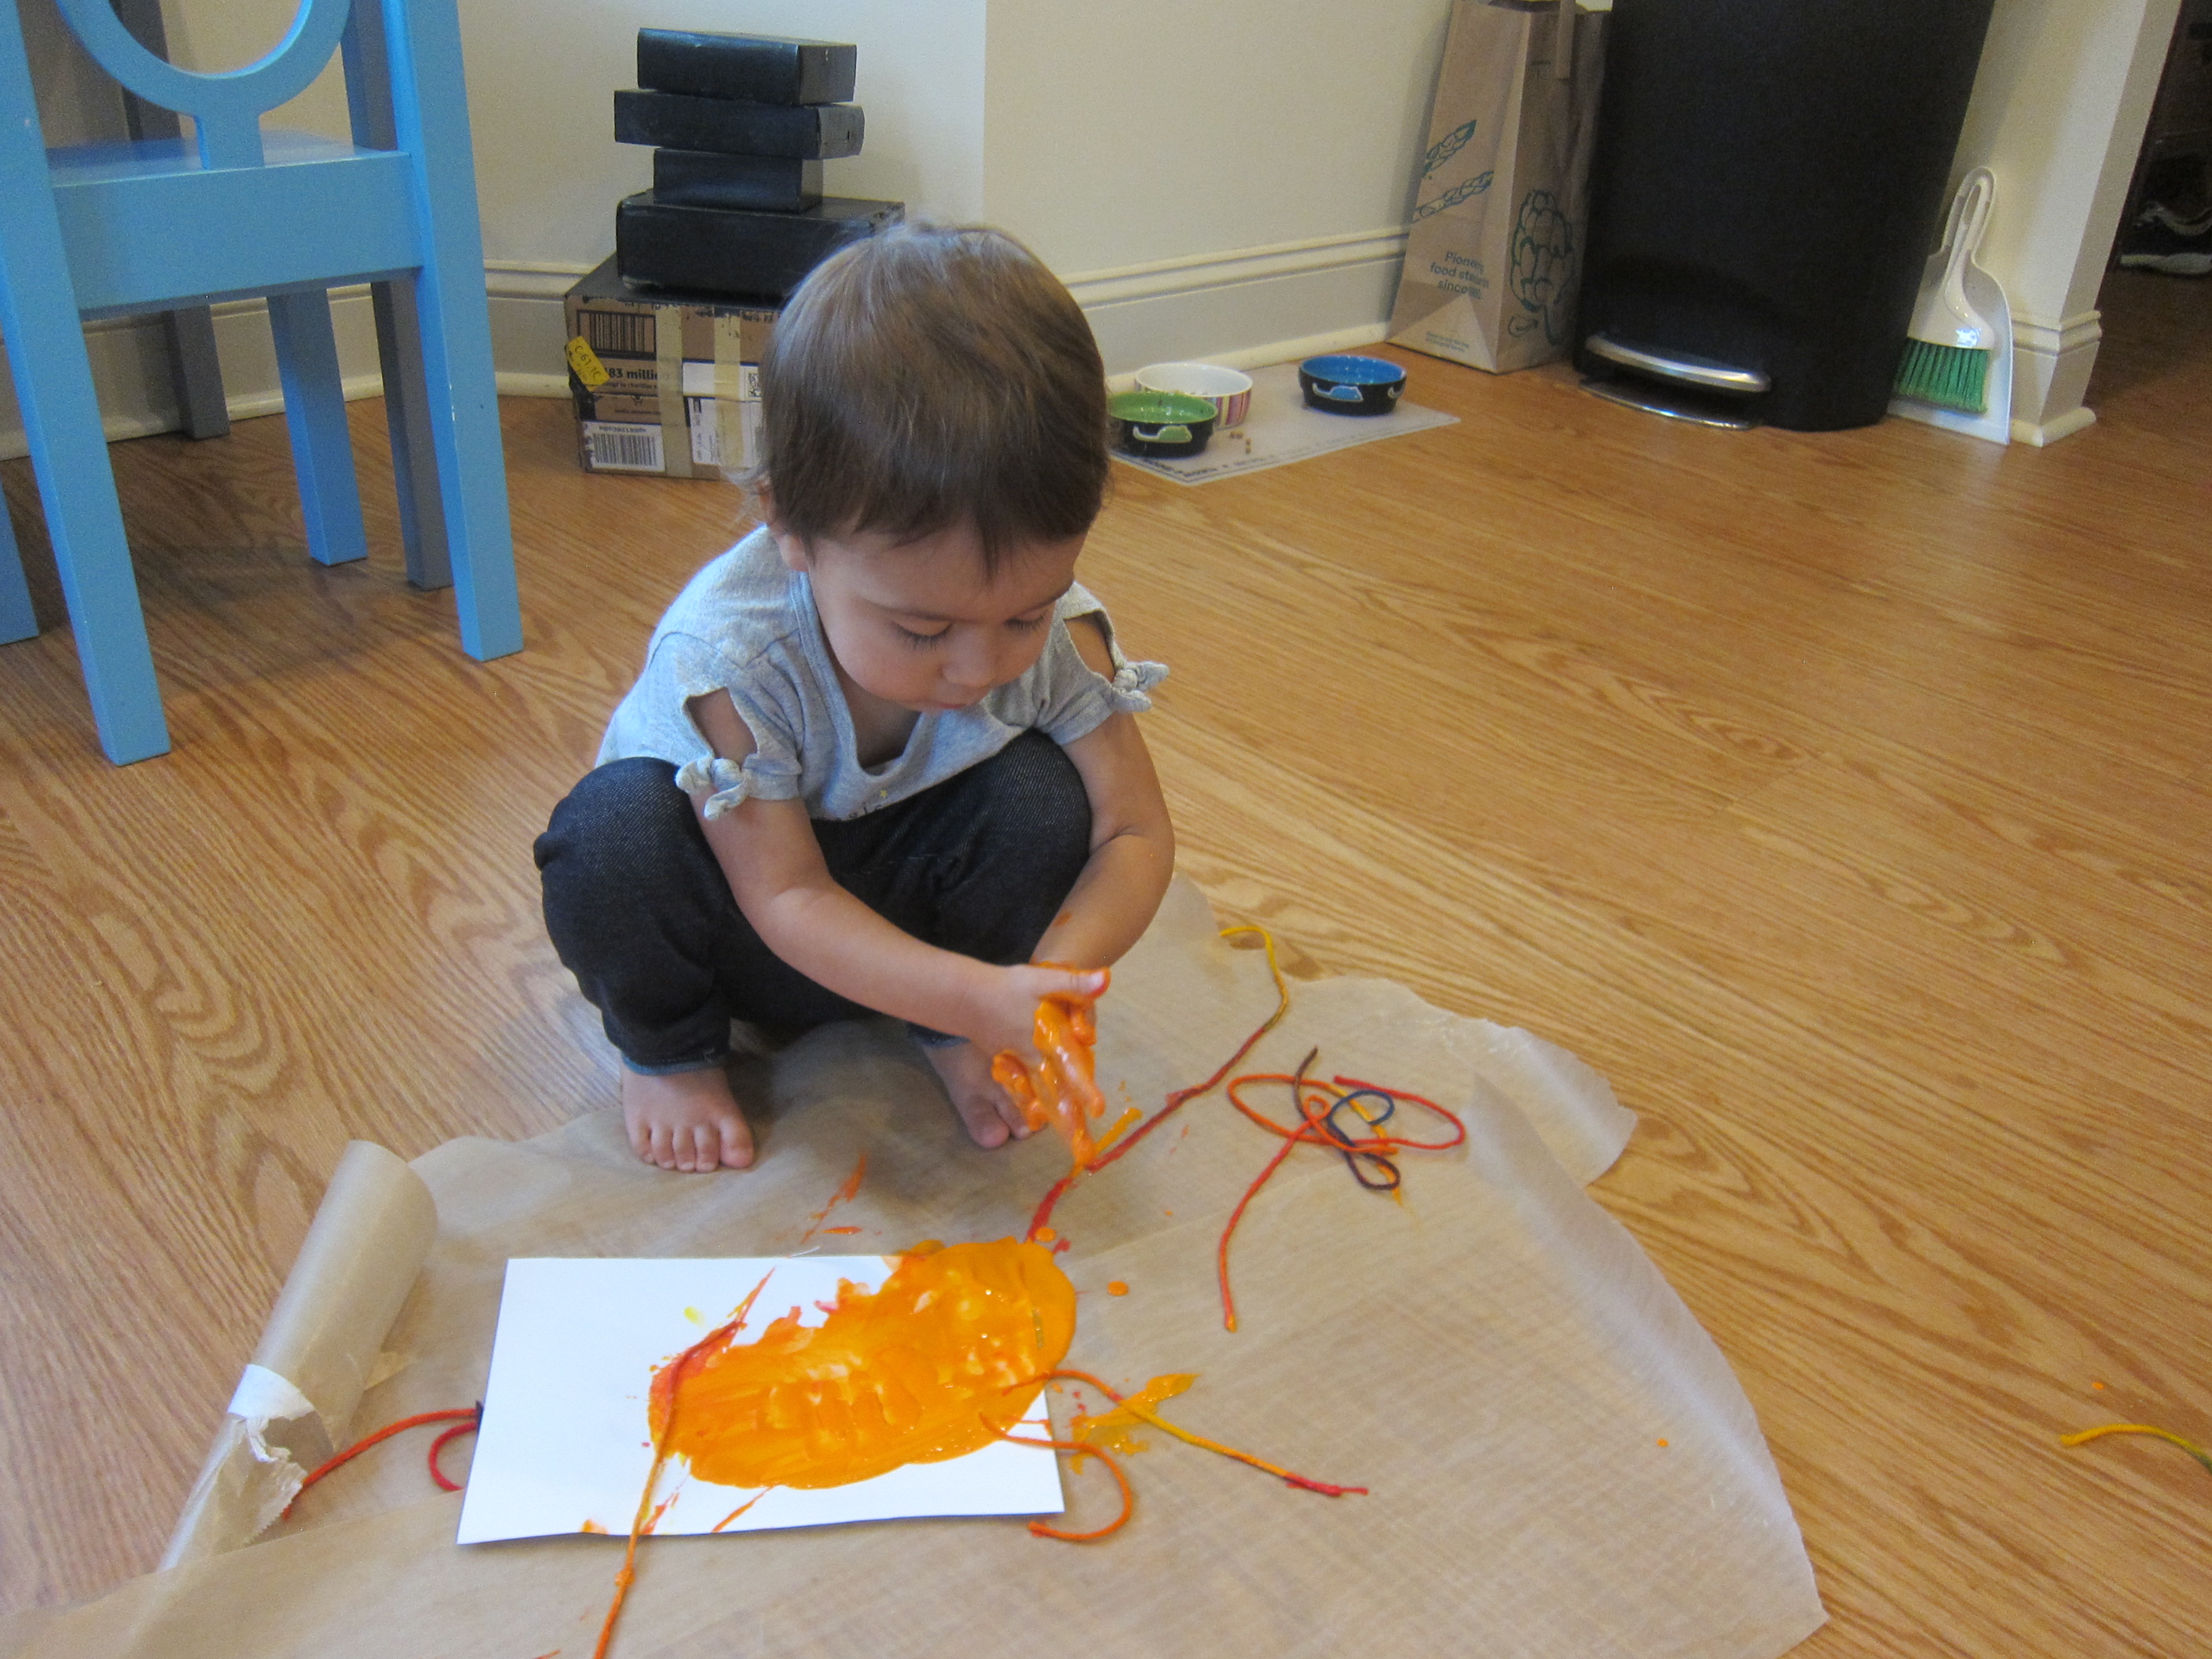
She scribbled on the white squares for each. I also thought it was adorable that she wanted to use crayon directly on the leaves, for example, applying yellow crayon to yellow leaf.

Toddler Fall Leaf Chart (7)

Just for some extra early learning, I wrote the name of each color in the final column. Of course, she’s a long way off from sight reading, but it never hurts to start early!

Toddler Fall Leaf Chart (3)

This was a great project for extending a morning excursion into learning and play.

Experience the Harvest

Verrill (3)

With beautiful fall recipes that celebrate the harvest in Travis’s latest Raddish Kids, we wanted to make sure we ticked all the boxes for fall family fun. All of the following activities are ones we try to do every year. Start now and make them a tradition for your family, too!

Go Through a Corn Maze

Hansons (7)

Corn mazes range from the easy to the truly harrowing. Aim for one-acre or less if your kids are young like mine. Meanwhile, big kids can tackle the biggies… Or the haunted ones!

Attend a Local Harvest Festival

Davis (4)

This was harder this year, under COVID-19 regulations. But we did go to a local farm, where the kids got to see animals like goats and sheep, and help feed them, too!

Pick Pumpkins at a Patch

Hansons (15)

We headed to the pumpkin patch on a day where proceeds benefited the pediatrics department of our local hospital. The kids got to take home goodie bags, and three proudly picked pumpkins.

Hop a Tractor for a Hay Ride

Hansons (2)

Bummer, the hay rides are closed this year, too. But the kids can still sit in the tractors at least. Vroom, vroom!

Drink Hot Apple Cider

Mulled Cider (2)

After holding his own apple cider stand (!), we made sure to save enough to enjoy mulled cider back at home. The kids marveled at how a little heat and spice transformed a regular cup of cider. It was the perfect pause for some Raddish Kids’ Table Talk cards, too.

Visit an Orchard for Apple Picking

Davis (19)

We lucked out with a gorgeous afternoon to pick apples from a local orchard. Travis was really into finding the best apples and carefully twisting them off this year. Veronika loved standing under the trees and staring up at the apples in glee.

Davis (14)

Everyone loved it.

Spiced Baked Apples (1)

Need a recipe for your haul? Try Spiced Baked Apples!

Spiced Baked Apples (4)

This recipe is great because it works best with a mix of sweet and tart, taking advantage of multiple varieties from your picking excursion.

Ingredients:

  • 6 apples
  • 2 tablespoons lemon juice
  • 1/2 cup brown sugar
  • 2 tablespoons cornstarch
  • 2 teaspoons water
  • 1 and 1/2 teaspoons pumpkin pie spice
  • 2 teaspoons vanilla extract
  • Pinch of salt
  • 2 tablespoons Earth Balance butter
  1. Slice the apples and toss with the lemon juice in a large bowl.
  2. Add the cornstarch, brown sugar, water, pumpkin pie spice, vanilla, and salt.
  3. Spoon the apple mixture into a 2-quart baking dish. Cut the butter into small pieces and arrange over the apple slices. Cover with foil and bake at 350 degrees F for 1 hour and 15 minutes.
  4. Uncover, stir, and bake an additional 15 minutes. The apples will look almost like a chunky applesauce. Let stand at least 30 minutes before serving.

Happy Harvest!

Spiced Baked Apples (3)

No Carve Nature Pumpkins

No-Carve Nature Pumpkins (10)

It was a brisk fall morning, perfect for one of our nature walks to collect treasures. This time, I specifically kept my eyes open for items that we would be able to later glue onto pumpkins. We came home with sticks, leaves, pine cones, and acorns. I had hoped to spot some maple keys, but didn’t see any.

No Carve Nature Pumpkin (1)

I arranged all of our treasures onto a craft tray, and Veronika loved sorting through the items.

No-Carve Nature Pumpkins (3)

As she simply explored with all her senses, I arranged the items with more purpose to see what would work where on each pumpkin as facial features.

No-Carve Nature Pumpkins (4)

Our first orange fellow soon had acorn eyes, a stick nose, a leaf mouth, and a big branch of multiple leaves for hair.

No-Carve Nature Pumpkins (6)

He was soon joined by a second orange friend, this one with acorns for eyes and nose, leaves for mouth and ears, and a fun little pine cone headdress. I tucked a few leaves behind the pine cone so it almost looked like one of those fancy fascinator hats!

No-Carve Nature Pumpkins (11)

Veronika was clearly delighted when she saw that our pumpkins now had eyes, noses, and more.

No-Carve Nature Pumpkins (7)

They look quite jolly and happy on our patio. As with our recent pumpkin mask craft, this is a great way to decorate pumpkins a ways out from Halloween, since they won’t rot before the big night.

No-Carve Nature Pumpkins (9)

Fall Squishy Bag

Fall Squishy Bag (3)

This quick sensory bag was very similar to a recent sensory bottle I made for Veronika, except this time it was in squishy form!

To start, fill a large zip-top bag with clear hair gel. I added yellow food coloring for the perfect autumnal hue.

Fall Squishy Bag (1)

Next I added leaves and acorns. You have two choices here: opt for silk leaves and plastic acorns if you have them from the store. And if not, simply use the real thing! We sure have lots of acorns and leaves from recent nature walks, so we went with the real deal.

Fall Squishy Bag (2)

Veronika really seemed to enjoy the contrast between soft leaves, squishy gel, and hard bumpy acorns.

Fall Squishy Bag (4)

She picked it up to see if it made shaky noises, but then realized this one was better suited to squishing around with her fingers.

Fall Squishy Bag (5)

She also tested out standing on it!

Fall Squishy Bag (8)

The bag was gorgeous sparkling in the light when the sun hit it mid-afternoon. In sum, a easy sensory bag, just right for autumn.

Fall Squishy Bag (7)

Leaf Stomp

Leaf Scrunch (4)

Here’s a fun way for a toddler to enjoy the experience of stomping through leaves without all the effort of raking a huge pile!

Head to your backyard or a local park and pick a tree with lots of leaves on the ground. Invite your child to help toss leaves into any box with tall sides, ideally about waist high on your child. We found a tree with gorgeous red ones!

Veronika preferred scrunching her feet through the leaves on the ground while I filled our box.

Leaf Scrunch (1)

Once the leaves reached about mid-way up her calf, I set her inside and it was time to stomp and crunch!

Leaf Scrunch (2)

Dump, refill, and repeat this as many times as your child wants to. It’s almost as much fun to toss leaves into the box as it is to stomp on them.

Leaf Scrunch (5)

If you add a few more leaves each time, pretty soon you will have a leaf pile, with hardly any effort!

Leaf Scrunch (3)

Wax Paper Art

Wax Paper Art (6)

Here’s a toddler-friendly art project that’s perfect if you find yourself with a handful of colorful leaves after a fall walk!

To start, I mixed together a little white glue with different colors of tempera paint in small cups. Veronika chose yellow and green. I set these out, along with paintbrushes and two roughly equal squares of wax paper.

I showed Veronika how to dip her paintbrush in the glue mixture and then paint all over the wax paper.

Wax Paper Art (1)

The more glue the better, which means this is the perfect task for a toddler who wants to make a mess! Veronika loved that this activity was both goopy and colorful.

Wax Paper Art (2)

Once the wax paper is covered, help your child add colorful leaves to one of the squares. Cover with the remaining wax paper square. Trim the edges to the same size once the glue mixture dries.

Wax Paper Art (4)

It was hard to see the leaves when our wax paper was down on the floor, but once taped up against the window, the sun makes the leaves peek through. The perfect autumn window decoration!

Wax Paper Art (5)

Autumn Sensory Bottles

Autumn Sensory Bottles (5)

I confess that none of the following bottles turned out exactly the way I hoped! But with a little improvisation, I created three autumn-themed sensory bottles for Veronika that she quite enjoyed.

For all three, you’ll need to start with a clean and dry plastic water bottle, with the lid.

I poured white rice into the first, and then sprinkled in a few hidden autumn “treasures”, like miniature gourds.

Autumn Sensory Bottles (1)

She could shake this one, which made the rice hide the gourds, then turn it until she found them. She loved playing peek-a-boo with them! I had hoped to include other fall tidbits like mini scarecrows and pumpkins, but she seemed perfectly happy with this scaled-back version.

Autumn Sensory Bottles (2)

For the second version, I filled the bottle with water and tinted it an autumnal yellow with a little food coloring. I originally intended to add leaf-shaped confetti to this one, but couldn’t find any at the store. Instead, I simply added red and yellow buttons.

Autumn Sensory Bottles (4)

These fascinated Veronika, so it worked out well! She loved shaking this one and watching the buttons settle, or turning it this way and that.

Autumn Sensory Bottles (8)

For the final version, I had originally hoped to add silk leaves. Again, no dice. But what’s better than silk leaves? The real thing!

Autumn Sensory Bottles (7)

We added handfuls of small leaves we had found on a recent walk along with a few acorns (real ones!) for sensory sound. The bottle turned out so pretty.

Autumn Sensory Bottles (11)

This one was light as a feather and made fantastic clicking noises.

Autumn Sensory Bottles (3)

She spent some time with all three of them, but the button-and-water version was clearly her favorite. In fact, she then wanted extra buttons to hold, since she was frustrated she couldn’t screw the lids off.

Autumn Sensory Bottles (10)

Between the buttons and the bottles, she kept quite busy with this activity!

Fall Tree Art

Fall Tree Art (10)

This art project is on the messy side, but it’s a great way for even little toddlers to paint fall foliage!

To start, cut a piece of watercolor paper (or similar thick paper) in half lengthwise, so you have two rectangles.

Next, cut strips of yarn and arrange over one of your rectangles. The more the yarn loops and curls the neater an effect you’ll achieve. That said, I had to work quickly before curious Veronika pulled up all the pieces of yarn I was laying down!

Fall Tree Art (1)

I set out red, orange, and yellow paint, and Veronika immediately wanted to open them all. Carefully, we poured a blob of each color over the yarn. Again, I had to work quickly and only managed one blob of each color; be more deliberate and dot a few blobs of each for a more marbled effect.

Fall Tree Art (2)

Place the remaining rectangle of paper on top of the yarn, making sure one end of each yarn piece is sticking out. I showed Veronika how to pull on these ends; they were like little worms she could tug at.

Fall Tree Art (3)

Lift up the top sheet of paper and reveal all the fall colors!

Fall Tree Art (7)

Veronika, I confess, was decidedly unimpressed. She decided it was a lot more fun to dump out extra orange paint and then smear her hands through it.

Fall Tree Art (4)

To add to the mess, she loved running the paint-covered strands of yarn through her orange hands.

Fall Tree Art (6)

But she had a blast, and I loved watching her enjoy this part of the art process!

Fall Tree Art (5)

Meanwhile, once the original paintings had dried, I added a brown trunk to each with marker to complete our fall trees.

Fall Tree Art (8)

These will look so pretty up in the playroom for the rest of the season!

Fall Tree Art (9)

Leaf Scrunch

Leaf Scrunch (4)

Unseasonably warm and dry weather has meant the leaves are slow to change this autumn. Finally we’re spotting the first of the fall color, and we celebrated with a nature walk and leaf activity!

First up was a walk in the woods. We brought along a paper bag to fill with leaves, and Veronika loved dropping in our treasures.

Leaf Scrunch (3)

She also discovered the delightful crunch that the leaves made if she scuffed her feet through them!

Leaf Scrunch (2)

Once home, we dumped out the bag of leaves so they filled an old box. I showed her how she could simply scrunch her hands through the leaves…

Leaf Scrunch (6)

…or toss them out and then fill the box back up again.

Leaf Scrunch (5)

The drier leaves crumbled in her fingers, to her delight. Or, she could rip up the softer ones into small pieces, which kept her busy for quite some time.

Leaf Scrunch (7)

Thanks to a gentle breeze, she soon had the idea to toss the leaves off our patio. I loved watching the wheels of her brain turn as she discovered that leaves don’t go as far as other things she can throw, like pebbles and acorns!

Leaf Scrunch (9)

Then we picked up armfuls and tossed them over her head, where they scattered to the patio.

Leaf Scrunch (10)

Or landed right in her hair.

Leaf Scrunch (8)

As a final component of the activity, we took some of the prettiest ones inside and I showed her how to press them onto sticky contact paper.

Leaf Scrunch (12)

Fold the paper over itself, and you have an instant autumn placemat!

Leaf Scrunch (13)

In sum, there was so much joy to be had in this first batch of fall leaves!

Leaf Scrunch (11)

Apple Seeds and Shake-Ups

Apple Seed Count (4)

Fall is my favorite season and I’m so excited to share it with Veronika this year, the first year that she’s really aware of the change in seasons. Today we celebrated the first day of fall with the season’s most iconic fruit: apples!

First, we sat down together with an apple that I’d cut into quarters and took out all the seeds, counting them onto a paper plate.

Apple Seed Count (1)

In addition to being simple math, this will show your toddler how a new baby apple tree starts!

Apple Seed Count (2)

As she plinked the apple seeds into a little paper cup, I peeled the apple and thinly sliced it. Fill a small plastic bag with 2 tablespoons sugar and 1/2 teaspoon cinnamon. Add the apple slices, seal, and encourage your toddler to shake it.

Apple Shake-Ups (1)

Ta da! An instant autumn snack: Apple Shake-Ups.

Apple Shake-Ups (3)

Veronika ate almost the whole apple she loved it so much!

Apple Shake-Ups (4)

We had one more apple sitting on the cutting board, but instead of eating that one, we dipped the slices in paint.

Apple Seed Count (3)

I gave her red and yellow paint, in keeping with our autumnal theme, with the bonus we got orange prints, too, once the paints mixed. She wasn’t as interested in this part of the craft, but overall we had apple-tastic fun.

Apple Seed Count (5)