Christmas Science Kiwi Crates

Xmas Workshop (8)

The kids tackled two holiday-themed crates from Kiwi Co as we decorated for the holiday season. Check out our unboxing review below!

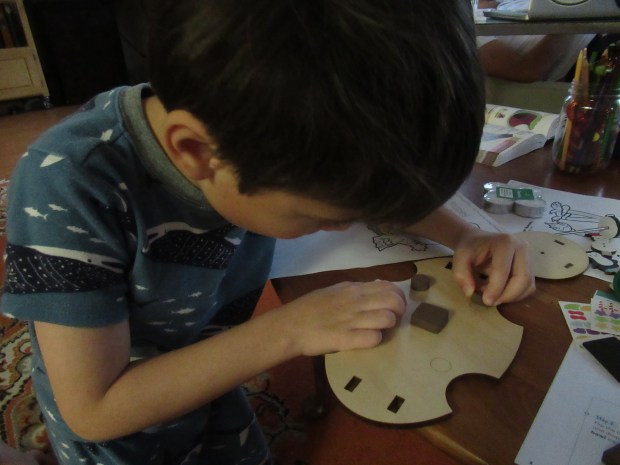
First up was Santa’s Light Up Workshop. Their favorite part by far was decorating the wooden sides of the workshop with markers first, Veronika delightedly scribbling and Travis taking great care to make everything red and green holiday colors.

Xmas Workshop (3)

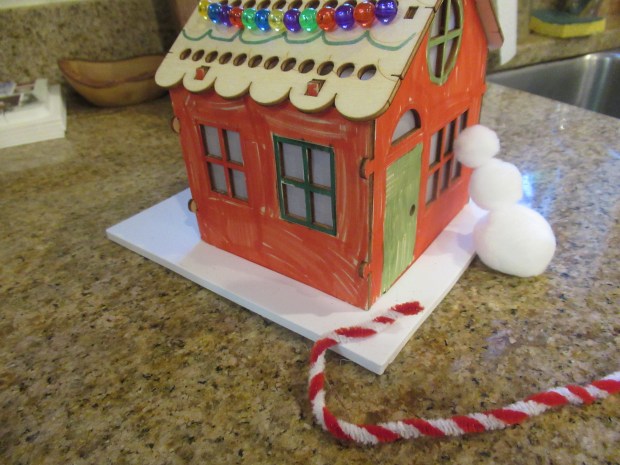
These pieces notch together easily in a foam base. At the same time, you’ll need to attach the strip of LED lights in the bottom of the workshop with sticky foam, and adhere the battery pack to the back wall. Well, it turns out our battery pack didn’t work no matter how we toyed with it! That was a bit of a disappointment, but there was still more to do.

Xmas Workshop (2)

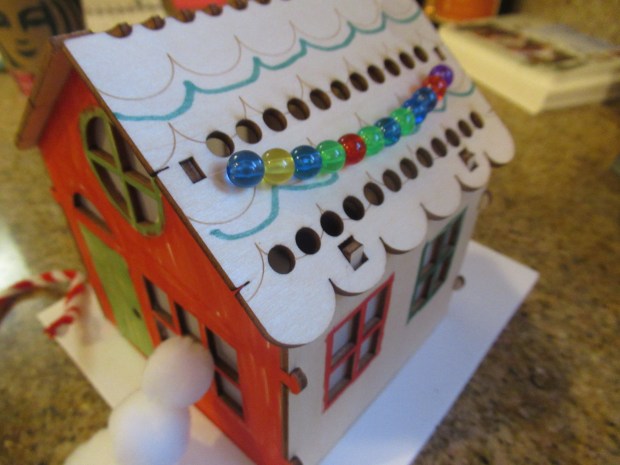
Making the roof required some very deft fingerwork! Kiwi provides thin cord to string shiny pony beads along two wooden roof pieces. Veronika couldn’t string the beads, but she could help me put the roof in place!

Xmas Workshop (6)

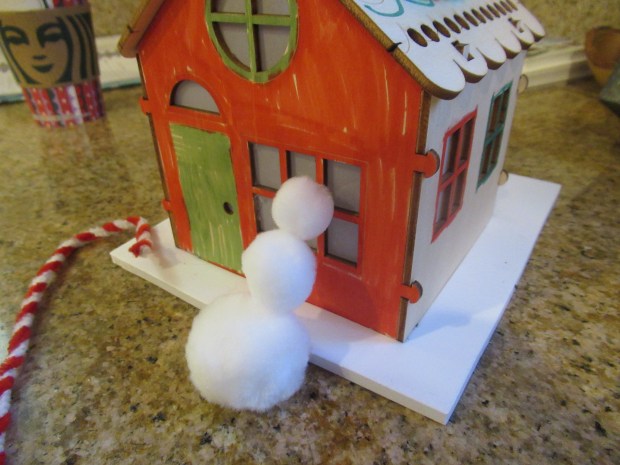
For a few final decorations, we twisted the provided pipe cleaners together to make a candy cane, and piled the provided cotton balls into a little snowman!

Xmas Workshop (7)

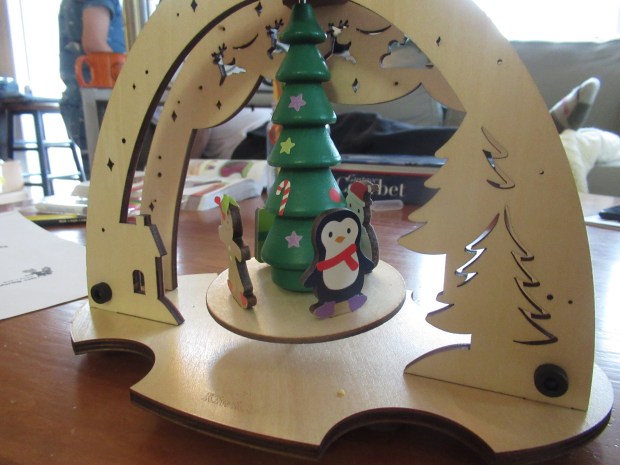
The second project was all about aerodynamics, using candles to heat the air on a Christmas carousel to make the apparatus spin. Travis got to learn the history behind these creations (which started with miners in Germany!) before we dove into building.

Xmas Carousel (1)

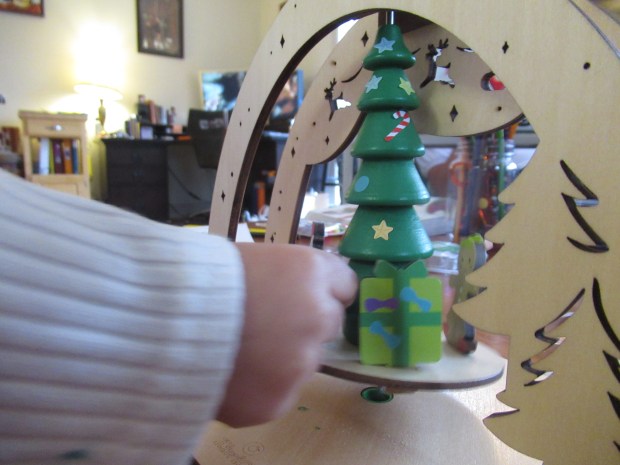
The project is easy to fit together with wooden pieces, sticky foam pieces, and a few thick plastic nuts and bolts. Veronika loved helping decorate the mini Christmas tree with stickers. “It’s a baby tree!” she said proudly.

Xmas Carousel (2)

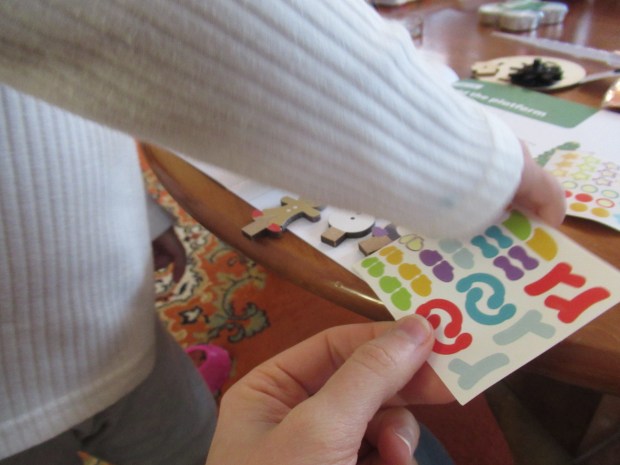
There are also four little figures to decorate with stickers, and the penguin was her fast favorite. The tree and figures notch into a wooden stand that goes in the center of the wooden frame.

Xmas Carousel (4)

We added the fan pieces on top, then placed the provided tea lights below the frame. We don’t light candles often, so the kids were thrilled seeing the wicks catch fire, and then sure enough the fan begins to spin, twirling the tree.

Xmas Carousel (5)

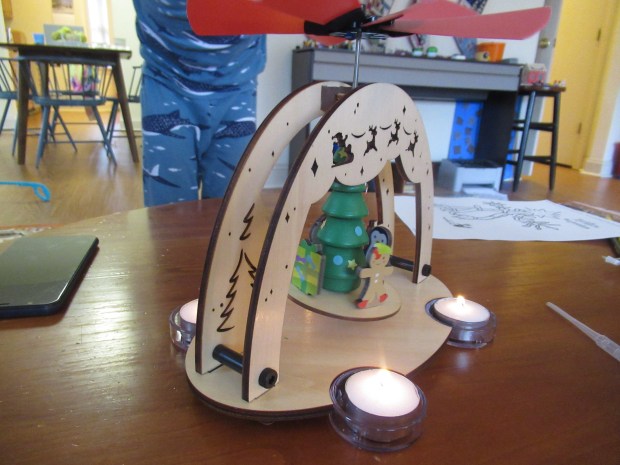
Pretty and scientific!

Xmas Carousel (6)

Advertisement

Yarn Ornaments

Yarnaments (1)

These pretty homemade ornaments are easy enough for even preschoolers to help put together. The resulting gift-shaped decorations also make – hint hint – a great gift for friends or relatives!

To start, cut squares out of cardboard (which is also a great way to reuse boxes from holiday deliveries). You could also cut out different shapes like circles or stars, but I found that the squares were the easiest for Veronika to help wrap, whereas stars were a bit tricky.

Yarnaments (6)

Use a glue stick or glue dot to make the center of each square sticky, then simply begin wrapping with yarn. We found a pretty one that changed from shades of red to pink to white and back again, which made us think of holiday candy canes!

Yarnaments (4)

Keep wrapping until the squares are thickly covered and the cardboard doesn’t show. Use a second strand of yarn to tie a bow around the center, a neat little gift ready to go under the tree! Or in this case, on it.

Yarnaments (3)

A final loop of yarn works perfectly to hang these from the nearest bough.

Yarnaments (2)

Santa Hat Pizzas

Santa Hats (2)

Put a Christmas spin on pizza night in the days leading up to the holiday with this quick recipe!

To start, we stretched out a store-bought pizza dough and then cut into triangles with a pizza rolled. Fold up the bottom edge of the triangle to make a cuff.

Next, we spooned tomato sauce over the triangles, leaving the cuffs plain. Add non-dairy cheese along the cuff for Santa’s white trim. We used vegan feta, but next time I would probably dollop on crumbled tofu instead for a fluffier look!

Santa Hats (1)

Bake at 430 degrees F for 8 minutes, or until the crust just starts to brown. This made pizza night a ho-ho-holiday treat.

Reindeer Mix

Reindeer Mix (2)

Really this is just an ordinary snack mix that you could make any time of year. But if you tell your kids it’s “Reindeer Mix”, all of a suddenly ordinary becomes extraordinary!

Ingredients:

  • 3 tablespoons Earth Balance butter
  • 3 tablespoons brown sugar
  • 1 teaspoon minced fresh thyme
  • 1/2 teaspoon salt
  • 1/2 teaspoon cinnamon
  • 1 cup almonds
  • 1 cup walnuts
  • 2 cups pretzel twists
  • 1 cup Puffins cereal
  • 1/2 cup dried cranberries
  • 1/2 cup vegan white chocolate chips
  1. Combine the butter, brown sugar, thyme, salt, and cinnamon in a small saucepan. Cook over low heat for about 3 minutes, just until the butter melts and the sugar dissolves.
  2. Arrange the almonds and walnuts on a baking sheet lined with foil and pour half of the brown sugar mixture over the nuts, tossing to coat. Bake at 375 degrees F for 7 minutes.
  3. Toss the pretzels with the remaining brown sugar mixture. Add to the baking sheet and bake for a final 3 minutes. Let cool for 30 minutes.
  4. Transfer the nut mixture to a large bowl and add the cereal, dried cranberries, and white chocolate, stirring to combine.

Reindeer Mix (3)

Be sure to snack on this mix while you track the reindeer and Santa across the sky on Christmas Eve!

Tabletop Christmas Tree

Tabletop Christmas Tree (9)

This easy toddler project makes the perfect centerpiece for a holiday table! The little tree is just the right size if you find your family gathering is smaller this year due to COVID-19.

To start, I printed out a Christmas tree template from Hands on As We Grow. Trace the tree shape onto two pieces of cardboard, then cut out from the cardboard. I wasn’t in the mood to wrestle with thick cardboard so used an old cereal box instead. In retrospect, it might have been worth using the thicker kind, since thin cardboard wasn’t entirely sturdy standing up. It also meant we had to paint over the printing on the cereal box.

Tabletop Christmas Tree (2)

Luckily, green paint hid most of the cereal box writing! Veronika helped apply two thick coats of sparkly green paint to both sides of the tree shapes and we set them aside to dry.

Tabletop Christmas Tree (4)

Next, cut slits in the two trees so they can slot together. That means you’ll need to make a slit in the center top of one tree and in the center bottom of the other. Slot together until they sit flush against a tabletop.

Tabletop Christmas Tree (3)

Time to decorate! Veronika helped add lots of white glue, and then we stuck on red and green pom poms and beads.

Tabletop Christmas Tree (7)

Any other holiday items from your craft bin would work great here, too, like holiday stickers or ribbon.

Tabletop Christmas Tree (8)

We think this makes the perfect little Christmas tree.

Tabletop Christmas Tree (10)

Rudolph Sandwiches

Rudolph Sandwiches (4)

We love watching classic Christmas movies, and what better to nibble on during a re-run of one of our perennial favorites, Rudolph the Red Nosed Reindeer than little Rudolph sandwiches?

To assemble, cut bread slices into triangles and spread half of the slices with your sandwich filling of choice. We made one with peanut butter, one with agave nectar, and one with non-dairy cream cheese!

Rudolph Sandwiches (1)

Top with additional slices of bread. Add maraschino cherries for noses, raisins for eyes, and pretzel twists for antlers.

Rudolph Sandwiches (3)

The kids thought these were adorable, plus loved sitting together for the cartoon. All in all, this was a cozy pause on a winter afternoon.

Rudolph Sandwiches (6)

Christmas Noisemaker

Christmas Noisemaker (4)

I love Christmas music and have been introducing Veronika not just to the classic carols this holiday season but also to fun contemporary tunes (think: Rockin’ Around the Christmas Tree and Jingle Bell Rock). So of course she needed a Christmas instrument to shake along as we rocked (around the tree quite literally!).

An empty frozen juice can makes the perfect size shaker. We filled this was dried beans and a few jingle bells. Popped popcorn pieces would work, too!

Christmas Noisemaker (1)

Seal the lid tightly. I used hot glue, but you can also secure with tape. We then covered with red felt and Veronika helped decorate it with Christmas-themed stickers.

Christmas Noisemaker (3)

Time to shake!

Christmas Noisemaker (5)

She loved prancing around with the shaker and drumming on drums as we put on our favorite Christmas tunes.

Christmas Noisemaker (6)

We wish you merry music making!

Stone Paperweight

Stone Paperweight (6)

If you’re looking for a gift your toddler can make for a relative this holiday season, the paperweight is it.

The best part about this gift is that it starts with a nature walk! It can be a harder to motivate kids for these once the cold sets in, so I loved motivating Veronika by telling her we were on a treasure hunt for the perfect rock.

Stone Paperweight (7)

We came home with two that were the perfect size and shape, including one that almost looked like a heart.

Stone Paperweight (2)

Now it was time to paint. Not only did we use sparkly paint…

Stone Paperweight (3)

…but she wanted to dump glitter on, too. We used the recipient’s favorite color combo of orange and blue.

Stone Paperweight (4)

Let dry, then spray with shellac for a shinier finish. (Note: that’s a grown-up only step).

Stone Paperweight (5)

Wrap up and gift to someone special!

Animal Holiday Dress-Up

Animal Dress-Up (9)

If you’re kids are getting antsy for Christmas and can hardly wait any longer, then hold a Christmas dress-up party for their stuffed animals!

Right after breakfast, Travis and Veronika headed upstairs with leftover bows and gift ribbon and began to deck the halls, er, adorn the stuffed animals, with all the trimmings.

Animal Dress-Up (1)

Cats and dogs soon sported bow hats and ribbon scarves.

Animal Dress-Up (4)

As did a droid or two!

Animal Dress-Up (2)

Veronika thought it was so silly to see favorite animals with big gift bows on them!

Animal Dress-Up (6)

Travis decided to turn it into a competition. Which animal would win the category of Most Festive? He loved tying on ribbons…

Animal Dress-Up (3)

…and adding multiple bows. A big white dog named Marshmallow won the prize!

Animal Dress-Up (7)

Now all the animals could gather together for a holiday party. Needless to say, we sure kicked off the day with some holiday spirit.

Animal Dress-Up (5)

Cookie Plate for Santa

Cookie Plate for Santa (6)

Leaving out treats for Santa is one of Christmas Eve’s biggest highlights in our house, that thrill of the idea that he’ll really come in and take a nibble! This year we decided to make a special plate that can be just for Santa, this year and years to come.

Any plain white plate will work for this project; I purchased one cheaply at the store, but you can use an old white plate if you have one on hand. I set it down in front of Veronika, along with red, yellow, and green acrylic paints.

Cookie Plate for Santa (1)

My original intention was to trace a star-shaped cookie cutter at the top and paint it yellow, then to have Veronika fill in around it. But she quickly had other plans!

Cookie Plate for Santa (2)

She painted the star red before I had even finished tracing! Then the various colors of paint were all smeared together and making a glorious mess. But I loved that the plate was authentically her own creation for Santa Claus.

Cookie Plate for Santa (4)

After it dried, I added in a message around the rim, writing ‘To Santa’ and ‘Christmas 2020’ in red and green sharpies.

Cookie Plate for Santa (5)

If your kids want to have a laugh during the creation of the plate, watch a read-aloud of Father Christmas Needs a Wee. Because Santa will be drinking lots of (almond!) milk alongside all those cookies!