Spooky Treat Holders

Halloween Treat Bags (5)

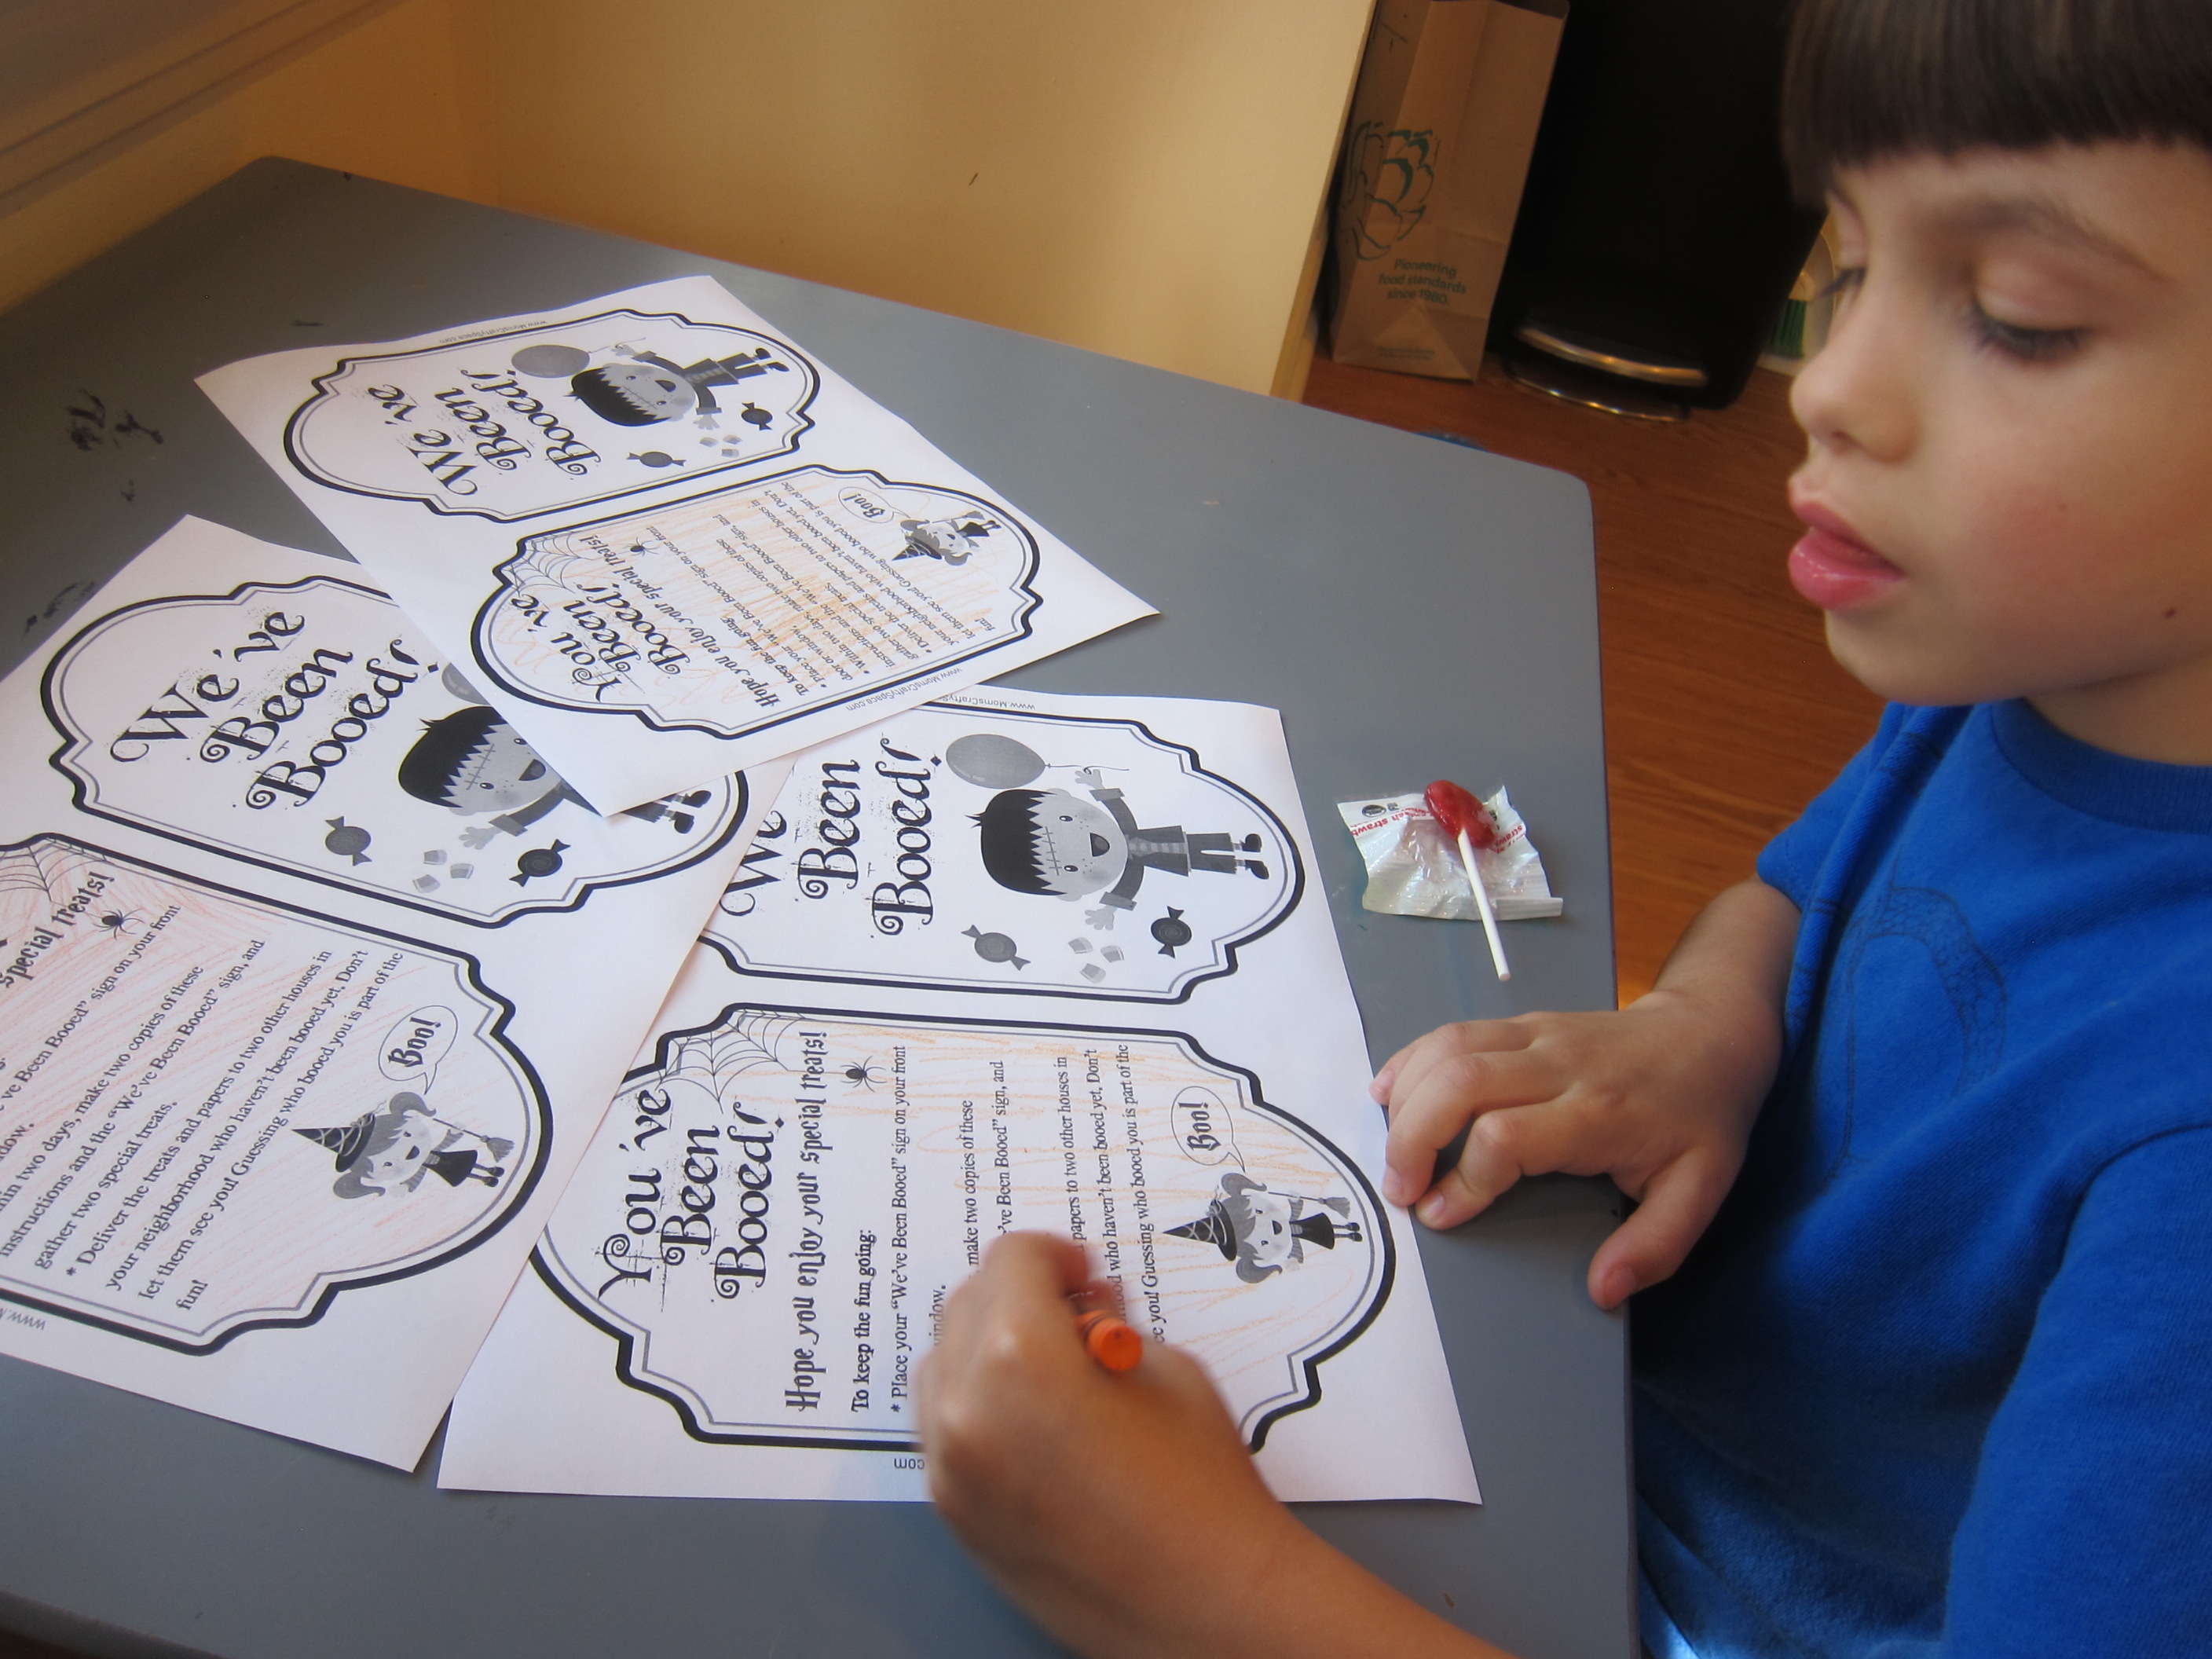
These easy treat containers are a great way to hand out Halloween candy this year without kids reaching into a communal bowl. Make a few or a lot, and leave on a patio or table where kids can easily take a single serving. They’re a fun alternative to a standard treat bag.

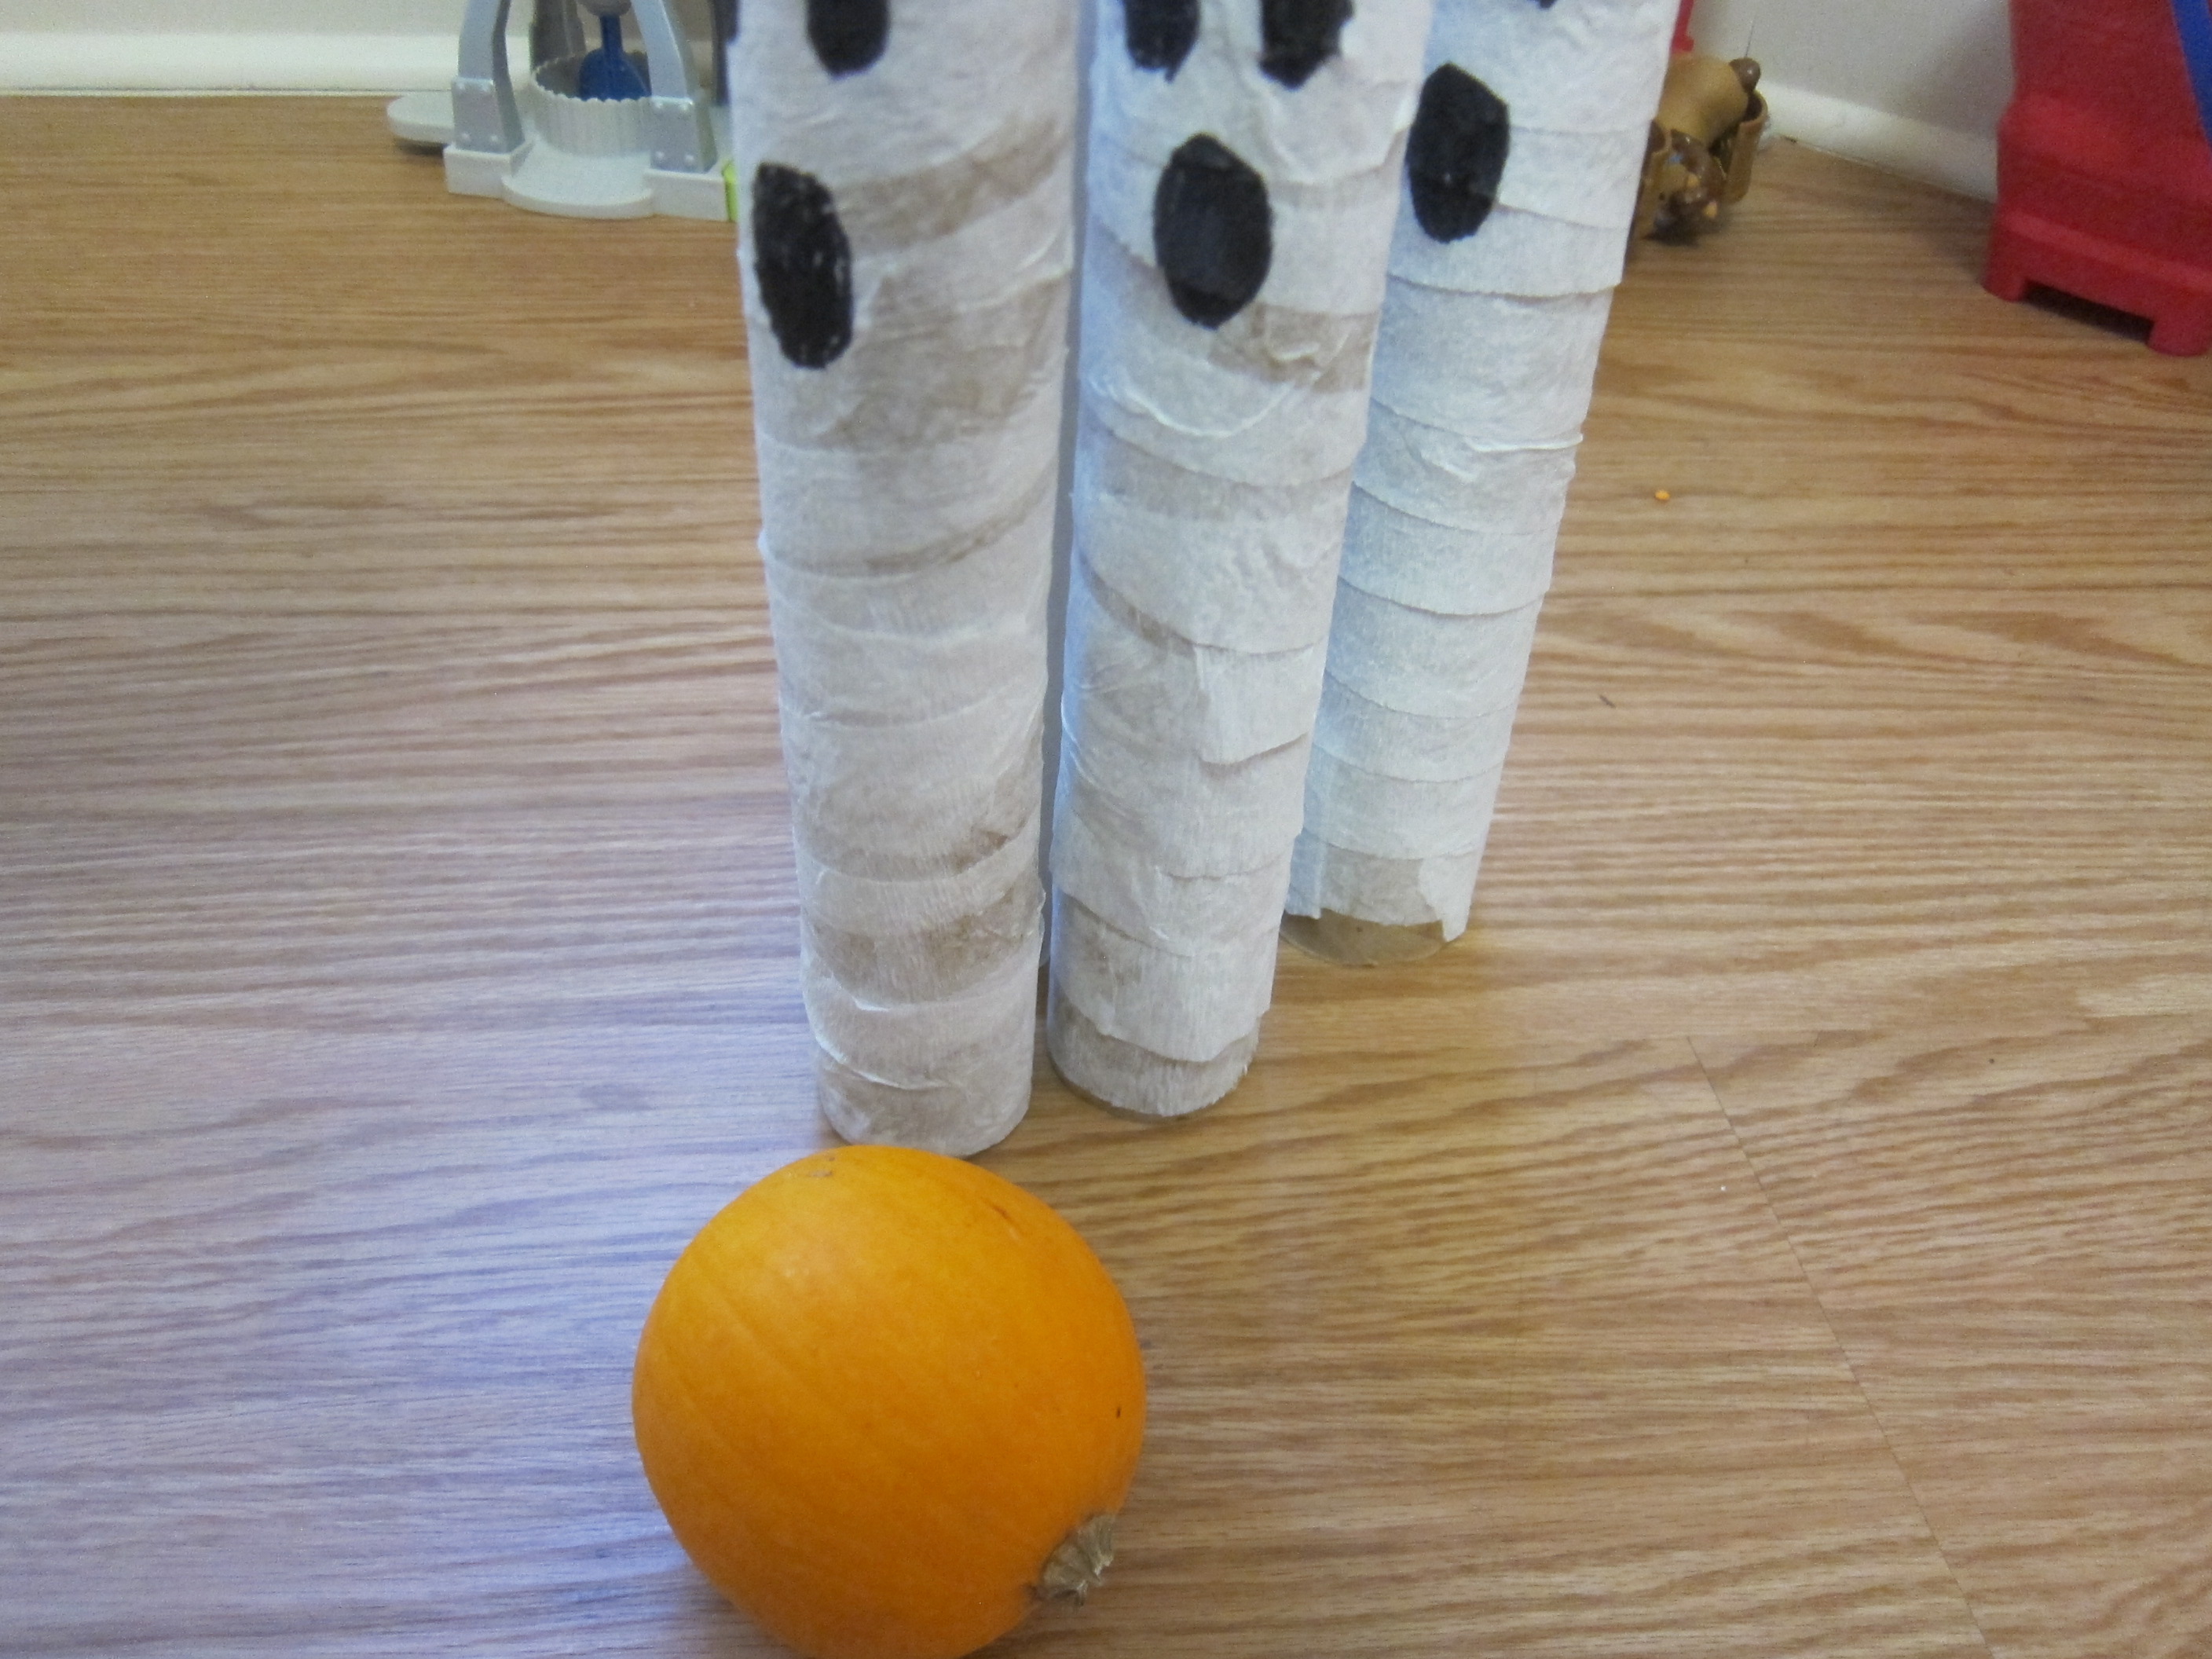
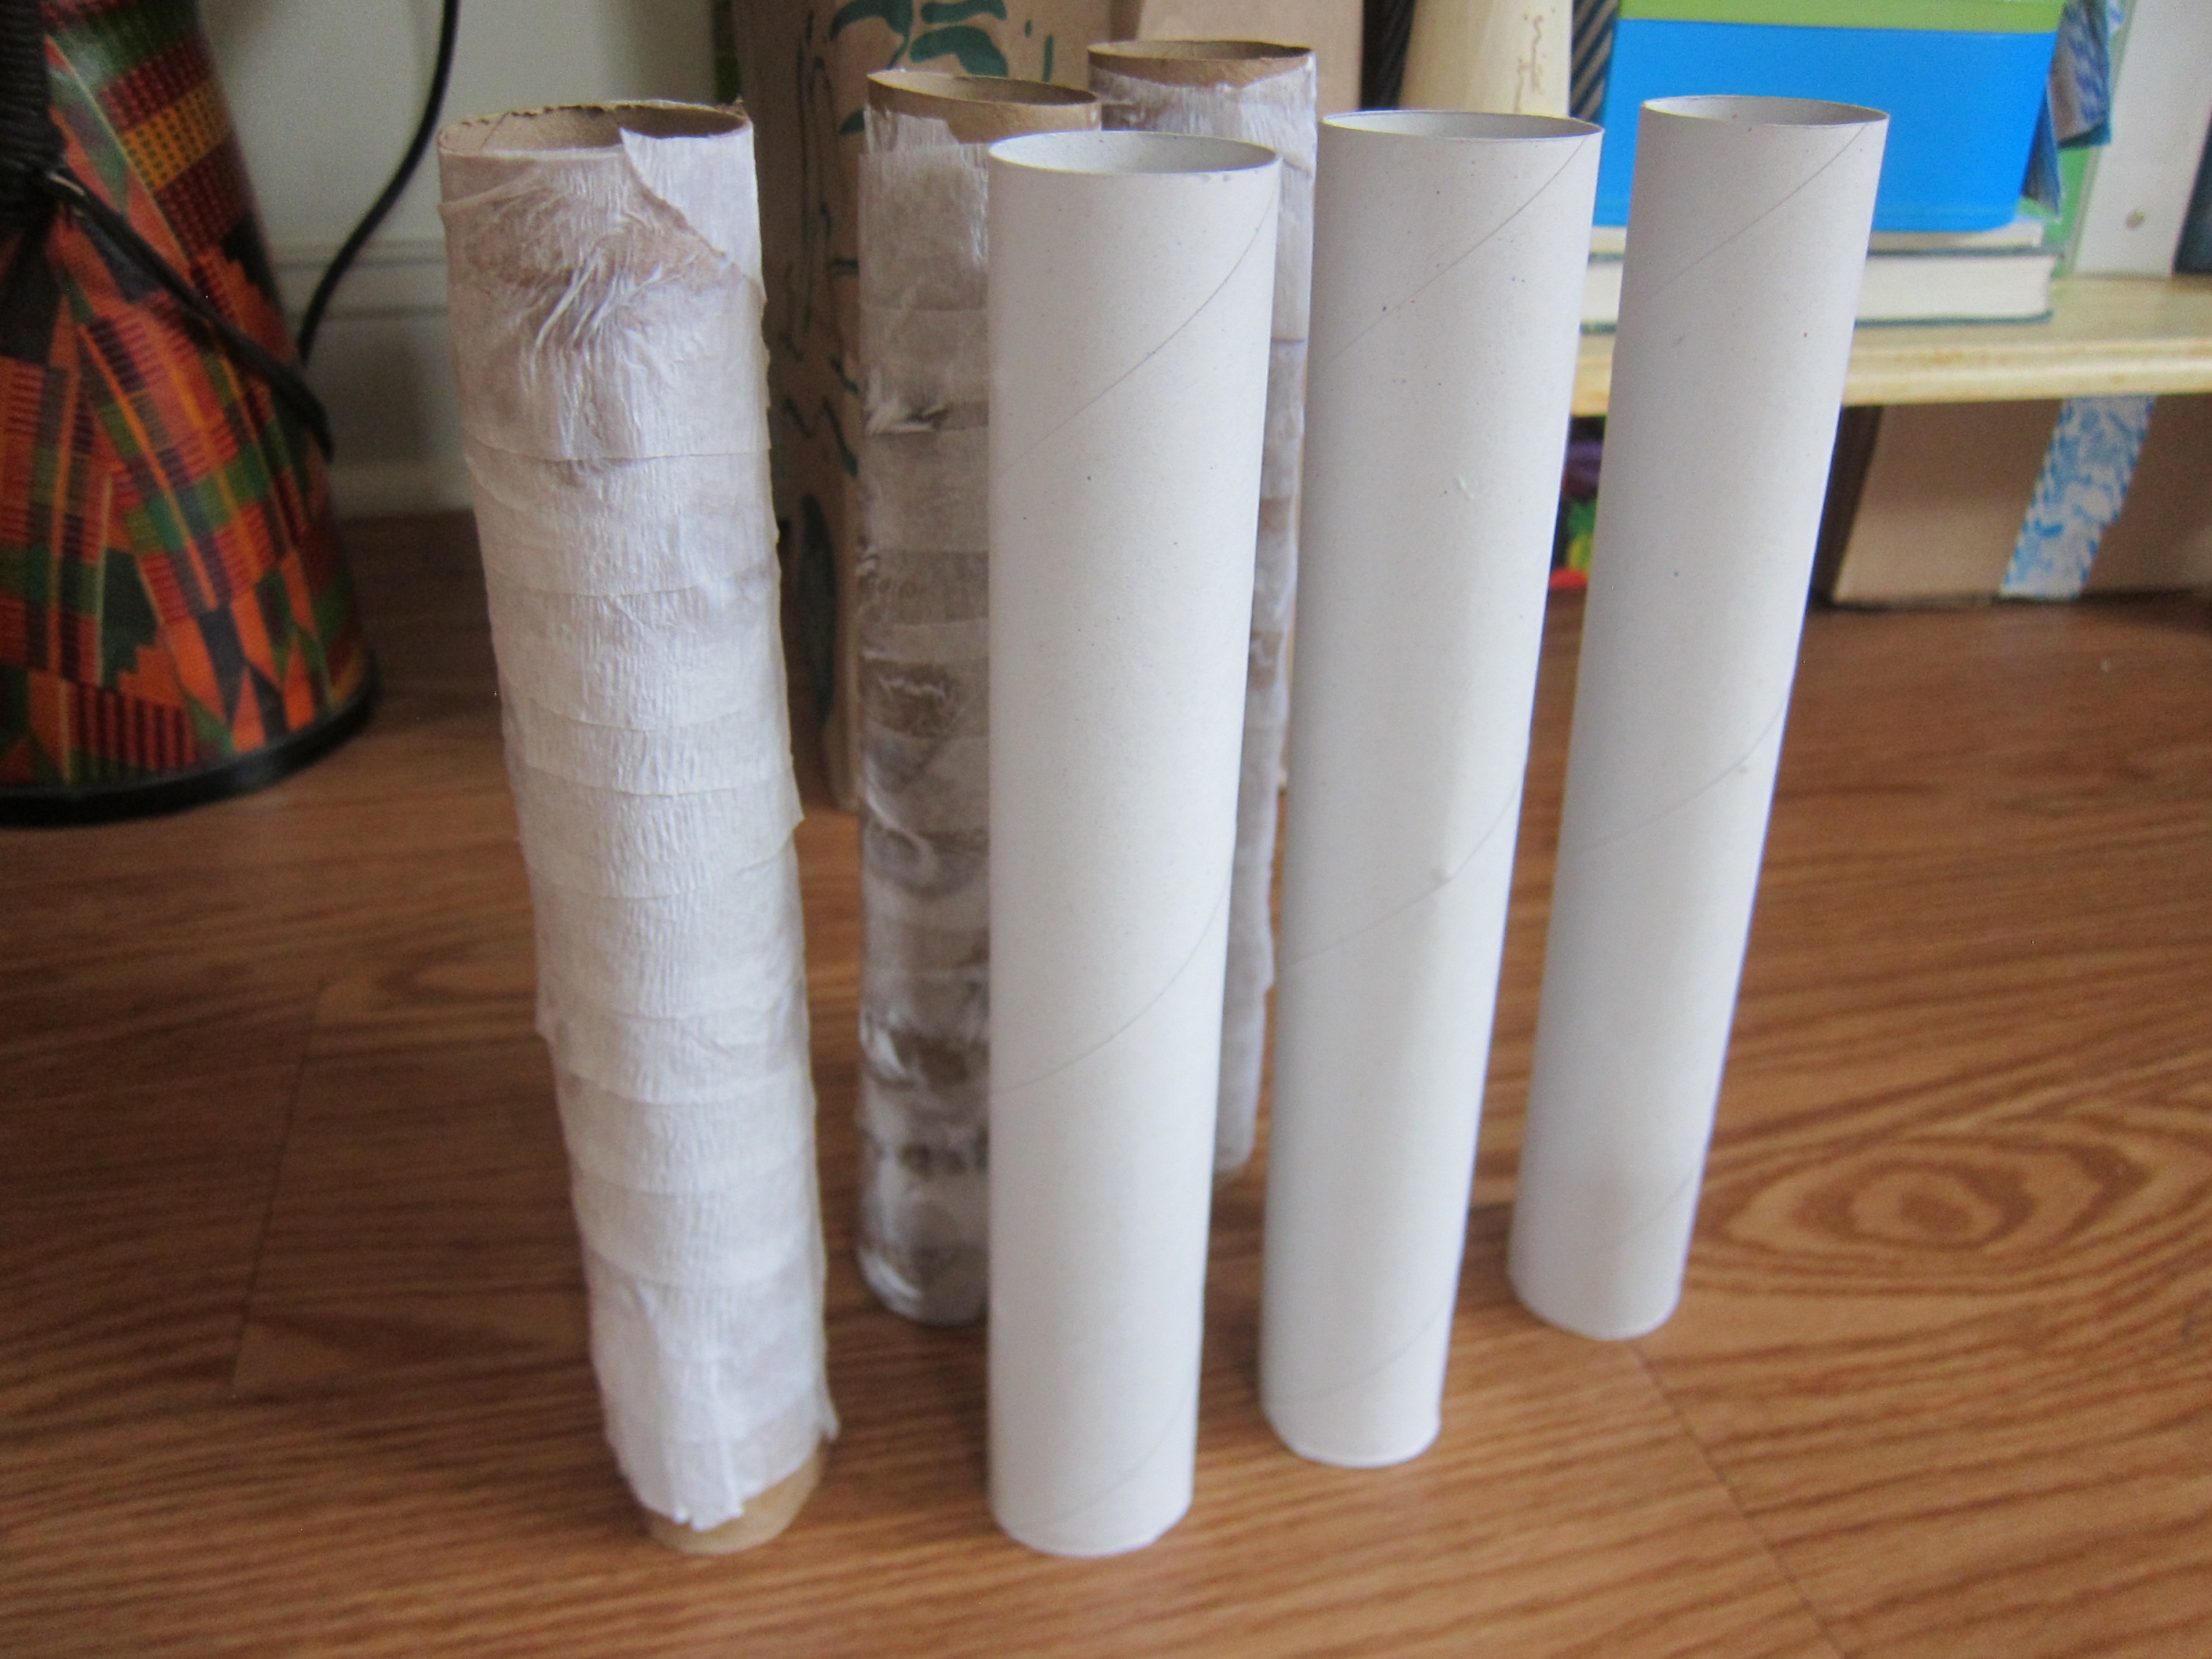
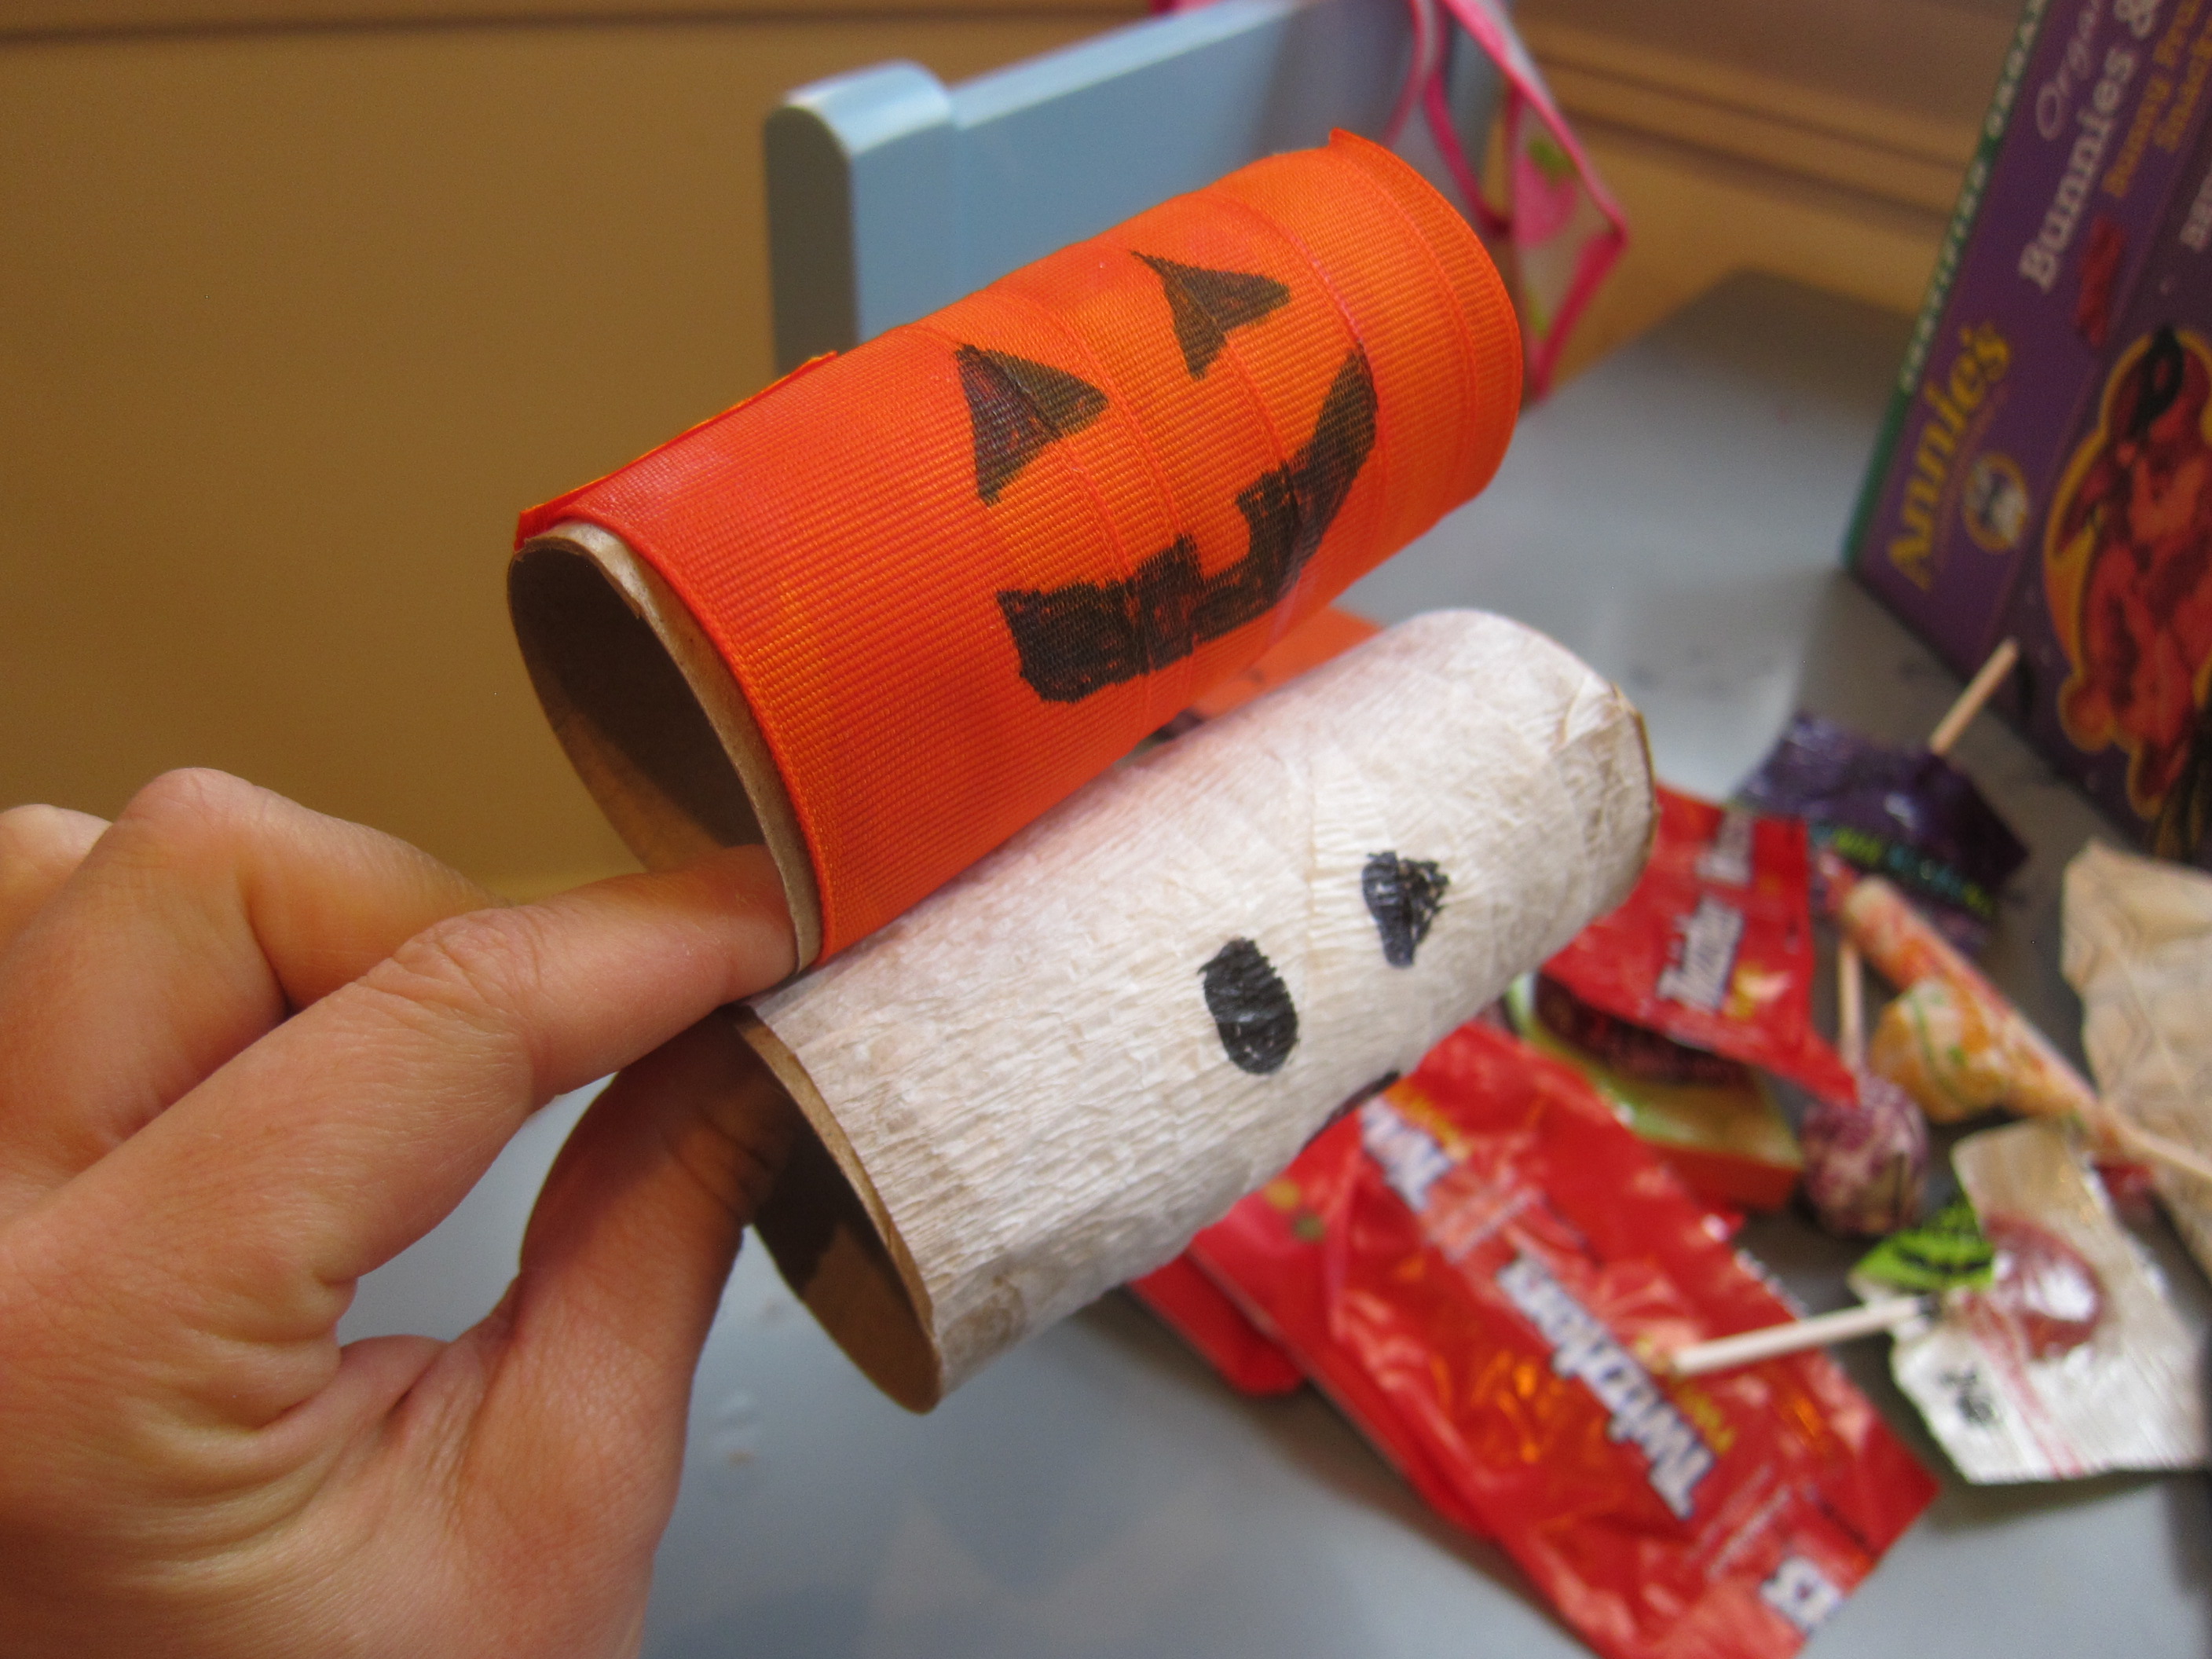
To assemble, first wrap empty toilet paper tubes in crepe paper or ribbon. I made one version with orange ribbon and another with white crepe paper. Other fun ideas include: green (for Frankenstein!), blue (for silly monsters!), black (for bats!) or even tricolor white-orange-yellow for candy corn.

Halloween Treat Bags (1)

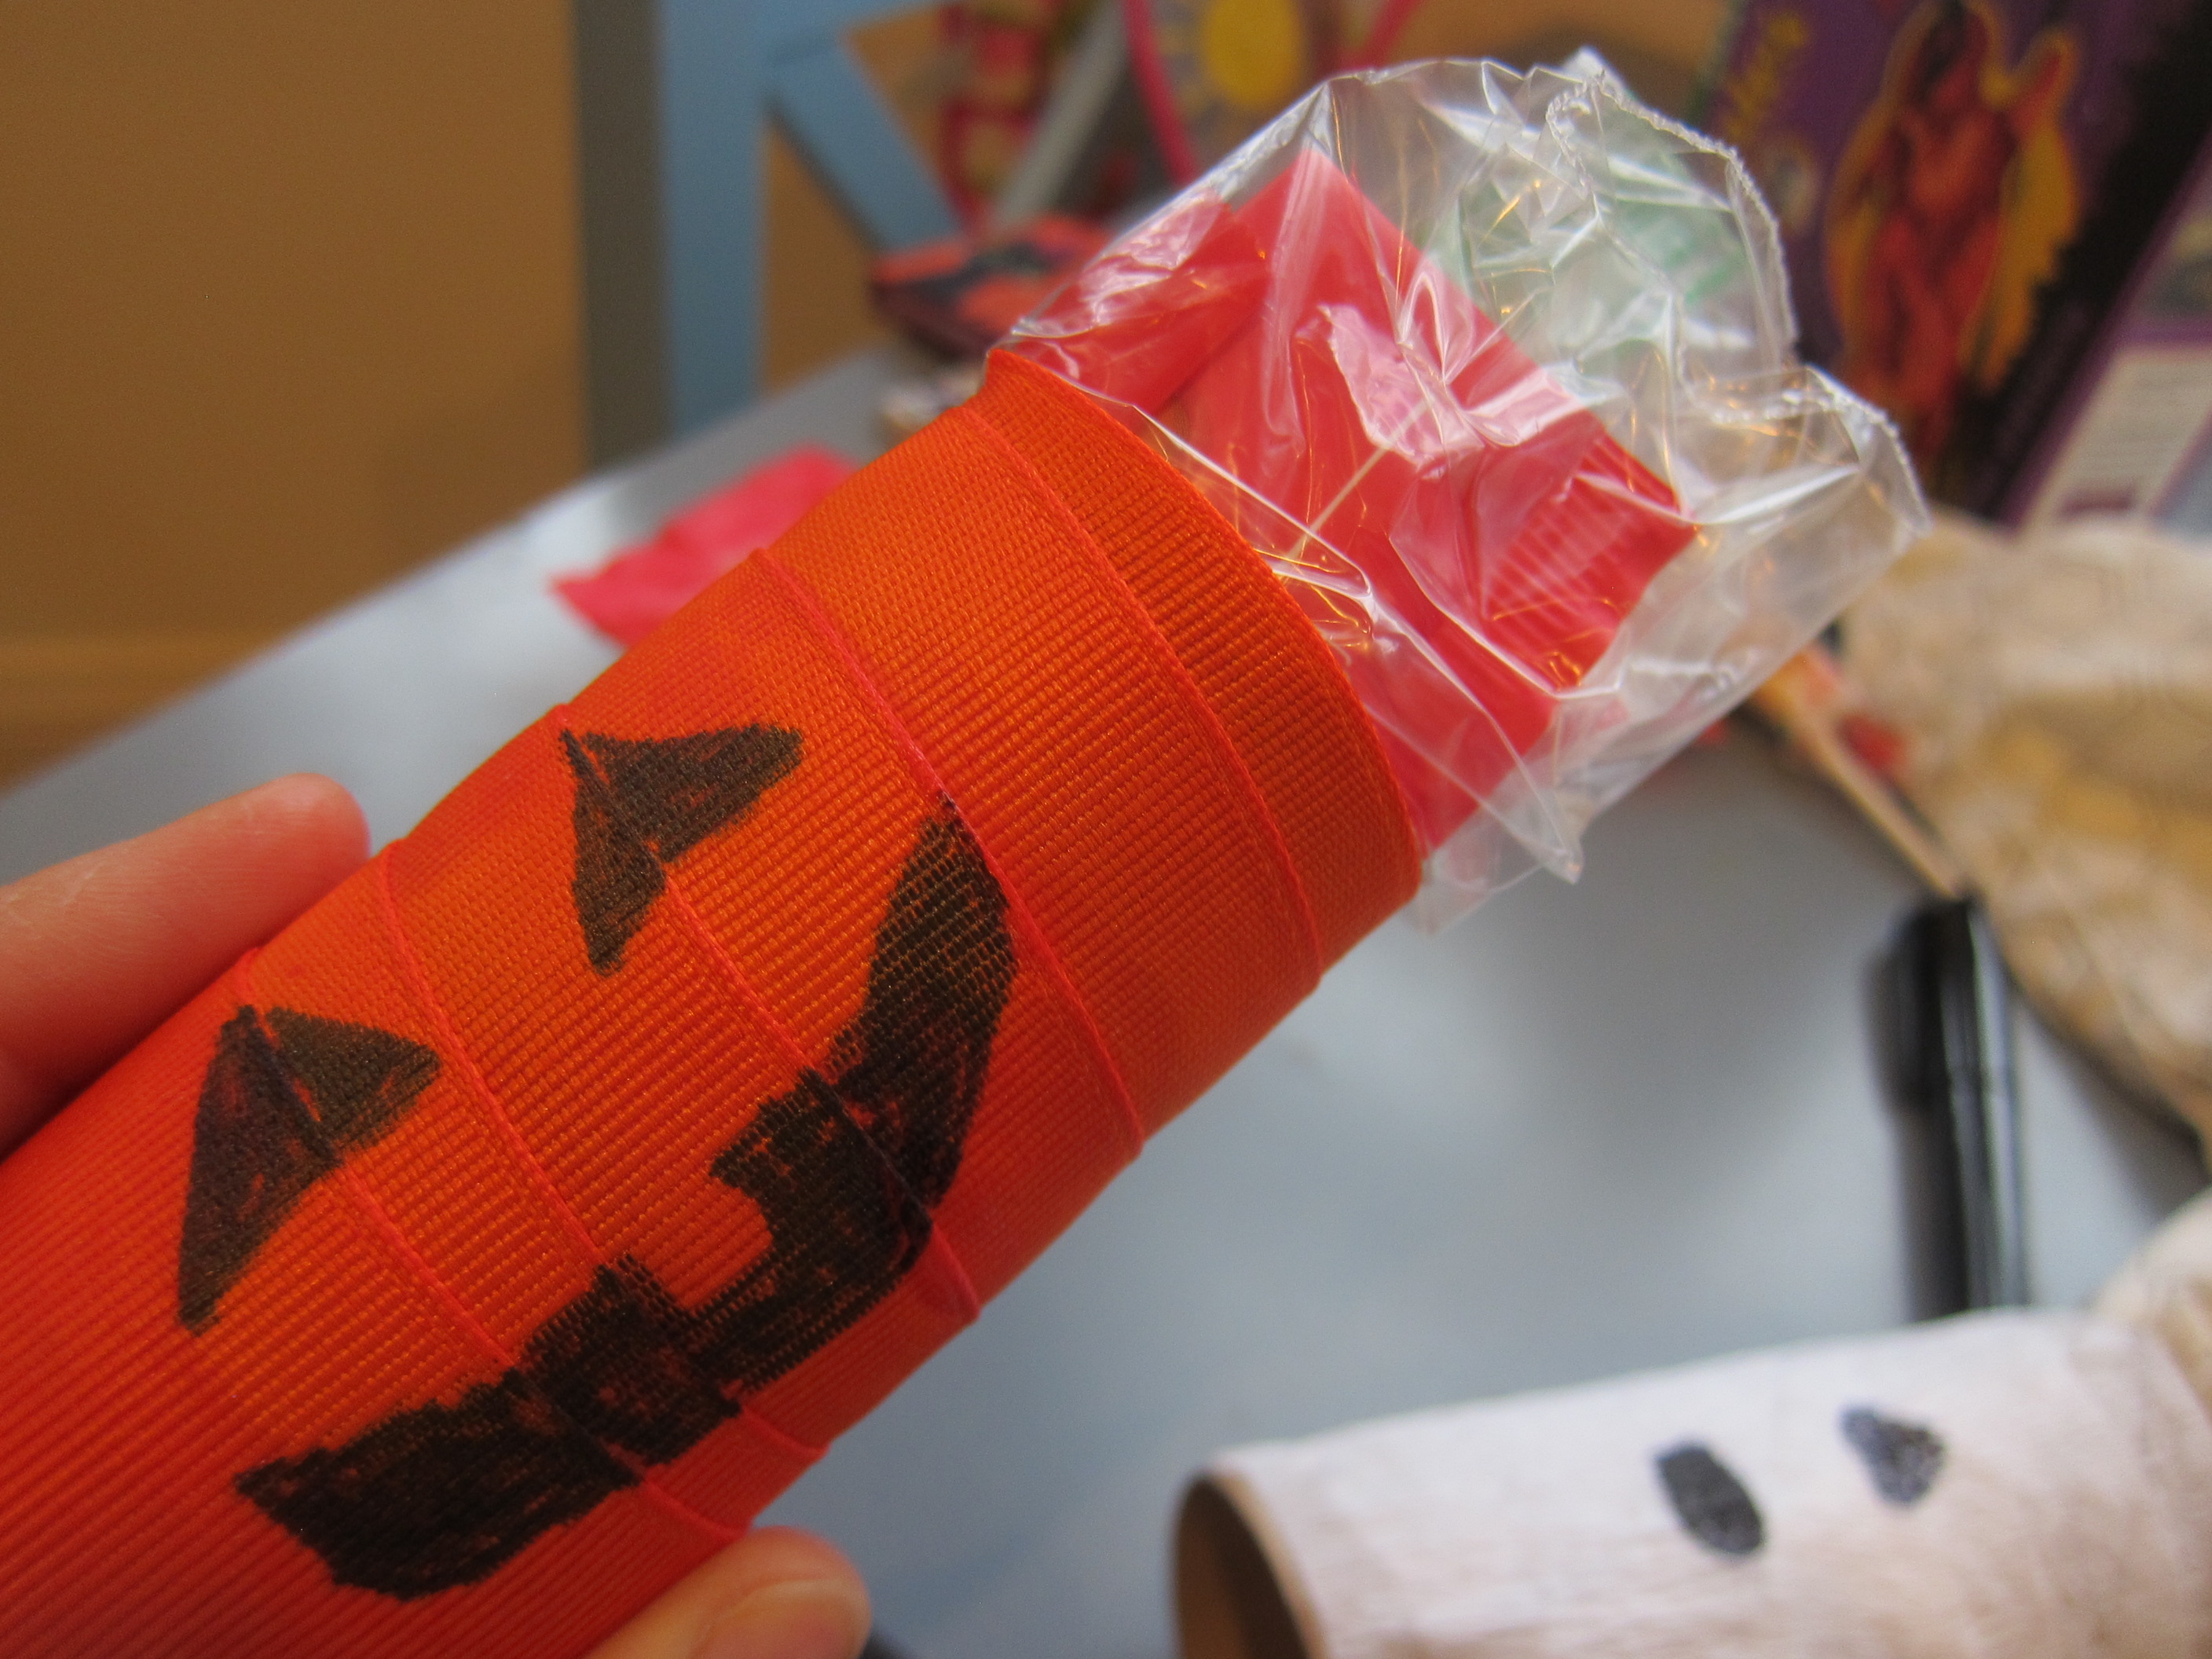
As you wrap, you’ll need to work carefully, wrapping one side of the paper or ribbon and then applying glue before wrapping the next section. Wrap, glue, wrap, glue, repeat until the tube is completely covered.

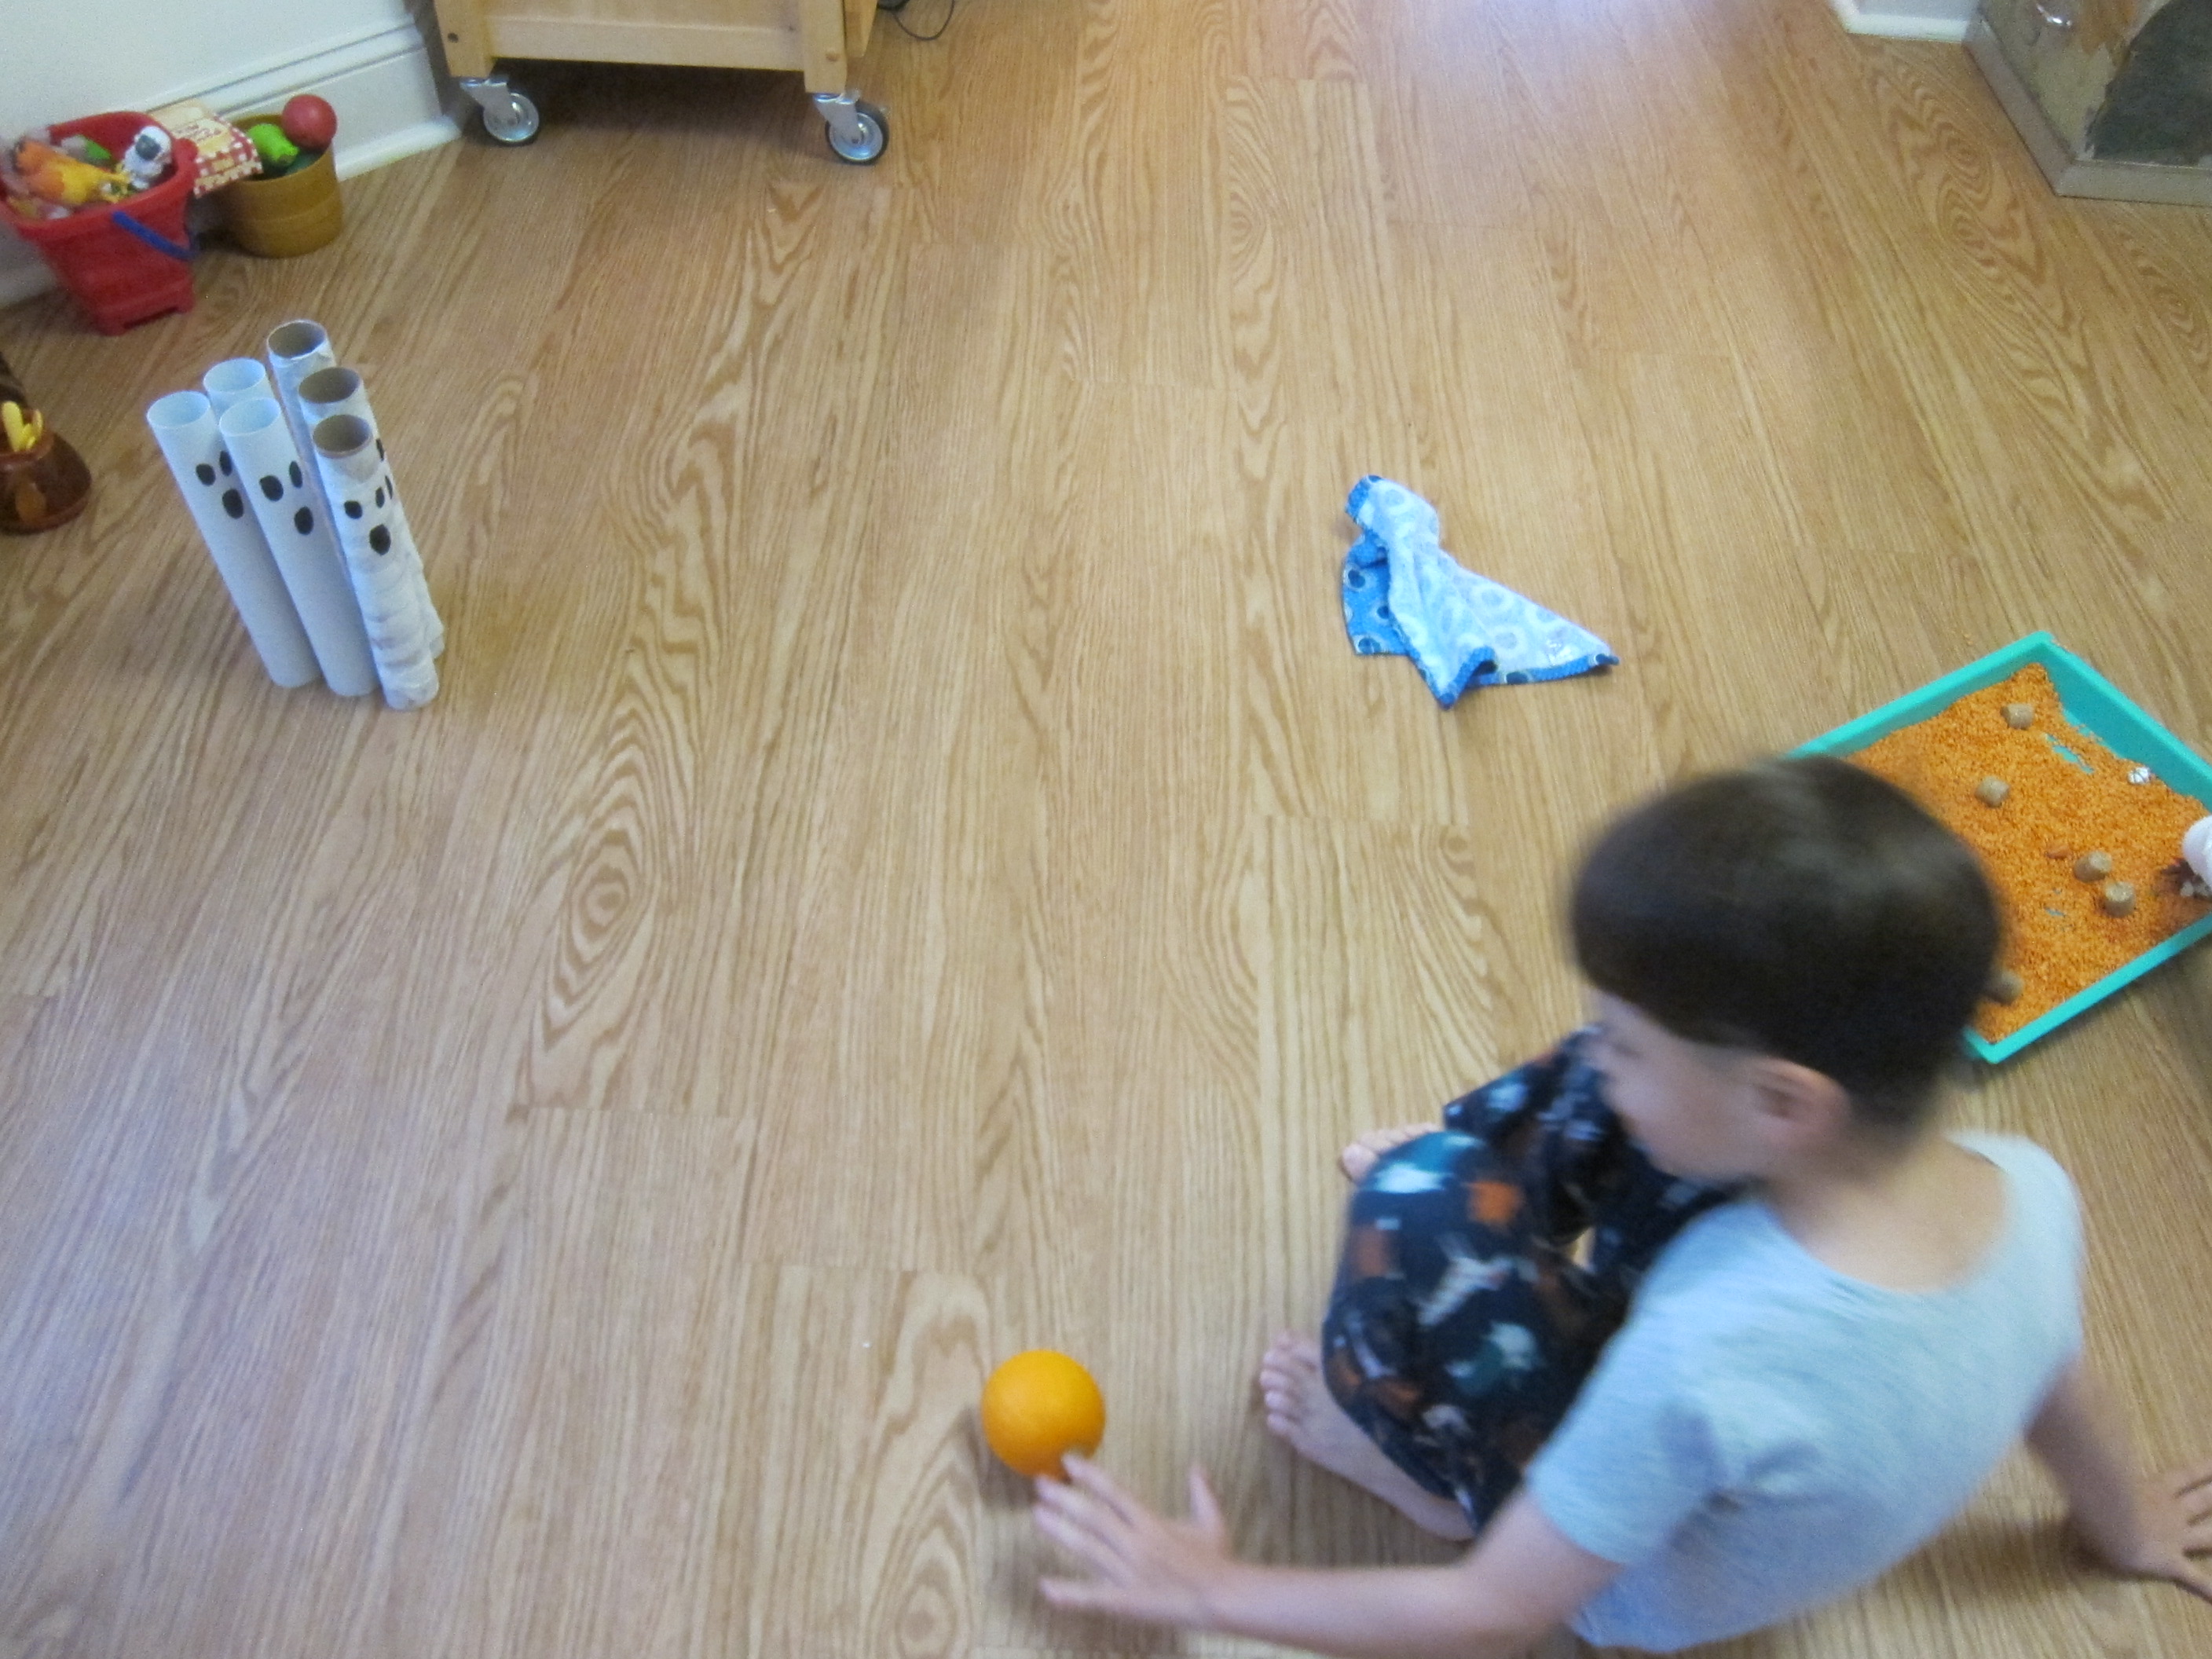
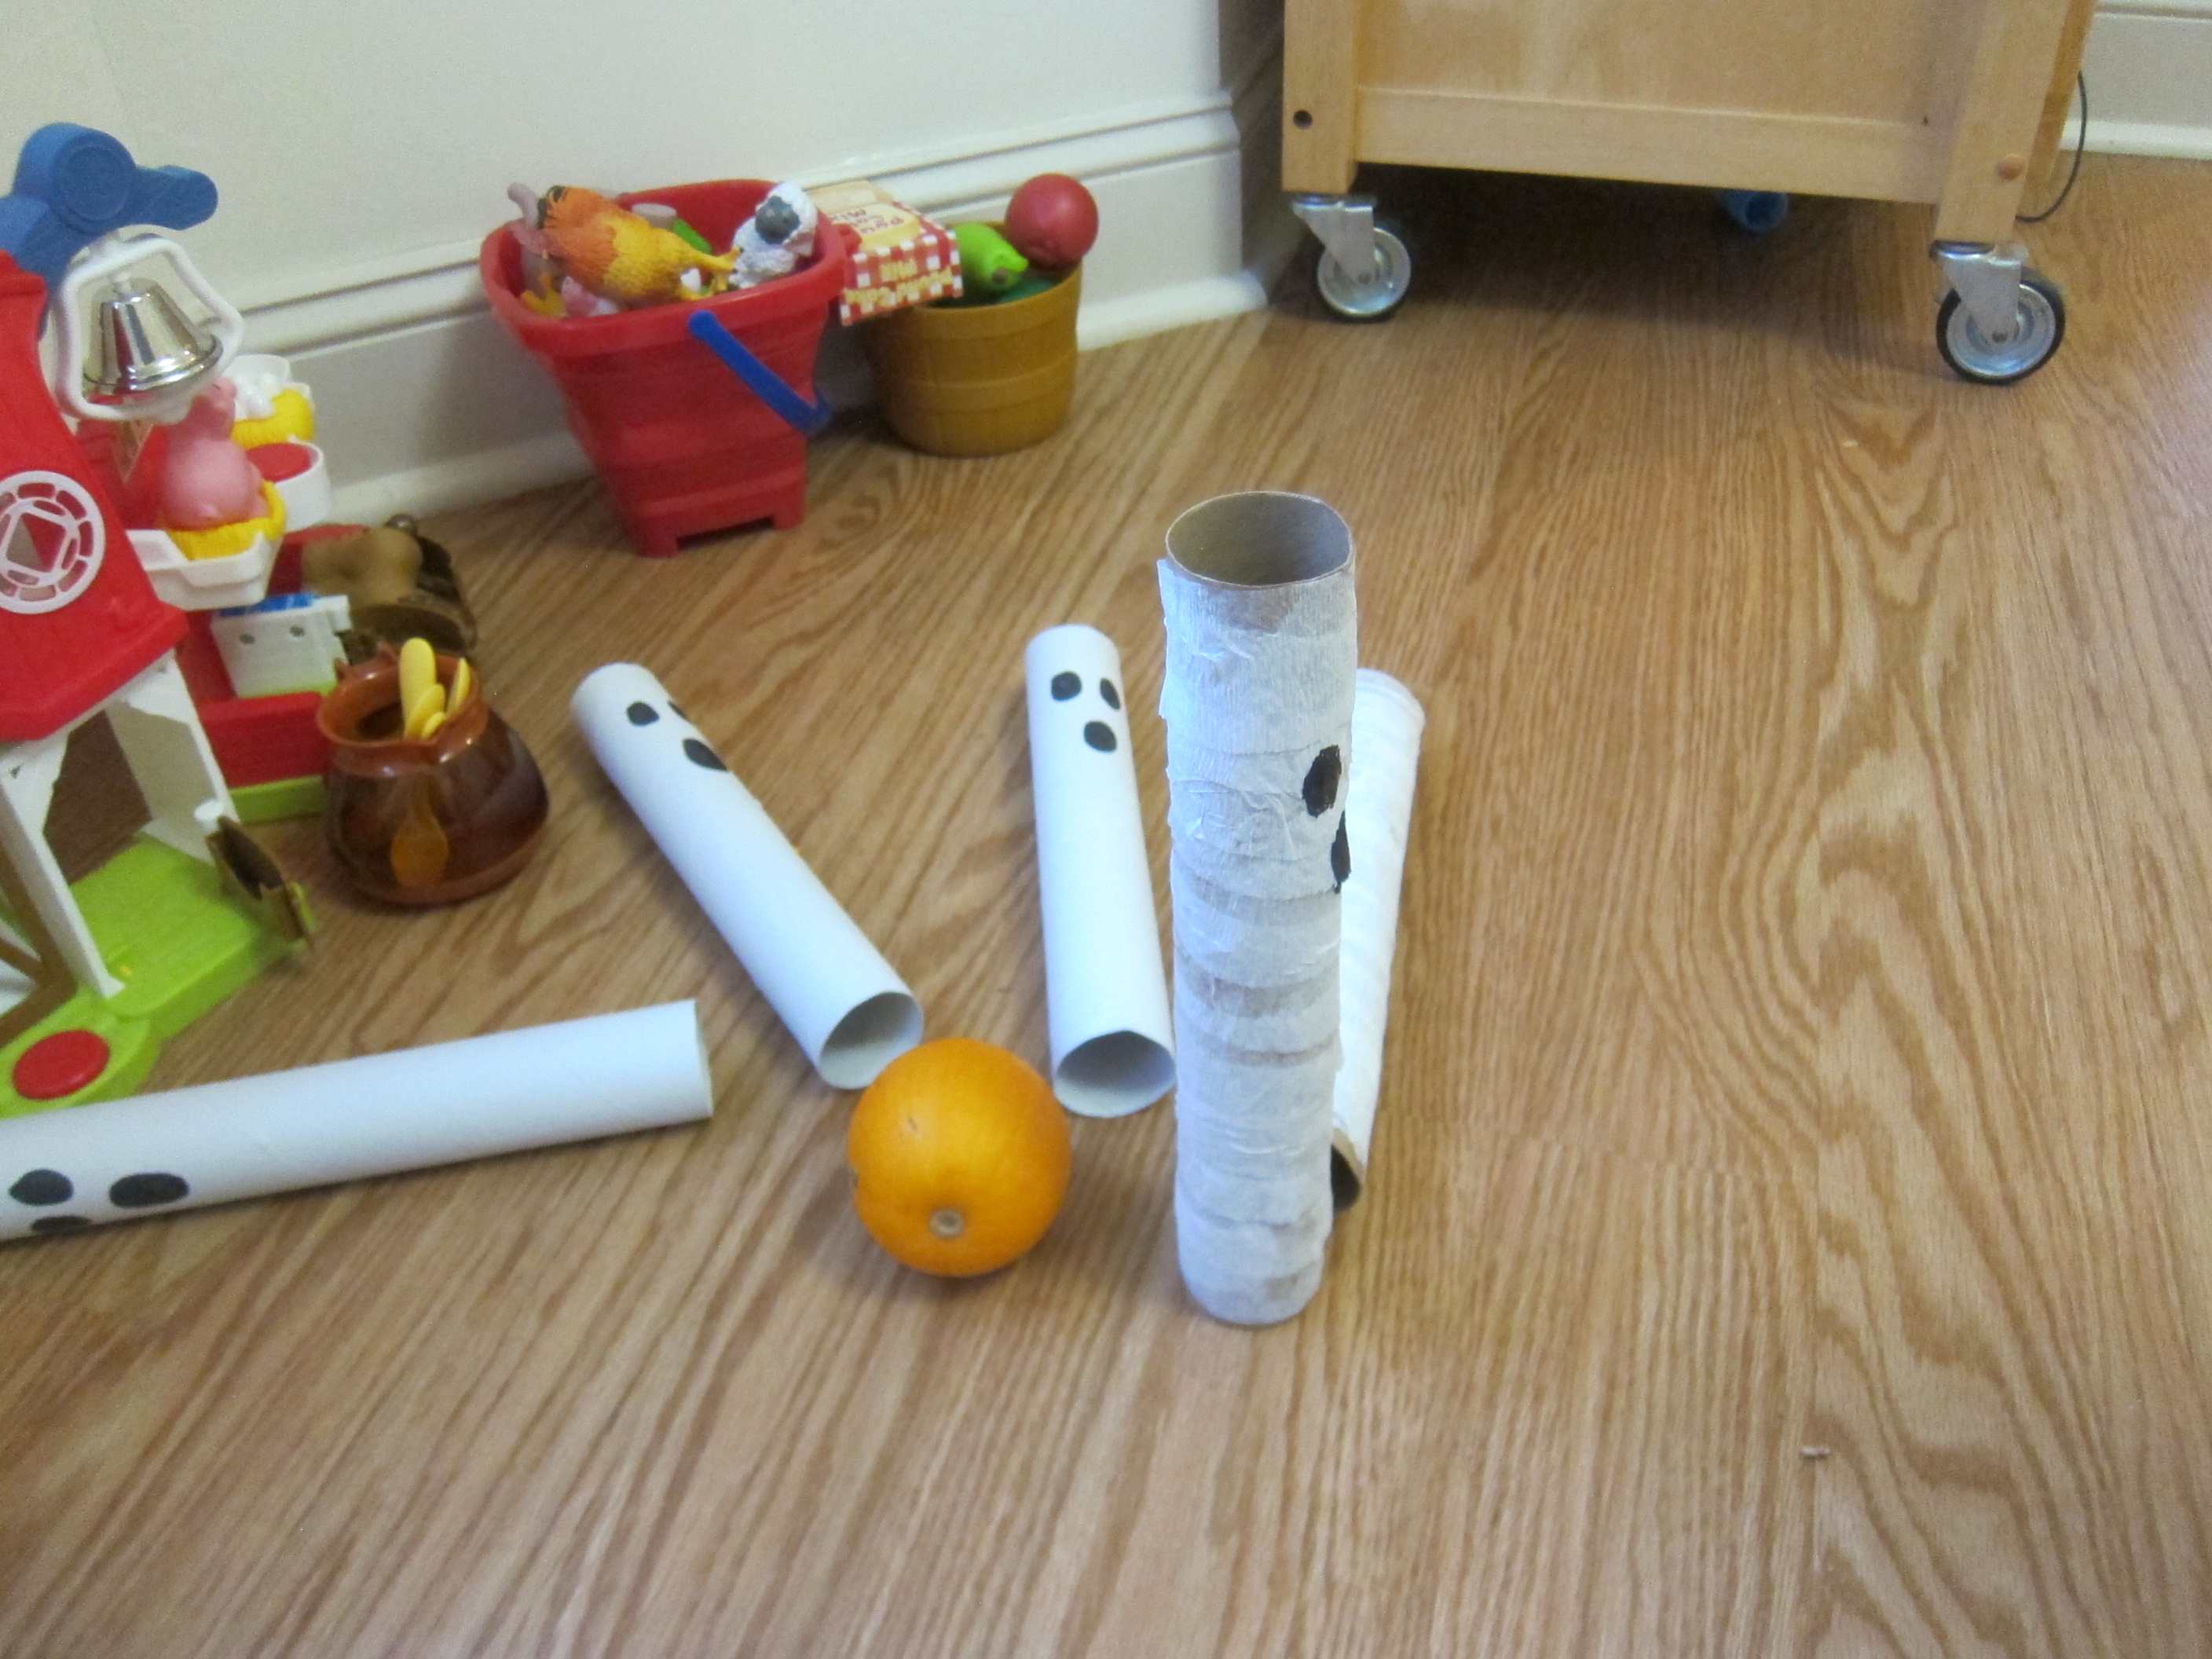
Now add details with pieces of cut construction paper or marker. For example, add wiggle eyes to the blue monster, if you’ve used blue crepe paper or ribbon. Our orange ones became pumpkins and white became ghosts.

Halloween Treat Bags (3)

You can then use either cellophane treat bags or regular zip-top bags to stuff candy inside. I filled baggies with a few treats (make sure the stuffed bag is narrow enough to fit inside the tube), and insert into your spooky creations.

Halloween Treat Bags (4)

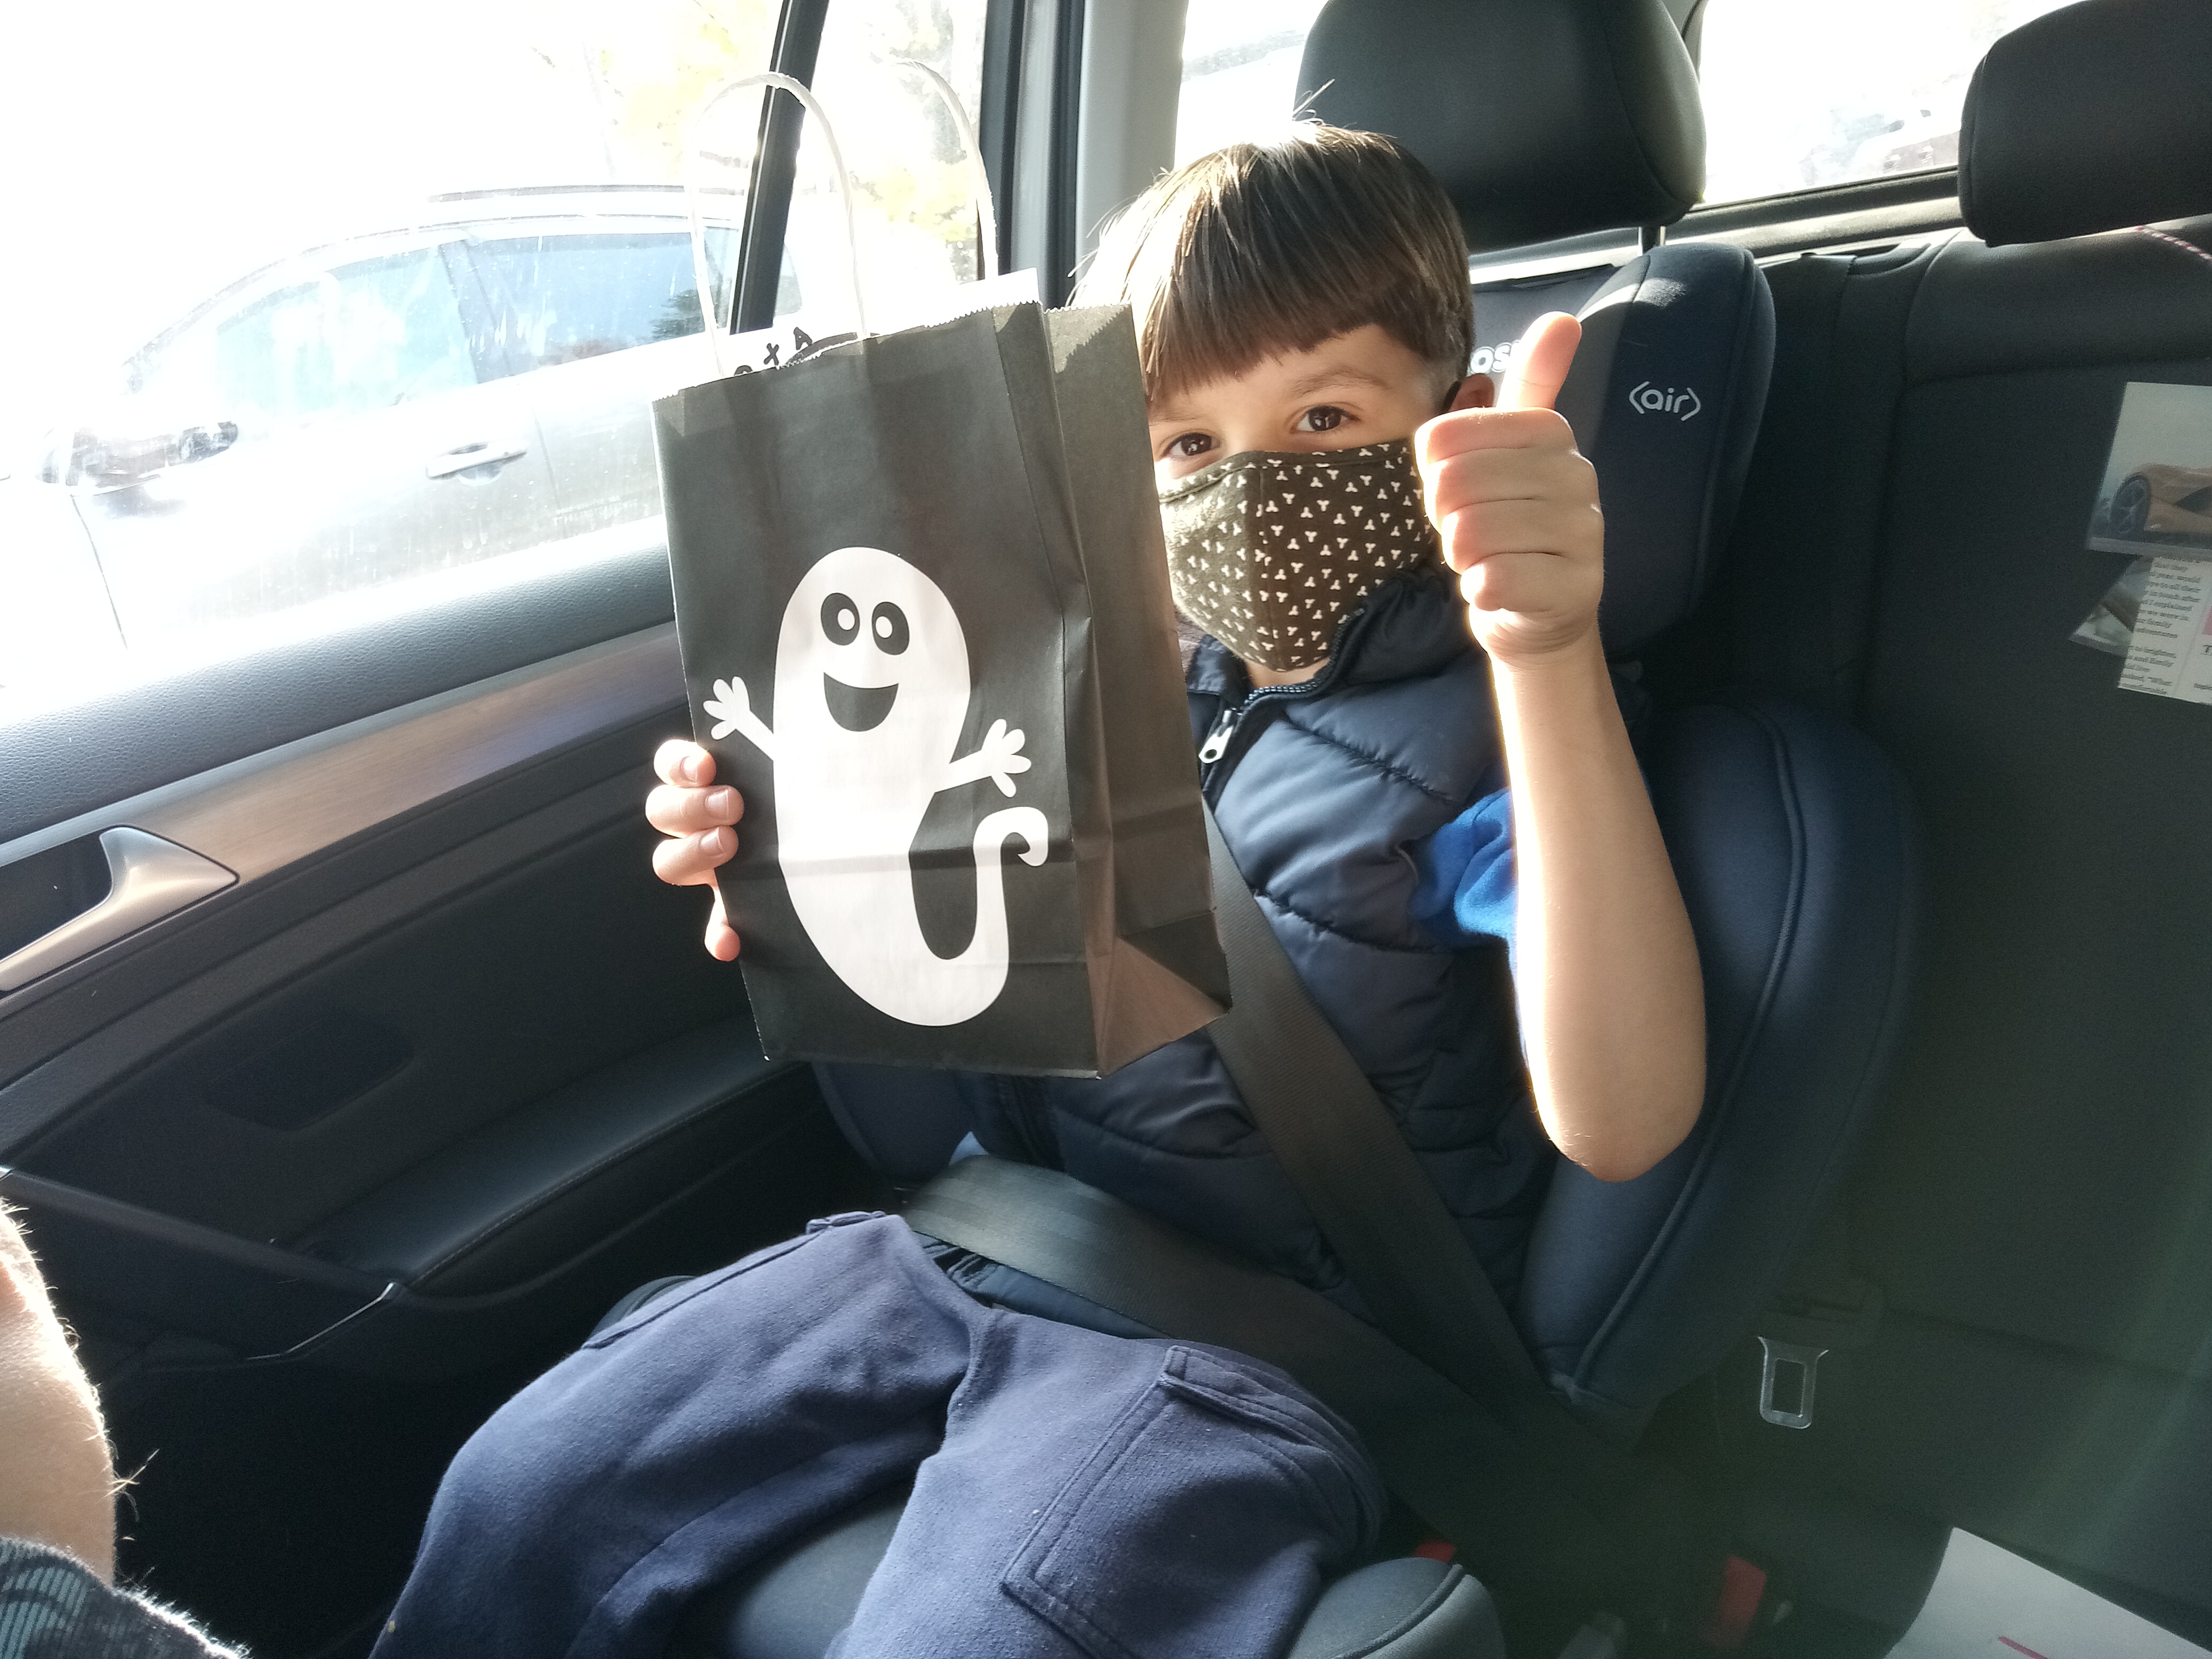
We’re ready for contact-free trick-or-treaters!

Halloween Countdown Day 27: Doll Trick-or-Treat

Halloween 27 Doll Trick or Treat (2)

The kids won’t actually be knocking on doors and shouting out “trick-or-treat!” this year, so I wanted a way for them to at least simulate the fun. An easy alternative? Have all the dolls in your house stage a practice round before the big day!

This was a fun way to show Veronika, especially, what the holiday normally looks like since she’s too young to remember last year. We used a pack of Smarties (the perfect doll-sized treat) and sprinkled a few behind the door of her dollhouse.

Halloween 27 Doll Trick or Treat (4)

The kids were having so much fun with the charade that we set up a whole neighborhood. Soon there was a castle and a stable in town, with treats behind each door. Knock knock!

Halloween 27 Doll Trick or Treat (3)

I loved watching the kids play this simple game together as our countdown nears the grand finale.

Halloween 27 Doll Trick or Treat (5)

Halloween Countdown Day 26: Pumpkin Power

Pumpkin Power (7)

It turns out that October 26 is Pumpkin Day, as if the gourd needs one specific day in a month that seems to be all about it! But we took the opportunity to test an unappreciated ability of pumpkins: to generate electricity!

Pumpkin Power (1)

Much like those old potato or lemon experiments, you can hook up two pumpkins to make a clock run or an LED light turn on.

I originally tried to follow online instructions, but had to maneuver things a little differently to line up with the particular items that came in a fruit-battery kit we purchased. The set-up looks like this: lnsert a cooper strip and a zinc strip into each of 2 small pumpkins.

Pumpkin Power (2)

Use an alligator clip wire to attach the copper strip from one pumpkin to the zinc strip from the second pumpkin.

Now, use a second wire with alligator clip to attach the zinc strip from the first pumpkin to the negative node of either a multimeter, clock, or LED light.

Use a third wire with alligator clip to attach the copper strip from the second pumpkin to the positive node of the multimeter, clock, or LED light. Hopefully the photos in this post make all that clearer!

Pumpkin Power (3)

Your circuit should be complete.

Pumpkin Power (6)

Travis was wowed watching our clock blink on. At one point we left it running for over an hour.

Pumpkin Power (4)

Why does this work? Pumpkin flesh has acid (though not as much as lemons), which means the zinc strip will start to lose electron ions. Those ions travel over to copper, which generates electricity.

Pumpkin Power (5)

Now that’s pumpkin power!

Halloween Countdown Day 25: Spider Countdown

Halloween 25 Spider Web Countdown (5)

We’re one week away from Halloween, and it was time for a countdown-within-our-countdown! With only a few days left, I had to up the ante on the anticipation for the kids.

I had originally planned to hang plastic spiders on a large piece of black felt for this activity, adhering them with Velcro sticky dots. But I couldn’t find a large enough piece of black felt, so had to improvise a bit.

I painted a piece of poster board black, then added Velcro dots (and some hot glue for extra security) to attach white yarn in the shape of a spider web.

Halloween 25 Spider Web Countdown (3)T

o make the “spiders”, first fill plastic Easter eggs with a few small candies (we love Giggles, an organic alternative to Skittles), or other Halloween trinkets, then close tightly.

Halloween 25 Spider Web Countdown (2)

Use hot glue to add pipe cleaner legs and a Velcro dot to the back of each spider.

Halloween 25 Spider Web Countdown (8)

Add the other halves of the Velcro dots to your poster board (or felt, if using) and then stick on the spiders. Now mark each spider with dots in permanent black marker. The first spider gets one dot, the second gets two, and so on up to seven.

Halloween 25 Spider Web Countdown (6)

In the morning, the kids came down and discovered this web of delights. I asked Travis to find the spider with only one dot, which he then proudly pulled off and opened up for a surprise.

Halloween 25 Spider Web Countdown (7)

Needless to say, candy before breakfast meant happy kids.

Halloween 25 Spider Web Countdown (9)

Tomorrow they’ll move on to spider #2. This should tide them over until the big day!

Halloween 25 Spider Web Countdown (10)

Halloween Countdown Day 24: Hallo-Bowling

Halloween 24 Hallo-Bowling (2)

In the summer, it was giant inflatable unicorn bowling around here. Now that it’s fall, it was time for Hallo-Bowling!

To make this spooky spin on regular bowling, first cover paper towel tubes with white crepe paper. You’ll need to work carefully, wrapping a layer of crepe paper, applying glue, wrapping again, and then repeating all the way down the tube. It was almost like making mummy wraps!

Halloween 24 Hallo-Bowling (1)

I then added big round Os for eyes and mouths with black marker. Set up your pins in a triangle, and now here’s the extra Halloween twist: your bowling ball is a round pumpkin!

The rounder your little pumpkin, the better. Then just set up the pins and give it a roll.

Halloween 24 Hallo-Bowling (3)

Travis, especially, loved watching those wide-eyed ghosts get knocked down.

Halloween 24 Hallo-Bowling (5)

Halloween Countdown Day 23: Boo Someone!

Halloween 23 Boo Bags (4)

It’s safe to say this was Travis’s favorite of our countdown activities so far this Halloween season. We decided to “Boo” a few friends with goodie bags, a tradition that seems to be gaining traction.

First up was a trip to the store to select goodies for the Boo Bags. A local retailer had all the treats we needed for this trick, including goodie bags and little Halloween trinkets (think stickers, wind-up monsters, pencils, and individually-wrapped candies).

Halloween 23 Boo Bags (3)

At home, we printed out the Boo note to go with each bag. If you’re new to the tradition, the recipient hangs a “We’ve been BOO’d” sign in the window, then copies the directions and “Boos” two other friends, keeping the fun alive. Travis loved stuffing the bags with our treats.

Halloween 23 Boo Bags (2)

We colored in the notes since our printer is black-and-white, and then it was time to sneak off and drop them at doorsteps.

Halloween 23 Boo Bags (5)

The goal is to be as sneaky as a ghost and try not to get caught!

Halloween 23 alt

Well, it turns out that Travis and I are terrible ghosts! We were spotted at every single one of our drop-offs, but it gave all the kids a good laugh which turned out to be half the fun.

Halloween 23 Boo Bags (6)

Did you Boo someone this Halloween? Please share in the comments!

Halloween Countdown Day 22: Boo-Dos!

Halloween 22 Boo Dos (2)

Forget hairdos; tell your kids that today you’re giving them boo-dos!

This is a fun game to play in the tub, especially if your kids aren’t big fans of shampoo and need a boost to make it playful. Travis’s ‘do looked like a little ghost tail.

Halloween 22 Boo Dos (1)

Or perhaps the top-knot of a samurai warrior.

Halloween 22 Boo Dos (4)

Veronika had spikes just like a stegosaurus. “I’m a dinosaur!” she said with delight.

Halloween 22 Boo Dos (3)

The kids loved looking at pictures of their silly ‘dos long after bath was over. This was the easiest way yet to dress up in costume as Halloween approaches.

Tricked-Out Treats

Owl Treats (10)

There aren’t any neighborhood Halloween parties this year since big gatherings are a no-no, but that doesn’t mean you can’t surprise your little goblins with a party platter of tricked-out treats. To wit, we’re getting a little batty with our snacks as we get closer to Halloween. And ghosty, and spidery, and owlish, too!

For spiders, cut kiwi into rounds and arrange 8 pretzel pieces around each circle as legs.

Owl Treats (1)

For ghosts, cut mini cucumbers in half lengthwise. Cut out small pieces of non-dairy cheddar slices for eyes and mouths.

Owl Treats (3)

For vampire bats, spread water crackers with guacamole. Place each cracker over two blue corn tortilla chips for wings. Use additional corners of tortilla chip for fangs, and pieces of non-dairy cheddar for eyes.

Owl Treats (4)

At dessert, it was time for some sweet-not-spooky owls!

Owl Treats (9)

Trim rice crispy treats (such as Made Good) along one edge to form two triangles. Spread with your favorite vegan vanilla frosting, then add two creme-filled cookies (such as Newman O’s) as eyes. We had some sleepy owls and some that were wide awake! Add an almond for a beak, and your little owls are ready!

Owl Treats (8)

No tricks here, just delicious treats that had the kids smiling.

Owl Treats (5)

Halloween Countdown Day 21: Pets on Parade

Halloween 21 Doggie Dress Up (2)

All those traditional pet costume parades are cancelled this Halloween, but you’re sure to delight your kids if you take a day in your Halloween countdown to check out virtual versions.

The kids giggled as we checked out online images of dogs dressed up as Ewoks and delivery men. This gave them the idea to put our kitty in a costume!

I knew our cat wouldn’t tolerate a full costume, but he surprisingly didn’t mind a pair of red devil horns for a moment while noshing on dinner.

Halloween 21 Doggie Dress Up (1)

So, as long as your pet is willing, play doggie and kitty dress-up today. As always, make sure your pet is comfortable and happy in a costume, and never force the issue.

Meanwhile, there’s still a chance to tune into one of the biggest and best pet parades when Tompkins Square Park goes virtual.

Spaghetti Spider Web Craft

Spaghetti Spider Web (11)

Thanks to some recent sensory play with Veronika, I’ve learned a few tricks about how best to make sculpture from spaghetti. I realized the same method could be used to add to our Halloween decor, because it would result in perfect “spider webs”.

To start, mostly this activity was just spaghetti sensory play again. This time, I tinted a big batch of spaghetti a witchy green hue and instead of adding glue, I added corn syrup.

Spaghetti Spider Web (1)

Just pour it on until you have a nice coating over the noodles. This not only means the noodles won’t clump together as your child plays, but also means the final artwork can still dry like glue, but stay edible.

And good thing, because Veronika was in the mood to nibble on pasta today! I gave her a small dish of plain noodles, but she ate big handfuls of the green stuff right from the pot!

Spaghetti Spider Web (2)

Eventually I diverted her attention from eating noodles to making the spider web craft. Lay out squares of wax paper and help your toddler arrange noodles in a circle. The thinner the overlap of the noodles, the faster and better these webs will dry.

Spaghetti Spider Web (4)

Being a toddler, of course she also wanted to make big gloppy piles of noodles, which was half the fun.

Spaghetti Spider Web (5)

She loved calling them webs, though, as she worked.

Spaghetti Spider Web (7)

Once we had three neat web shapes, I placed them on a baking sheet and put in the oven at 175 degrees F for 2 hours. This was sort of a guess, but it worked perfectly. The webs came off from the wax paper without tearing or breaking at all.

Spaghetti Spider Web (9)

Thread yarn through the top of each “web” and hang in spooky corners or windows. Bonus points for plastic spiders to live in each web!

Spaghetti Spider Web (10)