Washing Vegetables

Washing Vegetables (2)

If you have a toddler who’s eager to help in the kitchen (say while an older sibling is cooking by your side), here’s the perfect task that he or she can tackle solo!

I set out a tray with just a little water, along with a cloth, a vegetable scrubber, and a few extra veggies. Use fruits and vegetables that you know you’ll peel later (think russet potatoes, eggplants, or citrus fruits), so it doesn’t matter if your little one actually makes the vegetables dirtier on the floor rather than cleaner.

We had a few extra eggplants and I showed Veronika how to scrub at the skin with the vegetable brush.

Washing Vegetables (1)

She was an eager helper and liked dabbing at them gently with a cloth. When the eggplants were “clean”, I showed her how to pat them dry, too. This little activity is so simple but made her feel just as important in the kitchen as big brother.

Washing Vegetables (#)

No-Bake Banana Cookies

No-Bake Banana Cookies (4)

These sweet treats aren’t actually cookies at all, but sugary bananas are a wonderful secret imposter in many desserts. This particular sweet treat is so easy that your toddler can help with every step!

To start, I poured about 1/2 cup Annie’s bunny grahams into a zip-top plastic bag ((or use regular graham crackers) and showed Veronika how to tap with a rolling pin until crushed.

No-Bake Banana Cookies (1)

Next, we added slices of ripe banana to the bag. Seal the bag and shake shake shake!

No-Bake Banana Cookies (2)

Arrange the bananas slices on a plate and your “cookies” are ready. Even better, there’s no wait for the oven required!

No-Bake Banana Cookies (5)

Cheesy Soup Skimmers

Cheesy Soup Skimmers (3)

This quick kid-friendly cooking project makes a tasty lunch and has a little science lesson thrown in, too!

We wanted to test what could float in a bowl of soup, and decided to make cheesy “crackers”. (Note: I used Daiya’s shredded non-dairy cheddar for the experiment, which worked great. Other non-dairy cheese will most likely work, too, but I can’t say for sure).

Travis picked a few fun cookie cutter shapes, including hearts, stars…and Darth Vader’s helmet! Sprinkle a thin layer of the non-dairy cheddar into each cookie cutter over a baking sheet lined with parchment paper. We also made a few free-form shapes for comparison on the side.

Cheesy Soup Skimmers (1)

Be sure to lift off the cookie cutters before baking! Bake at 350 degrees F for 8 minutes, just until the cheese sets.

Cheesy Soup Skimmers (2)

Let cool completely, then carefully peel the cheese shapes off the parchment paper and slip on top of a bowl of soup. We particularly liked these with tomato soup.

Cheesy Soup Skimmers (4)

The kids loved seeing the cheese float. And then they tested out a few oyster crackers, too! That’s where the science comes in: if you press on the cheese skimmers, they will break the surface tension of the soup and sink to the bottom of the bowl. The crackers will always float for a different reason, though, namely density!

Cheesy Soup Skimmers (5)

Santa Hat Pizzas

Santa Hats (2)

Put a Christmas spin on pizza night in the days leading up to the holiday with this quick recipe!

To start, we stretched out a store-bought pizza dough and then cut into triangles with a pizza rolled. Fold up the bottom edge of the triangle to make a cuff.

Next, we spooned tomato sauce over the triangles, leaving the cuffs plain. Add non-dairy cheese along the cuff for Santa’s white trim. We used vegan feta, but next time I would probably dollop on crumbled tofu instead for a fluffier look!

Santa Hats (1)

Bake at 430 degrees F for 8 minutes, or until the crust just starts to brown. This made pizza night a ho-ho-holiday treat.

Candy-Less Canes

Candy Less Canes (2)

Confession: we’ve probably eaten way too many sugary candy canes this holiday season. So it was time to put a healthier spin on this favorite holiday treat!

Over two afternoons, we had fun making faux candy canes with red-and-white foods. First up was a fruit version. I sliced strawberries and bananas and set them on a cutting board, then challenged Travis to arrange them like a candy cane (or as Veronika calls it, a “minty”).

Candy Less Canes (1)

He quickly got the hang of it, and then both kids loved devouring this trompe l’oiel snack.

Candy Less Canes (3)

Needless to say, the red stripes (a.k.a. strawberries) didn’t last long.

Candy Less Canes (4)

The next day it was time for a savory spin on the treat! This time I set out piles of sliced tomato and vegan feta cheese. Travis again quickly figured out how to line them up like candy cane stripes.

Candyles Canes (6)

And the kids quickly polished it off for a snack! What foods would you use for a pretend candy cane? Please share in the comments!

Krispie Christmas Treats

Krispie Christmas Treat (5)

The combination of gooey marshmallows, crisp rice cereal, and holiday shapes means this quick cooking project is a toddler’s kitchen dream come true.

First, melt 1/4 cup Earth Balance butter in a large saucepan over low heat. Add 4 cups mini Dandies marshmallows; continue to cook until gooey and melted.

At this point we stirred in green food coloring. Veronika loved watching the white turn to green! You could also use red food coloring, or a mix of the two if you divide the marshmallow mixture in half at this point.

Krispie Christmas Treat (1)

Next, we added 5 cups rice crisp cereal, stirring until coated. Pat the mixture into an even layer on a baking tray.

Krispie Christmas Treat (2)

I made sure to let the mixture cool slightly so it wouldn’t burn tiny hands, and then showed Veronika how she could press our Christmas-themed cookie cutters into the mixture. She loved pressing these down as hard as she could!

Krispie Christmas Treat (3)

I lifted the cookie cutters out and showed her that we now had Christmas shaped treats to eat. She loved selecting which shape to press onto the mixture, especially the candy cane (“minty!”) and the gingerbread men.

Krispie Christmas Treat (4)

You can’t exactly gather the scraps and re-roll this mixture as you could with sugar cookie dough, but you can pat the mixture back together and get a few more rounds of cookie cutter shapes done.

Krispie Christmas Treat (7)

Meanwhile Veronika didn’t waste a moment before starting to snack! She pretty much took a bite in between each cookie cutter we pressed down.

Krispie Christmas Treat (6)

Whether you devour them all at home or share these Christmas treats with friends and family, they’re a great cooking project for the holiday season.

Krispie Christmas Treat (8)

Little Passports: Russia

LP Russia alt

Just in time for wintry weather here at home, Travis’s package from Little Passports was about cold and snowy Russia this month. Travis has been receiving Little Passports for a full year now, so the kit came with a country coin chart with 12 new empty spaces to fill.

LP Russia (2)

He added the sticker to his suitcase and proudly located Russia on the map (“Just look the for the biggest country!” I prompted him). The booklet featured fun activities with Russian history thrown into each, including a Faberge egg riddle to solve. The only one too advanced for my first grader was a word search based on the names of Russian towns.

LP Russia (4)

Souvenir:

Travis absolutely adored the small matryoshka doll that came with the package, his first time seeing one of these classic nesting dolls. Needless to say he needed to take it apart and put it back together many times.

LP Russia (1)

Further Activities:

This kit featured disappointingly few additional activities compared to previous packages. Travis did enjoy the template to make his own Space Comic, though, based on the history of space dogs Belka and Strelka.

LP Russia (5)

This was a great STEAM activity for kids! He was less interested in a Russian folk instrument coloring page, but did enjoy the additional photos and facts posted online.

LP Russia (6)

Finally, we read about Russian holiday traditions, particularly that New Year’s Day is a bigger celebration and time for presents in the country than Christmas morning. Perhaps we’ll have to save one present for under the tree on January 1 from “Father Frost”.

Recipe:

As always, we finished by bringing the country into our kitchen. The recipe for oladushki (thin pancakes) was complicated and messy, but I had happy little diners pretending they were in Russia at the end!

Oladushki (3)

Ingredients:

  • 1 tablespoon apple cider vinegar
  • Scant 1 and 3/4 cups plain non-dairy milk
  • 1 tablespoon flaxseed
  • 3 tablespoons cold water
  • 1/4 teaspoon salt
  • 1 teaspoon baking soda
  • 2 and 3/4 cups flour
  • 1 and 3/4 cups boiling water
  • 1/2 cup canola oil + more for frying
  1. To prepare the pancake batter, pour the cider vinegar into a liquid measuring cup. Add non-dairy milk to equal 1 and 3/4 cups, then let stand for 5 minutes.
  2. Meanwhile, whisk together the flaxseed and cold water to make a flax egg; let stand for 5 minutes.
  3. Combine the milk mixture and flaxseed mixture in a small saucepan, along with the salt and baking soda. Heat over medium heat for about 2 minutes. Transfer to a large bowl.
  4. Add the flour, 1 cup at a time, stirring after each addition. The batter should be quite thick at this point.
  5. Pour in the boiling water and 1/2 cup oil; whisk until combined.
  6. Heat an additional tablespoon or so of oil in a skillet over medium-high heat. Add 1/4 cup batter and tilt the pan to spread toward the edges. Cook for 45 seconds, then flip and cook for about 30 seconds on the other side.
  7. Repeat with the remaining batter to make 16 pancakes.

We served these pancakes in two ways. The first night, they were savory for dinner, topped with either chopped and cooked chick’n…

Oladushki (2)

…or with a mixture of sauteed meatless crumbles and onion.

Oladushki (1)

In the morning, the leftovers became sweet for breakfast! The kids tried them with jam and agave nectar…

Oladushki (6)

…or with a little sweetened non-dairy sour cream (stir about 1/2 teaspoon sugar into each tablespoon sour cream).

Oladushki (5)

Holiday Cookie Magic

Holiday Sugar Cookies (8)

There’s a lot to be said for beautiful and complicated holiday cookies (and we’ve baked some of those this holiday season!), but there’s also a lot to be said for slice-and-bake cookies. To wit, Travis and I had fun baking some today (thanks to the vegan sugar cookie dough from Sweet Loren’s). We then talked about the symbolism behind some of December’s holiday cookies before adding the following decorations.

Holiday Sugar Cookies (1)

Christmas:

Chewy Chunks: Who knew? Dried fruits and nuts (traditionally numbering up to 13 ingredients) originally represented Jesus and the Apostles, hence the ubiquitous holiday fruit cake. We didn’t use quite that many different dried fruits, but we did chop up raisins, prunes, dried apricots, and dried cranberries, then pressed into the top of the dough before baking.

Holiday Sugar Cookies (3)

Festive Fruit Strips: Fruit leather cut into strips makes candy cane stripes on a round cookie. Here was another “who knew” moment: the shape of a traditional candy cane is meant to represent a shepherd’s crook!

Holiday Sugar Cookies (4)

Hanukkah:

Jelly Doughnuts: Fried treats like jelly doughnuts represent the oil that lasted for 8 days during the miracle of Hanukkah. To turn them into cookie form, we pressed our thumbs into the center, filled each with about 1/4 teaspoon jelly, and sprinkled with powdered sugar.

Holiday Sugar Cookies (7)

Latke Cookies: Likewise representing the oil, here was a way to turn potato latkes into cookie form! Travis helped smash potato chips with mallet, then we dipped the top of the sugar cookie dough into the crushed cookies before baking.

Holiday Sugar Cookies (6)

These were all so easy and yet so delicious!

Gingerbread People

Gingerbread People (13)

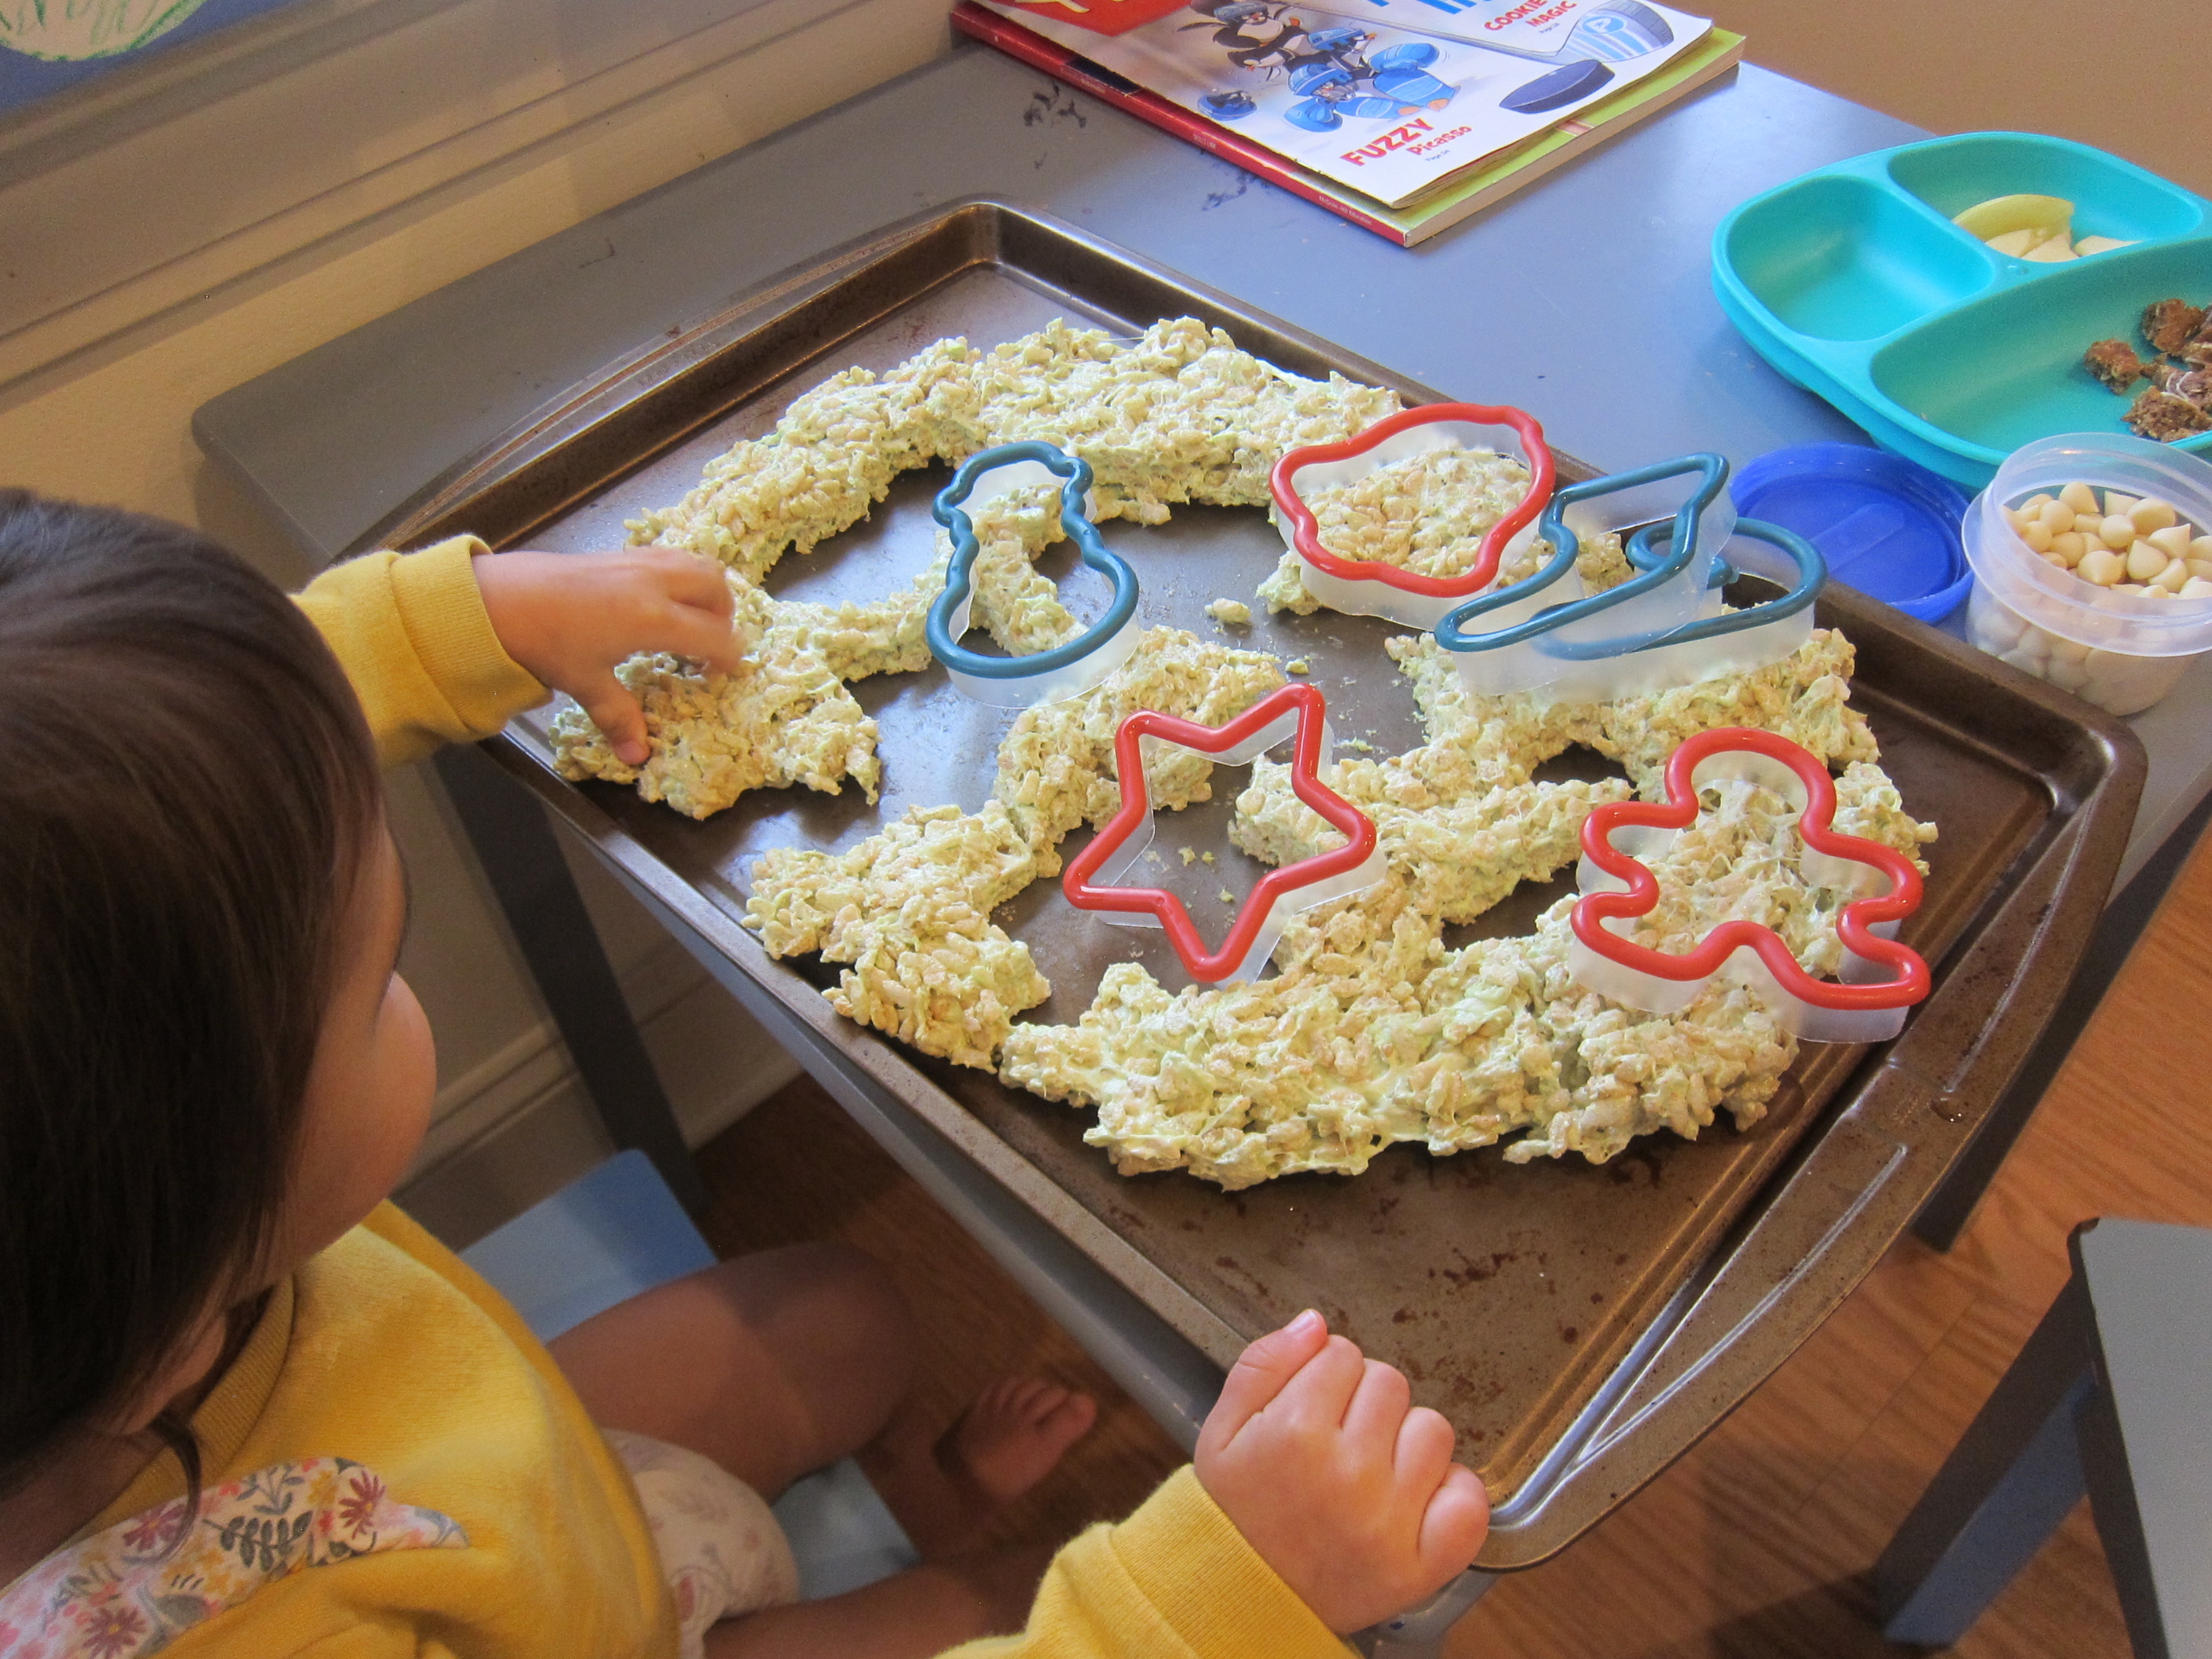
Gingerbread cookies are the perfect baking project with a toddler. There’s messy dough to mix up, wonderful spices to smell, adorably-shaped cookie cutters, and little people to decorate. In sum, Veronika had lots of floury, sticky, sensory fun with this one!

Gingerbread People (1)

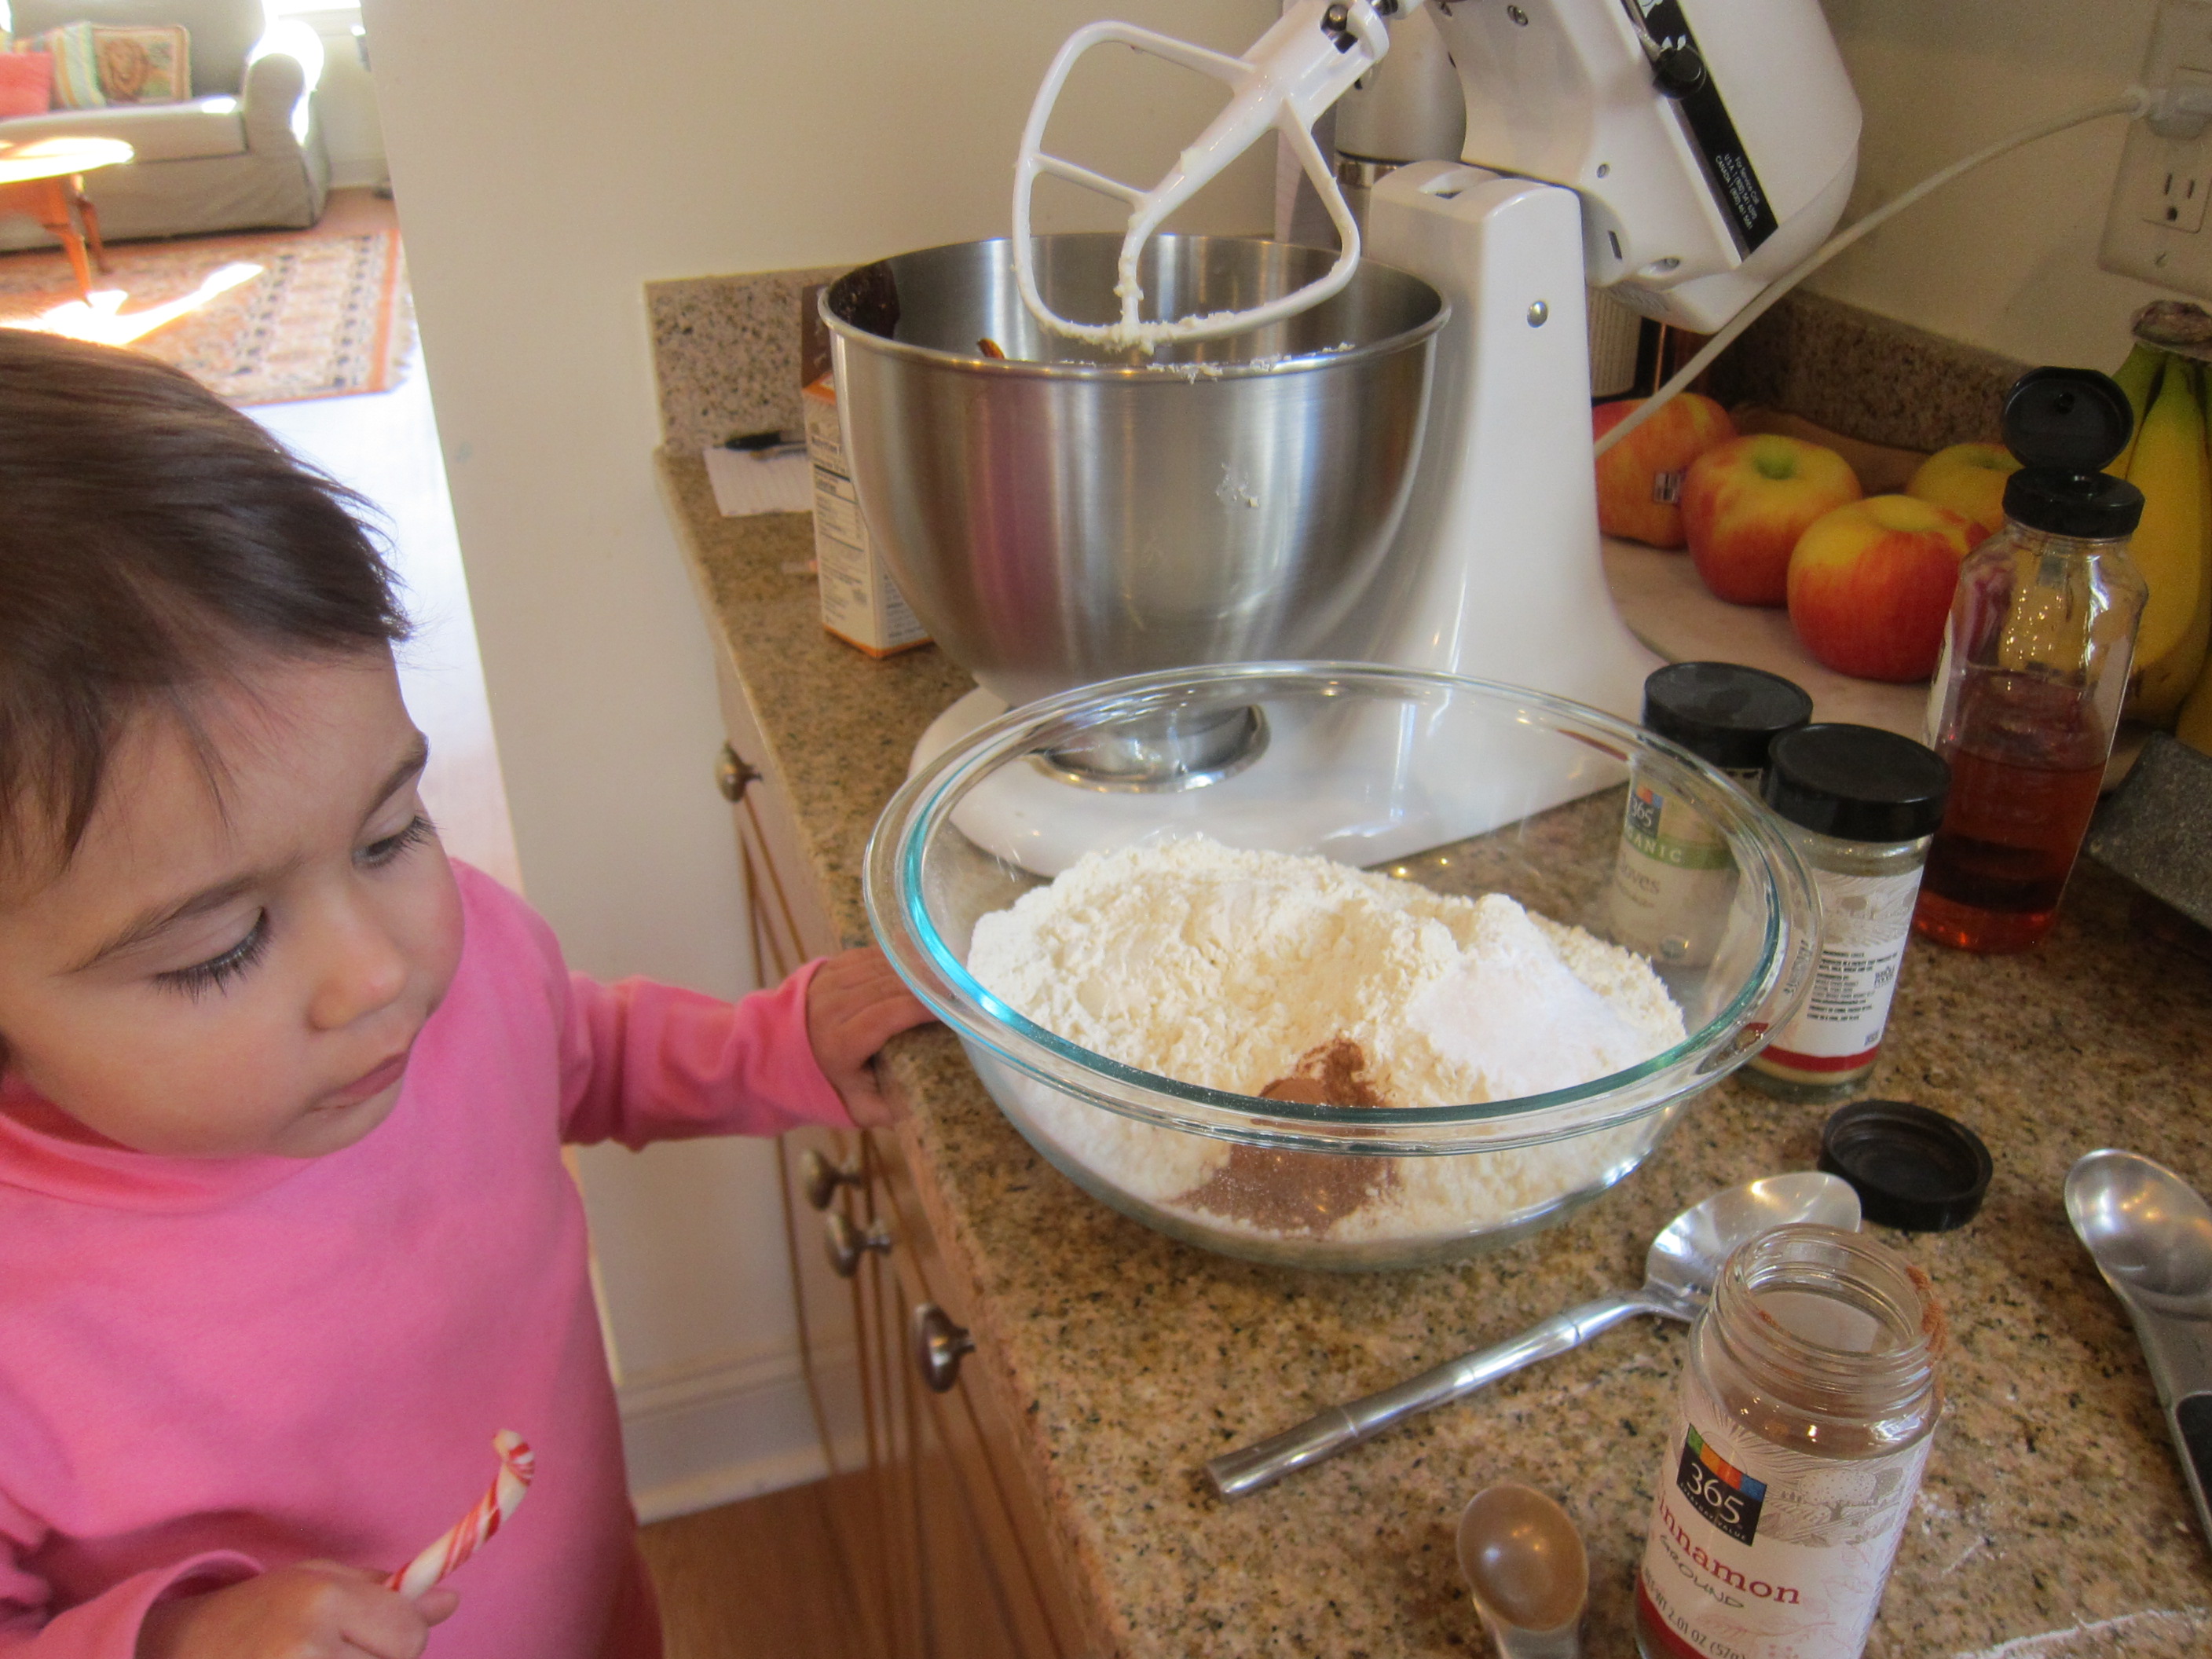
To start, we needed to make the dough. She loved smelling each spice before we added it into the dry ingredients!

Ingredients:

  • 1 tablespoon flaxseed
  • 3 tablespoons cold water
  • 1 cup shortening
  • 3/4 cup agave nectar
  • 1 cup molasses
  • 1 and 1/2 teaspoons baking soda
  • 1/2 teaspoon salt
  • 1 teaspoon ground ginger
  • 1 teaspoon ground cinnamon
  • 1 teaspoon ground cloves
  • 5 cups flour
  1. In a small bowl, whisk together the flaxseed and water; let stand for 5 minutes.
  2. In the bowl of a stand mixer, combine the shortening, agave, molasses, and flaxseed mixture; beat until combined.
  3. Combine the baking soda, salt, ginger, cinnamon, cloves, and flour in a large bowl. Add the dry ingredients to the wet ingredients and stir until combined. Wrap the dough in plastic wrap and chill for at least 1 hour.

Veronika loved watching the dough mix up in our stand mixer!

Gingerbread People (2)

And as you can see, she also loved taste-testing right from the bowl!

Gingerbread People (4)

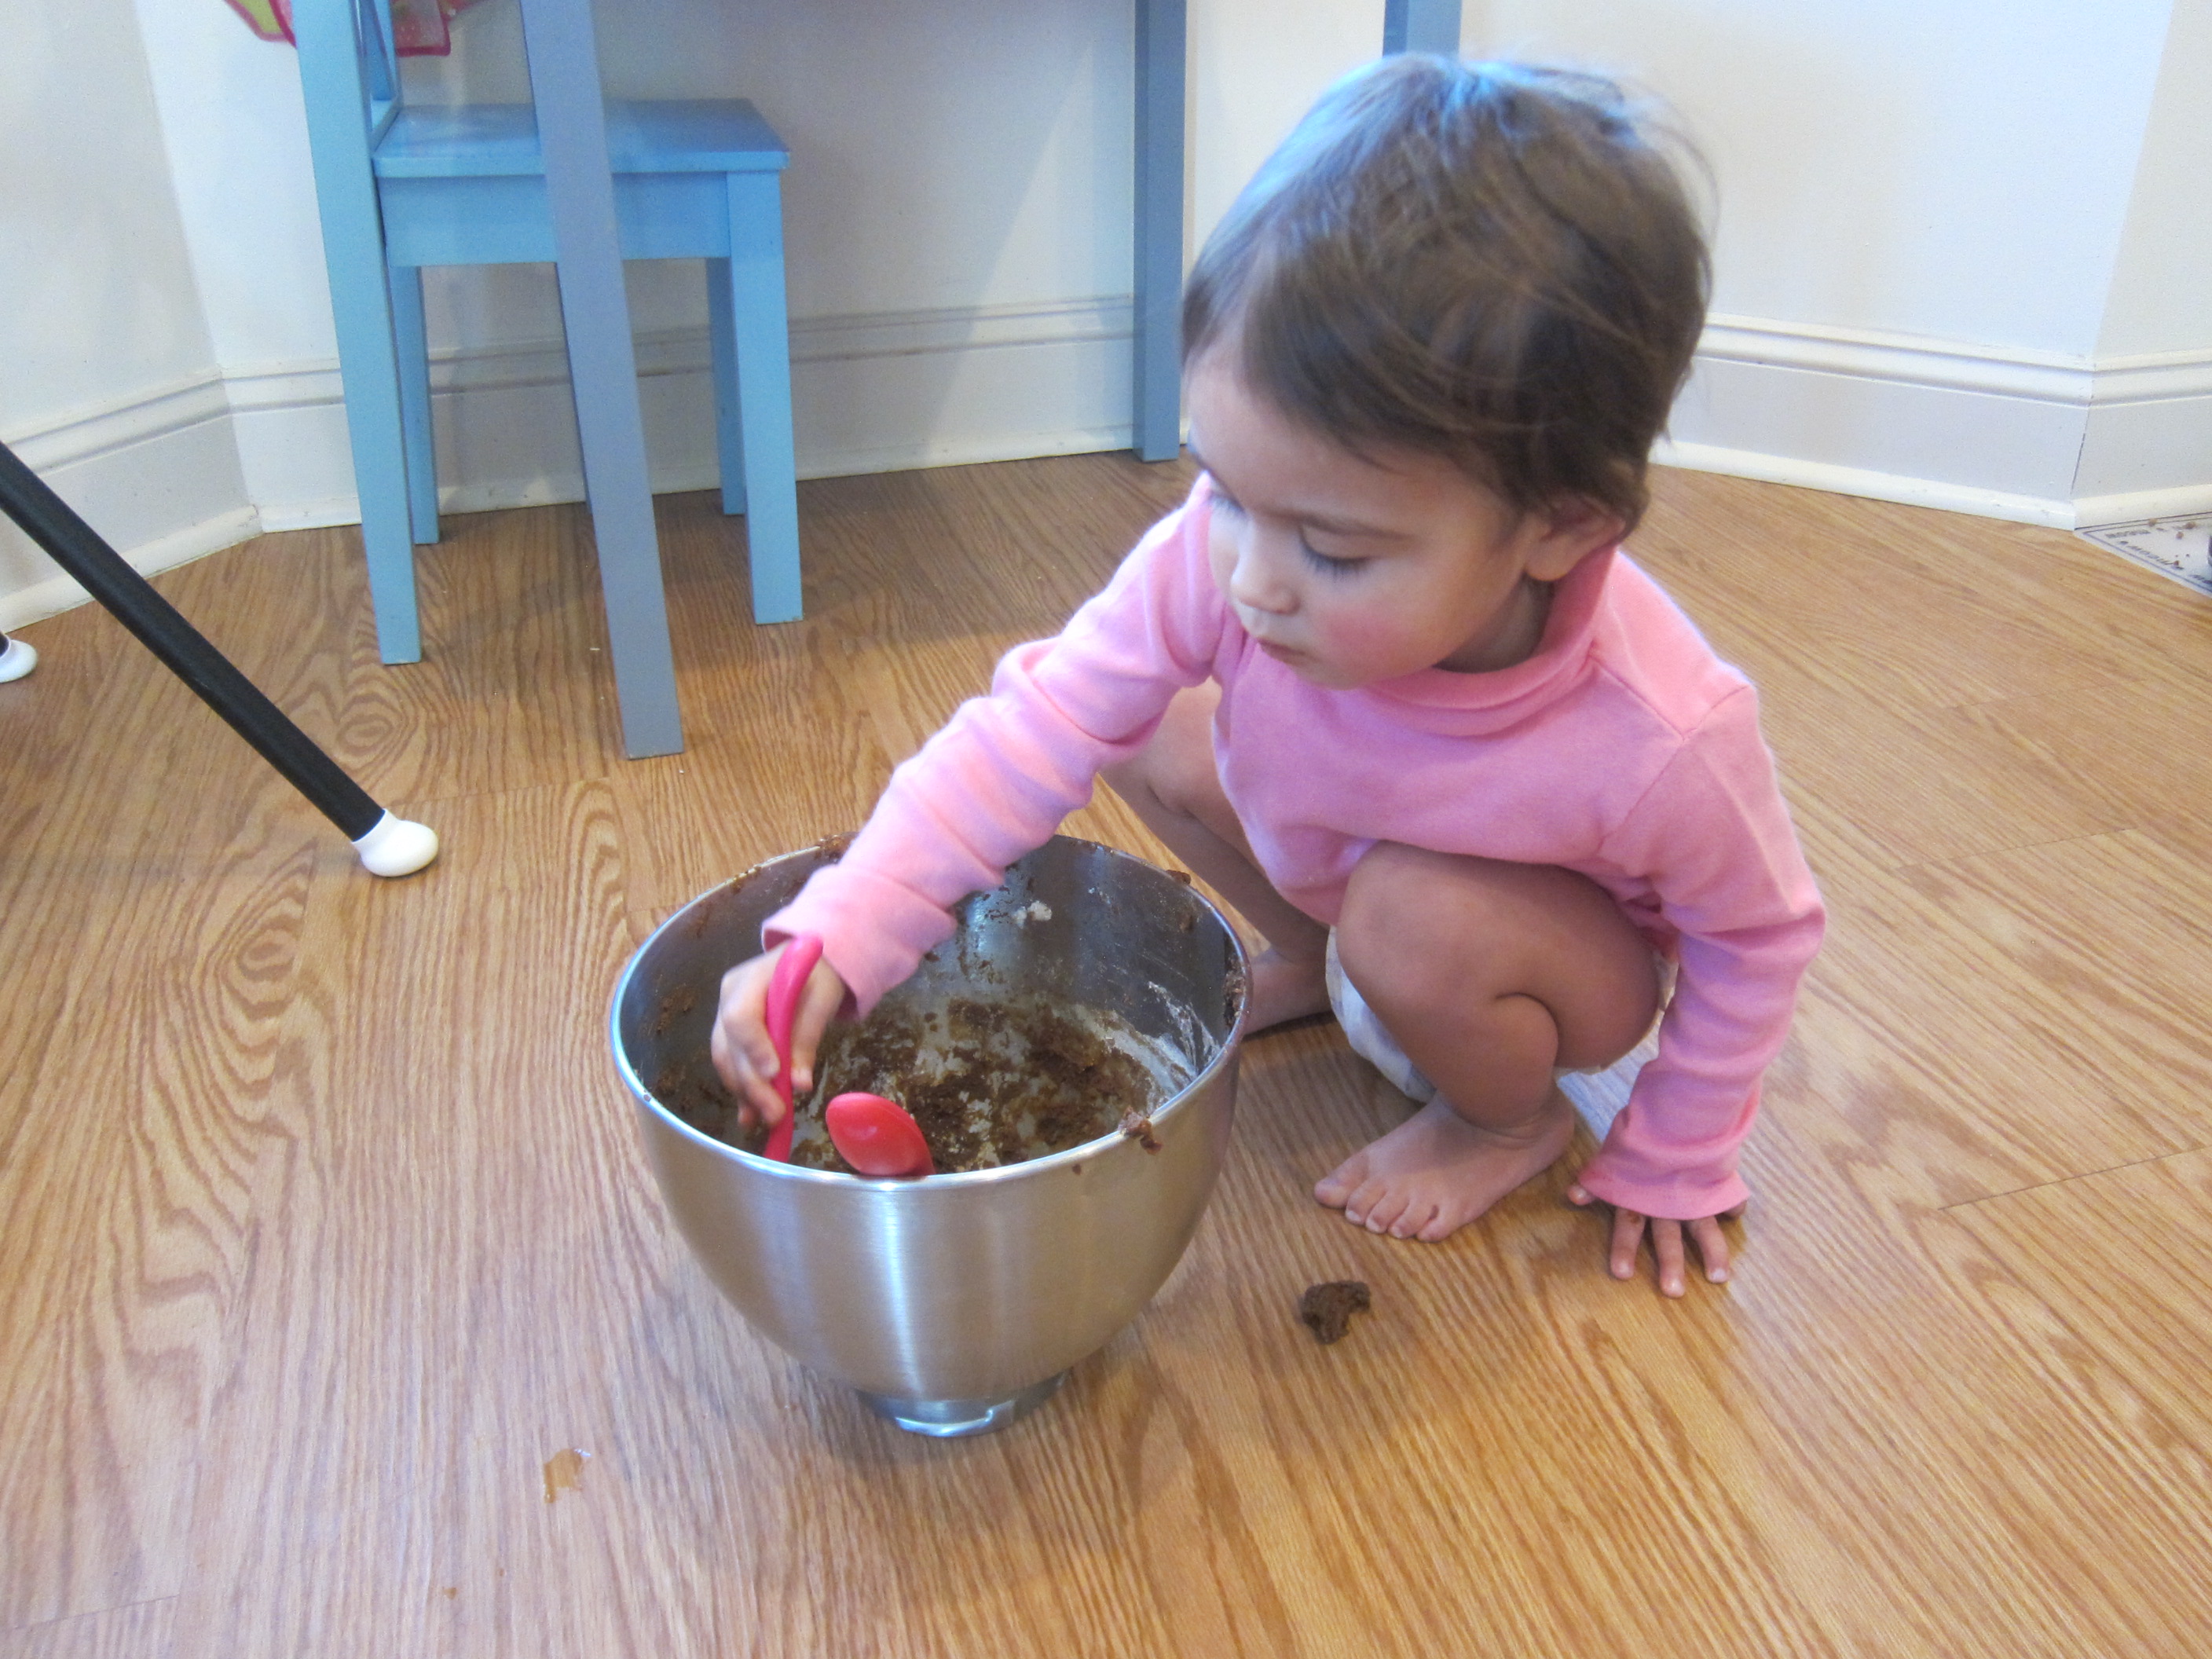
She marveled at how sticky the dough was as we wrapped it in plastic to chill in the fridge.

Gingerbread People (3)

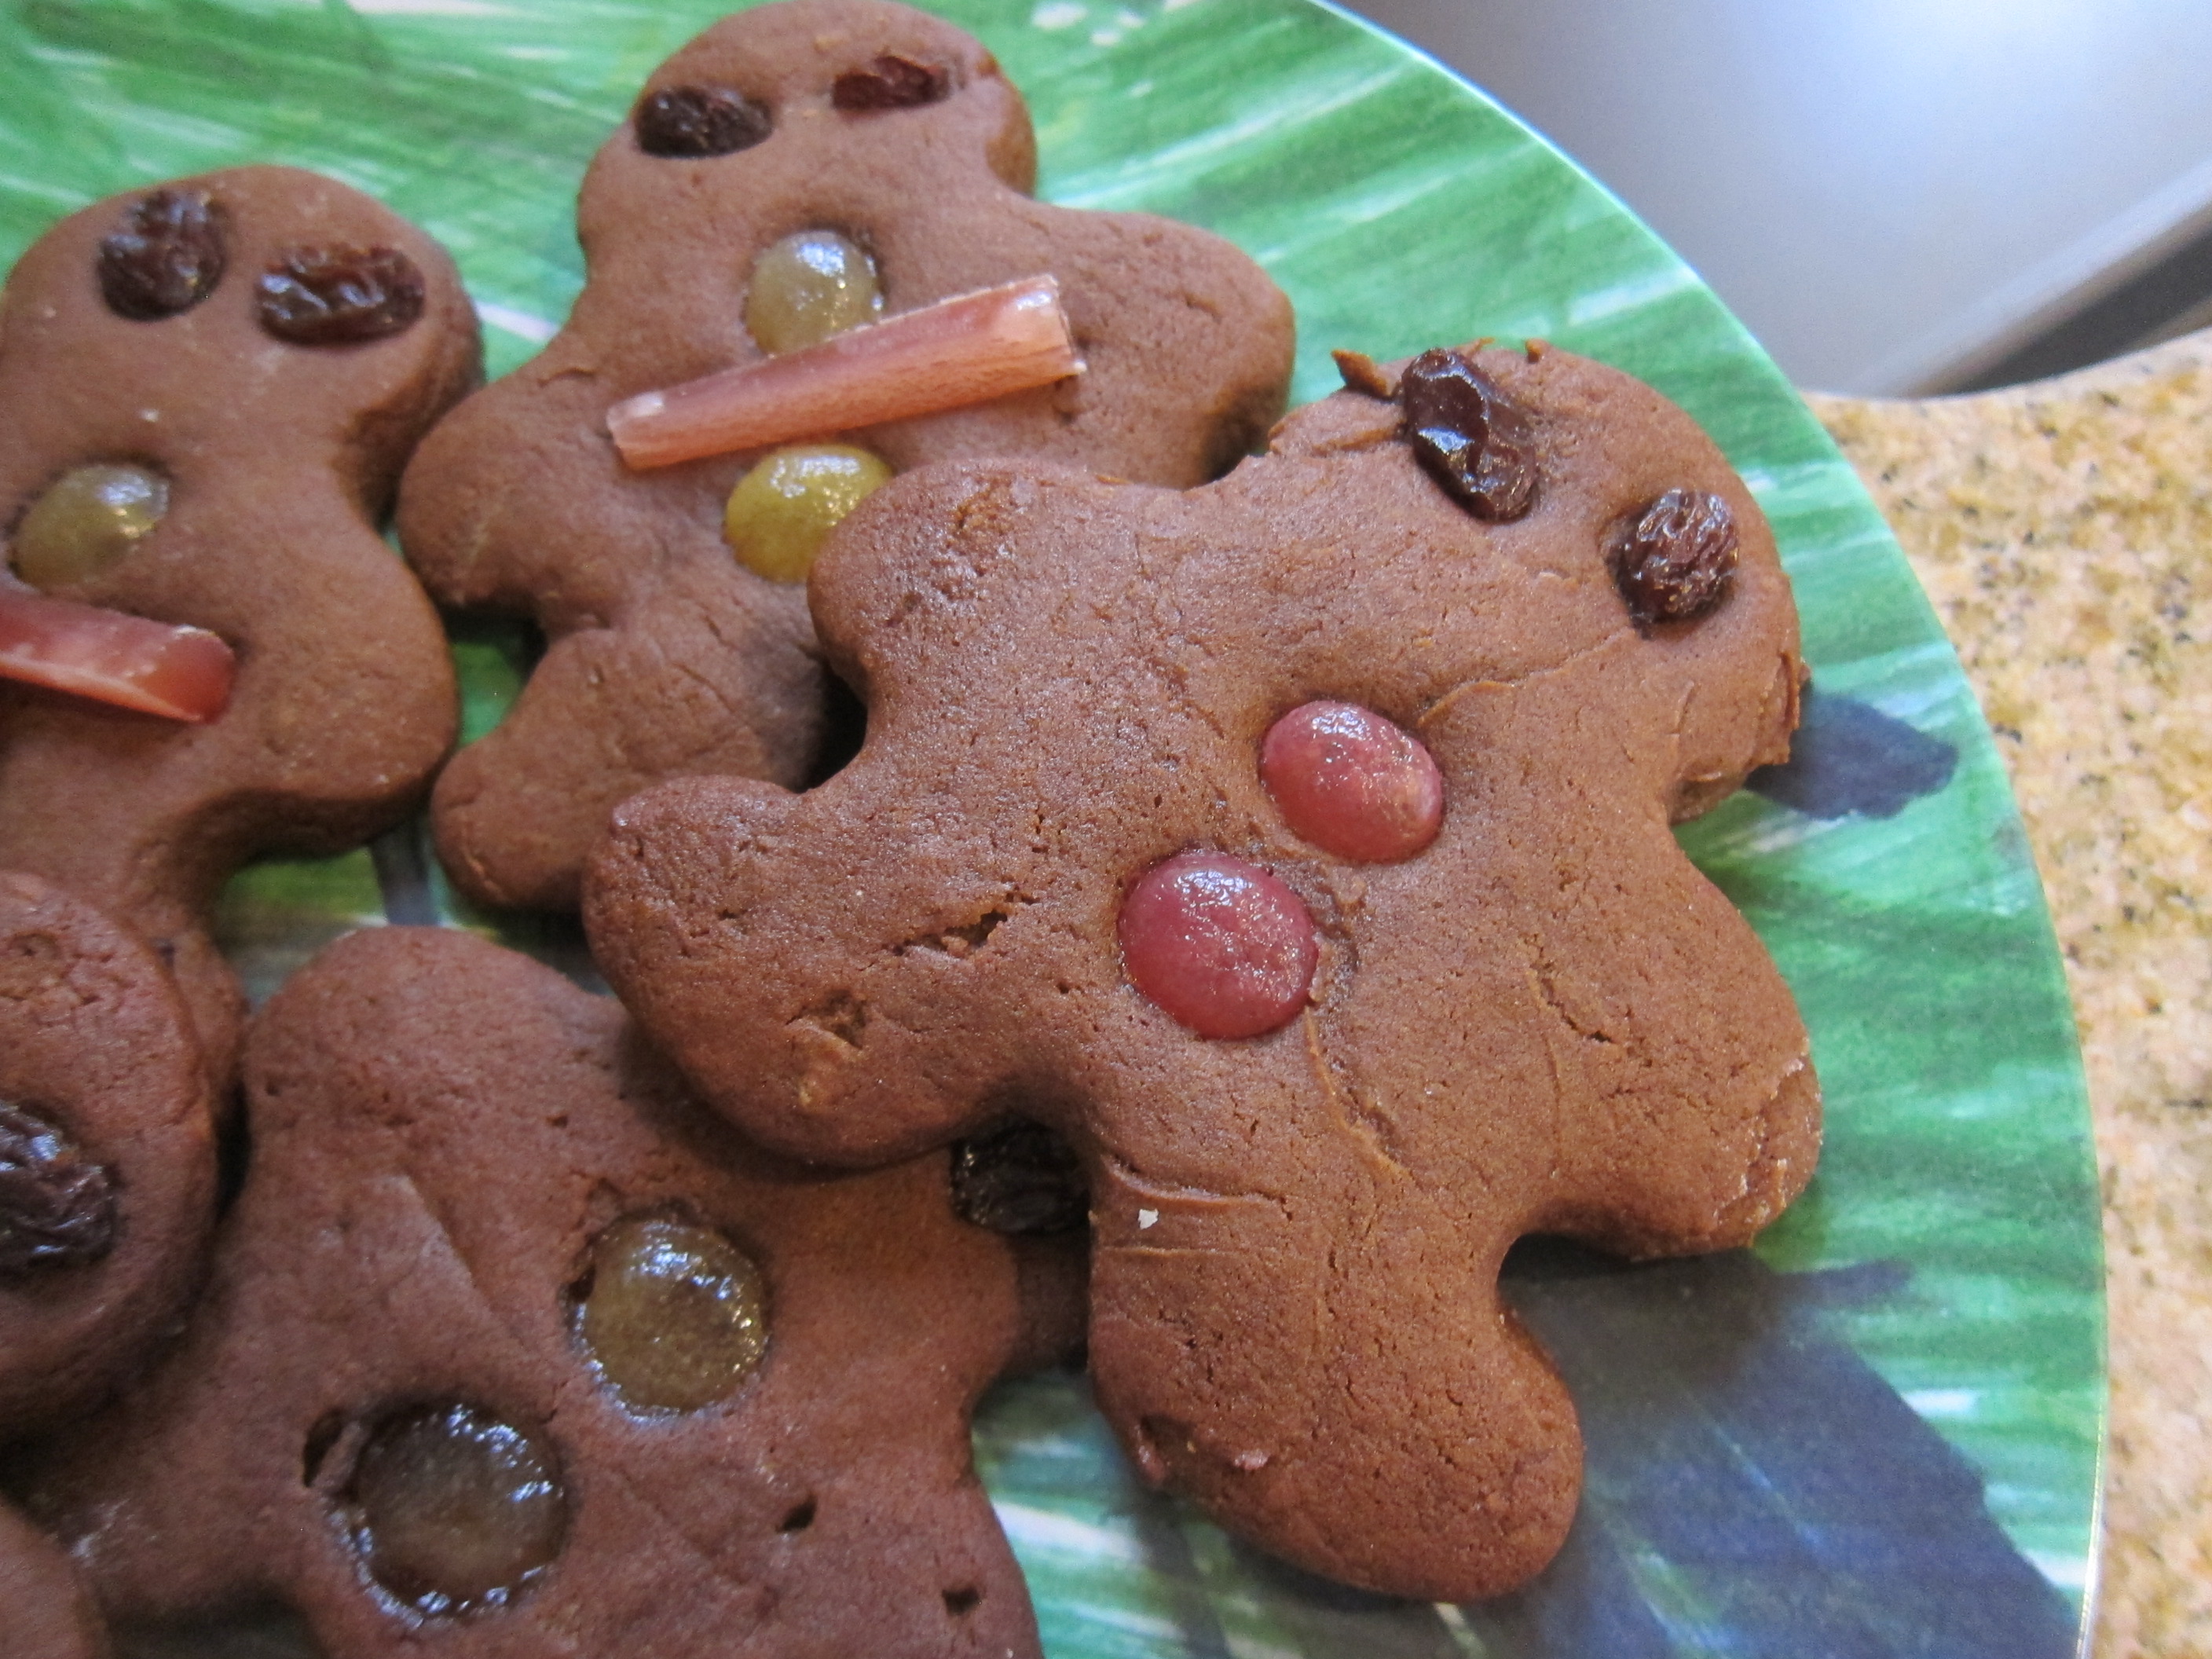
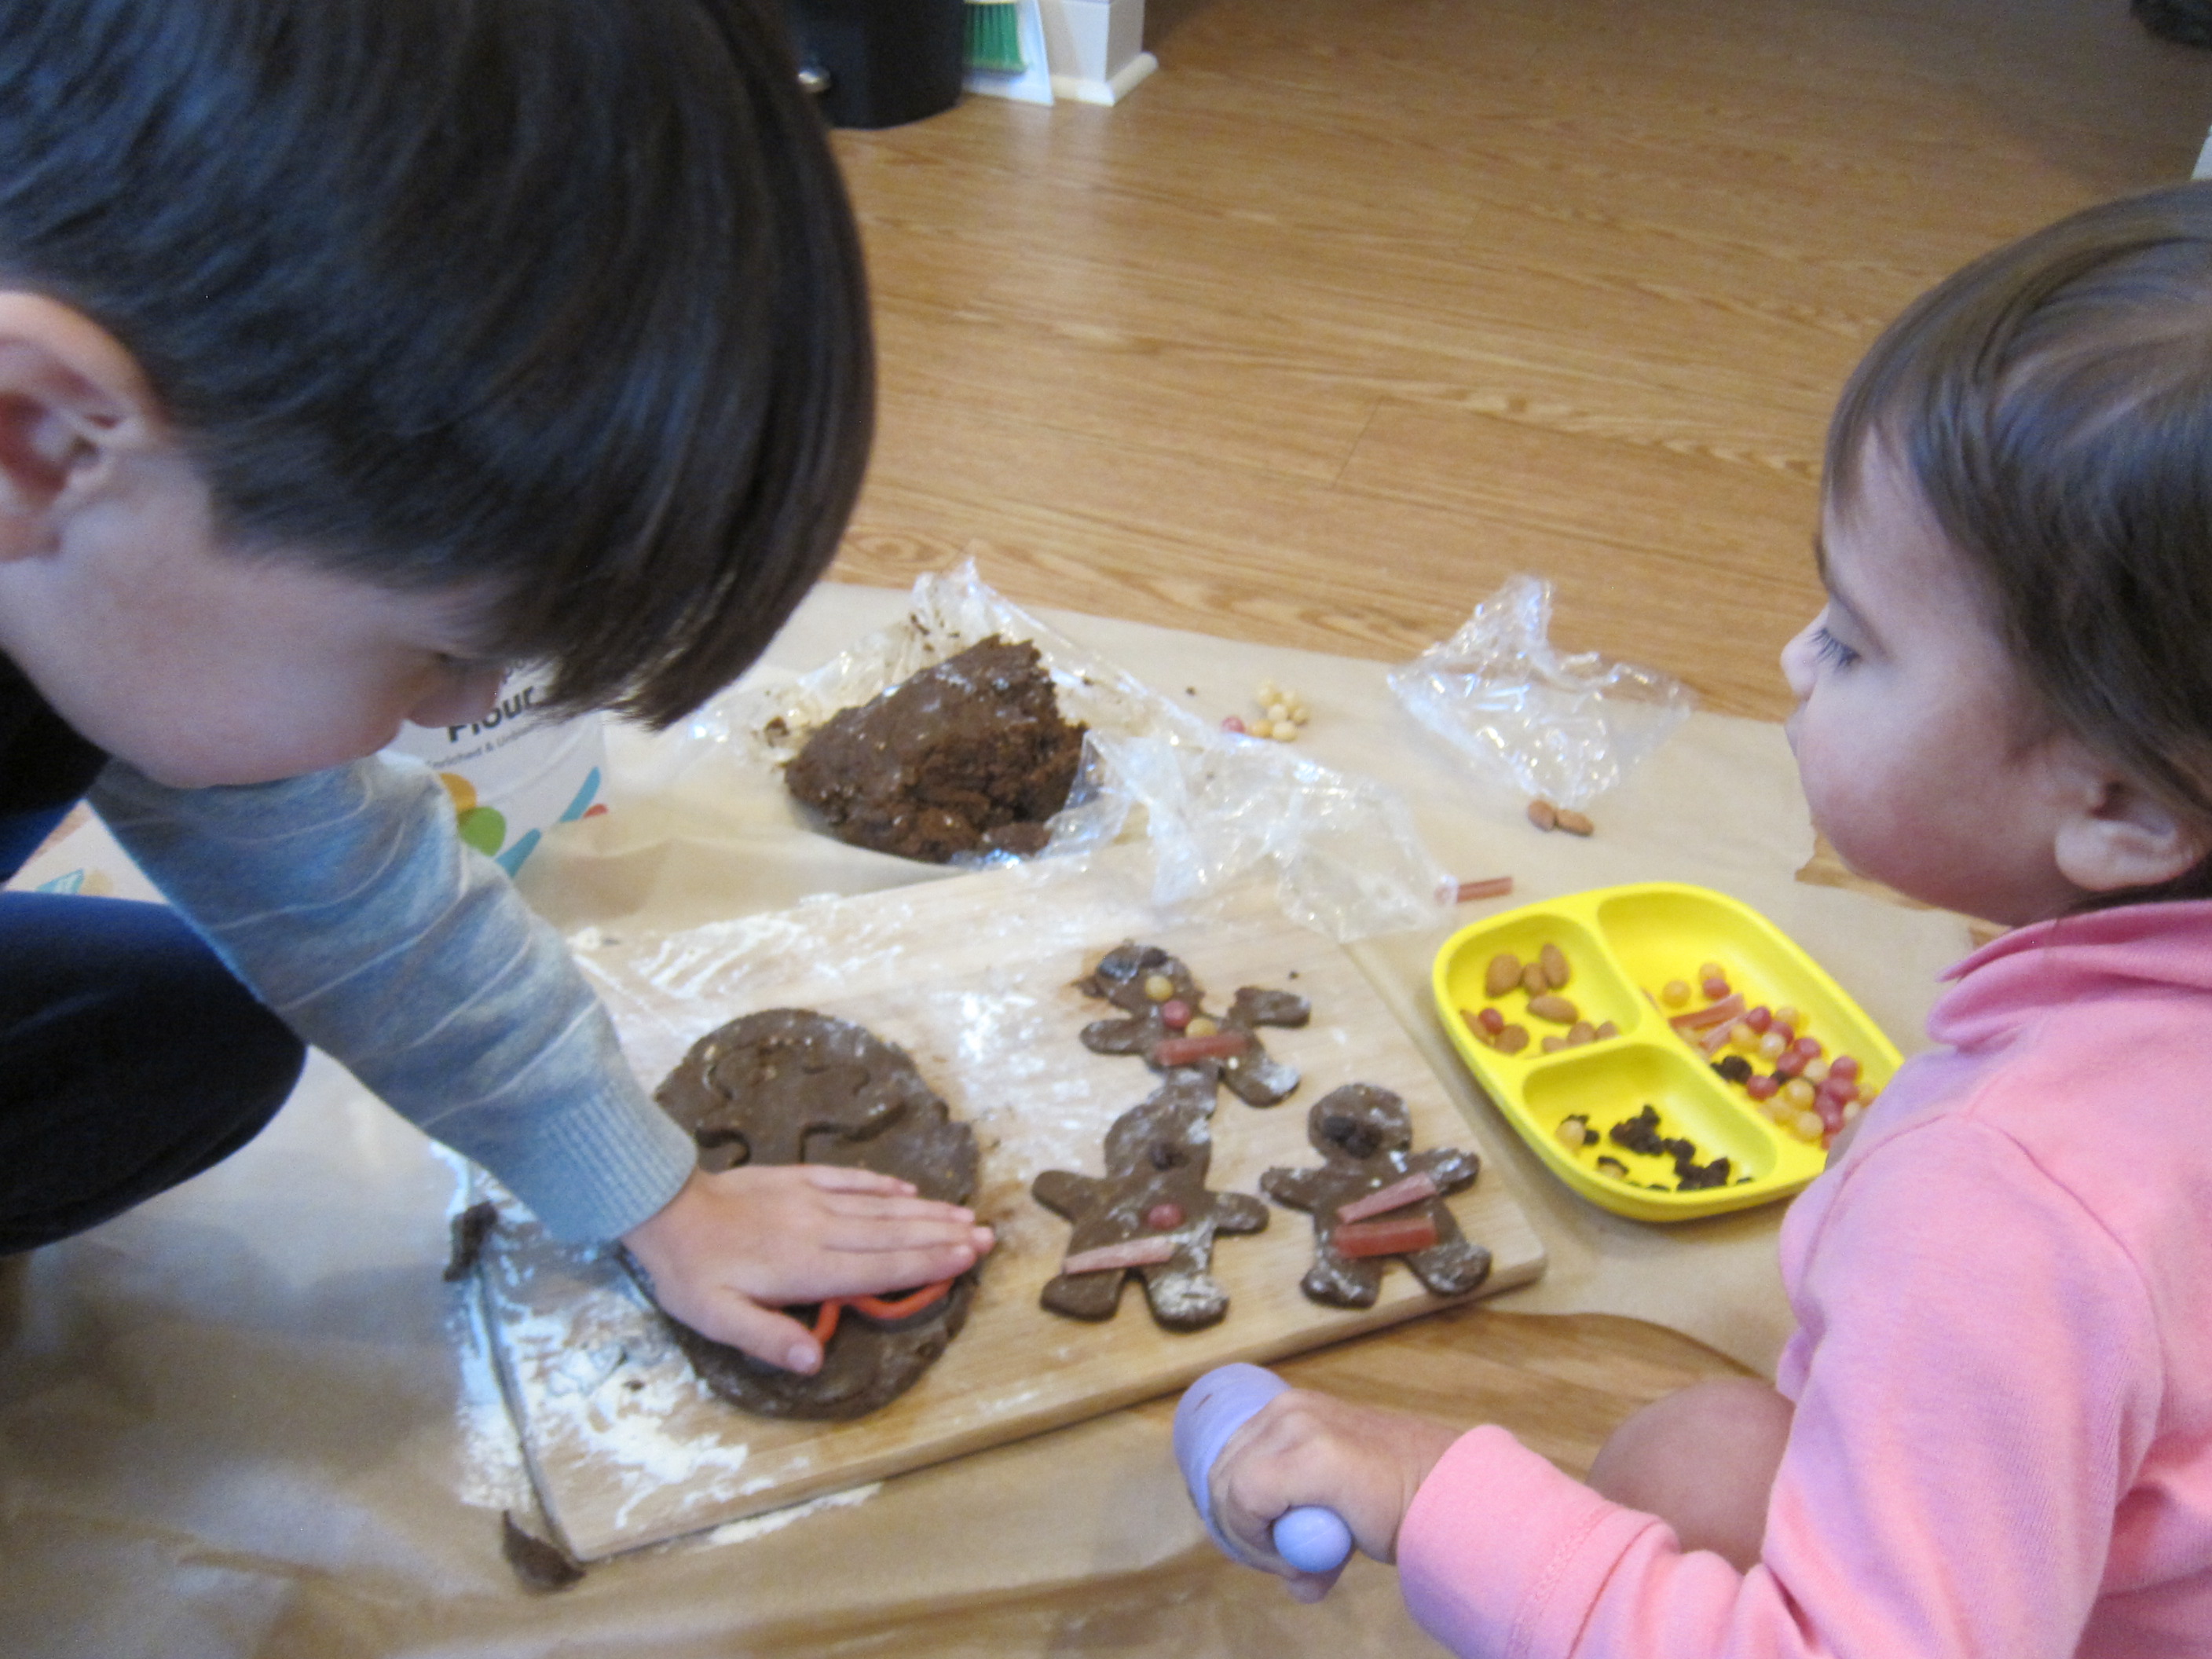
Once the dough had chilled, we rolled it out on a generously floured surface, then used gingerbread man cookie cutters to cut out our little people. I gave Veronika a plate filled with decorating goodies: raisins, almonds, licorice strips, and small jelly bean candies. It was up to her to decorate!

Gingerbread People (6)

She thought this was delightful! She loved giving the people eyes and a “skirt”.

Gingerbread People (7)

Since I knew her cookies risked getting broken or mashed, I worked alongside her to ensure we had enough people for a few real batches of cookies.

Gingerbread People (12)

Big brother Travis thought it looked so fun that he needed to join in the action!

Gingerbread People (8)

He was so proud of this very ornately-decorated fellow, with almond shoes and licorice shirt sleeves.

Gingerbread People (11)

Once the people have been fully adorned, bake at 375 degrees F for 10 minutes. And then comes the best part of all; it was time for a taste test!

Gingerbread People (9)

You might consider ending the day with a read of the classic Gingerbread Man tale.

Gobble It Up: Thanksgiving Leftovers on a Waffle

Gobble Waffle (4)

Forget Thanksgiving leftovers on a sandwich; here are four breakfast ideas for leftovers on a waffle. Needless to say, this helped us clear out our fridge in the long weekend following the holiday.

The Classic: Start with the basics, using leftover Field Roast (or your favorite vegan turkey alternative), along with mashed potatoes and mushroom gravy. The kids loved this savory spin on breakfast!

Gobble Waffle (2)

Tart and Tasty: In a small bowl, combine 1/3 cup cranberry sauce and 1/4 cup maple syrup; microwave for 15 seconds, then whisk together until smooth. Serve drizzled over waffles topped with stuffing and chopped apple!

Gobble Waffle (1)

Pumpkin Paradise: For a super-sweet version, stir together 1 tablespoon sugar and 1/2 teaspoon cinnamon in a bowl; set aside. Top each waffle with a spoonful of canned pumpkin pie filling, a dollop of non-dairy whipped cream and some of the cinnamon-sugar to taste.

Gobble Waffle (3)

Gooey Gobbler: For the final morning, we topped waffles with leftover mashed sweet potatoes, mini marshmallows, and chopped walnuts.

Gobble Waffle (6)

Which one do your kids like best? Please share in the comments!