String Telephone

String Phone (3)

I wanted to show Travis a bit about how sound travels by making a classic craft – a string telephone. The “phone” didn’t work quite as well as I hoped, but it was a neat way to explain to him the concept that sound can travel!

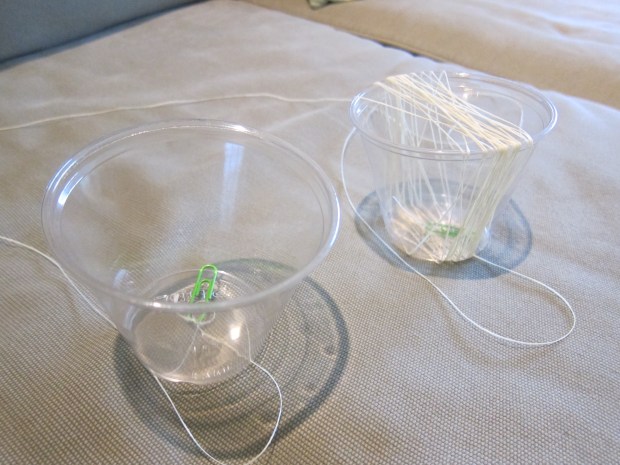
First, poke a hole in two plastic cups – this is definitely a grown up step, since plastic comes thick these days! I carefully hammered a nail into the bottom of each.

String Phone (1)

The only string we had that was long enough was floss. However, the floss may have impeded our sound from traveling as well as it should have. If you have kite string, try that instead!

String Phone (2)

Either way, Travis’s favorite part of the whole project was walking backwards away from me until we had a really long piece of floss.

I slipped one end of the string into each cup, securing around a paper clip, and then we gave our phone a test.


String Phone (4).JPG

The sound did make the plastic cups vibrate against your ear, but not enough for the words to really come through. Travis’s father insists I should have used tin cans, though I’ve seen this successfully done with plastic before. Next time we’ll nix the floss.

Ice, Water, Vapor

Ice Steam (2)

It’s been quite some time since I hopped over to Hands on As We Grow, but glad I stumbled upon this experiment and remembered what a treasure trove the site is for games and learning!

Parents, use your discretion before embarking on this activity. Kids will need to stand near a burner and hot pot on the stove. If you think they will reach out, wait until they are older. However, if you’ve started to include them as a little sous-chef in the kitchen and they understand the basics of kitchen safety, they are likely ready for it.

Travis loves playing with ice, and today I told him we’d take ice cubes all the way from frozen to steamy vapor. He was so excited to see how it would happen!

First, have your child help you count ice cubes into two pots. There really was no need to use two, except that it doubled the excitement of watching what happened during the experiment.

Ice Steam (1)

We placed the pots on the stove, where the ice quickly reached the next phase – water! I gave Travis a big wooden spoon to stir with so he could feel the difference between the chunky ice cubes and smooth water.

Ice Steam (3)

Very quickly, our pots started bubbling and we waited for the steam to appear. We had two ice cubes left over, and added them to the pot when it was at its hottest – Travis couldn’t believe how quickly they melted!

Ice Steam (4)

A great intro to states of matter.

Sink or Float? Nature Experiment

Sink Float (4)

Spring is finally here, and we are getting outdoors as much as we can! Yesterday we turned it into a treasure hunt, and I posed a question to Travis… what did he think would sink or float, once we returned home?

Sink Float (1)

We returned with our bag of treasures and he couldn’t wait to find out, so I drew a tub of very full water in the middle of the afternoon. This in and of itself was super exciting!

Sink Float (2)

Now it was time to start tossing in our items one by one. Floating pinecones and bark were a big hit…

Sink Float (7)

…as were flowers, pine needles, and bits of grass.

SInk Float (3)

While we collected things, Travis was very into teeny tiny pebbles, and he was quite surprised that these sank! This was a great way to talk about how floating didn’t depend on the size of something, but on its density compared to that of water.

Sink Float (5)

Once all the items were in the tub, it was time to swish them about with a rake for a while. The play only ended once his shirt was soaked! All in all, great fun.

Sink Float (6)

Carnations + Food Color

OW science

Here’s a fantastic nature and science lesson… the science of which was new even to me as an adult!

Have you ever heard the term “transpiration”? It’s the process through which moisture is carried in a plant from the stem to the leaves and petals. Well, if you add color to that moisture, what happens to the petals?

All you need to find out are white carnations (or a similar white flower; we used what I think were daisies to start) and food coloring. It helps to have kid-safe (i.e. plastic) test tubes with a holder, so you can set up the project without unsafe glass vases. Travis helped place one white flower in each of four test tubes.

OW science (2)

We added food coloring to three of the tubes – be generous with the amount you use, about 10 to 12 drops! – and left the fourth one empty as a “control.”

OW science (3)

Imagine our surprise when a mere hour later, the color was starting to creep into our petals. Blue was the most immediate, for whatever reason, with a truly stunning effect.


OW science (6).JPG

Green and red were a bit slower, but by morning, we had gorgeously tinged flowers. I will have to keep this in mind for holidays like St. Patrick’s Day!

If you have enough food coloring, consider setting up a full rainbow from red through purple… Alas, we were missing a few colors, and I was also too nervous to leave the rainbow assortment on a window sill where cat or toddler could knock them over. But we did like the results so much that we purchased a second batch of white flowers (Are these ones carnations, anyone?) and added orange into the mix.

OW science (8)

We also had a more vibrant green the second time around. All in all, great fun!

OW science (9)

Butterfly Balancing Act

Butterfly Balance (6)

This balancing experiment is a nice way to talk about things like symmetry and centers of gravity, no matter how young your child is! They’ll love the beautiful butterfly you make, and absorb just a little science in the process.

First, I folded a piece of white paper in half and traced butterfly wings. Cut out the wings and unfold – you now have a perfectly symmetrical butterfly!

Butterfly Balance (1)

Now place that paper over something sturdier (we recycled a cereal box) and cut out – this part was definitely a grown-up step.

Travis loved decorating his butterfly with dot paints.

Butterfly Balance (3)

Once dry, it was time to see how it flew!

Using a little bit of playdough to anchor it, I inserted a straw. This will be the stand for the butterfly.


Butterfly Balance (5)

Tape a penny to each corner of the butterflies wings for weight.

Butterfly Balance (4)

Now balance it on the straw! You may need to shift a little until you find the center of balance, but once you do, your little butterfly friend will be aloft.

Butterfly Balance (7)

I confess, I think I was more impressed with the final results than Travis was!

Cloud in a Jar

Cloud in a Jar (5)

Turn a rainy day into a science lesson with this cute experiment! With thick rain clouds covering the sky, it was the perfect day to test out the craft (care of Parents magazine), and to ask Travis he thought would happen when our cloud become too heavy with water.

To demonstrate, fill a jar or clear bowl with water until almost full, then add a layer of shaving cream.

Cloud in a Jar (1)

Fill a second, small cup with water and dye it blue for your rain. Travis definitely needed to help with the drops of food coloring.

Now it’s time to make a rain storm! I wanted Travis to use an eye dropper so we could saturate our cloud gradually, but he was much too impatient so we started pouring on our rain instead.

Cloud in a Jar (3)

Needless to say, we soon had a monsoon! Travis loved seeing the blue color swirl down beneath our shaving cream cloud.

Cloud in a Jar (4)

And then this happened of course! A stormy good time.

Cloud in a Jar (6)

Glitter Volcano

glitter-volcano-7

Travis has been obsessed with volcanoes ever since we made one a couple of weeks back… so much so that if he sees me cooking with vinegar now, he asks if we’re about to make another. The only problem? We ran out of playdough!

No playdough? No problem! Set up this neat “volcano” in any old plastic container. If anything, the bubbles are even more spectacular, even though you don’t have an exact volcanic shape for your “lava” to run down.

First, fill a baking pan with cornstarch (about 1 to 2 cups) and set aside.

In your container, have your child help you combine 1/3 cup water, 6 teaspoons baking soda, and 2 teaspoons dish detergent.

glitter-volcano-1

Next we added pink glitter for a fiery and sparkly effect. Isn’t every project better with a little glitter?

glitter-volcano-2

Now for the explosion! Carefully pour 1/2 cup vinegar into the mixture – and watch it erupt.

There were lots of bubbles:

glitter-volcano-4

First we had fun scooping off the foam, and mixing that into the cornstarch around the pan.

glitter-volcano-5

In fact, as the lava mixture combines with the cornstarch, you’ll get something pretty close to… ooblek!

glitter-volcano-6

Then we had to do it a second time; luckily we had just enough ingredients for round two. If you like, keep repeating until your vinegar runs out!

glitter-volcano-3

Toddler Science Experiment

Toddler Science (5).JPG

This game involved a simple introduction to the scientific method, with Travis needing to make a hypothesis. Although I thought the answer would be obvious, even I was surprised with our results!

To set up, place ice cubes in one bowl (with a little water) next to an empty bowl. If you’re inside, it helps to have a towel under the bowls to contain any spills… or save the game for when you can play outside on a warm day!

toddler-science-1
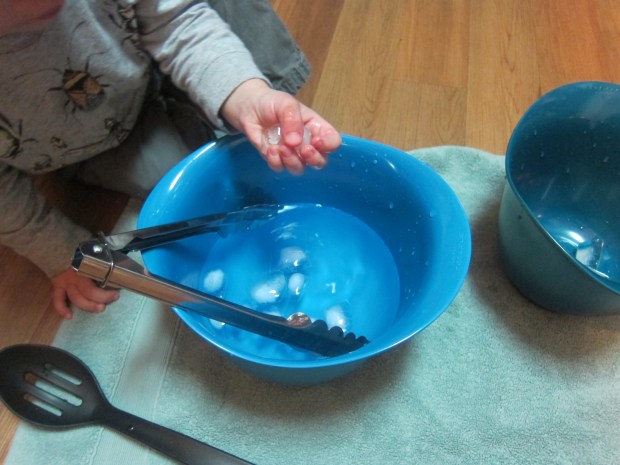
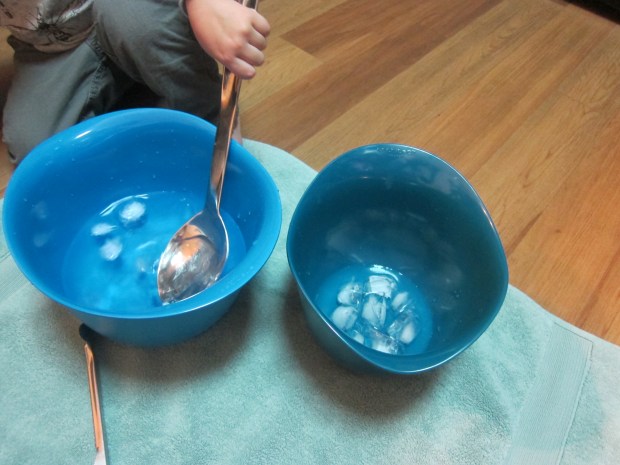
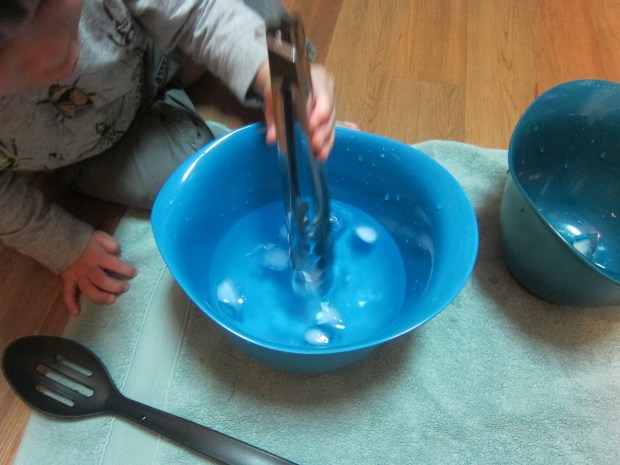
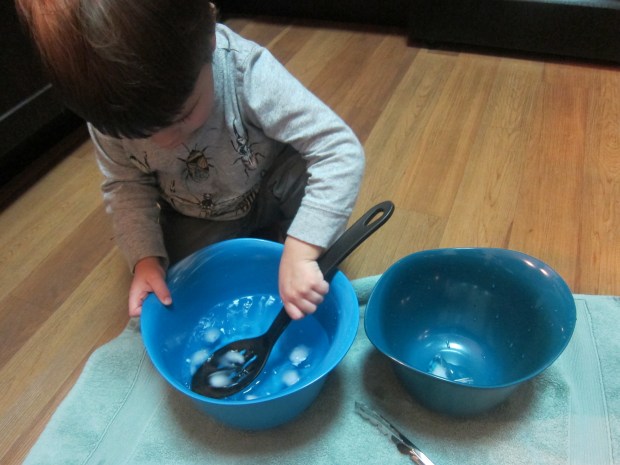
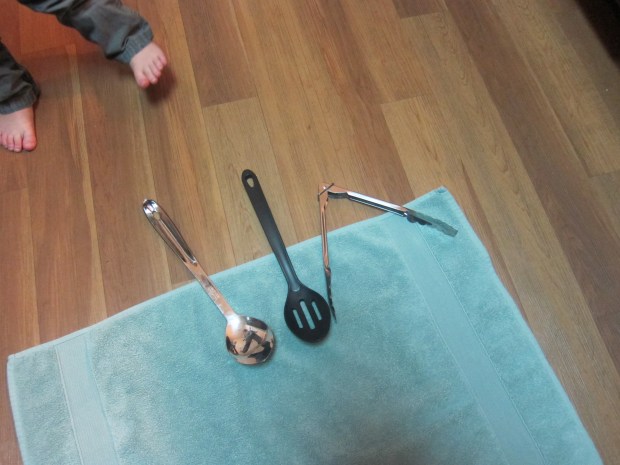
Next I presented Travis with three options for moving the ice from one bowl to the other – a regular spoon, a slotted spoon, and kitchen tongs. Which one would be the best way to move the ice, I asked him. He immediately grabbed the regular spoon and started transferring.

toddler-science-2

What happened next was quite interesting though. The spoon worked great, but as the ice cubes began to melt and grew smaller, they slid off the spoon. The best tool for the job turned out to be…the tongs, which I hadn’t thought Travis had mastered! So the result surprised us both.

toddler-science-3

The slotted spoon, which I had surmised would be his favorite, was a bit of a dud. He was so into the regular spoon and tongs that it didn’t interest him to see the way the water slid through the slots as he scooped up a piece of ice.

toddler-science-4

The fun lasted until the ice cubes all melted!

Earth Exploration

earth-explore-5

Since Travis loved volcano play so much recently, this week I took him deeper inside the Earth, to discover all the layers that sit under and produce that molten lava.

In perfect timing, we just received Usborne Books & More’s Children’s Encyclopedia, which not only had a section featuring the Earth’s layers, but is also QR linked. That meant we could further explore neat (and quirky) videos describing Earth’s layers: from inner core to outer core to mantle to crust to oceans/land.

earth-explore-3

Now it was time to model that out for Travis! I used play dough, starting with a tiny red ball for the inner core, wrapping that in orange for the outer core, yellow for the mantle/crust, and then blue ocean and green continents.

earth-explore-1

Travis was busy playing with play dough on his own while I worked, but then got very excited when I asked if he wanted to slice into the Earth.

earth-explore-4

We used floss to neatly slice it open, so Travis could point to all the different layers.

earth-explore-6

I will confess that it wasn’t long before our planet Earth looked like this:

earth-explore-7

He then wanted to make many mini planets of his own though, and sliced them open with a plastic knife. Although the topic was a bit advanced for a 2.5 year old, it’s never too early to introduce the idea that the Earth isn’t flat, right?

earth-explore-8

Continue your exploration with other kids’ books, including Magic School Bus Inside the Earth, or Usborne’s Shine-a-Light Secrets of Our Earth and See Inside Planet Earth.

IMG_0026.JPG

Ice Excavation

ice-excavate-4

This morning we had some fun with a little dinosaur skull we recently purchased. Ahead of time, I put the skull into a dixie cup and filled the cup with water, then left it in the freezer overnight. I did the same with a rock to be a “fossil” and a little plastic lizard, for lack of any other dinosaur “bones”!

In the morning, I asked Travis if he wanted to be a paleontologist and excavate dinosaurs from the ice. How, I asked him, would we get them out?

ice-excavate-1

He loved the puzzle behind this game more than I thought, asking me which tools we could use. I gave him cups of warm water, a spoon, an eye dropper, and a little (child-safe) chisel.

ice-excavate-5

I was so proud of how patient he was with our “excavation! I thought he might just pour the warm water onto the ice, but he loved spooning it carefully, and watching the toys be freed little by little.

ice-excavate-3

The best was when our T-rex was nearly out, but a final chunk of ice remained in its jaws – Travis loved reaching in to pull it out.

ice-excavate-7

A cute game for the imagination and for a tiny intro to archaeology.