Indoor Hopscotch

Indoor Hopscotch (3)

Do your kids need to jump jump jump their jiggles out first thing in the morning? This quick hopscotch game is great any time it’s too early/cold/rainy to go outside but you already have bundles of energy on your hands.

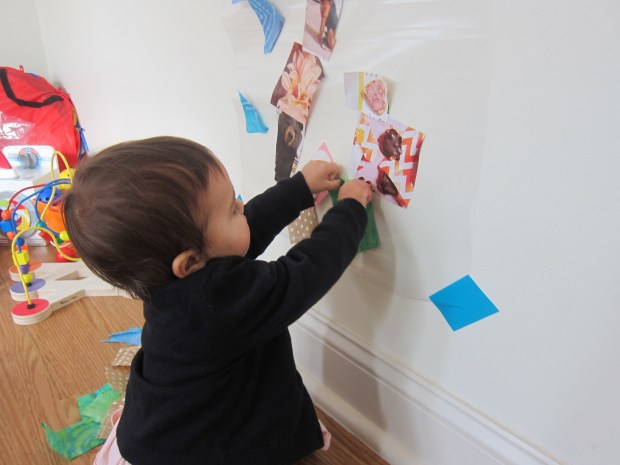
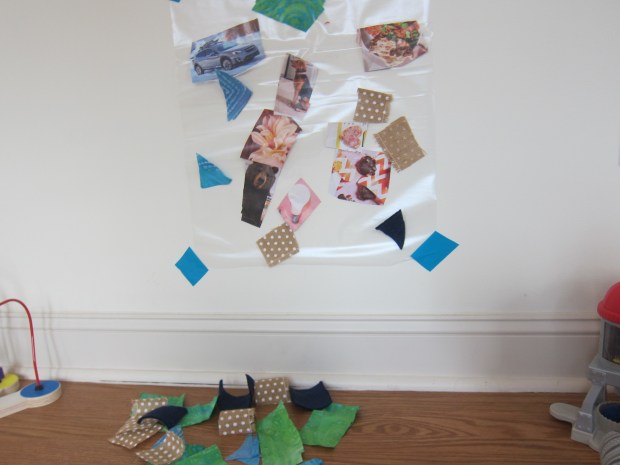
I also secretly hoped to put Travis’s design skills to work as we put our “hopscotch” course together. So first I asked him how many pieces of tape we would need for each square, and he quickly answered 4.

Indoor Hopscotch (1)

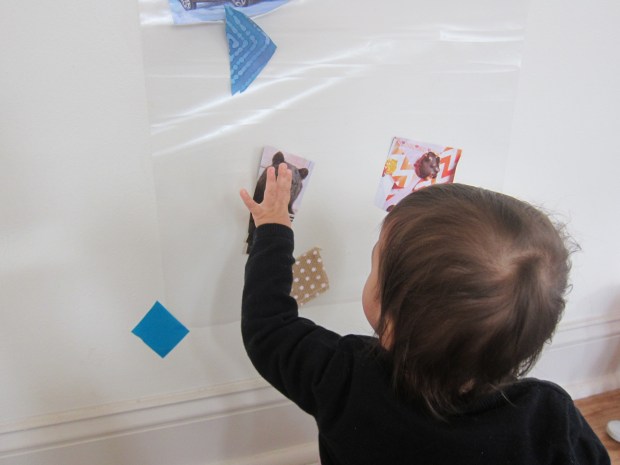
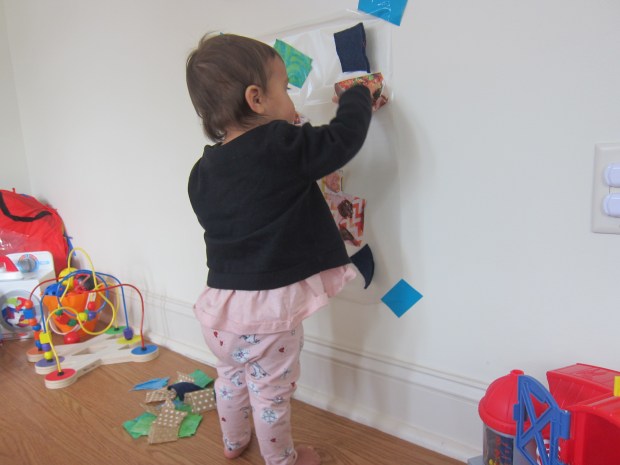
He helped set up the first few squares, and my hope was that he’d continue a course all over the room. But tearing the tape grew tedious quickly so we kept it smaller. That said, there’s no reason your kids can’t cover the whole house with this game!

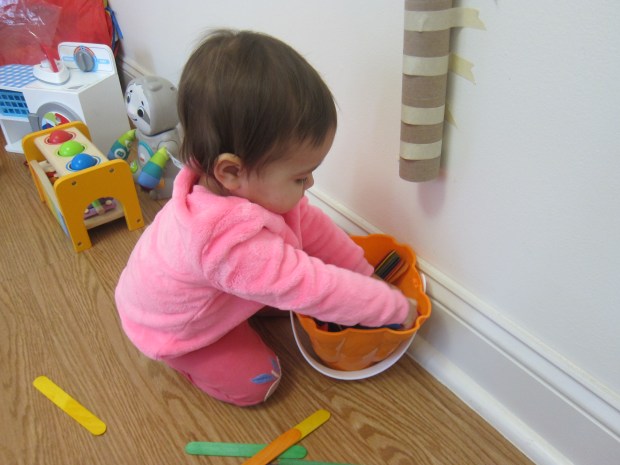
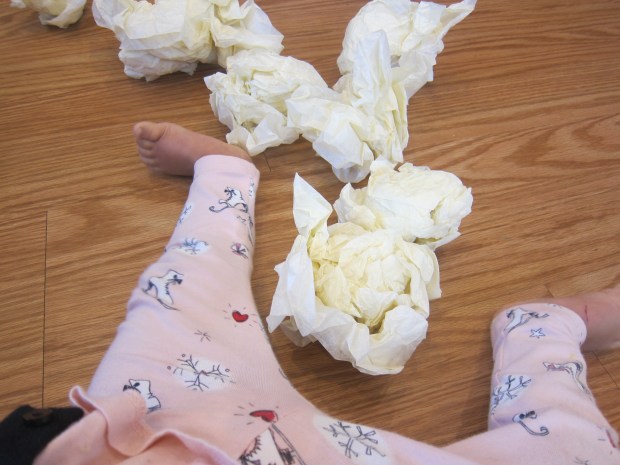
Using bean bags as our playing pieces, we took turns tossing and hopping to the square the bean bag landed in. This is great for gross motor skills, especially for Travis who still struggles with hopping on one foot.

Indoor Hopscotch (5)

Stuffed animal friends wanted to hop along, too!

Indoor Hopscotch (4)

This game will definitely get everybody moving. Prefer games that work fine motor skills instead? Try our Can Toss Tumble. Prefer games that are more cerebral? Flashlight Word Game is for you!

Popsicle Stick Drop

Popsicle Drop (1)

Coordination, learning colors, and the endless surprise of watching a stick disappear and then reappear; this game has it all for toddlers!

As prep, simply use masking tape to attach an empty paper towel tube to a wall. I recommend using multiple strips of tape for extra security. I then provided Veronika with craft sticks to drop into it and placed a bucket at the bottom to catch them. That’s it!

Popsicle Drop (3)

The game will have the most visual appeal if you use a rainbow assortment of craft sticks (which you can purchase already colored at the craft store).

Popsicle Drop (6)

It took Veronika a few tries watching me release a stick into the tube before she realized she needed to release her grip to achieve the same affect. And then she was hooked!

Popsicle Drop (2)

Of course toddlers will also just love playing around with the sticks in the bucket at the bottom.

Popsicle Drop (4)

For a touch of color learning, I sorted the sticks for her into different colored piles. Needless to say, they didn’t stay sorted for long!

Popsicle Drop (5)

Contact Collage

Contact Collage (7)

Sticky contact paper might just be the perfect medium for art projects with toddlers; everything sticks instantly but there’s no glue required (i.e. no mess and no drying time). This particular project also incorporates great ways to talk about shapes, build vocabulary, and more.

To start, I taped a piece of contact paper up to the wall, and peeled off the backing so the sticky side faced Veronika. You can make this surface as small or as large as you want. Feel free to cover the full length of a wall! Veronika trotted over and was quite curious about the way the paper stuck to her fingertips.

Contact Collage (2)

I gave her a pile of things to stick up on the paper, including pictures cut from magazines and fabric scraps in various textures, everything from soft cotton to bumpy burlap to fuzzy felt.

Contact Collage (1)

She immediately began sticking things up, declaring, “Sticker, sticker!”

Contact Collage (3)

I let her select which items to put on where. The magazine pictures interested her far more than the fabric to begin with, and I said the name of each item (“dog!”) as she applied it.

Contact Collage (5)

For a little learning, I cut some of the fabric scraps into squares and others into triangles. I also pointed out the different textures as she hung them, using descriptive words for how each one felt.

Contact Collage (6)

She was so proud arranging and rearranging her canvas. Although the magazine pictures were stuck in place, the fabric could be pulled off and moved elsewhere.

Contact Collage (7)

My girl looked so big, standing at her artwork. This one really made me feel like I have a toddler, no longer a baby.

Contact Collage (8)

What a masterpiece!

Contact Collage (9)

Crumple Crazy

Crumple Crazy (4)

Glue + crinkly tissue paper? This art project is a toddler’s dream come true!

To make a glue solution that isn’t quite so sticky, I first mixed a little white glue with a splash of water in each compartment of a paint tray. This turned into a nice solution that was just sticky enough, but wouldn’t immediately do damage if Veronika got it on her hands or face.

Crumple Crazy (1)

She was wild about dipping a paint brush into it! I showed her how to smear the gluey mixture over cardboard. (Note: Use any piece of cardboard from packaging for this project, or an old cereal box, or even sturdy construction paper).

Crumple Crazy (3)

Next, I tore off pieces of white tissue paper and showed her how to crumple them into little pieces. These could stick perfectly onto her gluey cardboard. Could we hide all the glue?

Crumple Crazy (5)

It turns out that she loved lifting off the crumpled pieces, pulling them off the sticky surface and then putting them right back on again. Or tossing them to the floor!

Crumple Crazy (6)

Once there had been enough sticky glue play, the fun continued with extra tissue paper on the ground. Shake the pieces overhead, or crumple them close to the ear and talk about the sound it makes.

Crumple Crazy (7)

I thought for sure she would want to tear the tissue paper up, but that didn’t interest her. Instead, we crumpled them into tight balls that were great for tossing… and kicking!

Crumple Crazy (8)

How will your toddler play with tissue paper? Please share in the comments!

Doll Up Storytelling

Doll Up Storytelling (6)

Travis has such an imagination, a beautiful thing to foster in children, especially when it comes to understanding narrative and how to build a story. Lately, Travis has bemoaned that he’s not sure what to play with his action figures, having run through the usual games. To engage those storytelling muscles, I pulled out this neat activity.

We filled a box with a few odds and ends from around the house, the more random the better, including toy food, swords, real avocado, and sunglasses.

Doll Up Storytelling (2)

Next we made a pile of a few action figures, everyone from Star Wars characters to ninja turtles to superheroes. (Note: This game works equally well with dolls or stuffed animals, whatever friends your child plays with the most!).

Doll Up Storytelling (1)

Travis and I took turns first selecting a character and then giving him or her an item from the object box. We then took turns narrating the next part of our story based on the character and item.

Things rapidly got very silly, of course, including energy smoothies drunk before battle…


Doll Up Storytelling (5)

…sunglasses to shield off an attack…

Doll Up Storytelling (3)

…and laser-blasting keys.

Doll Up Storytelling (4)

Once the bin was empty, we immediately filled it with a new set of objects to continue the tale.

Doll Up Storytelling (8)

Hopefully a game like this keeps your kids busy the next time they’re tempted to say, “I don’t know what to play!”

Doll Up Storytelling (7)

Mark and Erase Pictures

Mark and Erase (5)

Veronika loves to color now, especially whenever she sees her older brother doing coloring book pages. As a result, we’re quickly running out of white printer paper, as I give her sheet after sheet to scribble on. Here’s a great way to let your toddler draw over and over, without the waste!

I drew shapes and easy lines to follow on a few sheets of white paper, then slipped them into plastic lamination pouches.

Mark and Erase (2)

Veronika immediately began using markers on the plastic pouches. It fascinated her that there were already colors and shapes there to see, as she scribbled busily over them.

Mark and Erase (4)

I demonstrated how she could follow along over my easy shapes, either with the same color or a different one. Obviously she’s way too young for this kind of pen control, but you can introduce the concept now, and then it becomes a game that will grow with your child.

Mark and Erase (3)

When the pages were filled with her scribbles, I simple wiped clean with a damp paper towel. Now the fun could begin all over again, no wasted paper! I’m definitely going to bring along a couple sheets like this the next time we’re in a restaurant, too.

Mark and Erase (6)

Seashell Sensory Bag

Seashell Sensory (4)

Veronika has never been to a tropical island, but chances are she’d be longing for a trip to one right now if she knew what she was missing! In a day that dipped down to 0 degrees, I brought some tropical warmth to her sensory play.

For this fun variation on a squishy bag, fill a gallon-sized zip-top bag with any blue goo from the drug store (blue hair gel, blue aloe vera, whatever you can find that has a nice aqua tint to it).

Seashell Sensory (1)

I added a handful of seashells from the craft store, sealed the bag, and simply mushed everything together.

Seashell Sensory (3)

The contrast of the hard seashells versus the gooey gel will fascinate your toddler, and the shells will mush around nicely in the goo if you don’t overfill the bag.

Seashell Sensory (5)

Those seashells might make you feel like you’re briefly on vacation, too!

Seashell Sensory (2)

Toys in Tin Foil

Toys in Tin Foil (2)

Similar to a recent game where I wrapped up old toys for Veronika, today I delighted her with little treasures she could unwrap from tin foil.

The exciting element here of course is the shiny foil, which might just fascinate your toddler more than the toys inside!

Toys in Tin Foil (3)

Then I showed her a sneak peak of what was inside.

Toys in Tin Foil (4)

She needed a little help with the unwrapping, but looked so proud when she reached the treasures (er, old toys).

Toys in Tin Foil (5)

Of course then she was busy with the toys; what’s old is new again when presented in this different context!

Toys in Tin Foil (8)

You can extend the fun by crumpling up the discarded foil into tight balls, which then become balls to shoot into a basket.

Toys in Tin Foil (6)

Unfortunately the game was short-lived thereafter because Veronika thought it was very funny to put the foil in her mouth, especially once she realized this earned a firm “no.” Hopefully you and your toddler can play a bit longer!

Toys in Tin Foil (7)

Threading Cereal on Pipe Cleaners

Cheerio Pipecleaner (2)

Veronika and I have been working our way through classic toddler activities lately; she’s at that tricky age between having developed the gross motor skills of a one-year-old, but not yet ready for the understanding or fine motor skills of an 18 month old. I remember this period feeling particularly tricky to fill with my older son, but this time around I’m prepared!

Hence, the emphasis on classic games lately. Today, I sat her down with a big blob of play doh on her highchair tray, but the play doh was only an anchor, not the point of the game.

Cheerio Pipecleaner (1)

Insert pipe cleaner pieces into the play doh base. Now show your little one how to thread o cereal onto them (we like the Morning O’s from Whole Foods 365).

Cheerio Pipecleaner (3)

Veronika quickly got the idea, although she loved lifting the cereal off to eat it more than she focused on threading it on.

Cheerio Pipecleaner (4)

That, of course, turns this activity into snack time, too, and there’s nothing wrong with that!

Cheerio Pipecleaner (5)

The pipe cleaners are also fun to lift in and out of the sticky play doh base.

Cheerio Pipecleaner (7)

Needless to say, it’s a great way to keep a toddler busy during meal prep.

Cheerio Pipecleaner (8)

The Scribble

The Scribble (2)

It was bound to happen: Veronika discovered that she can color on the walls (luckily with washable crayons!). So here’s an ingenious hack to foster your toddler’s artistic impulses with a safer way to color.

I used magnets to hang a large sheet of craft paper on the fridge and sat Veronika down in front of it with a few markers. She didn’t need me to tell her to start coloring; she immediately launched into the art of the scribble.

The Scribble (1)

Aside from one mommy stick figure, this drawing was 100% Veronika’s. She loved switching up the colors.

The Scribble (3)

She also was very focused on putting cap to marker in between colors, a great chance to work those fine motor skills!

The Scribble (5)

As she drew, I talked about how the color on the paper was a “yes” (use sign language here to reinforce the idea!), but that other places were a “no”, like the floor or her hands.

The Scribble (4)

This will help a toddler start to learn that art belongs on paper, for now at least!

As for those crayon marks on the wall, here’s an ingenious trick: Heat the area with a hair dryer for about 30 seconds to melt the wax. Then scrub off the remaining streaks with soap and water. Ingenious!

The Scribble (6)