Bird Puppets for Racing

Bird Puppets (6).JPG

Here’s a silly game to play in the backyard, using just a few craft supplies from home!

First, we painted the inside of plastic cups… this was novel for Travis to paint the inside of something, and he took great care adding layers of blue, red, and purple paint.

Bird Puppets (1)

Once the paint dried, we glued a few feathers inside each cup as tail feathers.

Bird Puppets (2)

Two more feathers went on the outside of each cup as the wings, along with a construction paper triangle for a beak and two eyes.

Bird Puppets (3)

In the morning, we set up the race! Cut plastic straws to about the size of your cups, and tape on.

Bird Puppets (5)

Thread long strings anywhere outside like a tree branch, fence, or gate. Slip the other end of each string into the straw of a bird. Now bounce and jiggle your birdies down their strings all the way to the end. Which bird will win?

Bird Puppets (7)

Fingerprint Bird Painting

FIngerpaint Bird (6)

I originally planned this springtime-themed painting to be a fingerprint memento – I love capturing the size of Travis’s hands and fingers (and feet!) periodically. Turns out that Travis had different plans… but we still ended up with a great painting!

To make the project feel special, I purchased a real (small) canvas from the craft store – instantly things felt elevated above using regular paper!

Make the shape of a bird on the canvas using masking tape. Big kids will be able to tackle this step themselves, and little kids will like to play with leftover tape!

Fingerpaint Bird (1)

I set out fingerpaints for Travis and showed him how to dip in his fingertips and fill in the bird shape.

Fingerpaint Bird (2)

He very quickly decided he preferred a brush, and began filling in the bird that way. His brush strokes looked incredibly feathery, just like bird wings.

Fingerpaint Bird (3)

I loved the texture he was able to create!

Fingerpaint Bird (4)

So… not the fingerprint memento I had intended, but we still have a lovely work of art to welcome spring.

Fingerpaint Bird (5)

Recycled Bird Feeders

Recycled Bird Feeder (7).JPG

After our recent pine cone bird feeders didn’t get much nibbling from neighborhood birds, we wanted to give our feathered friends more of a perch to stand on while having a late autumn snack! This project from Barefoot Books is a great way to recycle juice or non-dairy milk cartons.

Adults, cut a rectangular opening in one side of a clean, empty carton, making sure it’s about 2 inches from the bottom of the carton.

Recycled Bird Feeder (1)

Now give your child carte blanche to decorate however they please. We wanted to make our carton bright and vibrant for the birds, so added colorful buttons and pom poms.

Recycled Bird Feeder (2)

And then Travis decided we needed glitter… lots of glitter!

Recycled Bird Feeder (3)

At this point we left the carton to dry overnight. The next day, poke two holes in the bottom of the carton. Select a stick from outside to be the perch; insert through the holes.

Recycled Bird Feeder (4)

Use a hole punch to make a hole in the top of the carton, and thread with string. My milk carton was so thick that I ended up hot gluing the string instead, which worked in a pinch.

Recycled Bird Feeder (5)

Now find a beautiful place to hang it, and fill with  birdseed!

Recycled Bird Feeder (6)

To continue the fun, consider purchasing a kid-friendly field guide to birds, and check off the visitors you receive over the winter.


Bird-Beak Buffet

Bird Buffet (7)

Some recent fun with a homemade bird feeder has us talking about birds, the various things they eat, and why some birds’ beaks look very different from others. It was the perfect opportunity to pull out this cute game from our Barefoot Books’ Kids Garden kit!

I recommend gathering all your materials ahead of time so you can lay all of the following items in front of your child at once. Otherwise, there is bound to be some curious exploration and possible trouble! First, you’ll need 4 beaks:

  • 1 pair of chopsticks (“Heron Beak”)
  • 1 eyedropper (“Hummingbird Beak”)
  • 1 slotted spoon (“Pelican Beak”)
  • 1 pair of tweezers (“Sparrow Beak”)

BIrd Buffet (1)

Then set out 4 bowls of bird “food:

  • 1 plate of unshelled nuts as pretend field mice for the Heron
  • 1 tall bottle with a narrow top filled with water as flower nectar for the Hummingbird
  • 1 bowl of ping pong balls floating in water as fish in water for the Pelican
  • 1 bowl of sesame seeds and grass clippings as seeds in the grass for the Sparrow

Bird Buffet (2)

I recommend having a towel under your play area, since two of these bird meals involve water! Now let your child experiment with which “beak” is best suited for each food. The ladle and ping pong balls were an easy first guess, and Travis had fun pretending to be the pelican.

Bird Buffet (3)

The most enjoyable challenge was using the tweezers to grip the grass clippings and sesame. He was very focused on it, and so proud each time he could move some grass or a sesame seed.

Bird Buffet (4)

The eyedropper was a delight of course, and we talked about the hummingbird’s long narrow beak being well suited to dip inside a flower.

Bird Buffet (5)

The one that gave us consternation was picking up nuts with the chopsticks. We decided we wouldn’t want to be herons!

Bird Buffet (6)

From there, Travis had fun mixing and matching his birds. He used the eyedropper in the “pelican’s” big bowl of water, and loved using the slotted spoon to move unshelled nuts from the dry bowl into the bowl of water, then fishing them out with a utensil or his hands.

BIrd Buffet (10)

He also mixed water into his sesame seeds, and found other ways to have fun with the eyedropper (as a spoon etc.), resulting in lots of enjoyment even after the stated purpose of the game was done.

Bird Buffet (8)

We hope to follow up with some bird watching outside once the weather warms up, paying close attention to the birds’ beaks!

Pine Cone Bird Feeder

Pinecone Feeder (6)

With daylight savings officially upon us and darker, colder days here to stay, we’re thinking about the winter to come… and in particular, helping out our feathered friends.

On our latest nature walk, we selected three large pinecones for the project. Travis was very curious to see how we would turn them into bird feeders!

First we needed to smear them with peanut butter, a gooey and fun step.

Pinecone Feeder (1)

To cover the pine cones with bird seed, we filled the bottom of a paper bag with the seeds, added our pine cones, and then shook the bag.

Pinecone Feeder (2)

The shaking was arguably the best part of the project!

Pinecone Feeder (5)

And of course, leftover seeds are fun to play with.

Pinecone Feeder (4)

Ideally, we’d have a tree or bush to hang the feeders from, but the best I could do was to hang them from the bicycle handles on our patio. We can’t wait to see if any feathered friends visit for a nibble!

Pinecone Feeder (7)


B Week!

B week (22)

It’s hard to believe this is our second to last week of our Letter of the Week journey, begun last September. We had a (n appropriately lettered!) blizzard hit, and frigid temps, but that didn’t deter us from B week fun.

birds (13)

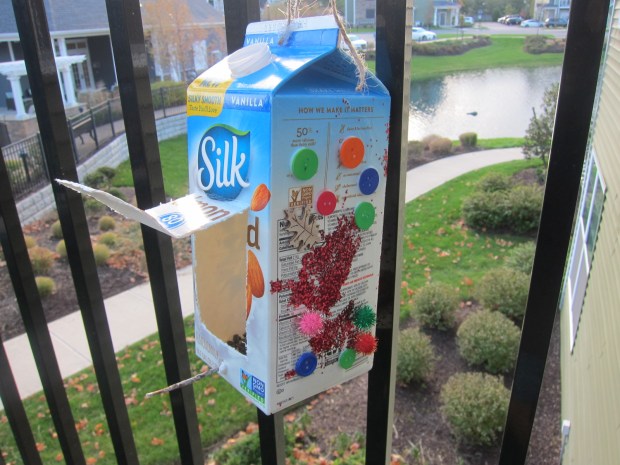
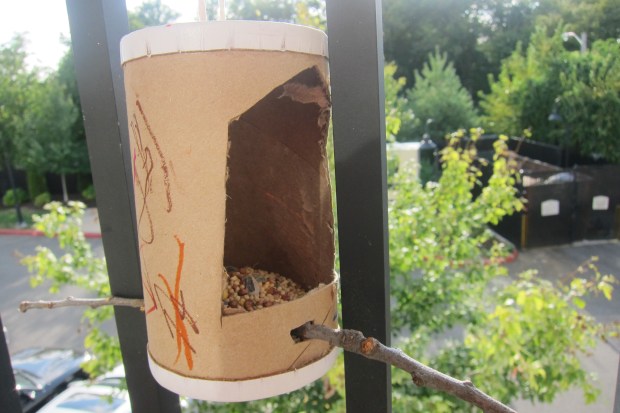
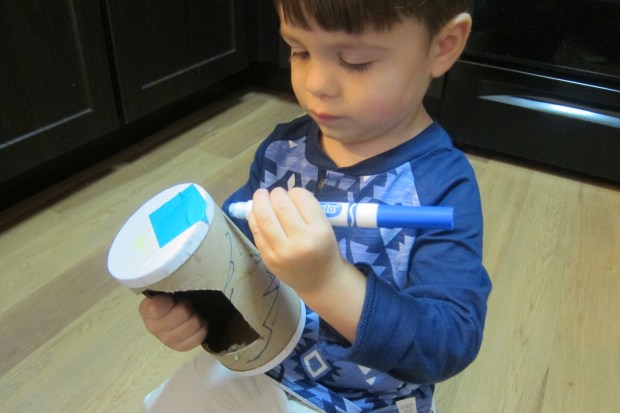
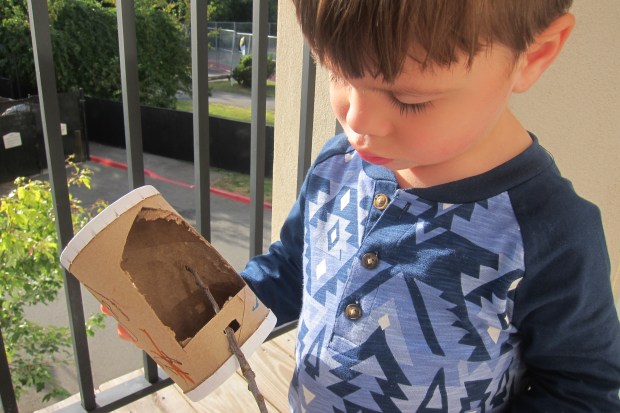
Bird: My favorite moment of the week was a stop into a local bird sanctuary, where we spotted early spring birds, including a beautiful cardinal! A great way to get out into nature.

B week (11)

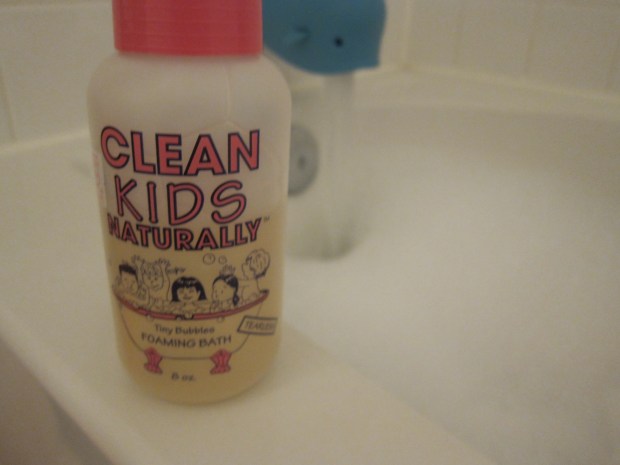
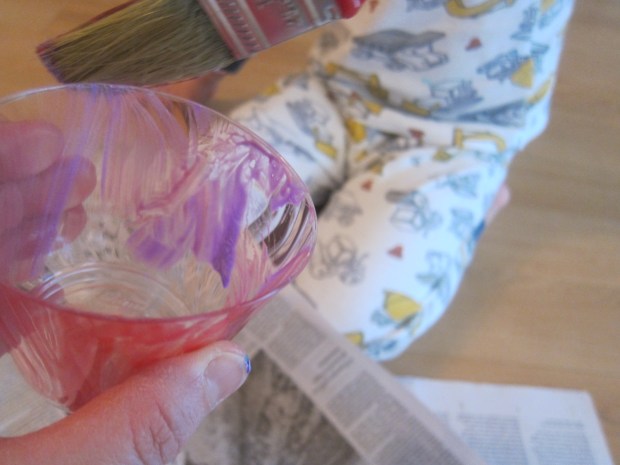
Bubbles: Bubbles are always a childhood favorite, so to make them different this week, we used bubble bath and played bubble barber, piling on silly beards and hairdos. Travis loved giving me a beard and rubbing bubble “lotion” all over his and my arms. We also made a painting with bubbles (simply add food coloring to bubble solution, hold up to paper and blow!), for a neat way to visualize them.

B week (6)

For more bubbly fun (but not the soap kind), we also painted with bubble wrap.

B week (17)

Boats: Speaking of bath time, make an easy boat that will really float in the tub. Use an empty Styrofoam tray from the supermarket as the base; place a blob of playdough in the middle, and insert a straw with a paper sail taped to it for the mast. Travis loved it so much he didn’t wait until bathtime to play, and he loved that it really floated.

B week (14)

Balloon/Bounce: Balloons are another constant favorite, so we needed to make them special for B week. What could be better than balloons that bounce? Buy large balloons, and smaller rubber bouncy balls. Slide a ball up inside each balloon before inflating, then inflate and watch them bounce – they’ll be off balance and wonky and super fun. The bouncy balls turned out to be a huge hit on their own. Travis used them in musical play, to bounce backwards off the wall, and more.

B week (18)

Backwards: Be silly this week and do whatever you can backwards. Bounce a ball backwards, wear a shirt backwards, or even eat a backwards meal (dessert first of course, or breakfast for dinner and vice versa).

B week (13)

Baseball: Read a cute intro to baseball like Little Baseball from Sleeping Bear Press, listen to “Take Me Out to the Ballgame”, and then take a few practice swings with a soft bat and ball!

B week (9)

Beanbags: Beanbags have nearly endless possibilities; race with them on your back, squeezed between your knees, on your head – the sillier the better!

B week (10)

Beanbags also make great musical props or color-learning tools.

Button Tree (9)

Buttons: With the help of some sticks we collected, Travis made a button tree. Or just play with buttons! Travis loves sorting them by color, or piling them into and out of containers.

Zipline Butterfly (5)

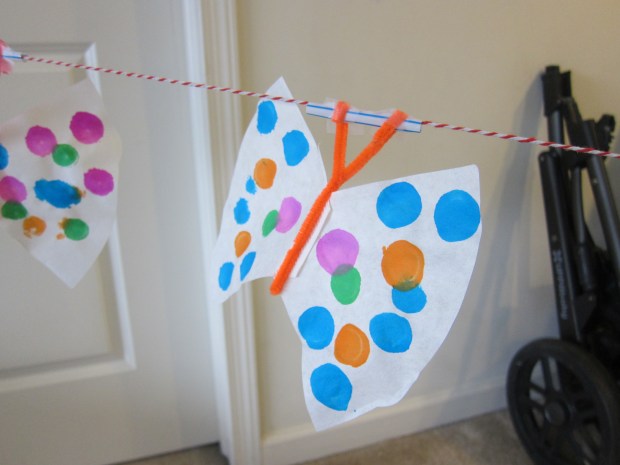
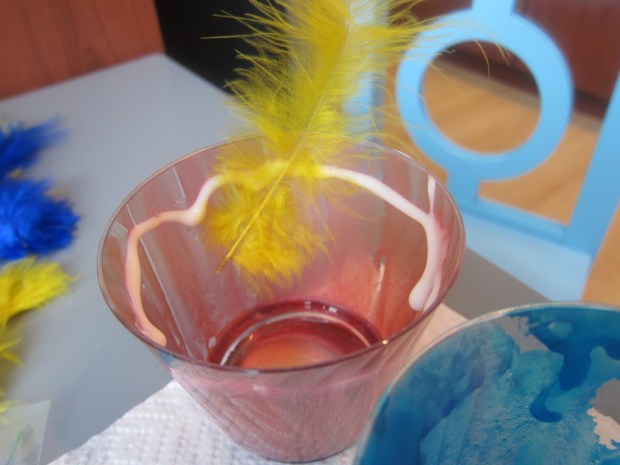
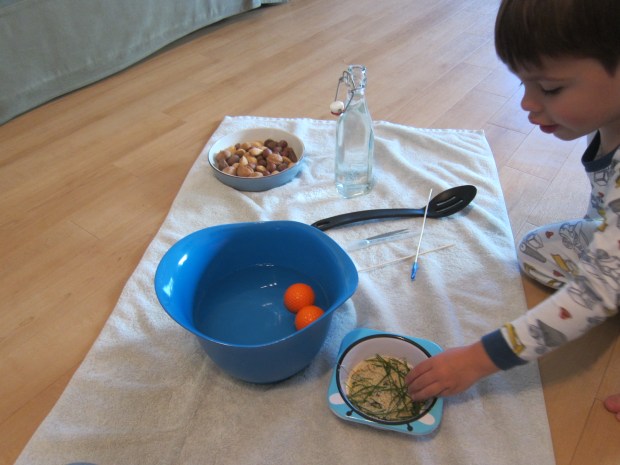
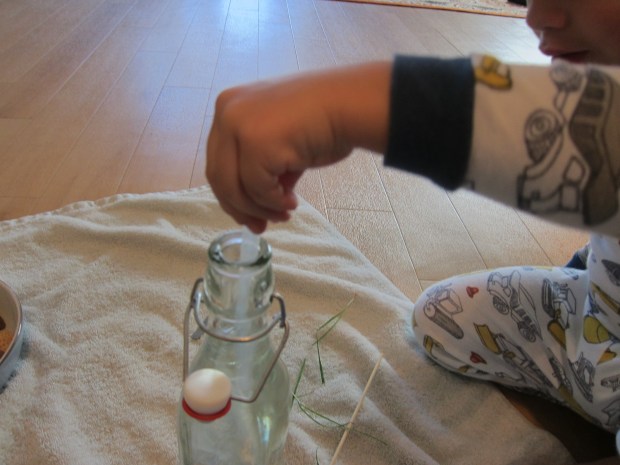
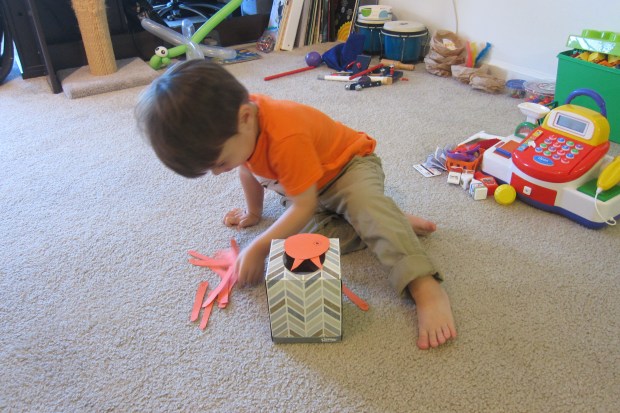
Butterfly: This word was the prompt for three fantastic art projects, one messy and fun (footprints), another a touch more scientific (balancing), and one just beautiful (zipline butterflies). It was nice to think about spring butterflies flitting about, here in our late winter weather! Of course you can also flutter like a butterfly using scarves as wings.

Our weekly extras…

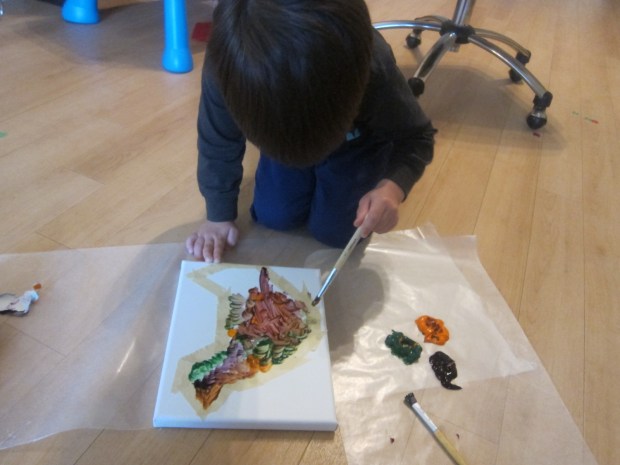
Fine art: Travis helped construct an entire block city for our 3-D art project this week. Admittedly, I did most of the crafting, but he loved building stacks and towers in the final creation.

BLock City (6)

Food: Some favorites this week were baby bananas, blueberries, and bagels… And of course we had to take a field trip to a bakery for a brownie.

B week (16)

Books: Your child will get gales of laughter for The Pigeon Needs a Bath! by Mo Willems. You might also check out any of the Angelina Ballerina books, The Bear in the Book by Kate Banks, Blueberries for Sal by Robert McCloskey, or The Lamb and the Butterfly by Arnold Sundgaard. Our favorite reading moment this week was with our Usborne Young Beginners Bugs, matching them up to Travis’s bug kit.

B week (20)

Songs: Make sure you listen to Baby Beluga this week!

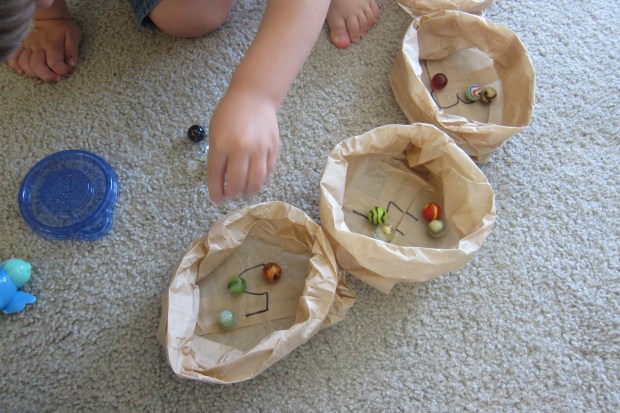
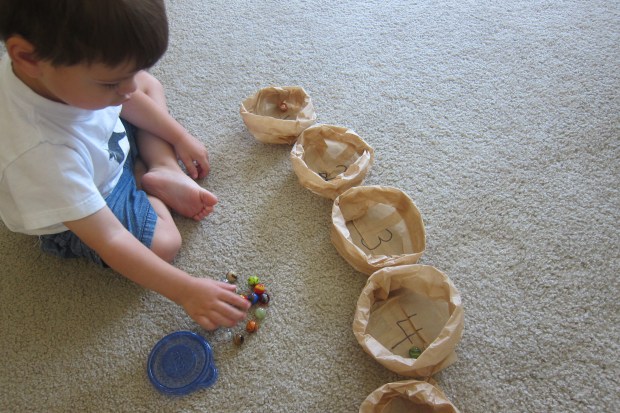
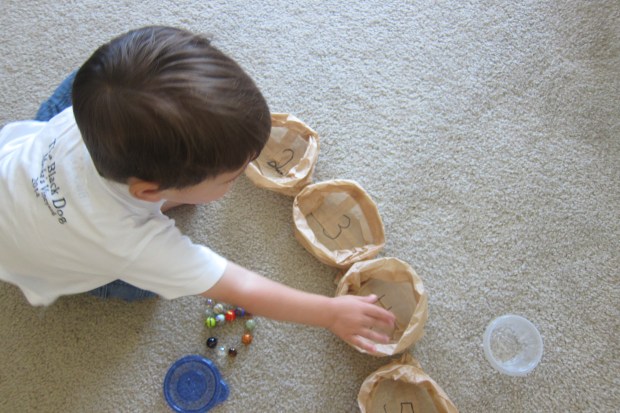
Math: We talked about the concept of before, as in 1 comes before 2, 2 comes before 3, etc. Floor puzzles or number mats are nice ways to visualize this idea.

B week (21)

I’ll be posting our final installment – letter A – next week, so stay tuned!

Bird’s Nest with Miniature Speckled Eggs

birds-nest-6

Adding natural elements to a make-believe bird’s nest makes it all the more special – both as a project and to play with! We used air-dry clay to shape our nest, but if you really want to be authentic, try using mud after a rainy day, or make mud by mixing dirt and water at home. Just be sure to place a piece of poster board under your creation to contain the mess!

To start, I helped Travis shape clay into a nest shape, and then we pressed on finds from a recent nature walk – pine needles, grasses, and leaves – for a realistic look.

birds-nest-3

Travis loved selecting the items to use!

birds-nest-2

As a finishing touch, we made clay eggs. Travis enjoyed rolling the clay between his palms to make egg shapes, but then also loved smooshing them, so I ultimately shaped the final eggs we used!

birds-nest-5

I thought it would be fun to speckle the eggs blue, but the mechanics of this were a bit advanced for Travis. Instead, he smeared blue paint on some while I speckled a few others, and then rolled them between my hands for a more realistic look.

birds-nest-7

Once everything dried, he loved playing with a clay bird inside the nest!

birds-nest-8

We drew a tree on our poster board base to give his playtime a background as well.

birds-nest-10

Overall, a very fun way to use our clay!

birds-nest-9

Baby Bird Alphabet Game

bird-alphabet-4

I promise this is going to be my last bird-themed post for the time being, after our Koala Crate sparked a whole host of ideas. I’ve been working with Travis lately on recognizing lower case letters, in addition to the upper case ones with which he’s become quite familiar. To make a game of it, we “fed” alphabet worms to a very hungry baby bird!

You’ll need an empty tissue box to put the game together. Either wait until you have an empty one lying around or… let your toddler have what I refer to as a “sacrificial” tissue box – the magic of watching your child play with the tissues as a special treat is worth the waste on rare occasions!

bird-alphabet-2

While Travis played, I cut out a circle and two triangles to be the bird’s head and beak, and 26 little strips of paper for “worms,” adding both the upper and lower case letter to each strip.

bird-alphabet-3

Once the bird was taped in place, I told Travis his baby bird was hungry. He’s familiar with the idea of baby birds eating worms from our summer balcony residents, so latched right on to the game. At first he was just stuffing in the worms, but he slowed down once I asked him which worm his bird was eating.

bird-alphabet-5

It dawned on him that each was labeled, and he was very excited to report what he found. “Big H and tiny h!” he would say, before adding to the box, and so on. He dumped out the box and played several more times before moving on to other toys, and also returned to it later in the day… a sure sign of success.

bird-alphabet-7

Bird Nest Counting

bird-nest-counting-3

This little project was so charming. Rather than just teaching toddlers to count by rote, it’s a great way to teach the concept that each number is one greater than the number before.

Roll brown paper snack bags over until you’ve made 5 (or more) little “nests.” Use a sharpie to number the nests 1 through 5 (go higher for preschoolers!). You can use whatever you like or have on hand as the eggs to fill your nests. We used marbles, because Travis loves to play with them, but because marbles are a choking hazard, please use judgment about your own child – pretty rocks or colorful pom poms would also make beautiful “eggs.”

bird-nest-counting-2

Now it’s time to fill each nest with the correct number of eggs! Travis gets a little fuzzy when filling containers as high as 4 and 5, but I could see his brain latching on to the concept that the nests with higher numbers required more marbles to be filled correctly.

bird-nest-counting-1

As soon as we finished, he said, “let’s do it again!” Dumping the marbles was half the fun, and we played several more times. A great little game with a nice educational component.

Salt-Container Bird Feeder

salt-container-3

Travis loves birds, so in hopes of attracting a few new feathered friends to our balcony, we cobbled together this very easy bird feeder. Most of the work falls to the adult, but everyone gets to enjoy the bird-watching that follows!

Clean out an old salt container (or save the salt and use for an indoor sandbox!) and cut a few additional holes with an X-acto knife. You’ll need one “door” along one side of the box, and two small holes (front and back) below the door for a perch. Remove the metal spout from the top of the salt container, and cut out a second small hole so you can hang the box.

Before hanging, invite your child to decorate with markers. We don’t use markers nearly as often as crayons, so Travis was thrilled! He made mostly abstract squiggle, of course, but preschoolers can plan out a more careful design for a bird “house” with windows or fences and flowers.

salt-container-1

Help your child insert a slim stick through the two holes below the door, for birds to perch on, and then thread wire or twine through the two holes on the top.

salt-container-2

Hang over a balcony or tree, or other outdoor perch, and sit back to wait for some winged visitors!