Soap-Powered Boat

Soap-Powered Boats (6)

Here was a neat and quick experiment to continue Travis’s recent exploration of surface tension. Or more properly, breaking the bonds that create surface tension!

First, we crafted two cardboard boats. Cut boat shapes from old cardboard or the lid of a shoebox, then cut a deep V notch in the back of each.

Soap-Powered Boats (1)

Decorate with any favorite art supplies! We used markers, washi tape, and little triangles cut from paper for sails.

Soap-Powered Boats (2)

To power your boats, place them in a shallow bin of clean water. Then, dip a q-tip in a little bit of dish soap and touch it right behind the V in the back of the boat. As the surface tension of the water breaks, the boats propel forward!

Soap-Powered Boats (5)

Unfortunately this experiment isn’t easy to do repeatedly. We had hoped to race our two boats, but once the soap hits the water you can’t repeat it unless you dump, fill with clean water, and start all over.

Soap-Powered Boats (4)

But the boats were fun as Lego rafts once the STEM experiment was done!

Soap-Powered Boats (3)

Row, Row, Row Your Boat

Row Your Boat (3)

Row Your Boat is currently one of Veronika’s favorite songs, and I’ve always been partial to it myself. Part nursery rhyme and part song, it extends itself easily to movement play and more.

To start, I simply sang the song. If you need a reminder, here are the simple lyrics:

Row, row, row your boat,

Gently down the stream.

Merrily merrily merrily merrily.

Life is but a dream.

After singing, we added actions!

Row Your Boat (4)

I sat so that Veronika and I were facing each other and took her hands. As we sang, first I pulled her forward, then I leaned toward her so she leaned back. It was magical to watch the siblings giggle and row together!

Row Your Boat (5)

To reinforce the concept of a “boat” (which is not something we see daily around here!) I pulled out a few floating toys. Veronika loved playing with them in a shallow basin.

Row Your Boat (1)

You can always check out animated versions of the song online, too. You’ll likely encounter silly verses. An elephant wearing jeans? A lion eating green beans? Then see if you can make up your own, which is guaranteed to make your toddler laugh!

Row Your Boat (2)

Go to a Boat Show

Go to Boat Show (6)

It’s been quite a while since we did a “field trip” with Veronika, but today we had the opportunity to take her to her first boat show!

Don’t shy away from crowded places like these with a toddler in tow. My best advice: bring a small stroller, not the bulkier kind that goes with a travel system. This allows for storage of diaper bags and lunch bags and coats without making it tough to navigate the crowds. Then hit the show! Just the vantage point from above was exciting.

Go to Boat Show (3)

Once inside the show, there is so much about boats for little hands to love. Wheels to turn and buttons to press..

Go to Boat Show (8)

…soft seats to scamper over, and hidden berths below decks to explore.

Go to Boat Show(4)

Pontoon-style boats were a favorite; from a parent’s point of view, these are great because there are no tricky stairs or ladders to navigate.

Go to Boat Show (7)

Boat shows often feature hands-on activities for kids, too. Veronika loved watching the older children splashing in kids-only paddle boats!

Go to Boat Show (1)

Next she got to paint a wooden boat to take home.

Go to Boat Show (2)

In sum, the event was a splash!

Go to Boat Show (5)

Learning Things That Go

Stamps (4)

There are so many ways to teach toddlers about the various vehicles in the world, whether that means cars and trucks, or boats, or planes, or everything in between. Most obviously you can point these things out in the real world or read about them in books. But toddlers are so tactile, so consider hands-on learning with stamps or stickers that depict things that go!

First up: stickers. Veronika is currently obsessed with stickers, so we had lots of fun with a reusable sticker book from Melissa & Doug. She was a little frustrated that the big planes and trucks wouldn’t stick to her belly…

Stickers (5)

…but loved that she could lift them off the page over and over.

Stamps (5)

Next up: stamps! I purchased a stamp set with big chunky ones just right for toddler-sized hands.

Stamps (1)

We talked about the image on each stamp before I pulled out the ink pads. Of course the ink itself was more fascinating for a while!

Stamps (2)

But soon I showed her how to press a stamp down into the ink, which then appears like magic when pressed on paper. She was a little young for this activity, impishly trying to eat the stamps, so we tucked the ink pad away. But I loved that this was both a vocab lesson and an “art” activity.

Stamps (3)

One final option: felt pieces featuring things that go. Veronika loves her set with cut-outs of planes, trains, and more.

Things That Go alt

Little felt shapes like this of things that go are great for, well, when you’re on the go!

Things That Go var

Whichever medium you choose, there’s lots of hands-on learning and fun to be had!

Pirate Crate

Koala Pirate (21)

Ahoy matey! With just a couple months left in our Koala subscription, Travis was eager to see what the Pirate Crate was all about, and dove right in to all 3 projects! As always, you can replicate these projects with materials from a craft store, more or less.

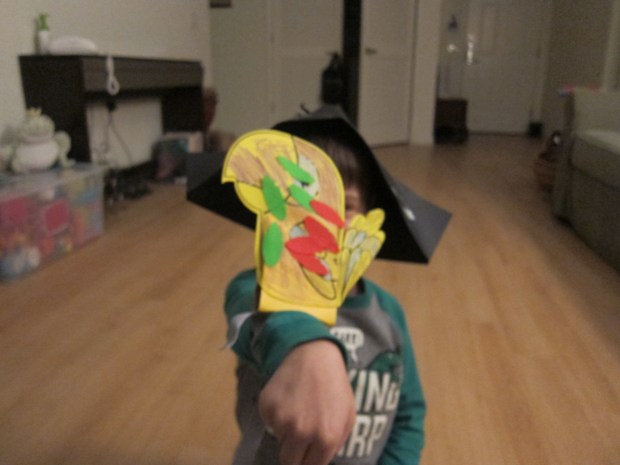
First up was Pirate Dress-Up – a paper hat to fold, and a felt eyepatch. The eyepatch was an instant hit – wow, he felt like a real pirate!

Koala Pirate (1)

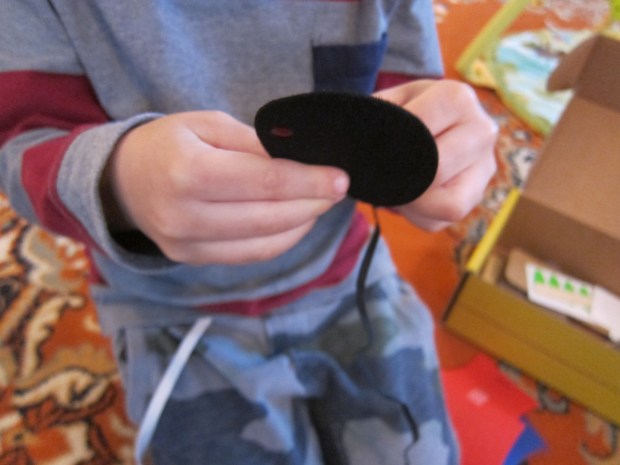
Simply thread the provided patch onto a bit of black elastic, and tie a knot to secure it.

Koala Pirate (2)

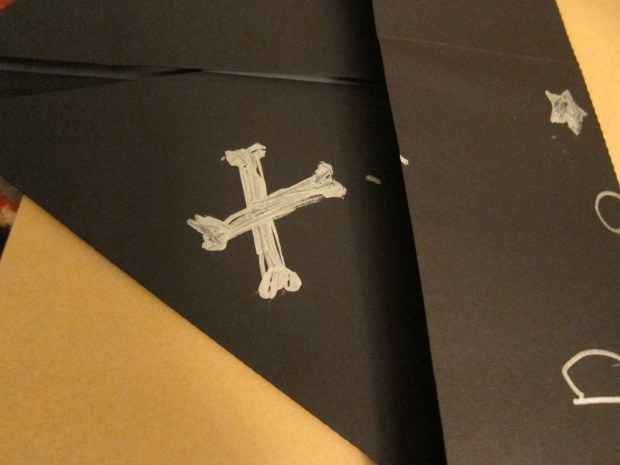
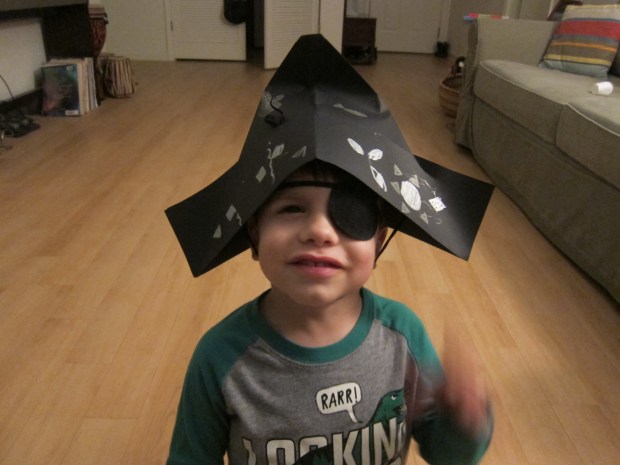
Next we added the pirate hat, a large piece of black construction paper with dotted lines to fold. These were nicely labeled by both number and color, making it easy for kids.

Koala Pirate (3)

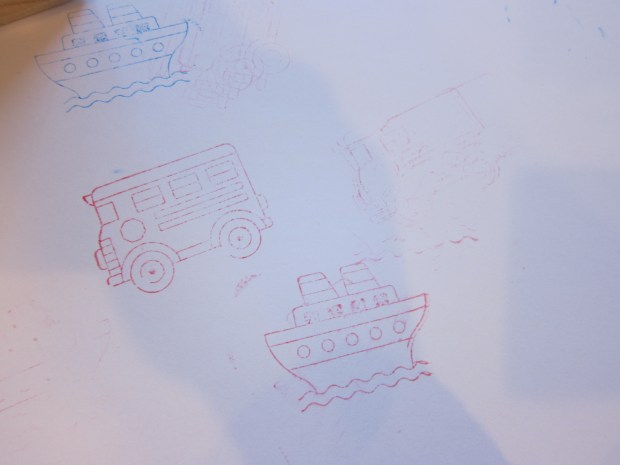
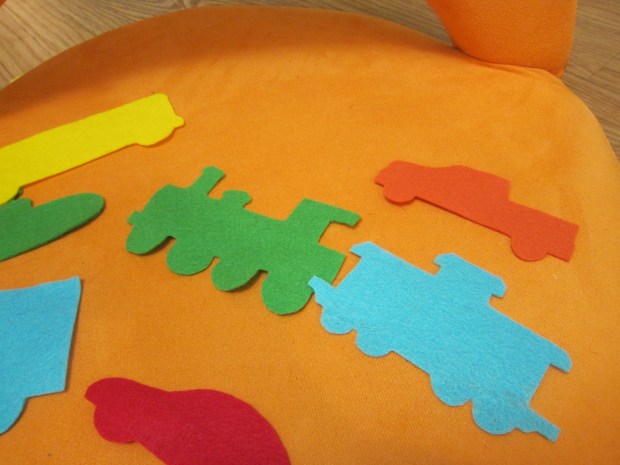
To decorate the hat, use the provided stencils and magic markers. Travis really enjoyed stenciling in shapes (“Look, I made a diamond!”).

Koala Pirate (5)

I helped show him some of the suggested overlapping shapes to make pirate-themed decorations (rectangle + heart = crossbones) but mostly he was content just to scribble and make his own designs.

Koala Pirate (6)

Avast, matey!

Koala Pirate (7)

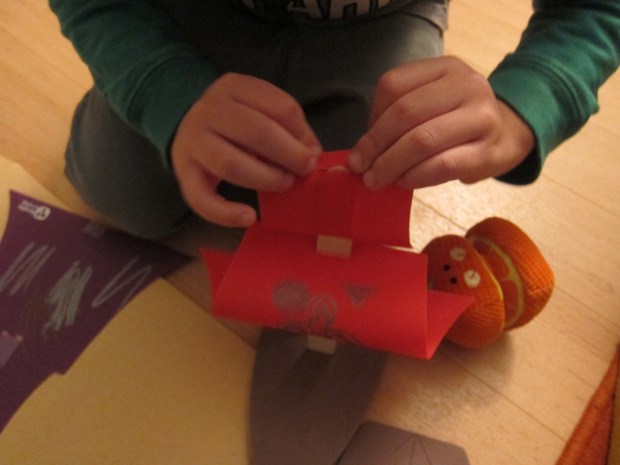
He eagerly asked if we could make the Parrot Puppet immediately after. Color in the provided template with magic markers. There are also feather stickers to adhere.

Koala Pirate (9)

To make the puppet stand, thread elastic through a cardboard base and secure the elastic on with tape, letting the ends dangle down. Fold the cardboard in half and tape again – now the parrot figure slips right on.

When the parrot is not on the stand, the elastic can cleverly be tied around the wrist – a parrot pal just like every good pirate needs!

Koala Pirate (10)

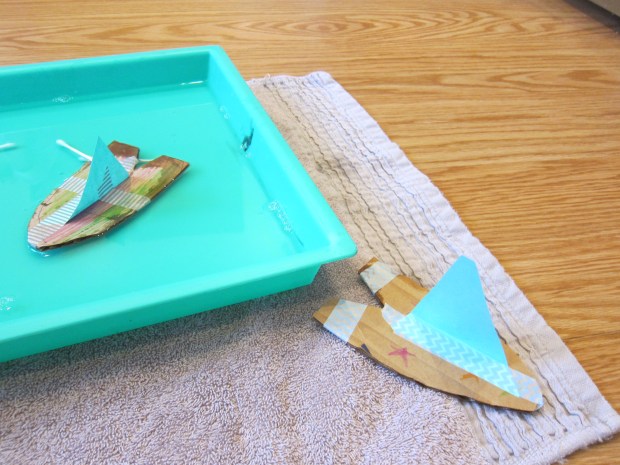
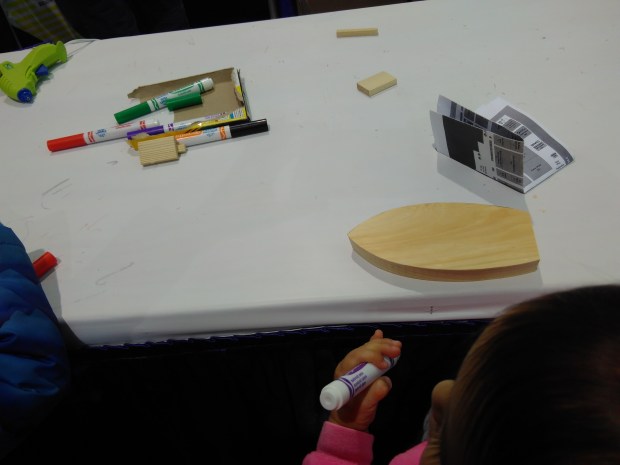
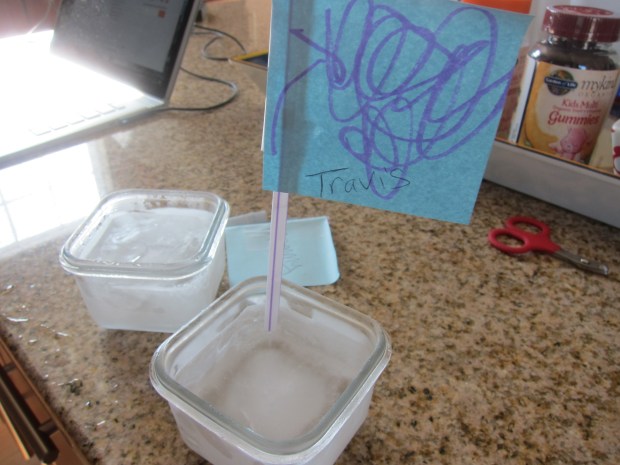
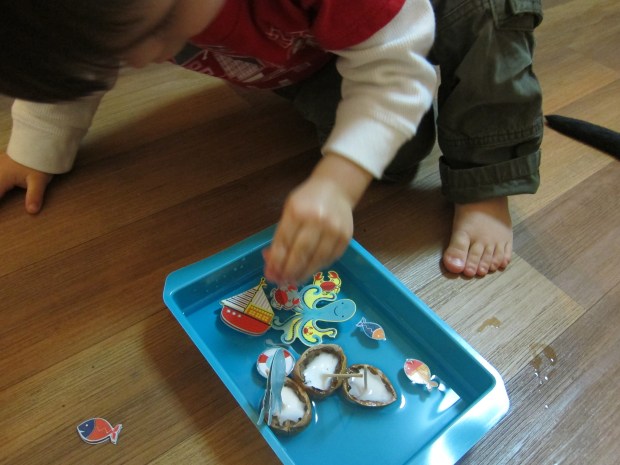
The third project, a real floating Pirate Ship, was a big hit! Insert a craft stick into a brown foam base, and thread one of the 4 provided sails onto the stick.

Koala Pirate (13)

Kids can decorate the sails with stencils, too, but Travis only gave the decoration a cursory thought. He much preferred to see the sails on the masts, and was delighted he could raise and lower them like a real sail.

Koala Pirate (15)

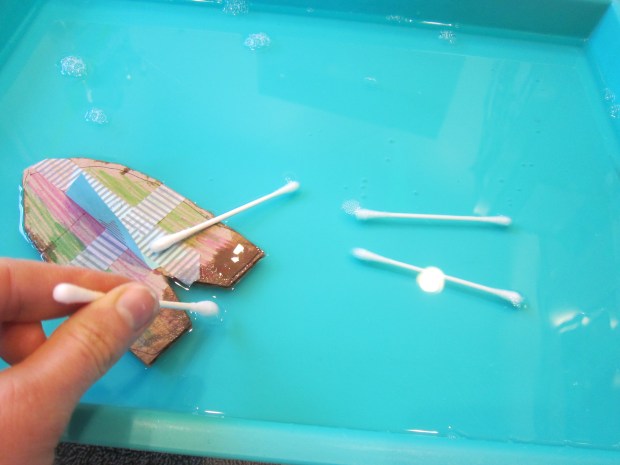
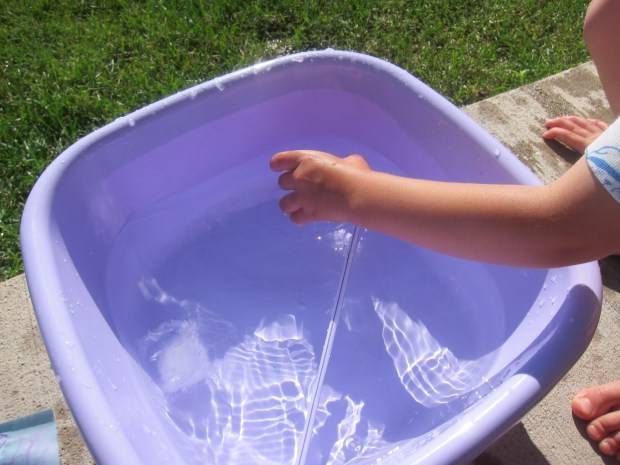
A cardboard “rudder” inserted into a slit at the back of the foam base allows your boat to go straight, left, or right, depending which slot it’s in. So of course we had to test them in the bathtub!

Koala Pirate (16)

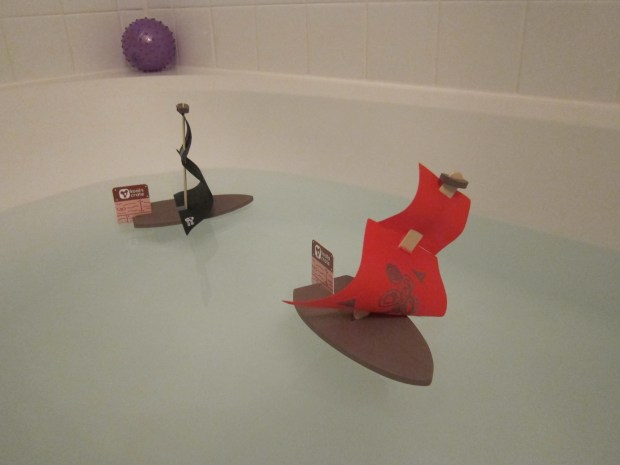
Have fun playing around with the rudder’s position, or racing the boats against one another. Travis also loved “flying” the boats in the air.

Koala Pirate (17)

To round out Travis’s costume, we also put together the suggested Pirate Hook. Roll a piece of aluminum foil tightly – Travis insisted on doing so himself!

Koala Pirate (18)

Adults, poke a hole in the bottom of a plastic cup. Insert the wrapped foil, curling the end into a hook shape. Pop the cup over your child’s hand and ahoy there – it’s Captain Hook!

Koala Pirate (20)

Shiver me timbers! Thanks for a great time, Koala Crate.

Ice Boat Races

Ice Boat (2)

This is one of those projects that didn’t turn out quite like we planned, but it got us outside into beautiful summer sunshine, and turned into a separate kind of fun – always a happy ending!

The night before you want to race your boats, freeze water in small containers – tupperware works best. After about an hour, when the water has started to set, insert a straw into each boat to be the mast.

The next morning we decorated flags as the sails and taped to our masts. Run a little warm water on the bottom of the container, and your boats will slip out.

Ice Boat (1)

We were sort of set up for disappointment because I didn’t have a large “ocean” for us to race the boats in. An empty sand table or water table would work best, but lacking those, I filled a small craft bin with water.

Oh no, our sails fell off in the water right away!

Ice Boat (4)

Still, Travis got a kick out of huffing through a second pair of straws to move our boats, and see who could sail across the bin fastest. When that didn’t quite work, we paddled the boats with our straws.

Ice Boat (3)

Perhaps more fun, though, was simply holding the slippery “boats”, and then seeing how quickly the ice melted in the summer sunshine. Travis spent the next hour or so on the patio, playing with the water in the bin and cracking apart the ice. So all in all, not a fail!

Ice Boat (6)

Egg Carton Boat

Egg Boat (5).JPG

Travis has been having so much fun with the foam and cork canoe we crafted a few weeks back that we decided to add to our upcycled bathtime collection!. Half of an egg carton from my in-laws’ house was the perfect base for our boat.

Cut an egg carton in half; save the remaining half for another use.

Egg Boat (1)

Decorate the carton with markers or paints. Markers will probably work fine on a cardboard egg carton, but since ours was Styrofoam, we used dot markers. Travis loved making each tip of the boat a different color.

Egg Boat (2)

I cut a triangle from white paper, which we decorated as well, then taped to a wooden stick. Voila! A sail.

Egg Boat (3)

Stick your mast into the base of the boat, and it’s time to set sail.

Egg Boat (4)

Use any toy figures you have, such as Duplo people, to be your sailors. Ahoy mateys!

Egg Boat (6)

The verdict is that this boat didn’t last very long (the sail is toast the minute it gets wet), but Travis had so much fun with it that bath was double its normal length in time! I don’t post bathtime pictures, but needless to say there was lots of capsizing, splashing, rescue games, motor boats running out of gas, storms at sea, and more.

Walnut Boats

walnut-boat-4

To truly make these adorable boats (which really float!) you’ll need hot glue. I decided to go ahead and improvise with the glue we have, so while the boats still made for fun play, they took quite a bit longer to assemble. Read on!

First, fill empty walnuts shell halves with glue all the way to the top. Travis loved squeezing the glue into a big goopy pile to help with this part.

walnut-boat-2

Insert a toothpick into the center of each glue pile to be the mast. If you have hot glue, you’ll only need to hold your pick a minute or two for it to set. I propped up the shells and masts and had to leave them overnight at this point!

Once your glue is dry, you can adorn the mast with the sail of your choosing. Paper flags would work just fine, or add pirate flag decorations if your toddler is into pirates! Instead of paper, we used little marine-themed stickers that I had lying around.

walnut-boat-3

We tested the walnut boats in a basin first, before bringing them to bath time for soapy sailing. Travis loved throwing in the additional marine stickers.

walnut-boat-6

If you successfully make these boats with hot glue, please share in the comments!

walnut-boat-5