Bubble Fun

Bubble Fun (4)

Veronika loves the end of her toddler gym class when the teacher pulls out a bubble machine, sending multiple bubbles out at once. We made this low-tech version for fun on the patio this morning!

Cut two straws in half so you have four pieces, and secure in the middle with masking tape. Trim the edges so they line up to the exact same length. That’s it!

Bubble Fun (1)

Pour a little bubble solution into a plate or dish, and dip in one end of the straws. You’ll get not one but lots of little bubbles at once.

Bubble Fun (3)

Veronika was so proud that she could make bubbles appear all by herself, huffing into the straws!

Bubble Fun (6)

In sum, this made for quick and fun bubble play on a morning just warm enough to feel like spring.

Bubble Fun (5)

Unpoppable Frozen Bubbles

Unpopable Bubbles (4)

My philosophy about really cold weather with kids has become not to shy away from it, but to embrace it. That’s exactly what we did today with frozen bubbles; this is the kind of trick that can only work once the weather dips down low.

The secret to making this activity a success is to leave a bottle of bubble solution outside overnight so that it’s chilled and ready to go when your bundled-up kids get outside.

The second trick is to wave the bubble wand, instead of blowing through it. With those two modifications, the bubbles will act differently, freezing in kids’ hands or in the air (if it’s cold enough!) instead of popping.

Unpopable Bubbles (3)

The first time we tried this, our solution wasn’t quite cold enough.That meant the kids could still pop the bubbles on their fingers.

Unpopable Bubbles (2)

But they lasted and froze over if they landed on cold surfaces, like our plastic slide. This was mesmerizing to watch!

Unpopable Bubbles (6)

Travis wondered if this particular bubble might just last forever.

Unpopable Bubbles (5)

The next night was even colder, so we headed outside for more everlasting bubble play.

Unpopable Bubbles (7)

And this time they were so cold that sure enough we could poke at them without making them pop!

Unpopable Bubbles (8)

Is it cold enough for frozen bubbles in your area? Please share in the comments!

Bubble Prints

Bubble Prints (6)

The original plan with this project was to make art, but the kids were way more into the process than the final product. Which was just fine with me, since they were having fun!

To make bubble paints, pour a little liquid food coloring (or liquid watercolor) into the bottom of plastic cups, and add a little dish soap to each.

Bubble Prints (1)

Blow into the cups through a straw to produce lots of bubbles. Travis made a face and was worried he would get bubble solution in his mouth, but I showed him how to huff out of the straw over a piece of watercolor paper, splattering the “paint” down.

Bubble Prints (2)

We tried a few rounds of this, but then truly the kids lost interest in any painting and just wanted more bubbles!

Bubble Prints (5)

They thought it was so fun to watch them rise to the top, or to see how high the pile of bubbles could go before they bubbled over.

Bubble Prints (8)

Hint: they can go very high.

Bubble Prints (9)

The sticky soap substance was so neat to pop with fingers. Veronika loved scrubbing it all over her hands!

Bubble Prints (7)

If we pressed the bubbles from two different cups together, they would stick! This got big laughs.

Bubble Prints (10)

Eventually we did stop all that bubble play long enough to fill our square of watercolor paper with the paints. I had originally planned to give the kids fish stickers (in keeping with a bubbles-and-ocean theme), but Veronika preferred bug stickers. Alternatively, you could cut fish shapes from black construction paper and glue down.

Bubble Prints (11)

These are lovely pieces of artwork in their own right, but would also make pretty gift cards or stationary.

Can You Find Your Knee?

Can You Find Knee (12)

Veronika can readily touch the obvious features on her face (eyes, and ears, and mouth and nose!) but it can be helpful to talk about less common body parts with toddlers, too. To make the game extra fun, just add bubbles!

We headed out to the patio in gorgeous sunshine and I asked her, “Where do you want your bubbles?” At first, she requested them on her hair!

Can You Find Knee (6)

Then I started naming other parts of her body, and gently blowing the bubbles in that direction. In this way, the bubbles tickled at her ankles and knees…

Can You Find Knee (2)

…wrists…

Can You Find Knee (7)

…and neck!

Can You Find Knee (5)

Take the time to point out other new vocab too. Setting the bubbles aside for a moment we found our fingernails and our nostrils.

Can You Find Knee (8)

And eyelashes! Just don’t blow bubbles at those.

Can You Find Knee (9)

Then, we turned back to more familiar body parts (like hands and feet), but got thinking about how to use them in new ways. I encouraged her to clap in order to pop a bubble, instead of simply poking it.

Can You Find Knee (13)

Or she could stomp them with her feet.

Can You Find Knee (1)

Maybe your toddler can pop them with a nose or a chin!

Can You Find Knee (4)

Note: This is also a fun game to take to the bath, especially because bubbles behave differently if you try to clap them while they’re wet.

Bathtime Bubbles (1)

Plus in the bath all those body parts are easily visible! Have fun with it and see what new words your toddler picks up.

Wind Direction

Wind Direction (2)

Here’s a quick STEM experiment to teach kids how to observe wind direction… with some bubble fun thrown in!

First Travis helped make a bubble solution. The recipe was for an enormous batch (6 cups of water!) and I knew we would never use that much. Instead, I decided to make one-third of the recipe, using the following:

  • 2 cups water
  • 1/4 cup corn syrup
  • 1/2 cup dish detergent

My proportions weren’t exact, but we ended up with great bubbles so I guess it worked! Combine the ingredients in a jar and shake to combine, then let the mixture settle for at least half an hour.

Then it was time to head outside with the bubbles and a compass. I taught Travis how to locate north. He proudly then pointed to east, south, and west. So how could we tell which way the wind was blowing?

Wind Direction (1)

Dip a wand into the bubble solution and see which way your bubbles go. Ours headed west, nice and lazily.

Wind Direction (3)

So if our bubbles were floating west, I asked Travis where the wind was coming from. “East!” he correctly answered.

Wind Direction (4)

This led to almost an hour of play on the patio, blowing bubbles, popping them against our screen door, and otherwise having a blast.

Wind Direction (5)

Which means this is the perfect STEM activity for a summer day.

Wind Direction (6)

Dish Soap Tub Bubbles

Dish Soap Bubble Bath (4)

Blowing bubbles in dish soap is always fun, whether your kids are old enough to blow into the mixture themselves, or young enough that you do it for them. Tonight, I took dish soap bubbles to Veronika’s bath for some great soapy play!

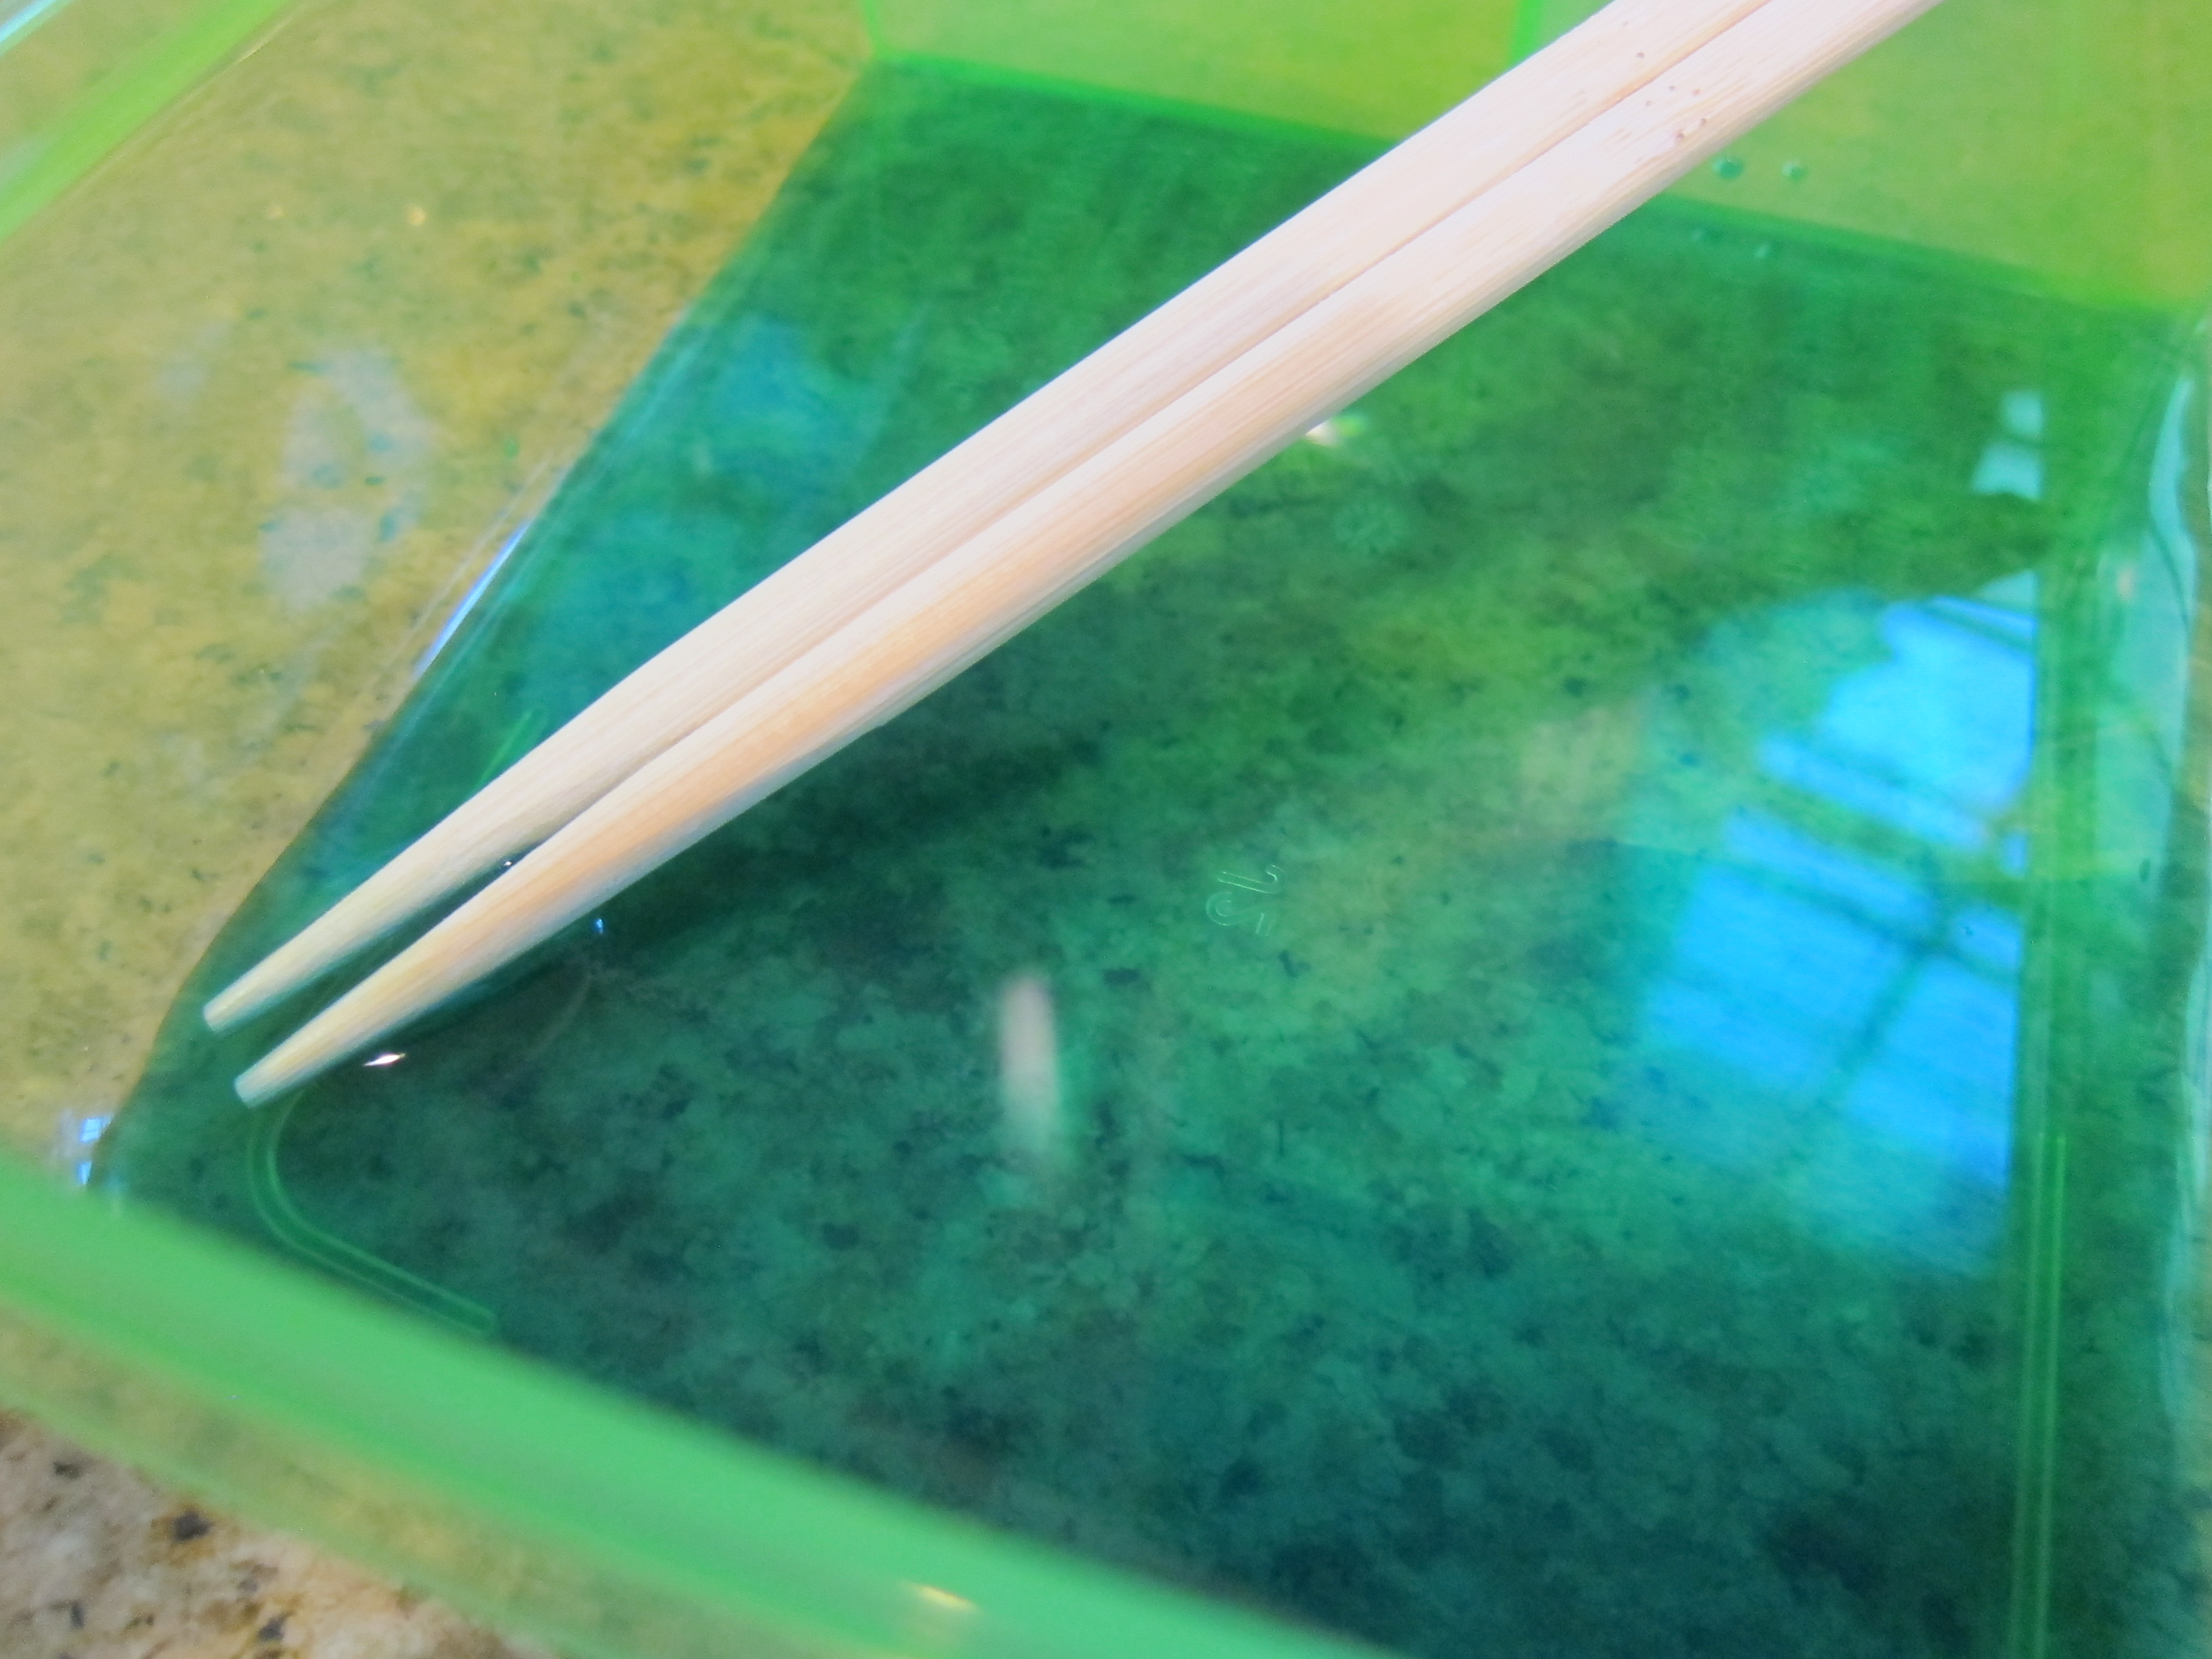
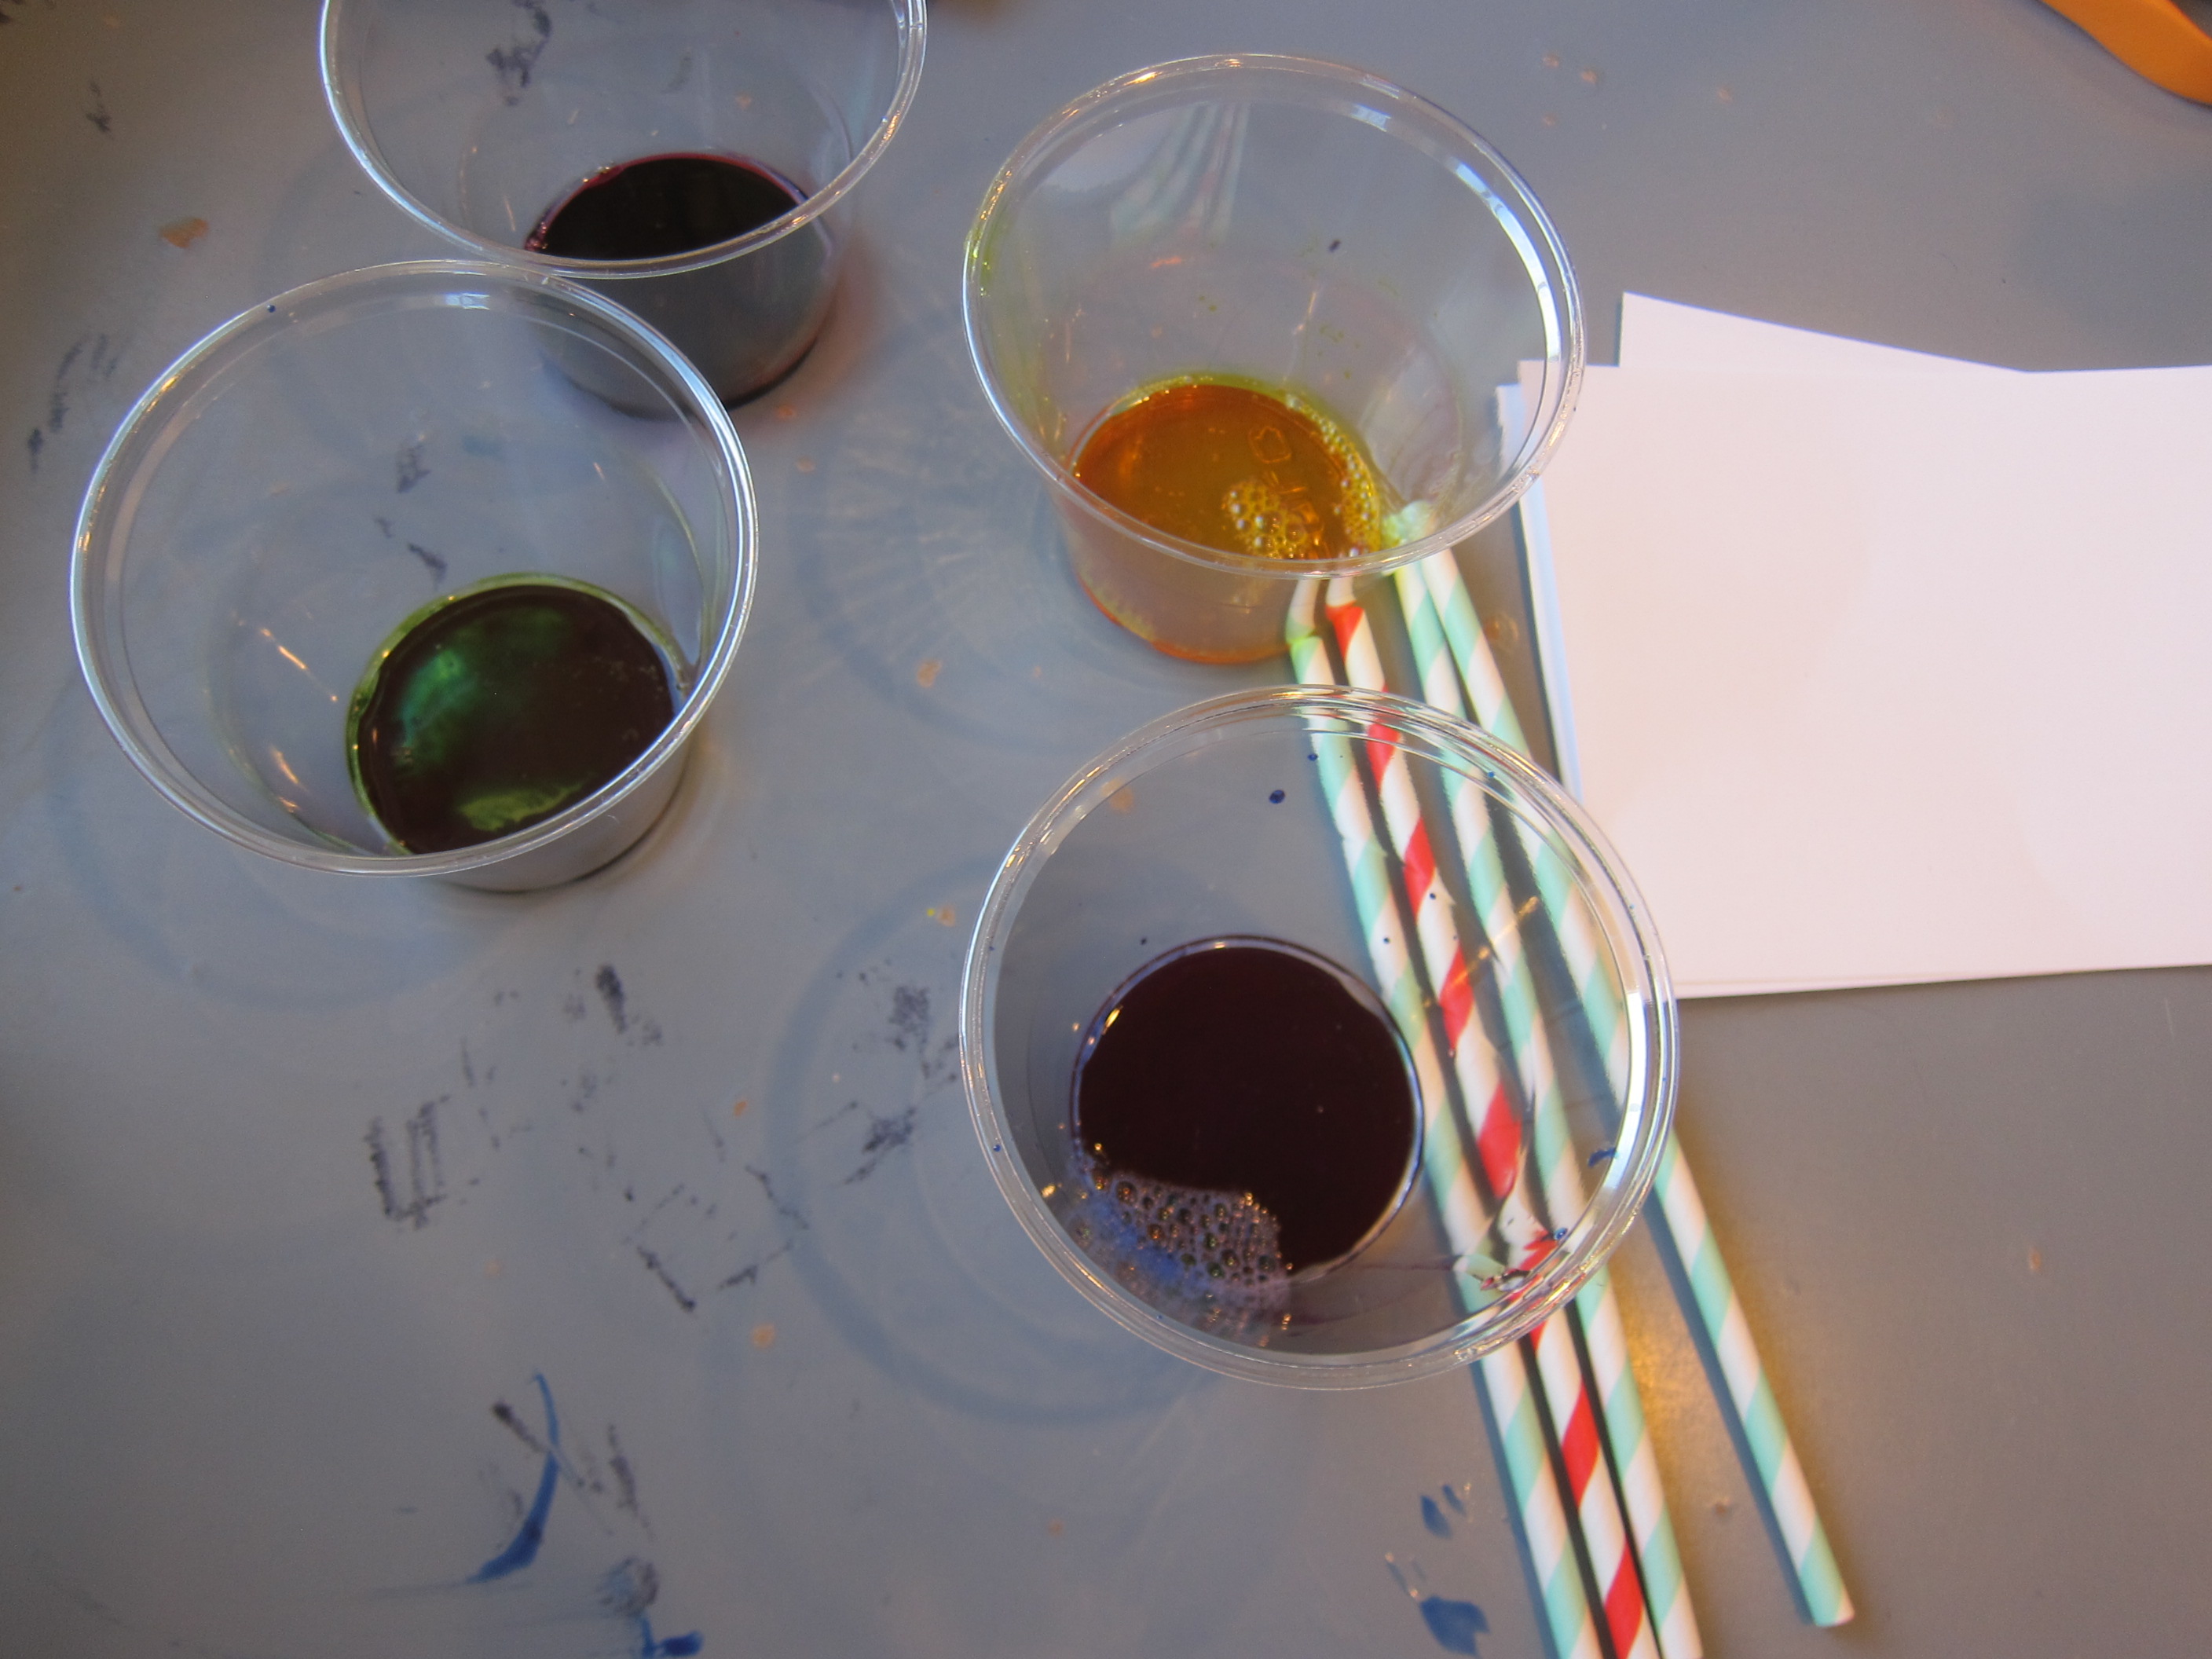
To start, I tinted the tub blue with a little food coloring.

Dish Soap Bubble Bath (2)

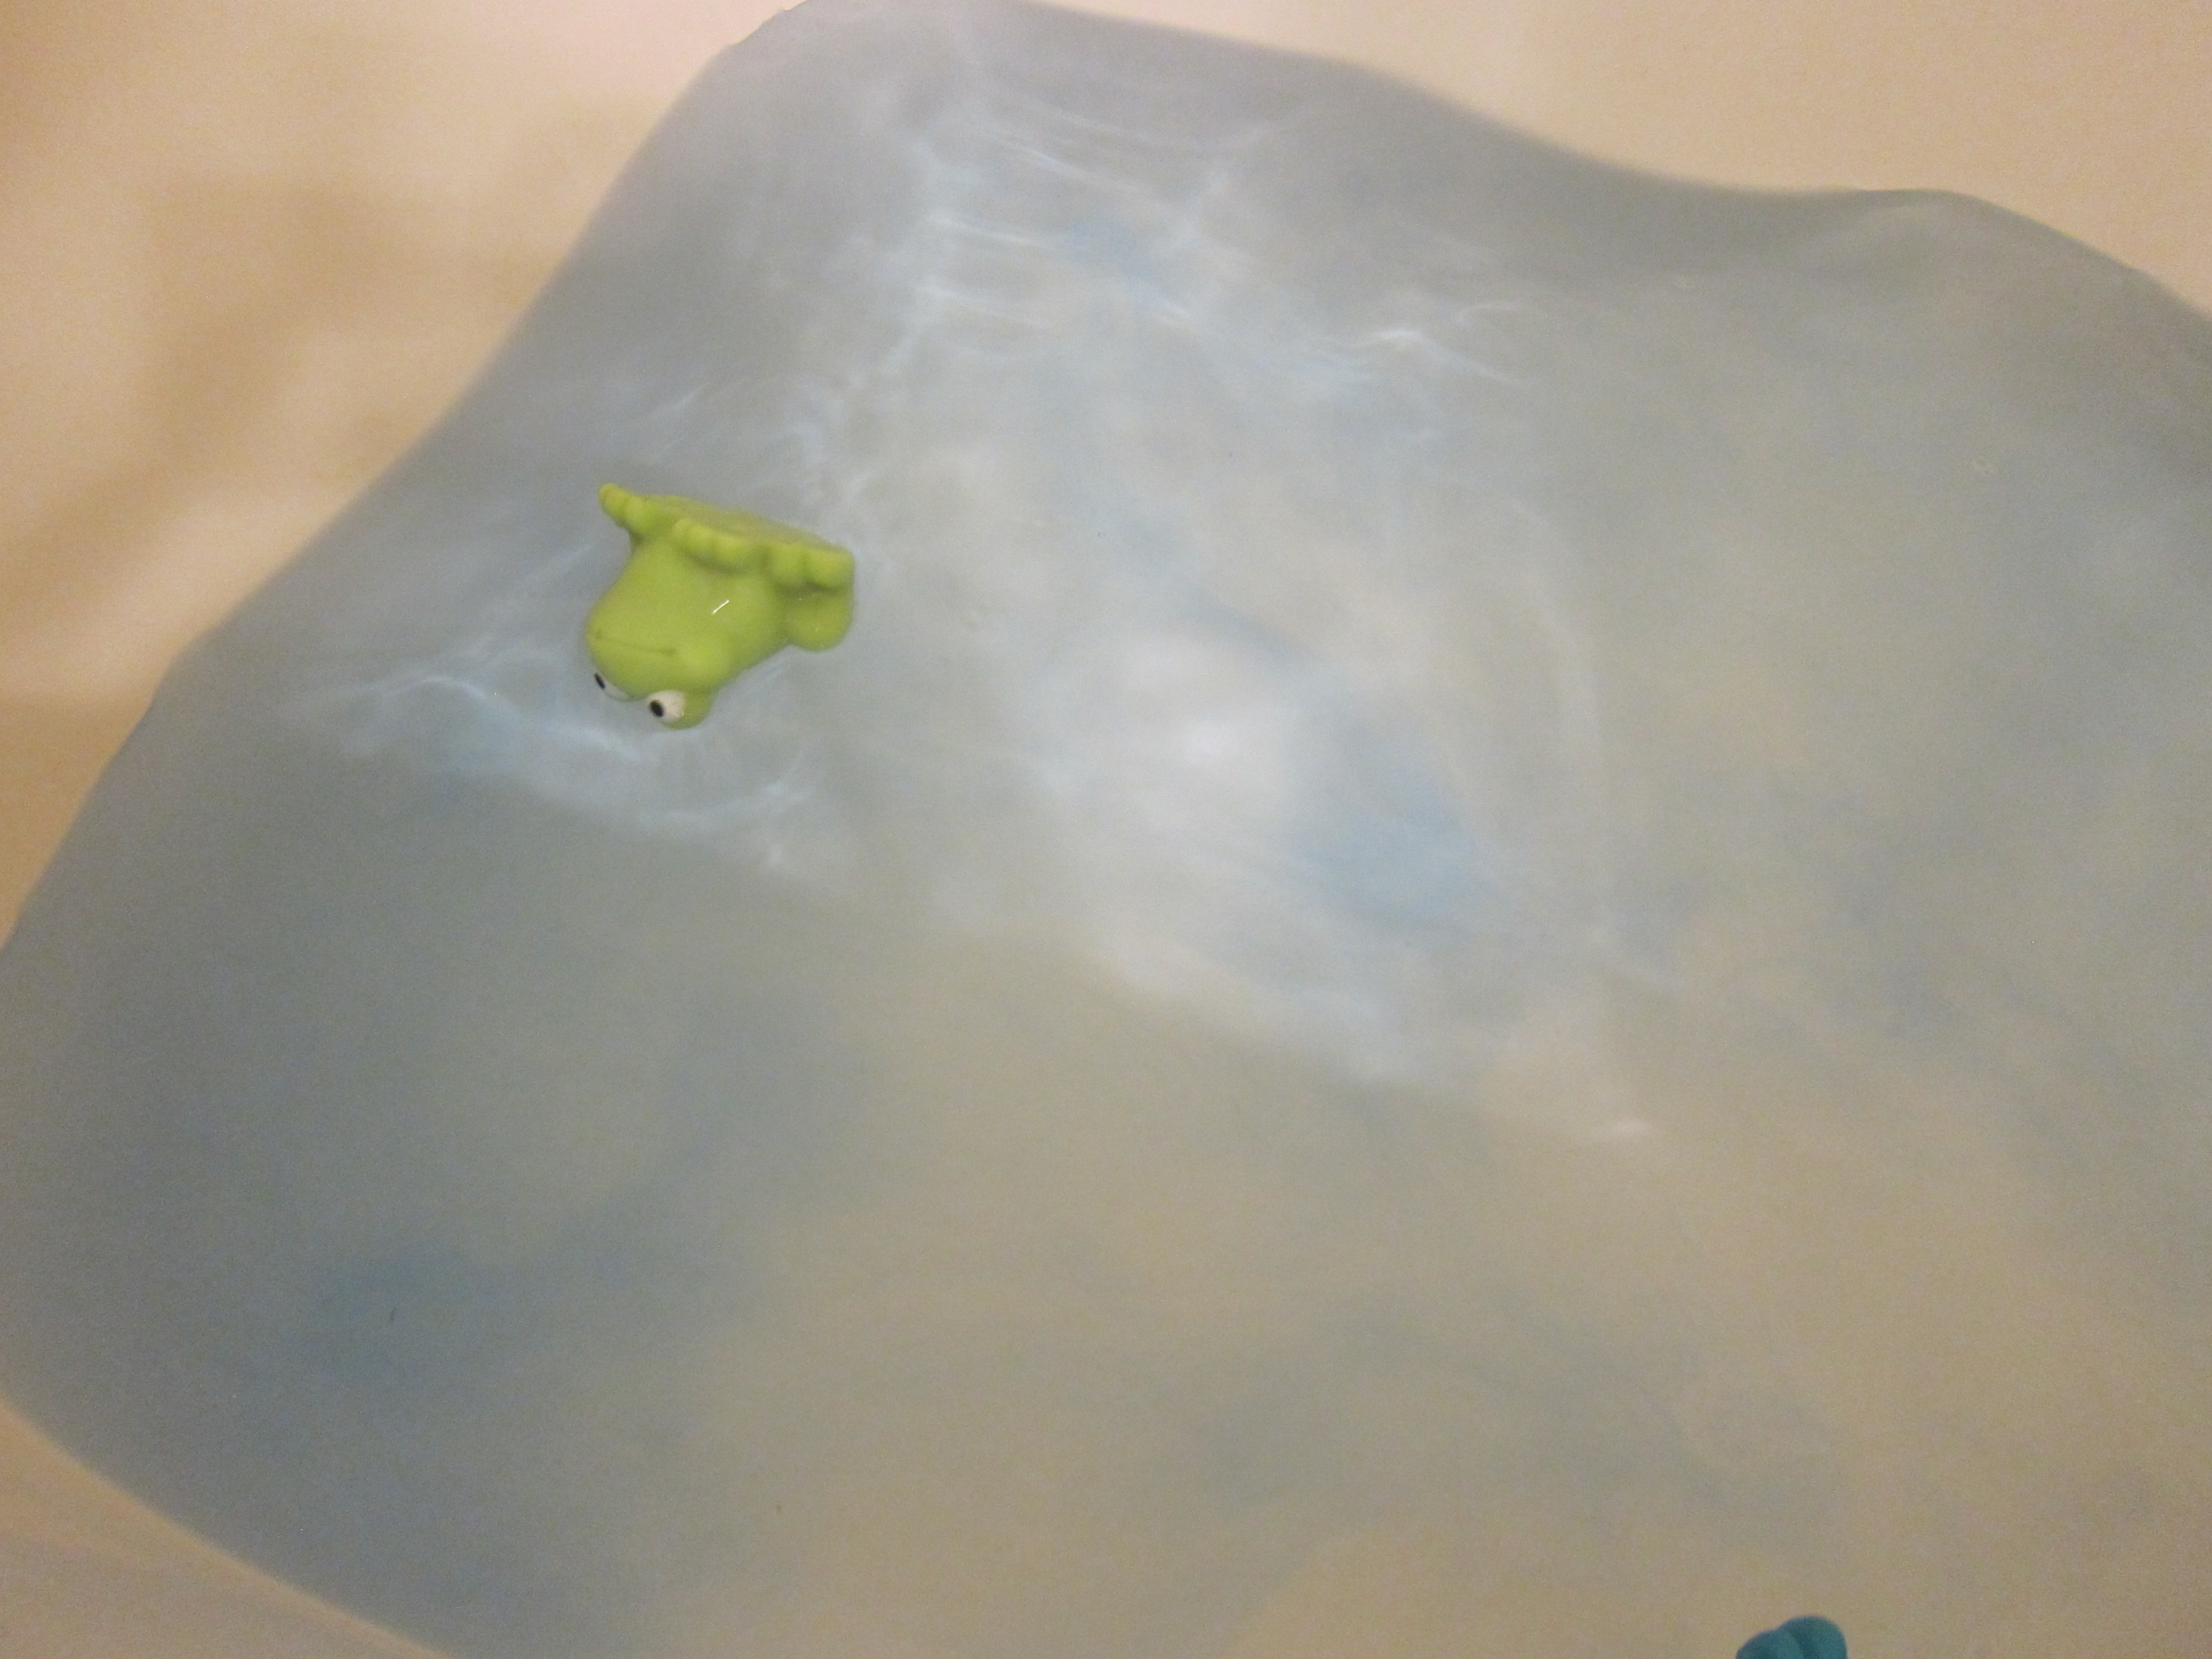
(Side note: This was purely for extra entertainment, and not necessary at all. We always love a colored bath around here whether red, yellow, green, or something in between.

Colored Bath (2)

Just squirt in a few drops of all-natural food coloring and let your toddler swish the colors around!).

Colored Bath (3)

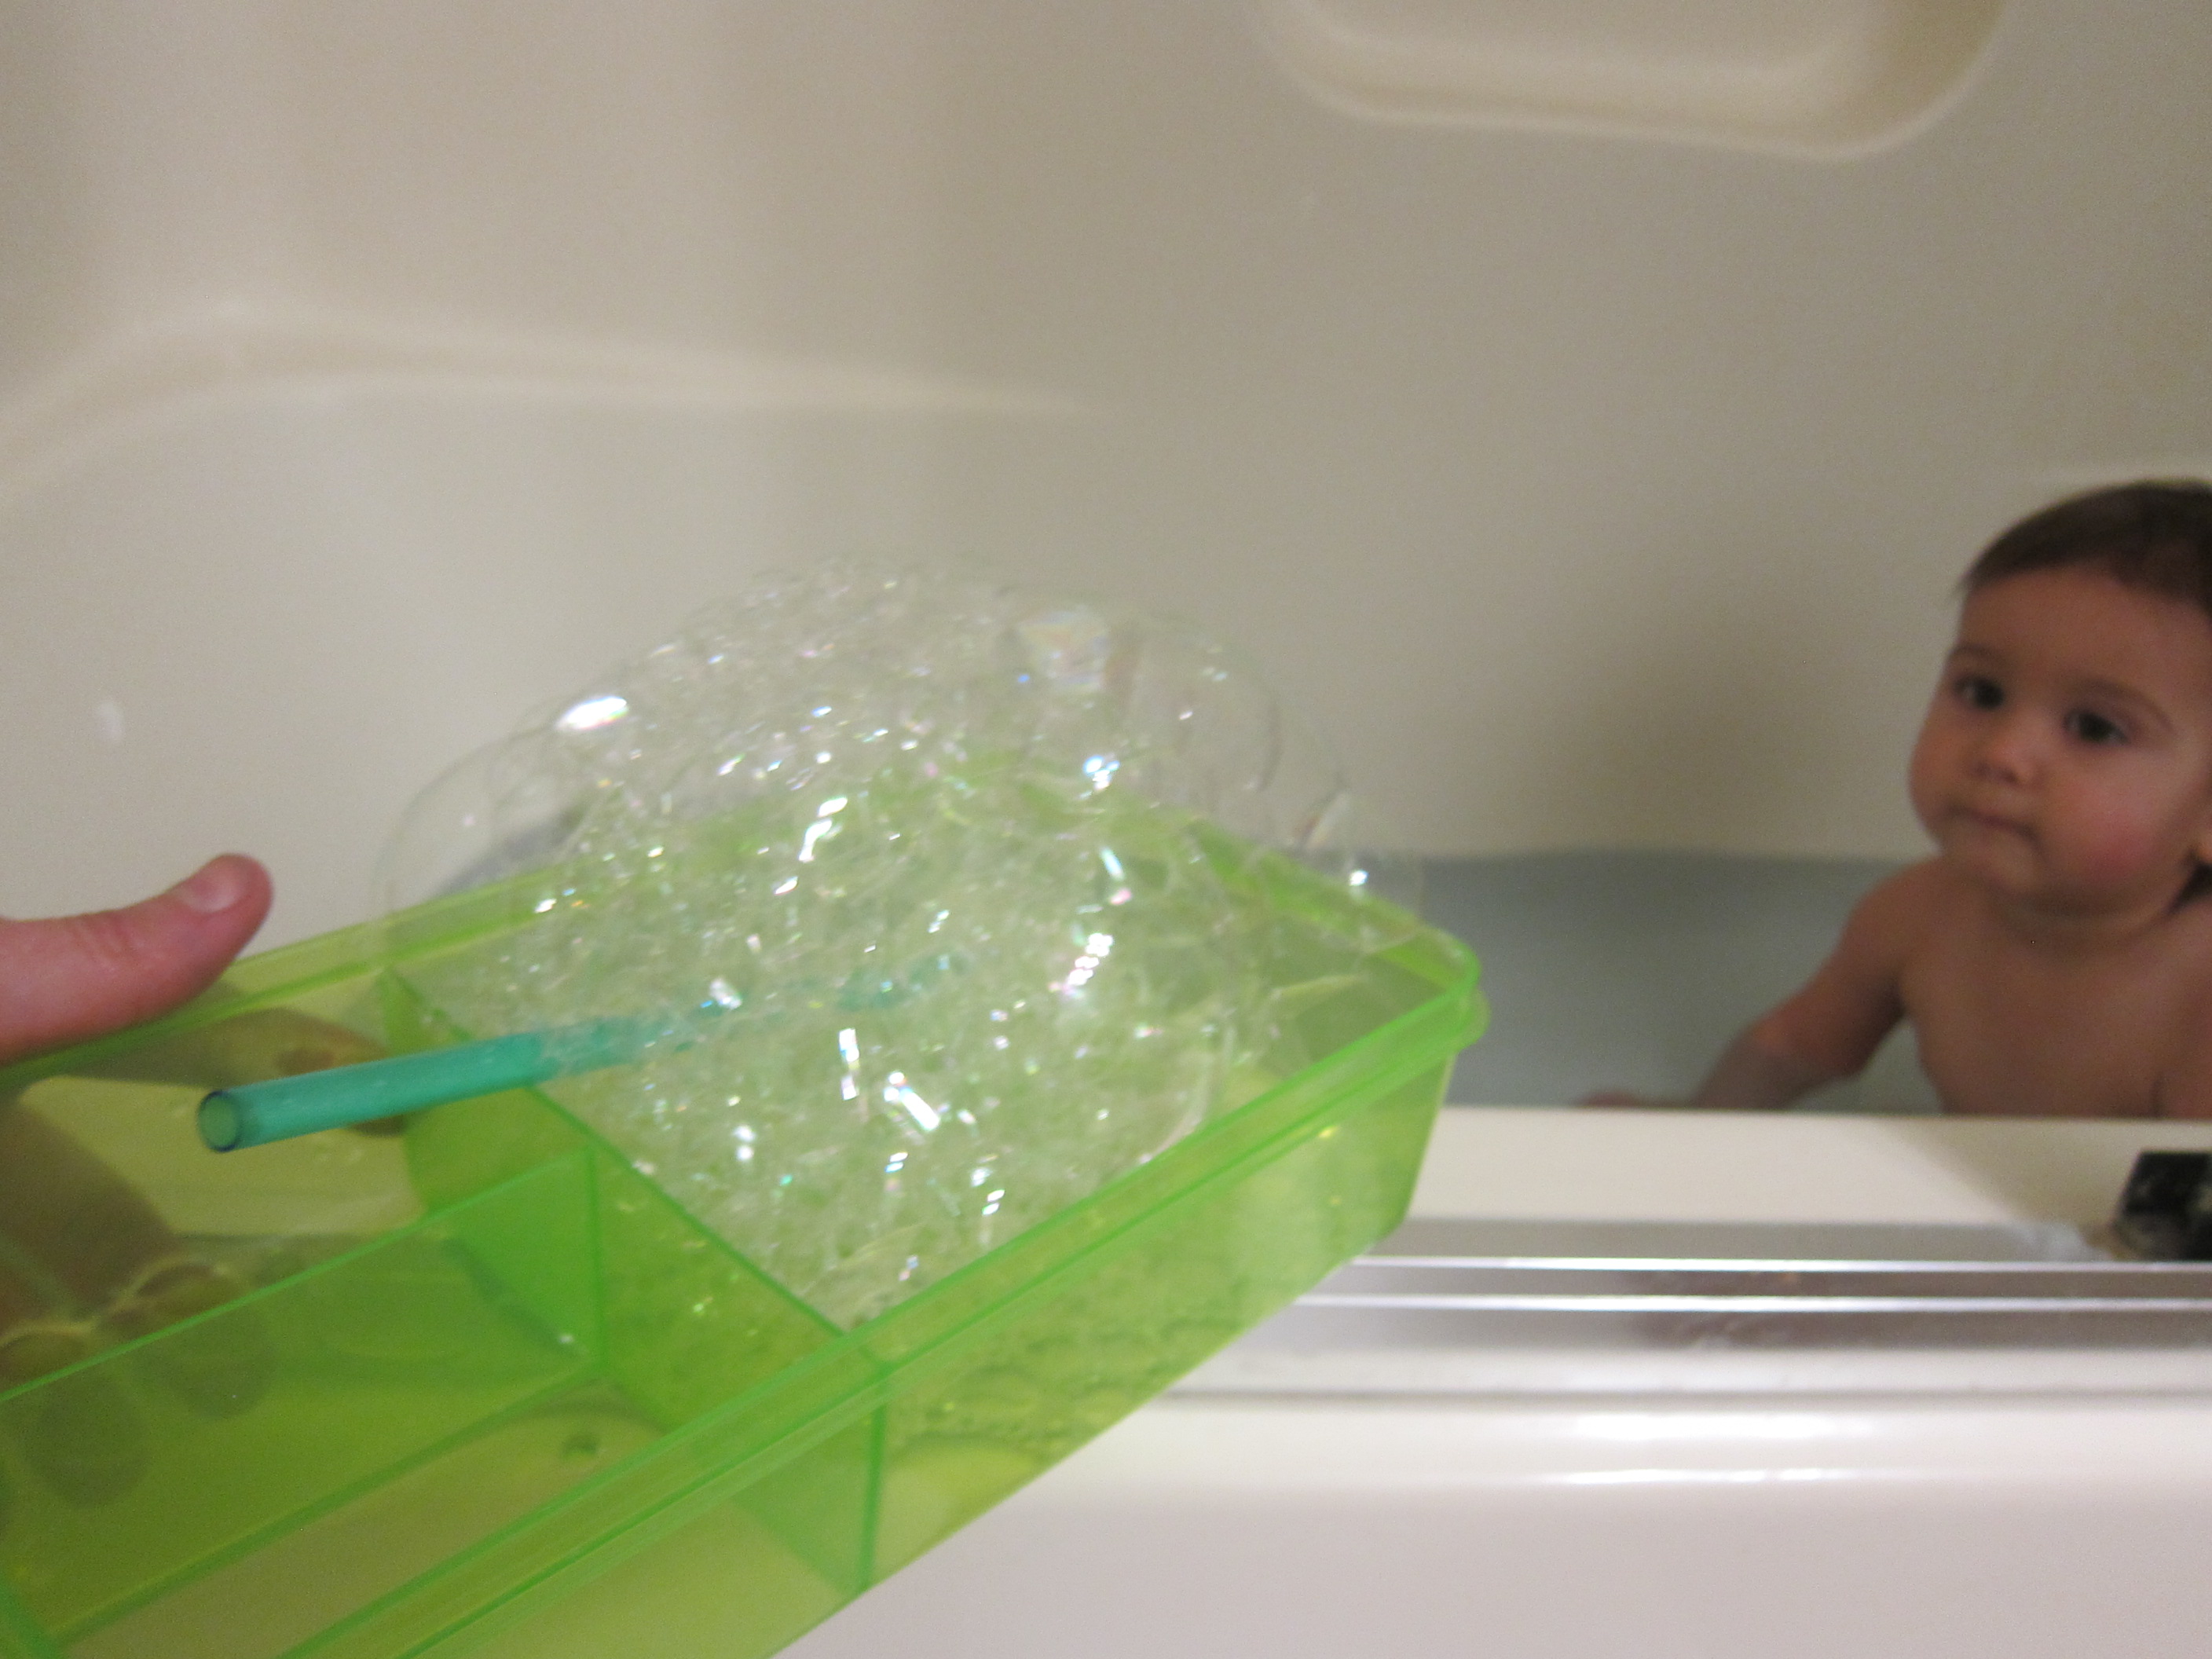
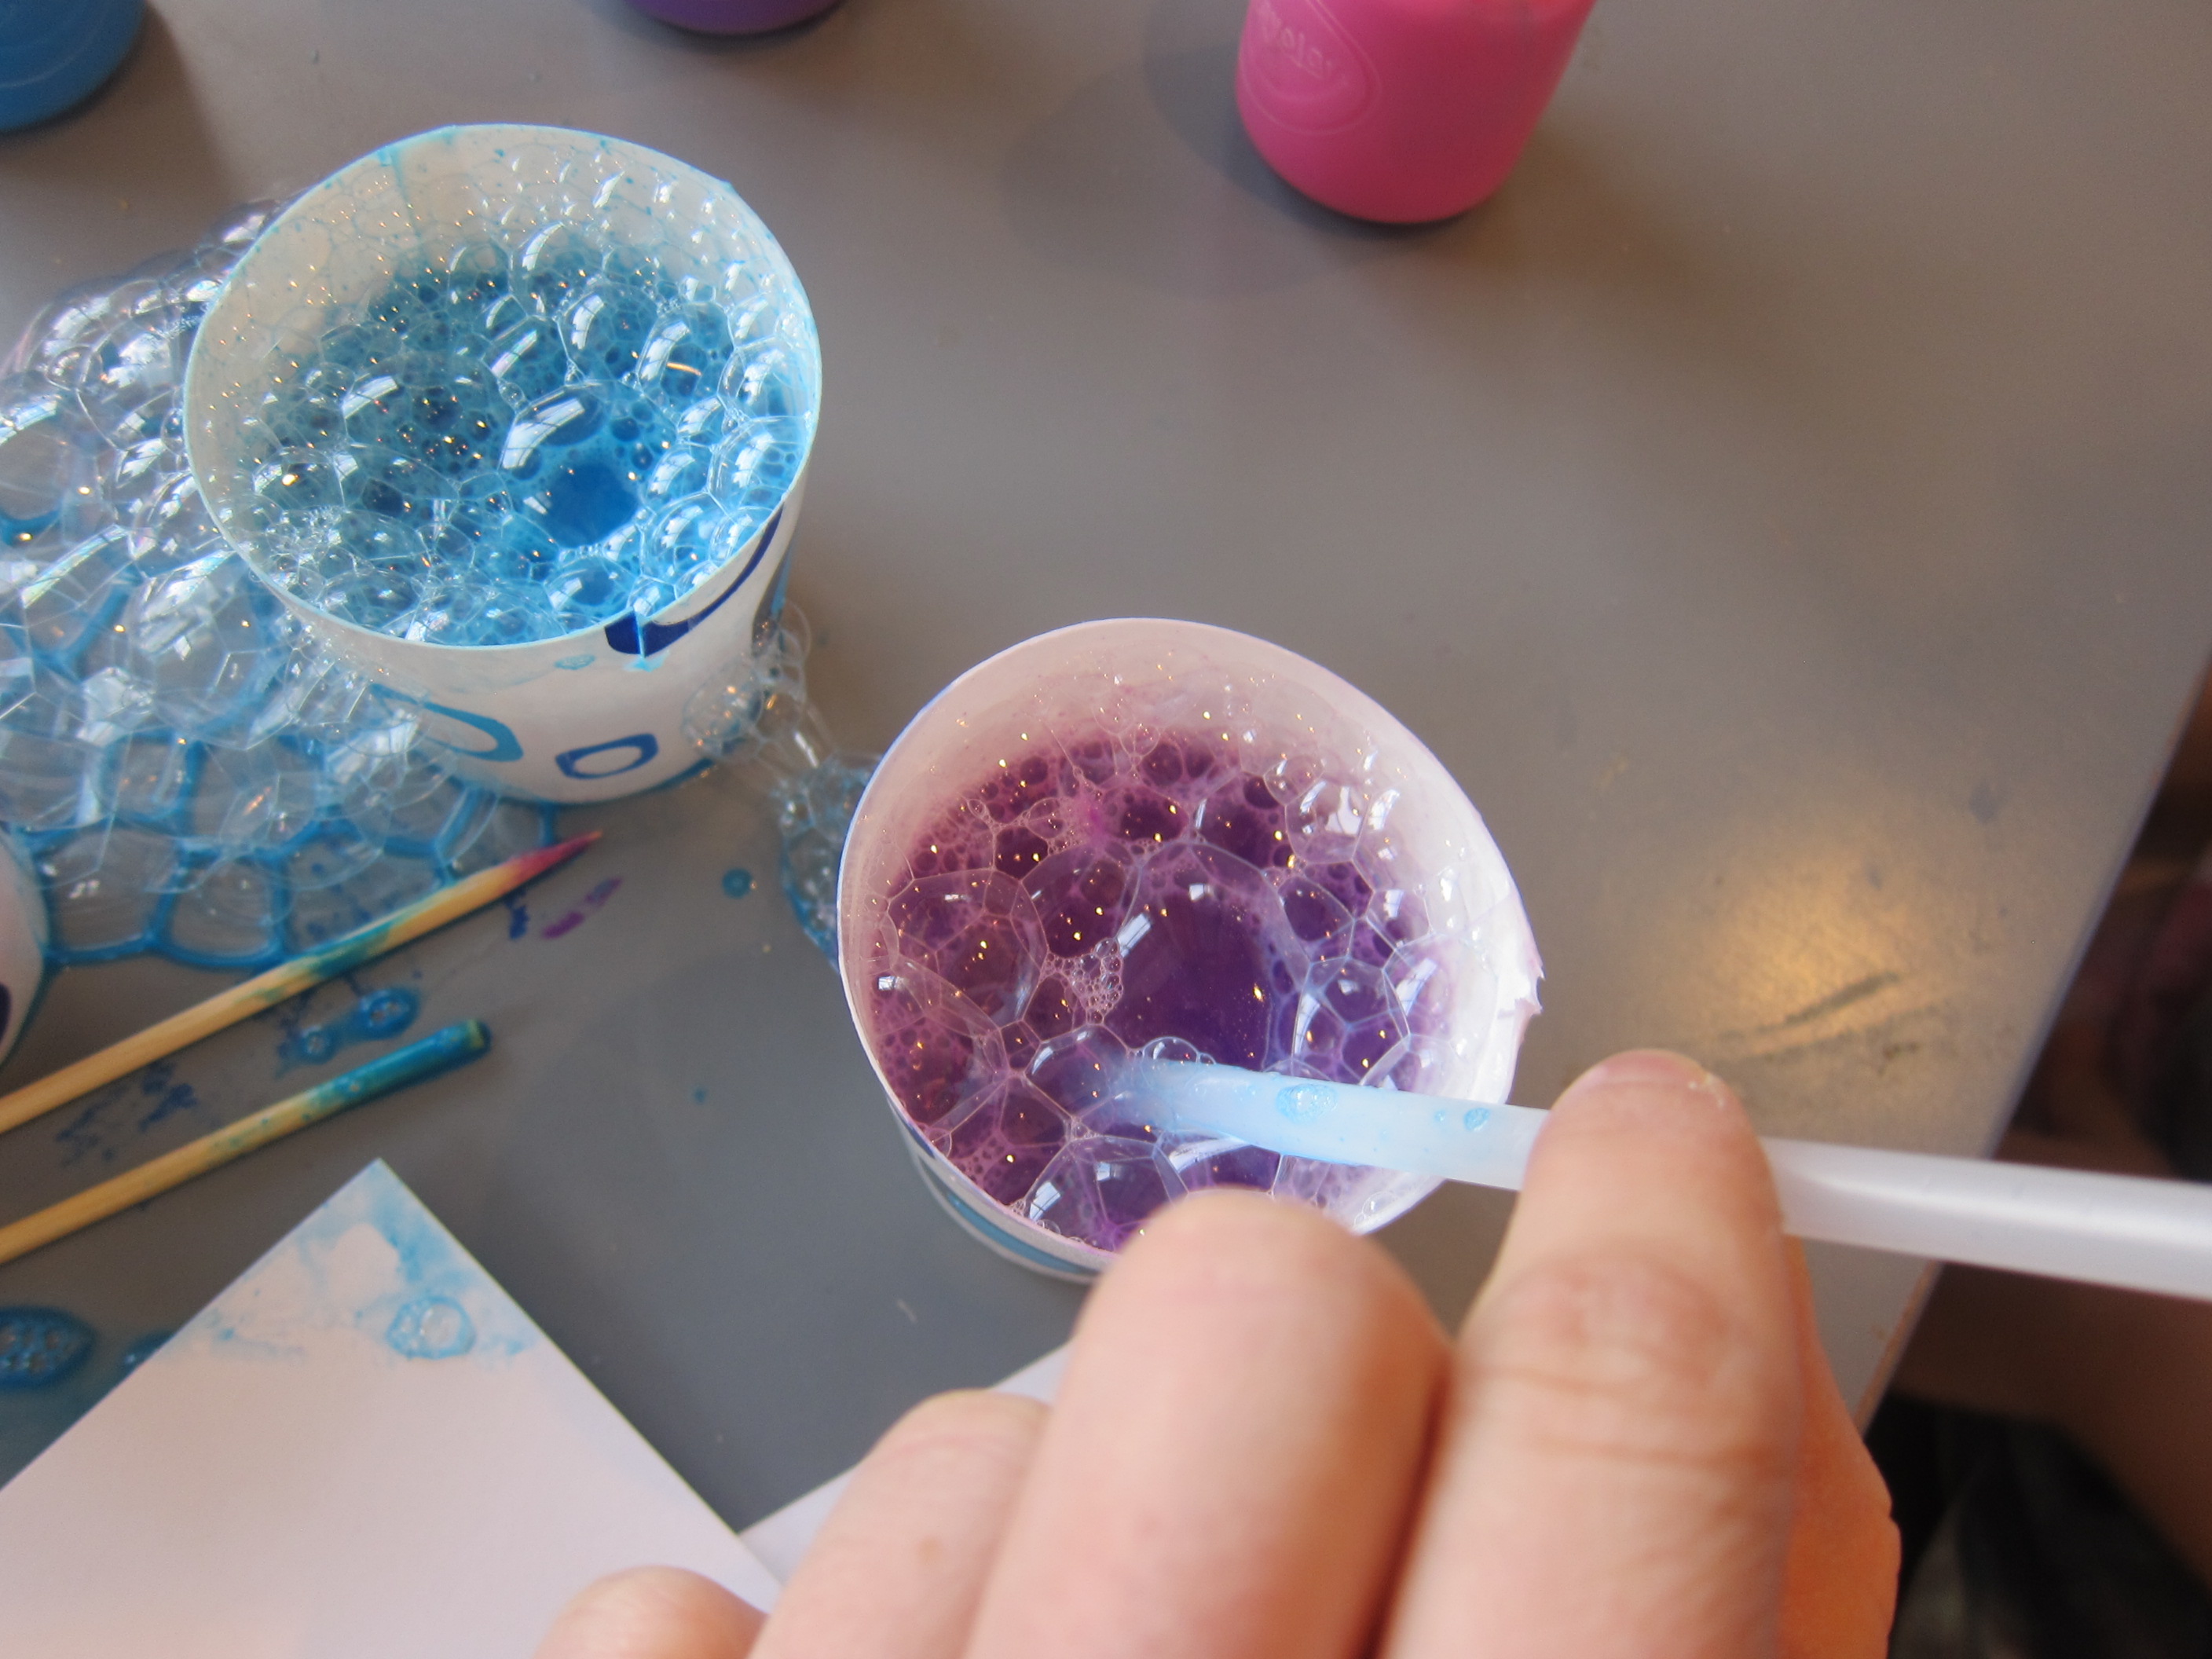
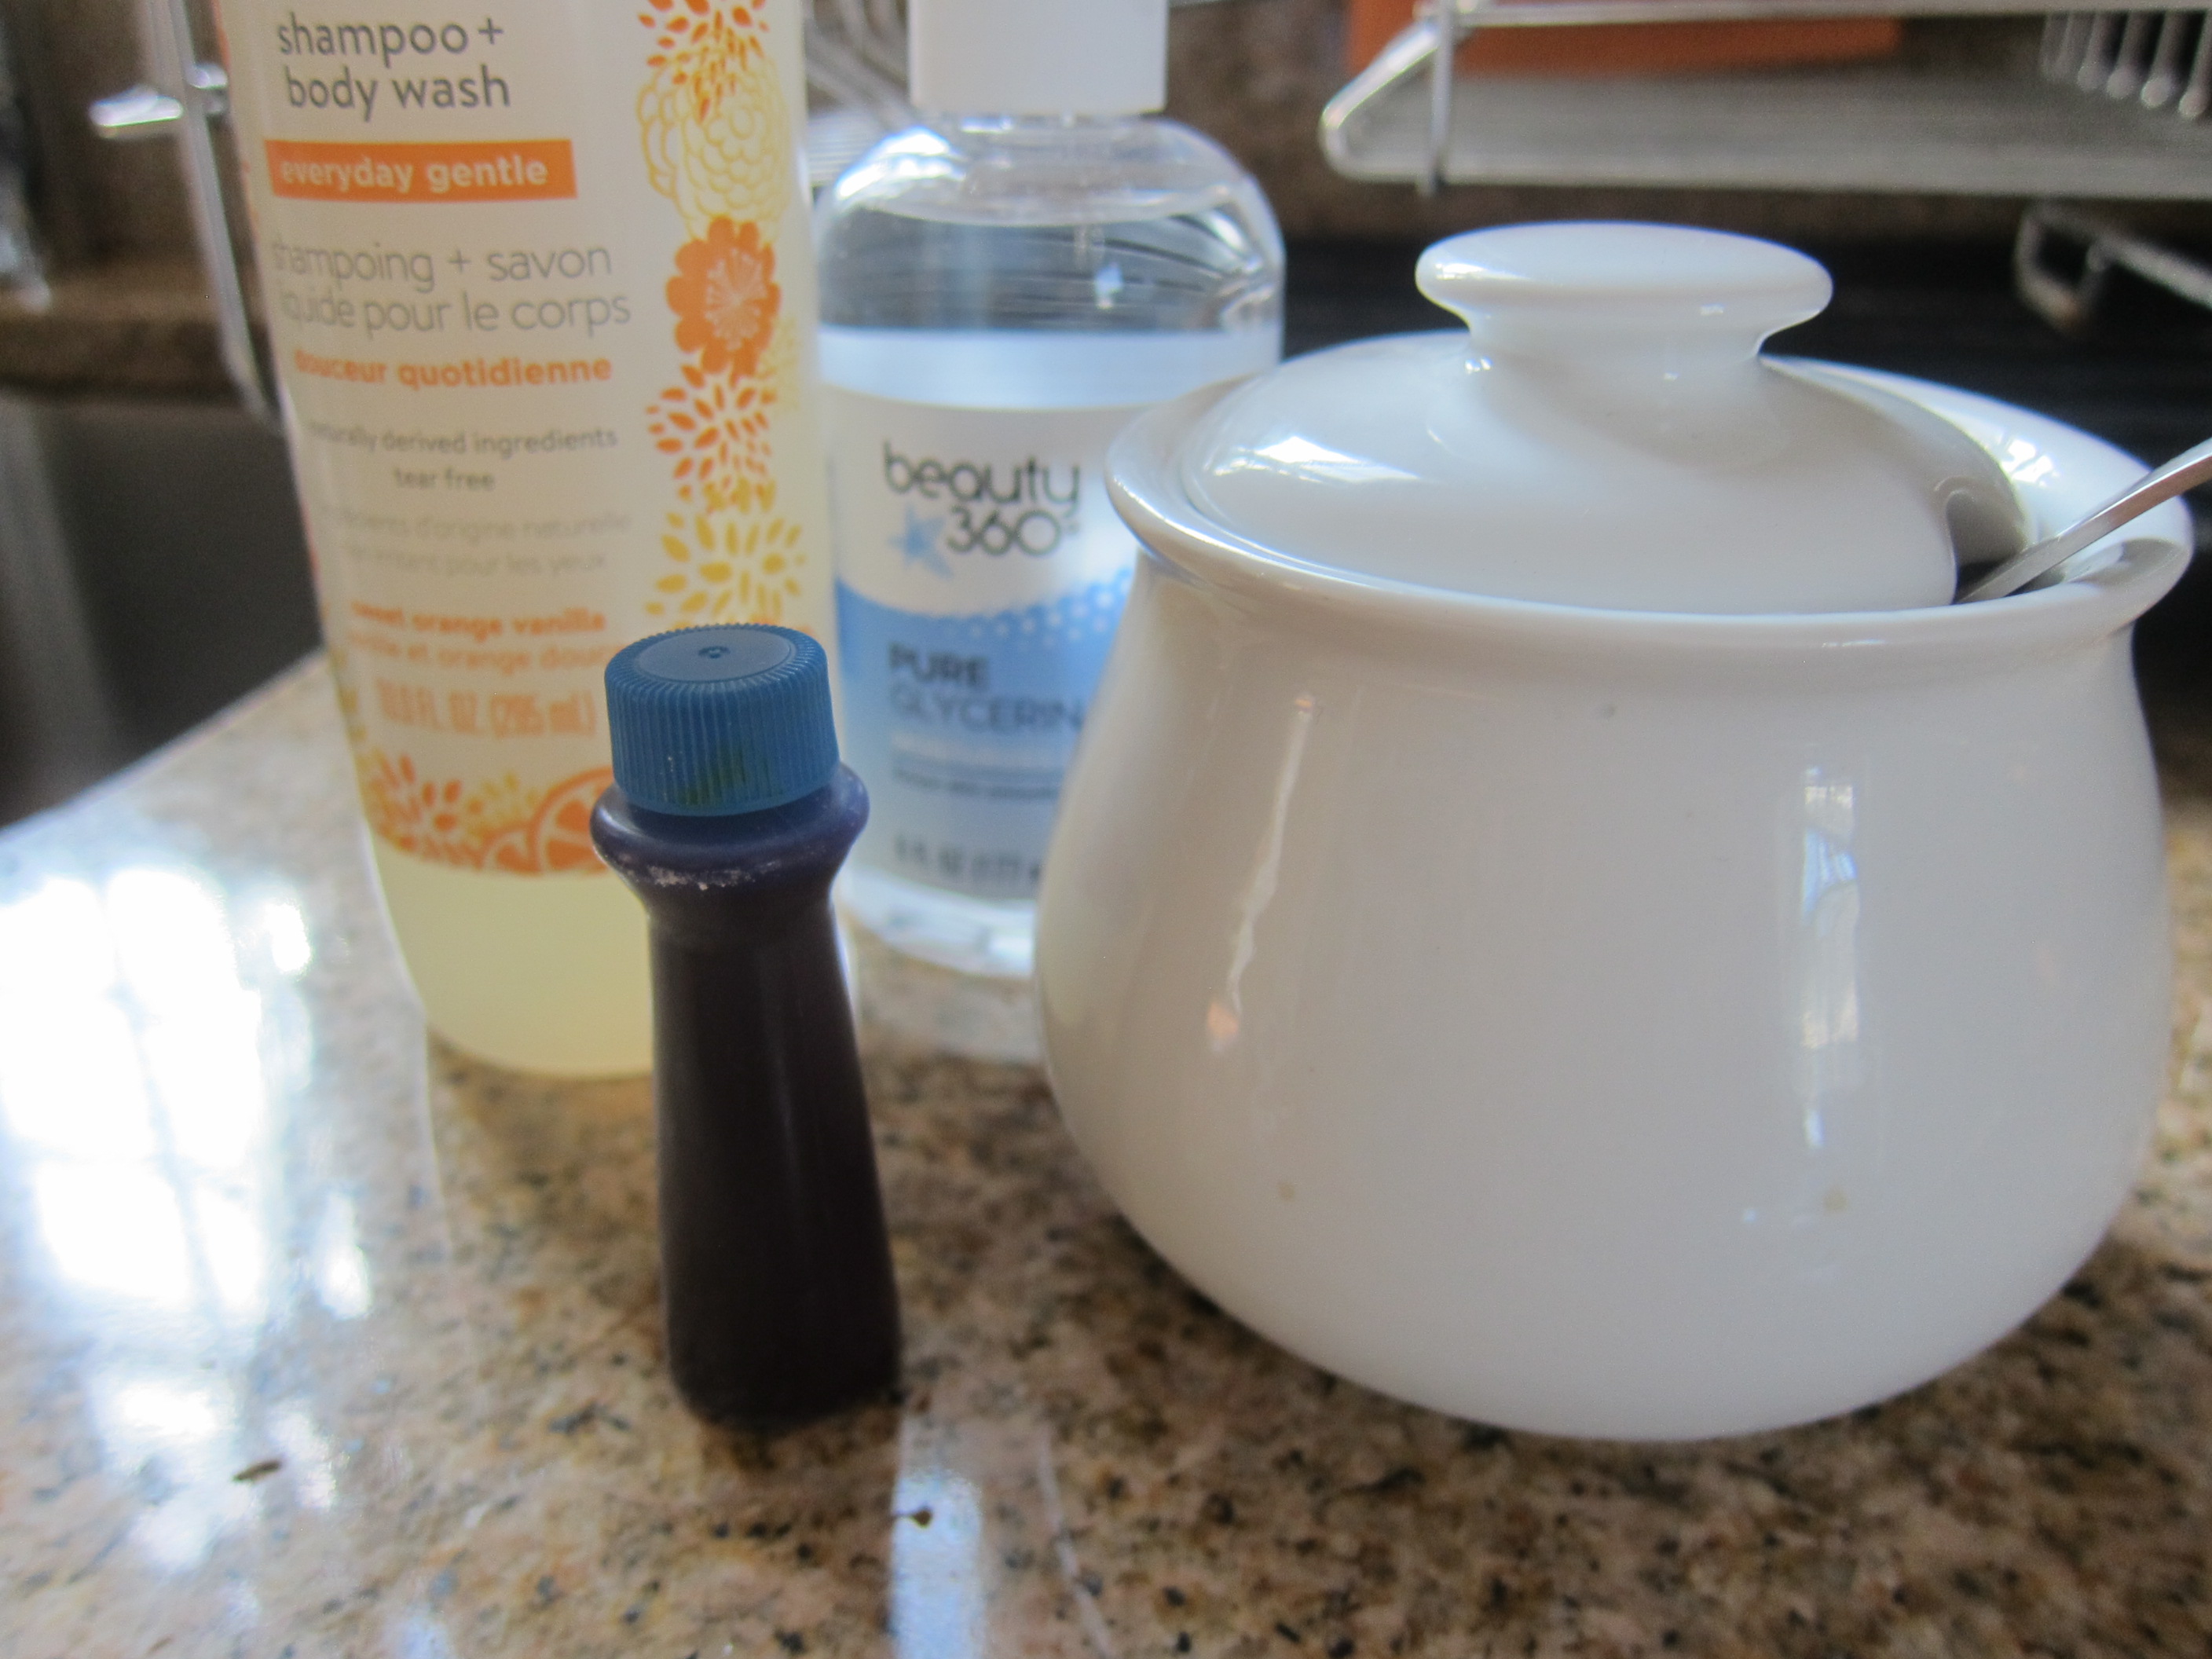
Once the water this blue, I filled a Tupperware container with a few squirts of dish soap and added a little water.

Dish Soap Bubble Bath (1)

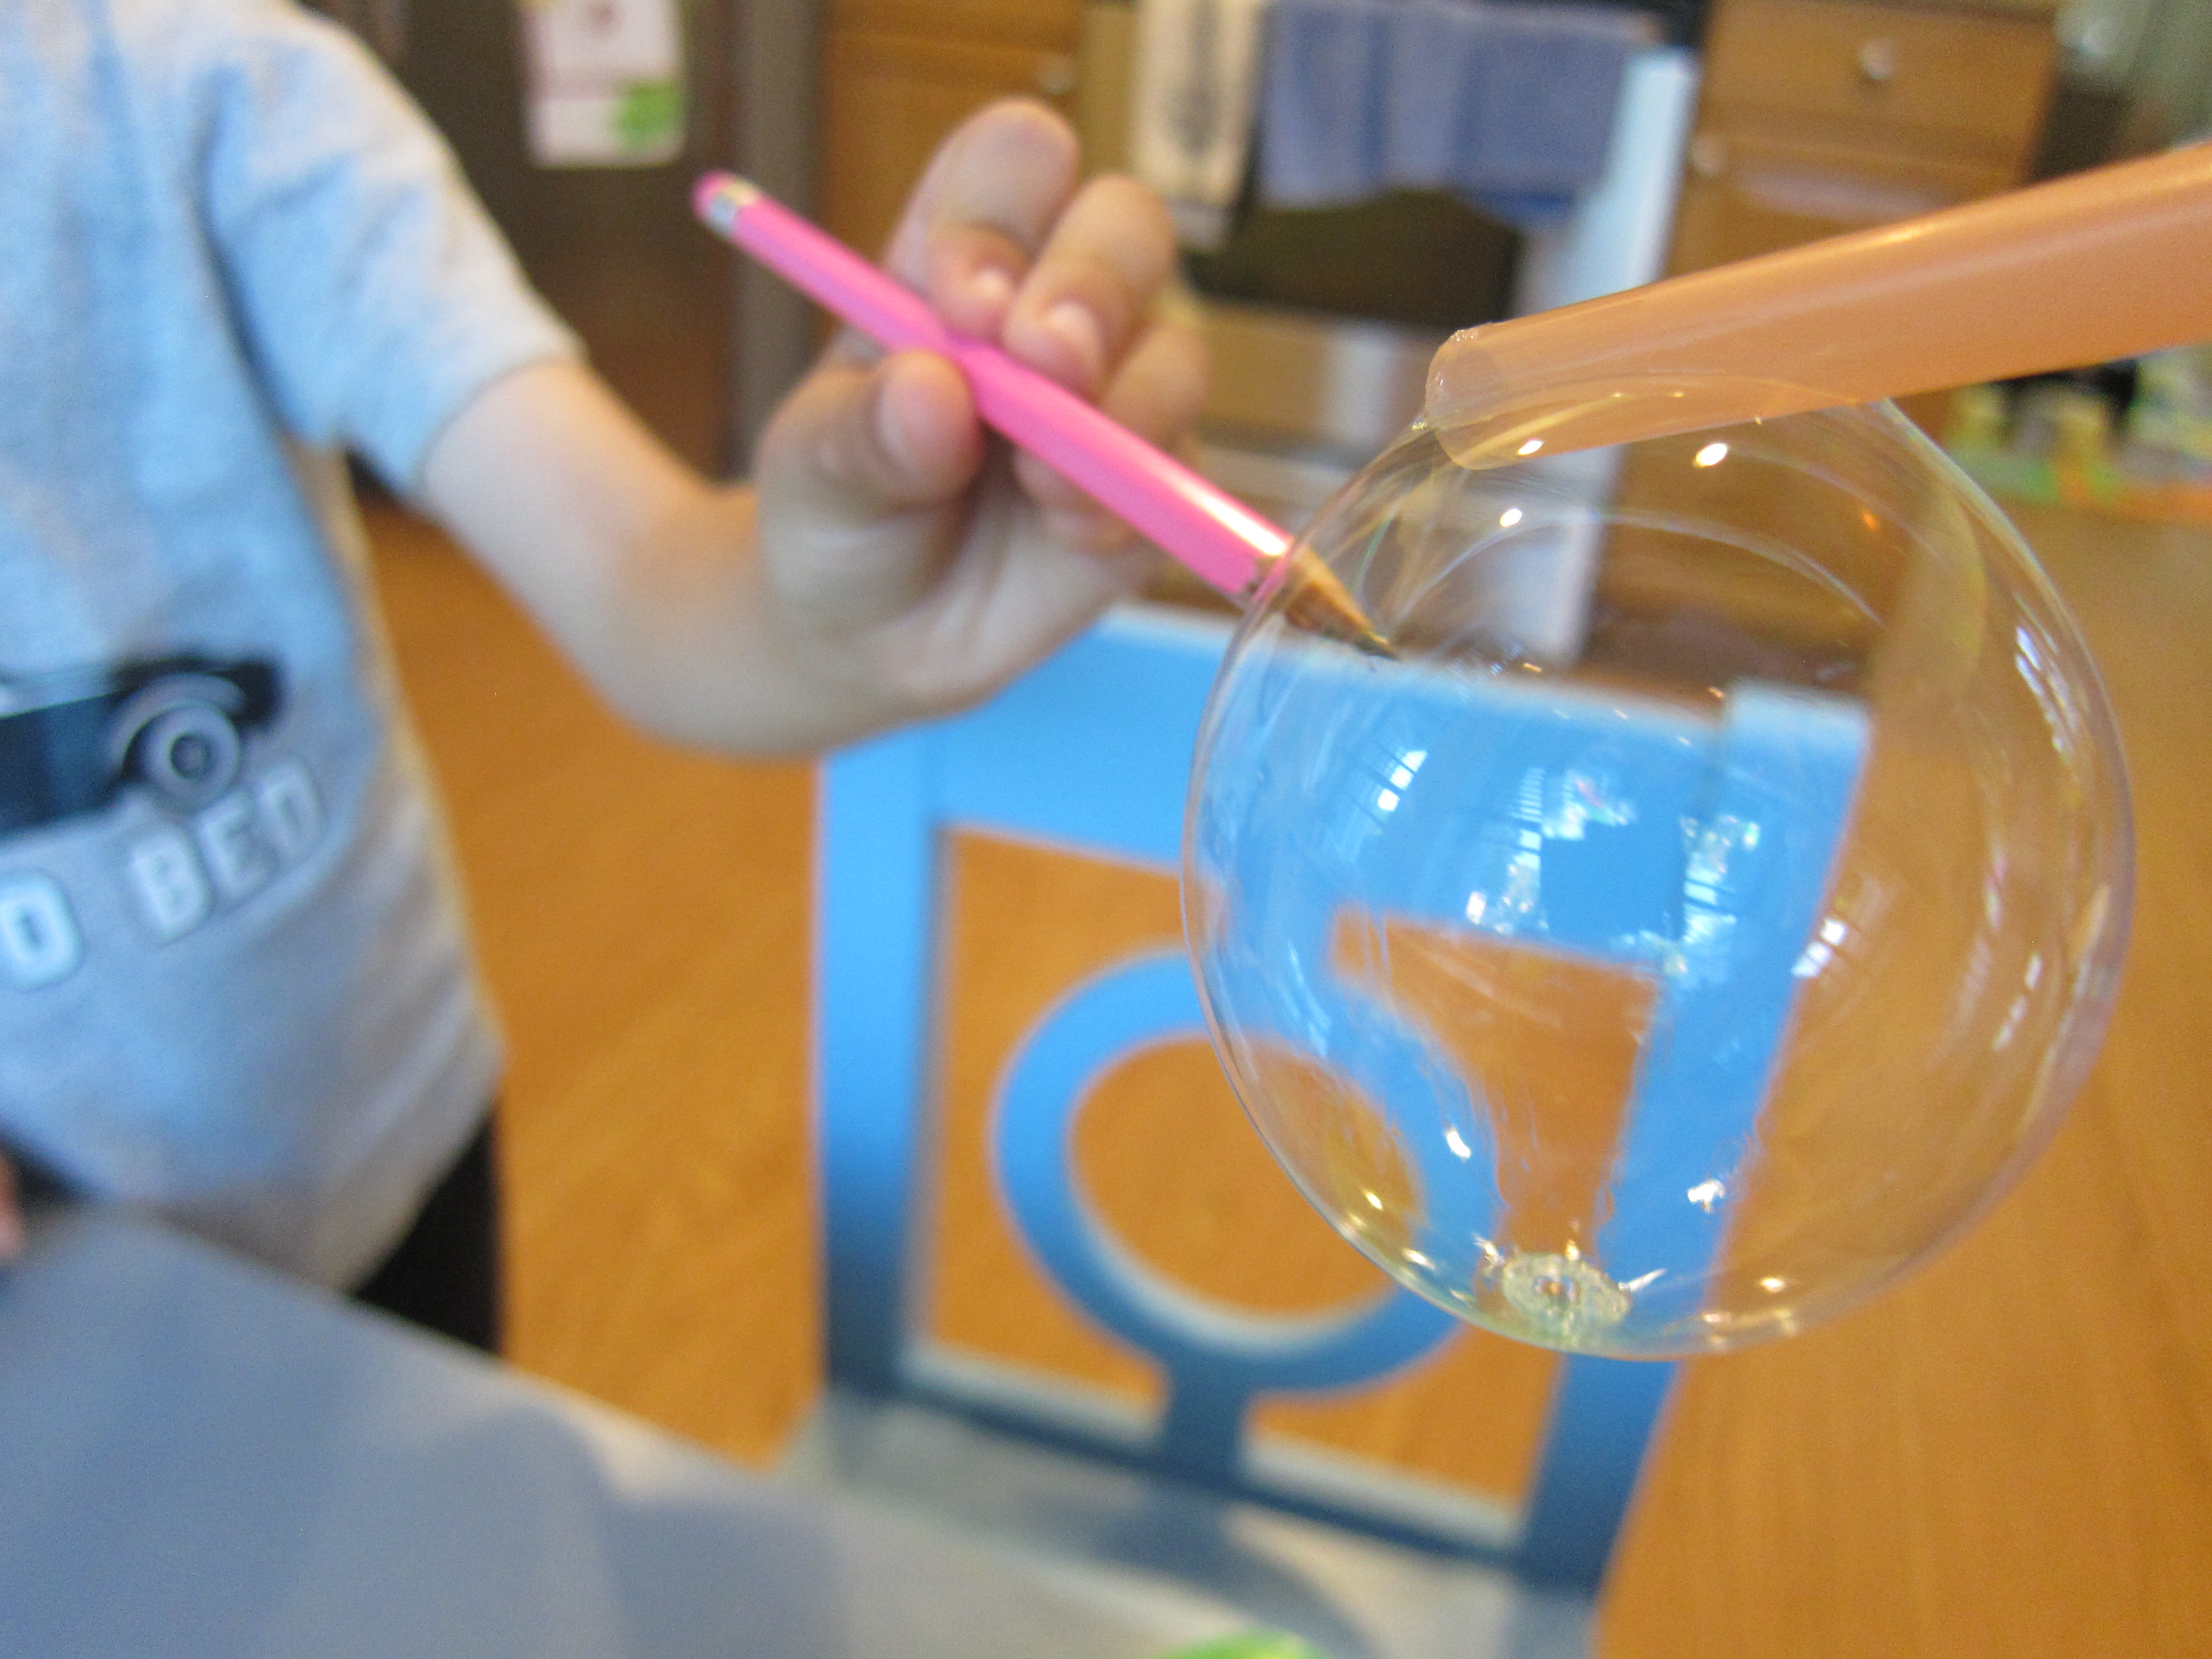
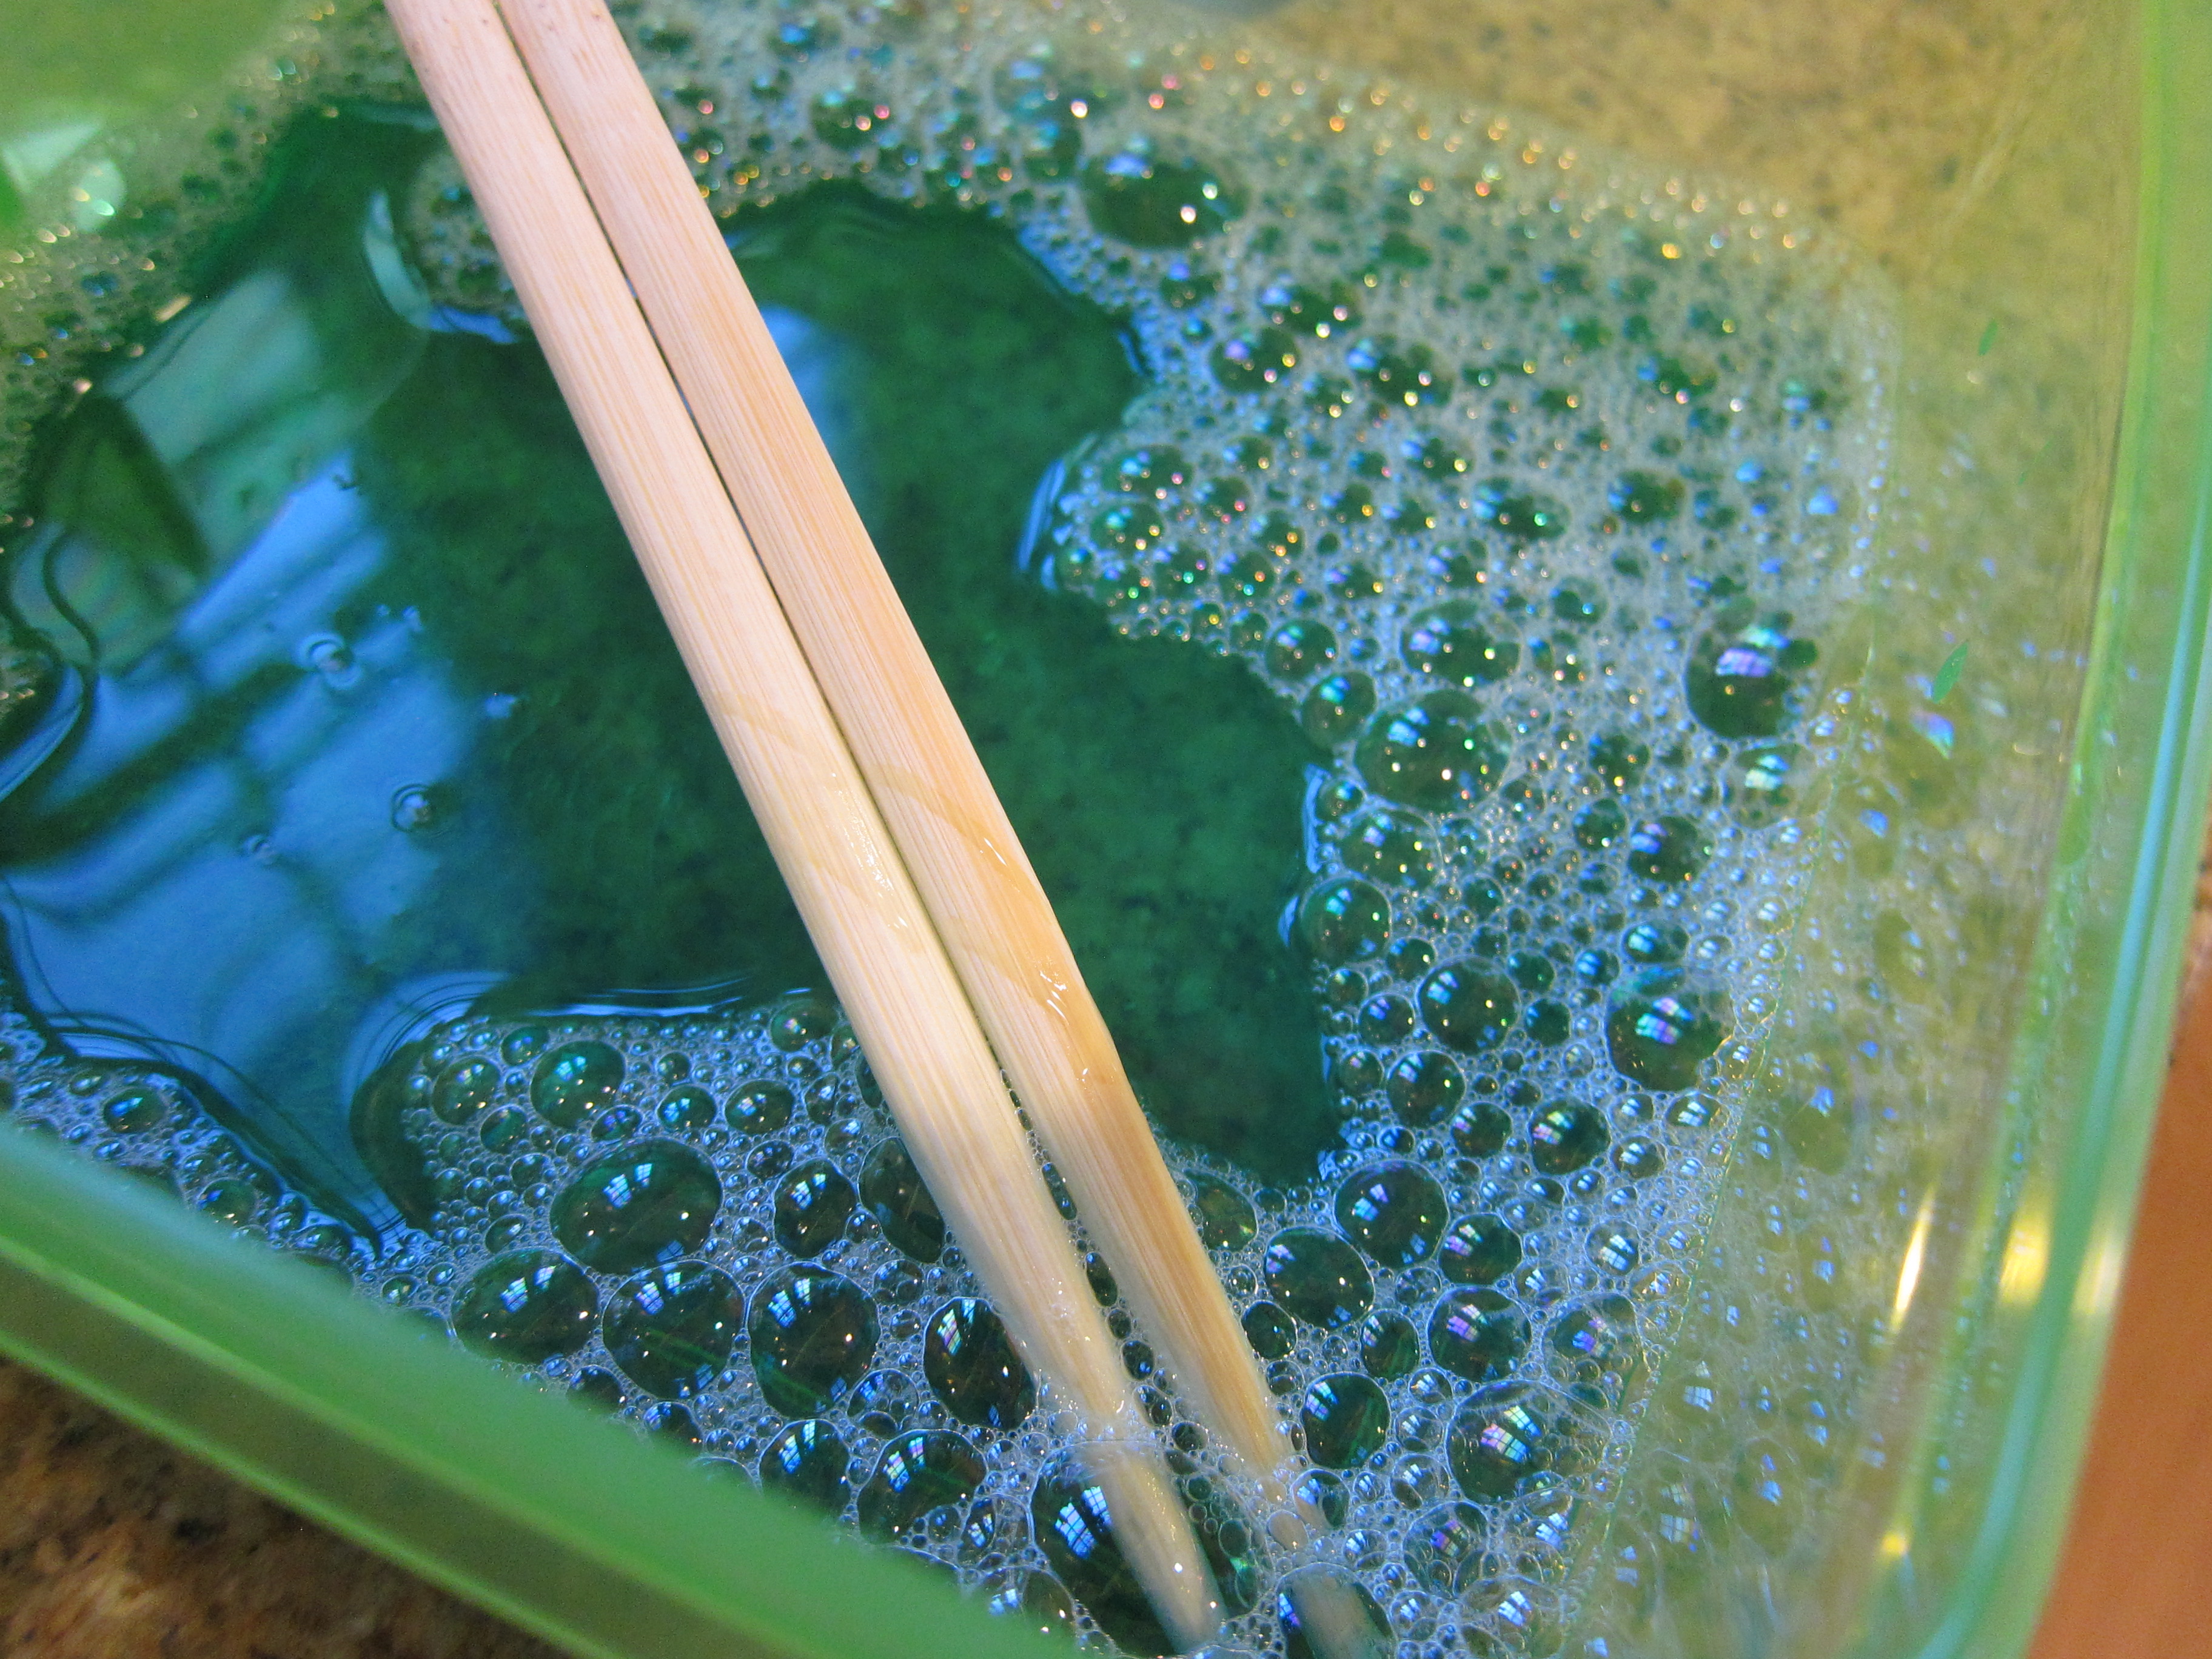
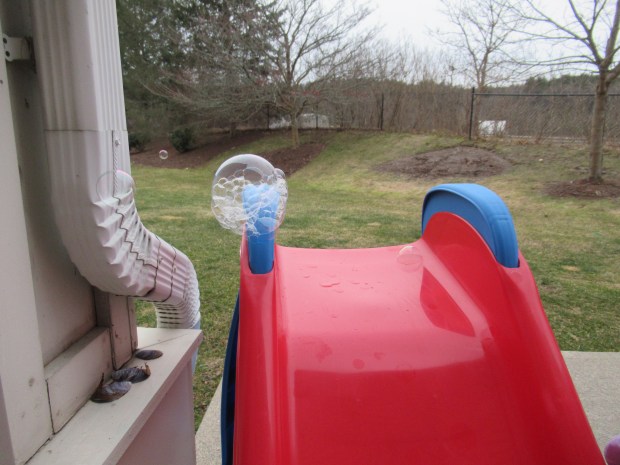
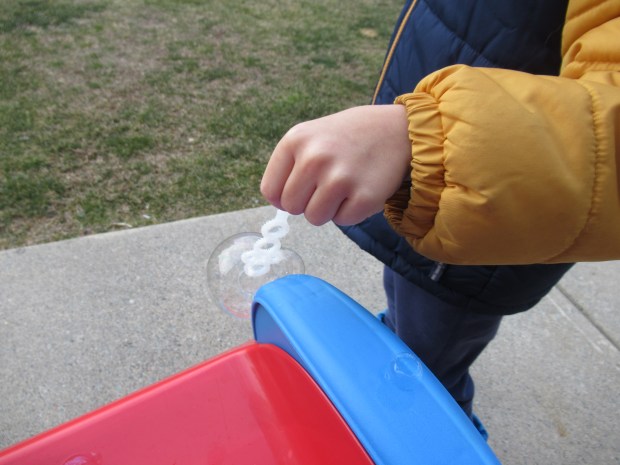
Blow into the mixture with a straw and honeycomb bubbles will begin to rise to the surface. Definitely only let your child use the straw if you are confident he or she can blow out, not in.

Dish Soap Bubble Bath (3)

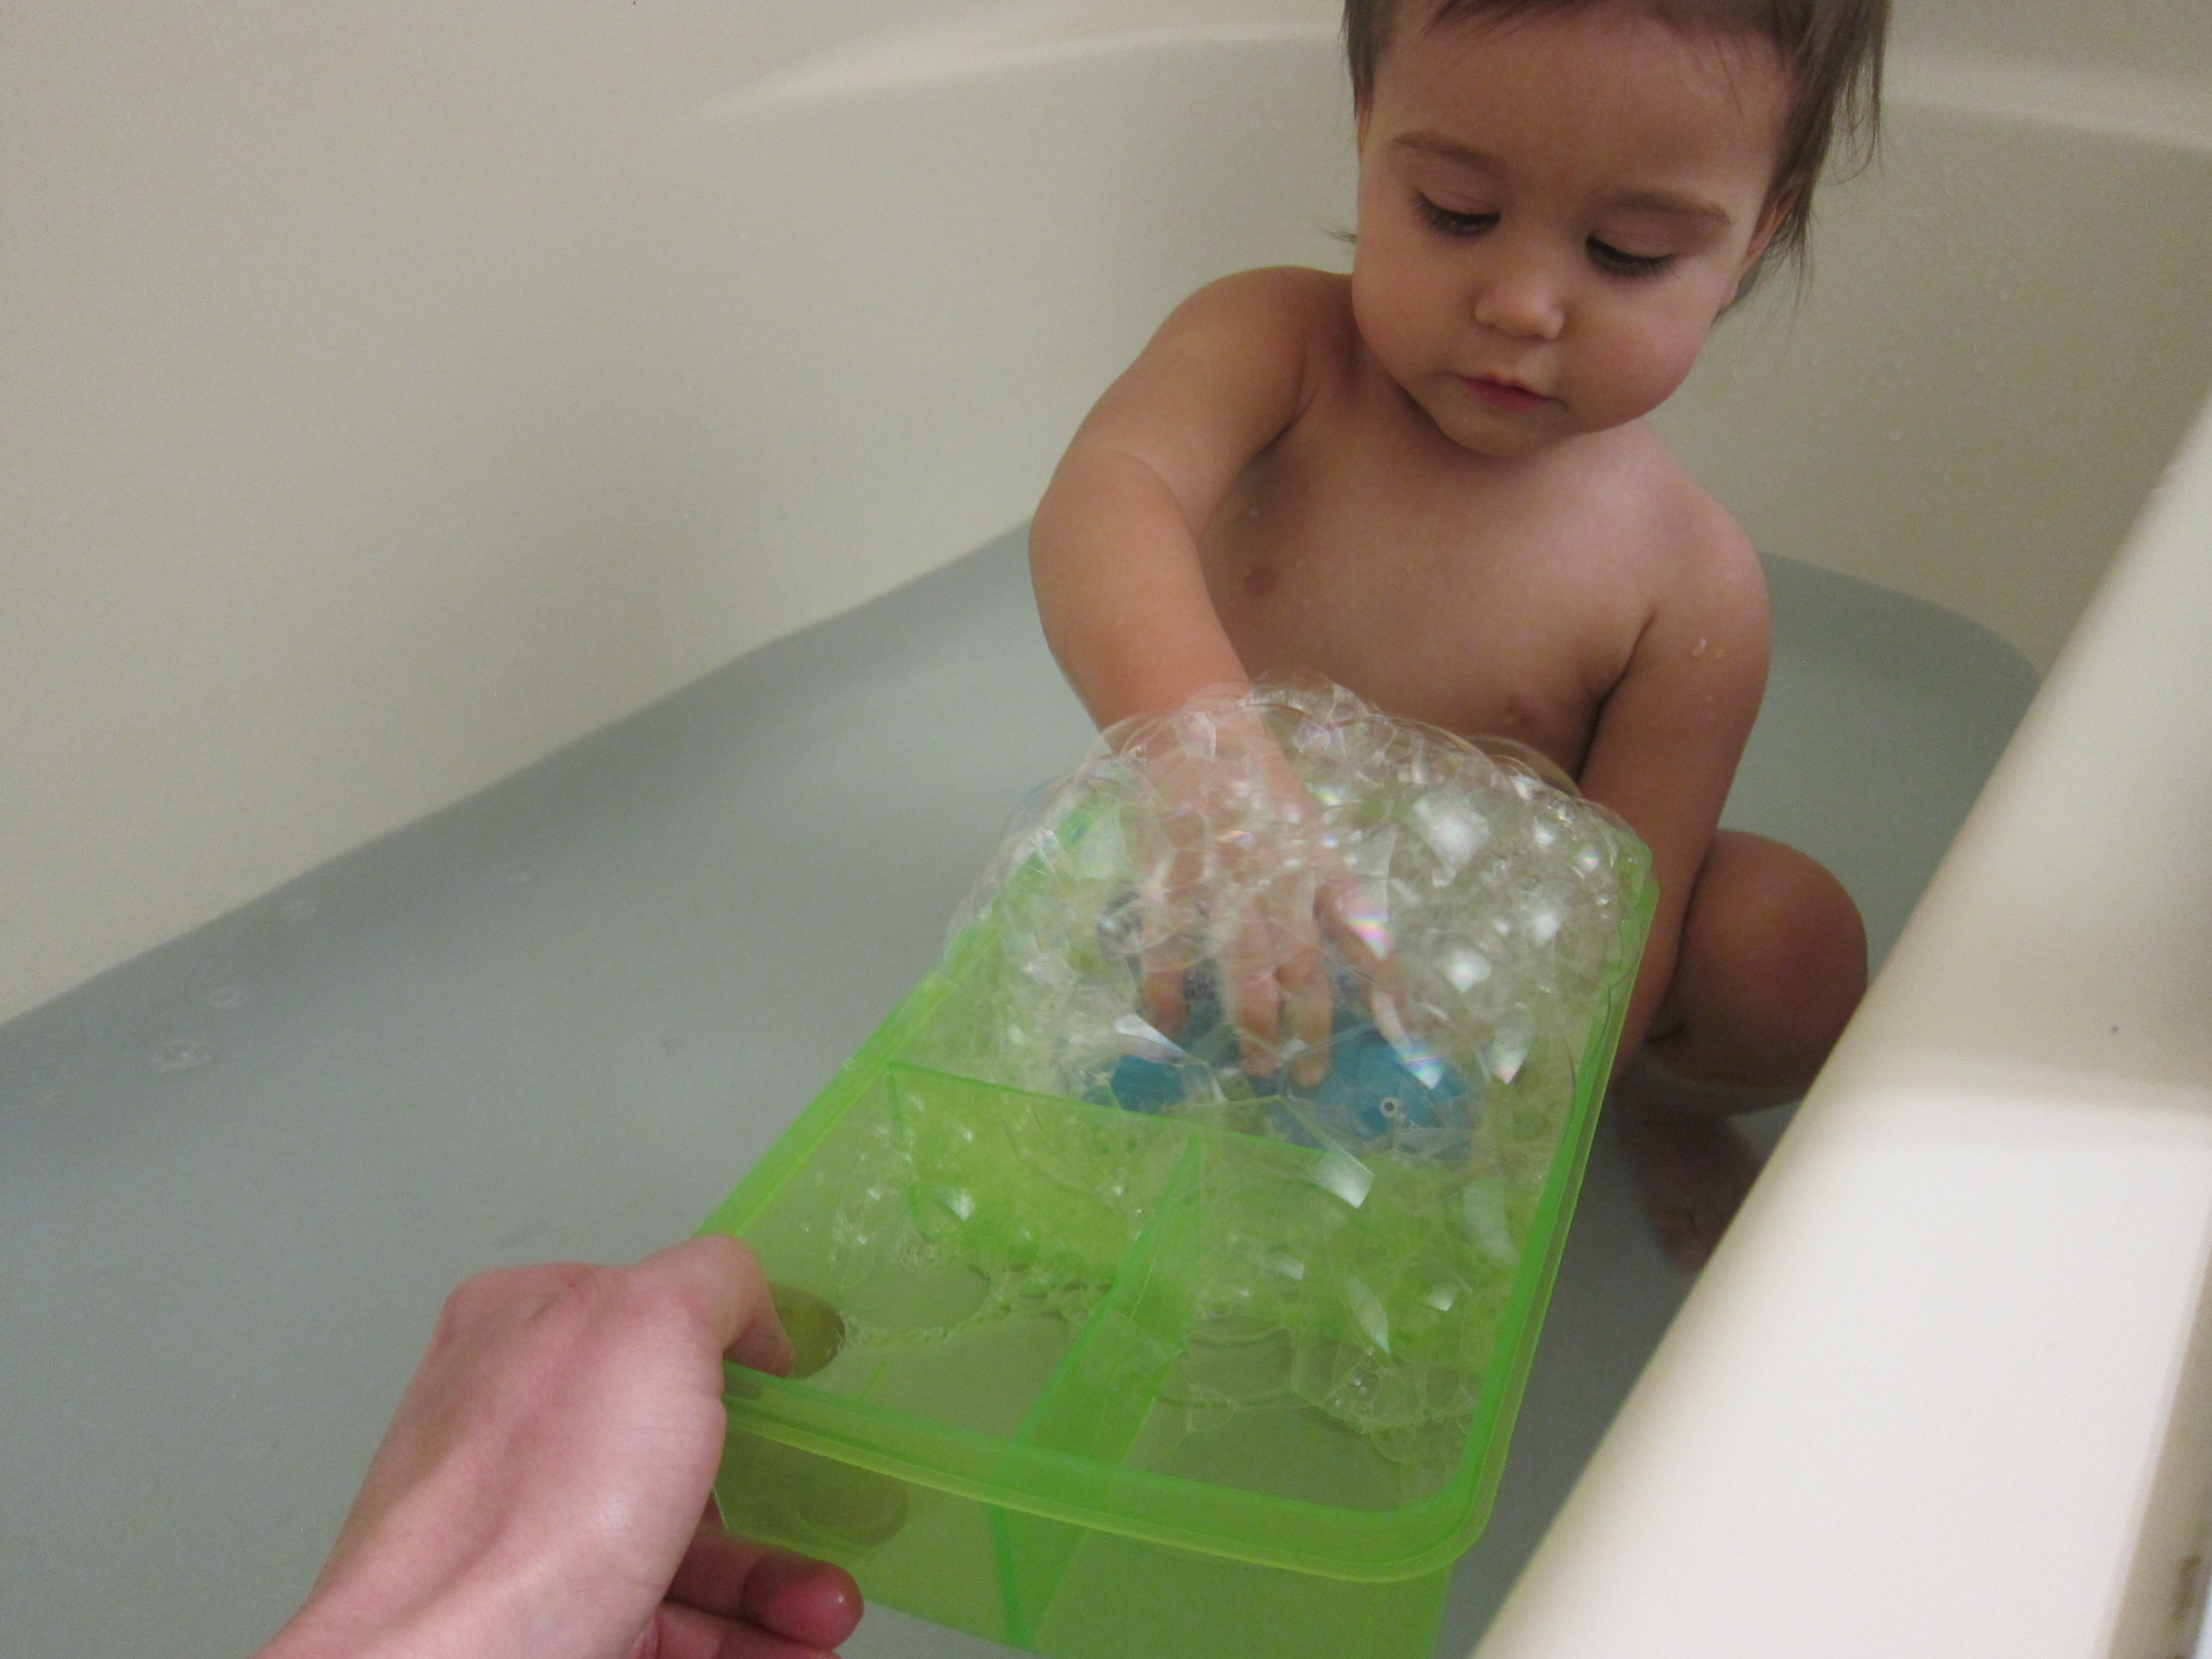
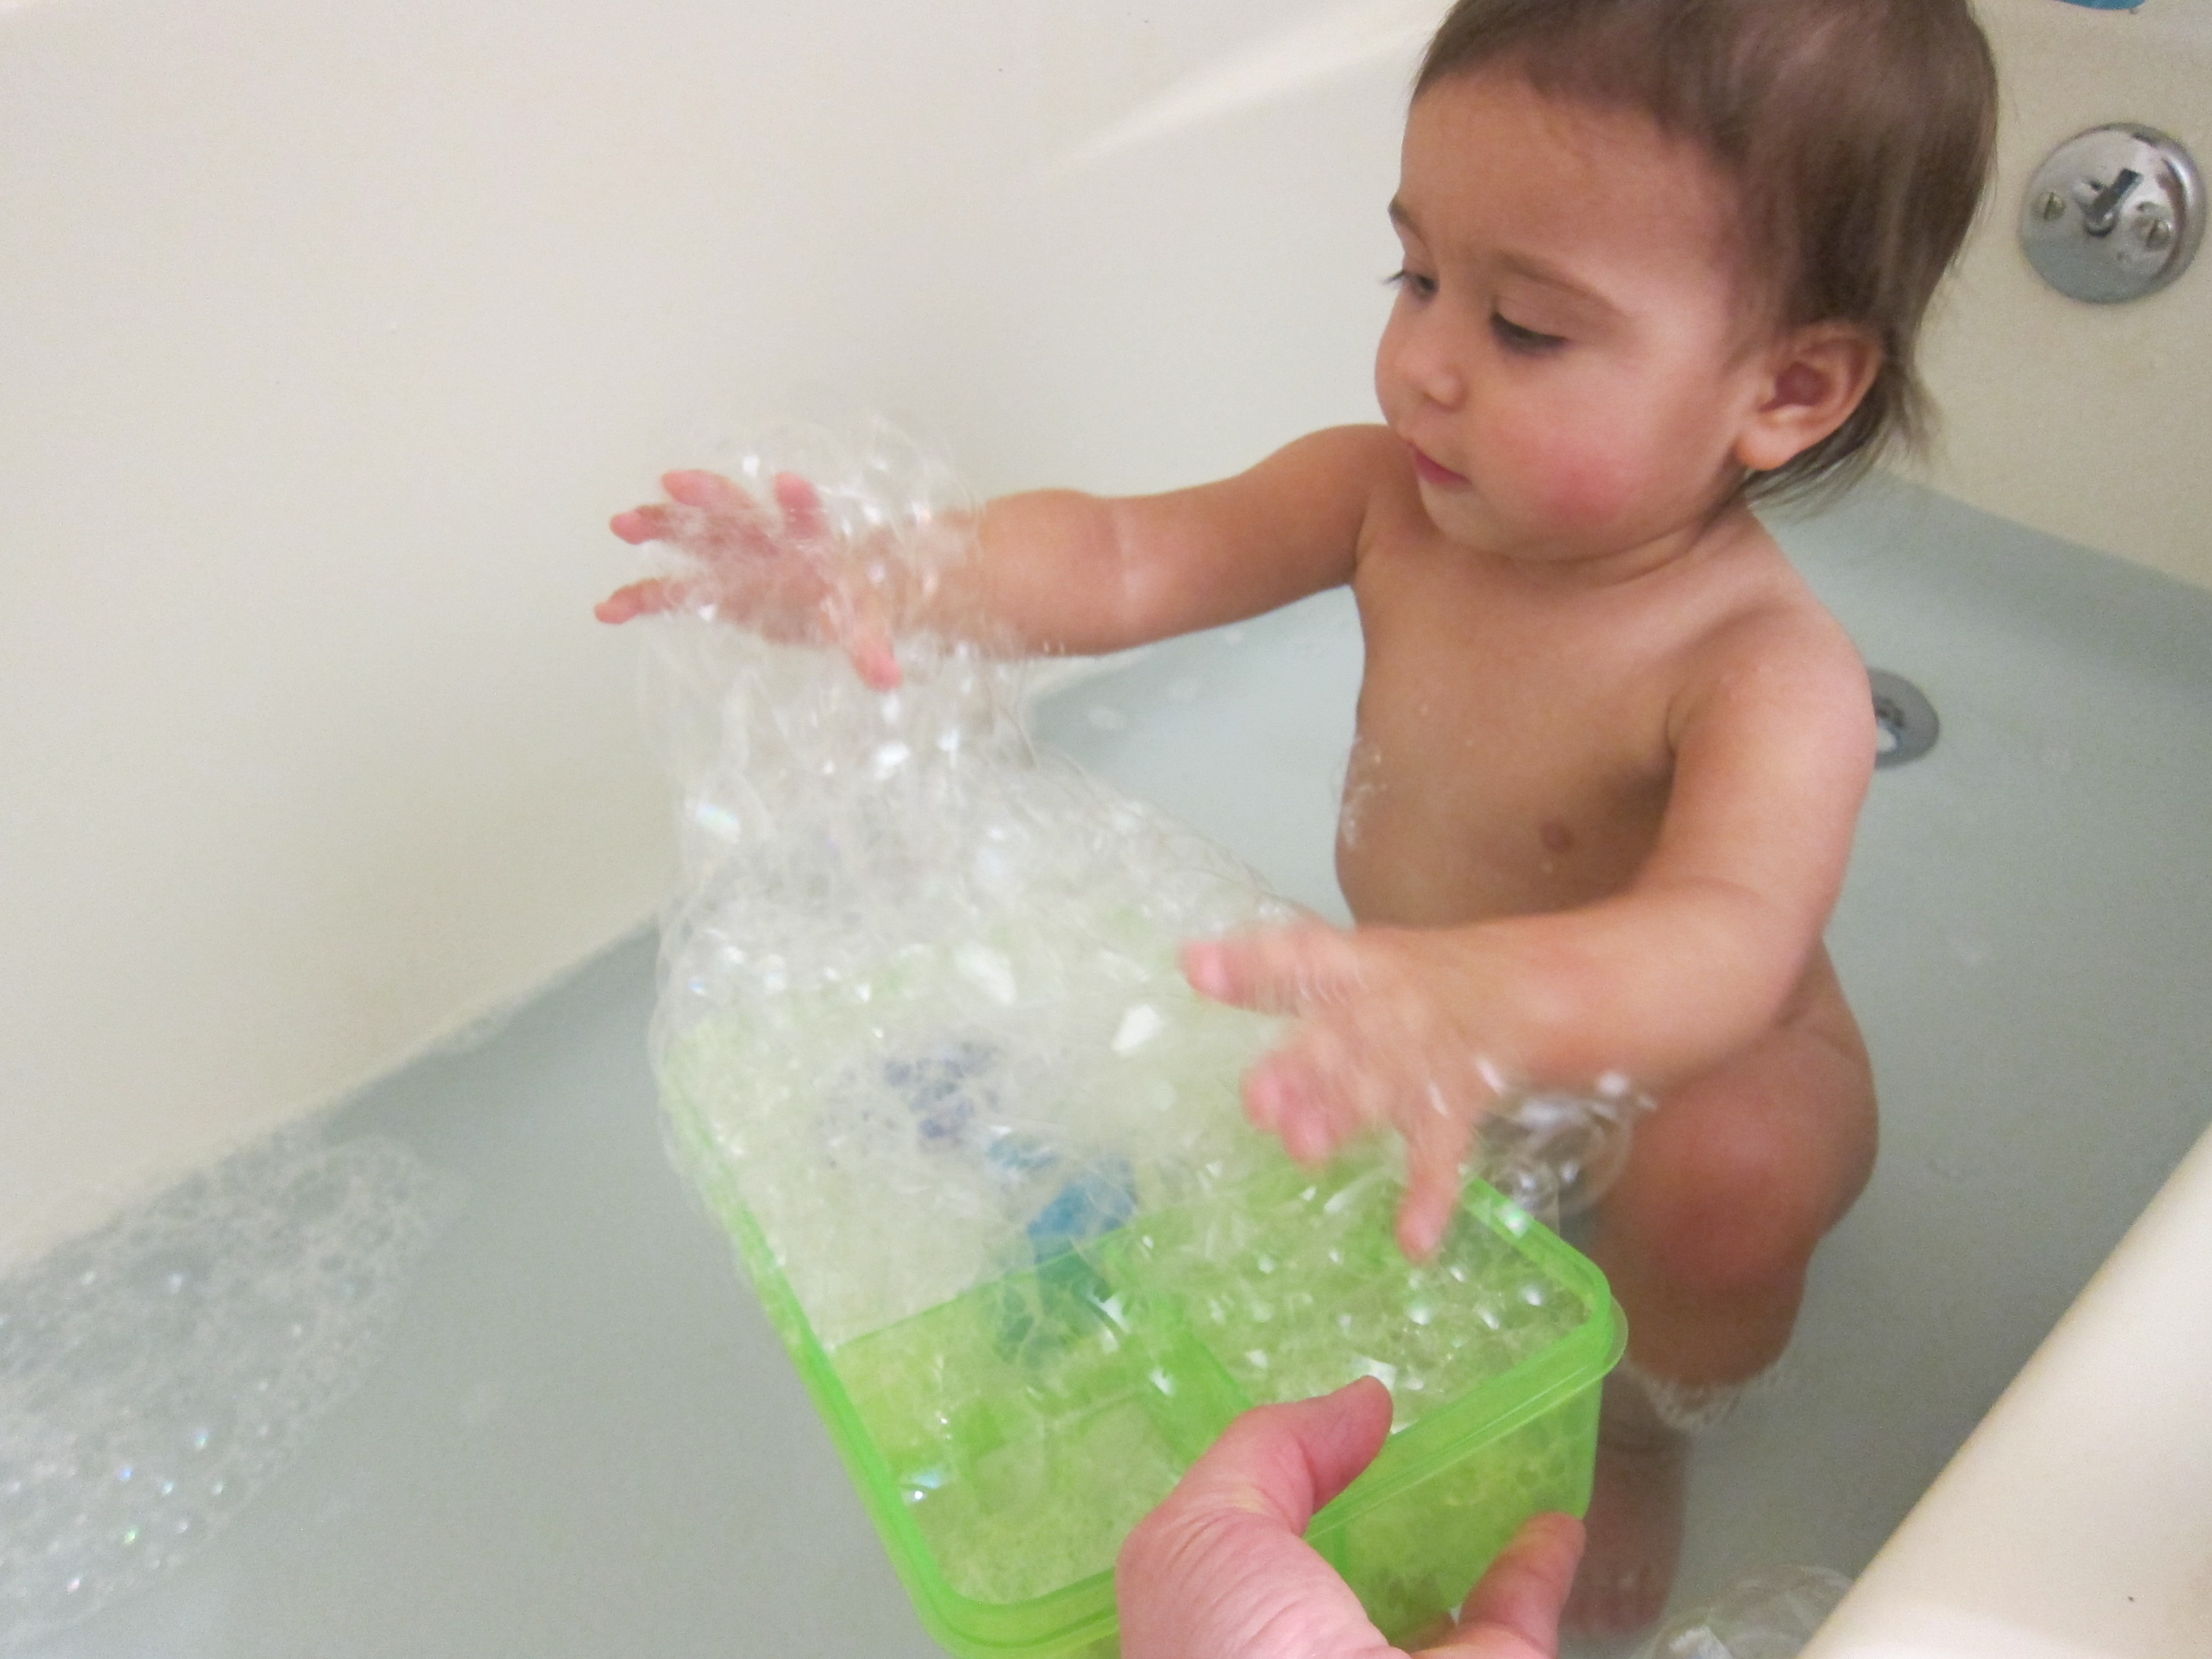
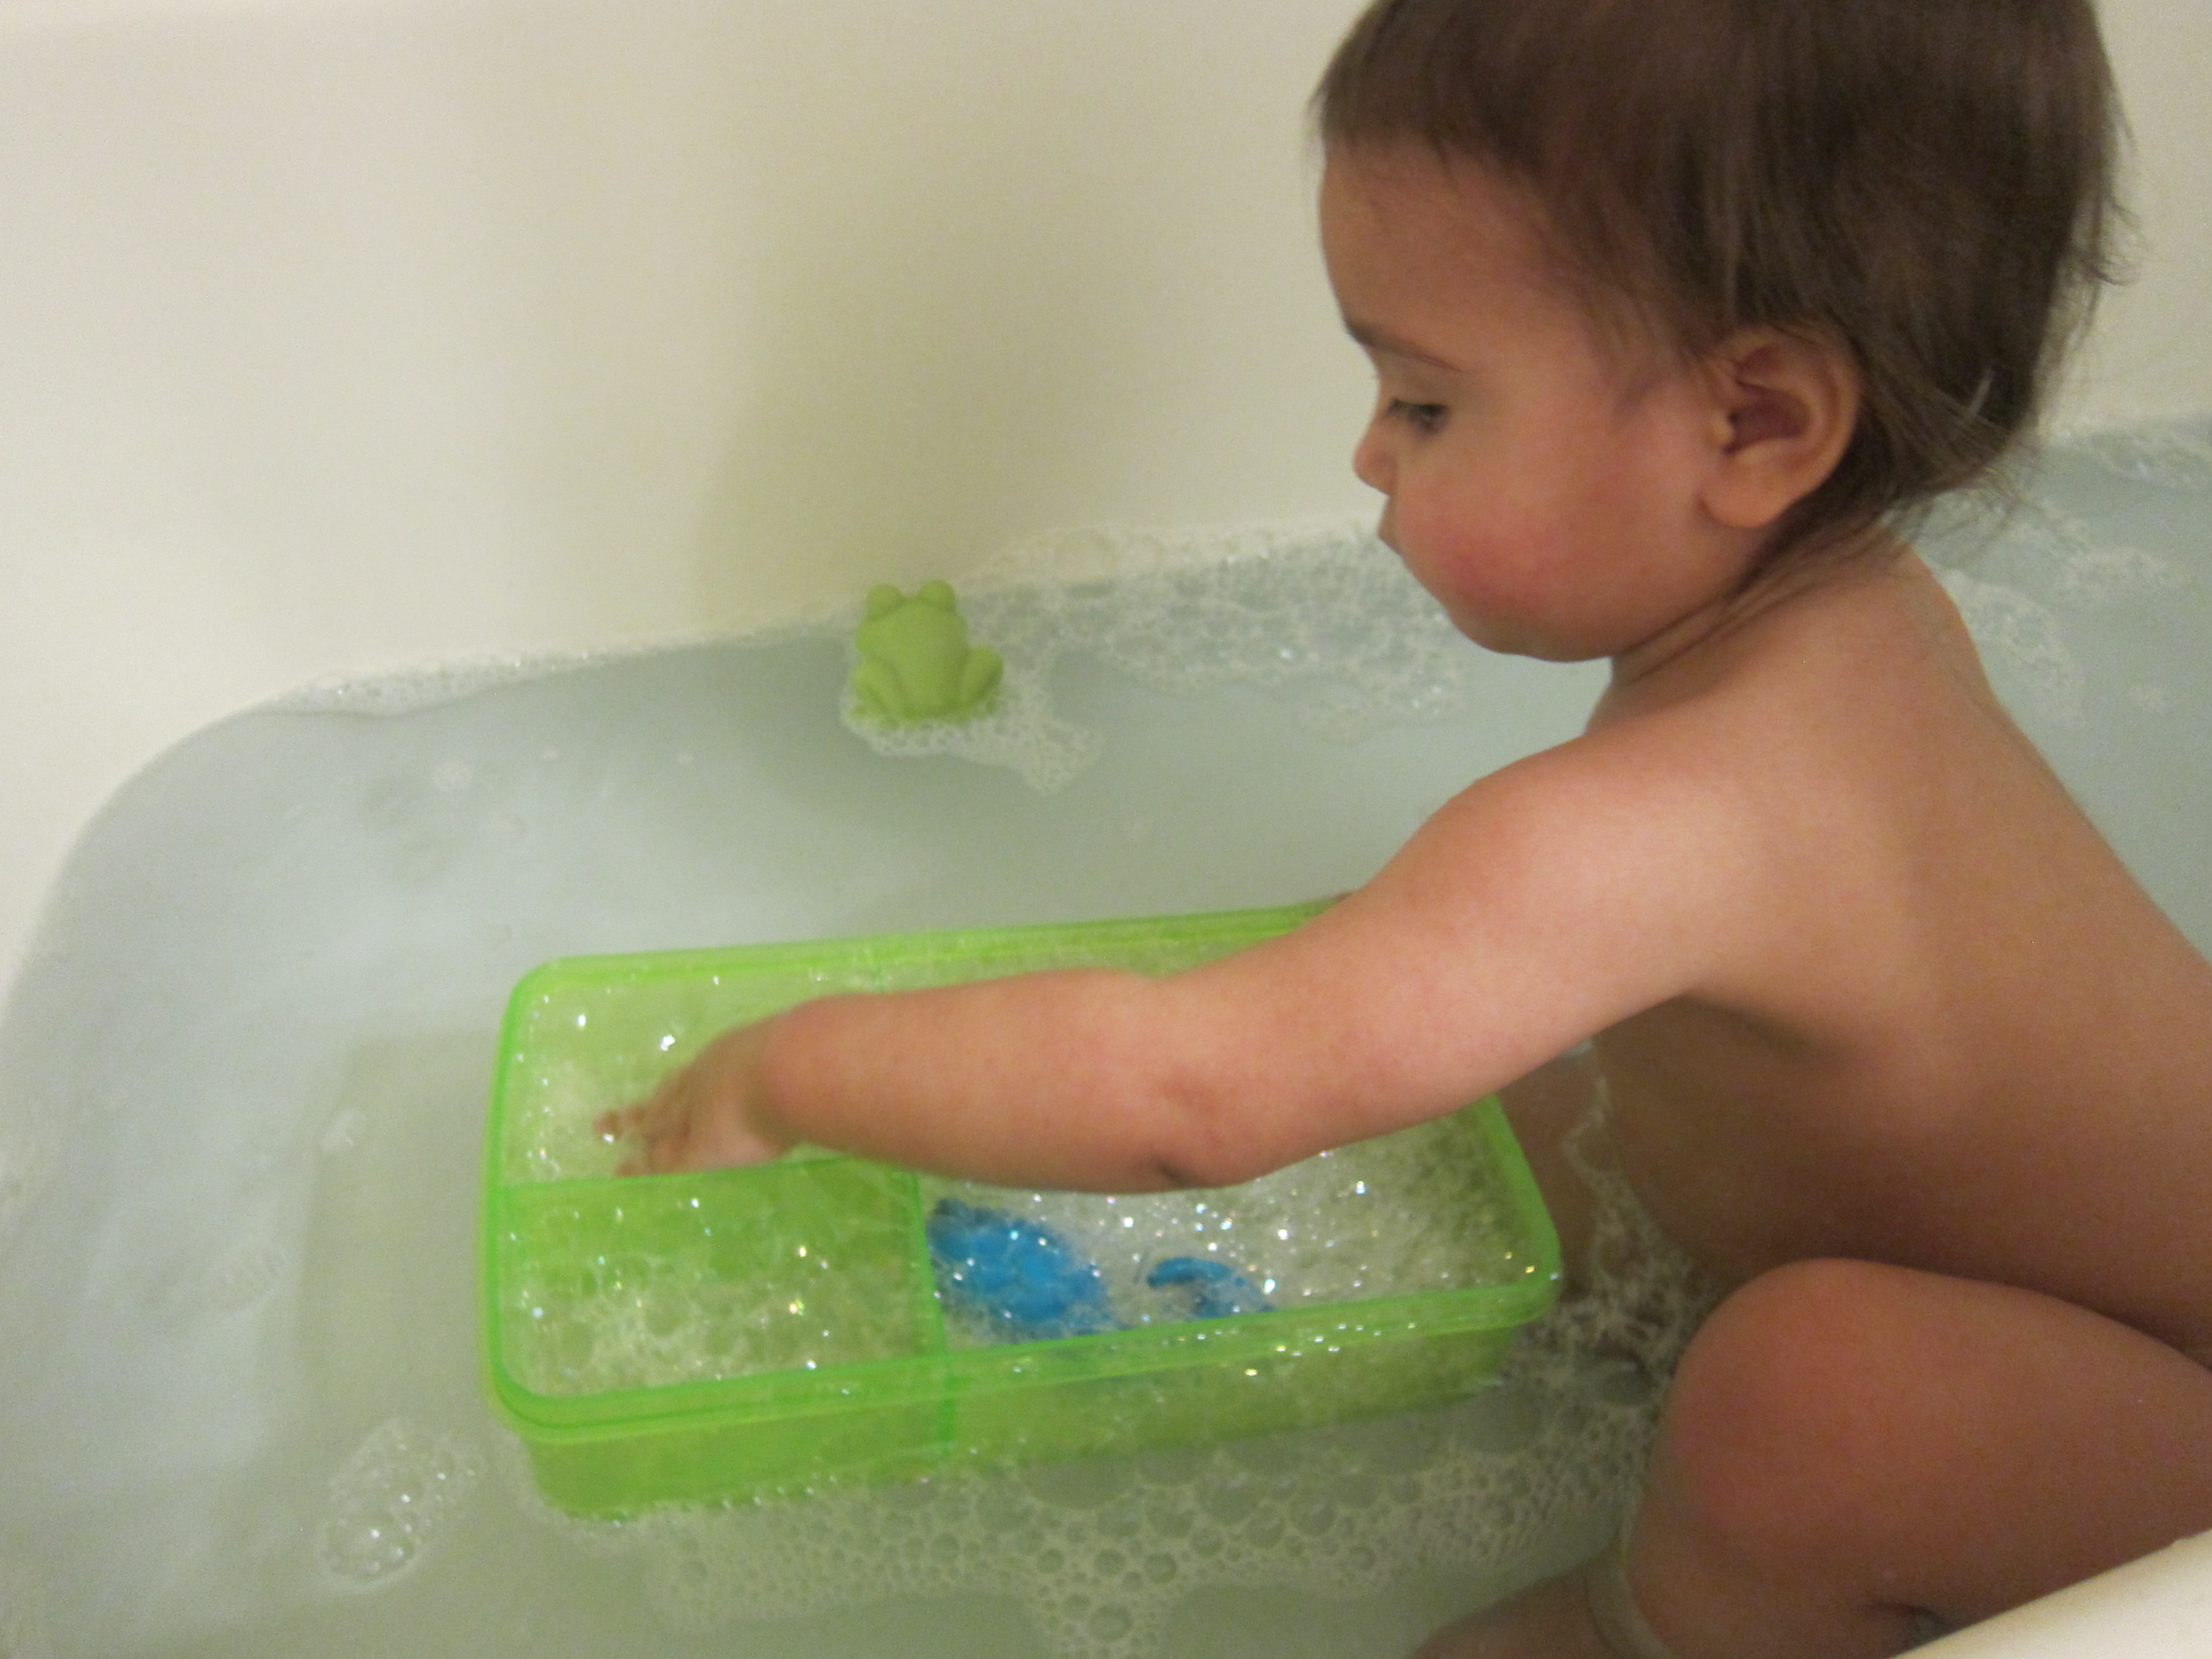
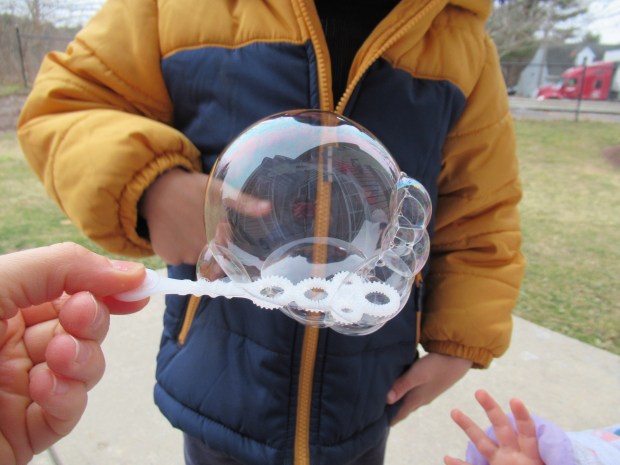
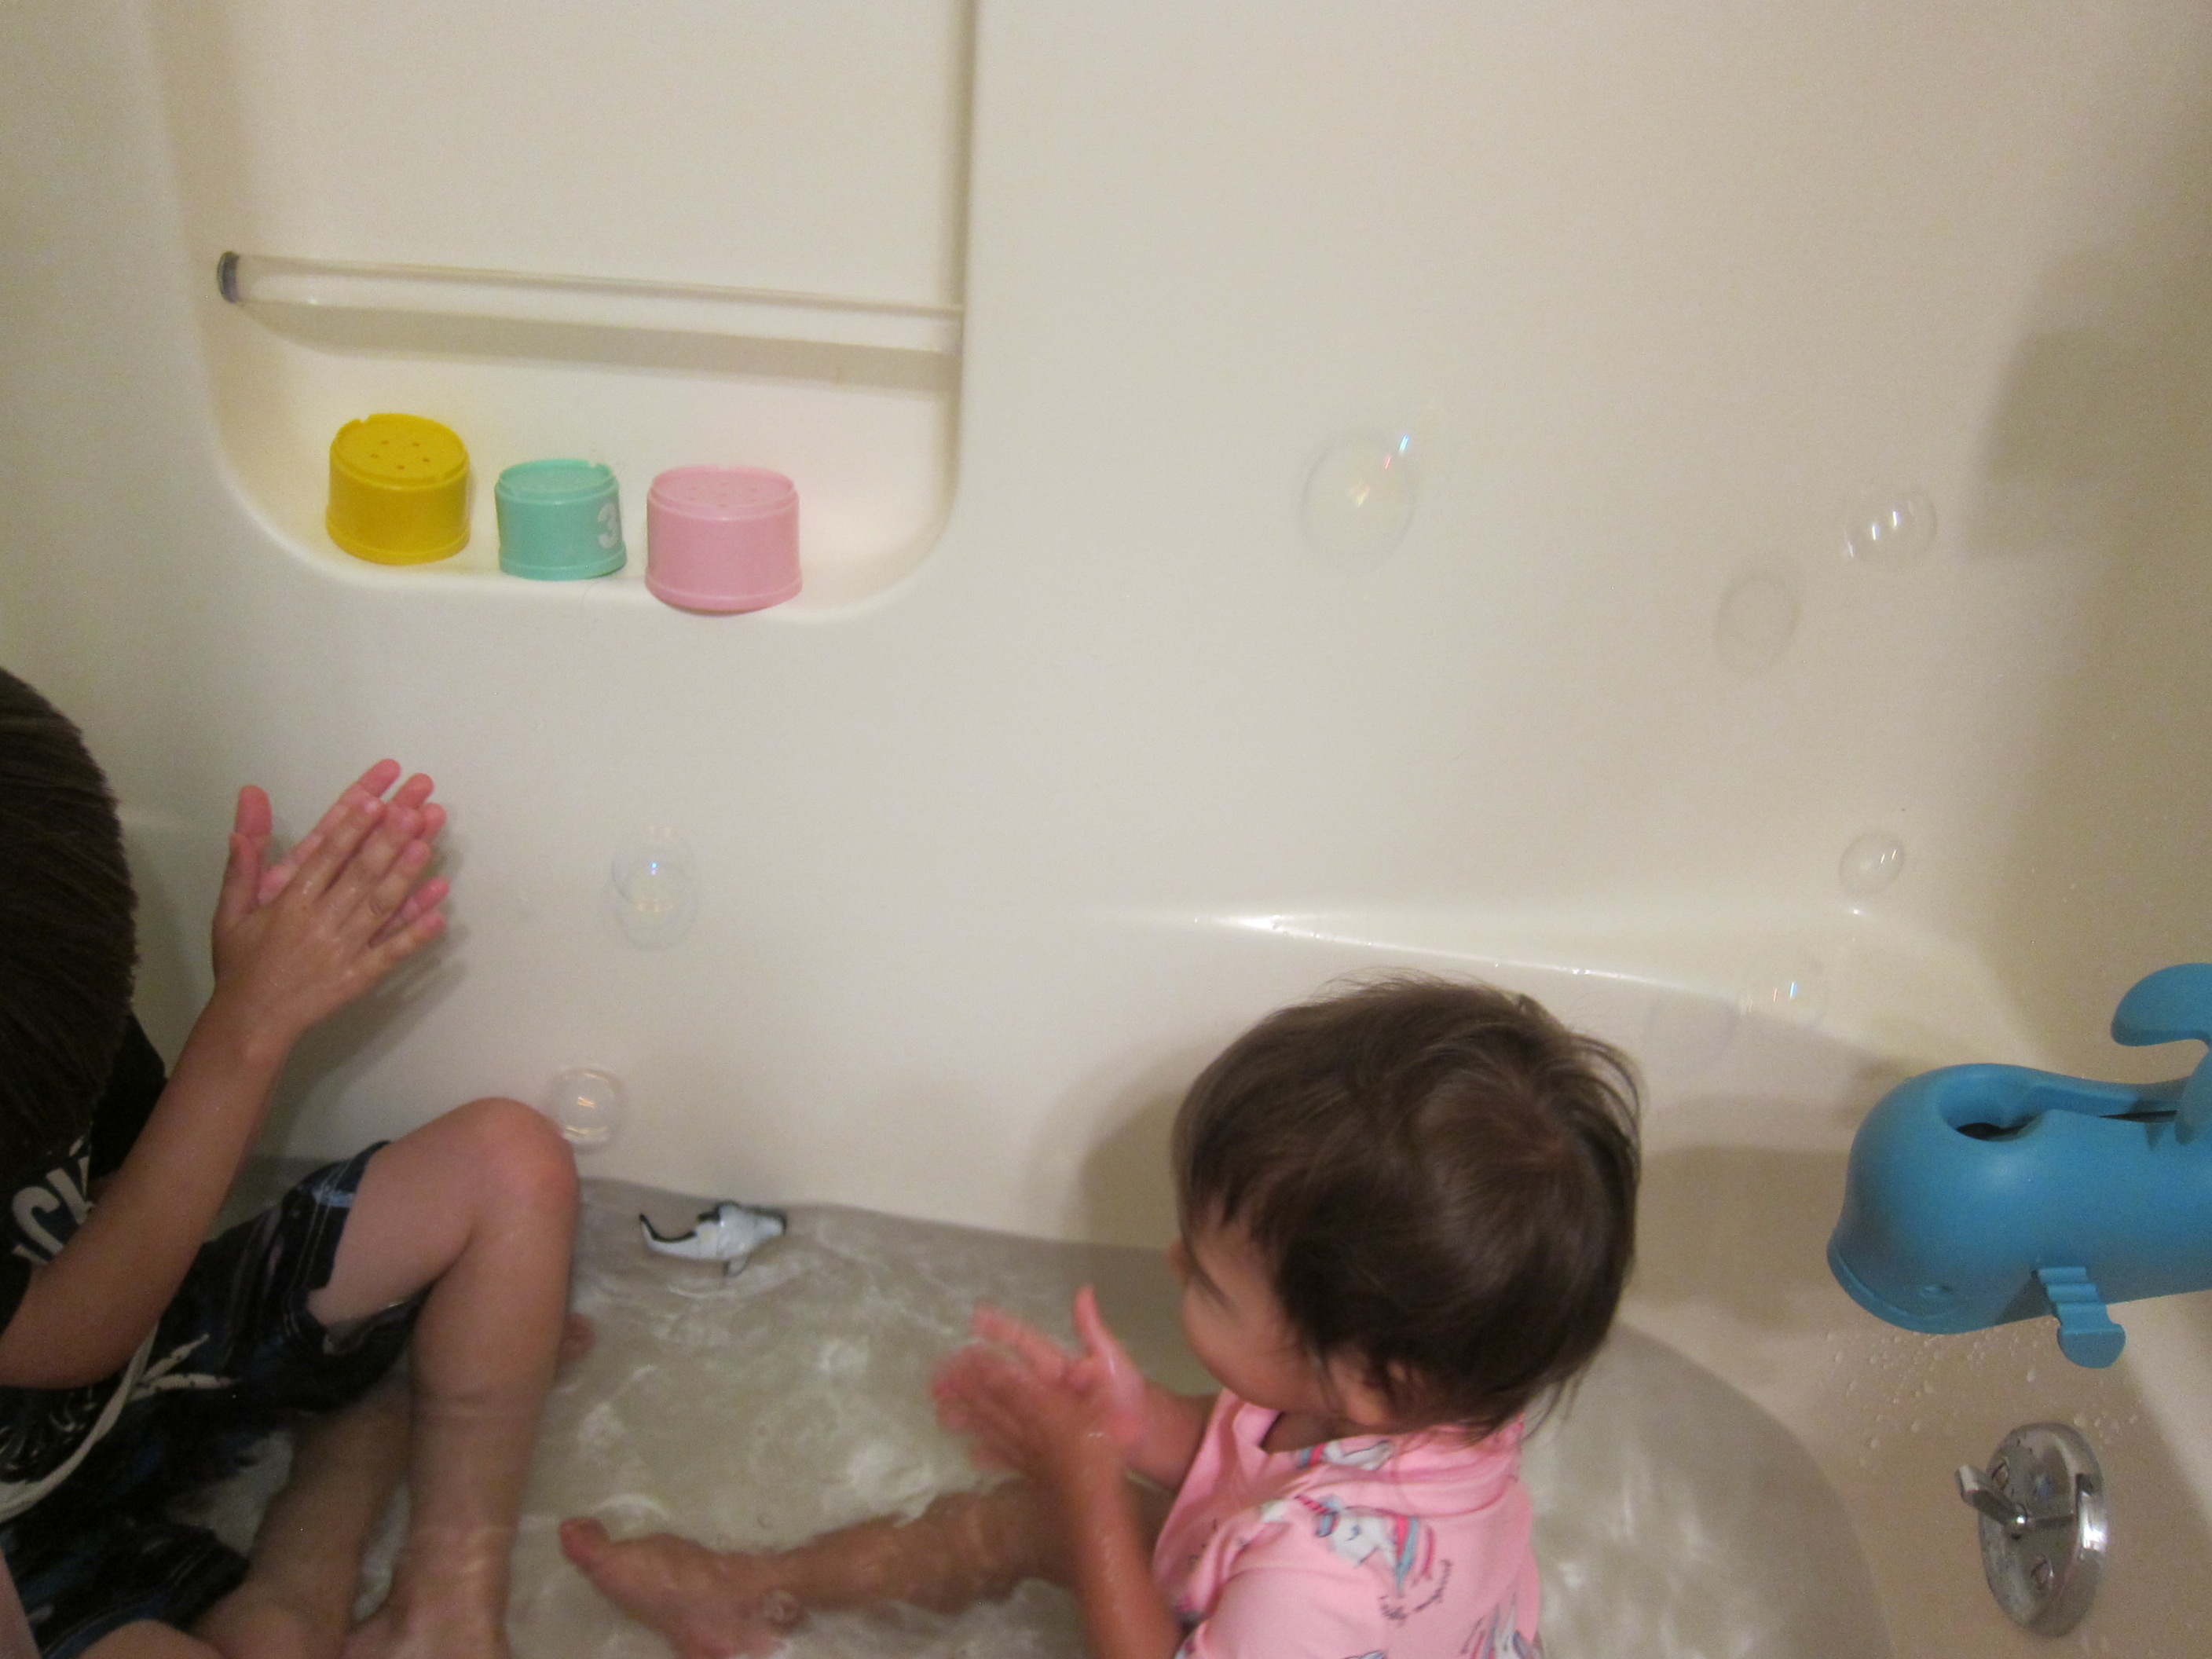
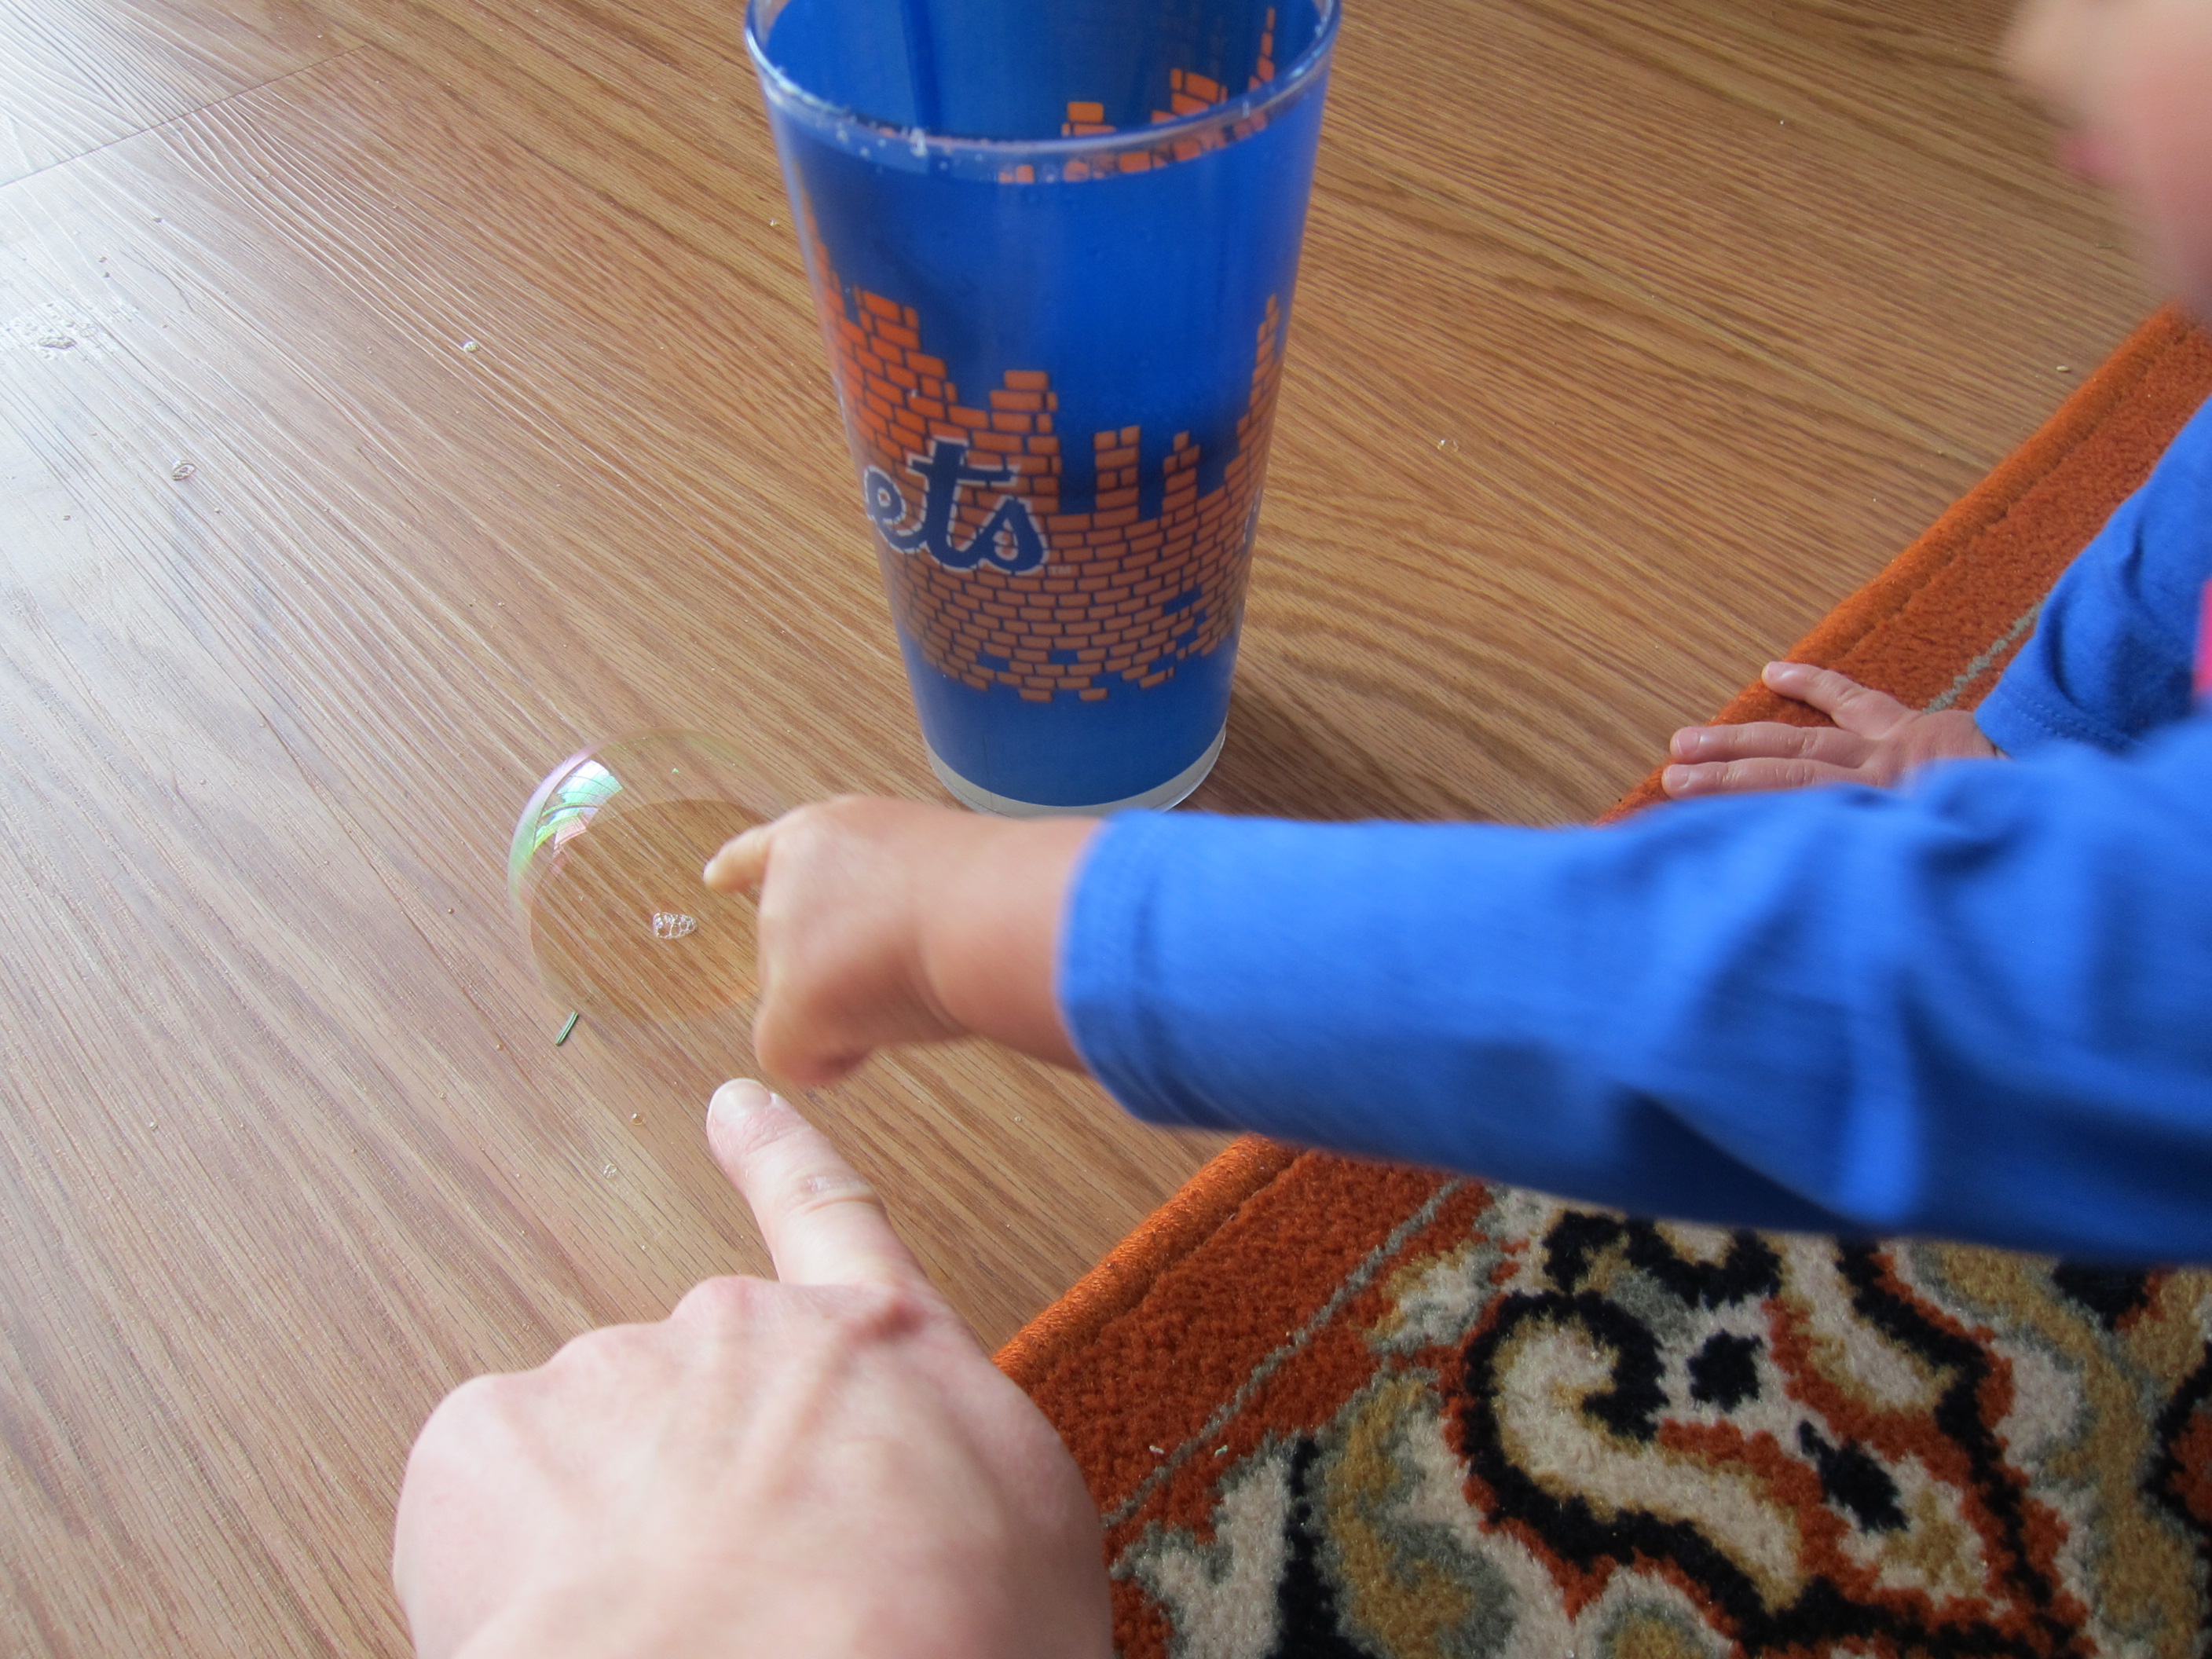
Veronika loved it the moment the bubbles spilled over the top of the container! After watching a few times, she was brave enough to put her hands in. These dish soap bubbles won’t pop, making for endless fun dipping hands in and out of what feels like endless bubbles.

Dish Soap Bubble Bath (5)

We hid a few fish toys in the big bubbles and she loved feeling around for them!

Dish Soap Bubble Bath (7)

After holding the container for a while, I set it down to float in the tub and she continued to enjoy putting eager hands into the bubbles.

Dish Soap Bubble Bath (9)

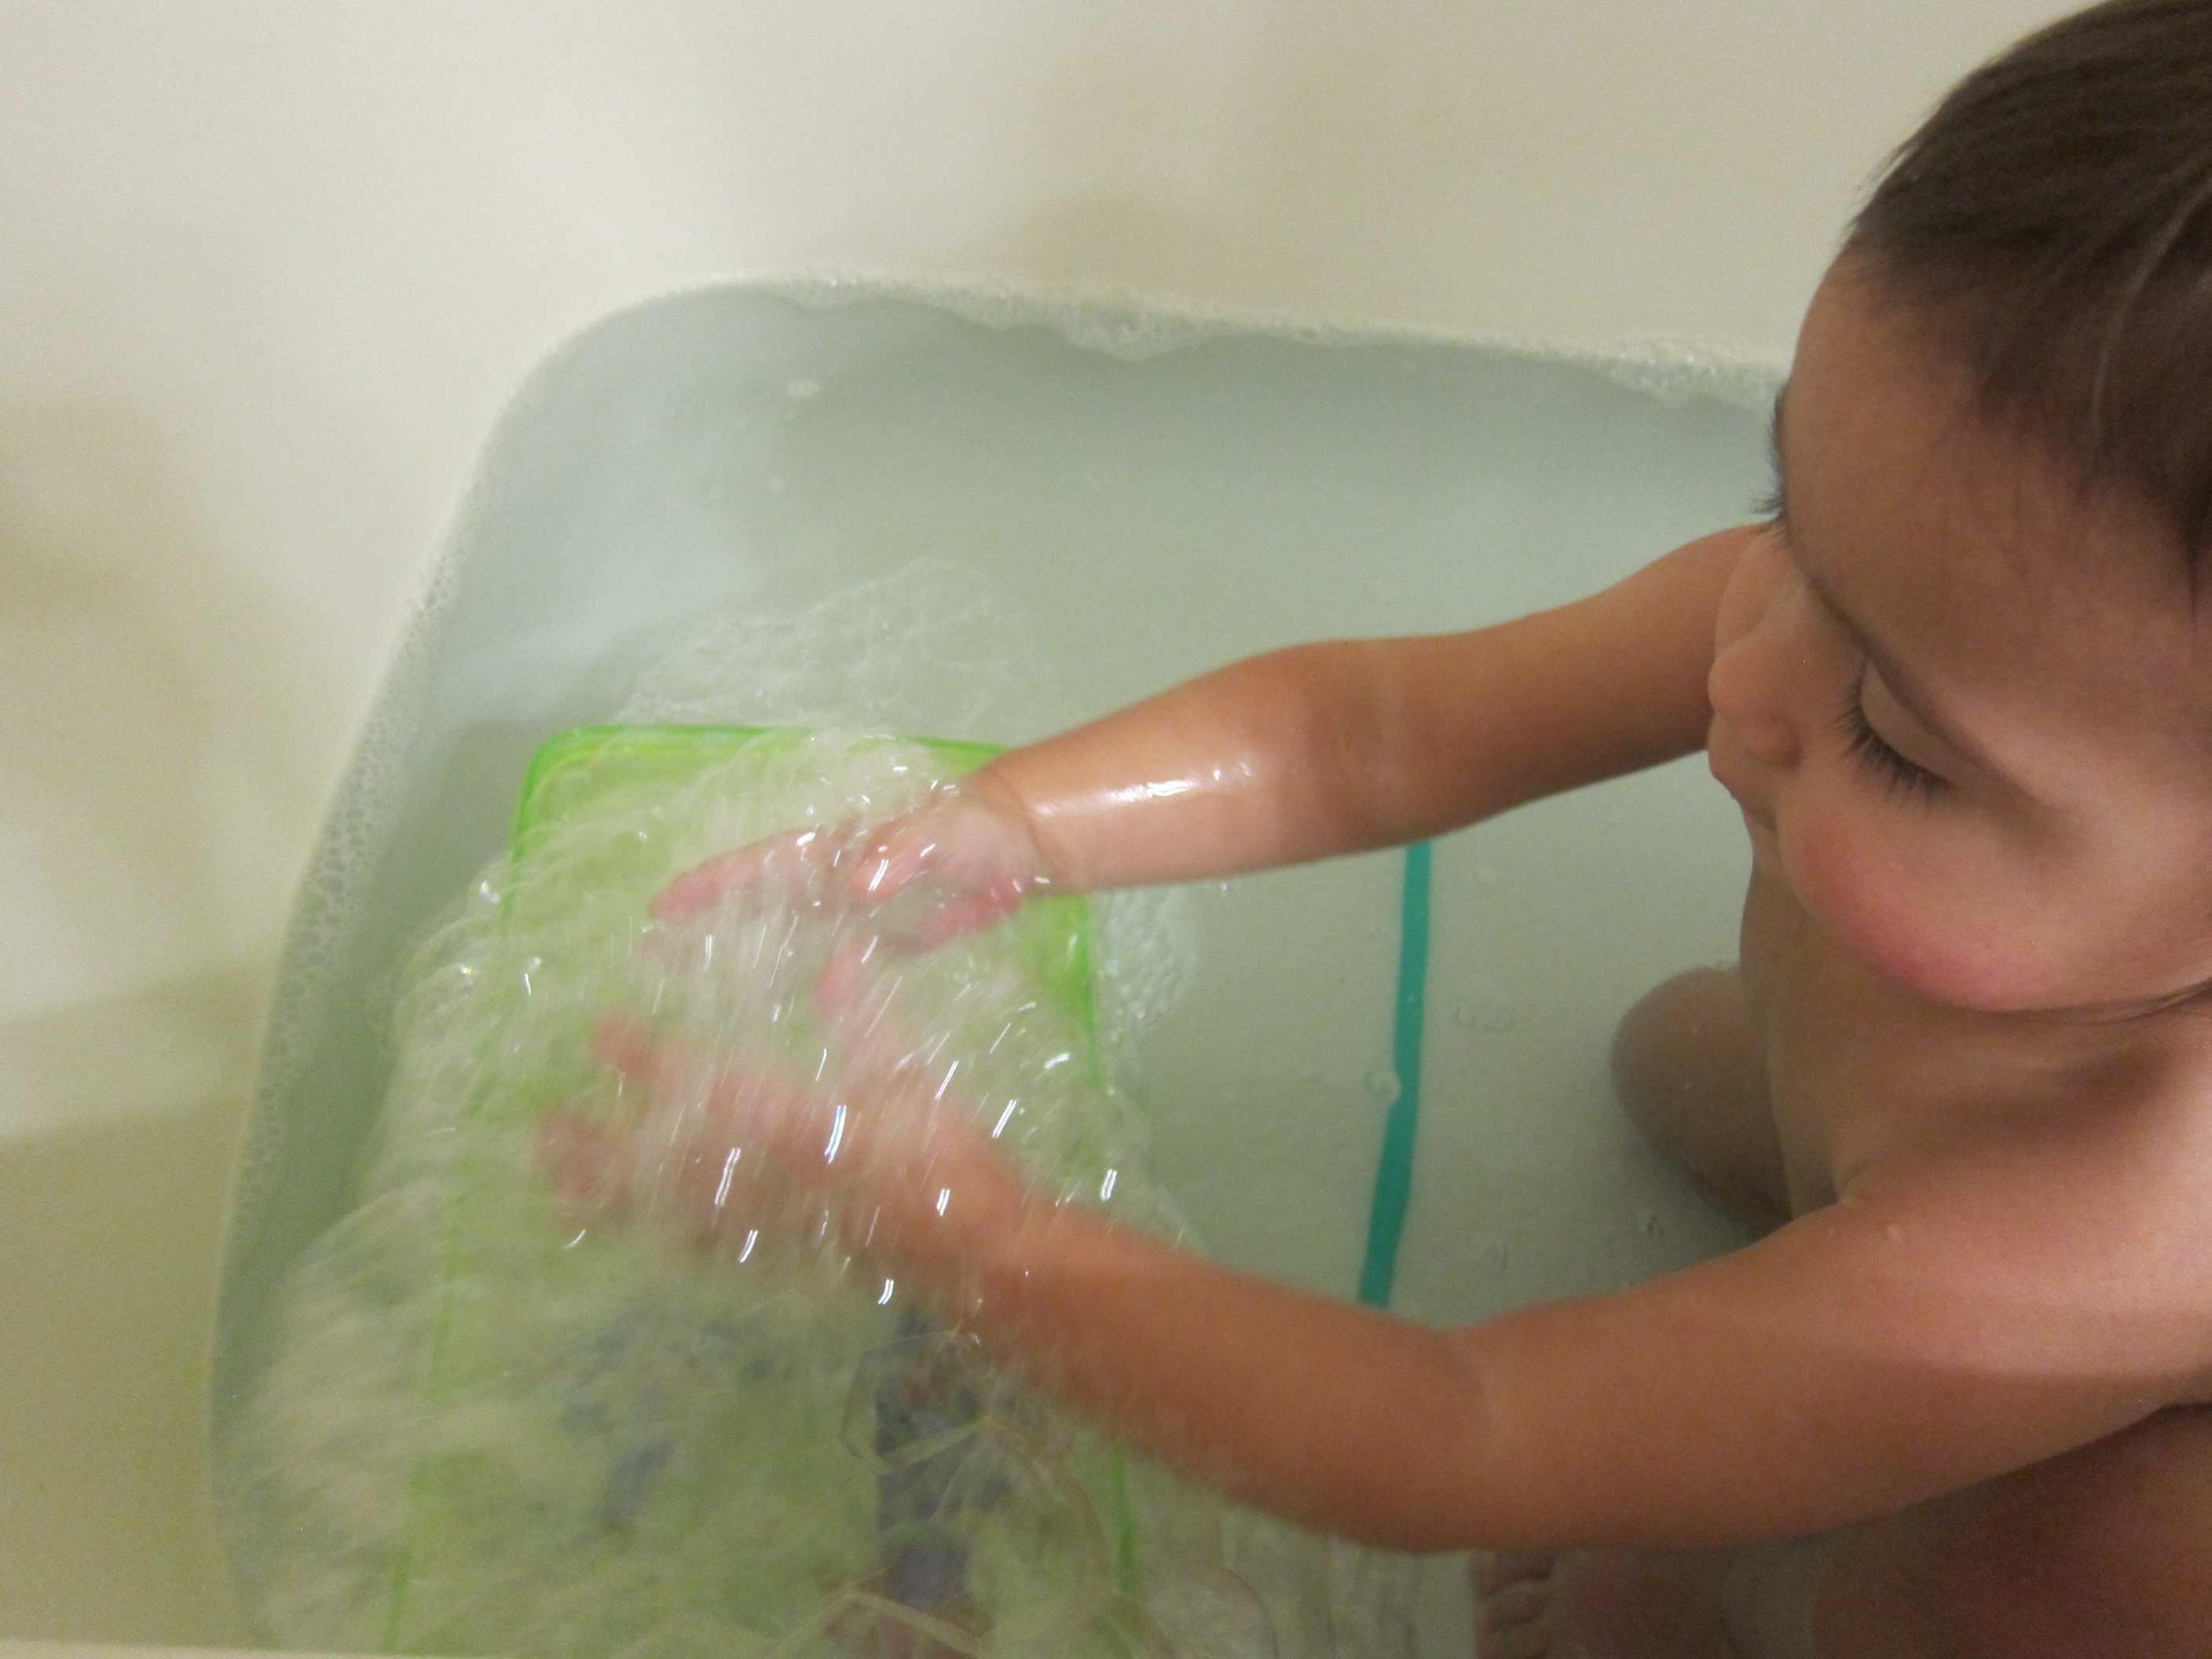
This made them spill over into the water, so then she loved stirring at them with one of the straws I’d used!

Dish Soap Bubble Bath (11)

I think she wanted to stay in this bath forever.

Dish Soap Bubble Bath (8)

Flower-Power Pendants

Flower Pendants (7)

Kids will love this novel bubble-based painting method. The resulting pendant necklaces are perfect for class Valentines!

To create the bubble paint, fill a short cup with 3 tablespoons dish soap, 1 tablespoon water, and 2 tablespoons paint. In order to make our cups short enough, I snipped the top half from regular 8-ounce paper cups.

Flower Pendants (1)

Use a straw to blow into the mixture and you’ll create colored bubbles that rise to the surface. Press a piece of thick white paper firmly over the top. Repeat with more bubbles and more pressing until you’ve covered the sheet of paper, then let dry.

Flower Pendants (2)

Travis loved that the bubbles toppled over the edge of our cup each time; needless to say, this is a bit of a messy project! We repeated with three different paint colors.

Flower Pendants (3)

Once dry, cut the pages into flower shapes, repeating for the desired amount of Valentines.

Flower Pendants (4)

Punch a hole in each flower and thread with cord (available at craft stores), to complete each necklace.

Flower Pendants (5)

On the back, we wrote the sweet message, “You’re a great bud!”

Flower Pendants (6)

Bubble Fun

Bubble Fun (3)

My new favorite thing in the world is Veronika’s first full sentence: “Bubbles, please please.” As a result, I’m constantly trying to meet this adorable demand, with bubbles in the bath or during playtime. We quickly ran through a bottle of store-bought bubbles so I tried these two recipes at home. Both are so easy, and toddler-friendly to boot.

Bubble Fun (1)

Bubbles 1:

  • 1/3 cup baby shampoo
  • 1 and 1/4 cups water
  • 2 teaspoons sugar
  • 2 drops blue food coloring

This nice mild formula blows great bubbles that you can also catch on the wand without popping them. The added bonus is that it will be tear-free if any solution gets in the eyes.

Bubble Fun (4)

Bubbles 2:

  • 1/4 cup dish soap
  • 1/4 cup glycerin
  • 3/4 cup water
  • 1 tablespoon sugar

This version makes stronger bubbles, which float high up in the air, and they will leave behind little strands of popped sugar when popped just right (you may have noticed that the sugar-based bubbles at a Gymboree class act the same).

Bubble Fun (7)

Veronika was not content to watch me blow the bubbles; she wanted to take charge, dipping the wand in and out.

Bubble Fun (5)

Older toddlers will no doubt want to practice their blowing skills, too.

Bubble Fun (6)

Needless to say, you can’t go wrong with bubbles.

Bubbles on the Breeze

Bubbles on Breeze (5)
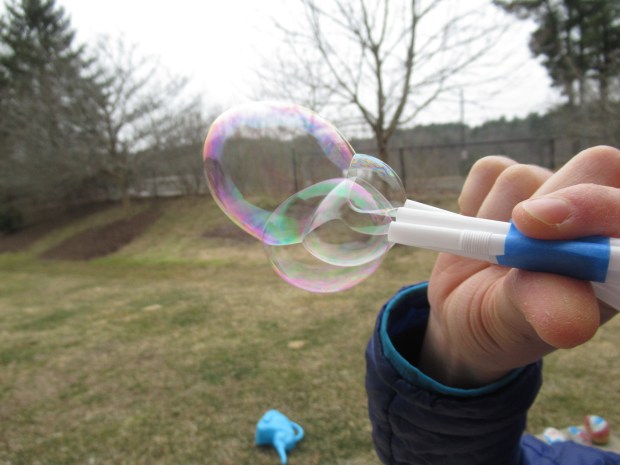
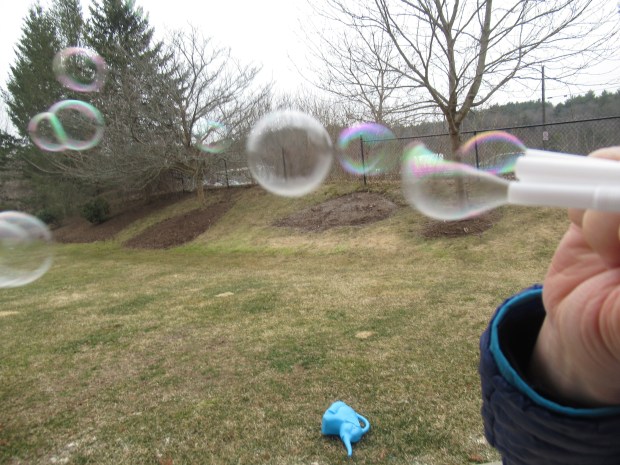
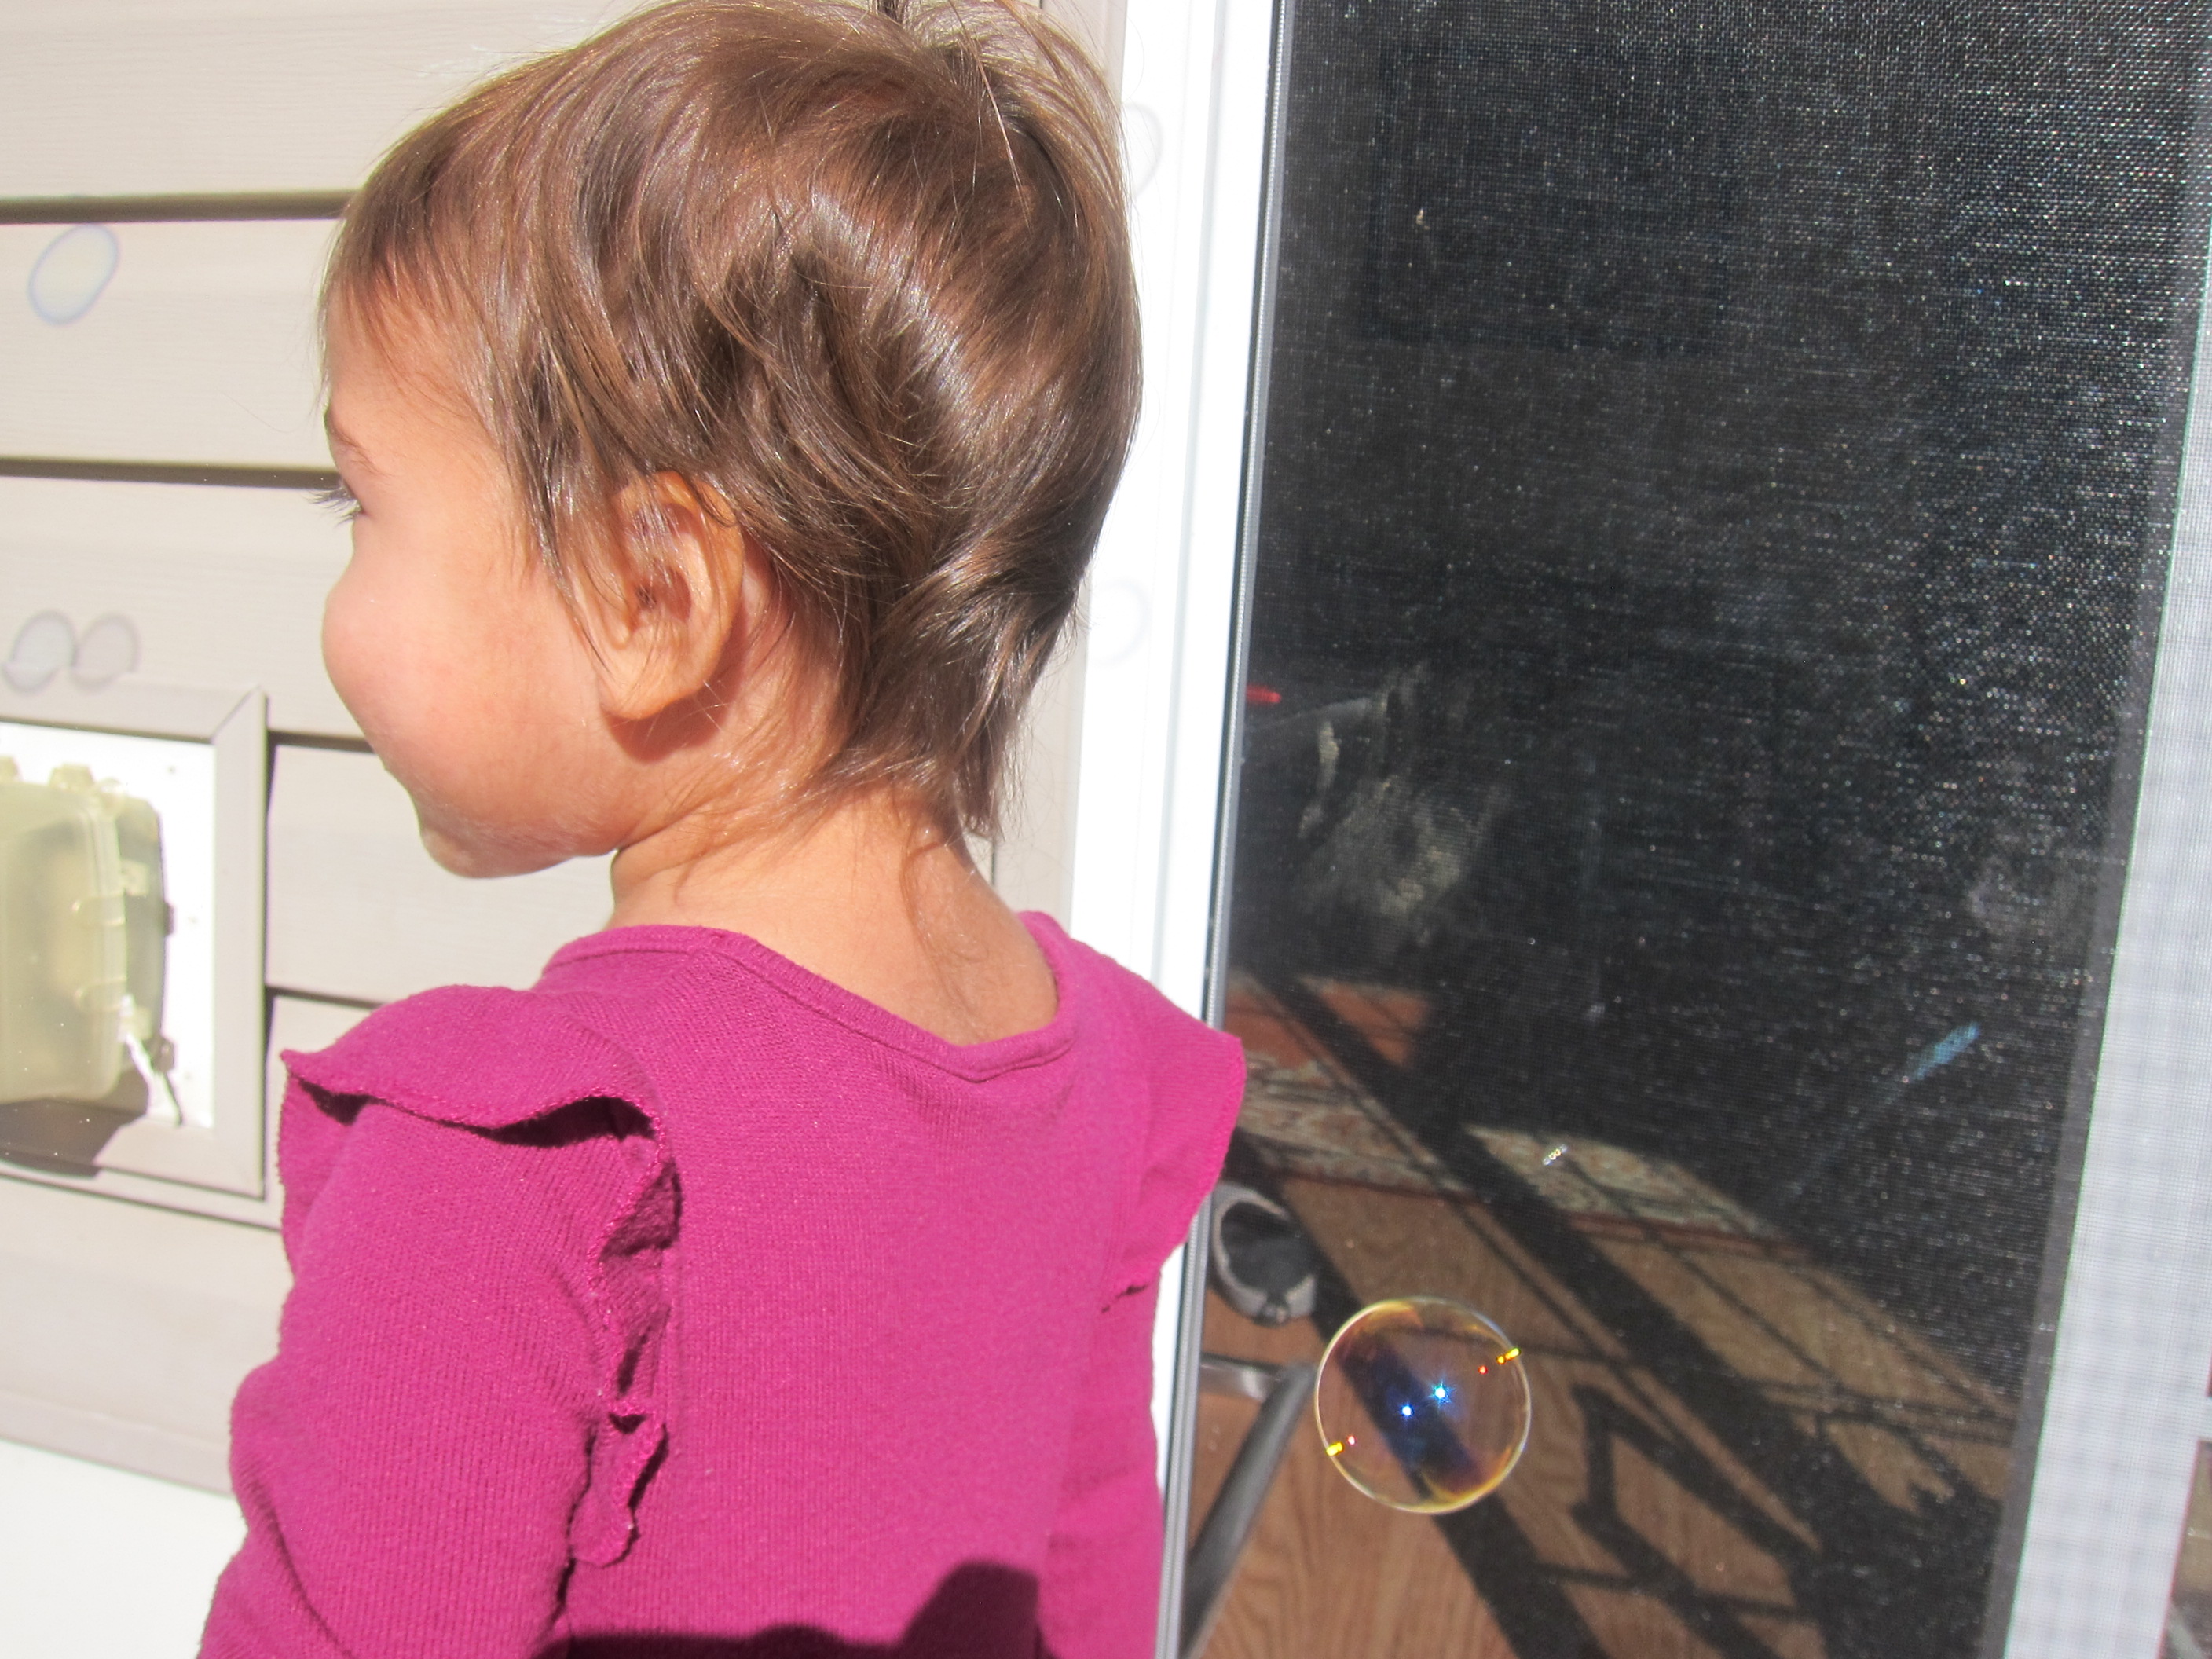
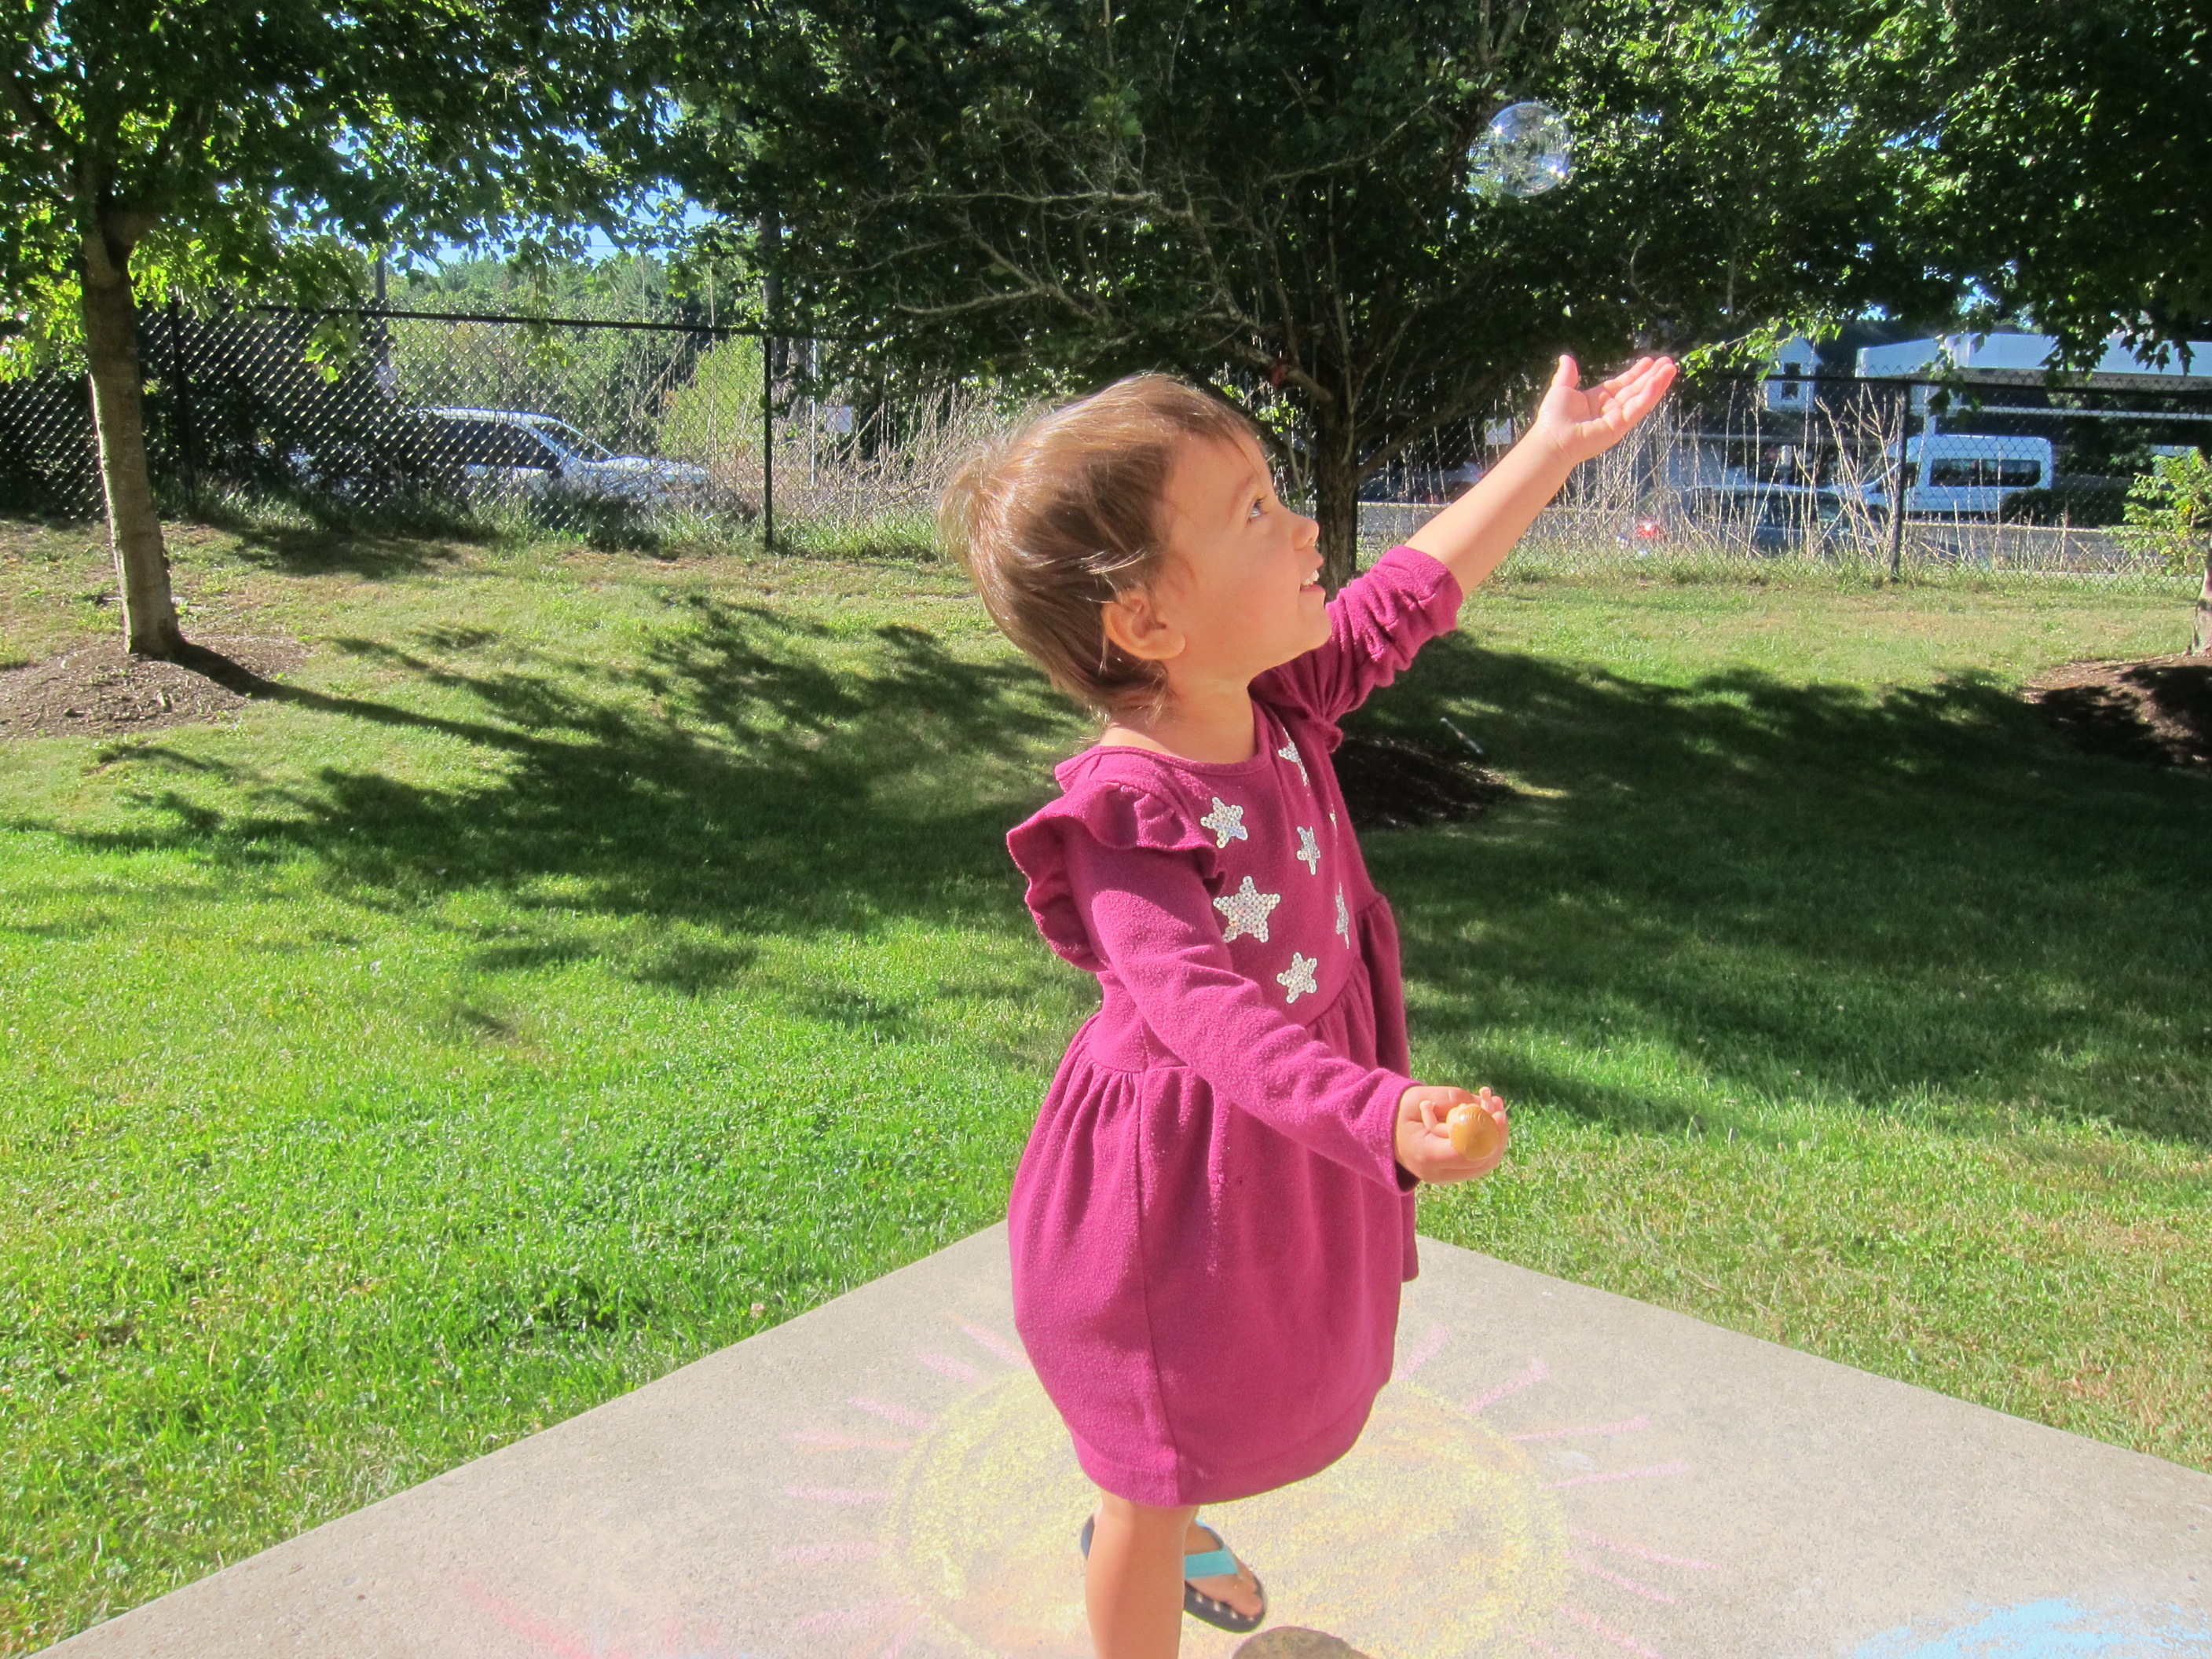
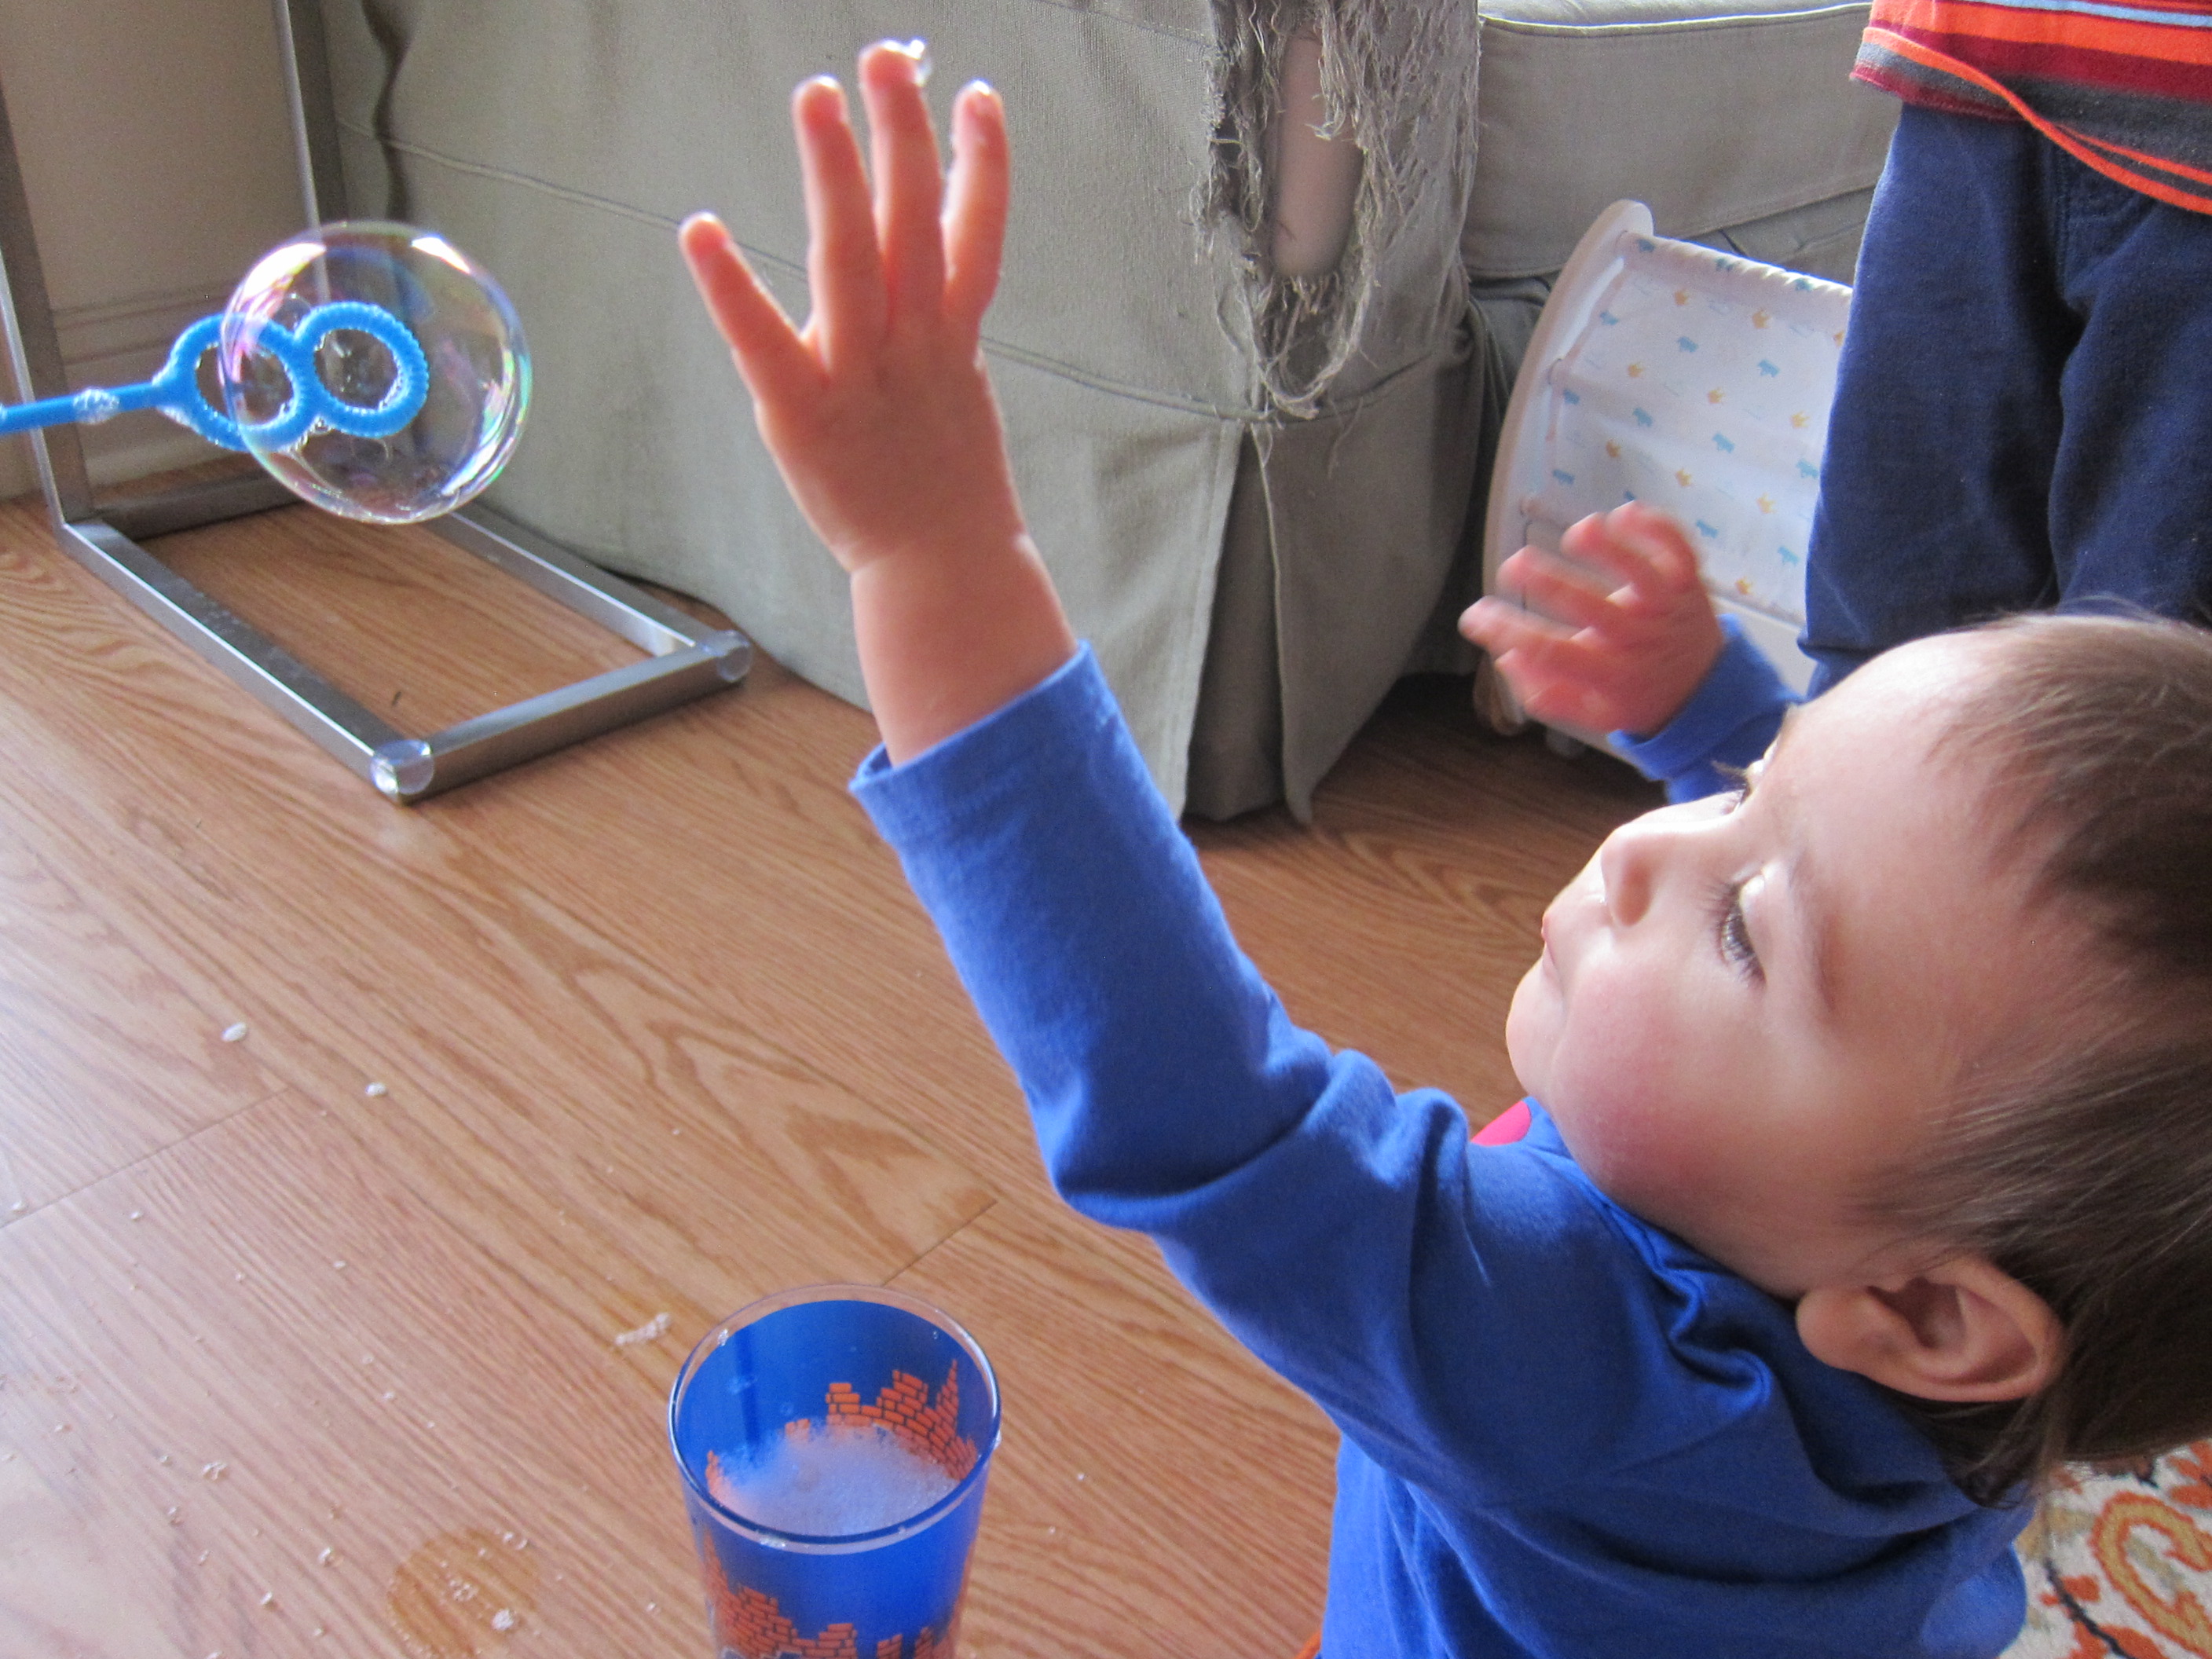
Don’t underestimate the magic of bubbles. Blowing bubbles is an activity I remind myself to return to at intervals, since children engage with them differently as they age. The last time we did bubbles, Veronika was sitting up and just starting to crawl. Now, she’s fast as can be, and wanted to scoot after them and pop them!

So the instructions for today’s activity: Open up a bottle of bubbles and blow!

Bubbles on Breeze (2)

I pointed them out to Veronika, and how they shimmered and floated.

Bubbles on Breeze (3)

This little girl wants to walk, so it was also fun to hold her at the waist and help her reach out for them.

Bubbles on Breeze (4)

A perfect sunlit pause.

Bubbles on Breeze (1)

Unpoppable Bubbles

Unpobbable Bubbles (4)

There’s some serious “wow” factor to this little bubble experiment, the perfect way to turn a ho-hum morning into something special!

To make the bubble solution, pour 1/4 cup water into a container. Add a little blue food coloring just so it’s easier to see.

Unpobbable Bubbles (1)

Stir in 1 tablespoon dish soap and 2 tablespoons corn syrup.

Unpobbable Bubbles (2)

A straw will be your bubble blower, but the secret now is that you also need a pencil.Travis dipped the pencil tip in the solution, as I dipped in the straw and blew a bubble.

Unpobbable Bubbles (3)

He poked the saturated pencil tip into the bubble… and the bubble doesn’t break!

If you want a quick run-down of what’s happening here, basically the “skin” of the bubble merges with the soapy surface of the pencil tip, so that no air gets in and makes the bubble pop. If you try it with a dry pencil, you’ll get a pop right away! We had fun seeing how far in we could poke the pencil.

Unpobbable Bubbles (5)

And then had lots of extra bubble solution to blow out on the back patio!