Cotton Ball Snowman, Two Ways

Cotton Ball Snowman Craft (11)

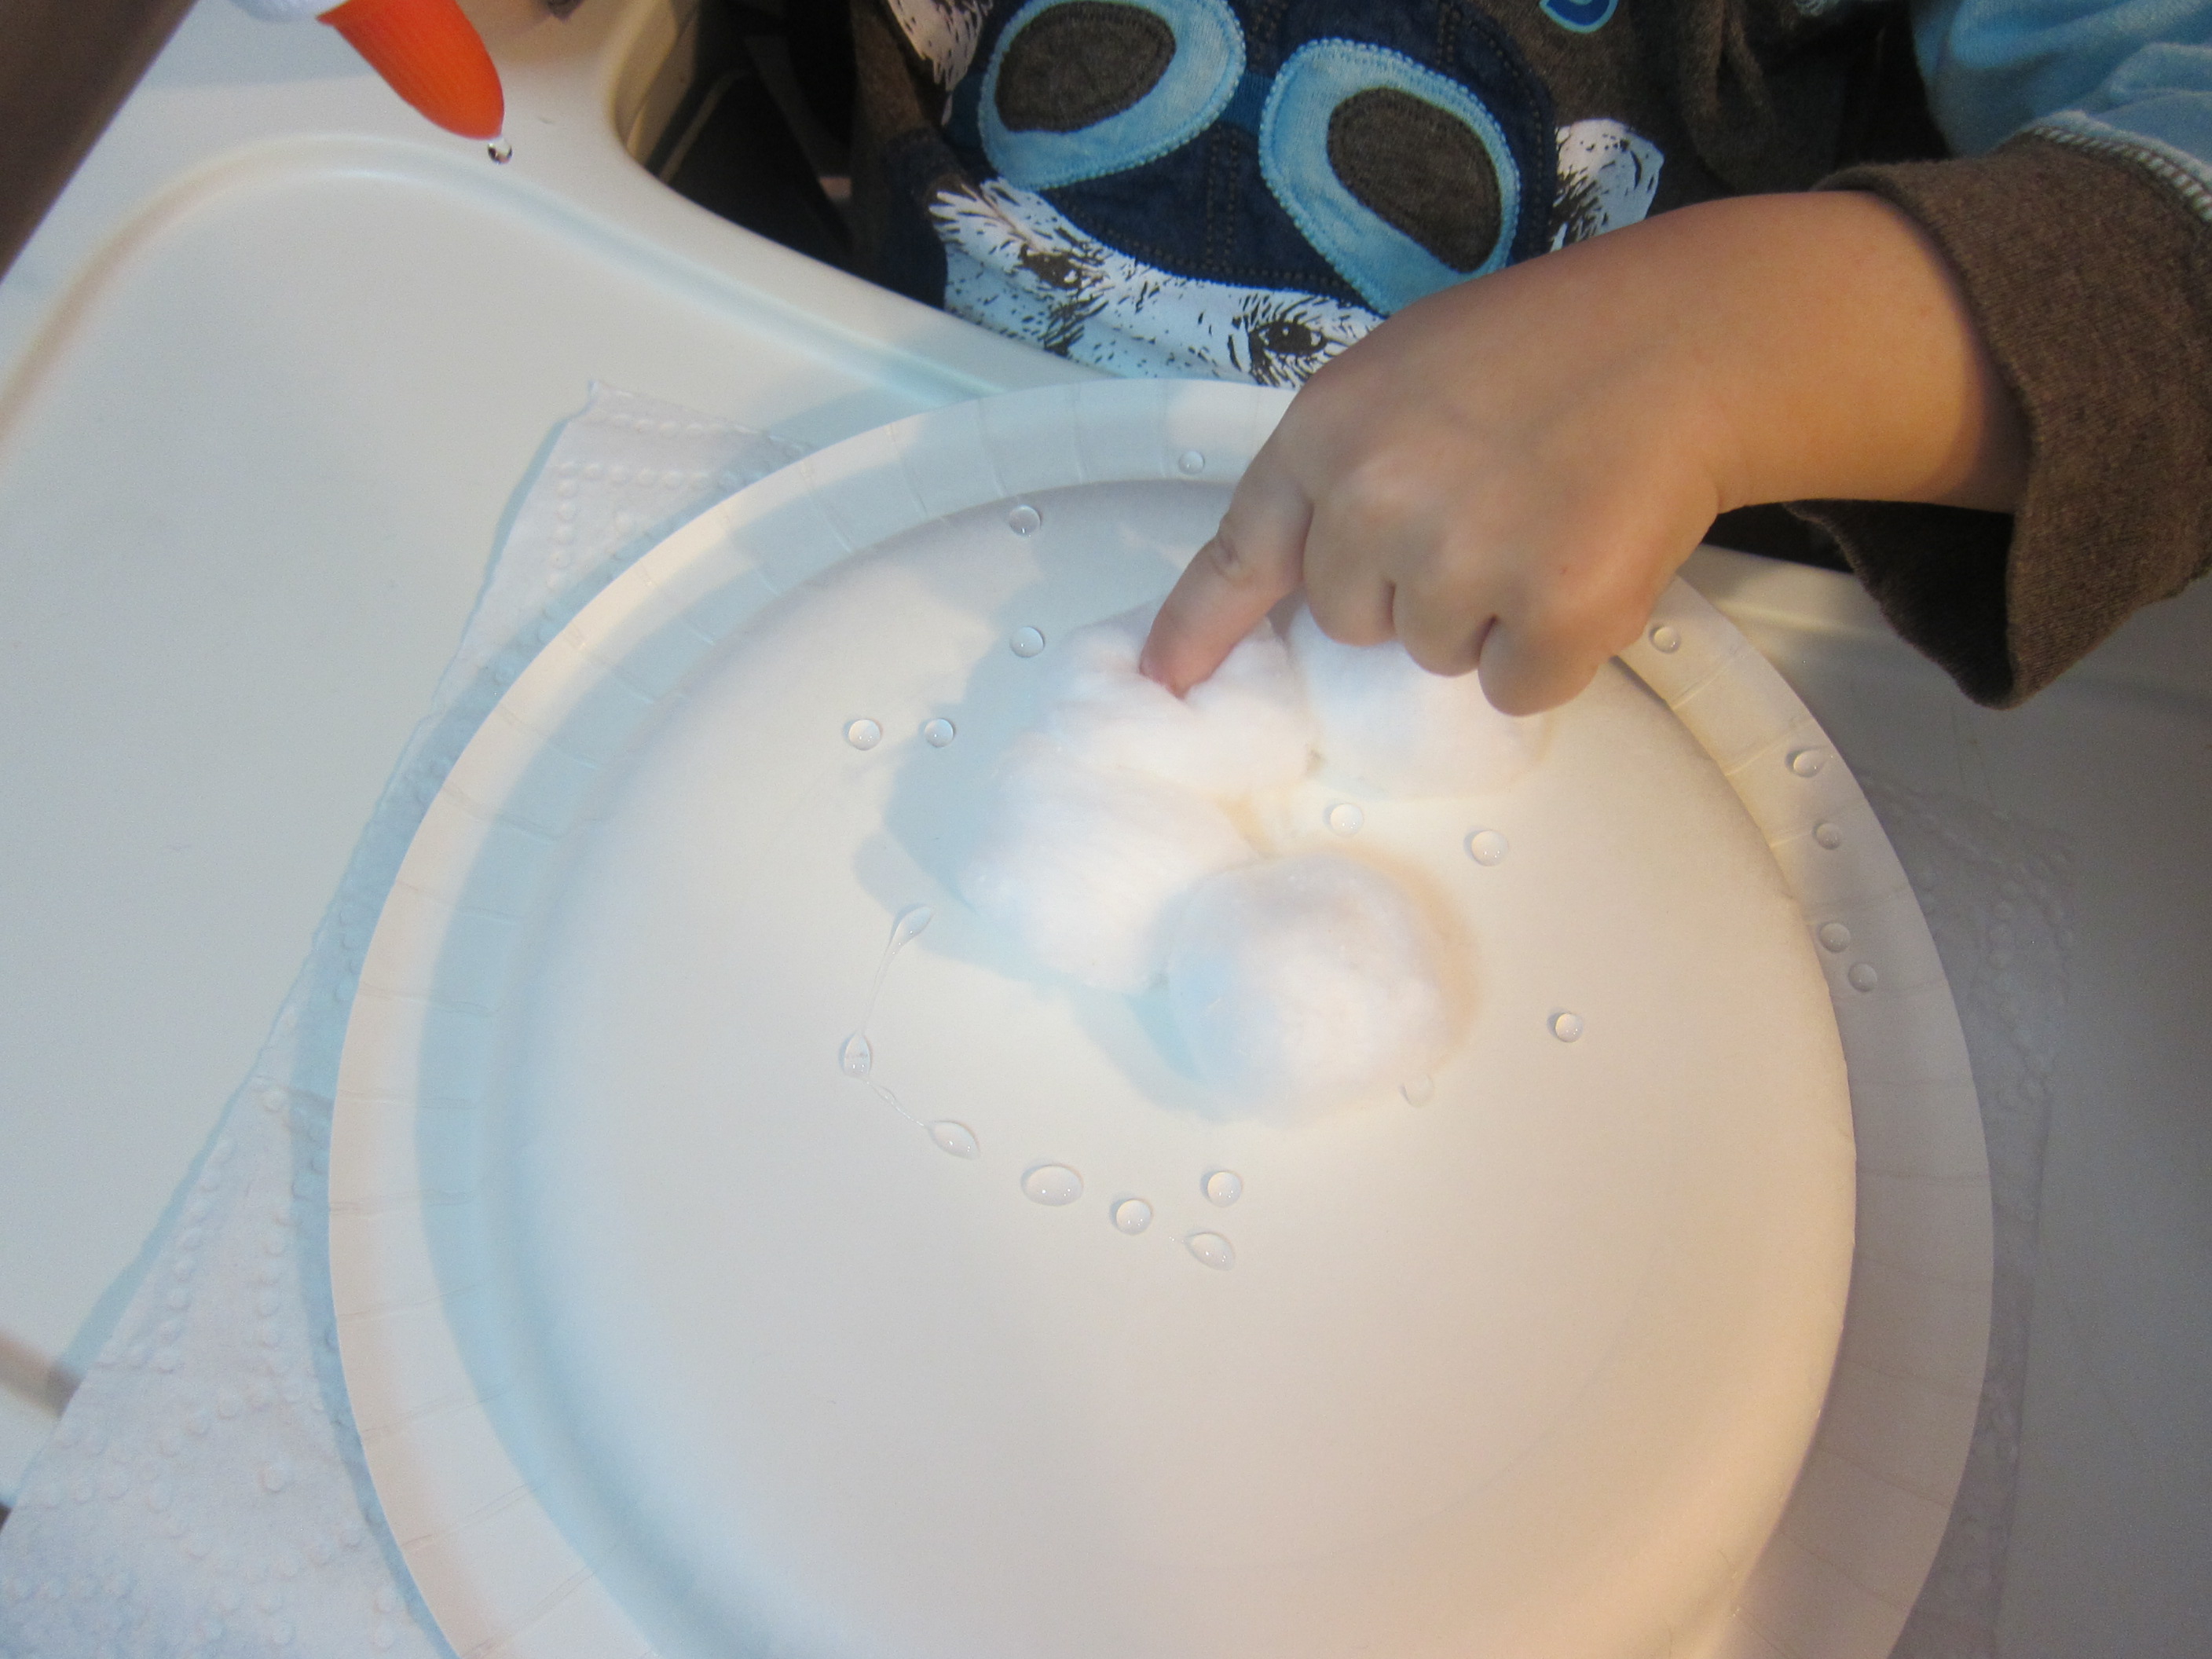
A snowman made of cotton balls is a toddler classic for a reason; after all every toddler seems to love soft, puffy cotton balls, and they really do make adorable snowmen!

The first version Veronika and I made today involved more parental work than the second. I traced 3 sizes of circle cookie cutters on contact paper, then cut out. Tape down to a piece of construction paper with double-sided tape so that the sticky part of the contact paper faces up. Now have your toddler cover with cotton balls!

Cotton Ball Snowman Craft (1)

The three circles will immediately resemble the head, torso, and bottom of a snowman. This was a great opportunity to point out the relative sizes of the circles.

Cotton Ball Snowman Craft (3)

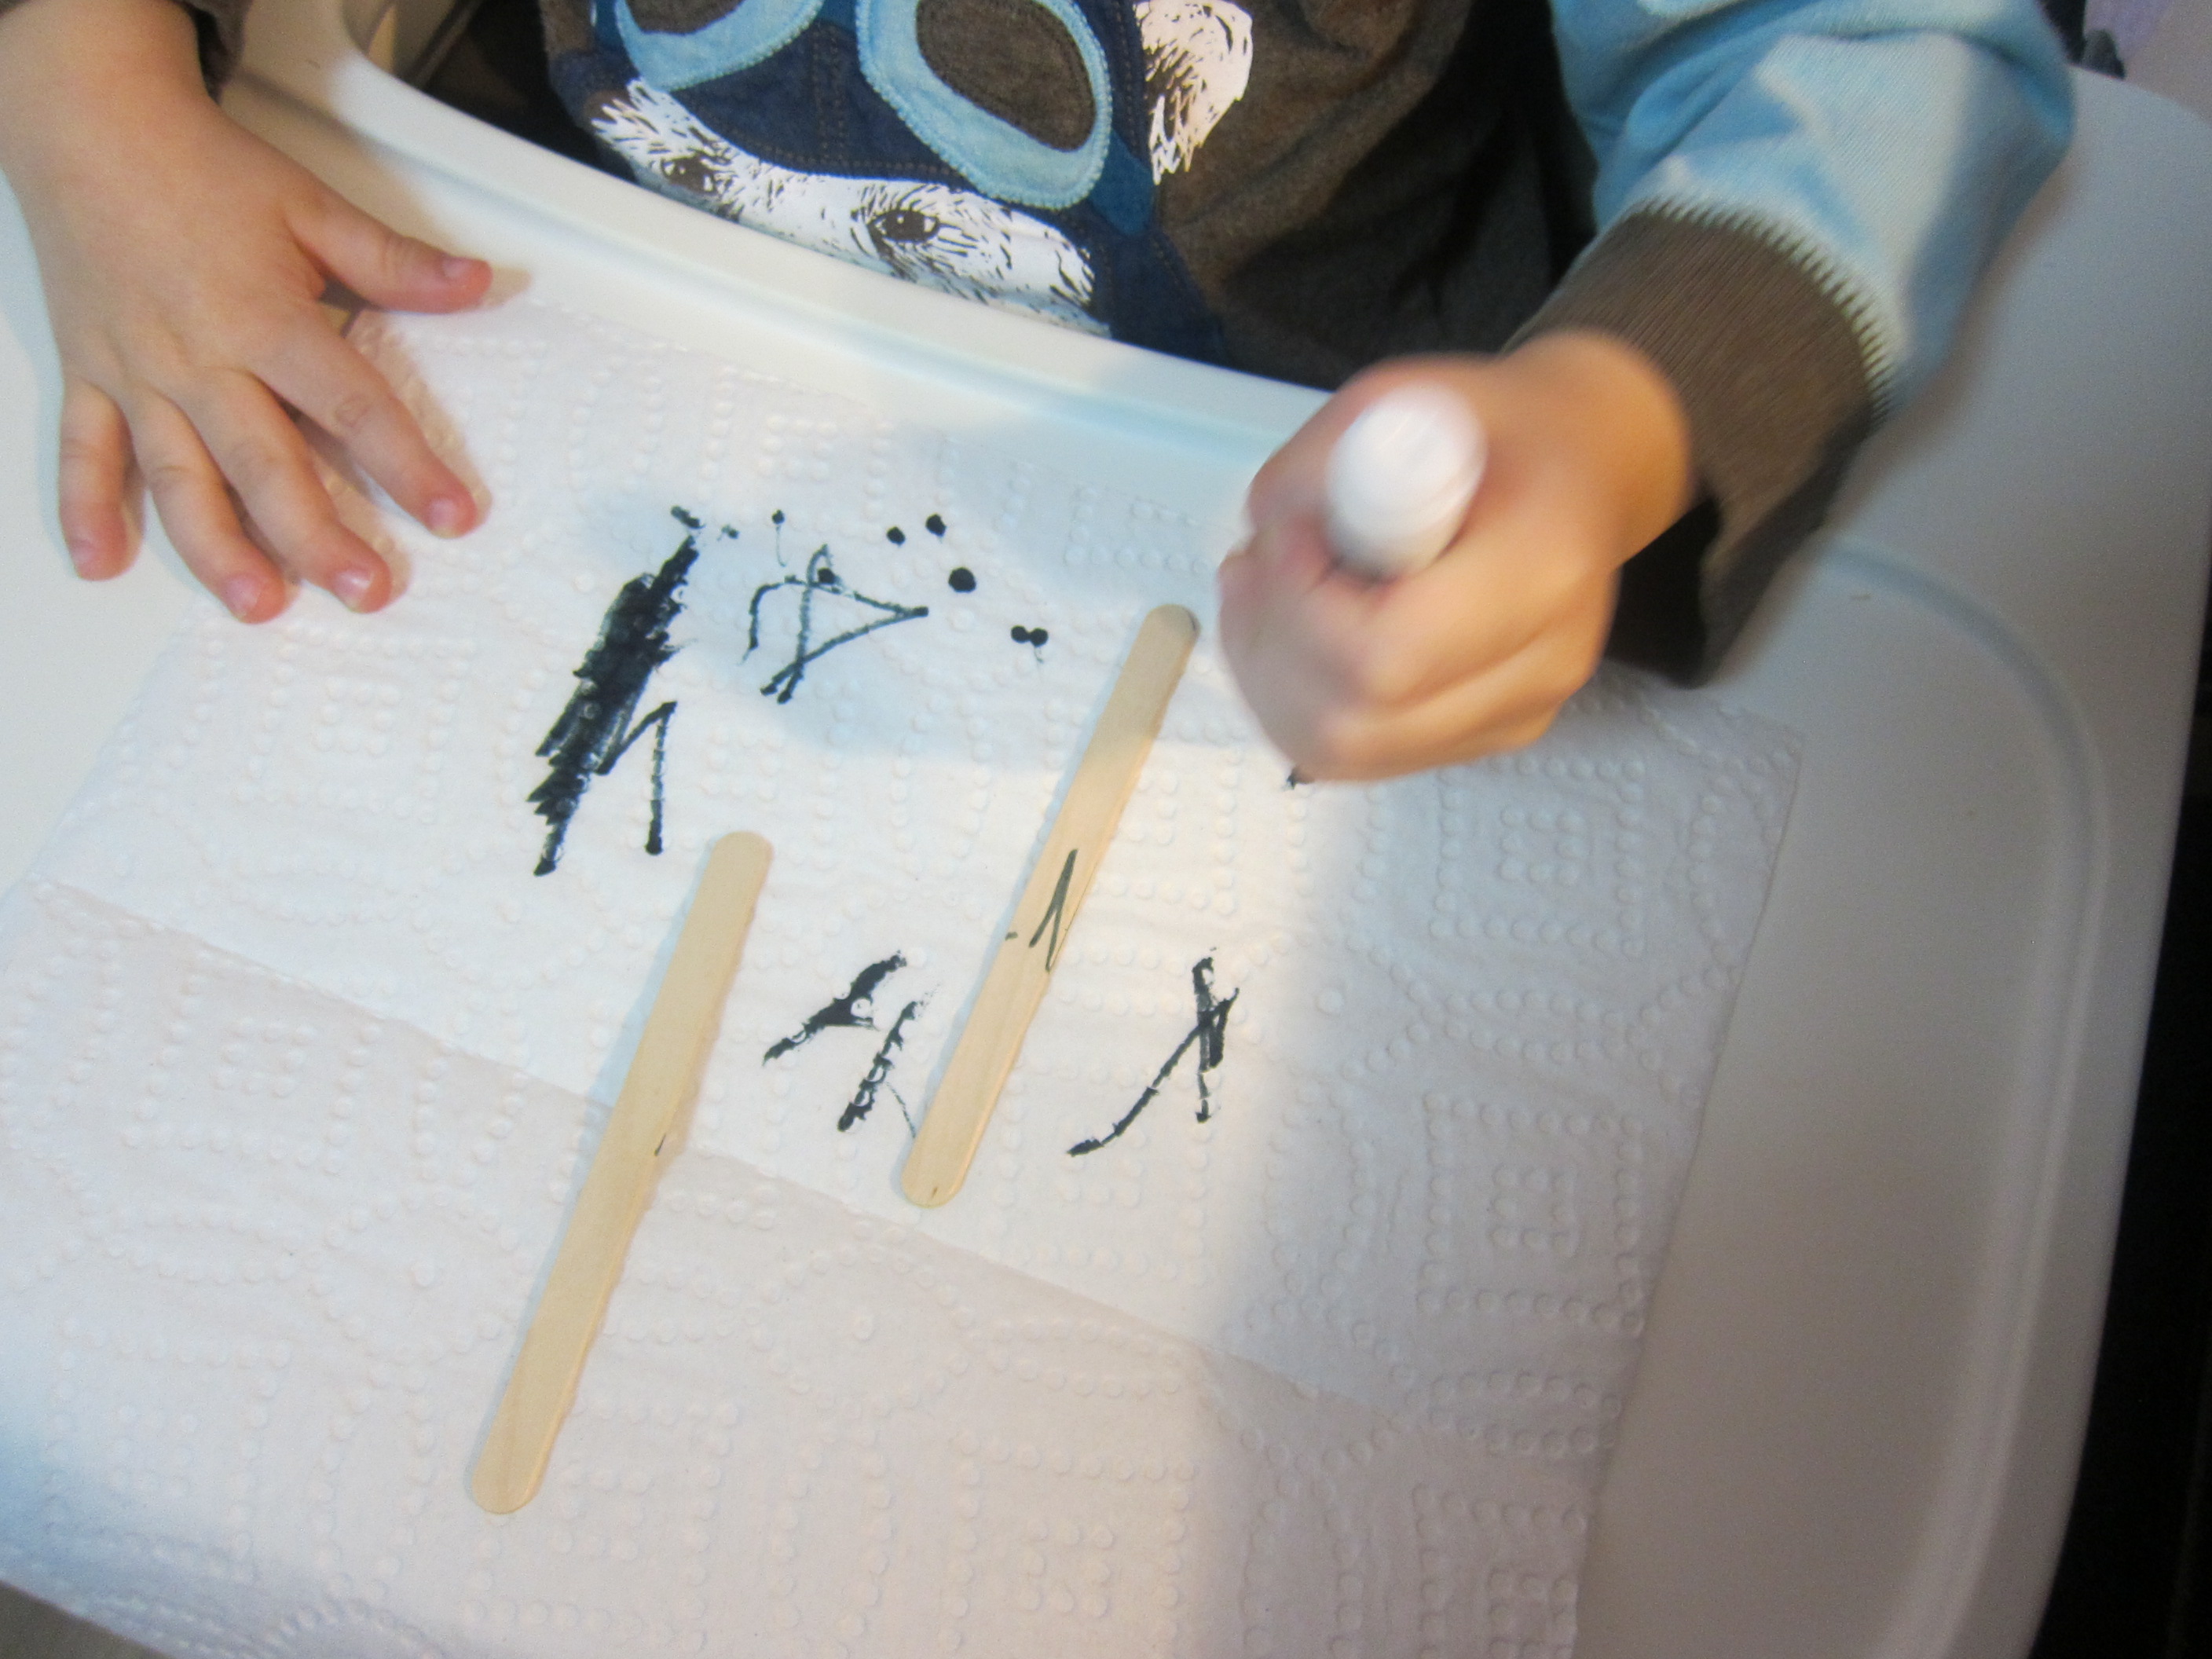
I then cut a few additional details from construction paper which Veronika could help glue on, including an orange carrot nose, a red scarf, and black circles for buttons and eyes. Make sure to have your toddler help squeeze out the glue, which is great for those little finger muscles!

Cotton Ball Snowman Craft (6)

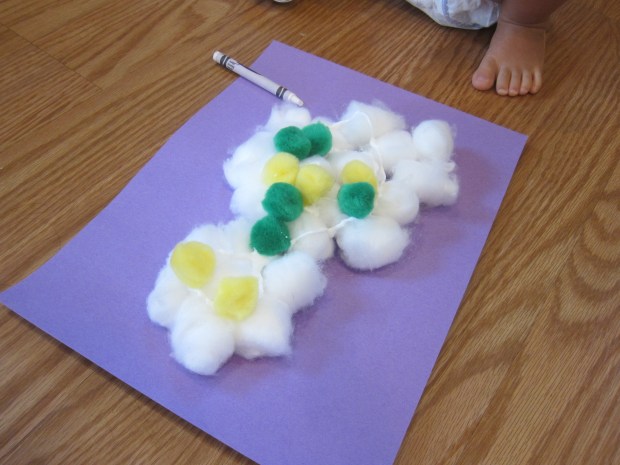
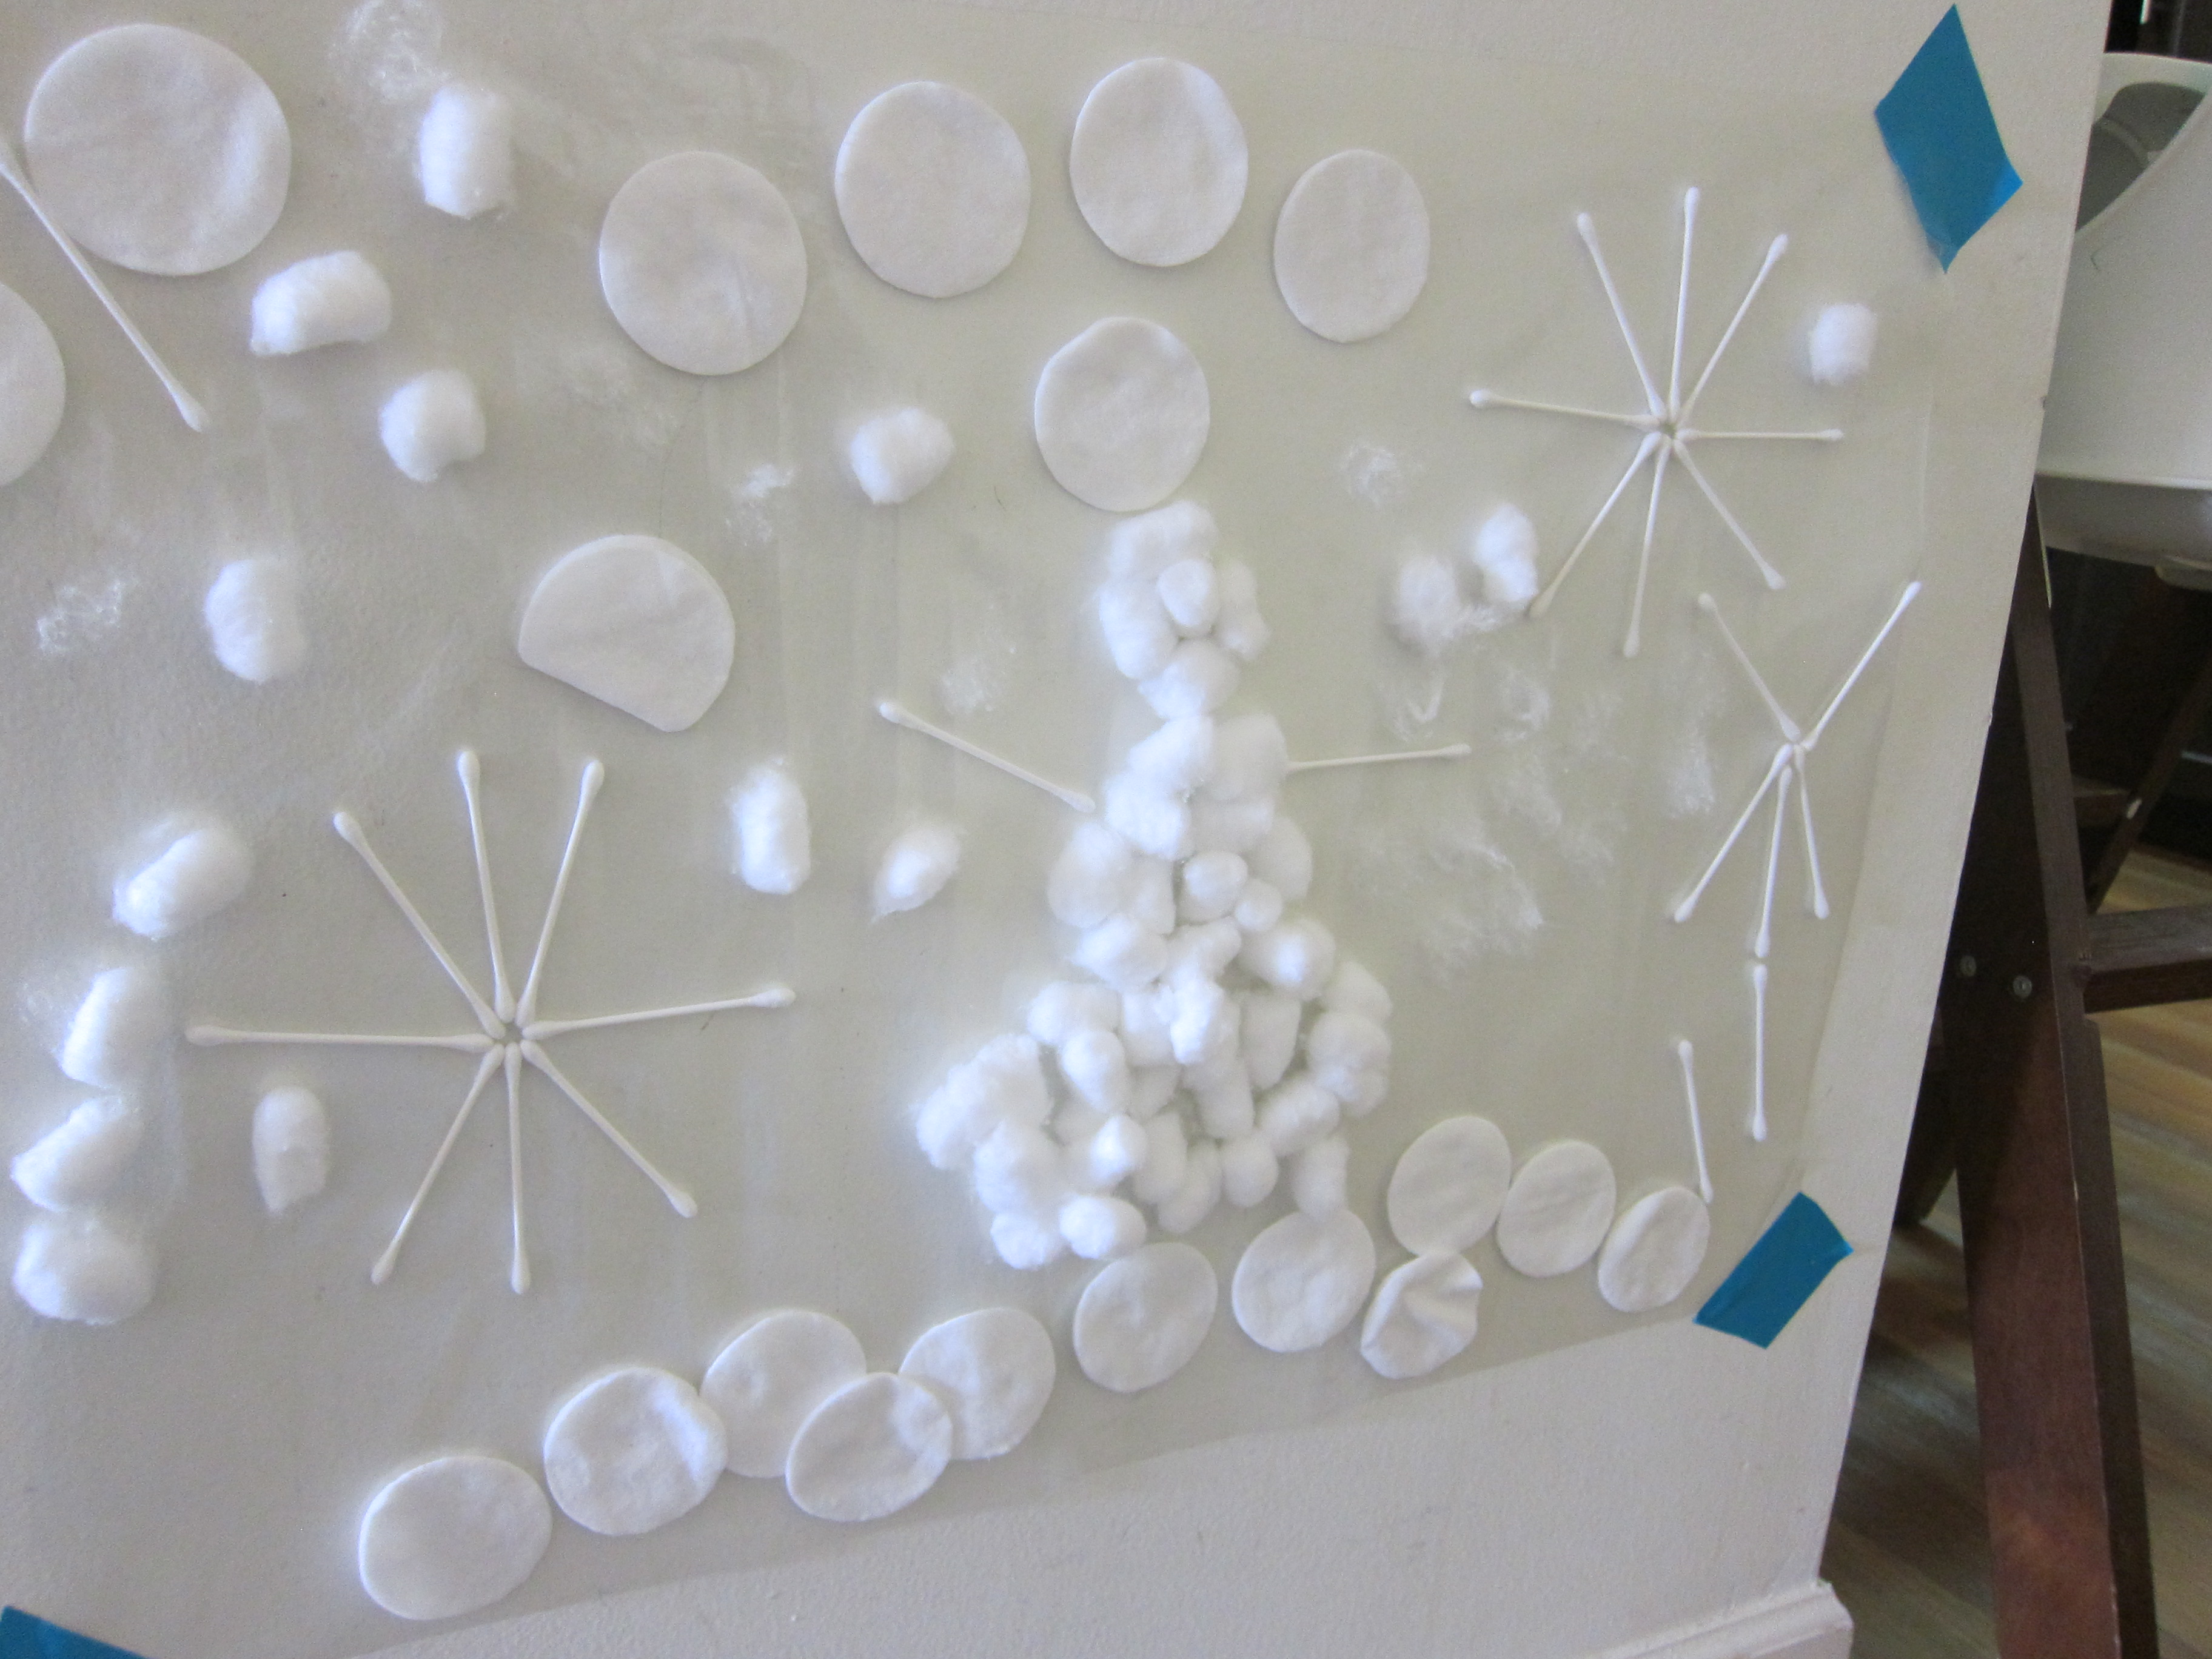
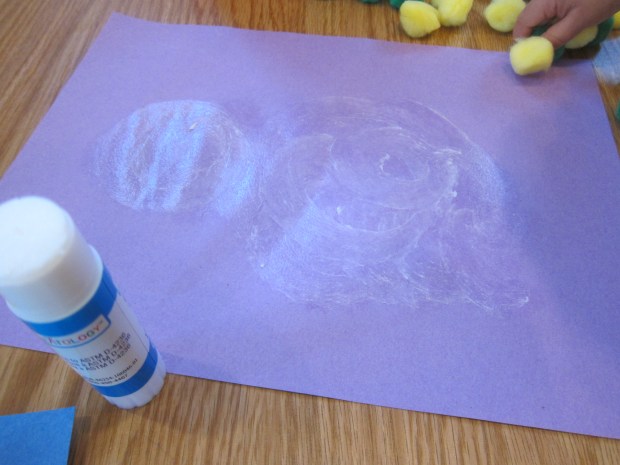
The second version we made allowed Veronika to be more in charge. This time, we simply smeared a glue stick onto construction paper in circular motions, a big circle on the bottom and smaller on top.

Cotton Ball Snowman Craft (7)

After sticking on cotton balls for the body, I then gave Veronika pom poms to add for decorations. This was a great way to give her agency over how the snowman turned out.

Cotton Ball Snowman Craft (8)

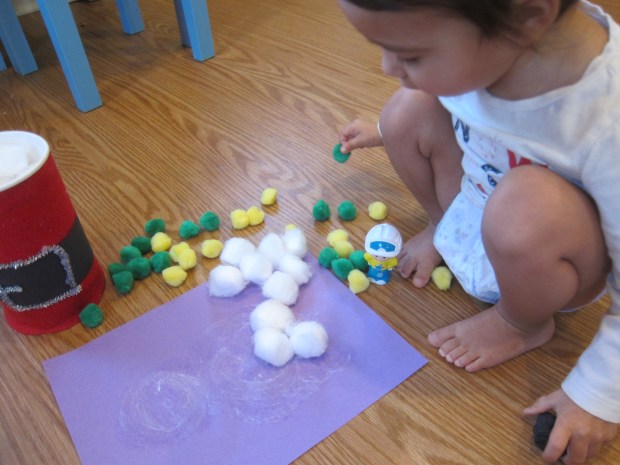
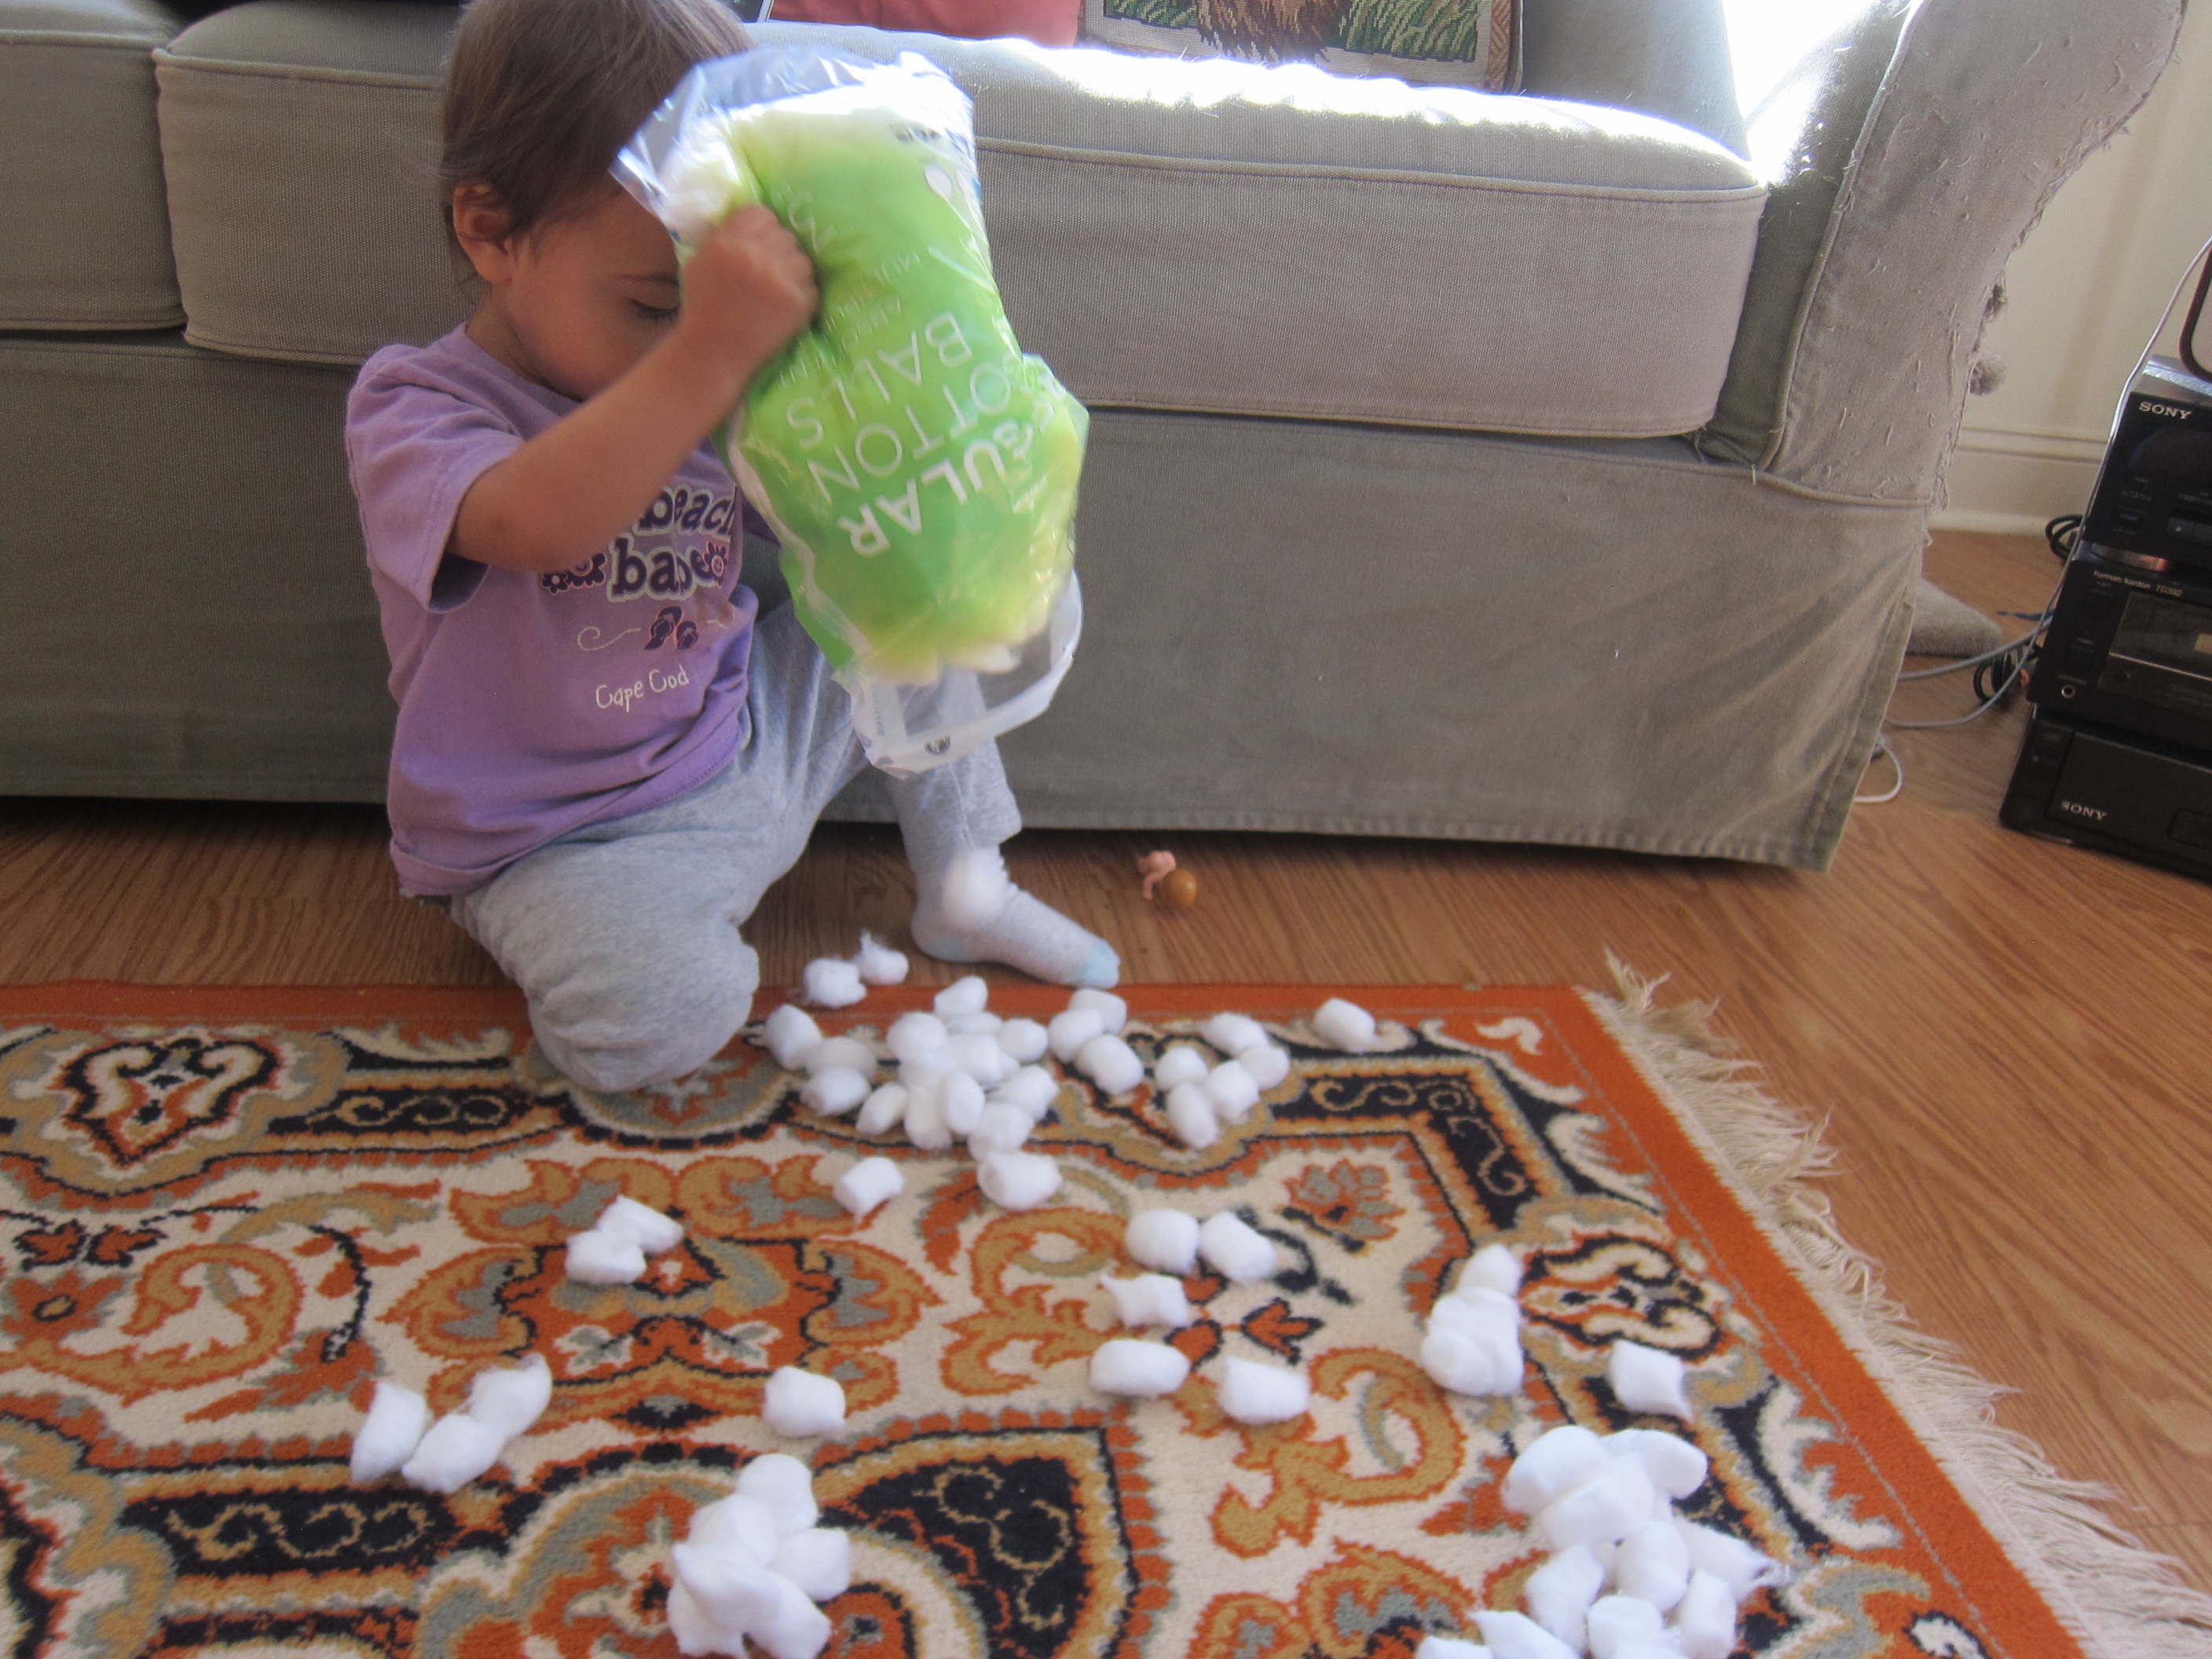
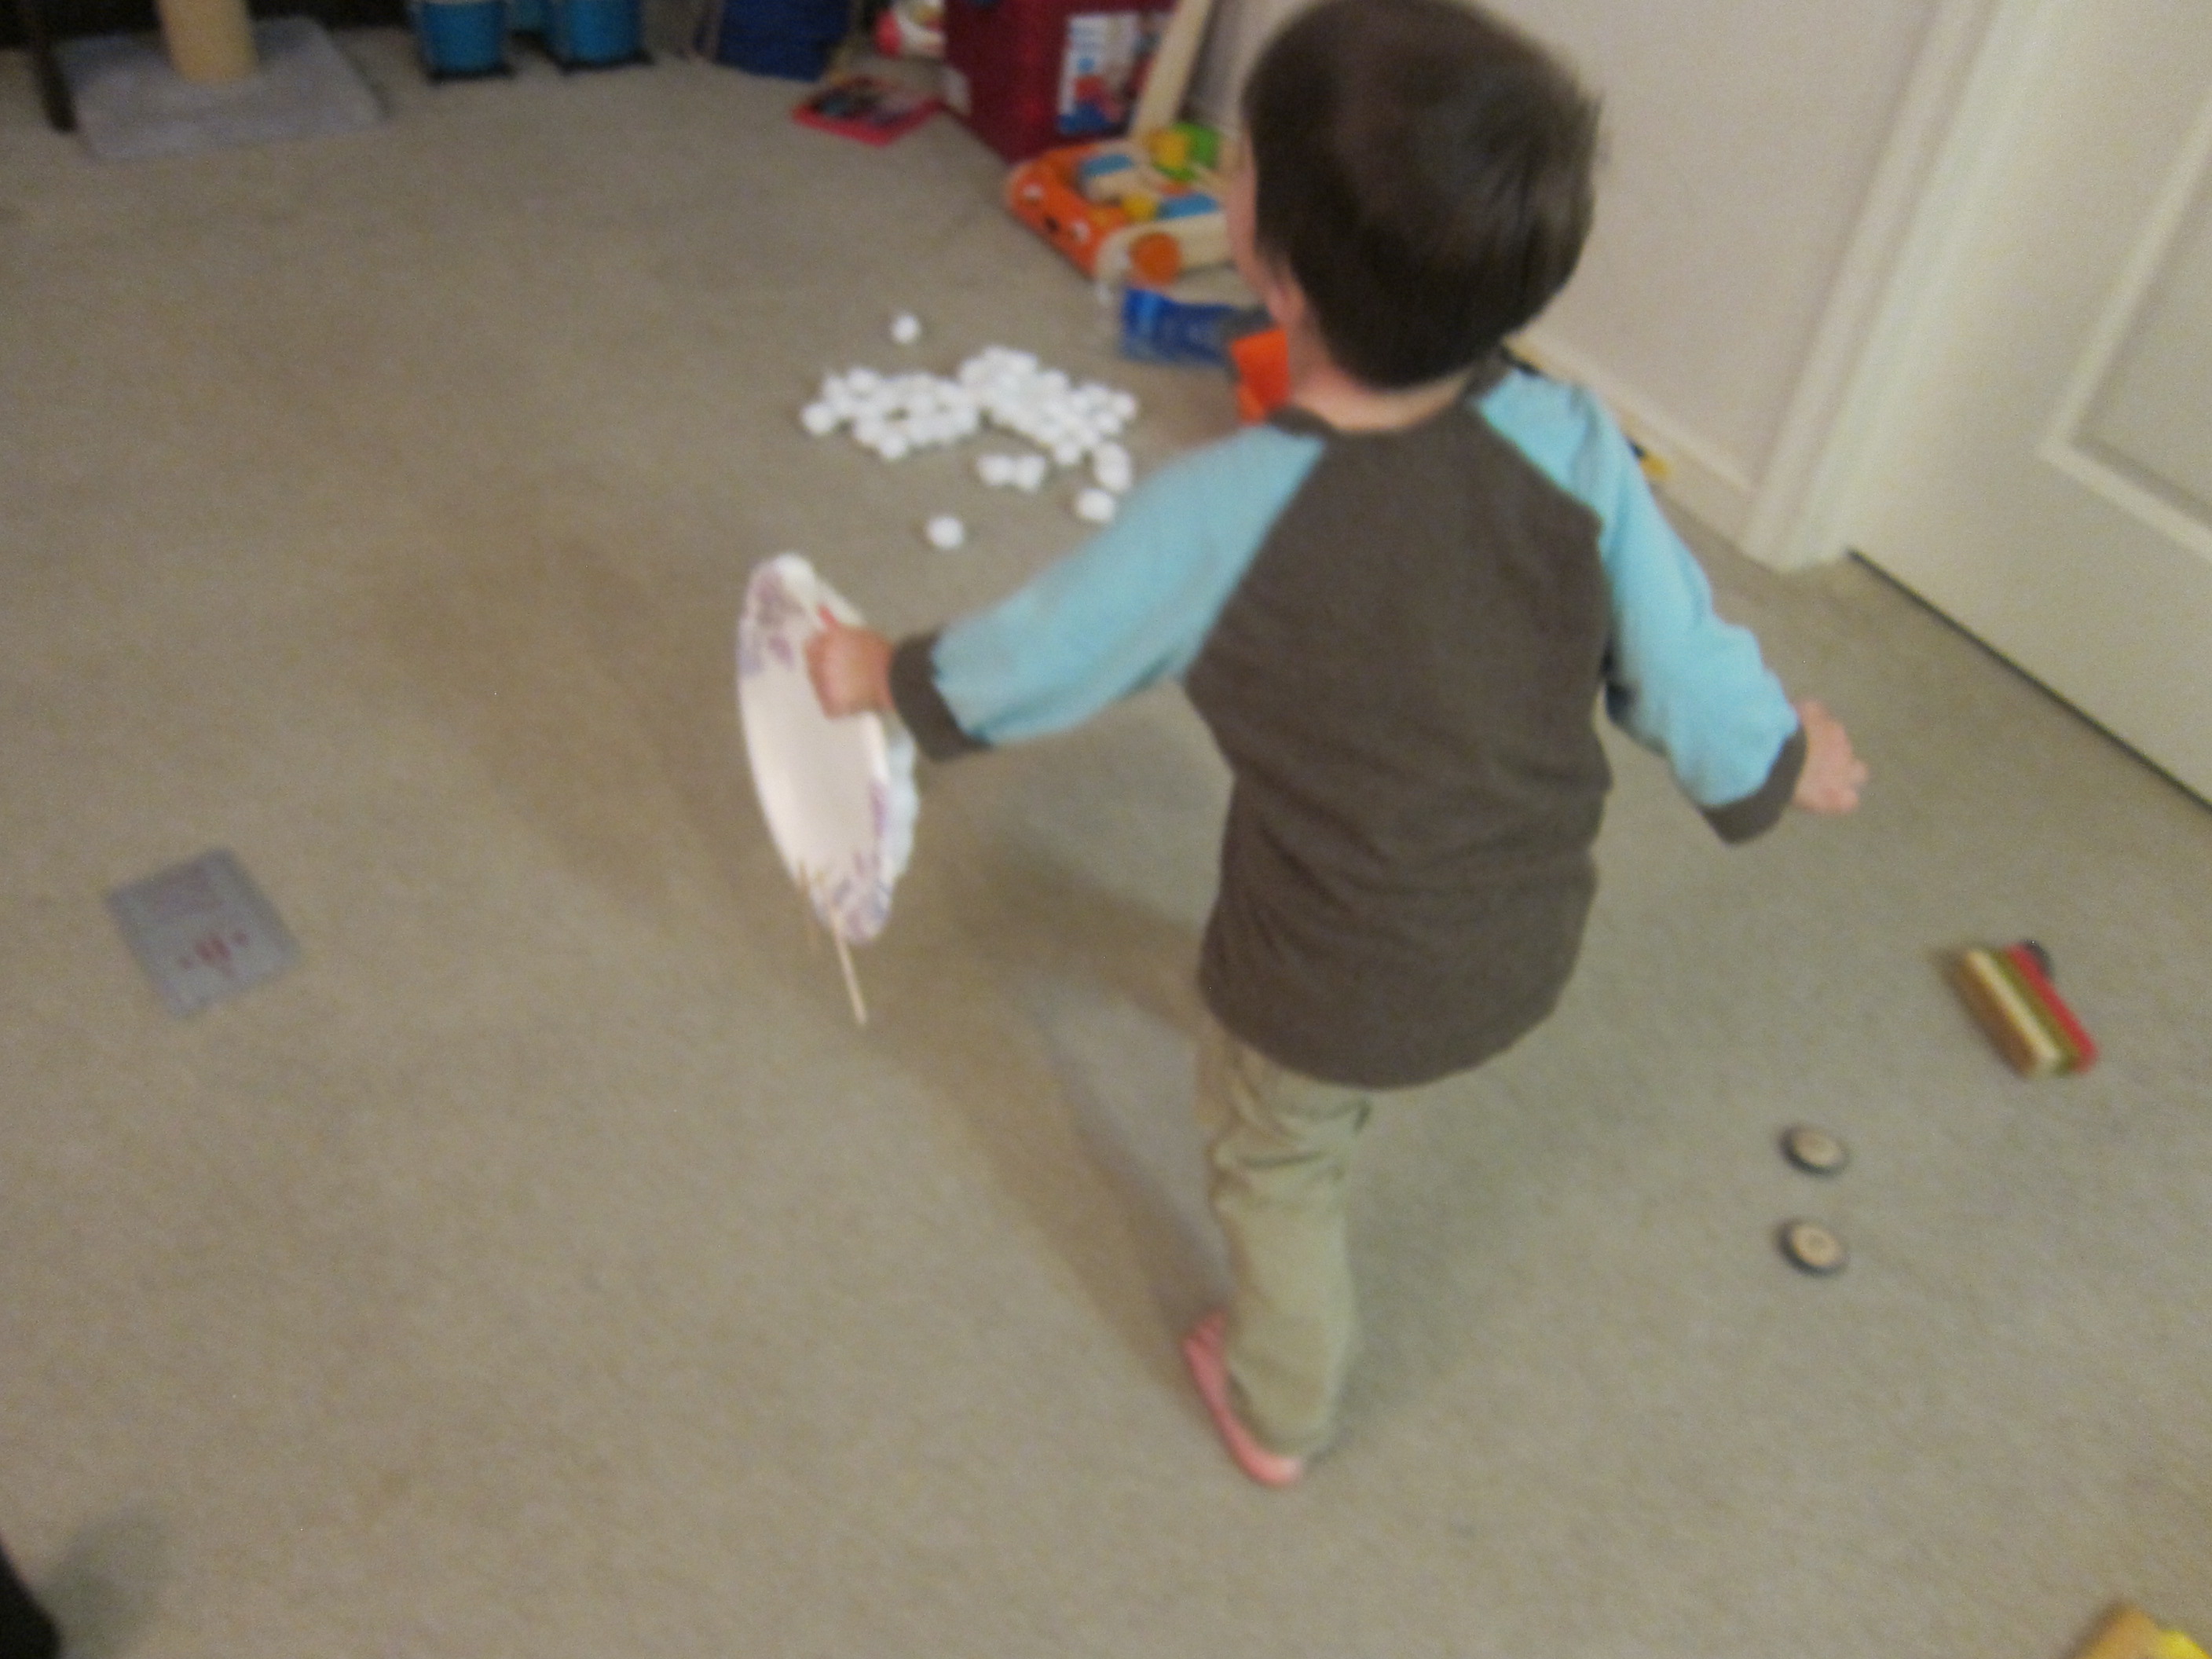
If your child wants to add a background, use a white crayon for a snowy scene. For all that, Veronika’s favorite part of the whole activity was dumping cotton balls from one container to another, which was just fine.

Cotton Ball Snowman Craft (4)

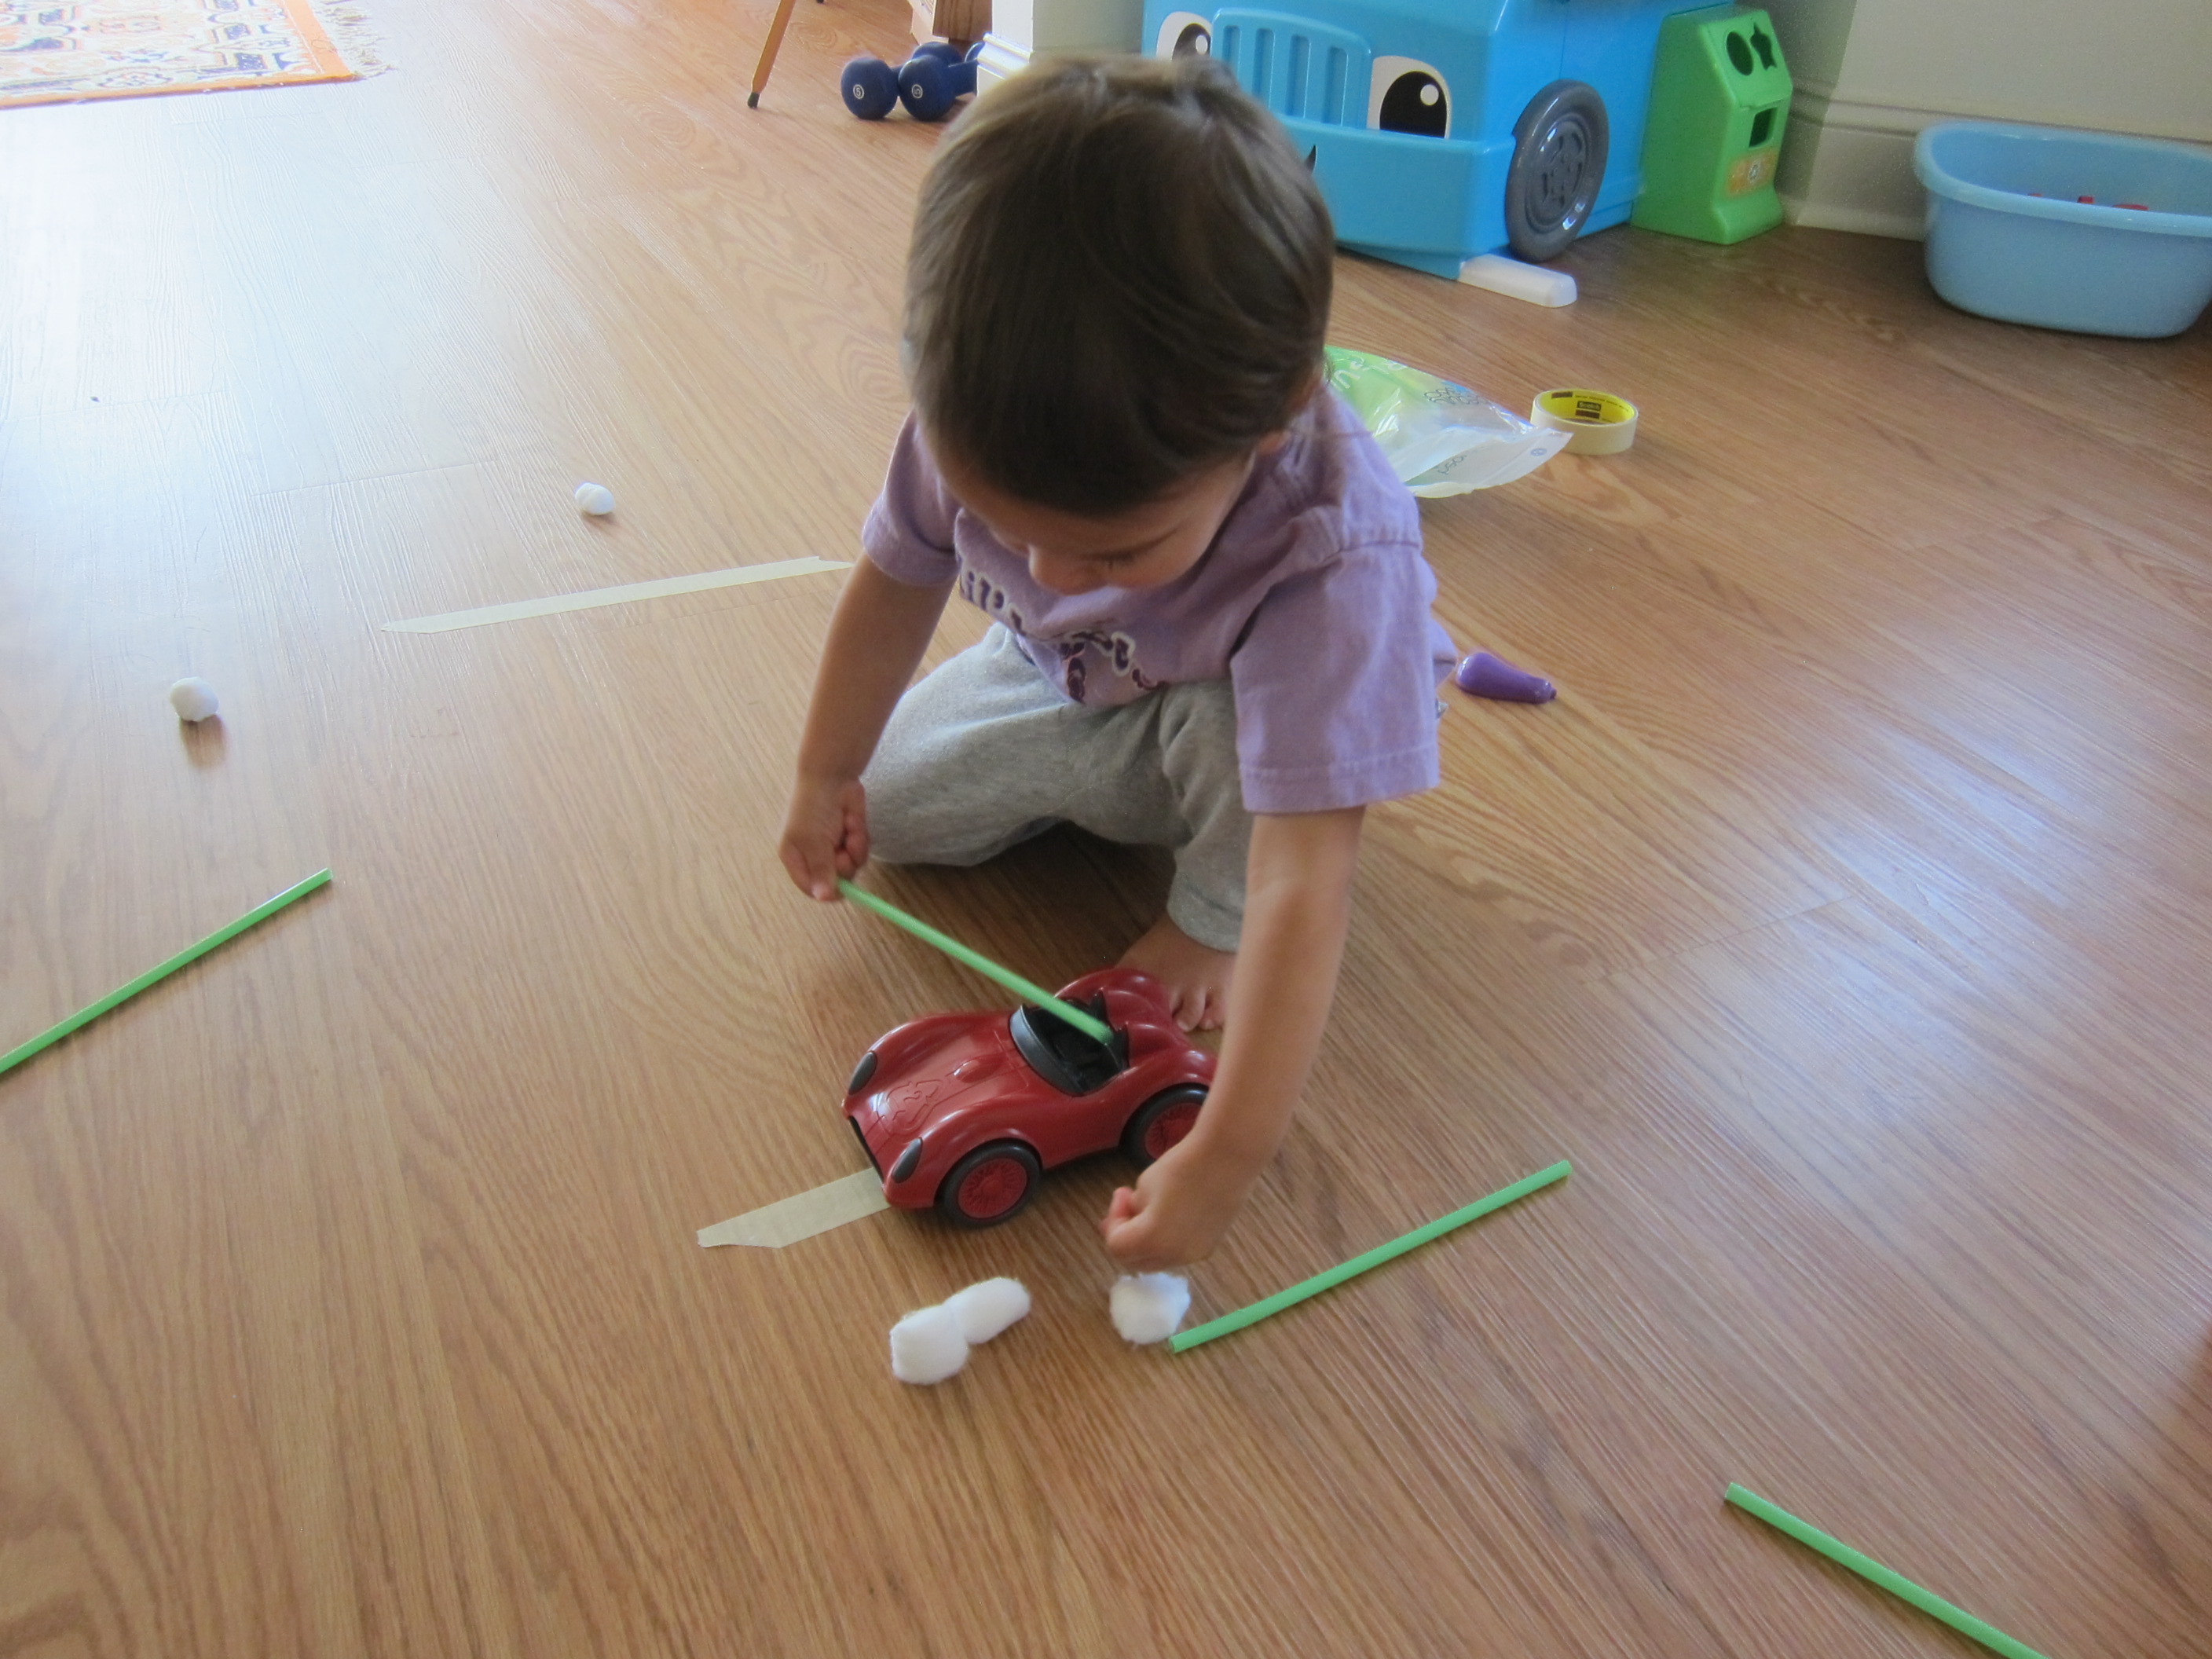
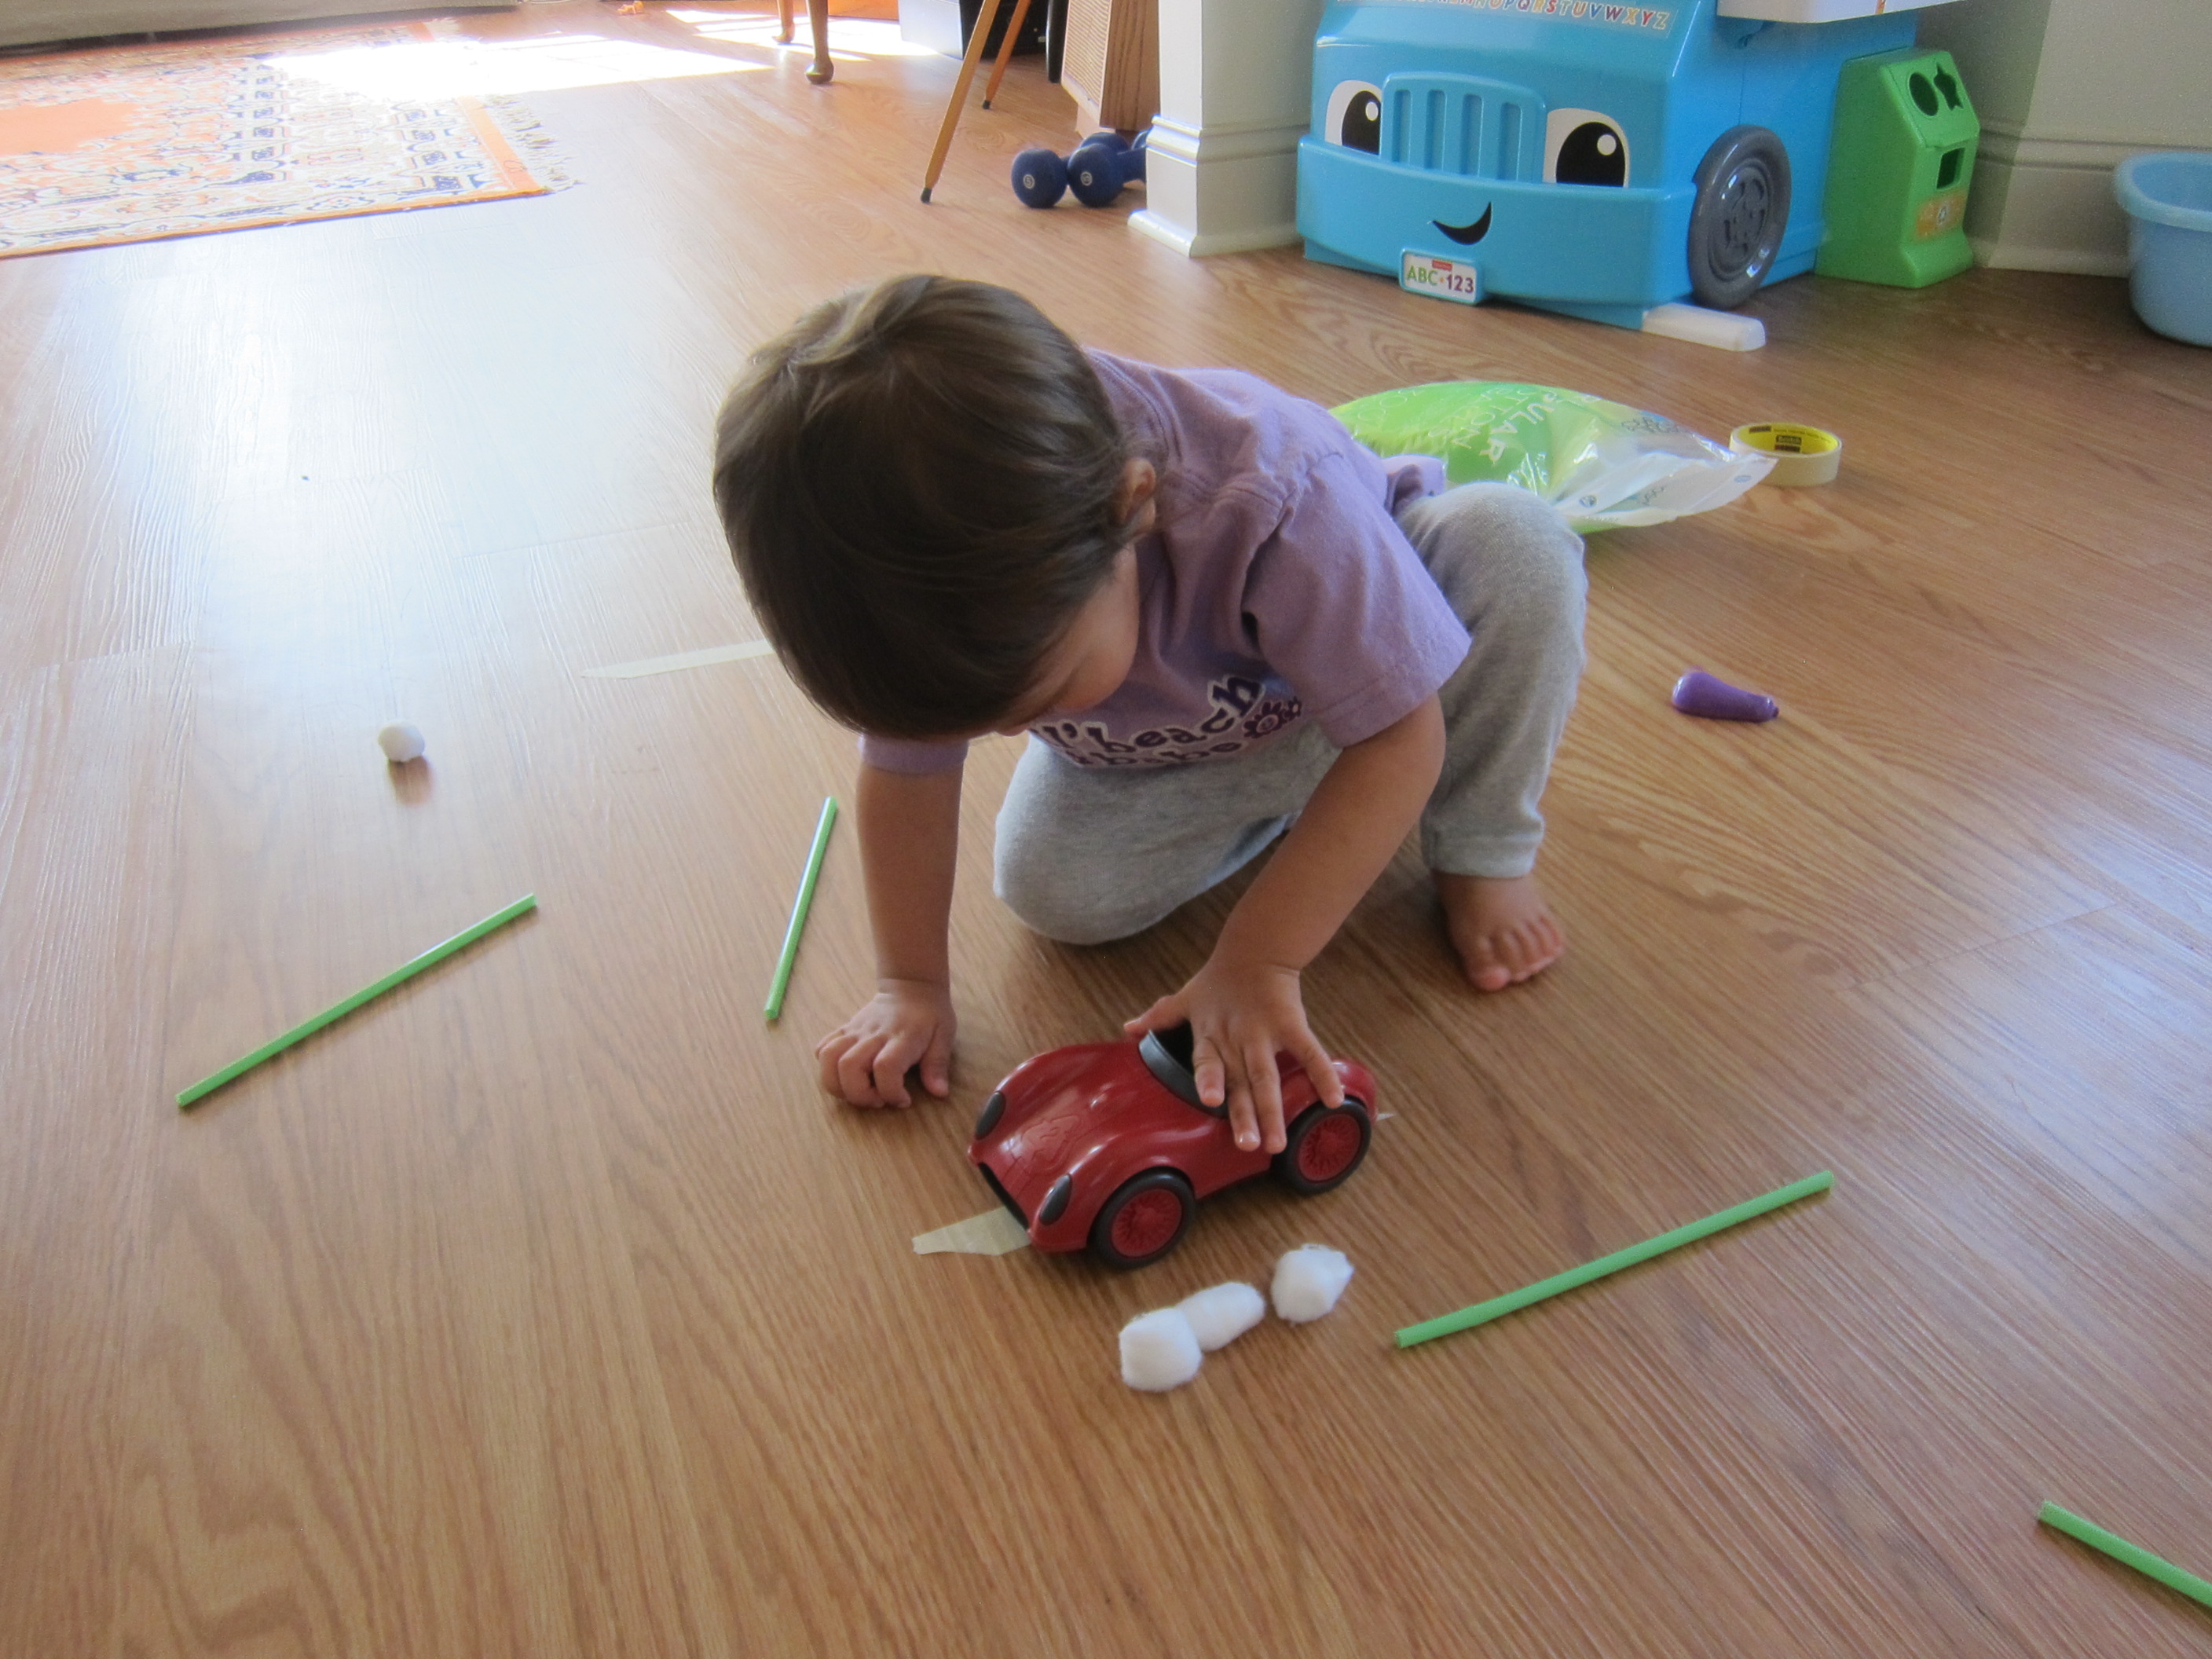
As I said, toddlers love those fluffy little cotton balls!

Cotton Ball Snowman Craft (10)

A Day at the Races

Day at the Races (4)

Veronika loves zooming toy cars around the playroom, so today we made up a new way to stage a “race” at home.

I marked a start and finish line for our race track with strips of masking tape, then set out a few cotton balls (our cars!) and straws.

Day at the Races (2)

Veronika was immediately interested in all the materials, and it was time to start our engines. I showed her how to huff down into a straw, which is great practice for kids.

Day at the Races (6)

Together (because she couldn’t do it alone yet), we raced our cotton balls from start to finish.

Day at the Races (3)

Preschoolers will probably want to make it a true competition, racing their cotton ball against a parent or caregiver!

Day at the Races (5)

Veronika soon wanted to add her toy cars to the race. Whoops, she couldn’t use the straw to move the car, but she tried. Which was faster: little red car or mommy’s cotton ball?

Day at the Races (10)

A race to the finish!

Day at the Races (7)

Don’t be surprised if all the materials are just as exciting as the race. Veronika loved playing with leftover cotton balls, making this a sensory game in addition to the imaginative play.

Day at the Races (1)

Overall, you probably can’t expect a true race against a 2-year-old, but you will have silly fun.

Day at the Races (9)

Picnic Scene Craft Challenge

Picnic Challenge (6)

Travis loves the open-ended craft challenge he finds in his Highlights magazine every month, having crafted robots and camping tents in the past, among others. Today, we wanted to make a picnic scene using nothing more than colored paper, cotton balls, and paint.

I loved the little method that Travis came up with. First he needed a paper base, and he chose green grass. We glued down a separate square of colored paper for the blanket.

Everything else in the little scene was made of cotton balls, which he dipped into paint and then glued on!

Picnic Challenge (1)

It definitely was a five-year-old’s take on a challenge for kids as big as age 12, but I loved watching his process. There was green cotton ball grass:

Picnic Challenge (3)

Orange cotton ball food:

Picnic Challenge (2)

And pink cotton ball people! He then made some black cotton ball ants.

Picnic Challenge (4)

He loved carefully pouring the paint onto each cotton ball before gluing them down, and enjoyed it so much that he wanted to make a second version. This time his pink person dined on yellow lemonade.

Picnic Challenge (5)

Cotton Cherry Blossom Painting

Cherry Blossom (7)

We had a little fun exploring different tools that we could paint with about a week ago, and that turned into the idea for this quick springtime craft. Soft items like cotton balls or pom poms are perfect for making the delicate flowers of a cherry blossom tree!

To start, I drew the outline of tree trunks for me and Travis, with plenty of branches to fill in. Big kids will probably like to draw their own trunk!

Cherry Blossom (1)

Attach a clothespin to each cotton ball, and set out a big dish of pink paint – exciting!

Cherry Blossom (3)

I showed Travis how to dip in the cotton ball and then press and lift off the paper to recreate these pretty springtime blooms.

Cherry Blossom (2)

His was a bit more smeared, but he still liked the mechanics of the craft.

Cherry Blossom (4)

We ended up with two pretty cherry blossom trees, one by Travis and one by mama. Big kids may wind up with something closer to this:

Cherry Blossom (6)

We’ll have to cap things off with a visit to see the cherry blossom trees in the neighborhood!

Pinecone Snow Owl

Pinecone Owl (8).JPG

These cute owls were the perfect craft to put together on a day with two-foot-high snow drifts outside our window!

Our inspiration came from the picture of this adorable little guy.

Pinecone Owl (1)

All we needed were pinecones and cotton balls to recreate him indoors, and luckily I had both on hand.

Tearing apart cotton balls always feels so fluffy and fun!

Pinecone Owl (3)

Travis helped push the cotton into the pinecone, until we had mostly filled it in with white.

Pinecone Owl (4)

As an alternative, we tried using a white feather boa for an even fluffier look, winding it in between pinecone sections.

Pinecone Owl (2)

These owls turned out so fluffy though that they looked more like snow gerbils!

Pinecone Owl (5)

To finish our owls, we added googly eyes and little beaks cut from brown felt.

Pinecone Owl (6)

They’re nice and warm inside and away from the snow!


Paper Plate Sheep

paper-plate-sheep-4

We made one final animal this week to cap off farm play (see my previous posts for our Koala Farm Crate and Little White Duck). Full disclosure: Travis wasn’t very into crafting this sheep, but he loved playing with it!

First, glue cotton balls (or white pom poms) all over a paper plate. It was hard to coax Travis into this step, only because he much preferred throwing the cotton balls all over the living room!

paper-plate-sheep-2

Once the glue dries, you can add two popsicle sticks as legs. Travis helped color them black, although I had to guide his hand to make sure the thin popsicle sticks received enough marker! Paper towel is just so much more fun to draw on, of course.

paper-plate-sheep-1

We glued on the legs, and then added a rather abstract-art eyes and smile with black marker. Then it was time to trot the sheep around the house!

paper-plate-sheep-3

Sticky Winter Wall

sticky-winter-wall-8

We loved this idea so much from our blogging friend at D.I.Y. Unlimited Fun that I had to put the game together right away for Travis! Luckily, I keep contact paper on hand for precisely these situations.

I attached a large rectangle of contact paper to a low wall, sticky side out, and provided Travis with various “wintry” items – cotton balls, cotton pads, and white q-tips.

sticky-winter-wall-4

He barely needed me to demonstrate before avidly diving in to create a winter scene.

When we made a snowman, he came up with the cotton pad hat and q-tip arms all by himself.

sticky-winter-wall-2

I also showed him how to make snowflakes with q-tips in a pretty pattern.


sticky-winter-wall-3

His favorite discovery was that the cotton balls left behind a bit of fluff if you pulled them up off of the contact paper. He loved dabbing one onto the paper several times, leaving a “snowy” scene behind.

sticky-winter-wall-7

Thanks for the fantastic idea!