Painting with Baby Food

Painting with Baby Food (4)

We had a few leftover jars of early-stage baby food (i.e. smooth purees) that Veronika will never eat at this point. So we decided to paint with them instead!

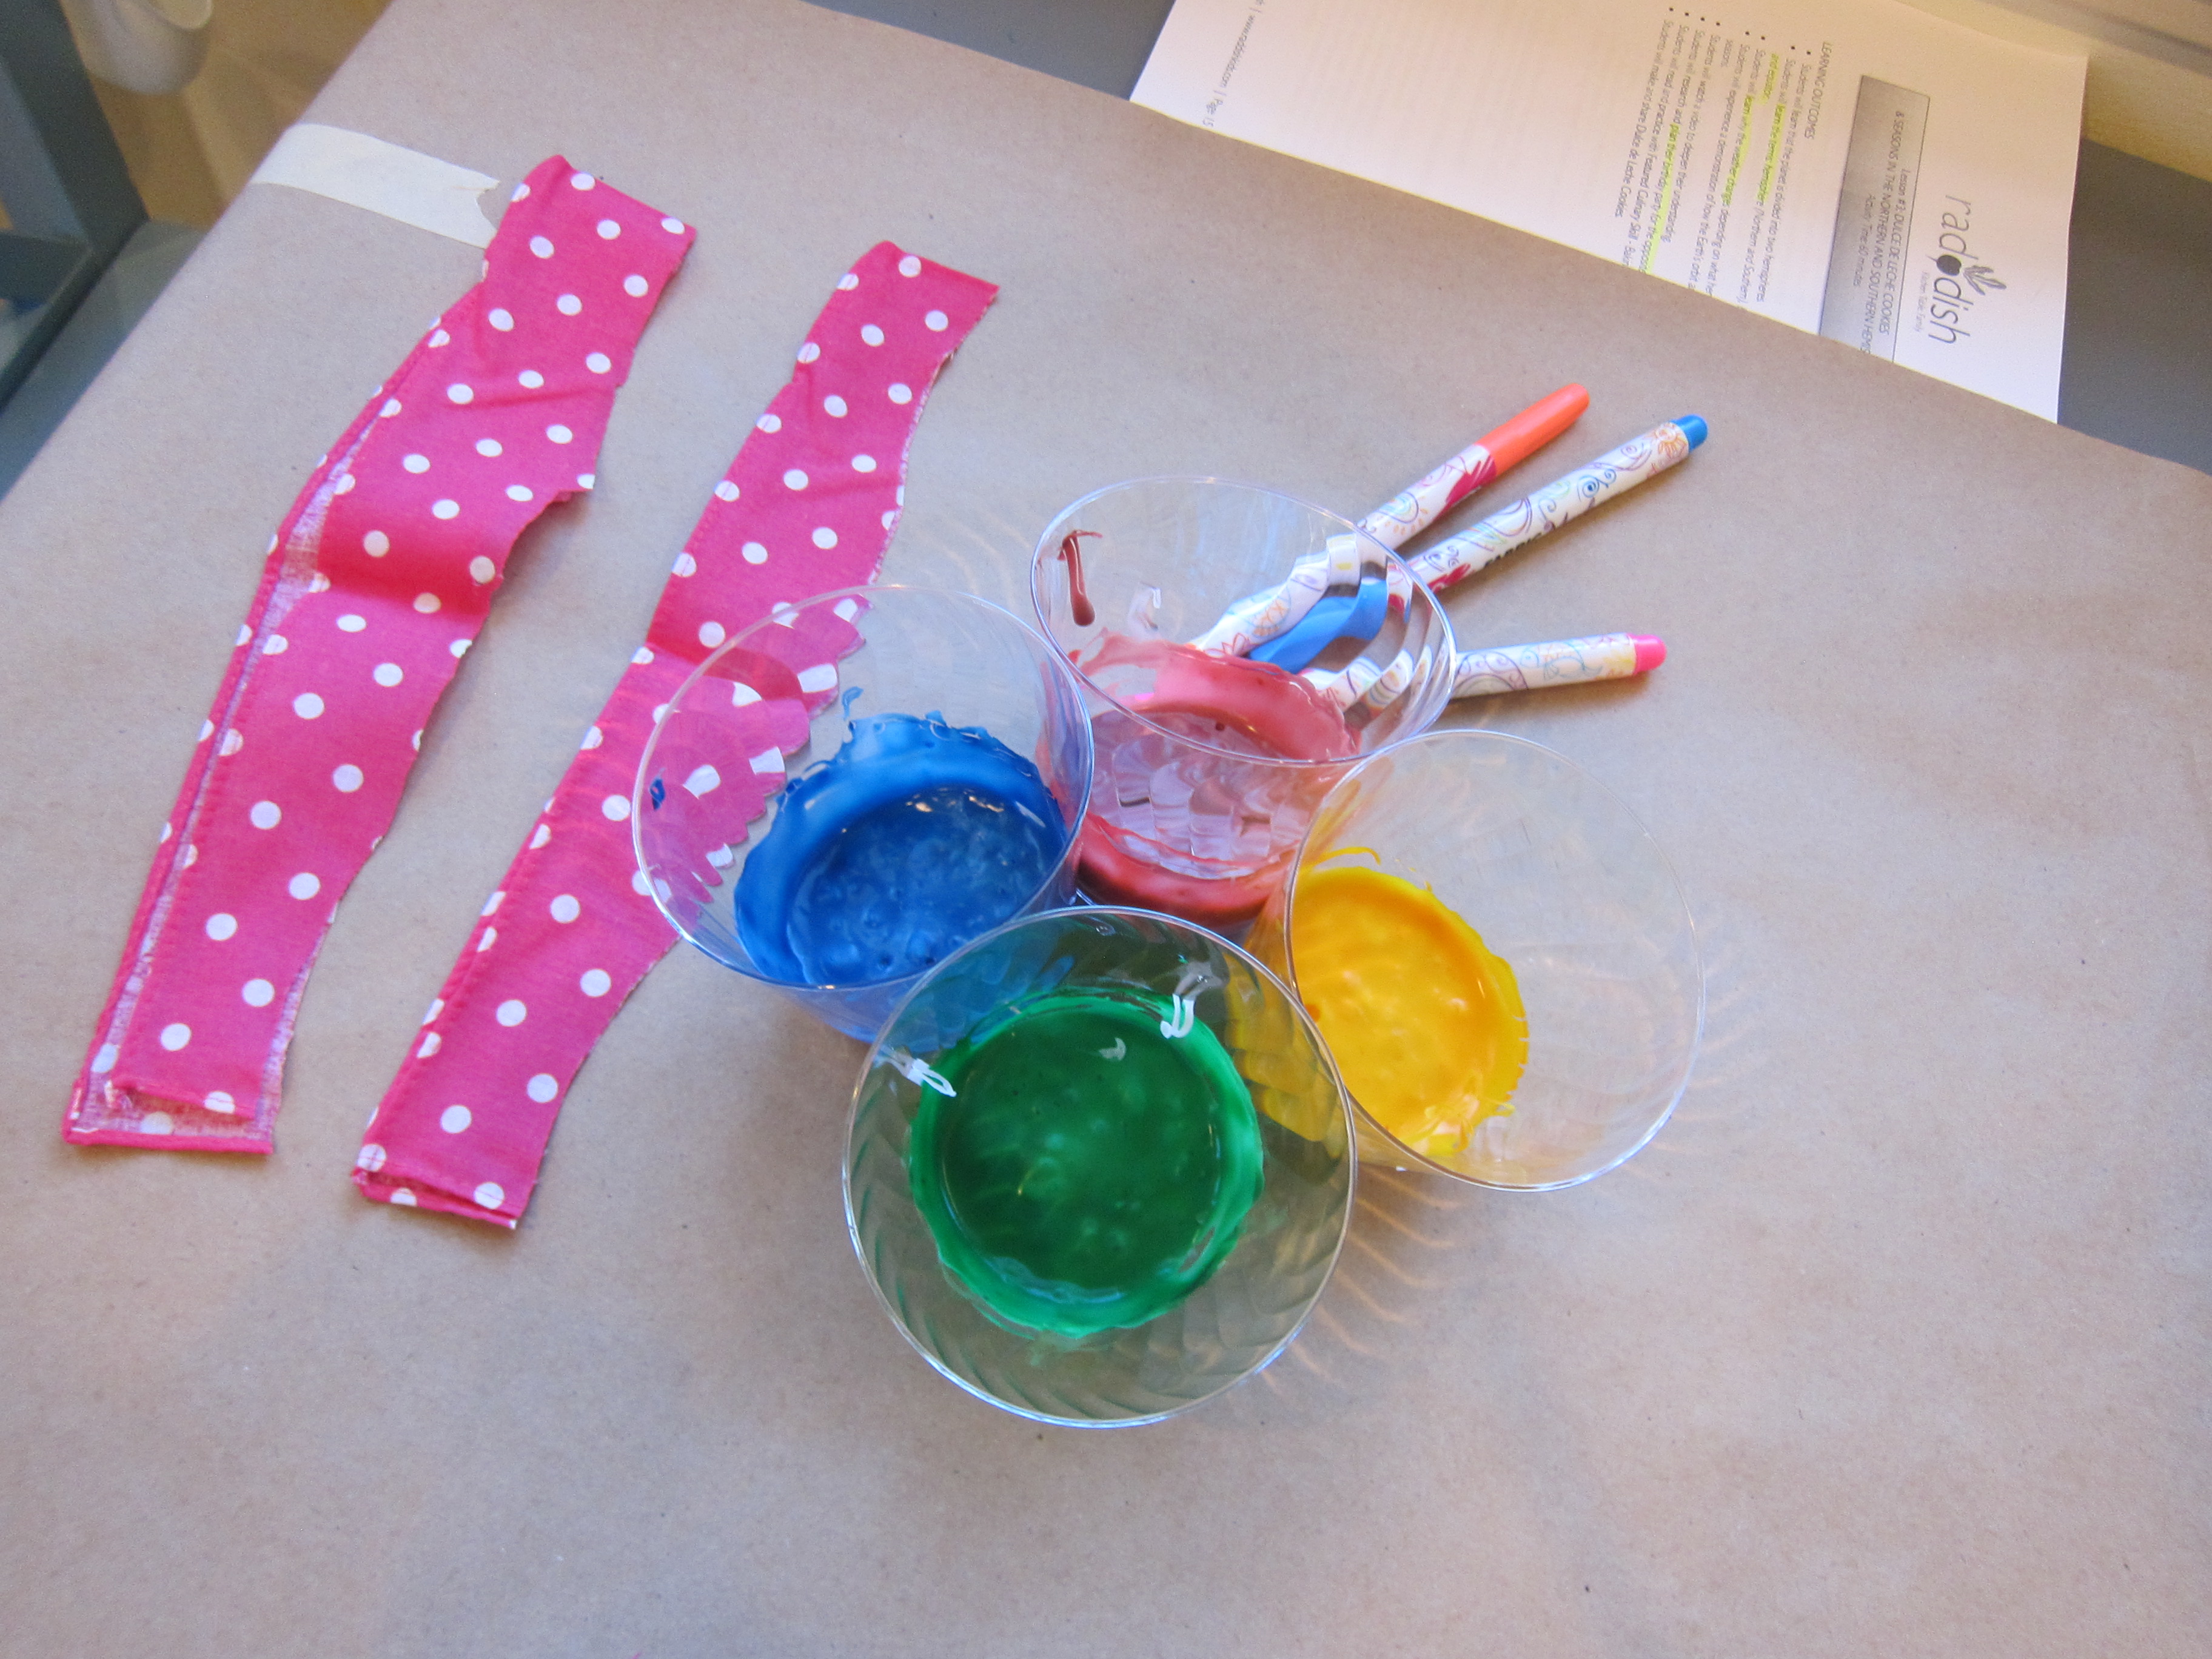
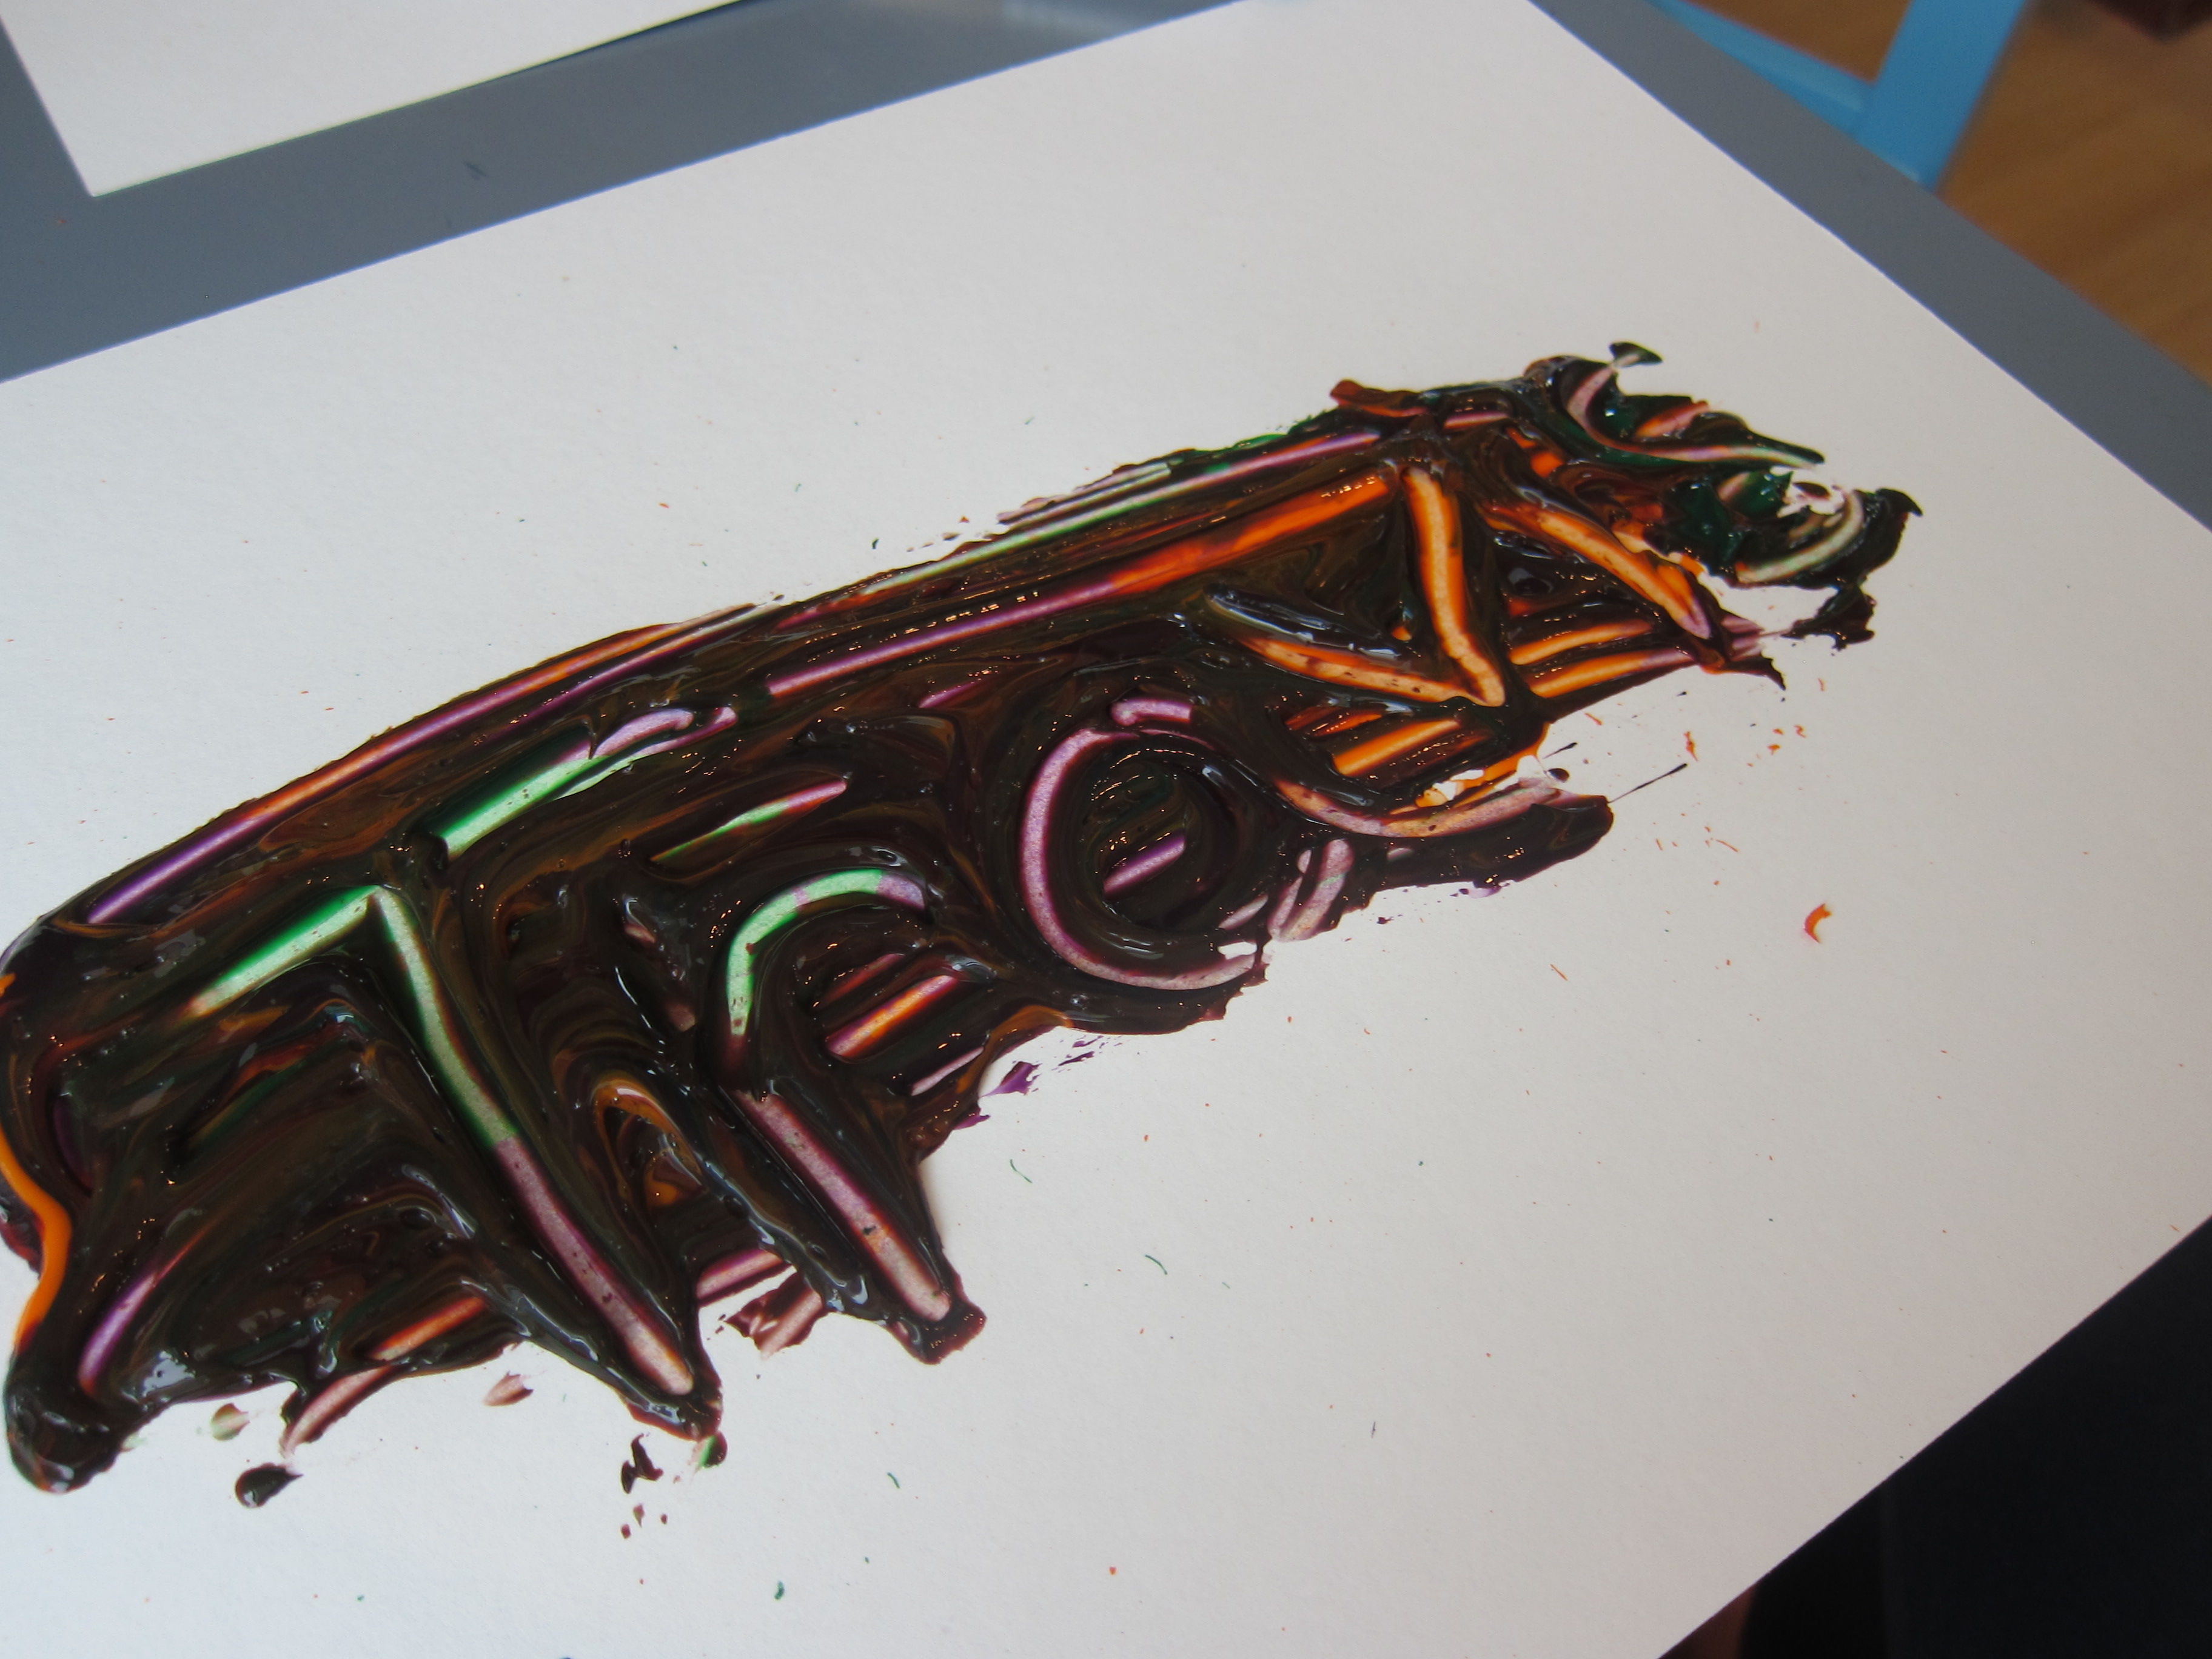
I laid down a long piece of butcher paper and poured two colors (er, flavors) of baby food onto paper plates. We had yellow/peach paint and purple paint.

Painting with Baby Food (3)

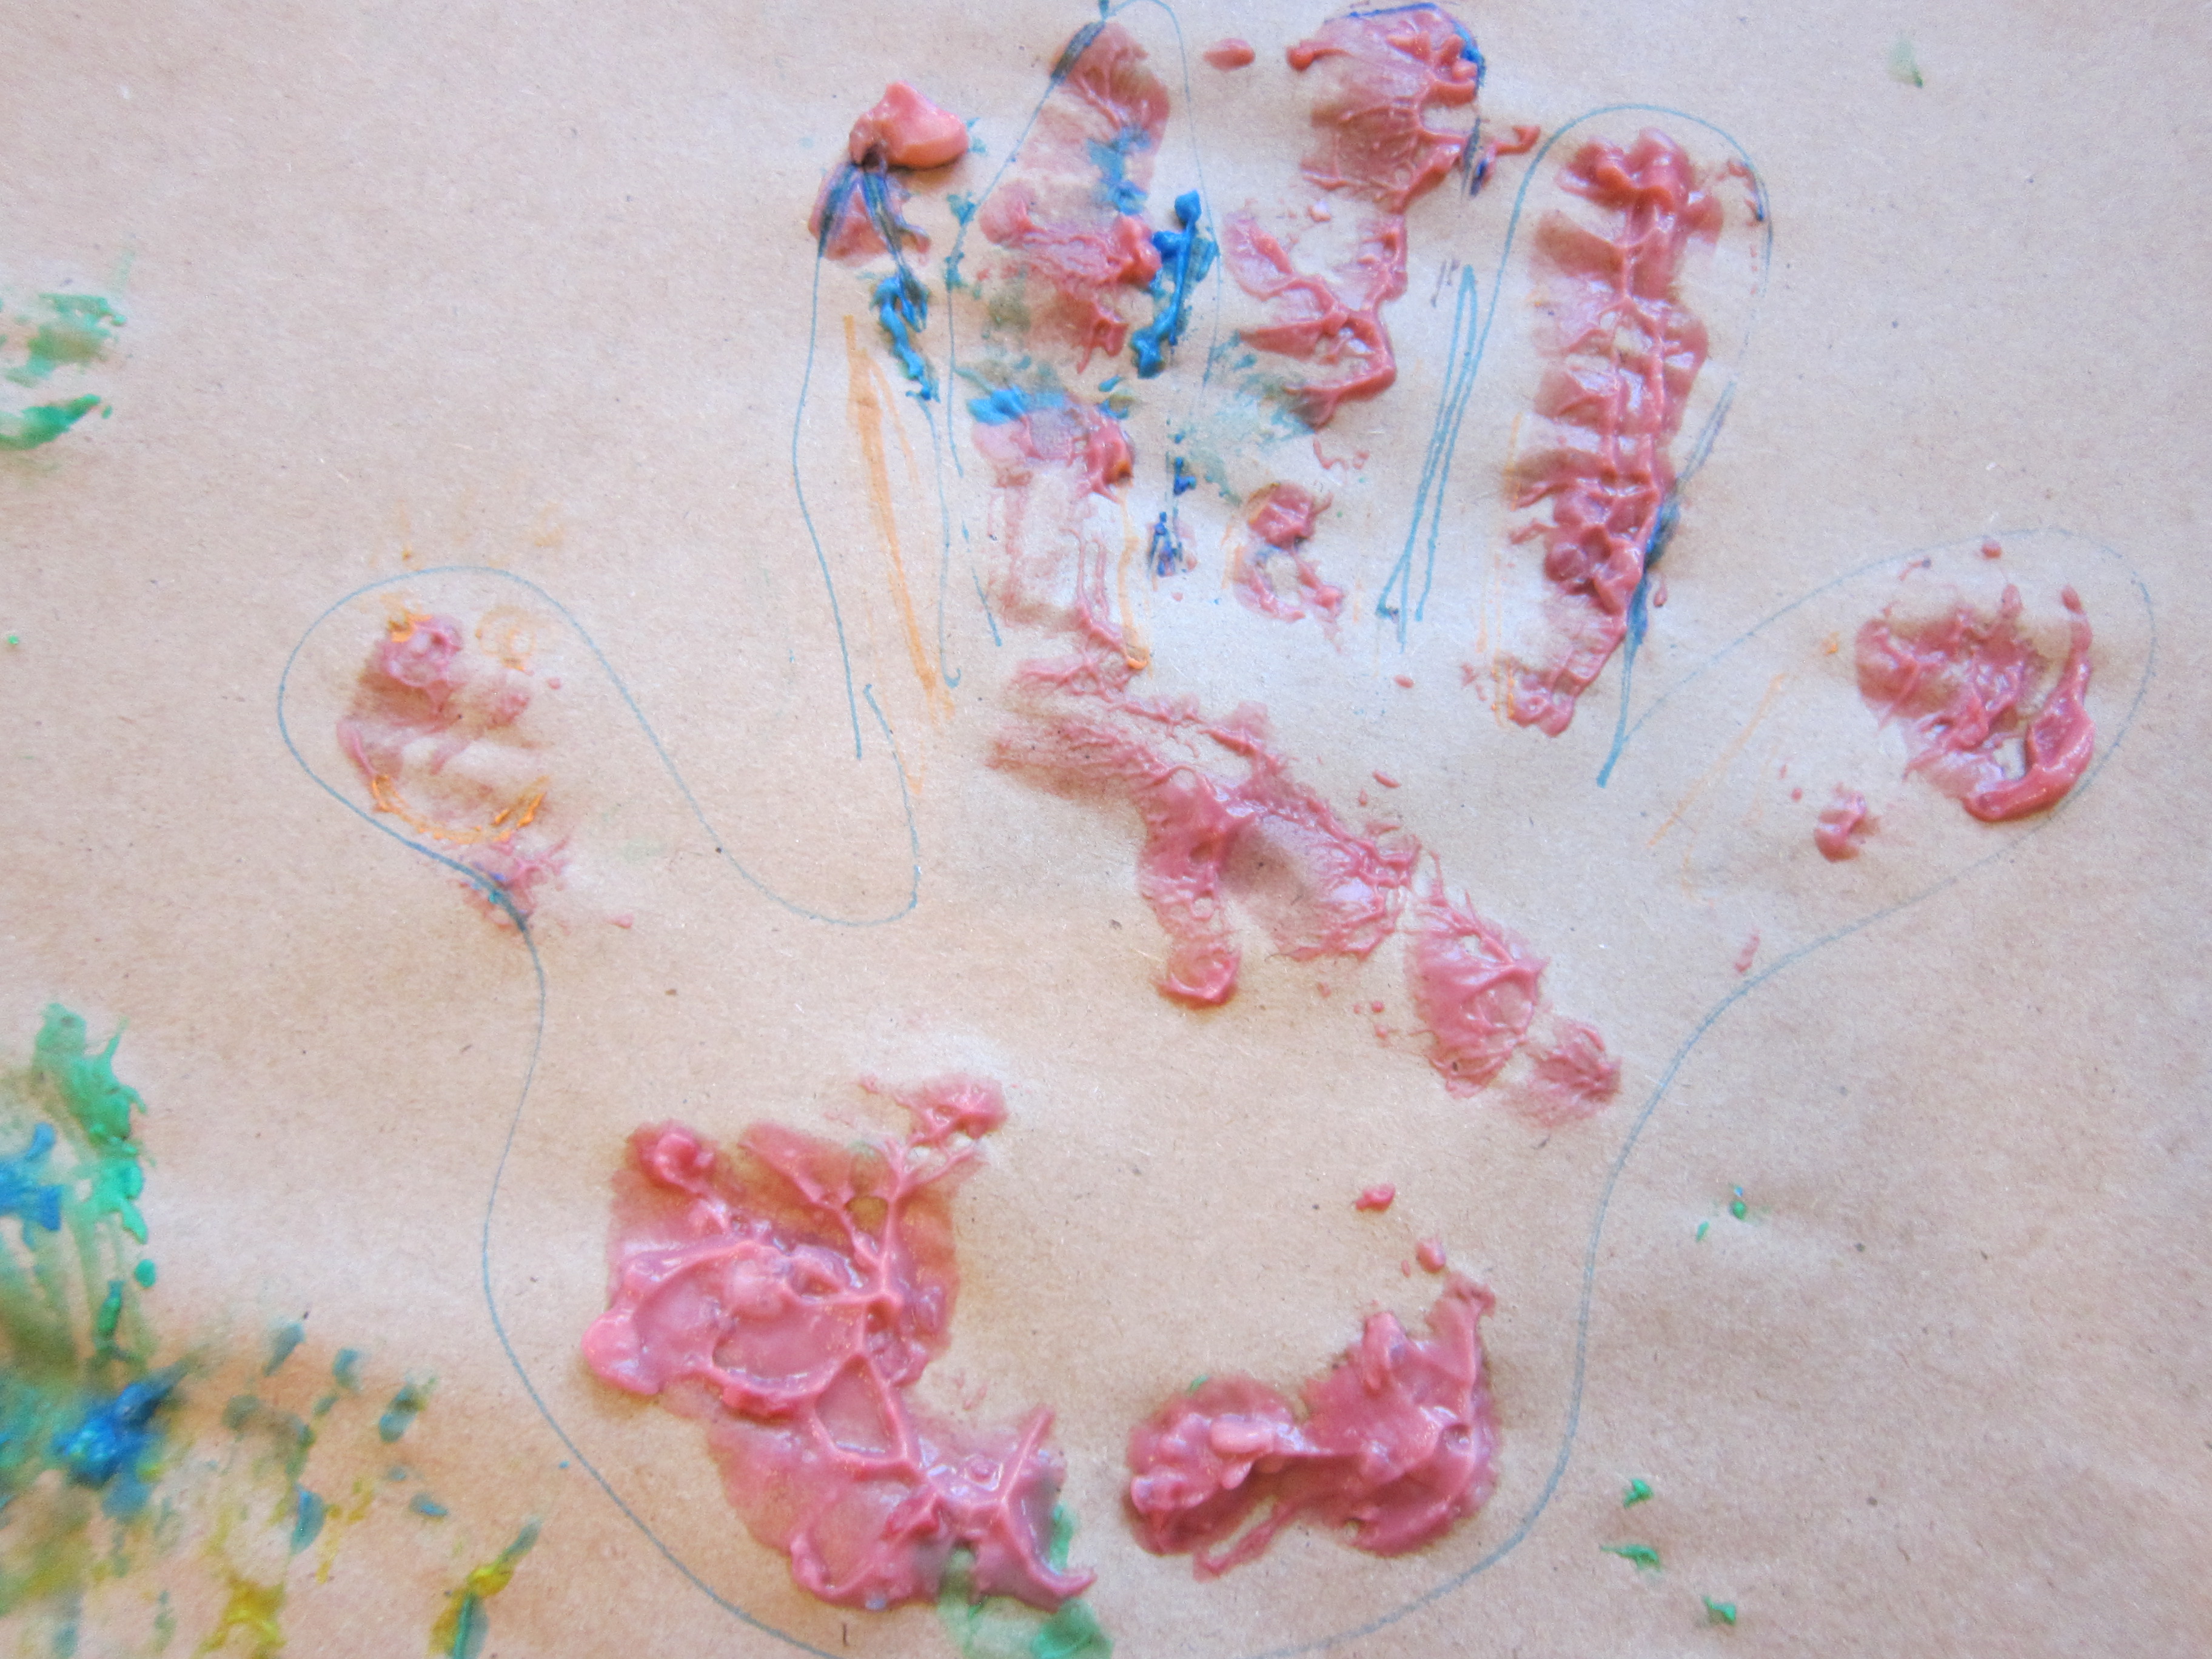
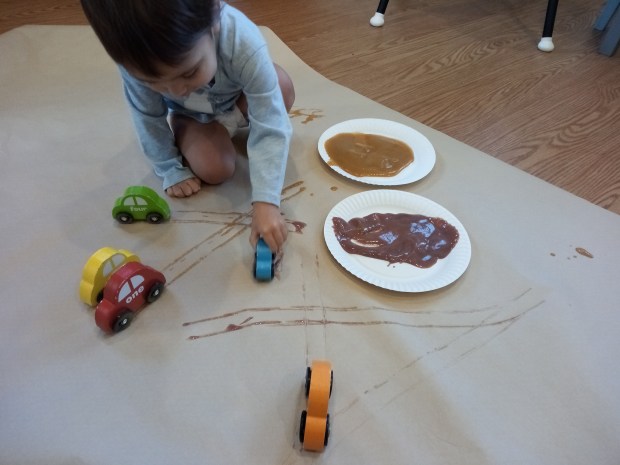
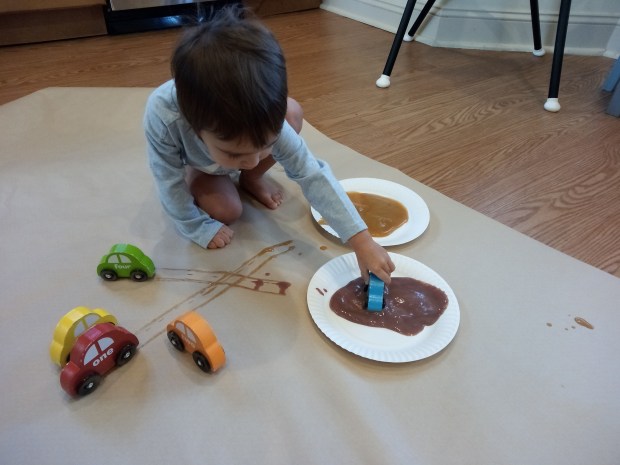
At first I thought we would use this like finger paint, but Veronika was already playing with her toy cars this morning and it turned into car painting, instead! I showed her how to drive a car through a plate, and then along the paper.

She didn’t waste any time, and soon was happily vrooming. I loved that she talked about colors while she played, too. “Red car makes yellow tracks! Blue car makes purple tracks!”

Painting with Baby Food (2)

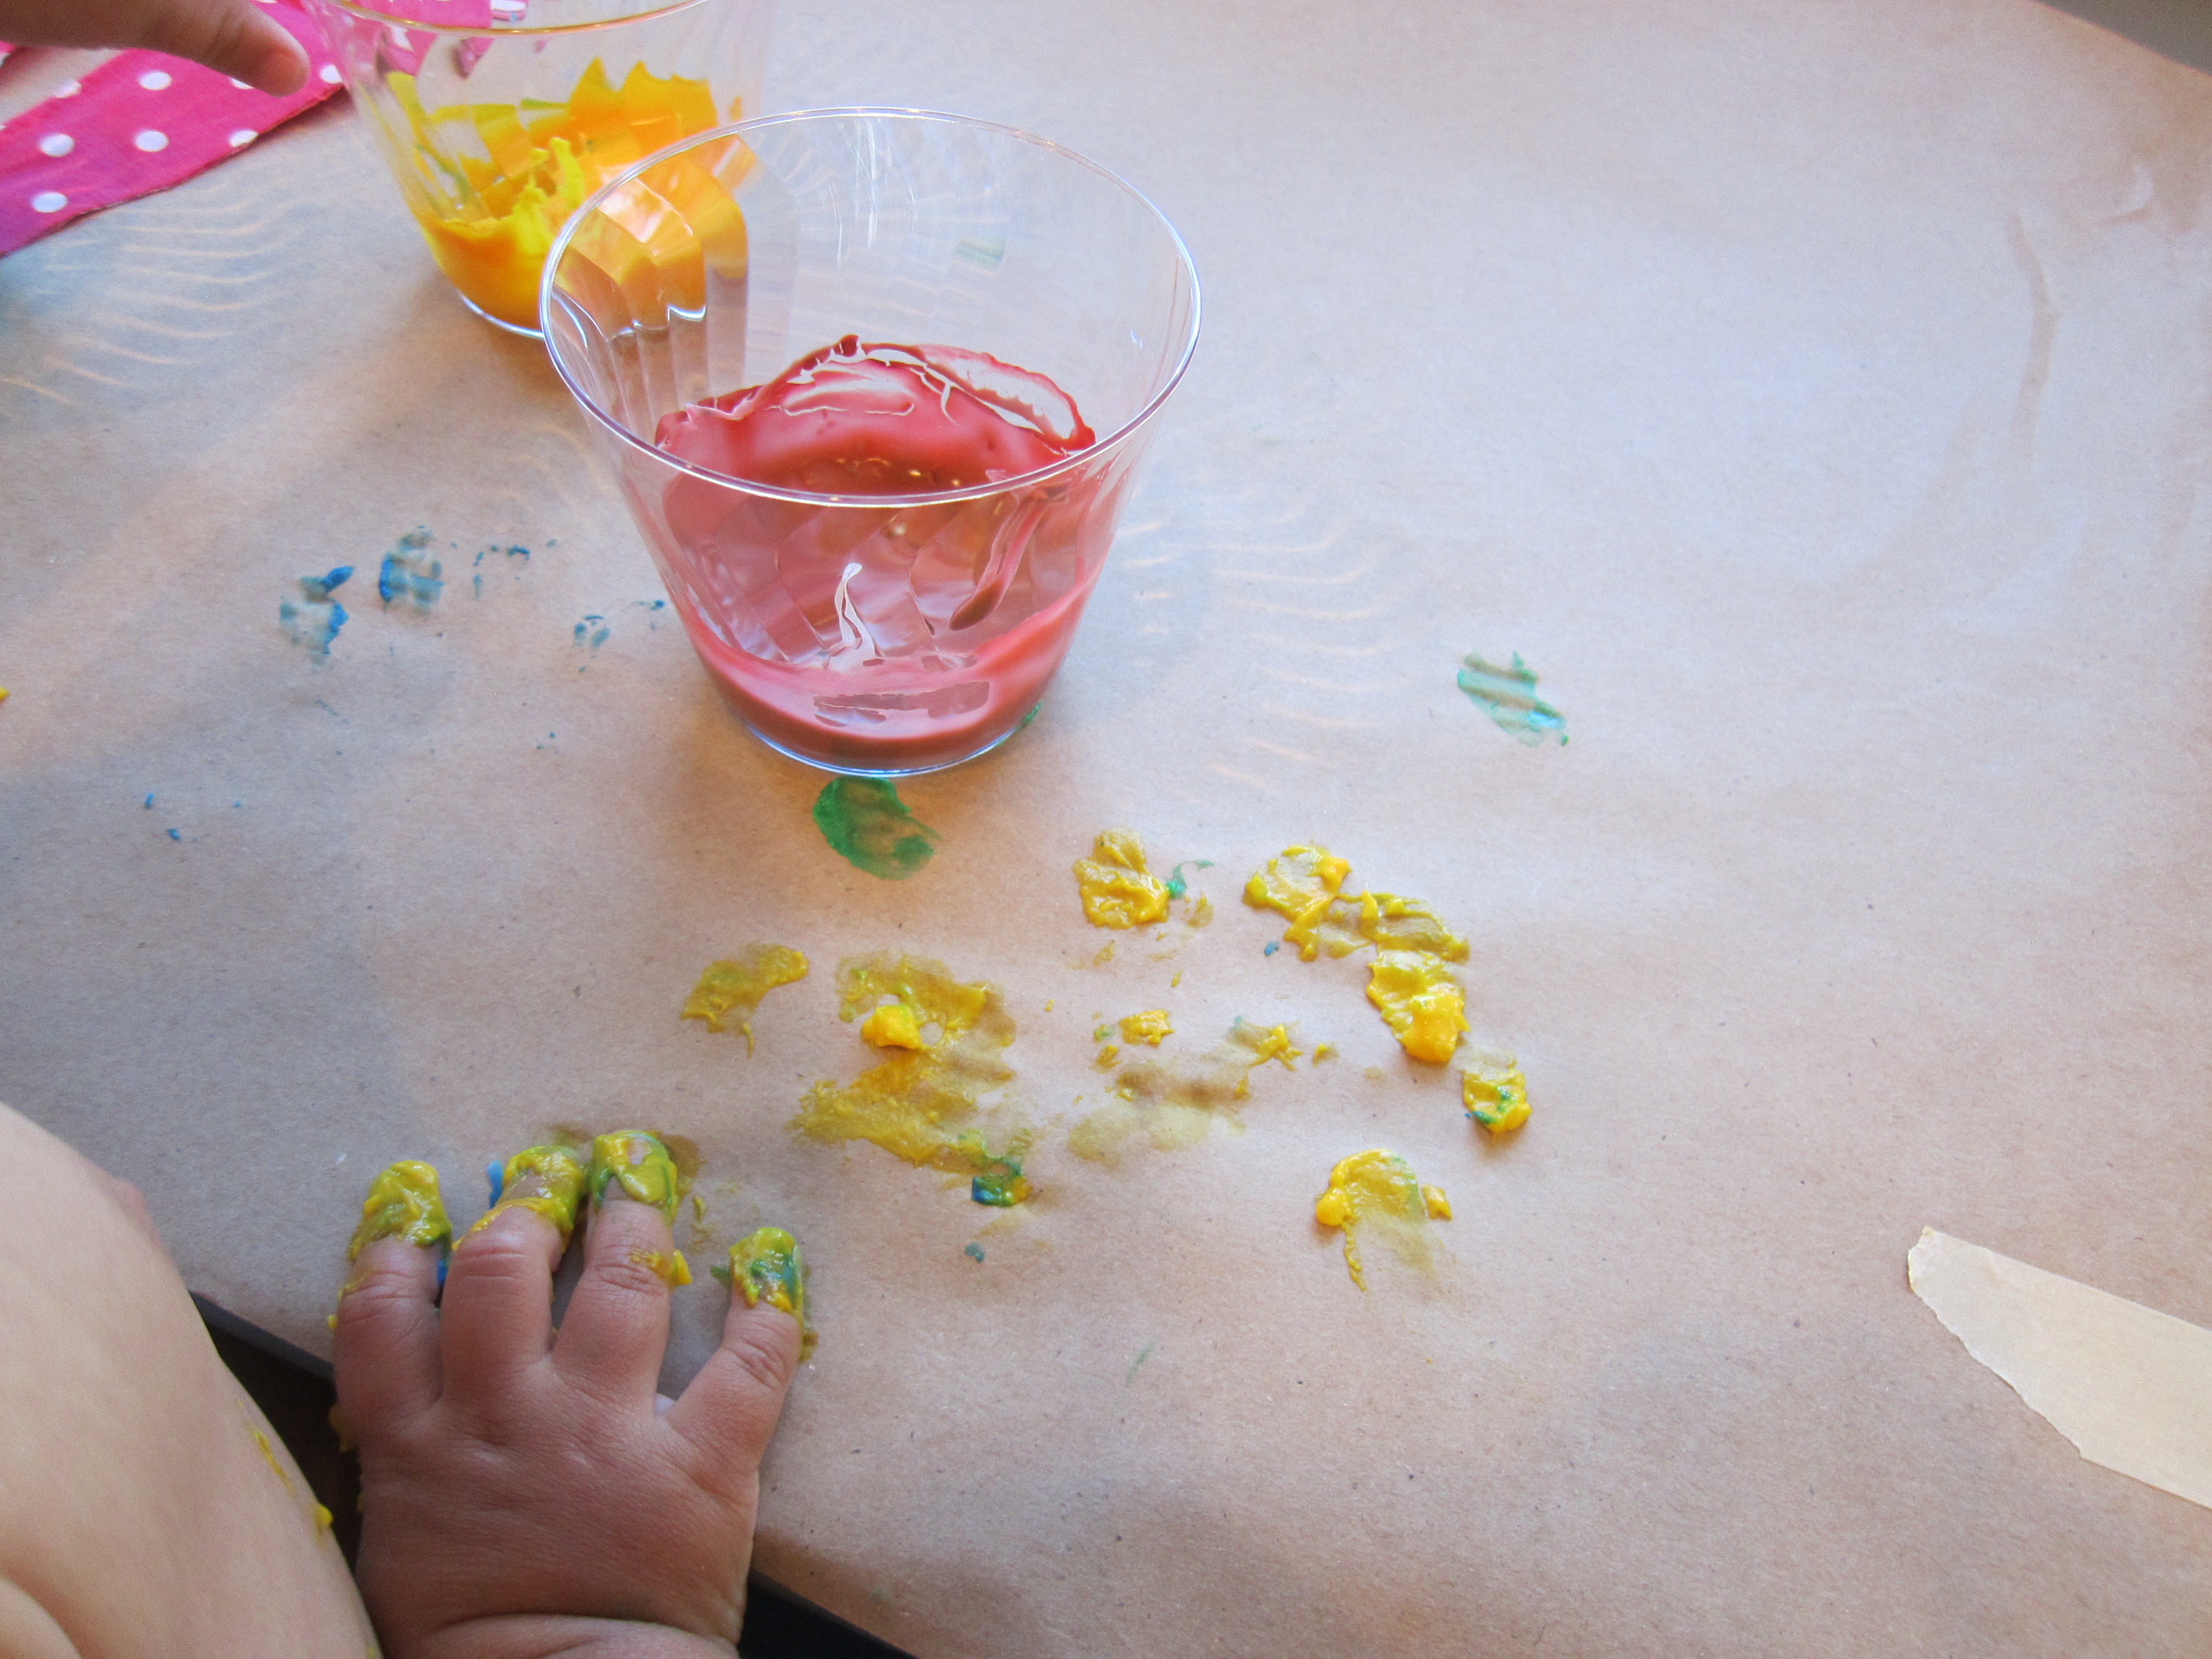
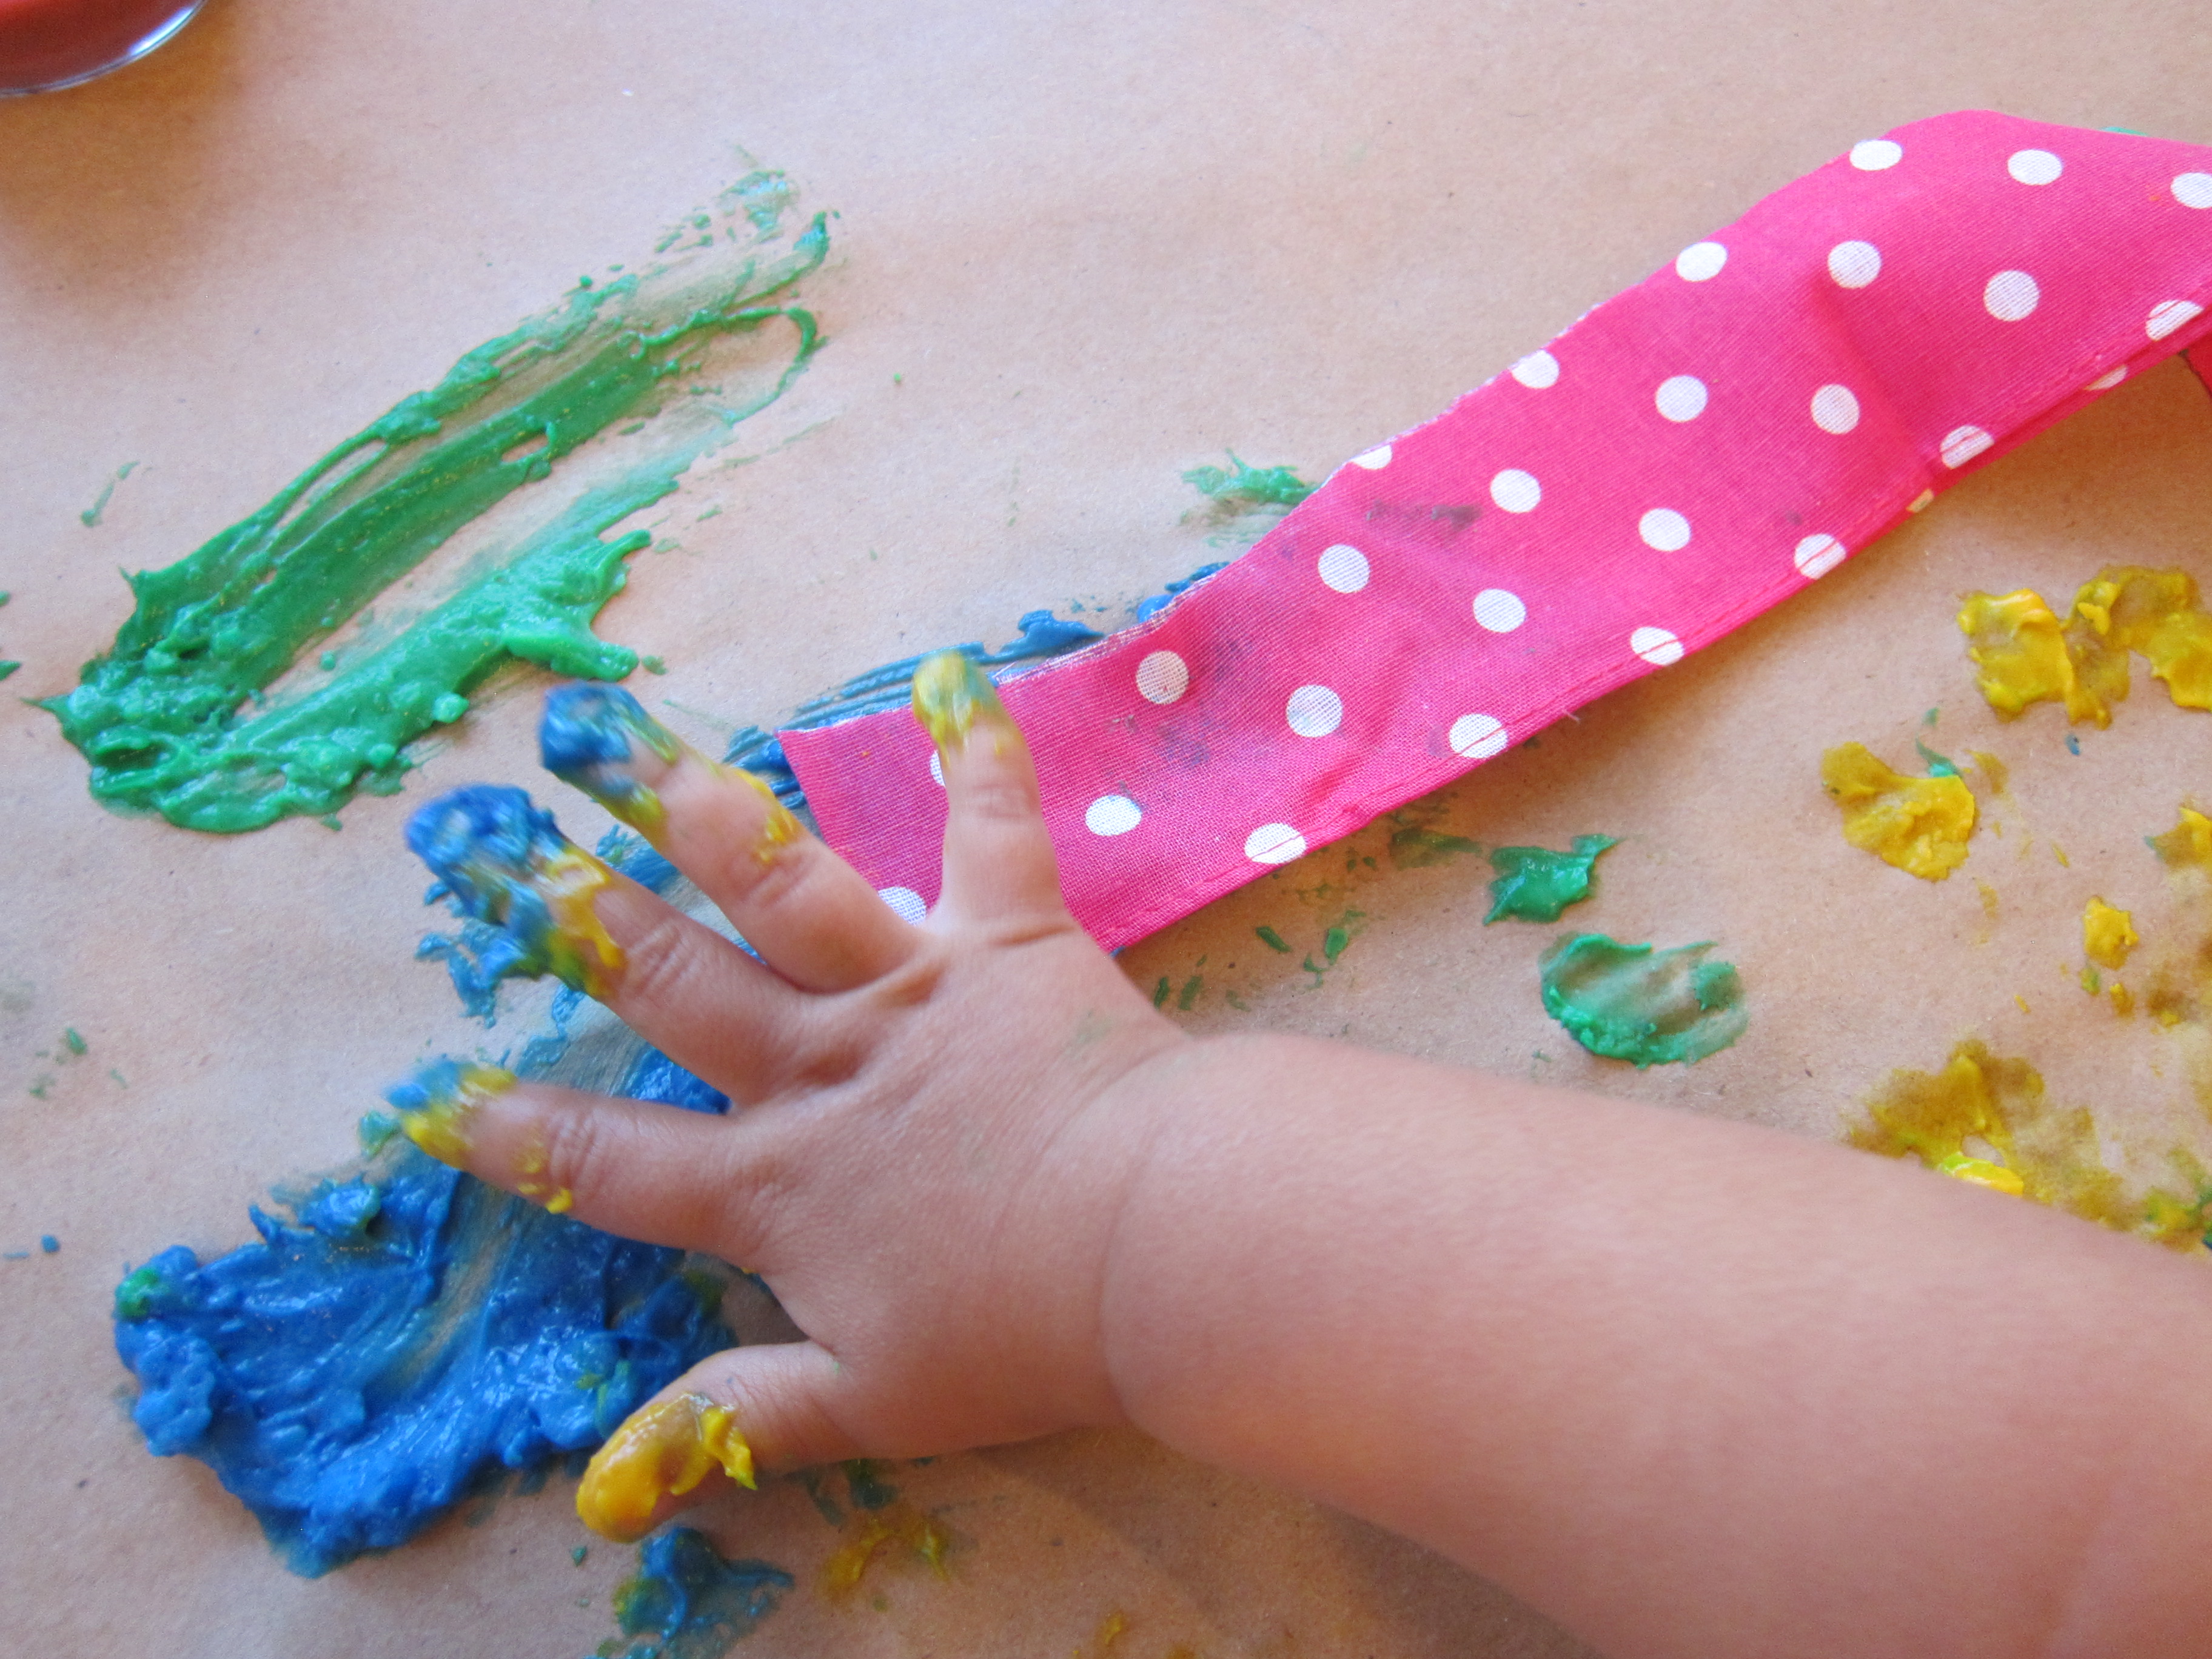
Your child might want to get in there with fingers instead of cars, which of course is perfectly fine since this is an edible paint. And there’s a high probability that the paint might turn into snack time, too!

Painting with Baby Food (5)

After she was done driving the cars around, Veronika decided they needed a car wash. I set down a tray filled with a little sudsy water and she spent arguably just as long driving the cars through the wash as she had painting with them. All in all it was a nice activity for our morning.

Painting with Baby Food (7)

Finger Paint with Pudding Cups

Edible Paint with Pudding Cups (4)

We love making “paint” that’s good enough to eat, and today’s version was super-quick. Use store-bought vanilla pudding and the cups themselves make the perfect paint pots!

Zen company makes vegan pudding cups, though in a pinch, you can whip up a homemade batch and divide among ramekins. Still, I preferred store-bought here because of those individual pudding cups.

I wanted rich, deep colors for the paint, so used 20 drops of food coloring for each pudding cup. For purple, mix 10 drops of red + 10 drops of blue.

Edible Paint with Pudding Cups (1)

I then laid down a big sheet of craft paper as Veronika’s canvas and set the pots around my little artist.

Edible Paint with Pudding Cups (2)

She instantly asked, “Can I eat it?” Needless to say, the eating of the paint was way more fun than the painting with it. I quickly switched from paint brushes to spoons once I realized she wasn’t going to stop taste-testing.

Edible Paint with Pudding Cups (3)

I did show her how to draw a few images with the paint, like flowers and a blue sky, but snacking won out.

Edible Paint with Pudding Cups (6)

To mix it up, next I taped construction paper to the high chair tray, and this time I poured on blobs of the pudding paint.

Edible Paint with Pudding Cups (7)

She dipped her hands in and did some swirling around.

Edible Paint with Pudding Cups (8)

Needless to say, though, she still preferred to snack than to paint! So this was a delicious activity, if not a terribly artistic one.

Edible Paint with Pudding Cups (9)

Cool Whip Painting

Cool Whip Painting (5)

What’s better than finger paint in the bath tub? Edible finger paint in the bath tub of course!

When I spotted this brilliant (and delicious) idea, I knew it would be worth the mess. For a vegan cool whip, try Whole Foods’ non-dairy whipped topping from the freezer aisle. Let thaw in the refrigerator about 3 hours prior to this activity and it will be the perfect consistency when you’re ready to play.

I divided the whipped topping evenly among the tins of a large muffin tray. Add drops of food coloring to each cup.

Cool Whip Painting (1)

To get the full rainbow, we mixed a few of our colors (red + yellow, blue + red). Older toddlers might enjoy helping with this step!

Cool Whip Painting (2)

Then I simply stripped Veronika down to a diaper, handed her a paint brush and set her loose in the tub. She immediately started painting.

Cool Whip Painting (3)

“A rainbow!” she said, even though she only had one line of color. What a perfect idea, so I started to paint stripes in rainbow order on the side of the tub. Some of the paint dripped onto her leg as a result. “Oh no!” she said, but I assured her it was okay because this paint was edible.

Cool Whip Painting (4)

She looked at me with surprise; usually I chide her not to eat paint, ha! So I dipped a finger in and held it up to her tongue. “Yummy!” she said with absolute delight.

Cool Whip Painting (6)

“Try blue?” So I dipped a finger in blue for her. “Try green?” You get the idea. Well clearly we were going to need plastic spoons!

Cool Whip Painting (8)

After this it became more feast than art project. At this point, big brother Travis needed to join in. He loved both taste-testing and smearing the paint on the tub with a brush.

Cool Whip Painting (9)

He even tried turning it into body paint!

Cool Whip Painting (11)

Meanwhile, I kept using the paintbrushes around my happy diners. This little fish was swimming right on the bottom of the ocean.

Cool Whip Painting (10)

Clean up was surprisingly easy. Strip everyone down and run the water and rinse (humans and tub alike). Travis even loved using a washcloth to scrub the walls until they were sparkly clean.

Cool Whip Painting (12)

Shaving Cream Fingerpaint

Shaving Cream Fingerpaint (11)

There’s more to this activity than just the sensory fun of shaving cream or the artistic fun of colors and “painting”; half the fun was doing the activity right on the tabletop!

I squirted about half a can of shaving cream onto the kids’ table, which immediately piqued everybody’s interest, Veronika and big brother alike.

Shaving Cream Fingerpaint (1)

The curiosity grew once I added drops of food coloring throughout.

Shaving Cream Fingerpaint (2)

Now it was time for the real sensory fun to begin! I demonstrated for Veronika that she could put her hands right in the mixture, either to swirl the colors around or just to get messy.

Shaving Cream Fingerpaint (3)

Interestingly, she was hesitant at first, but soon a little finger dipped in. Foamy!

Shaving Cream Fingerpaint (4)

The sensation must have made her quite happy because it merited a little swirling dance.

Shaving Cream Fingerpaint (8)

After that, though, I couldn’t quite tell if she liked the shaving cream or was a little afraid of it. She did lots of delicate dabbing, but never got as messy as I had anticipated.

Shaving Cream Fingerpaint (9)

Big brother Travis tried his hand gladly and liked creating “animal footprints” through the shaving cream.

Shaving Cream Fingerpaint (7)

Veronika preferred just having some of the shaving cream on her palms. She smooshed her hands together and admired both the creaminess and the color left behind. Then it was time to wash! And the shaving cream mixture wipes off of the table like a dream.

Shaving Cream Fingerpaint (10)

Overall, this wasn’t the best version of fingerpainting we’ve done as far as producing art. But it was still a great sensory experience.


Bathtub Fingerpainting

Bathtub Fingerpainting (2)

If your toddler loves to fingerpaint but you worry about the mess, here’s the perfect solution: Get messy exactly where you’re going to clean off afterwards!

To wit, I stripped Veronika down to her diaper and sat her in a dry bathtub, then squirted generous amounts of fingerpaint on the tub walls. I used blue, yellow and green, which meant we had the possibility of playing with all three separately, or watching the blue and yellow combine into a new green.

Bathtub Fingerpainting alt

Veronika was hesitant at first, but the colors soon proved irresistible. Once her hands were messy, she began making big smears on the walls. She loved making a big mess with it…


Bathtub Fingerpainting (7)

…but also loved being more deliberate, dipping in one finger and then swirling color carefully on the tub or the tiles.

Bathtub Fingerpainting (4)

Or admiring the way the colors looked on her fingers.

Bathtub Fingerpainting (3)

It all looked like so much fun that big brother Travis jumped in to paint, too!

Bathtub Fingerpainting (5)

When her masterpiece was complete, I pressed a piece of newspaper over the fingerpaint, allowing us to capture a memento of the project.

Bathtub Fingerpainting (9)

Needless to say we made a huge mess.

Bathtub Fingerpainting (8)

But we were exactly where we needed to be to rinse off…kids and tub both!

Bathtub Fingerpainting (6)

Finger Paint Easter Egg

Finger Paint Easter Egg (6)

On the heels of her first Easter craft, Veronika made an equally easy toddler-friendly Easter egg today. This one requires only poster board and finger paint.

I initially thought to set up the activity outside, given a nice day of sunshine. You’ll notice the pack of wipes on hand for easy clean-up, a must whenever you use finger paint!

Finger Paint Easter Egg (1)

After cutting an egg shape from white poster board, I squirted a few colors of finger paint out onto at ray and briefly demonstrated how she could dip a finger in the paint, and then press on the egg.

Finger Paint Easter Egg (2)

I also squirted some of the paint directly onto the egg shape, thinking she might want to swirl it around with her whole palm. But after a moment to check it out, the outdoors proved far too distracting!

Finger Paint Easter Egg (3)

So we moved the activity inside, where she was able to pay more attention. This time she dipped her fingertips into the paint. I can’t say she loved the craft, but she did make enough markings on a full sheet of poster board that I could cut out a smaller egg shape around it.

Finger Paint Easter Egg (5)

So we ended up with mommy-and-me Easter eggs, which I think are pretty cute! For preschoolers, have fun making deliberate lines or patterns with the finger paint, to add a little education into the mix.

Finger-Paint Art

Finger-Paint Art (9)

I’m getting braver when it comes to Veronika and art, but as a safety measure, it’s still a good idea to keep art materials contained or edible at this age. This edible finger-paint is a cinch to whip up!

To make the paint, combine 4 tablespoons boiling water and 4 tablespoons cornstarch, mixing well with a whisk.

Finger-Paint Art (1)

Continue to add boiling water just until the paint looks like heavy cream. Divide among 4 cups and add food coloring. Let cool completely.

I stripped Veronika down to her diaper and taped a large piece of craft paper to the table (precautions are still necessary to avoid a huge mess) and sat down with Veronika on my lap.

Finger-Paint Art (2)

I showed her how to dip her fingers or whole hand into the cups of paint, and then press onto the paper. She seemed hesitant at first…

Finger-Paint Art (4)

…but soon was smearing away!

Finger-Paint Art (3)

My hope had been to get some nice finger- or handprints that could be transformed into little pictures. Alas, most of hers were too messy, so I made a mommy handprint and turned it into a little turkey with markers.

Finger-Paint Art (8)

Drawing flowers or bugs or any other creation would be cute, too! Another fun idea was dipping some fabric into the paint, and then smearing this all over our paper.

Finger-Paint Art (5)

Once we had lots of nice blobs, I folded the paper in half and then opened back up again to introduce the notion of symmetry.

Finger-Paint Art (11)

And then the art lesson was done and it was time for clean up and new clothes!

Finger-Paint Art (7)

Sign Your Name

SIgn Name (3)

Learning to read and write your name are key pre-K skills, and ones which I know Travis’s teachers are going to emphasize this year. He has name recognition down, but writing it himself is a bit harder. Before school starts tomorrow (!) we made writing practice fun, working on his name in three different ways.

First, tear two strips of paper – colored construction paper made this more exciting than standard white.

Sign Name (1)

Going one letter at a time, I spelled out Travis’s name, and had him copy each letter after me. This was really useful so I could see which letters came easier (T, v) and which were a bit of a struggle (a, s).

Sign Name (2)

Then we upped the ante with a little bit of sensory play. Squirt out fingerpaints (or shaving cream even!) onto paper or another surface, and make a nice smeared frame that you can write in.

Sign Name (4)

Travis used the handle of a paintbrush to trace each letter this time. He got a bit frustrated since not all of the letters showed up clearly, but here was my example version:

Sign Name (5)

Finally, chalk! This method was his favorite of the three, and once again I wrote each letter first, then had him fill in underneath.

SIgn Name (6)

Not only did this reinforce handwriting, but also the order that the letters of his name go in.

Sign Name (7)

What other fun ways does your preschooler practice writing his or her name? Please share in the comments!