Handprint Menorah

Handprint Menorrah (6)

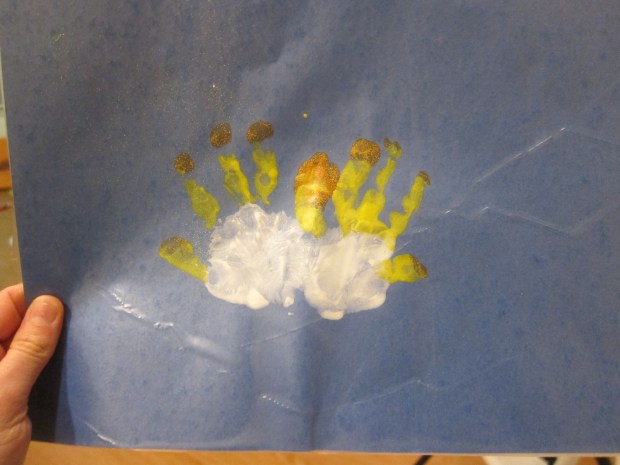
We don’t celebrate Hanukkah, but we have family and friends who do and wanted to mark the occasion with a few crafts. This keepsake handprint menorah is perfect to send to relatives!

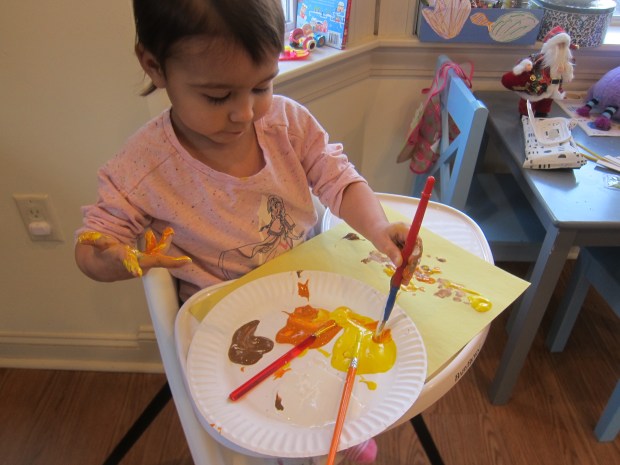
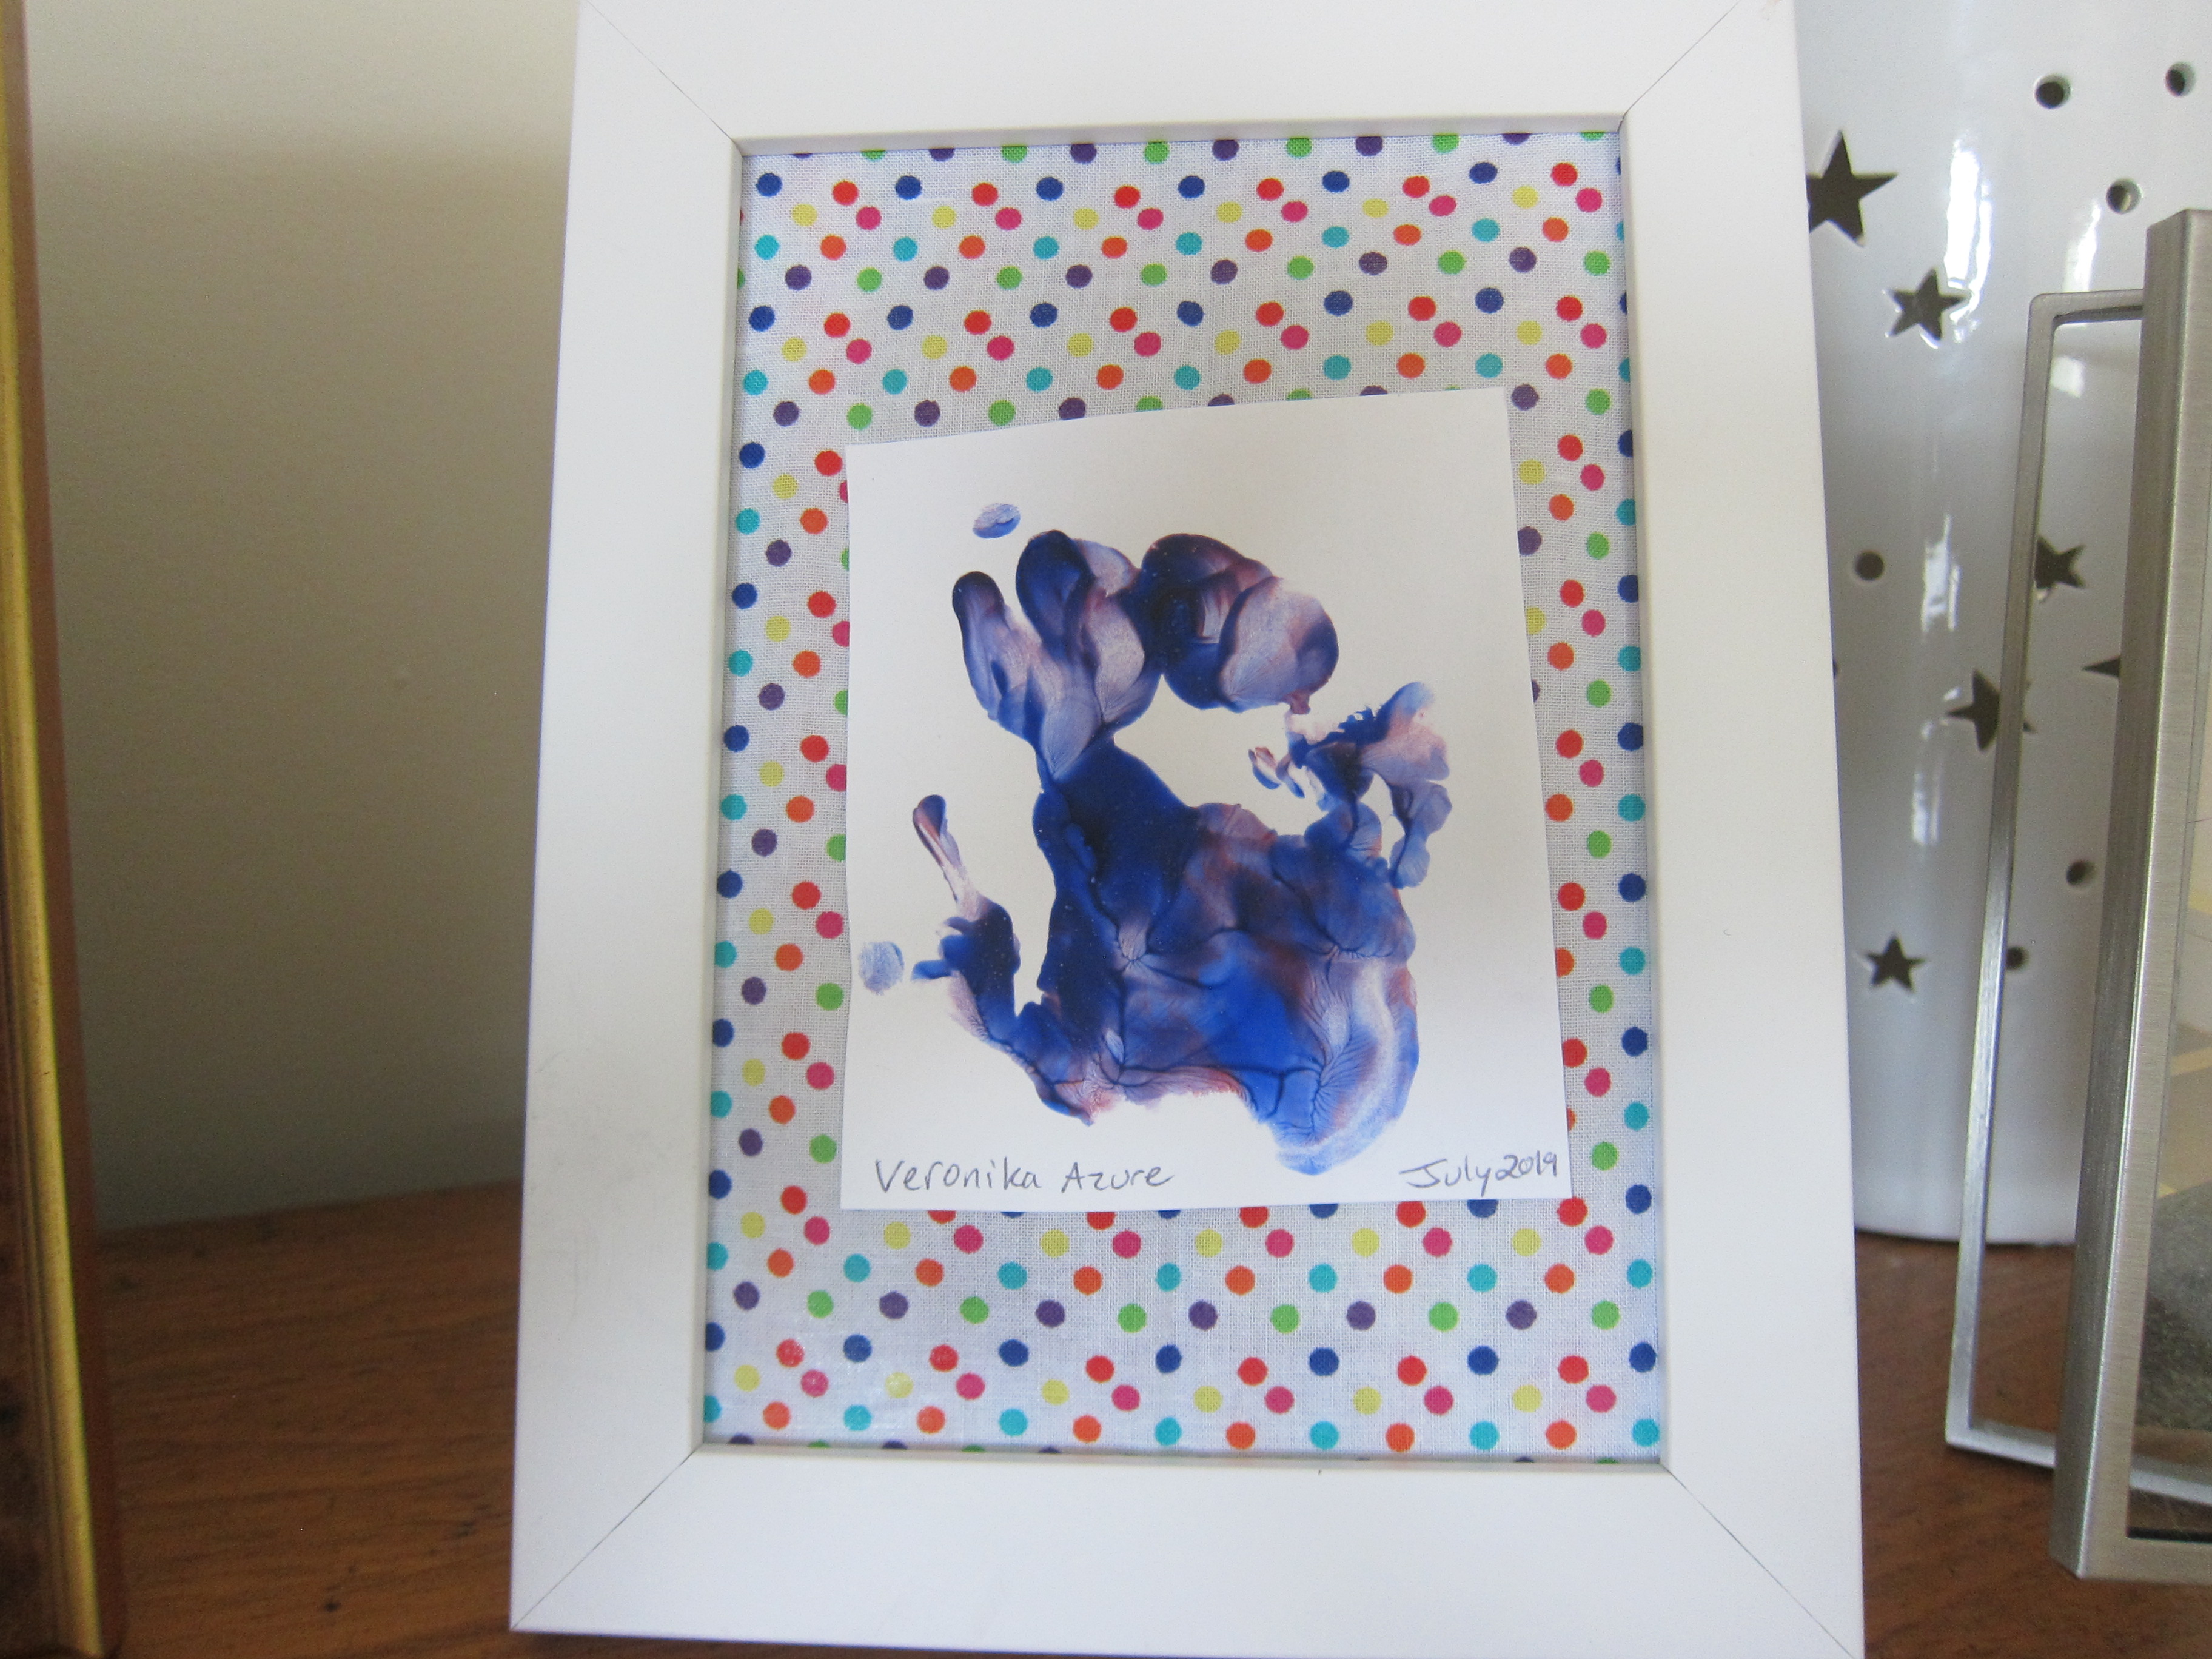
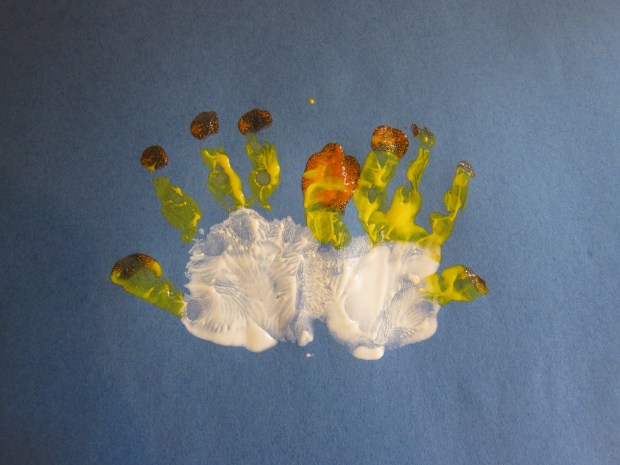
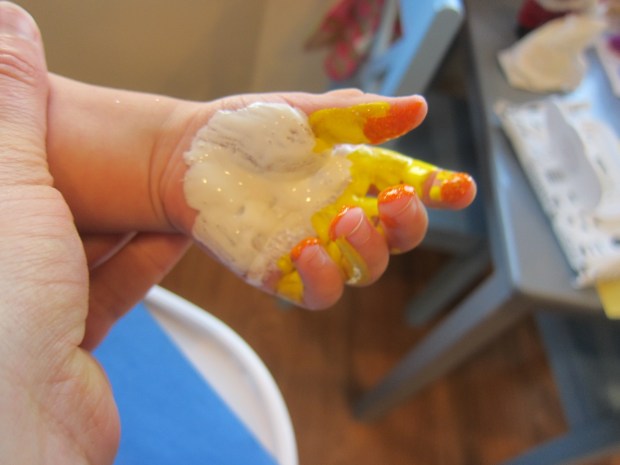
To start, I needed to paint Veronika’s hands with three colors of washable paint, which I worried would be a wriggly and messy affair. But she held absolutely still, fascinated. White went on her palm, yellow on her fingers, and orange at the tips to be the candle flames.

Handprint Menorrah (3)

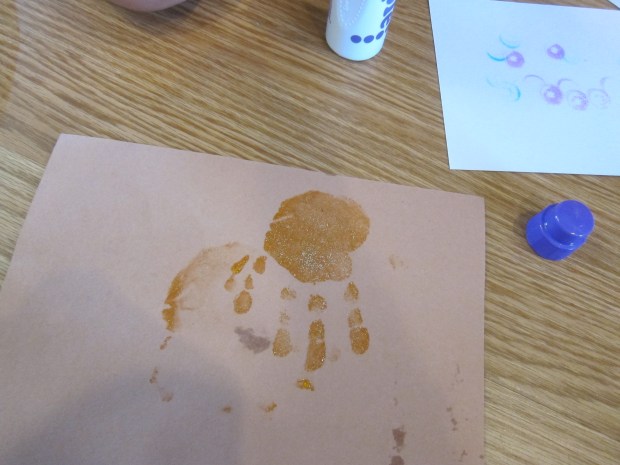
Cross your child’s hands so the left is on the right side of the paper and the right on the left. The pinkies should overlap, or you’ll have one candle too many!

Handprint Menorrah (2)

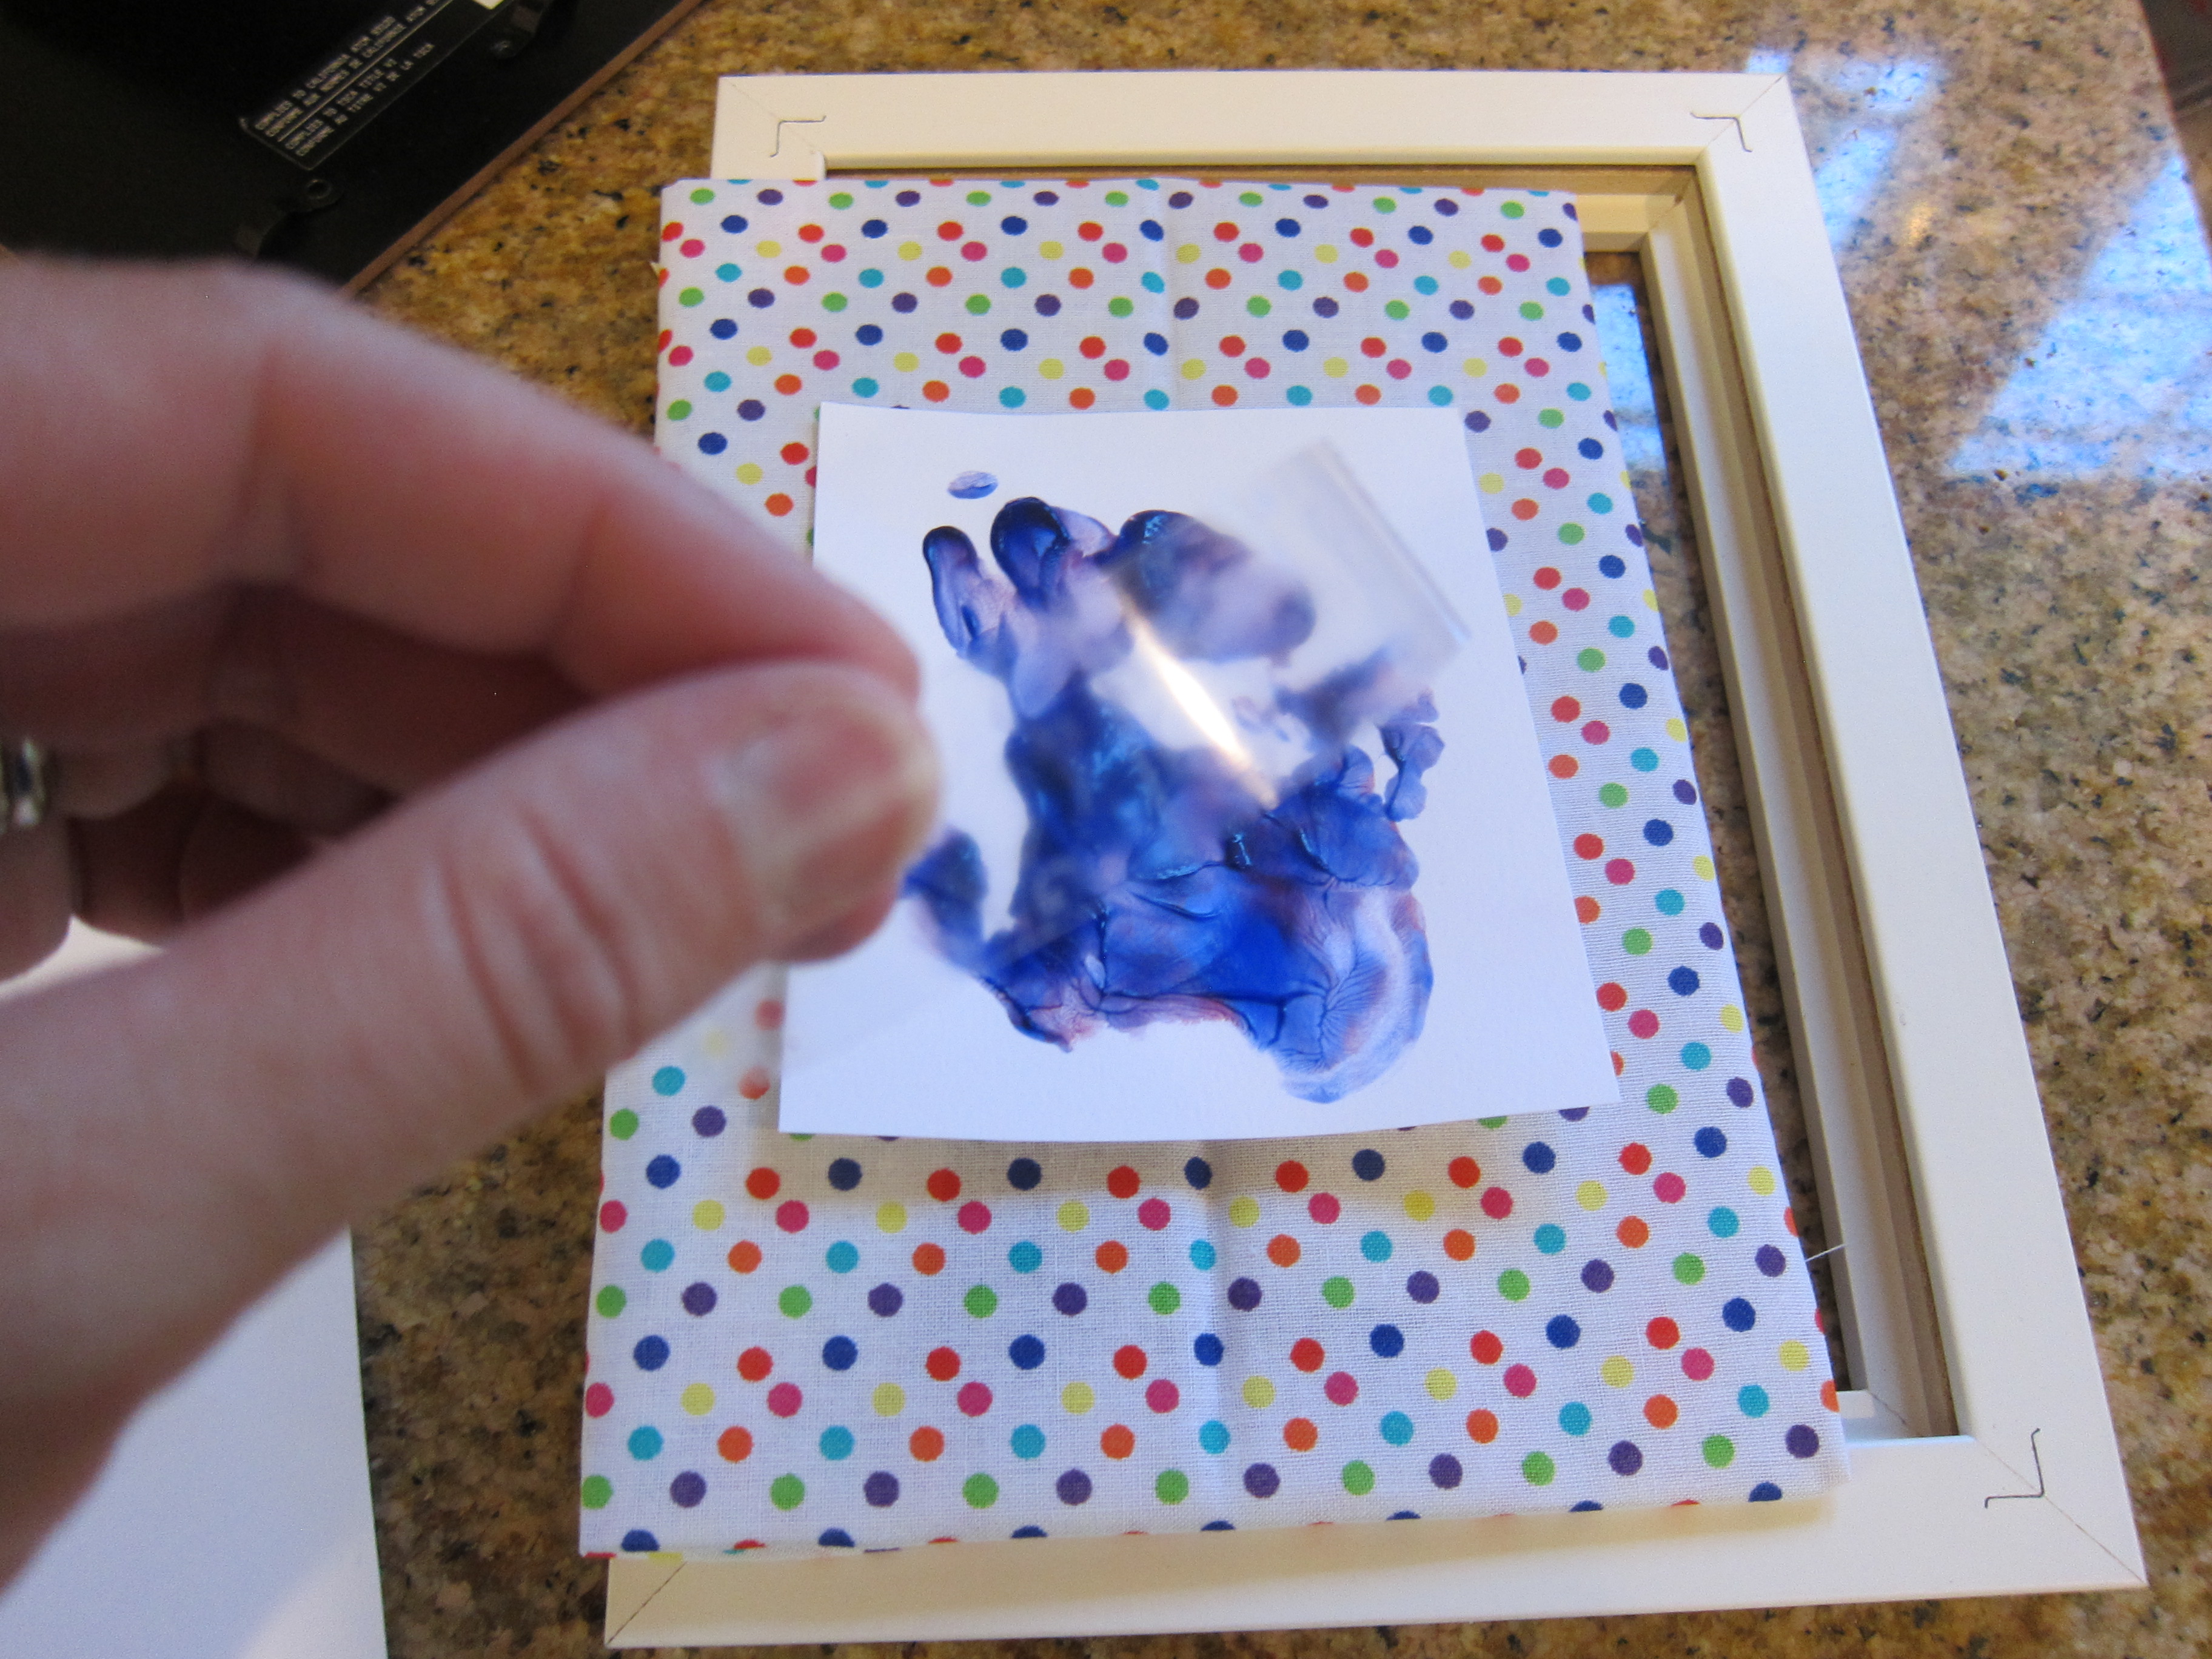
Her print was complete and I let it dry before covering with contact paper. It makes a lovely, durable card this way!

Handprint Menorrah (8)

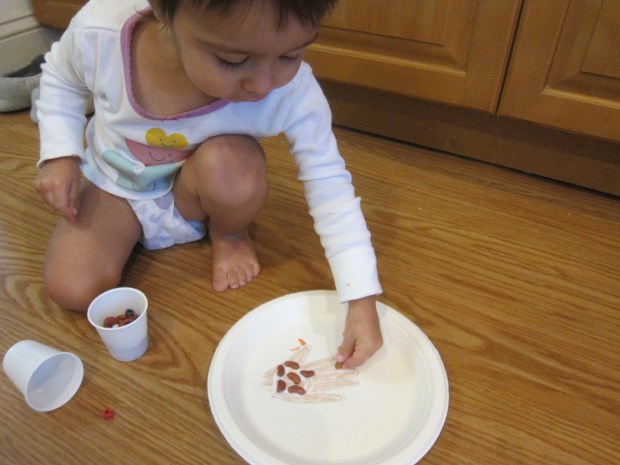
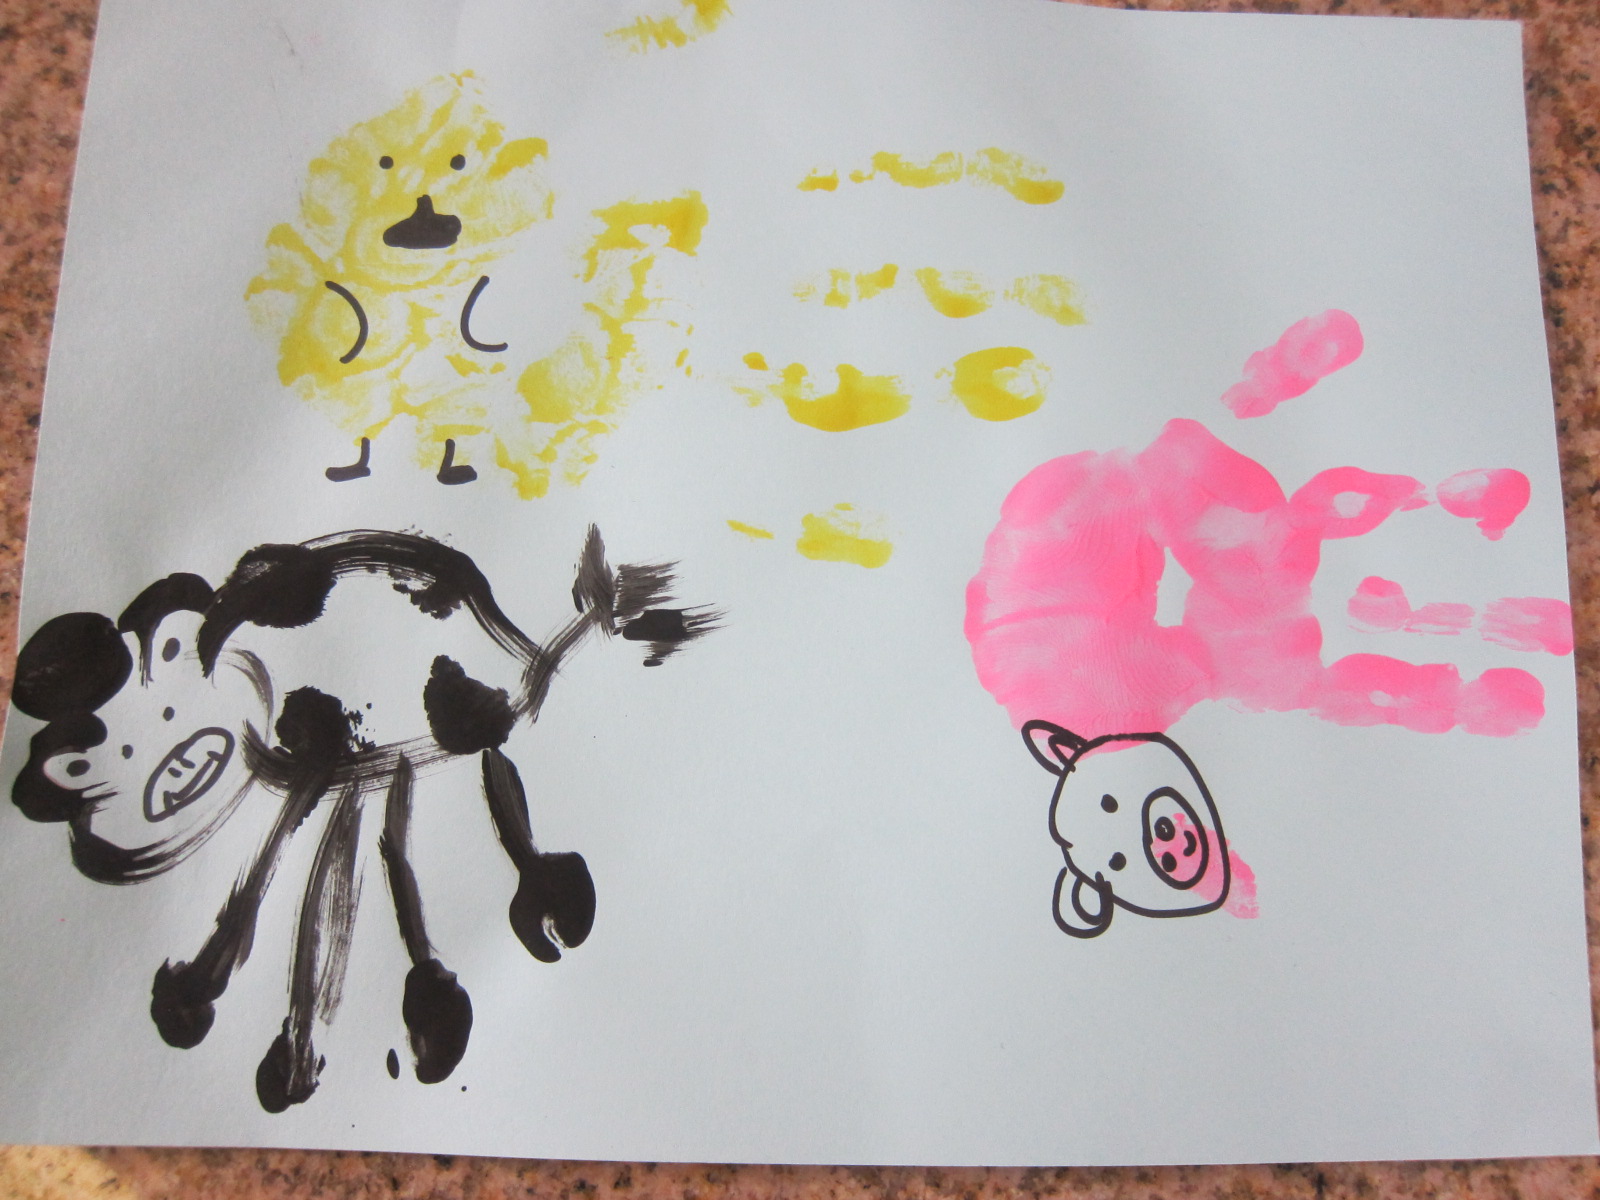
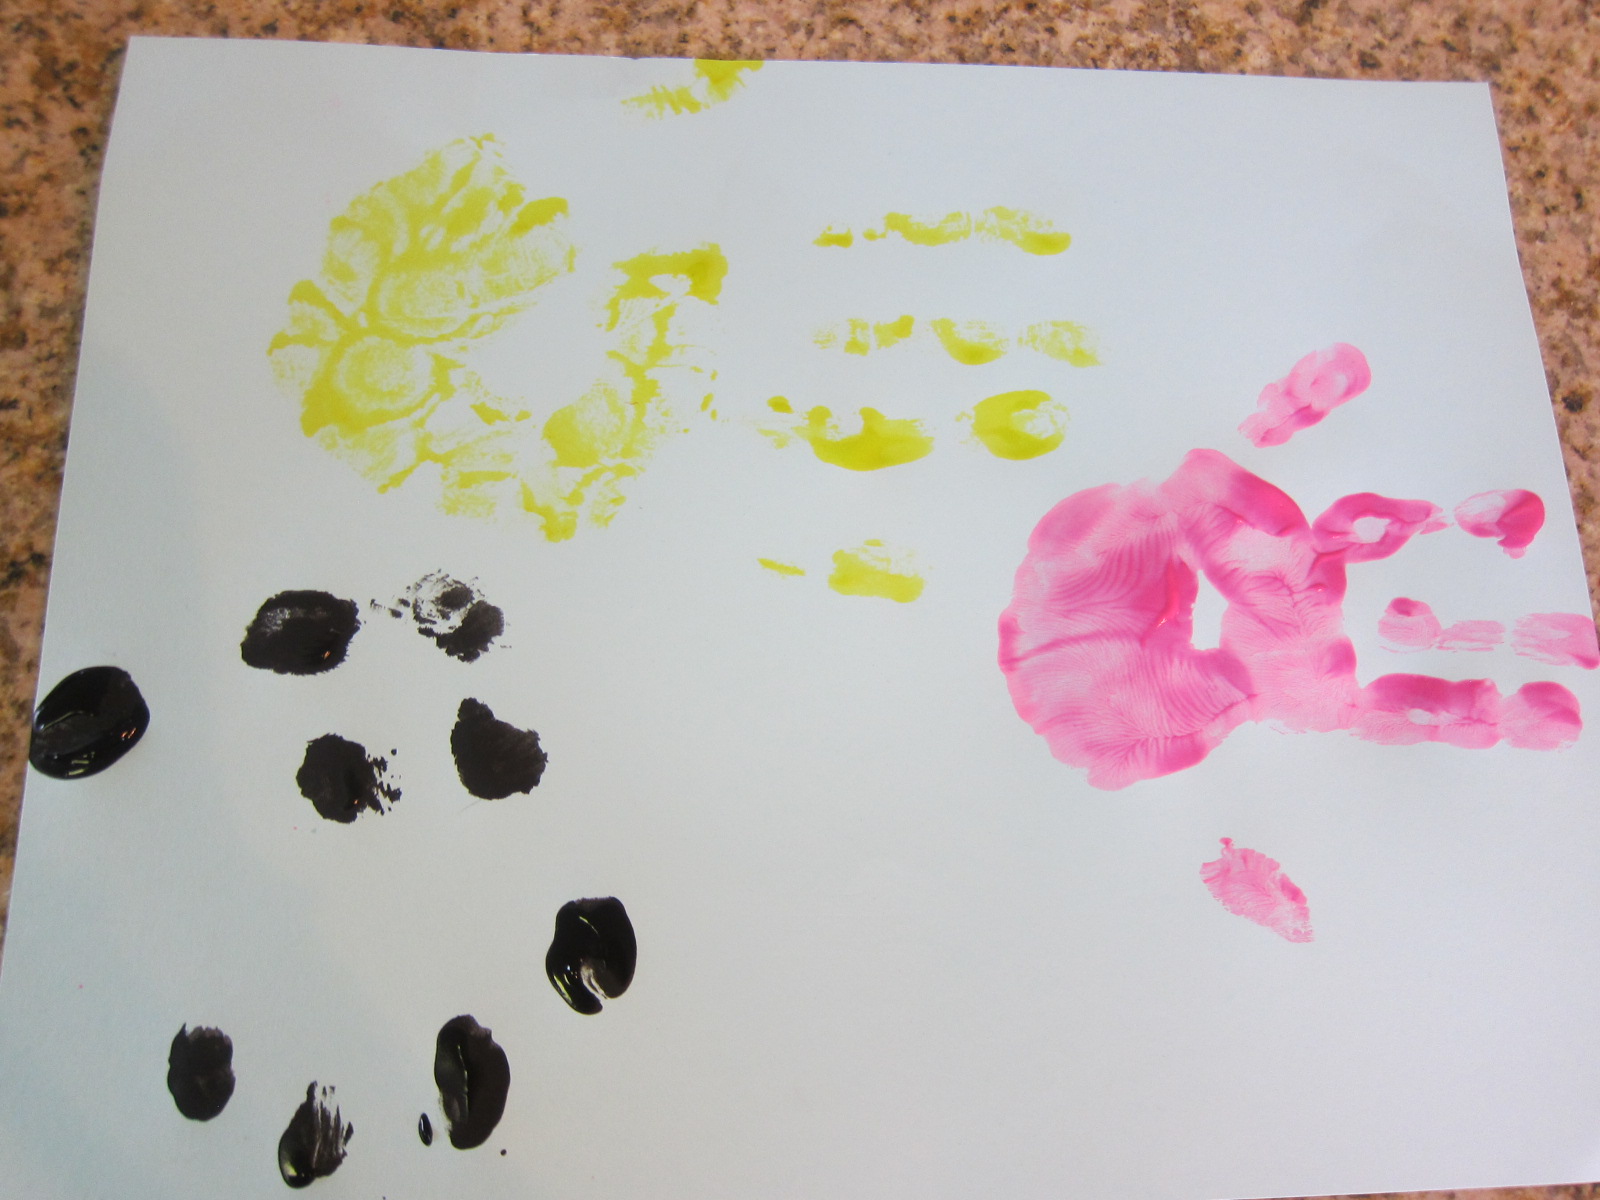
Meanwhile, she loved having her hand painted so much that she wanted to do it herself a few times. I left her quite happy with extra paint and a spare piece of paper.

Handprint Menorrah (4)

Happy Hanukkah to those who celebrate!

Handprint Menorrah (7)

Reindeer Handprint Ornament

Reindeer Ornament (7)

This sweet keepsake captures the size of your child’s handprint around the holidays, and results in an adorable reindeer ornament that you’ll be sure to hang on the tree for many years to come.

For this particular handprint, you can paint your child’s hand with brown paint and then press firmly onto brown felt or brown craft foam. However, I decided last minute to use a deep orange paint instead, which I thought would pop a little more against the brown. It ended up looking great!

Reindeer Ornament (2)

I painted Veronika’s palm with the orange paint, and then she eagerly (and very helpfully!) spread her fingers for a perfect print on the felt.

Reindeer Ornament (4)

In fact, she loved it so much that she asked me to paint her hand again, and then both hands, and loved making a few extra prints on scrap paper. Needless to say, we needed a quick emergency bath.

Reindeer Ornament (3)

Meanwhile, glue the felt to a piece of thin cardboard (such as an old cereal box) and let the paint and glue dry completely. Once dry, cut out around the handprint. Use a hole punch to make an eye near the top of the thumb. Draw a red nose on the tip of the thumb, then cut a small slit near where antlers would be. Slip in a V-shaped length of sparkly red pipe cleaner for the antlers.

Reindeer Ornament (5)

Punch one final hole in the top center and add red yarn or ribbon. Now Rudolph is on our Christmas tree!

Reindeer Ornament (6)

Thanksgiving Turkey

Thanksgiving Turkey (5)

If a painted handprint turkey is too messy or squirmy an ordeal with your toddler, consider a traced outline of a hand instead this Thanksgiving! This turkey was particularly fun for Veronika to decorate because it doubles as sensory play.

First, I placed her hand flat against a paper plate and traced with pencil. Don’t worry if your outline is wobbly or missing in places; you can always fill in the gaps with an approximation.

Thanksgiving Turkey (2)

After the outline was traced, we colored in the turkey with brown crayon, and then decorated with materials from our craft bin. Veronika loved gluing down dried beans…

Thanksgiving Turkey (3)

…plus pouring extra beans from cup to cup for a while!

Thanksgiving Turkey (1)

Meanwhile, I added a few brightly colored beads on each “feather” and drew a beak and wattle as the finishing touch.

Thanksgiving Turkey (4)

For fun, I traced my own hand for us to decorate as well. Now we had a mommy turkey and a baby turkey!

Thanksgiving Turkey (6)

Rainbow Turkey

Rainbow Turkey (5)

I love capturing handprints at holidays, and I was so thrilled that Veronika held perfectly still for this one! It’s yet another cute craft to celebrate turkeys for the Thanksgiving holiday.

To make a turkey with a multi-colored feathers, paint your child’s thumb and palm with brown washable paint. I then painted two fingers yellow, one red, and one green.

Rainbow Turkey (1)

Press firmly onto construction paper, as flat as possible, and you’ll have a little turkey! You’ll need to work quickly for this step (hence no pictures) and I recommend having wipes ready to clean off your toddler’s hand right away.

Rainbow Turkey (3)

Once the paint dried, it was simply a matter of adding a beak, eye, legs, and wattle from marker. Don’t forget to add the date on the back of this one; it’s a keeper!

Rainbow Turkey (4)

Make Handprint Keepsakes

Handprint Keepsake (6)

It’s been a couple of months since I last captured the size of Veronika’s hands and feet – si clearly it was time to do so again!

Use a non-toxic and washable paint and brush it gently onto your little one’s palms and the soles of his or her feet. Press firmly onto watercolor paper. You’ll probably get a little wiggling around, but that’s ok! Make sure you have wipes ready to go for quick clean up. Why are there no pictures of this process? Because paint + eight month old = lots of wrangling!

Handprint Keepsake (1)

Once the prints dried, I used them in two ways. With the handprint, I made a framed keepsake. Cover the backing of a picture frame with decorative fabric, and secure the fabric in place with masking tape.

Handprint Keepsake (2)

Use double-sided tape to attach the handprint in the middle of the fabric. Slip back into the frame and display in the nursery – or give this as a gift to grandparents perhaps!

Handprint Keepsake (3)

The footprint simply went into her memory box which was a great trip down memory lane. There were a few mementos in there I had already forgotten about!

Handprint Keepsake (5)

As long as you don’t mind the mess of painting with a baby, this is a fun project with great keepsakes as a result.

Handprint Keepsake (4)

Handprint Farm

Hand Farm alt

My formerly fingerpaint-averse boy finally doesn’t mind paint on his hands, thanks to some crafts at his preschool, and I seized the opportunity to put together this adorable handprint painting. It’s a cute way to learn about animals on farm sanctuaries while capturing a palm-sized memento.

The goal was to make 3 animals: a pig, a cow, and a sheep. For the pig, paint your child’s palm completely pink. Press onto a piece of paper with the fingers pointing down as the legs. Whoops, our pig was sideways, but we just worked around the oops!

Hand Farm (1)

For the cow, dot black or brown paint onto your child’s fingertips, and make a few additional dots in the palm. These will be the cow’s hooves and spots. Press onto the paper.

Hand Farm (2)

I didn’t have yellow tempera paint at home, only dot markers, which Travis didn’t want all over his hand. So we ended up with a mommy-sized yellow chick! Press onto the paper with the fingers to the side, as the tail feathers.

Hand Farm (3)

Once the paint dries, you can draw in noses, beaks, tails, eyes, and other features to complete the picture.

Hand Farm (5)

Your kids may want to paint a farm background as well!

Hand Farm (7)

Handprint Bird

handprint-bird-4

Your child’s hand can magically turn into a baby bird’s body and wings with the help of a little paint!

Travis’s favorite part of this craft by far was smooshing his whole hand in a plate full of white paint, and pressing it onto the paper.

handprint-bird-1

So that our craft would stay precise, I provided him with extra paper where he could make hand prints to his heart’s delight until the white paint was gone.

handprint-bird-2

We returned to the craft itself once the paint was dry, and now it was time for glue! Have your child help you rip up a brown paper bag into pieces, and then glue in an overlapping pattern to form the bird’s nest.

handprint-bird-3

You can then add a googly eye and triangular beak (which I cut from orange construction paper) to finish your bird. Because white-on-orange wasn’t the best color choice, I outlined our bird in order for Travis to see it better.

The handprint makes this particular craft keepsake worthy – you’ll marvel some day at those tiny fingers and thumb! It might make a beautiful gift to send to grandparents or other family members!