Little Passports: Israel

LP Israel (9)

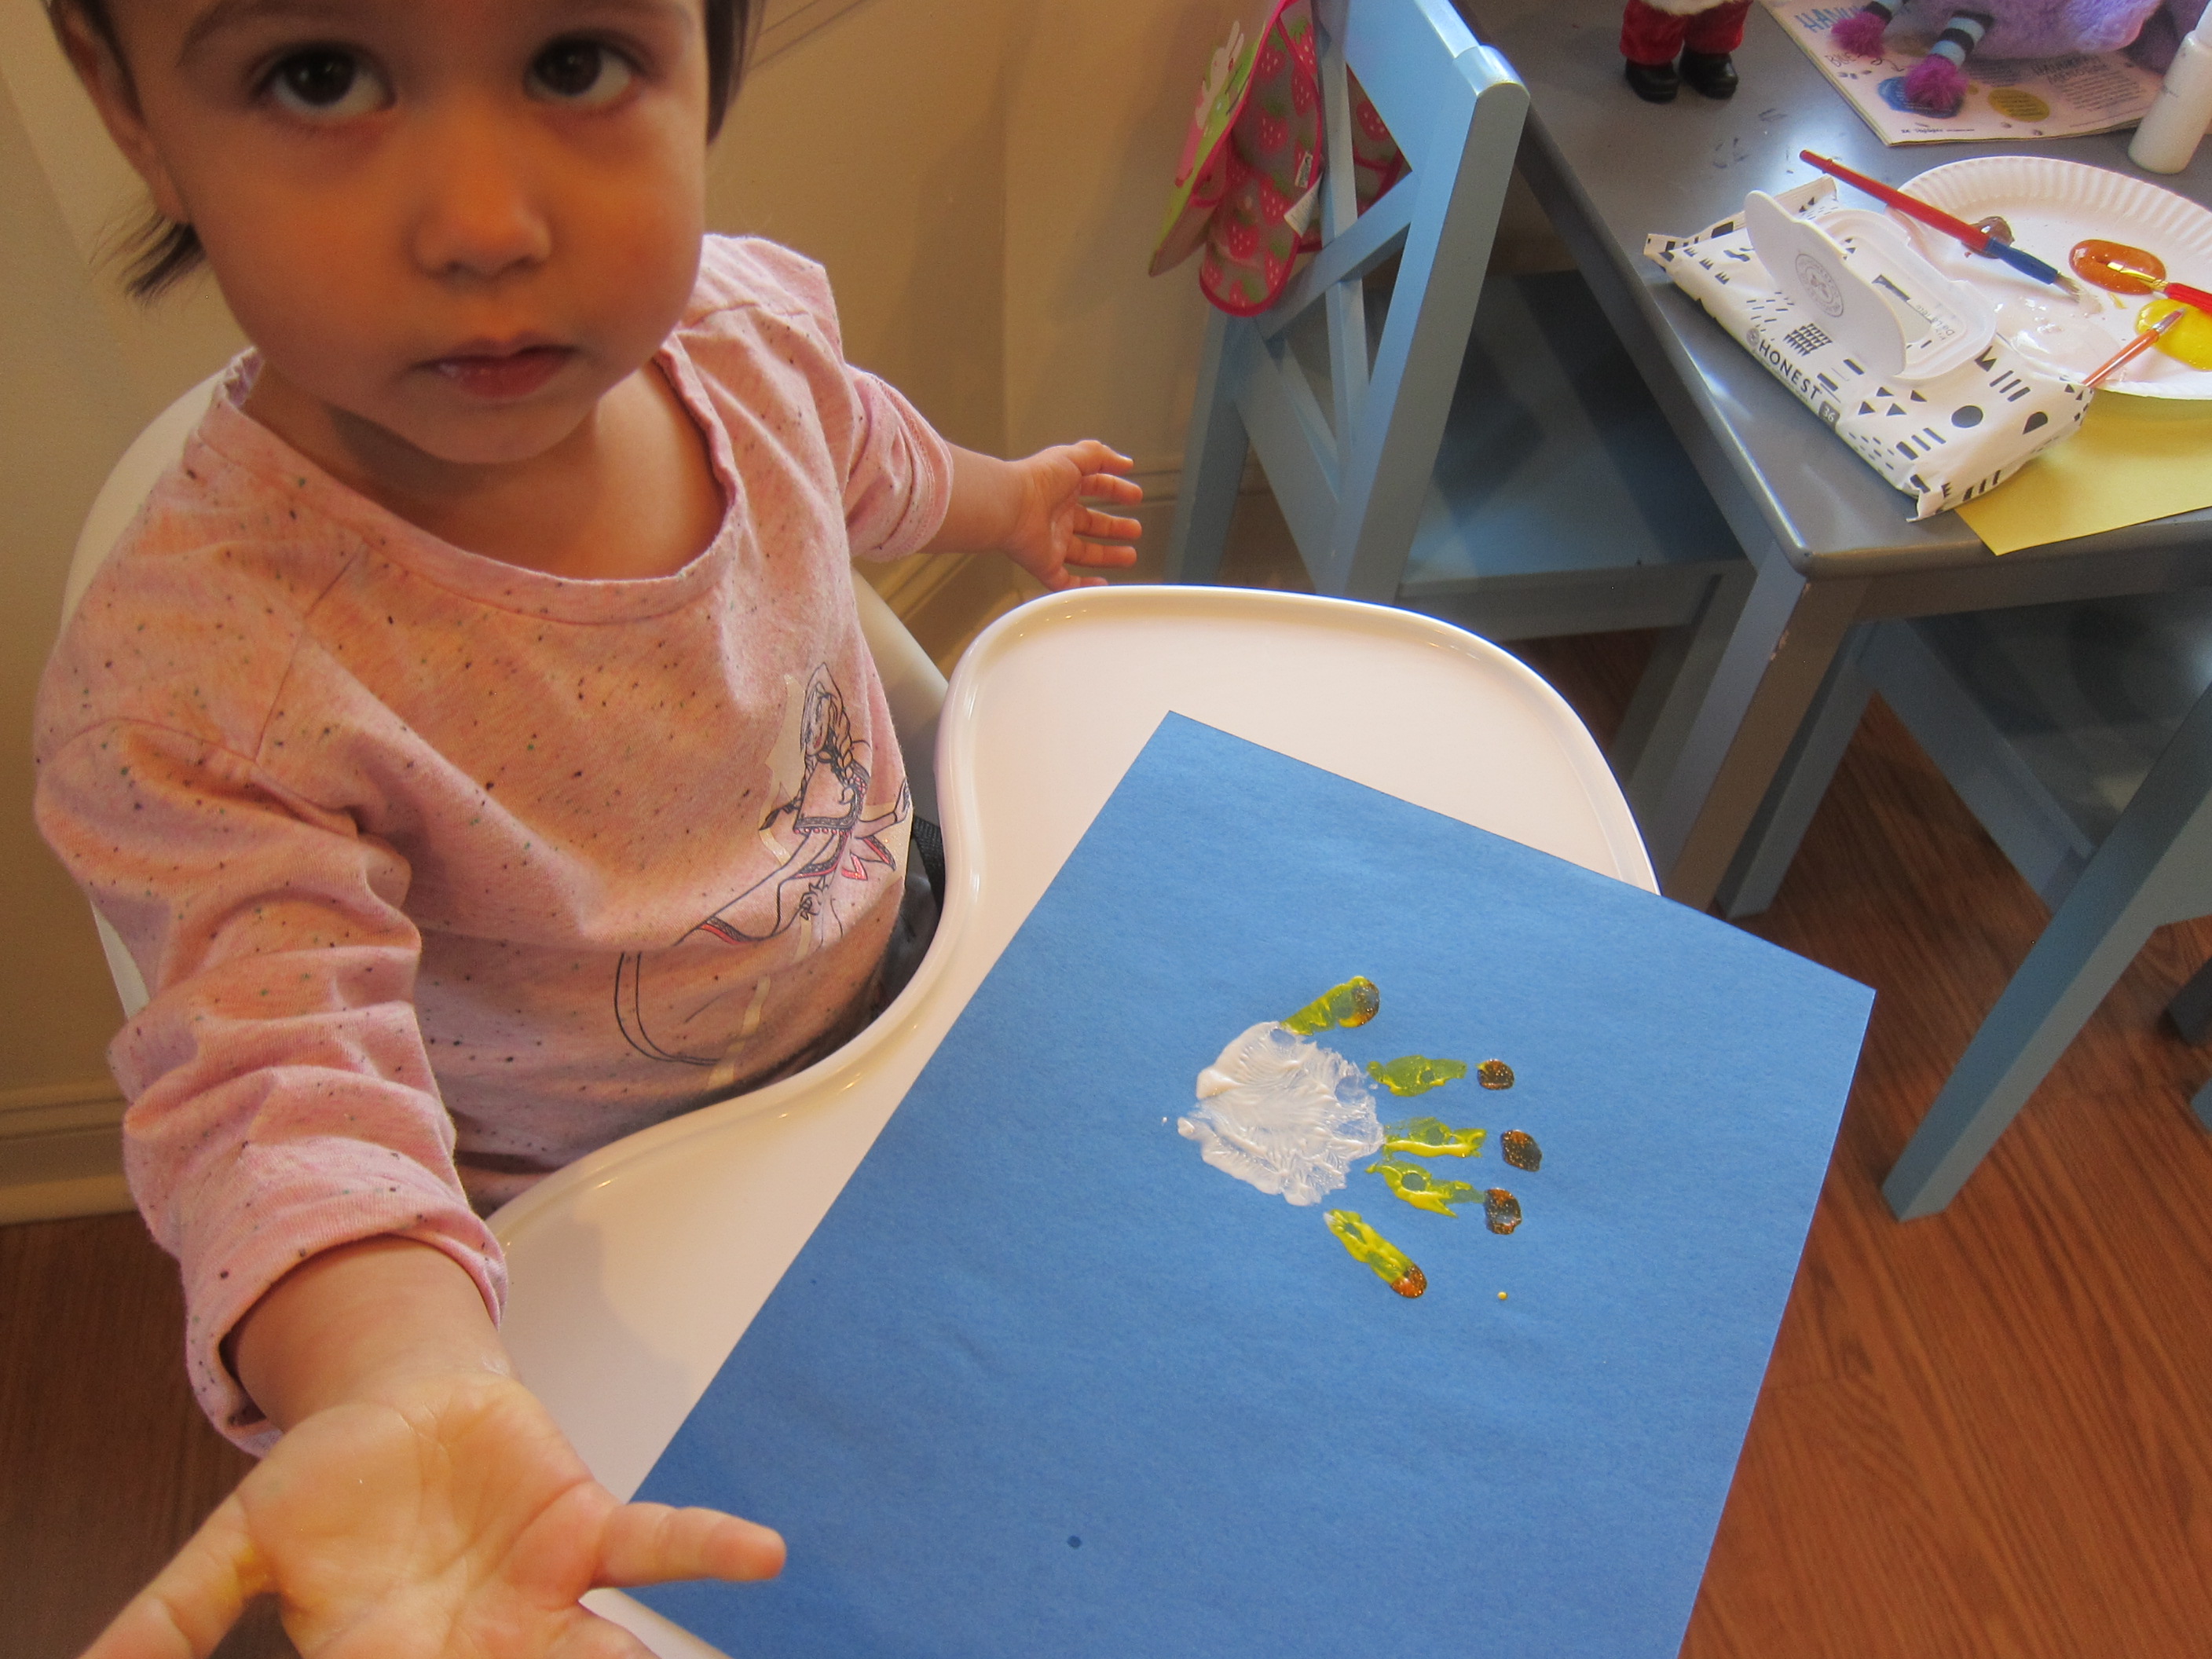
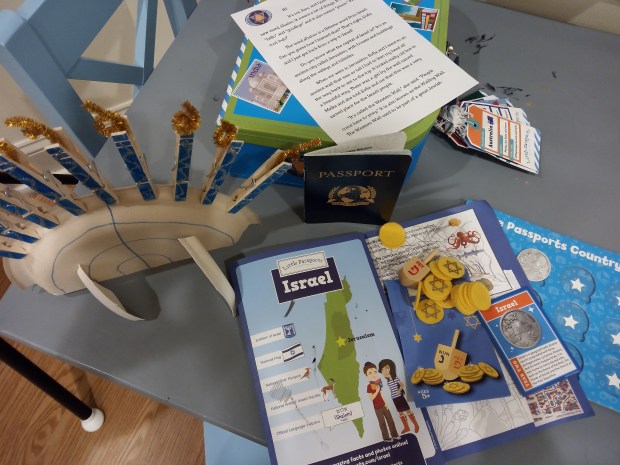
Travis latest package from Little Passports was all about Israel; the activities for this particular country were less hands-on than previous packages he’s received. Still, Travis is always excited for the latest from “Sam and Sofia”!

LP Israel (1)

Through the booklet, he learned about ancient artifacts that have been found in Israel, sea creatures of the Red Sea, shuk shopping markets, and more. Most were age-appropriate for a 1st grader except a tough mystery to solve using Hebrew letter characters.

LP Israel (7)

Souvenir:

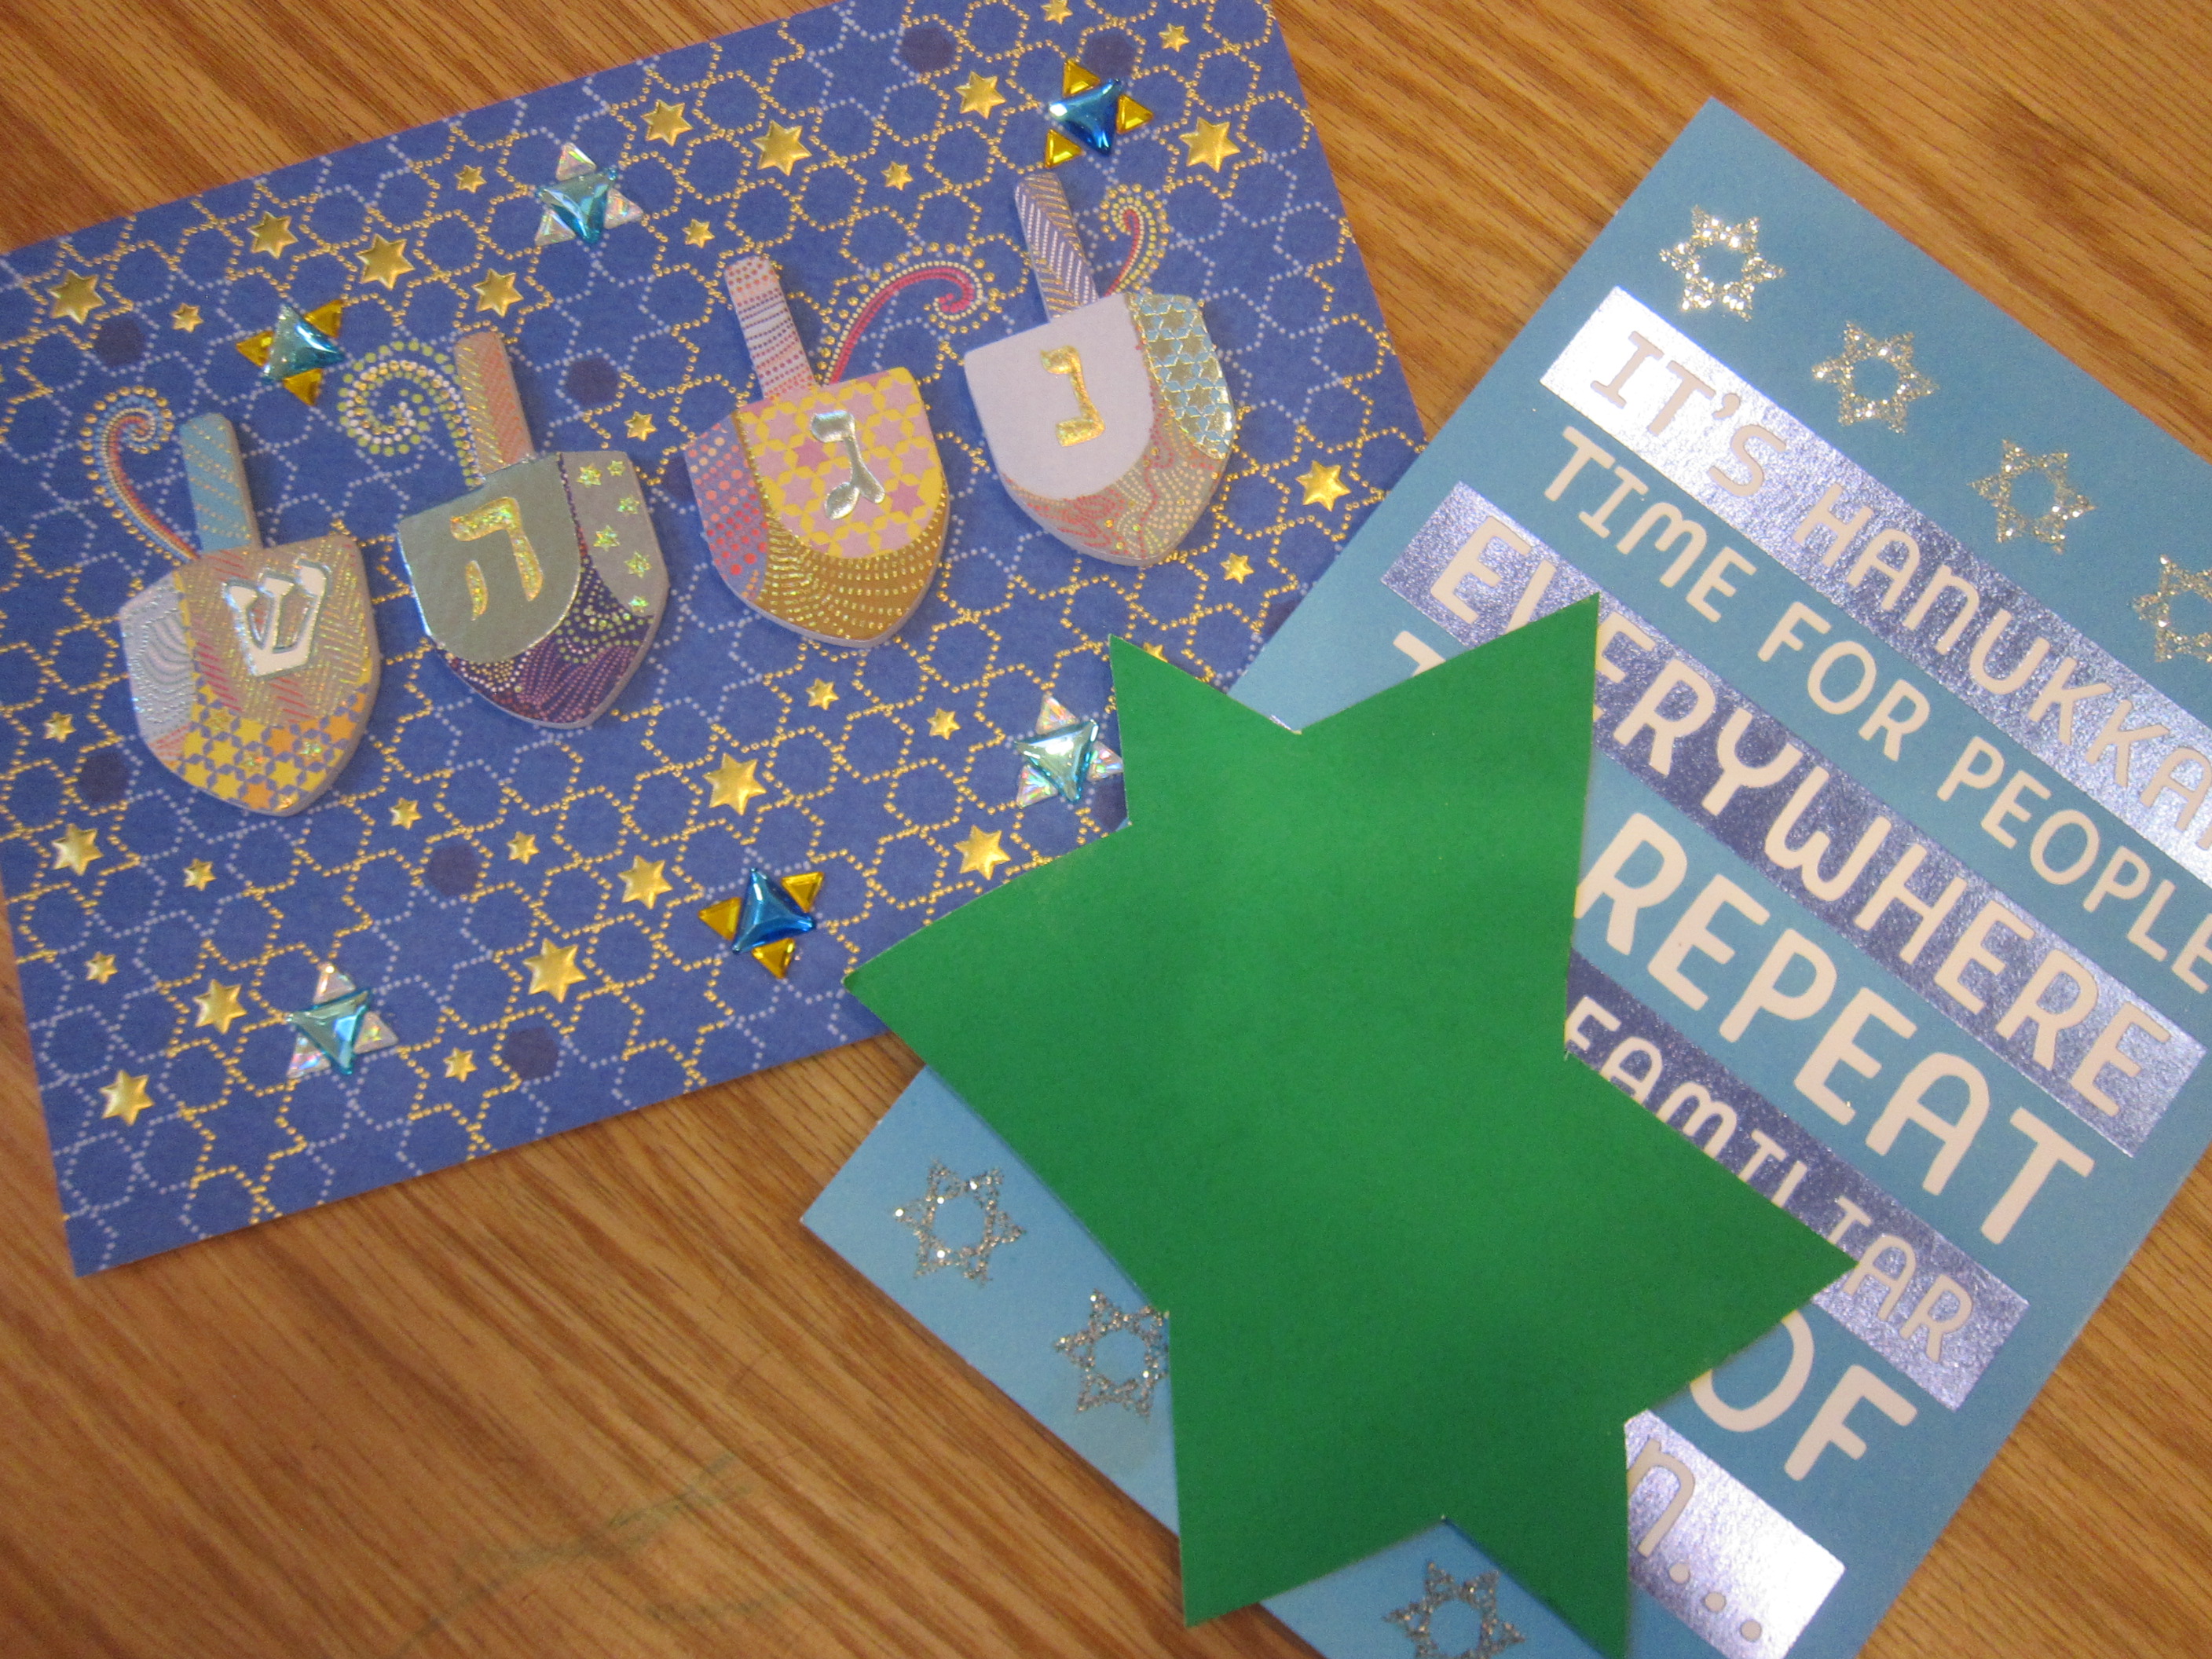
I wish Travis had received this particular kit back in December, because the souvenir was a game of dreidel, complete with a spinning top and a set of felt gold coins. Even though it wasn’t Hanukkah, Travis loved playing a few rounds!

LP Israel (2)

Further Activities:

Of course next we needed to color in the flag of Israel, and there was also a coloring page to teach about the holiday of Tu B’Shvat (new years for the trees), which Travis colored quite carefully.

LP Israel alt

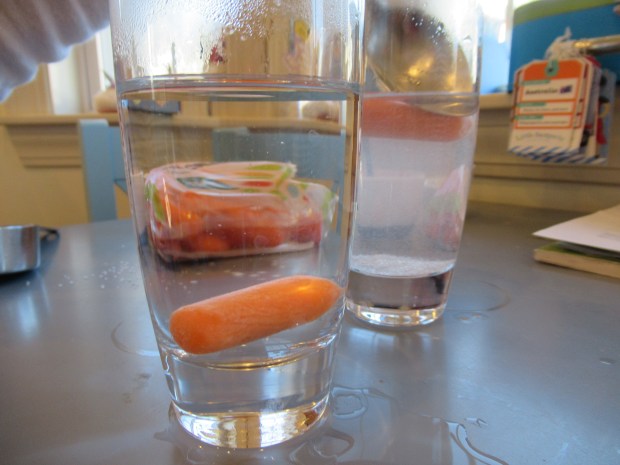
Next up was a science experiment to see what salt does to objects in water, as with the salty Dead Sea. The original instructions were to do this activity with an egg, but we used carrots to make it vegan. Fill each of 2 glass cups with 3/4 cup warm water. Add 1 baby carrot to the first cup. Ker-plop, it sinks!

LP Israel (5)

Next, add 1/4 cup salt to the second cup, stirring until it dissolves. We added a second baby carrot… and it floats!

LP Israel (6)

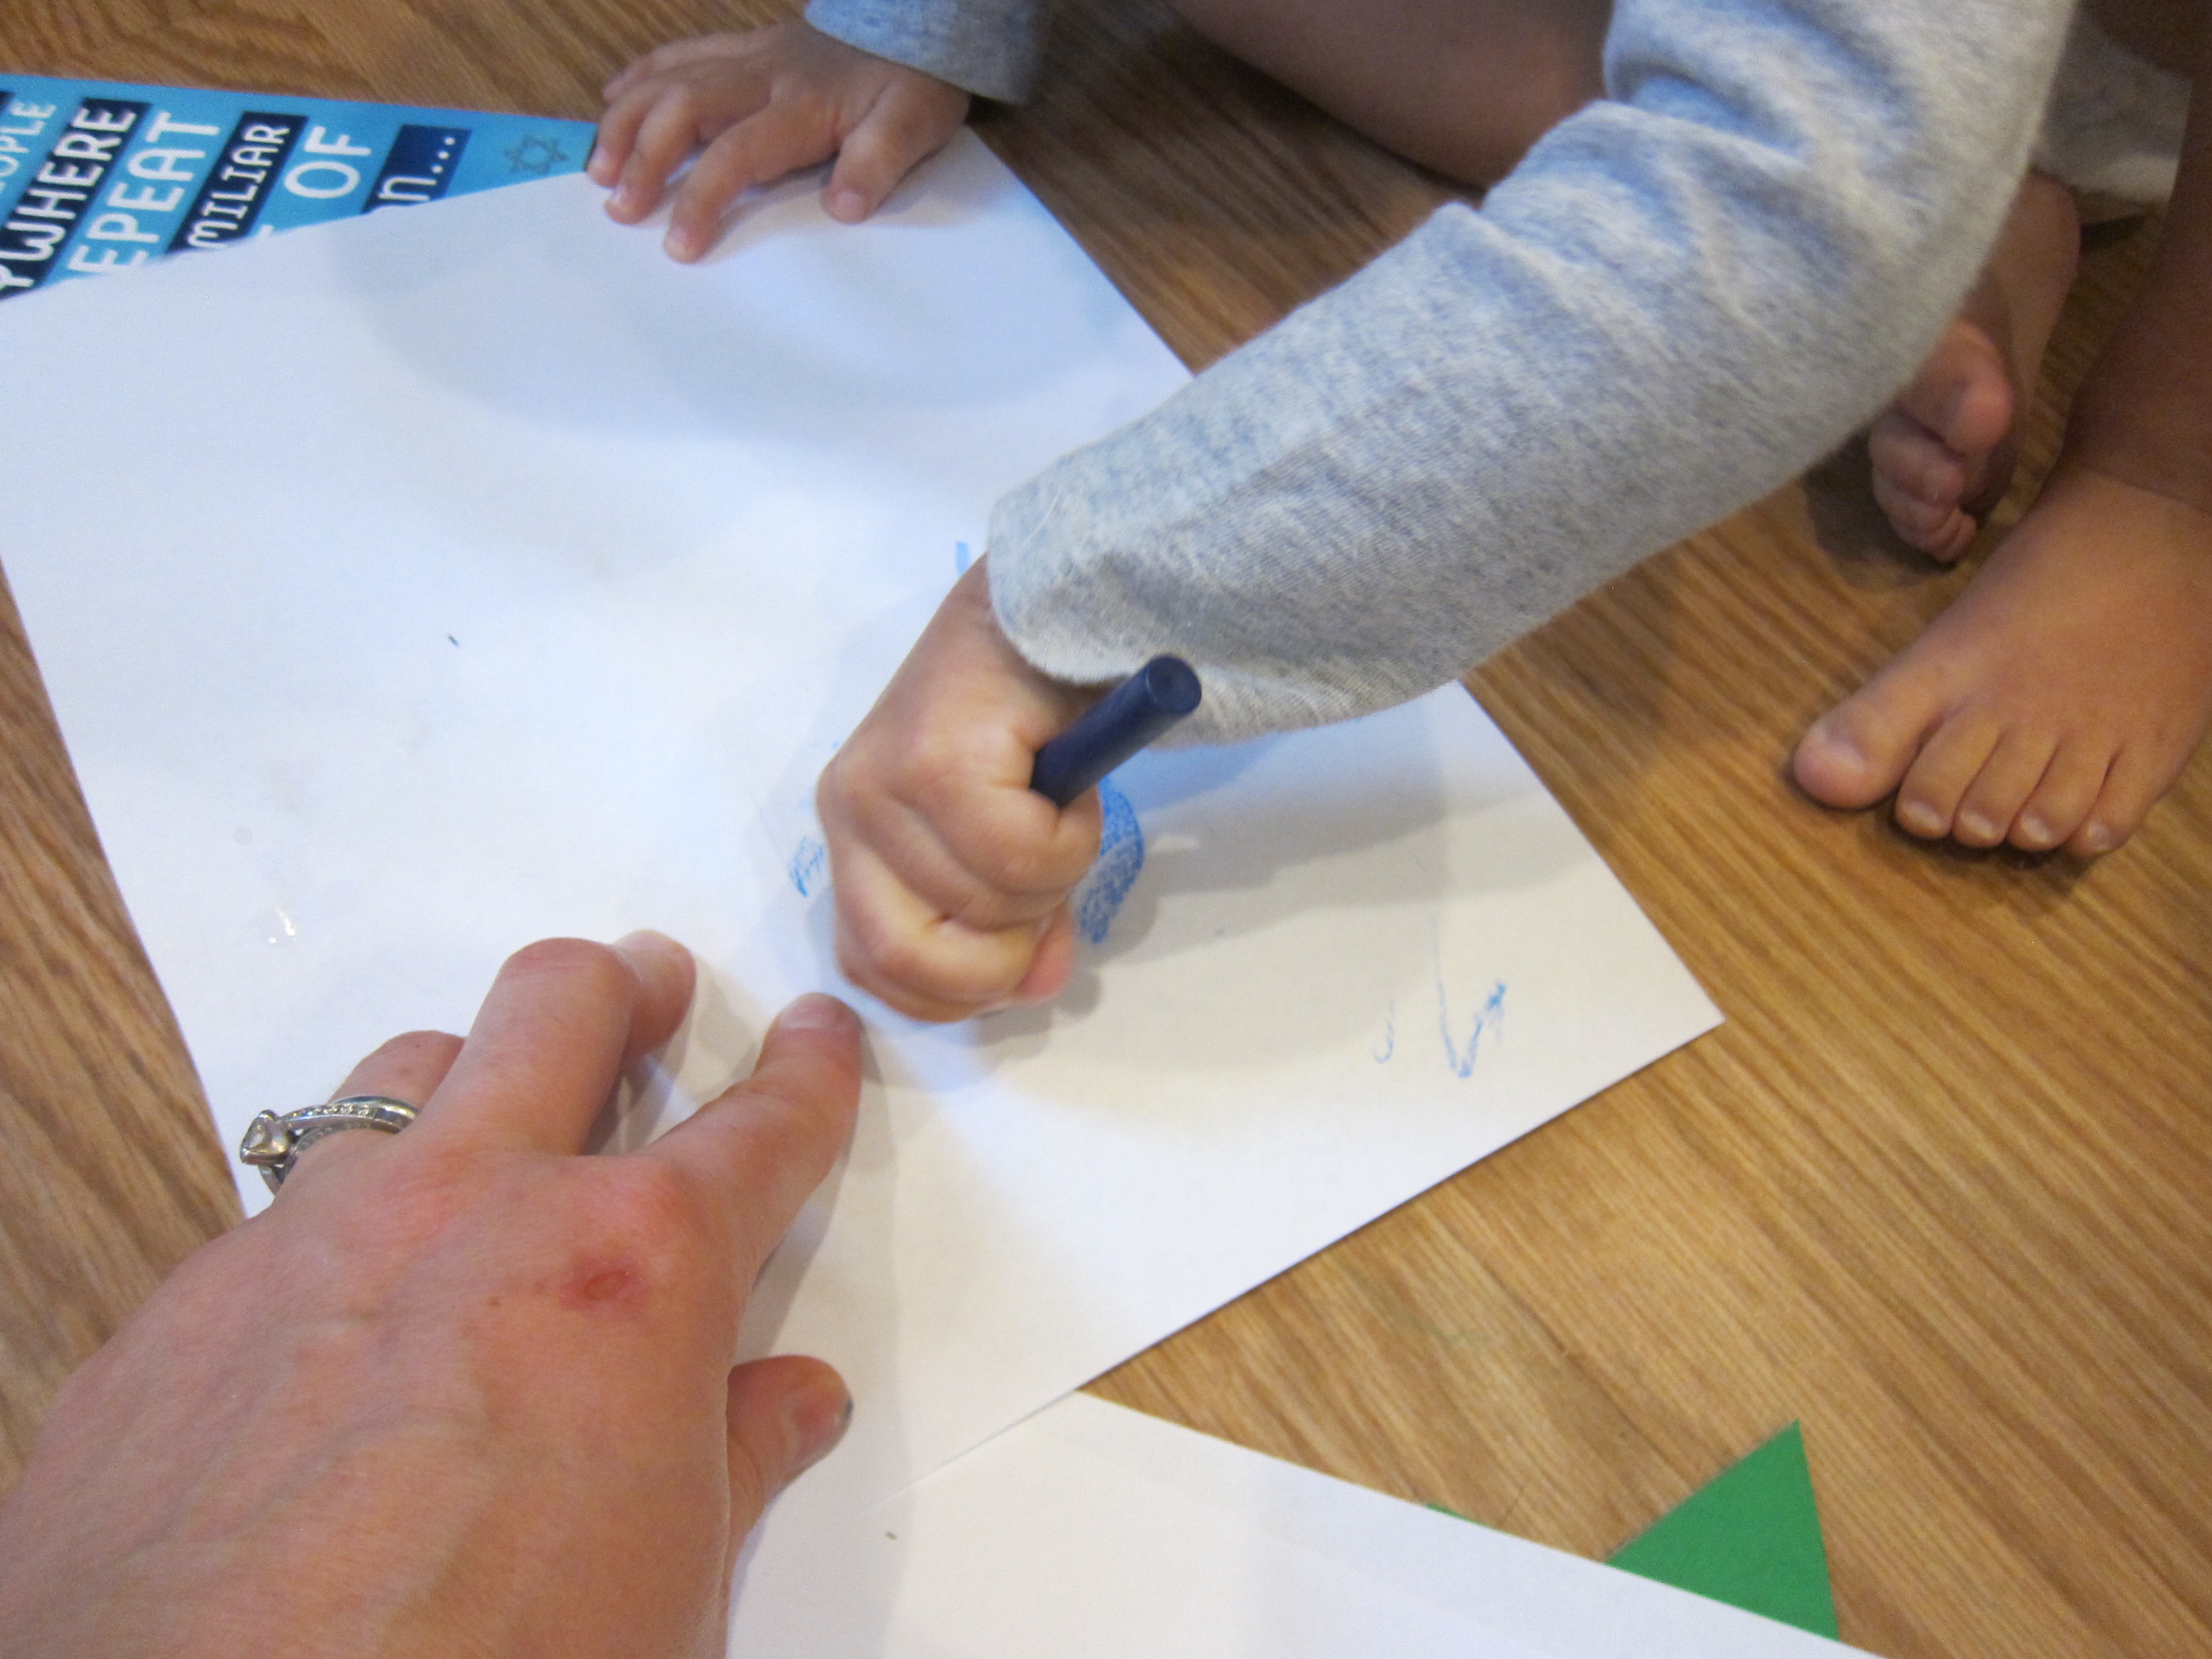
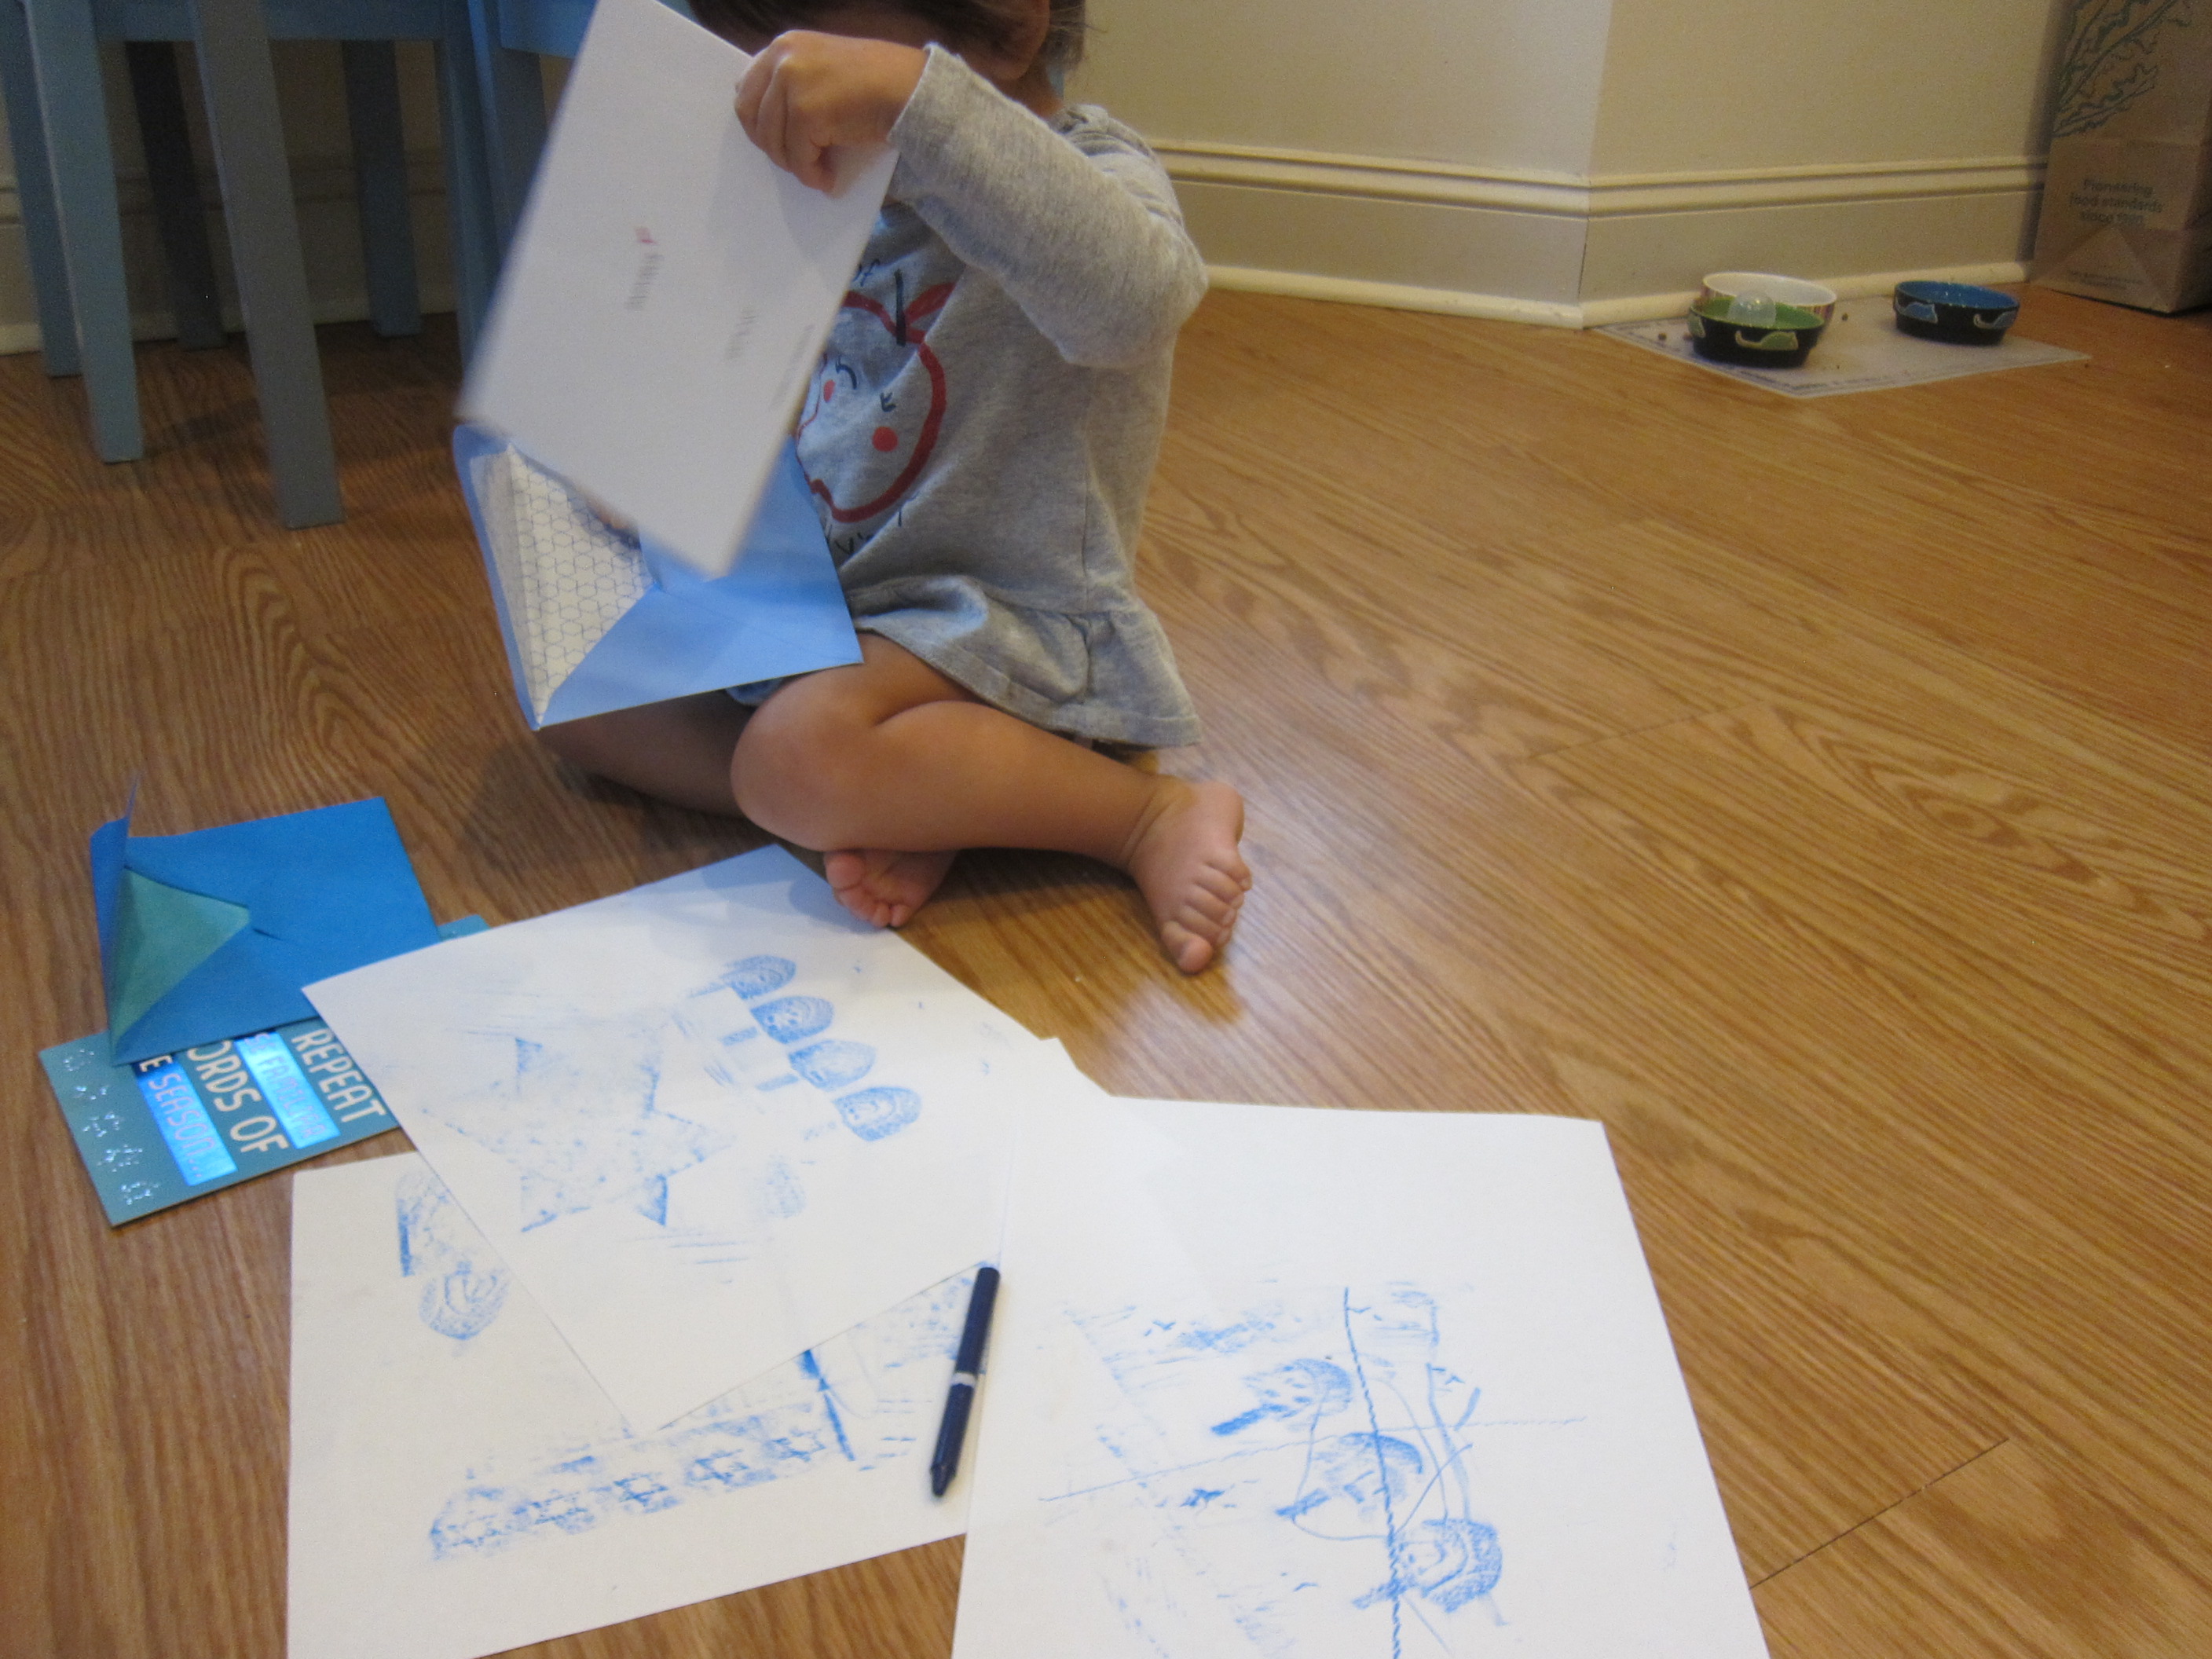
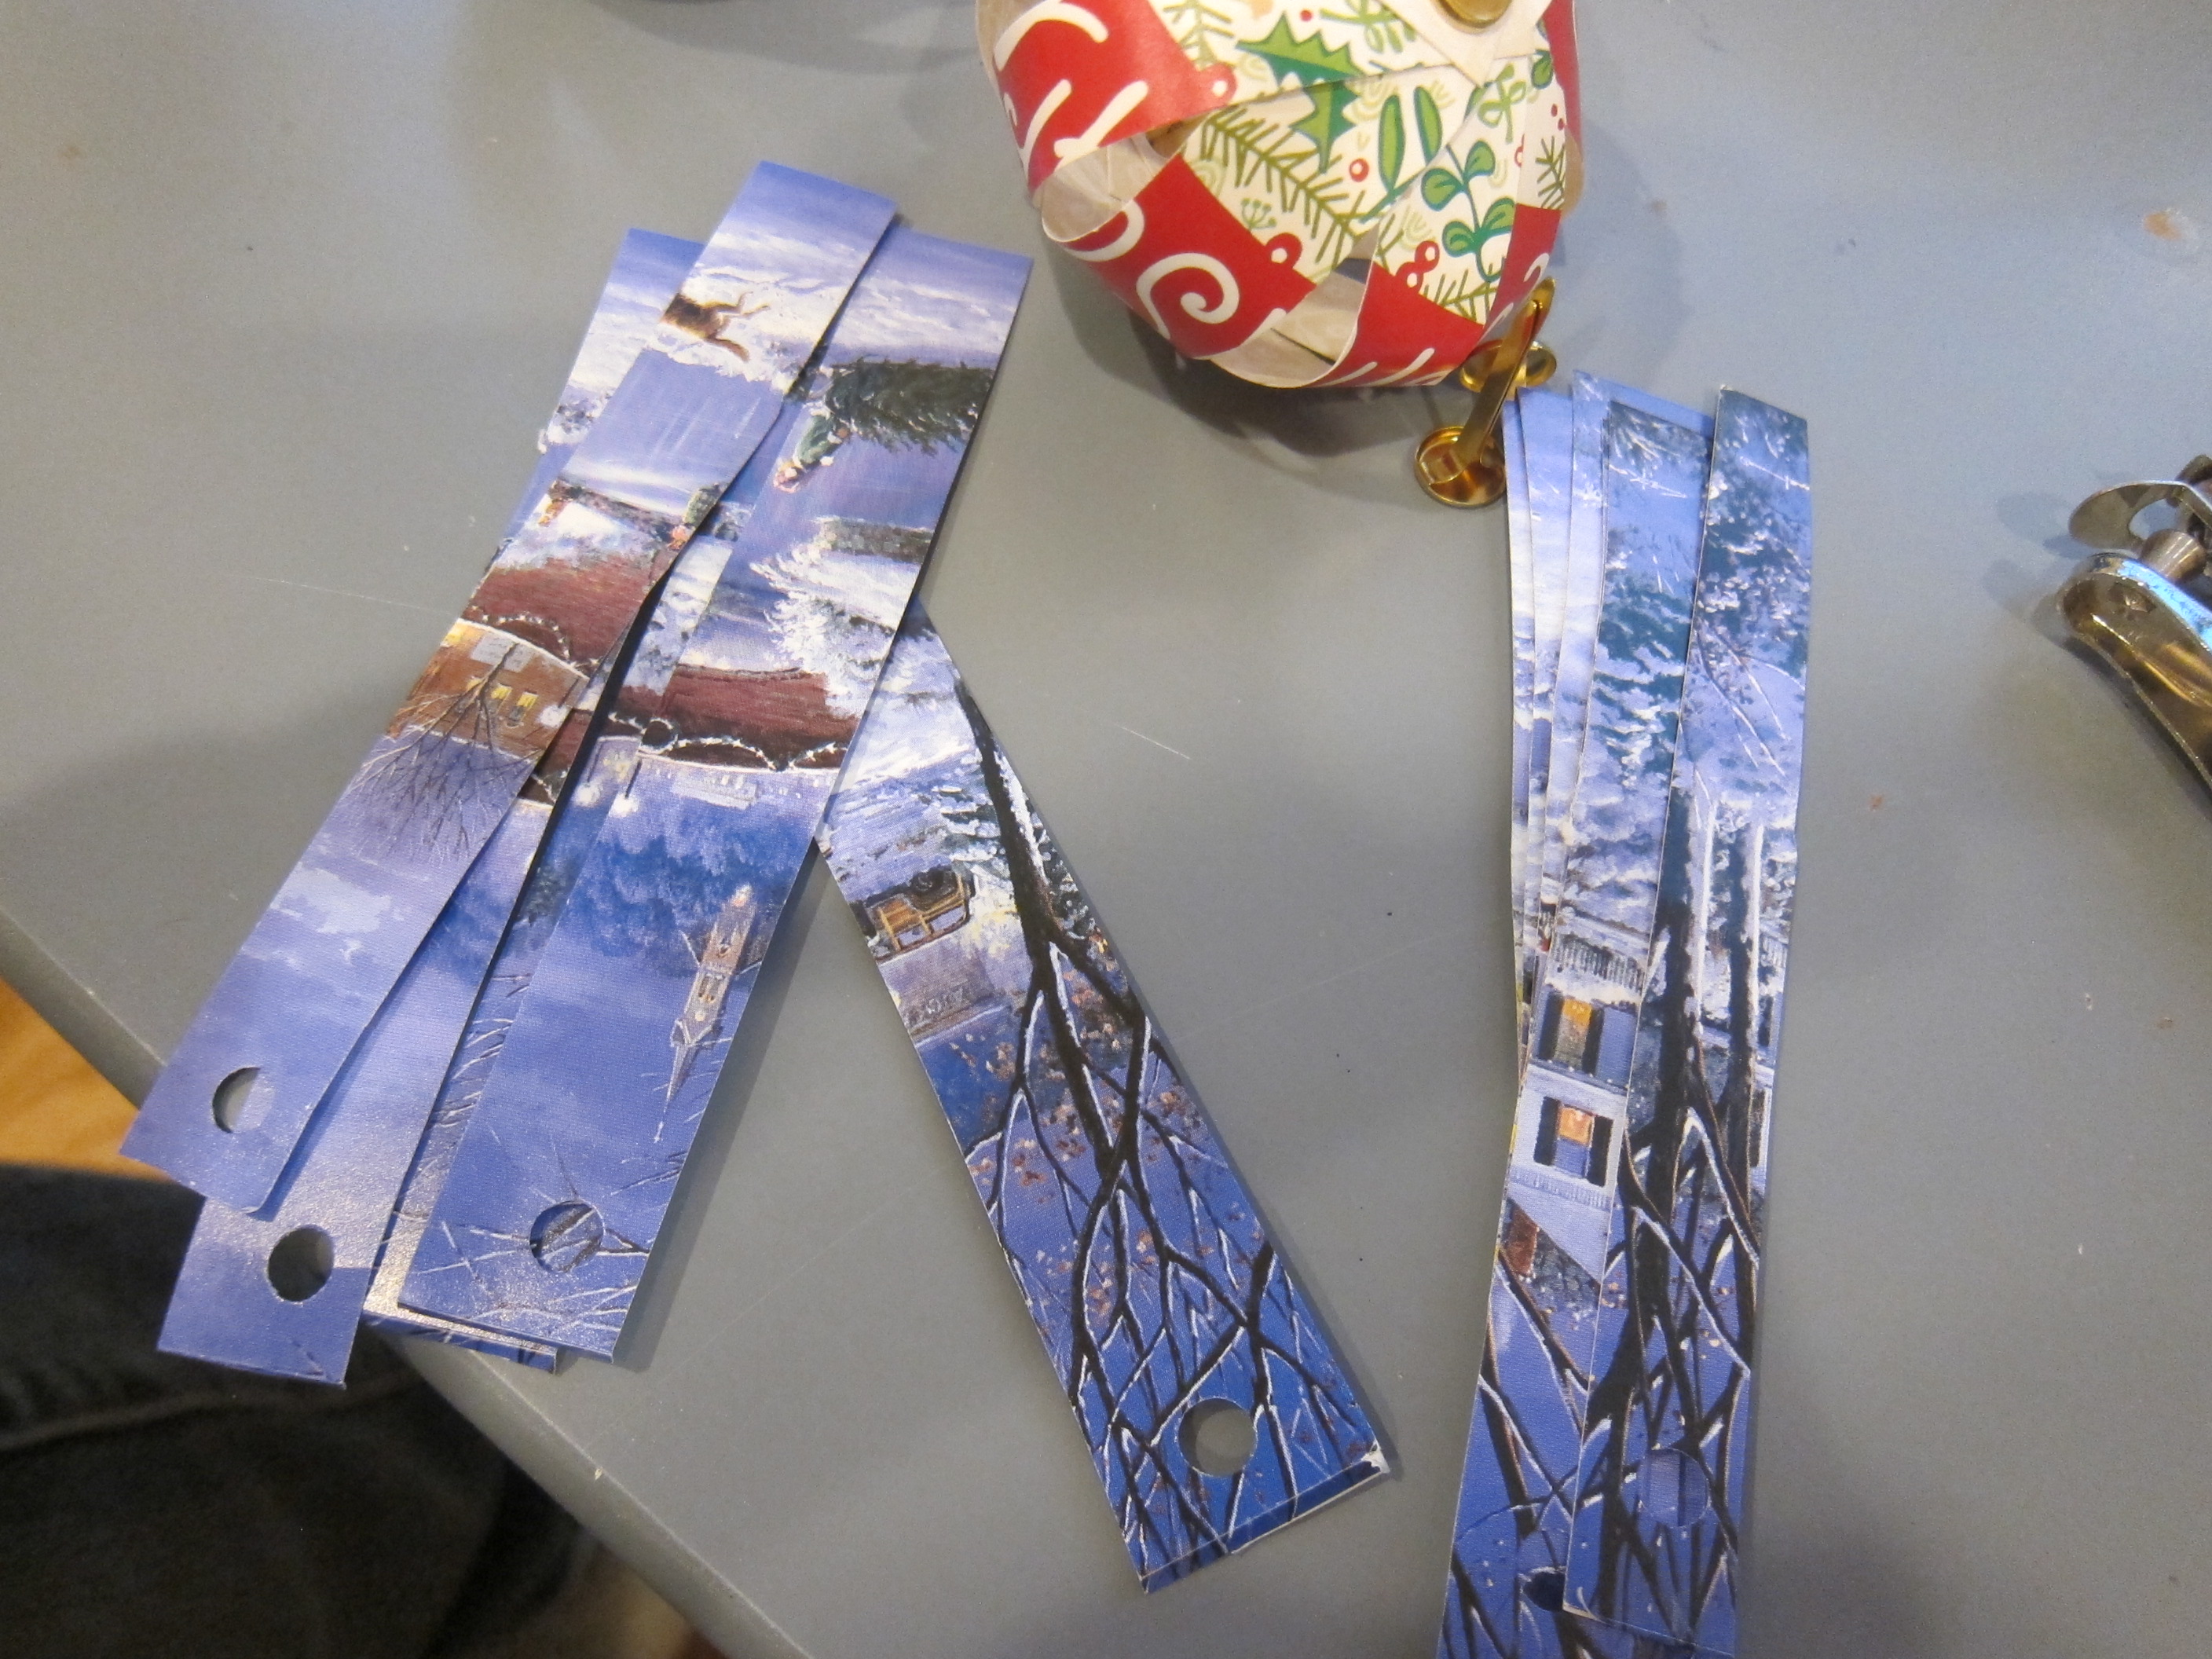
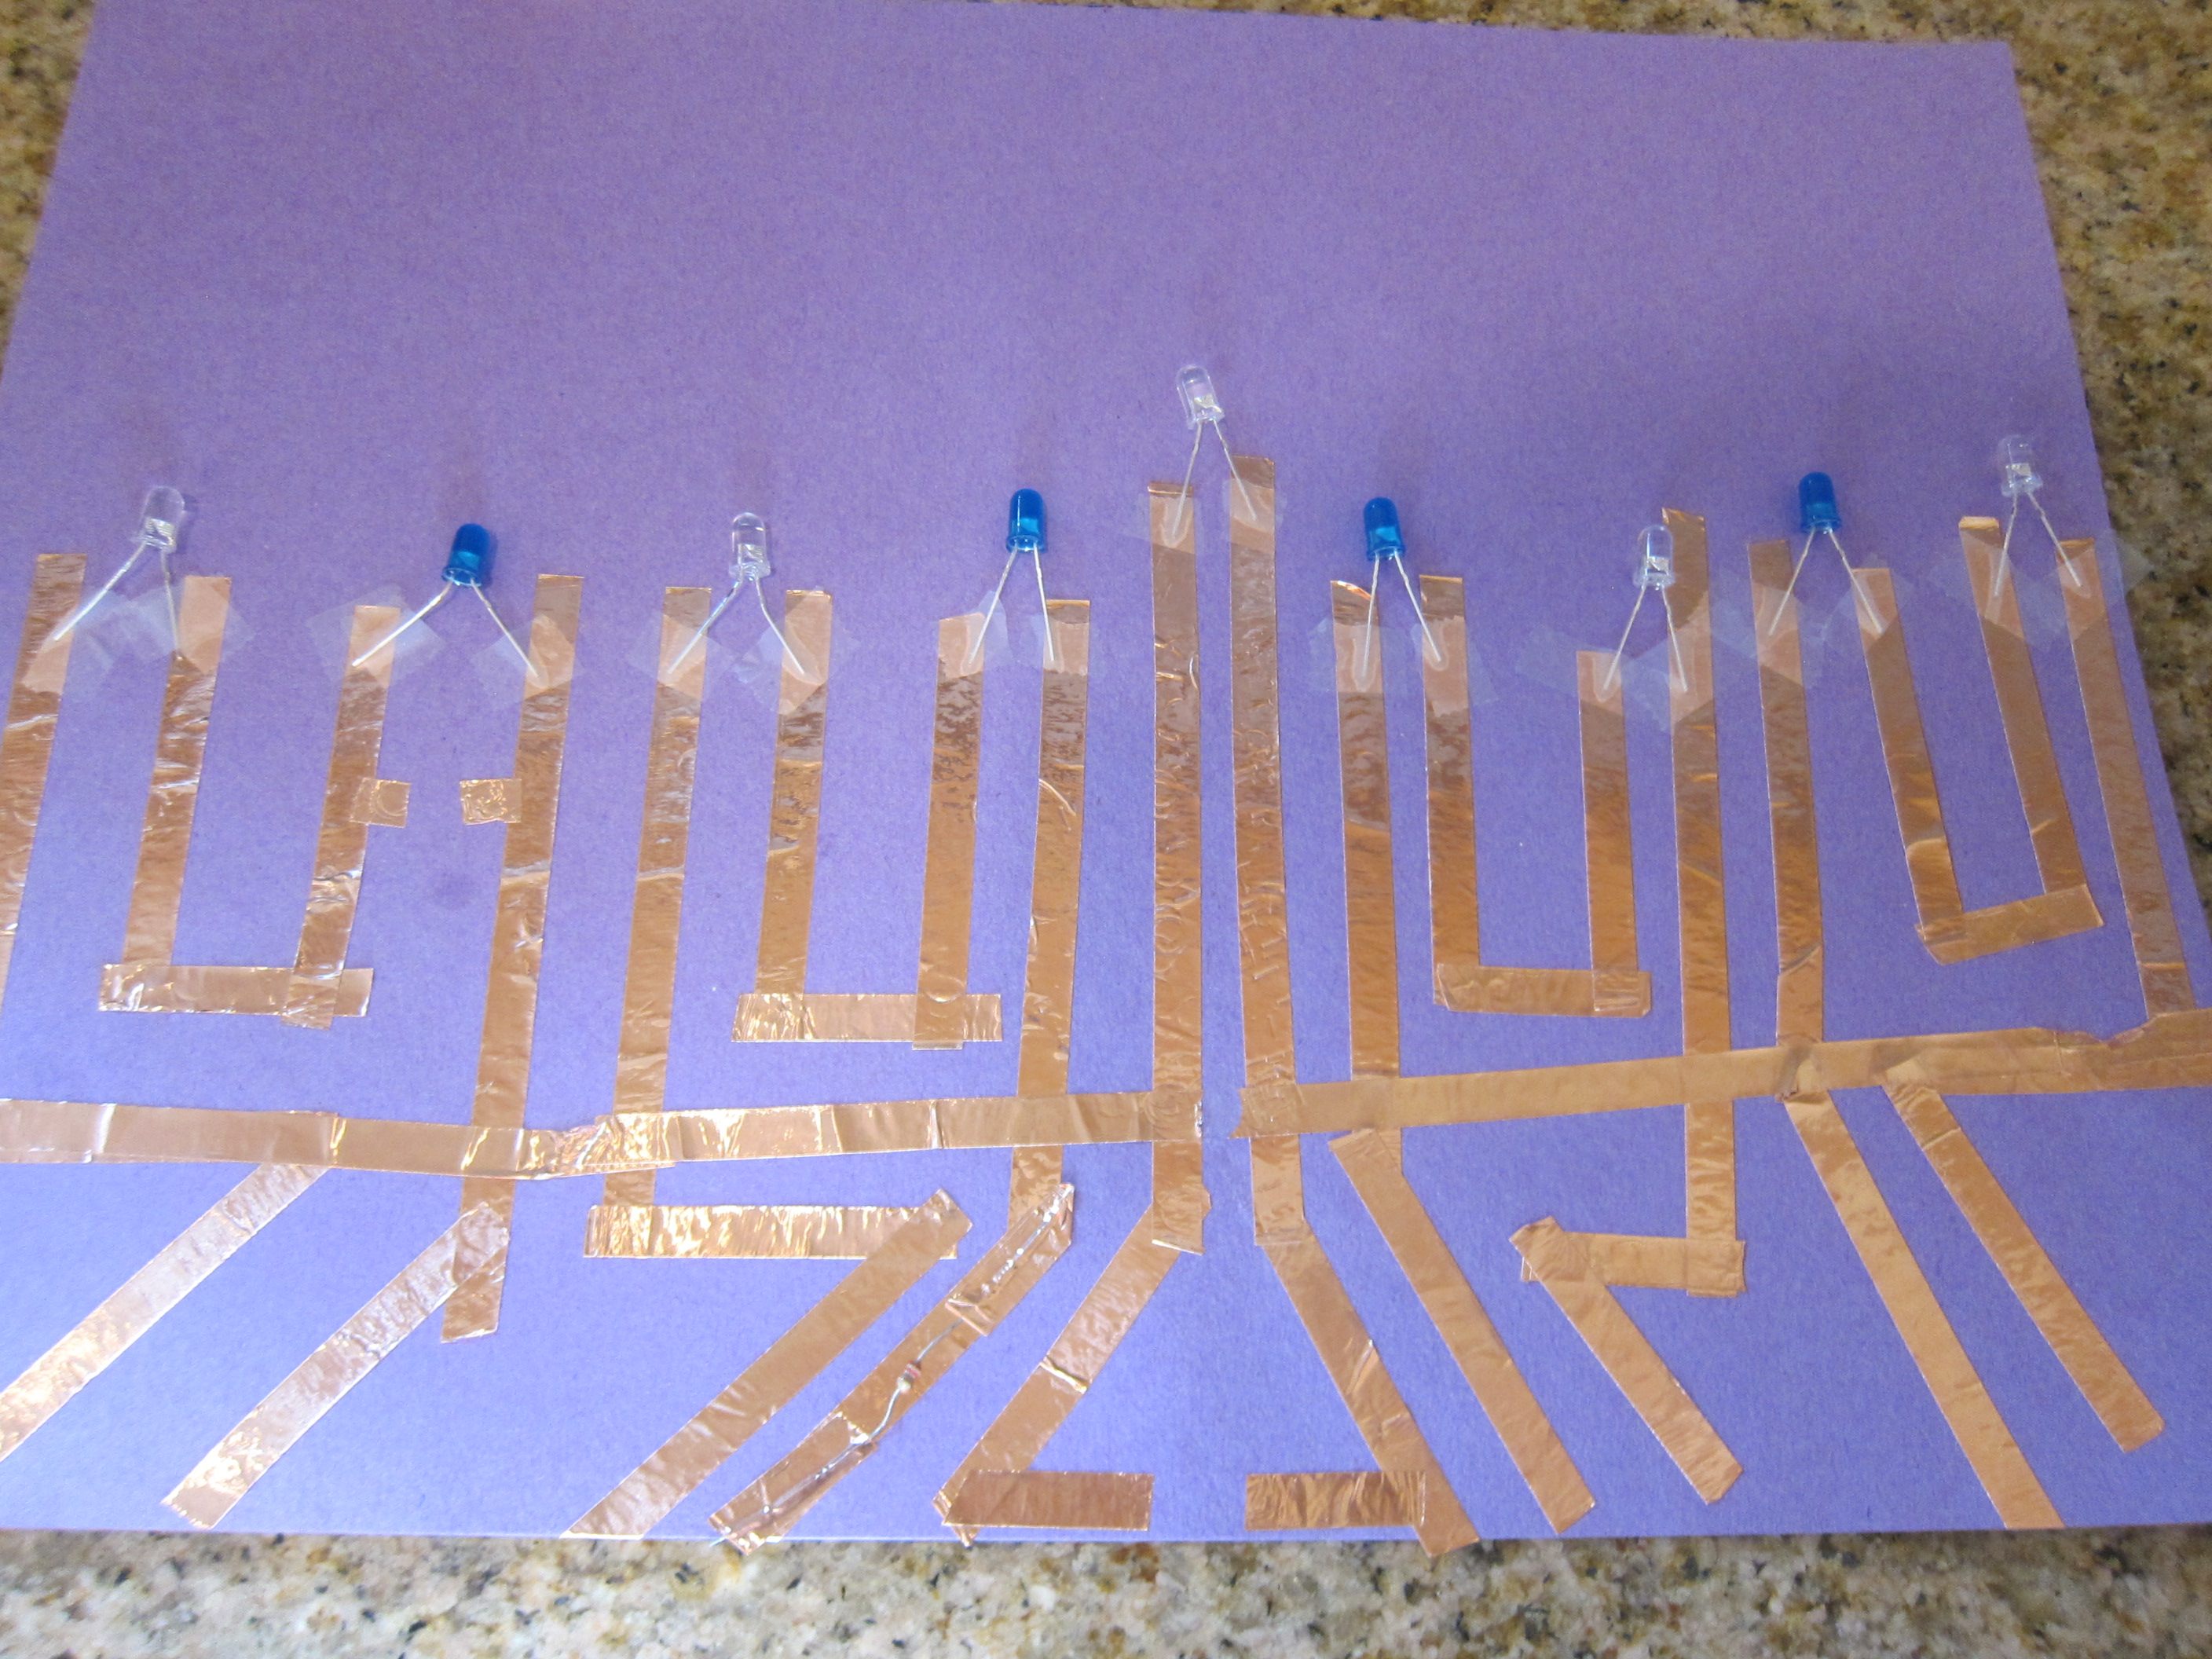
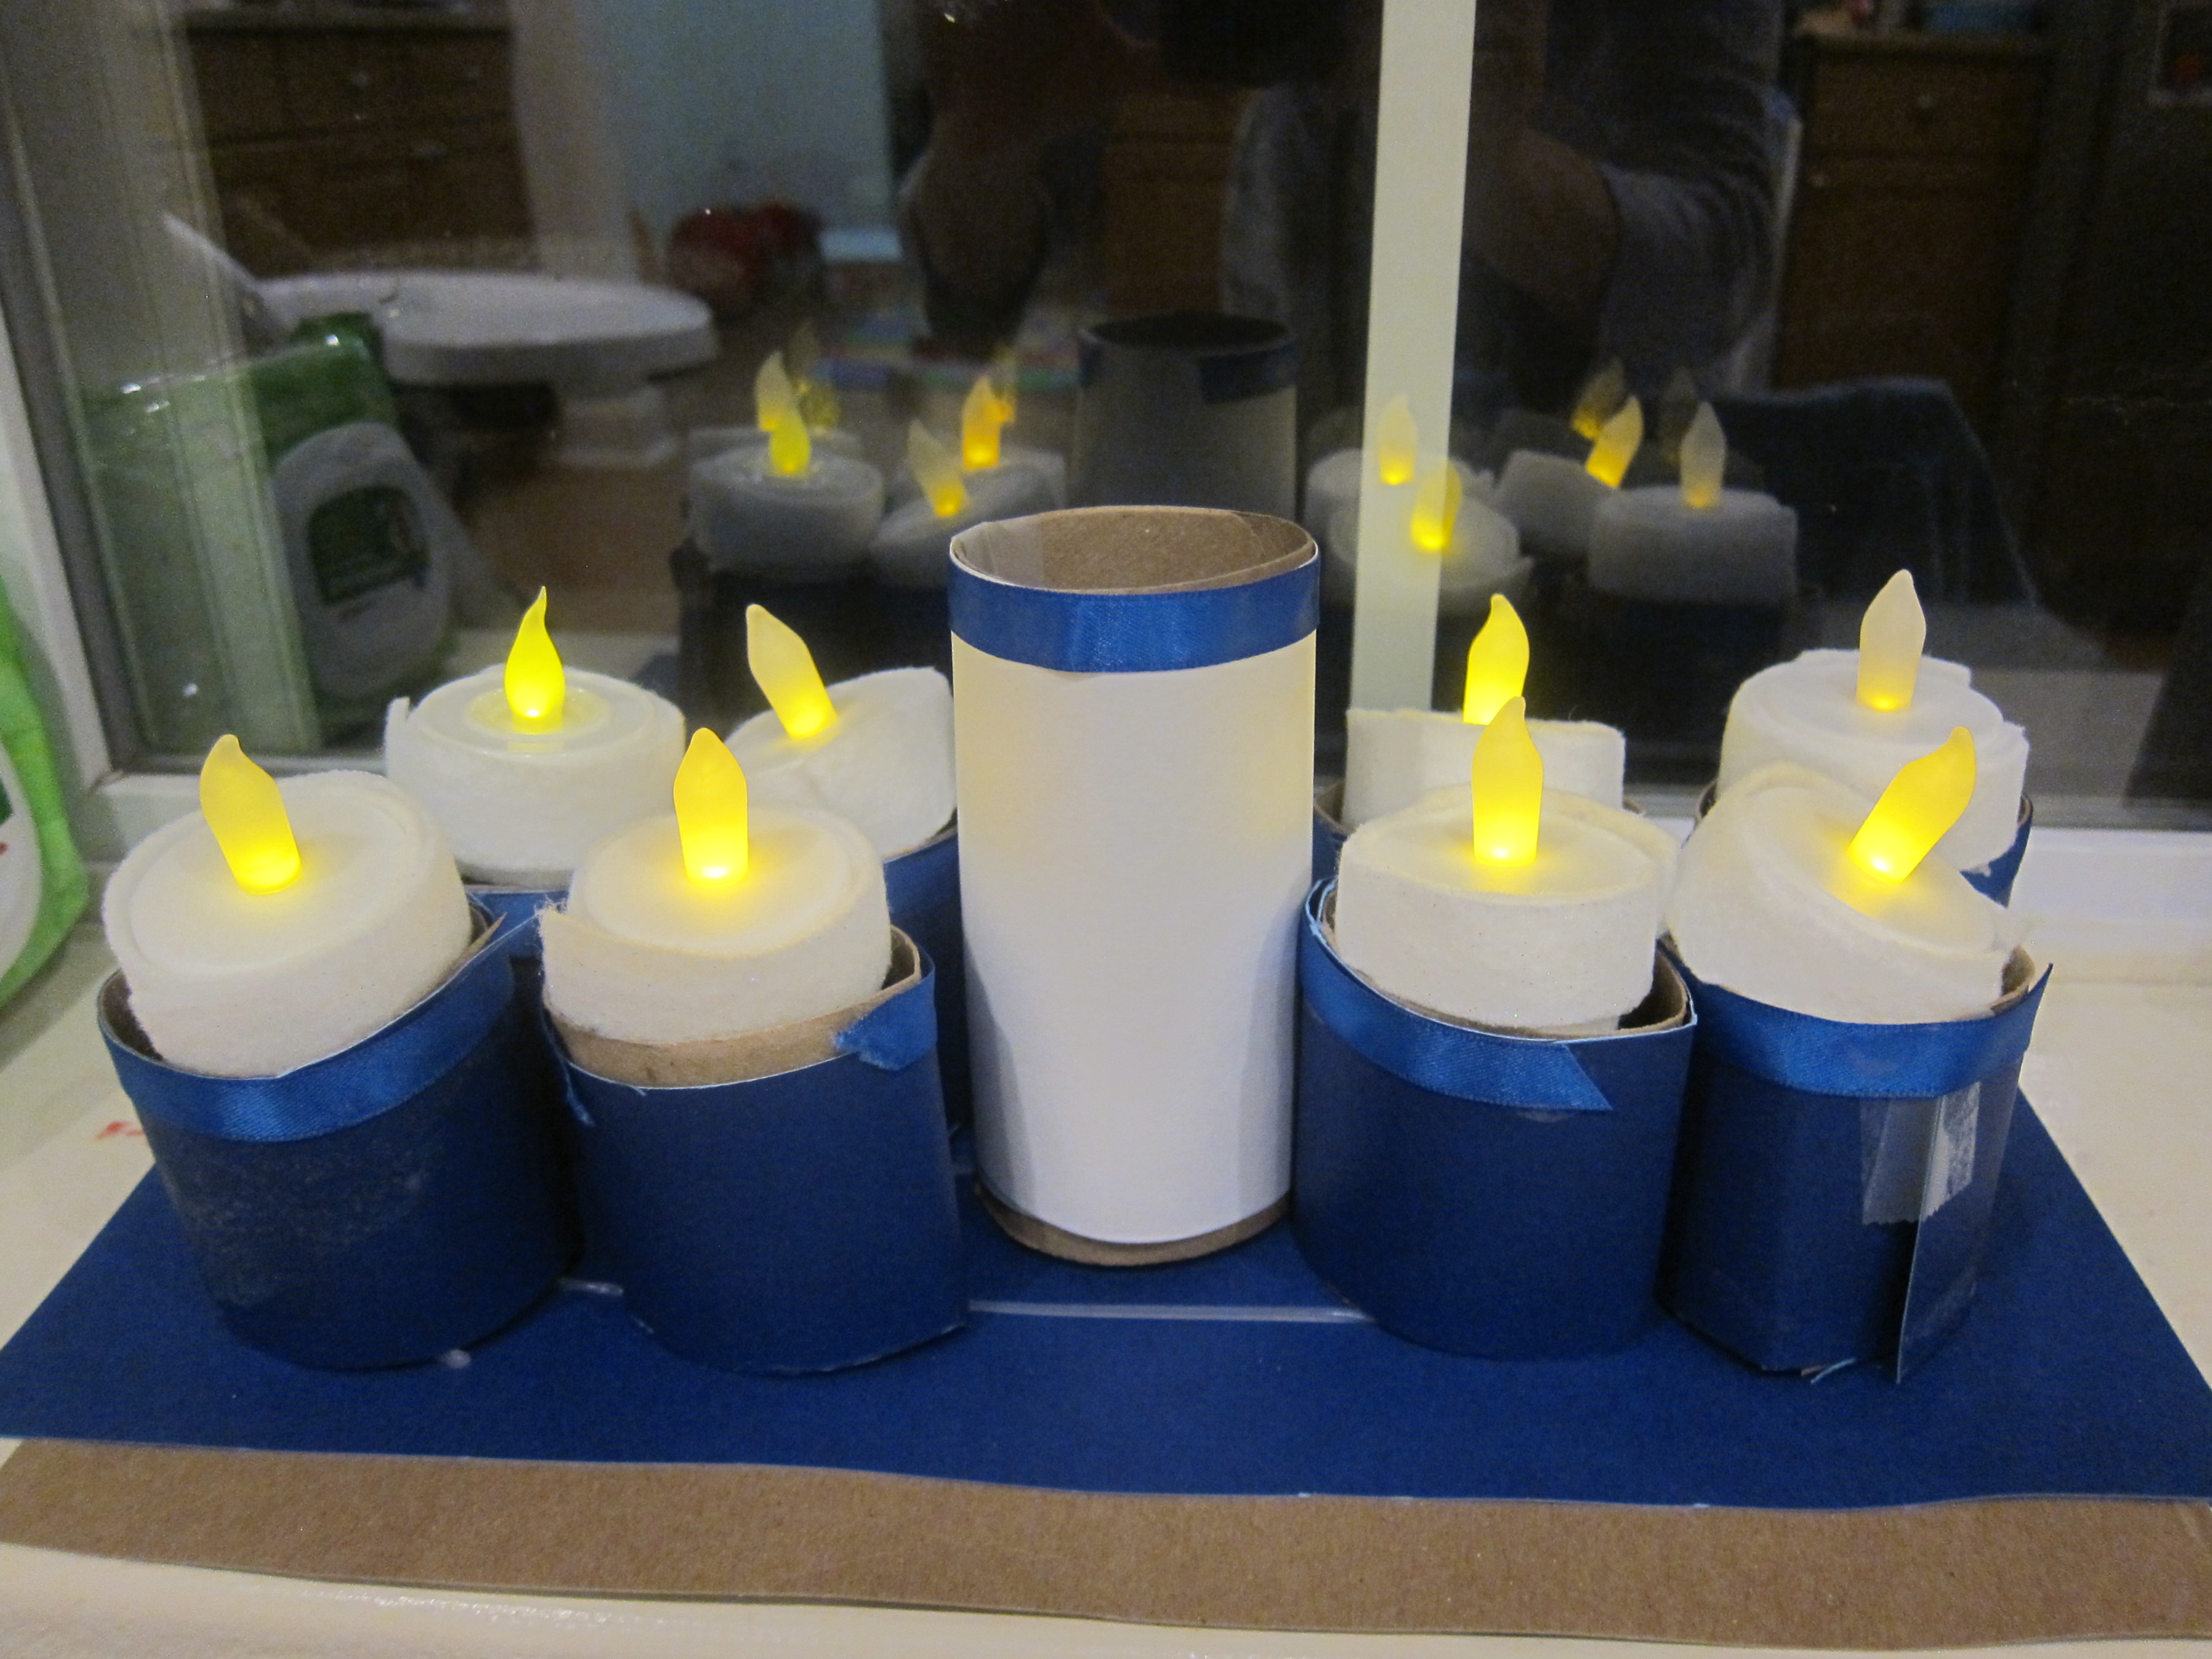
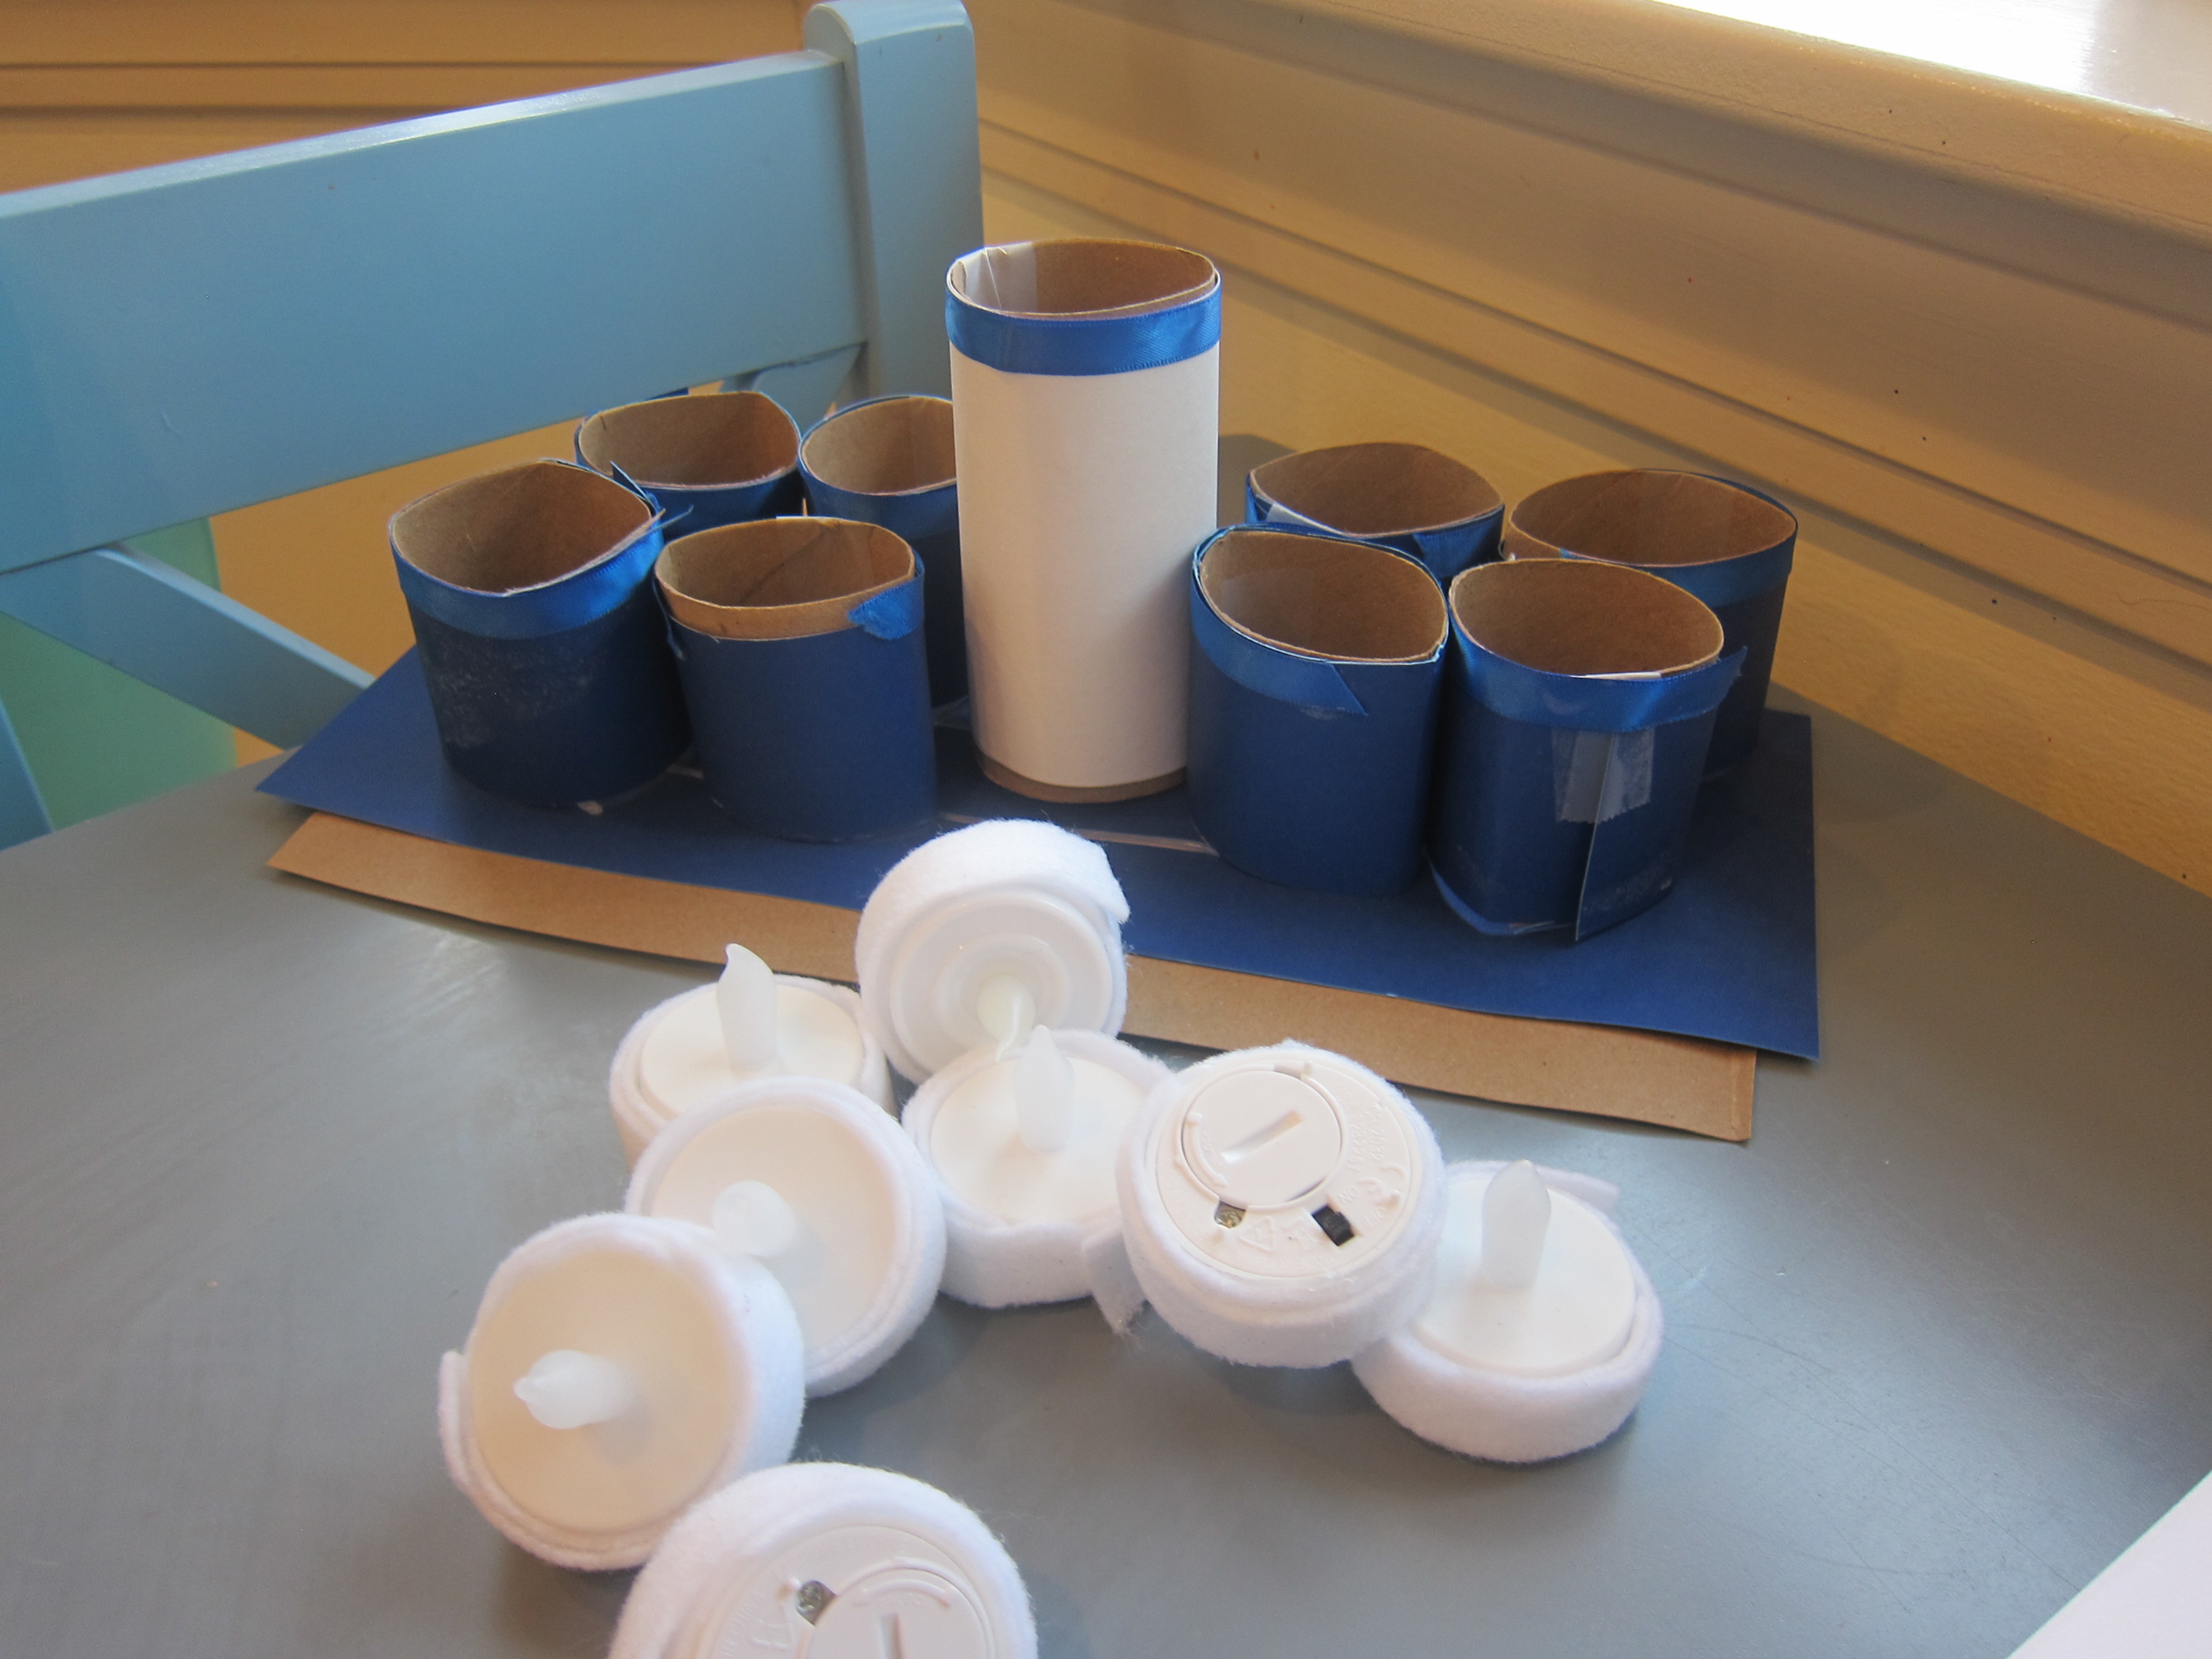
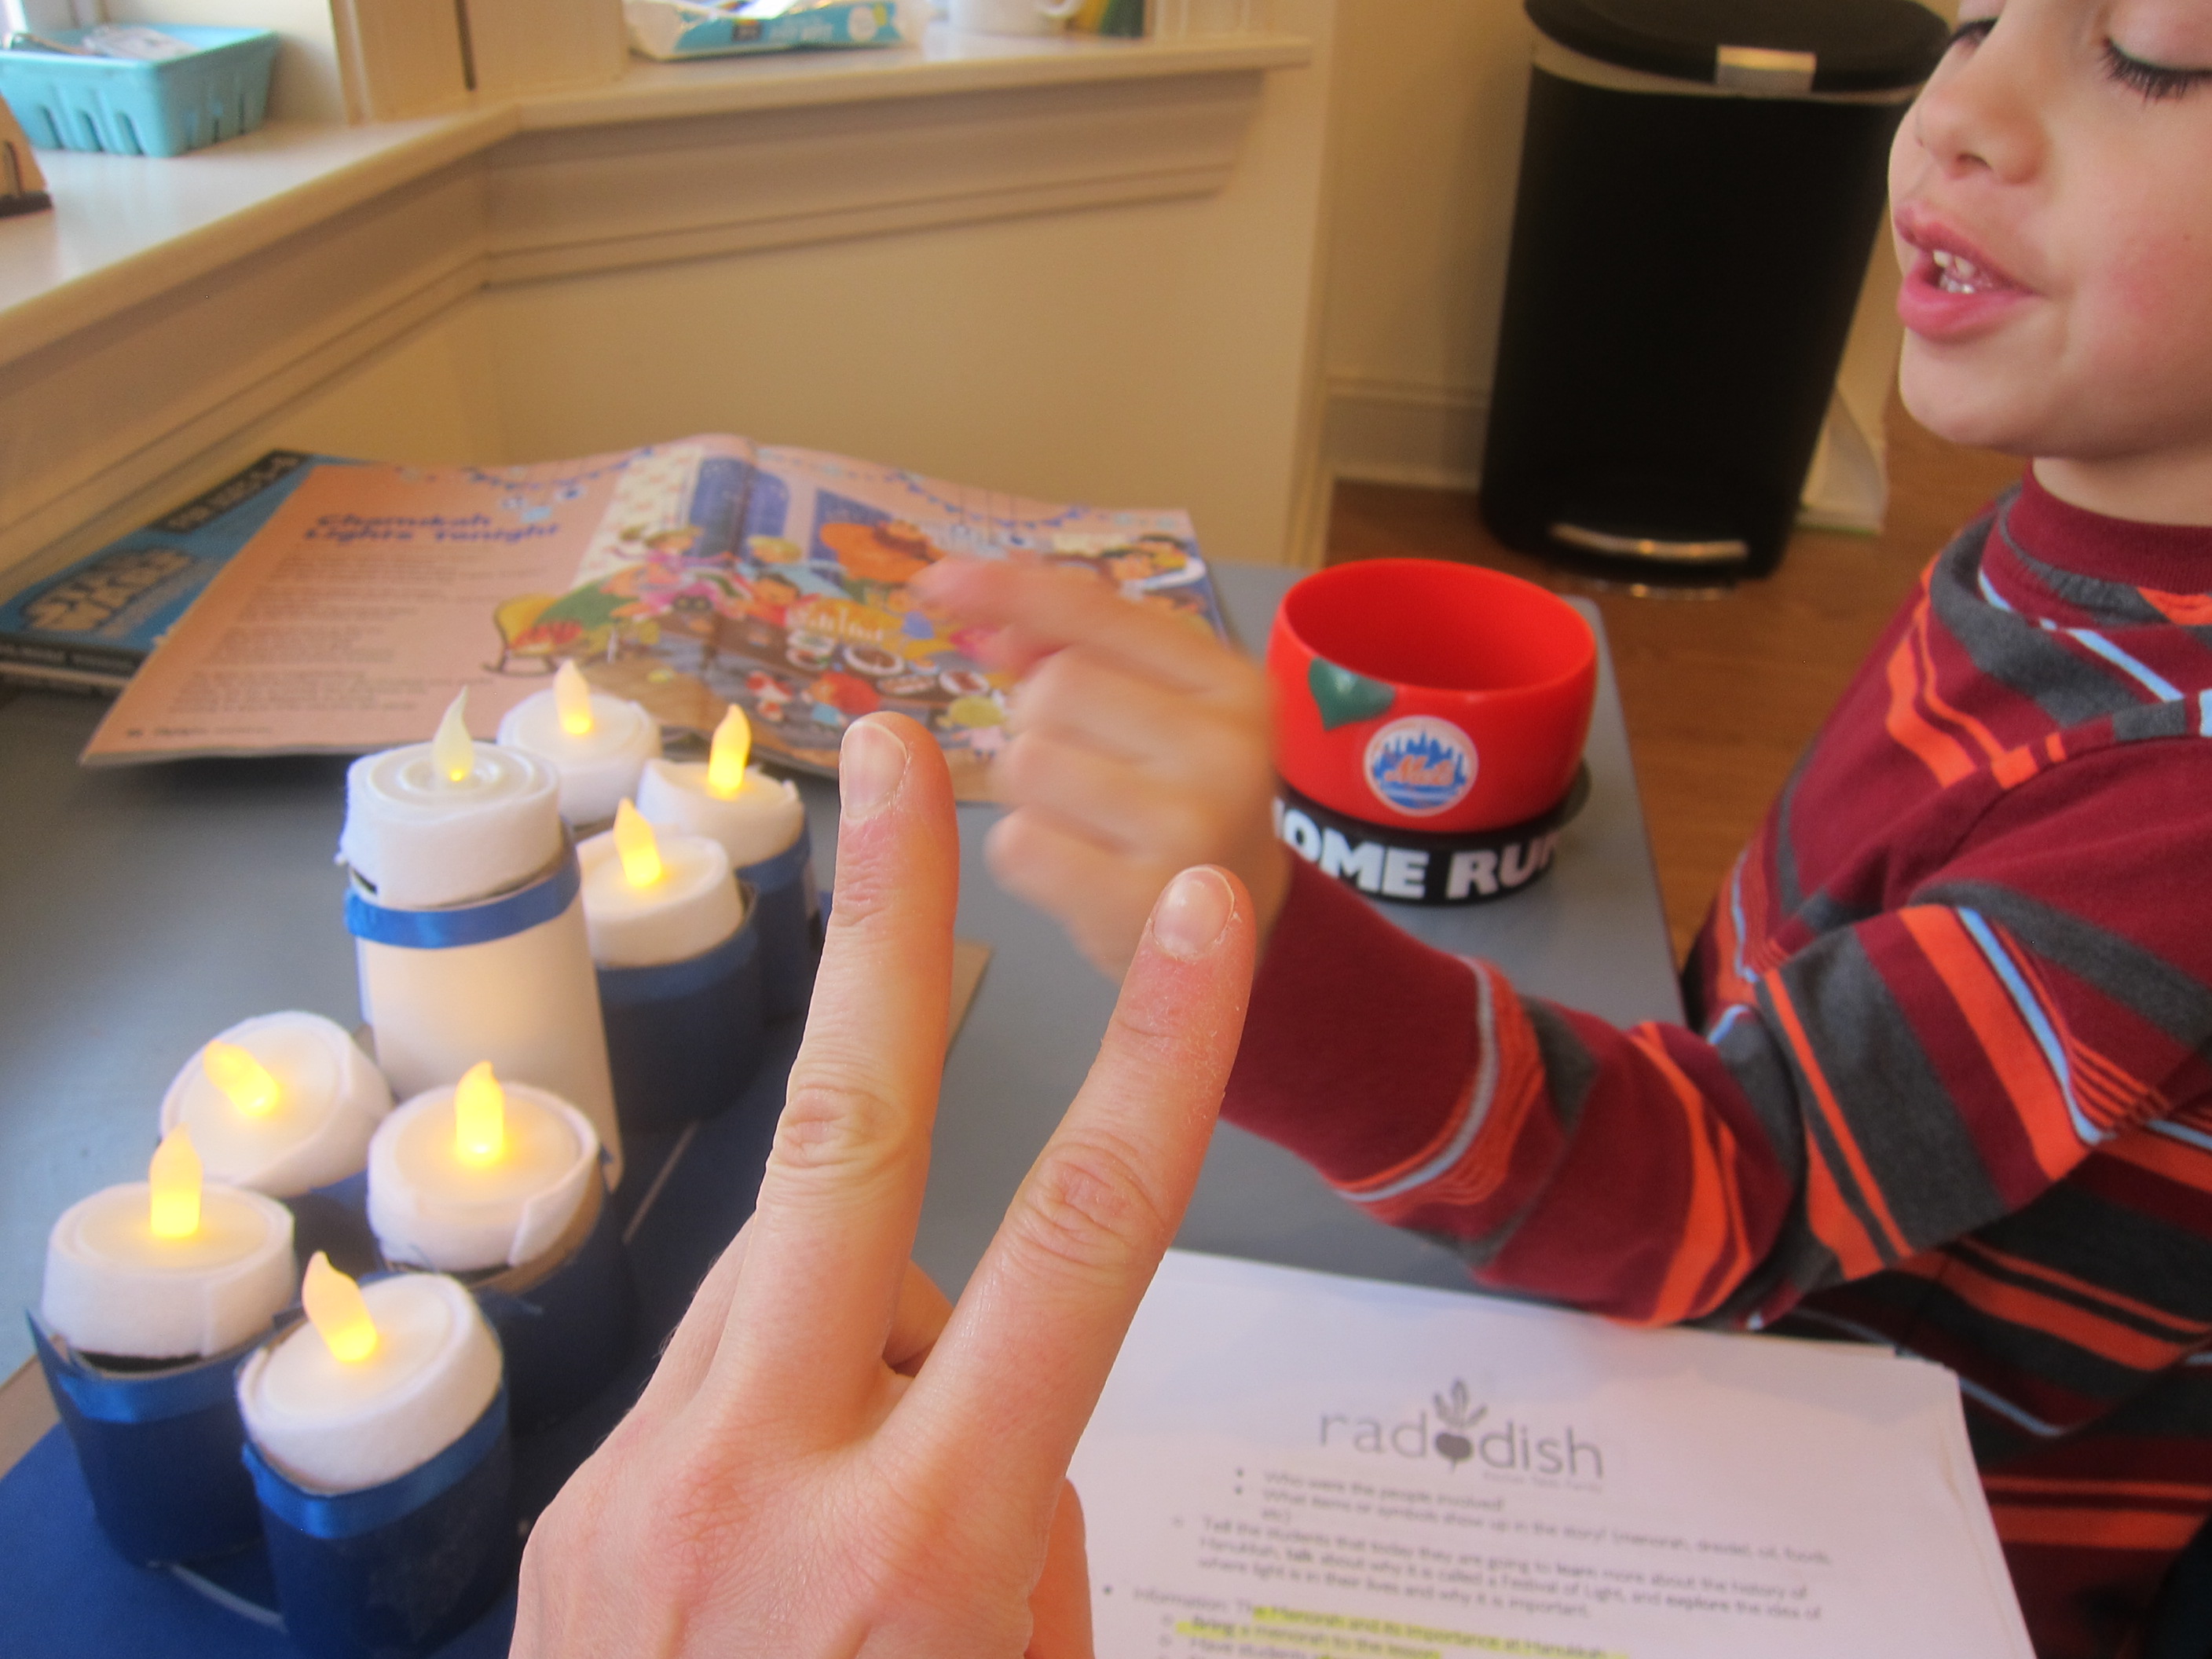
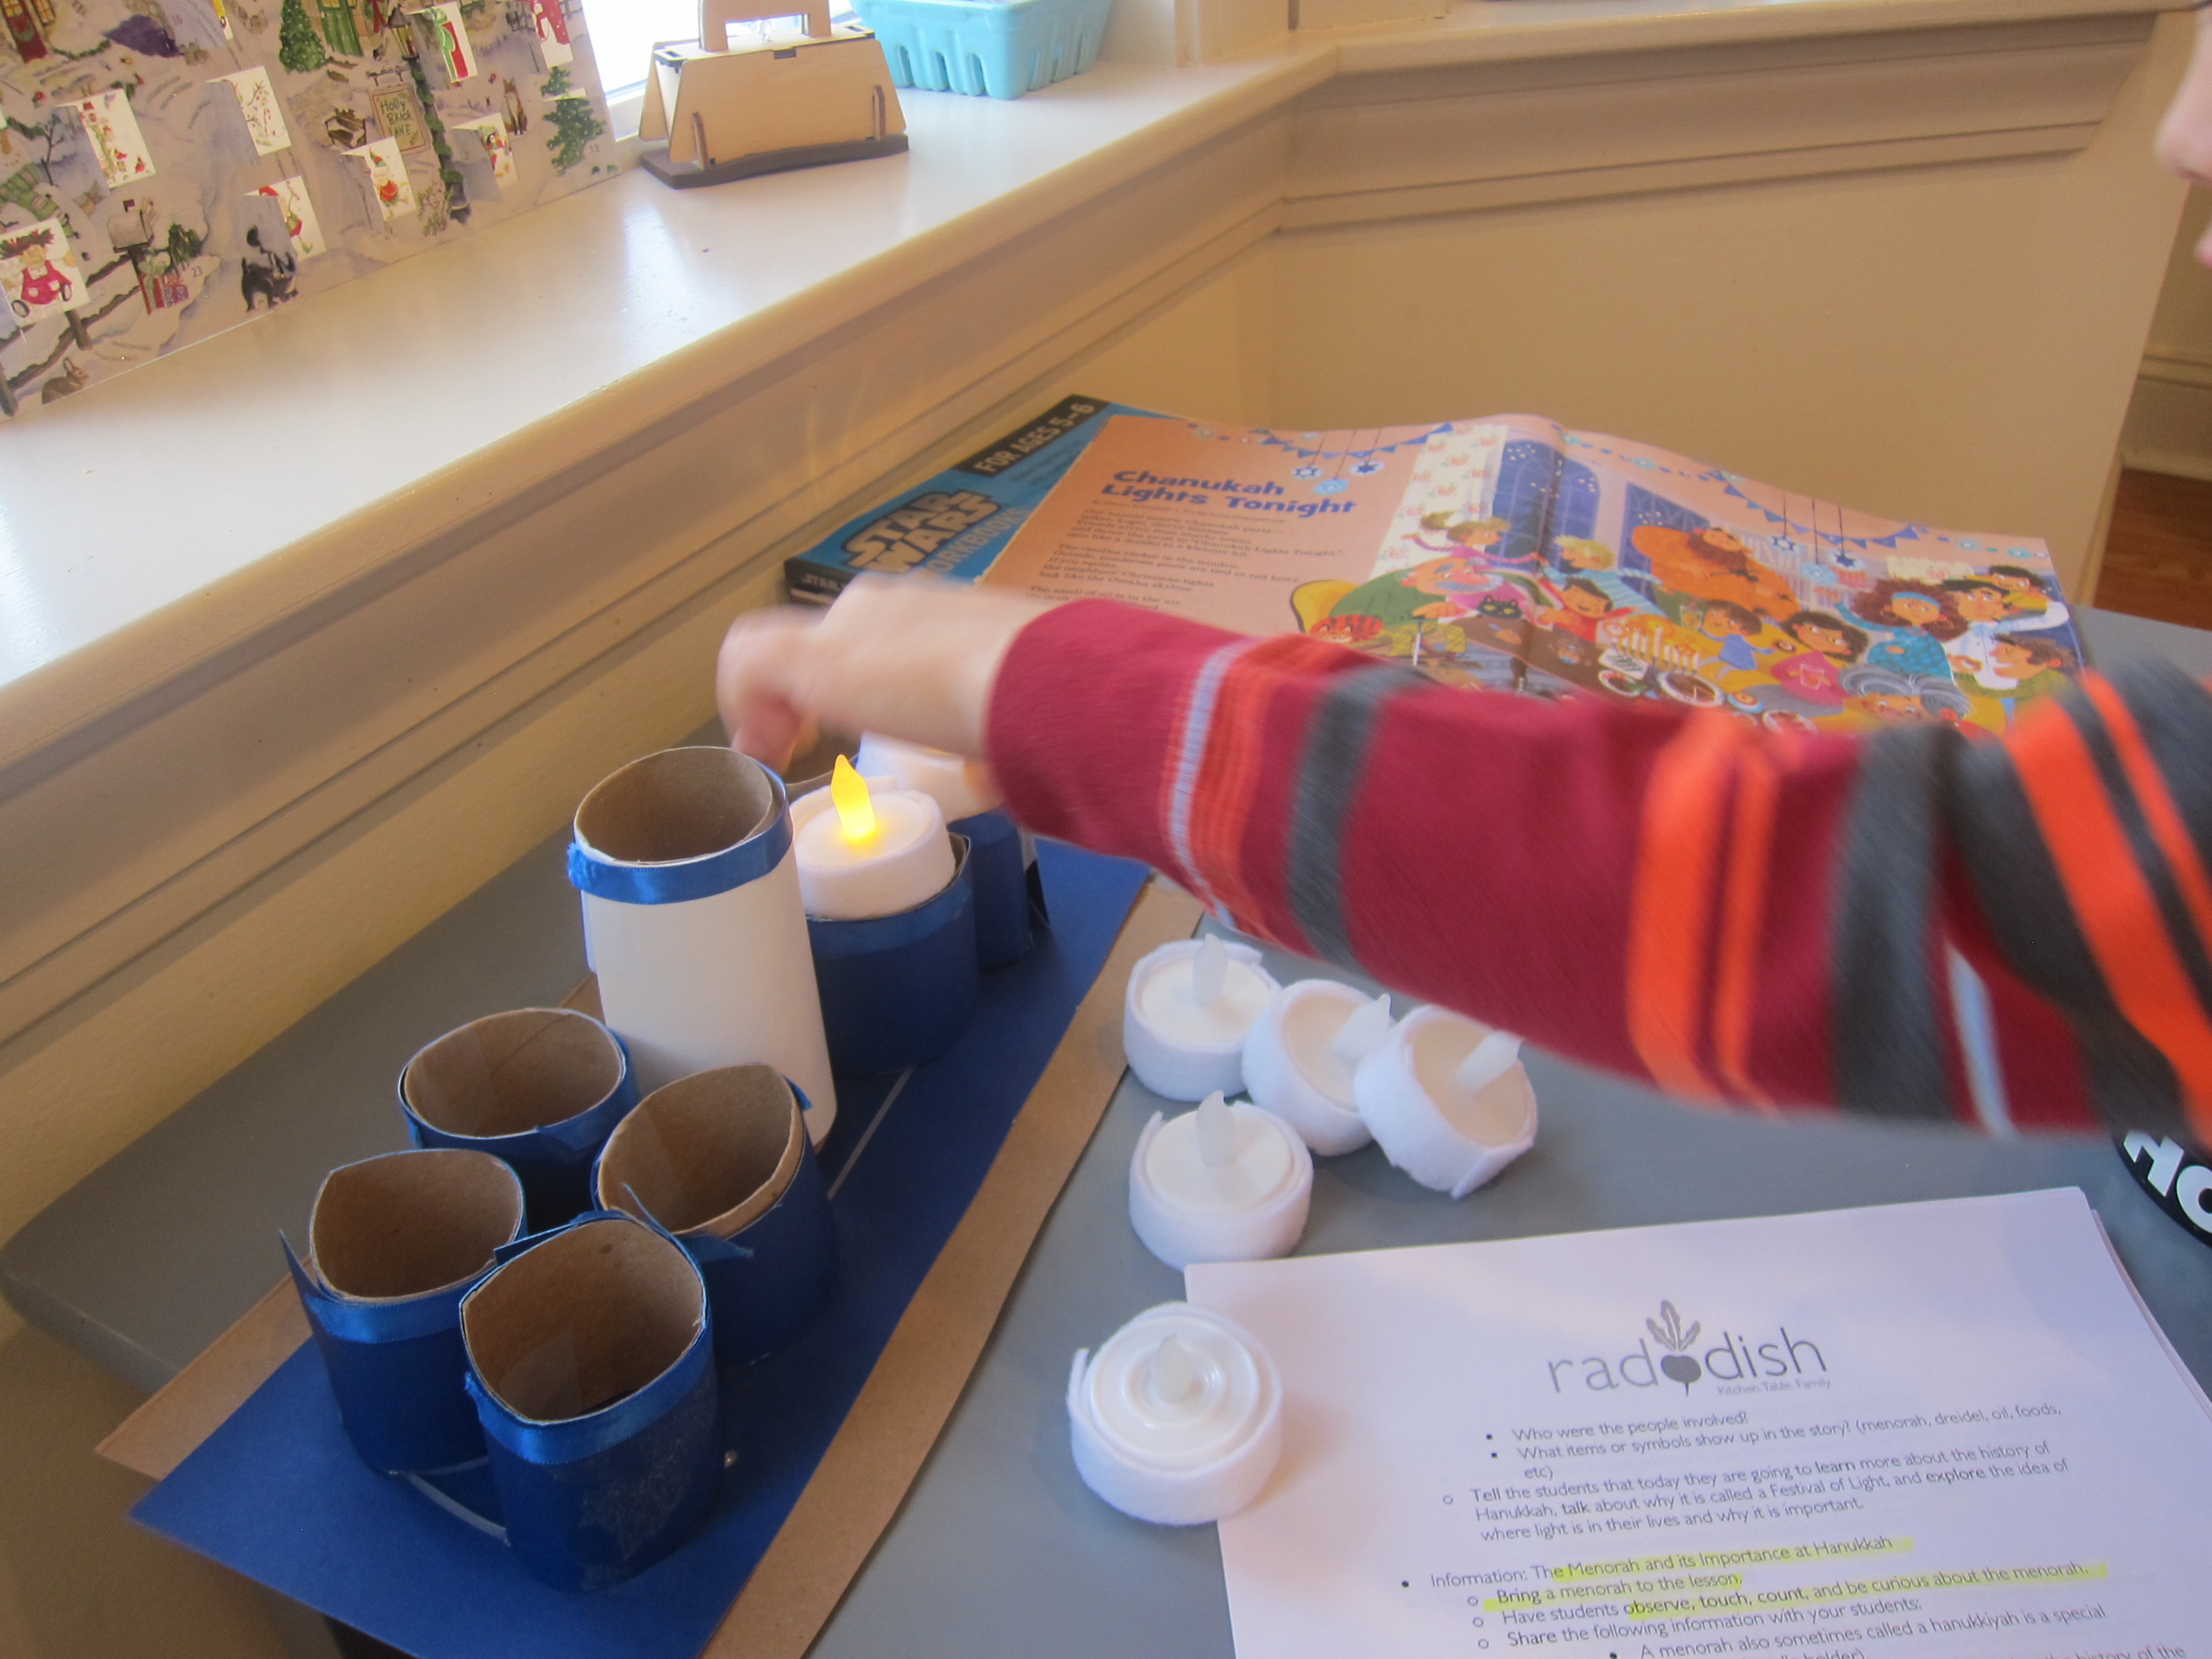
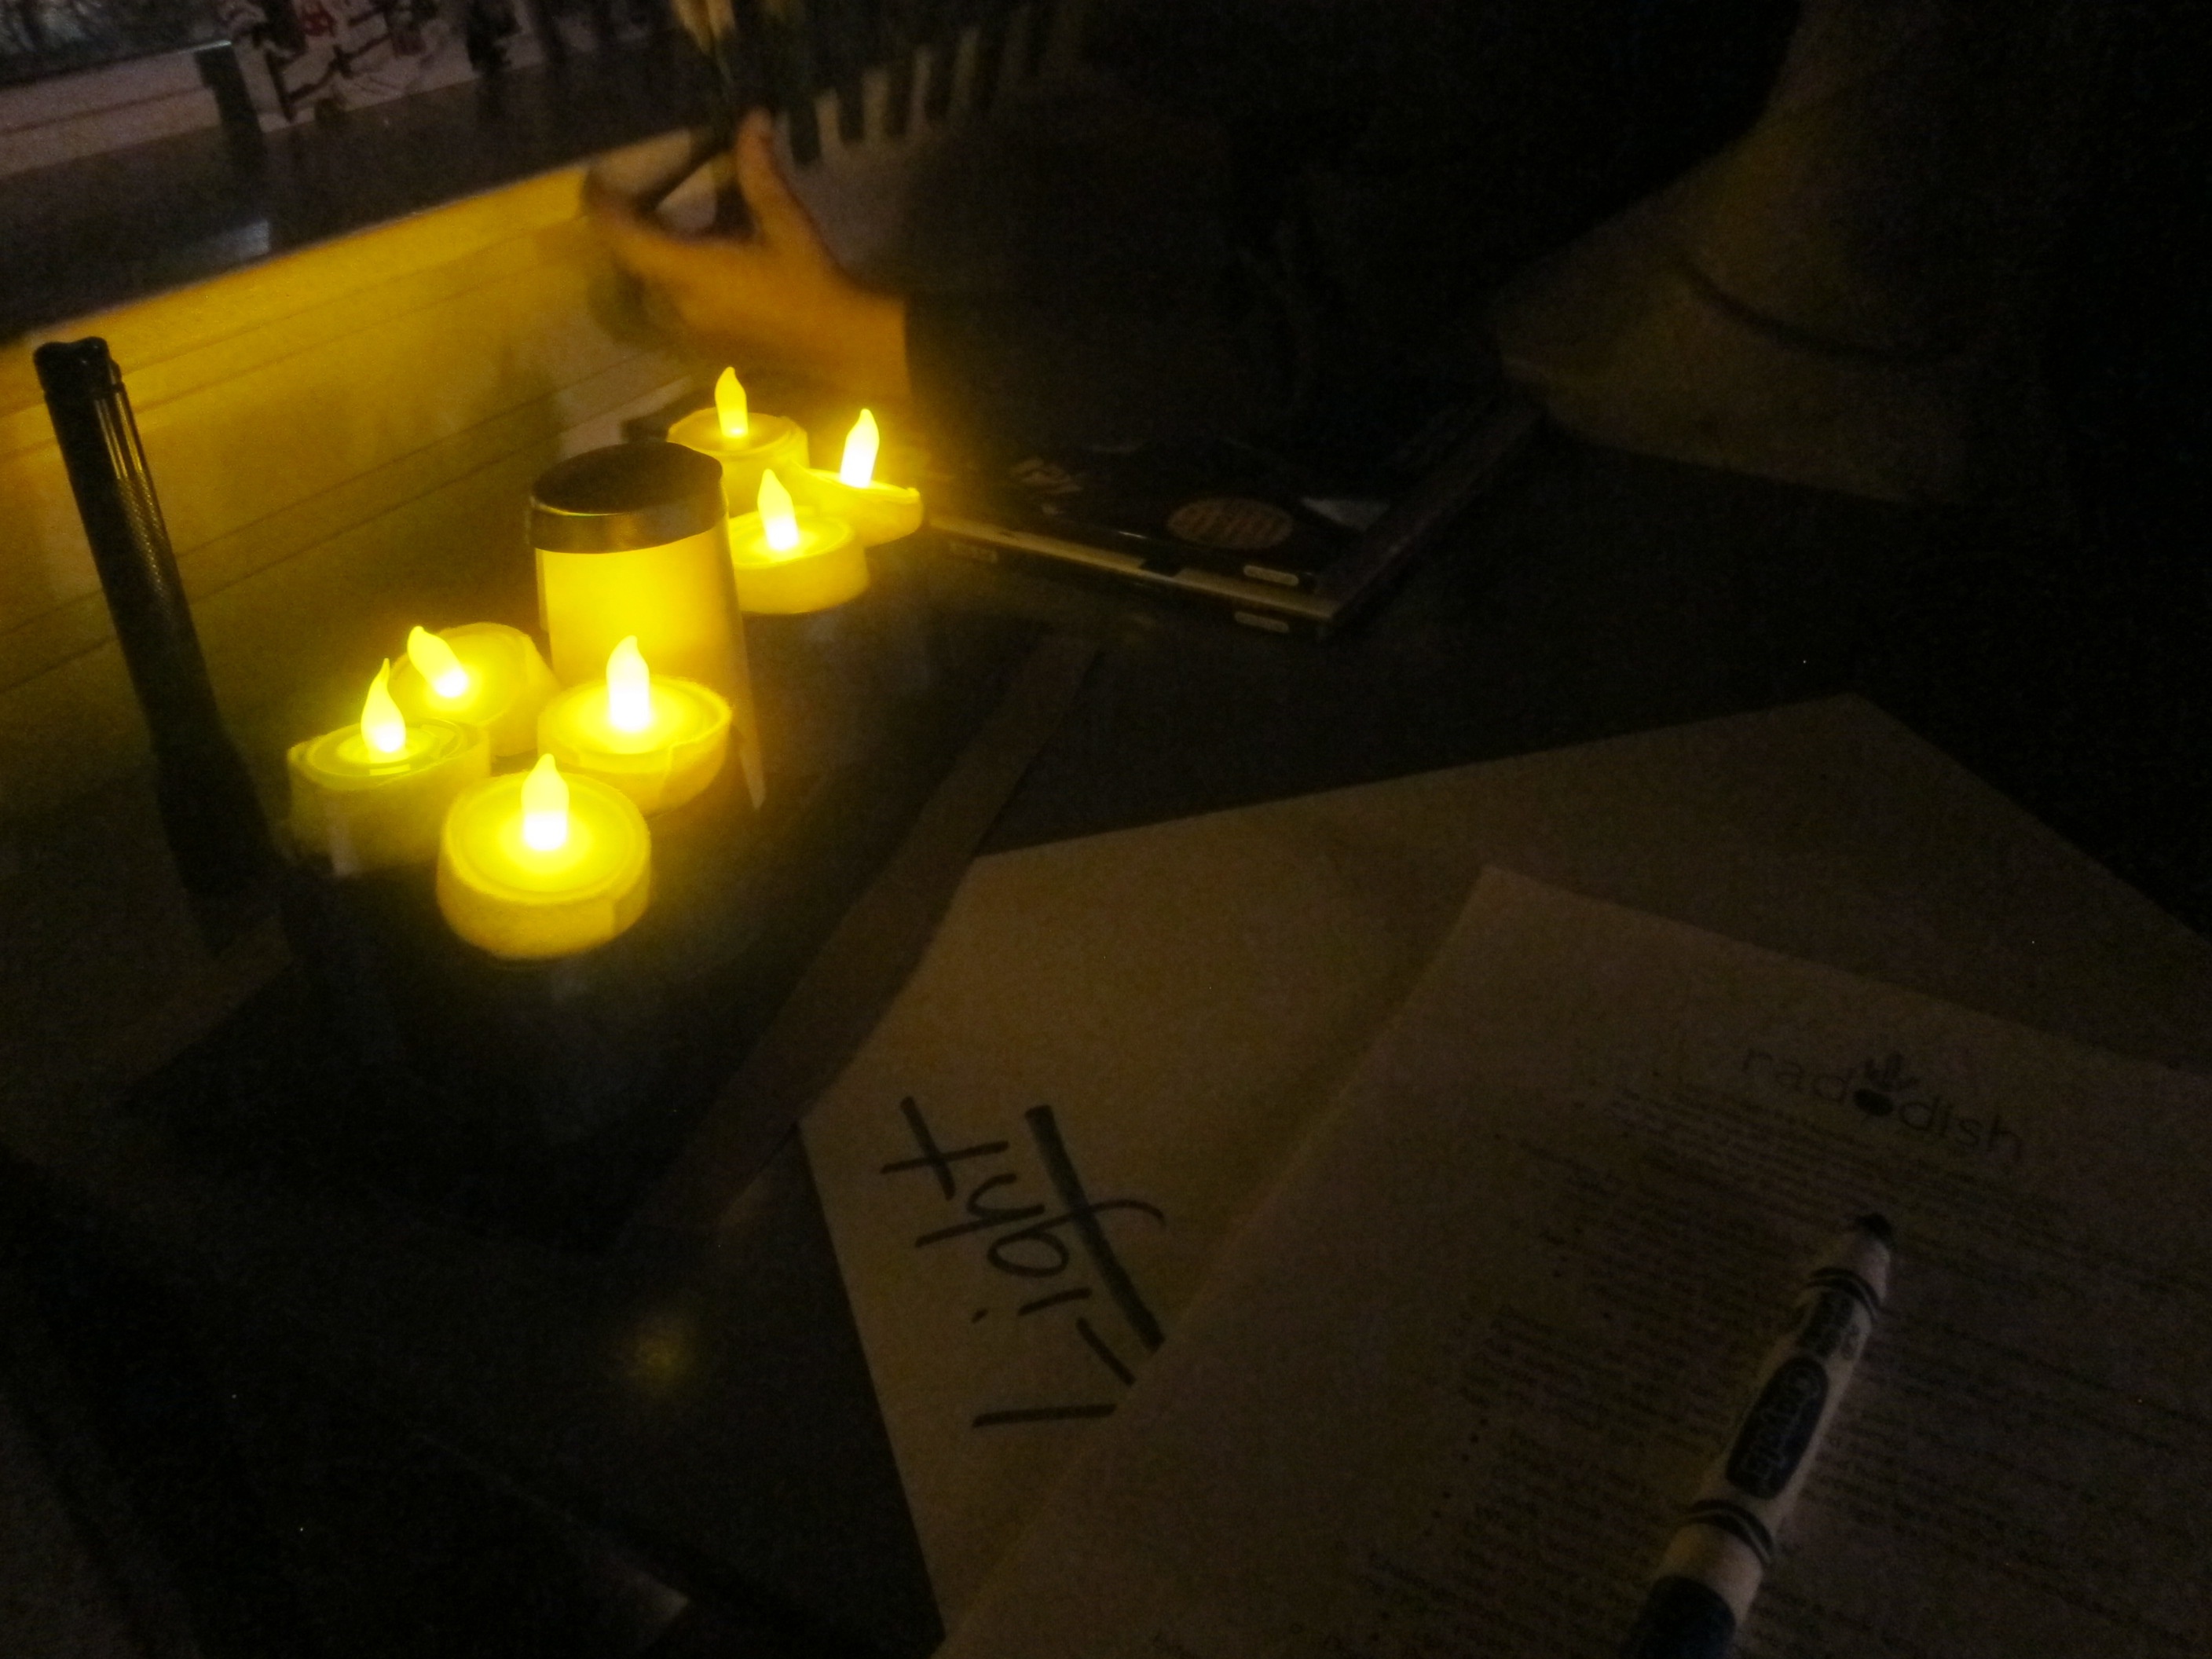
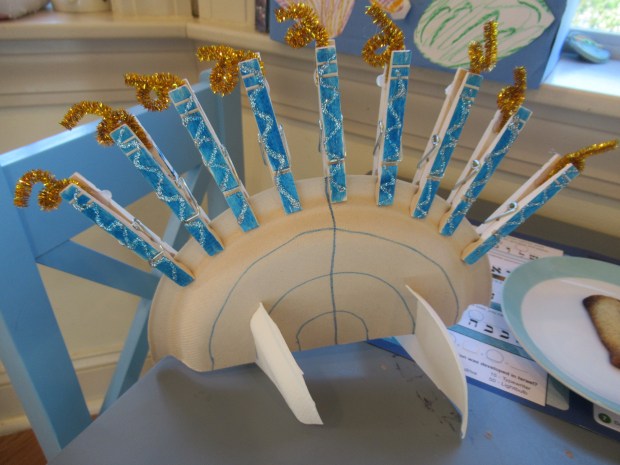
From here, we turned to Little Passport’s blog for a DIY Hanukkah Menorah. To start, cut a large paper plate in half, then mark 8 notches at the top with blue marker. Use the marker to connect these, so you have a series of increasingly smaller U shapes.

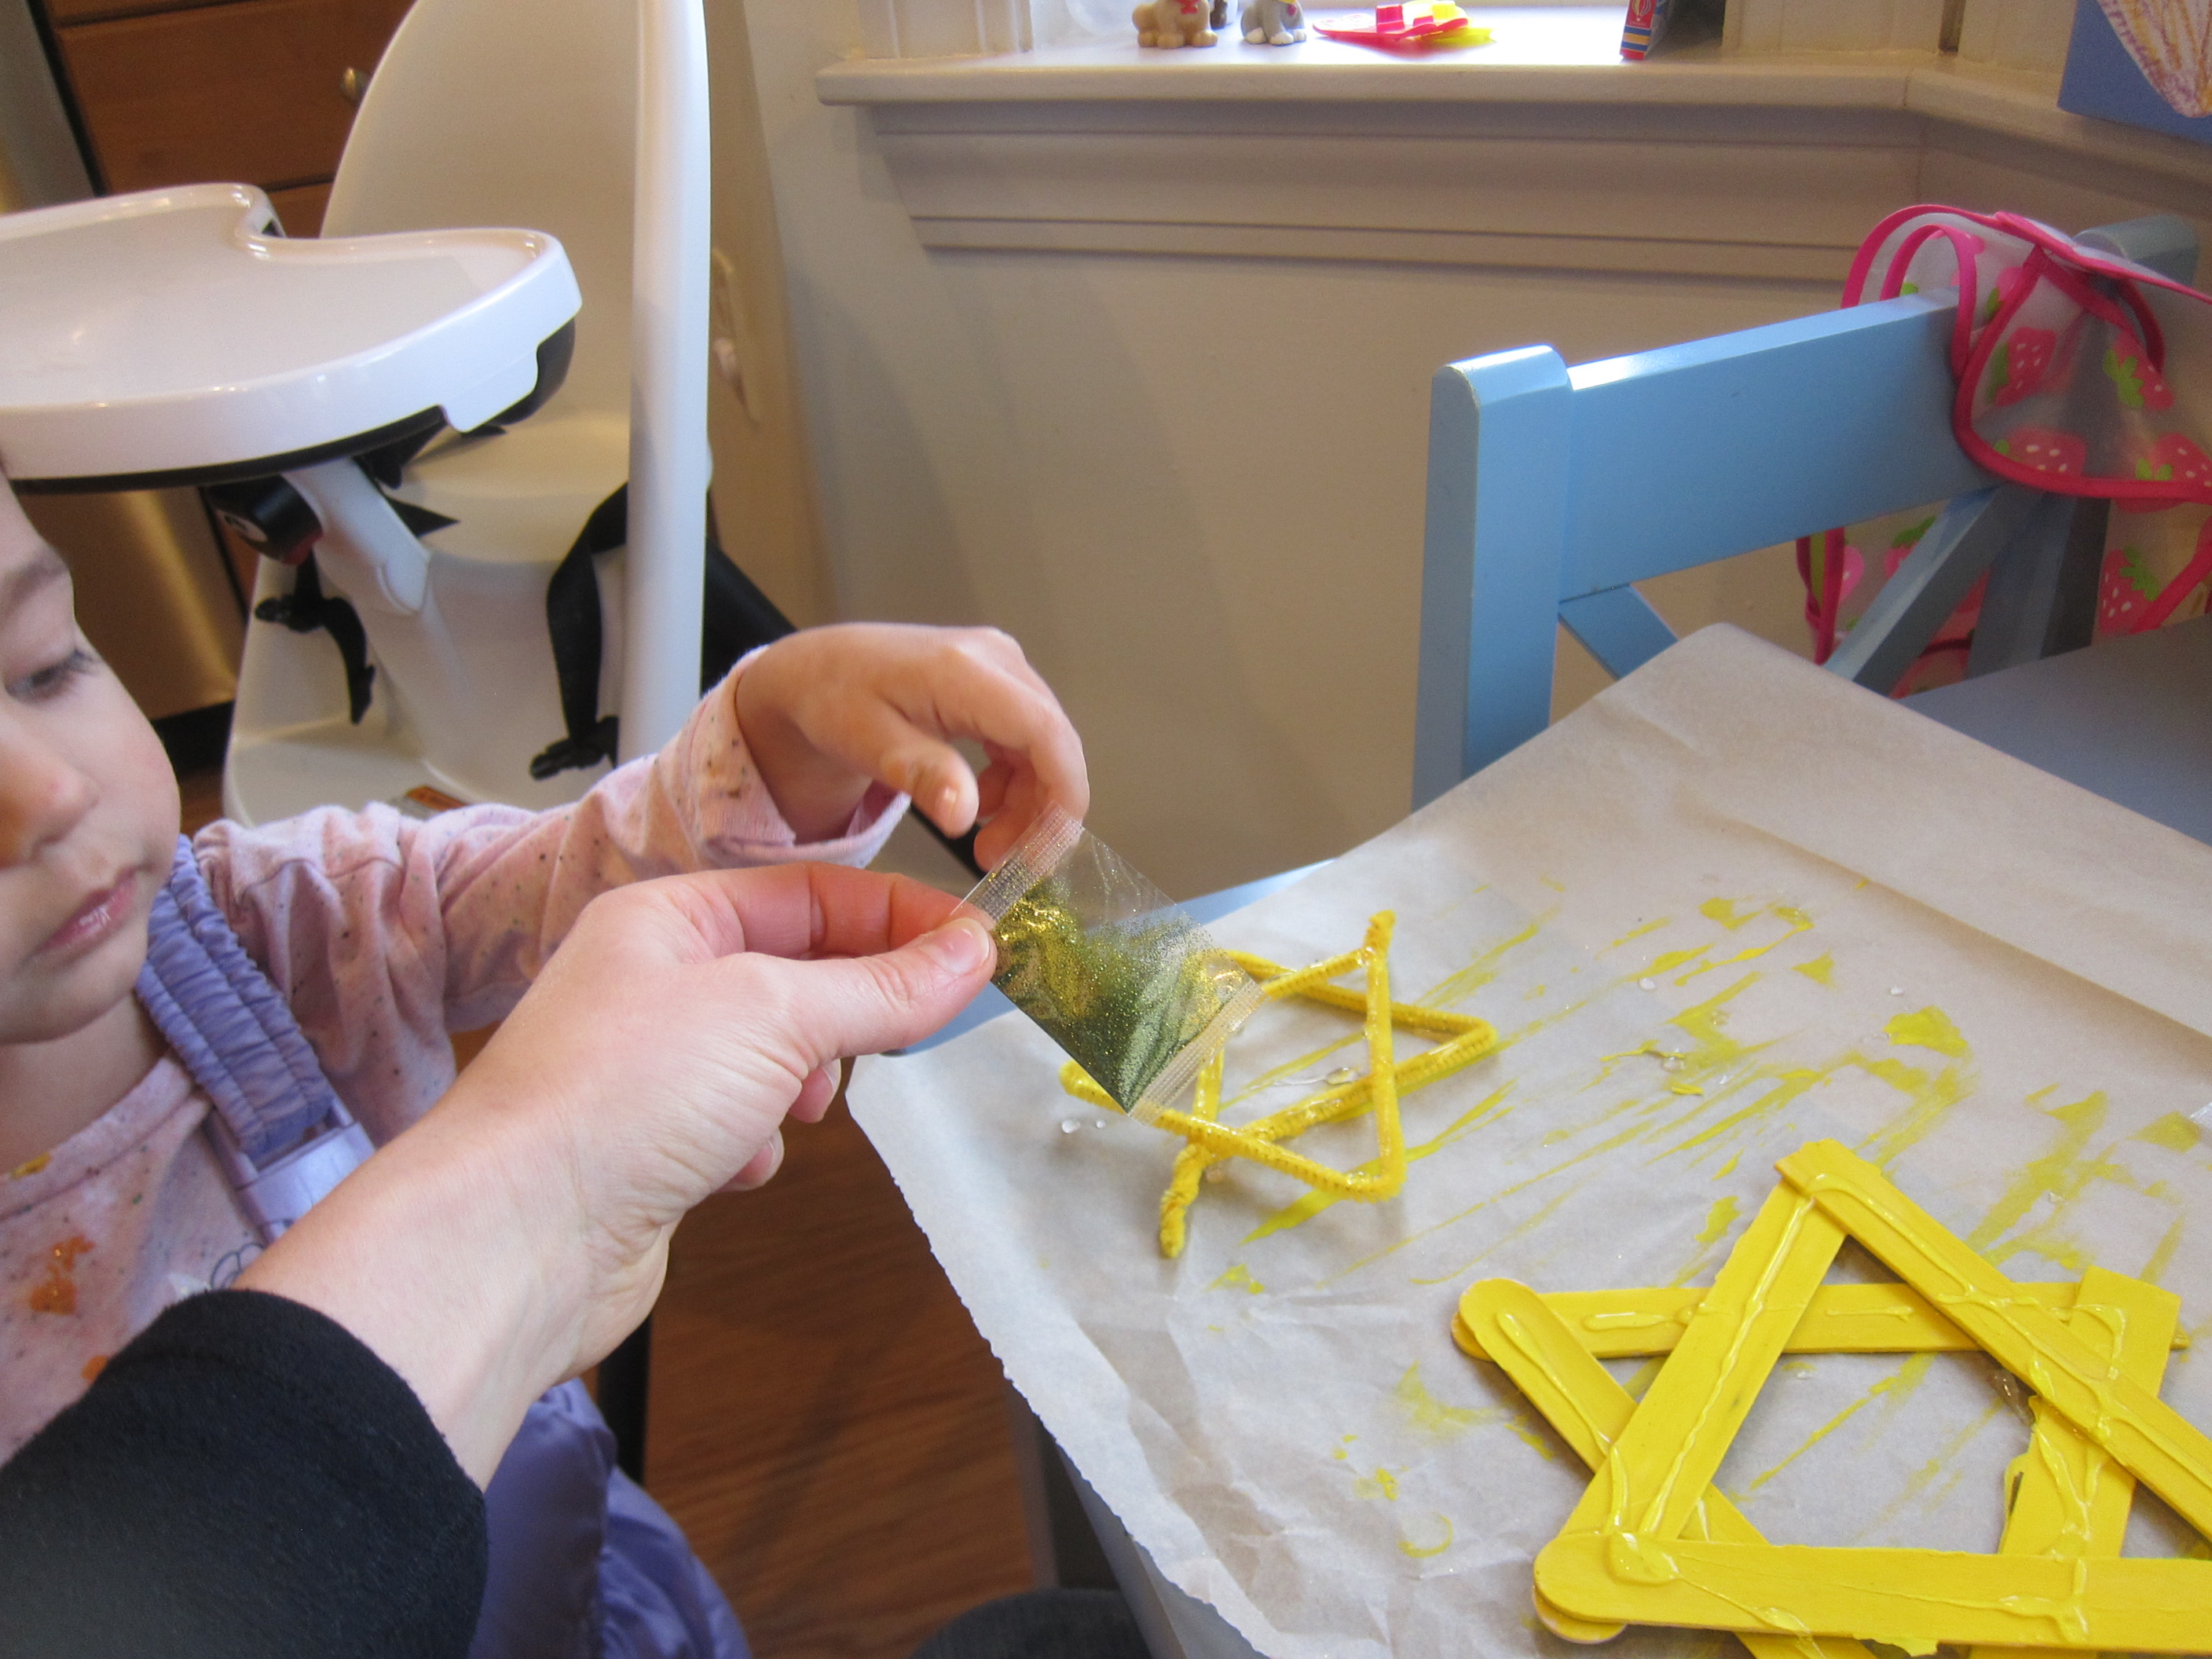
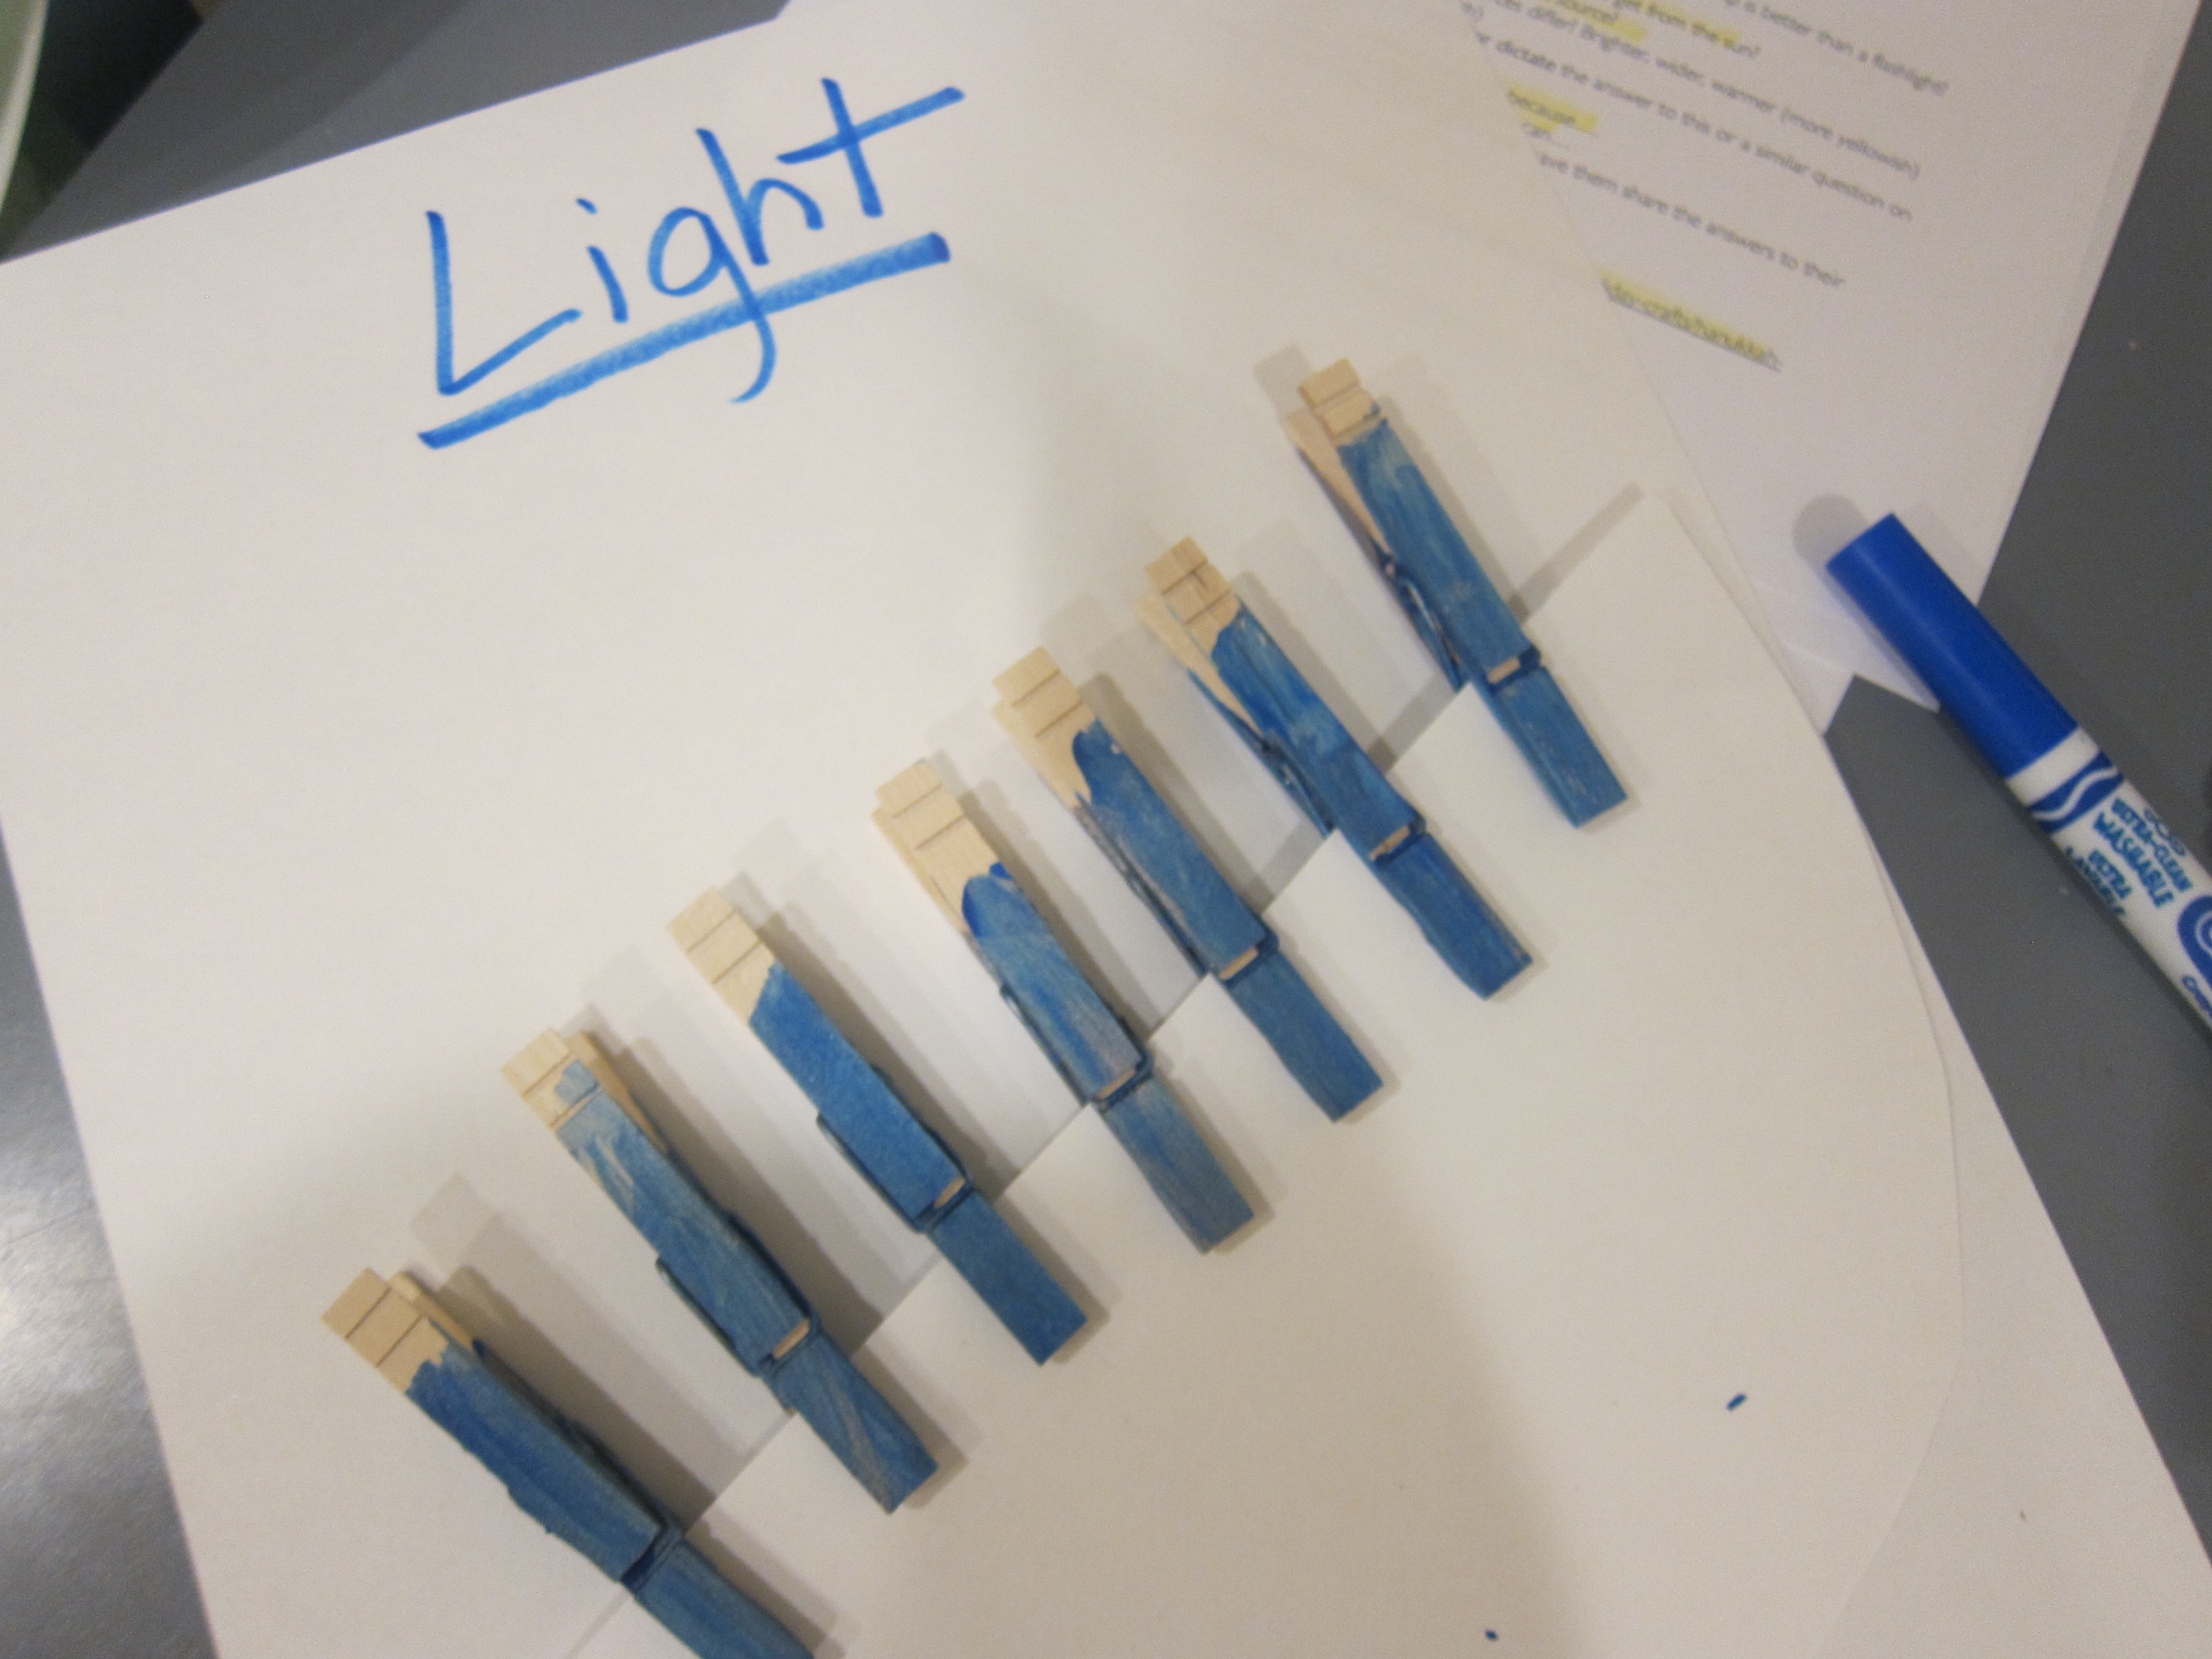
Next, we colored 9 clothespins with blue marker and decorated with silver glitter glue; let dry, then twist a small piece of yellow or gold pipe cleaner and use hot glue to attach to the open end of each clothespin. Cut a small paper plate in half; make slits in each half, as well as two slits in the bottom of the larger plate so they notch together to form a stand. Finally, attach the clothespins as the candles!

LP Israel (8)

Recipe:

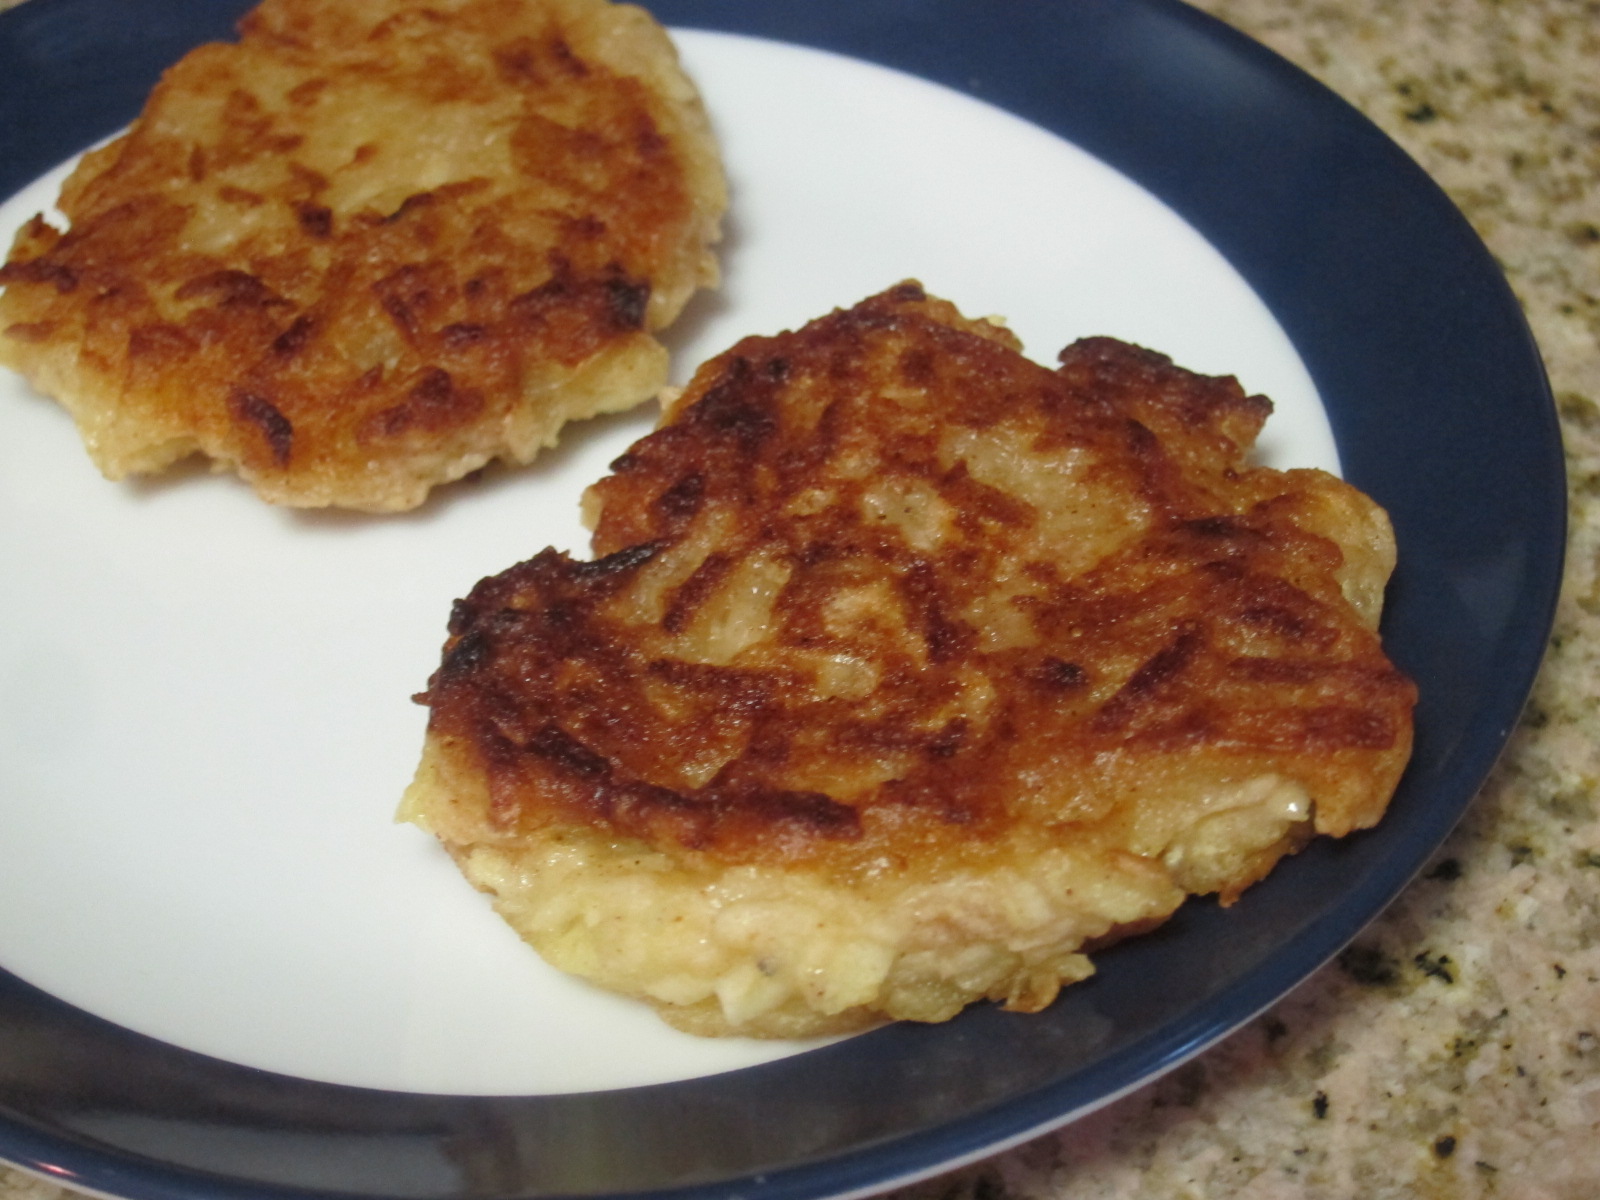
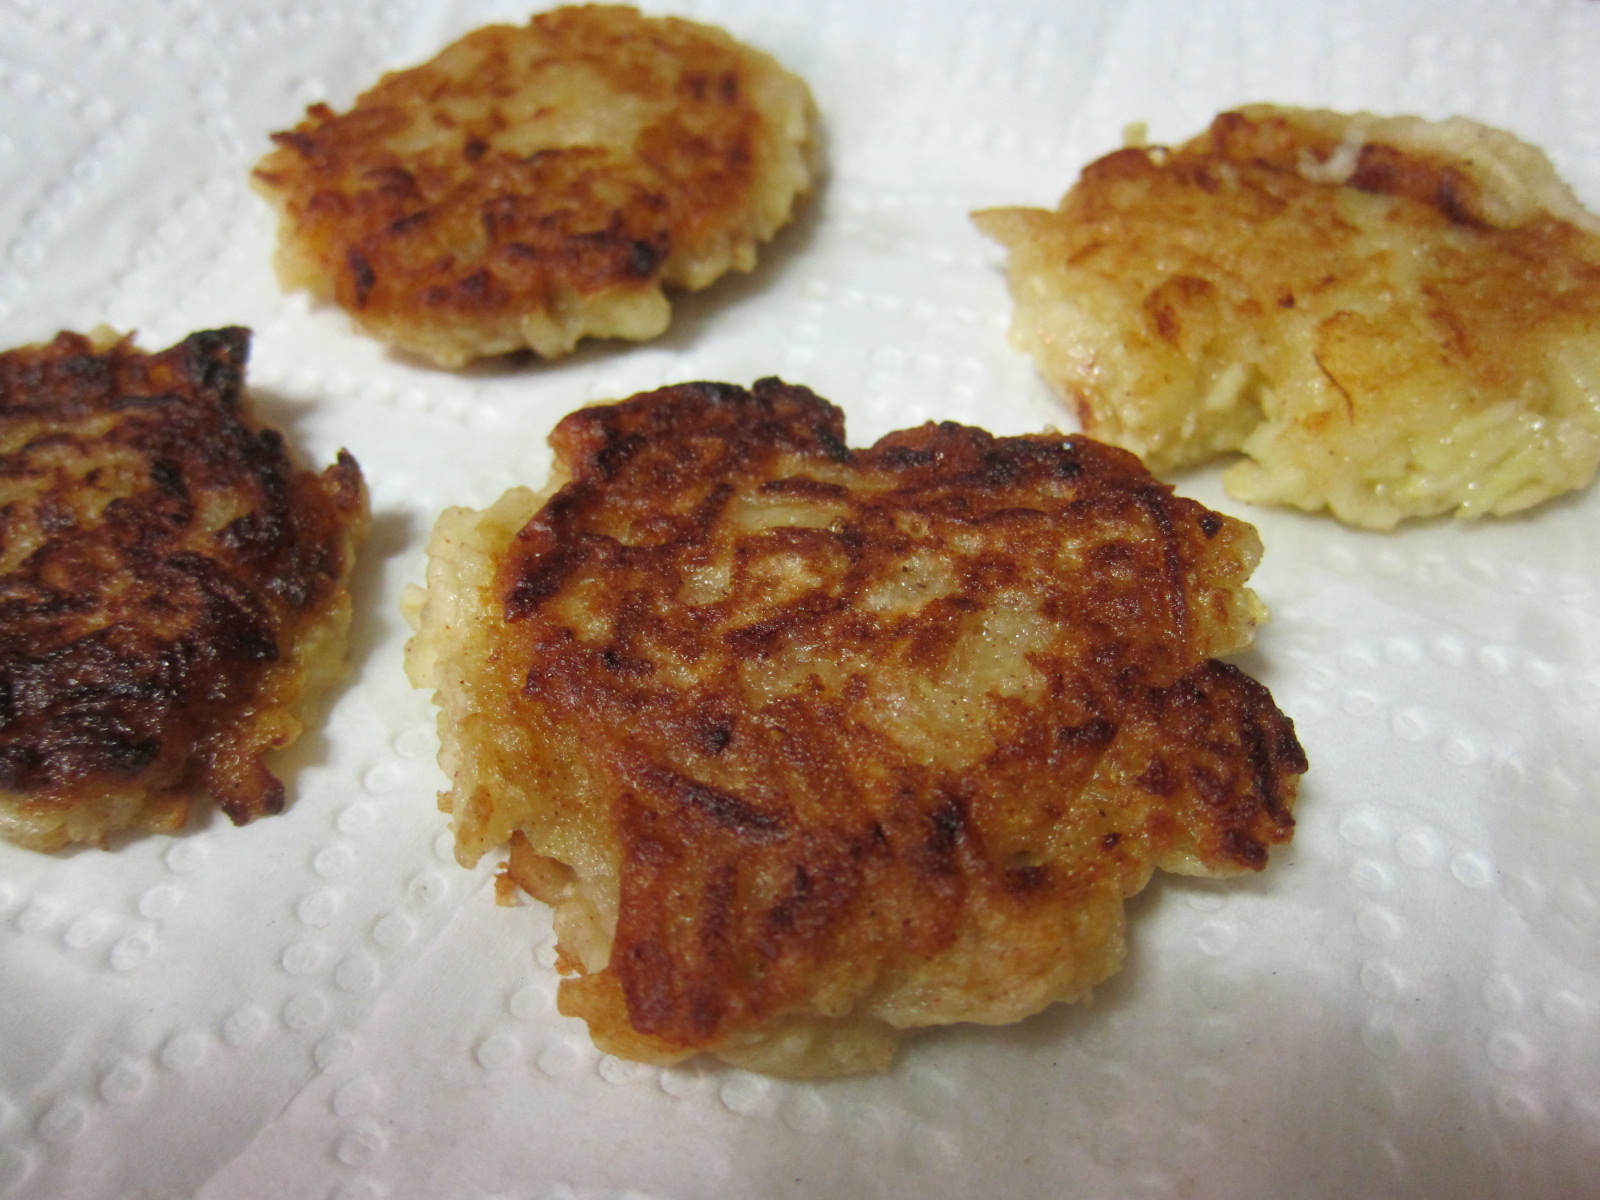
It was time to end the exploration with dessert. We prepared a recipe for traditional Hamantaschen, a triangle-shaped pastry eaten during the holiday of Purim. Pinching the cookies into triangles took a bit of practice, but soon we had a knack for it!

Hamantaschen (2)

Ingredients:

  • 2 cups flour
  • 2 teaspoons baking powder
  • 1/4 teaspoon salt
  • 8 tablespoons Earth Balance butter, softened
  • 1 cup sugar
  • 1 tablespoon orange juice
  • 1 tablespoon ground flaxseed
  • 3 tablespoons warm water
  • 1 cup jam, any flavor
  1. In a bowl, combine the flour, baking powder, and salt; set aside.
  2. In the bowl of a stand mixer, cream the butter, sugar, and orange juice.
  3. Whisk the flaxseed into the warm water to make 1 flax egg. Add to the butter mixture and beat until combined.
  4. Stir the dry ingredients into the wet ingredients, then wrap the dough in plastic wrap and refrigerate for 2 hours.
  5. On a lightly floured surface, roll out the dough and use a 3-inch round cookie cutter to make circles. Spoon a scant tablespoon of jam into the center of each, then pinch the dough into a triangle, forming three corners with your fingers.
  6. Bake at 375 degrees F for 18 minutes. Let stand at least 5 minutes before serving.

Hamantaschen (3)

Upcycling with Holiday Cards

Christmas Card Ball (7)

We had a few blank and leftover holiday cards, so today we turned them into crafts in two ways: one for Hanukkah and one for Christmas!

For the first, we had a few Hanukkah cards with bumpy 3-D elements, and I thought these would be great for holiday rubbings, similar to fall leaf rubbings. I removed the paper wrapper from a blue crayon and showed Veronika how to place the cards under a sheet of blank paper, then rub sideways with the crayon to reveal the images underneath.

Hanukkah Rubbings (1)

Neat images of dreidels and the Star of David seemed to magically appear before her eyes. If you don’t have cards with these bumpy elements, you can also cut shapes from poster board, place under the paper, and rub over them. It was hard for Veronika to get the mechanics down of rubbing with the crayon sideways…

Hanukkah Rubbings (2)

…but big brother Travis could do it!

Hanukkah Rubbings (3)

Meanwhile, Veronika really enjoyed simply scribbling with blue on the leftover cards and envelopes, or pretending to “mail them”.

Hanukkah Rubbings (5)

We also had a few Christmas cards to upcycle, and these made perfect Christmas Card Ball ornaments.

Christmas Card Ball (1)

Cut an old Christmas card into strips, then punch a hole in the top and bottom of each.

Christmas Card Ball (2)

Arrange the strips in order, then insert a brad in the top holes.

Christmas Card Ball (4)

Fan all the pieces out, then begin adding them to a second brad through the bottom hole, bending each so you form an orb shape as you work.

Christmas Card Ball (3)

Finally, loop a string around the top brad, securing with a knot, then tie into a loop that can hang from a Christmas tree. Veronika loved playing with all the materials as I worked on these, particularly mimicking me with safety scissors and extra brads.

Christmas Card Ball (5)

This was a fun activity to do side-by-side with a toddler, and so pretty hanging from the tree.

Christmas Card Ball (8)

Star of David

Star of David (6)

Travis has been learning about different winter festivals at school, so today we made two versions of the iconic Star of David to celebrate the start of Hanukkah. These crafts turned out quite pretty, and are easy enough even for younger siblings to join in.

For the first version, we twisted two yellow pipe cleaners into triangles and then glued them one atop the other. Drizzle with extra glue and sprinkle with glitter!

Star of David (1)

For the second version, we painted 6 craft sticks yellow and then glued them into 2 triangles. Glue one triangle on top of the other, drizzle with extra glue and add more glitter. The glitter was definitely Veronika’s favorite part!

Star of David (2)

Note: Next time I would use blue glitter for a better final result. The gold glitter we tried didn’t look as nice as we hoped against the yellow background. They were still pretty, though!

Star of David (4)

Holiday Cookie Magic

Holiday Sugar Cookies (8)

There’s a lot to be said for beautiful and complicated holiday cookies (and we’ve baked some of those this holiday season!), but there’s also a lot to be said for slice-and-bake cookies. To wit, Travis and I had fun baking some today (thanks to the vegan sugar cookie dough from Sweet Loren’s). We then talked about the symbolism behind some of December’s holiday cookies before adding the following decorations.

Holiday Sugar Cookies (1)

Christmas:

Chewy Chunks: Who knew? Dried fruits and nuts (traditionally numbering up to 13 ingredients) originally represented Jesus and the Apostles, hence the ubiquitous holiday fruit cake. We didn’t use quite that many different dried fruits, but we did chop up raisins, prunes, dried apricots, and dried cranberries, then pressed into the top of the dough before baking.

Holiday Sugar Cookies (3)

Festive Fruit Strips: Fruit leather cut into strips makes candy cane stripes on a round cookie. Here was another “who knew” moment: the shape of a traditional candy cane is meant to represent a shepherd’s crook!

Holiday Sugar Cookies (4)

Hanukkah:

Jelly Doughnuts: Fried treats like jelly doughnuts represent the oil that lasted for 8 days during the miracle of Hanukkah. To turn them into cookie form, we pressed our thumbs into the center, filled each with about 1/4 teaspoon jelly, and sprinkled with powdered sugar.

Holiday Sugar Cookies (7)

Latke Cookies: Likewise representing the oil, here was a way to turn potato latkes into cookie form! Travis helped smash potato chips with mallet, then we dipped the top of the sugar cookie dough into the crushed cookies before baking.

Holiday Sugar Cookies (6)

These were all so easy and yet so delicious!

Handprint Menorah

Handprint Menorrah (6)

We don’t celebrate Hanukkah, but we have family and friends who do and wanted to mark the occasion with a few crafts. This keepsake handprint menorah is perfect to send to relatives!

To start, I needed to paint Veronika’s hands with three colors of washable paint, which I worried would be a wriggly and messy affair. But she held absolutely still, fascinated. White went on her palm, yellow on her fingers, and orange at the tips to be the candle flames.

Handprint Menorrah (3)

Cross your child’s hands so the left is on the right side of the paper and the right on the left. The pinkies should overlap, or you’ll have one candle too many!

Handprint Menorrah (2)

Her print was complete and I let it dry before covering with contact paper. It makes a lovely, durable card this way!

Handprint Menorrah (8)

Meanwhile, she loved having her hand painted so much that she wanted to do it herself a few times. I left her quite happy with extra paint and a spare piece of paper.

Handprint Menorrah (4)

Happy Hanukkah to those who celebrate!

Handprint Menorrah (7)

Paper Circuit Menorah

Paper Circuit Menorrah (7)

Travis has been wanting to do this activity since we made other circuit crafts earlier this year, but it felt only right to wait on this one until Hanukkah.

First, you’ll need to map out a menorah shape with copper tape. I simply copied from an online example freehand, so you’ll notice my spacing wasn’t always right.

Paper Circuit Menorrah (2)

If you’re going to be more exact, you’ll definitely want a ruler. You’ll also need to make sure that the gap between any two vertical tape lines isn’t wider than the width of a 9V battery. Meanwhile, Travis was fascinated with the thin copper tape, and couldn’t believe it was a metal!

Paper Circuit Menorrah (1)

Once the tape was all laid out, I taped an LED light in the top center as the shamash candle. Hold a 9V battery over the two halves of the copper tape below this, and it will turn on!

Paper Circuit Menorrah (6)

Tape 8 additional LED lights over the other points of the menorah. We alternated white and blue, for an appropriately holiday-themed effect.

Paper CIrcuit Menorrah (8)

If you want to rig this up so that you can actually light a new LED each night, you’ll need five 9V batteries.

Paper Circuit Menorrah (3)

You’ll also need extra strips of copper tape to interrupt the circuit in 4 places, and then attach them on the second night of each interval. We didn’t make things that complicated, nor did we use the suggested ohm resisters, but Travis just loved marveling at how he could light each “candle”.

Paper CIrcuit Menorrah (10)

We moved the 9V battery around to light each LED in turn. He especially loved the blue ones!

History Behind Hanukkah Traditions

Shining Menorrah Hanukkah (7).JPG

Hanukkah begins tonight, and although it’s not a holiday we celebrate, Travis’s latest Raddish kit contained a yummy traditional recipe (latkes) as well as an interesting lesson plan about the holiday. So we were intrigued to delve into it!

As background, we read a quick poem about Hanukkah and enjoyed the suggested video on the history of the holiday.

Shining Menorrah Hanukkah (2)

There were several suggested ways to craft a menorah, thereafter. We tried a very simple version made simply with painted clothespins clipped to craft paper or folded paper plates…

Shining Menorrah Hanukkah (8)

…but then also copied the method we used earlier this month for advent candles. This time, I cut toilet paper tubes in half for shorter candles and we wrapped them in blue cardstock with blue ribbon.

Shining Menorrah Hanukkah (1)

Wrap a taller candle in white cardstock for the center shammash. Add a felt-wrapped tea light to each candle. I brought this menorah to the table for Travis and I to discuss. We counted the candles, and talked about how each one represented one night of the miracle.

Shining Menorrah Hanukkah (5)

Time to light it, making sure to work our way right to left!

Shining Menorrah Hanukkah (3)

To add to our discussion, we waited until dark and then turned out all the lights except the candles. Travis helped brainstorm a list of other light sources, including flashlights, light bulbs, and the sun.

Shining Menorrah Hanukkah (11)

We discussed the differences among them, and he completed the sentence: “Light is important in my life because…” citing the ways it helps him see and focus and feel unafraid.

Shining Menorrah Hanukkah (10)

I was glad this lesson offered the chance to learn about another culture and customs. For bonus fun, don’t forget to play a game of dreidel with chocolate gelt for a reward.


Sweet Apple Latkes

Latke (2)

Just in time for the end of Hanukkah, we whipped up this dessert spin on traditional potato latkes!

Ingredients:

  • 3 Granny Smith apples
  • 1 teaspoon vanilla extract
  • 1/4 cup all-purpose flour
  • 2 tablespoons sugar
  • 2 Ener-G eggs
  • 1/4 teaspoon cinnamon
  •  2 tablespoons canola oil
  1. Peel and shred the apples; press with paper towels to remove the excess moisture.
  2. Combine the shredded apple in a bowl with the vanilla, flour, sugar, Ener-G eggs, and cinnamon.
  3. Heat 1 tablespoon oil in a large skillet over medium heat. Add half of the batter by heaping tablespoonfuls. Cook for about 5 minutes, until golden on one side, then flip and cook for an additional 2 minutes.
  4. Transfer the latkes to paper towels, and repeat with the remaining oil and remaining batter.

Latke (1)