Carved Fruit Swan

Thai Fruit (6).JPG

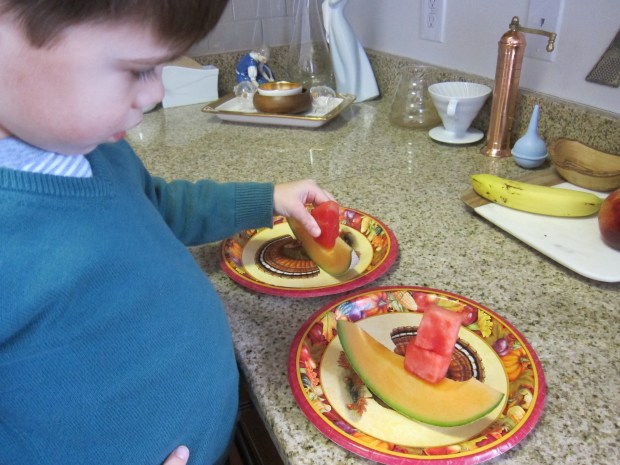
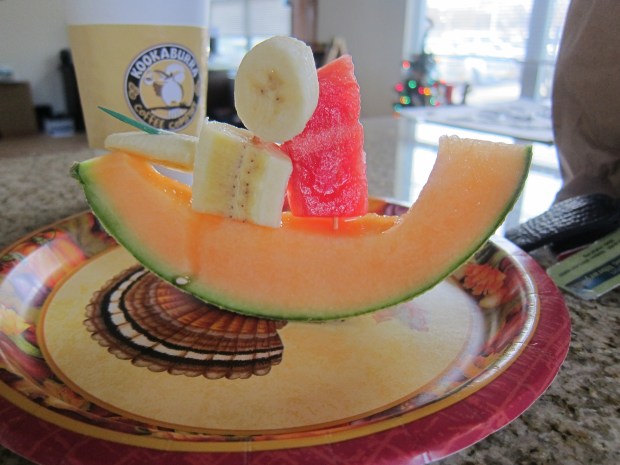
As a fun bonus to compliment his Taste of Thai recipes, Travis learned to make a fruit sculpture today, a popular activity with a rich history in Thailand!

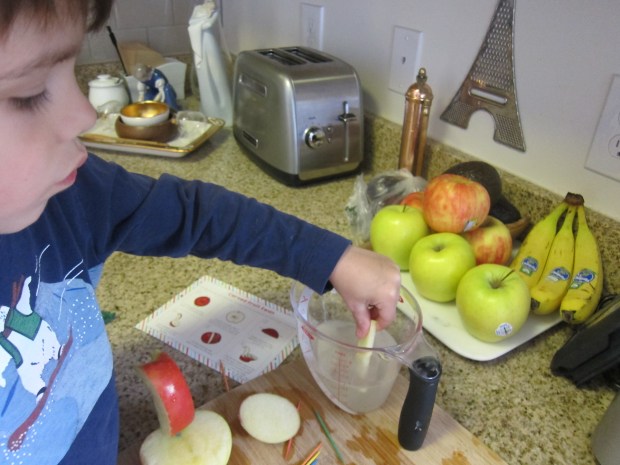
To start, juice one lemon.

Thai Fruit

Add the lemon juice to a measuring cup and fill with water to equal 1 cup. This will prevent your apple slices from browning as you work – be sure to dip each slice in the mixture before adding to the “swan”.

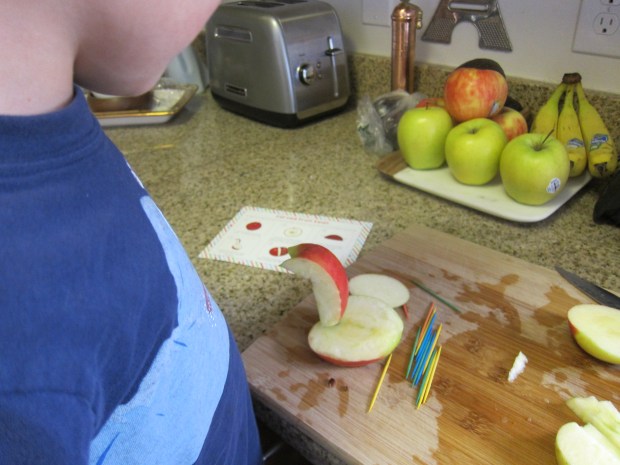
Cut an apple into three pieces vertically, so you have two rounded sides and the core.

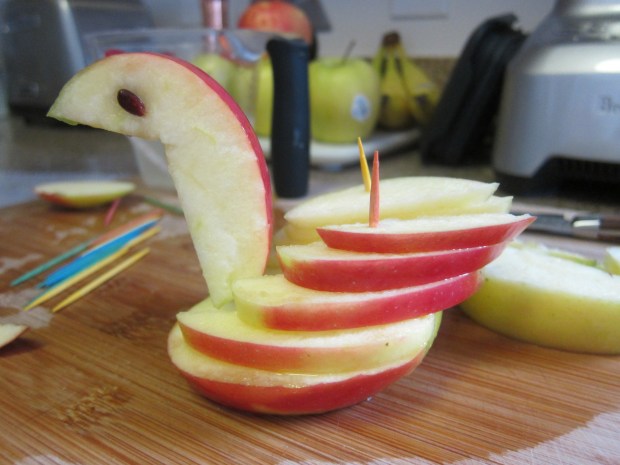
Make two slits in the core piece to resemble the shape of a swan’s neck, as shown; discard the rest of the core, but save two seeds for the eyes!

Thai Fruit (2)

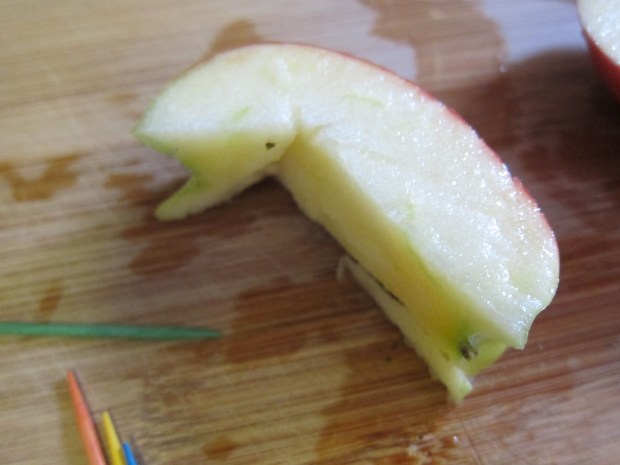
Now cut the round edge from one side piece, so it sits flat.

Thai Fruit (3)

Add the swan neck, securing with a toothpick. The toothpicks were Travis’s favorite part, and when our actual sculpting was complete, he loved adding a few more toothpicks just for fun!

Thai Fruit (4)

Thinly slice the remaining side piece of apple. Start adding to the base of the swan, using the largest pieces first and ending with the smallest.

Thai Fruit (5)

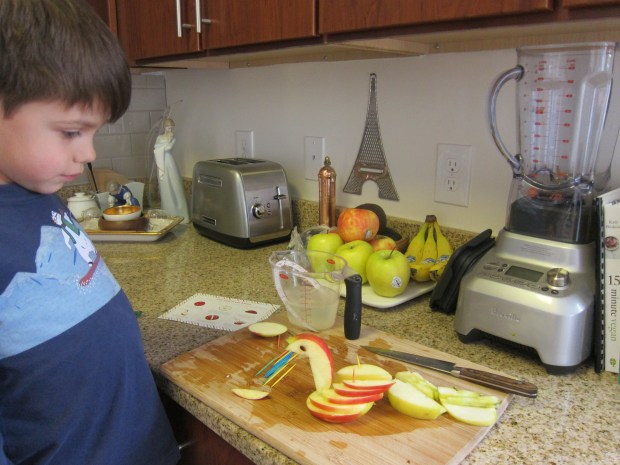
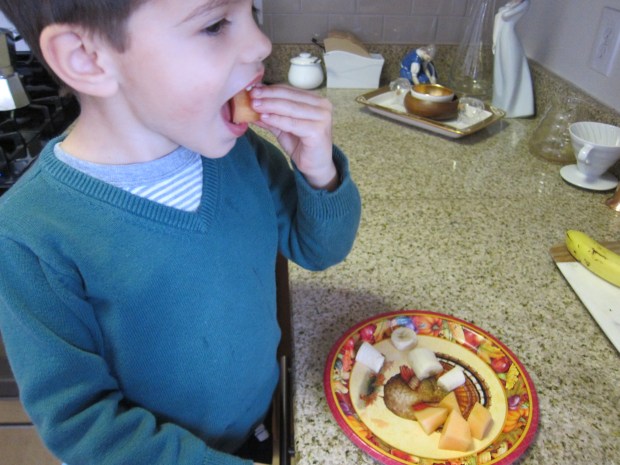
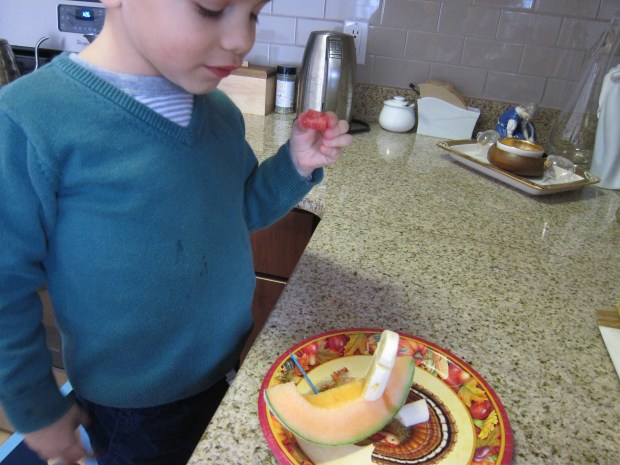
This was not only a great craft, but a fantastic snack as well. There was something about tearing apart a sculpture before eating that greatly appealed to Travis, too – go figure!

Thai Fruit (7)

Oatmeal Energy Balls

Oatmeal Energy (5).JPG

Travis and I have talked a lot lately about energy and inertia and what makes things move. That’s why it was so clever of Kiwi Co to include this recipe in Travis’s inertia crate – a snack designed to power human energy!

Ingredients:

  • 1 cup quick oats
  • 1/4 cup agave nectar
  • 1/2 cup peanut butter (or other nut butter)
  • 1/3 cup chopped almonds
  • 1/3 cup non-dairy mini chocolate chips
  • 1/3 cups dried cranberries
  1. Combine all the ingredients in a large bowl; refrigerate for at least 30 minutes.Oatmeal Energy (3)
  2. Shape the mixture into balls (you’ll have enough for about 10 servings) and enjoy!

Oatmeal Energy (4)

Whole Wheat Goldfish Crackers

Goldfish Crackers (7).JPG

As a mom of vegan kids, my biggest goal is to make sure they never feel left out. This means I come prepared with vegan pizza slices and cupcakes to every birthday party we attend, stock my son’s preschool cabinet with vegan cheddar squares and rice cereal bars, and happily go out of my way to try a new recipe or test a new vegan meat on the market.

But one item we haven’t been able to replicate was goldfish crackers. Until now! These snacks are ubiquitous, and Travis has been asking about them, so I special ordered a little goldfish cookie cutter. Turns out the crackers are a cinch to make, and now he can have them at snack with his school buddies!

Ingredients:

  • 1 and 3/4 cups shredded Daiya cheddar
  • 1/2 cup all-purpose flour
  • 1/4 cup whole wheat flour
  • 4 tablespoons Earth Balance butter
  • 1/8 teaspoon onion powder
  • 1/8 teaspoon salt
  1. Combine all the ingredients in a food processor, using the dough blade attachment. Process for about 2 minutes, until a dough forms, scraping the sides of the bowl as needed.Goldfish Crackers (1)
  2. Turn the dough out onto a work surface and gather into a ball. Note: the dough is a bit crumbly, but will stick together as you work it with your hands.
  3. Roll the dough out.Goldfish Crackers (2)
  4. Use a mini fish cookie cutter to cut out the shapes.Goldfish Crackers (3)
  5. Transfer the fish to a baking sheet – we had quite the little school of fishies!Goldfish Crackers (5)
  6. Use a toothpick to make a small eye in each fishGoldfish Crackers (6)
  7. Bake at 350 degrees F for 15 minutes.

Note: The original recipe said to roll the dough 1/8-inch thick, but ours was closer to 1/4-inch. Honestly, we preferred the results, with crackers that were a little chewier and a little less cracker-crispy than actual Goldfish.

Yummy Bones

yummy bones (6)

After a fantastic time with his first Kiwi Crate, Travis enjoyed playing doctor again to make… edible bones!

The recipe from his Kiwi Explore magazine was very loose, with no precise measurements. So let your surgeon work with the ingredients to his or her taste.

First, you’ll need a tube of breadstick dough. This can be hard to find pre-made and vegan, so I purchased a roll of pizza dough. If you have breadstick dough, check the heating and baking instructions on the package.

yummt bones (1)

For our dough, we first rolled into “bones” (the same way that you roll clay or playdough into snakes).  Travis loved deciding what was a leg bone, an arm bone etc. Squeeze the middle, so the ends are slightly thicker.

yummy bones (2)

Use kitchen shears to snip the ends of each snake, dividing them outward into a bone shape. Travis was so proud to do this step, with a little grown-up help.

yummy bones (3)

Now brush with a little melted butter (we used Earth Balance) and sprinkle with a little vegan Parmesan (we used Go Veggie).

yummy bones (4)

After 12 minutes at 425 degrees F, these bones were ready to eat!

yummy bones (5)

They’re great plain, or we discovered we also liked them dipped in marinara sauce.


Edible Constellations

Edible Constellations (4)

Travis and I put together this super smart snack on the heels of fun starry night exploration. Your kids get a sweet treat plus an astrology lesson – a win-win!

Using Dandies mini marshmallows and pretzel sticks, we mapped out what the Big Dipper would look like. Attach 1 marshmallow to the end of a pretzel stick for each star.

Edible Constellations (2)

Repeat three times to make a square.

Edible Constellations (3)

Stick a fourth “star” into the marshmallow at the upper right corner to begin the Dipper’s tail.

Break a pretzel stick in half, and add two smaller pieces of pretzel + marshamllow to complete the constellation.

Travis watched as I tested out a couple of others, too, including Cassiopeia (the Queen)…

Edible Constellations (5)

… and Cepheus (the King). These didn’t last long before they were gobbled up!

Edible Constellations (6)

I noticed he wasn’t eating the Big Dipper, and asked if he wanted more of his snack. He said he didn’t want to ruin our constellation!

If your kids want to get even more creative, test out Cygnus (the Swan) or Canis Major, too.

Edible Constellations (7)

Travis wanted to know if we could make Orion (which he calls Bow Hunter), next, and I was so proud he remembered that constellation without any prompting.

Edible Constellations (1)

Happy snacking!

Fruit Boats

Fruit Boat (3).JPG

Origami boats might be fun to play with, but fruit boats are even bettert\ to eat! After a busy school day, Travis helped me create these adorable boats for snacktime.

First, cut a whole cantaloupe into wedges. Travis asked at first if it was mango – it’s amazing how we forget that kids can be disconnected from food, when it’s served to them already cut up. He loved discovering that the big fruit in front of us was his favorite melon.

Fruit Boat (1)

Put a toothpick in each wedge, and add watermelon pieces as the sails.

Fruit Boat (2)

For the pirate, cut a circular piece of banana as the head. Cut the banana lengthwise into pieces for the torso and arms. Use toothpicks to stick your pirate man together, and then another toothpick to affix him to the boat. We made a boat and pirate for Daddy, too!

Fruit Boat (5)

Travis loved it, and delighted in pulling apart the pirate ship piece by piece. There goes your hull, matey!

Fruit Boat (6)

A super cute and fun snack for pirate lovers.

Fruit Boat (4)


Apple Nachos

Apple Nachos (2)

This sweet twist on classic tortilla nachos is sure to delight, and a great way to use up the last of your fall apple bounty!

Ingredients:

  • 1 large apple
  • 2 tablespoons peanut butter
  • 2 tablespoons rice cereal
  • 1 tablespoon shredded coconut
  • 1 tablespoon Enjoy Life mini chocolate chips
  1. Slice the apple and arrange on a platter
  2. Heat the peanut butter in the microwave for 30 seconds, and drizzle over the apples.
  3. Sprinkle with the cereal, the coconut, and the mini chips.

Apple Nachos (1)

Pretzel Log Cabin

Pretzel Cabin (6)

We’ve been enjoying a great book recently about Abraham Lincoln (from the Ordinary People Change the World series written by Brad Meltzer), which prompted talk about a log cabin. You can introduce your child to this style of architecture through classic toys like Lincoln Logs of course, but even more fun was putting together this edible version!

To construct the cabin, you need thick pretzel rods and your frosting of choice – we like the vegan vanilla from Wholesome Sweeteners.

Start out with a base, using the frosting as “glue” to attach the four corners.

Pretzel Cabin (1)

Travis loved smearing on the frosting with a plastic knife, but your child may find that a makeshift pastry bag (i.e. a zip-top bag with a hole snipped in it) is easier.

Pretzel Cabin (2)

From there, we spread our pretzels with more frosting (“cement”), and built up several layers.

Pretzel Cabin (3)

A little carpenter at work!

Pretzel Cabin (5)

It was tough to make the roof stay in the way we originally planned; if you have chocolate at home, it may be useful to melt some and use that to adhere two pretzel rods diagonally together. We managed to balance ours with generous globs of frosting, though it wasn’t particularly sturdy.

Pretzel Cabin (7)

Luckily, the cabin was meant to be eaten, not saved – what a fun snack!

If you make this craft in the wintertime, your child may want to sprinkle the structure with coconut “snow” before snacking, too.

Zucchini Pizza Snacks

Zucchini Pizza (2)

Pizza for snacktime? Kids will be thrilled when you announce that’s what’s on the menu, and hardly disappointed at all when they learn there is no crust involved.

Cut 1 large zucchini into long diagonal slices (about 1/2-inch thick) and arrange in a single layer on a baking sheet.

Spoon a little tomato sauce over each slice, and add your favorite vegan cheese on top. Cheese shreds would work great, but we also like the Chao slices from Field Roast.

Zucchini Pizza (3)

Broil for 2 to 4 minutes, until the cheese is melty and the zucchini is tender.


Mini Pepper Guacamole Dippers

Yellow Guac (1)

Miniature anything is fun for kids. Dipping anything is fun for kids. Ergo here is the perfect summer snack!

Whip up a batch of your family’s favorite guacamole – anything from mild to spicy. For my picky preschooler, this is sometimes just as simple as squeezing a little lime juice into freshly mashed avocado. Sometimes we get a little fancier.

Big kids can dip mini bell peppers right into the guac. Slice the peppers into strips for smaller kids.

Kids don’t like guacamole? Try stuffing the mini pepper halves with non-dairy cream cheese instead.

Zucchini Pizza (1)

Happy dipping!

Yellow Guac (2)