Rock Box

rock-box-9

If your child likes collecting rocks, this craft not only lets you decorate with your latest finds from outside, but also gives your tot a place to store future treasures!

In the morning, I showed Travis the plain wooden box I had purchased (from Creative Hobbies) and asked him if he wanted to fill it with treasures. Of course the answer was yes!

It was a cold, gray morning, but that didn’t deter my little rock hunter. We headed out to our building’s courtyard to select some special rocks to take home.

rock-box-1

If it’s not too snowy in your area, head along a local nature path and see what treasures you find, not necessarily just rocks.

rock-box-2

Once home, we sorted our collection, and selected the smaller rocks to glue to the top of the box.

rock-box-3

As always, Travis loved squeezing glue, but pressing on the rocks was the novel part here, so much bigger than the objects we normally glue down.

rock-box-6

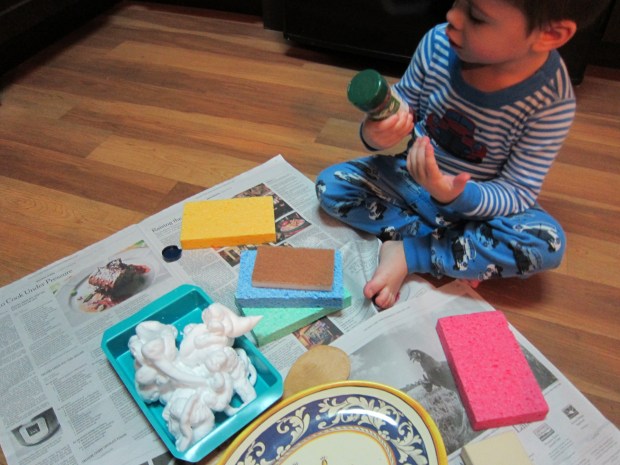
I left the box to dry overnight, and then pulled out the paints the next morning.

rock-box-8

We used a combination of silver and purple, giving our rock box a glittery, space age-y feel. Travis was very intrigued with how it felt to paint over the bumpy rocks, and loved covering every surface of the treasure chest.

rock-box-10

Once dry, it was time to store our remaining rocks inside! What treasures does your child like to collect? Please share in the comments.

rock-box-12

DIY Frog Pond

frog-pond-5

With a few rubber frog bath toys and lily pads cut from craft foam, you can turn your child’s bathtub into a magical frog pond!

I set the game up shortly before bath time, with Travis in a bathing suit just in case things got splashy!

frog-pond-1

Fill your tub with water and add the “lily pads”, frogs, and a few other fun toys that fit the theme – we also added a rubber turtle, a cup for pouring, and a net. Consider adding other pond elements you have at home, like rocks or rubber snakes!

frog-pond-3

Travis immediately grabbed the net and began fishing the frogs and lily pads from the water, which he thought was pretty much the best game ever.

frog-pond-6

He also used a beach rake to skim among the lily pads. I thought he would be more into hopping the frogs from lily pad to lily pad, but he preferred simply to catch them or swish them around in the water.

frog-pond-4

He also liked filling a plastic cup with water to rain down over the frogs.

frog-pond-8

And perhaps the biggest delight of all: after we drained the water, he lined them all up on the side of the bath and then had them jump into the empty tub – a feat we had to repeat several times!

frog-pond-9

I definitely want to try this activity again with an outdoor water table in the summer. Having access to all four sides, rather than just one side of the bathtub, would no doubt make it even more enjoyable.

Shaving Cream Bakery

shaving-cream-bakery-6

With leftover shaving cream in the can from our shaving cream paint earlier this week, today we turned our kitchen into a shaving cream bakery!

All you need to set up a bake shop for your tot are large kitchen sponges, a few kitchen utensils, and a dose of imagination.

shaving-cream-bakery-2

Travis really enjoyed smearing the shaving cream onto the sponges with a plastic utensil:

shaving-cream-bakery-4

Then I showed him how to layer two sponges together to create a layer cake.

shaving-cream-bakery-5

For an extra realistic effect, I added a drop of red food coloring to sea salt and put it in an old spice shaker, which meant Travis could add sprinkles!

shaving-cream-bakery-1

After he made a couple of “cakes,” he simply enjoyed shaking the sprinkles directly into the tray of shaving cream I had set out, and stirring all that together into a big mess.

shaving-cream-bakery-8

Other than layer cakes, what would you make in your bakery? I’d love to hear about any cupcakes or frosted cookies that your kids create! Please share in the comments.

shaving-cream-bakery-7

Blueberry Lassy Muffins

blueberry-lassy-muffins

Whip up a batch of these molasses-infused muffins for breakfast or snack time.

Ingredients:

  • 2 and 1/4 cups whole wheat flour
  • 1/4 cup sugar
  • 1 teaspoon ground cinnamon
  • 1/2 teaspoon ground nutmeg
  • 1/4 teaspoon sea salt
  • 1/4 teaspoon ground ginger
  • 2 teaspoons baking powder
  • 1/2 teaspoon baking soda
  • 2 tablespoons molasses
  • 1/2 cup unsweetened applesauce
  • 3/4 cup nondairy milk
  • 1/3 cup maple syrup
  • 1 teaspoon vanilla extract
  • 3/4 cup blueberries
  1. In a large bowl, combine the flour, sugar, cinnamon, nutmeg, salt, ginger, baking powder, and baking soda; stir until well combined.
  2. In a separate bowl, whisk together the molasses and applesauce, then add the milk, maple syrup, and vanilla.
  3. Add the wet ingredients to the dry ingredients, and then fold in the blueberries.
  4. Divide the mixture evenly among 12 muffin cups coated with cooking spray. Bake at 350 degrees F for 23 minutes; transfer to a wire rack to cool.

We like them best warm with a little pat of Earth Balance butter!