Embossed Metal Coins

Embossed Coins (7)

Wrapping up some pirate fun, today Travis and I made treasure.

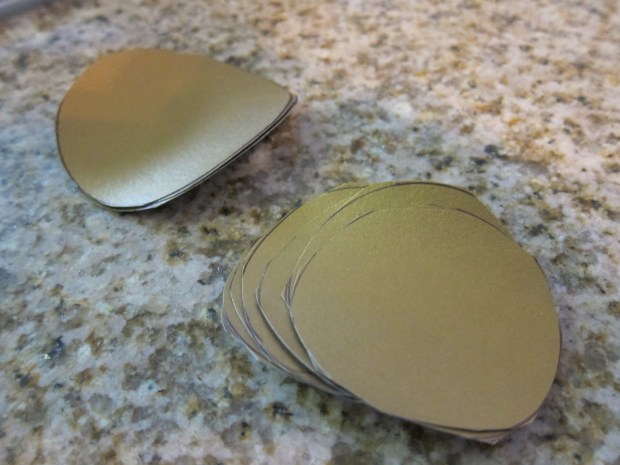
To make the coins, I traced two sizes of circles onto cardstock, and cut out.

Embossed Coins (1)

This project can be as involved as your patience is willing to make it. If you have the time and inclination, go ahead and make piles of coins! This is a more viable option if your kids are old enough to cut out the circles themselves. I confess we only had about 10 coins, but that was more than enough for my little pirate.

I asked Travis what image should go on the coins, and he suggested bugs.

Embossed Coins (2)

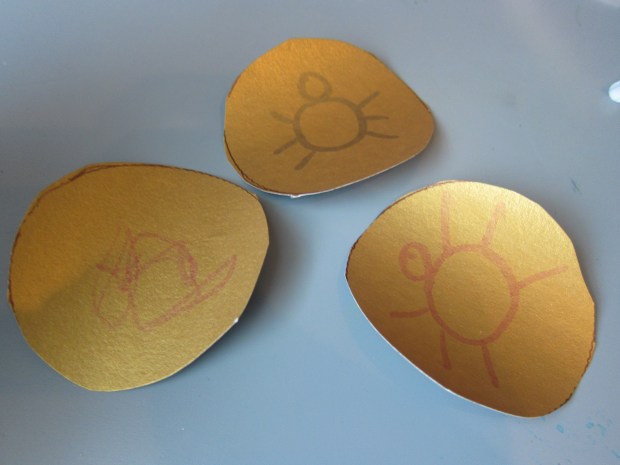
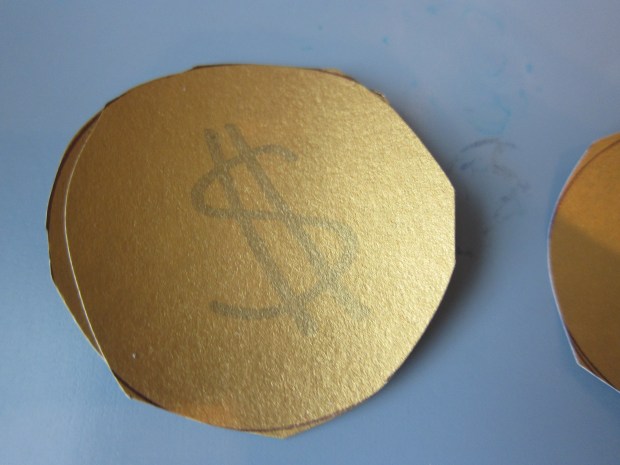
We did a large “beetle” on the bigger coins, and a dollar sign on the smaller.

Embossed Coins (3)

Go over your designs with hot glue. Once it cooled, Travis loved feeling the bumpy effect.

Embossed Coins (4)

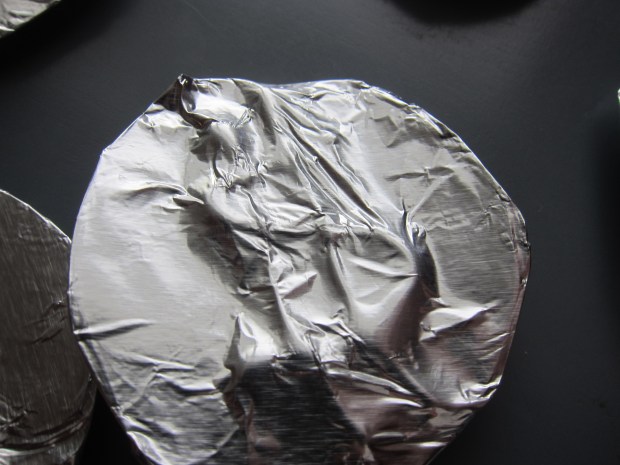
Now wrap in foil, pressing so the image comes through.

Embossed Coins (5)

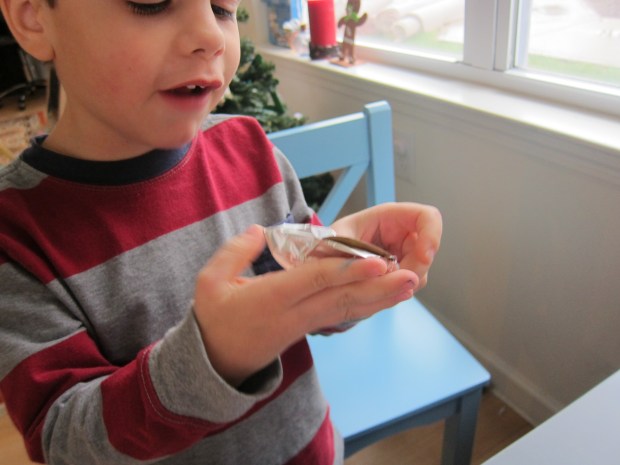
Our pictures weren’t quite as clear as we hoped, but still neat to feel.

Embossed Coins (6)

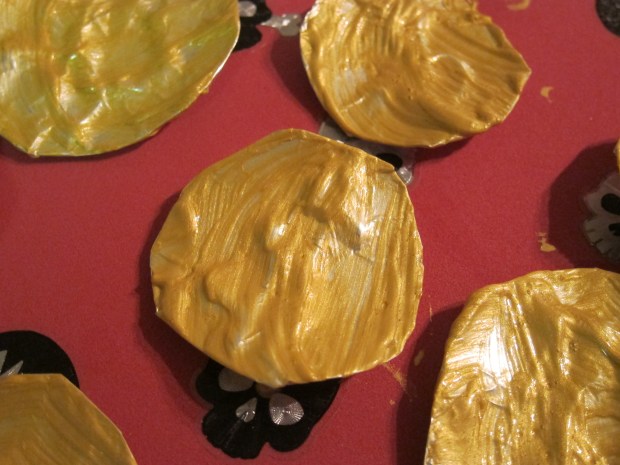
For the final step, we needed gold coins, of course. A little gold paint, some time to dry, and it was time for a treasure hunt.

Embossed Coins (9)

I hid them around for Travis to find, and he loved collecting them in a treasure chest.

Embossed Coins (10)

Even better, he loved hiding them from me!

Advertisement

Visual Stimulation

Visual Stim (6).JPG

The counterpart to tactile stimulation is visual stimulation, and today we took ample time to appreciate Veronika’s playgym!

If you don’t have a mat like this for baby, I highly recommend one. Tactile, visual, a soft resting place when you need to get chores done, a spot for tummy time… What doesn’t a playgym do?

Ours is safari-themed, and still perfect four years after Travis used it. As babies can now see more than just black and white (think bright colors like red, green, and blue) the toys help stimulate the vision.

Visual Stim (1)

Each of the safari animals that hang on ours has a different purpose. Rhino plays a little ditty when squeezed.

Visual Stim (2)

Giraffe is crinkly, and crocodile rings like a bell.

Visual Stim (4)

The turtle doubles as a mirror for baby to see their face.

Visual Stim (3)

You can also add other toys inside, but I recommend keeping it simple, so as not to overwhelm baby. Veronika adores lying in hers.

Visual Stim (5)

What playgym do you like best? Please share in the comments!

A Little Flea Went Walking (and Other Fingerplays)

Little Flea (2).JPG

Fingerplays are such a delight for babies; they provide tactile stimulation, rhyming words, sing-song voices, surprises, and more.

Today I learned a new one for Veronika, and we both loved it! The words and actions are easy as can be. Simply walk your fingers around baby’s tummy as you say:

A little flea went walking

To see what he could see

But all that he could see…

…was baby’s little tummy!

Tickle your baby on this last line of course.

Little Flea (1)

Some other favorites that we love include the following.

Circle baby’s palm as you say:

Round and round the garden with my teddy bear.

Now walk fingers up the arm:

One step, two step, tickle him under there!

End with a tickle under the chin or armpit.

You can also do the classic Old Macdonald Had a Farm. This one is more auditory, but we have a great glove that allows me to act it out.

Little Flea (5)

She loves staring at the animals, and this is great for engaging big siblings, who know the answer to each animal sound.

Little Flea (6)

Finally, we love Where is Thumbkin. If you don’t know this classic, here are the words:

Where is thumbkin, where is thumbkin?

Here I am, Here I am.

How are you today sir? Very well I thank you.

Run away, run away.

Little Flea (4)

Repeat for each finger, naming them in turn, and bring out from behind your back so the thumbs (etc.) on each hand talk to each other. I also like to rub Veronika’s finger at the beginning of each verse, so she feels her Thumbkin, Pointer, and so on.

Little Flea (3)

Swirly Ornaments Crate

Swirly Ornament (8).JPG

Kiwi Company occasionally puts out special holiday-themed crates, and we’ve been holding on to this one since last December! Reading the title on the box, I imagined the final product would be ornaments with beautiful swirls. Little did we know the method to make the ornaments was swirly, too!

Travis was so excited seeing the three plastic globe ornaments, since we had just set up our tree. Add two of the provided watercolors (in primary colors) to each globe for a quick lesson in color mixing. You’ll be able to make one orange, one green, and one purple ornament. Next squirt in a drop of the glittery silver paint.

Swirly Ornament (1)

Add a marble, and get swirling! As you swirl, the marble will help the paint coat the entire globe.

Swirly Ornament (3)

As a parental aside, this was very precarious proposition with a four-year-old. Of all the Koala projects we’ve ever done, this was by far the messiest! It was quite hard for Travis to swirl enough to coat the inside of the ornament without also spilling paint, so step in if you need to.

He loved the drying method that came next though; upend the ornament over a provided paper cup. The marble and any excess paint will fall out.

Swirly Ornament (2)

We set ours aside to dry for about an hour.

Swirly Ornament (4)

Ideally, flip the ornaments at this point and allow to dry on the inside, too, overnight. Travis was too impatient though and wanted to pop in the provided corks and seal them up!

Swirly Ornament (5)

To finish each ornament, we wrapped a sparkly pipe cleaner around the neck.

Swirly Ornament (6)

Add a silver ribbon (a great chance to practice tying a bow), then thread a provided bell onto the pipe cleaner. Hook the end.

Swirly Ornament (7)

Now it’s ready to hang on your tree!

Swirly Ornament (9)

The kit also suggested gifting the ornaments (just slip on a gift tag and it’s ready to go)…

Swirly Ornament var

…or attaching one to your stocking as a sparkly decoration.

Swirly Ornament alt

Let the holiday season begin!

Swirly Ornament (10)