Sticky Table Sensory Play

Sticky Table Sensory (6)

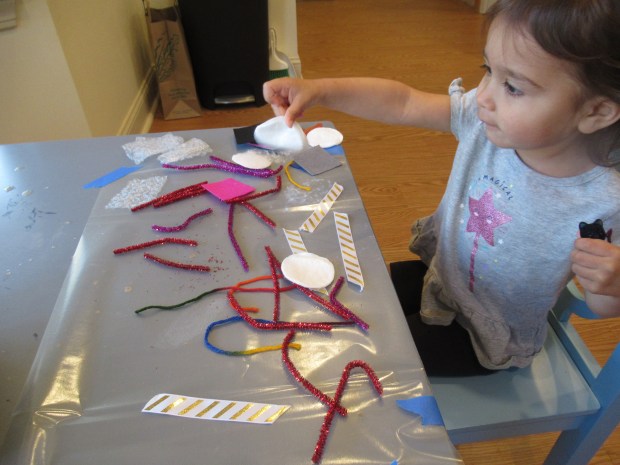
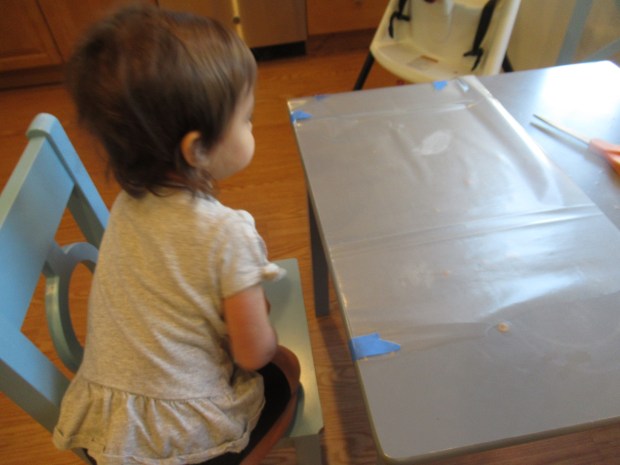
Here’s a fun twist on contact paper collages for toddlers, taking the concept up a notch: turn a whole table into a sticky canvas!

To be honest, I only had enough contact paper to cover half of the table, but that didn’t seem to matter to Veronika. Place the contact paper on a tabletop, sticky side up, and secure with masking tape around the edges.

Sticky Table Sensory (1)

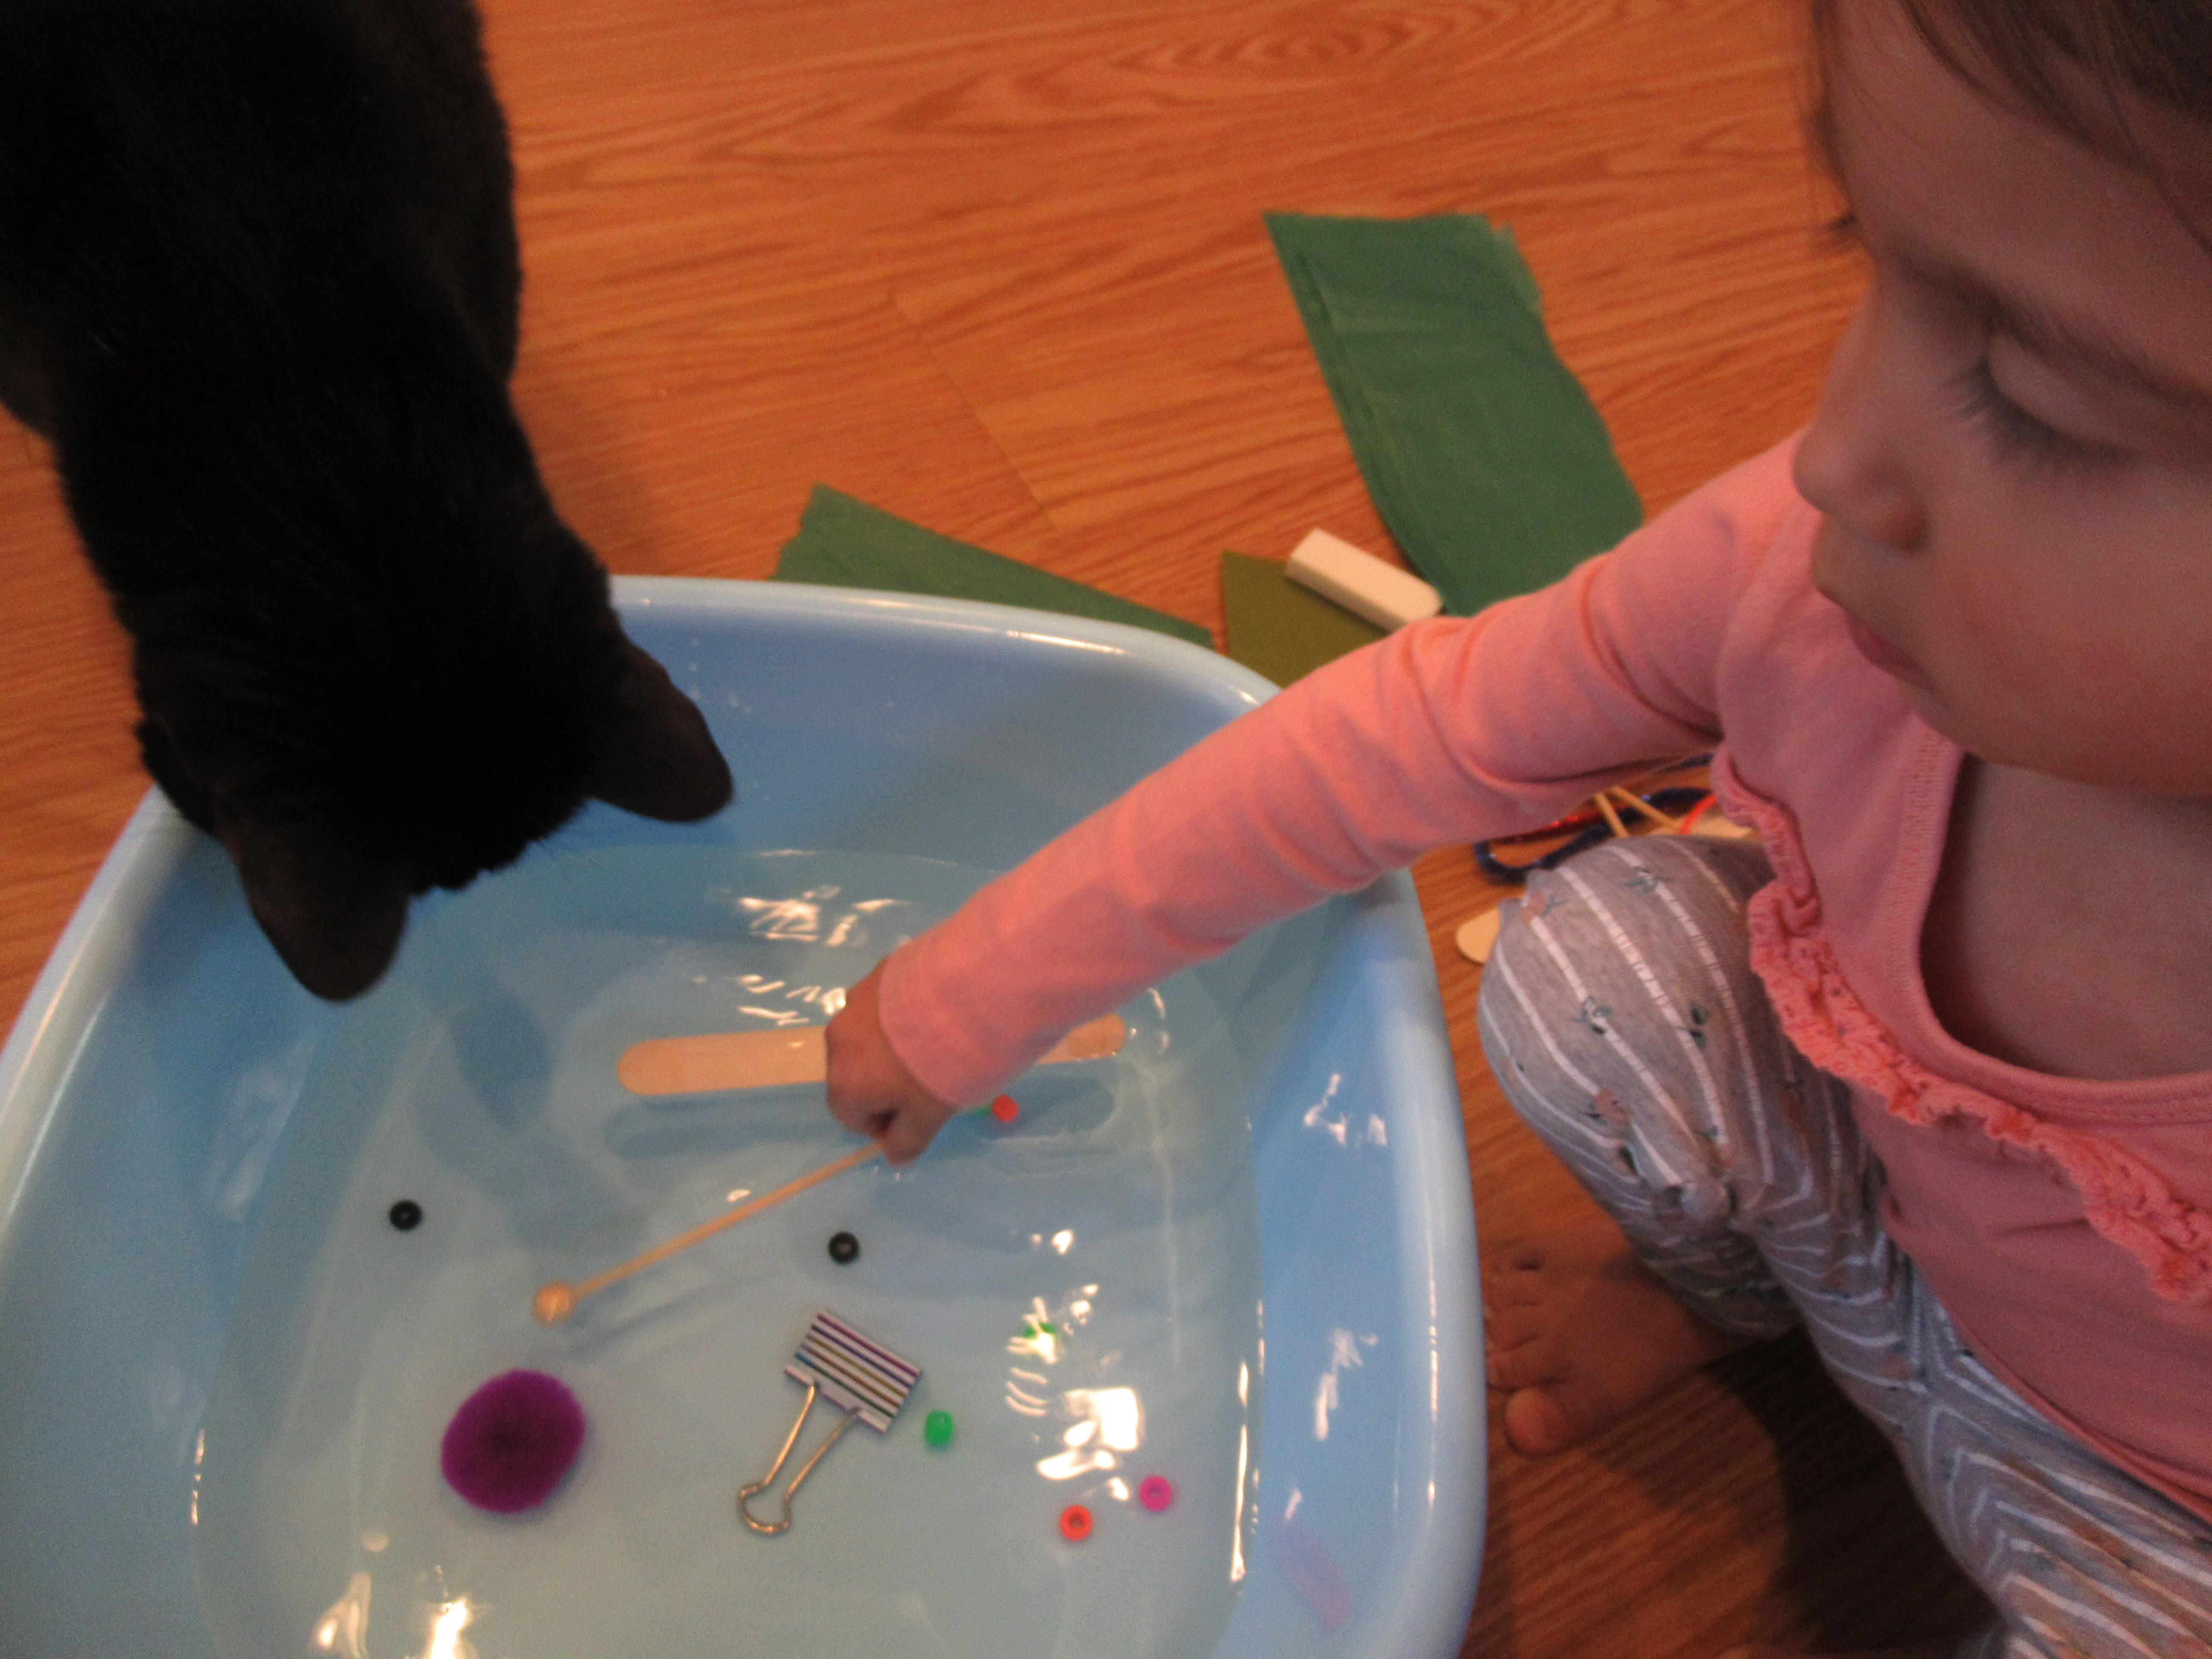
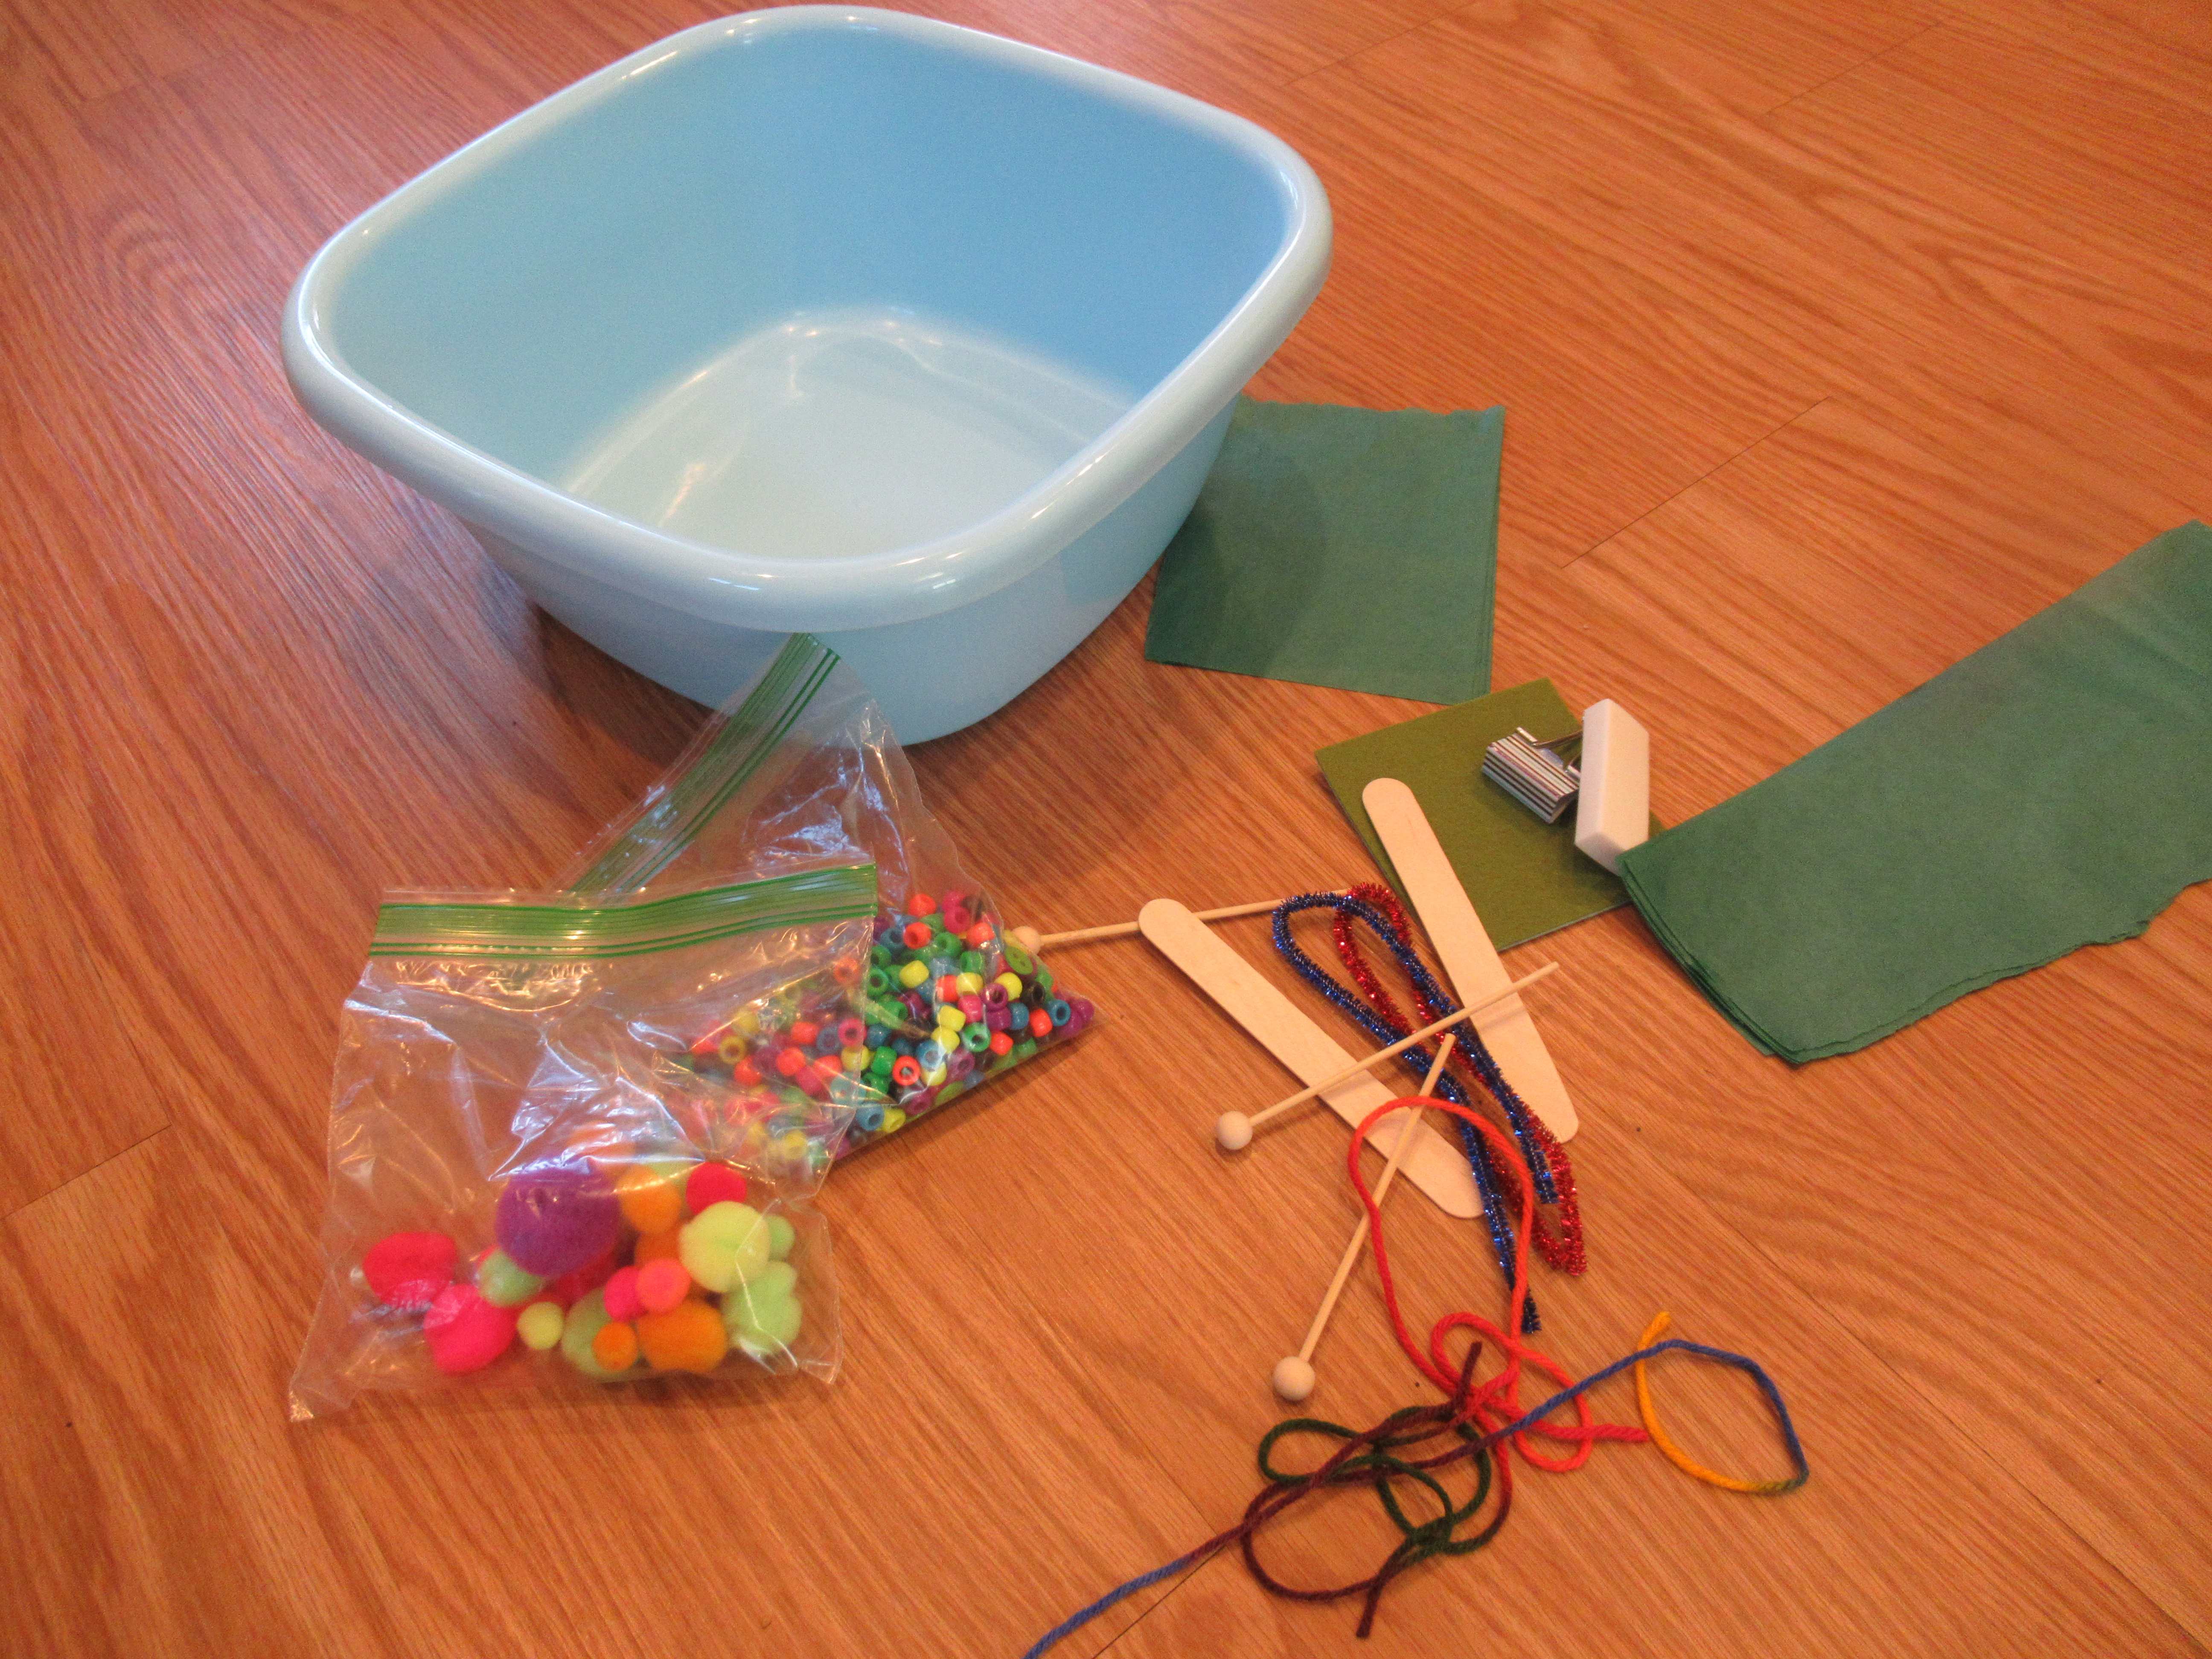
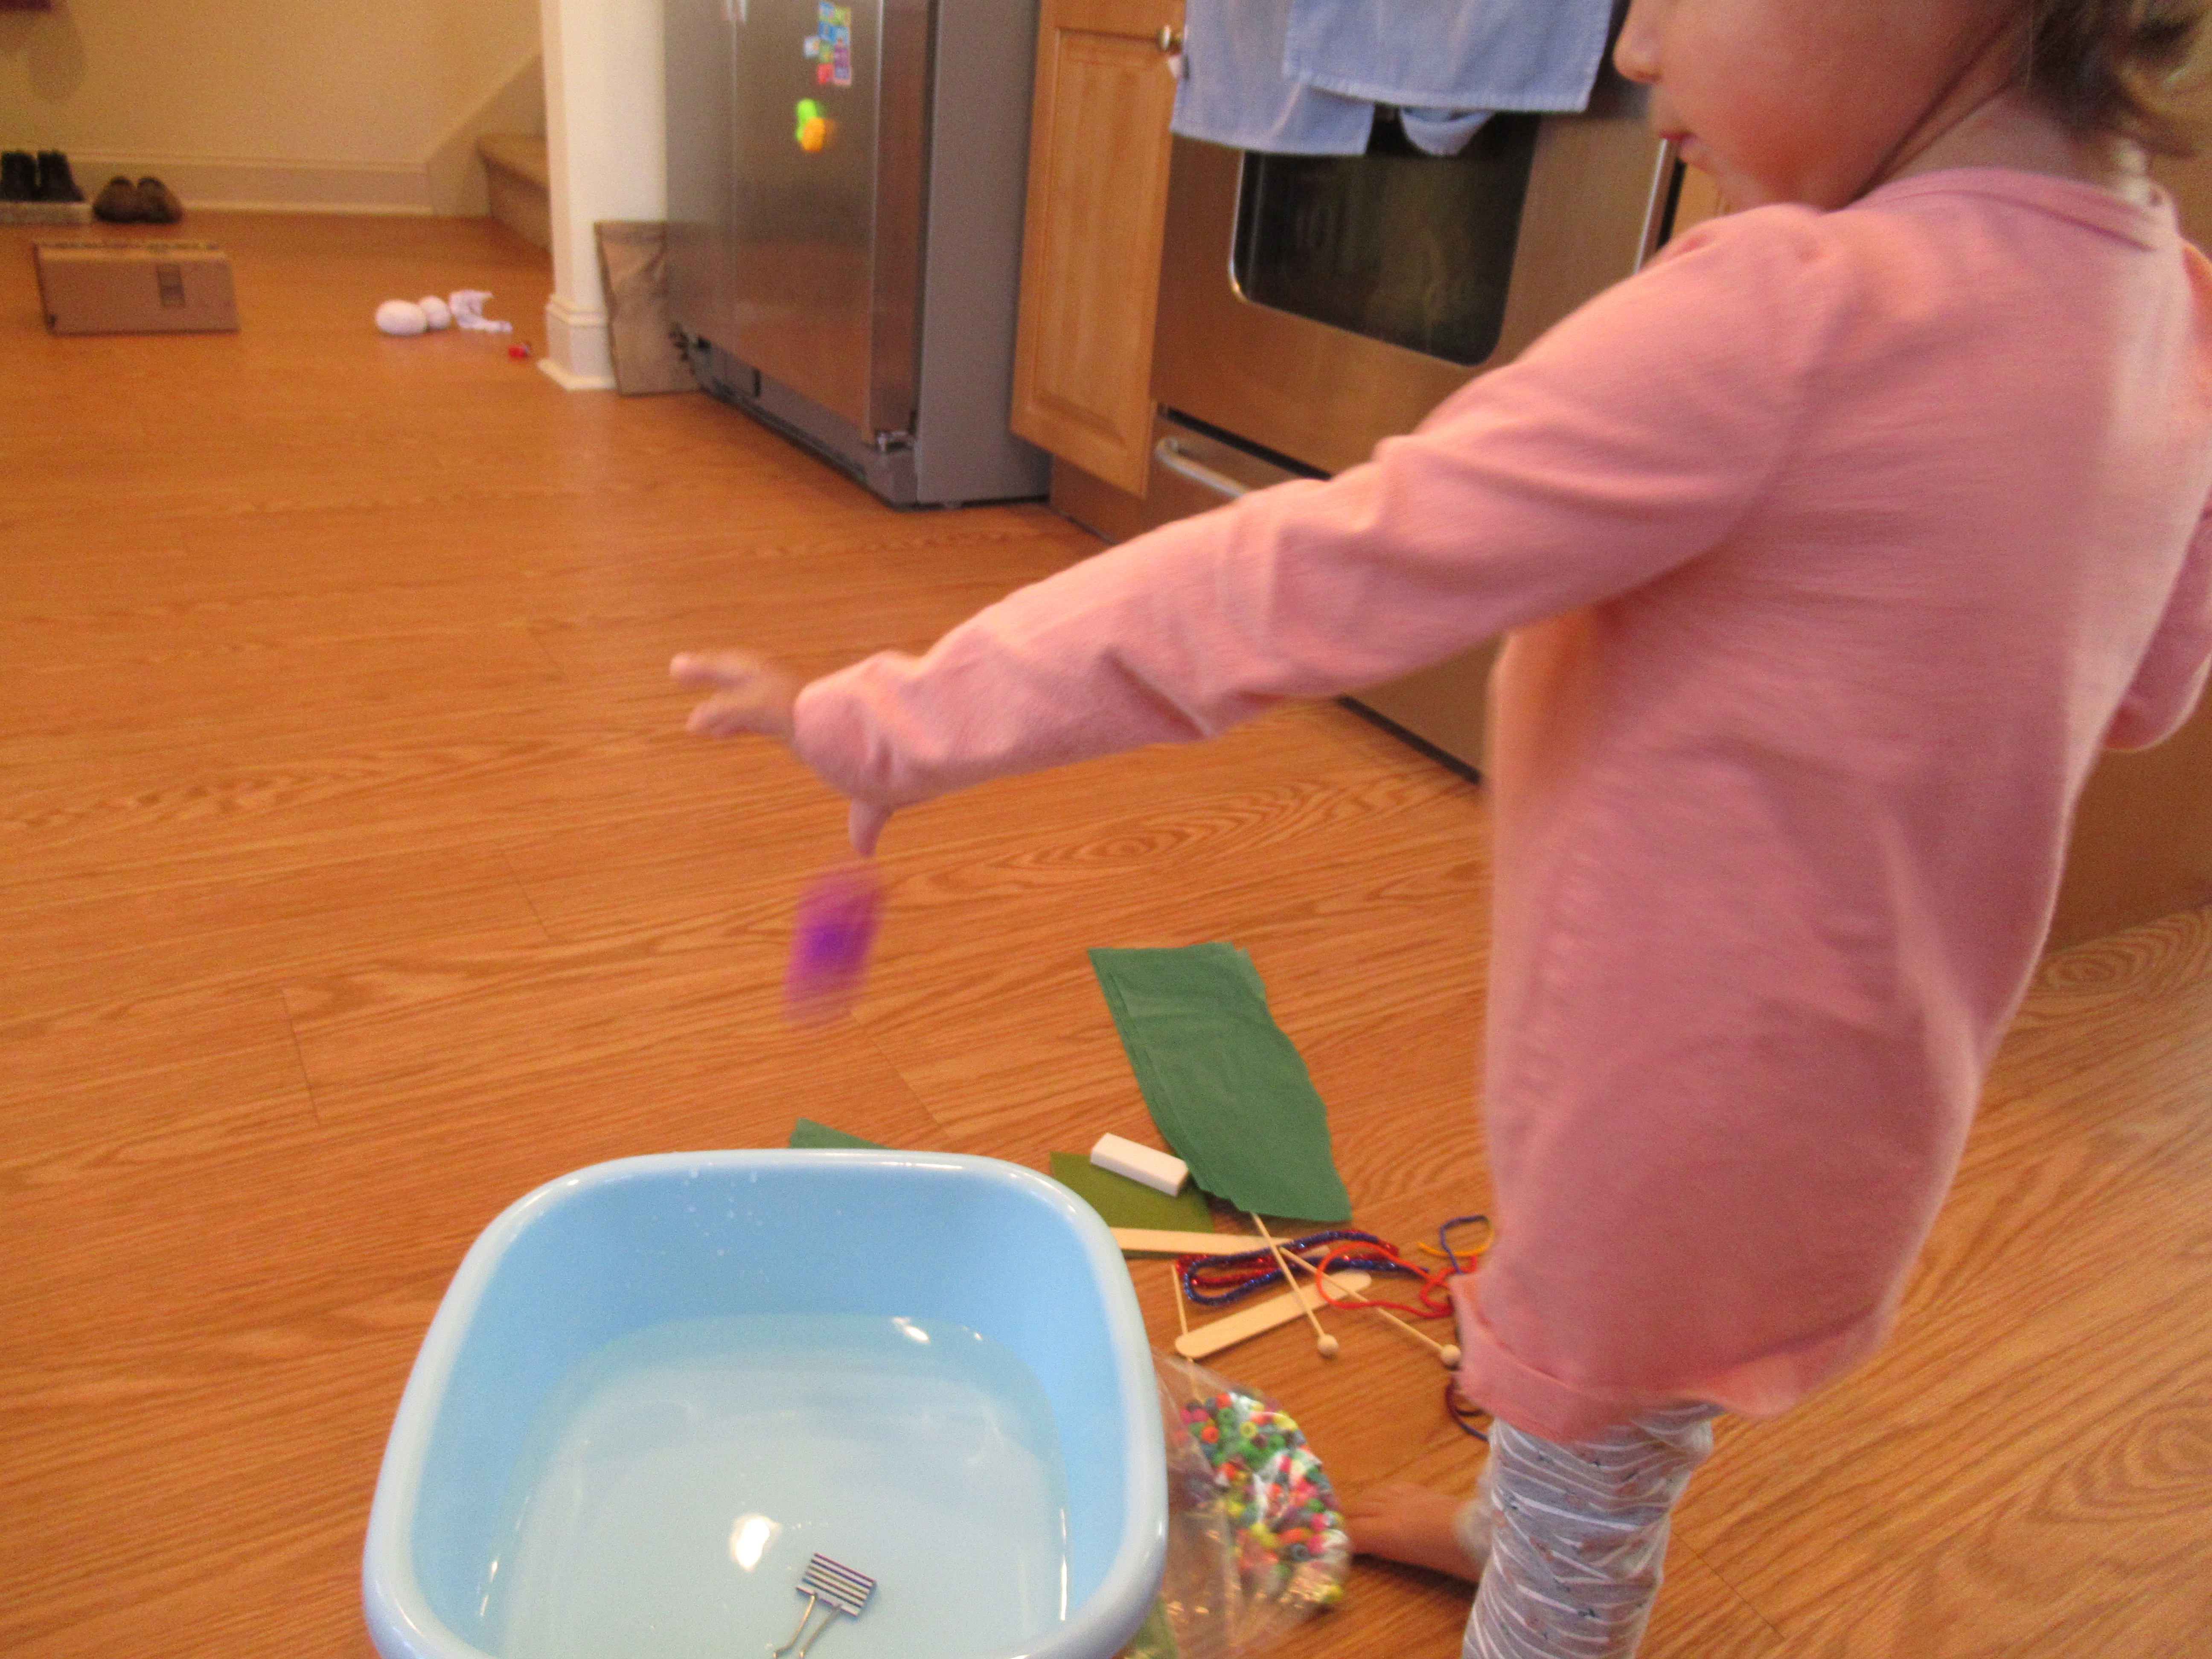
I then presented Veronika with a variety of items from the craft bin that she could adhere. My original intention was to use pom poms, but we recently used ours up! Still, there were plenty of materials to test out. Some, such as strips of gift ribbon or pipe cleaners, she could pull up easily.

Sticky Table Sensory (2)

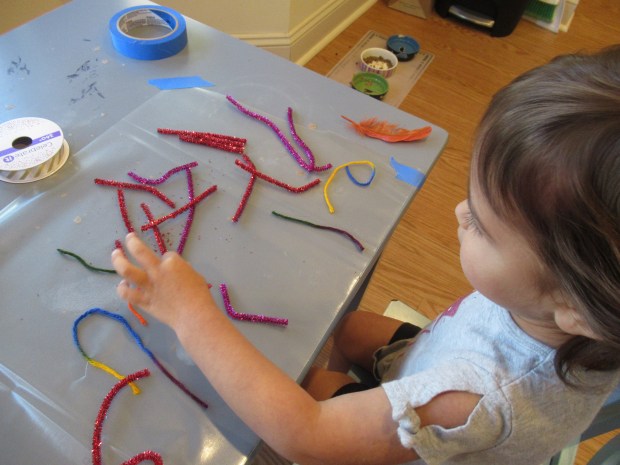
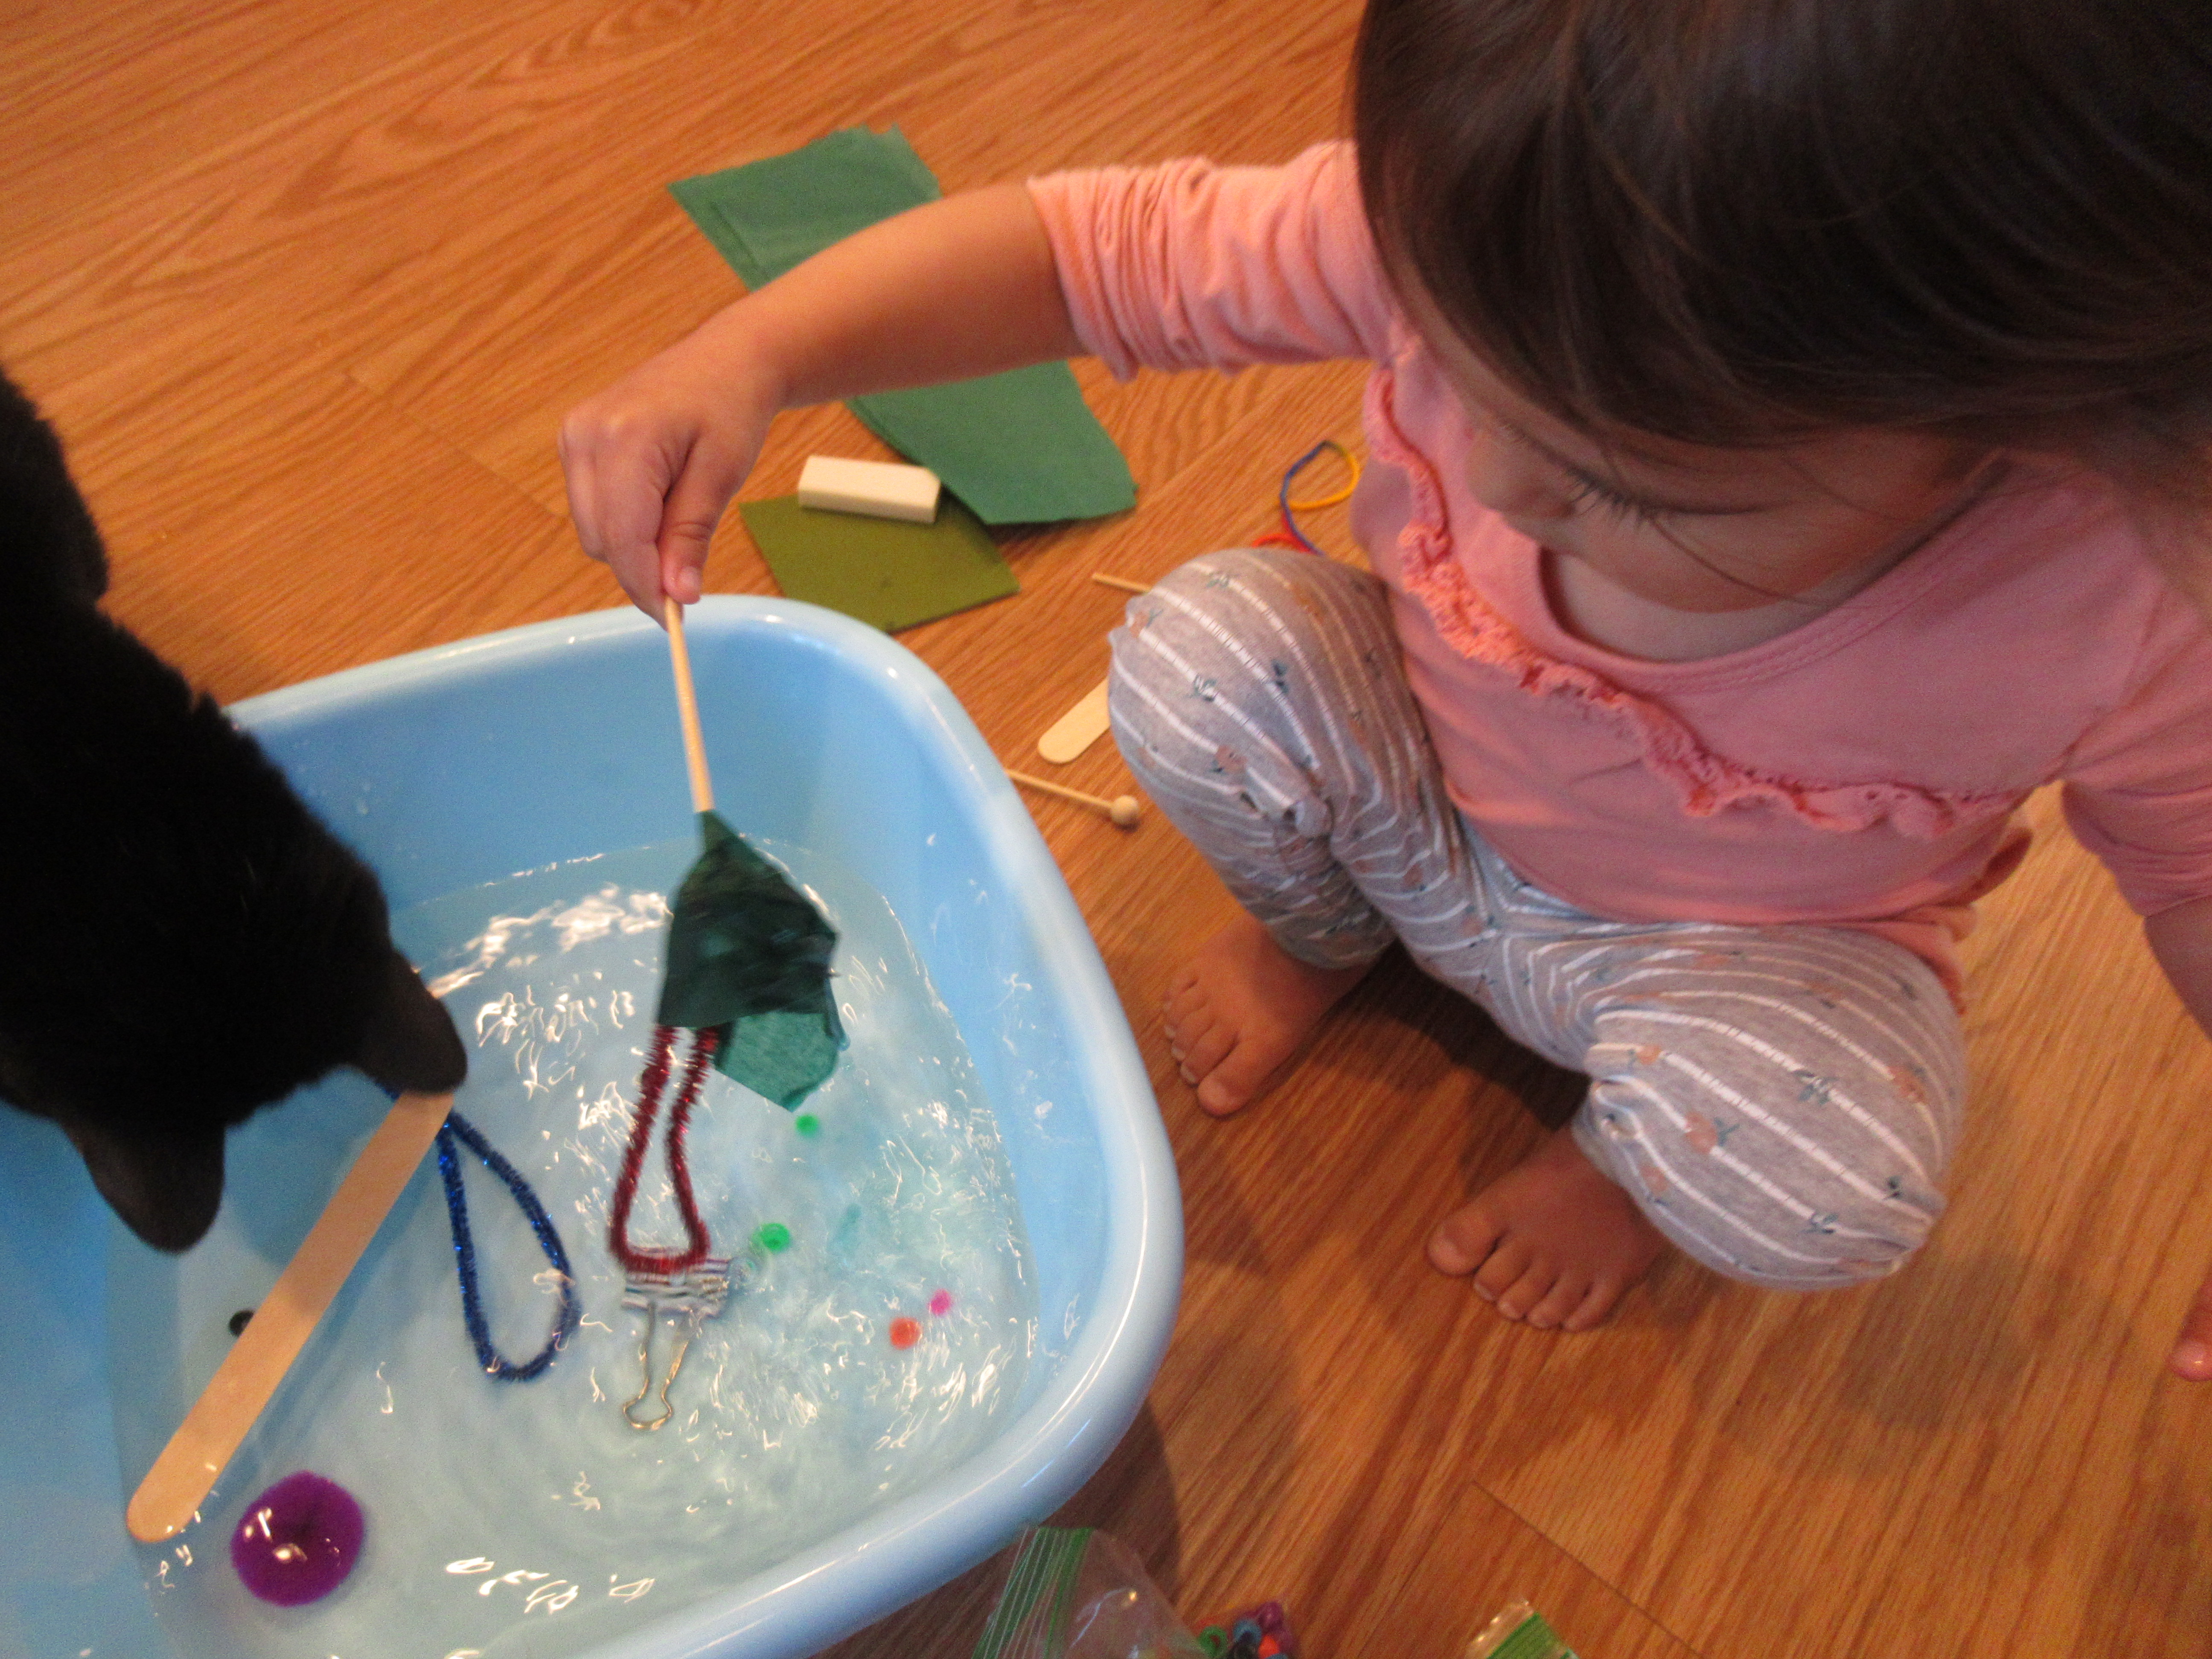
Others, like yarn and cotton pads were much harder, sticking on firmly. The cotton pads were particularly fun since she could pull them up and see bits of cotton fluff left behind!

Sticky Table Sensory (3)

We also tested out squares of bubble wrap and pieces of felt.

Sticky Table Sensory (4)

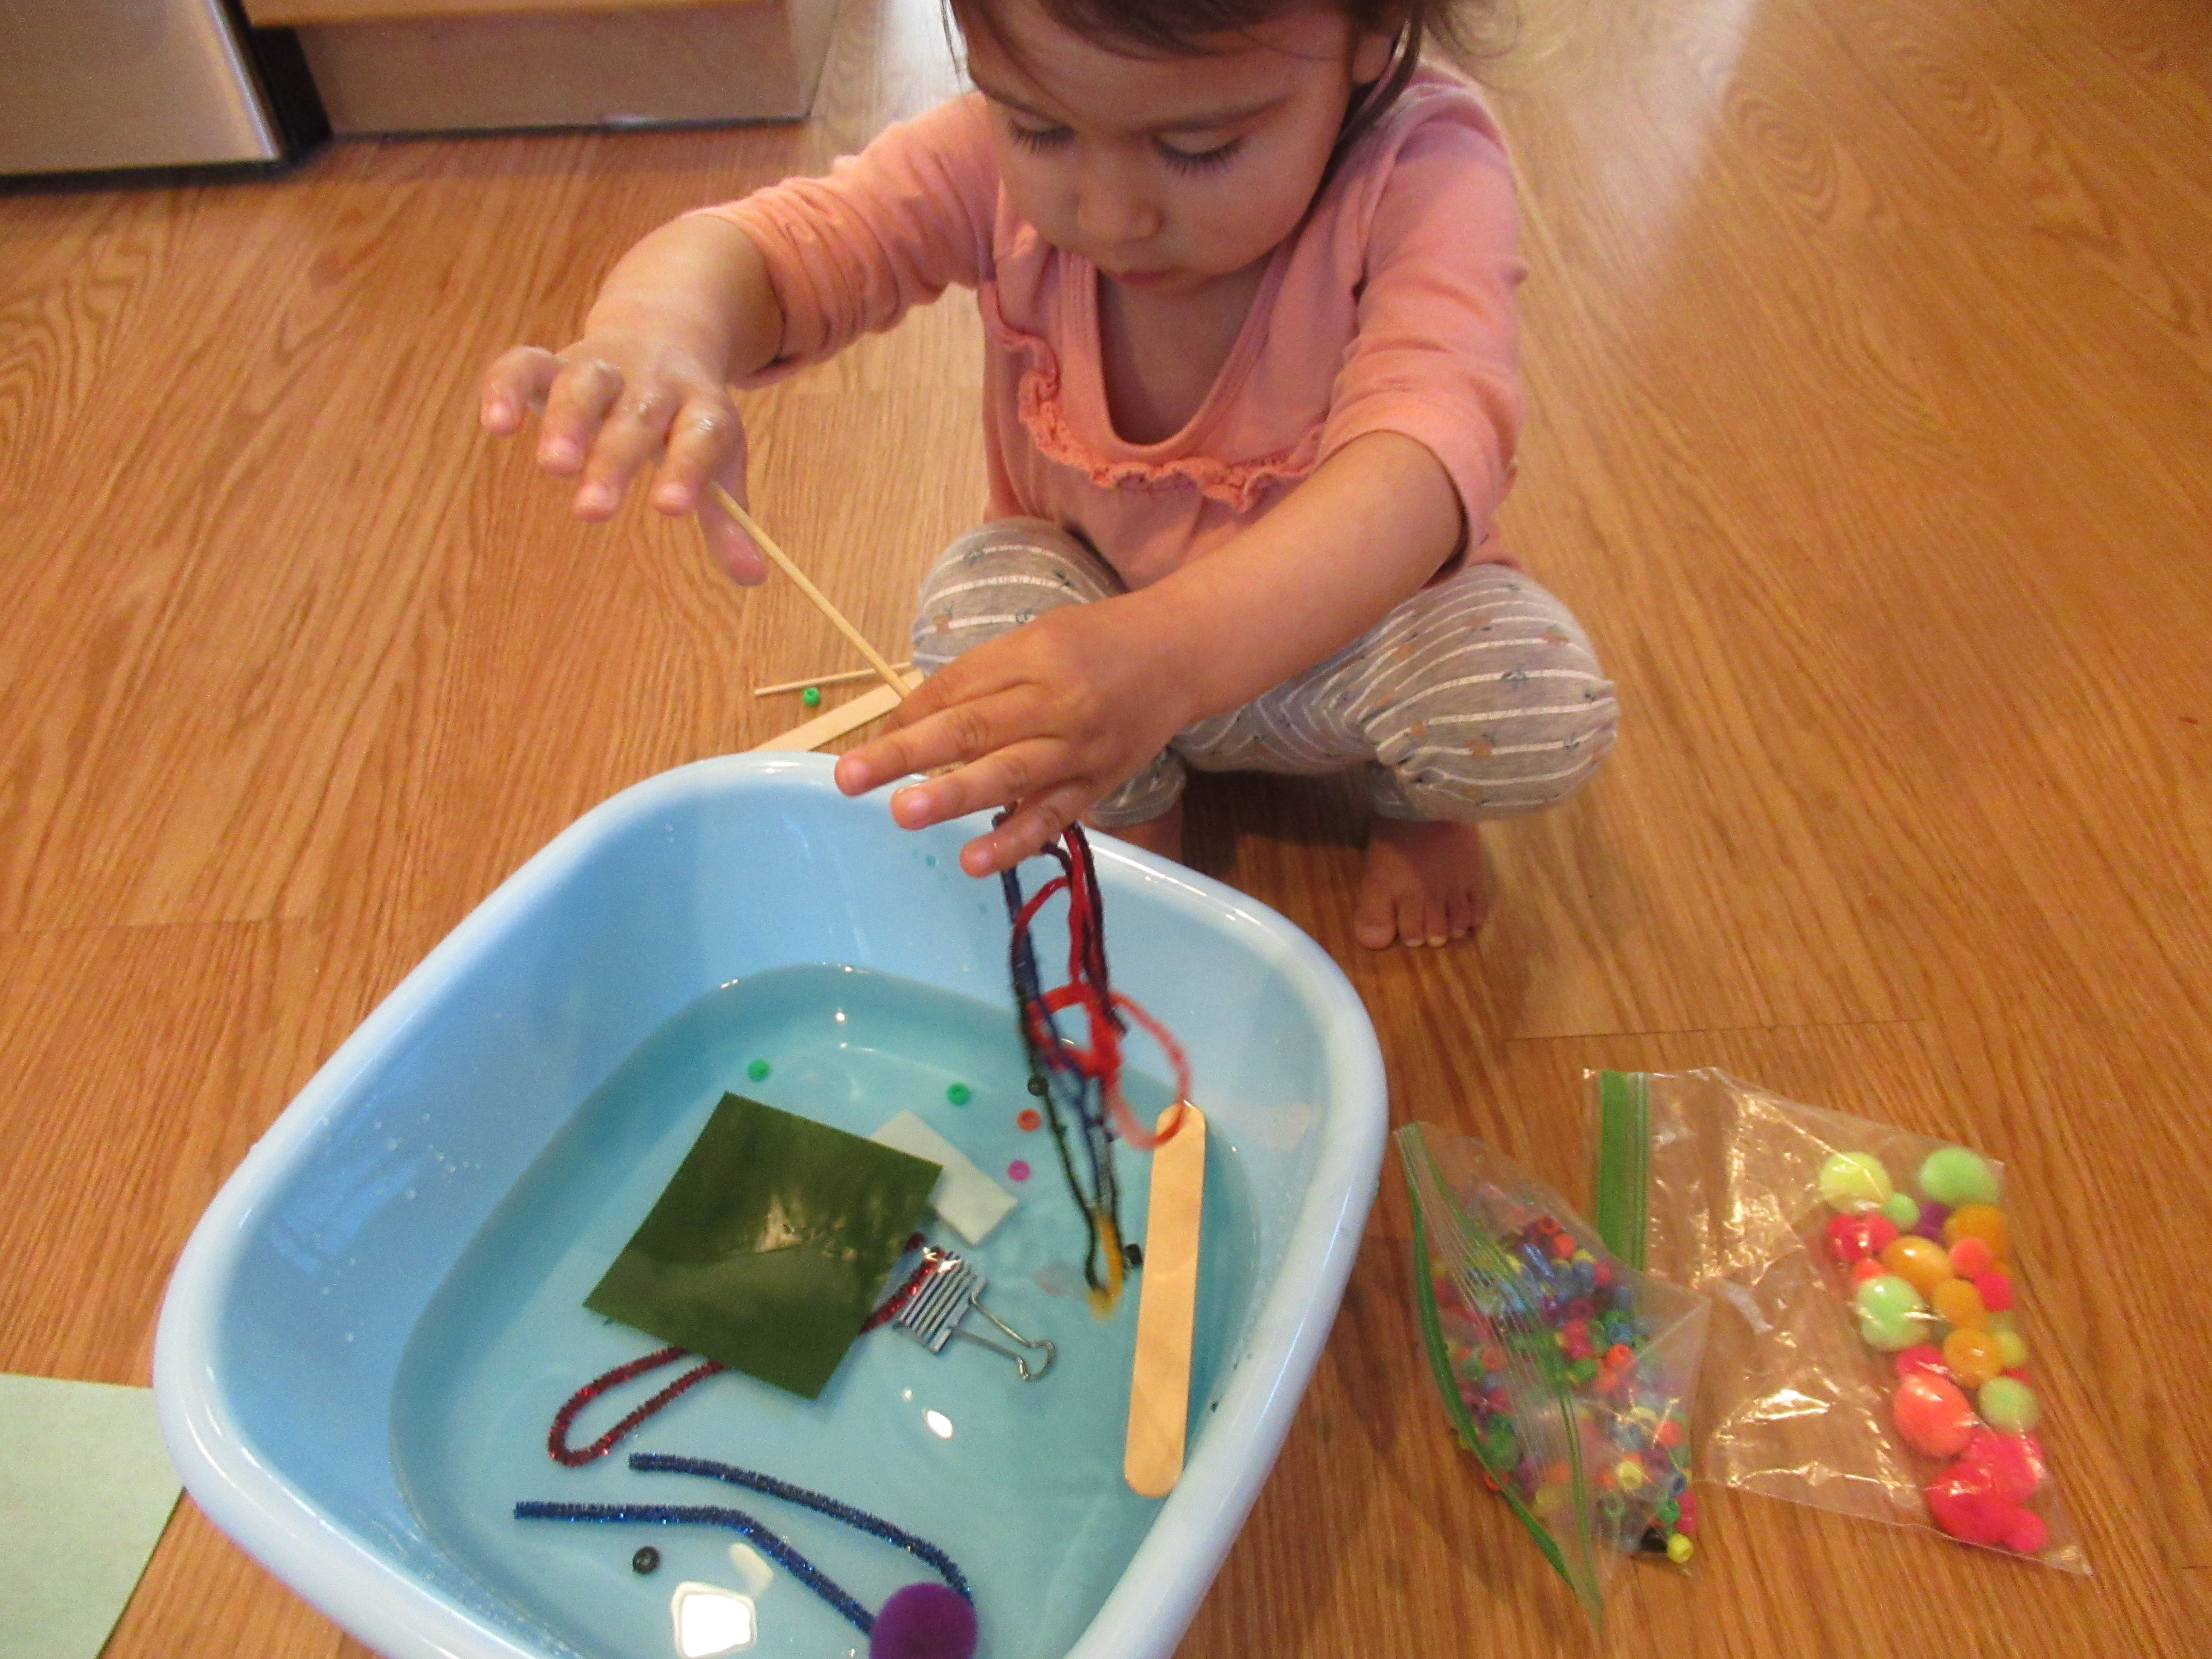
The point of the activity was mainly sensory play for Veronika, feeling not only the sticky paper and observing its effect, but also enjoying the various textured materials. For something more artistic, simply turn the final creation into a collage by placing a second sheet of contact paper on top!

Sticky Table Sensory (5)

Play in a Box

Boxes can be anything and everything, but often when we play with them, I give Veronika a prompt or we embellish the boxes in some way. Today, we had several empty delivery boxes in the house, and I simply presented them to her as is, curious to see what she’d do with them!

First, she wanted to climb in. I did add a little bit of detail with crayon so she had a “steering wheel” and dashboard, and now it was her race car! Similarly, you can quickly make a box into a boat or plane with just a few swipes of crayon.

Next, I turned the box so the opening was on the bottom. Now it was a perfect table! I loved watching her stage a tea party in the afternoon sunlight. A box like this is also perfect for kitchen or restaurant play.

Finally, we turned a few smaller boxes on their sides. Now they were a perfect stable for horses…

…or a cozy house for her puppy dog!

What will your child do with a box? Please share in the comments!

Lines of Tape

2 Lines of Tape (1)

Sometimes, facilitating a full morning of play is as simple as laying down a few lines of tape on the floor. To wit, here are several different ways we played with tape on this lazy Sunday!

The first idea came from Hands on as We Grow, using a few strips of tape to build gross motor skills. Lay down six lines of tape so they are almost like the rungs of a ladder. First, the kids hopped forward on them.

6 Lines of Tape (2)

But a bigger challenge was next: Hop backwards!

6 Lines of Tape (3)

Big brother Travis then tackled the course on one foot; hopping like this is still too advanced for Veronika, but she loved watching.

6 Lines of Tape (4)

Next, I challenged them to see how far their legs could stretch. Travis proudly got across 5 lines! Veronika loved imitating his pose.

6 Lines of Tape (5)

Next up was reaching with the arms…

6 Lines of Tape (6)

…and then with whole bodies! Travis was a full 6 lines tall, and Veronika stretched across 5. She wanted to measure up her stuffed puppy, too!

6 Lines of Tape (7)

From here, we moved on to a different activity using colored lines of tape. This time I taped down three different colors of duct tape, each one taking a few twists and turns.

2 Lines of Tape (5)

The first challenge was to move the building blocks in the same color as the line from one end of it to the other.

2 Lines of Tape (4)

Veronika diligently followed the lines with dainty footsteps…

2 Lines of Tape (7)

… and then loved building up structures at the other end! When I gave her red blocks and asked her to follow the red line, she looked so confused for moment until I amended, “The pink line!” This girl knows her colors.

2 Lines of Tape (6)

We ended the day with a relay race!

2 Lines of Tape (8)

This final activity was great for balance; I handed each kid a spoon with a ping pong ball balanced in the center and they each picked a colored line to walk along.

2 Lines of Tape (9)

They loved racing to the finish, Travis on green and Veronika on blue. Travis was so proud to win, and loved cheering on his little sister, too!

2 Lines of Tape (10)

Tropical Fruit Slushie

Tropical Smoothie alt

This drink is so thick I consider it more of a slushie than a smoothie! If you prefer a more watery beverage, decrease the amount of each fruit to 1/2 cup.

Ingredients:

  • 3/4 cup frozen pineapple
  • 3/4 cup frozen mango
  • 3/4 cup frozen strawberries
  • 1 cup soy milk
  • 1/2 cup orange juice
  1. Combine all of the ingredients in a blender and blend until smooth.

Add brightly colored tropical straws to serve!

Rainbow Water Bead Sensory Bags

If your kids love water beads but you hate the mess, consider these eye-catching sensory bags. Kids still get the look and squishy tactile fun, without the risk of all those beads skittering across the floor!

To set up, it helps to buy a rainbow pack of water beads where each color comes separately; I promise that you don’t want to try to sorting water beads once saturated.

I filled a zip-top bag with about 1 tablespoon of each bead color, then added water so they could soak overnight. If you notice the beads have absorbed all the water, just add a bit more.

In the morning, the bags were full! I dumped out about half the beads from each to make room, then added a little extra water and tinted it with the appropriate color of food coloring. Seal tightly (it helps to add a strip of duct tape for extra security!) and hand over to your tots.

These are great lying flat on the ground so Veronika could see the beads. She loved that she could push the beads through the water inside with her fingers.

But she also loved picking them up and tossing them! Having the full rainbow is great for teaching ROYGBIV order of course, as well as visually gorgeous.

For all that effort to seal the beads up, she did still want to play with some beads out of the bag. So I poured the extras into a wide bin. Pretty soon, toys were swimming through, and big brother Travis needed to join the fun. Luckily, not too many went skittering away!

Chalk Fun, Indoors and Outside

Chalk Fun (13)

There are so many ways to play with chalk, ranging from the artistic to the educational, and from indoor activities to outdoor fun.

To start, Veronika tested out some indoor ways to play, many of which were suggestions from the Toddler’s Busy Book. Of course you can simply draw on paper, which is a novel variation over a chalkboard. Once complete, set the picture with a spritz of hair spray!

Chalk Fun (1)

It’s also fun to wet paper with a damp sponge and see the difference in color in the wet and dry spaces. Note: The Toddler’s Busy Book also suggests wetting paper with laundry starch and buttermilk… but we skipped both of those.

Chalk Fun (2)

You can also soak chalk in a sugar-water mixture (about 1 cup water to 1/2 cup sugar) for 10 minutes, then draw with it for a wonderfully saturated look.

Chalk Fun (5)

Prefer your chalk on the dry side? Veronika enjoyed simply drawing on the paper and then smearing over it with a cotton ball.

Chalk Fun (3)

Now it was time to head outside! First, we placed a piece of paper down on the ground for a “sidewalk rubbing”, similar to those we’ve done against the bark of a tree with crayon.

Chalk Fun (6)

Next up was a little learning! I tried some early letter matching for Veronika, having her pick out two Vs from a cluster of letters, for example. Or, if she found the upper case T, could she point out the lowercase t? I used only letters she’s very familiar with, but preschoolers can tackle a whole chalk alphabet!

Chalk Fun (8)

Chalk also works well for teaching number correspondence; simply write the numerals next to chalk dots in the corresponding number.

Chalk Fun (9)

Don’t forget shapes! To start, I simply drew a few shapes and had her find me two of each, such as the two triangles, or the two circles.

Chalk Fun (10)

Then we upped the ante with a chalk maze! I drew paths with squares, circles, and triangles, each in a different color.

Chalk Fun (12)

Veronika was a master at this game, zigging and zagging with aplomb and never missing a turn to stay on the same shape.

Chalk Fun (15)

She then spent some time pouring water over the chalk, because it’s always great fun to see chalk lines disappear.

Chalk Fun (11)

That led us out to the back patio where we ended the fun with more water:

Chalk Fun (16)

Dip the chalk sticks into cups of water and then paint right on the glass of a window or patio door.

Chalk Fun (17)

What’s your child’s favorite way to play with chalk? Please share in the comments!

Chalk Fun (4)

Orange Coconut Sorbet

Orange Sorbet (2)

This icy treat is a cinch to make, with just three ingredients and a little time in the freezer.

Ingredients:

  • 2 cups orange juice
  • 1 cup coconut milk
  • 2 tablespoons agave nectar
  1. Combine the orange juice, coconut milk, and agave in a bowl, stirring with a whisk.
  2. Transfer to a freezer-safe container and freeze. Every 2 hours or so, fluff with a fork and then return to the freezer until the mixture reaches desired consistency. We loved ours after about 8 hours, when it was almost like an orange slush. Give it closer to 10 or 12 hours for a smoother sorbet.

Scissor Pathfinding

Veronika is just starting to work on her scissor skills, after some early forays cutting play dough. This is a cute way to give your child a bit more of a challenge, as he or she learns to hold the blades!

To start, I made two straight lines on construction paper, then started each line with a little snip and handed over the safety scissors. After a review of how to properly position the scissors in her fingers, Veronika could make a little snip or two.

She loved the challenge, although it also became clear pretty quickly that cutting is still too advanced for her.

She wanted to show her stuffed animals how to snip (“You did it Puppy!”) and sometimes wanted to tear along the lines instead, with great pride at the shapes of paper that resulted.

For preschoolers, make it a little more challenging. Draw a “path” that changes direction, instead of a straight line.

Then see if your child can find his or her way along this path. You can even make it curvy for those kids who are nearing kindergarten!

What Sinks or Floats from the Craft Bin?

Simple Sink or Float (4)

Today, I gave Veronika full permission to raid the craft bin…in order to see what would sink or float from it, that is!

This was a cute variation on the simplest kind of “what sinks and what floats” activities for toddlers. Alternatively you could have your child gather toys from around the house, but using items from the craft bin gave us a wide variety of materials.

Simple Sink or Float (1)

First, I simply asked her to predict what would happen as she dropped each item in. She was holding a metal clip to start and guessed, “Float!” Of course, it sank right to the bottom. Pom poms floated though!

Simple Sink or Float (2)

We continued in this way, sometimes with unexpected results. Pony beads sank if they fell on their side. But if water evenly filled the hole in the center, they floated like inner tubes…until her little fingers poked them down. Pipe cleaners floated at first, but sank once fully saturated.

Simple Sink or Float (3)

I thought tissue paper would be fun, and indeed Veronika loved that she could wad it up into little balls and then fish it out, but the dye started leaking off onto our hands. Whoops!

Simple Sink or Float (5)

Wooden items (such as craft sticks) floated, while a big rubber eraser sank. And some things, like saturated strands of yarn, were purely fun to play with while wet! I loved watching her take note of each item as she plopped it in, and seeing her little brain register why some things stayed on the surface, while others fell to the bottom.

Simple Sink or Float (6)

In sum, this is a neat way to sneak in a STEM lesson while a toddler thinks they’re just playing with items in water!

Veggie Roll-Ups

This wrap sandwich is perfect for tucking inside a school lunch box. If you prefer a slightly heartier spread, substitute 1/4 cup mashed tofu for the hummus. We like this with garlic hummus, but plain is yummy, too!

Ingredients:

  • 1/2 avocado, mashed
  • 1/4 cup hummus
  • 2 whole wheat tortillas
  • 2 tablespoons chopped red bell pepper
  • 2 tablespoons chopped tomato
  • 2 tablespoons chopped cucumber
  1. In a small bowl, stir together the mashed avocado and hummus until combined.
  2. Divide the avocado mixture evenly among the two tortillas, spreading over the surface.
  3. Sprinkle evenly with the bell pepper, tomato, and cucumber. Roll up tightly and cut in half or smaller pieces to serve.