Ping-Pong Pop Up Bath

Ping Pong Pop Up Bath (4)

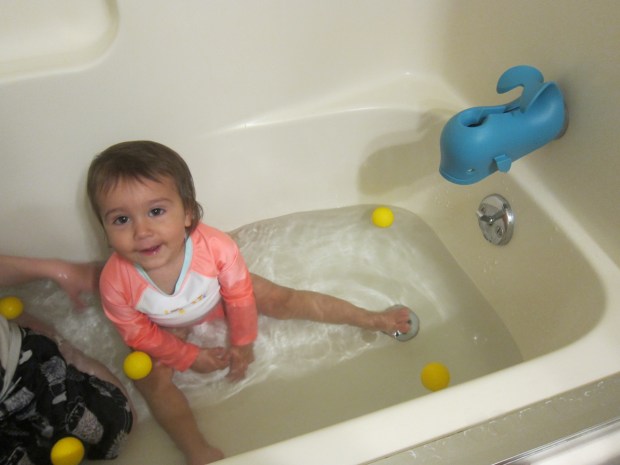
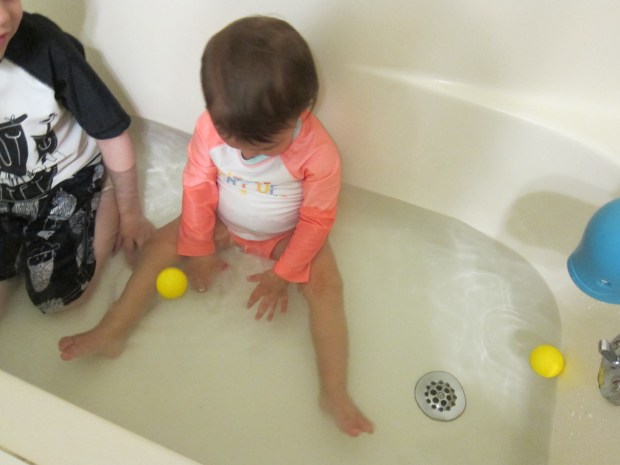
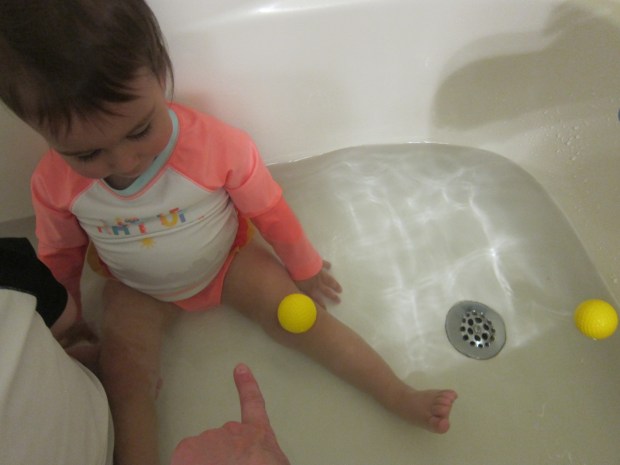
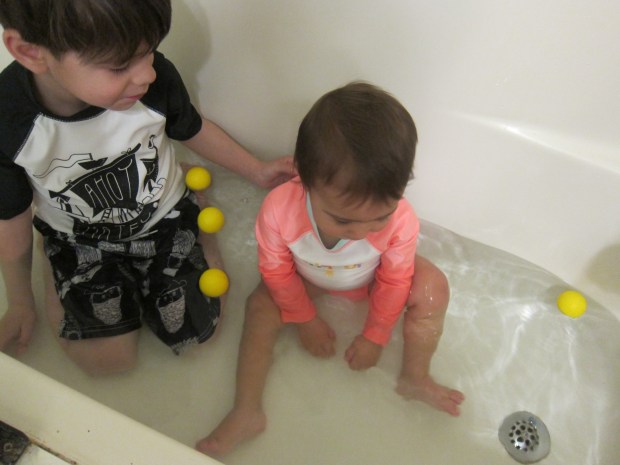
The kids have just started to take a bath together, a big milestone around here now that Veronika is okay to sit in deeper water. This bath game is one that a toddler and kindergartner will both love!

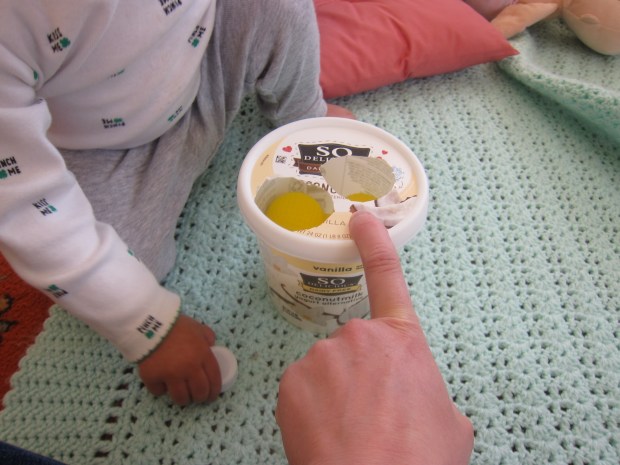
Simply fill the tub, add soft ping-pong balls (or golf balls), and watch them pop up! No matter how the kids pushed, the balls always popped back to the surface.

Ping Pong Pop Up Bath (3)

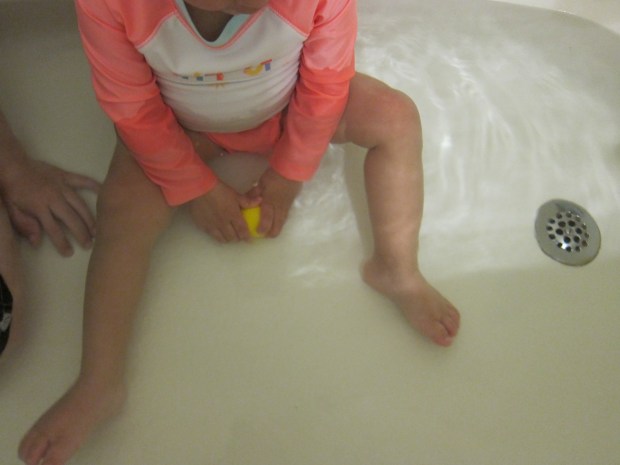
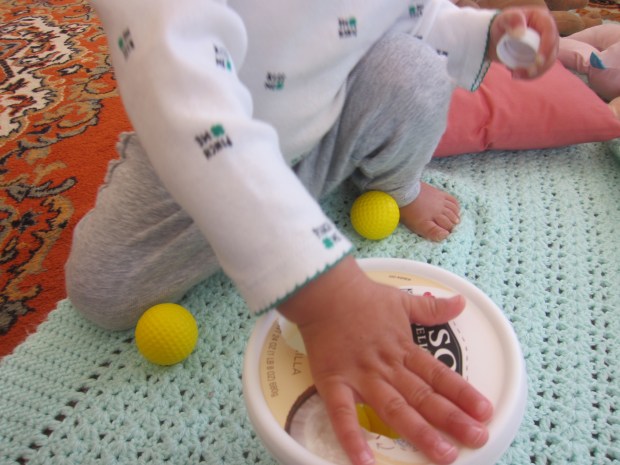
This is pure simple fun. Push it down…
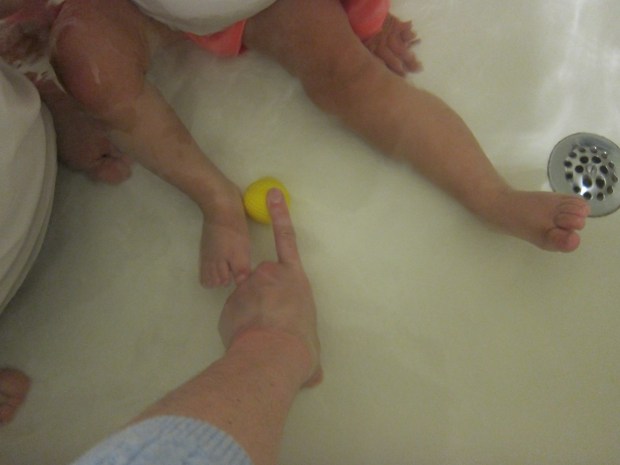
Ping Pong Pop Up Bath (1)

…watch it pop up!

Ping Pong Pop Up Bath (2)

We tried it with one ball at a time, or with multiples, which got a big laugh.

Ping Pong Pop Up Bath (6)

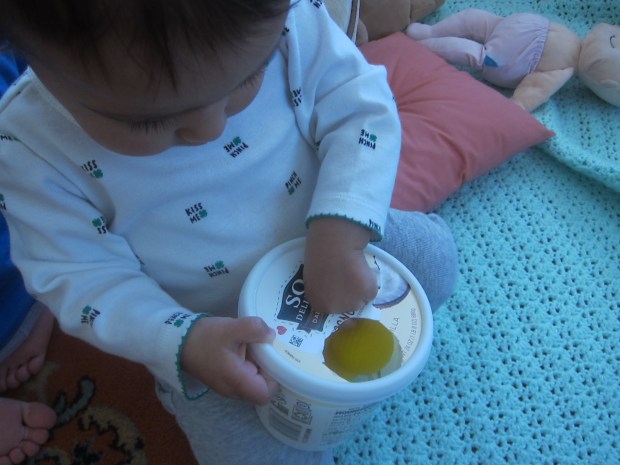
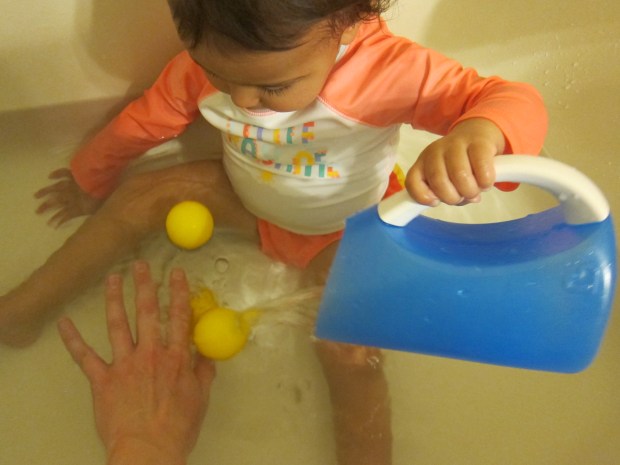
Veronika also discovered she could put them in our rinsing cup and pour them out. The balls might have bobbed below the surface for a moment, but they always popped right back up again!

Ping Pong Pop Up Bath (8)

Consider this game any night you want to make bath time feel special with almost no effort.

Ping Pong Pop Up Bath (7)

Power-Up Pancakes

Power Up Pancake (4)

For a kid who recently learned all about circuits and electricity, getting to use an appliance for his own snack today was a big thrill. Add to the electric fun of this recipe by decorating it with a “light bulb”!

First, we needed to reheat a pancake. I showed Travis how to slot it into the toaster, and then carefully press down the button. Of course in doing so he completed a circuit!

Power Up Pancake (1)

To top the pancake, slice the sides from a pear. I asked Travis which one looked most like a light bulb to him, and we used orange marmalade to “glue” his selection on to the pancake. (Alternatively, use apricot jam or any other “light” colored jelly).

Power Up Pancake (2)

Slivered almonds made the perfect decoration for shining light along the sides and bottom of the bulb.

Power Up Pancake (3)

Macaroni & Cheese

Macaroni and Cheese (2)

I wish I could claim there was some secret, healthy ingredient in this homemade mac ‘n’ cheese. But nope. This is pure comfort food, and sometimes that’s exactly what the family needs.

Ingredients:

  • 8 ounces elbow macaroni
  • 6 tablespoons Earth Balance butter
  • 6 tablespoons flour
  • 3 cups unsweetened soy milk
  • 2 cups shredded Daiya cheddar
  • 1/8 teaspoon salt
  • 1/8 teaspoon black pepper
  • 1/8 teaspoon yellow mustard
  1. Cook the pasta according to package directions. Drain and set aside.
  2. Meanwhile, melt the butter in a large saucepan over medium-high heat. Add the flour and whisk until combined. Add the soy milk and cook for about 2 minutes, until the mixture starts to thicken.
  3. Stir in the cheese and continue to cook over low heat until the cheese becomes melty. Stir in the pasta, salt, black pepper, and yellow mustard.

Macaroni and Cheese (1)

Sheet Day

Sheet Day (3)

In life with a toddler, it’s easier to do a chore (any chore!) if you turn it into a game. Here’s my hack for making it feel less like drudgery on the day I wash the sheets.

Strip the bed, but don’t toss the sheets into the washing machine right away. First, make a fort! You can mix things up each time, but ours always involves some variation of the couch cushions, cozy pillows and blankets to sit on, and the sheets strung across the top.

Sheet Day (2)

Veronika loves to pretend this is her house. A little pillow makes a handy “door” for coming to visit. “Ding dong!” she says for the doorbell.

Sheet Day (5)

Inevitably, it just becomes a cozy place to crawl in and hide.

Sheet Day (7)

Or relax and read!

Sheet Day (8)

Don’t forget about pillowcases. They are perfect for playing peekaboo.

Sheet Day (10)

Or for wearing as superhero capes.

Sheet Day (6)

When we’re done, I ask for Veronika’s help to throw all of the sheets into the laundry basket. She loves this part!

Sheet Day (11)

The sheet day fun is complete, and so worth it that I don’t mind making the beds up after.

Sheet Day (9)

Mix a Pancake

Mix a Pancake (4)

A friend once told me her kids ate pancakes for breakfast every morning and my mind nearly exploded. How did she deal with the mixing, and griddles, and clean up and still get the kids to school on time? In my house, pancakes are a weekend project!

Well, one of the benefits of home schooling is that mornings move slower now, and there’s more time for a pancake mess. All I needed was a handy trick to keep my toddler busy until the pancakes were ready! Here’s a fun rhyme you can turn into a game:

Mix a pancake,

Stir a pancake,

Pop it in the pan.

Fry the pancake,

Toss the pancake,

Catch it if you can!

Mime the actions for each line as you say the poem through the first time, and then add props! Veronika has a few spoons and pans that are just hers, for keeping busy in the kitchen.

Mix a Pancake (1)

Beanbags then make perfect “pancakes”!

Mix a Pancake (3)

Tossing and catching the “pancake” was especially fun.

Mix a Pancake (5)

You’ll have breakfast on the table in (almost) no time at all.

Mix a Pancake (2)

Simple Sorter

Simple Sorter (2)

Veronika has started to recognize shapes. Although right now she calls almost all of them “stars”, what she’s exhibiting is an awareness that the world is made of shapes. She’s just starting to say triangle and circle, too! So I grabbed at the chance for some early learning today, by making a shape “sorter” with only one shape.

She has a toy bucket and lid that features a variety of shapes, but this can make it confusing for toddlers who are just learning the vocab. Instead, the sorter I made her only contained circles. I cut holes in the lid of a clean non-dairy yogurt container. Ideally you want your cut-outs to be a perfect circle, although this was tough to achieve with the knife I used.

Simple Sorter (1)

I gave Veronika the can and lid, along with soft yellow golf balls to push through.

Simple Sorter (5)

Since it was all circles, I could help her say “circle, circle, circle” over and over as she pushed each one through.

Simple Sorter (3)

She used a round milk carton cap a few times, too, which roughly fit the circle theme.

Simple Sorter (6)

The golf balls were just the right size though, such that she had to give each one a little push to make it pop in. She seemed to enjoy that sensation!

Simple Sorter (9)

It seems like we’re all about inserting into containers and dumping these days, but whatever keeps her toddler hands busy is fine with me!

Simple Sorter (8)

Clothespins and Containers

Clothespin Drop (6)

Clothespins plus containers are a match made in heaven, perfect for keeping little hands busy. Today, Veronika and I played a few variations on the game.

We started with an empty almond milk jug, which was perfect because it had a lid that Veronika could easily twist on and off, plus the hard plastic sides meant that clothespins inside would make a nice jangling noise.

Clothespin Drop (1)

I simply showed her how to drop clothespins in.

Clothespin Drop (5)

And she took it upon herself to dump them out again!

Clothespin Drop (2)

For variation, seal it up and shake it like a maraca. For further variation, drop something else inside! We decided metallic spoons might be too loud, but give them a try if your kids like things really noisy.

As an alternative clothespin game, I showed Veronika how to pinch spring-type clothespins around the rim of an empty coffee can.

Clothespin Drop (3)

The pinching motion proved to be too advanced still for her at seventeen months, so I’ll probably return to this game down the road.

Clothespin Drop (4)

But when I cut a hole in the center of the coffee can lid, she loved dropping clothespins inside!

Clothespin Drop (8)

She needed help to remove this lid, but then could dump the clothespins out and begin again. The can also makes the perfect place to store clothespins, when we’re ready to put the game away.

Clothespin Drop (7)

As a side note, coffee cans are also great for filling with rocks.

Clothespin Drop (11)

Drop them in, put on the lid, and shake away for a noisy maraca! This was a great way to extend some recent rock play.

Clothespin Drop (12)

Creepy-Crawly Pranks

Creepy Crawly Prank (1)

Travis got silly today tricking other members of the family with a few buggy pranks! This was a nice change of pace from home school work, and it felt good to make him laugh.

For the first prank, we simply placed an empty paper cup on daddy’s desk with this note: Do not lift. Huge spider underneath.

Creepy Crawly Prank (4)

Of course there was no spider; it was just about the anticipation. But Travis cackled with delight when his dad opened it up to find nothing creepy waiting beneath.

Then we made a buggy snack! Draw little ants (or other bugs) with a black sharpie on a plastic snack bag.

Creepy Crawly Prank (#)

Fill with food and leave out where the recipient can find ants having a picnic.

Creepy Crawly Prank (6)

The third prank was the best one by far: a giant bug shape that Travis colored in. I cut out the shape and we taped it to the inside of a lamp.

Creepy Crawly Prank (2)

When the lamp turns on, your prank victim will see the large bug shadow. This one definitely got a yelp of surprise! All in all, Travis loved making everyone laugh with these pranks.

Creepy Crawly Prank (5)

Does your child have a favorite prank? Please share in the comments!

Kindergarten Home School Week 6: Wednesday

Home School 28 a

We went even lighter on the school work today, halfway through “vacation week”. I think it’s safe to say this mama teacher needs a bit of a break, too! For what it’s worth…

9-9.30: ELA. Doing the V and W letter pages in his workbook received lots of protest from Travis, but he was proud to reach the end of the next level in his Lexia computer program.

9.30-10: Math. Travis worked on patterns and adding on Dreambox for about 15 minutes.

10-10.30: Field trip! We “flew” over Bryce Canyon through the National Park’s website. It’s safe to say I thought this was cooler than Travis did.

Home School 28 c

10.30-11: Art. Travis painted drip pots, which was a neat method. Baby sister was busy painting rocks.

The “school day” ended there. A long lunch sort of derailed us all. We spent the afternoon without structure, but Travis had fun building with Magna-tiles, doing a story yoga about Harry Potter, and visiting with relatives online.

Home School 28 b

Can Towers

Can Towers (6)

A big shipment of cat food arrived today, and before I put the cans away, I had a feeling they would make perfect toddler building blocks! Boy was I right. No sooner did I put the boxes of cans down on the ground than Veronika had her hands on them and started stacking.

Can Towers (2)

These were 3-ounce cans, which I would declare the perfect size for toddlers; I didn’t worry about them being too heavy if they fell. You can play this game with more standard 15-ounce cans, but if so I would recommend making sure your child has shoes on, in case of dropped items. Alternatively, play with larger cans that are empty, but then you’ll need to make sure you’ve duct-taped over any sharp edges.

Can Towers (3)

Meanwhile, these little cat food cans did away with any of that prep work! She loved building high, and seeing how many she could stack. And then of course she loved the kaboom of knocking her towers over.

Can Towers (4)

The game looked like so much fun that big brother Travis came over to join in. The kids had a competition to see who could stack higher of course!

Can Towers (7)

Bigger kids might get fancier with their blocks creations, too.

Can Towers (10)

After a while we even had “bulldozers” to help clean up the debris from our toppling can towers.

Can Towers (9)

In sum, little cans make great “blocks” for small hands.

Can Towers (5)