Food Faces

Foodie Faces (1)

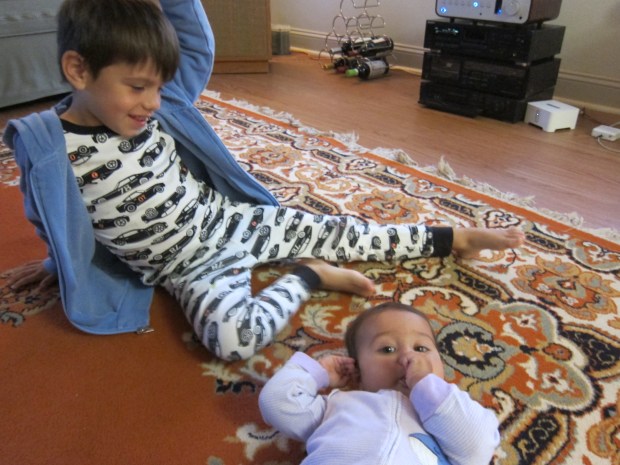
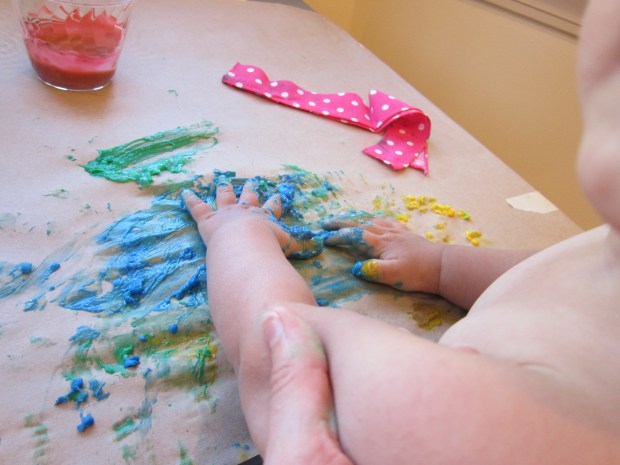
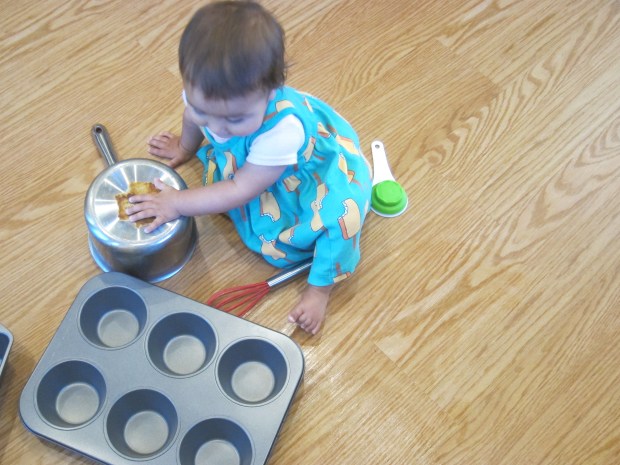
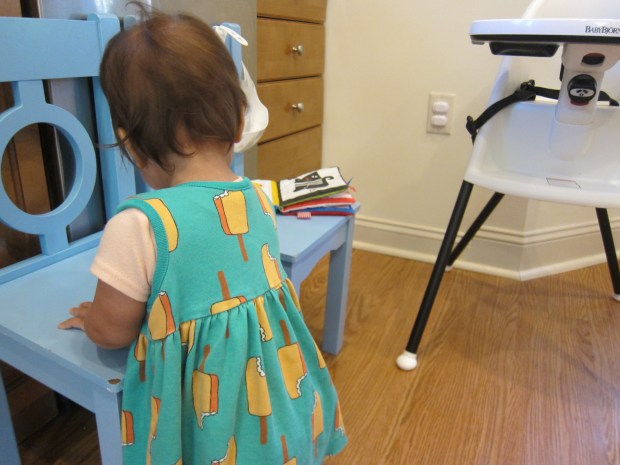
If you find that your 10-month-old is still playing with food more than eating it, you’re not alone; pediatricians point out that until age 1, any solids count as practice, with the main source of calories still coming from breast milk or formula. So practice away!

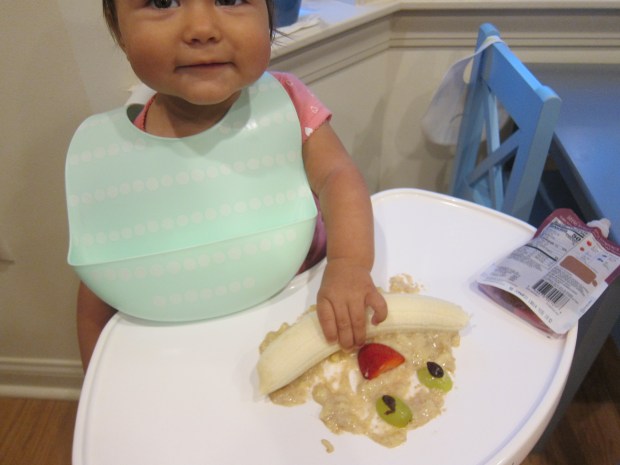
Now is the time for food to be fun, and today, I gave Veronika two “faces”, one at breakfast and one for a snack.

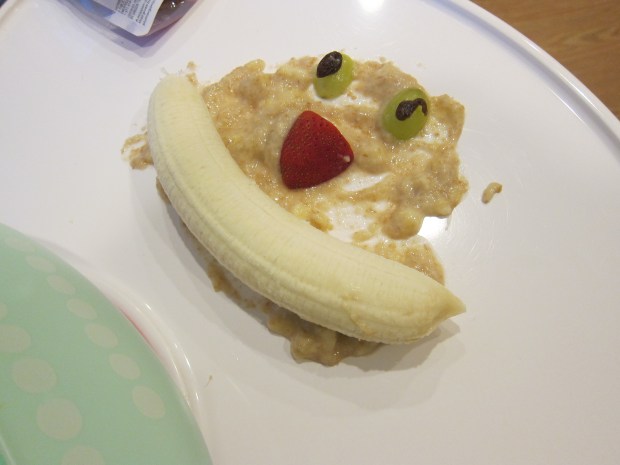
The breakfast face had a banana smile, strawberry nose, grape eyes, and raisin pupils (soak the raisins in water first, so they are less of a choking hazard). I pointed out each feature to her before she began smearing and picking up portions.

Foodie Faces (2)

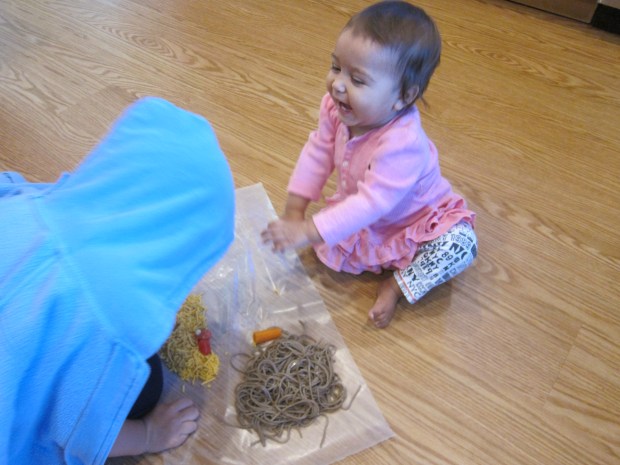
At snacktime, I laid out another silly face: cooked noodles for the mouth, cooked carrot for the nose, cherry tomatoes as eyes, corn as pupils, and shredded Daiya cheese as the hair.

Foodie Faces (3)

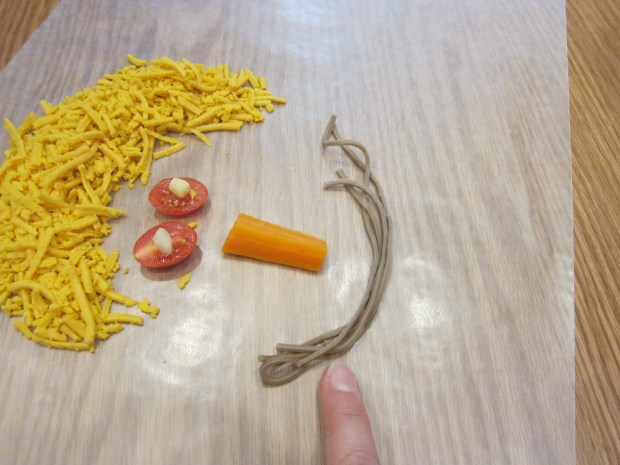
Again I pointed and named each feature, but soon her brother wanted to eat the cheese, which Veronika thought was hilarious. I added a pile of extra noodles and it turned into sensory play. Now that’s foodie fun!

Foodie Faces (4)

Unpoppable Bubbles

Unpobbable Bubbles (4)

There’s some serious “wow” factor to this little bubble experiment, the perfect way to turn a ho-hum morning into something special!

To make the bubble solution, pour 1/4 cup water into a container. Add a little blue food coloring just so it’s easier to see.

Unpobbable Bubbles (1)

Stir in 1 tablespoon dish soap and 2 tablespoons corn syrup.

Unpobbable Bubbles (2)

A straw will be your bubble blower, but the secret now is that you also need a pencil.Travis dipped the pencil tip in the solution, as I dipped in the straw and blew a bubble.

Unpobbable Bubbles (3)

He poked the saturated pencil tip into the bubble… and the bubble doesn’t break!

If you want a quick run-down of what’s happening here, basically the “skin” of the bubble merges with the soapy surface of the pencil tip, so that no air gets in and makes the bubble pop. If you try it with a dry pencil, you’ll get a pop right away! We had fun seeing how far in we could poke the pencil.

Unpobbable Bubbles (5)

And then had lots of extra bubble solution to blow out on the back patio!

Finger-Paint Art

Finger-Paint Art (9)

I’m getting braver when it comes to Veronika and art, but as a safety measure, it’s still a good idea to keep art materials contained or edible at this age. This edible finger-paint is a cinch to whip up!

To make the paint, combine 4 tablespoons boiling water and 4 tablespoons cornstarch, mixing well with a whisk.

Finger-Paint Art (1)

Continue to add boiling water just until the paint looks like heavy cream. Divide among 4 cups and add food coloring. Let cool completely.

I stripped Veronika down to her diaper and taped a large piece of craft paper to the table (precautions are still necessary to avoid a huge mess) and sat down with Veronika on my lap.

Finger-Paint Art (2)

I showed her how to dip her fingers or whole hand into the cups of paint, and then press onto the paper. She seemed hesitant at first…

Finger-Paint Art (4)

…but soon was smearing away!

Finger-Paint Art (3)

My hope had been to get some nice finger- or handprints that could be transformed into little pictures. Alas, most of hers were too messy, so I made a mommy handprint and turned it into a little turkey with markers.

Finger-Paint Art (8)

Drawing flowers or bugs or any other creation would be cute, too! Another fun idea was dipping some fabric into the paint, and then smearing this all over our paper.

Finger-Paint Art (5)

Once we had lots of nice blobs, I folded the paper in half and then opened back up again to introduce the notion of symmetry.

Finger-Paint Art (11)

And then the art lesson was done and it was time for clean up and new clothes!

Finger-Paint Art (7)

Seasons in the Hemispheres

Hemispheres (4).JPG

This very simply lesson from Raddish Kids was informative, though it lacked the “wow” factor of other lessons from the company. Still, Travis was intrigued and stuck with it from start to finish.

First, I asked him to name the four seasons. Chart your child’s answers, and then make a list of different aspects of the seasons. Travis came up with things like: cold versus hot; snow versus sun; and different colors, like white versus green.

Now time for a little lesson; the world is divided into northern and southern hemispheres, separated by an imaginary line called the Equator. When it it is summer in the north, it is winter in the south, and vice versa.

Hemispheres (1)

To illustrate this point in a tangible way, draw a line around an orange. We labeled the top N and the bottom S. I had him point out where we lived, and we drew a simple outline for North America. An outline of Argentina, where our recipes came from, went into the south.

Hemispheres (2)

Spear the orange with a chopstick from “north pole to south pole” to show Earth’s axis. Now hold up a soccer ball as your sun. As you rotate the “Earth” around at a slight tilt (fun fact, Earth’s axis is tilted 23.5 degrees), your child will start to see why sometimes it is summer and sometimes winter.

Hemispheres (3)

We watched two suggested videos for a slightly more in depth explanation.

Hemispheres (5)

Now it was time for Travis to plan his winter birthday party! As a summer baby, I had him imagine what it would be like to live in a southern continent. He decided it would be an ice party, where everyone drank hot cocoa and came in snow boots.

Hemispheres (7)

If you really wanted to go all out for this lesson plan, you could recreate a mini birthday celebration of opposite seasons for your kids! At the very least, celebrate with some dulce de leche cookies.

Finally, we checked out the difference in temperature in the hemispheres today. Because it is fall/spring, the difference wasn’t thrillingly obvious. Older kids may want to pick a city in the opposite hemisphere and chart the differences in temp over a whole week.

Hemispheres (8)

Classic Beating on Pots & Pans

Classic Pots (8)

Today I needed to keep Veronika occupied while baking banana bread, so I pulled out an old classic: a kitchen percussion set made from pots and pans.

For novelty, though, I made today’s focus less about the musical element and more about sensory play. I provided her with several different types of baking ware: a saucepan, a muffin tin, and a loaf pan. We started out drumming with bare hands, and I drew her attention to the sound this made.

Classic Pots (3)

Then I set out a variety of implements to be drum sticks, everything from spatulas to wooden spoons to cookie scoops.

Classic Pots (5)

Look for a variety of materials in your kitchen; we had soft silicone, wood, metal, and more. I sat with Veronika and asked her about the different sounds she was hearing. She grinned up at me and tested them all!

Classic Pots (4)

When I showed her how to swirl the whisk in a muffin cup or saucepan, she was an eager mimic.

Classic Pots (7)

You can also make piles and see how this changes the sounds around. If the loaf pan was on top of the muffin pan, it sounded different (more metallic) than when it sat alone on the floor.

Classic Pots (6)

Once our little sensory lesson was done, Veronika kept busy by herself as mommy finished up the banana bread. A win-win!

Classic Pots (2)

Cruise Control

Cruise Control (7)

Veronika loves pulling up these days, anywhere and everywhere, and is making those first moves towards walking. To safely encourage those first few steps, one great practice area is a cruising station!

I lined up a few child-sized chair in our kitchen, with the backs securely against a cabinet so they couldn’t tip. I started Veronika at one end and placed a tantalizing toy on the other end, hoping to encourage her to side-step.

Cruise Control (1)

It turned out she was way more interested in the circular back of the chair where I had started her than in the toy!

Cruise Control (2)

So thinking quickly, I reversed her and started her on the other end. Now she had incentive…

Cruise Control (3)

She moved her hands…

Cruise Control (4)

…and then her little feet followed. Soon she had the gist of it, and arrived at her goal so proudly.

Cruise Control (5)

Success!

Cruise Control (6)

Eventually, I did put the toy back on the other chair, and this time she knew how to side-step on over.

Cruise Control (8)

This game was a fantastic success for gross motor development, and enjoyable to boot.

Cruise Control (9)

Banana Bread

Banana Bread (2).JPG

This nut-free banana bread is sweetened with agave and applesauce and has no added oil. Perfect for babies and toddlers, in other words, but big kids love it, too!

Ingredients:

  • 2 cups flour
  • 1 tablespoon + 1/2 teaspoon baking powder, divided
  • 1 teaspoon baking soda
  • 3/4 teaspoon salt
  • 1/2 cup applesauce
  • 1/2 cup melted Earth Balance butter
  • 2 tablespoons thawed apple juice concentrate
  • 1/3 cup agave nectar
  • 1 teaspoon vanilla extract
  • 4 ripe bananas
  1. In a bowl, combine the flour, 1 tablespoon baking powder, baking soda, and salt. Set aside.
  2. Pour the applesauce into a large bowl and stir in the remaining baking powder. Whisk in the butter, apple juice, agave, and vanilla.
  3. Mash the bananas in a bowl and add to the applesauce mixture.
  4. Add the dry ingredients to the wet ingredients, stirring just until combined.
  5. Pour the batter into a greased loaf pan and bake at 350 degrees F for 1 hour; a wooden pick inserted in the center should come out clean.

Banana Bread (1)

Barbecue Tofu and Quinoa

Barbecue Tofu
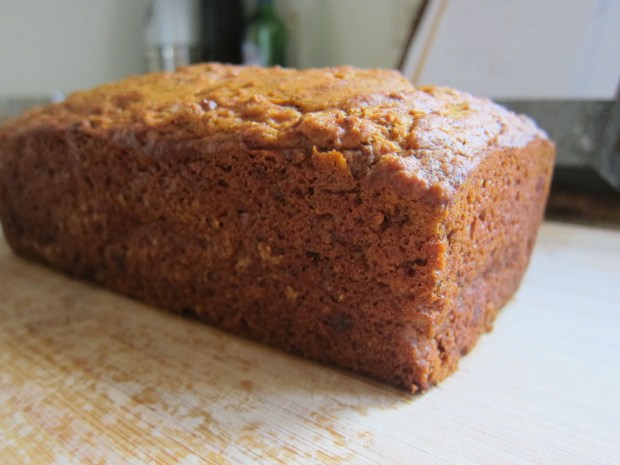
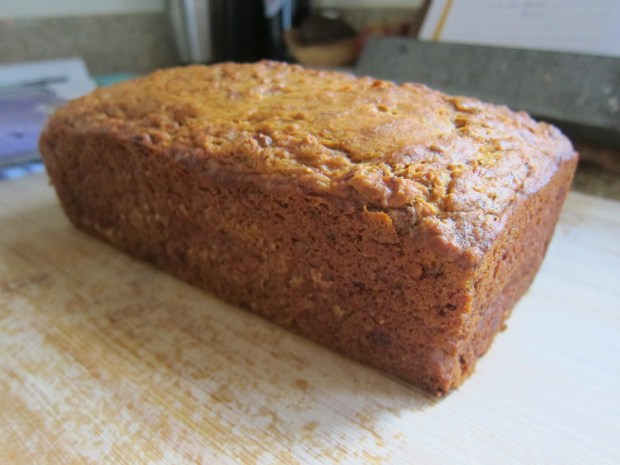
Veronika’s taste buds are expanding rapidly and now I can cook her dishes with a little spice! A homemade barbecue sauce makes this one nice and mild.

Ingredients:

  • 1 (1-pound) package extra firm tofu
  • 1 tablespoon olive oil
  • 1 cup diced cremini mushrooms
  • 1 small diced red bell pepper
  • 1 small diced onion
  • 1/4 cup soy sauce
  • 1/4 cup ketchup
  • 3 tablespoons agave nectar
  • 2 cups cooked quinoa
  1. Cut the tofu into cubes; set aside.
  2. Heat the olive oil in a large skillet over high heat. Add the tofu and cook for 3 minutes.
  3. Add the mushrooms, bell pepper, and onion; cook for 5 minutes.
  4. Meanwhile, whisk together the soy sauce, ketchup, and agave in a small bowl. Add to the skillet and cook for a final 5 minutes.
  5. Serve over quinoa, or alongside it if your children prefer. This is also nice over a quinoa-brown rice mix!

I Spot

I Spot (3)

Recently I played a fun game with Veronika just before bed flashing colors through scarves. Tonight, we put the flashlight to a different use!

Simply walk around and shine the light on various objects in your child’s room (or elsewhere in the house). For each item, say in a soft voice, “I spot a…”

I spot the light switch.

I Spot (5)

I spot a treasure box.

I Spot (1)

And so on. Sometimes, Veronika wanted to hold the flashlight and help. I spot a clock.

I Spot (2)

Sometimes she wanted to reach out and touch, and sometimes just look. I spot an apple.

I Spot (4)

This can easily become a cherished routine; if you repeat items nightly, it will reinforce the names of familiar and treasured items, and can also help lull your baby. Veronika loves it!

I Spot (6)

Sleepy Stretches

Sleepy Stretches (6)

Uh oh, Veronika is reaching that age where babies begin to resist naps; the world is just so much fun, mom, why would I sleep, she seems to say until I conk her out in a car ride.

But car rides aren’t always practical or feasible, and having a little routine like this poem can become a cue for baby that it’s time to rest. I sat with Veronika and first acted out this poem:

Stretch up high, as high as a tree (reach arms above head).

Curl up as small as a bumble bee (curl up with arms wrapped around knees).

Now we’re feeling very sleepy (yawn!).

Relax your hands, relax your feet (go limp).

Now close your eyes and go fast asleep (rest cheek on hands).

Then I lay her down and helped her act through the motions.

Sleepy Stretches (2)

She seemed to get the idea that we were relaxing her body.

Sleepy Stretches (3)

At bedtime, we repeated the routine. This time, big brother helped act out the movements, and Veronika did her first deliberate reach up high!

Sleepy Stretches (5)

This might not have settled her down, but it certainly was a milestone. The kids are looking a little sleepy…

Sleepy Stretches (7)

What’s your go-to bedtime routine? Please share in the comments!