Practical Math

Practical Math (3)

Veronika loves practicing the stairs these days, which reminded me that stairs are also the perfect place to practice… counting! While she exercises those little leg muscles, we can also exercise her brain.

As she climbs, we simply count up. Our stairs go to fifteen, which is a good stopping spot for a toddler anyway. She parrots along with me: “One, two, three.” She made me laugh when she jumped one time from seven to eleven!

Practical Math (1)

Hmm, now that we were thinking of practical ways to count around the house, what else could we easily count? I gave her a set of paper plates and cups, and we counted out place servings. One, two, three! You can do the same thing as you set the table with utensils or napkins.

Practical Math (4)

And of course don’t forget to count at snacktime. Anything like chips, cookies, nuts, or cereal pieces are perfect for counting out into piles.

Practical Math (2)

What else does your toddler like to count around the house? Doorways? Windows? Please share in the comments!

Leaf Stomp

Leaf Scrunch (4)

Here’s a fun way for a toddler to enjoy the experience of stomping through leaves without all the effort of raking a huge pile!

Head to your backyard or a local park and pick a tree with lots of leaves on the ground. Invite your child to help toss leaves into any box with tall sides, ideally about waist high on your child. We found a tree with gorgeous red ones!

Veronika preferred scrunching her feet through the leaves on the ground while I filled our box.

Leaf Scrunch (1)

Once the leaves reached about mid-way up her calf, I set her inside and it was time to stomp and crunch!

Leaf Scrunch (2)

Dump, refill, and repeat this as many times as your child wants to. It’s almost as much fun to toss leaves into the box as it is to stomp on them.

Leaf Scrunch (5)

If you add a few more leaves each time, pretty soon you will have a leaf pile, with hardly any effort!

Leaf Scrunch (3)

Halloween Shaving Cream Sensory Activity

Halloween Shaving Cream (6)

To get in the mood for all things orange this month, I turned the color into a sensory experience for Veronika today!

To start, I filled a shallow tray with a thick layer of foamy shaving cream. You can use orange food coloring for the next step, but I preferred to drizzle on some red and some yellow.

Halloween Shaving Cream (5)

This way, Veronika could see it “magically” turn orange as we mixed it all together.

Halloween Shaving Cream (3)

She wasn’t hesitant about getting her hands in it, but she quickly decided she didn’t like being goopy.

Halloween Shaving Cream (4)

Instead, I passed over a paintbrush. Now, she loved stirring through! So we pulled out orange and black construction paper and soon she was smearing the pages with the mixture. To make it more like puffy paint, add a little glue and stir to combine.

Halloween Shaving Cream (7)

As a final messy element (since, heck, we were already a mess!), sprinkle a little glitter on before the puffy paint dries. Once dry, scrape off any excess shaving cream.

Halloween Shaving Cream (8)

This is great way to have Halloween-themed sensory play with one- and two-year-olds, even before they’re old enough to understand the holiday!

Mansion of Mystery

Cardboard Haunted House (10)

We’re kicking off Halloween with a big BOO around here! This project is definitely a complicated one, but so worth the effort when your kids see not just a dollhouse but a haunted dollhouse… that includes its very own witch!

To assemble the house, start collecting cardboard boxes, empty paper towel tubes, and empty toilet paper rolls, and wait until you have a good assortment. Paint all of the cardboard pieces with black acrylic paint and let dry. I recommend two coats of paint for maximum spookiness.

Cardboard Haunted House (1)

The next day, I mixed and matched the boxes and tubes until I liked the arrangement, and then used hot glue to attach everything together.

Cardboard Haunted House (2)

On the third day, I added adornments. Cut squares of yellow construction paper to be window panes and arrange in groups of 4 around your boxes. I also had one arched window for added spookiness.

Cardboard Haunted House (4)

For tower tops, cut circles from black construction paper and cut one notch in toward the center of each, then fold into cones and use tape or glue to attach atop each paper towel tube

For doors, cut shapes from brown construction paper, either rectangular or arched. One door couldn’t actually open, and had a red bead glued on as a handle.

Cardboard Haunted House (5)

Because Travis requested we actually be able to put figures inside the house, I cut one box so it was open in the back and added doors that could swing open and closed.

Cardboard Haunted House (8)

You can get a lot crazier with decoration, using construction paper for a fence or shutters, or adding additional boxes cut on the diagonal for a roof. But I reined in the haunted-housiness there.

All we needed now was a witch! Paint a toilet paper tube black. Once completely dry, paint a green square on the top for the face. You’ll need several coats of green to hide the black. Cut a rectangle from black felt and fringe the bottom with scissors, then glue on for hair.

Cardboard Haunted House (7)

Add facial details with marker. So as not to spook the kids, we had a happy witch.

Cardboard Haunted House (11)

You can make a whole witch family if you have enough cardboard tubes. Want to get really crafty? Add brooms! Just glue fringed brown construction paper around the bottom of a short stick.

Needless to say, I think the kids will find ways to play with this house all October.

Cardboard Haunted House (12)

Not-So-Spooky Spider Handprint Window Cling

Not Creepy Spider (7)

It’s October which means it’s officially time for all things spooky! For this particular decoration, we started the night before to give the paint time to dry. In the morning, we then could quickly assemble a few spiders in the window.

Tape a piece of contact paper onto a table, with the backing still on. Paint your child’s hand with black washable paint, making sure to paint only the palm and 4 fingers, but not the thumb.

Not Creepy Spider (2)

Press onto the contact paper, then immediately repaint the hand and press again so the palms overlap and the 4 fingers stick out in the opposite direction. An 8-legged spider!

Not Creepy Spider (3)

Veronika loves getting paint all over hands, so I didn’t have to sell her on this project one bit. We made two baby spiders and then she giggled as I painted my own hand for a mommy spider. We invited big brother Travis to contribute a medium spider, but he didn’t want his hand painted.

Not Creepy Spider (4)

Once the paint dried, we added wiggle eyes for decoration. You can add smiles or other accessories to your spiders, too, if desired!

Not Creepy Spider (5)

For the web, use white glue to create a web design in the corner of a windowpane. The internet tells me that this will peel off easily when the time comes, and I sure hope so!

Not Creepy Spider (8)

In the meantime, peel the backing off the contact paper spiders, and simply stick to the window. They look just spooky enough up there.

Not Creepy Spider (6)

Feel with Me Panda Crate

Panda Feel alt

Veronika’s latest from Panda Crate was all about those big toddler emotions trapped inside little bodies. I loved that this was the toddler version of the Feelings Crate Travis did with the Koala line over three years ago. The package includes great ways to get your toddler talking about those big feelings… hopefully before the next tantrum hits!

One: Huggable Poppy

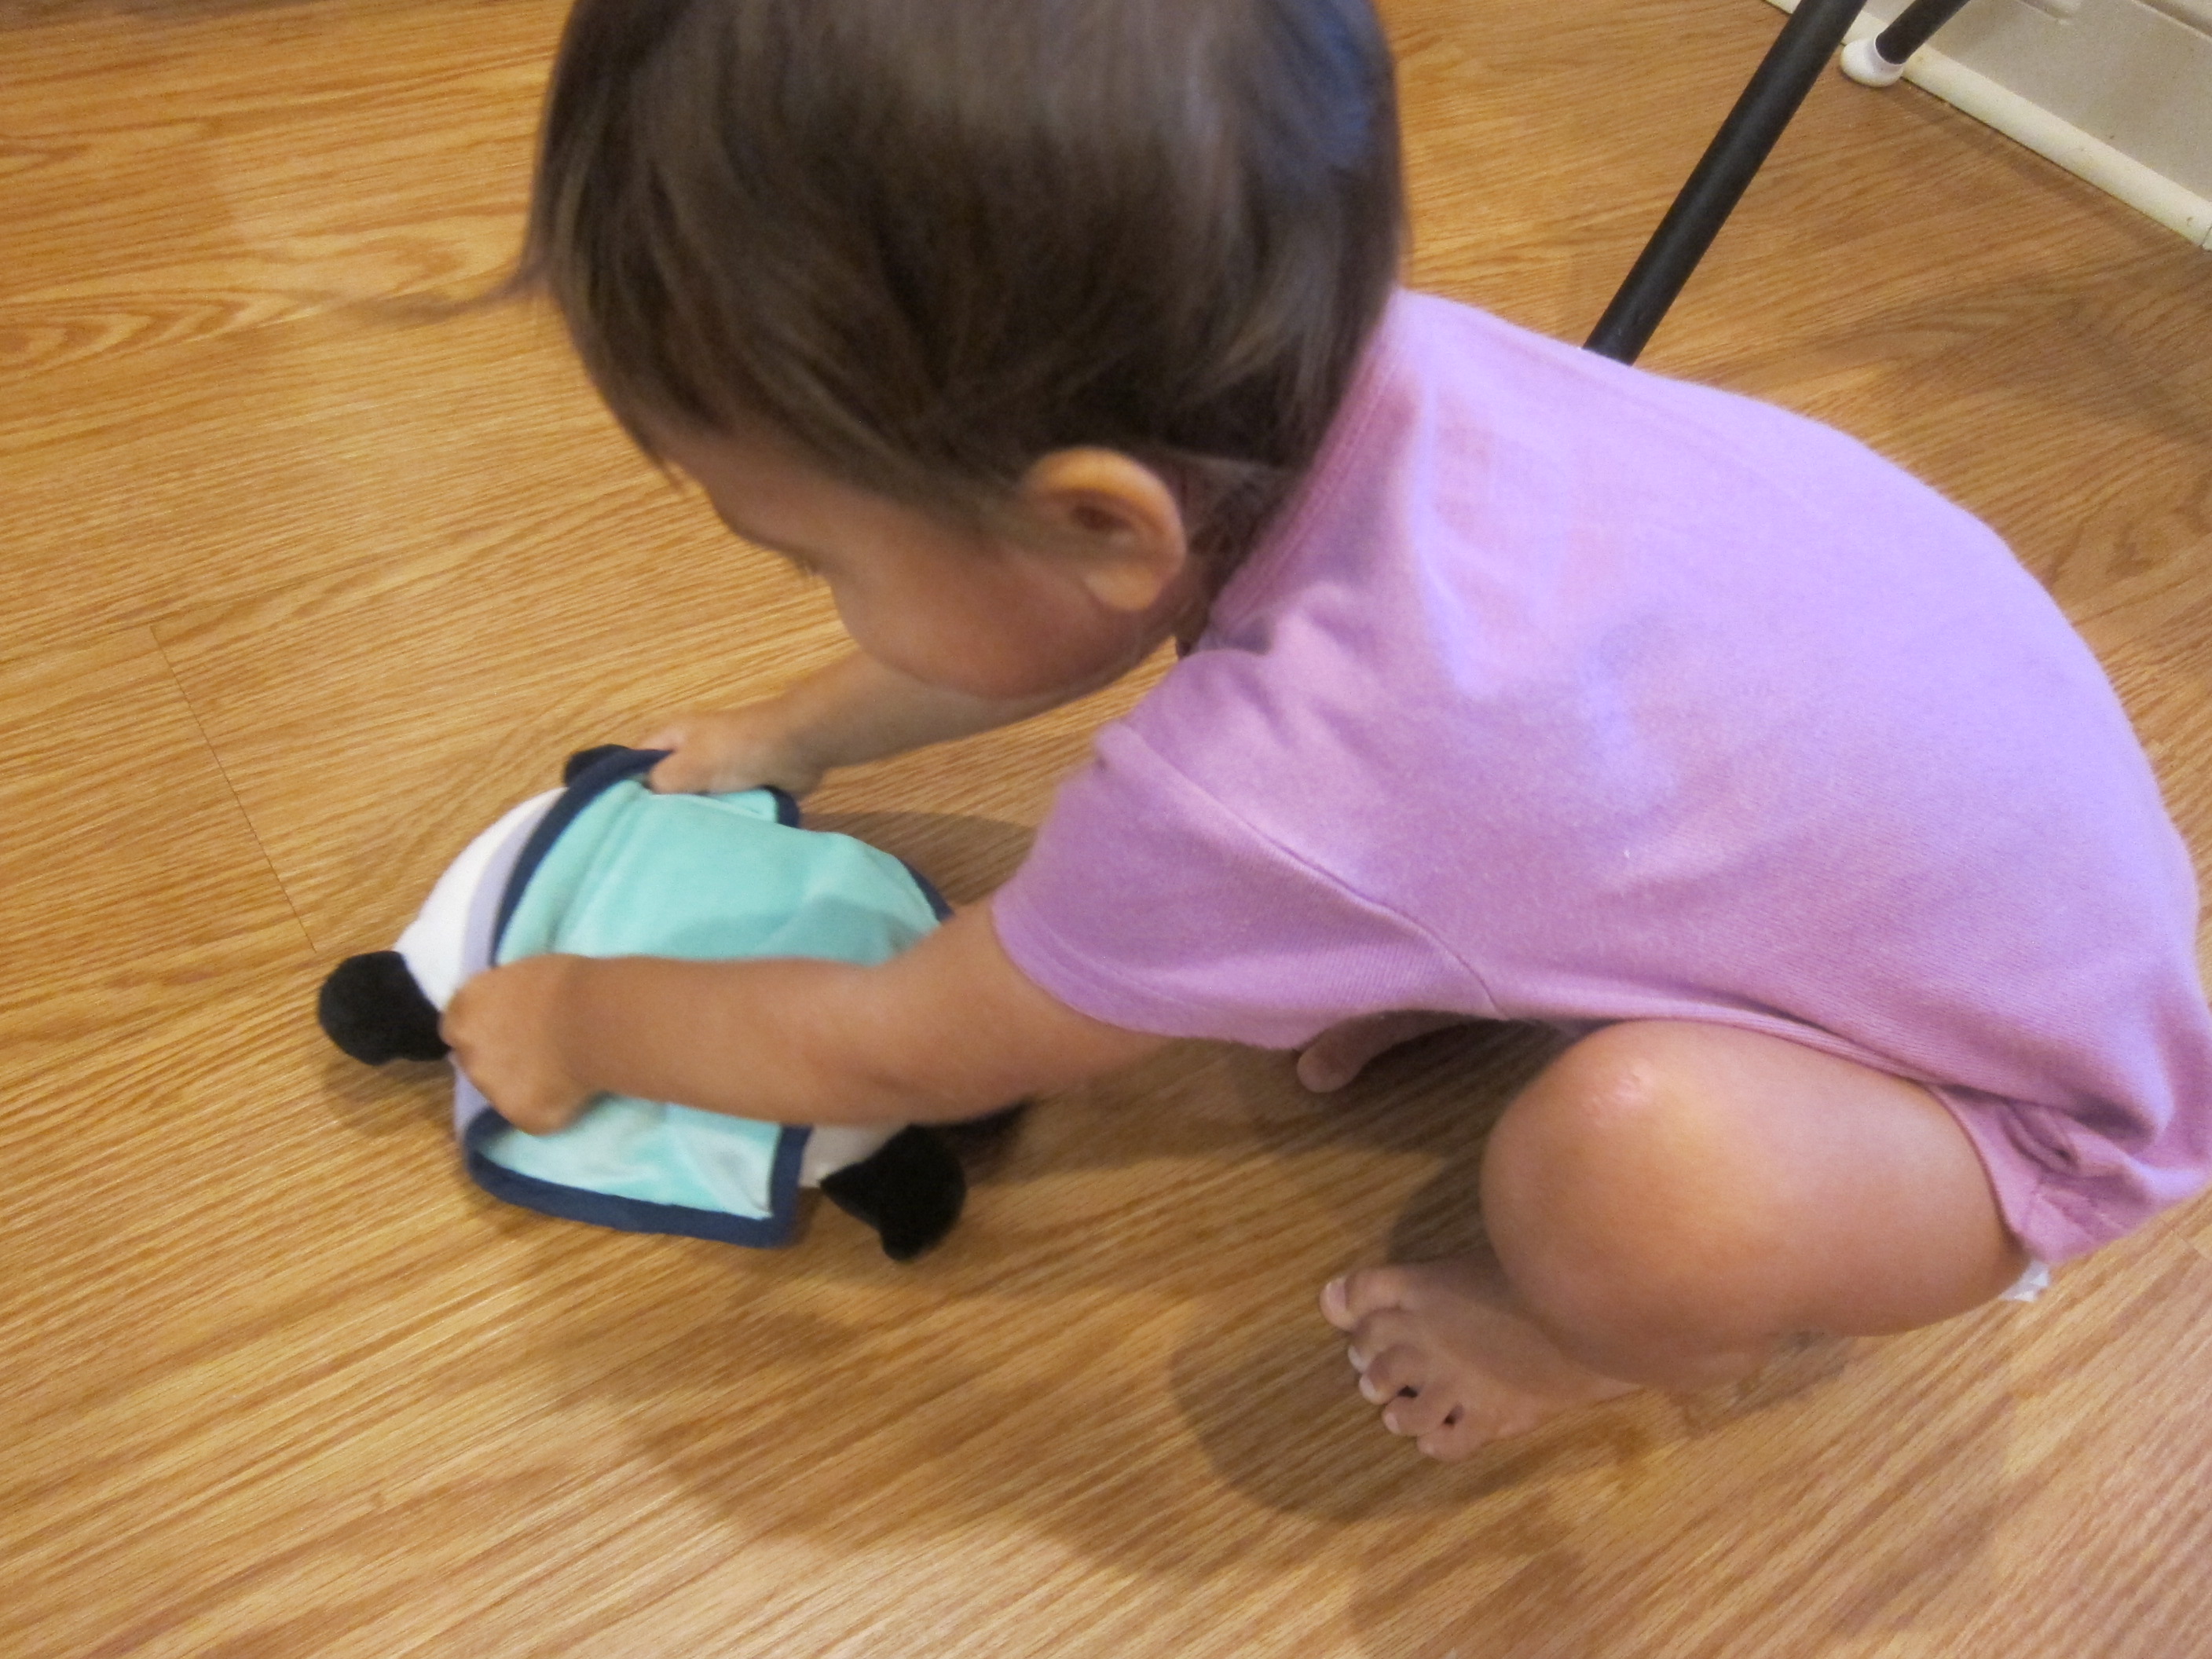
Veronika has a new best friend!

Panda Feelings (1)

She was smitten the moment I showed her the first item in the crate, a stuffed version of the line’s mascot panda. Poppy comes with her very own lovey blanket, so it was like a nesting doll equivalent of a hug. Veronika hugged Poppy, and Poppy hugged her lovey. Everyone gets comfort!

Panda Feelings (3)

Of course little ones learn empathy and caring skills through stuffed animals, and we emphasized that by helping tuck Poppy under her blanket, or talking about what Poppy was feeling.

Panda Feelings (4)

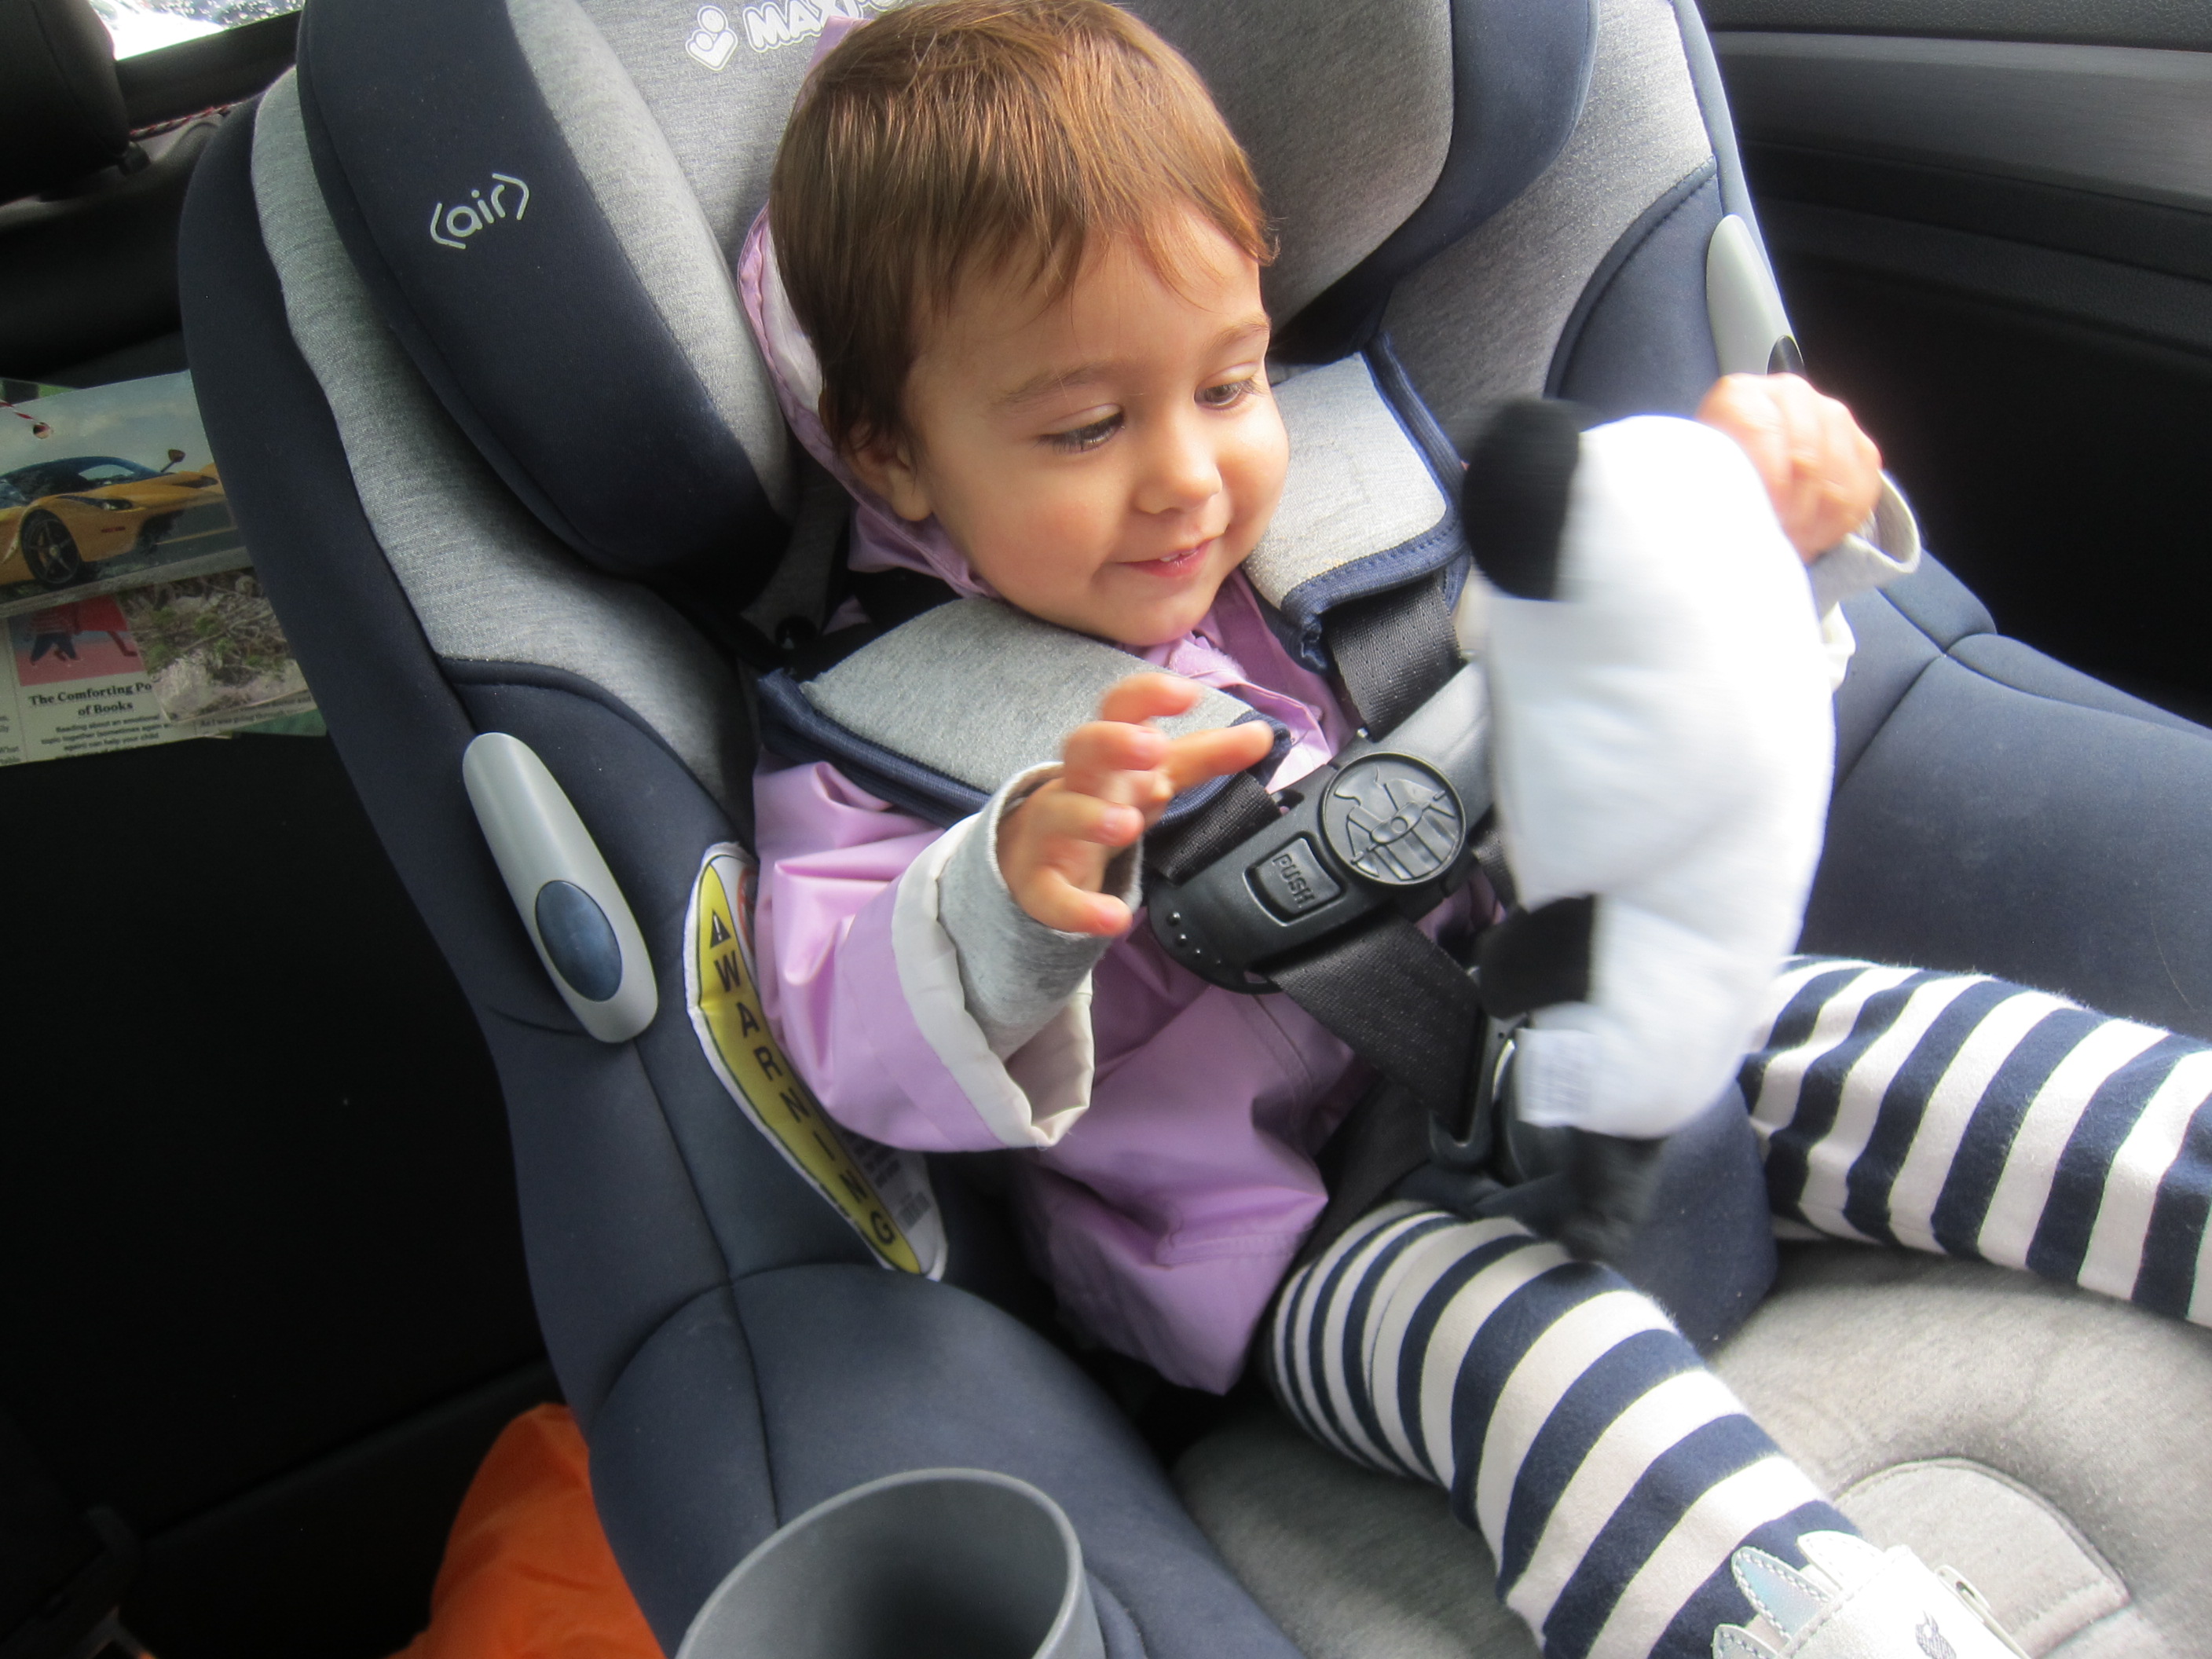
She’s fantastic for taking along on car rides, too!

Panda Feel var

Two: Mood Puzzles

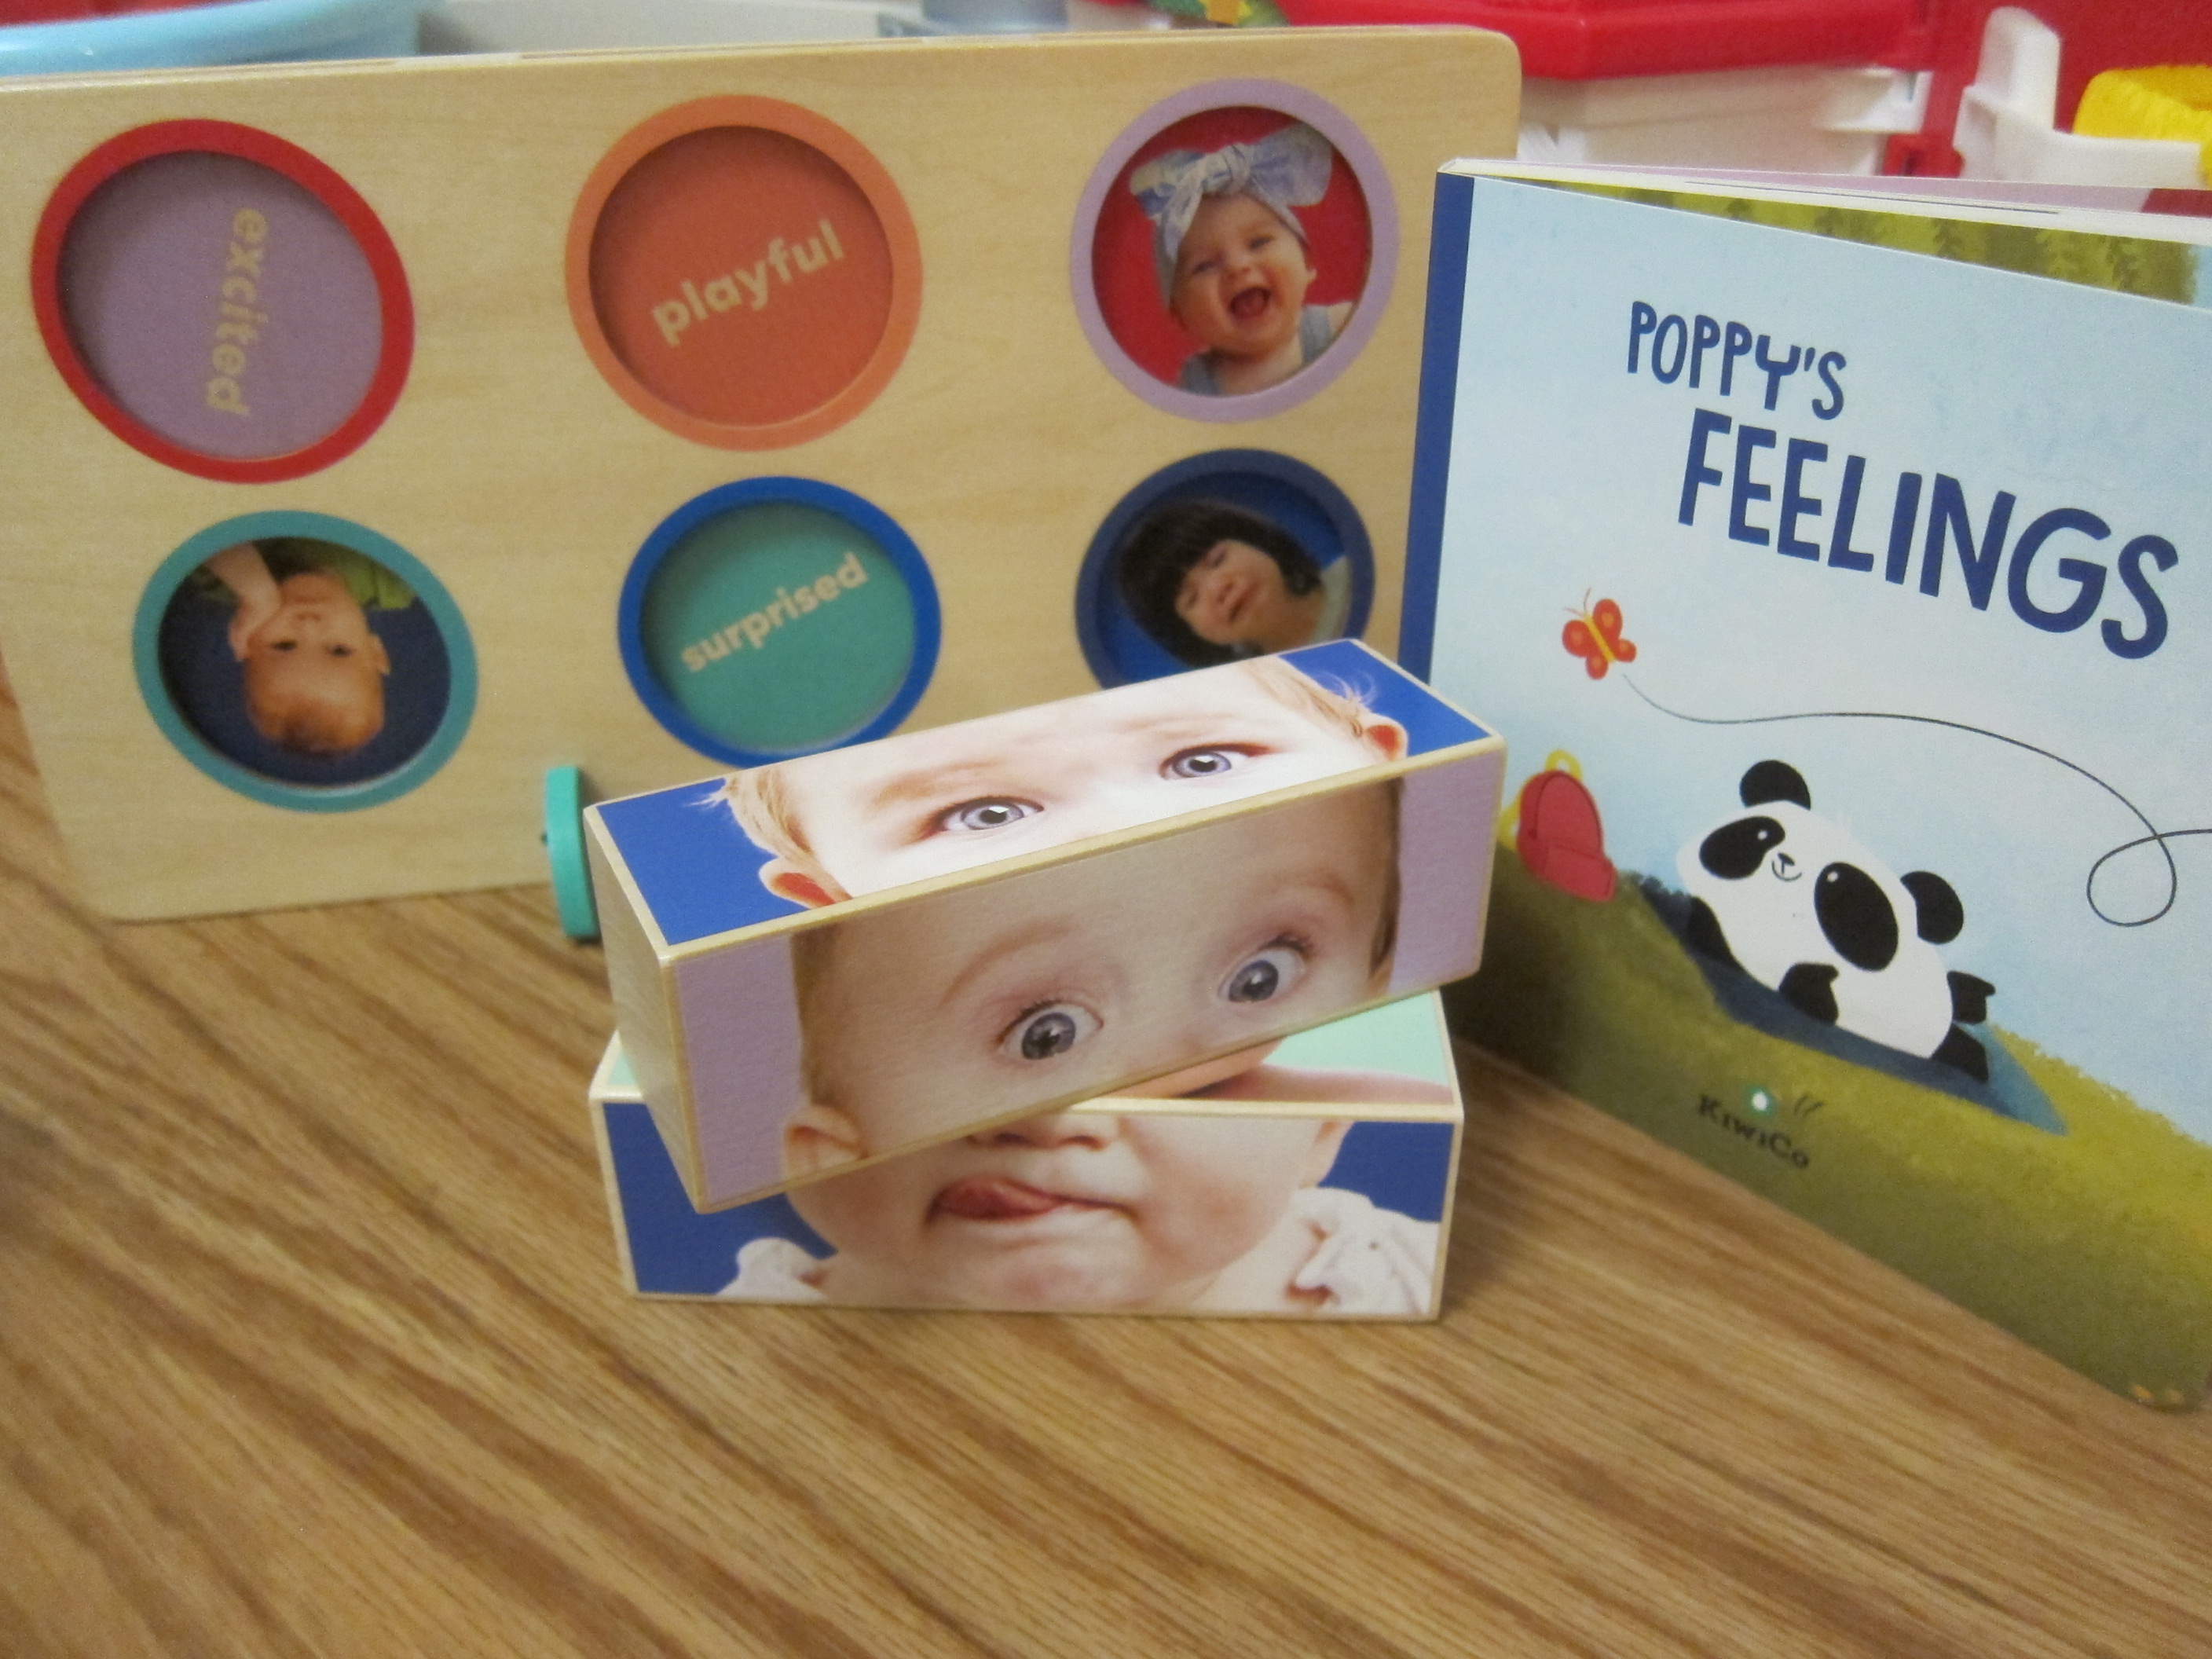
Veronika was equally smitten with the next item in the crate, two wooden blocks that are printed with 6 emotions on baby faces, in the eyes and lips. Mix and match to talk about what the baby is feeling!

Panda Feelings (6)

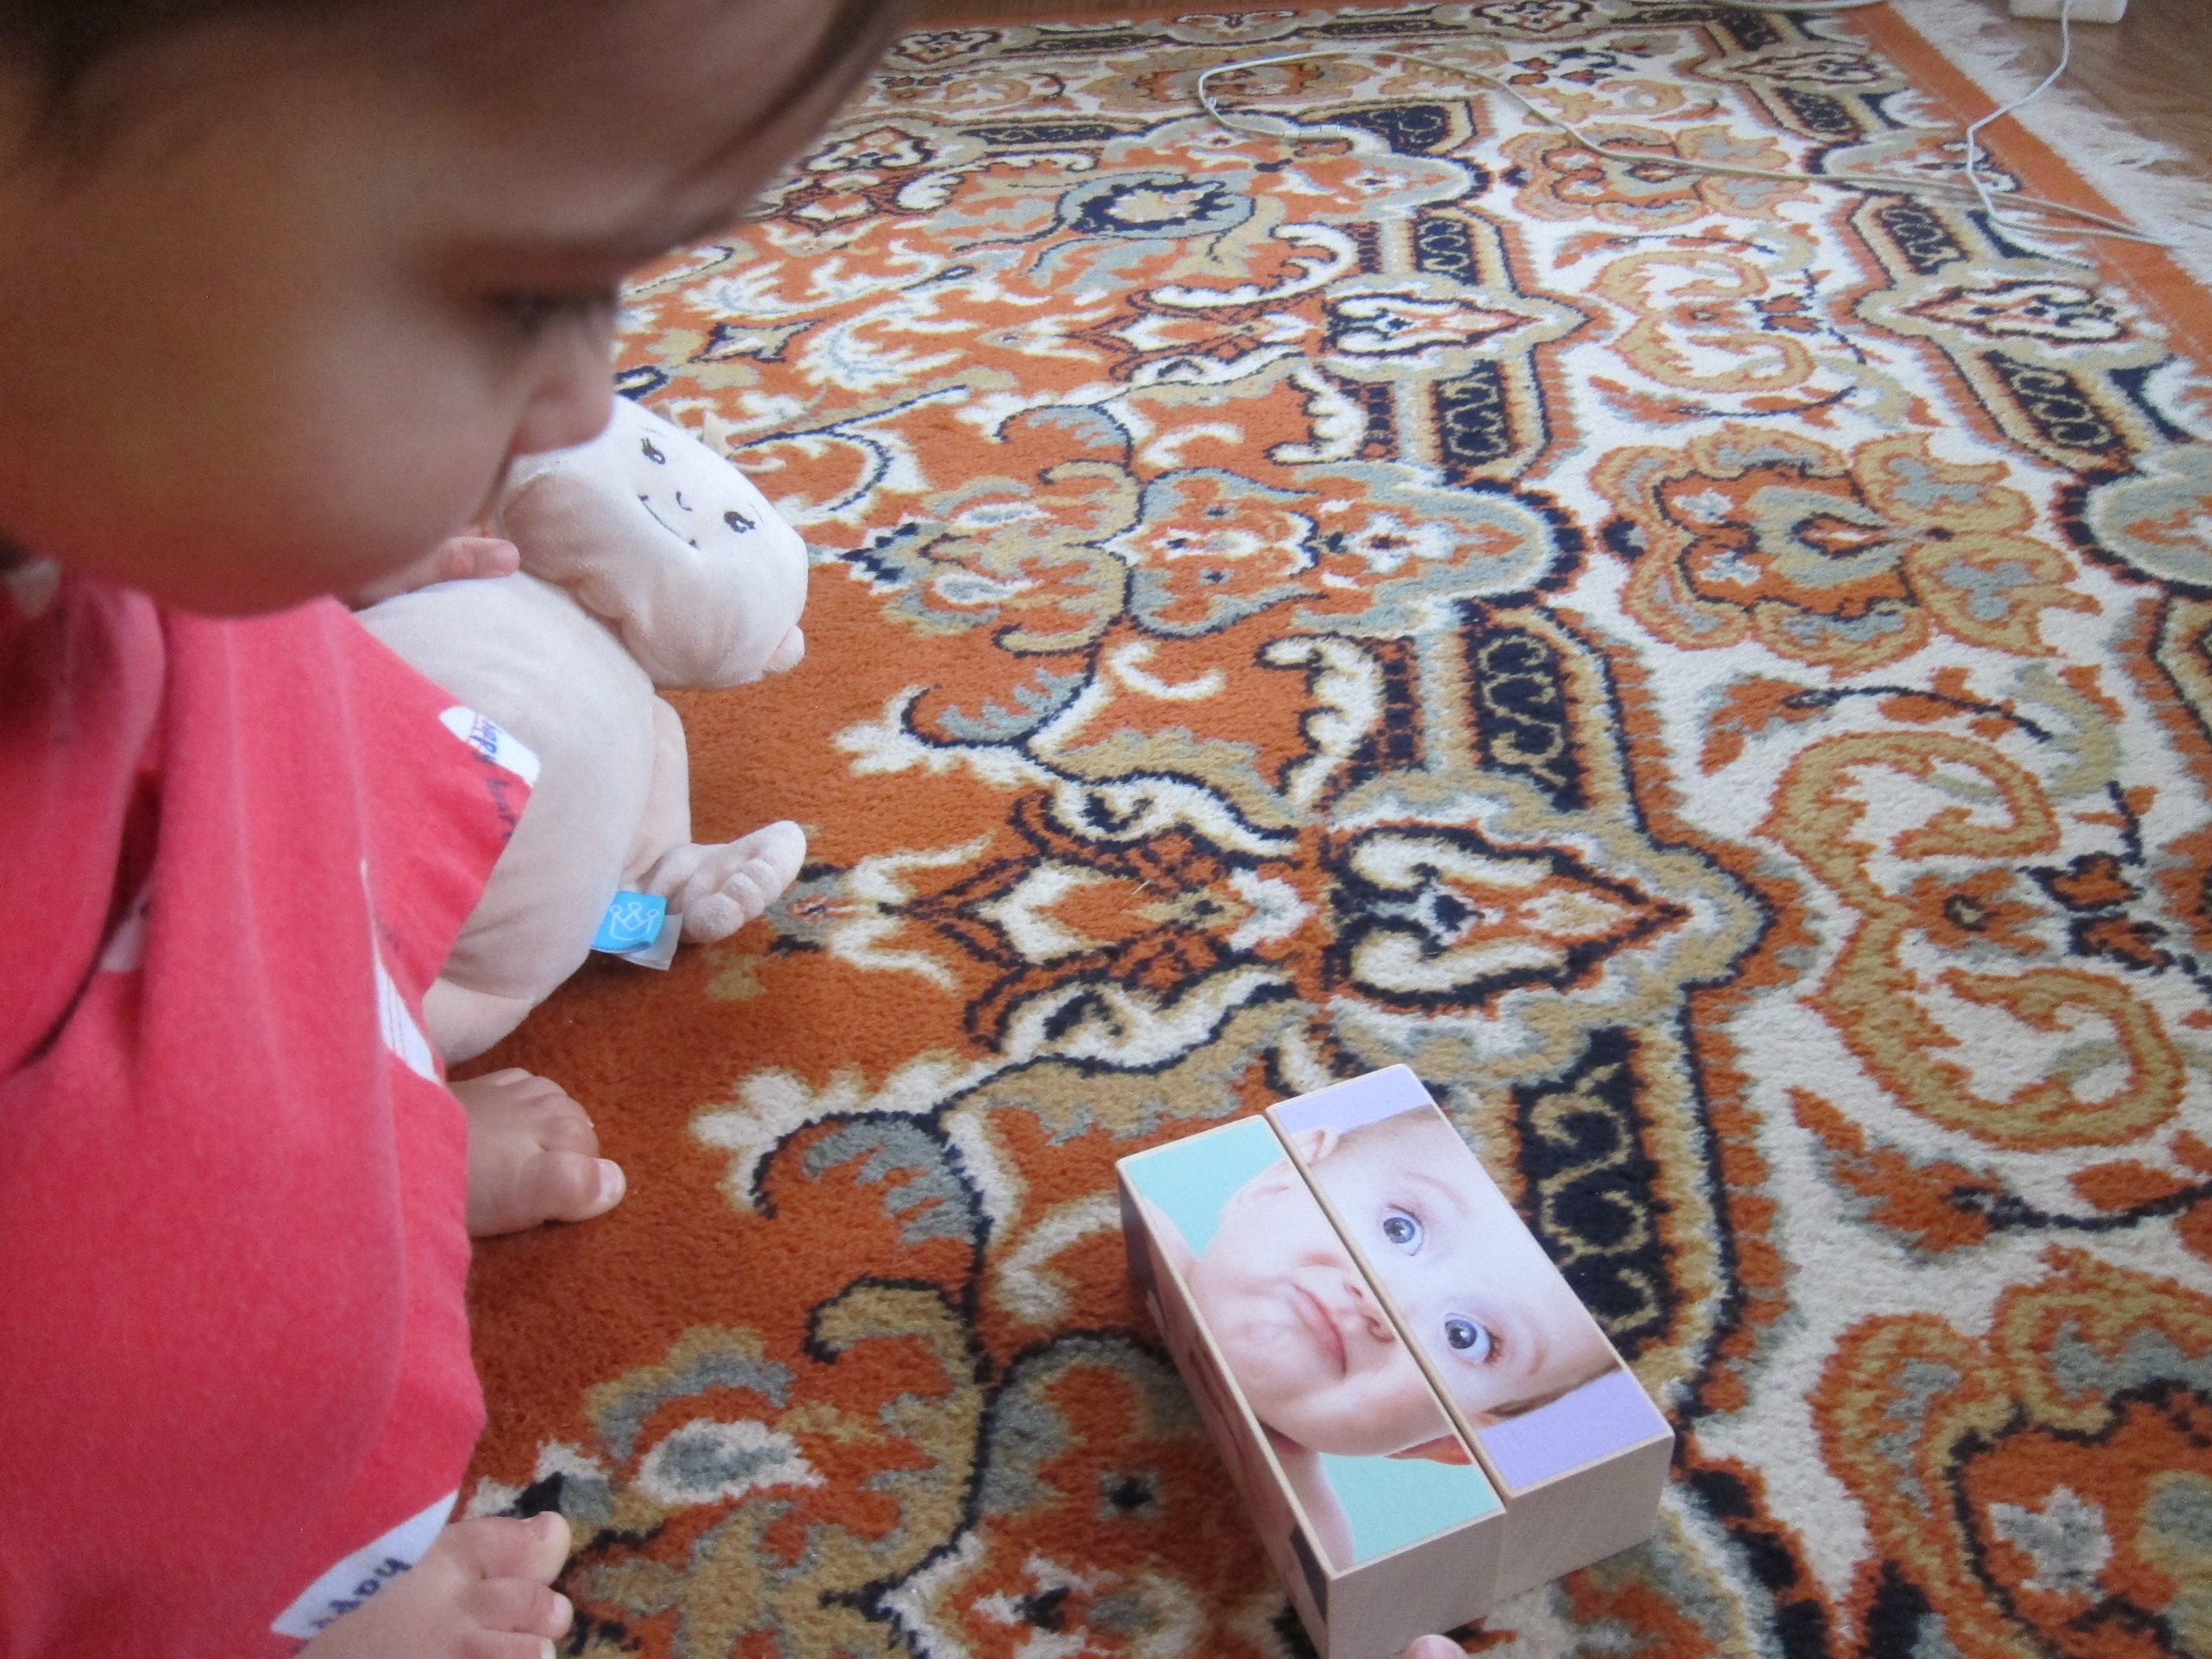
She could stack them up like regular blocks of course, which is always great for fine motor development.

Panda Feelings (5)

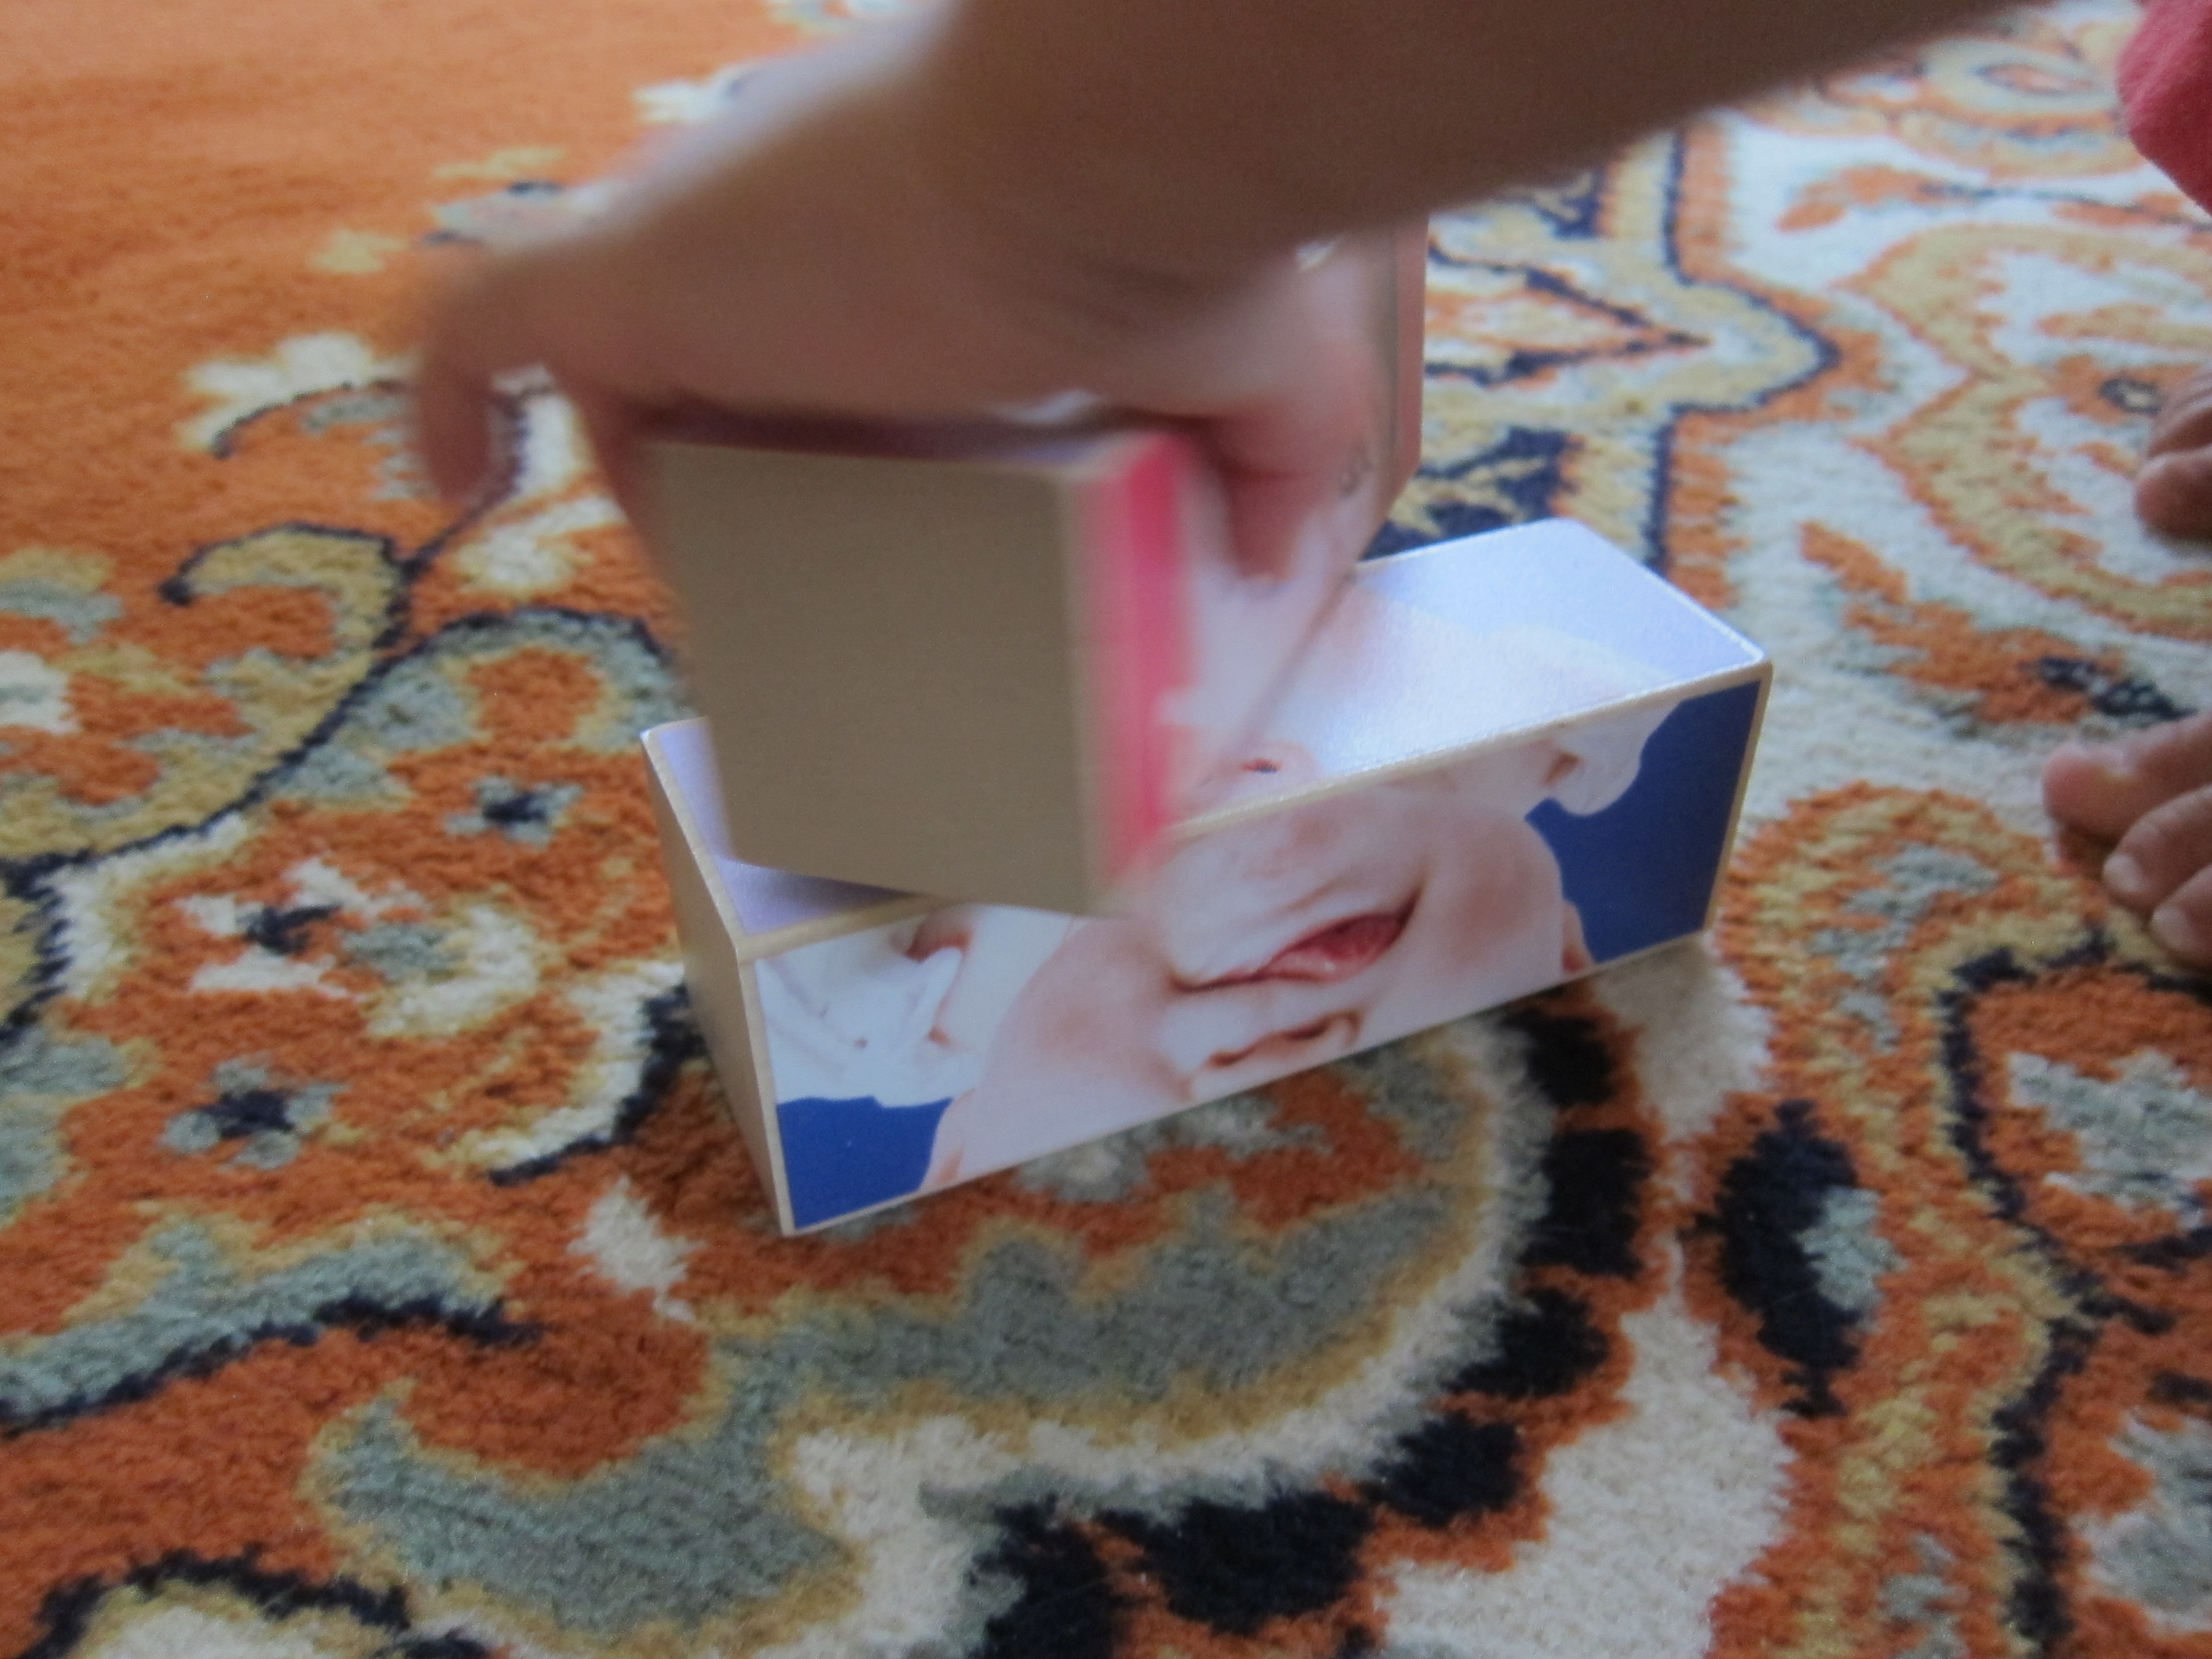
But even better was lying them on the ground. We talked through the emotions, naming each one and a scenario in which she has felt it. It was fun to ask her to copy the babies, too. Could she stick out her tongue like playful baby? Yes!

Panda Feelings (7)

I also did the reverse; if we mixed up the cubes, could she find me a frown? “Frown” was a new vocabulary word, though we’ve talked plenty about smiles. In fact, she seemed particularly drawn to the frowning or sad images, which makes sense since these emotions can be scary for a toddler.

Panda Feelings (8)

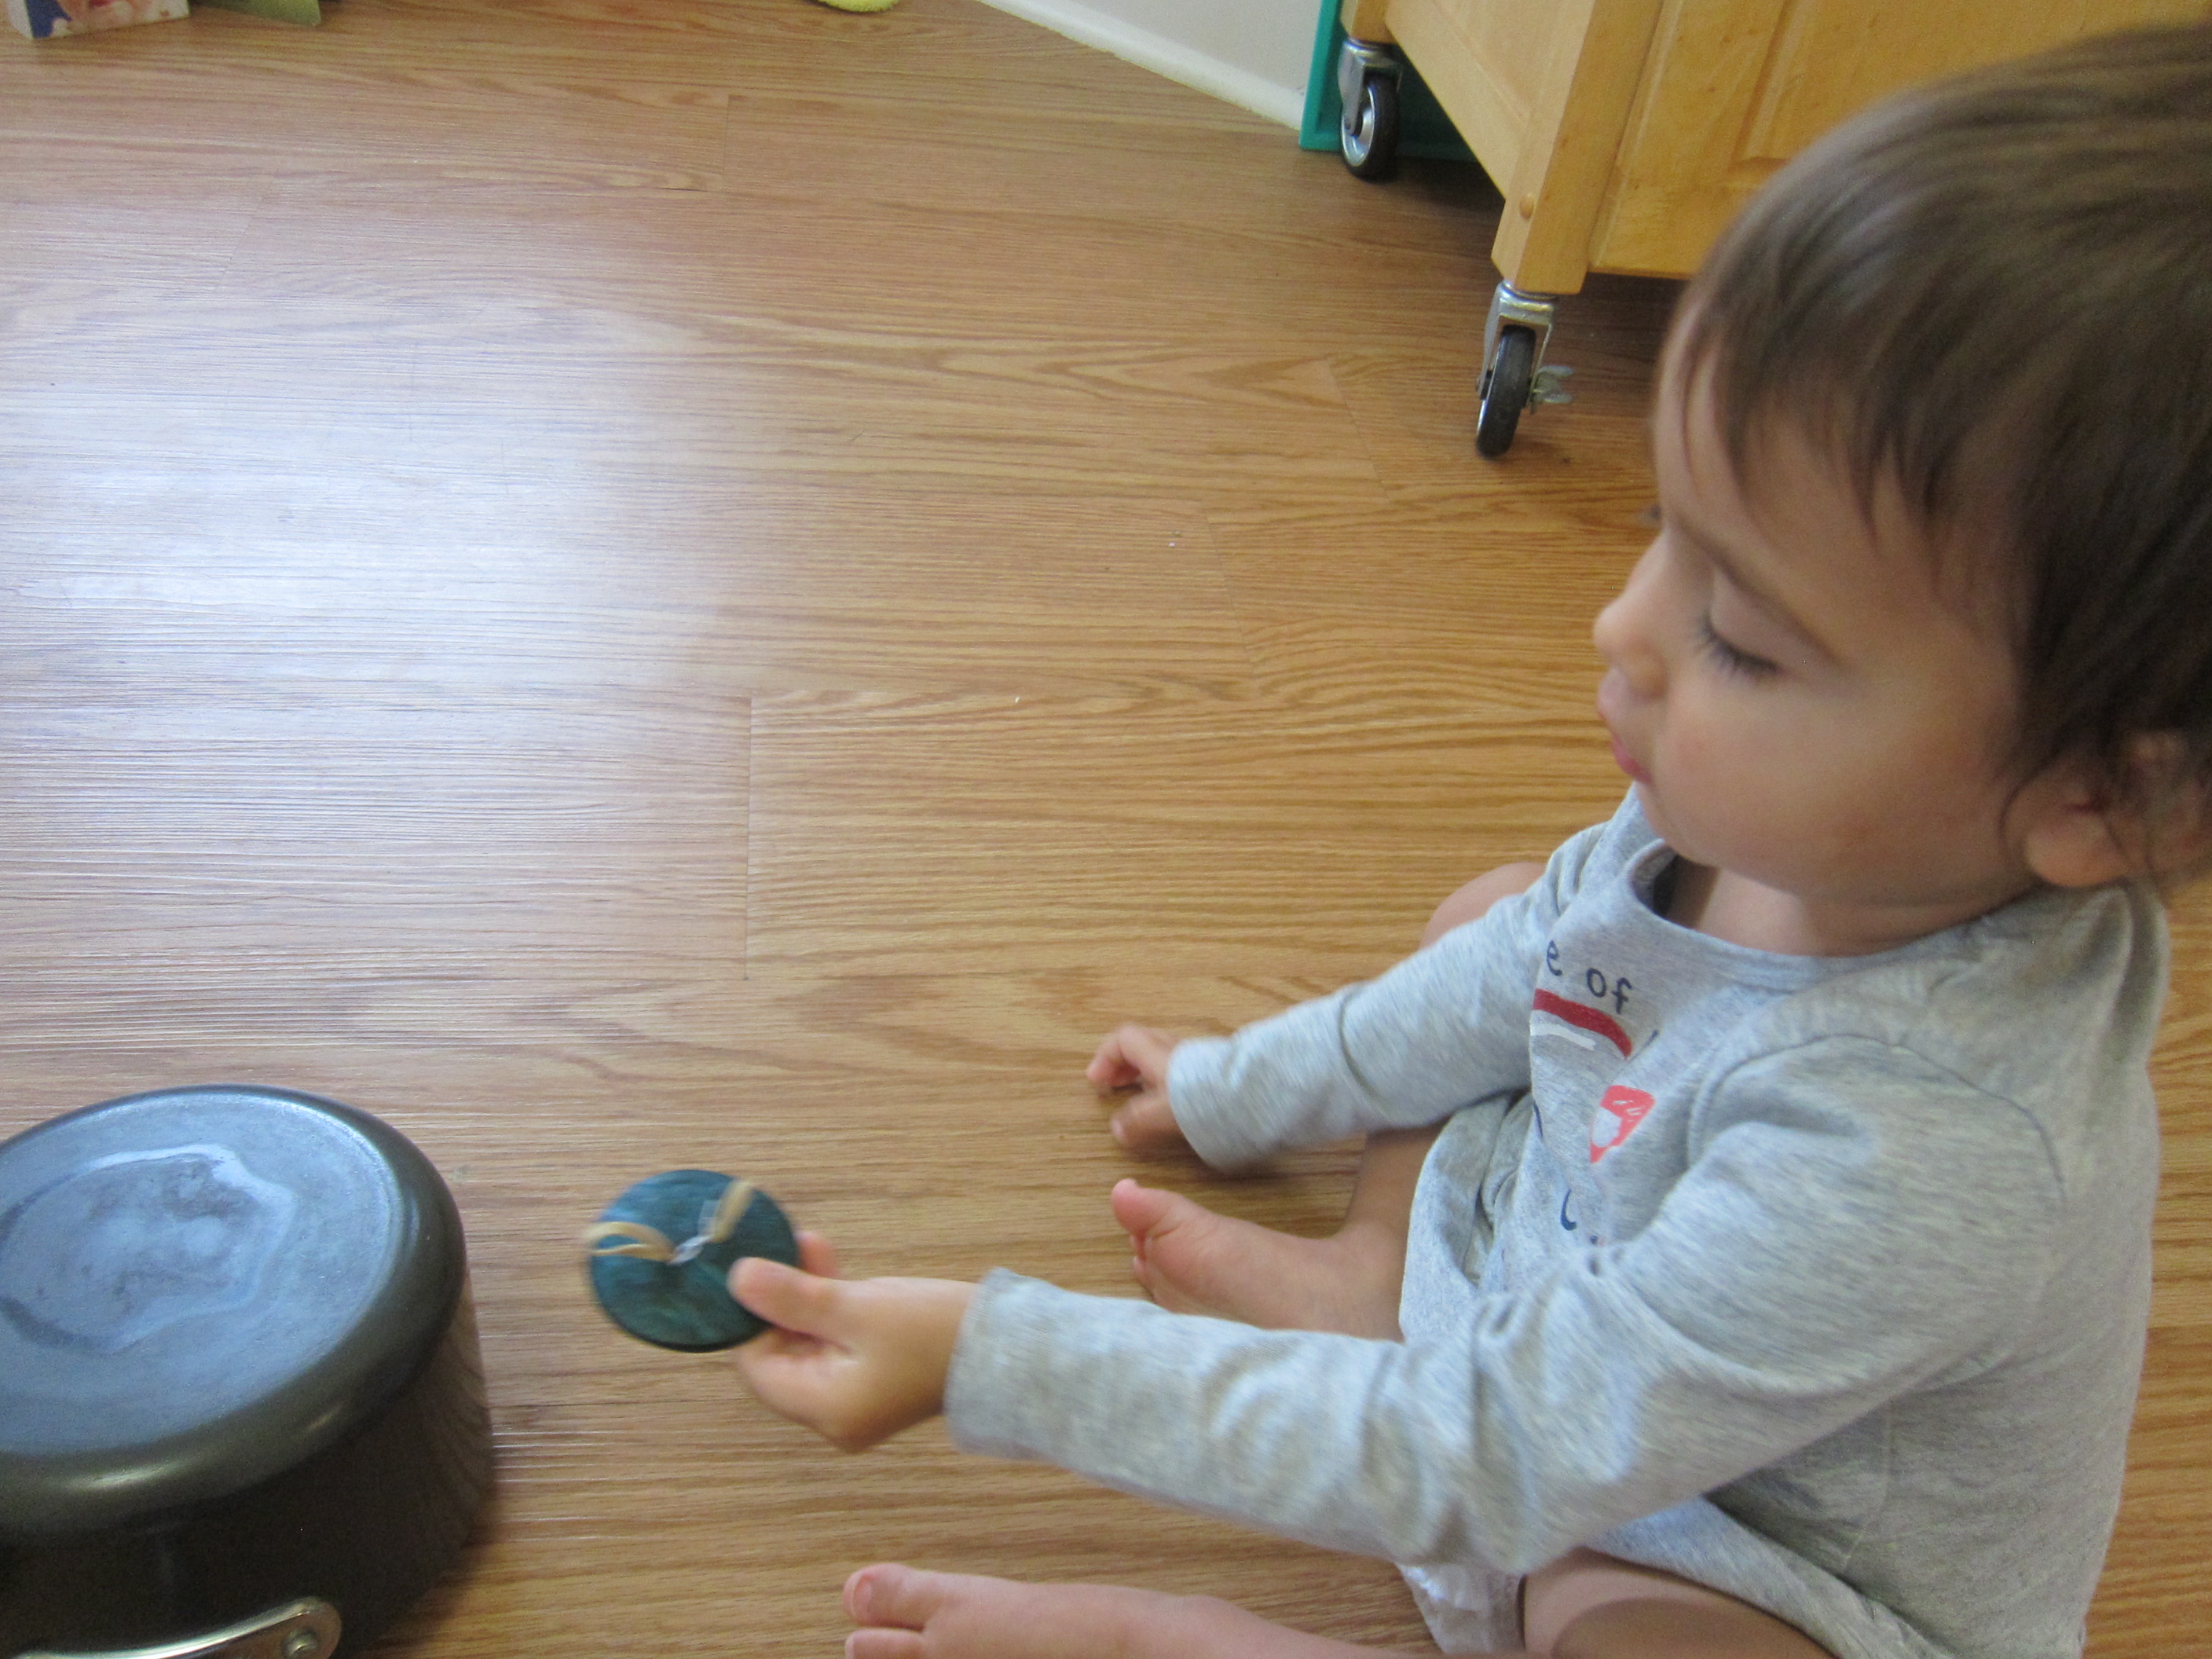
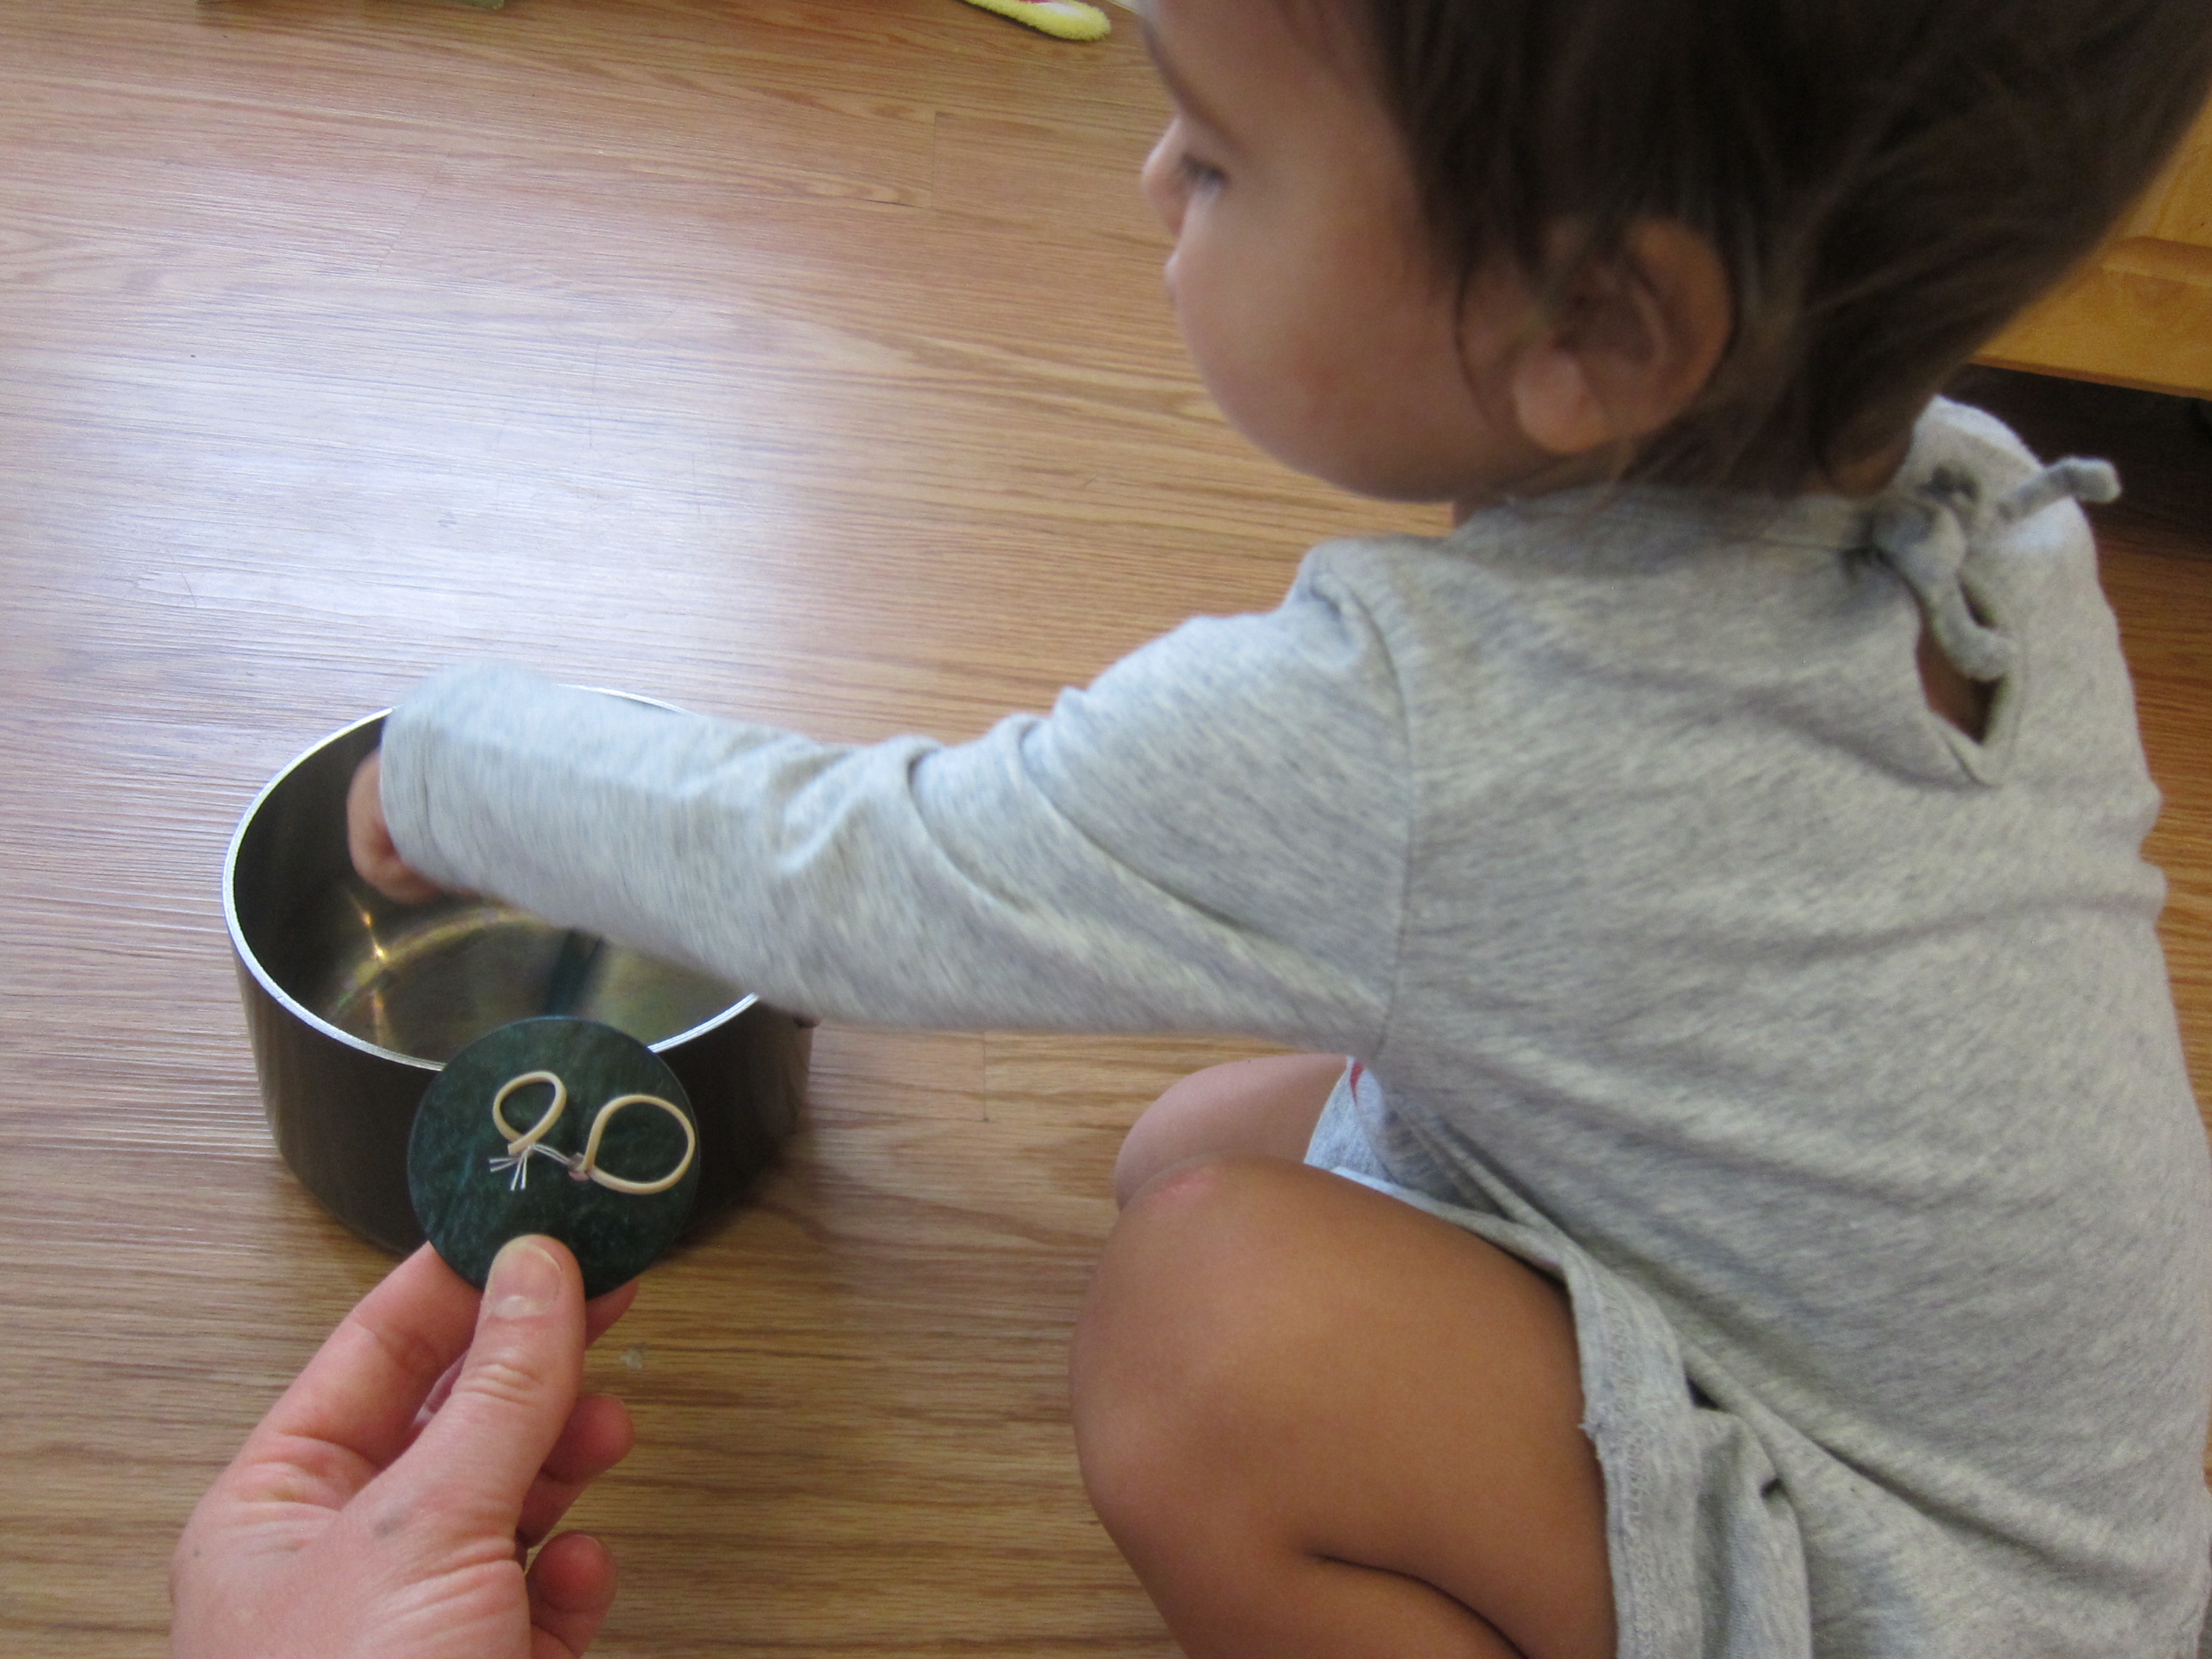
Three: Emotion Stacker

The next toy continued the theme of babies and expressions. For fine motor skills, it’s a stacking frame almost like the game Connect 4, and Veronika quickly mastered the skill of slotting the circles inside.

Panda Feelings (12)

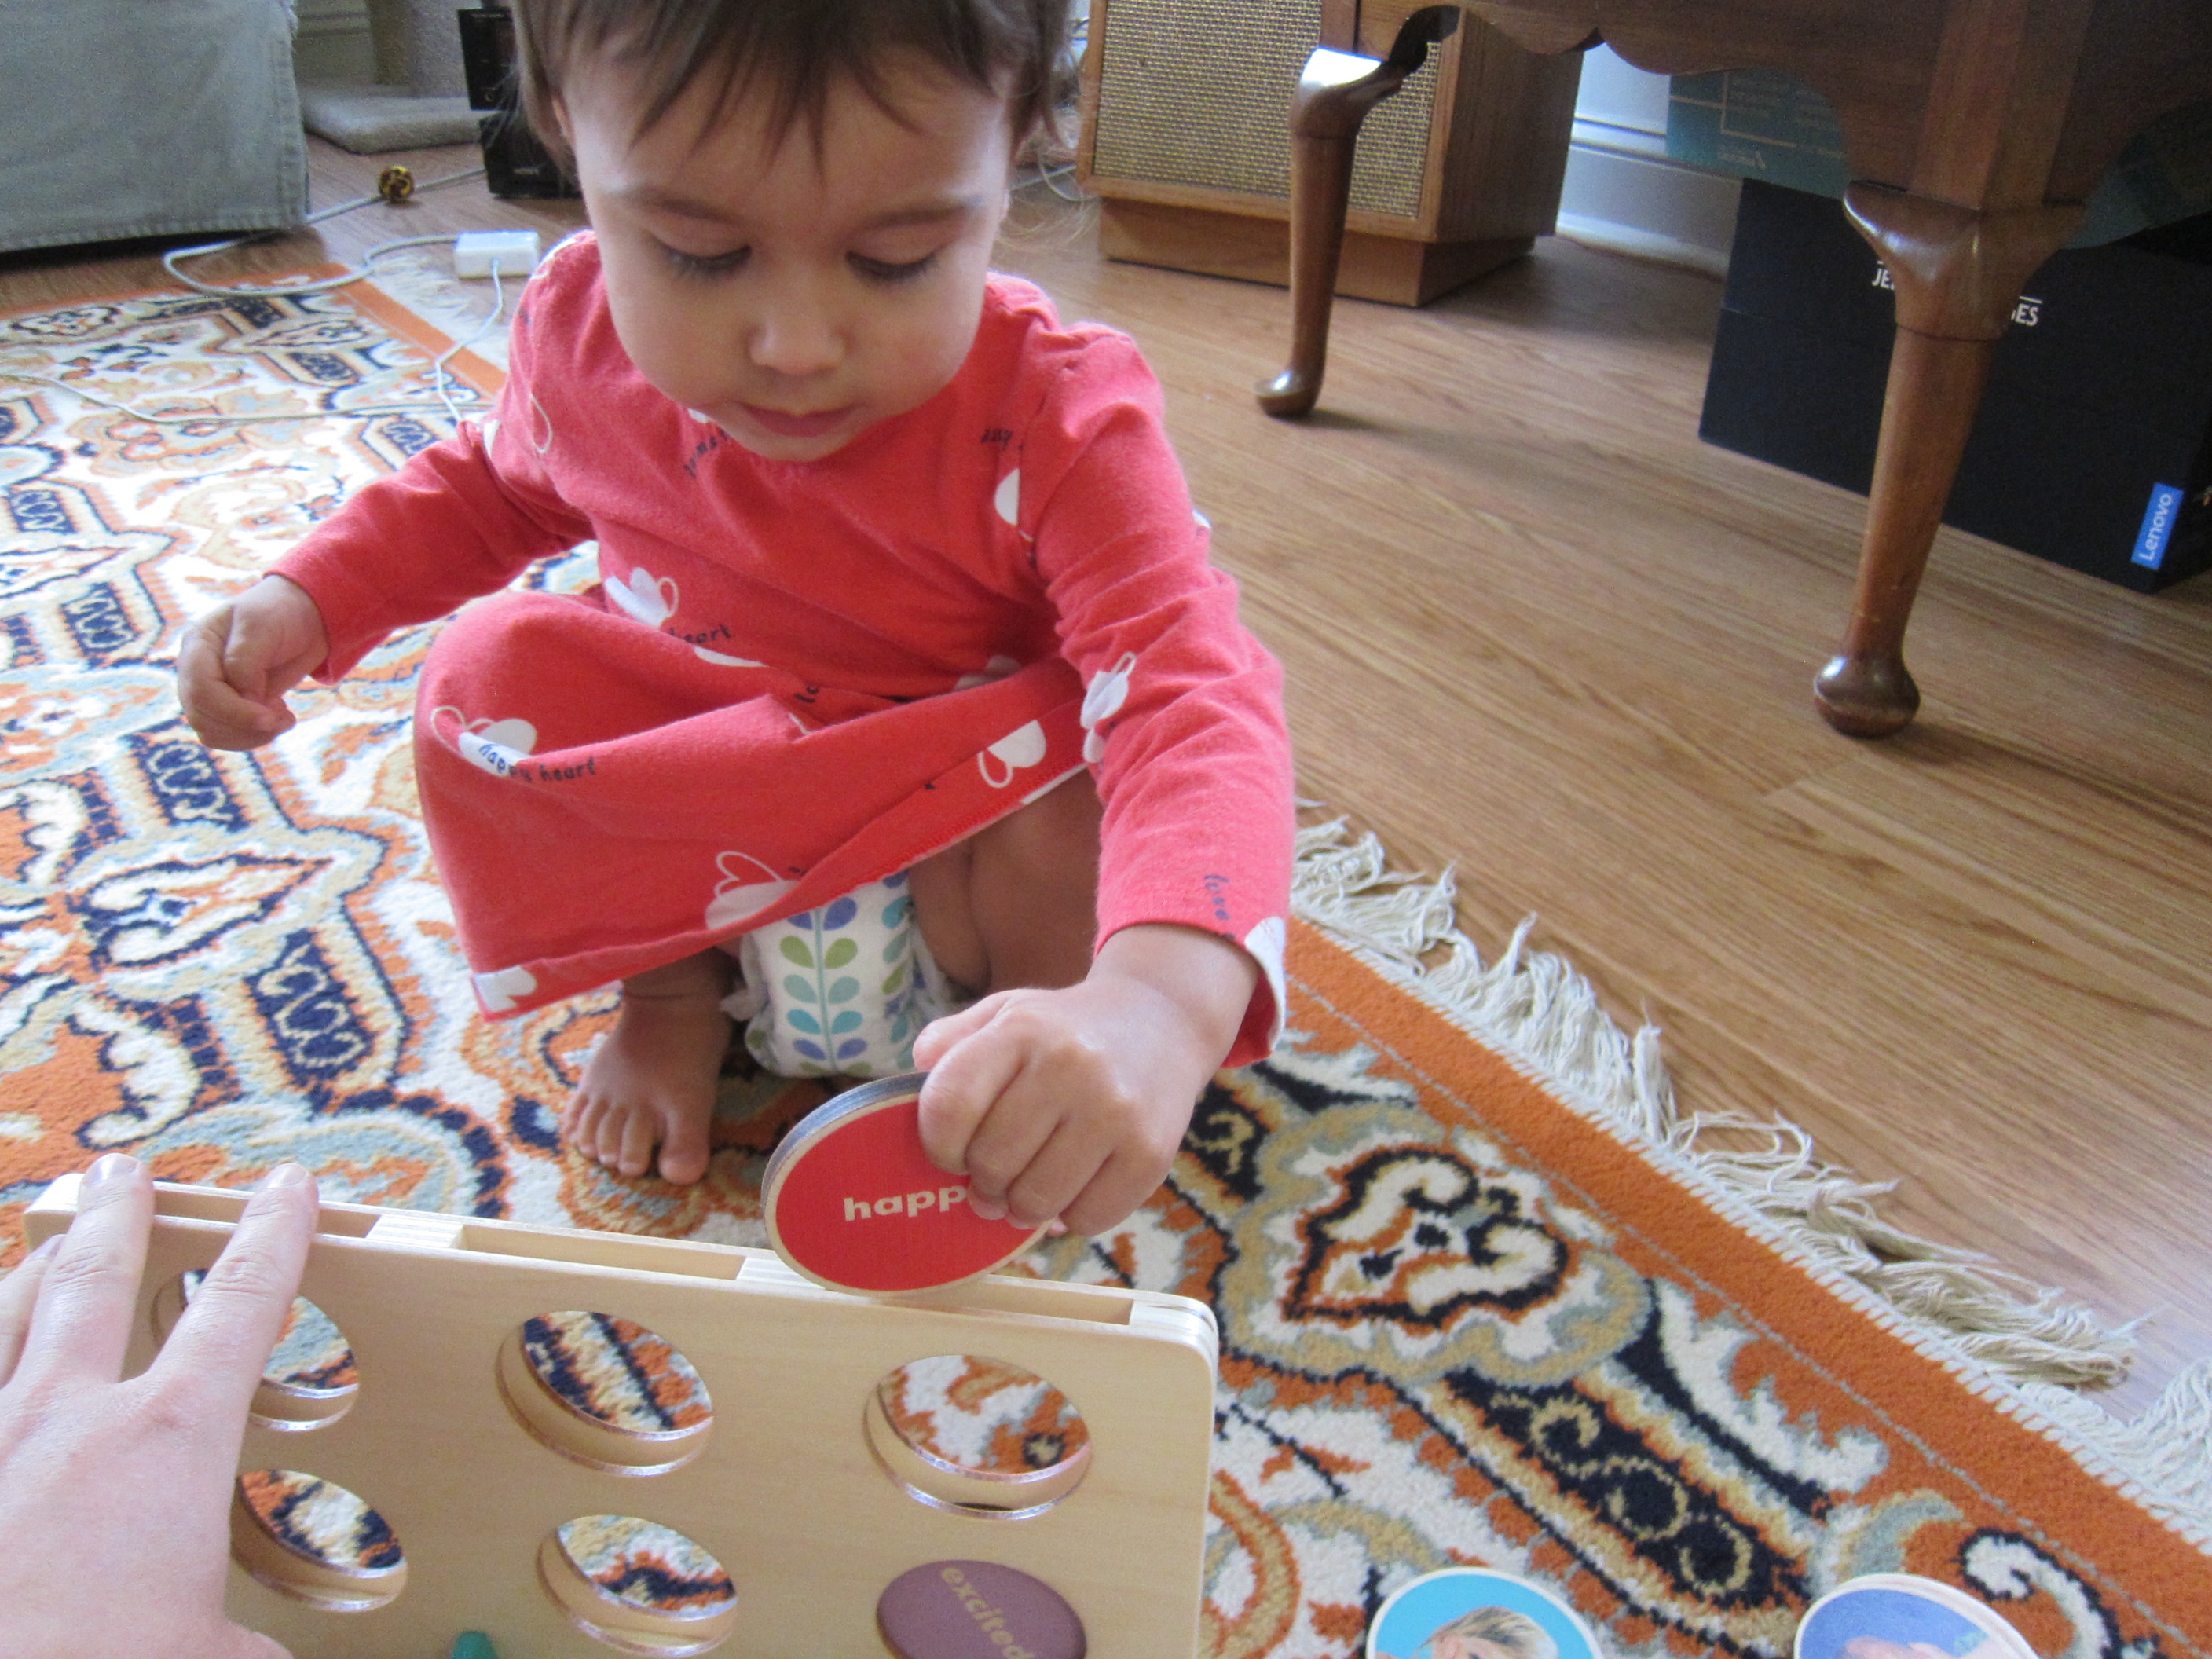
As she popped in each one, I named the emotion.

Panda Feelings (13)

We then lined up the babies in order from happiest to saddest.

Panda Feelings (15)

Panda also suggests using this toy for a color match, but it wasn’t intuitive for Veronika since there were three shades of blue, but no orange, green, etc. For a better color toy, I would have preferred rainbow colors.

Panda Feelings (16)

Four: Emotions Place Mat

The fourth item was a food-grade silicone place mat with the outline of panda’s face but no emotions. We used food to add features! An apple wedge could be a smile, and we added blushing red tomato cheeks.

Panda Feelings (18)

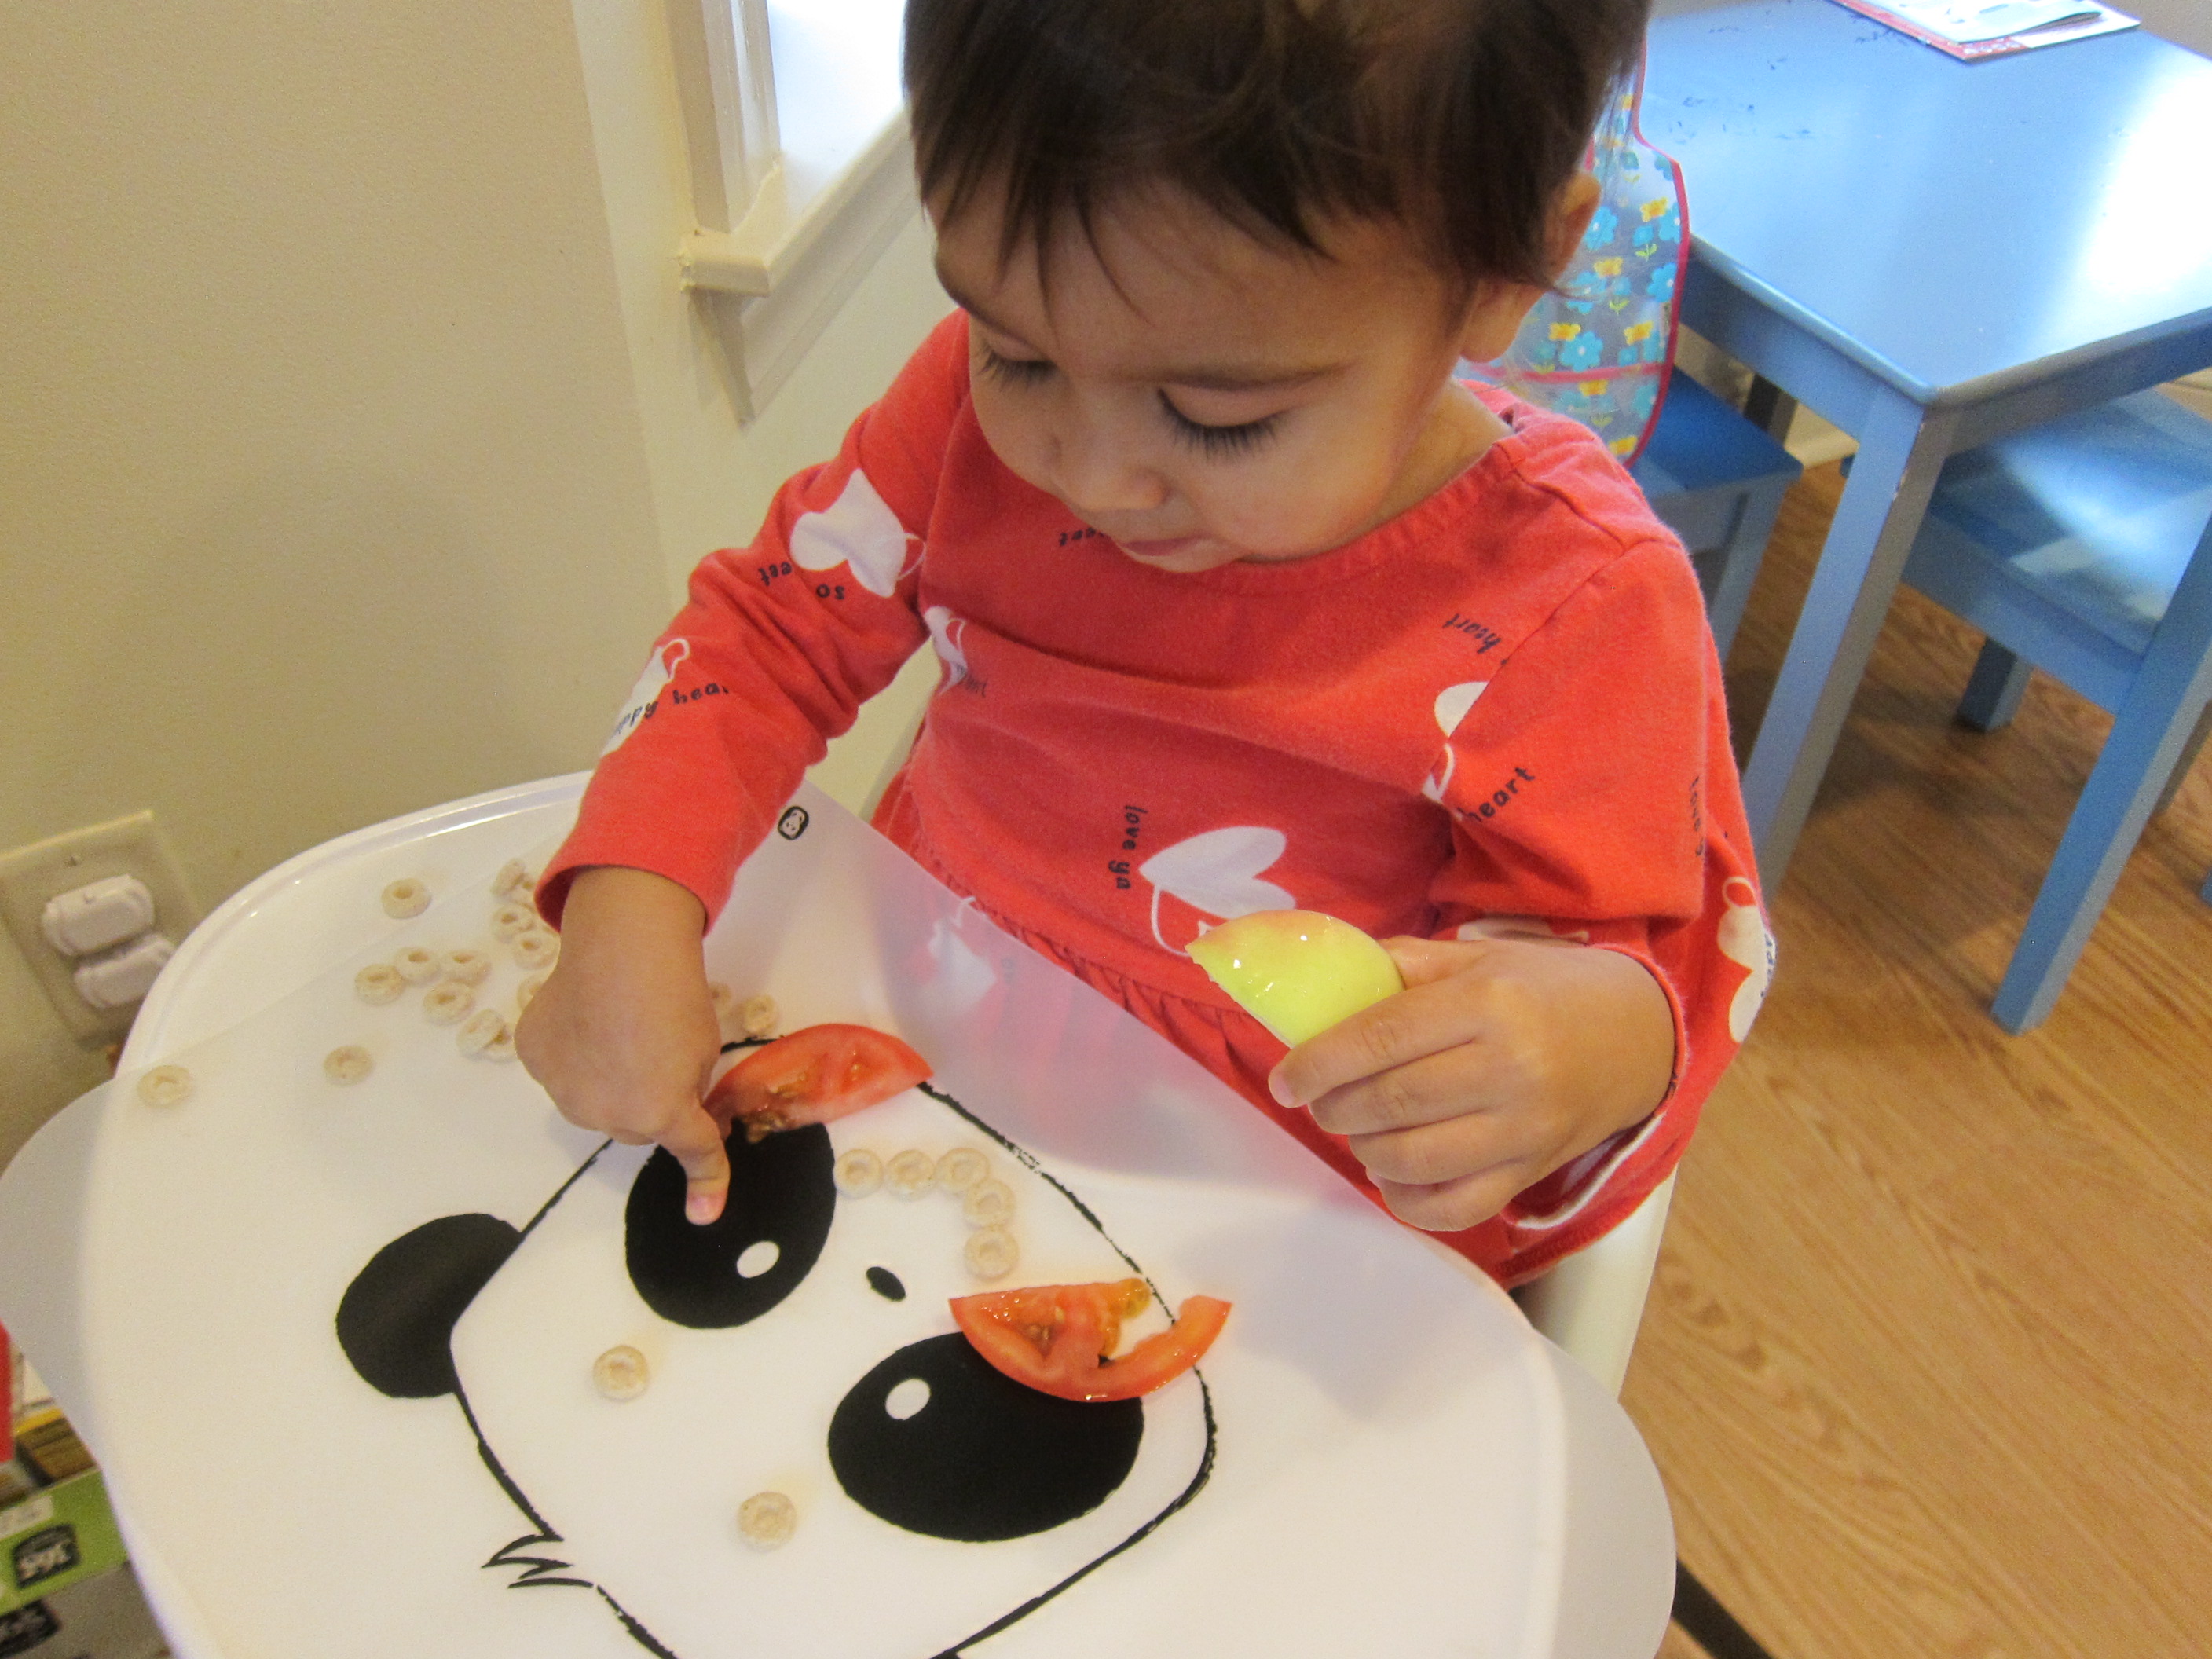
Then we lined up o-shaped cereal, first in a smile, and then in a frown.

Panda Feelings (17)

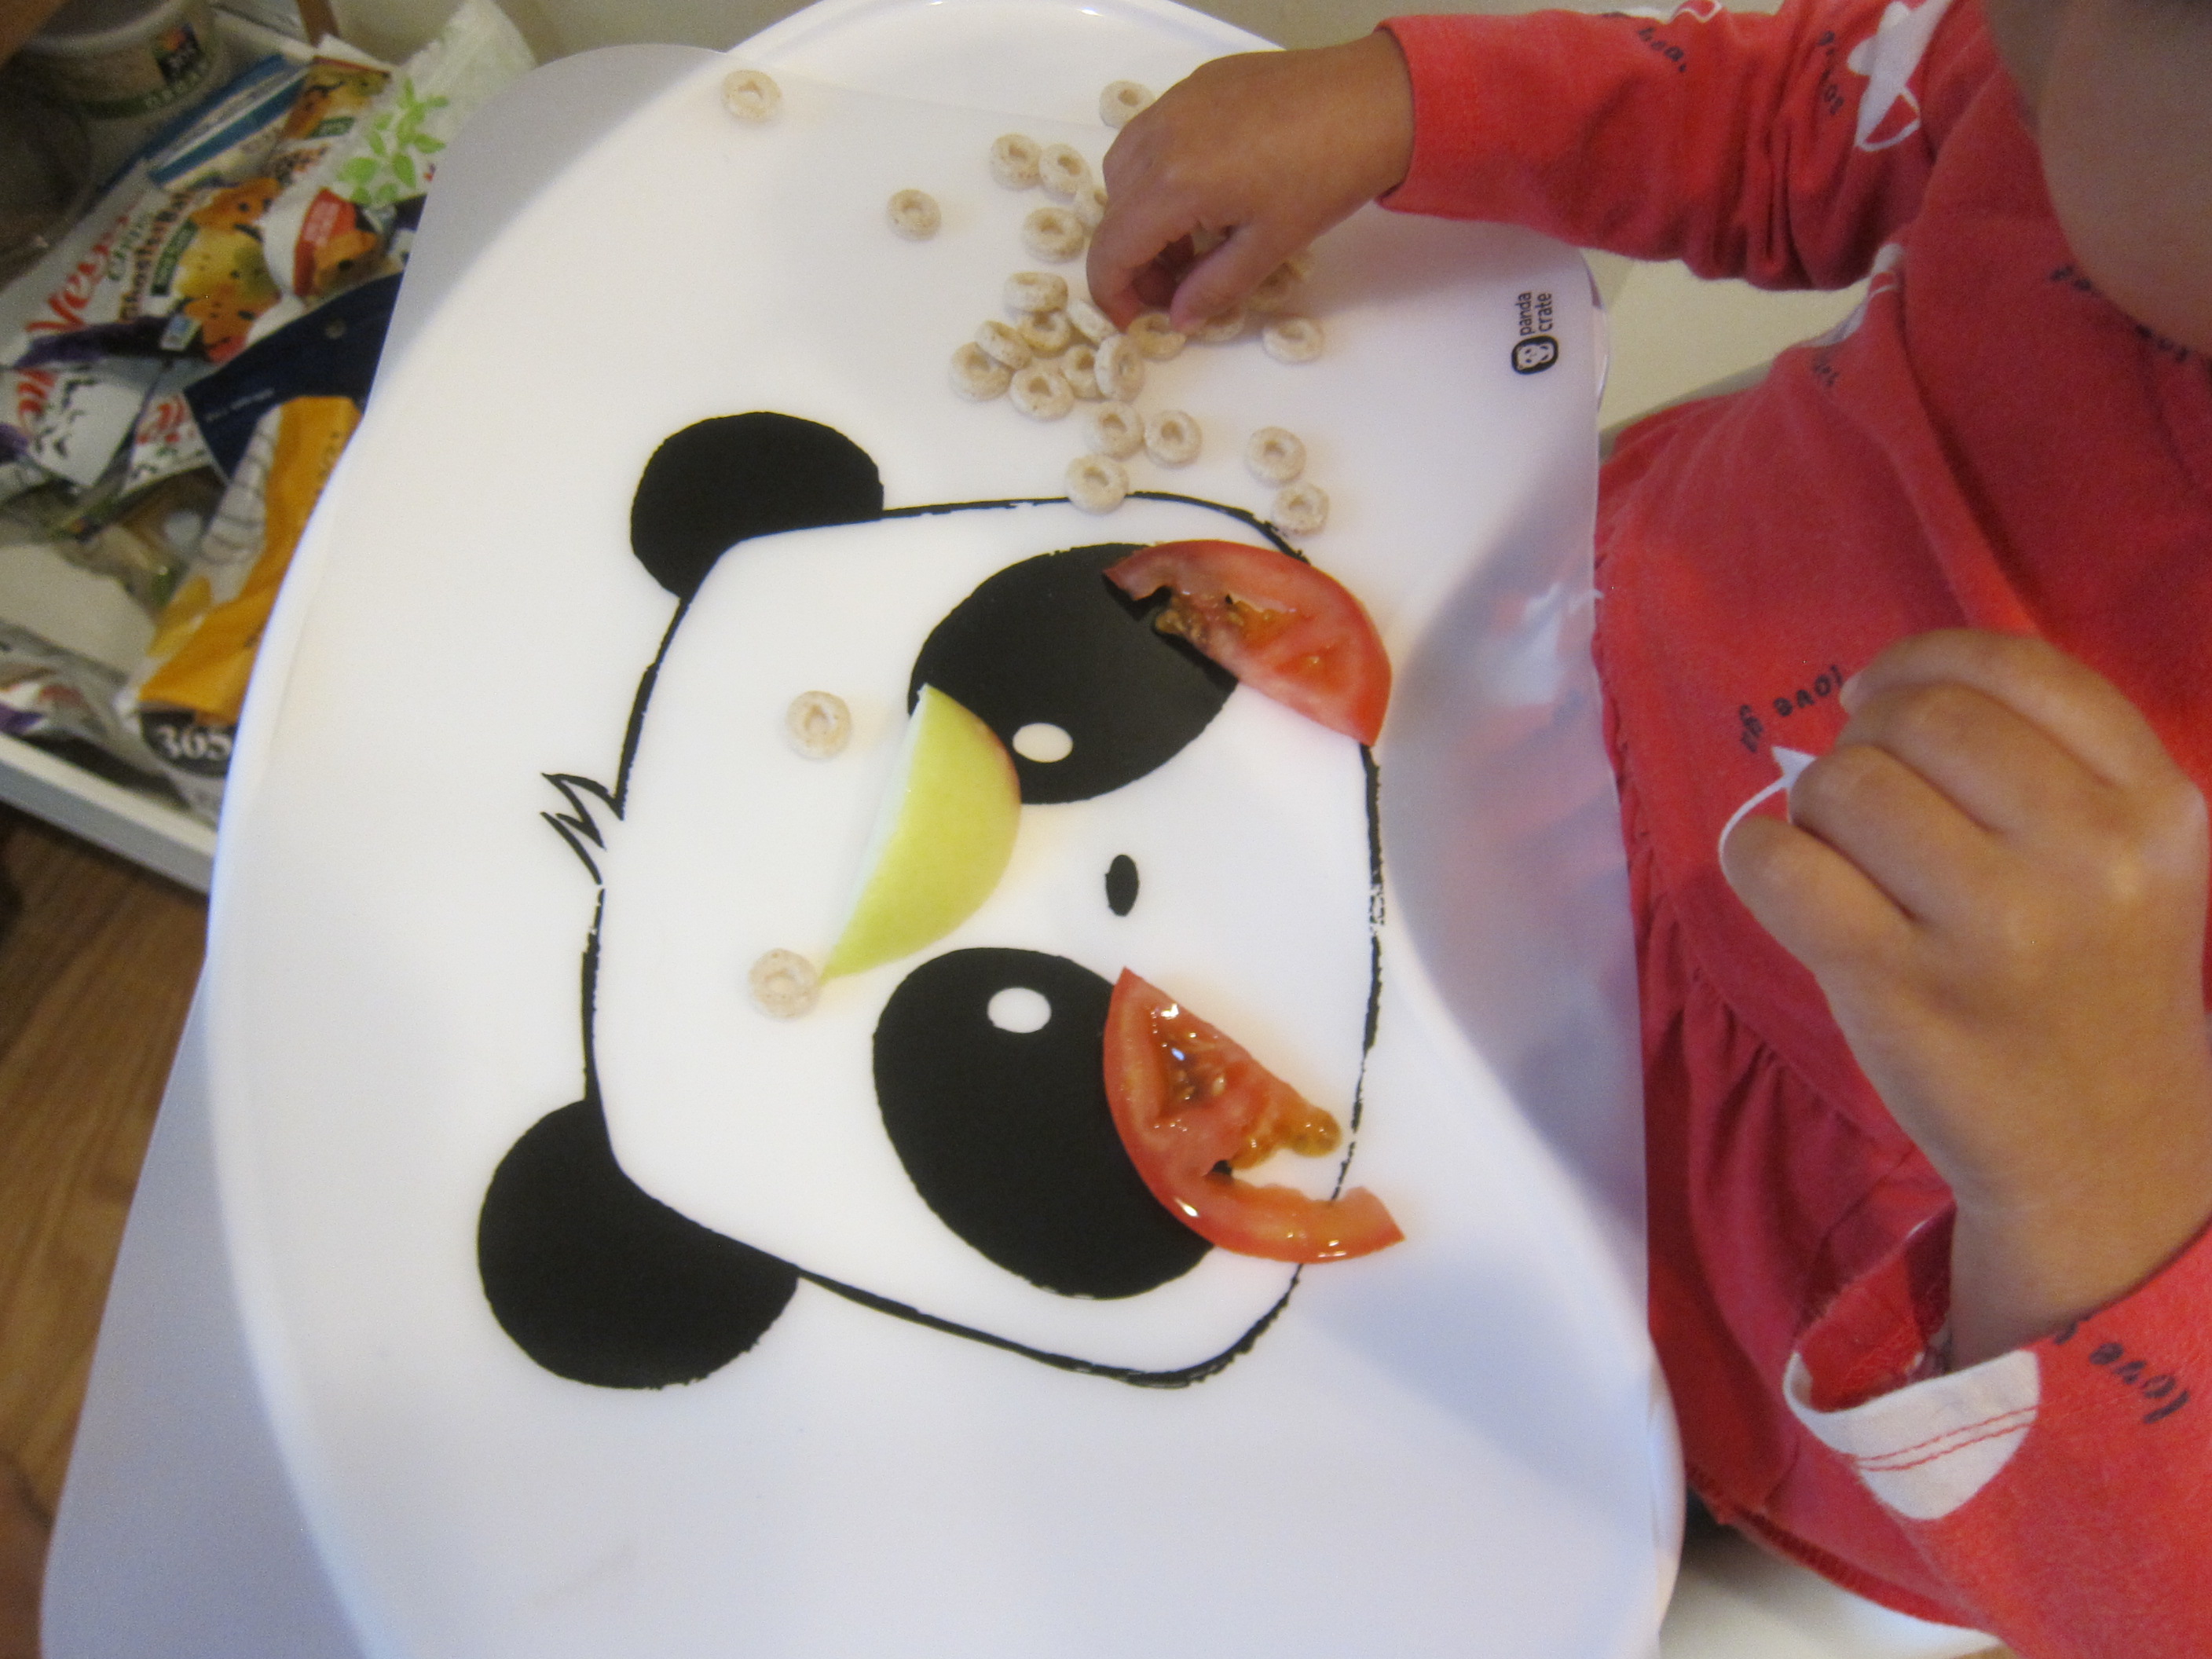
Veronika giggled when I said she was eating the panda’s mouth! So the mat is not only practical (we’ll keep using this at meal time!), but also fun for food play and for more serious emotional learning.

Panda Feelings (18)

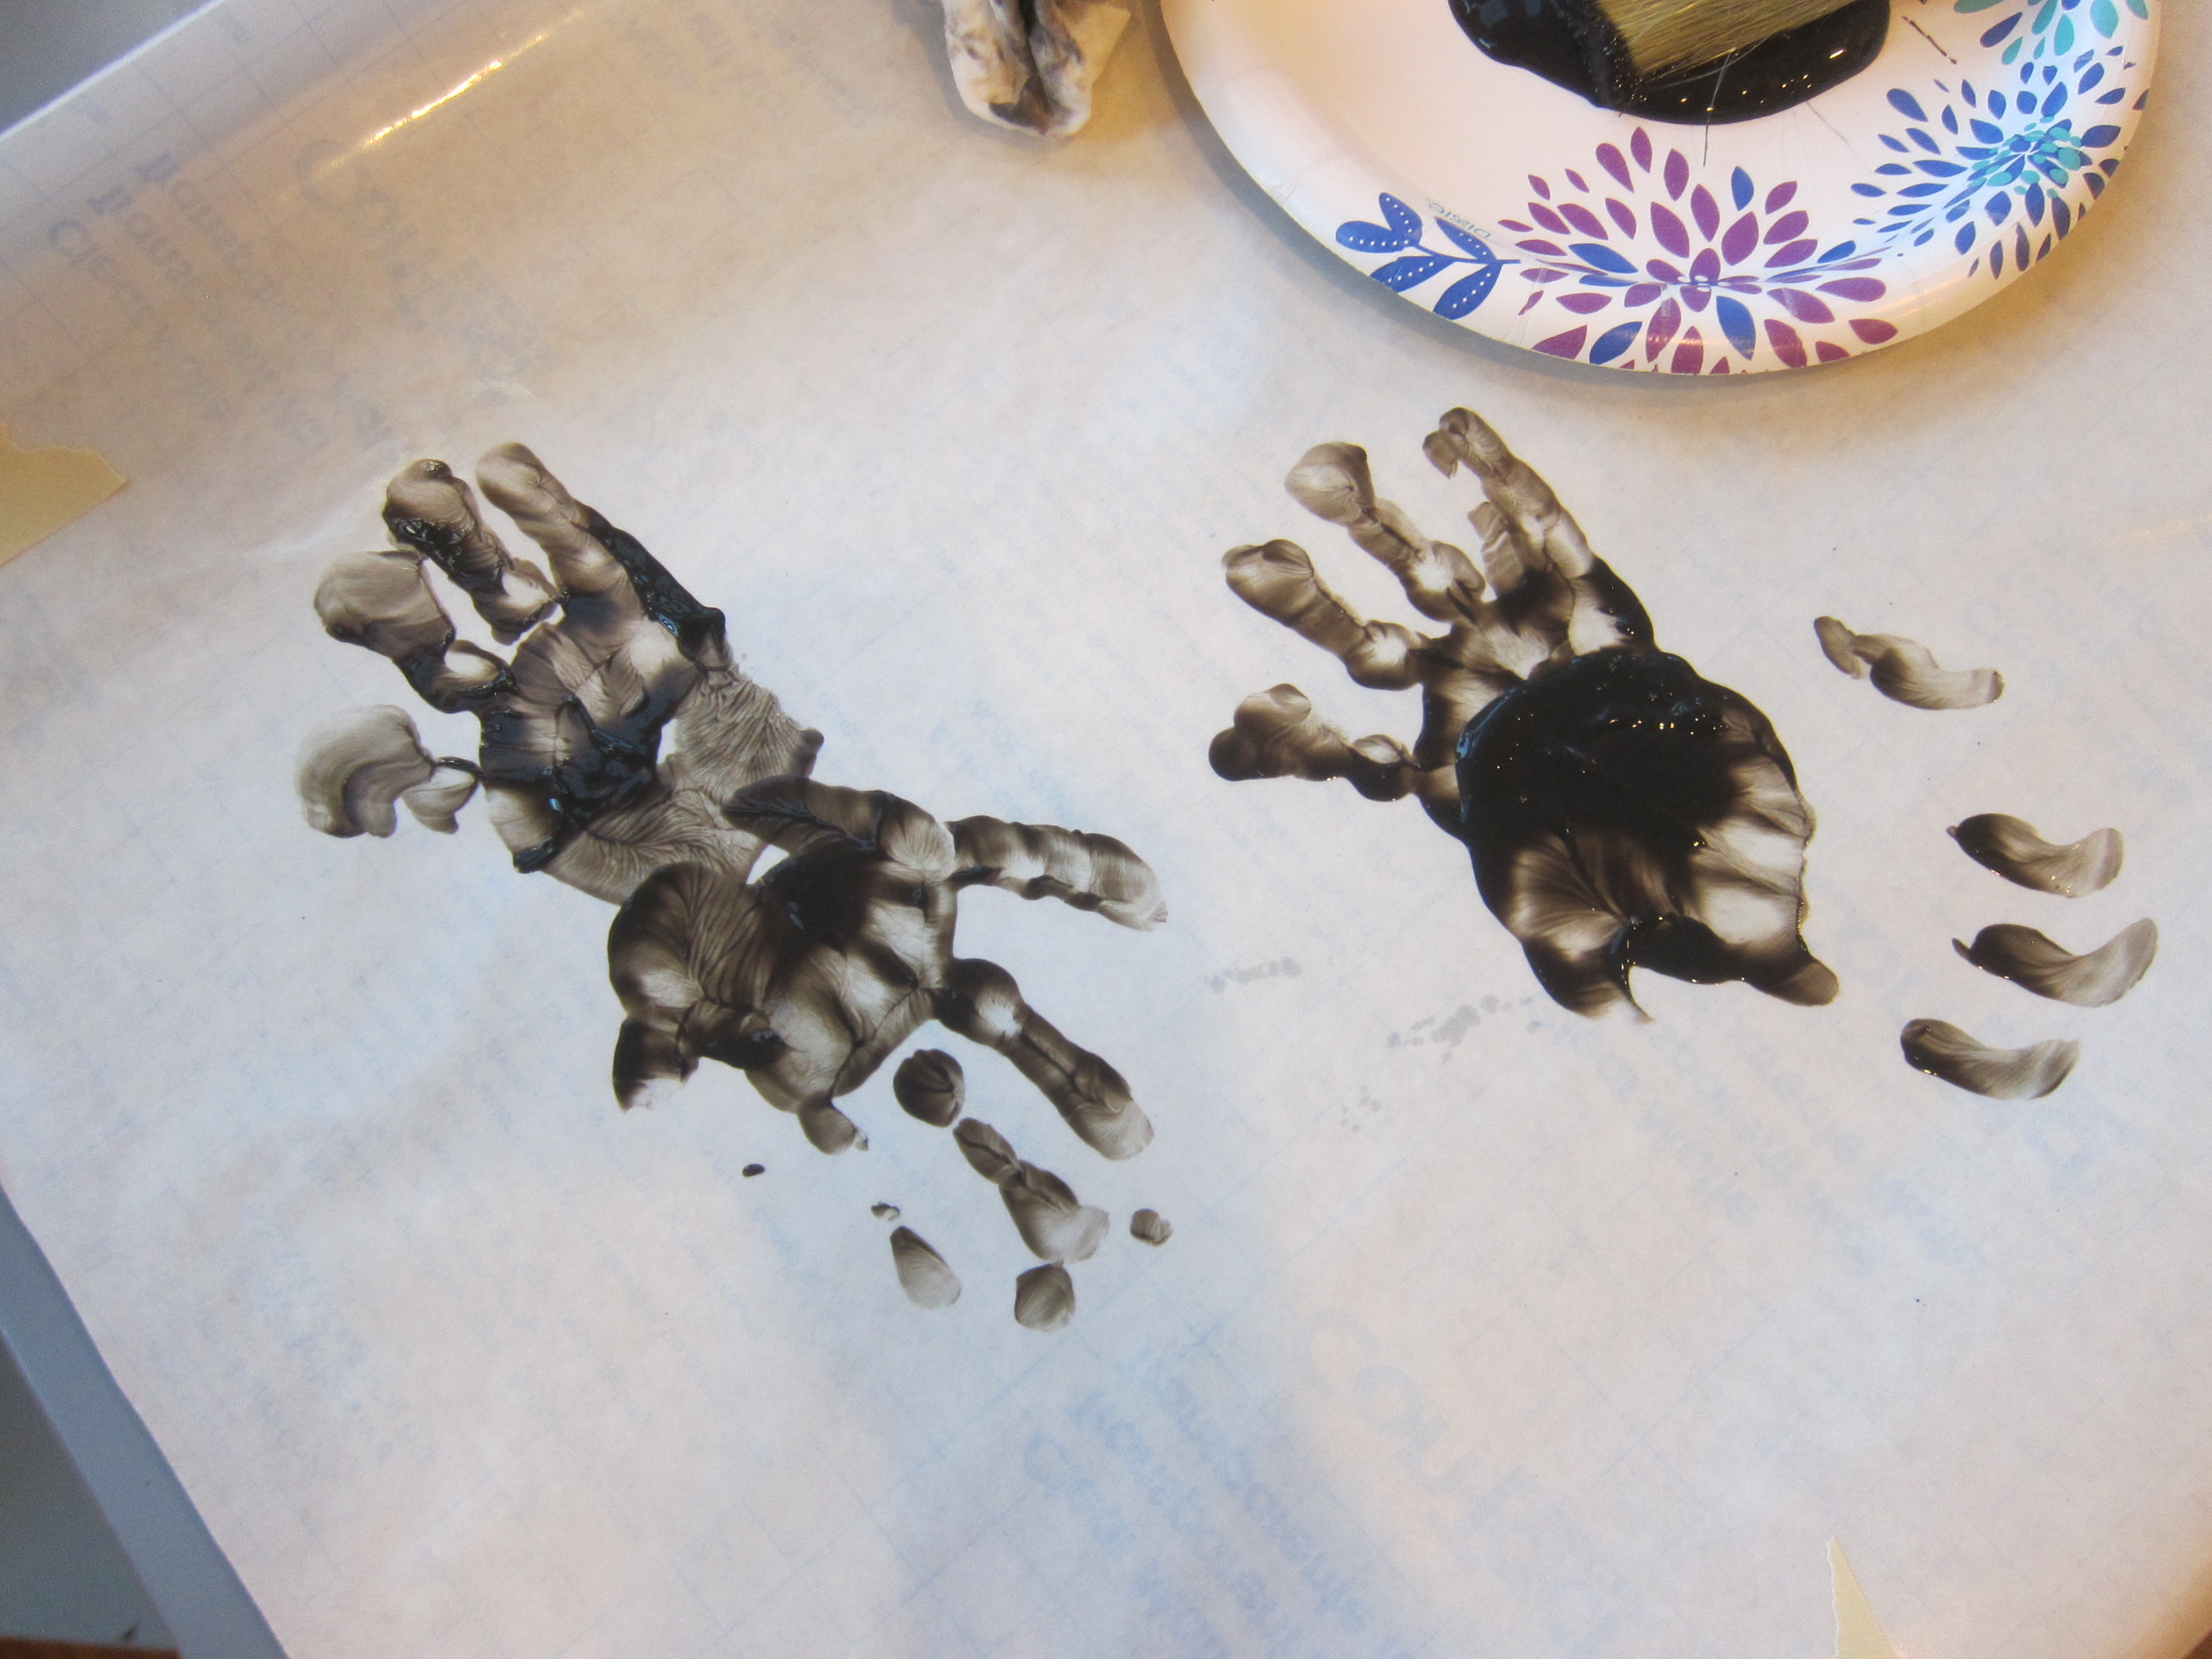
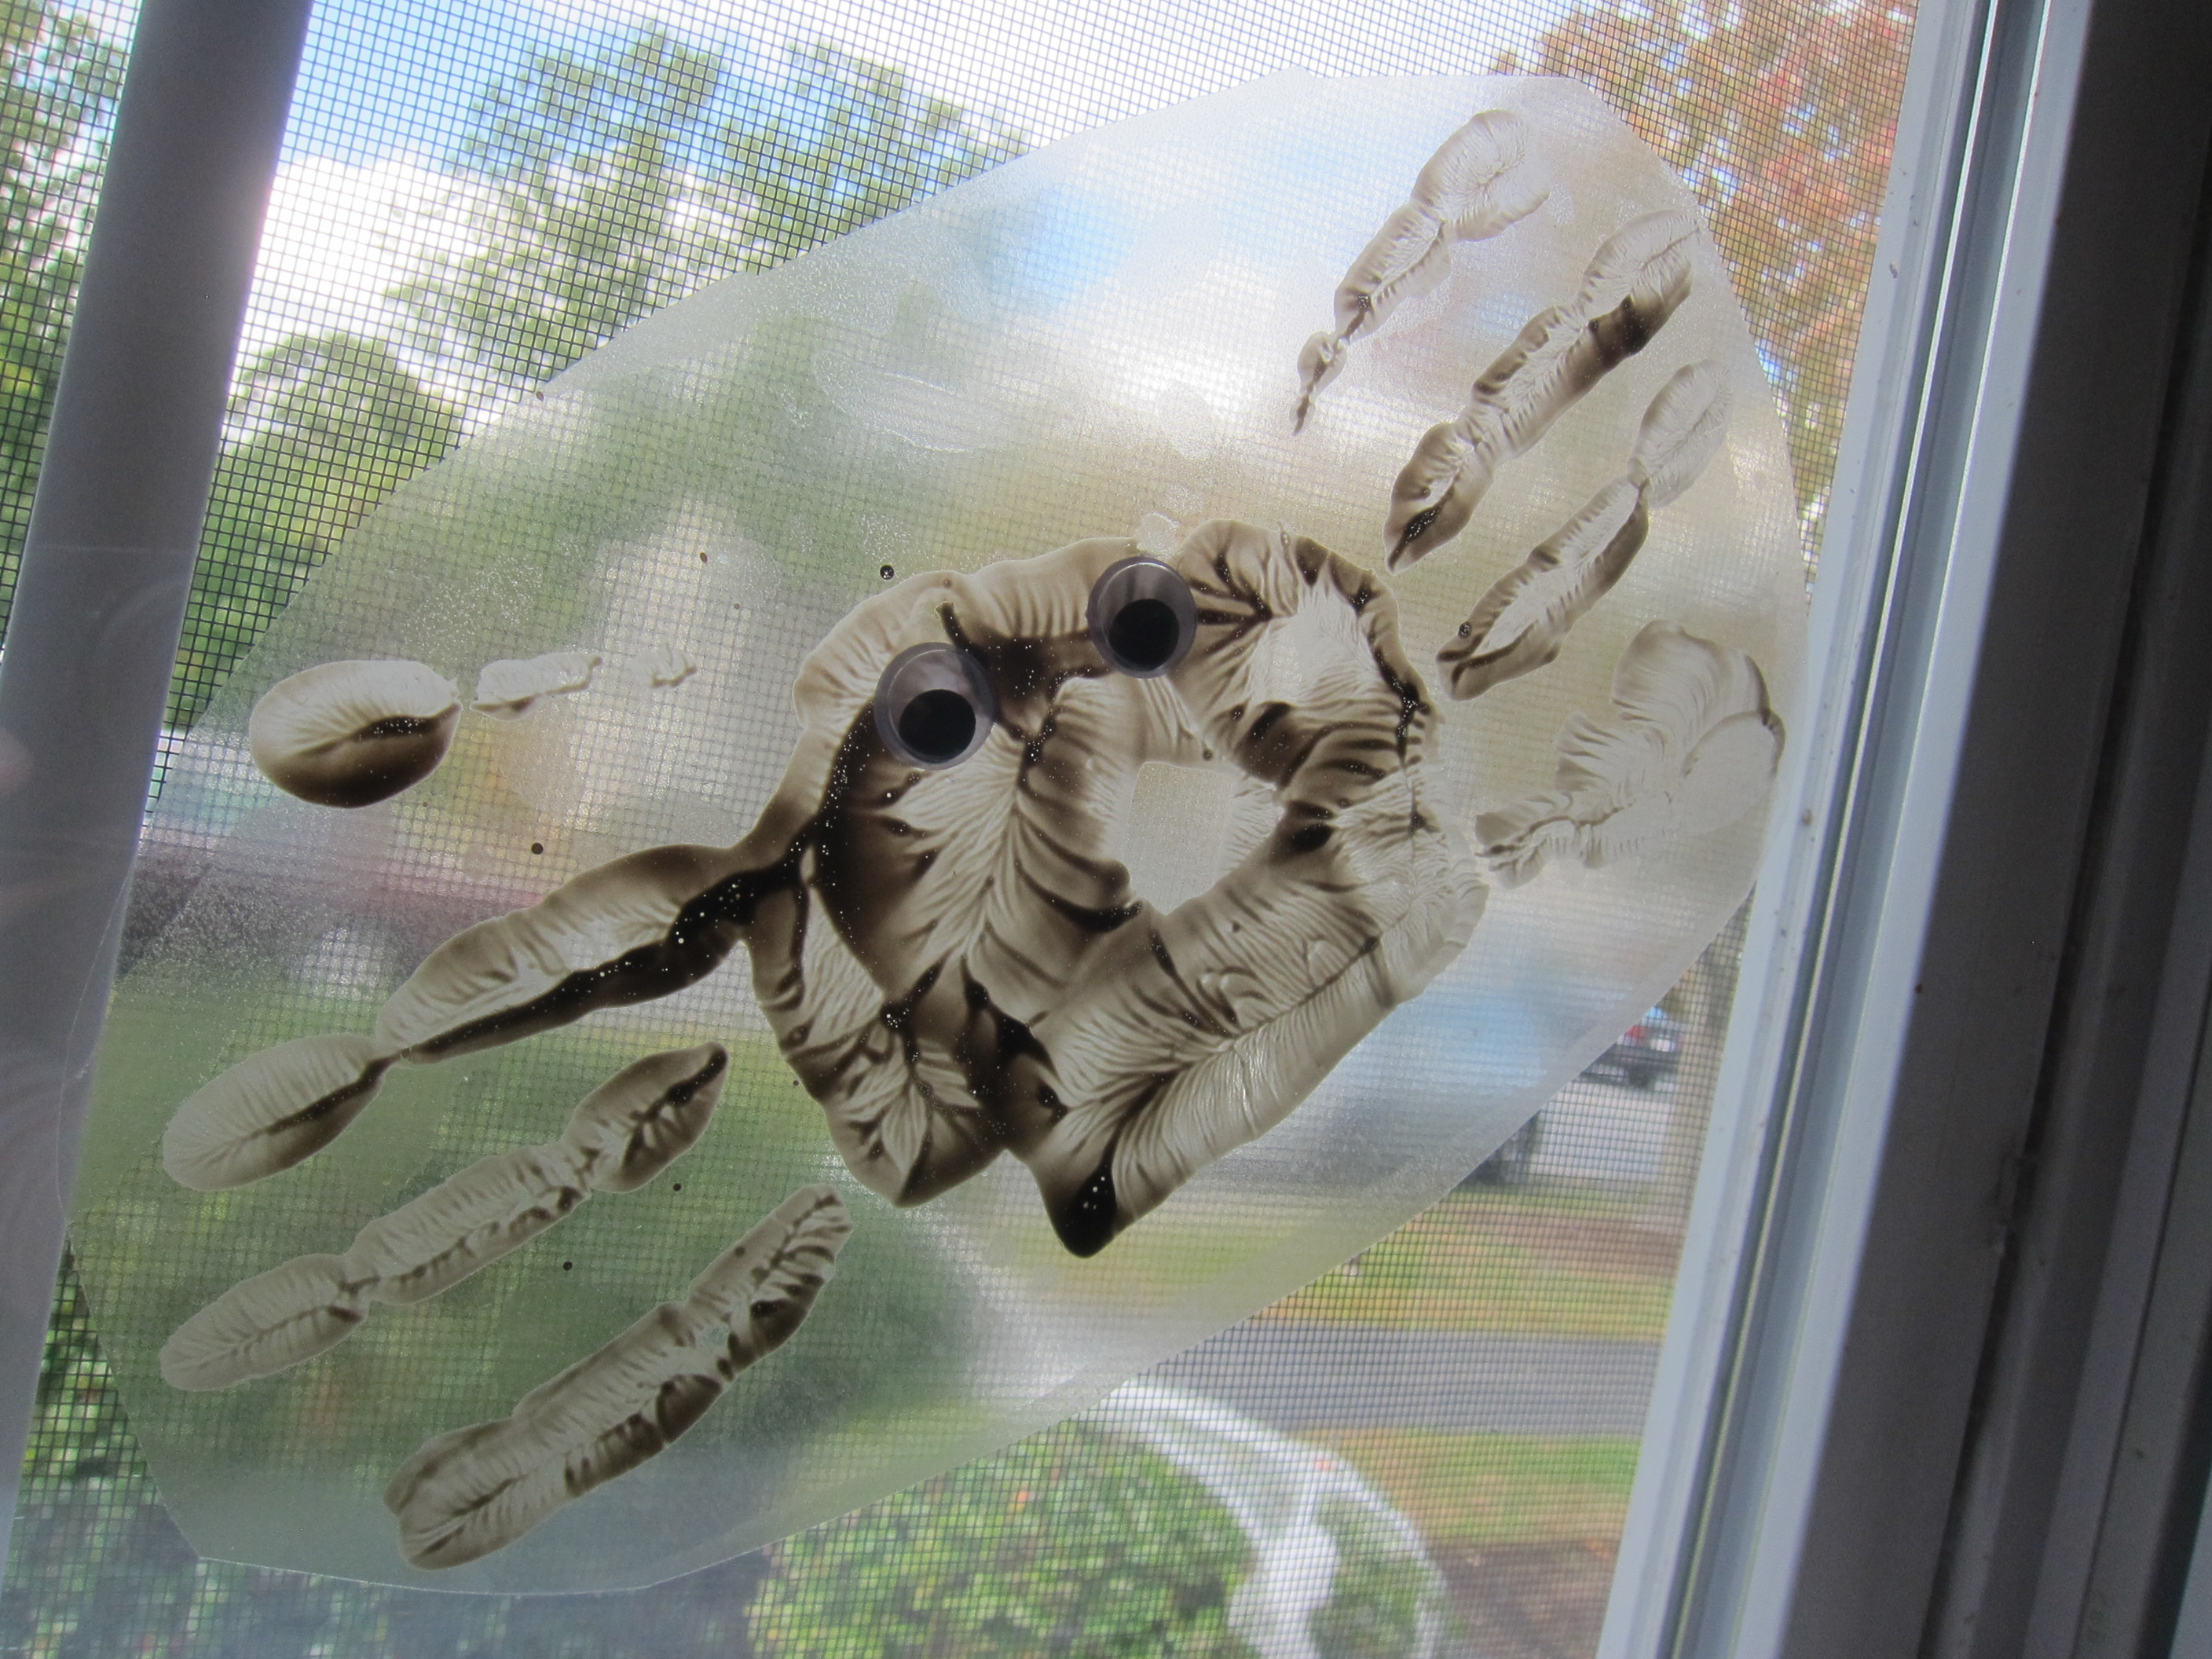
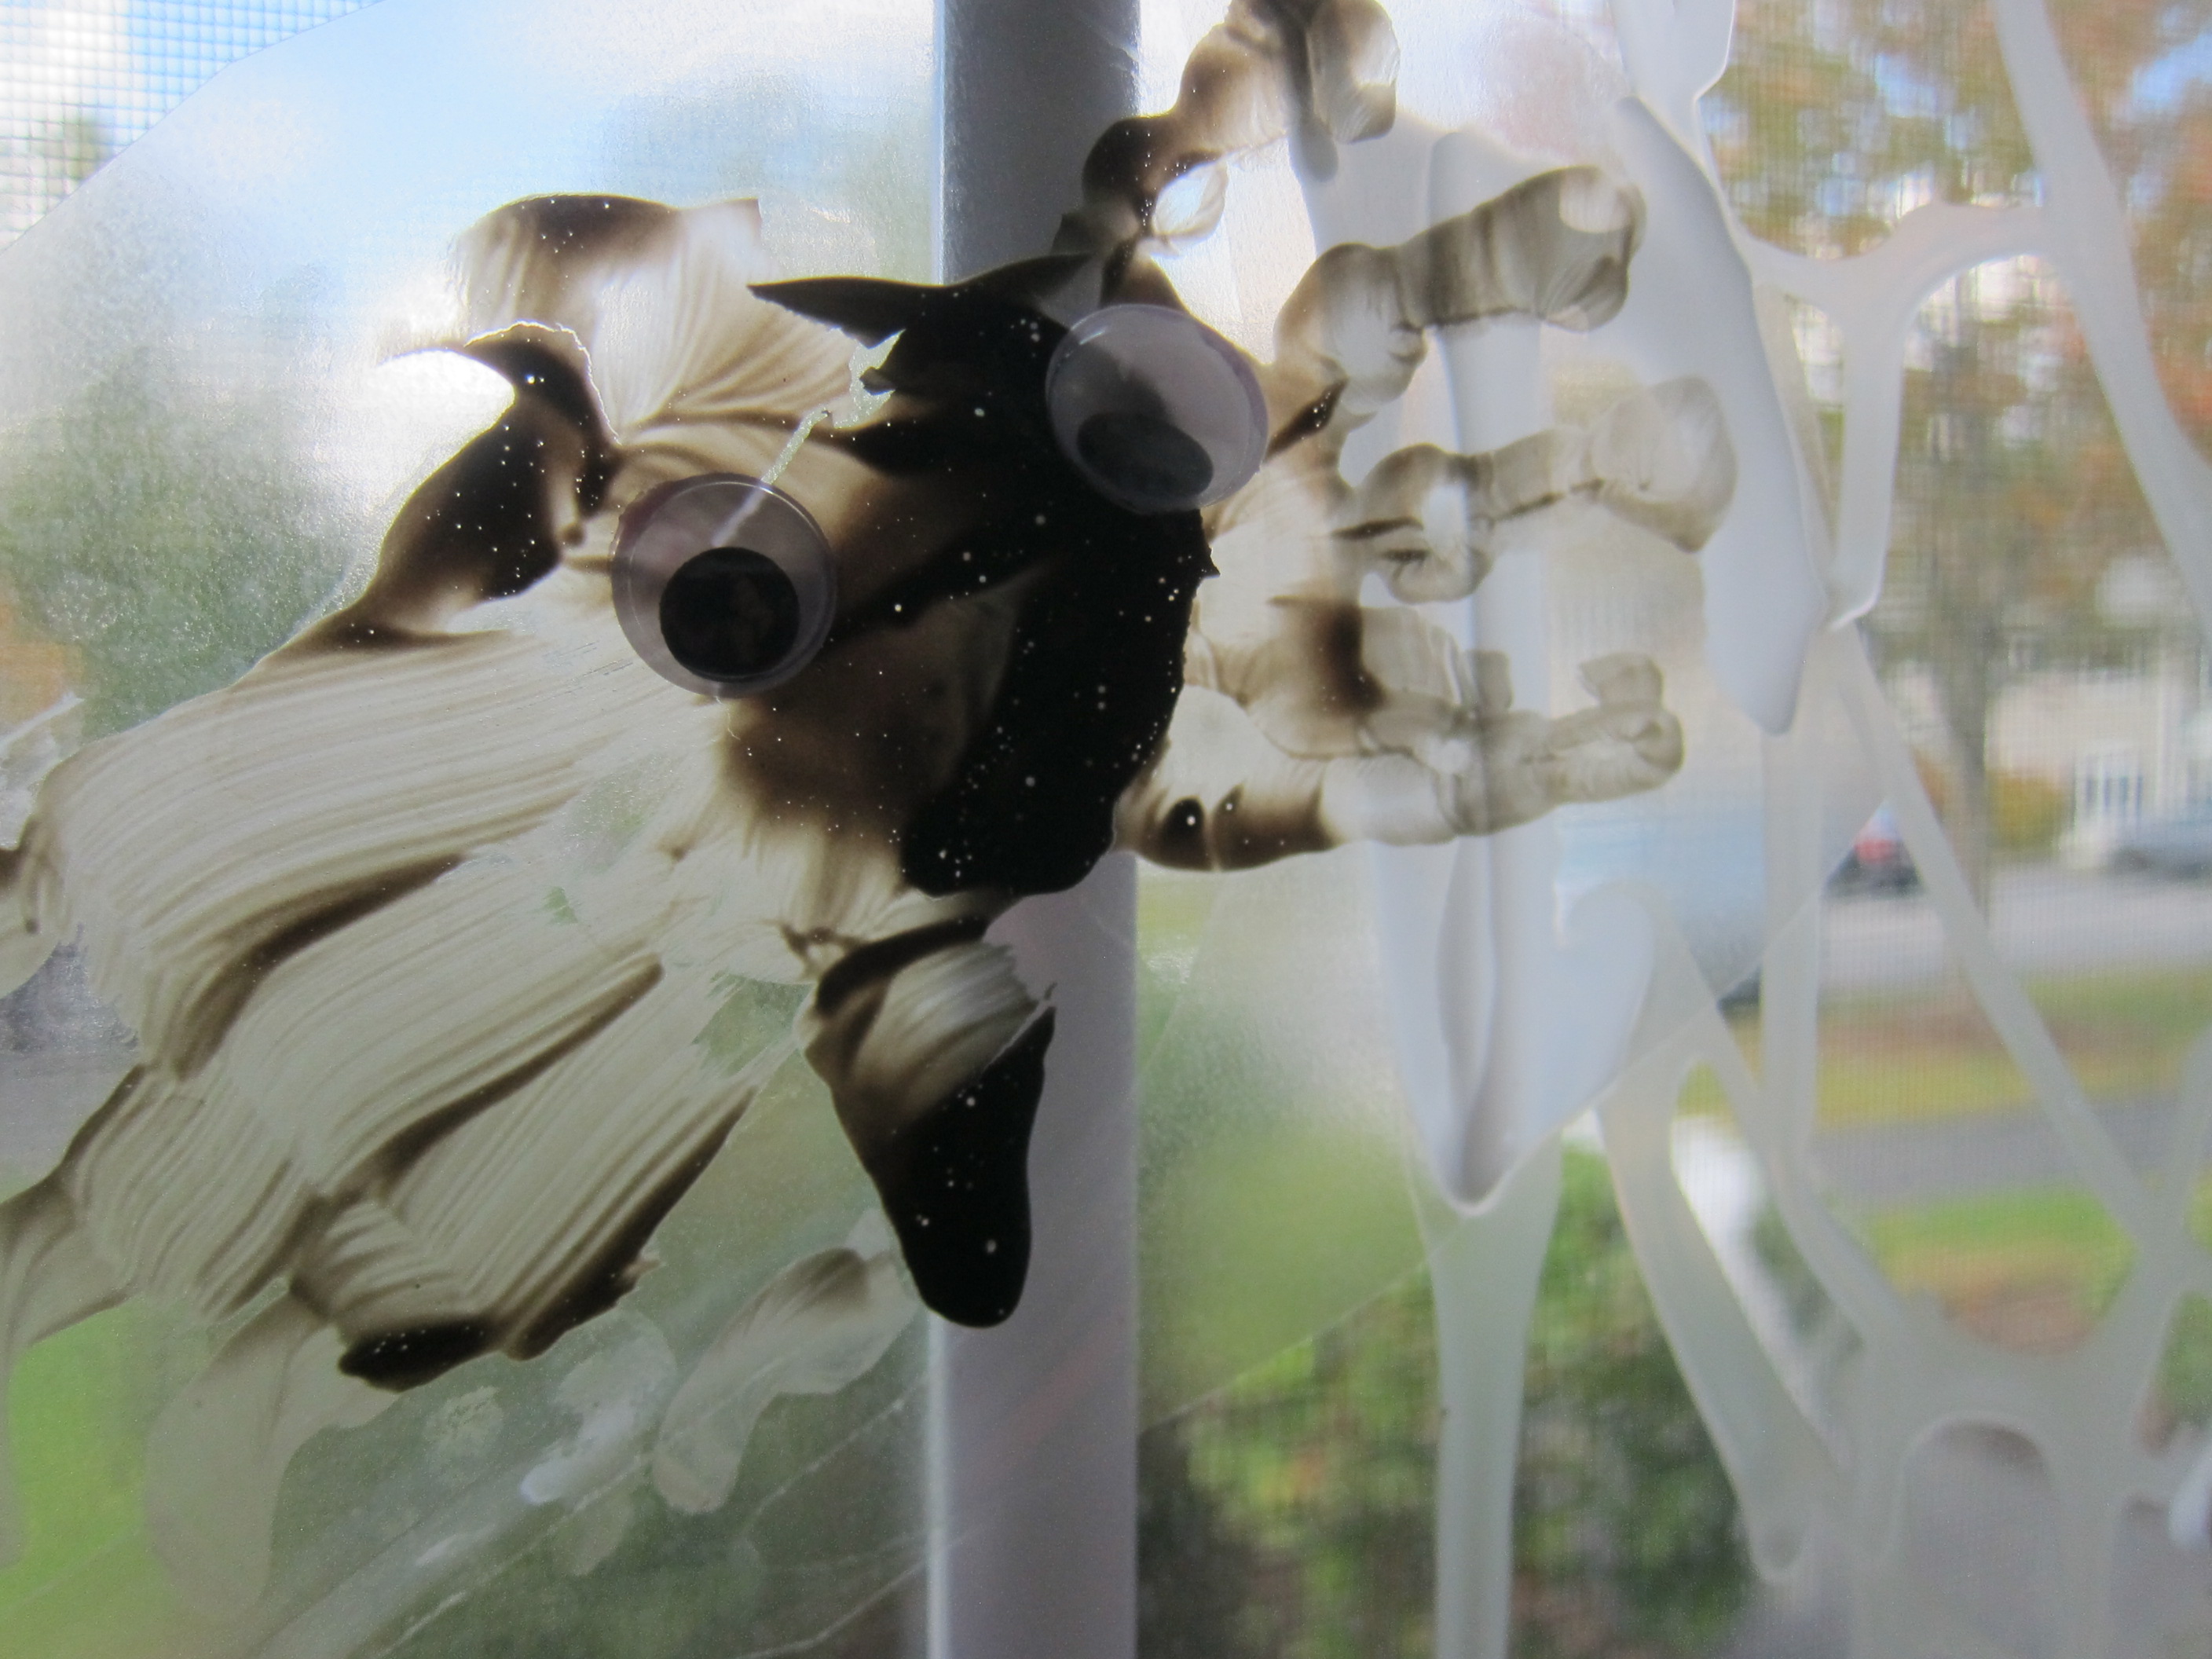
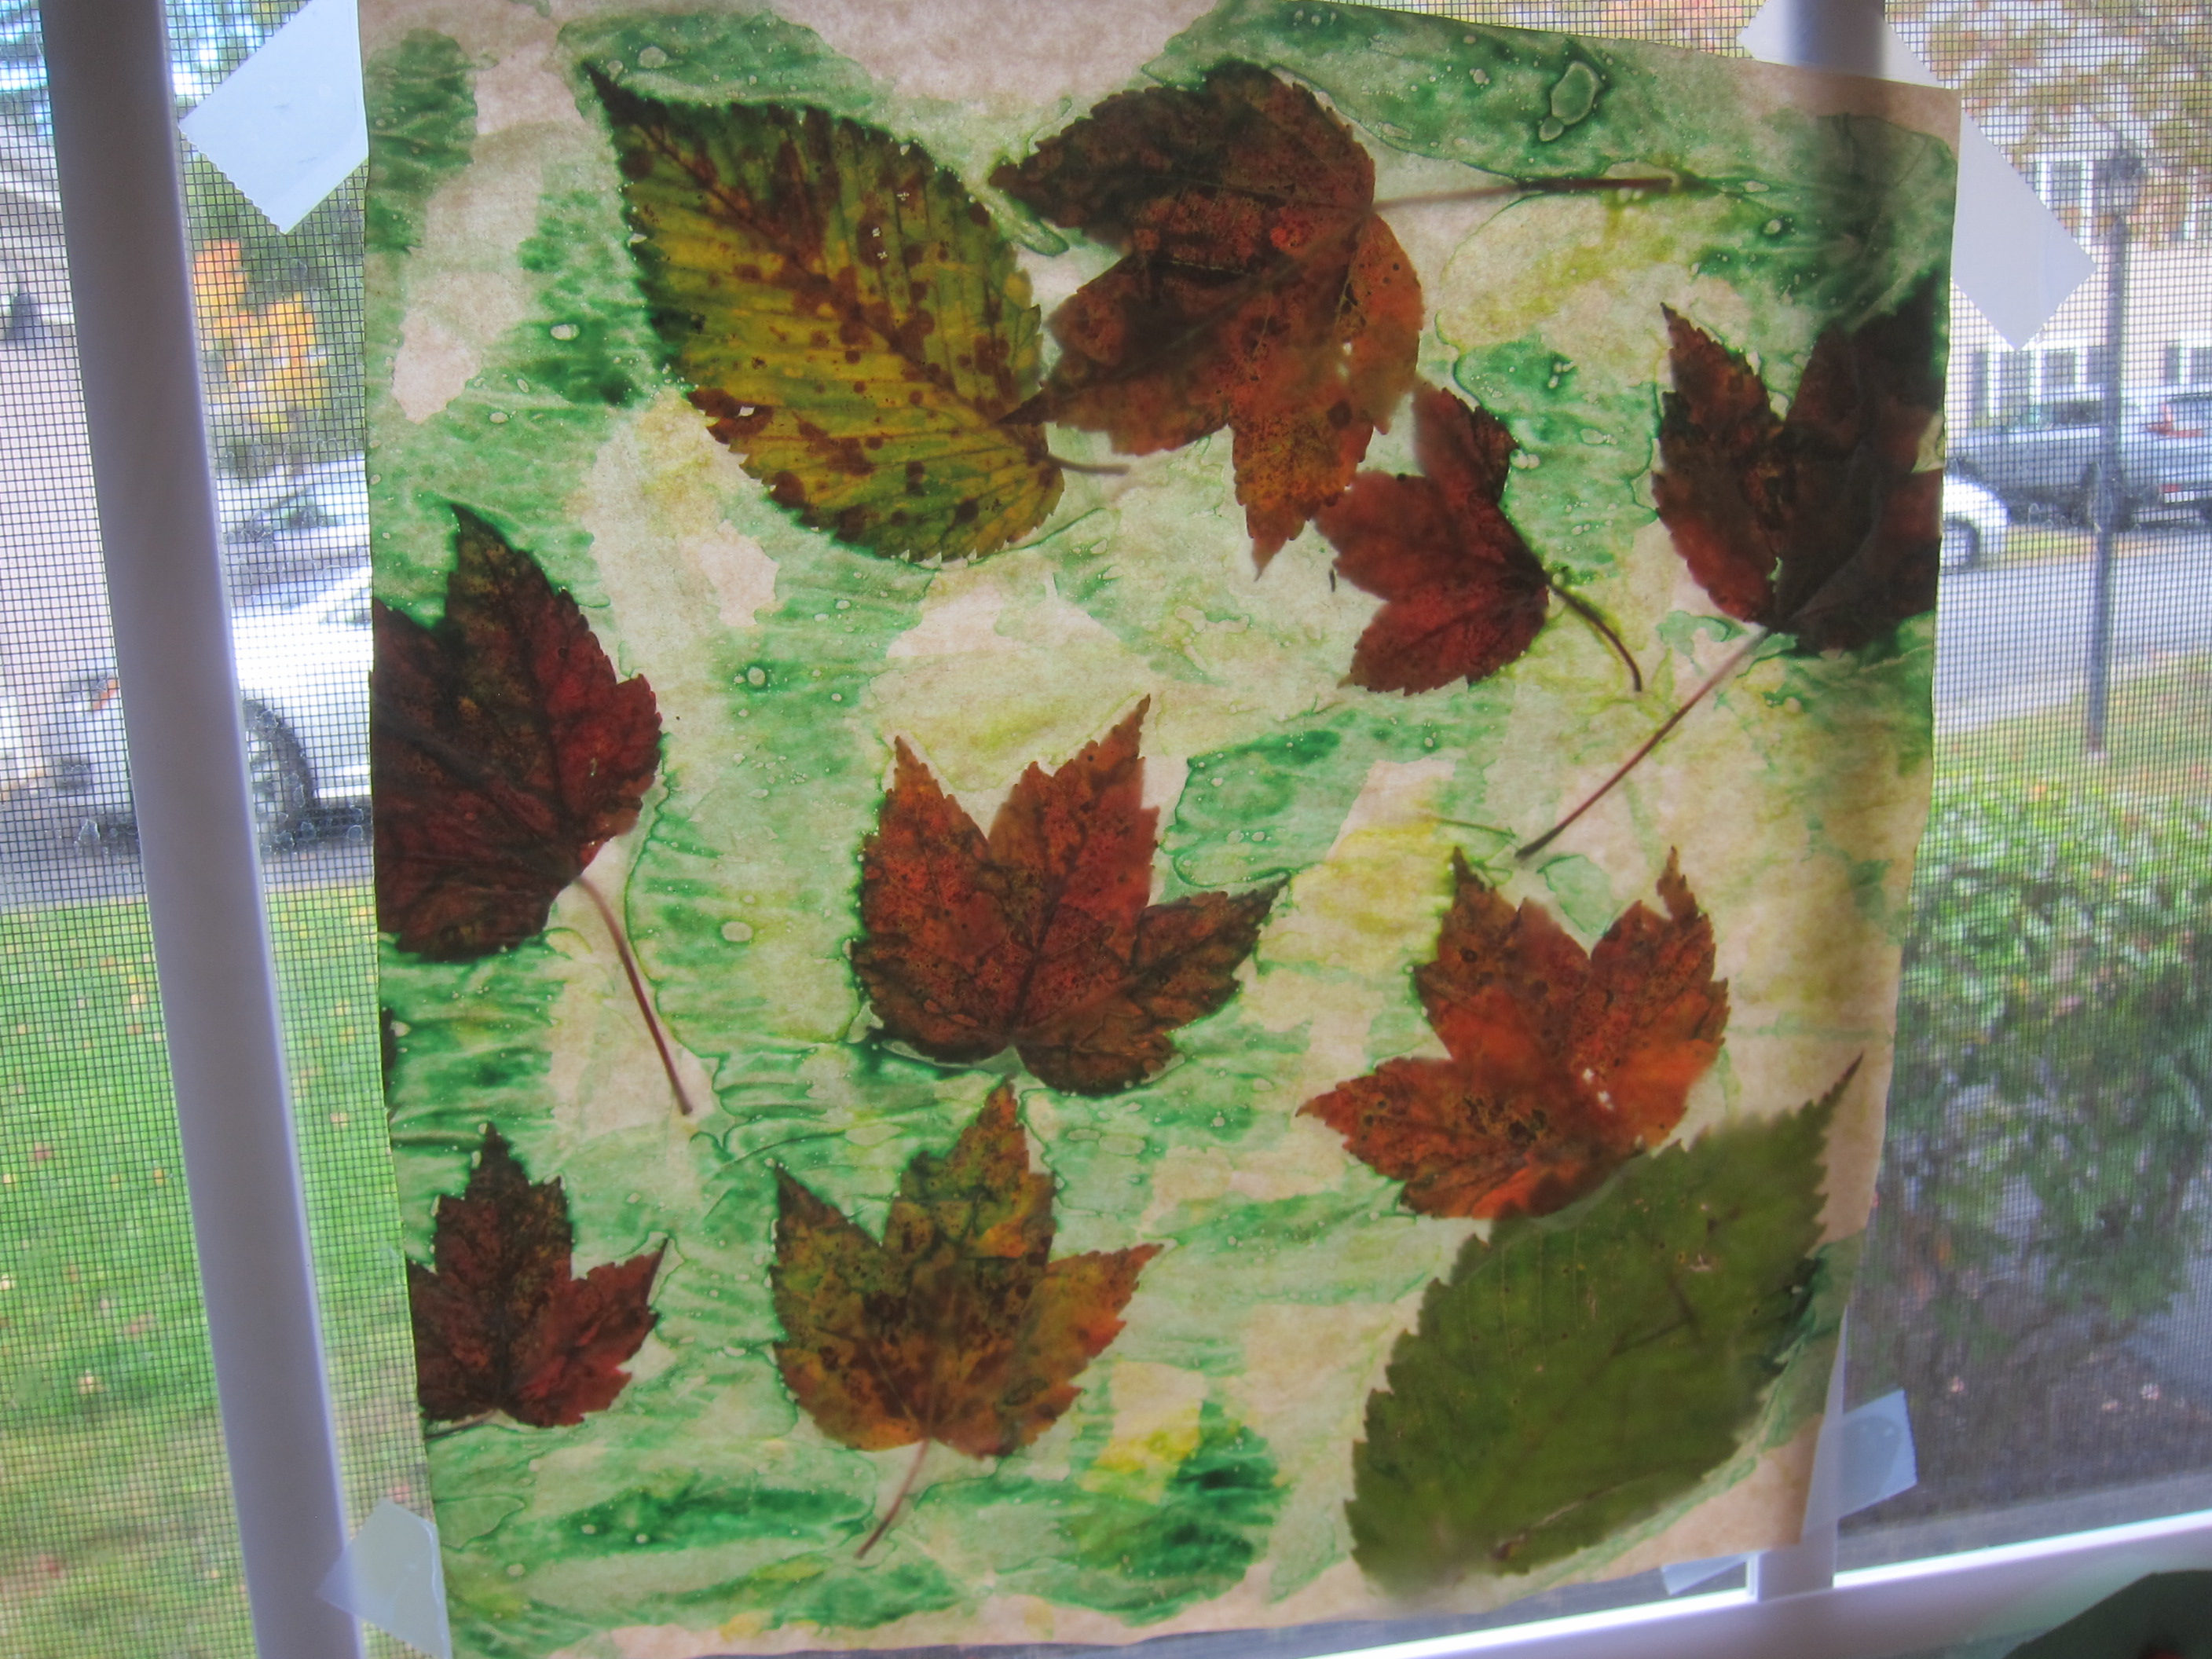
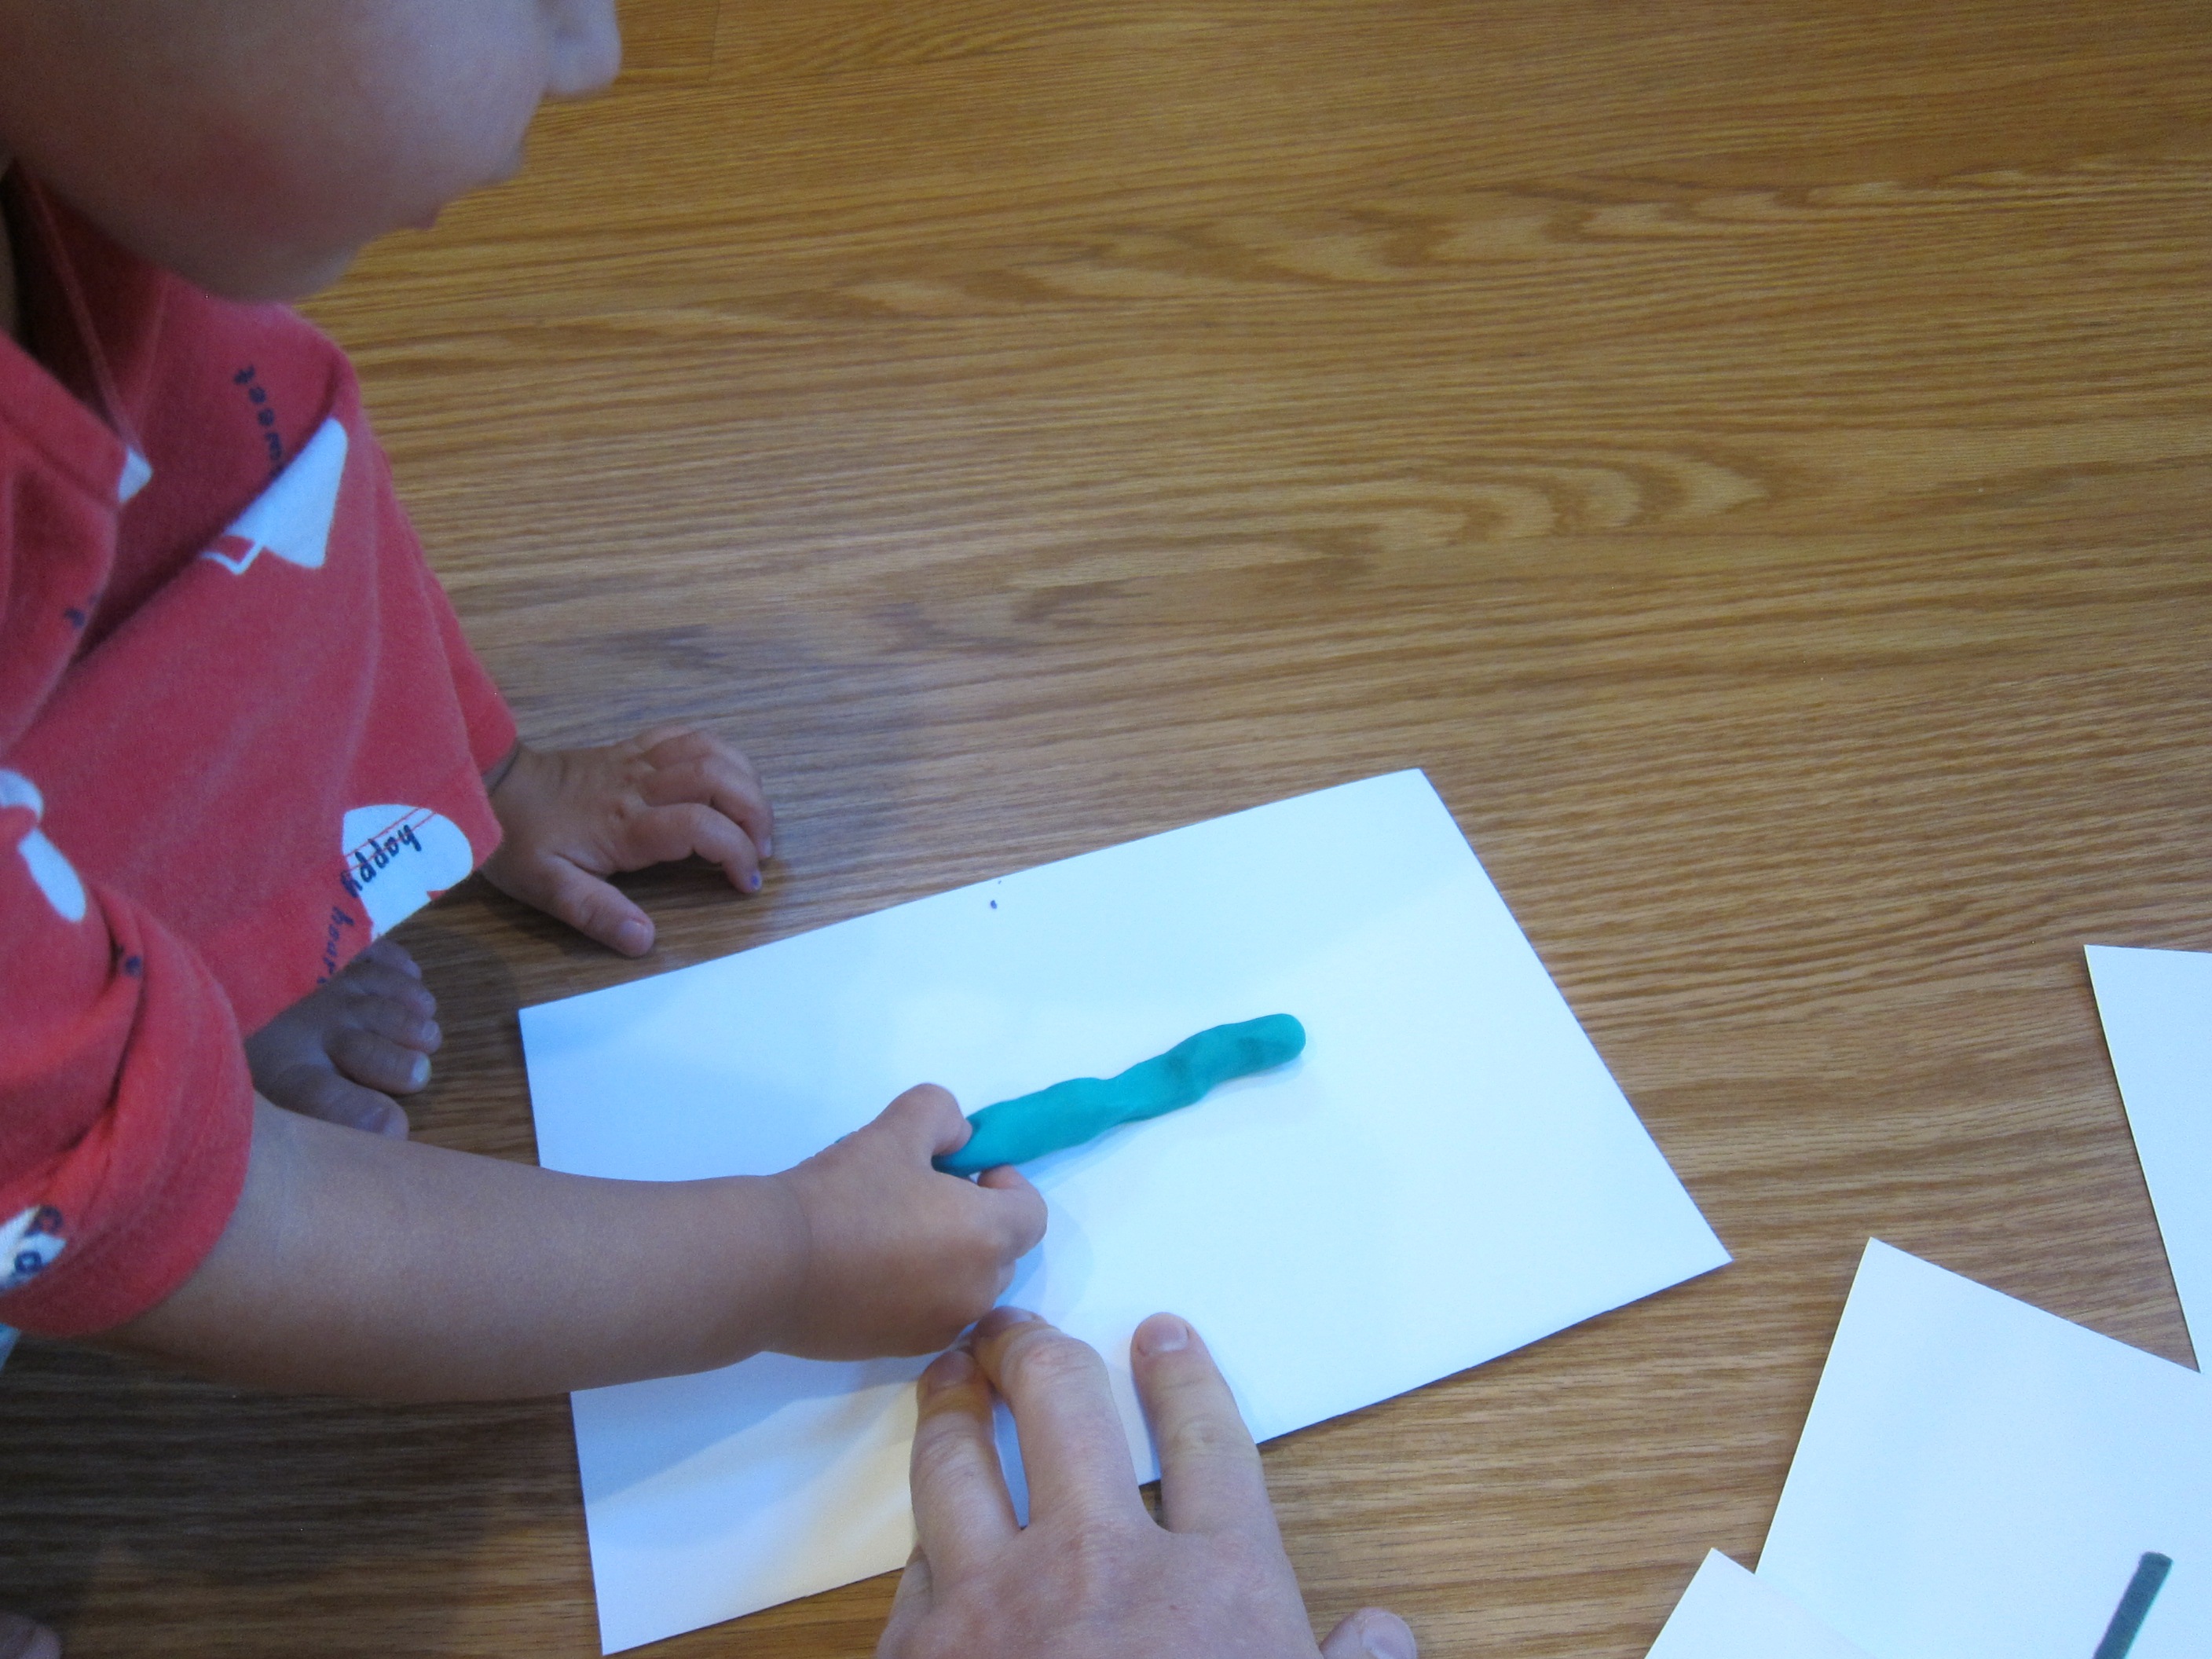
I also placed the mat against the window so I could trace panda’s face onto paper. Now Veronika could draw on the features. Again, she seemed very focused on the sad frown.

Panda Feelings (21)

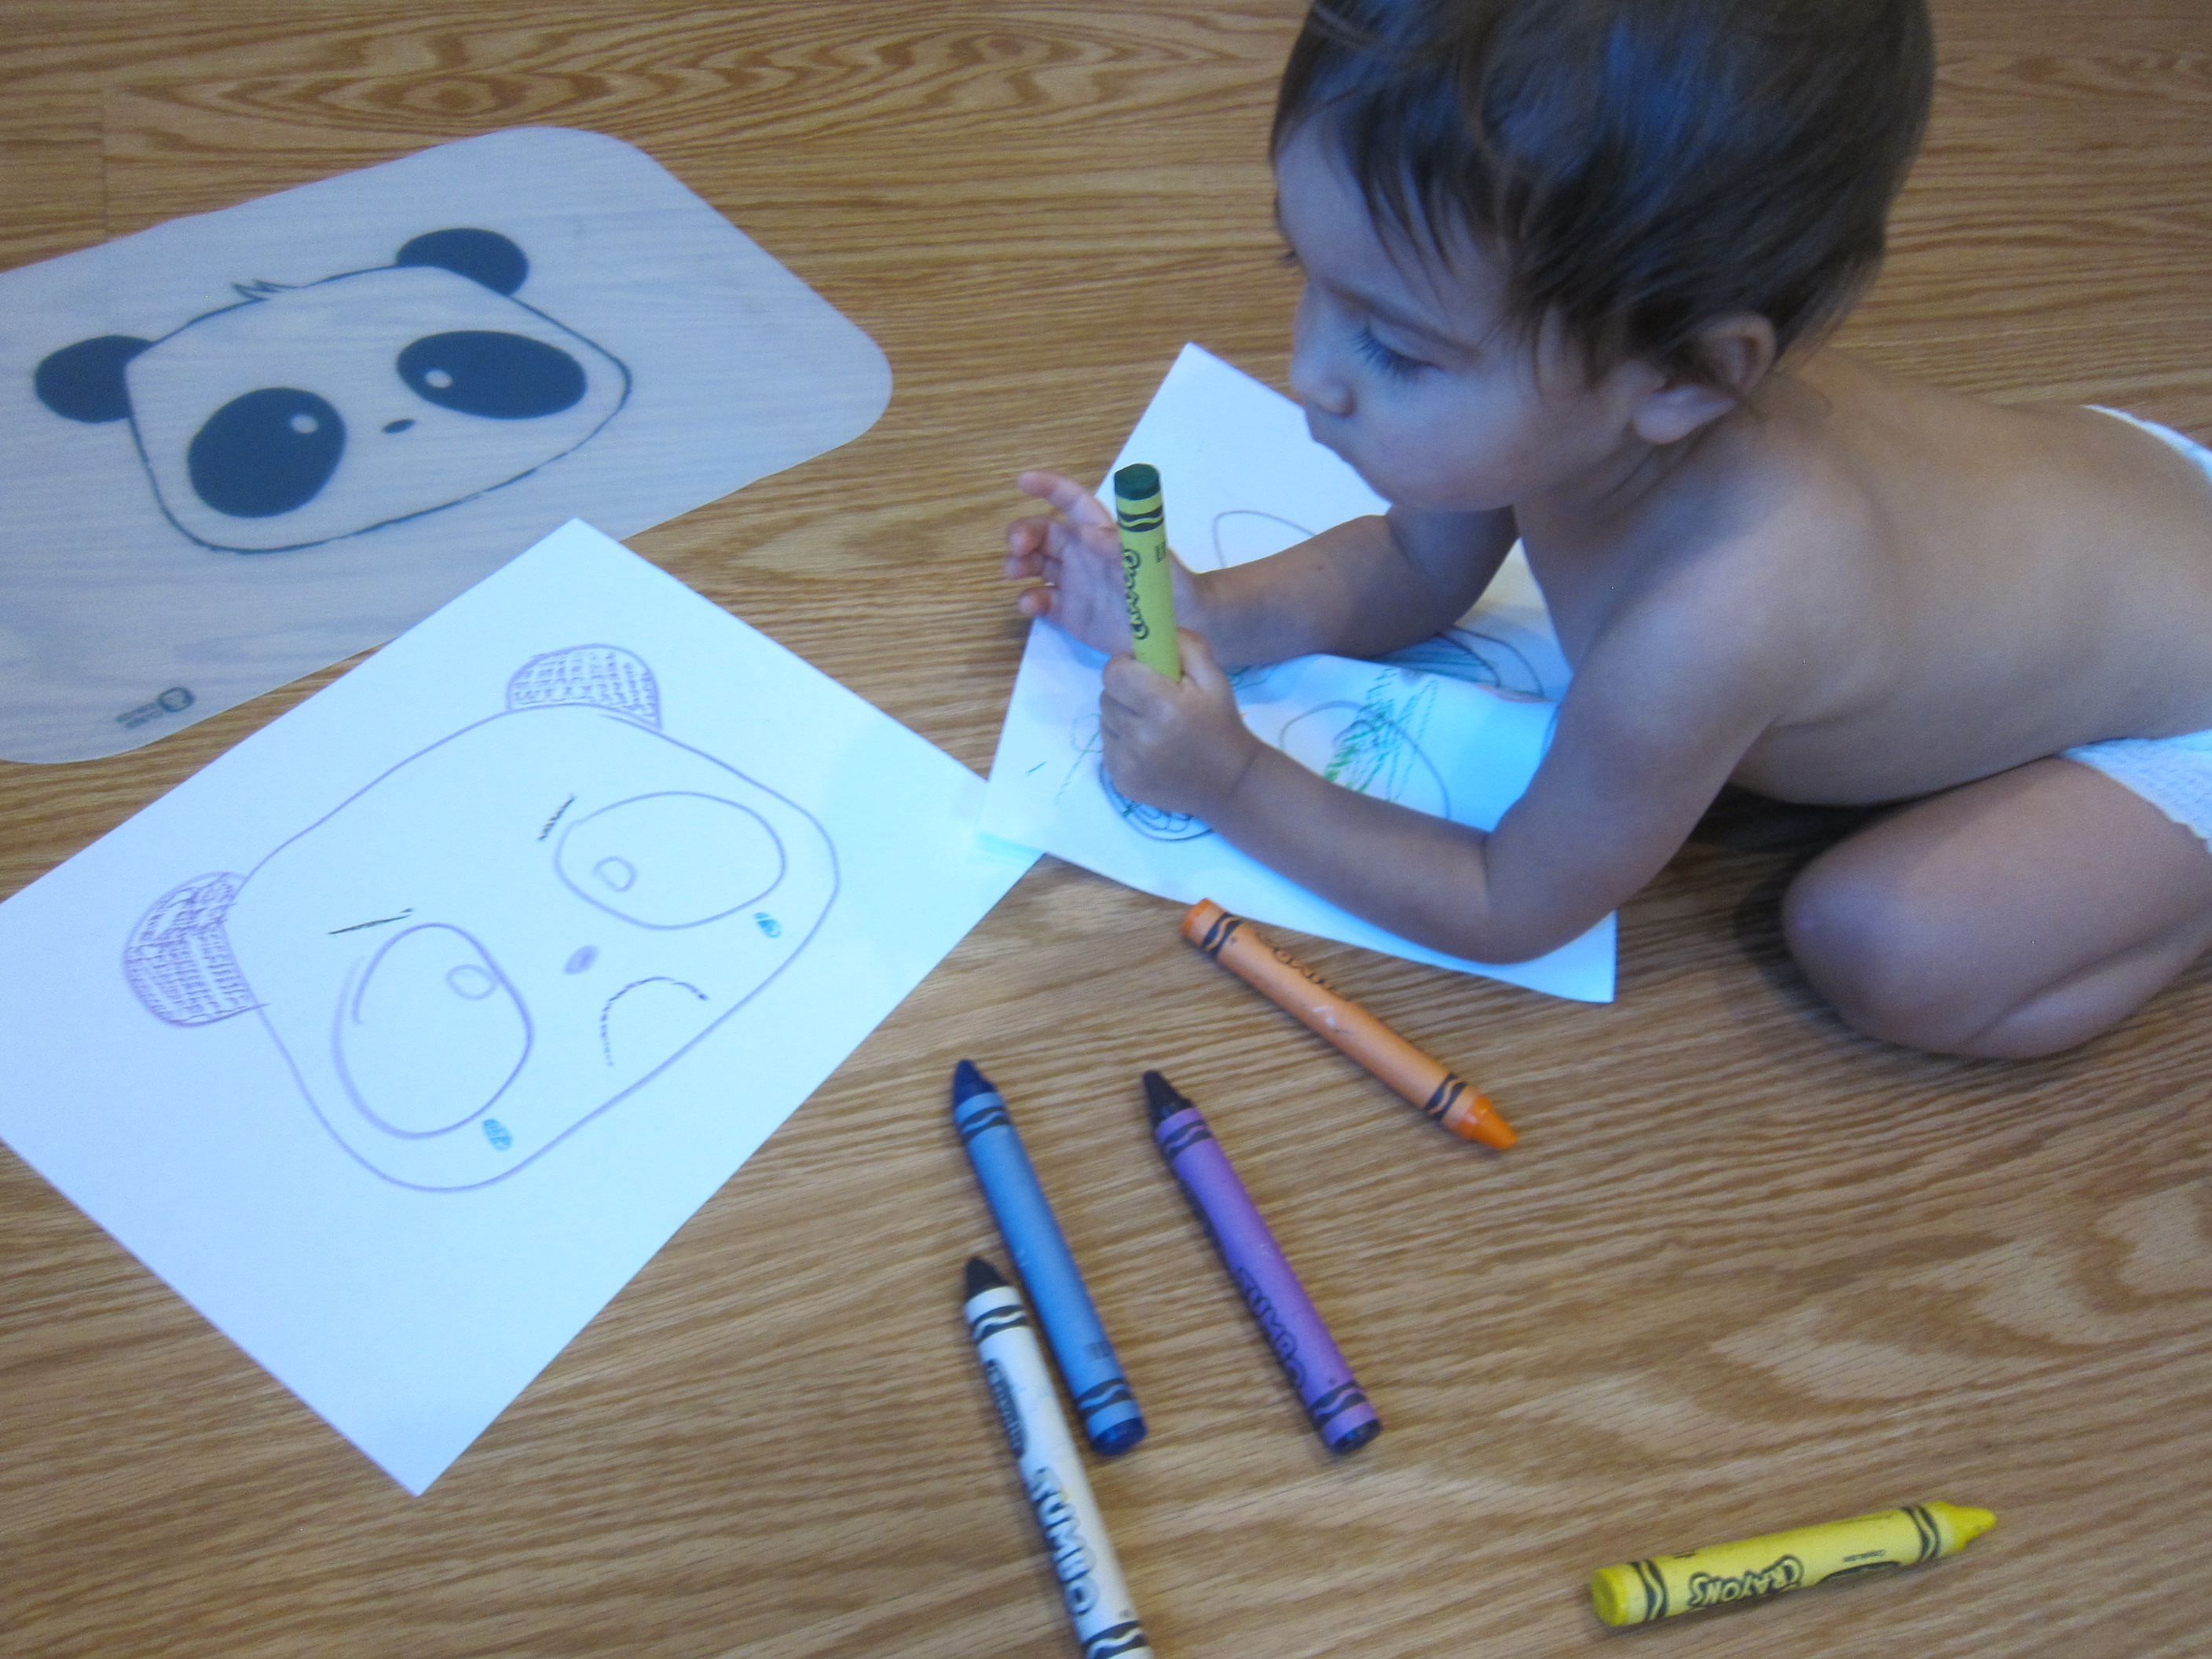
She definitely was feeling empathy, so I quickly turned that frown upside down!

Panda Feelings (22)

Six: Board Book

The book this month was Poppy’s Feelings. I was again underwhelmed by the book, feeling that the company could have done more to make it interactive, but Veronika enjoyed the pictures.

Panda Feelings (9)

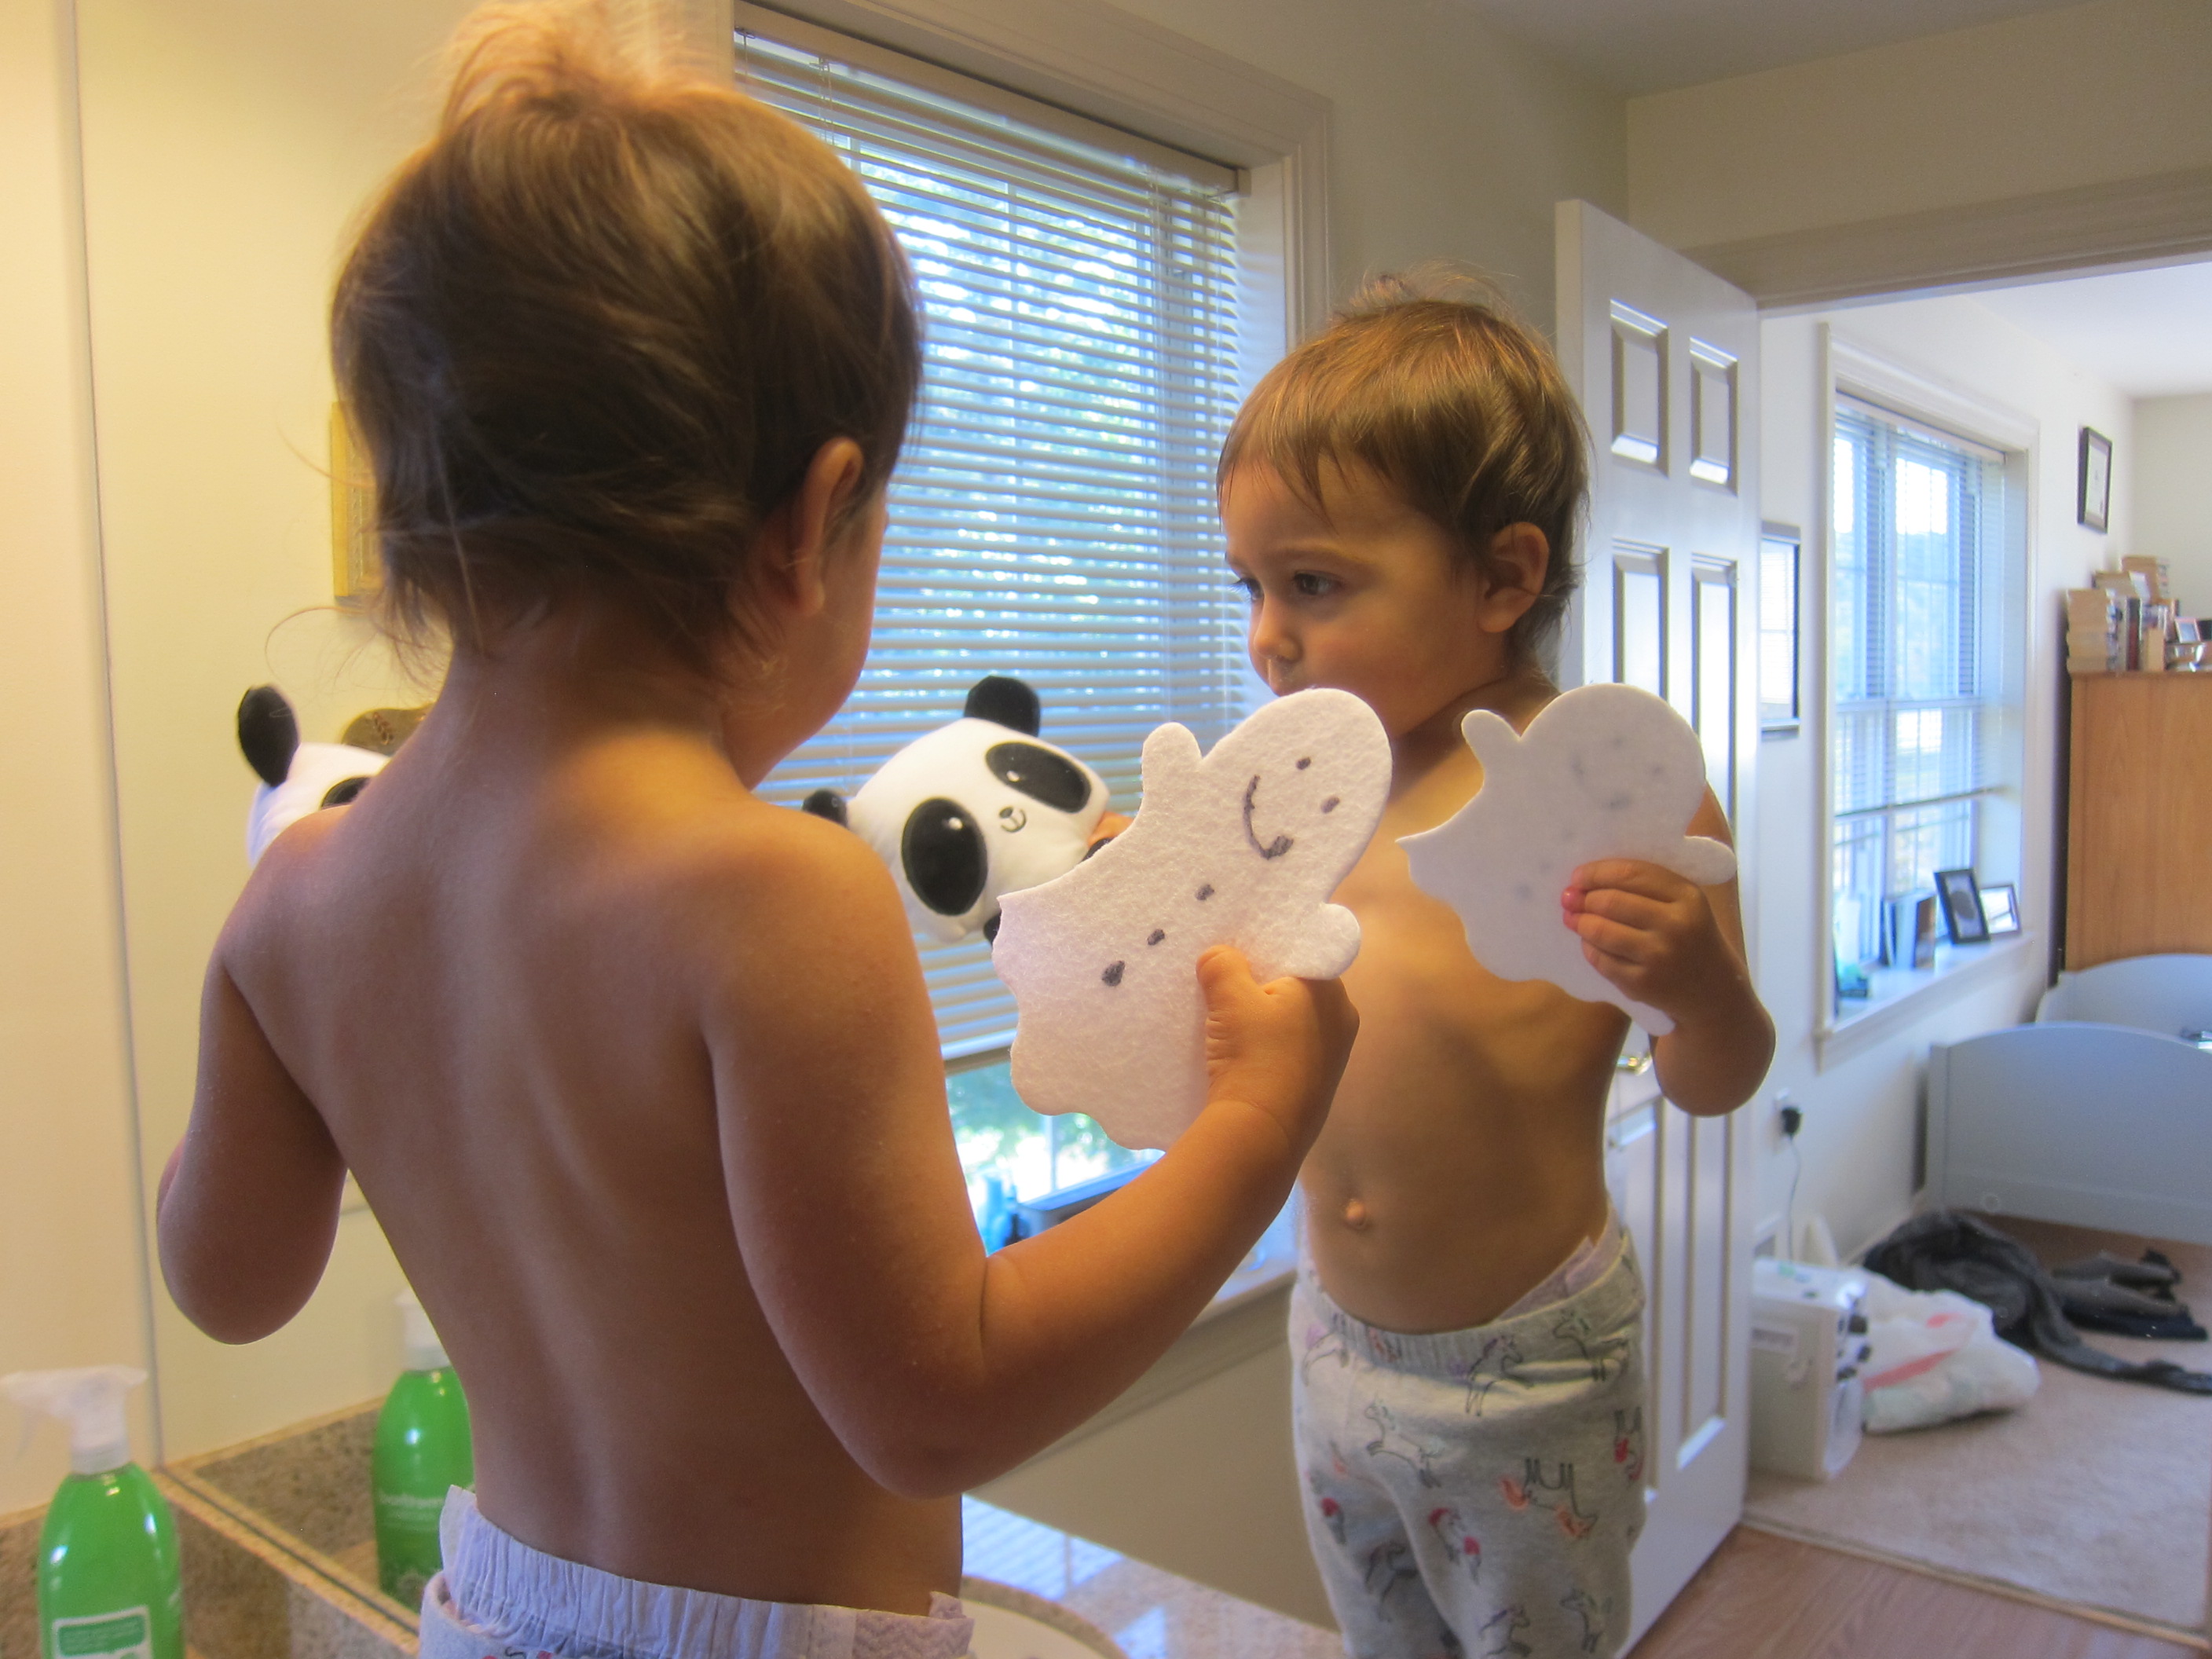
We then played one of the Beyond the Crate suggestions, an old favorite of practicing emotions in front of the mirror. While you’re there, test whether your child is fully aware of the mirror by placing a toy next to him or her. Veronika reached for the real toy, not the mirror version, so she’s got it!

Mirror Mirror

We also watched a sing-along of “If You’re Happy And You Know It”, pretty much the perfect song about emotions.

Finally, we checked out the following 3 books at the library:

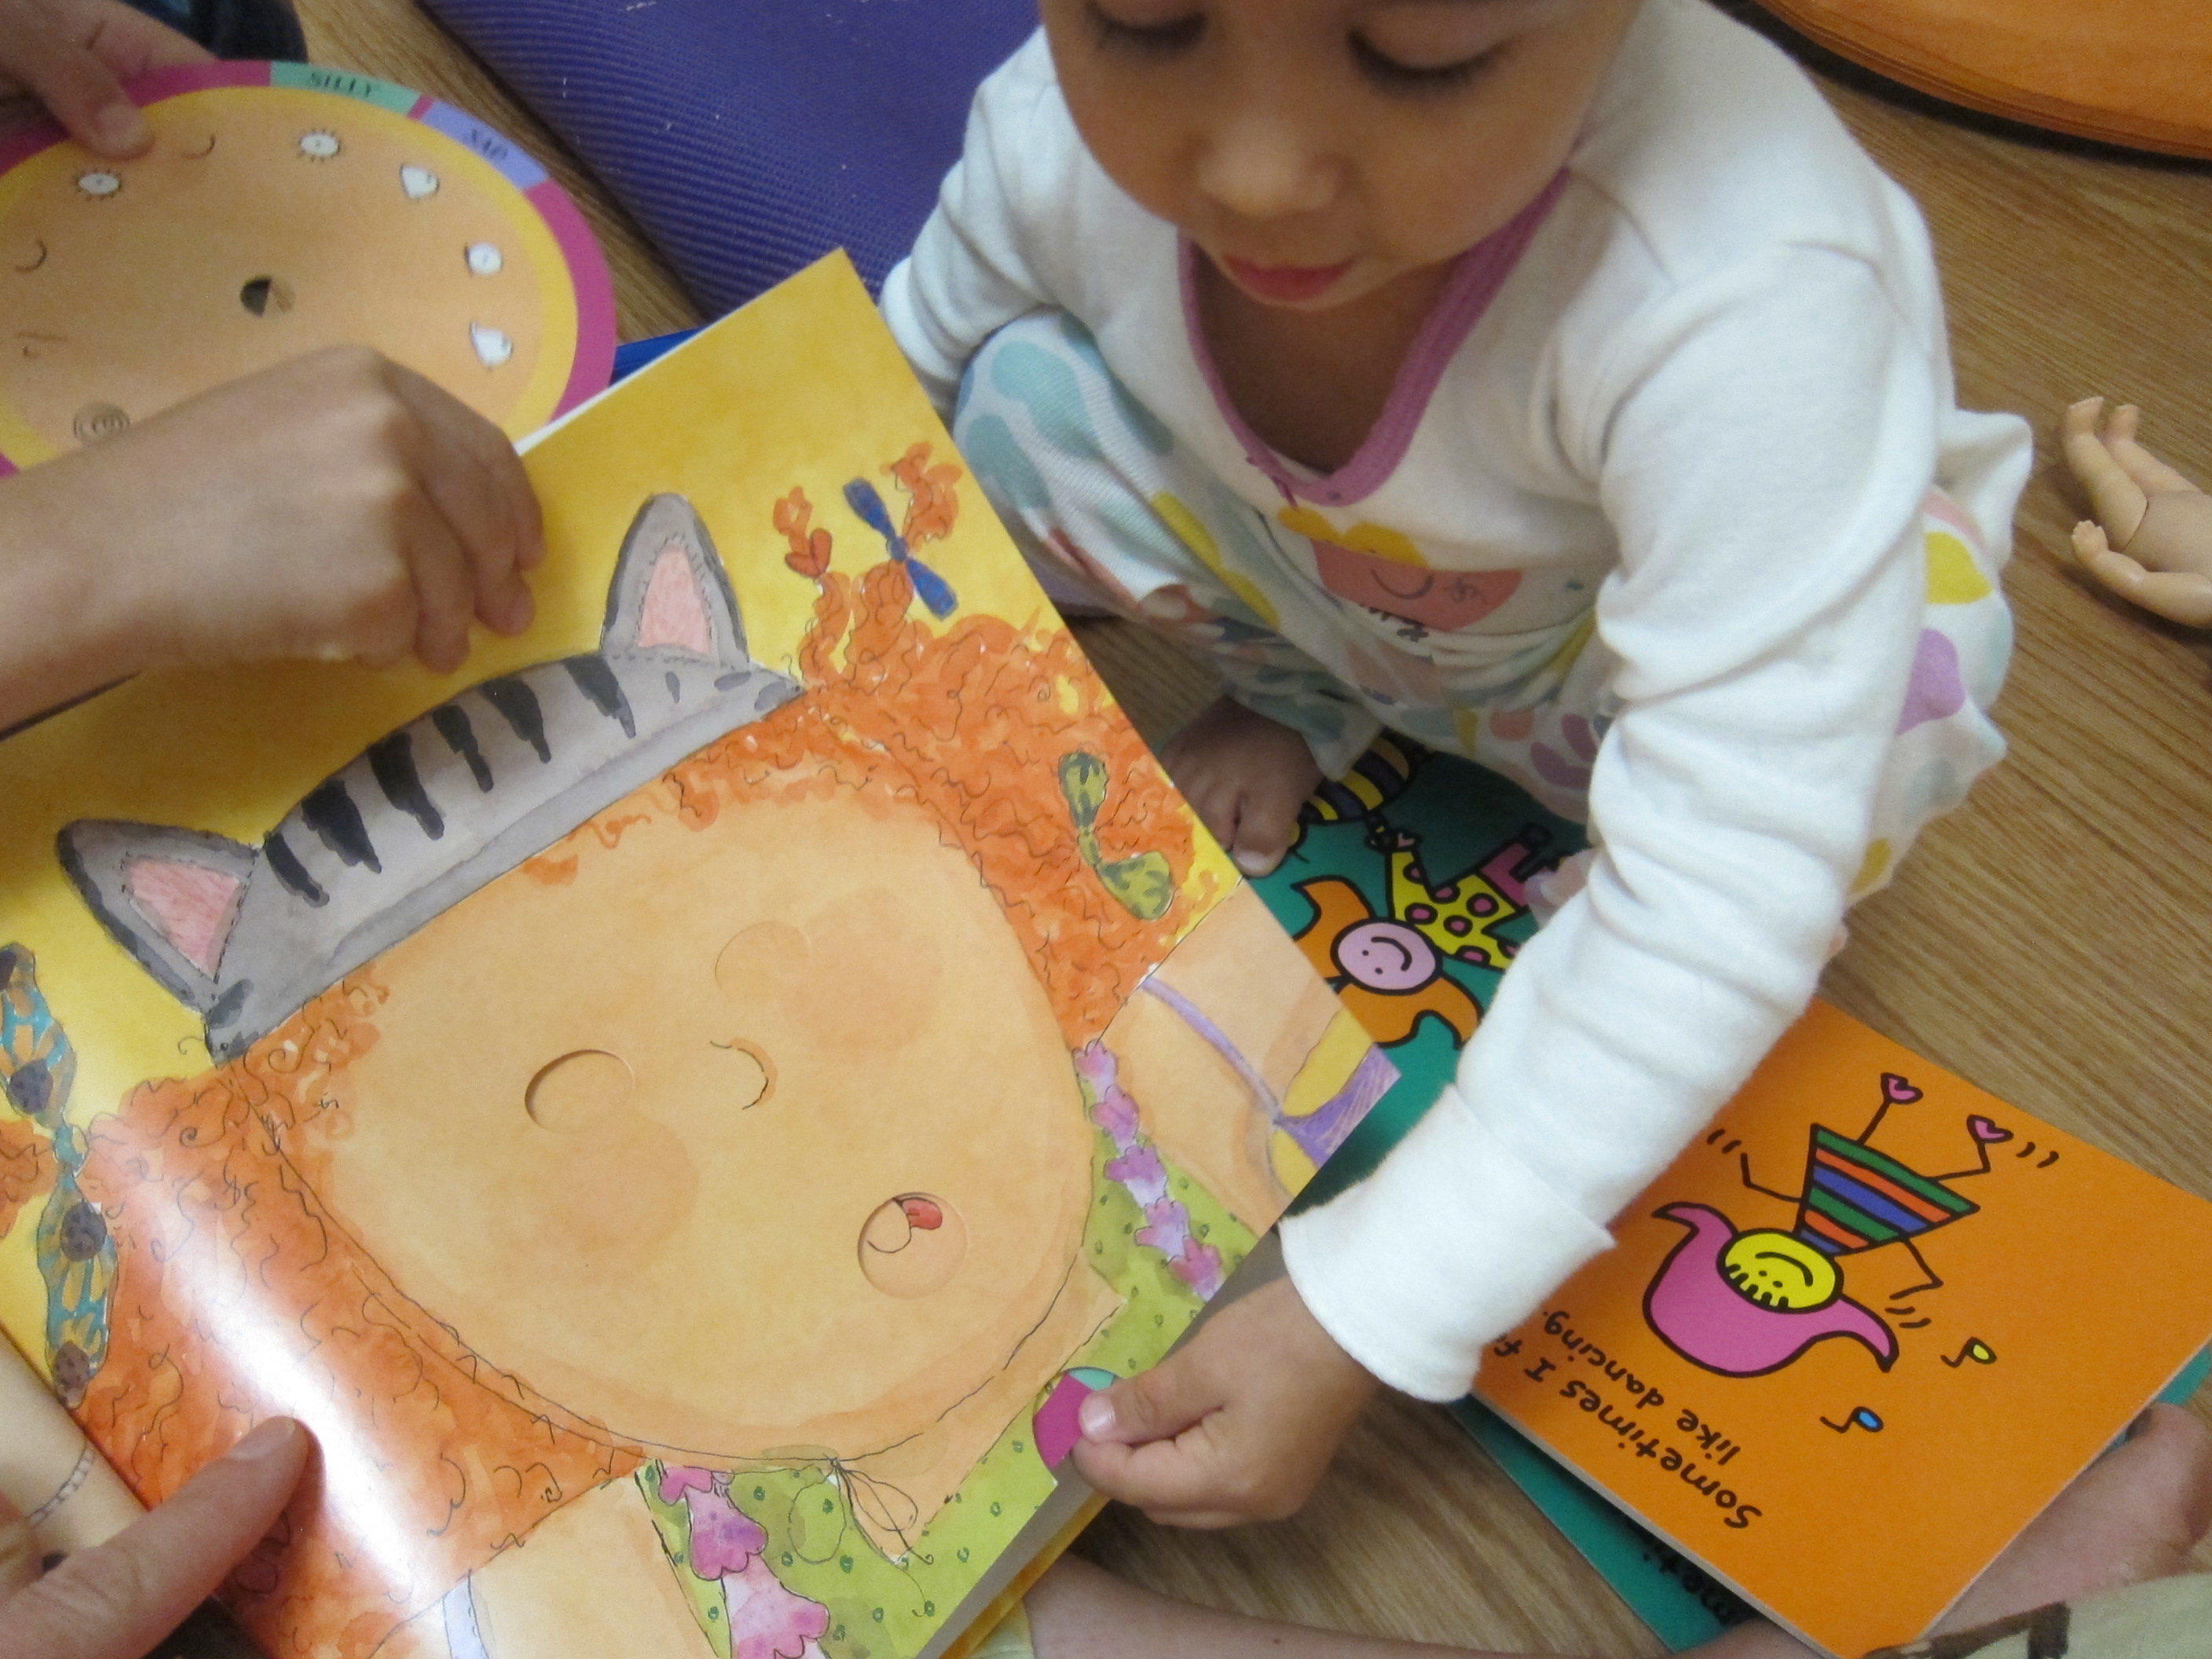
  • Today I Feel Silly, by Jamie Lee Curtis
  • In My Heart: A Book of Feelings, by Jo Witek
  • The Feelings Book, by Todd Parr

Panda Feel var

Button Tap

Button Tap (5)

Mix up your toddler’s musical play with this silly D.I.Y. instrument. The buttons can be drumsticks, cymbals, or anything else your toddler imagines as you jam to favorite tunes.

To assemble, I used large two-hole buttons from the craft store and simply threaded one end of an elastic through each hole.

Button Tap (1)

Now, the two loops of the elastic stick out from the back. Slip these loops over fingers, then turn pots and pans upside-down for some classic drumming.

Button Tap (2)

Veronika didn’t actually like wearing the loops on her fingers, but she sure loved clanging the buttons against the pans.

Button Tap (3)

She also liked putting the buttons in the pan, covering with the lid, and then shaking it to make noise.

Button Tap (6)

For a slightly different version of buttons-on-pans, I hot-glued smaller buttons to the fingertips of an old garden glove.

Button Tap (7)

Now she could slip this on and tap tap tap her fingers against the metal.

Button Tap (9)

Consider this homemade instrument the next time you have a toddler sing-along over Zoom!

Wax Paper Art

Wax Paper Art (6)

Here’s a toddler-friendly art project that’s perfect if you find yourself with a handful of colorful leaves after a fall walk!

To start, I mixed together a little white glue with different colors of tempera paint in small cups. Veronika chose yellow and green. I set these out, along with paintbrushes and two roughly equal squares of wax paper.

I showed Veronika how to dip her paintbrush in the glue mixture and then paint all over the wax paper.

Wax Paper Art (1)

The more glue the better, which means this is the perfect task for a toddler who wants to make a mess! Veronika loved that this activity was both goopy and colorful.

Wax Paper Art (2)

Once the wax paper is covered, help your child add colorful leaves to one of the squares. Cover with the remaining wax paper square. Trim the edges to the same size once the glue mixture dries.

Wax Paper Art (4)

It was hard to see the leaves when our wax paper was down on the floor, but once taped up against the window, the sun makes the leaves peek through. The perfect autumn window decoration!

Wax Paper Art (5)

Playdough Numbers

Playdough Numbers (3)

Veronika can count up to 10 by rote, which is not uncommon for toddlers; it basically means she’s memorized the order of words, but not the meaning behind them. Today I thought it would be fun to draw her attention to the symbol of each number!

I drew numerals 1 through 8 in thick black marker on sturdy white paper. If you’ll want to reuse the set, particularly with preschool kids, laminate them or cover with contact paper.

Playdough Numbers (1)

Then show your little one how to roll long snakes of playdough and arrange them over the marker to form each numeral.

Playdough Numbers (2)

As I worked on each one, I told Veronika the name of the number repeatedly. Of course the playdough lasted about one second before she picked it up and mushed it! But I steadily worked from 1 through 8 in this way.

Playdough Numbers (4)

I didn’t expect Veronika to make the one-to-one connection between word and symbol yet, or to be able to shape the playdough herself.

Playdough Numbers (5)

Rather this activity was more about introducing the concept that numbers have both a word and a symbol that go with them. And she certainly loved the chance to play with playdough!

Playdough Numbers (6)

Autumn Sensory Bottles

Autumn Sensory Bottles (5)

I confess that none of the following bottles turned out exactly the way I hoped! But with a little improvisation, I created three autumn-themed sensory bottles for Veronika that she quite enjoyed.

For all three, you’ll need to start with a clean and dry plastic water bottle, with the lid.

I poured white rice into the first, and then sprinkled in a few hidden autumn “treasures”, like miniature gourds.

Autumn Sensory Bottles (1)

She could shake this one, which made the rice hide the gourds, then turn it until she found them. She loved playing peek-a-boo with them! I had hoped to include other fall tidbits like mini scarecrows and pumpkins, but she seemed perfectly happy with this scaled-back version.

Autumn Sensory Bottles (2)

For the second version, I filled the bottle with water and tinted it an autumnal yellow with a little food coloring. I originally intended to add leaf-shaped confetti to this one, but couldn’t find any at the store. Instead, I simply added red and yellow buttons.

Autumn Sensory Bottles (4)

These fascinated Veronika, so it worked out well! She loved shaking this one and watching the buttons settle, or turning it this way and that.

Autumn Sensory Bottles (8)

For the final version, I had originally hoped to add silk leaves. Again, no dice. But what’s better than silk leaves? The real thing!

Autumn Sensory Bottles (7)

We added handfuls of small leaves we had found on a recent walk along with a few acorns (real ones!) for sensory sound. The bottle turned out so pretty.

Autumn Sensory Bottles (11)

This one was light as a feather and made fantastic clicking noises.

Autumn Sensory Bottles (3)

She spent some time with all three of them, but the button-and-water version was clearly her favorite. In fact, she then wanted extra buttons to hold, since she was frustrated she couldn’t screw the lids off.

Autumn Sensory Bottles (10)

Between the buttons and the bottles, she kept quite busy with this activity!