Bubble Fun

Bubble Fun (4)

Veronika loves the end of her toddler gym class when the teacher pulls out a bubble machine, sending multiple bubbles out at once. We made this low-tech version for fun on the patio this morning!

Cut two straws in half so you have four pieces, and secure in the middle with masking tape. Trim the edges so they line up to the exact same length. That’s it!

Bubble Fun (1)

Pour a little bubble solution into a plate or dish, and dip in one end of the straws. You’ll get not one but lots of little bubbles at once.

Bubble Fun (3)

Veronika was so proud that she could make bubbles appear all by herself, huffing into the straws!

Bubble Fun (6)

In sum, this made for quick and fun bubble play on a morning just warm enough to feel like spring.

Bubble Fun (5)

Froot Loop St. Patrick’s Day Fun

Froot Loop St Pats (11)

If ever there’s a day for rainbow cereal fun, St. Patrick’s Day is it. Here are a few ways we incorporated Froot Loops into the day to mark the holiday.

To start, surprise your kids in the morning by pretending a “leprechaun” visitor left behind a rainbow. I threaded Froot Loops in rainbow order onto a pipe cleaner, then inserted the ends into two “pots of gold” (vegan mini muffins), following a tip from Painted Confetti.

Froot Loop St Pats (1)

Since Froot Loops aren’t vegan, I told the kids this was magical leprechaun food for decoration, not eating. Travis was too busy to care, since he was so busy peeking inside a homemade leprechaun trap to see if it was caught inside. Looks like the little fellow got away!

Froot Loop St Pats (2)

Later in the day, Veronika and I used extra Froot Loops for a pretty rainbow craft. I drew the arcs of a rainbow with marker, and then dumped some of the cereal onto a tray. (Since it would be unfair to allow no snacking during a craft like this, I gave her a bowl of vegan cereal on the side for munching!).

Froot Loop St Pats (5)

Working with one color at a time, we made a line of glue dots along that rainbow arc and found the right color cereal in the tray.

Froot Loop St Pats (7)

Veronika stuck with it for a few pieces in each color, and I filled in the gaps. Preschoolers can try to tackle the full rainbow by themselves.

Froot Loop St Pats (8)

Cotton ball clouds were the final touch!

Froot Loop St Pats (10)

I loved the touch of magic that these projects gave to our holiday, leaving the impression that the leprechaun had really been there. If you truly want to wow your kids this St. Patrick’s Day, here’s one final shenanigan: Sneak downstairs before everyone else is awake and add a little green food coloring to the toilet bowl. Travis couldn’t believe this final bit of leprechaun evidence!

Froot Loop St Pats (3)

Paper Plate Chick

Paper Plate Chick (5)

Spring is in the air, which always has us thinking of baby animals, especially little yellow chicks! This particular chick craft doubles as a handprint memento of your toddler.

To start, I squirted yellow fingerpaint into a cup and Veronika helped paint a paper plate. “I’m painting!” she said so proudly.

Paper Plate Chick (1)

Imagine her surprise when I took a paintbrush and painted some of that yellow right onto her palm. Press down onto white paper and repeat with the other hand. “I left a paw print!” she said, referencing her current favorite show, Blue’s Clues.

Paper Plate Chick (2)

Let the paint dry, then cut the handprints out and use tape or glue to attach to either side of the paper plate, forming the wings. I taped a few feathers onto the back of the plate, as well, so they would stick up from the top.

Paper Plate Chick (4)

Only a few final details were needed now: a little scrap of feather for a beak, two wiggle eyes, and orange marker for legs.

Toddler Mini Olympics

Mini Toddler Olympics (13)

If it’s too cold to get outside but you need to get your toddler busy and moving, here’s a fun idea that combines gross motor skills with brain play: Set up a “toddler Olympics” with stations all around your home where your child can stop and tackle a challenge. Choose from just a few of the “events” below or do them all; either way, your toddler is sure to win a gold medal. Thanks must go to The Toddler’s Busy Book as inspiration for this game!

In random order, Veronika tackled the following:

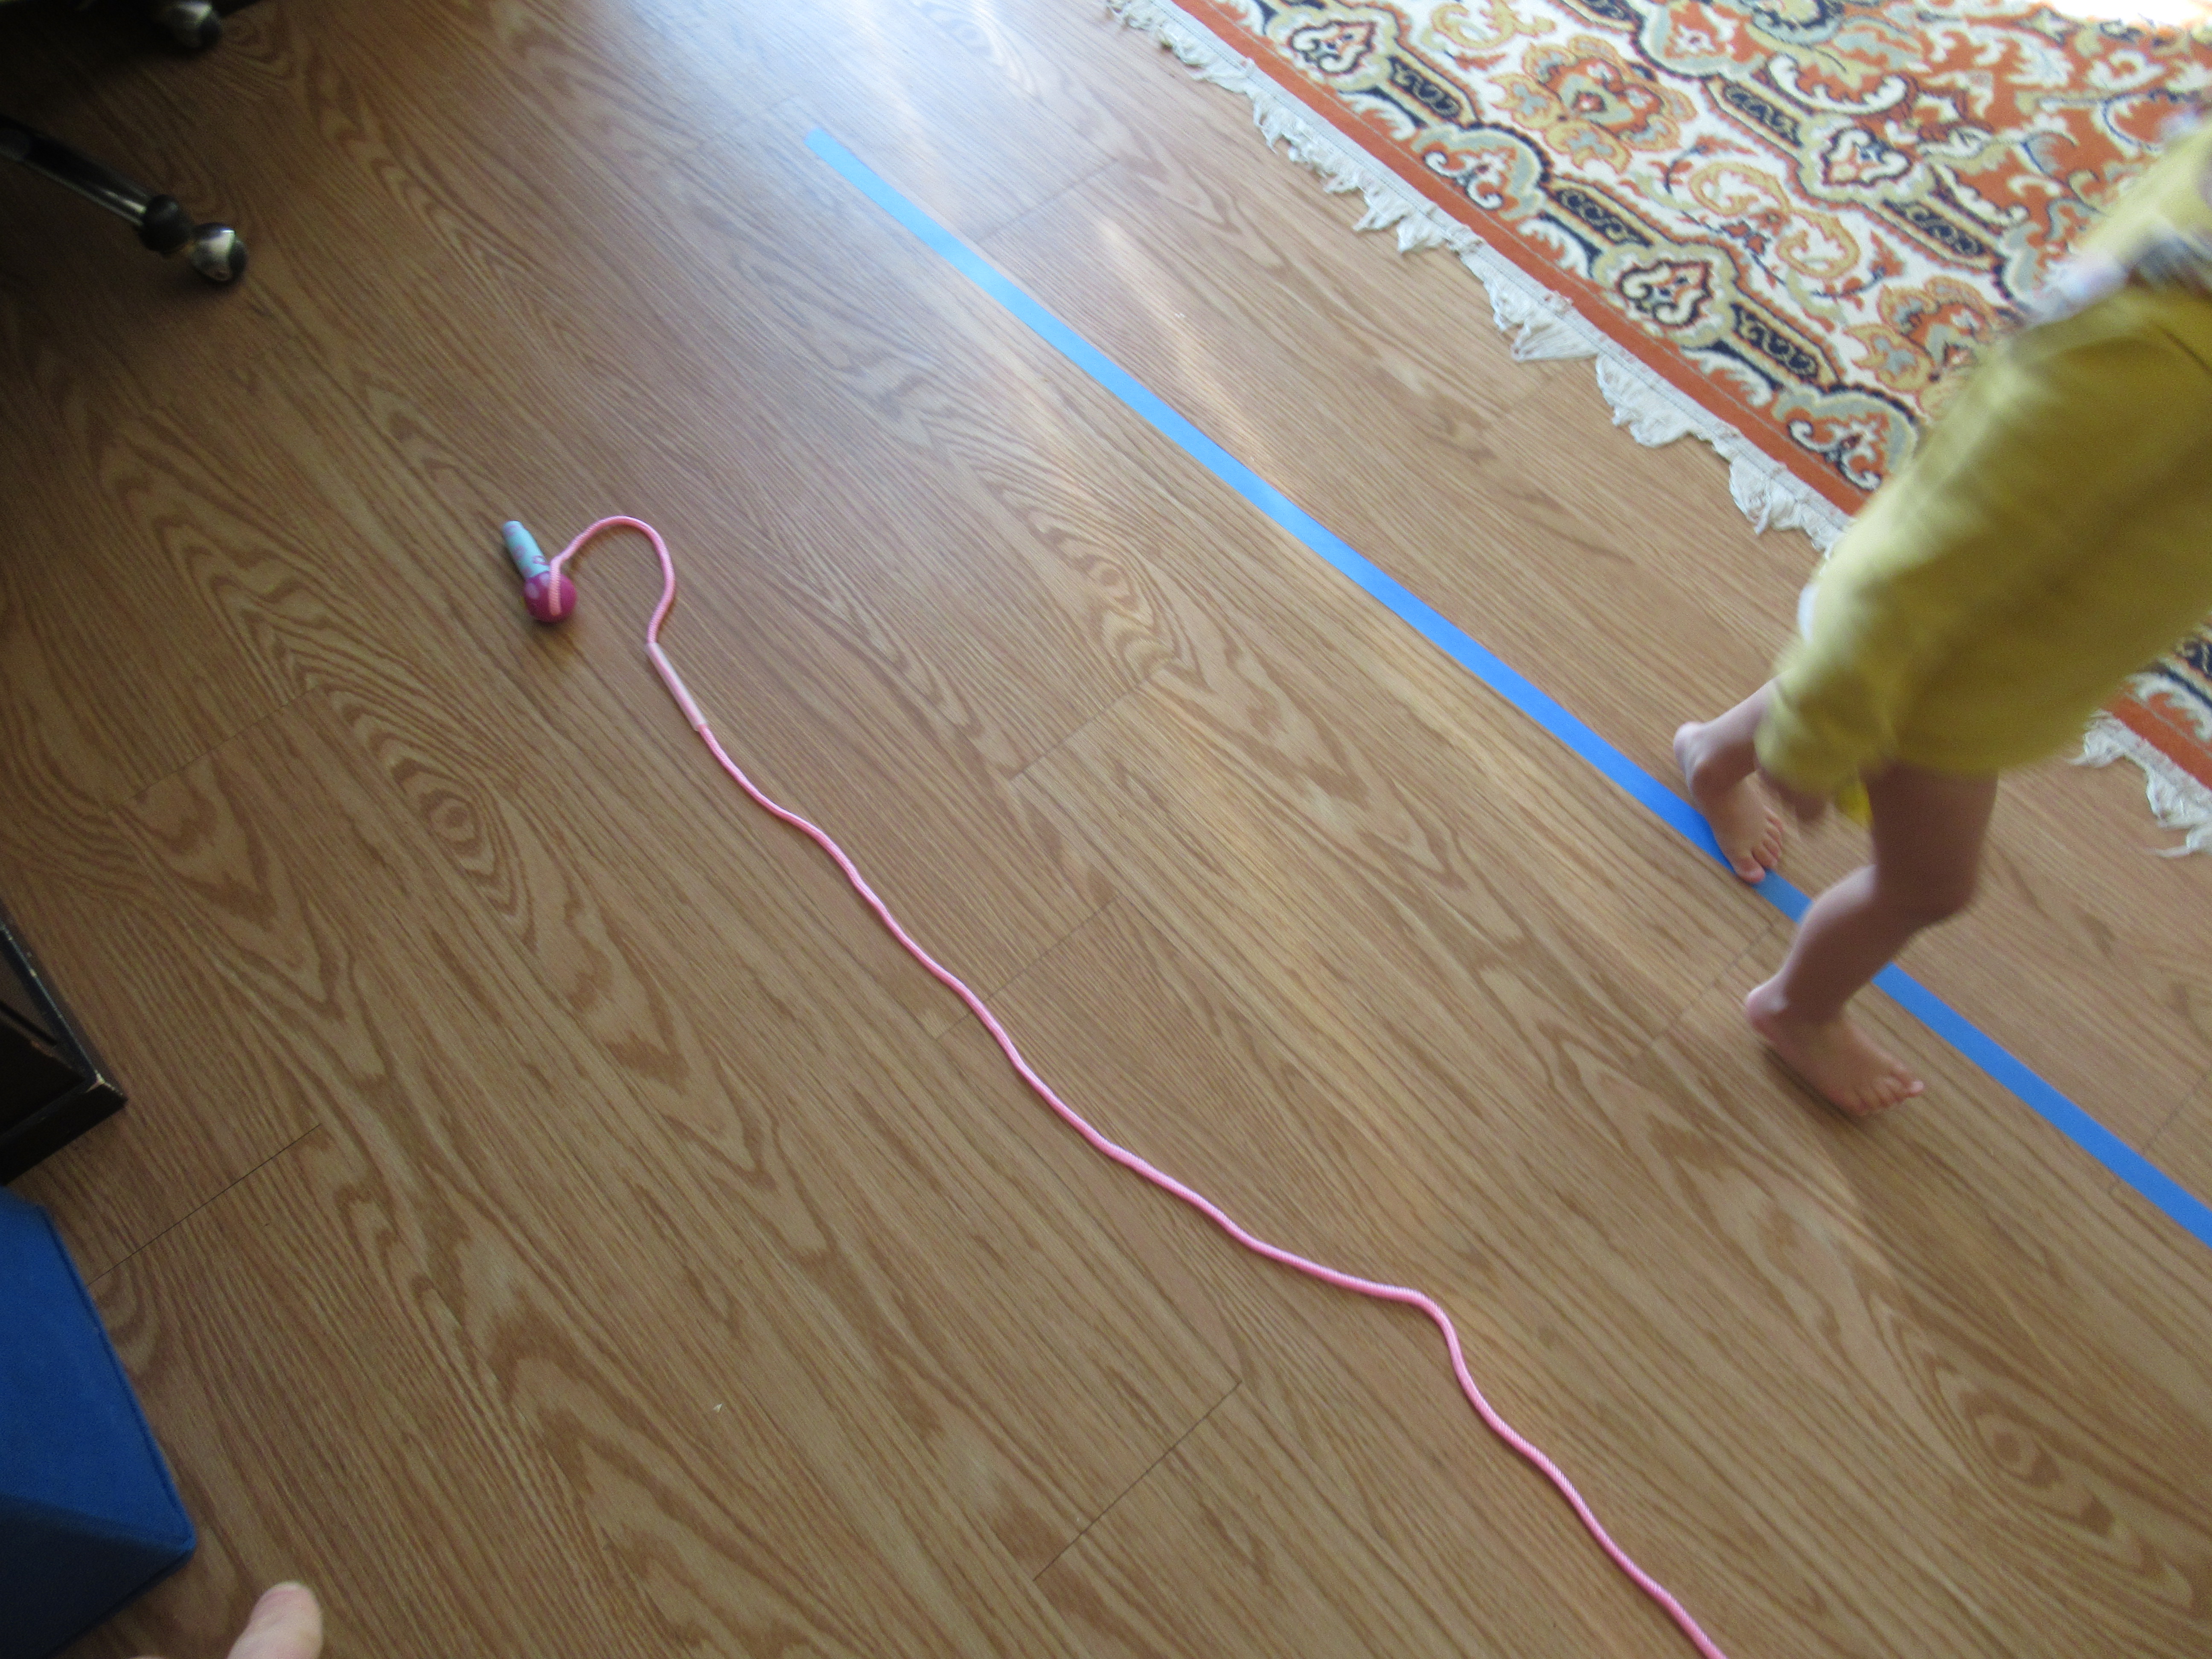
Station 1: First she jumped over a jump rope. Picking it up was more fun though, and she’s practically ready to do a classic jump rope move.

Mini Toddler Olympics (1)

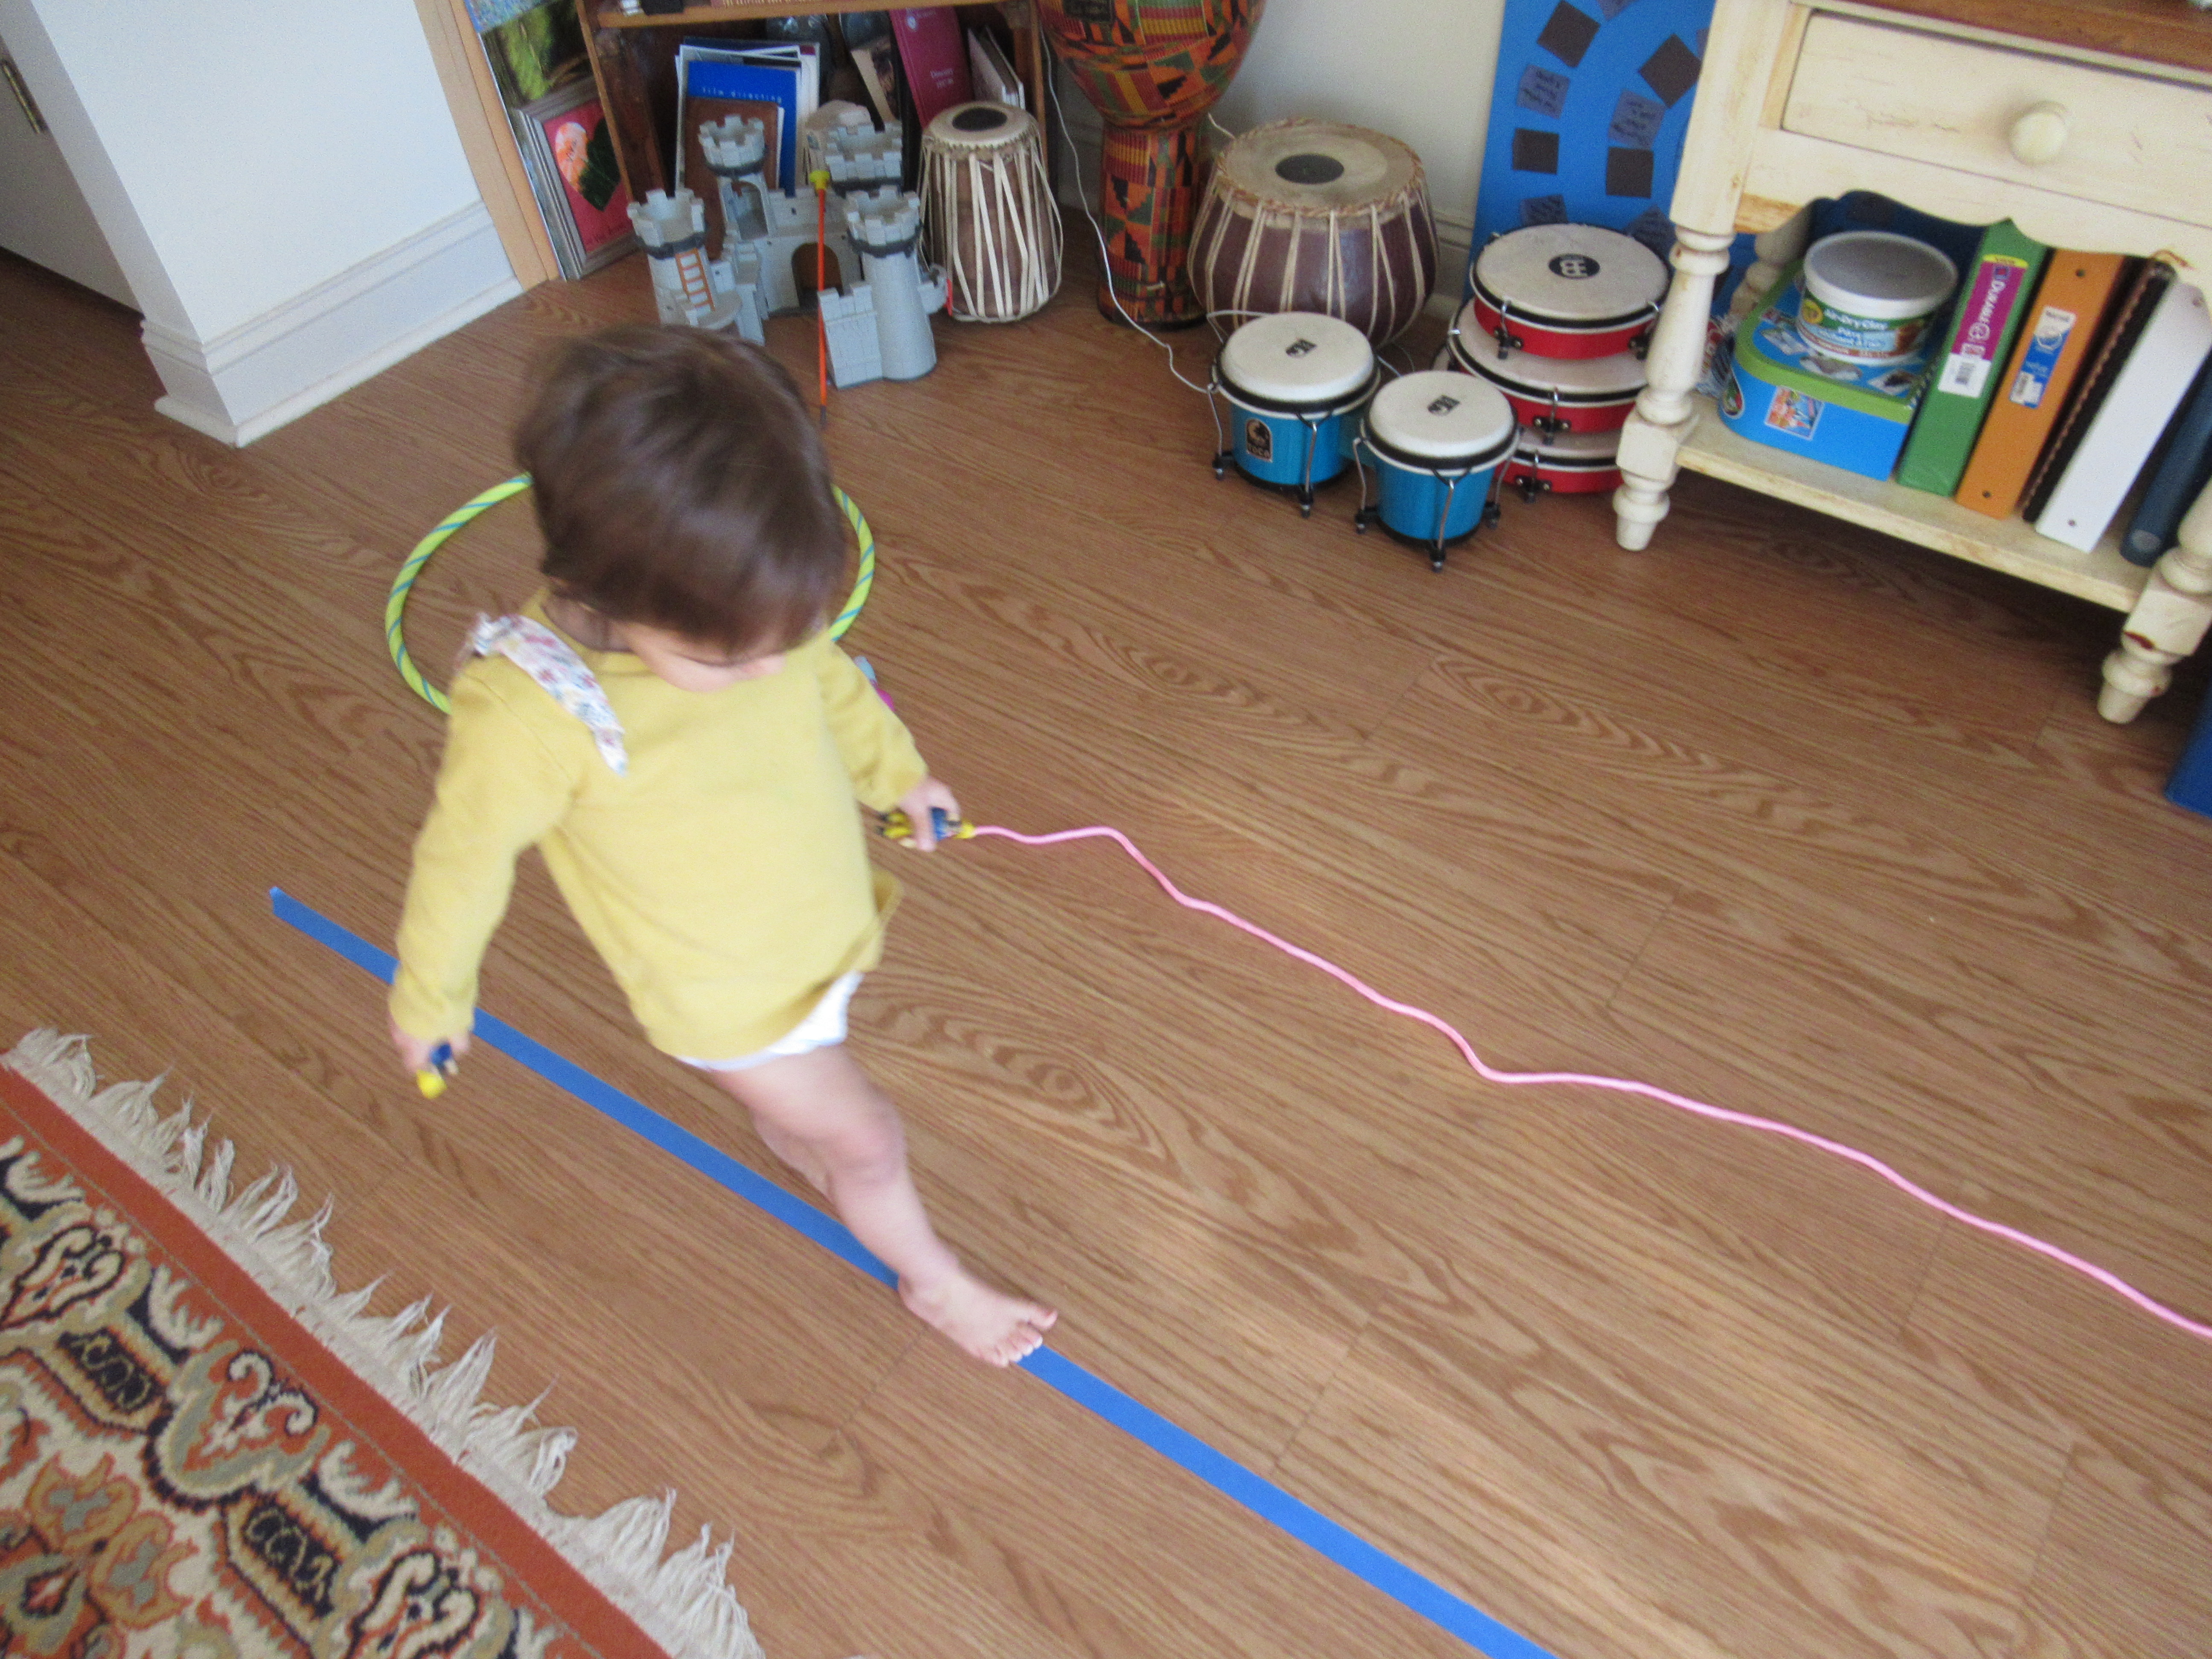
Station 2: Next she walked along a tape balance beam. She loved doing this at a run, too!

Mini Toddler Olympics (12)

Station 3: Now she had to crouch down to build a tower with blocks. Encourage your toddler to make his or her tallest creation yet!

Mini Toddler Olympics (15)

Station 4: I set up two cones as a goal post, and Veronika’s job was to get the ball through. Toddlers can roll or kick, and Veronika chose the latter!

Mini Toddler Olympics (11)

Station 5: Now we were moving into some fine motor skills. First, she clipped clothespins around an empty oatmeal canister.

Mini Toddler Olympics (3)

Station 6: Next, I set out cut pieces of straw for her to thread onto a lacing cord.

Mini Toddler Olympics (2)

Station 7: Time to scribble and draw!

Mini Toddler Olympics (14)

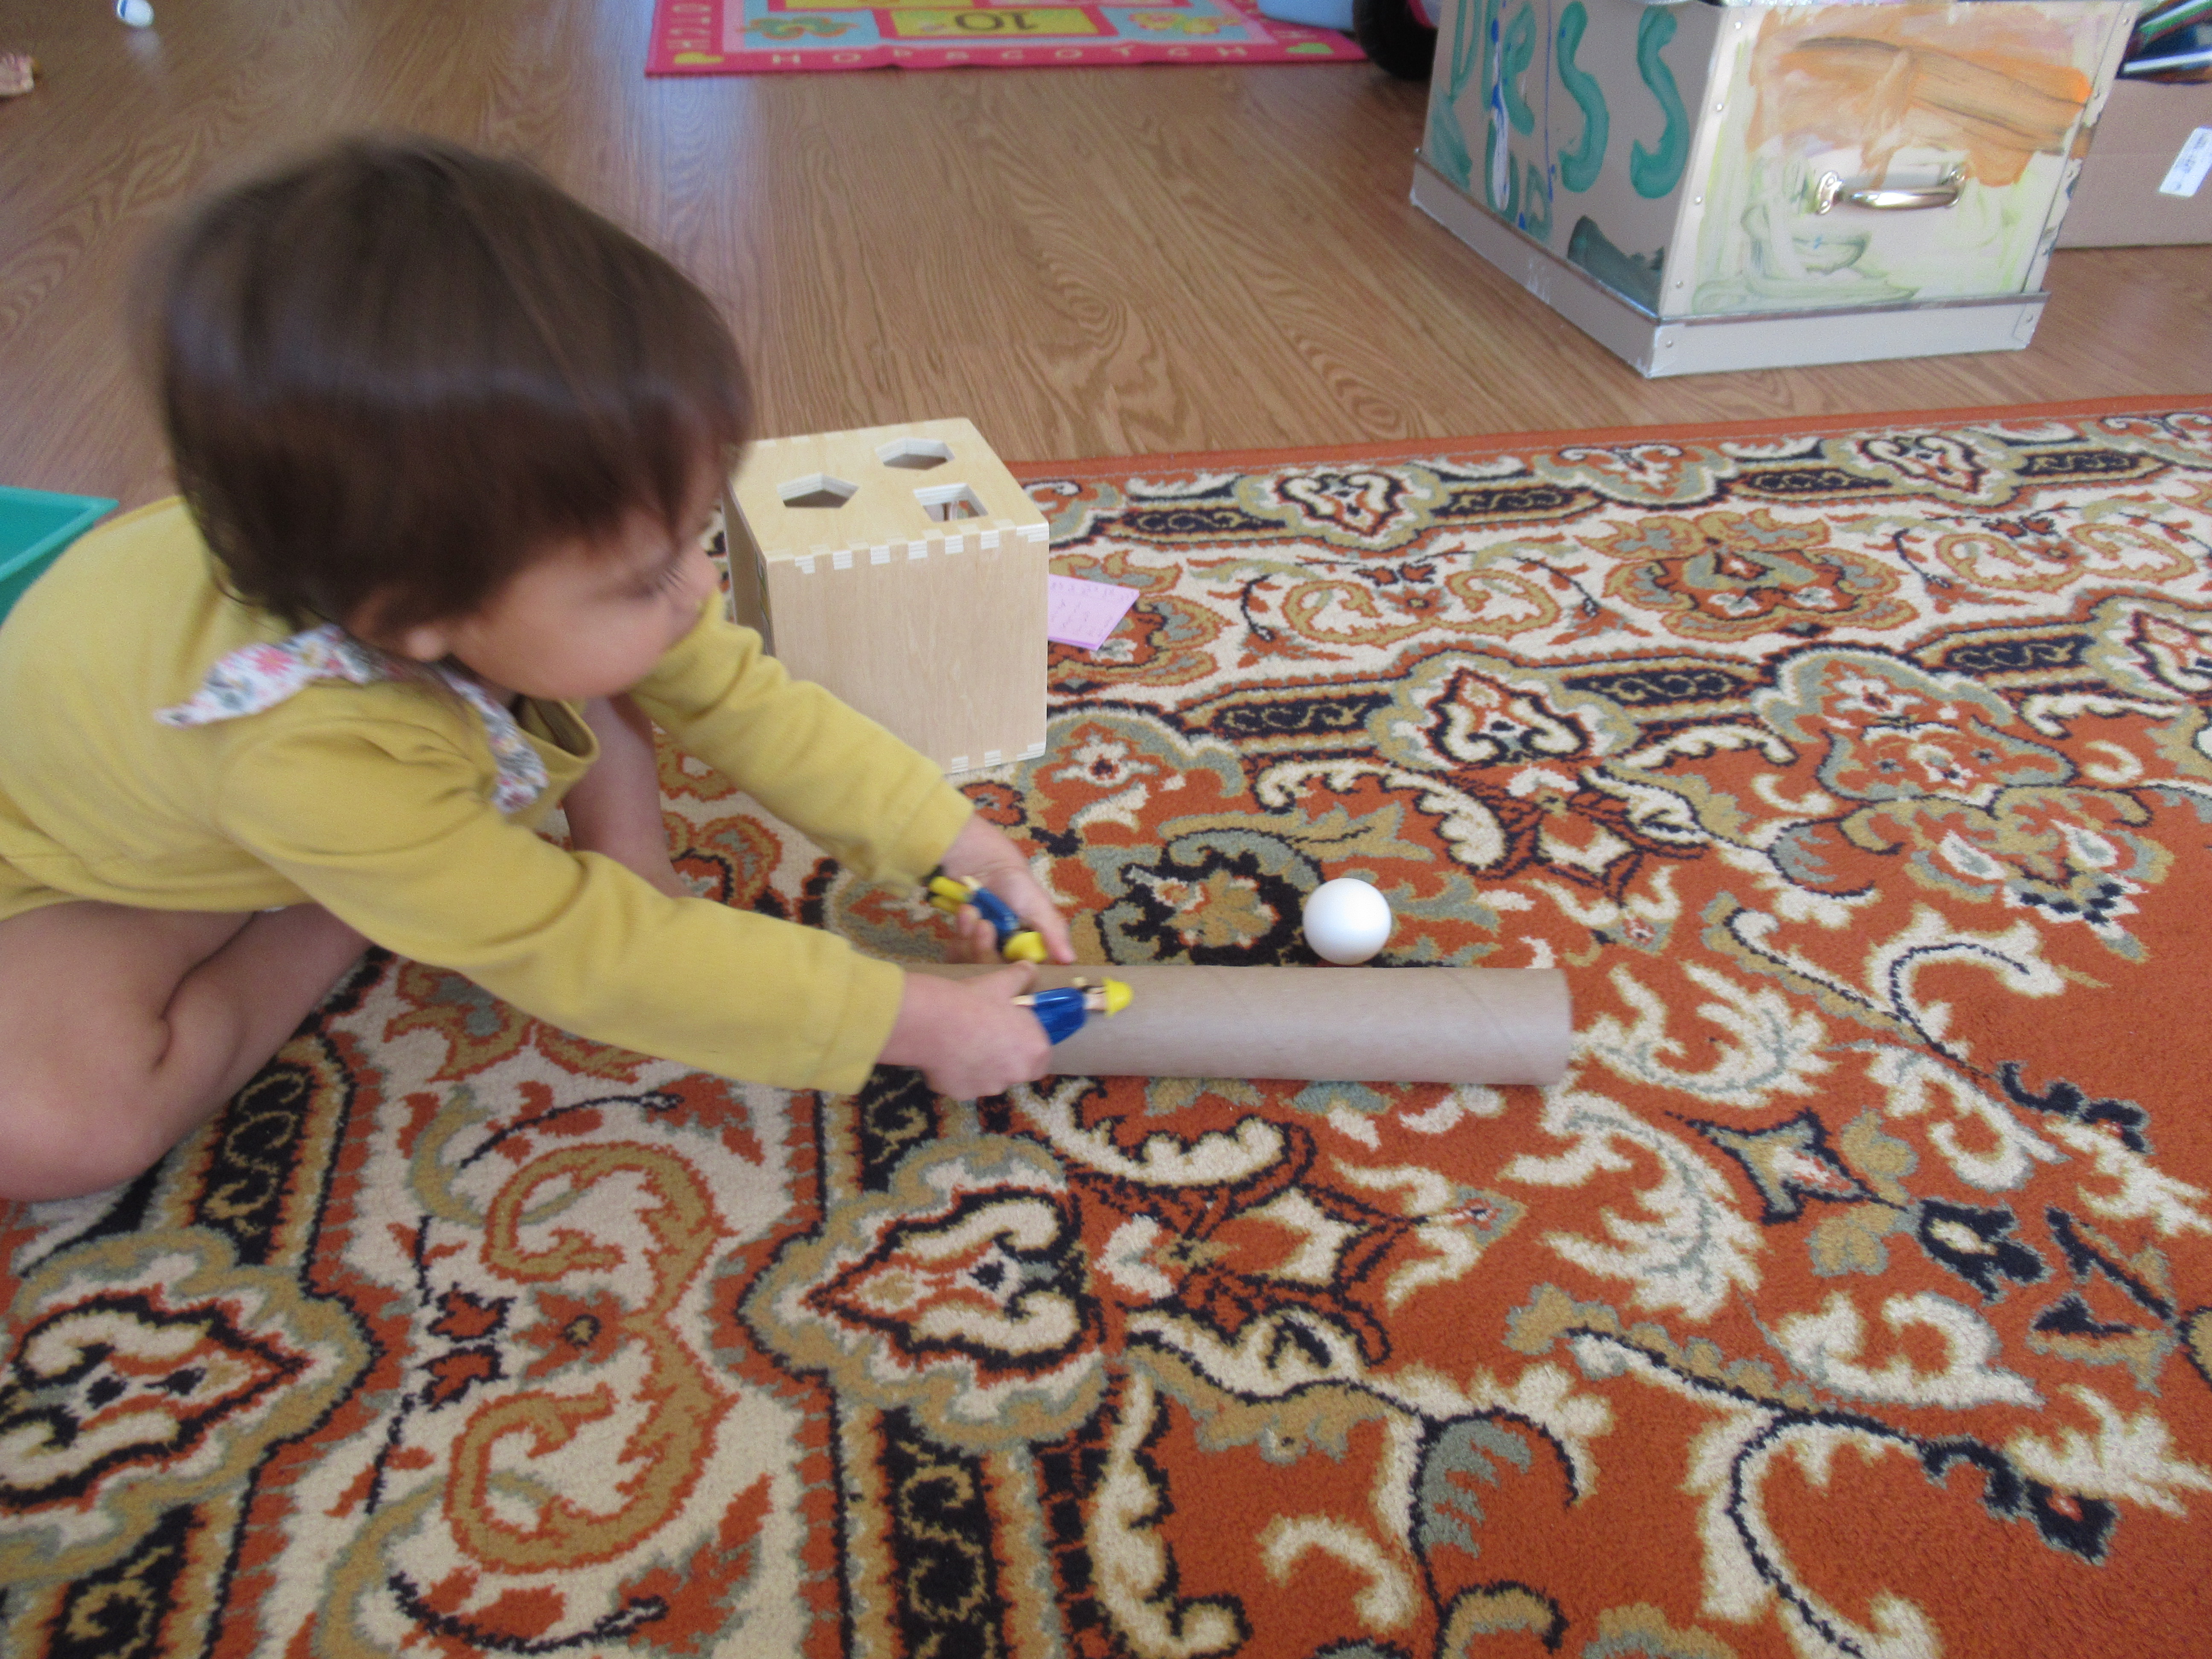
Station 8: Back to those gross motor skills: she used an empty paper towel tube as a “golf club” to putt around a ping pong ball. I didn’t have a goal for her to get this into, but an empty shoebox on its side would be perfect.

Mini Toddler Olympics (8)

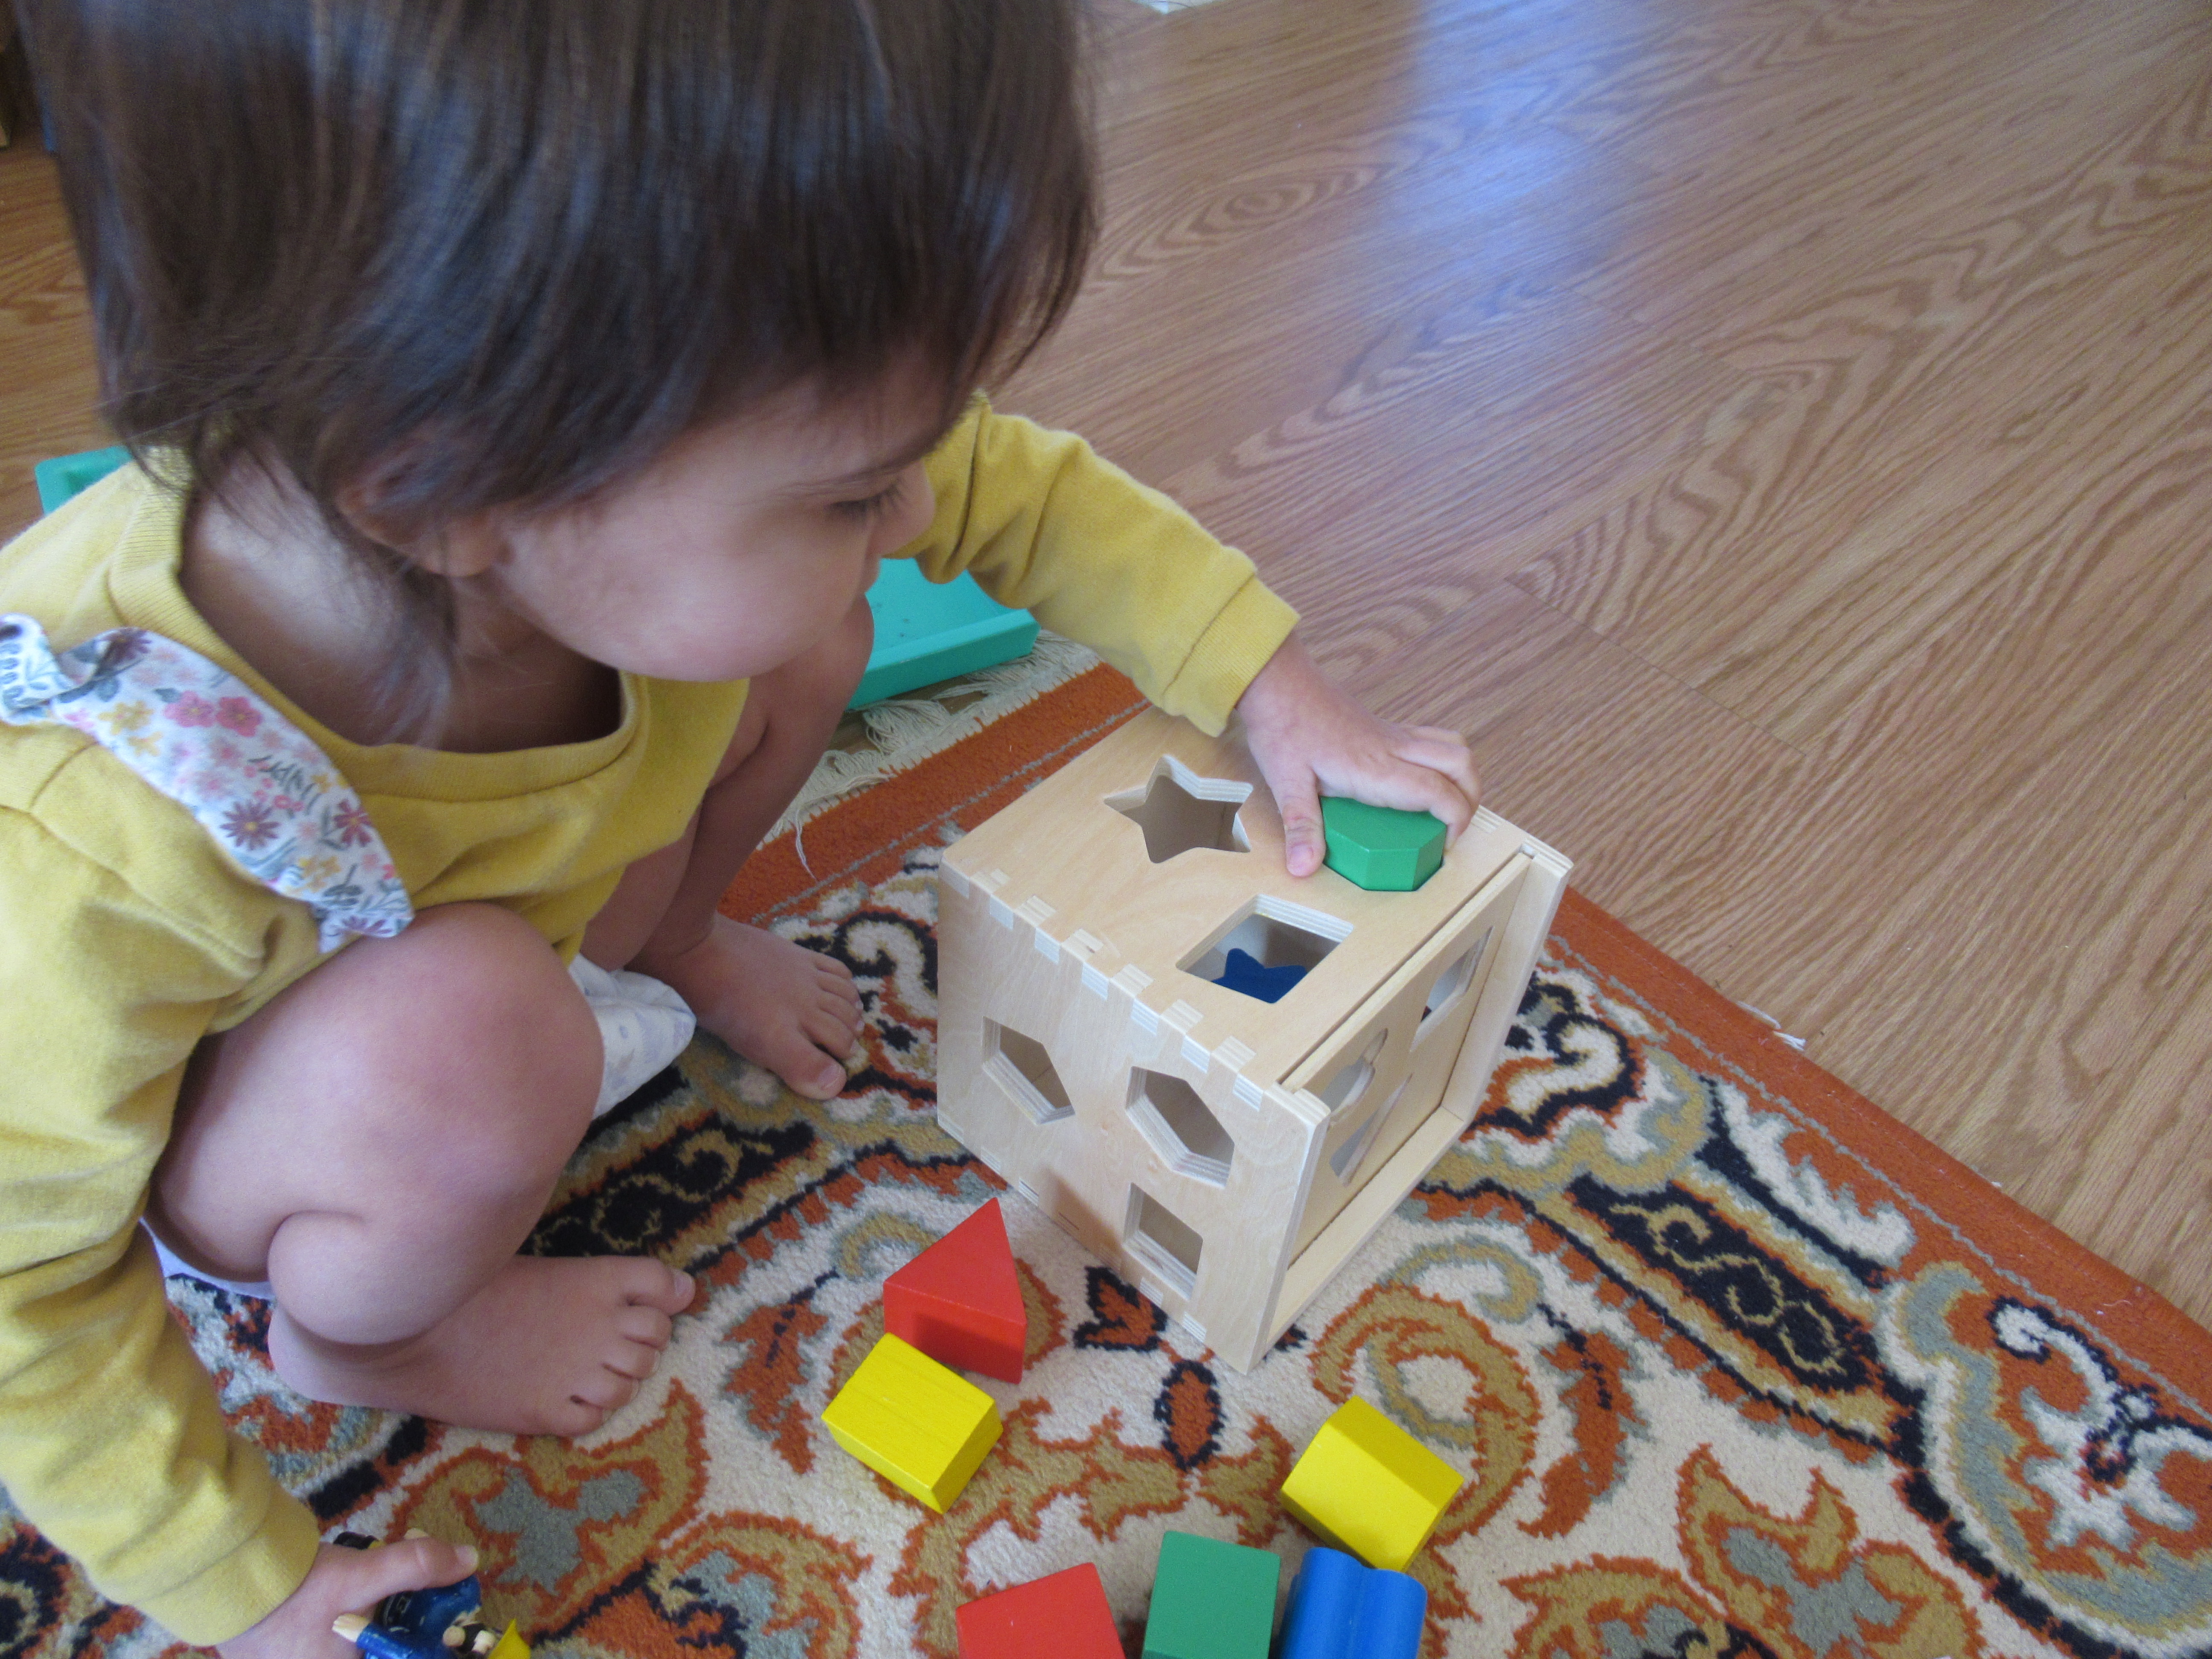
Station 9: Shape sorter time! This was arguably her favorite station, taking the time to make sure she got every shape in its proper hole.

Mini Toddler Olympics (7)

Station 10: Sock match! Lay out a few pairs and see if your toddler can help each sock find its mate.

Mini Toddler Olympics (6)

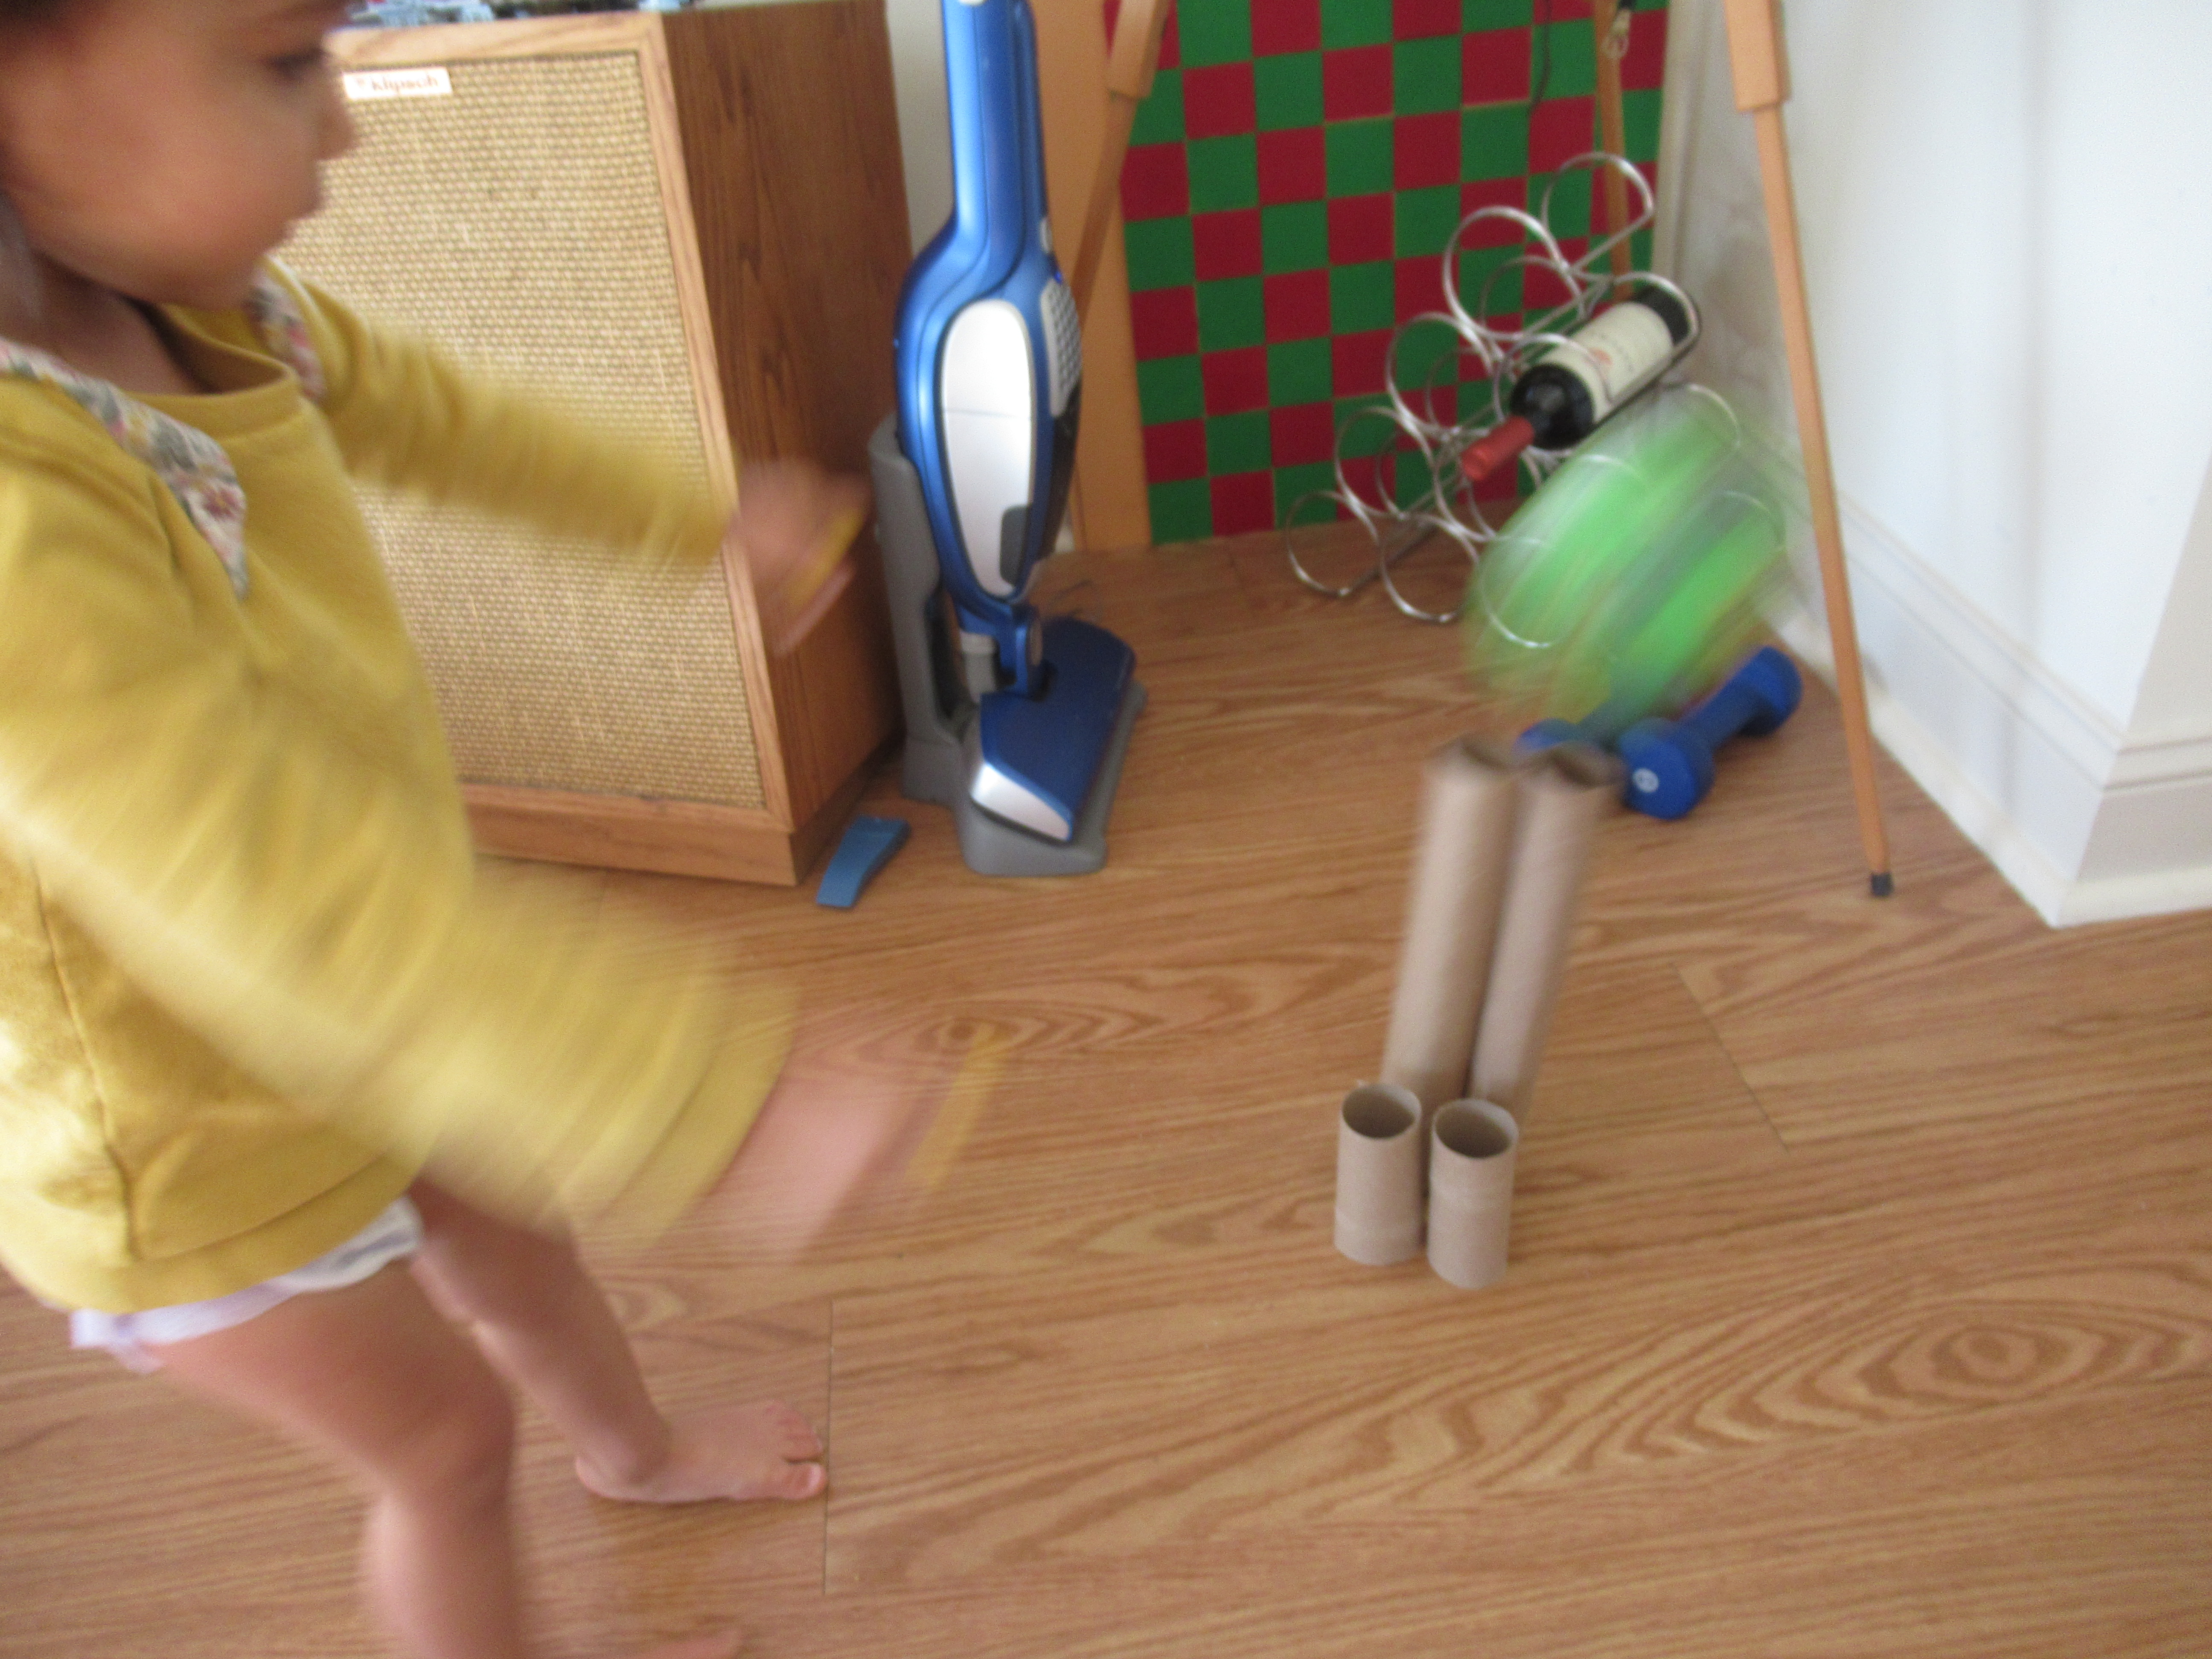
Station 11: You can’t go wrong with classic toddler bowling. Veronika rolled a small ball toward empty paper towel tubes for a toddler strike. Empty water bottles work well, too.

Mini Toddler Olympics (4)

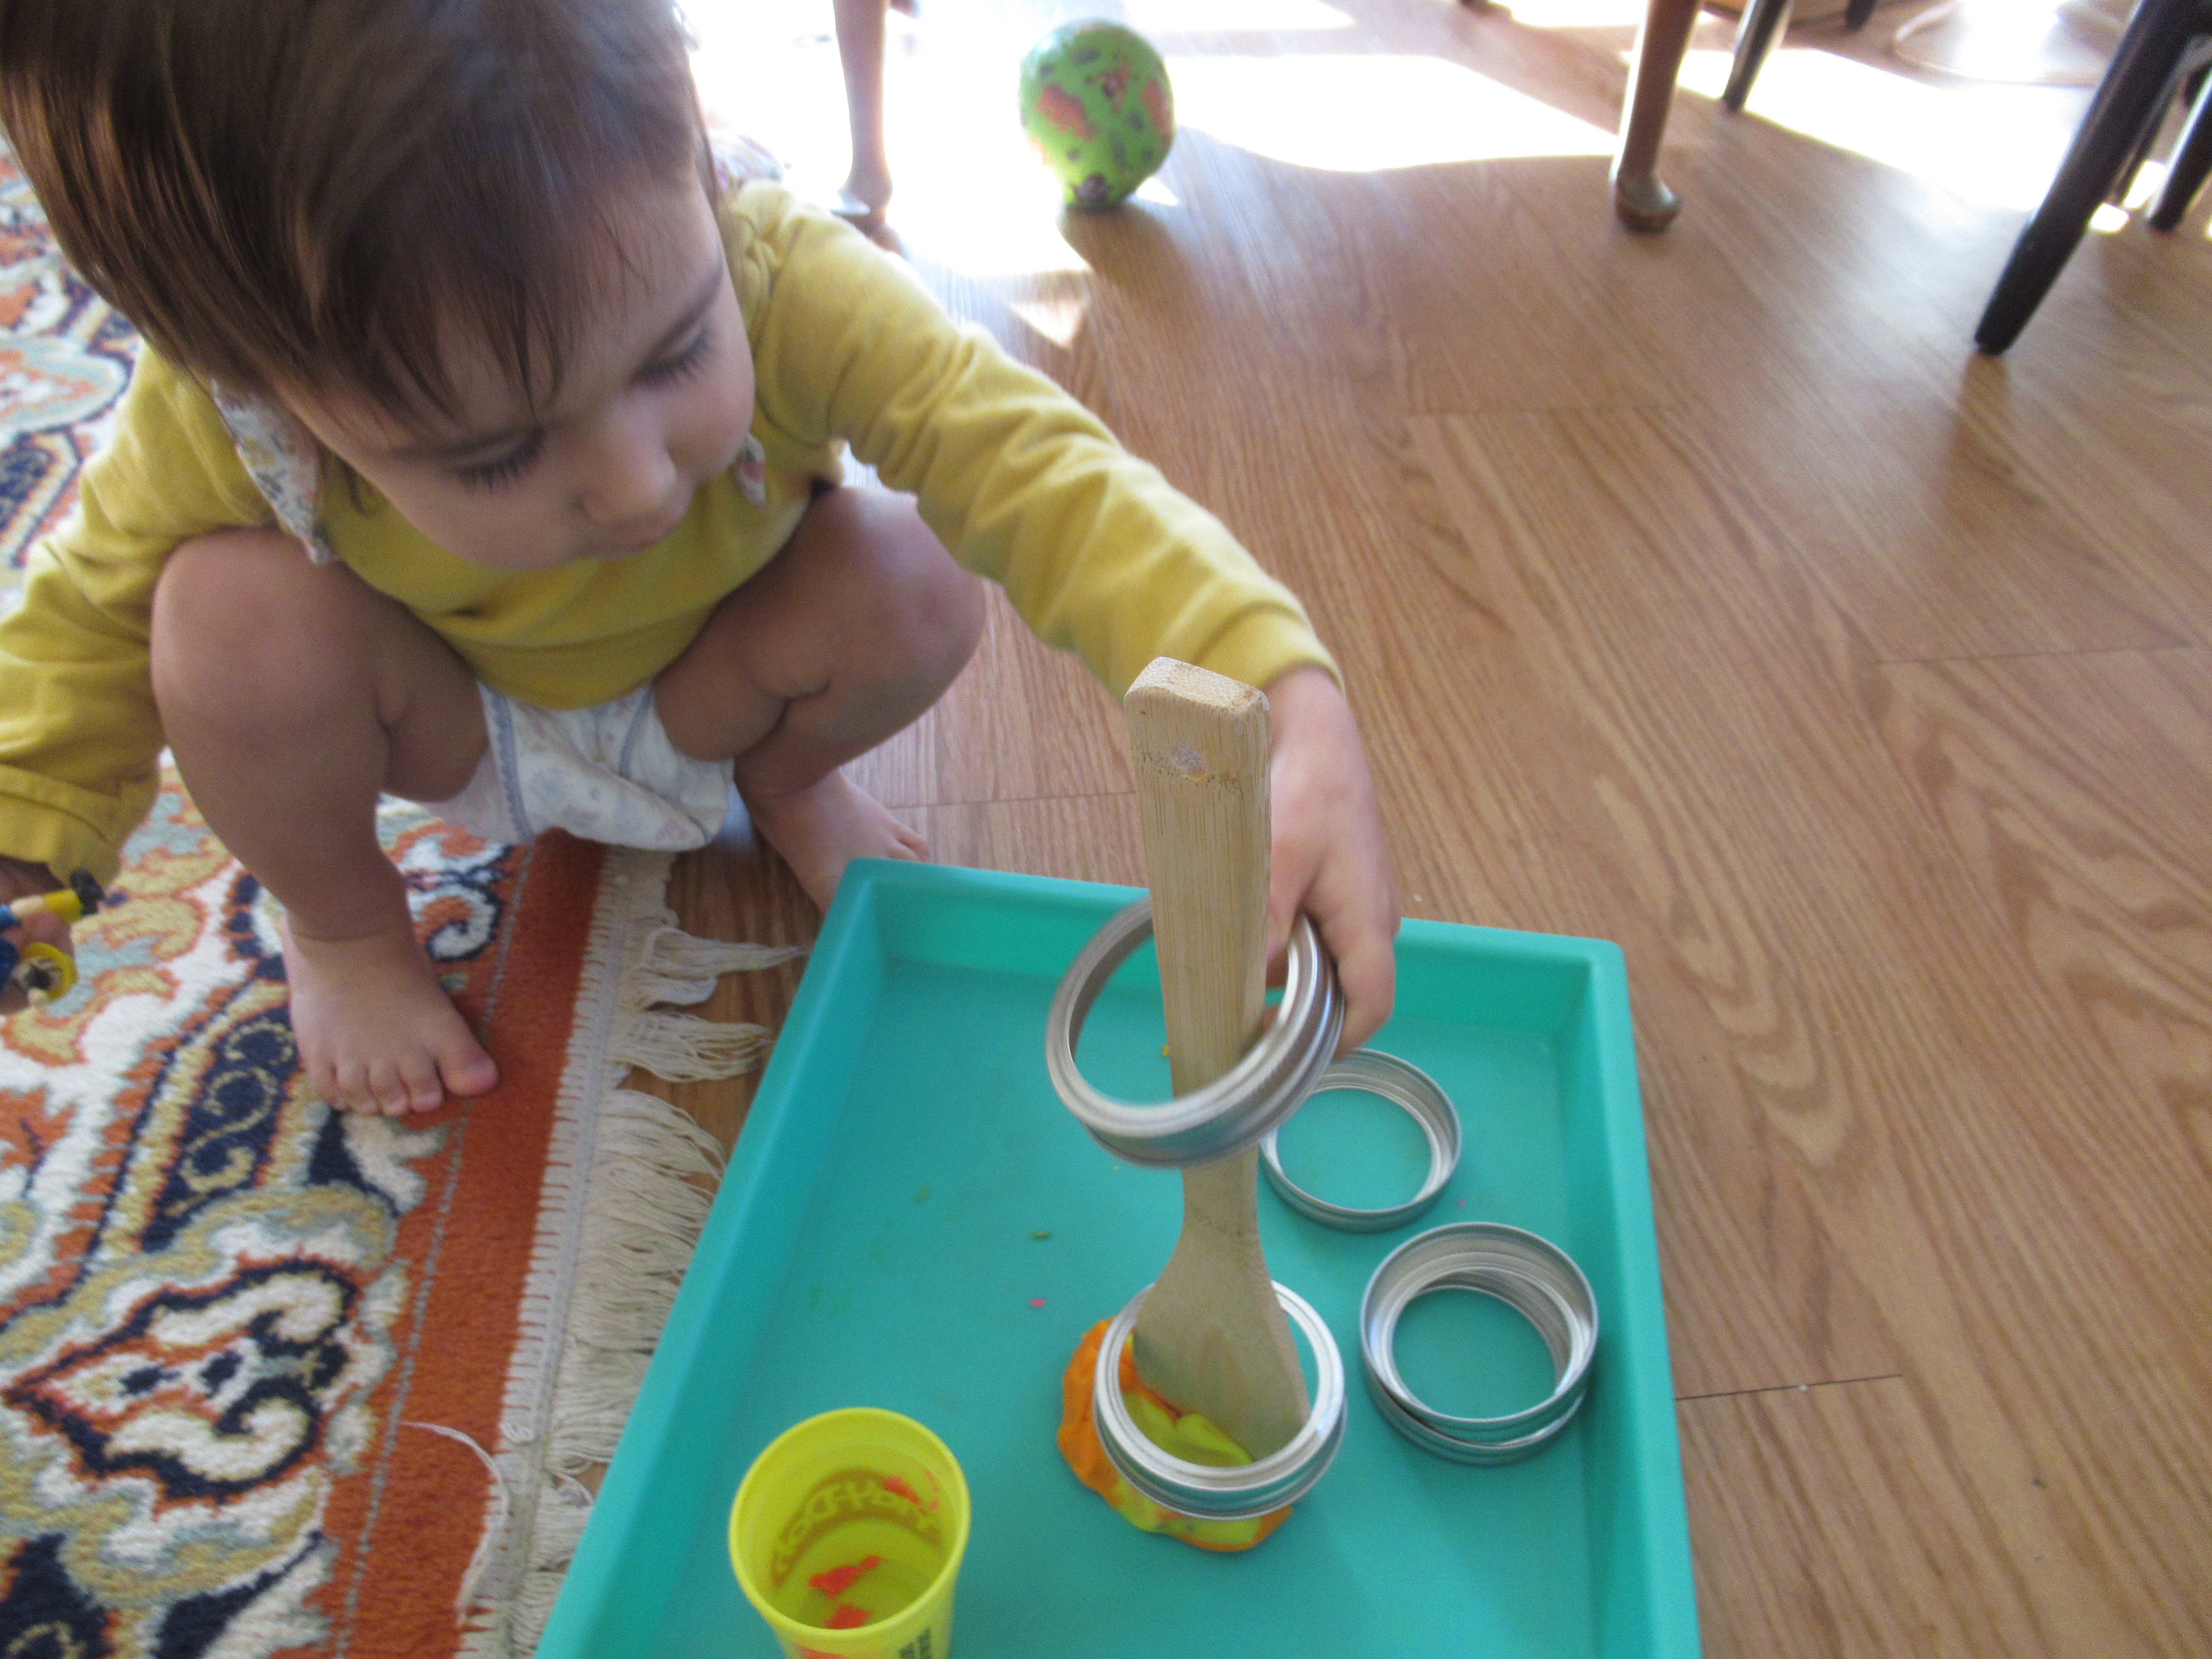
Station 12: An old favorite, threading canning rings onto a spoon. Tip: Hold the spoon steady in a blob of play dough.

Mini Toddler Olympics (5)

Station 13: Hula hoop time! Veronika’s first challenge was to jump into it, but then she rolled it along the floor, pretended she was driving a car with it as her wheel, and more.

Mini Toddler Olympics (9)

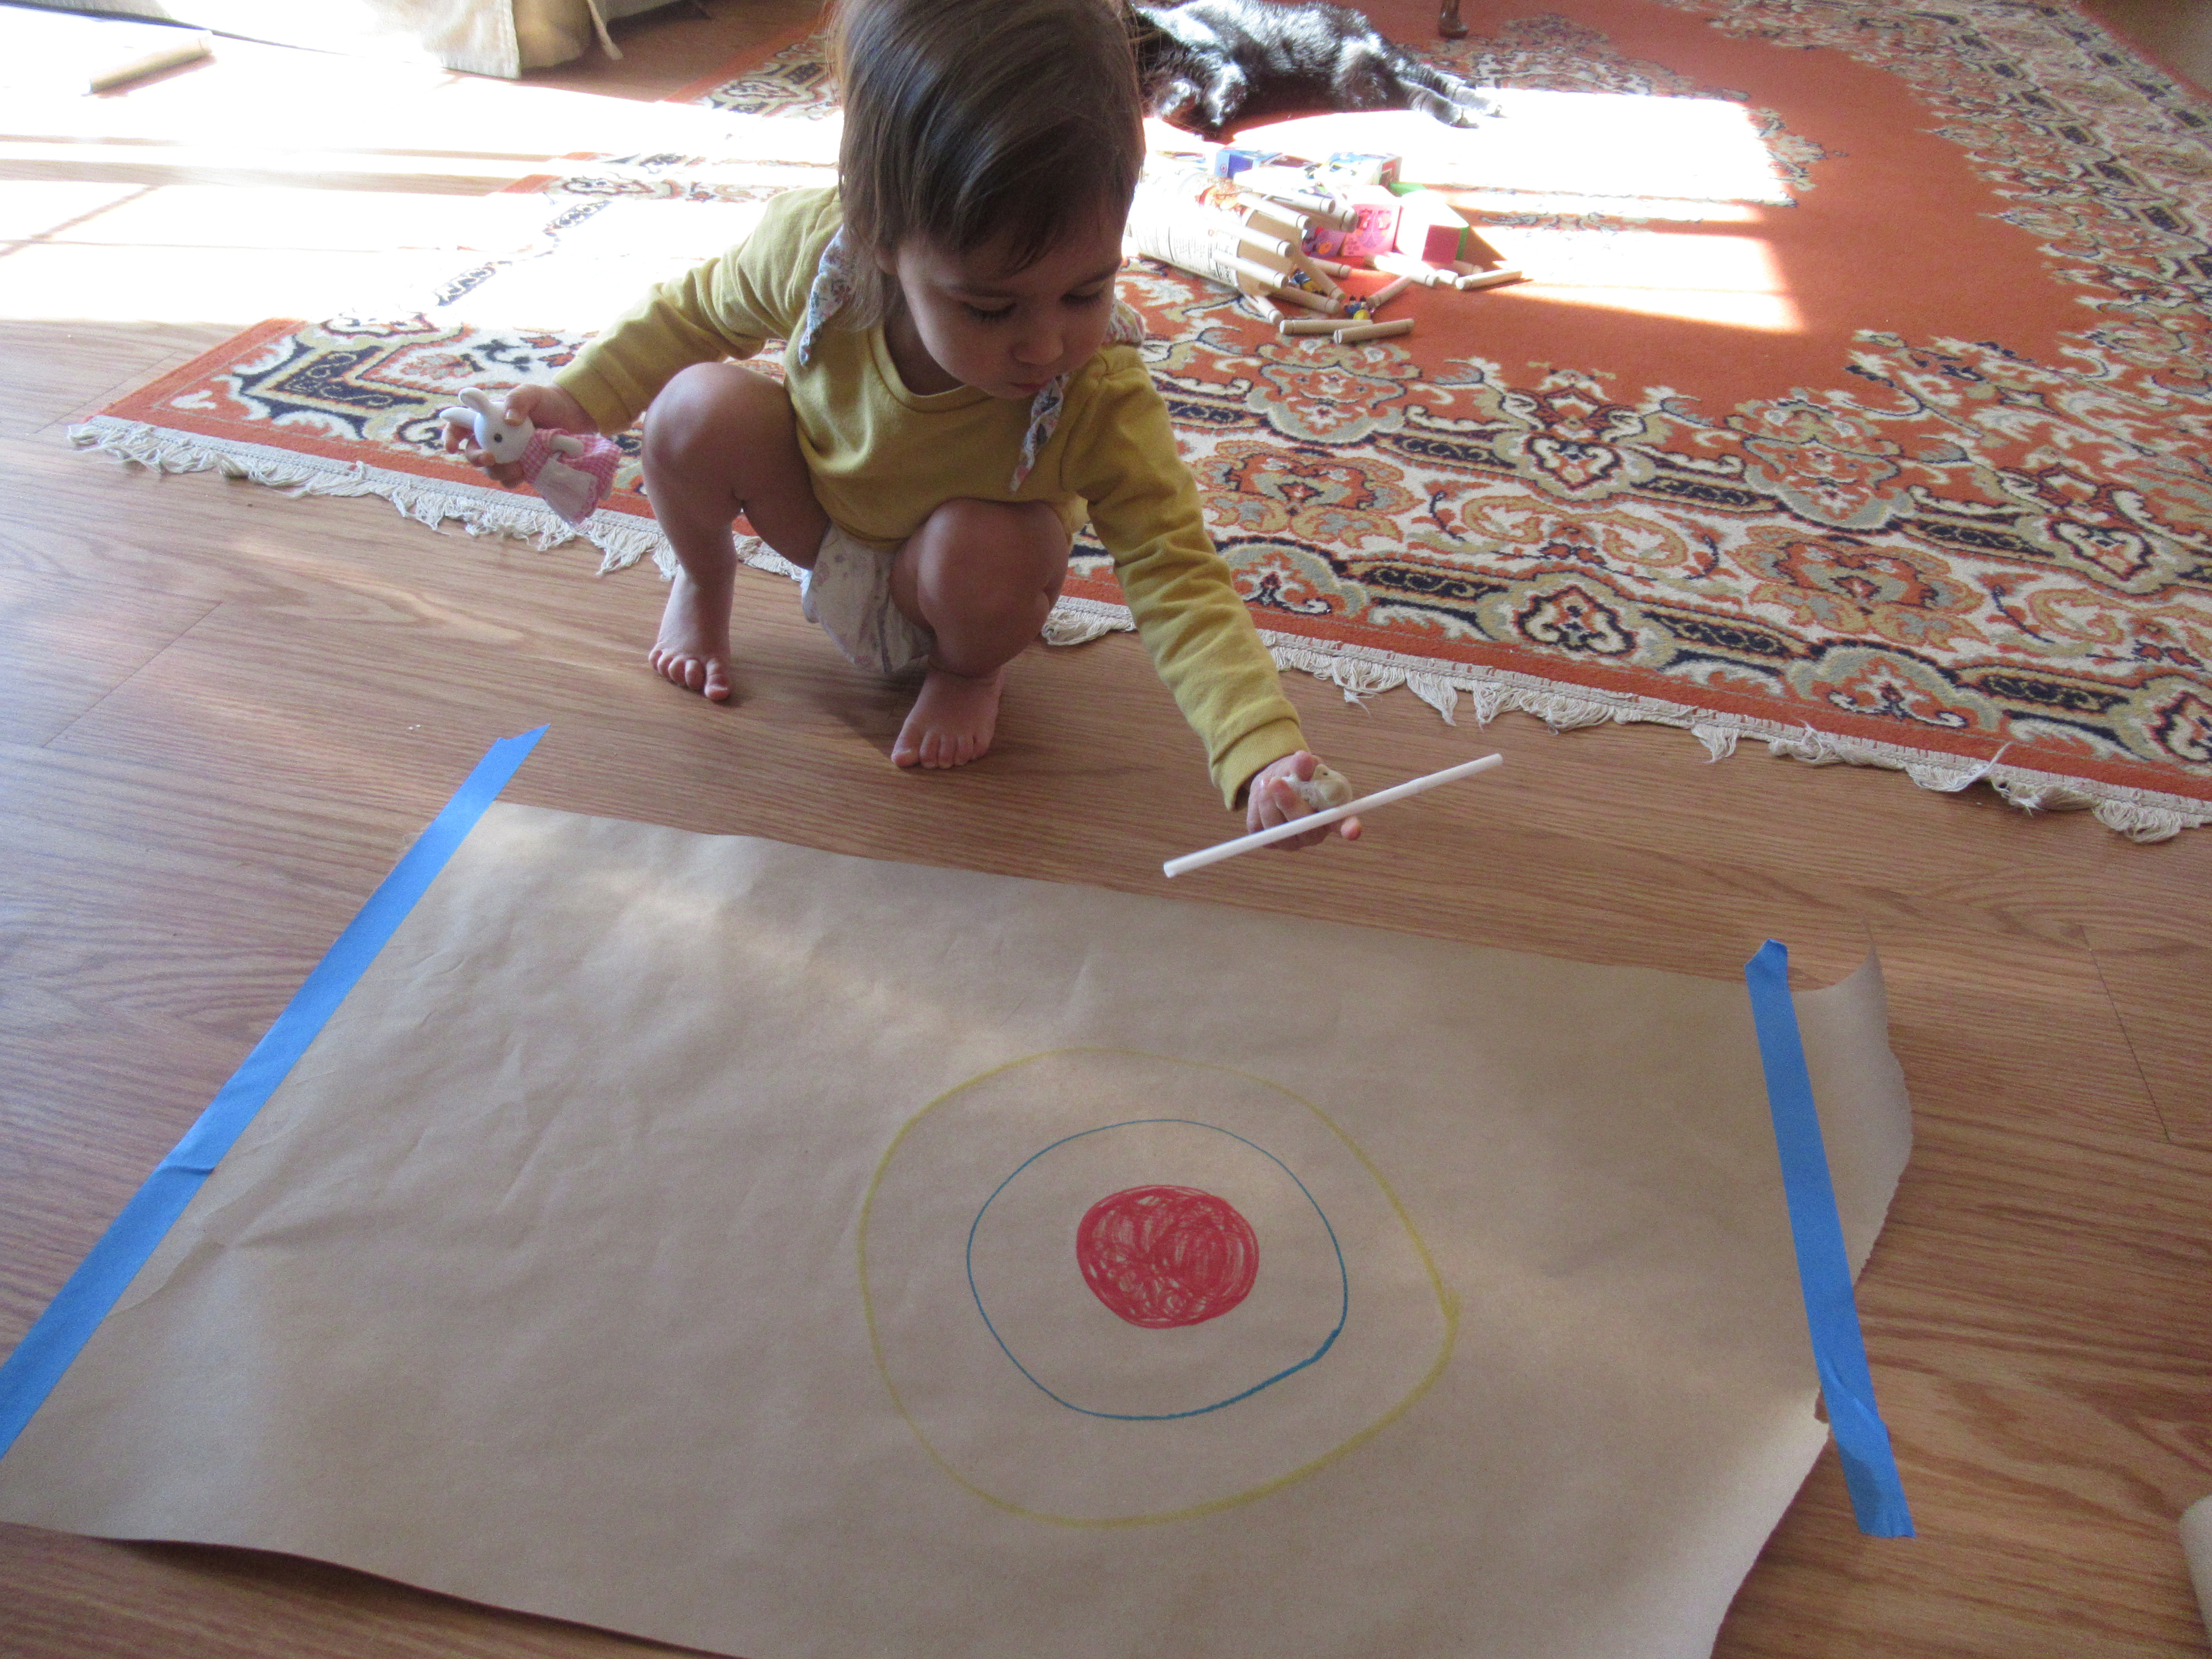
Station 14: Discus and Javelin throw. This was the closest event to the real Olympics. I drew a bullseye on a large piece of butcher paper (newspaper would work, too), and showed her how to toss a paper plate towards it like a discus.

Mini Toddler Olympics (17)

Use drinking straws instead as a javelin!

Mini Toddler Olympics (18)

Station 15: Her final stop was a chair maze! Make a big maze out of any chairs or cushions around the house, and encourage your toddler to make it through. The twist was that she had to crawl, no walking allowed!

Toddler Obstacle alt

Overall, this was an ambitious course for Veronika that challenged her body and brain, and it turned into a full morning of delight. Needless to say, she could revisit the stations at her leisure and keep busy with the various toys and items for hours.

Mini Toddler Olympics (16)

Rainbow Rice Letter Learning Tray

Rainbow Rice Letter Tray (11)

It’s been all things rainbow in our house this week as we get closer to St. Patrick’s Day. Here was a new spin on an old idea, since we’ve made rainbow rice before, but with some learning thrown in. Today, there were letters hidden in all that rice!

As a reminder, you can make rainbow rice by combining 1 cup white rice, 1 tablespoon white vinegar, and a few drops of food coloring in a zip-top bag, using 1 bag for each color desired. Seal and shake to coat, then pour onto paper plates and let dry overnight.

Rainbow Rice Letter Tray (1)

In the morning, I arranged the colors in rainbow order for Veronika. I then set out two sets of letters. The first was smooth rocks, which I had labeled A through Z with a sharpie.

Rainbow Rice Letter Tray (3)

The second were the pieces of a letter puzzle. I recommend working with only a few letters at a time for a toddler, or you risk wearing out your child’s concentration! As always, a great place to start is the letters of your child’s name, so today I placed the puzzle letters V-I-K-A (Veronika’s nickname) in the rice.

Rainbow Rice Letter Tray (5)

I pulled our each correspondingly lettered rock, and we went hunting for them! “Hmm, where’s k?” Veronika said so seriously, sifting through the rice with a spoon. “Here it is!”

Rainbow Rice Letter Tray (4)

After we had matched these letters, it became more of a free-for-all. She loved putting the rocks in the rice and burying them with the spoon.

Rainbow Rice Letter Tray (10)

Then, as she uncovered each one, we would look over at the puzzle to find the one it matched.

Rainbow Rice Letter Tray (7)

Finally, things turned into regular sensory play, which was just fine. She loved the sound the rice made as we sprinkled it down!

Rainbow Rice Letter Tray (8)

The pastel colors of the rice helped us channel spring, which is less than a week away, a very welcome thought as winter weather continues outside.

Rainbow Rice Letter Tray (6)

DIY Rainbow Salt Tray

DIY Rainbow Salt (3)

This colored salt activity looks beautiful, is great for sensory play, and is guaranteed to keep your toddler busy.

Preparation is remarkably easy. For the best result, you want to use large salt crystals, rather than regular table salt. I used kosher salt, but rock salt would have been even better! I poured a little salt into each of 6 zip-top plastic bags, then added food coloring to each, mixing two colors where needed to result in a full rainbow. Seal the bags and shake to combine. Your toddler might want to help with this part!

DIY Rainbow Salt (1)

I then arranged the salts in rainbow rows on a craft tray. In remarkably short time (only about 30 minutes), the color on the salt had dried and was ready for play.

DIY Rainbow Salt (2)

I had no agenda for Veronika other than to enjoy! I set out small glass jars and she immediately was spooning salt into them. She loved seeing or choosing what color was on her spoon…

DIY Rainbow Salt (5)

…as well as observing the mix of colors that resulted in the jars.

DIY Rainbow Salt (8)

Then she started pouring from one jar to another instead of using spoons, great for her fine motor skills and her concentration!

DIY Rainbow Salt (9)

I think she was busy making potions.

DIY Rainbow Salt (7)

She did sometimes spoon or stir through the salt on the tray, but the jars were the main draw today.

DIY Rainbow Salt (10)

How long did Veronika play solo? Let’s just say I had time to finish the Sunday puzzle page. When she started picking up handfuls of it to scatter on the floor, we called it quits for clean-up!

DIY Rainbow Salt (11)

Homemade Coconut Butter

IMG_2252

It’s easy to make homemade butter just by shaking heavy creamer, requiring nothing more than a little muscle power, and that is a neat way for kids to see where their food comes from. We wanted to put a vegan spin on this project so decided to try making butter from coconut cream!

Make sure to purchase full fat coconut milk for this activity, not the light alternative, which likely won’t work.

Scoop a little of the solid coconut fat from the can into a small jar (empty baby food jars were the perfect size for small hands) along with some of the liquid.

IMG_2249

Then simply seal and shake! Obviously Veronika didn’t have the muscle to make the “butter” solo, as it required about 5 minutes total of shaking. We would pass the jar back and forth and shake it all the while, and her excitement mounted as she said she wanted to taste the butter.

IMG_2251

After shaking, the fat and liquid will combine into a creamy, smooth consistency. It’s not exactly butter of course, but it did have a nice spreadable consistency. Veronika absolutely adored it on crackers!

IMG_2259

While you probably don’t want to eat pure coconut cream every day, this was a fun treat to try out and she was so proud that she “made” her own snack.

IMG_2254

Drown the Penny

Drown the Penny (4)

Need a game to entertain your toddler, and quickly? This one requires only common household items but is sure to captivate. I can’t tell you how many times Veronika asked to play when I trotted it out on a weekend morning.

Fill a glass with a little bit of water then place a paper towel on top and secure with a rubber band. Now place a penny in the center of the paper towel.

Drown the Penny (1)

I picked up a sharpened pencil and told Veronika we were going to drown the penny. How many pokes would it take? I made the first one to show her…

Drown the Penny (2)

…but then she grabbed it and never even handed the pencil back! She absolutely adored the challenge. Sometimes the penny would fall in after as few as 4 holes poked.

Drown the Penny (3)

Her highest count was 14!

Drown the Penny (5)

I watched her brain mull over the challenge, too; sometimes she was tempted to cheat as her pencil pokes crept up past 10, and she would think about nudging the penny toward a rip in the paper. But then she caught herself and kept poking with the pencil until – inevitably! – the penny falls and drowns. Plink! It makes a wonderful noise each time. Then we would uncover the glass and fish out the penny before putting on a fresh paper towel and starting over.

Drown the Penny (8)

If your child wants to make it more of a turn-taking game, simply pass the pencil back and forth. The winner (or loser, depending how you look at it!) is the one who gets the penny in the glass.

Shaving Cream Rainbows

Shaving Cream Rainbows (1)

Here’s a messy and hands-on way to make a full rainbow with your toddler!

I squirted shaving cream into each of the 6 compartments of a muffin tin, then set out food coloring in the three primary colors.

Shaving Cream Rainbows (2)

Veronika was my helper to squeeze the color into each portion of shaving cream. We could make red, yellow, and blue just by squirting into three of the shaving cream portions. The other three portions required mixing: red + yellow made orange (alas, a sort of muddy one), yellow + blue made a bright green, and blue + red turned into a vibrant purple.

Shaving Cream Rainbows (5)

I had to work quickly, because Veronika immediately wanted to turn this into sensory play!

Shaving Cream Rainbows (4)

Soon she was scooping up portions of the colored shaving cream on craft sticks, stirring them, and smearing them together. I had intended to scoop out a bit of each shaving cream color and make an actual arcing rainbow, but she was so content that I let her play the game her way.

Shaving Cream Rainbows (6)

Was she as interested in the fact that we’d mixed up ROYGBIV? Not especially; this really turned out to be sensory play. But we had fun with this very messy rainbow!

Update: Because she loved this game so much, we did a repeat… but with a twist. This time, I mixed up the colors ahead of time so Veronika wouldn’t immediately begin mixing and matching them. Then, I showed her how to paint the colors onto the window in rainbow order.

“A rainbow!” she said with delight, and began dabbing on the paint, too.

As a bonus, this will actually leave your windows squeaky clean, since shaving cream is basically just soap. Veronika loved helping wipe off the excess with paper towels and then using a spritz bottle and paper towels, long after the shaving cream rainbow was gone.

Primary Color Rainbow Suncatcher

Rainbow Suncatcher Primary Color (8)

St. Patrick’s Day gets us thinking about all things rainbows and pots of gold. Here’s a neat way to show a toddler how to make a full rainbow… just from the three primary colors!

To start, I cut an arc from contact paper and taped it down to the floor. I then cut lots of tissue paper squares in red, yellow, and blue. I had these mixed in our craft tray which I soon worried was a mistake, instead of sorting them. But the big messy mix turned out to be half the fun!

Rainbow Suncatcher Primary Color (1)

To make the rainbow, you’ll need to work deliberately row by row. An outer row of red is followed by an overlapping yellow (to make orange), then plain yellow. Next overlap blue (to make green), then add a row of plain blue. Finally, overlap a little more red and you’ll get a bottom row of purple.

Rainbow Suncatcher Primary Color (3)

Veronika wasn’t old enough to understand that the colors needed to stay in their proper rows, but I soon realized the benefit of having mixed all the colors in the tray; she was the perfect helper to find me each right color. “Now let’s find only red squares!” I told her, and she happily dug through the tray.

Rainbow Suncatcher Primary Color (2)

Then she discovered how fun it was to make the tissue paper rain down as I finished up the rainbow.

Rainbow Suncatcher Primary Color (5)

The real engagement with the craft began for her once the suncatcher was taped to the window. Of course there’s the obvious element that now it sparkled and shone…

Rainbow Suncatcher Primary Color alt

…but now the full rainbow magically appeared as well. Where red and yellow overlapped, there was orange; yellow and blue made green, and blue and red made purple. We sang rainbow songs and Veronika loved following the arc of it with her fingers.

Rainbow Suncatcher Primary Color (7)

Next she pretended her favorite toy was sliding up and down it! We’re going to keep this beautiful rainbow suncatcher in the window to cheerfully greet the spring.

Rainbow Suncatcher Primary Color (9)