Indian Corn Squish Bag and Painting

Corncob Painting (7)

Indian corn makes a beautiful decoration this time of year. And not only does it look great on a harvest table or doorway, but it makes for fantastic sensory play, too!

Indian Corn Squish Bag (1)

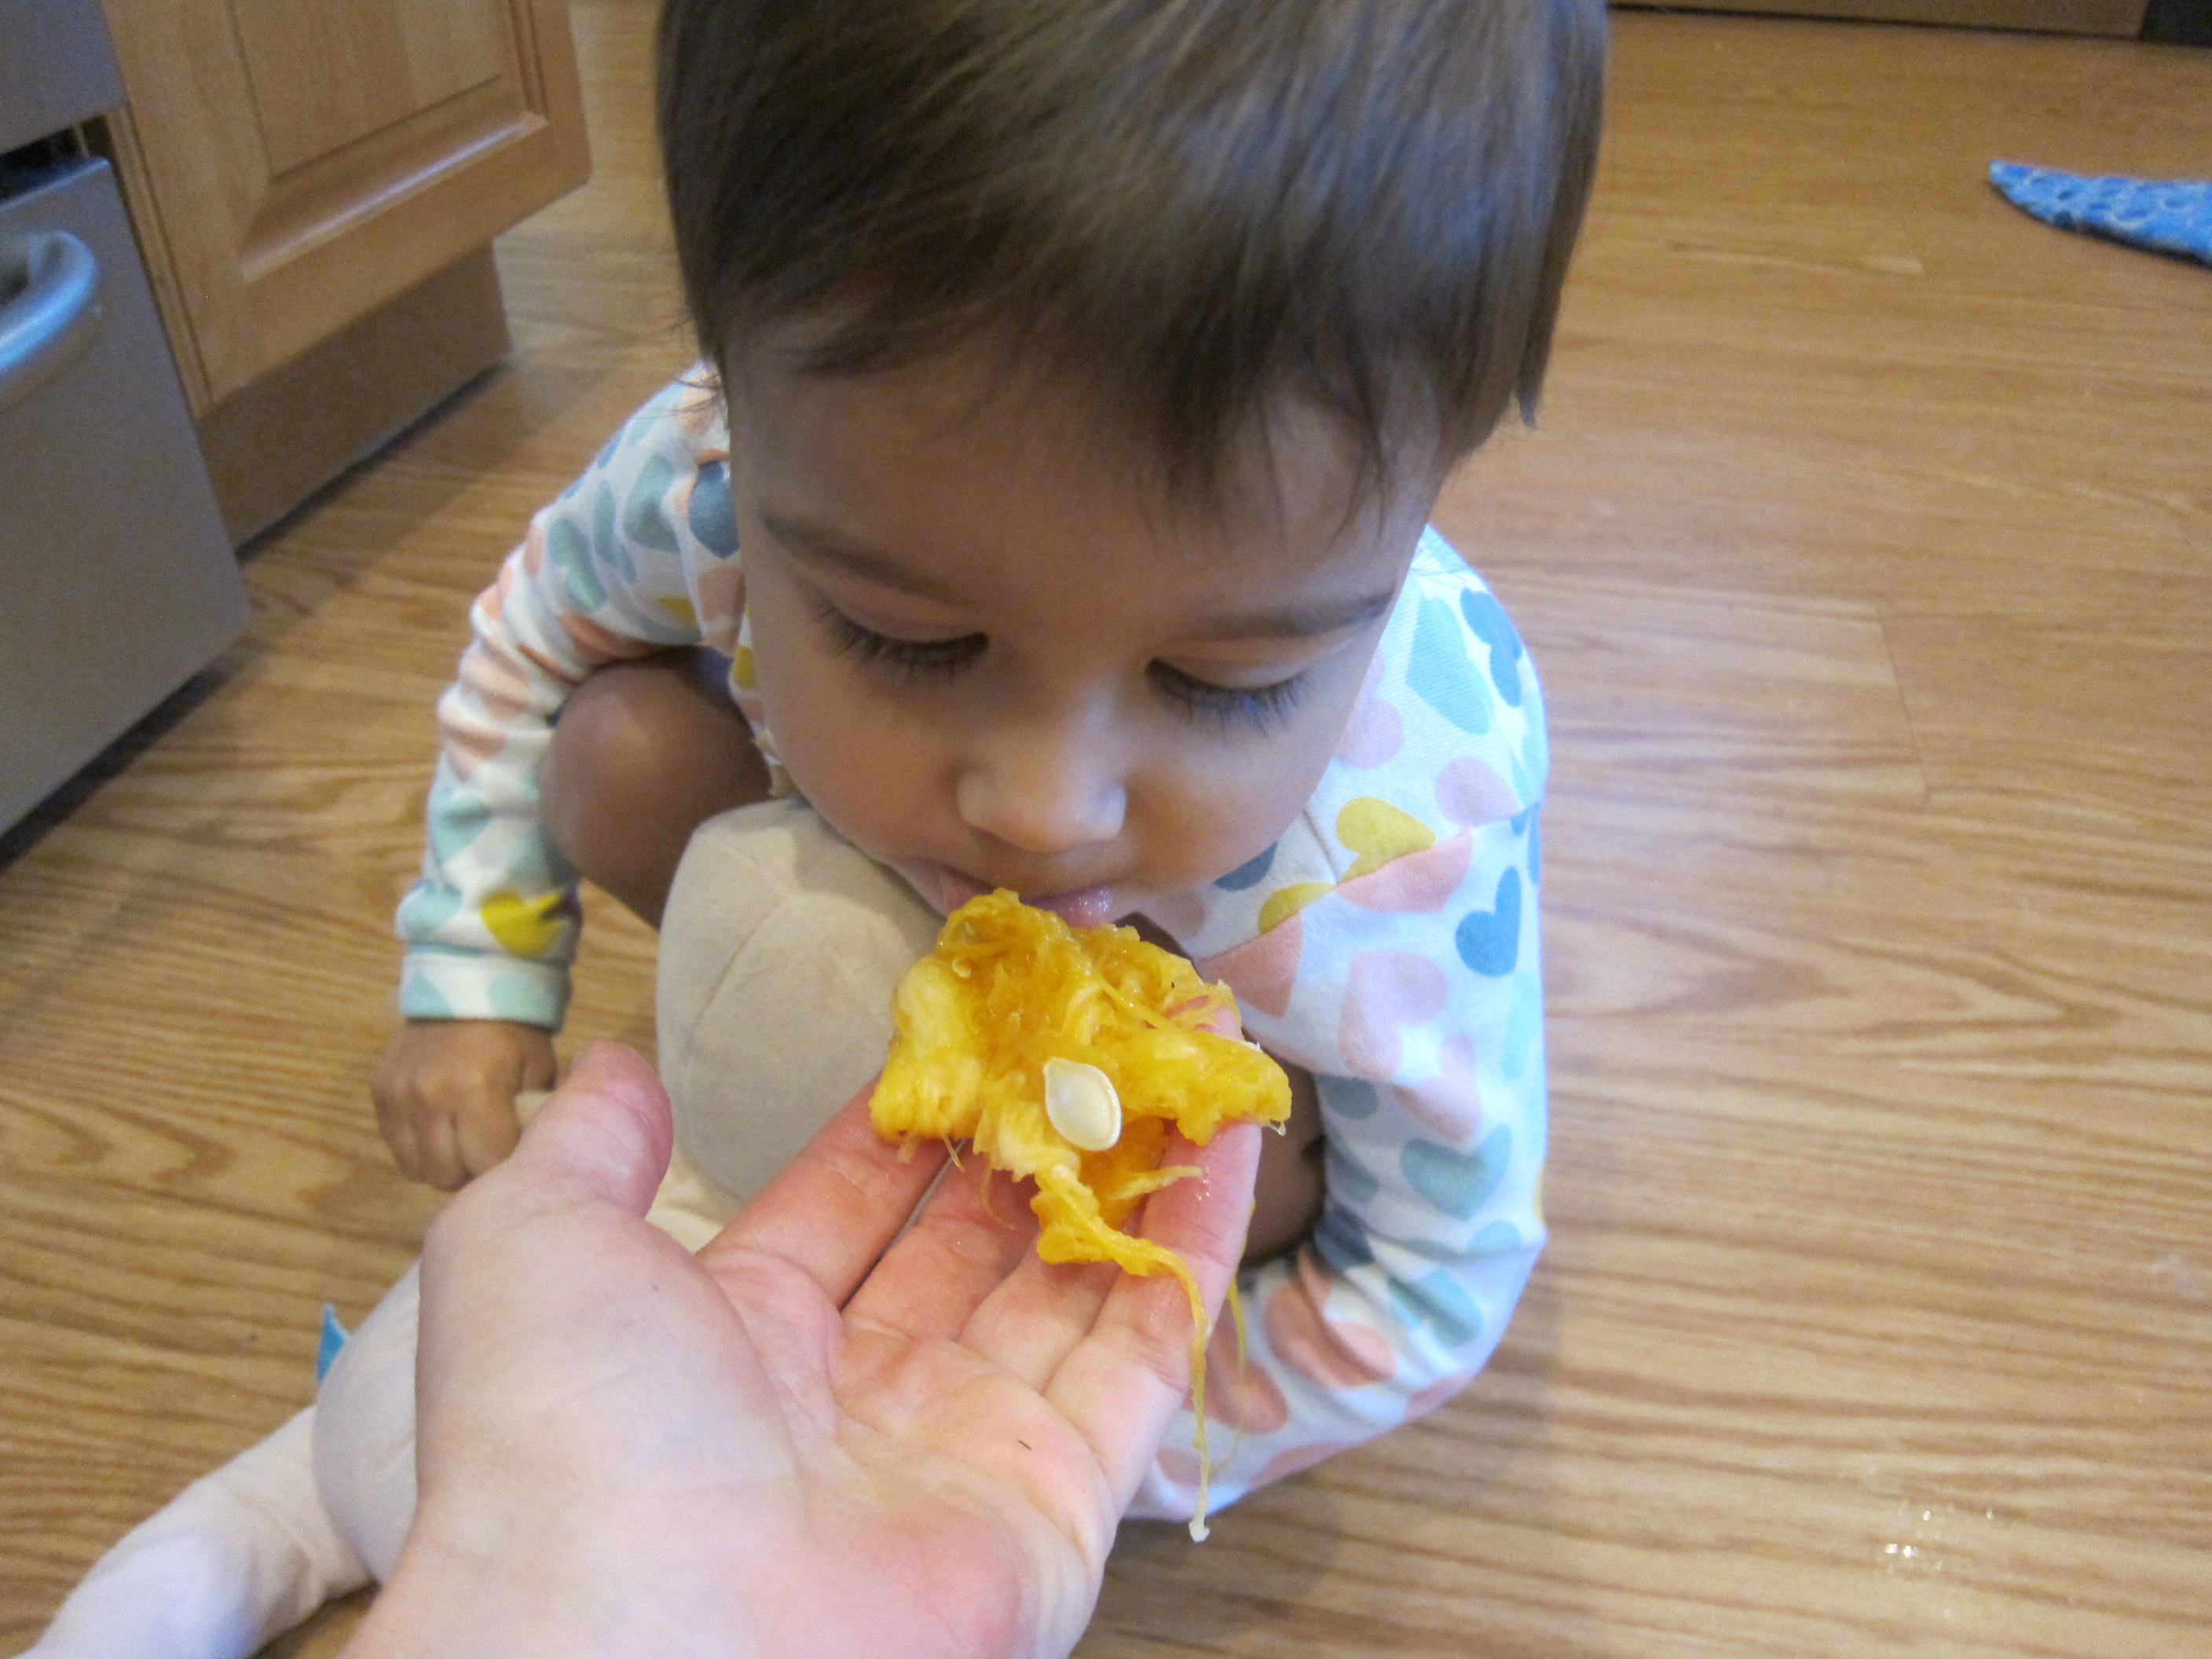
Today, I set out three ears of this multicolored corn on a tray for Veronika and first just invited her over. She wanted to smell it, one of the first ways she likes to approach a new item.

Indian Corn Squish Bag (8)

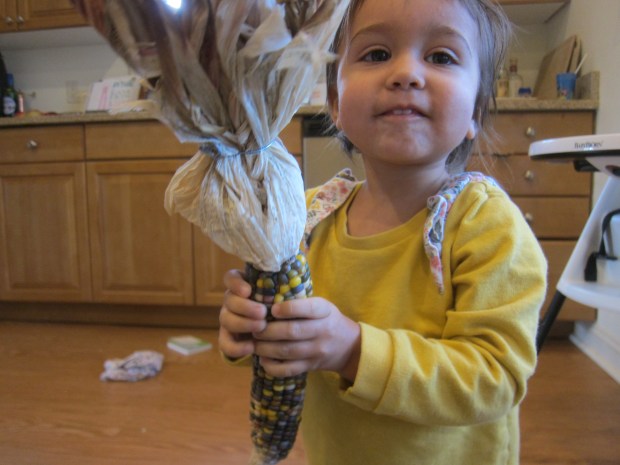
We discovered that if we cracked an ear in half, we could then pick off the hard kernels. This left behind smooth divots underneath. She loved running her finger over the cob, feeling the contrast between these soft and hard parts.

Indian Corn Squish Bag (3)

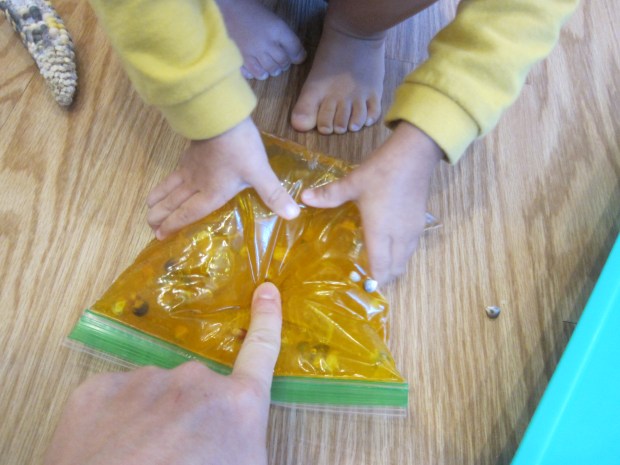
Next, we turned the corn kernels into part of a sensory bag. I didn’t have any hair gel on hand to fill a small zip-top bag, but corn syrup worked in a pinch. I added a little seasonally-appropriate yellow food coloring, and then some of the corn kernels we’d pulled from the cob.

Indian Corn Squish Bag (4)

Seal tightly and pass over to your child. “It’s a squishy bag!” Veronika said with delight, now familiar with the concept. And this one was great for squishing. She could squeeze it between two fists…

Indian Corn Squish Bag (5)

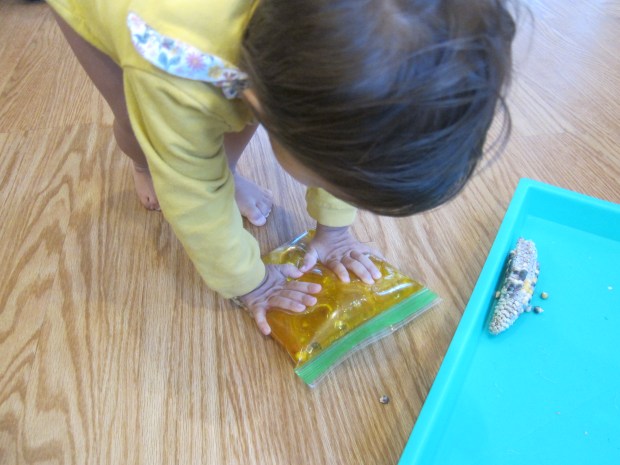
…or chase around little kernels of corn with a finger.

Indian Corn Squish Bag (6)

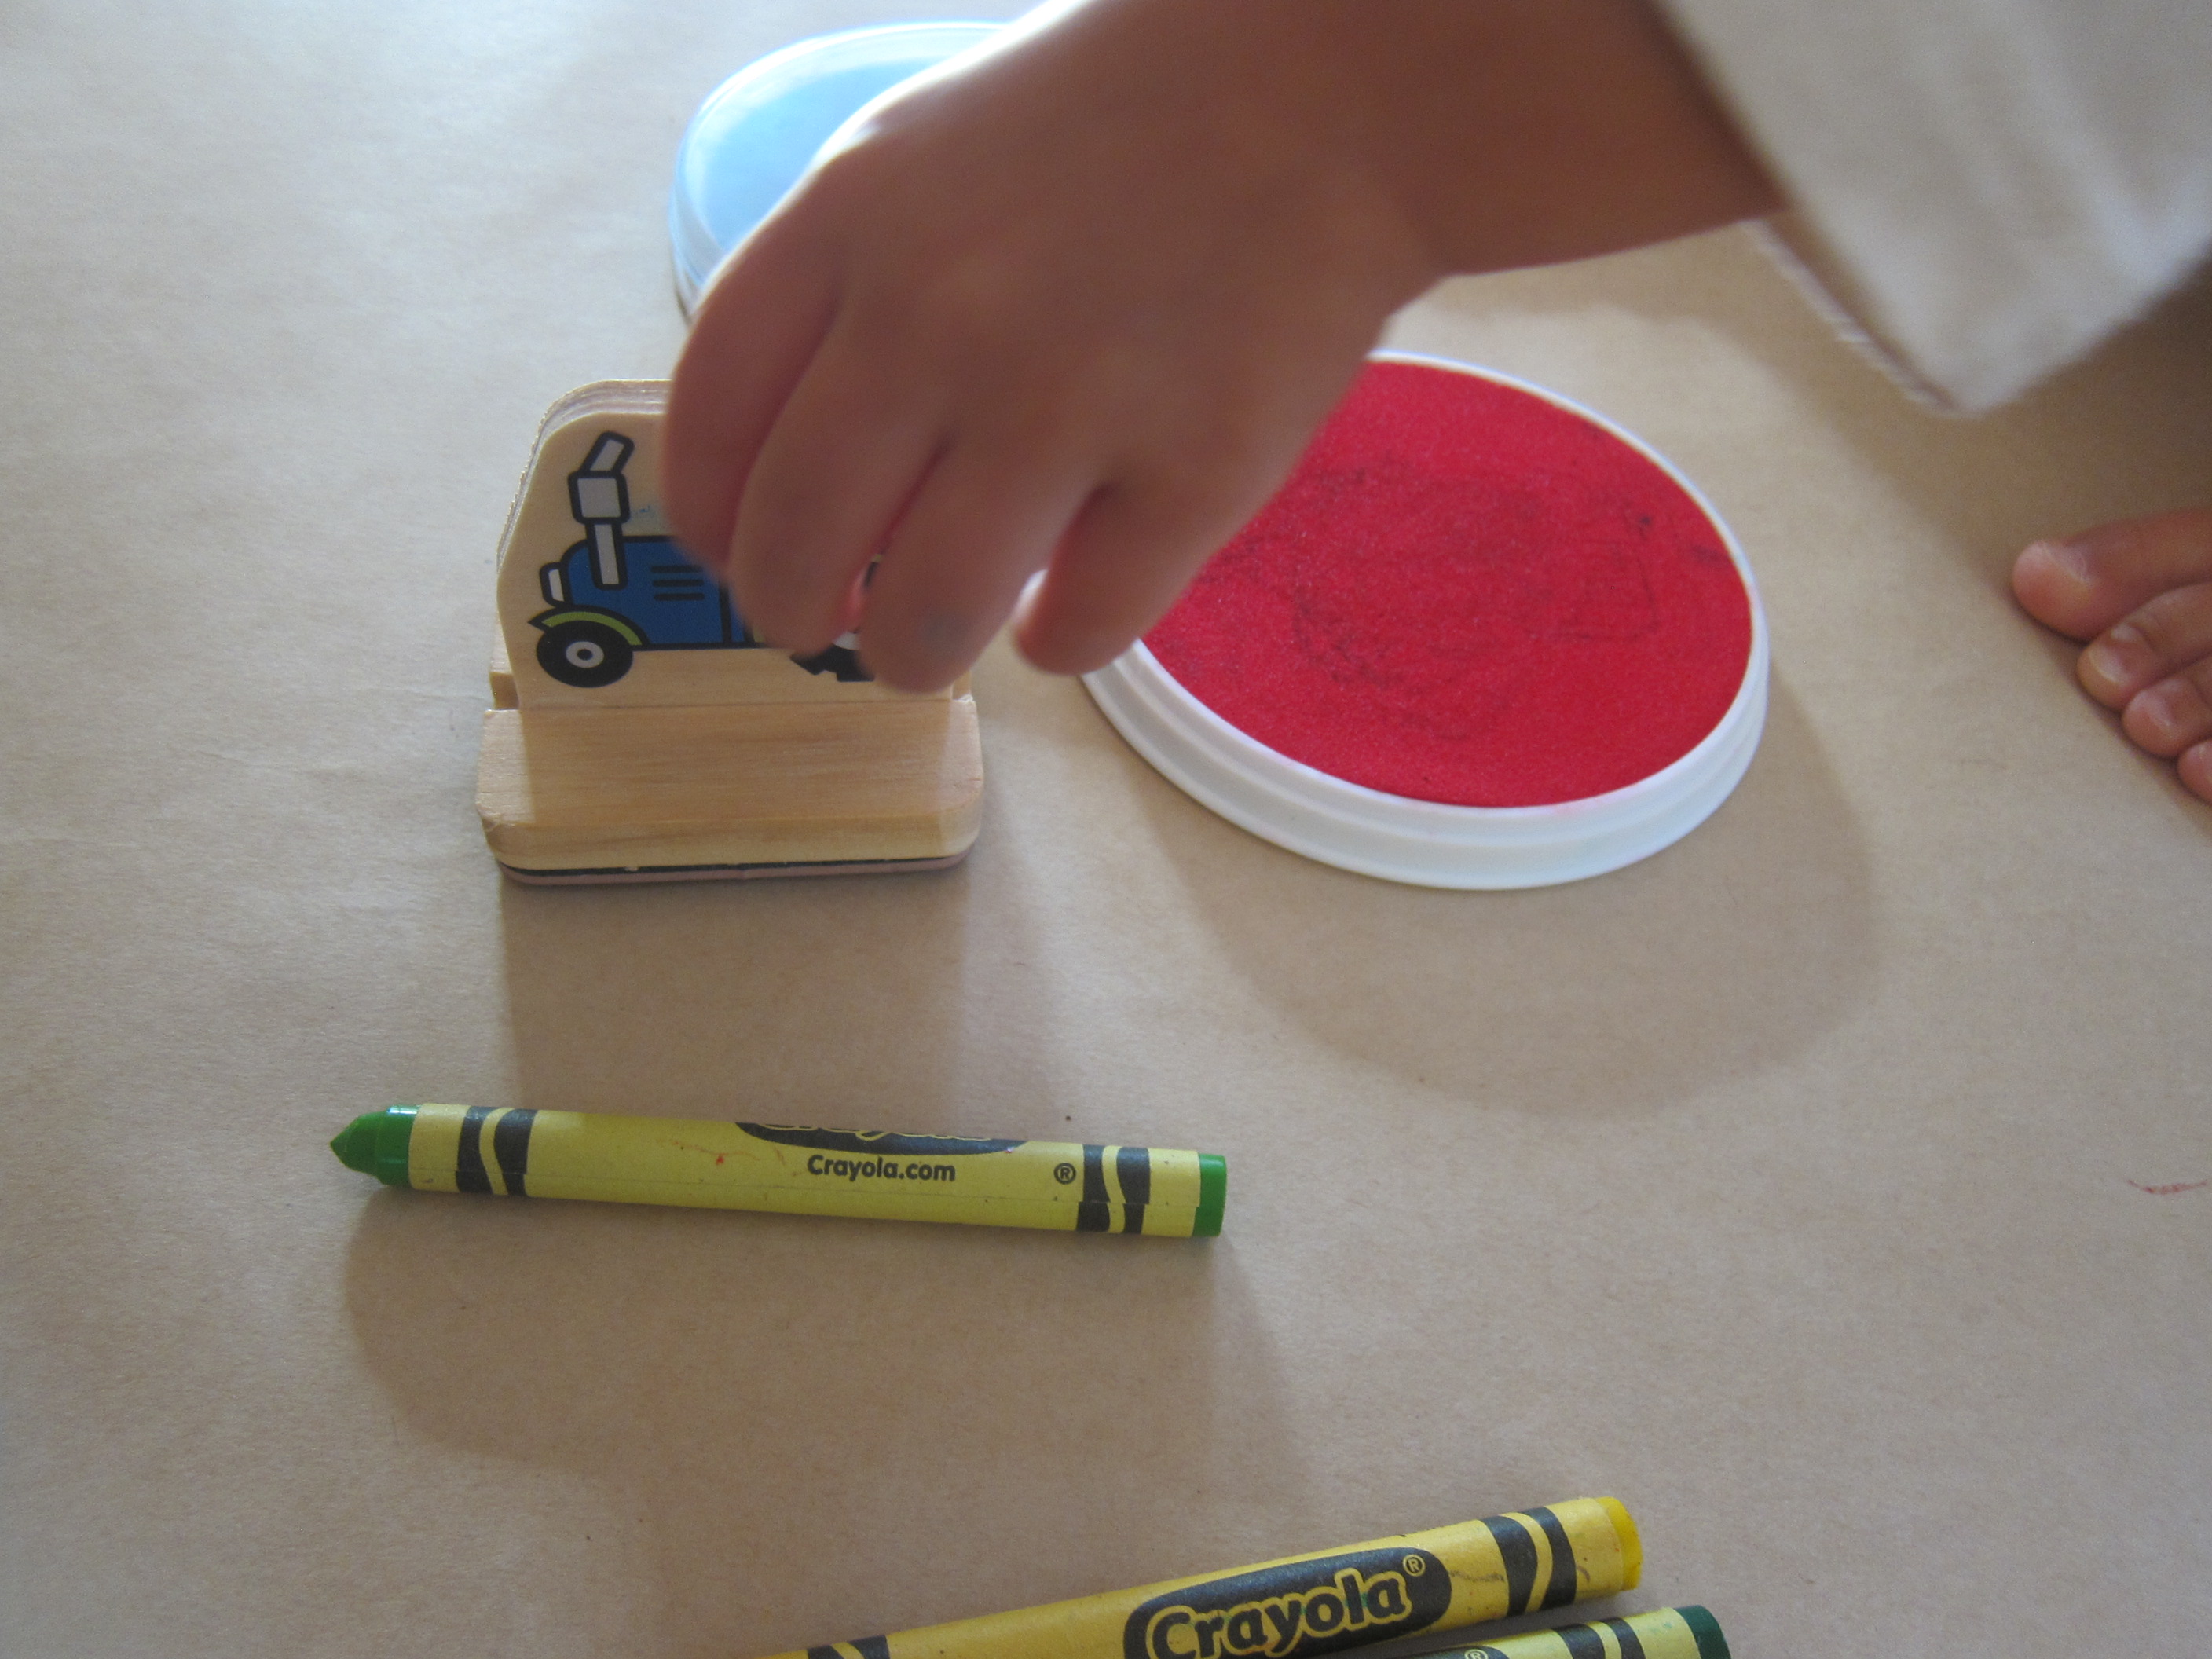
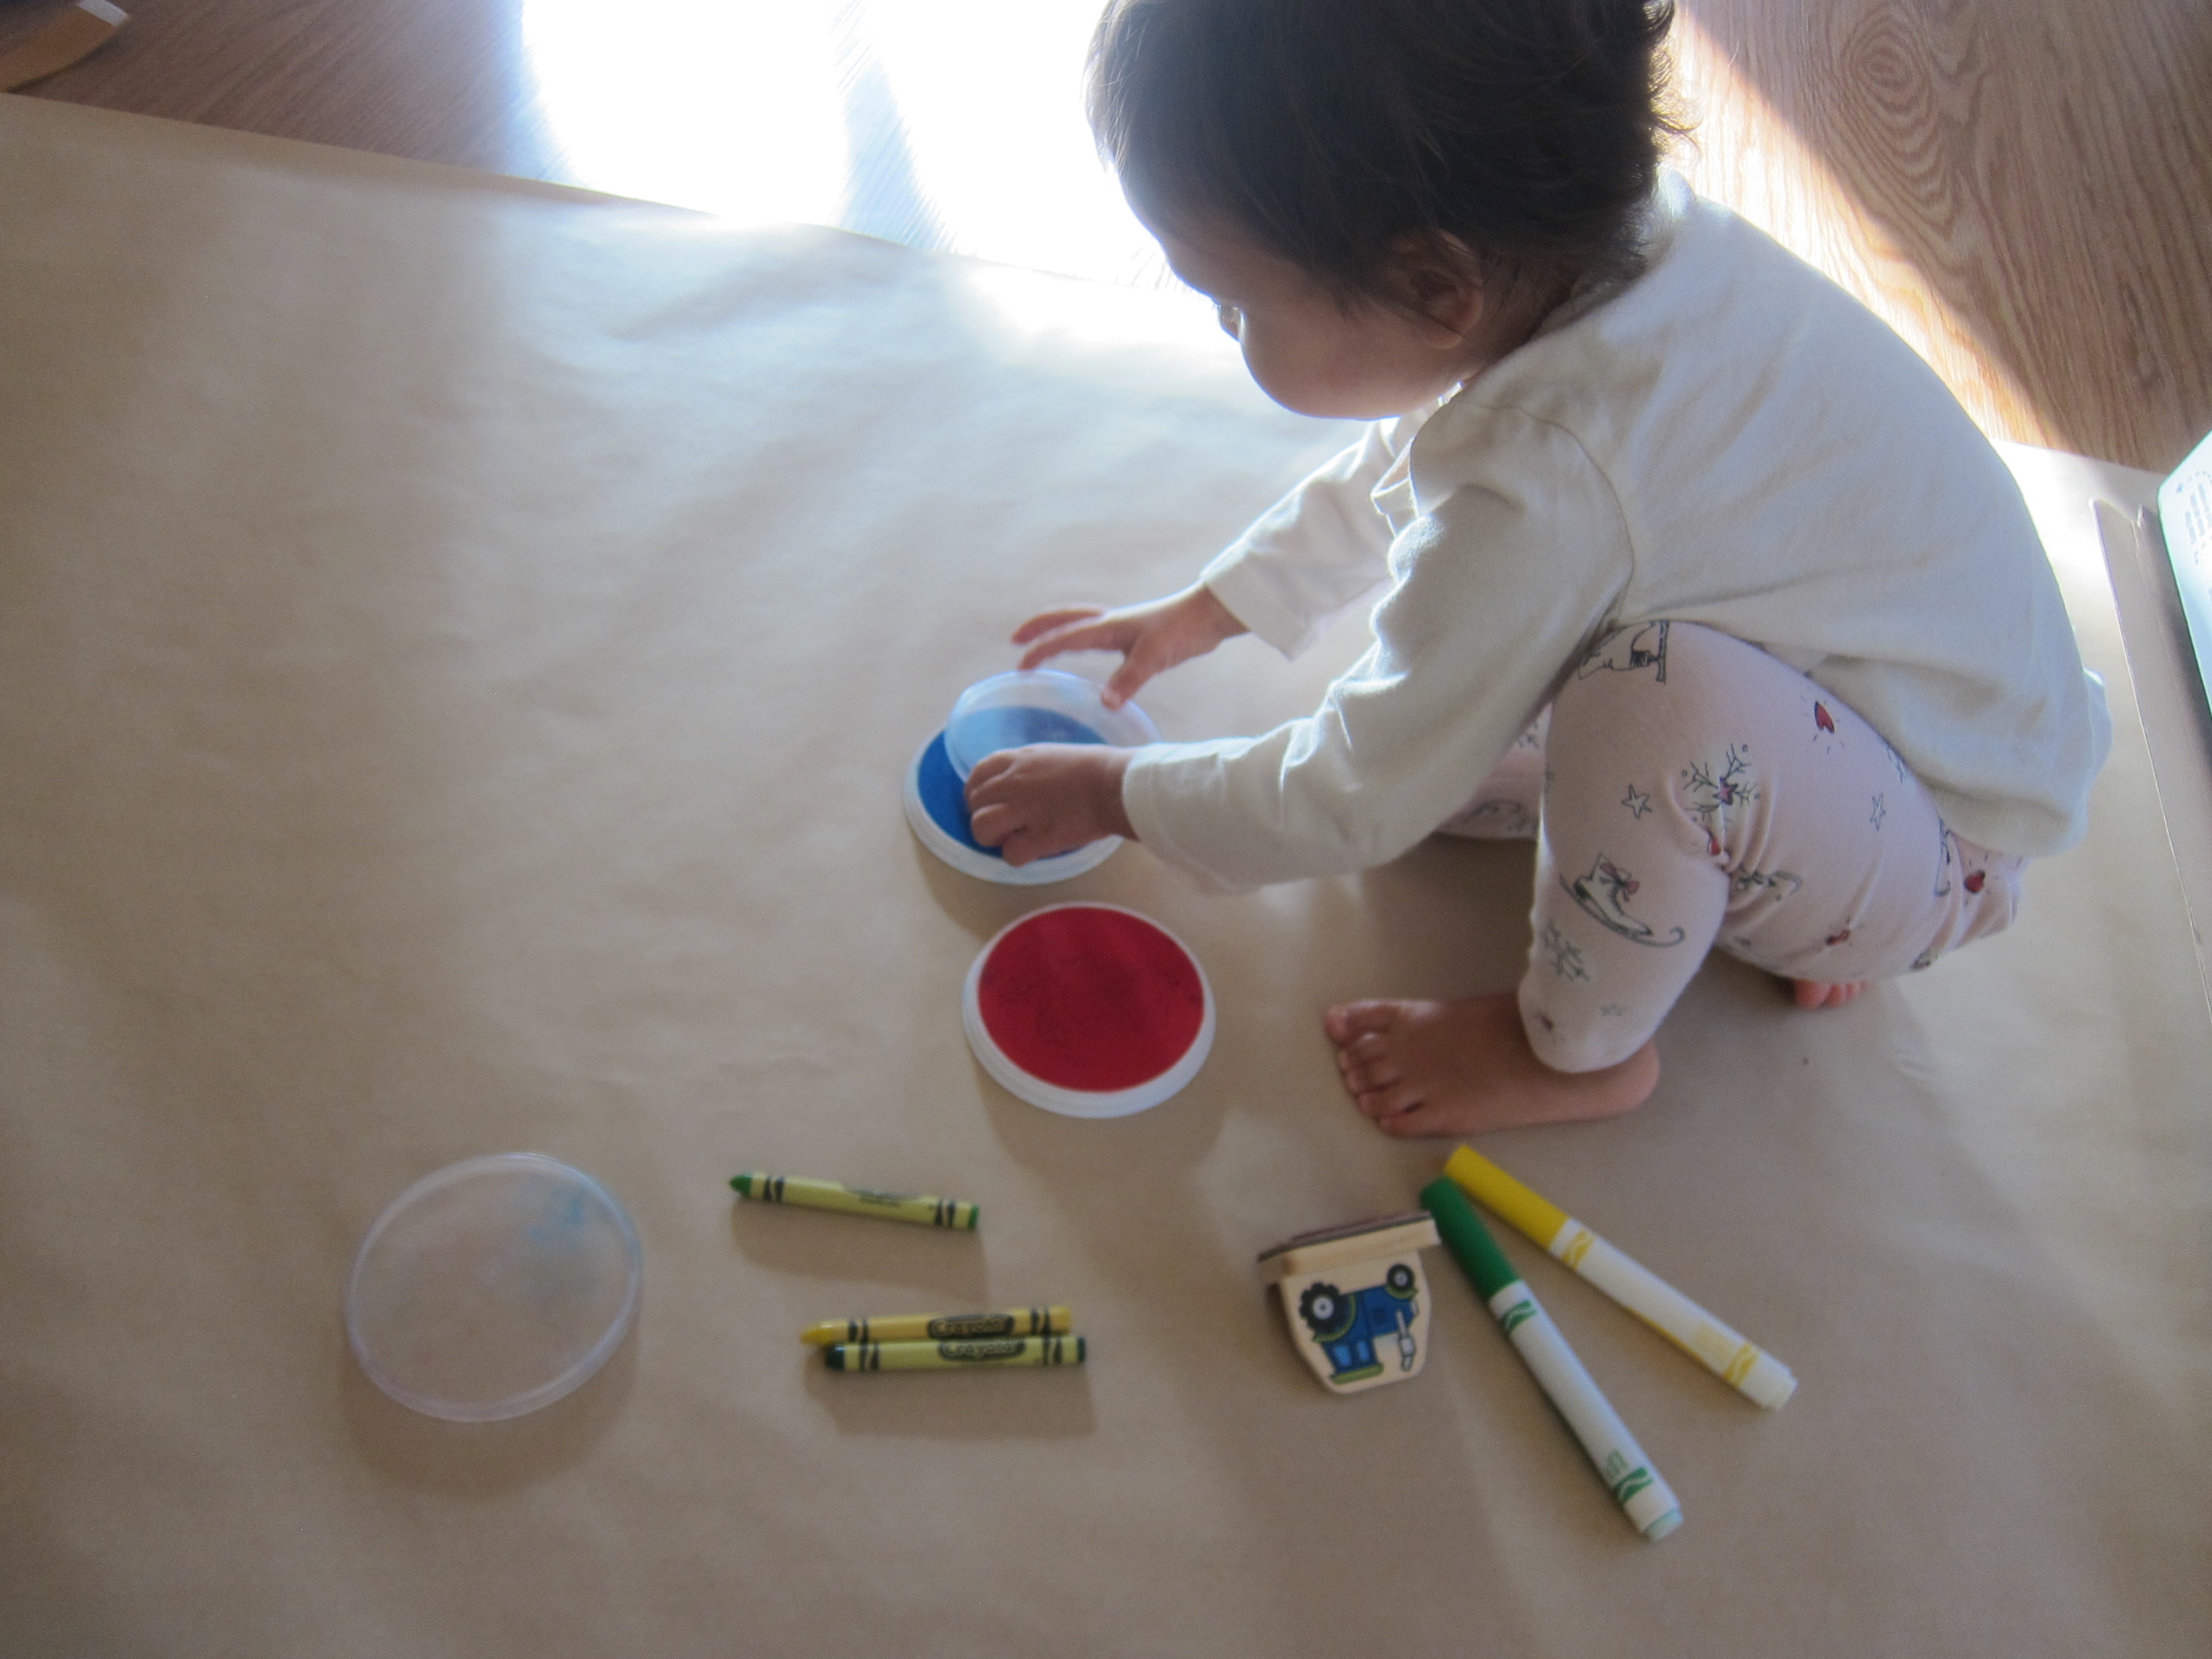
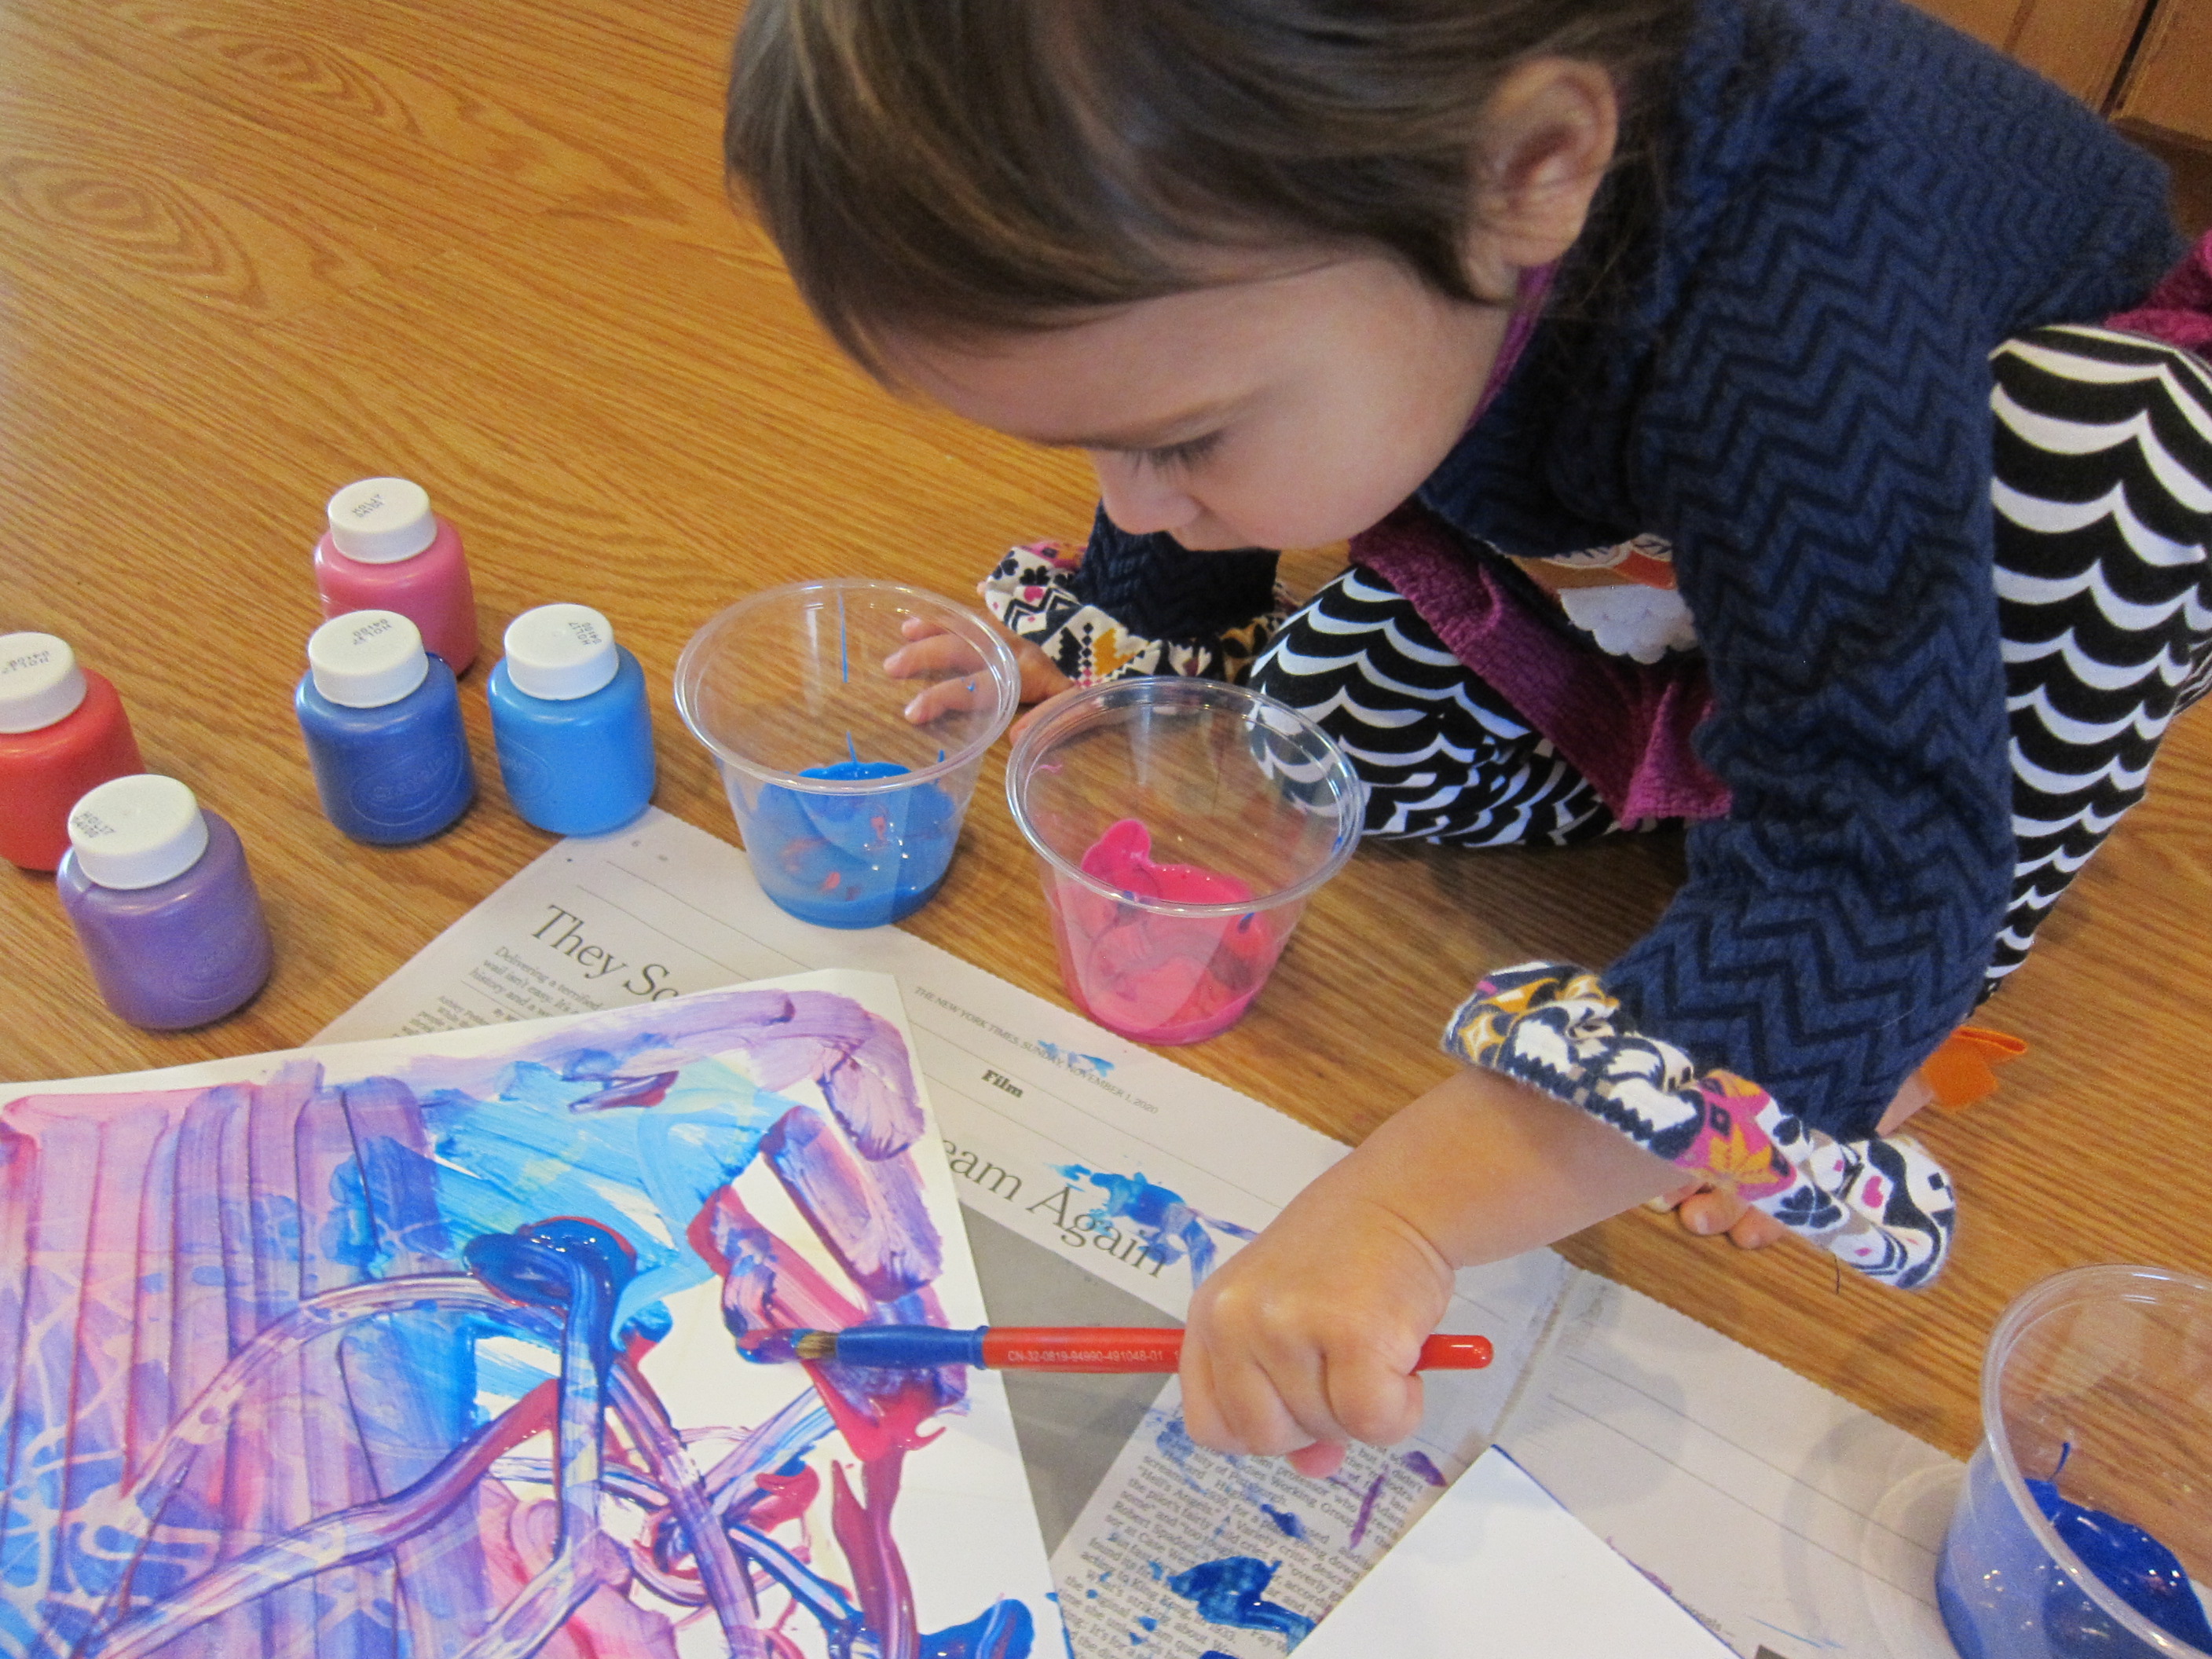
With a few corn cobs still on the tray, we decided that they would be fun to paint with. I pulled out brown, red, and green, and poured a little of each color onto a plate.

Corncob Painting (1)

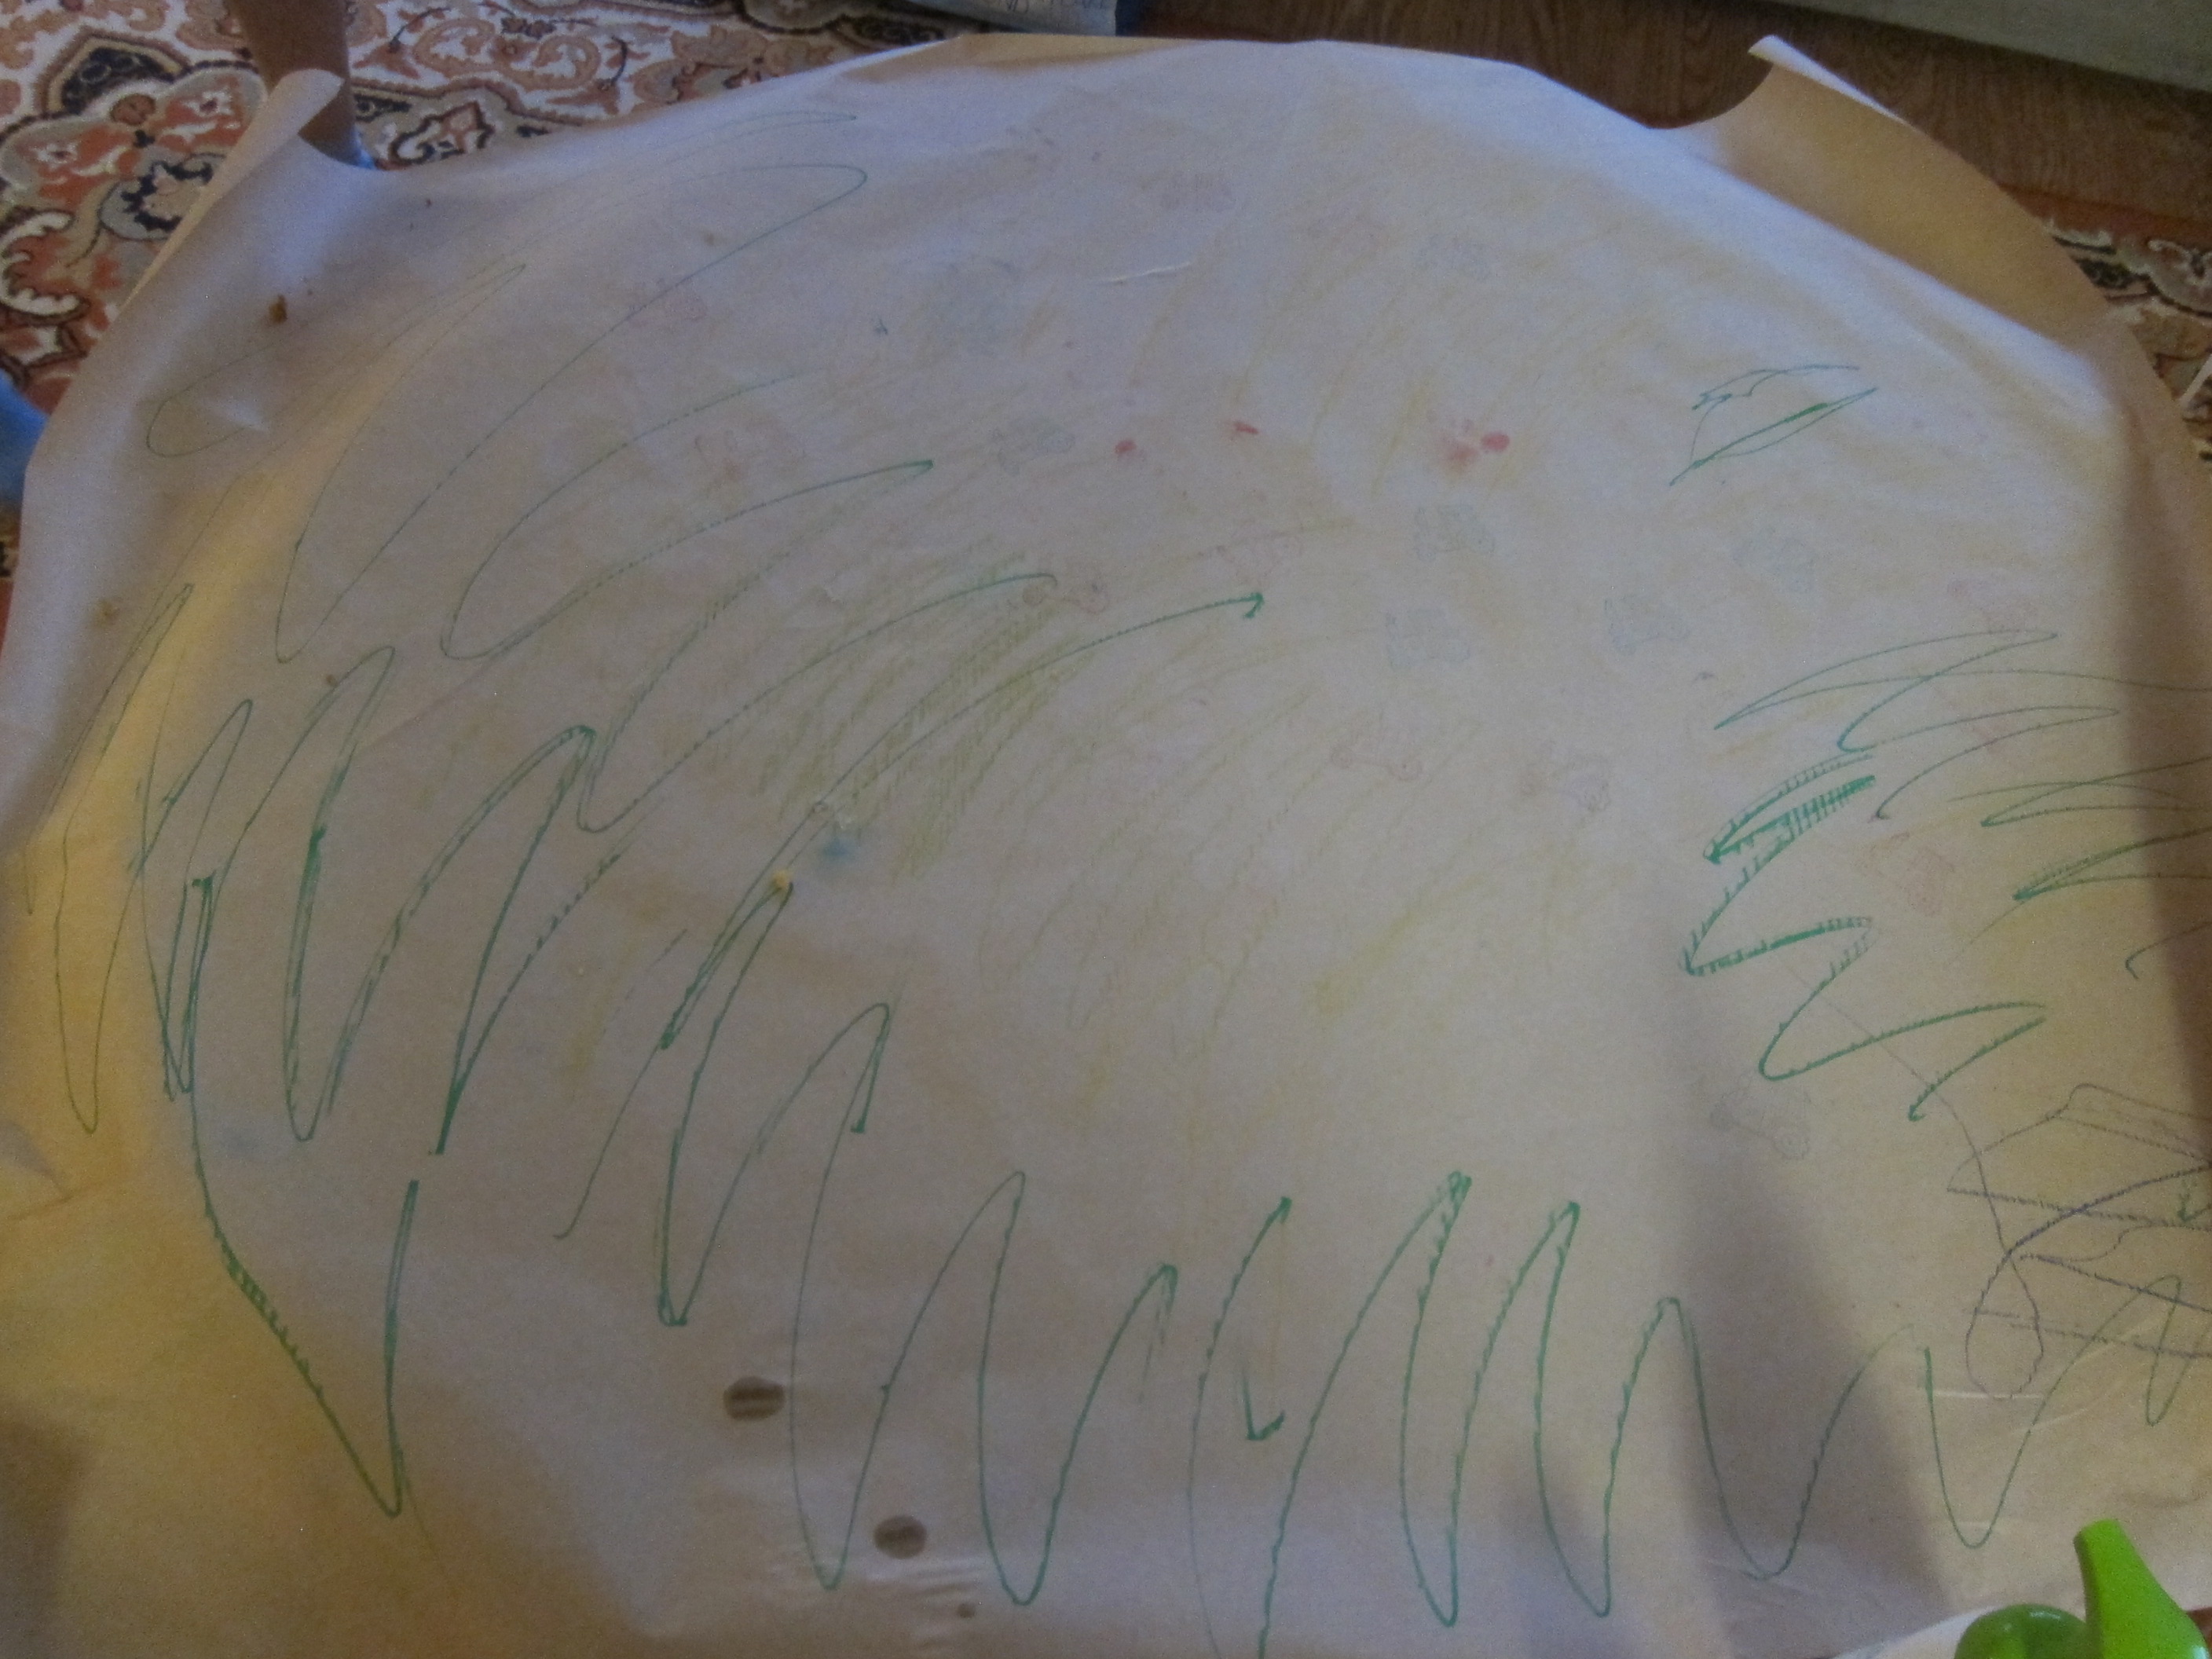
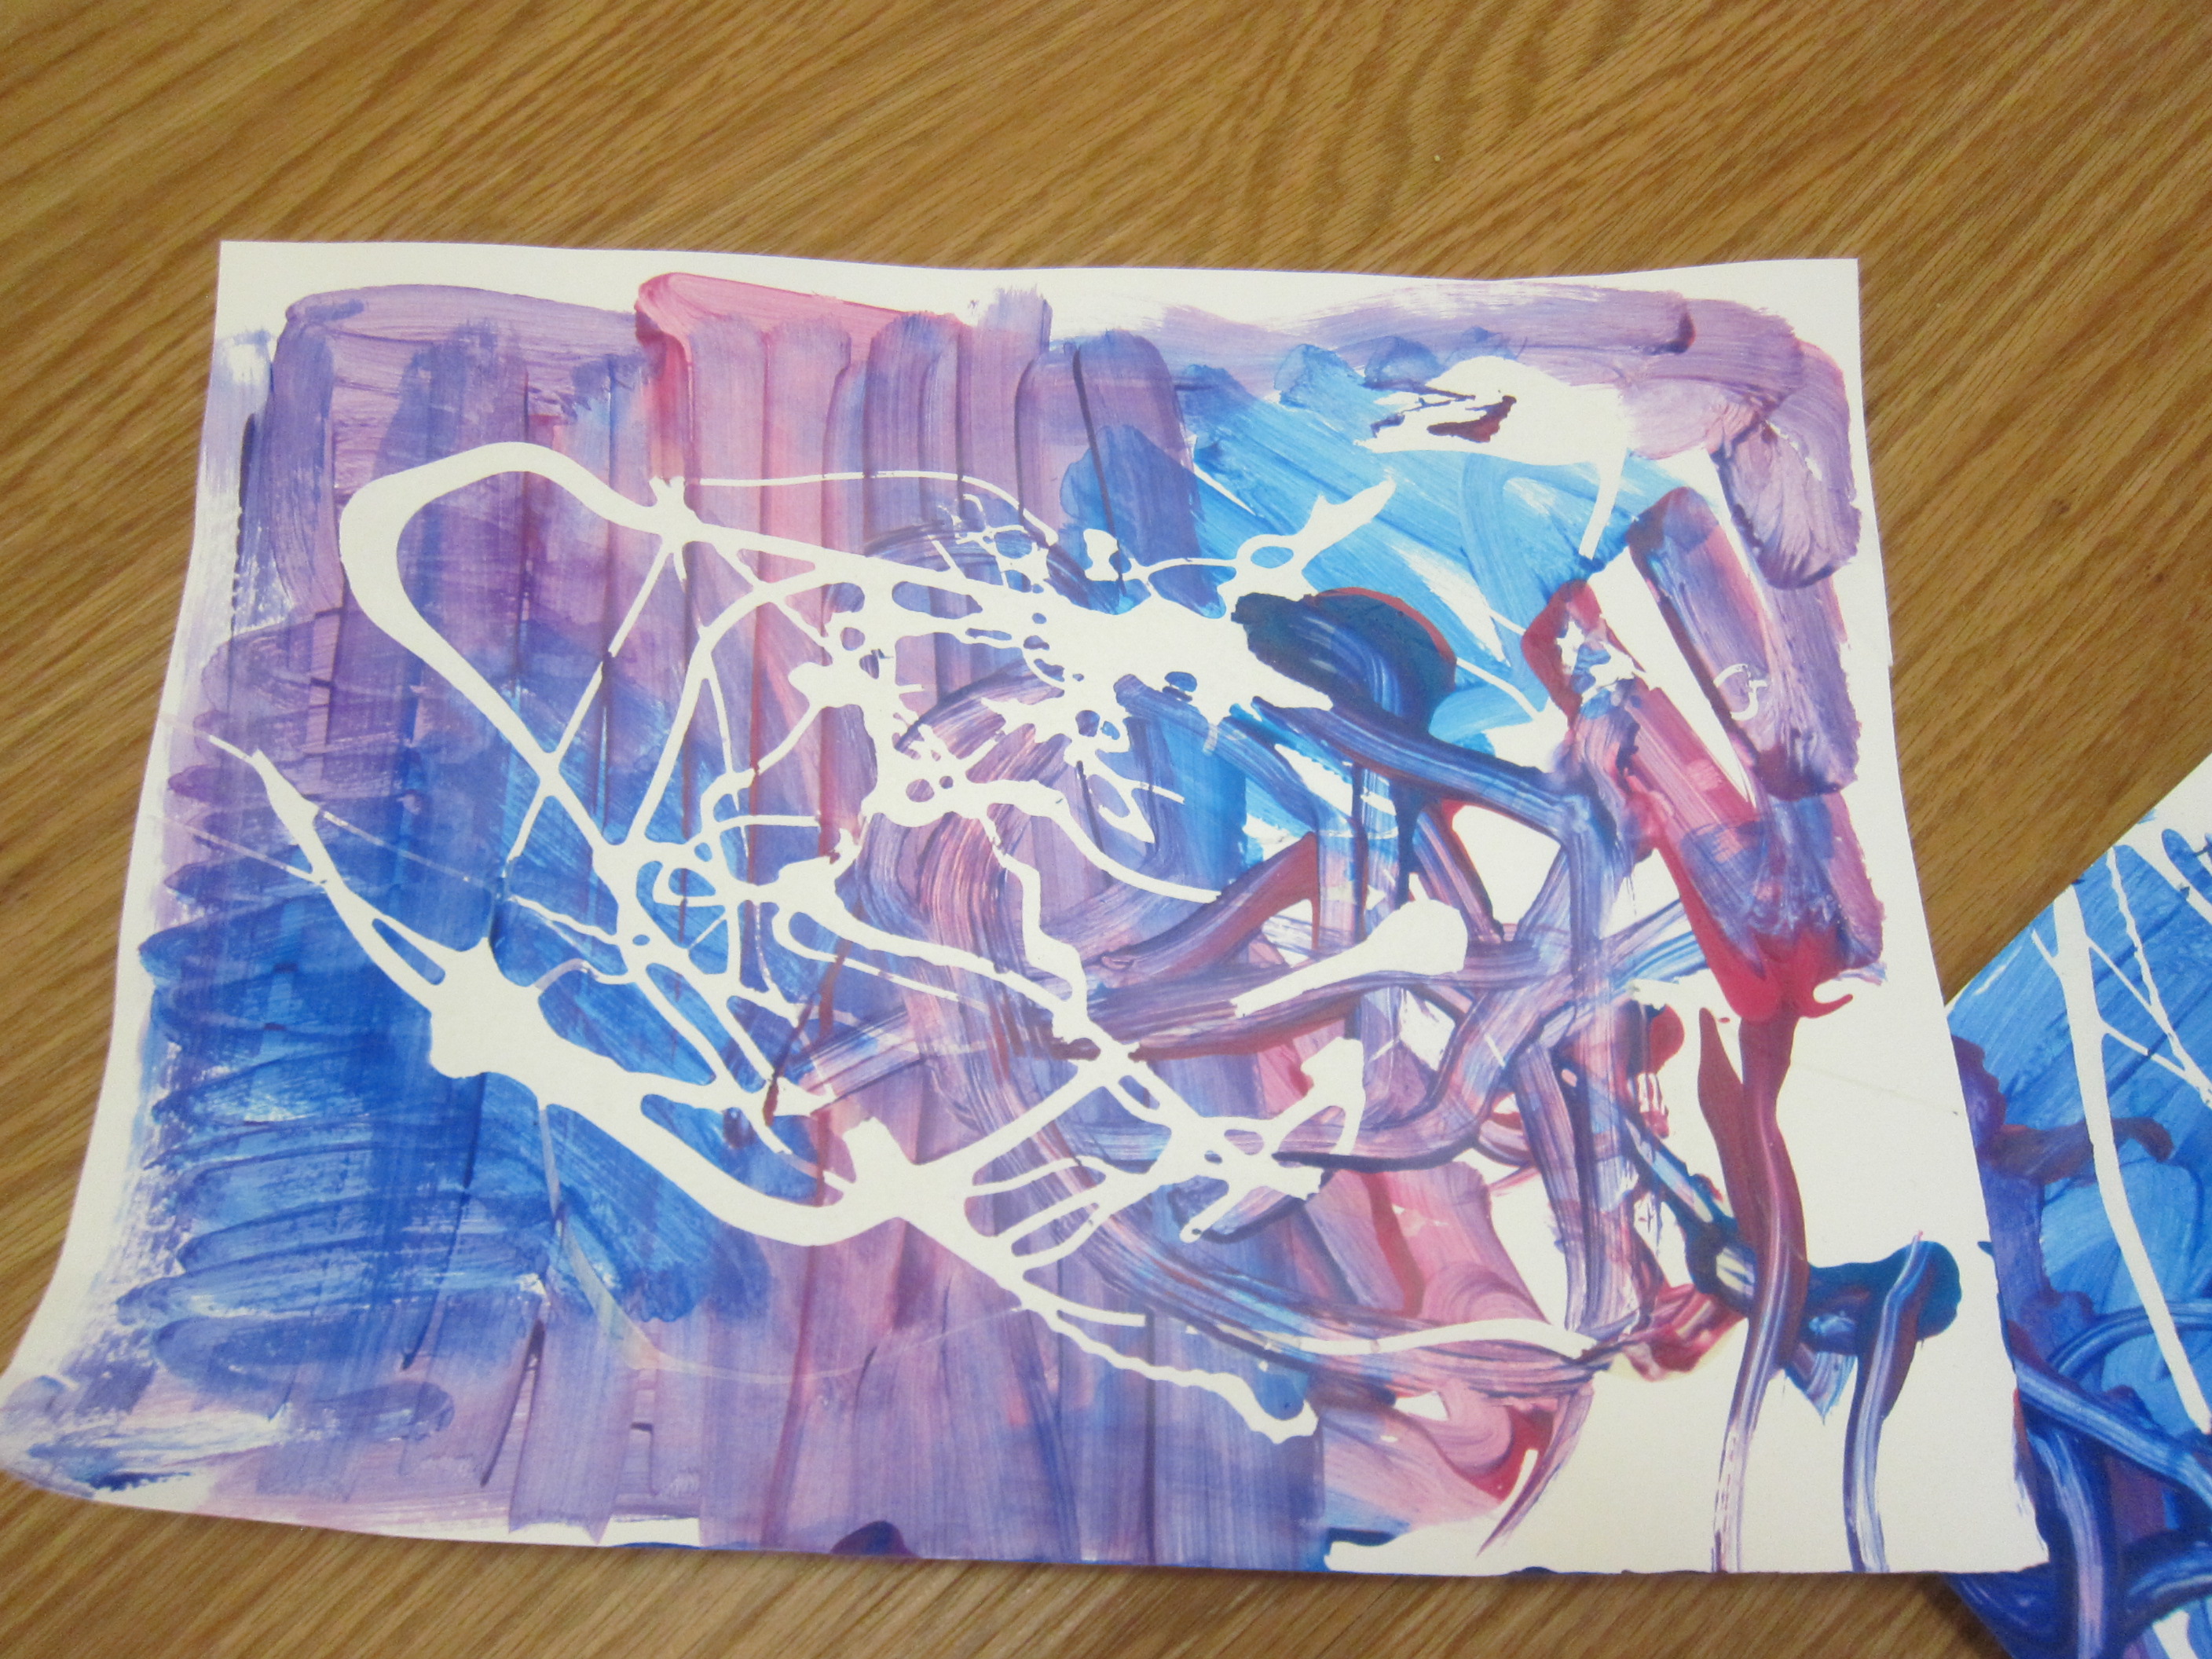
Show your toddler how to roll a cob in one of the colors and then across a piece of sturdy paper. I placed the paper in a craft tray to contain (most of) the mess.

Corncob Painting (4)

Note: If you do this project with red, green, and black paint in December, it would also make a lovely Kwanzaa craft given corn’s symbolism during the holiday.

Corncob Painting (3)

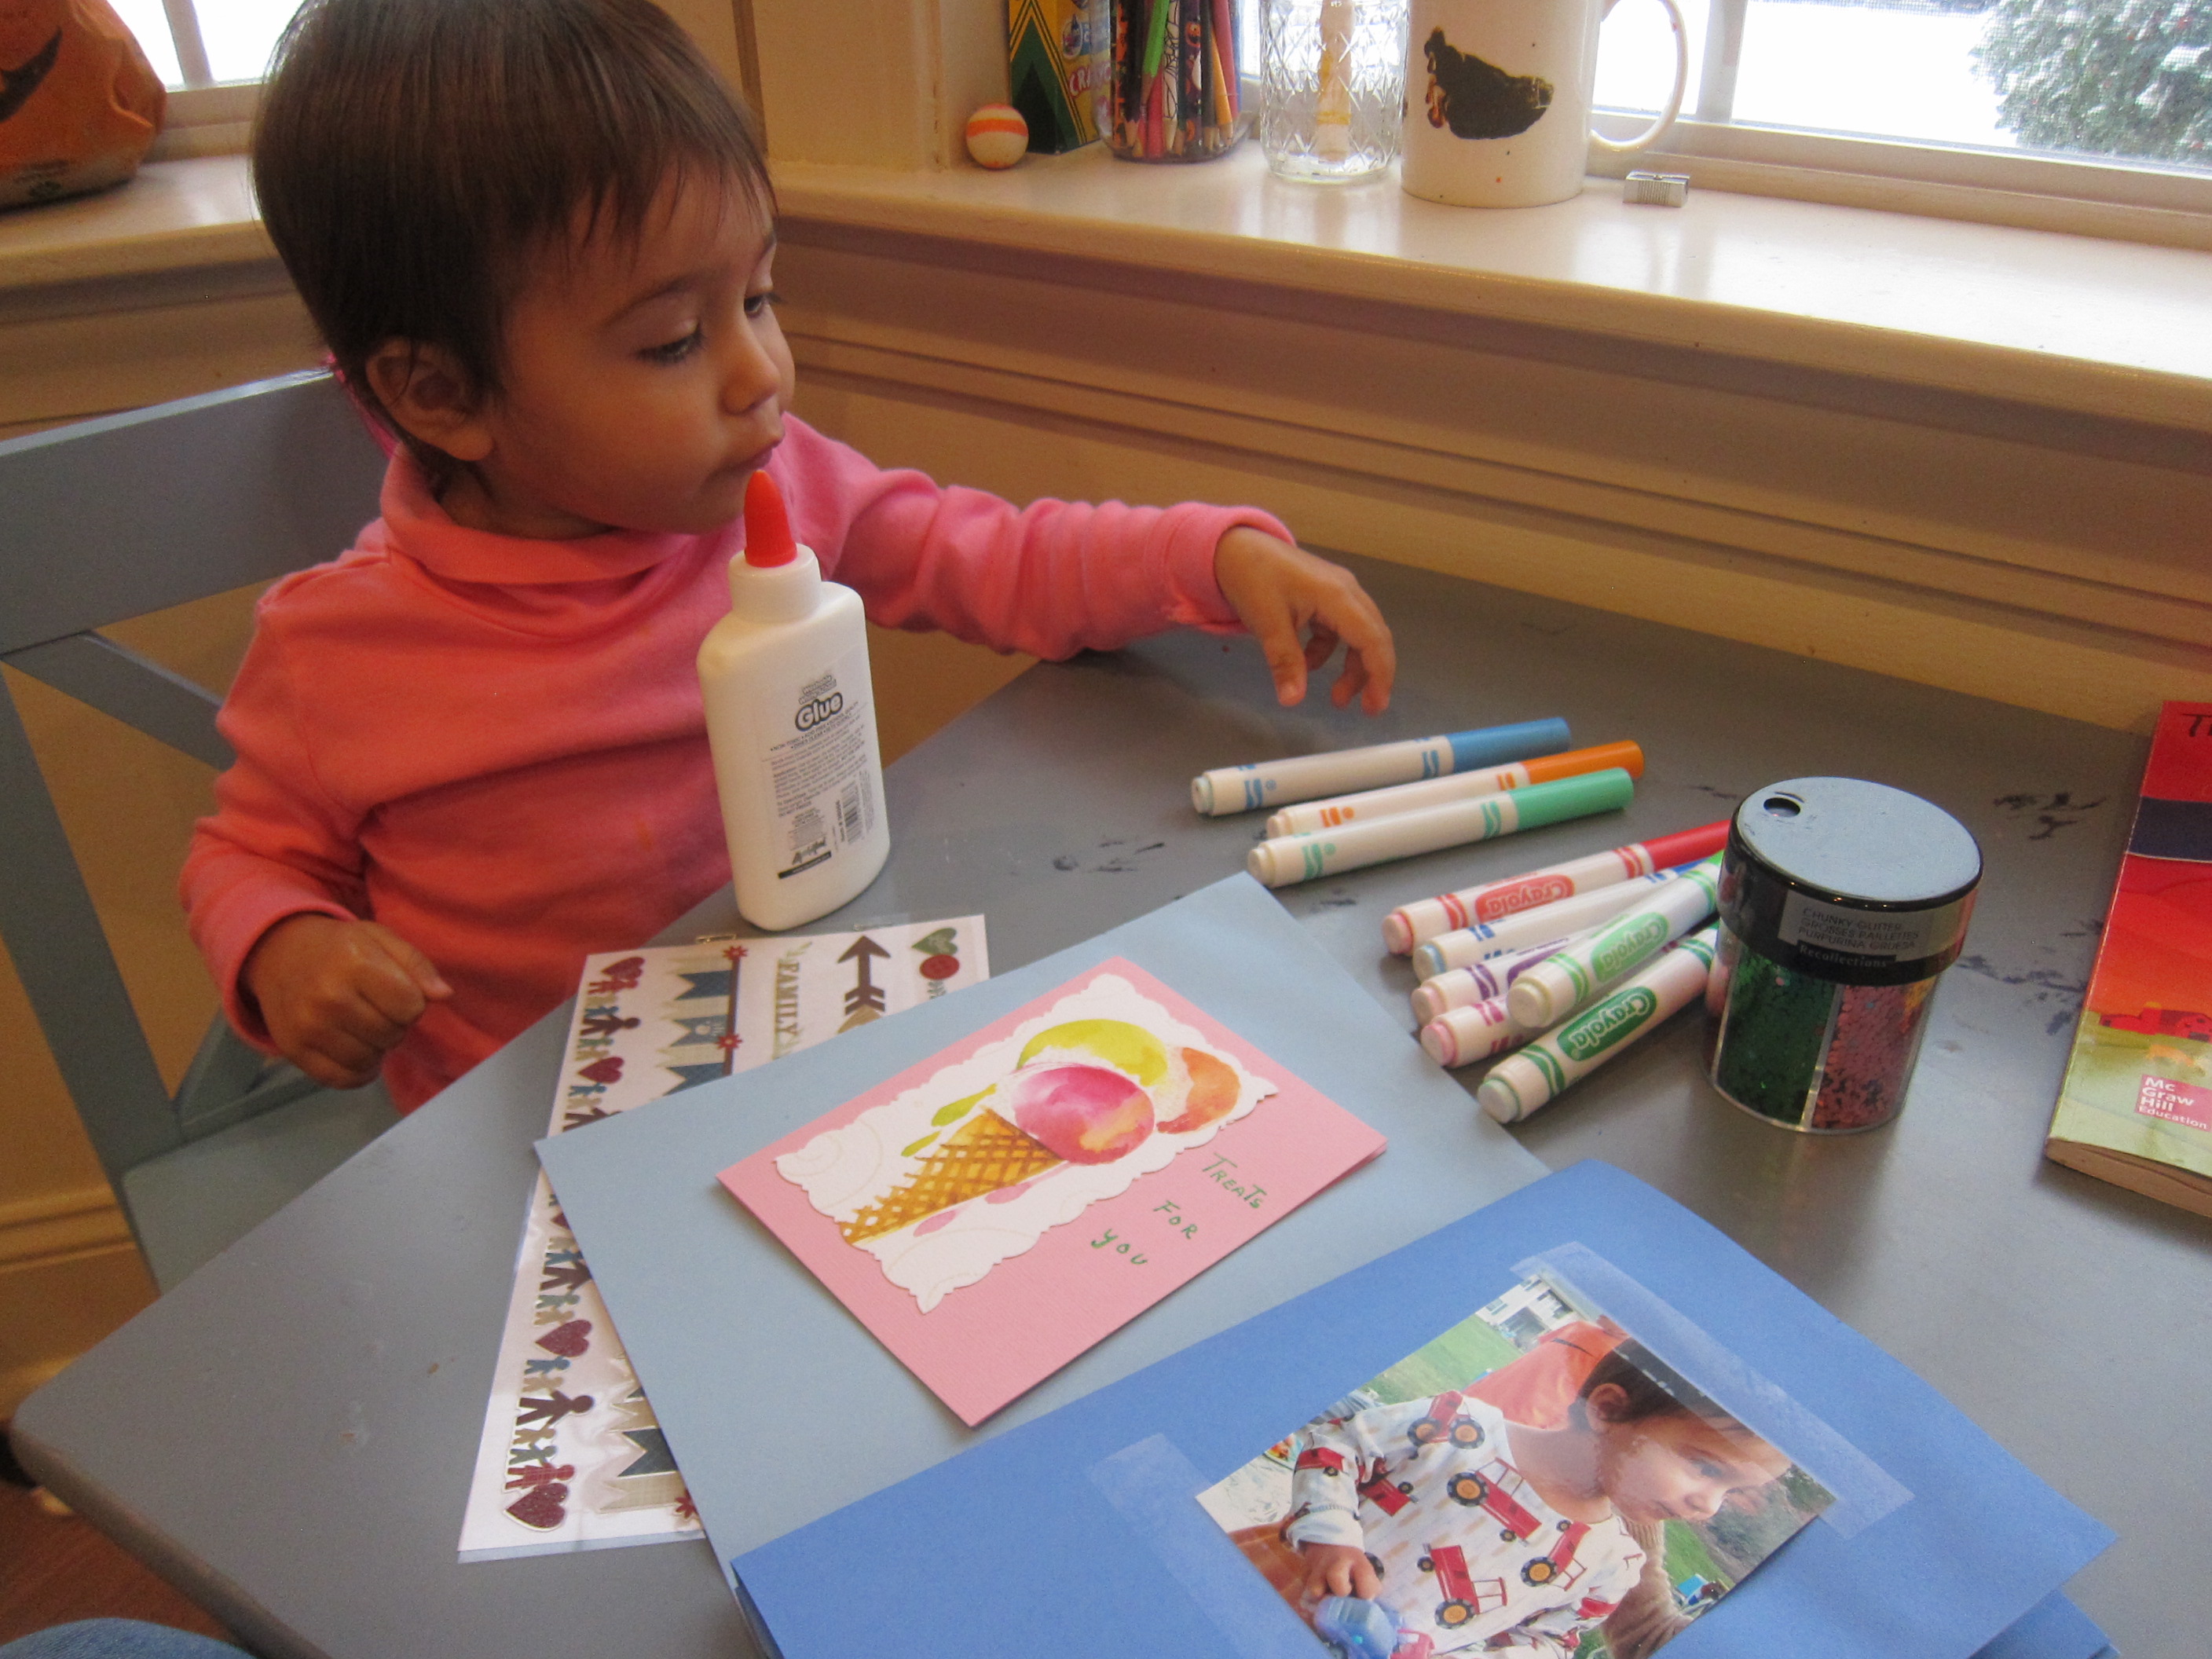
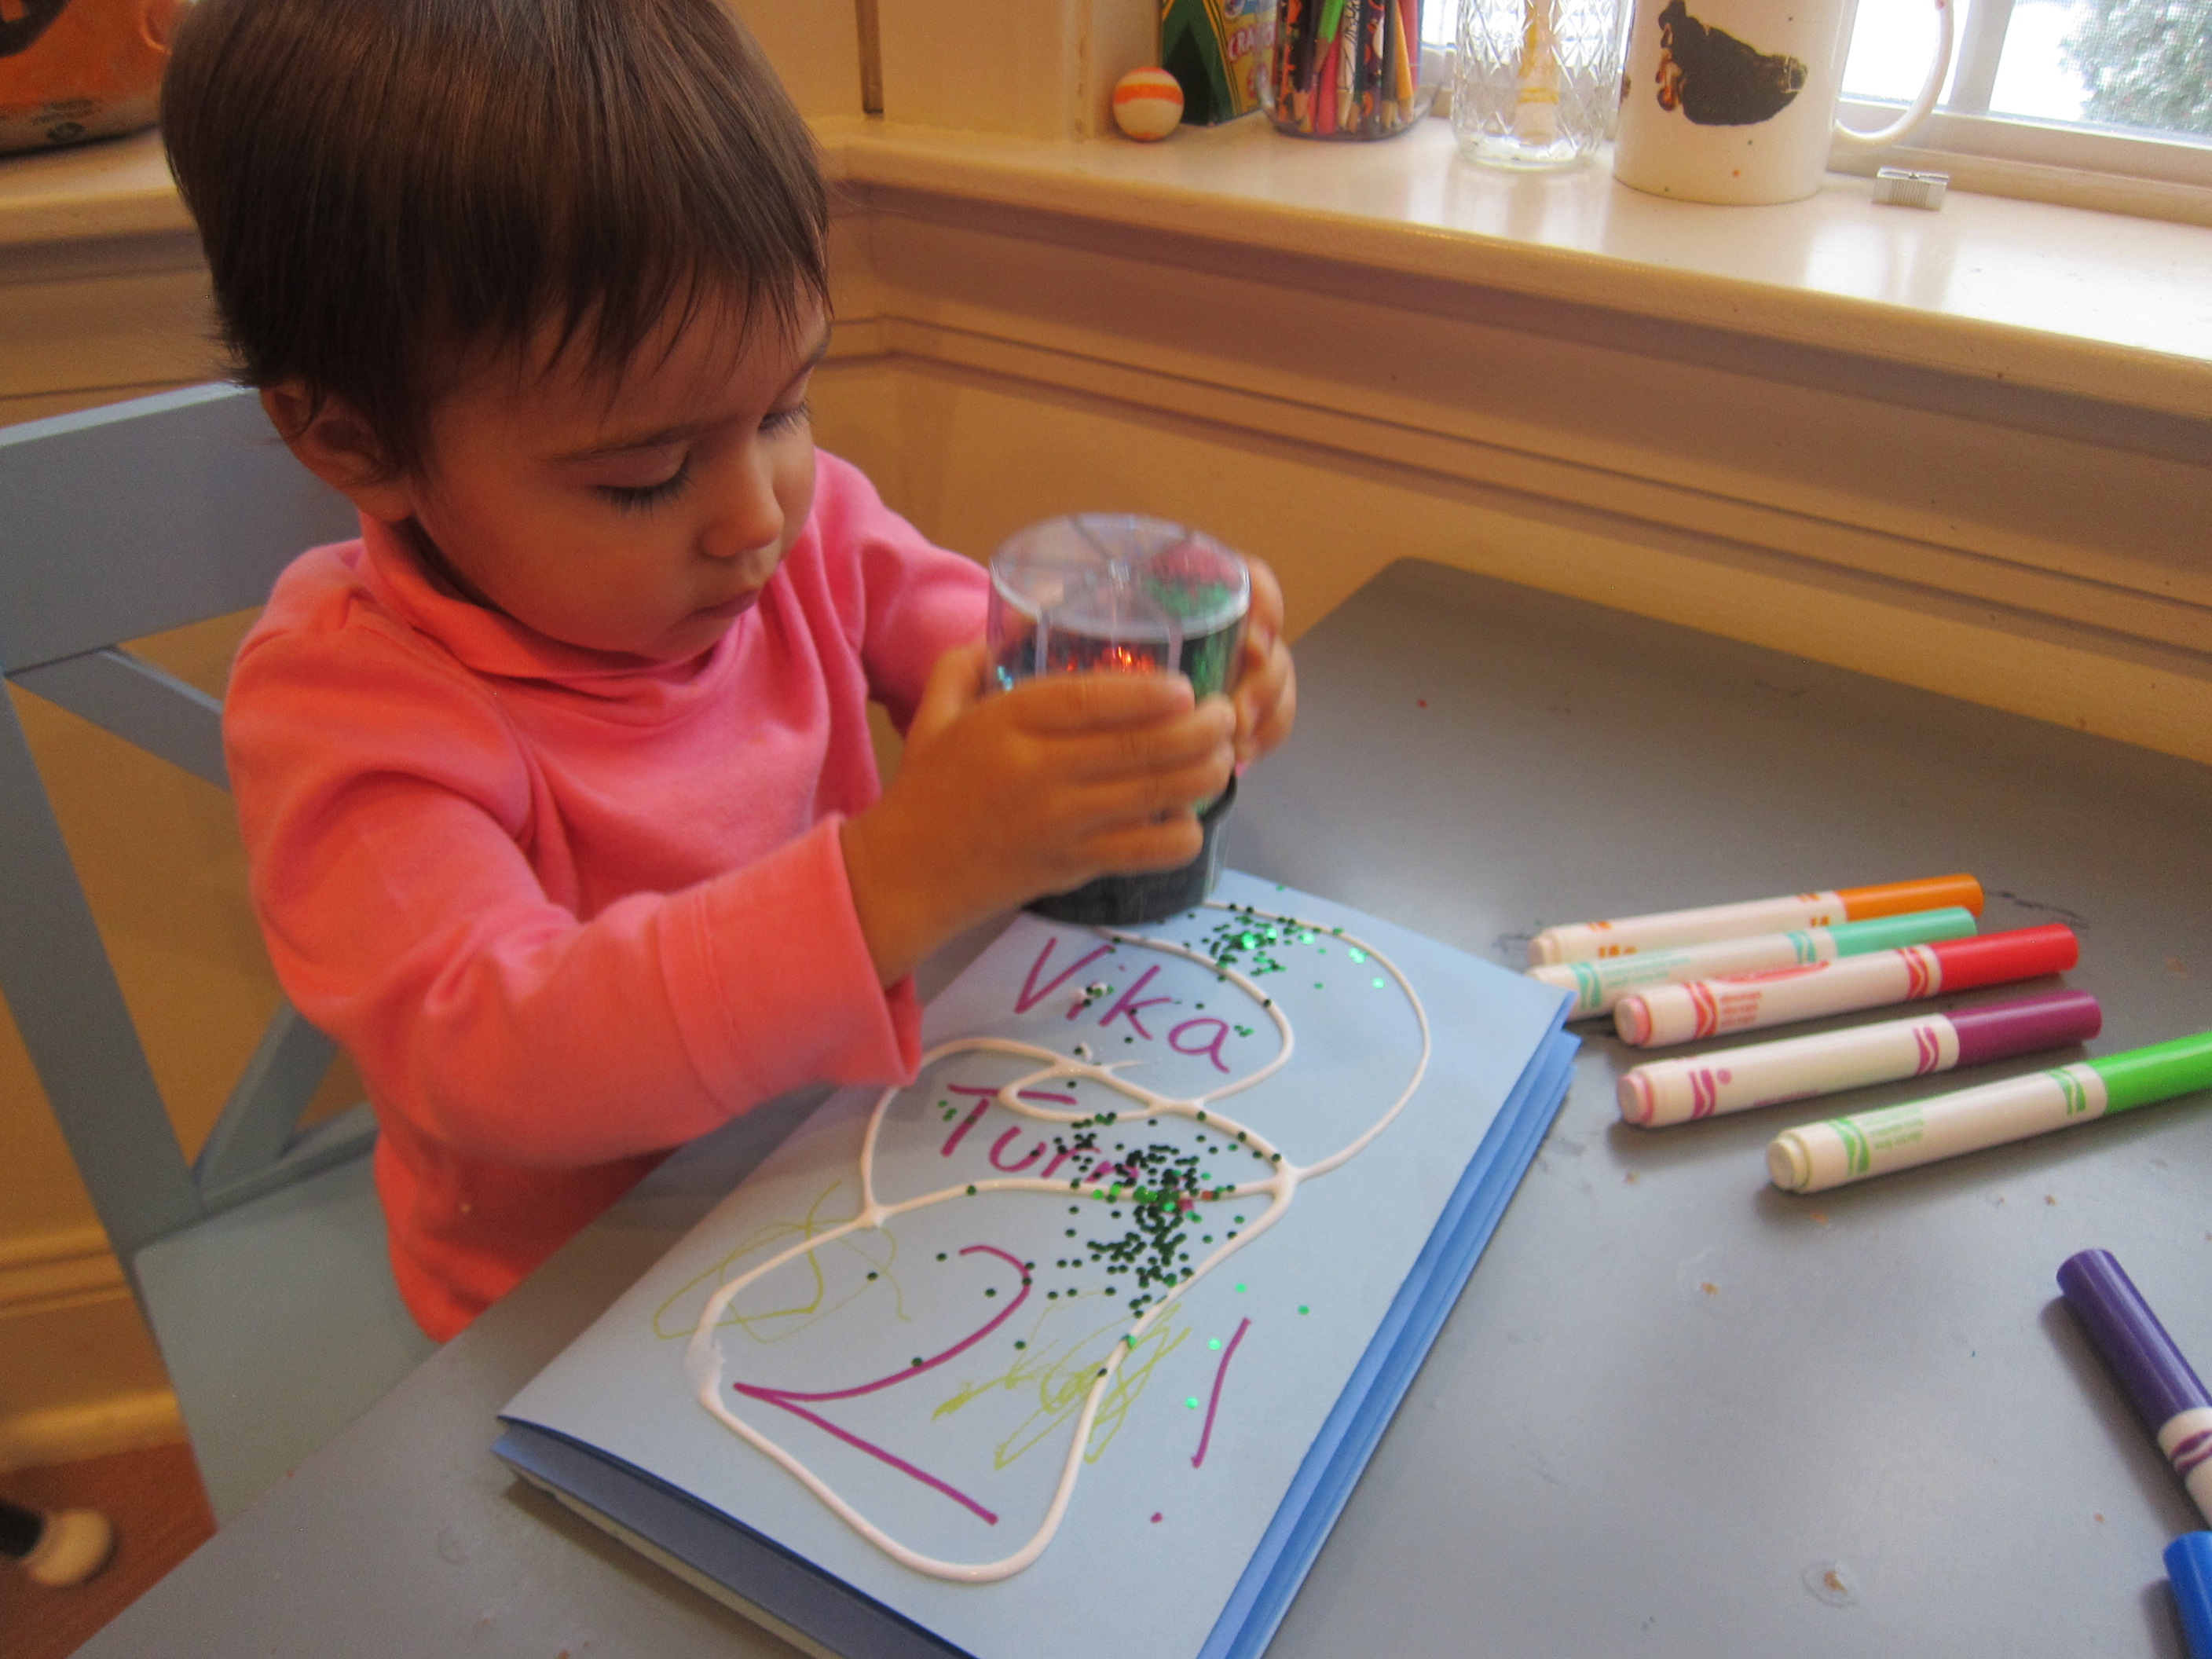
As a finishing touch, we decided to add dots of glue over the dried corncob painting and pressed on a few of the final loose kernels of corn.

Corncob Painting (5)

What fun play we had simply by exploring a piece of seasonal decor!

Indian Corn Squish Bag alt

Glitter Shapes

Glitter Shapes (7)

You’ll combine early learning (shape-recognition, colors) and messy art with this fun toddler project!

To start, I cut out simple basic shapes from bright construction paper, using a different color for each shape. Soon we had a pile of green rectangles, purple triangles, red hearts, orange circles, and more. As I worked, I asked Veronika to identify each one, and she was a willing participant.

Glitter Shapes (1)

Now for the mess! Have your toddler smear a glue stick all over each shape. One or both sides, it won’t matter!

Glitter Shapes (2)

Place one or two shapes at a time in a small shoebox with a lid, then dump in copious amounts of glitter. Yes, toddlers, the more glitter the merrier!

Glitter Shapes (3)

Now seal the box and shake. I hadn’t counted on small holes in the bottom of our box that allowed some glitter to escape, but luckily we were using large pieces of glitter that were easy to sweep up.

Glitter Shapes (5)

Needless to say, the result was worth the mess.

Glitter Shapes (4)

Open the lid and reveal to your child how each shape is now sparkly. Veronika loved them!

Glitter Shapes (6)

Painted Place Mat

Painted Place Mat (3)

Toddlers are so determined to use their own utensils, but that often means mealtime is a giant mess. This project is perfect then: your child gets to make a mess guilt-free while putting together the craft, and then has a placemat to contain future messes at the end.

This was Veronika’s first introduction to rubber cement as a material, and boy did she love it. I showed her how to dip in the brush (I’d forgotten how this cleverly attaches right to the lid!) and then hold it over a sheet of thick watercolor paper to watch it dribble down.

Painted Place Mat (4)

“Dribble!” she said with glee. I thought I might need to guide her hand, but this girl wanted to do it “all by myself”.

Painted Place Mat (5)

Once the paper is good and goopy, let the rubber cement dry for 30 minutes. Next, I set out tempera paints and we painted all over the paper.

Painted Place Mat (6)

The rubber cement will act much the same way as wax resist painting with crayons.

Painted Place Mat (9)

Veronika loved painting carefully, but I also brushed paint in a more even layer on other parts of the paper so she’d see the full final effect.

Painted Place Mat (7)

Let the paint dry completely, and then rub off the rubber cement. I did this with a finger, but a note of caution: It hurts!

Painted Place Mat (1)

There must be a better way, perhaps with a cloth or the edge of a coin. Regardless, the rubber cement rubs off leaving neat swirls of white that now stand out against your toddler’s painting.

Painted Place Mat (2)

Cover the paper on both sides with contact paper to protect it, and your child will have a durable piece of art to look at during each meal. And to make a mess on, of course. Your toddler will be so proud!

Exploring Pumpkin Guts

Exploring Pumpkin Guts (8)

Pumpkin carving is an obvious Halloween activity, but don’t neglect what a fantastic sensory experience the whole process is, even before you get to that spooky carved face. And that goes not just for toddlers, but for big kids, too!

Exploring Pumpkin Guts (3)

First, I set out our biggest pumpkins, along with newspaper underneath, a tray to catch all those insides, and a few zip-top bags. The kids had eagerly awaited this moment, as we’ve decorated smaller pumpkins here and there in anticipation. I invited them to explore the giant pumpkin first: the texture, the color, the smell, etc.

Exploring Pumpkin Guts (1)

Then we cut off the top (grown-up step!). Now, the lid is like a puzzle piece that kids could take off and fit on over and over again.

Exploring Pumpkin Guts (2)

Time to scoop! Pumpkins are fascinating inside, starting with those stringy guts and slippery seeds, and then scraping down to the firmer flesh. I spooned some of the insides onto a tray for Veronika to explore with bare hands.

Exploring Pumpkin Guts (7)

She also wanted to smell it!

Exploring Pumpkin Guts (5)

I also sealed some in a zip-top bag in case the goop made her squeamish, but she actually preferred the stuff on the tray!

Exploring Pumpkin Guts (6)

She also loved stirring through the mixture with our pumpkin scoop, which we could also tap against the pumpkin to play it like a drum!

Exploring Pumpkin Guts (9)
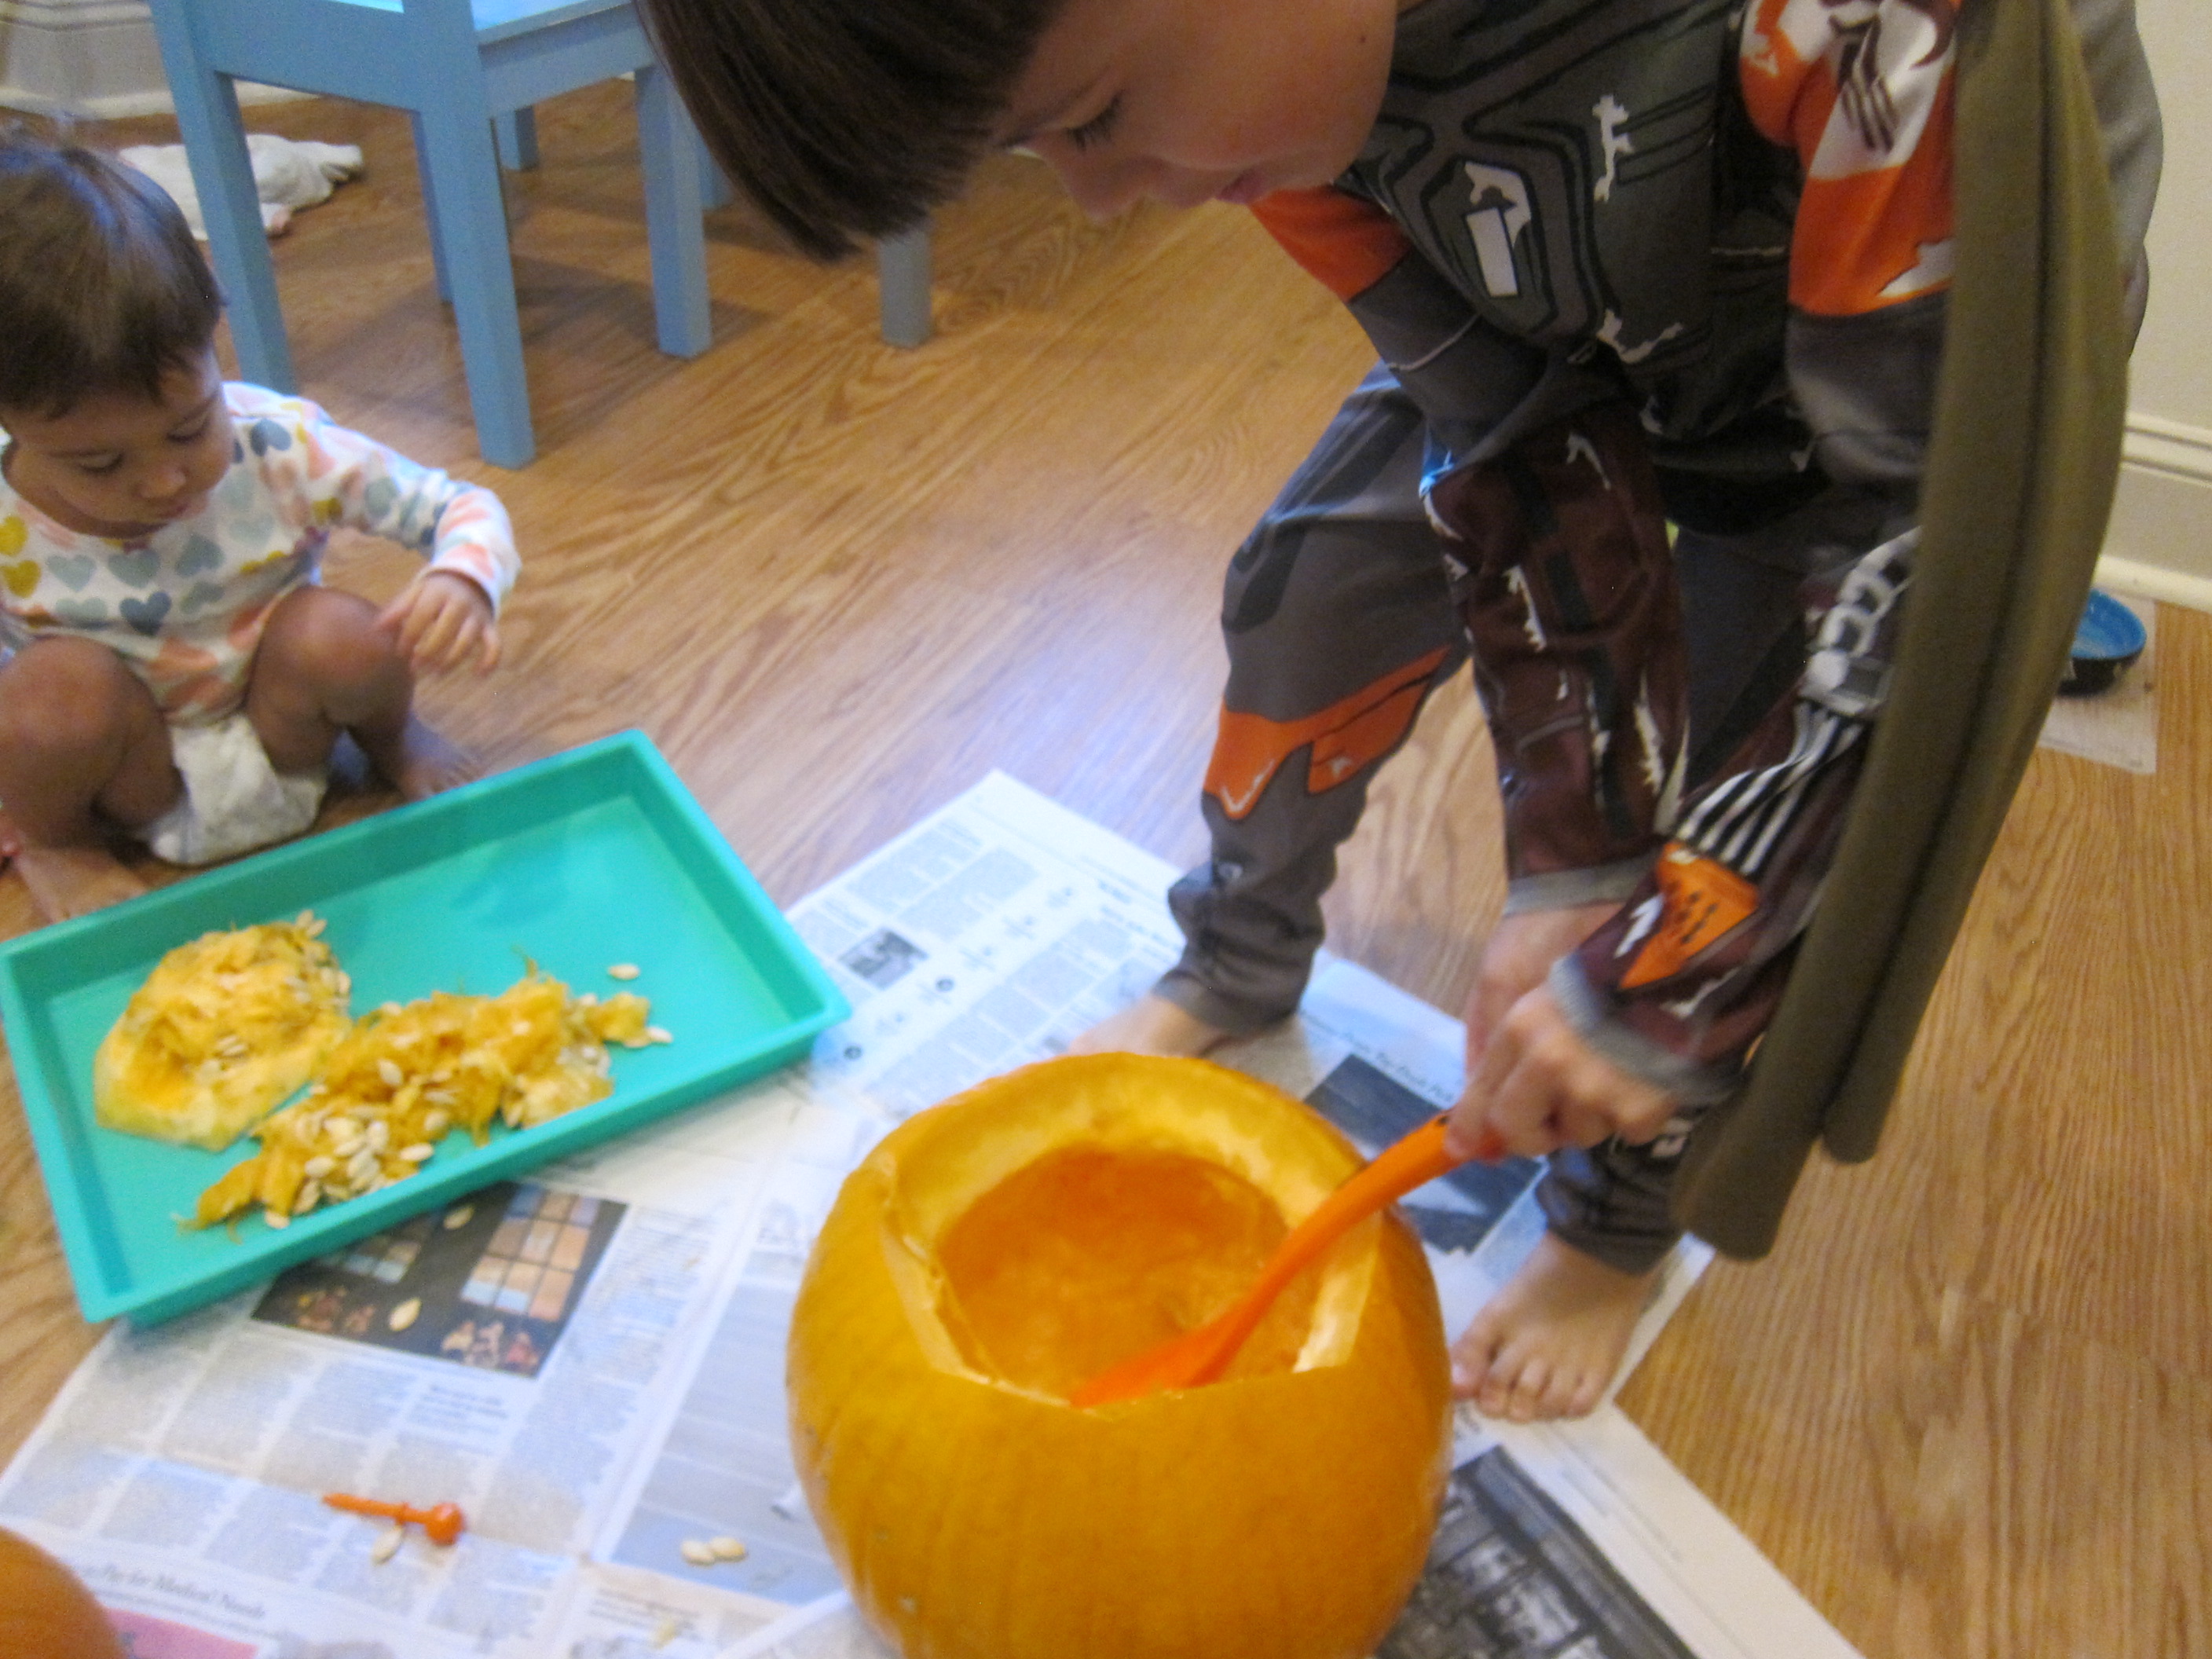
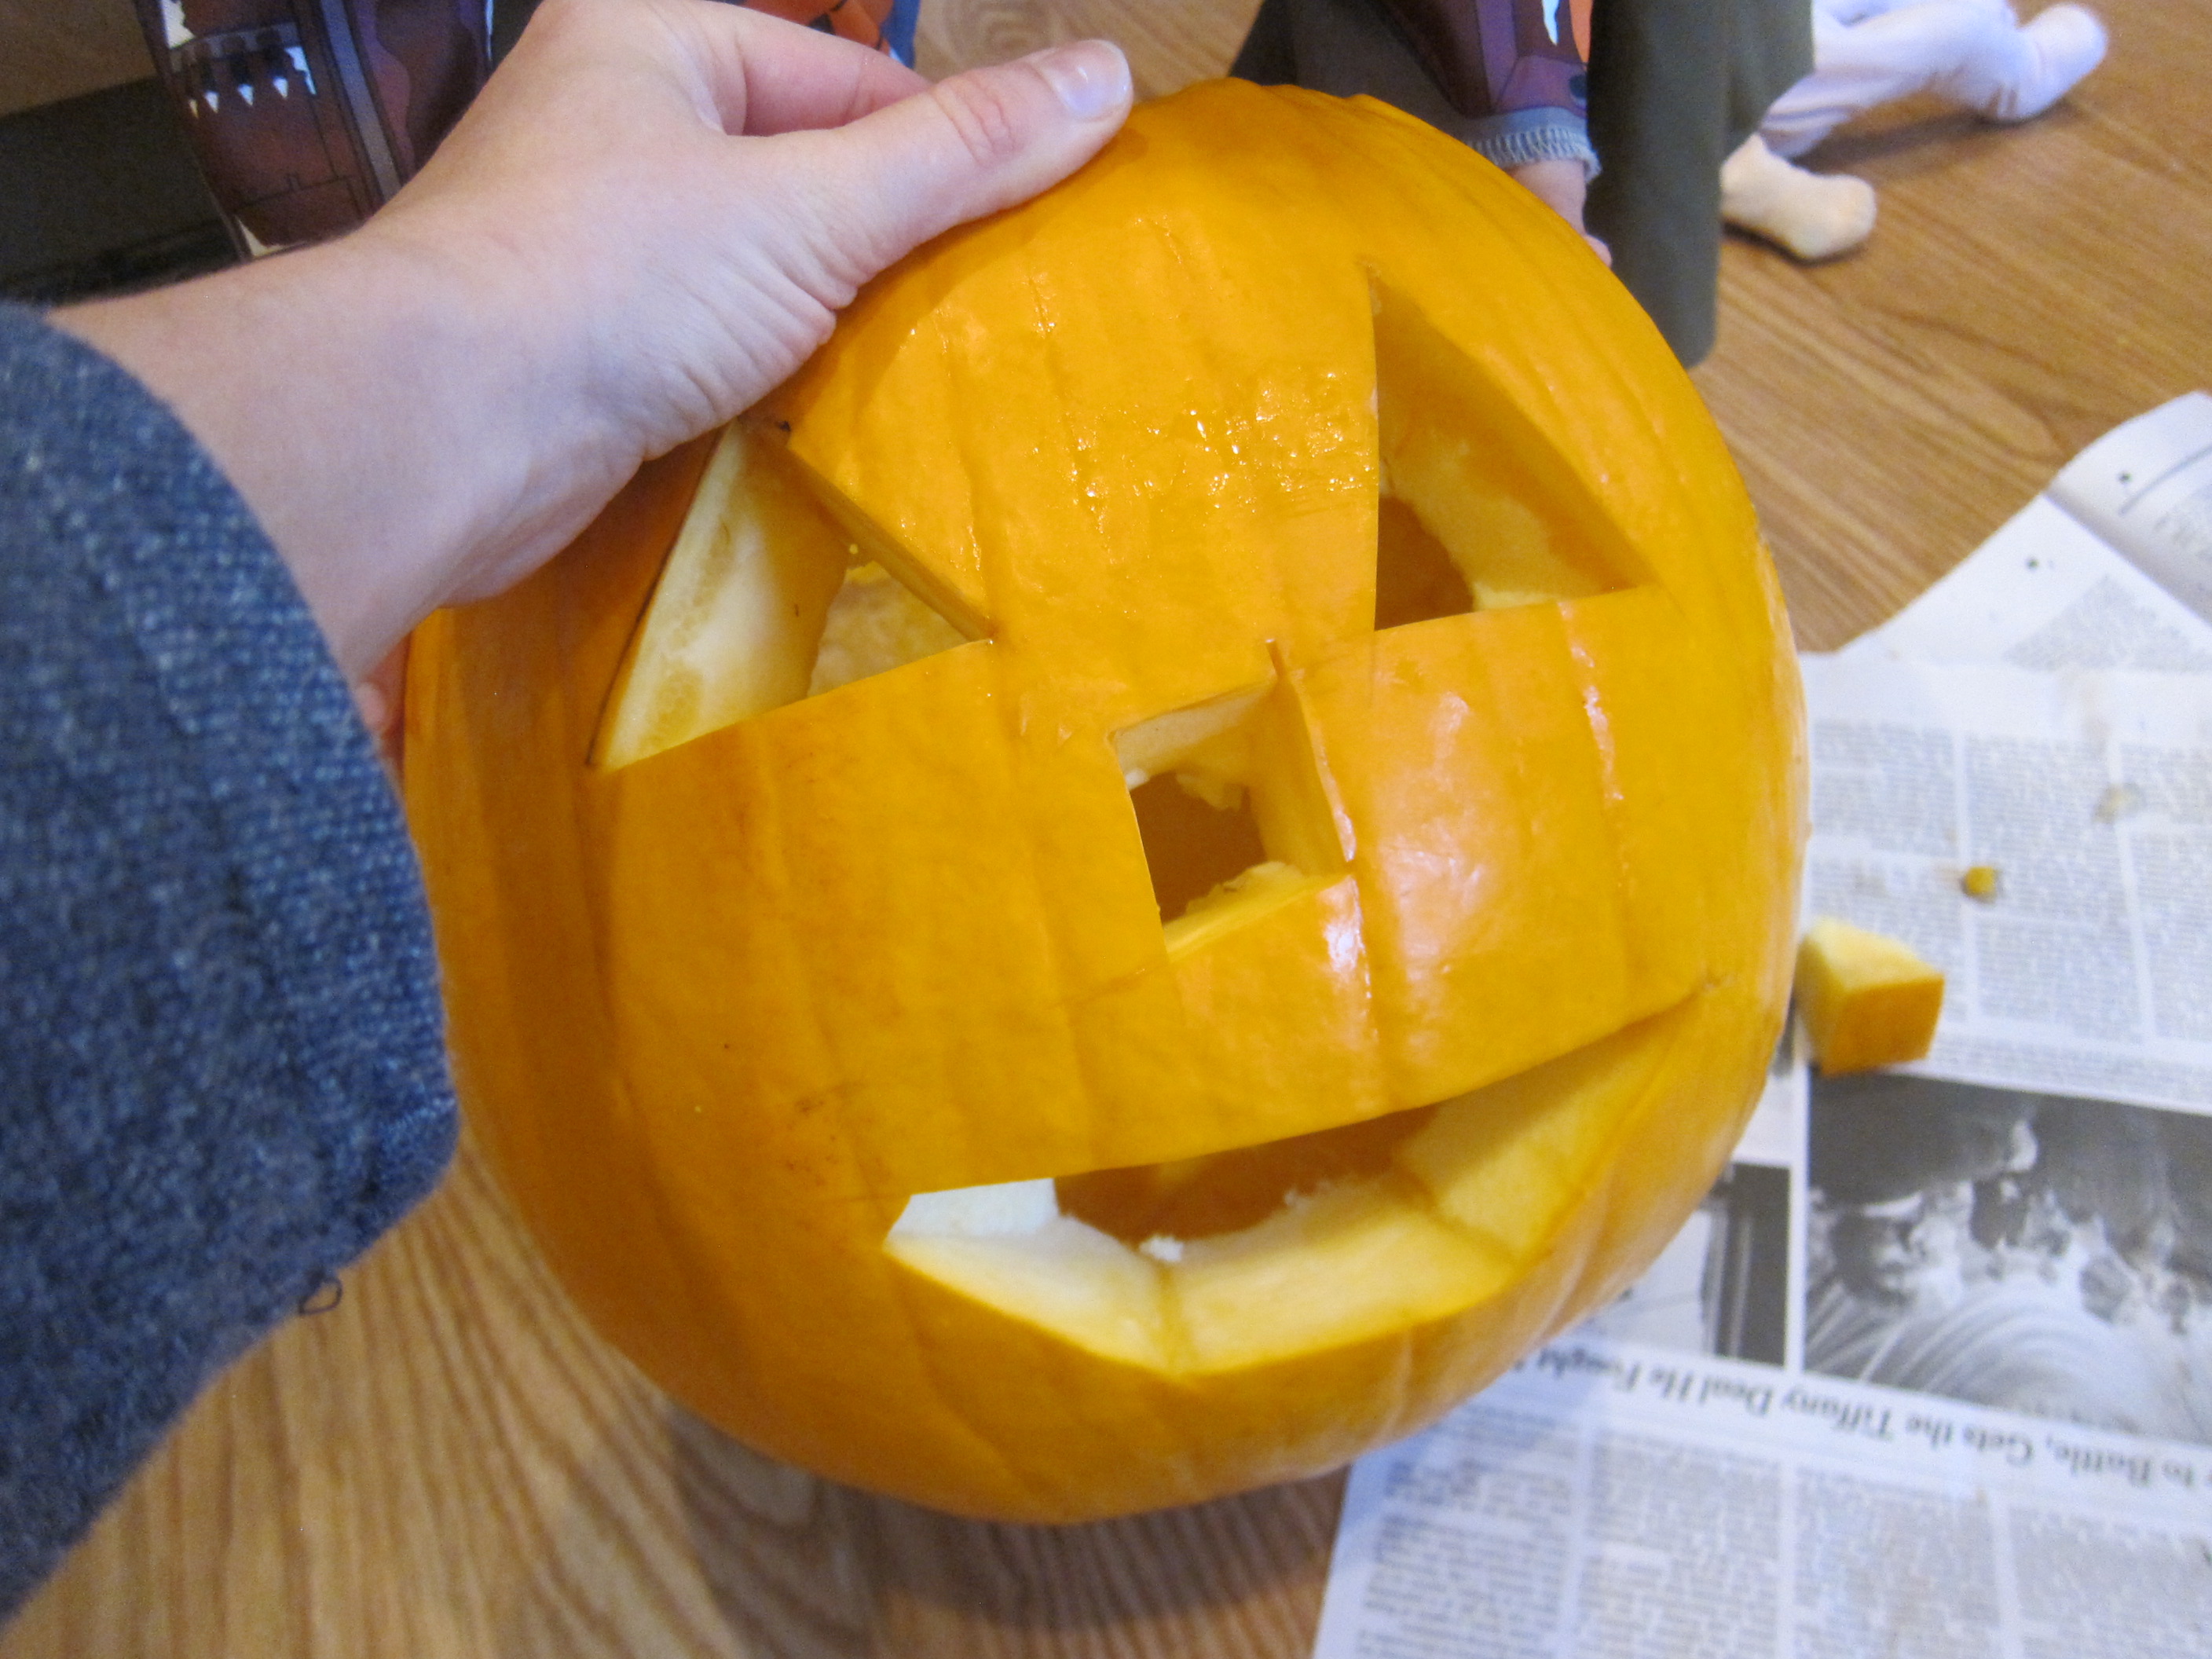
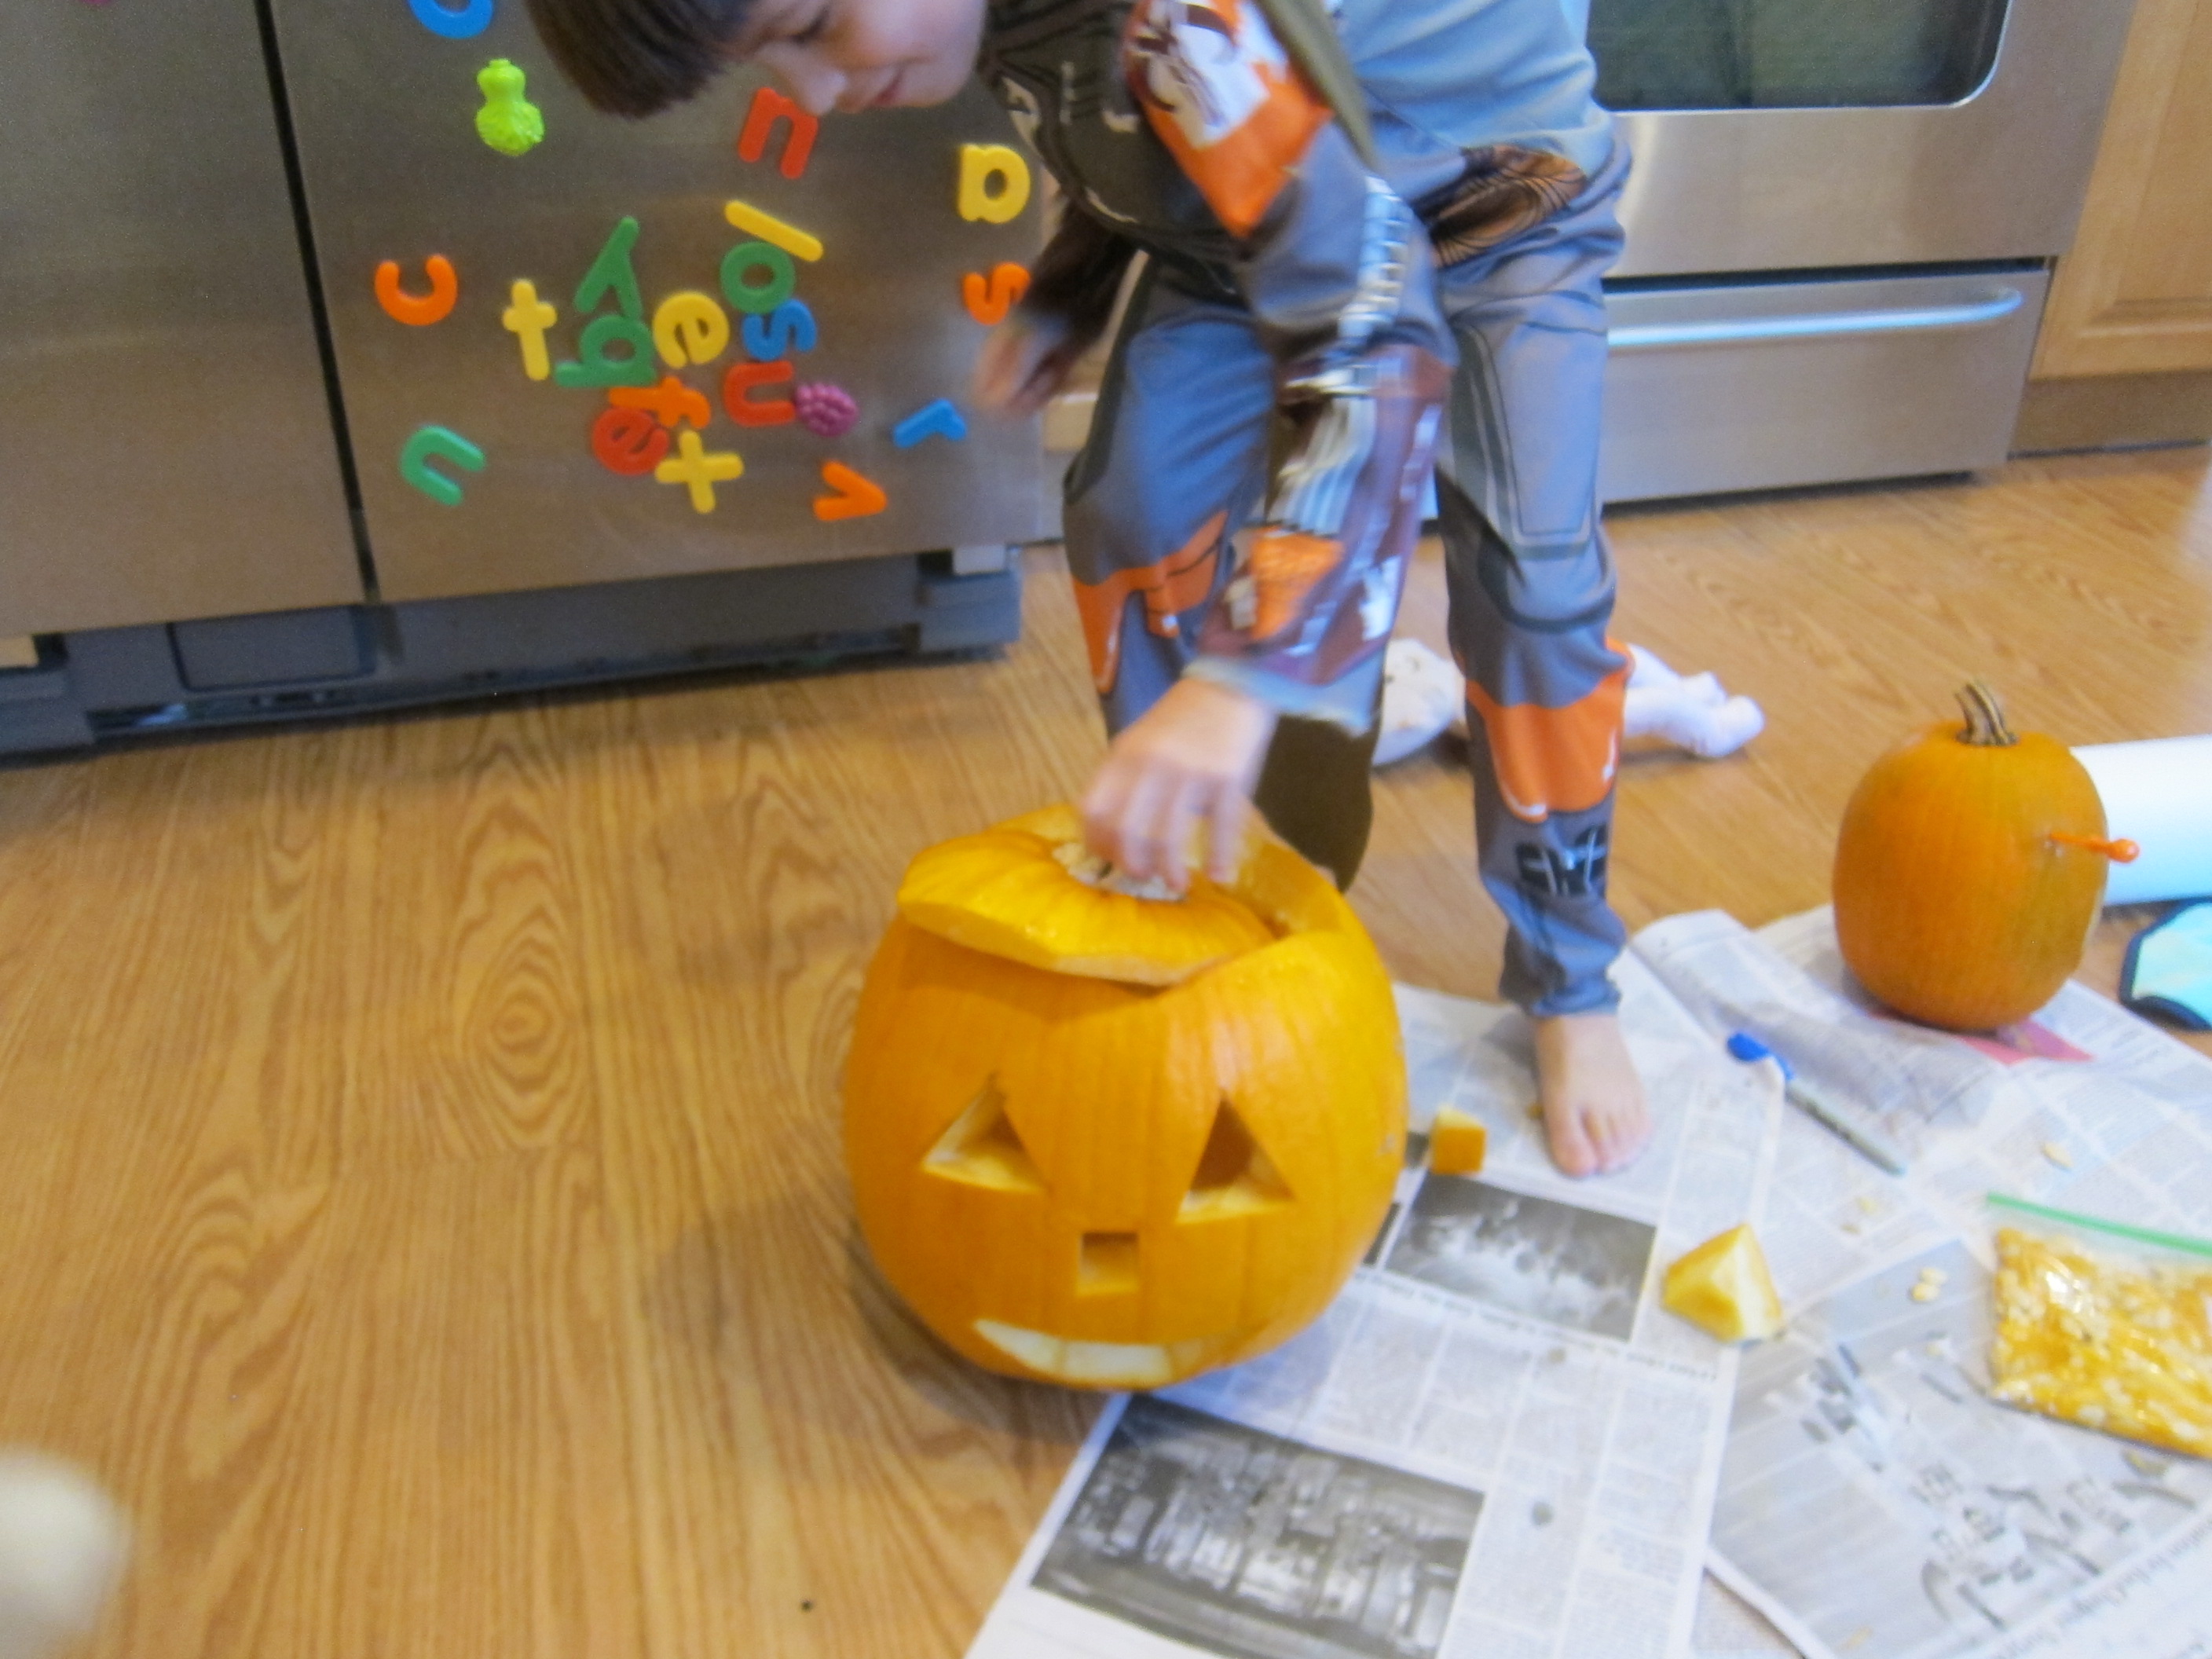
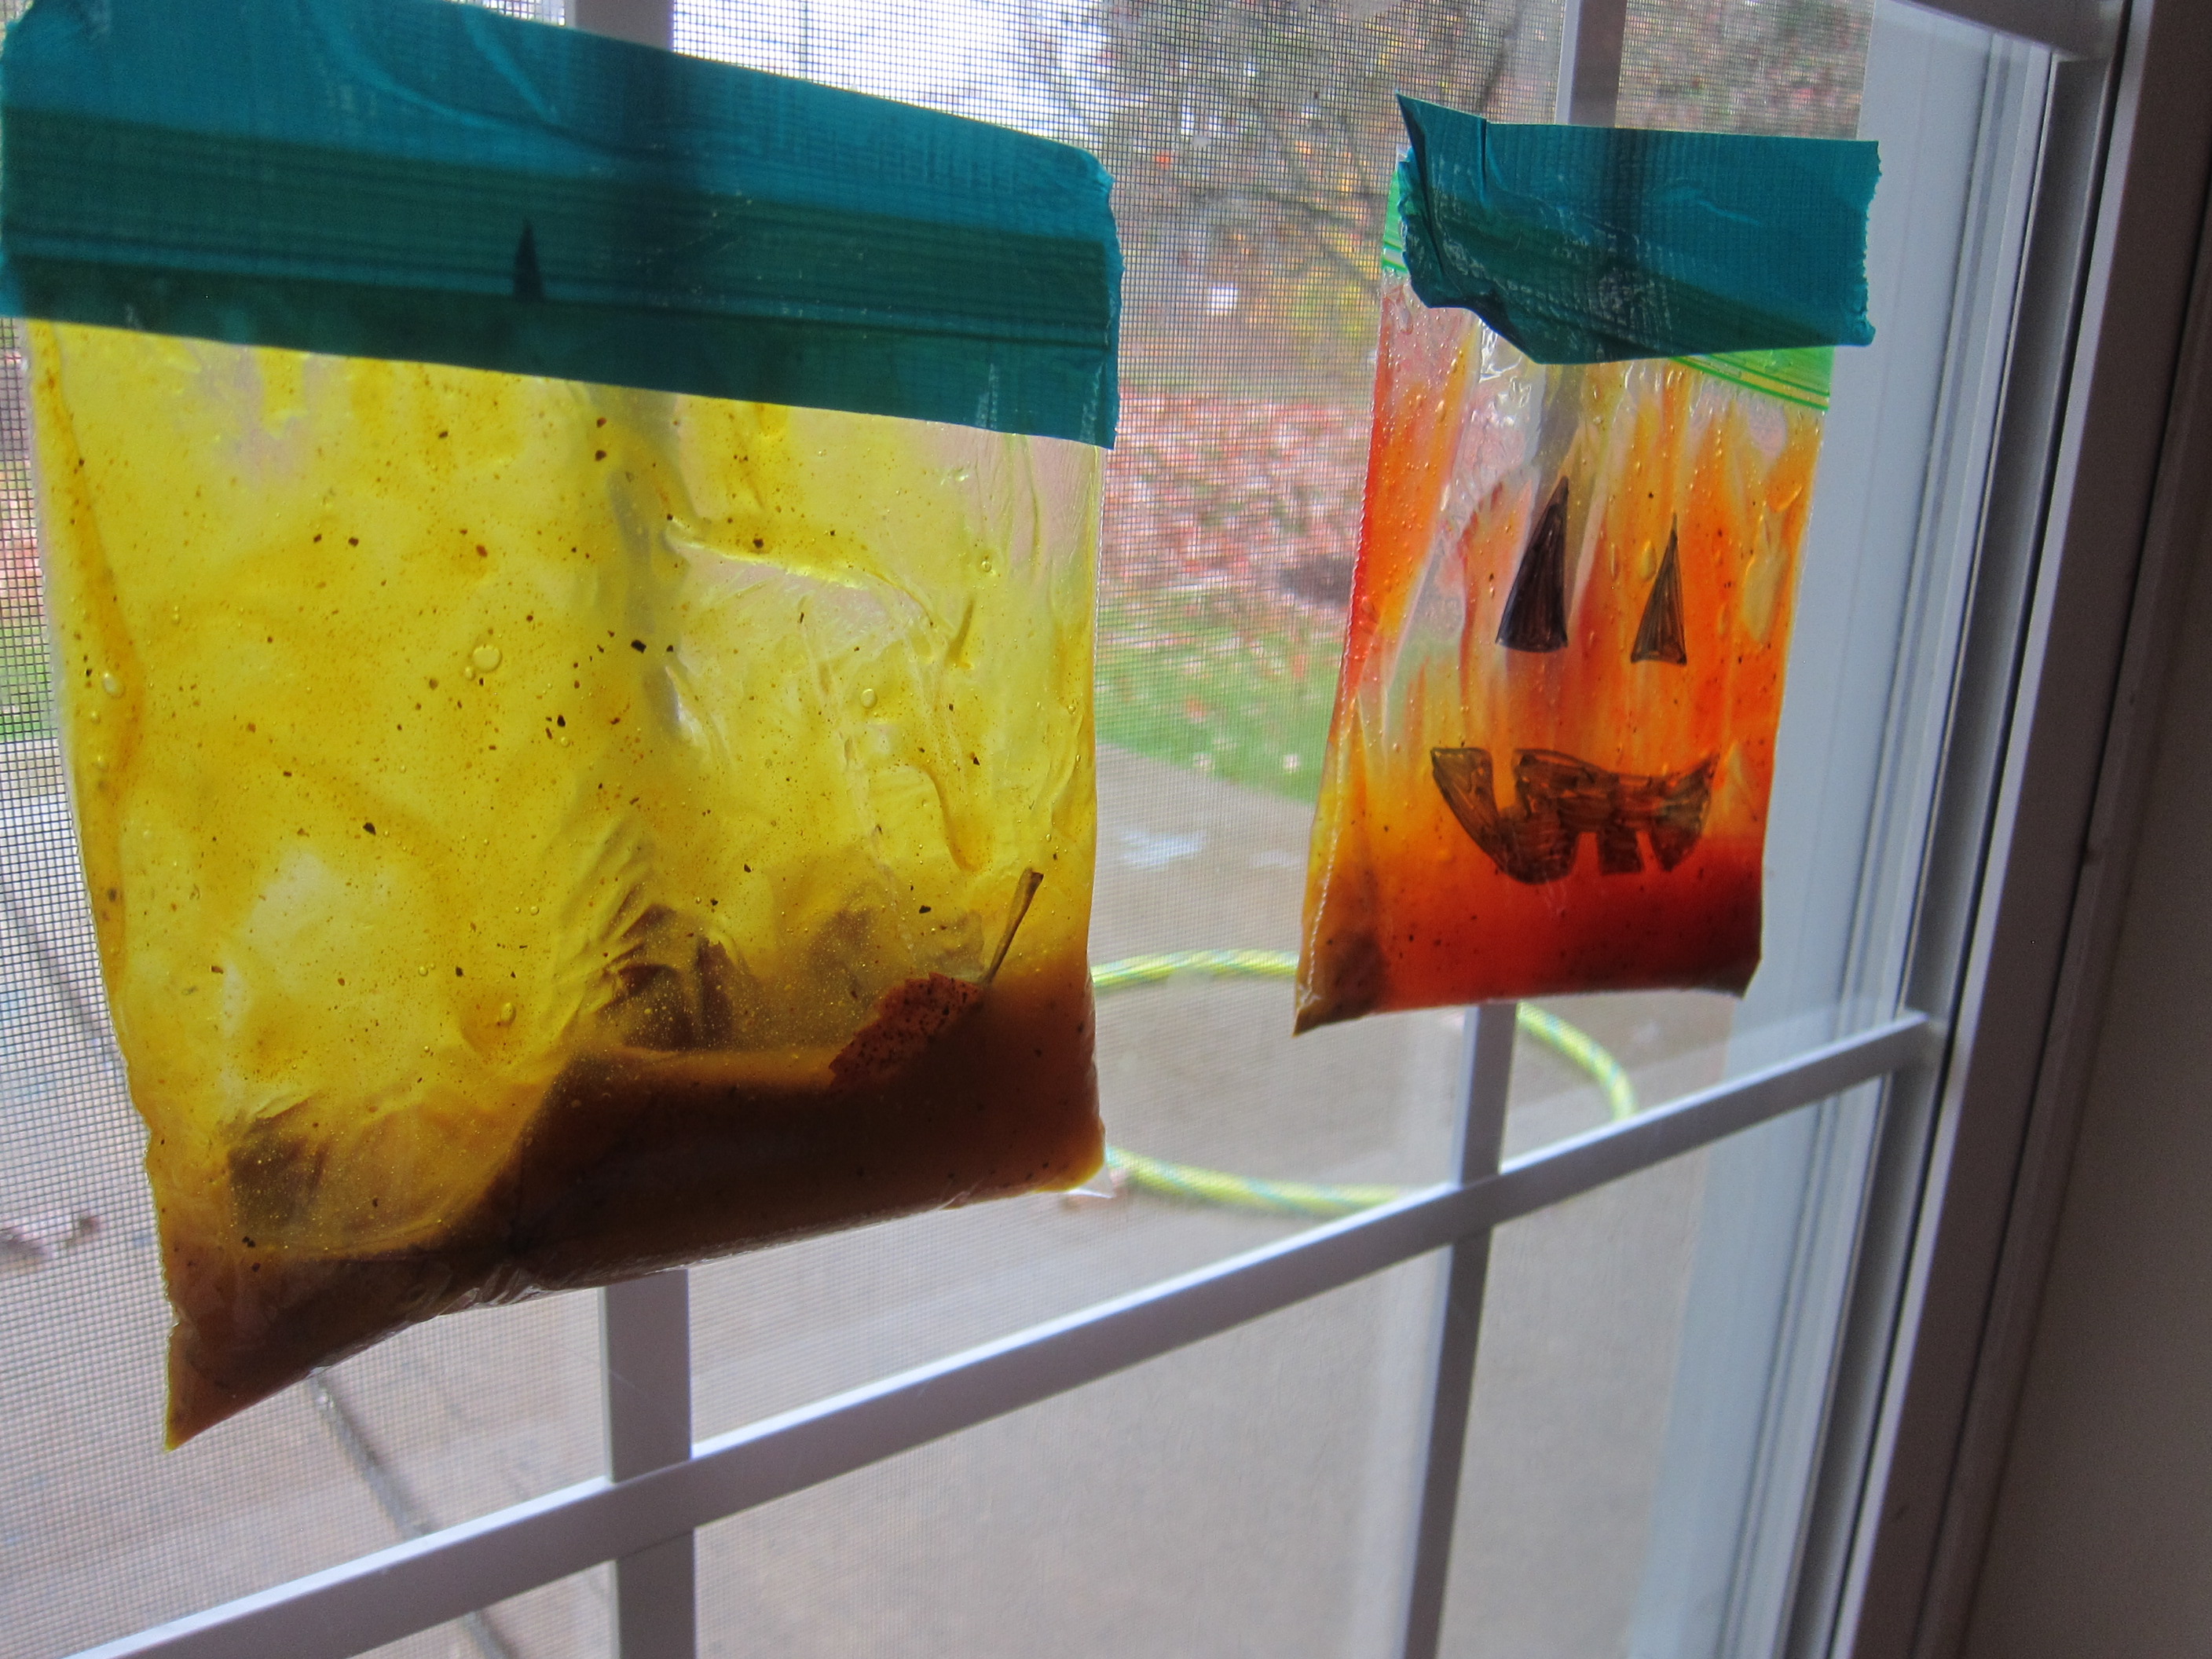
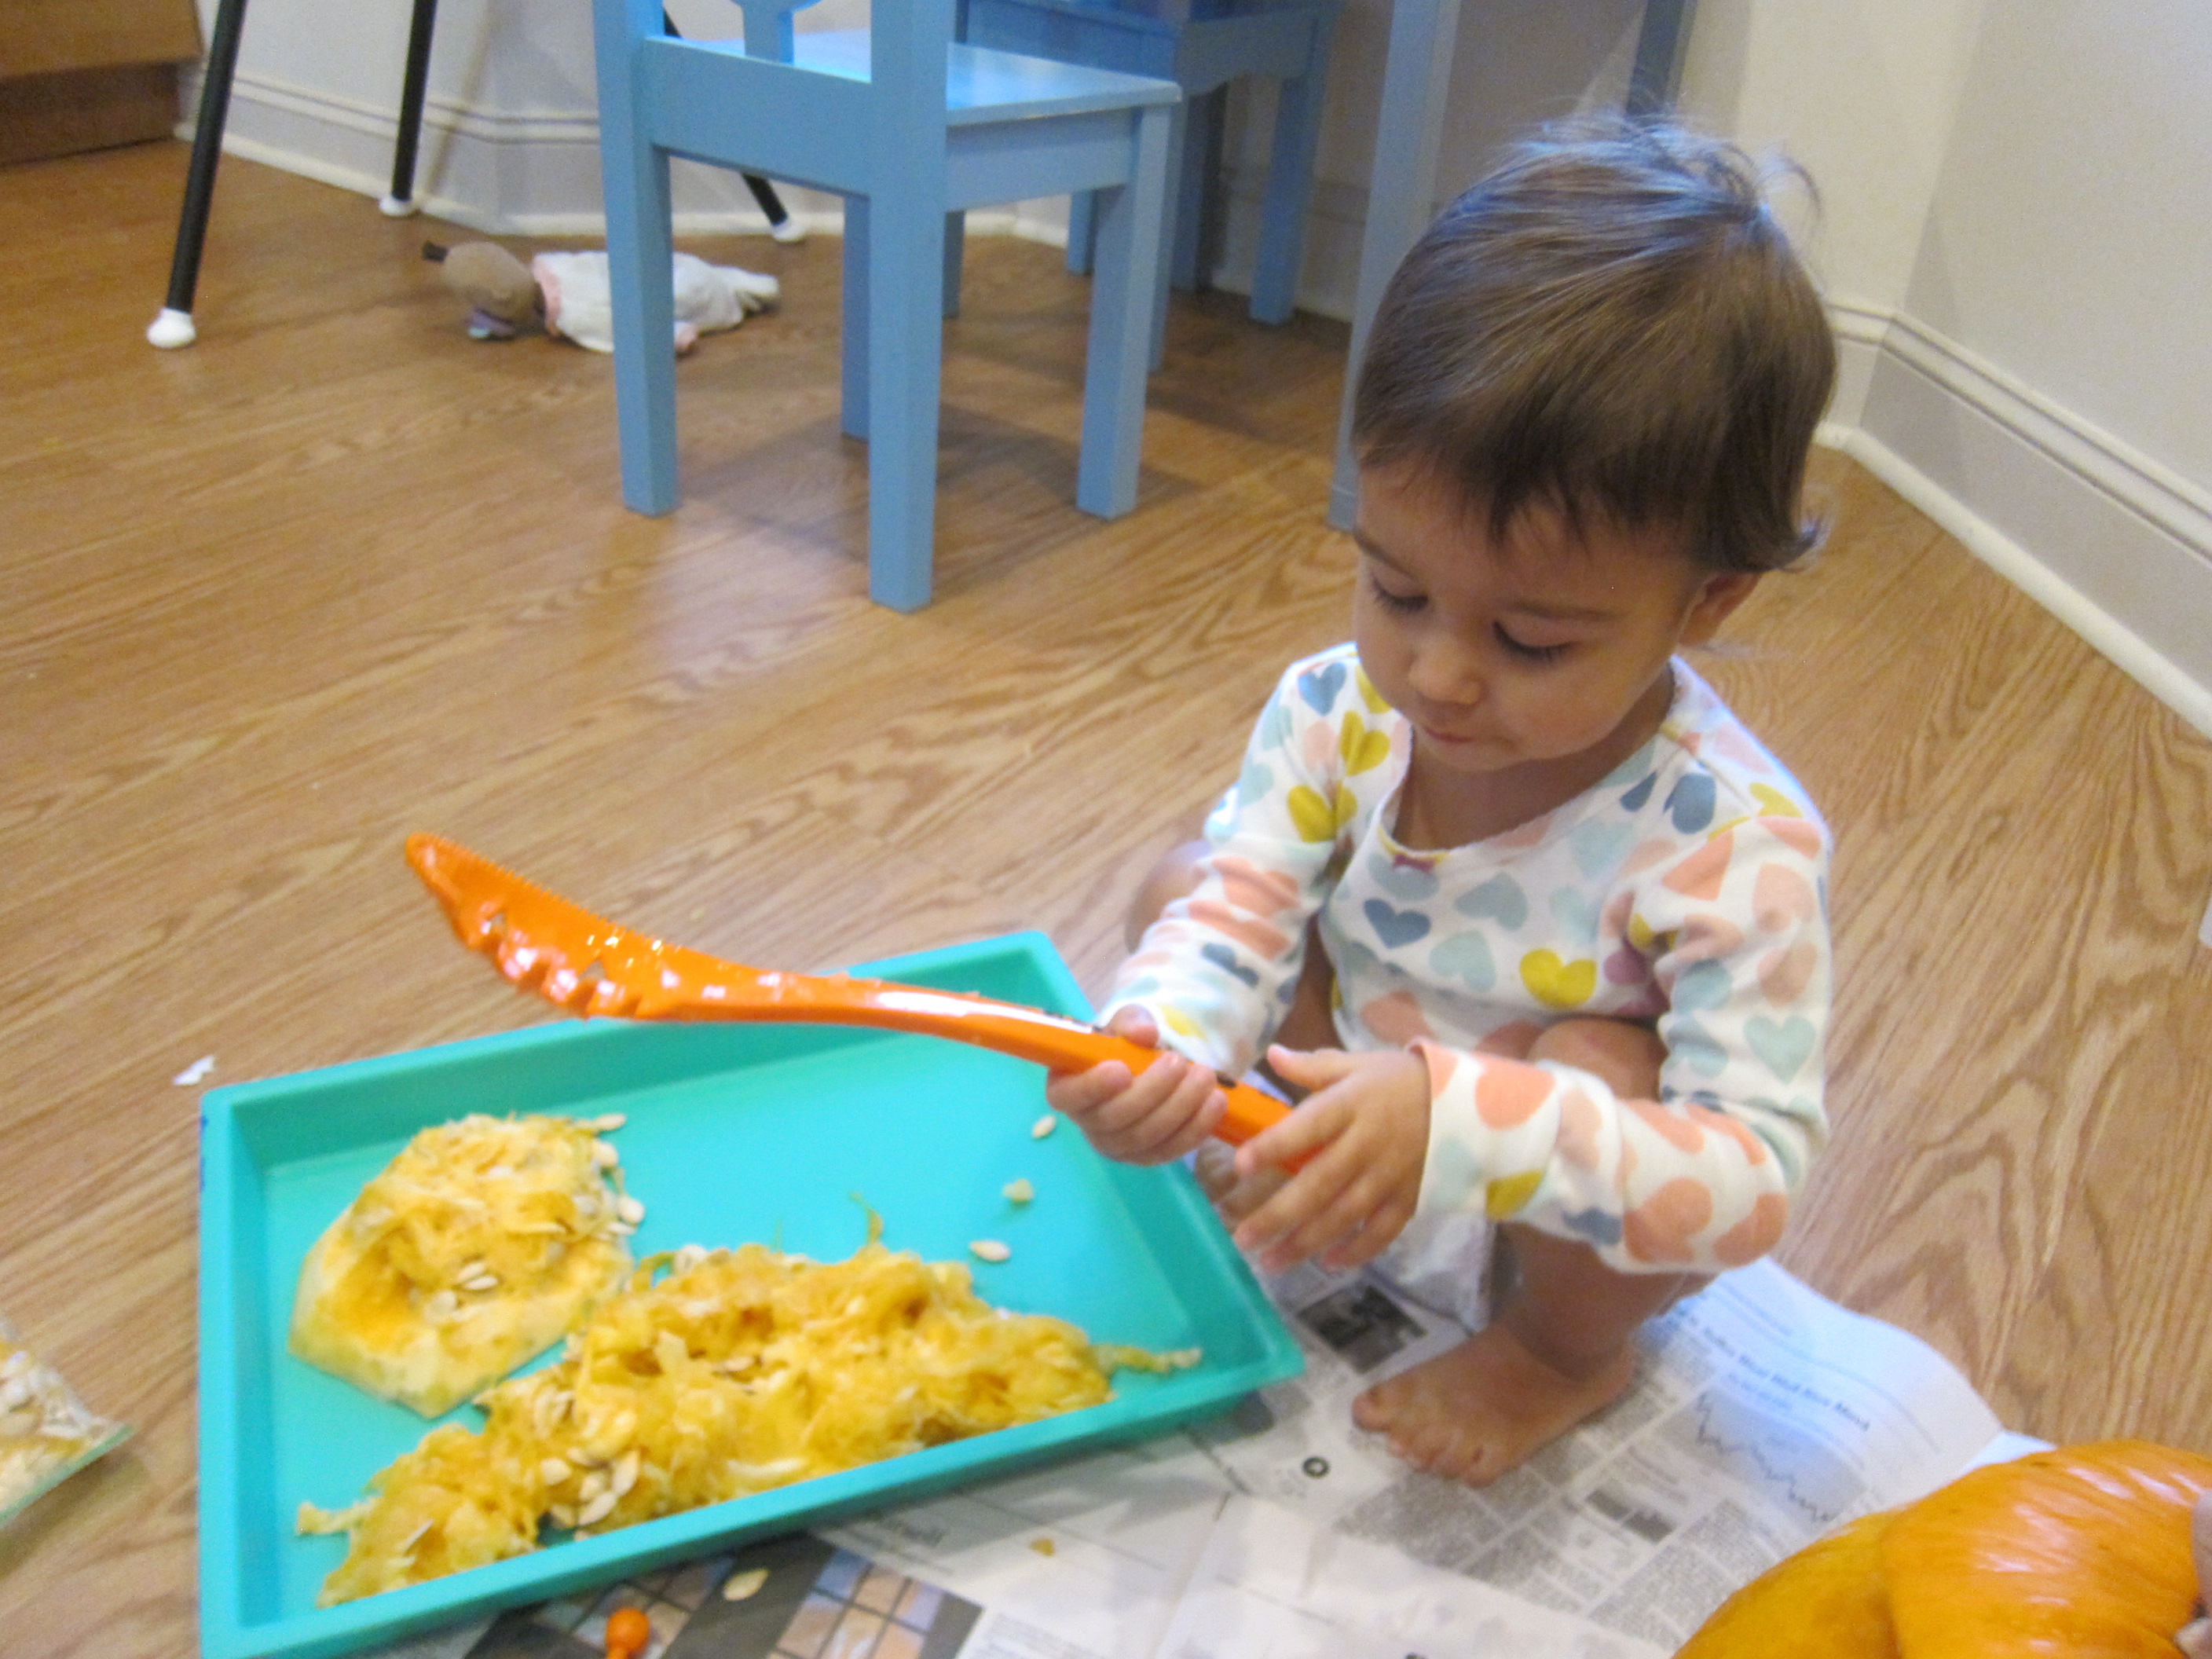
At last it was time to carve. We shifted a bit from sensory mode to learning mode, because as I popped out the first eye, Veronika said, “A triangle! I want a square.”

Exploring Pumpkin Guts (10)

So now I was on the spot to carve a square nose!

Exploring Pumpkin Guts (11)

The final sense to explore in a pumpkin is taste of course. We rinsed the seeds (which easily separate from the stringy stuff). Pat dry, then toss with about 1 tablespoon olive oil and 1/2 teaspoon salt. (Note: We had one cup seeds, so use more or less oil and salt depending how many seeds your pumpkin yields).

Exploring Pumpkin Guts (13)

Roast at 400 degrees F for 10 to 15 minutes, then enjoy!

Exploring Pumpkin Guts (12)

Birthday Memory Book

Birthday Memory Book (7)

Veronika’s birthday has come and gone, so we thought it would be fun to put together a memory scrapbook. Not only is this a perfect art activity for toddlers (markers! glue! glitter!), but you’ll have a wonderful keepsake at the end.

I put together several sheets of construction paper and folded in the center to make a crease. Together, Veronika and I went through all her cards and photos from the day and we taped them into the book.

Birthday Memory Book (1)

She loved looking back at party images. “There’s the sheep!” she said, remembering her tractor-themed tour at a local farm.

Birthday Memory Book (3)

Now it was time to decorate each page. Don’t worry about making this scrapbook look professional; messiness is encouraged here!

Birthday Memory Book (2)

Veronika then wanted to dribble glue all over the cover. “More glue!” she kept insisting.

Birthday Memory Book (4)

When we had a nice big goopy layer, we sprinkled glitter on top. Shake off any excess and let dry.

Birthday Memory Book (6)

A few more stickers and scribbles inside completed the book.

Birthday Memory Book (9)

I love knowing that she can leaf through this booklet for fun memories in the years to come.

Birthday Memory Book (10)

Video Time Capsule

Video Capsule (2)

Veronika turned 2 years old today, and it was a fun reminder to look back on the videos we took last year when she turned 1. We had footage of the expected big moments (blowing out the candles, opening up her first present), but also a birthday dance party with dad and big brother Travis that I had forgotten all about. We loved it so much that we decided to make it a tradition!

So we staged a fun dance video to the same music as last year. The goal is to make this a tradition so eventually we can string together a video time capsule over the years.

Similarly, you can pick anything big or small on your child’s birthday (a tour of your child’s room, asking him or her what their favorite toy is, blowing out candles) and take a clip each year that becomes a time capsule over, well, time!

We also filmed snippets throughout the day, which we know will be fun to look back on. These included opening up gifts…

bday girl (1)

…a special trip to a local children’s museum…

Video Capsule (3)

…and of course, cake!

bday girl (7)

What are the go-to birthday traditions in your family to film? Please share in the comments!

Happy Birthday Sensory Bin

Birthday Sensory Bin (1)

For toddlers who don’t entirely understand what it means to have a birthday yet, here’s a beautiful way to greet them the morning of their big day and introduce some of the items they’ll be seeing now and in years to come!

I filled a craft bin with bright and birthday-themed items. Birthday goodies included cupcake liners and candles, lots of bows and ribbons, and birthday-themed stickers. I also added neon pipe cleaners and a huge pile of pom poms, just for pops of color.

Birthday Sensory Bin (2)

Veronika barely let me finish setting up before getting her hands in the mix! She loved pouring the pom poms from one cupcake liner to another. Then we started baking pom pom cupcakes! Fill the liners and add a candle in the center for an introduction to the tradition of making a wish.

Birthday Sensory Bin (5)

The ribbons were so fun for to pull at or twist apart.

Birthday Sensory Bin (6)

Or to place on Veronika’s head like a birthday crown!

Birthday Sensory Bin (7)

At one point, she realized she could walk all the way around the apartment while unraveling a strand of gold ribbon, which was a pure delight to watch.

Birthday Sensory Bin (9)

I also set down some construction paper so she could peel off stickers (in fun shapes like cupcakes and balloons), and sticker all over the paper at will.

Birthday Sensory Bin (10)

In sum, you’ll have a very happy birthday boy or girl on your hands if you start a toddler’s birthday with this activity!

Birthday Sensory Bin (4)

Sticky Foam Birthday Cake

Sticky Foam Birthday Cake (6)

Veronika turns two years old tomorrow! To get in the mood for all things birthday, we made a giant cake on the wall today… from paper and foam stickers that is.

This is a fun way to engage siblings in celebrating a younger child. I cut a large square of craft paper and taped it to the wall, then invited everyone to add stickers. We had a huge bin of foam ones in heart and flower shapes.

Sticky Foam Birthday Cake (2)

Veronika liked the littlest foam stickers best, and placed them all over the paper in a haphazard way.

Sticky Foam Birthday Cake (1)

Big brother Travis loved proudly adding a piece here and there. If you’re doing this activity for a preschooler’s birthday, it would be the perfect opportunity to practice early patterning.

Sticky Foam Birthday Cake (4)

I attempted to make stripes across the paper like “frosting”, although of course I knew not all of the rows would be neat and even.

Sticky Foam Birthday Cake (3)

Once our cake was “frosted”, I added candles made from construction paper. Two candles for my two-year-old!

Sticky Foam Birthday Cake (5)

Note: If you have foam craft shapes that aren’t stickers, you can do this activity right on the window. Just brush with water and they’ll stick. But definitely don’t use the window if you have sticky ones, or clean-up will be more than you bargained for

Sticky Foam Birthday Cake (7)

Fall Hair Gel Sun Catchers

Orange Leaf Bag (9)

I wanted to make a couple of orange sensory bags for Veronika this morning, with Halloween and autumn in full swing, only to realize I didn’t have any orange food coloring! I didn’t have yellow, either, which meant I couldn’t even mix red and yellow to make orange.

On a whim I decided to see if I could dye things the old-fashioned way (spices!) and there was orange turmeric in the spice rack. The result wasn’t perfect, but adding the spice turned out to be half the fun.

Orange Leaf Bag (1)

I squirted a generous amount of clear hair gel into each of two small zip-top bags to start. In the first, I added about a teaspoon of turmeric and mushed around until it was orange. Veronika loved the smell of the turmeric, and wanted to help measure out the spoonful!

Orange Leaf Bag (2)

Then I added orange leaves we’d brought home from the playground yesterday. The turmeric did make the bag slightly cloudy and hard to see the leaves, but it worked fine if in direct sunlight.

Orange Leaf Bag (3)

For the second version, I drew jack o’ lantern features directly on the plastic bag with a black sharpie. Again I added 1 teaspoon turmeric, along with 1 drop of red food coloring. This made a great orange!

Orange Leaf Bag (6)

Because the black features were on the outside, the graininess of the spice didn’t matter this time. Veronika loved playing with this squishy bag where I taped it against the window.

Orange Leaf Bag (8)

These turned out to be so fun, and spot-on for the season, too.

Orange Leaf Bag (7)

Party Tablecloth

Party Tablecloth (3)

This is an easy and fun way to get even a toddler involved with the decoration for his or her own birthday party. Set out a long piece of craft paper, along with coloring supplies, stamps, or stickers, and let the fun begin!

Veronika loved the ink pad and tractor stamp I handed over in anticipation of her tractor-themed party. She dotted it all over the paper, with a little mommy help to make sure the ink prints were dark enough for guests to see.

Party Tablecloth (2)

Then she wanted to use markers. I gave her green and yellow since these were the party theme colors, although she asked for blue, too!

Party Tablecloth (1)

If you have stickers or even images cut from magazines that fit your child’s birthday theme, add those, too. It was the perfect homemade touch to the decor for her second birthday party! We even got half of a little footprint in red ink, making it a neat keepsake

Party Tablecloth (4)