Garden Crate

Koala garden (11)

We received our Garden-themed box from Koala Crate this month – perfect for summertime! This kit was very much about Travis playing with the items in his own way, not necessarily as “intended”, but there’s nothing wrong with a crate that simply prompts ideas and play!

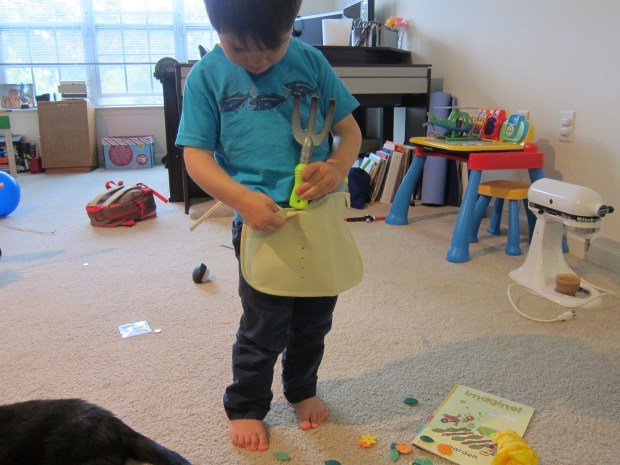
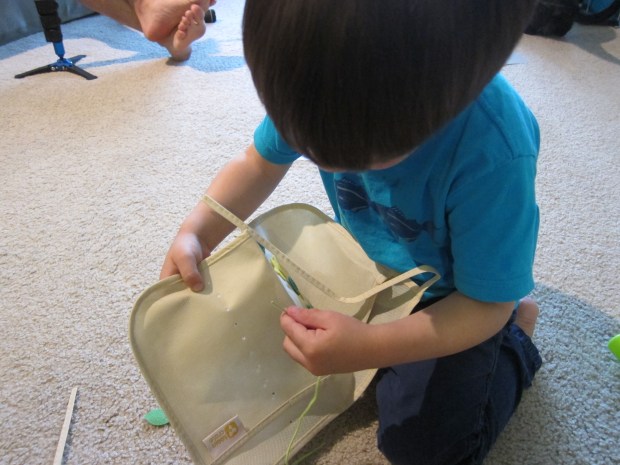
As always, Travis was eager to lift the lid and see what was inside this time around. The first project, a Gardening Apron to decorate, was a huge hit – not so much to decorate, but to try on and to put the gardening tools inside of.

Koala garden (2)

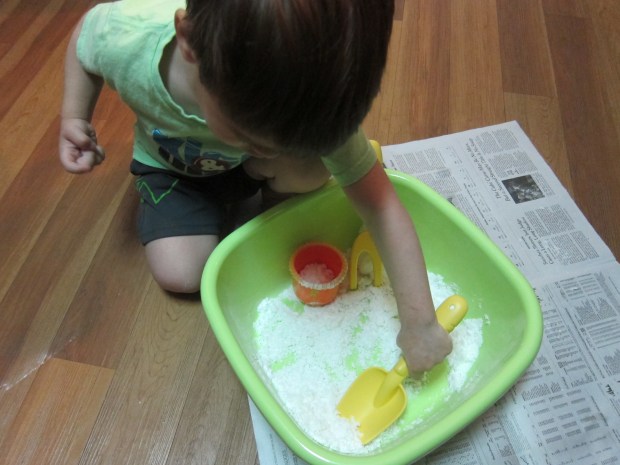
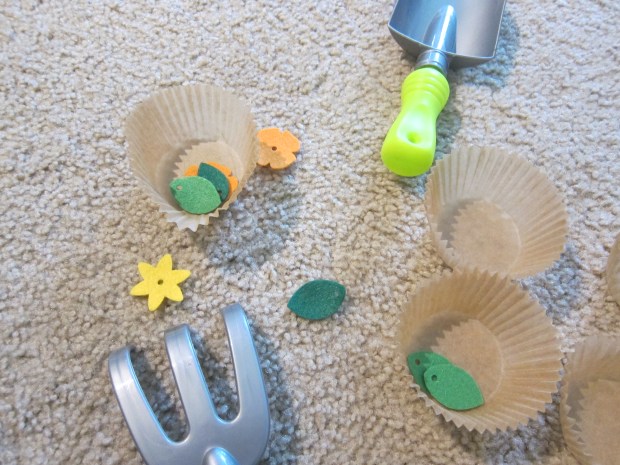
The kit came with string and felt flowers/leaves to decorate the apron, but he preferred to scoop the felt items and pretend he was planting them (cupcake liners made great “flower pots”!).

Koala garden (5)

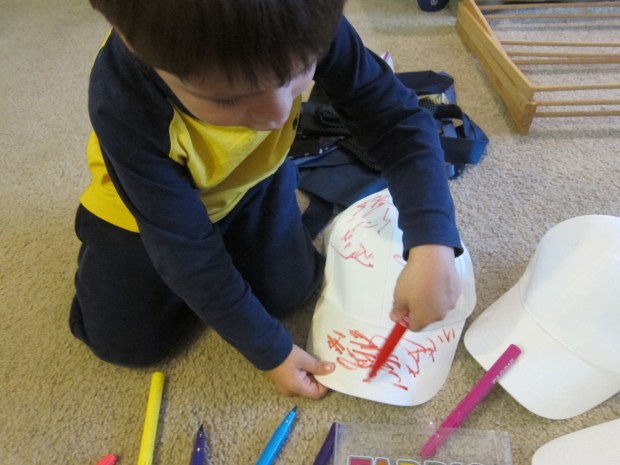
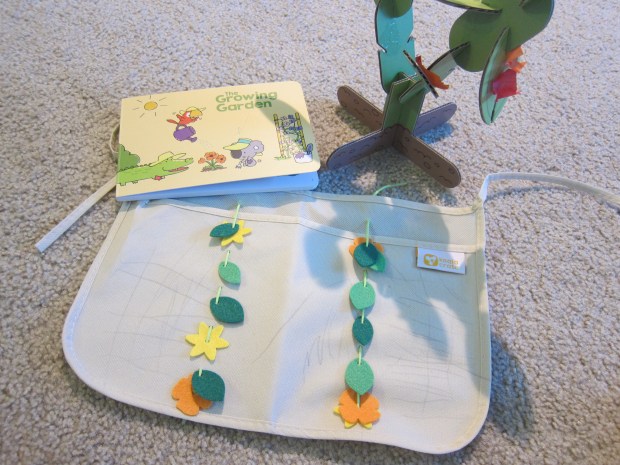
I finally coaxed him into helping decorate the apron as intended, which was good lacing practice, before I finished it for him. You’ll notice that he adorned the apron with pencil scribbles as the finishing touch, in the photo at the top of this post!

Koala garden (4)

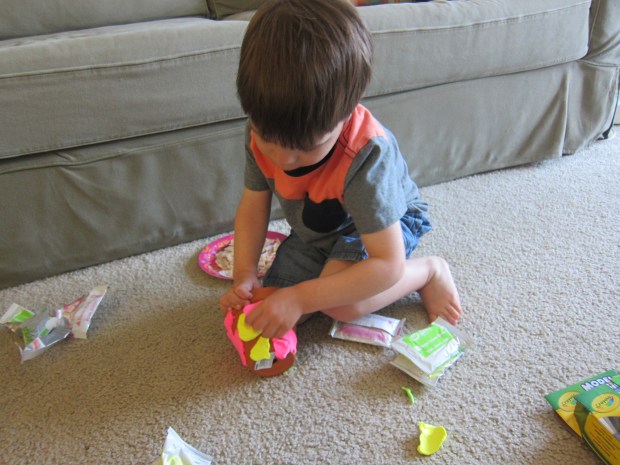
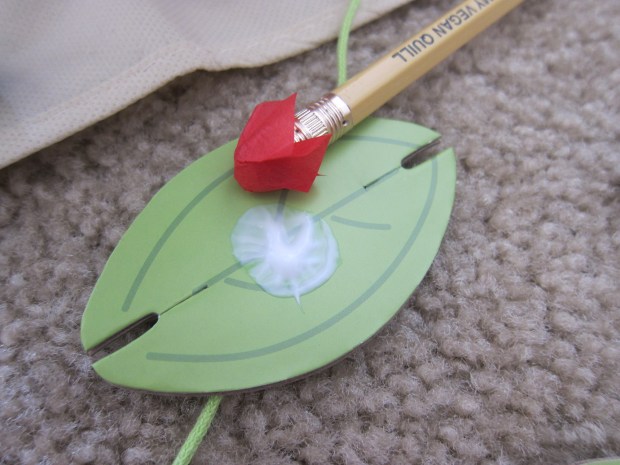
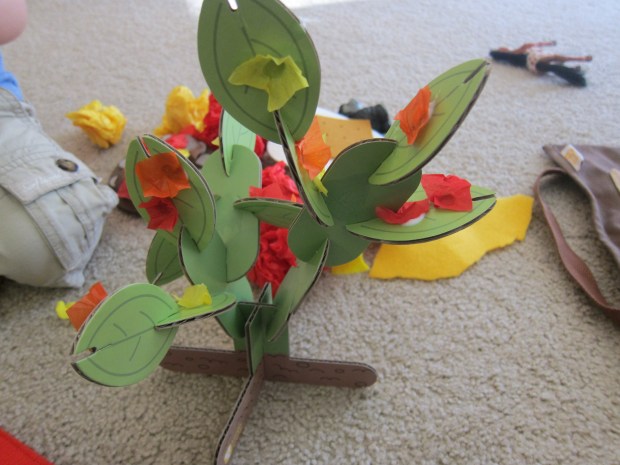
Travis also did things his own way when it came to building the Growing Plant; he loved squeezing drops of the provided glue, meant to glue on tissue paper flower buds, but instead he wanted to stick the cardboard leaves together.

Koala garden (7)

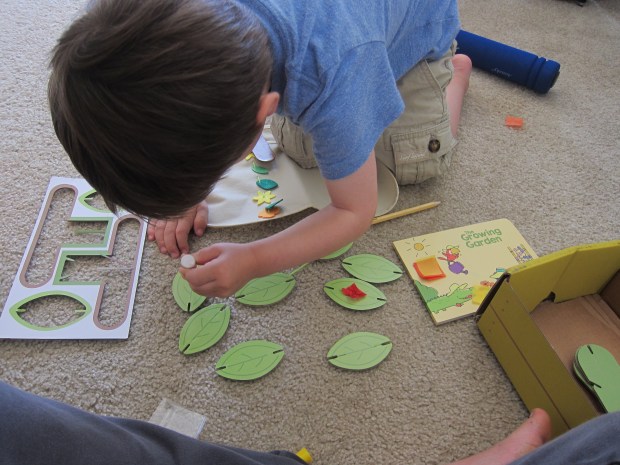
I let him have fun his own way while I pressed on the “flowers” so he could see the final, intended result.

Koala garden (6)

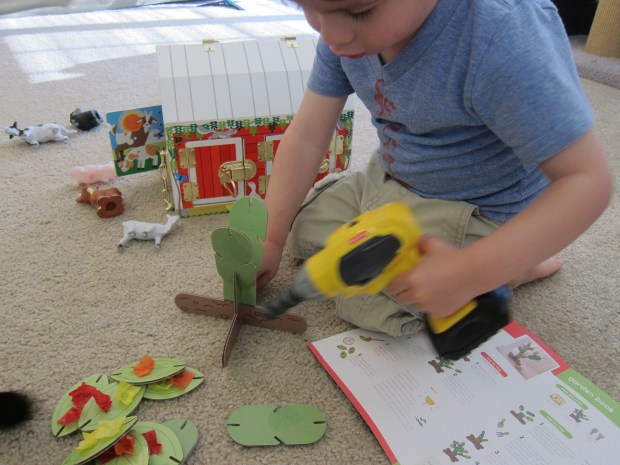
Once the glue dried and it was time to slot the cardboard leaves and stems of the plant together, he decided we should “drill” it together!

Koala garden (8)

The final “project” this month was a bit of a disappointment – a book to read along with the growing plant, rather than another craft, which I felt could have been included in Imagine magazine.

Koala garden.JPG

However, the story is a nice vocab builder, and touched off discussion about plants and gardening.

Koala garden (9)

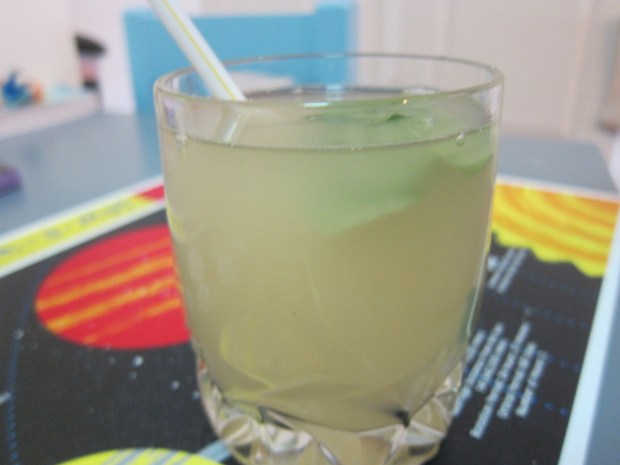
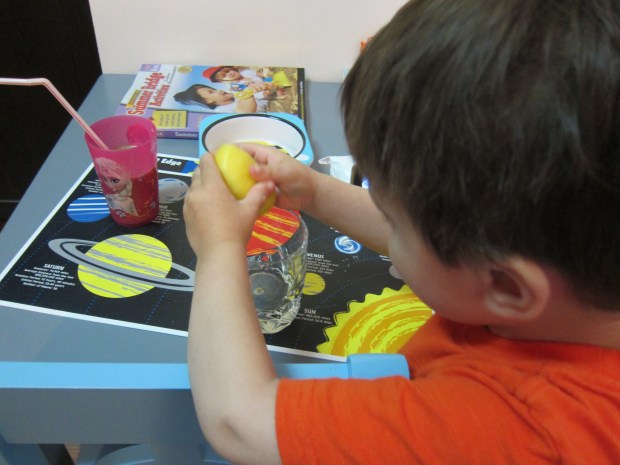
The biggest hit by far? The provided recipe to make your own, homemade lemonade!

Mint Lemonade

Mint Lemonade (4)

Just in time for the hot days of summer, we received this homemade lemonade recipe from Koala Crate!

To start, have your child squeeze one lemon half into a cup.

Mint Lemonade (1)

Add 2 tablespoons powdered sugar, and let your little sous-chef stir until the sugar is dissolved.

Mint Lemonade (2)

Now it’s time to add fresh mint – and fresh is the key word here! If you have your own herb garden, so much the better. Our next best option was a mint plant from the grocery store; Travis loved selecting three leaves before adding them to his cup and muddling.

Mint Lemonade (3)

Adults: Fill the cup the rest of the way with water (about 5 ounces) and stir.

Mint Lemonade (5)

Add a straw and enjoy summer in a glass!

Mint Lemonade (6)

Sponge Balls

Sponge Ball (1)

If it’s hot and the kids need a novel way to get wet, look no further than this update on a classic water balloon fight.

Place three different colored sponges in a stack, and cut each sponge into three strips – you’ll end up with three piles that look like a rainbow layer cake. Secure each pile with a rubber band in the middle, and fan out the sponges slightly – now you have sponge balls!

Sponge Ball (2)

Grab a bucket filled with water and go wild.

Sponge Ball (6)

See who can throw their sponge ball the furthest, have fun dipping them into the bucket and squeezing the water out…. or get each other wet with a gentle game of sponge ball tag!

Sponge Ball (3)

Perfect on a hot summer day!

Popsicle Stick Pirate Ship

Popsicle Ship (5)

Travis has been learning about pirates lately (he now does a mean “ahoy matey!”), so to bring the fun alive, we made this little ship to join us at bathtime.

To make the raft, glue 8 craft sticks lengthwise across 8 additional sticks crosswise. Once the glue dries, it will hold everything in place. In retrospect, I recommend painting them first, or purchasing ones that are already colored.

Putting the craft stick raft together like this is largely a grown-up step, because it’s tricky to line up both layers. Travis helpfully added a few squirts of glue before I finished.

Popsicle Ship (1)

To make the mast, you really need a hot glue gun, with which you can glue one craft stick upright on the raft. Failing that, I quickly decided to use a toothpick instead, which I could wedge in the tiny space between two of the craft sticks.

Popsicle Ship (2)

Use glue to add any fabric scrap to your mast as the sail.

Popsicle Ship (3)

As the finishing touch, add a pirate or two!

Popsicle Ship (4)

Ahoy mateys, time to sail.

Popsicle Ship (6)

Clay Flower Pots

Clay Pots (6)

This project couldn’t be simpler, but kids will love playing with the clay and watching their decorations take shape! A great summer craft, especially if you’re teaching your little ones about gardening.

Use any small terracotta pot as the base. I ended up wishing that I had several on hand, because Travis covered his first with clay designs so quickly; consider picking up a few at a craft store ahead of time!

Clay Pots (1)

For the clay, we used Model Magic – it’s easy to work with, mess free, and will air-dry in a few days.

Clay Pots (3)

Travis loved just smooshing on big designs, but older kids can be more deliberate in their art, creating flowers or mini clay gardens. I added a few details as examples.

One cool result of Travis smooshing all the clay onto the pots was a swirled, marbled effect.

Clay Pots (4)

These pots would make a great summer gift for anyone who loves to garden!

Ocean Sensory Tray

Ocean Tray (4)

What do you do on a summer day when you plan to go to the ocean, but the weather doesn’t cooperate? Bring the ocean to you of course!

Arguably the best part of this game for Travis was dyeing the water blue, so food coloring is a must. I set up a bin of water in the bathroom, and he loved dumping in the blue color, swirling it around until we had ocean water.

Ocean Tray (1)

Now it was time to add all our ocean toys!

If you have shells from a recent excursion to the shore, be sure to add those as well. Since we didn’t have any, large pasta shells worked in a pinch!

Ocean Tray (2)

Travis loved putting all our sea treasures in and out of the bin several times.

Ocean Tray (5)

He also loved filling a baster up with the ocean water and creating ocean storms and waves.

Ocean Tray (3)

Overall, this was a nice diversion indoors – and you could certainly play it outside on a hot day, too!

Your Tops, Dad!

You're Tops Dad (4)

This easy project from High Five magazine is sure to delight the dads and grandpas in your life this Father’s Day!

You're Tops Dad (5)

Purchase blank white baseball caps, and let your child go wild with fabric markers. Travis had so much fun choosing colors, and deciding where the marker should go!

You're Tops Dad (2)

The only bit I added was a name on the brim and a #1 for his dad. Add a cap for any grandpas or other special father figures in your little one’s life!

You're Tops Dad (6)

The next step was a grown up one, but Travis loved watching; cover the the caps with a piece of white paper, and iron the caps. This will keep the marker from bleeding.

You're Tops Dad

Wishing all the dads a Happy Father’s Day!

Instant Sensory Snow

Instant Snow (6)

Shaving cream snow was a big hit a few weeks back, and today we created a mixture that looked and felt even more like the real thing – in the middle of a summer heat wave!

Little ones will enjoy helping measure out 1 and 1/2 cups baking soda and pouring it into a bin.

Instant Snow (2)

Aim to add about 1/4 cup shampoo (clear or white will work best), but honestly, I just let Travis have fun squeezing the shampoo in until we had a nice mix!

Instant Snow (1)

The mixture looks and feels surprisingly like the real thing – cool and fluffy!

Instant Snow (3)

It made for great scooping…

Instant Snow (5)

And adding into cups…

Instant Snow (7)

And even forming into snowballs! A novel way to play on a hot June day.

Instant Snow (4)

Shadow Puzzles

Shadow Puzzles (6)

This game is a delight… both to set up and to play!

First, I told Travis we needed to go on a hunt for special items. He had no idea what was in store, but just the word “hunt” was a thrill! Find a variety of objects around the house with relatively simple outlines. We collected blocks, a hairbrush, fork, pom pom, toy wrench, and clothespin.

Shadow Puzzles (1)

While Travis watched, I outlined each of the items, and then he was my helper handing over markers by color as I filled in the outlines. He was a very proud pen-cap-remover during this stage.

Shadow Puzzles (3)

With our shadows in place, it was time to find out which object cast which shadow!

Shadow Puzzles (4)

Most of our objects were fairly obvioys, but he puzzled over the hairbrush a bit, and was so satisfied when he found the right shadow.

Shadow Puzzles (5)

No sooner done than he asked to do it again – always the sign of a success!

Shadow Puzzles (7)


DIY Sponge Blocks

DIY sponge (1)

When it comes to homemade building blocks, these are as easy as they come! Just buy large sponges in bulk (aim to have about 8 to 12 total), and you’re ready for play.

I hadn’t even finished cutting the sponges into shapes (rectangles, squares, and triangles) before Travis noticed them piling up on the counter and demanded we start playing with them.

DIY sponge (2)

The building commenced right away.

DIY sponge (3)

Once the initial novelty of the shapes and texture wore off, it was time to be more imaginative. The sponges soon turned into food.

DIY sponge (4)

Which needed to be grilled of course.

DIY sponge (6)

To take a break from the imaginative play, encourage your toddler or preschooler to make letters with the sponges, or simple patterns by color or shape.

DIY sponge (5)

As the grand finale, we took the sponges outside. They were exceedingly fun to dip into a bucket of water and throw onto the ground.

DIY sponge (9)

We also tested out how much water the sponges could hold, by squeezing them over a cup.

DIY sponge (8)

And you thought sponges were dull as dish water!