Turkey Tacos

Turkey Taco (3)

This adorable dinner recipe from Ranger Rick Jr. is great to make with kids in the run-up to Thanksgiving. Travis was absolutely delighted with his feathered friend. Adults will have to do some chopping ahead of time, and then kids can take it from there to assemble.

To start, pick your favorite taco filling, and add to hard shell tacos.

Turkey Taco (1)

Add cut bell pepper pieces in a fan shape around the taco shell for the feathers.

Turkey Taco (2)

Place a slice of turkey-head-shaped vegan American cheese (such as Tofutti) on top of the taco shell. Add 1 triangle of orange bell pepper for the beak and 1 strip of red bell pepper for the wattle.

Turkey Taco (4)

Two black olive dots completed the face!


Turkey Napkin Holder

Turkey Napkin (7)

We put together this cute craft from High Five magazine just in time for Thanksgiving. In our vegan household, we love adorning our table with turkey-themed crafts, not a real turkey to eat.

But as we sat down to make these napkin holders, Travis and I discovered that we had every color construction paper except… the brown that we needed! Some quick thinking and we decided to color white paper in with brown crayon. Travis declared this so fun, and seemed so proud of our improvisation.

Turkey Napkin (1)

Next we needed to cut the brown paper into kite shapes. This was a bit tricky for Travis, so I trimmed things up into neat diamonds while he had fun with safety scissors and extra paper.

Turkey Napkin (3)

Armed with our kite shapes and a few recycled toilet paper tubes, we glued the tubes to the center of each piece, and folded up over the tube.

Next we glued on facial features, a good chance to talk about shapes – circle eyes, triangle beaks, and a semicircle for the wattle.

Turkey Napkin (2)

Travis favorite part was the feathers at the end. Add dots of glue to the paper behind the head.

Turkey Napkin (5)

Crumple bits of fall-colored tissue paper (we used reds and yellows and pinks) and attach each to a dot of glue.

Turkey Napkin (6)

Slip in a Thanksgiving napkin, and enjoy the feast!

Turkey Napkin (8)

Printable Placemat

Printable Placemat (3).JPG

With Thanksgiving just a week away, we’re thinking about all the yummy foods we plan to eat at the feast!

Each year, I make sure to emphasize the foods we can eat as a vegan family rather than those we can’t, so Travis (and soon Veronika!) don’t feel left out of the traditions. This placemat template from Parents magazine was a fun way to think about how we’ll fill our plates, giving us a a beautiful representation of abundance rather than lack.

Of course in the center goes the Tofurky roast or other main dish (we’re partial to Gardein’s stuffed turkey breasts, a special holiday treat each year!).

Printable Placemat (1)

I asked Travis what else he wanted. Soon we had pink cranberry sauce and little patches of green beans, and some yellow mashed potatoes.

He made sure to color in all the utensils and napkins as well.

And added a cup of hot cocoa!

Printable Placemat (2)

We can’t wait to celebrate with family, and you can be sure we’ll have our traditional adopted turkey certificate up on the table.

Early Explorers Homes

LP Homes (25).JPG

What a difference now when we receive our Early Explorers kit in the mail, versus when our subscription was new – Travis can’t wait to dive into the booklet of preschool-appropriate activities. He did the dot-to-dot without any help, eagerly hunted for mazes, and loved following the rules for coloring pages and tracing!

LP Homes (2)

There definitely seems to have been a leap in his skills lately, and I credit our monthly packages with helping propel the process.

LP Homes (3)

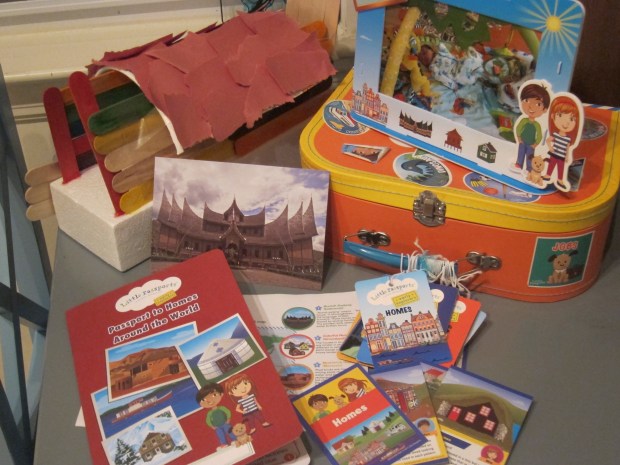
What was all the fuss about this month? Homes around the world!

LP Homes (4)

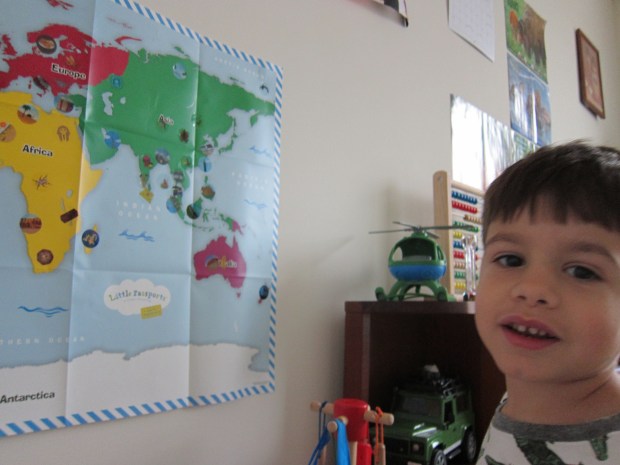
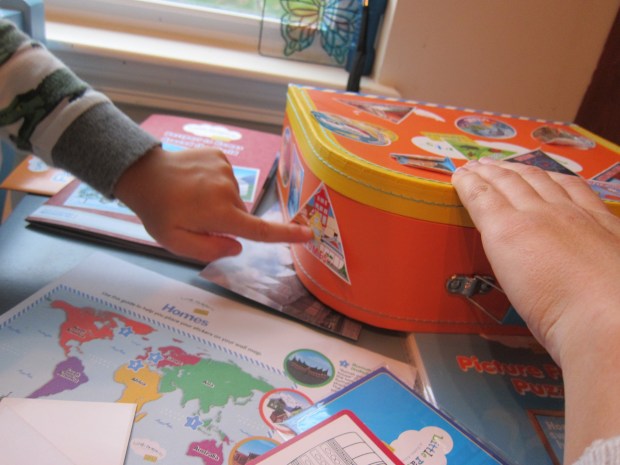
Travis found some of the interesting ones on his map, and his instant favorite was the yurt, so much so that we had to check out yurt videos online!

LP Homes (1)

Homes Craft:

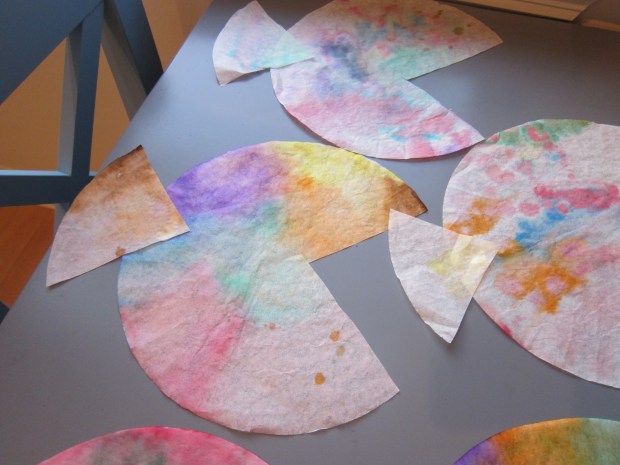
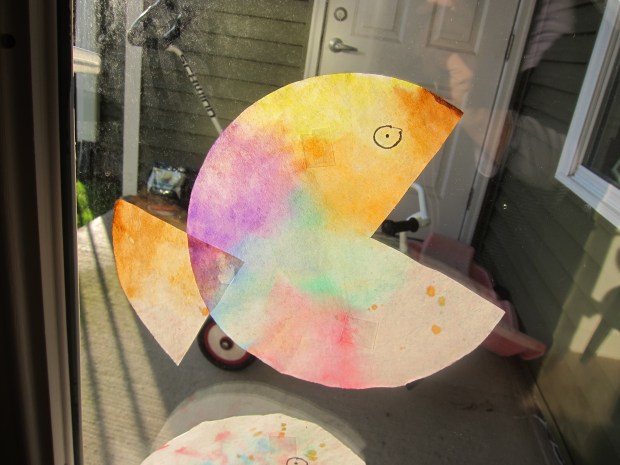
The booklet suggested making a decoration to hang on your own home’s front door, so we pulled this cute option from Little Passport’s blog. Travis loved the way we needed to apply glue in a circle.

LP Homes (15)

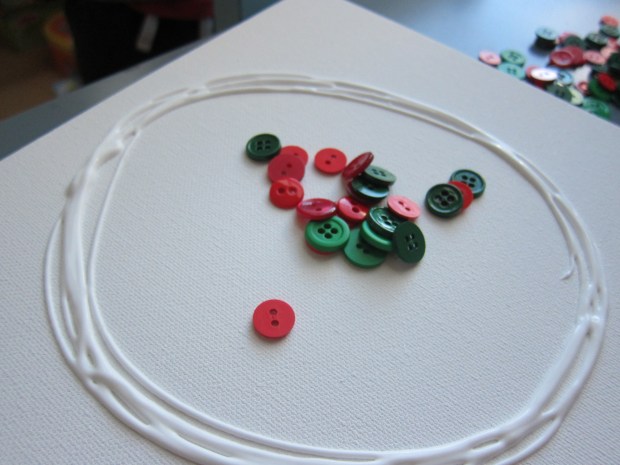
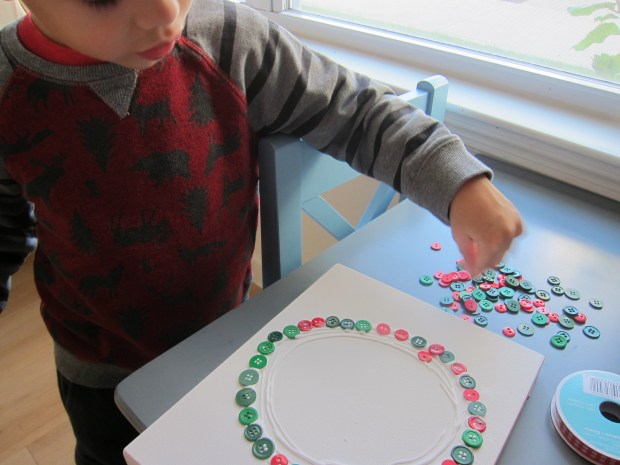
Cover the glue in green and red buttons. He had fun deciding which buttons needed to go where.

LP Homes (17)

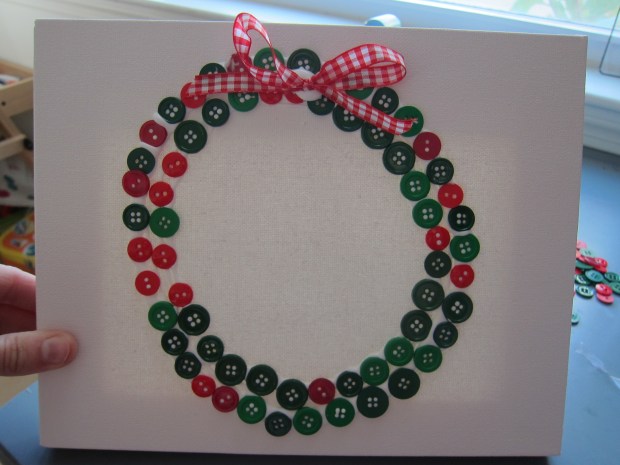
I tied a little bit of gingham ribbon on for the final touch. What a great way to adorn our home, as winter nears!

LP Homes (19)

Homes Science:

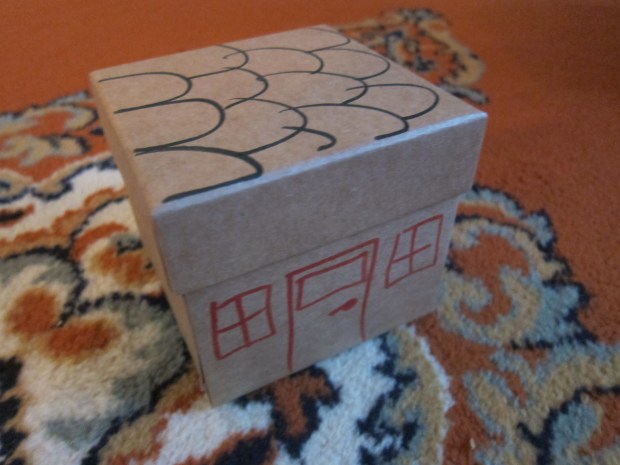
Okay, this probably counts more as math, but the task was to guess how many windows and doors were in our home. This was such a neat thought experiment for a 4-year-old. Originally Travis guessed only 1 door, thinking of the exterior. Imagine his surprise when there were 11!

LP Homes (7)

He was much closer on windows – a guess of 5 versus 8. He had a blast racing about and counting!

Homes Keepsake:

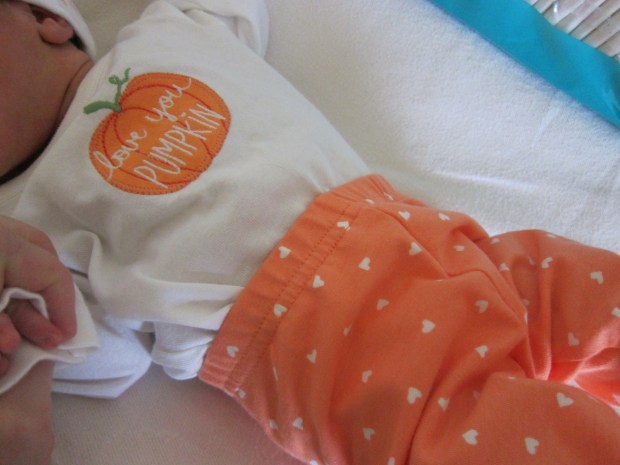
This month’s keepsake was a frame to slot together, with the caption “Home Sweet Home”. Ideally I would have used it for a picture of the outside of our apartment, but Travis wanted to put it together right away so we slipped in a pic of his new baby sister.

I will say, the frame was not very sturdy, and also didn’t seem like the best craft to exemplify homes around the world We might have enjoyed a little house to slot together from a kit, instead.

LP Homes (6)

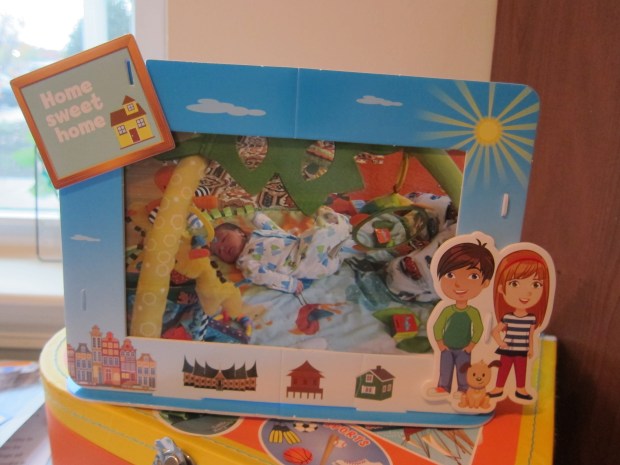
Nonetheless, here is the finished product!

Homes Field Trip:

If you live near any historic homes, that would make a great field trip for this unit! We’re lucky enough to live near several old mansions that are now open to the public. To wit, Oheka Castle was once the second largest private residence in the entire United States. A bit of faded glory today, but Travis loved the grand entryway!

LP Homes (29)

Find a fun home near you – a famous architect? A home built in the style of another country? – and make an afternoon of it.

LP Homes (28)

Home Further Activities:

In the back of Travis’s booklet was a super practical suggestion – practice memorizing your home address. I was really proud of him every time he recited our address back to me, and of course this is an important safety tip that all kids should learn.

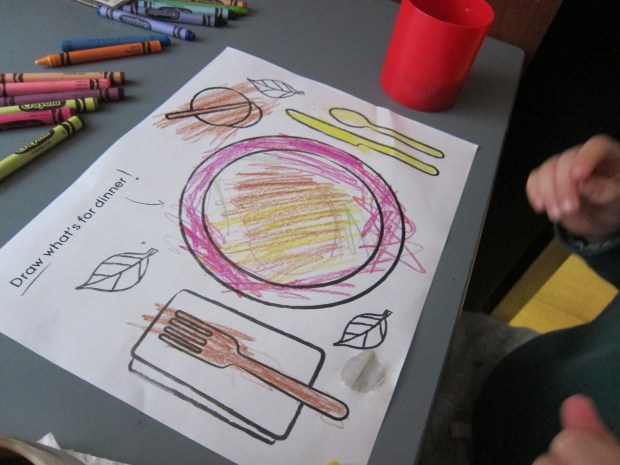
Next up, we drew a picture, both of Travis’s bedroom and then of our whole house. He’s  recently made great progress drawing objects truer to life, so we emphasized the shapes of the items: a rectangle for his bed and closet, a square for his bookshelf etc.

LP Homes (20)

We also headed out for library books to further our exploration, and found a great one called This is My House, featuring homes around the world. Although this topic might seem arcane, you’d be surprised what you can dig up in the non-fiction section (although a few might be meant for older kids).

LP Homes (22)

Next up, encourage your child to ask adults – grandparents, friends – about homes they grew up in, especially those that are different countries. I also dug up some pictures of my childhood home for Travis!

LP Homes (23)

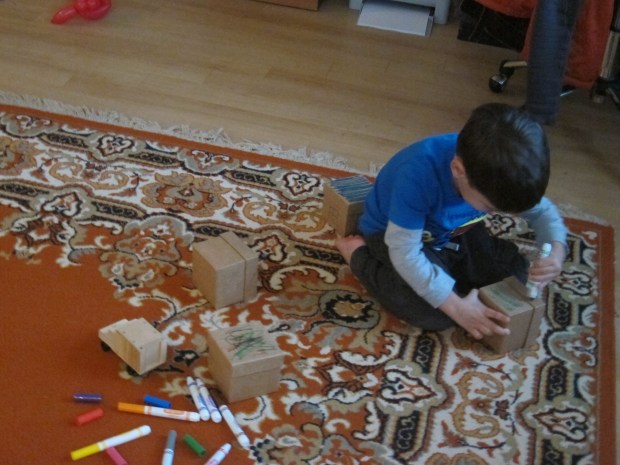
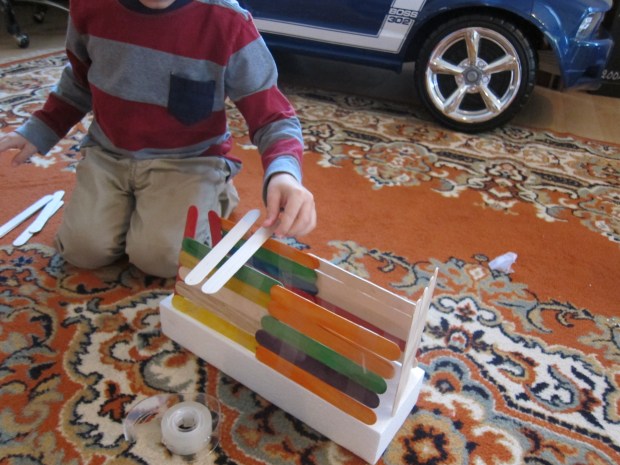
We then found an idea on Little Passports blog to make a Native American longhouse, and thought it fit in perfectly with this unit. Starting with a cardboard base, we first added 4 craft sticks at the corners. The idea was to glue on additional craft sticks for the wall, but Travis suggested we use tape, both because it would be sturdier and ready faster.

LP Homes (8)

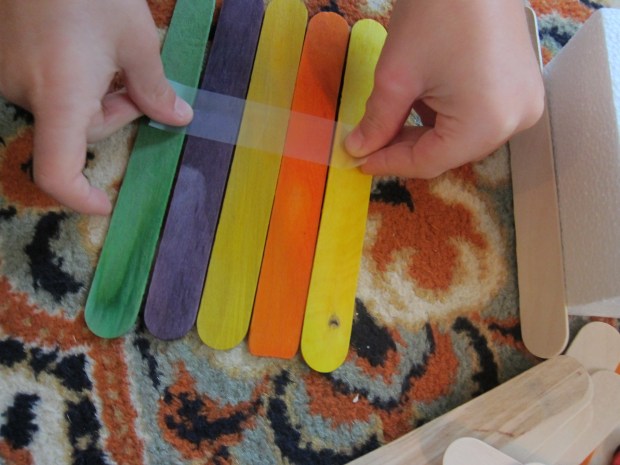
We made little rafts of 5 sticks, and taped them horizontally. Pretty soon our longhouse was complete.

LP Homes (10)

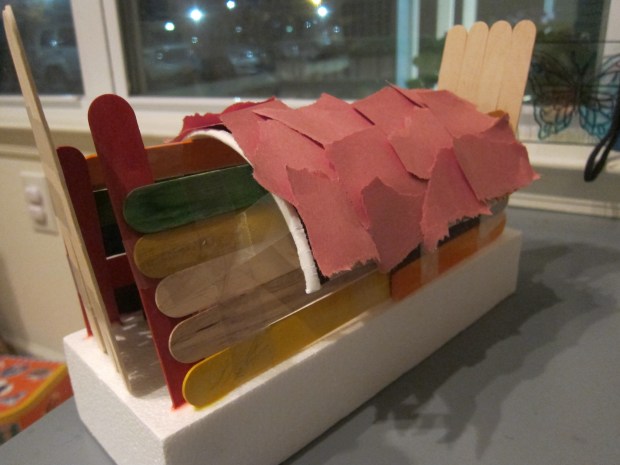
For the roof, we cut an old oatmeal carton in half, and poked a few “smoke holes” in the top. A few more pieces of tape and it was on.

LP Homes (12)

Travis insisted the house have a door that could swing, so a few more craft sticks and tape made that a reality. Pretty soon it was a home to Duplo figures! I loved seeing his imagination at play.

LP Homes (14)

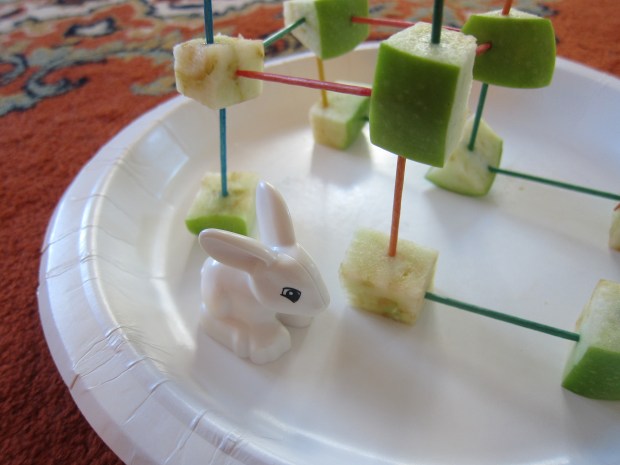
Finally, I included the add-on option from the Homes package, a little plush treehouse full of 5 animals who make their home in a tree – a reminder that animals have homes, too!

LP Homes (26)

I thought the toy might be a bit young for Travis, but he absolutely loved it, especially fitting the animals into all the doors and windows.

LP Homes (27)

Mini Box Houses

Box Houses (7)

Well, here’s yet another example of my 4-year-old having a mind of his own, taking a game I intended one way in another direction entirely – but loving every minute of it!

We’ve been having lots of fun with various materials, finding ways we can make cities lately, and have used everything from paper bags to old cereal boxes to tape.

This time, we pulled out some papier mache craft boxes, which I thought would make adorable houses, and I encouraged Travis to draw windows and doors. But he said he just wanted to color them – the entrance was through the roof!

Box Houses (2)

Pretty soon we populated our village – a rock with a smiley face, a stuffed turtle, and “Blocky the Block.” Pet rock friends would make great village residents, too.

Box Houses (5)

The game got really fun when we poked a hole in each door with a tiny key, and he twisted the key in every door to let in his residents. He was busy with this for ages while I prepped dinner!

Box Housees (6)

Eventually he did draw some doors, too, making great rectangles – great pen control practice!

Box Houses (3)

Overall, these little boxes provided ages of great fun.

Box Houses (4)

Have you tried making any of our craft houses? Which was your child’s favorite? Please share in the comments!

Box Houses (1)

Make Your Own Building Blocks

Own Building Blocks (4)

I have a preschooler who definitely needed attention this morning, and it’s a good thing I had a game waiting in the wings! For a couple of weeks now, I’ve been saving old food boxes (cereal cartons, cracker boxes, tea, etc.) in various shapes and sizes, and now it was time to put them to multiple uses!

First we had to cover the blocks in wrapping paper, which Travis loved, especially helping with the tape. We decided we liked using brown craft paper best, although solid colored wrapping paper would be fine.

Own Building Blocks (1)

Travis immediately took to stacking the boxes, so proud of his creations!

Own Building Blocks (3)

Pretty soon thereafter it was Batman’s fortress.

Own Building Blocks (5)

I took the time to draw house details – doors and windows – and we set up a cute Duplo main street…

Own Building Blocks (6)

…but this didn’t interest him for long.

Own Building Blocks (2)

A much bigger hit was… box bowling!

Own Building BLocks (7)

Set up the boxes and take aim.

Own Building Blocks (8)

Next, we took our stacking to the next level by adding cups.

Own Building Blocks (9)

It was a neat architectural challenge to encourage him to use paper cups in between each box layer.

Own Building Blocks (10)

You can also make the blocks more educational. Can you sort the boxes by size, for example?

Own Building Blocks (11)

Or, turn them over and write the letters of your child’s name, one per box. I was so proud of how quickly Travis had his letters in the right order!

Own BUilding Blocks (12)

Finally, have some good, silly fun. We made a fort and threw cup bombs at each other. Who knew you could do so much with a few boxes?

Own Building Blocks (14)

Pumpkin Mac and Cheese

Pumpkin Mac (5).JPG

It’s not fall until you’ve made a pumpkin-flavored something, and this spin on mac ‘n’ cheese from High Five magazine is a great way to sneak veggies into your kids’ dinner!

Grown-ups: To start, cook 8 ounces macaroni pasta according to package directions; drain and set aside.

Meanwhile melt 2 tablespoons Earth Balance butter in a saucepan. Whisk in 2 tablespoons flour and 1 cup non-dairy milk. Remove from heat and let cool slightly.

Now the kids can join in! Whisk in 1 cup shredded Daiya cheddar…

Pumpkin Mac (3)

… along with 1 cup canned pumpkin, 1/2 teaspoon mustard, and 1/4 teaspoon nutmeg. Travis loved smelling and taste-testing the mustard and nutmeg!

Pour the pumpkin sauce over the macaroni in a 9×13-inch baking dish, stirring to combine.

Pumpkin Mac (4)

Bake at 375 degrees F for 25 minutes. Little sister’s onesie even matched!

Pumpkin Mac (1)


Magic Thermostat Hands

Thermo Hands (2)

Brr! It’s getting chilly out there, that time of year where suddenly a 60 degree day feels downright warm, if you’ve had a spell in the 40s or 50s. I always marveled at this phenomenon myself as a child, and it was a great prompt to teach Travis about how temperature to our bodies is relative. All you need are three buckets of water. Ready, set, chill!

Fill one bowl or bucket with ice water. Fill a middle bucket with lukewarm water. Fill the third with hot water (make sure to test this one first, so it won’t hurt your child’s skin).

Thermo Hands (1)

Encourage your child to put one hand in the ice water and one in the hot. Let sit for about 30 seconds, then transfer both hands to the lukewarm water.

Thermo Hands (3)

They will discover that the ice water hand feels warm now, and the hot water hand feels cooler. Voila, a lesson on relative temperature!

Thermo Hands (4)

Crunch Time

Crunch Time (7).JPG

After a fun snack time making and eating apple nachos, we had a big green apple leftover on the counter. I realized I could easily entertain Travis by turning this last apple not into a snack but into a building material. This activity is great for keeping kids busy, whether you’re nursing a younger sibling, cooking a family dinner, or prepping for a big holiday feast later this month!

Crunch Time (1)

Travis and I started with a firm base, and I showed him how he could attach two apple pieces together with a toothpick.

Crunch Time (2)

Pretty soon he was off and running with it, building up up up.

Crunch Time (3)

He loved seeing how horizontally-added toothpicks helped stabilize the structure – a little engineer at work!

Crunch Time (5)

Kids can make the design as simple or as complicated as they like. We finished ours with a triangle tower on top.

Crunch Time (6)

And soon it was home to a Duplo bunny.

Crunch Time (8)

How do you keep kids entertained while you’re busy in the kitchen? Please share in the comments!


Coffee Filter Fish

Coffee Fish (9).JPG

Pretty rainbow fish are lighting up our doors and windows these days! This is an easy activity you can do with your child almost any time, requiring only coffee filters and markers.

First, be sure to cover your work surface (things will get wet!) and prep your materials. You’ll need permanent marker for this craft, not the washable kind, which made Travis feel very grown up.

Before he even started coloring our white coffee filters, he grew impish… Who doesn’t just want to spray water?

Coffee Fish (1)

He slowed down once I demonstrated how to color in a filter as completely as possible for the best results, so the colors will bleed together. Then he got to soak my marker-covered filter.

Coffee FIsh (4)

Now he had the idea!

Coffee Fish (5)

He scribbled in various color combos, declaring this one was a library fish, that one was a doctor fish, etc.

Coffee Fish (6)

We left our filters to dry completely.

To complete the fish, cut a triangle from one part of each circle as the mouth.

Coffee Fish (7)

Glue the triangle onto the opposite side of the circle – voila, a tail!

Coffee Fish (8)

Finish by drawing in eyes, and hanging the fish some place where they will catch the sunlight.

Coffee Fish (10)