Starburst Symmetry

Starburst SYmmetry (10)

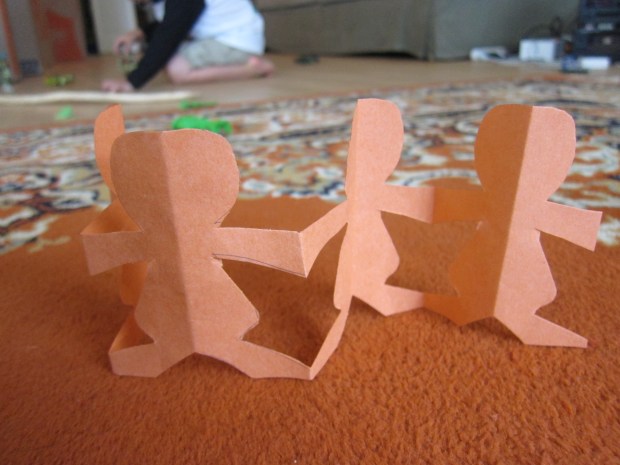
This quick project was a fantastic way to show Travis circular symmetry, slightly different from symmetry with two halves as we’ve explored late in symmetrical socks and paper doll projects. There was a lot of need for precision with this activity, so I was proud of Travis’s concentration level.

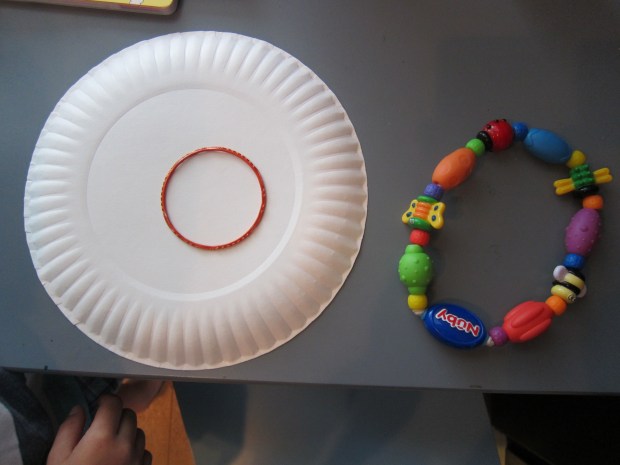
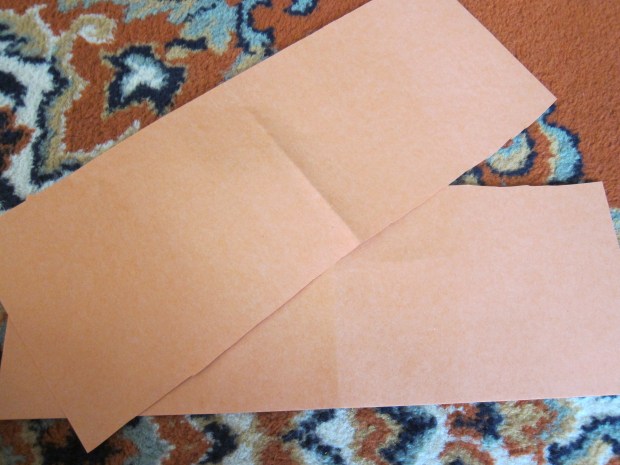
To start, fold a coffee filter in half. Then in half again, then in half again! Travis took the task of folding and making a good crease each time quite seriously. At the end, your filter will be the shape of an ice cream cone.

Starburst Symmetry (1)

Next he spritzed the filters with water until damp on each side, but not soaking.

Starburst Symmetry (2)

Use marker to make dots all over the filter, counting to three for each dot. This was a great little lesson in patience and also not scribbling (as he’d done recently for a different type of coffee filter project).

Starburst Symmetry (3)

Flip the filter over – wow! His pattern was waiting there on the other side.

Starburst Symmetry (4)

I showed him how to go over his dots again – slowly and carefully – to make the final result a little more clear.

Starburst Symmetry (5)

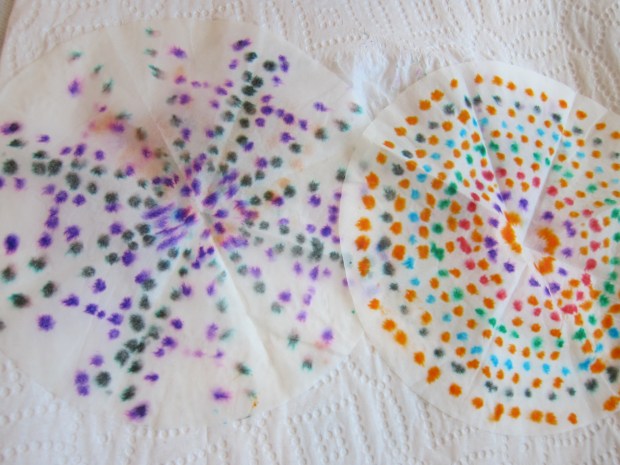
Now he opened it up for a big reveal. “Wow!”

Starburst Symmetry (6)

He wanted to know how the pattern had gotten there, but understood once I explained that the marker went through all 6 layers of the filter, resulting in perfect symmetry in all 6 segments.

Starburst Symmetry (8)

I loved how his pattern made a purple diamond, unintentinoally.

Starburst Symmetry (11)

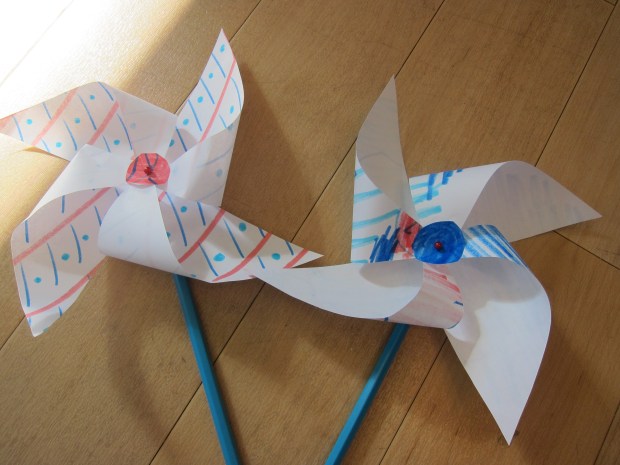
These are beautiful hung on the wall or fridge once they dry!

Starburst Symmetry (9)

Speedways

Speedways (4).JPG

This little experiment will challenge your child’s brain to think like an engineer, and teaches about angles, weight, speed, and more.

I tasked Travis with finding two balls that were the same and he came back with two squishy sports balls (Note: It turns out one might have been heavier than the other, but more on that later).

Speedways (1)

Next we needed to construct two ramps. Heavy duty cardboard cut to the same size were perfect. I helped Travis look around for what we could tilt them up against. He tried a few initial ideas, like baby toys, until we settled on a box for one and a stool for the other.

Speedways (2)

Counting to three, Travis and I released at the same time and watched the balls zoom down.

Speedways (5)

I asked him why the steeper one had rolled faster and further. He guessed because that ramp was shorter, so I showed him again how the ramps were the same length. But then we talked about the steepness, and he was quite interested. He said he found a way to make it roll even faster – from up above the ramp!

Speedways (3)

We tested out a few slightly more scientific variations, but then found that the “soccer” ball always rolled faster and further even when on the ramp with less of an incline. Holding both, I realized it was heavier than the “baseball”, which may have skewed our experiment. But we had speedy fun!


Sunshiny Art, Three Ways

Sunshine Art (11)

Baby it’s hot outside! But instead of lamenting the fact, Travis and I are using the sun as our accomplice in art.

First, we made suncatchers. This is a craft we’ve done before but it never loses its luster. Use markers to color over coffee filters – the more colors the better! Spritz with water to bleed the colors together.

Sunshine Art (2)

Once dry, we made paper frames by cutting rectangles out of white paper and taping around the filters. Place them in the window to catch the sun!

Sunshine Art (9)

Then we headed outside with a long roll of craft paper to make shadow portraits. Have your child stand so that the paper catches their shadow (you might have to lay it down a few times before you get the right angle). Trace around the shadow.

Sunshine Art (3)

Travis filled in his outline with a smile and clothes – all orange today!

Sunshine Art (5)

I challenged him to draw my shadow next. This task was tough, especially because he lost his place when the sun went behind a cloud, but it was great tracing practice.

Sunshine Art (7)

Finally, we returned to another oldie-but-goodie: sun prints. Place toys or other items on a piece of dark construction paper. Travis liked placing the items just so.

Sunshine Art (10)

Wait a few hours, then check and see if the image of the items remains on the paper. The longer the sun bleaches your paper, the more pronounced the effect will be.

Sunshine Art (13)

Thanks for helping out, Mr. Sun!

Where O Where is O?

O Hunt (3)

O is usually one of the first letters that children feel comfortable tracing, since it’s just drawing a circle. After confidently doing his tracing for the day, I sent Travis on a hunt: He needed to locate three things in the apartment that looked like an O.

At first he spotted the underside of his marker, but I knew he could look harder than that.

O Hunt (1)

After some searching, he soon had an assembly: a paper plate, mommy’s bracelet, and a toy from his baby sister.

O Hunt (2)

For lower case o, I simply asked him to form one with his hand. This was an easy day!

O Hunt (4)

Noodle N

Noodle N (5).JPG

Travis traced the letter N today and enjoyed the two challenges I presented him with after to make 3-D models.

For the first, I gave him three new pencils. Could he figure out how to position the three to form upper case N?

Noodle N (1)

He had to work closely from a picture to see how it was done, but soon had the first two pencils positioned correctly.

Noodle N (2)

Hmm, should that final pencil be straight up and down, or at an angle? Tada!

Noodle N (3)

Our lower case n made him giggle. Ahead of time, I had cooked a few pieces of spaghetti. I gave him a cooked piece and an uncooked piece. The hard noodle became the straight line of n.

Noodle N (4)

He wiggled around the cooked noodle to form the rest of the letter. Then impishly gobbled it up!

Paper Doll Chain

Paper Doll Chain (6)

In a continuing unit on symmetry, today I thought Travis might like to see an old-fashioned paper doll chain. Making it was good fun… but even more so was the interesting way he created to play with it!

First, cut a piece of construction paper into two long rectangles. Travis helped with this part, which was great for scissor practice.

Paper Doll Chain (1)

Fold the paper in half three times. Pencil in a person, making sure the arms and legs extend all the way to the crease.

Paper Doll Chain (2)

I let Travis cut along the straight lines through all those thick layers of paper – even better scissor practice! I helped out on the trickier bits, like around the head.

Paper Doll Chain (3)

Extend the chain of people out and you’ll see perfectly symmetrical dolls! We did a review of what this means to have symmetry, and he understood that they were all the same because of the way we’d folded the paper.

Then to my amusement, the dolls were lined up in battle formation, a little phalanx to join his action figure battle games!

Paper Doll Chain (5)

Silly Symmetrical Socks

Symmetrical Socks (6).JPG

Travis has been learning about symmetry lately, but this was the first time I challenged him to make something symmetrical without a template to follow. He was gamely up for the challenge!

I folded a piece of paper in half and drew a sock. How many socks did I have? I asked him. One, he guessed.

Symmetrical Socks (1)

I unfolded the paper to reveal… two socks! He thought this was a neat trick.

Symmetrical Socks (2)
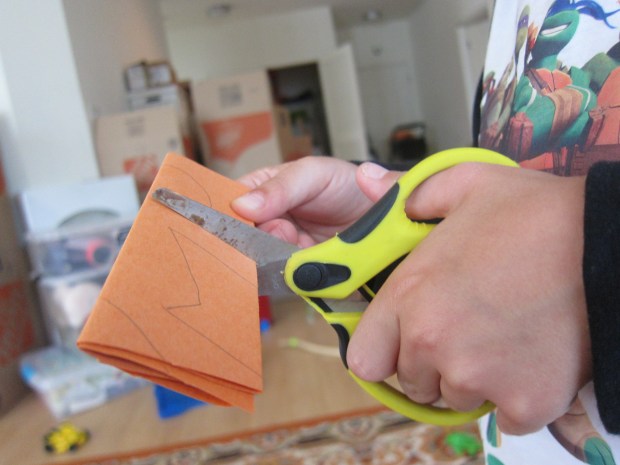
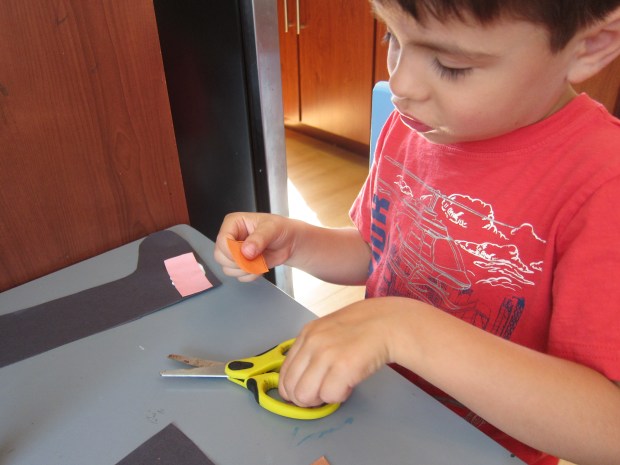
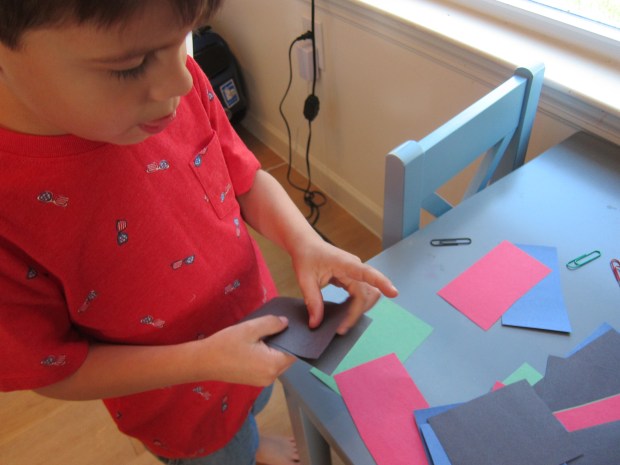
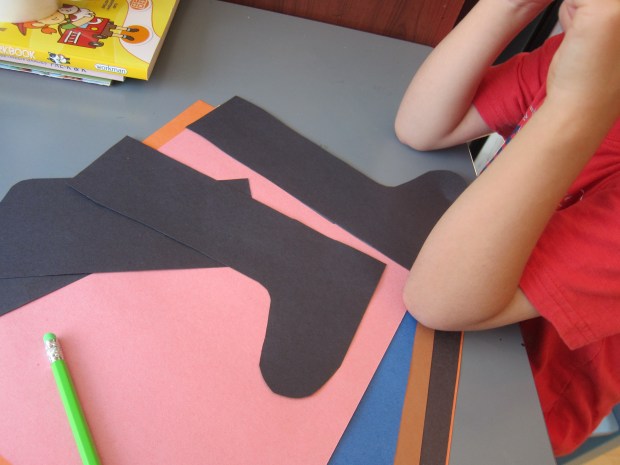
Now it was time to add silly decorations. For each one, fold a piece of paper in half and cut out shapes or designs. Travis loved discovering each time that he had duplicates of each shape.

Symmetrical Socks (3)

I helped Travis ponder where on the socks each shape needed to go to keep them symmetrical. At first he had things a little reversed (the heel of one sock and the toe of the other, for example) but as he worked, he got the hang of it!

Symmetrical Socks (5)

This is a simple and quirky project that will give a great visual about symmetry to little learners.

Symmetrical Socks (4)

Paper Clip Challenge

Paperclip Challenge (8).JPG

Travis and I took the day off from tracing, but I challenged him with this activity that hones fine motor skills and sorting skills – two great things to work on in the summer before kindergarten!

First, I cut construction paper into squares using four different colors. Each color corresponded with a colored paper clip.

Paperclip Challenge (1)

The goal was to gather all the paper slips of one color, and affix them together with the corresponding paper clip.

Paperclip Challenge (2)

He was an avid participant, combing through the pile of papers to make sure he didn’t miss a single one.

Paperclip Challenge (3)

When it came time to clip on the paper clip, I realized he’d never used one before! I showed him how the end with two loops will naturally slip over a stack of paper, one loop in front, one behind, and hold them together. This was like magic to my 5 year old!

Paperclip Challenge (4)

Needless to say, he eagerly began searching for the next color. “You have all the green,” I said, pointing toward the green paper clip. “Nope, missed one!” His eyes are better than mine!

Paperclip Challenge (5)

At the end, he had four neat stacks.. .and loved the task so much that he wanted to play with the paper and clips for some time after.

Paperclip Challenge (7)

Fourth of July Paper Pinwheels

Paper Pinwheel (7).JPG

Just in time for a Fourth of July parade, we threw together these quick pinwheels! This is actually a project we’ve tried in the past but only had brads on hand to attach the paper to pencils. This time, I had proper straight pins on hand!

Draw patterns on paper with markers to start. For today, we knew we needed blue and red markers on white paper of course, but really you could tailor this craft for any holiday – or any day of the year!

Paper Pinwheel (1)

Older kids can concentrate on making their drawings and patterns symmetrical. Or even use patterned paper in a pinch! Make sure to also color in small circles on a separate sheet of scrap paper, which will be the center of the pinwheel.

Cut your paper into a 6-inch square; cut a 3-inch slit diagonally in toward the center from each corner, and cut out the scrap circle.

Paper Pinwheel (2)

Poke a straight pin through the paper circle, then begin folding in the corners of your square, alternating corners and poking the pin through each layer as you go. This was a mommy step!

Paper Pinwheel (6)

Poke the pin through the center of your square and down into the eraser of an unsharpened pencil.

Paper Pinwheel (3)

Your pinwheel is ready to twirl in the wind as the parade marchers go by! Baby sister loved it, too!

Paper Pinwheel (4)

In addition to this fun craft, we set the stage for the holiday with a few other activities. First we needed a playlist of Fourth of July tunes.

Raddish Fourth (3)

Think of bandstand favorites like “You’re a Grand Old Flag”, then add anything with America or U.S.A. in the title! We made our own list, but relied on this one from Raddish Kids for inspiration.

Then we struck up some table talk, also suggested by Raddish Kids; we tackled intriguing questions like who is your favorite president (Travis chose Washington!), how many states can you name, and what is a favorite family 4th of July tradition?

Finally, I showed Travis a red, white, and blue flag quiz. For big kids, make it a true quiz or competition – winner gets a prize! For Travis, it was more of a teaching moment. He liked Great Britain’s flag best, and was intrigued to learn so many other countries use the same color trio as we do.

Happy 4th!

Make an M

Make M (5).JPG

Travis has a hard time tracing M, so I wanted to make today’s lesson a little silly for him. After tracing, I challenged him to make an upper case M – with two pairs of paints!

He really struggled with how to form the letter off of paper.

Make M (2)

I suggested he position the pants in front of himself like a person was facing him and wearing them, but even this was tricky.

Make M (3)

We discussed the motion he makes on paper when tracing M: up, down, up down. Could he see that pattern in the pant legs? Aha!

Make M (1)

Moving on to little m, I made things simpler; I piped glue along an outline of m on construction paper and he only had to make the m by gluing down beads.

Make M (4)

We’ll be back for N soon!