Teach Your Child To… Tie Their Shoes

Tie your Shoes (6)

January is a great time to introduce the idea of a New Year’s resolution, and to help your kid focus on learning a new skill. When Travis overheard a classmate say their resolution was to learn to tie their shoes, I seized on the opportunity to tackle this big kid skill!

We tried two methods, and here’s what worked best for Travis:

First, he sat in my lap so we were both facing the laces in the same direction. Cross one lace over the other to form an X and tuck one lace through the hole; pull tight. So far so good!

Tie your Shoes (2)

Now make one bunny ear, and pinch closed with your fingers over your child’s. Wrap the other lace around and push through the hole until it makes a second bunny ear. Now pull the ears tight. We called the loose ends the “whiskers” to stick with the bunny theme!

Tie your Shoes (3)

Travis could do this method from my lap, but not once he tried it solo. So it was time for two bunny ears. Instead of forming just one, form two “bunny ears”, then cross them into an X and tuck one bunny ear through the hole. Pull tight.

Tie your Shoes (5)

Little sister Veronika might not be ready to tie her laces, but she sure wanted to try on the shoes!

Tie your Shoes (1)

Which method works best for your child: one bunny ear or two? Please share in the comments!

Bubble Prints

Bubble Prints (6)

The original plan with this project was to make art, but the kids were way more into the process than the final product. Which was just fine with me, since they were having fun!

To make bubble paints, pour a little liquid food coloring (or liquid watercolor) into the bottom of plastic cups, and add a little dish soap to each.

Bubble Prints (1)

Blow into the cups through a straw to produce lots of bubbles. Travis made a face and was worried he would get bubble solution in his mouth, but I showed him how to huff out of the straw over a piece of watercolor paper, splattering the “paint” down.

Bubble Prints (2)

We tried a few rounds of this, but then truly the kids lost interest in any painting and just wanted more bubbles!

Bubble Prints (5)

They thought it was so fun to watch them rise to the top, or to see how high the pile of bubbles could go before they bubbled over.

Bubble Prints (8)

Hint: they can go very high.

Bubble Prints (9)

The sticky soap substance was so neat to pop with fingers. Veronika loved scrubbing it all over her hands!

Bubble Prints (7)

If we pressed the bubbles from two different cups together, they would stick! This got big laughs.

Bubble Prints (10)

Eventually we did stop all that bubble play long enough to fill our square of watercolor paper with the paints. I had originally planned to give the kids fish stickers (in keeping with a bubbles-and-ocean theme), but Veronika preferred bug stickers. Alternatively, you could cut fish shapes from black construction paper and glue down.

Bubble Prints (11)

These are lovely pieces of artwork in their own right, but would also make pretty gift cards or stationary.

Jump and Match Snowflakes

Jump and Match Snowflakes (6)

Here’s the perfect way to get some indoor exercise on a cold morning, plus sneak in a learning game, too!

I tailored the game so it would be a challenge for both my 6-year-old and my 2 year-old. First, I printed a snowflake template on cardstock showing 6 pairs of snowflakes, each with a match. Attach these to a door frame in your home so they are just high enough for kids to jump and touch the pairs.

Jump and Match Snowflakes (1)

Because I knew matching up snowflake pairs with subtle differences would be beyond Veronika’s ability, I also color-coded the game; each pair of snowflakes dangled from the same color string.

Jump and Match Snowflakes (2)

Travis proved to be an expert at spotting twin snowflakes (quicker than I would have guessed!) and loved jumping up to grab them.

Jump and Match Snowflakes (8)

Veronika was able to jump by color when I asked her to find both yellow strings, for example.

Jump and Match Snowflakes (4)

She’s just learning to get her feet off the ground in a jump, so this was great practice!

Jump and Match Snowflakes (3)

We also later played a quick game down on the floor where I showed her mismatched snowflakes followed by an identical pair, so she could be exposed to this more subtle version of a match.

Jump and Match Snowflakes (9)

Beyond the matching and jumping, simply having all those snowflakes dangling turned out to be lots of fun. Veronika thought it was a hoot to run under the strings so the snowflakes just brushed her head.

Jump and Match Snowflakes (5)

She also loved jumping her dolls up toward the dangling strings! This was a great way to burn some energy on a cold morning.

Bundt Pan Suncatcher

Bundt Pan Suncatcher (10)

We’ve made sparkly winter suncatchers in cookie cutter shapes before, but this year we decided to think big: Bundt pan big that is!

To start this gorgeous project, head off on a treasure gathering hunt. Veronika especially loved finding the bright pop of red berries and collecting small pine cones as we took a walk.

Bundt Pan Suncatcher (1)

Once home, I filled a Bundt pan with water about half full, then we plunked in our treasures.

Bundt Pan Suncatcher (5)

Now simply set it outside to freeze! We actually had to wait a few days for this to work, since first I realized our layer of water was simply too deep and poured some out. Then we needed a night that dipped down to 20 degrees, and finally we woke to a beautifully solid chunk of ice.

Bundt Pan Suncatcher (7)

To unmold, simply run the bottom of the pan under a little hot water and slip out gently. I wrapped a bright ribbon through the hole in the center of this ice “cake” and suspended it from a tree branch.

Bundt Pan Suncatcher (8)

This was absolutely gorgeous in the sunlight!

Bundt Pan Suncatcher (9)

Travis loved that way that tiny icicles began to form near the bottom as the sun warmed the ice through a little.

Bundt Pan Suncatcher (11

We’re hoping for a few icy cold days so this can last before the sun melts it. As a bonus, all the nature treasures can simply fall where they lie as the suncatcher melts. Just be sure to clean up the ribbon!

Soap-Powered Boat

Soap-Powered Boats (6)

Here was a neat and quick experiment to continue Travis’s recent exploration of surface tension. Or more properly, breaking the bonds that create surface tension!

First, we crafted two cardboard boats. Cut boat shapes from old cardboard or the lid of a shoebox, then cut a deep V notch in the back of each.

Soap-Powered Boats (1)

Decorate with any favorite art supplies! We used markers, washi tape, and little triangles cut from paper for sails.

Soap-Powered Boats (2)

To power your boats, place them in a shallow bin of clean water. Then, dip a q-tip in a little bit of dish soap and touch it right behind the V in the back of the boat. As the surface tension of the water breaks, the boats propel forward!

Soap-Powered Boats (5)

Unfortunately this experiment isn’t easy to do repeatedly. We had hoped to race our two boats, but once the soap hits the water you can’t repeat it unless you dump, fill with clean water, and start all over.

Soap-Powered Boats (4)

But the boats were fun as Lego rafts once the STEM experiment was done!

Soap-Powered Boats (3)

Catching Snowflakes

Catching Snowflakes (4)

We learned about this neat trick for catching snowflakes from Parents magazine and had a chance to test it out today when we looked outside and saw snow flurries!

Ahead of time, place a few sheets of black construction paper in the freezer. Just leave them there if you live some place that’s bound to get snow during the winter, because you’ll want to have them at the ready.

When we saw the snow, we bundled up, grabbed the frozen black paper and a magnifying glass, and headed outside.

Catching Snowflakes (1)

When the snowflakes hit the icy cold paper, they won’t melt. That gave Travis and Veronika the chance to peer at them with a magnifying glass. Travis marveled at how we could see the six points of each flake.

Catching Snowflakes (6)

Veronika just loved the beauty of it, and kept eagerly holding out her paper for more.

Catching Snowflakes (5)

What a simple but wonderful way to experience winter.

Catching Snowflakes (2)

Watercolor and Painter’s Tape

Watercolor & Painter's Tape (7)

Whether you’re using tape resist painting for holiday projects or just any old day of the week, there’s always a ‘wow’ factor to this painting method. It’s a favorite for my toddler and big kid both!

For toddlers, simply encourage them to lay down strips of painter’s tape any which way on thick watercolor paper. I helped Veronika makes lots of crisscross shapes. You could also experiment with making deliberate shapes, like squares or triangles, if desired.

Watercolor & Painter's Tape (3)

Travis wanted to see if he could make a favorite Lego character show up in tape form, which was admittedly harder to do. I taped out a rough outline, leaving empty space for the watercolor to show through.

Watercolor & Painter's Tape (1)

Time for watercolors! I loved watching brother and sister work side by side for this one.

Watercolor & Painter's Tape (5)

Travis loved choosing the right colors for his character. Veronika sometimes painted on her paper…

Watercolor & Painter's Tape (2)

…and sometimes preferred mixing the watercolors right in the tray. I loved seeing her artistic exploration.

Watercolor & Painter's Tape (6)

Once the pages were covered, we set them aside to dry. Then it was time for the big reveal!

Watercolor & Painter's Tape (8)

Water-Powered Window Stickers

Water Powered Window Stickers (8)

All you need for this activity are a few sheets of craft foam. And since these “stickers” peel off and on any window as many times as your child wants, they lend themselves perfectly to imaginative stories and play.

We used craft foam in three colors, and started out by tracing cookie cutters to make shapes and people (hint: you’ll want to use a gingerbread man cookie cutter!). Travis quickly wanted all our stickers to have a Star Wars theme, so we traced a few nightlight inserts in favorite shapes like R2-D2 and The Millennium Falcon, too.

Water Powered Window Stickers (3)

Then he decided to draw a few favorite characters free-hand, like Jabba the Hutt! I was impressed with his creativity.

Water Powered Window Stickers (2)

Draw on any details like facial features, buttons, or hoods with permanent marker, then cut each shape out.

Water Powered Window Stickers (4)

All Travis had to do to create a stage for his little characters on the window was to dip them in a dish of water. I set down a bowl of water (and a paper towel to clean up any drips!) and the fun began.

Water Powered Window Stickers (5)

Travis loved the way he could manipulate the characters all over the window, changing the scene and staging battles and rescues.

Water Powered Window Stickers (10)

Because you can layer one foam piece atop another, be sure to add accessories, too. Darth Vader’s mask could go over any of the little people’s heads, for example. You could even make a foam cut-out to look like a speech bubble and add words with permanent marker.

Water Powered Window Stickers (7)

No matter what theme your child has for these stickers, they are sure to be easy and fun.

Water Powered Window Stickers (11)

Surface Tension Kiwi Crate

Kiwi Surface Tension (4)

Travis was delighted with his latest from Kiwi Crate, a kit all about surface tension with truly delightful projects. It turns out that surface tension, the property of water molecules to want to stick to themselves, makes for both science and laughs. Here’s why!

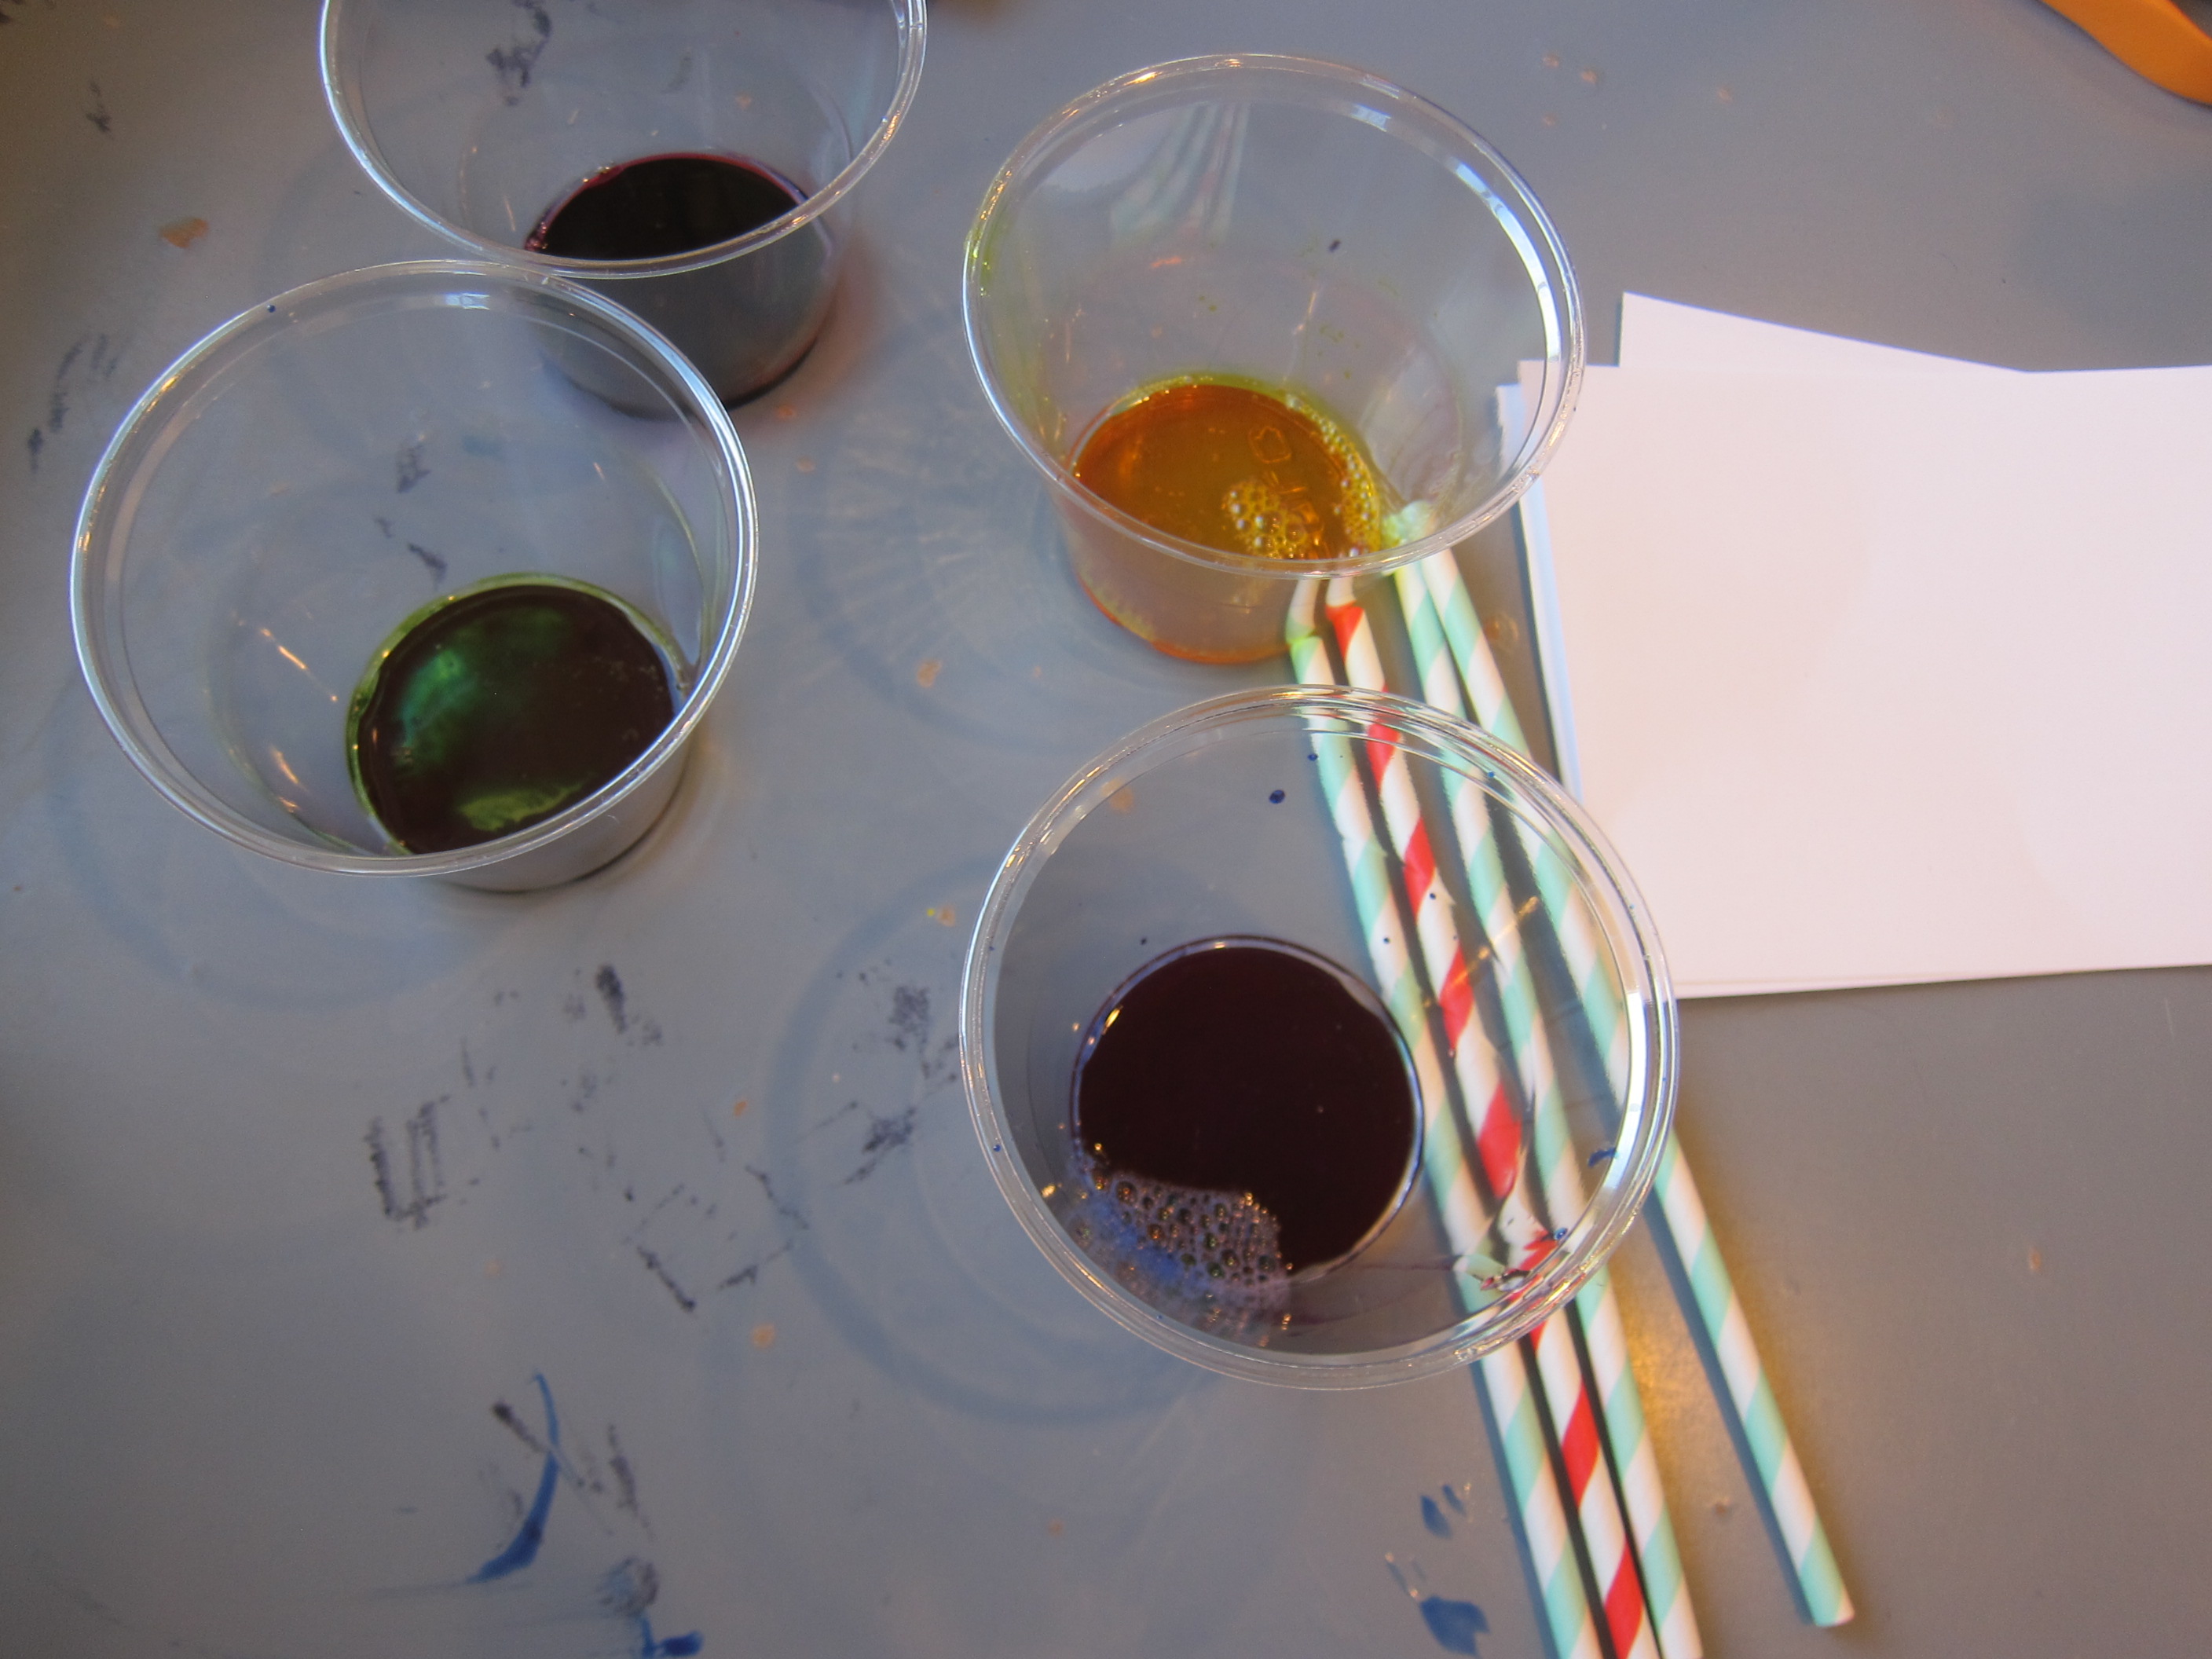
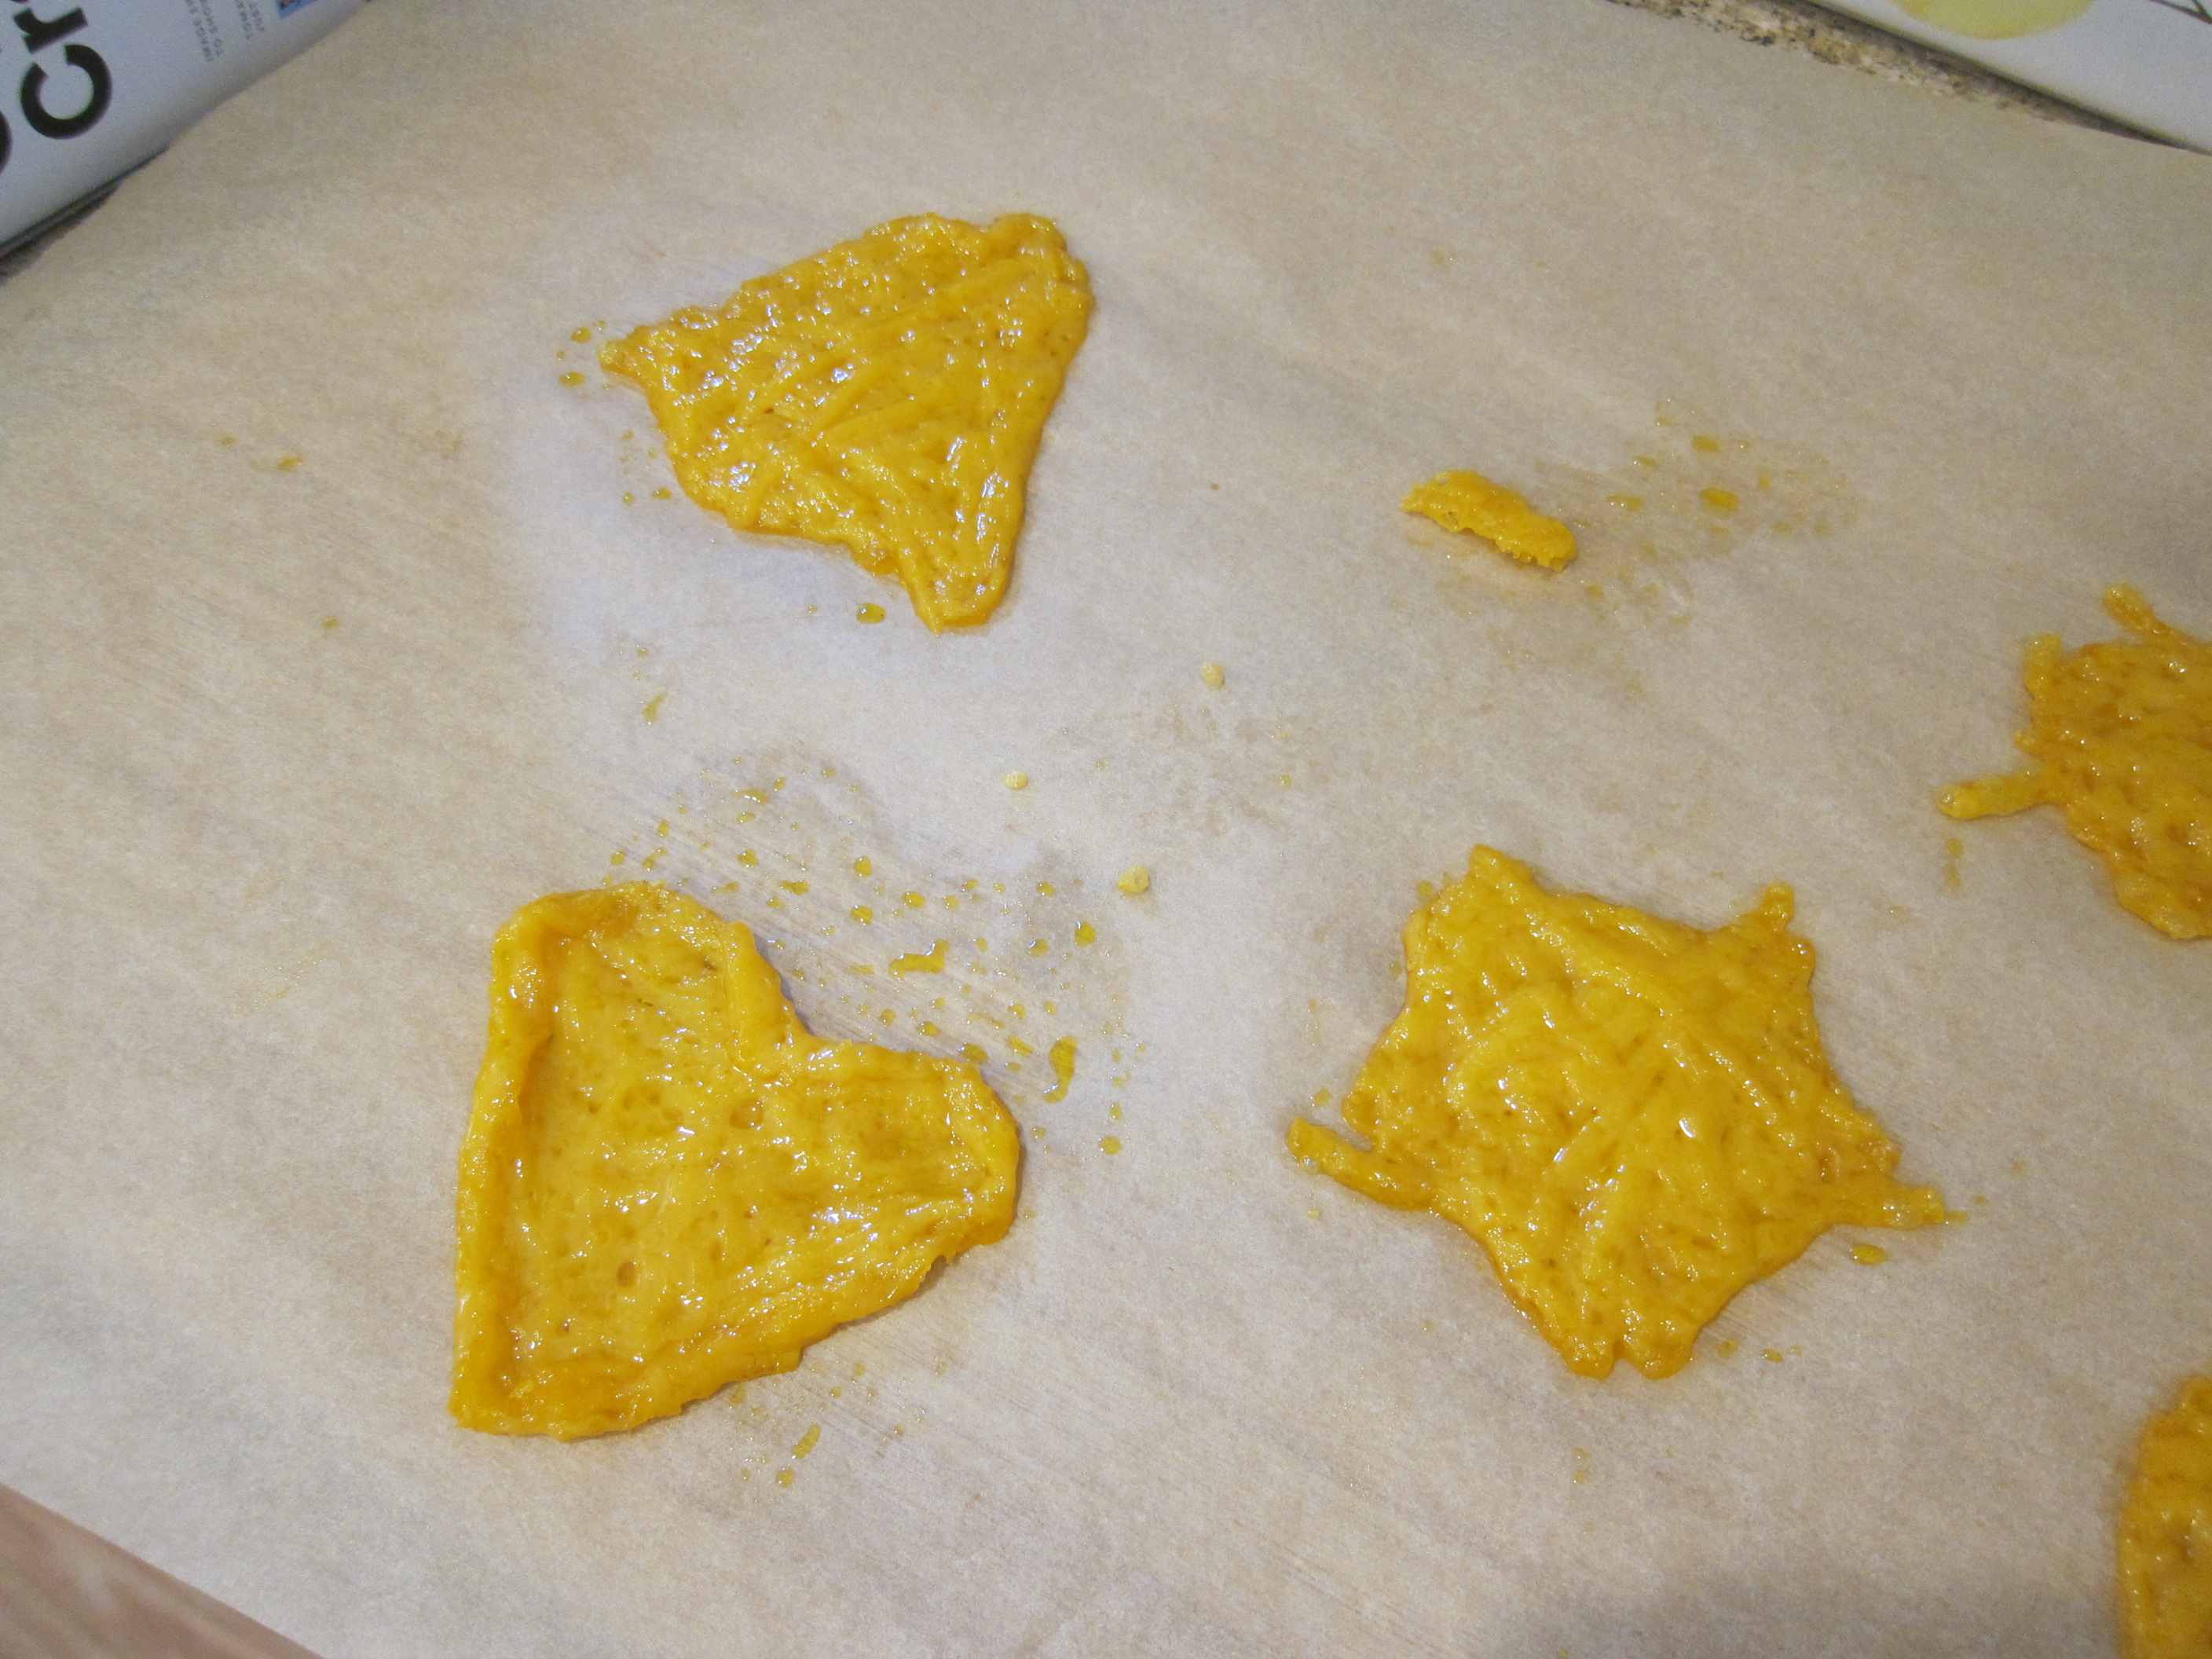
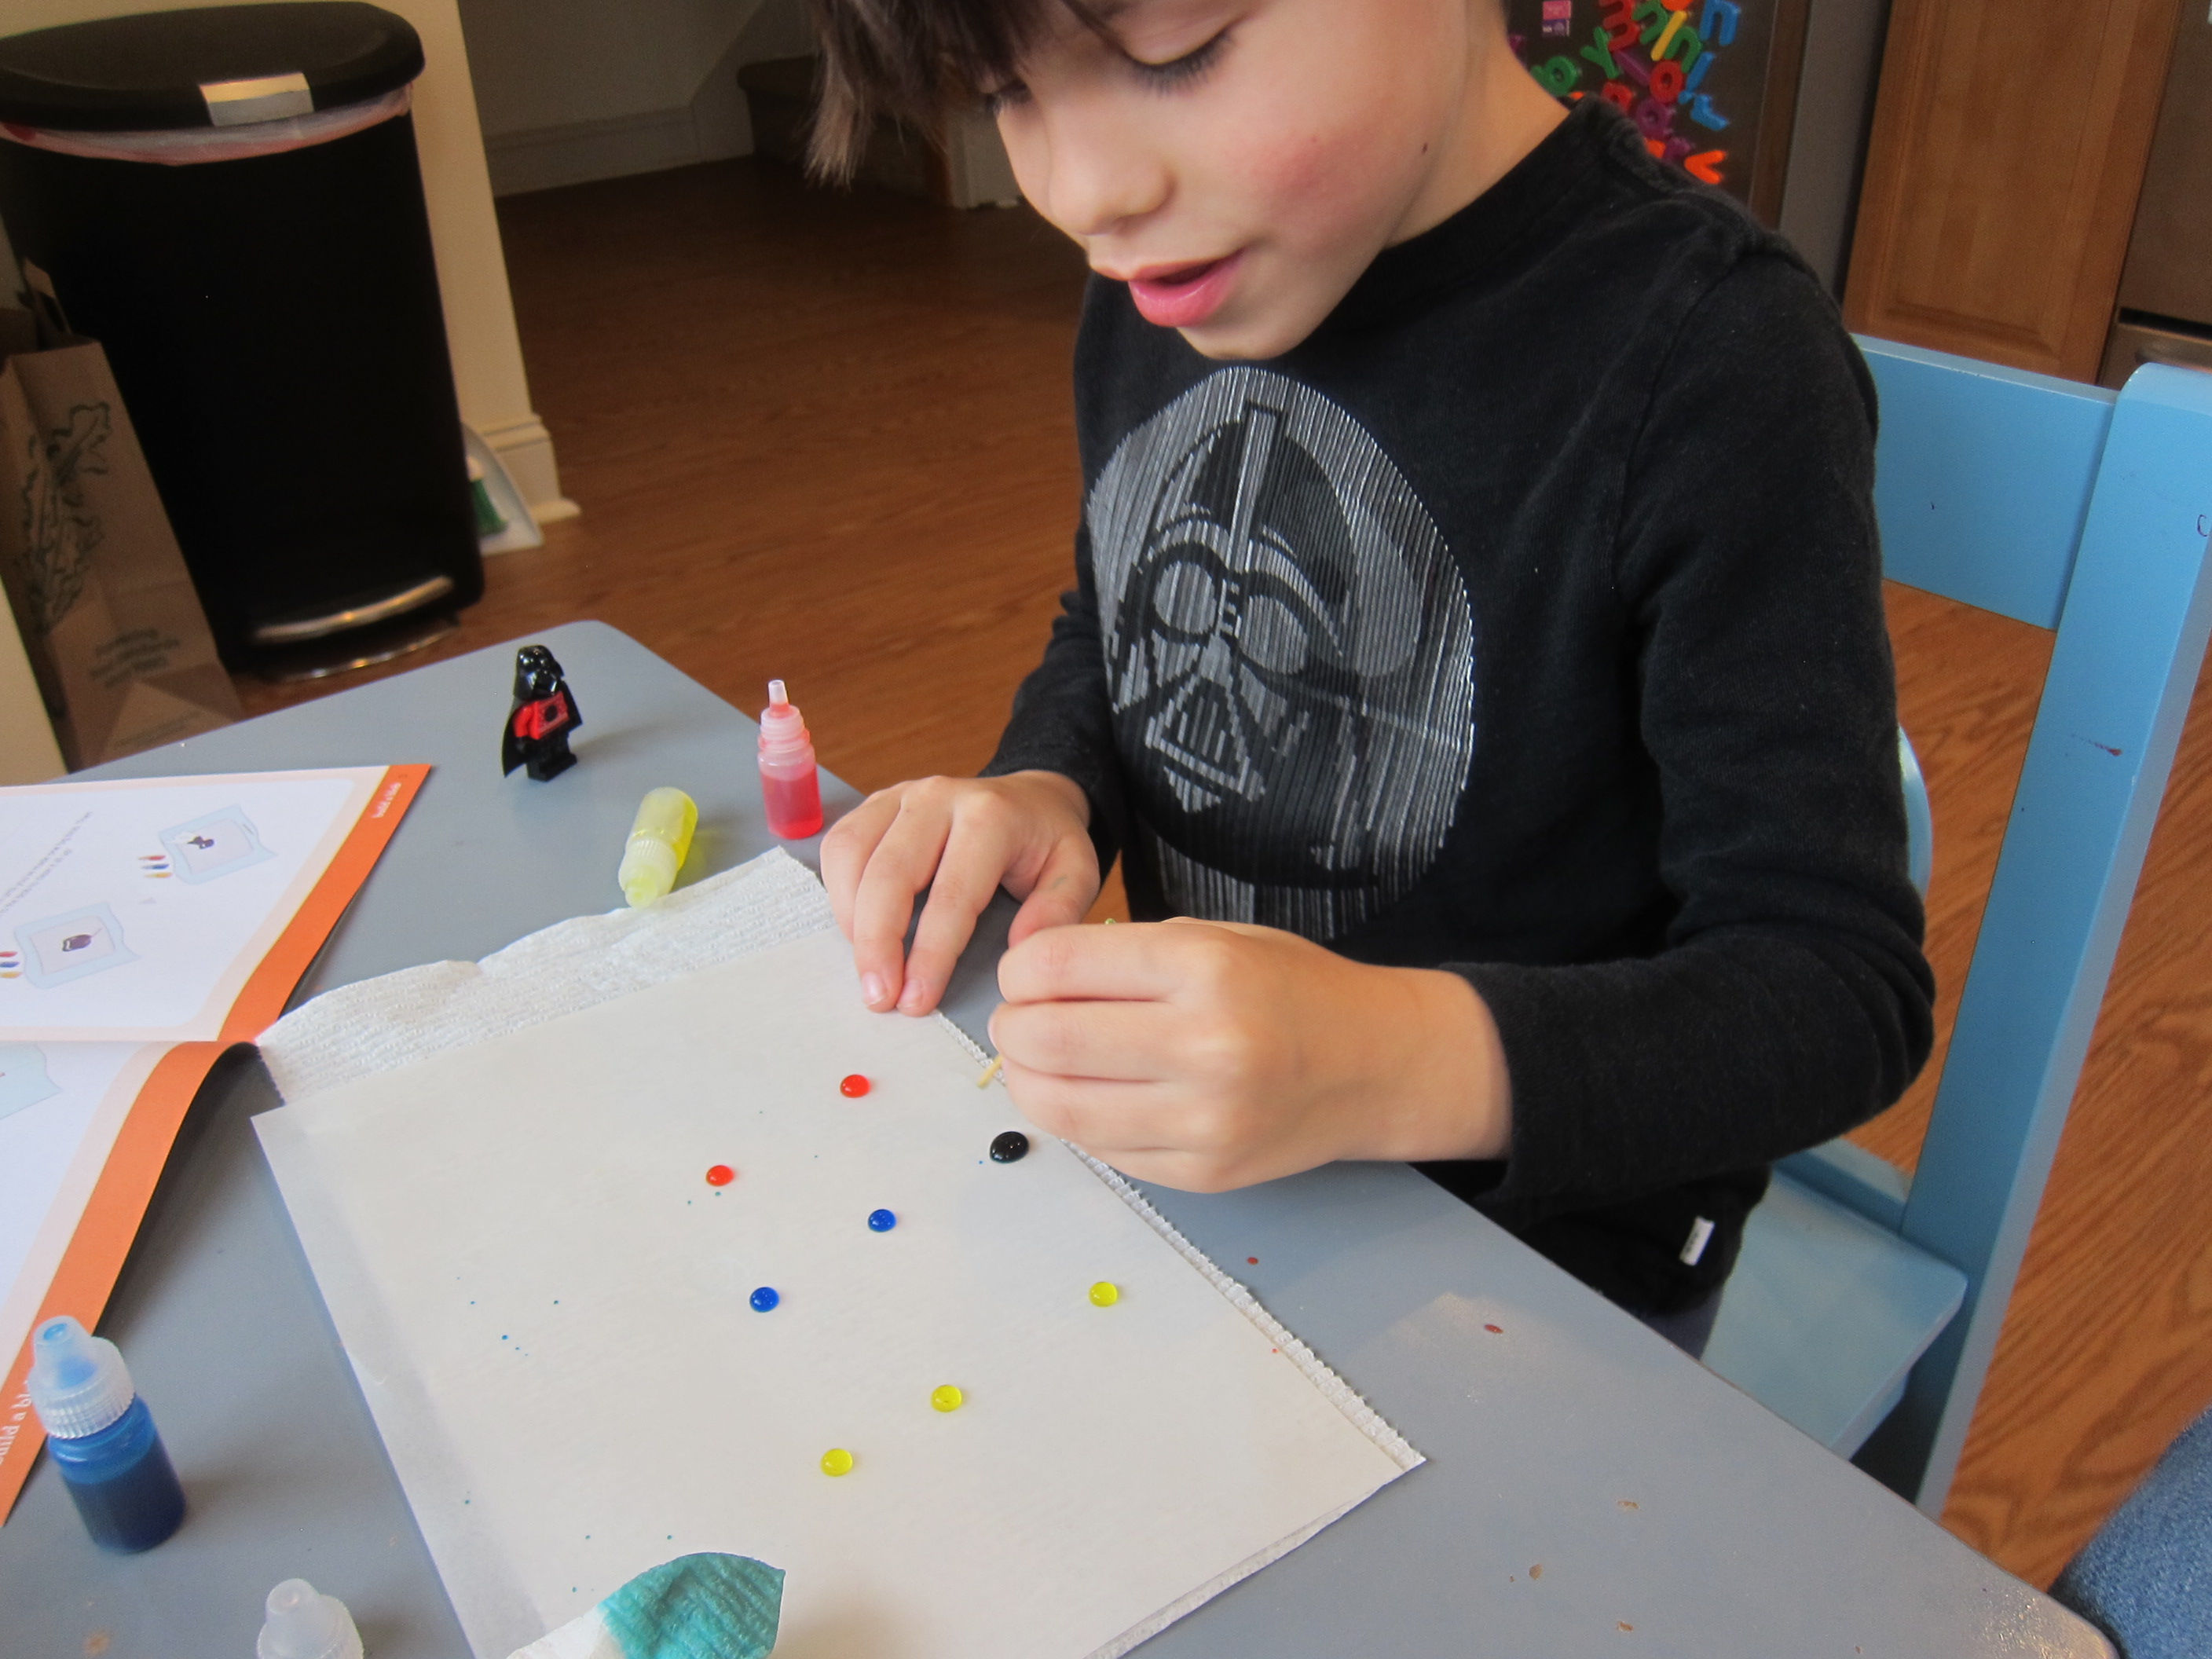
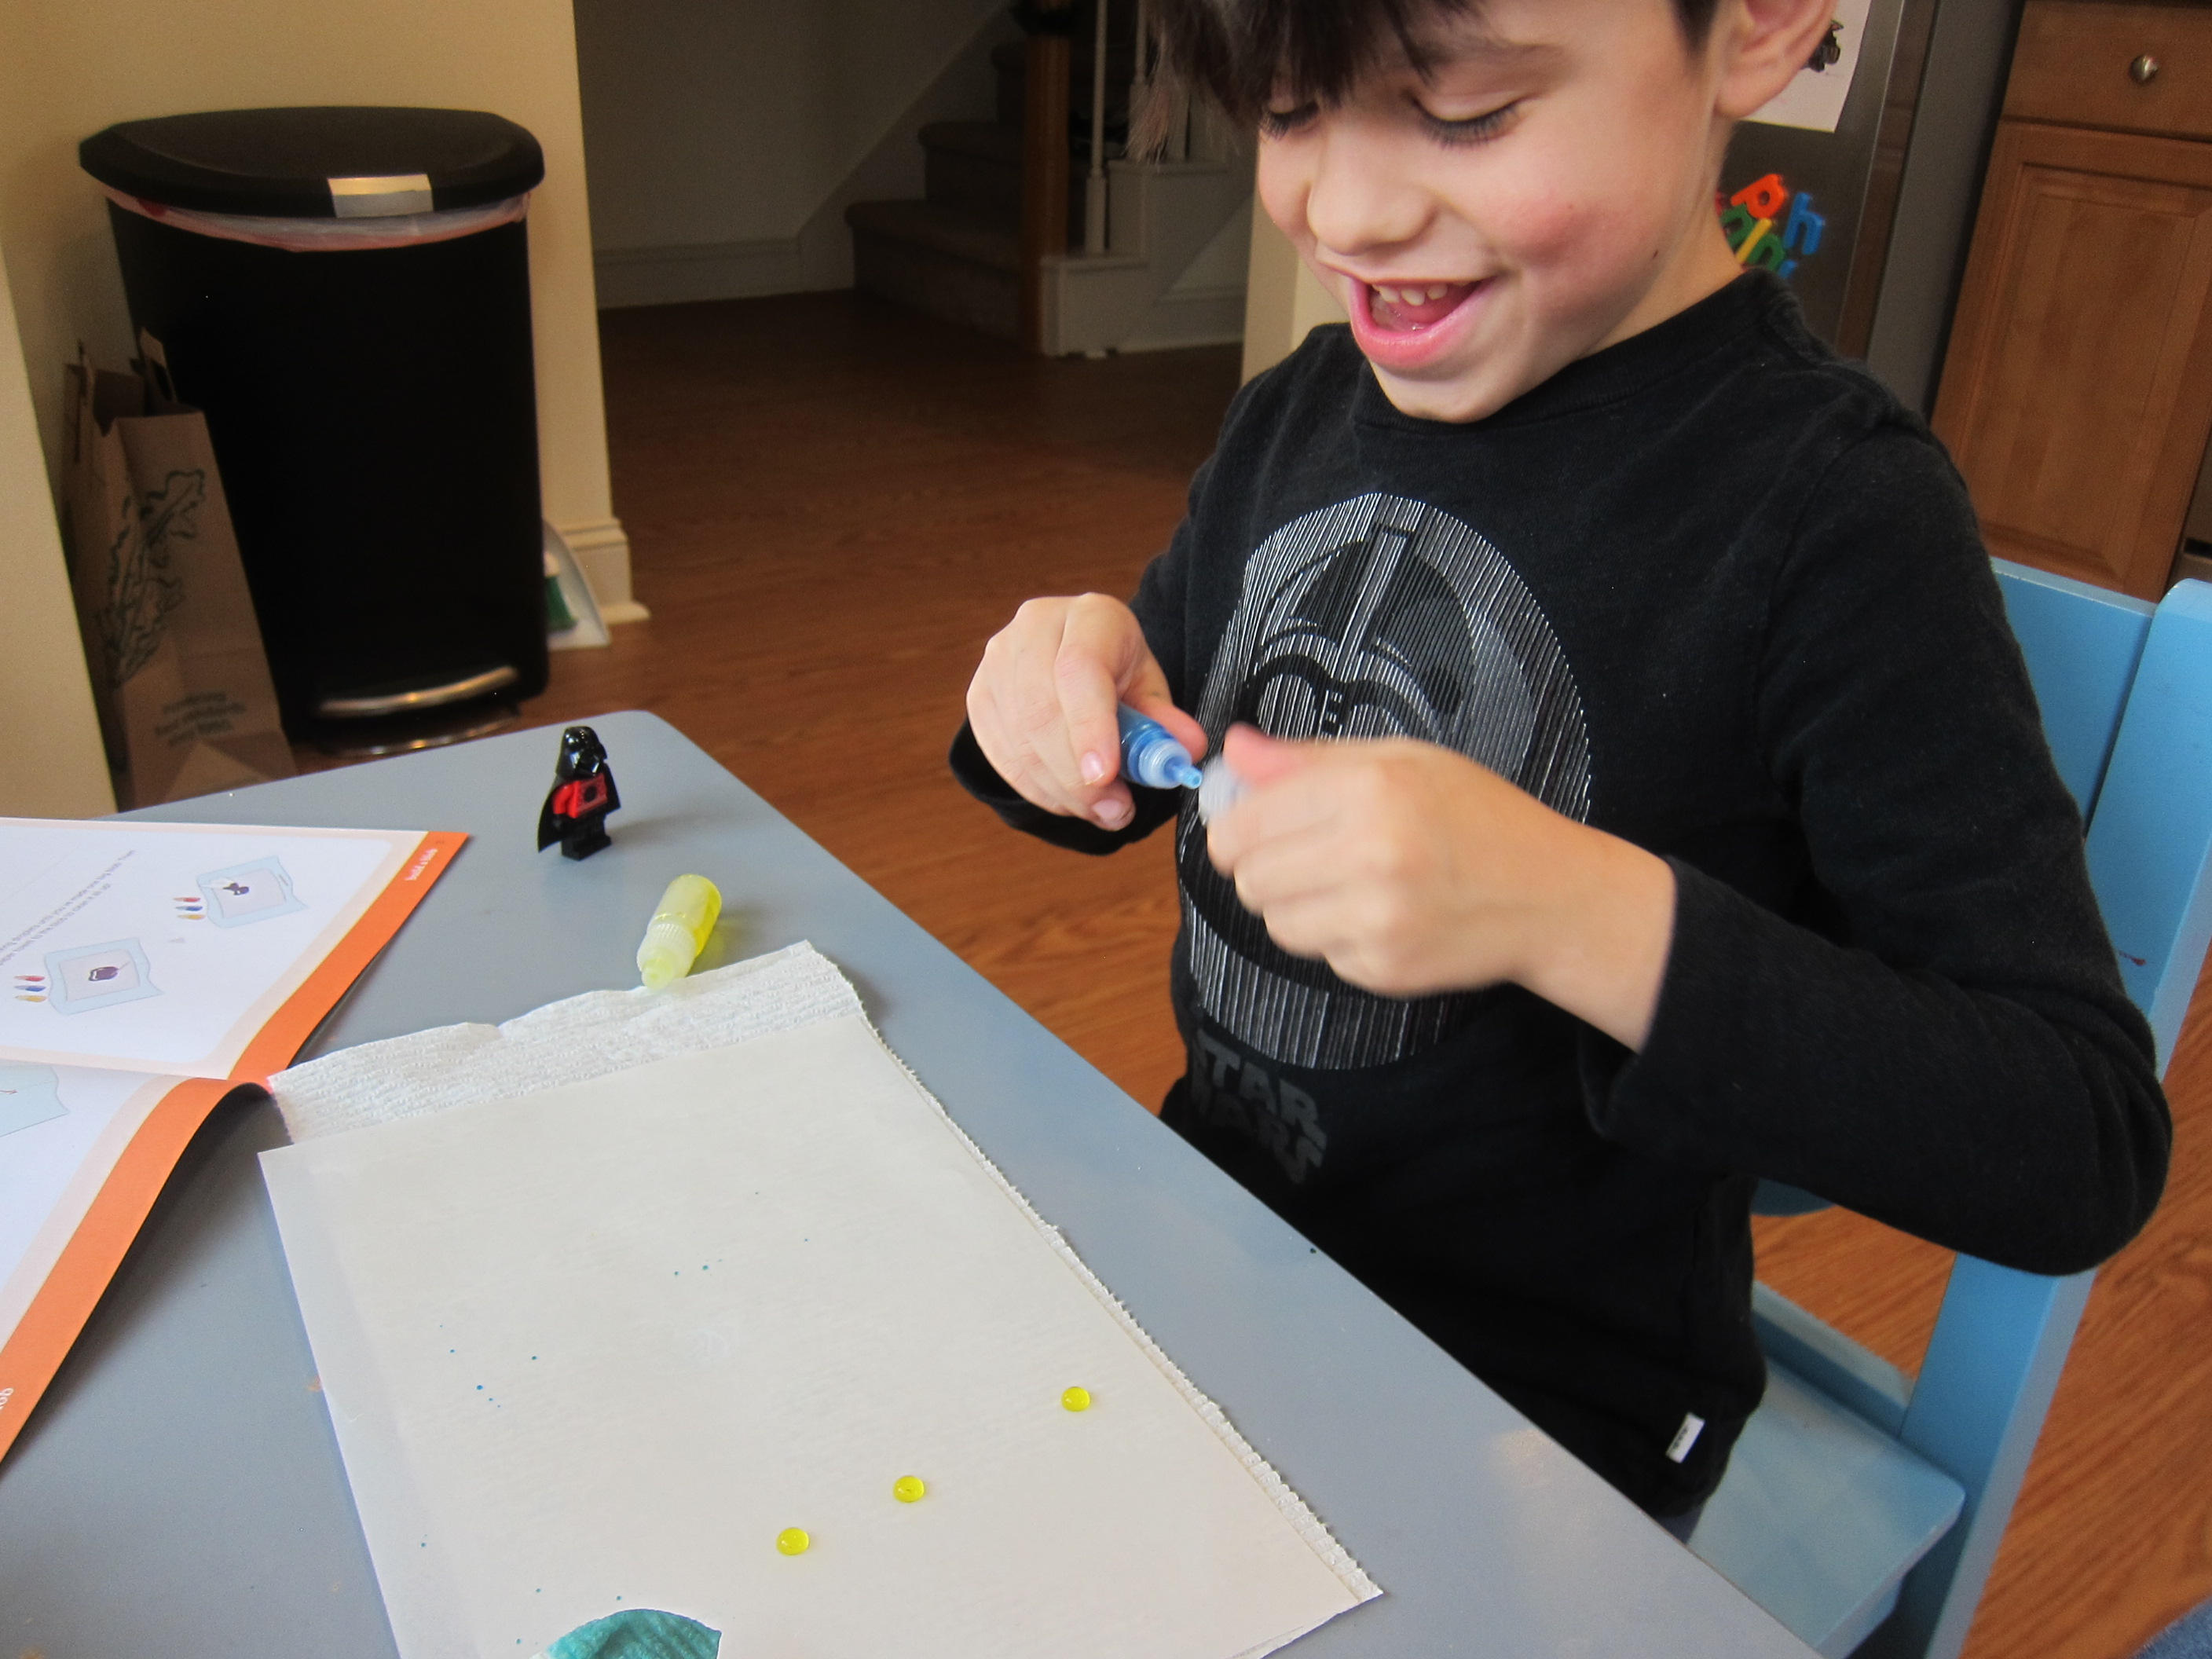
The first experiment was to Build a Blob. Simply squirt three drops of each provided liquid watercolor onto a sheet of wax paper.

Kiwi Surface Tension (1)

Now use the mixing stick to pull them towards each other. The little beads are adorable skittering across the wax paper and then – slurp! They merge. This was entertaining for grown-up and kid alike to watch each time our blob grew bigger, and it had Travis in fits of laughter. When all 9 drops have merged, suck it up with the tip of a paper towel.

Kiwi Surface Tension (2)

Needless to say, Travis needed to repeat until the liquid watercolors were gone, including inventive games of evil empire blobs that were sucking up enemy planets.

Kiwi Surface Tension (5)

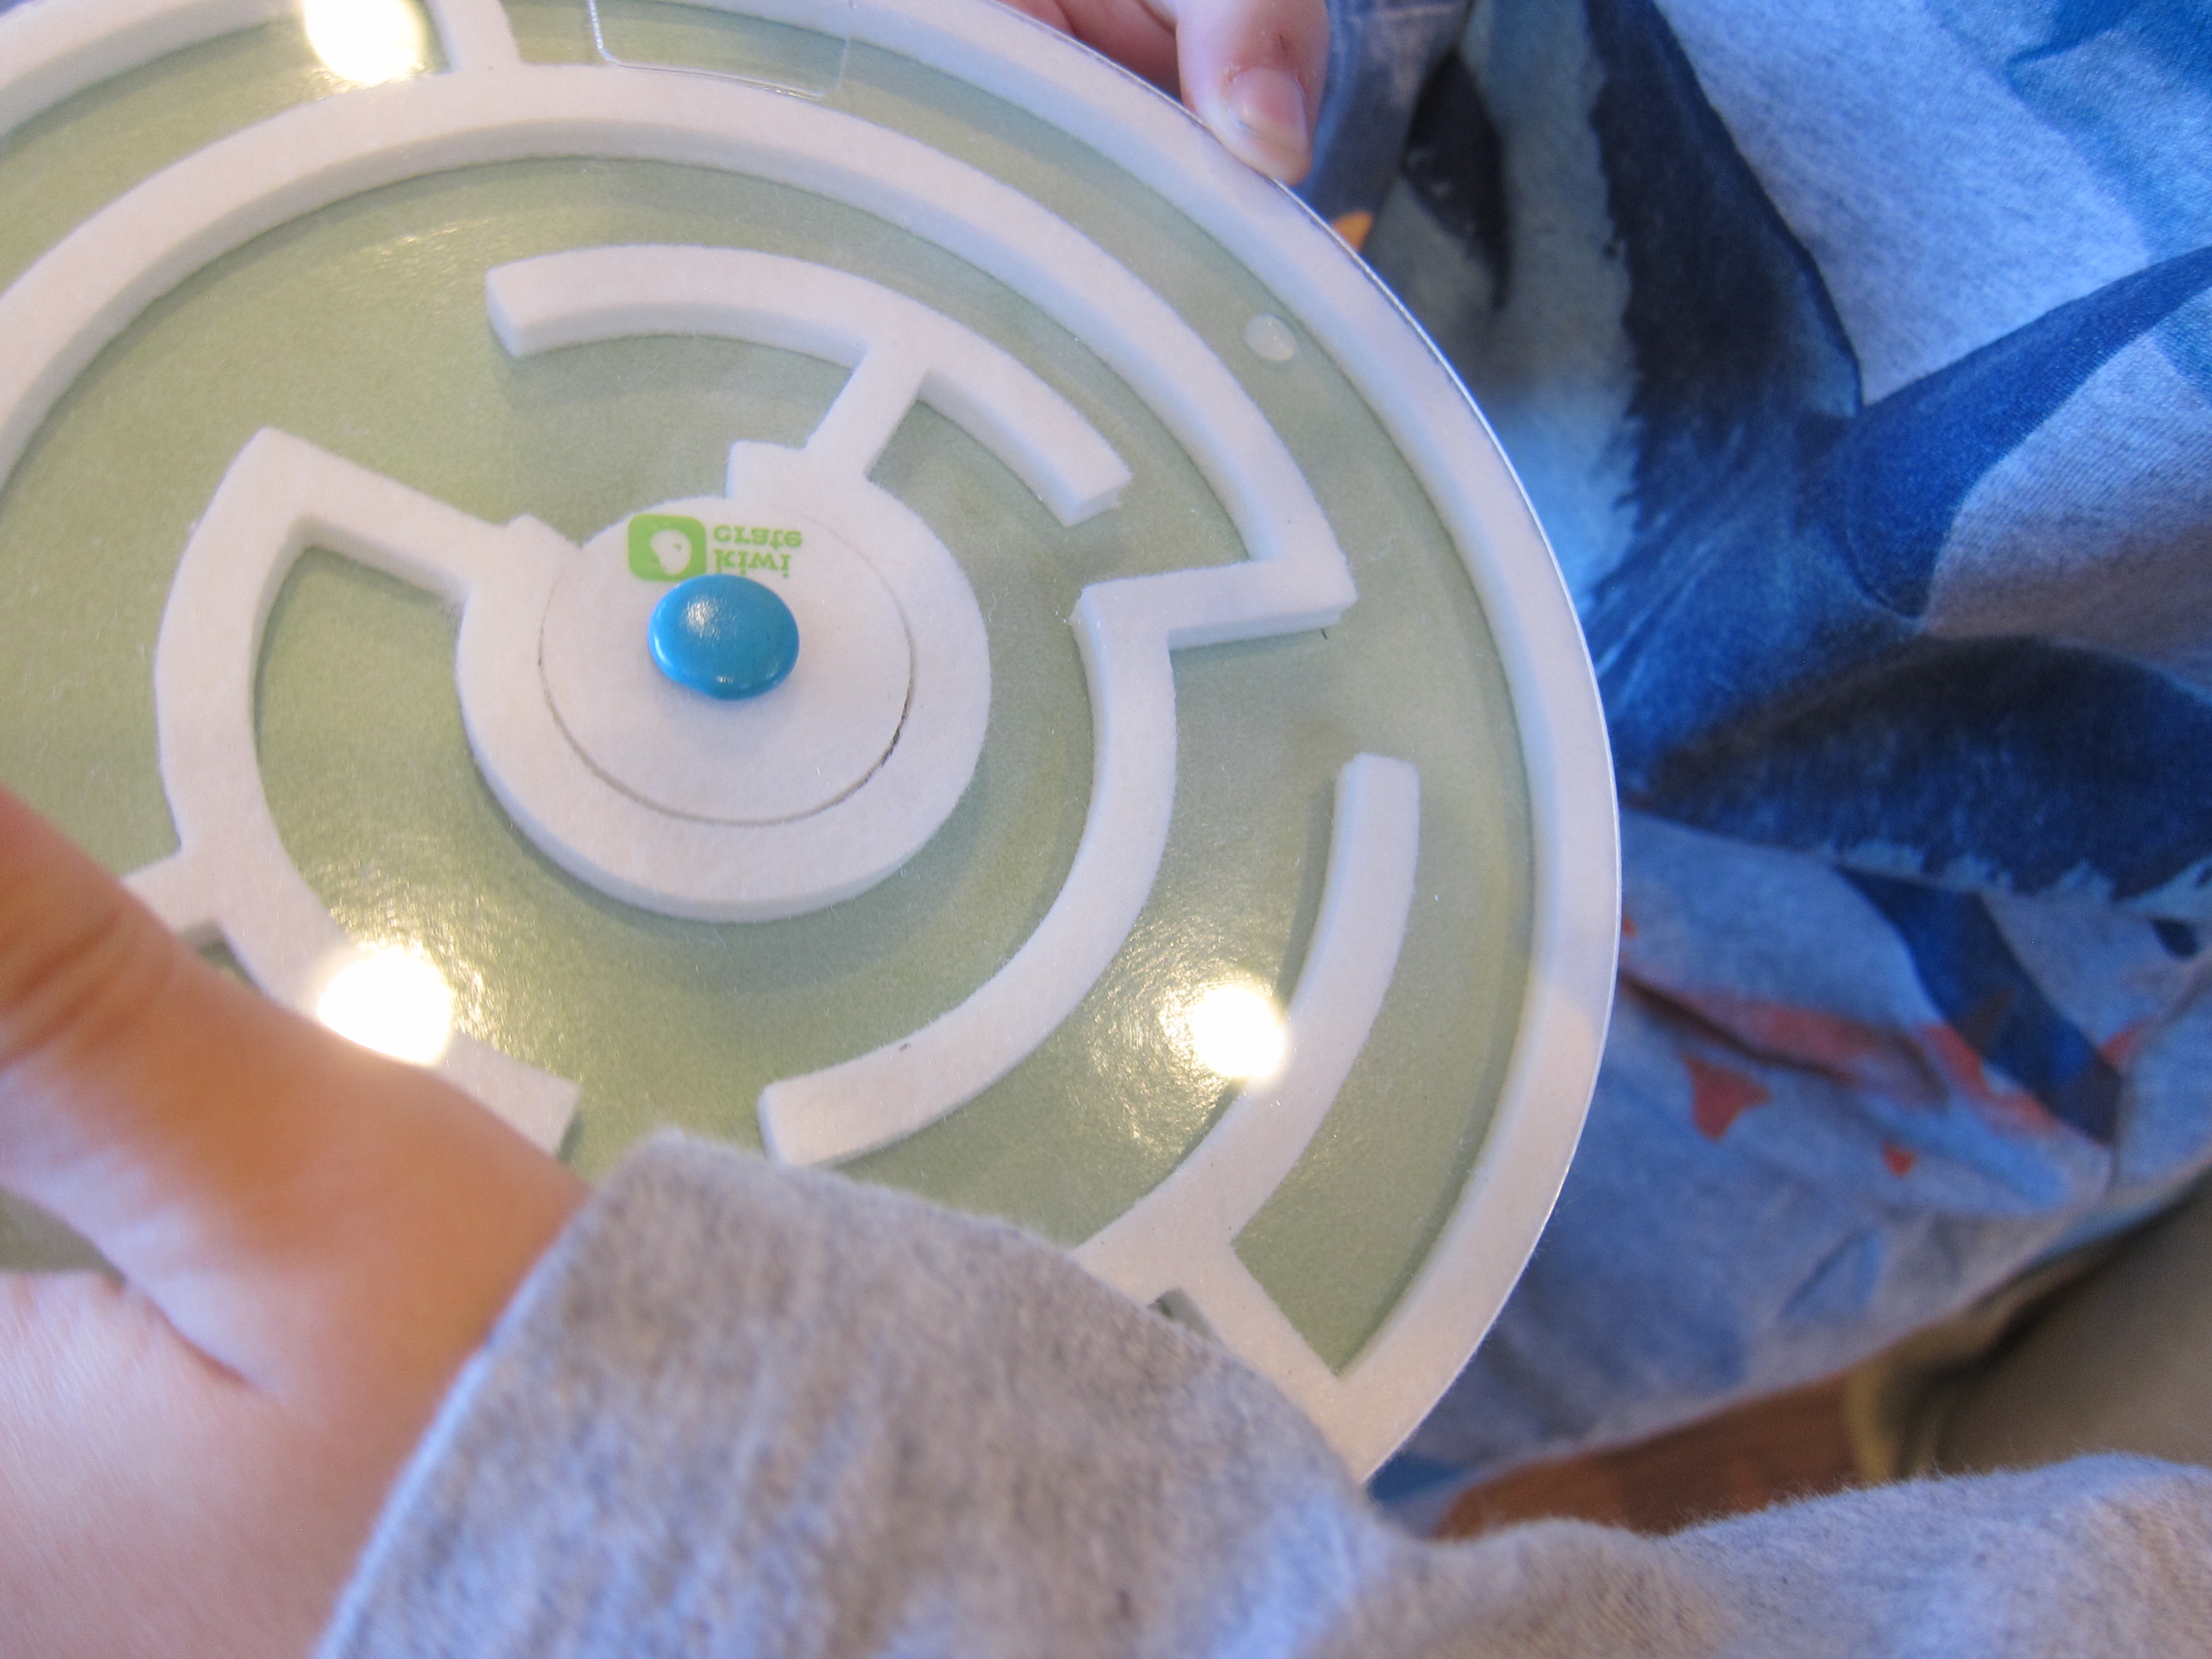
The second experiment was equally a delight, this time a Water Maze. Attach the felt maze outline between a cardboard base and a plastic cover with a brad. Then we filled the provided bottle with water and used the eye dropper to squeeze one little drop through the hole in the cover.

Kiwi Surface Tension (12)

Tilt – carefully! – and the little blob slides along (resisting the material of the base) until it reaches the center. But if we ran into a felt wall…Oh no! The felt slurps it up. This was also an absolute delight, and Travis got so silly with it. We tested big blobs and small blobs, pretended they were running away from the enemy, and more. Could they reach the center before disaster struck?

Kiwi Surface Tension (11)

The third project was Sticky Yarn, and had definite ‘wow’ factor. Using two sticky foam donuts, Travis attached the ends of a provided strand of yarn between a bowl and a plastic cup.

Kiwi Surface Tension (14)

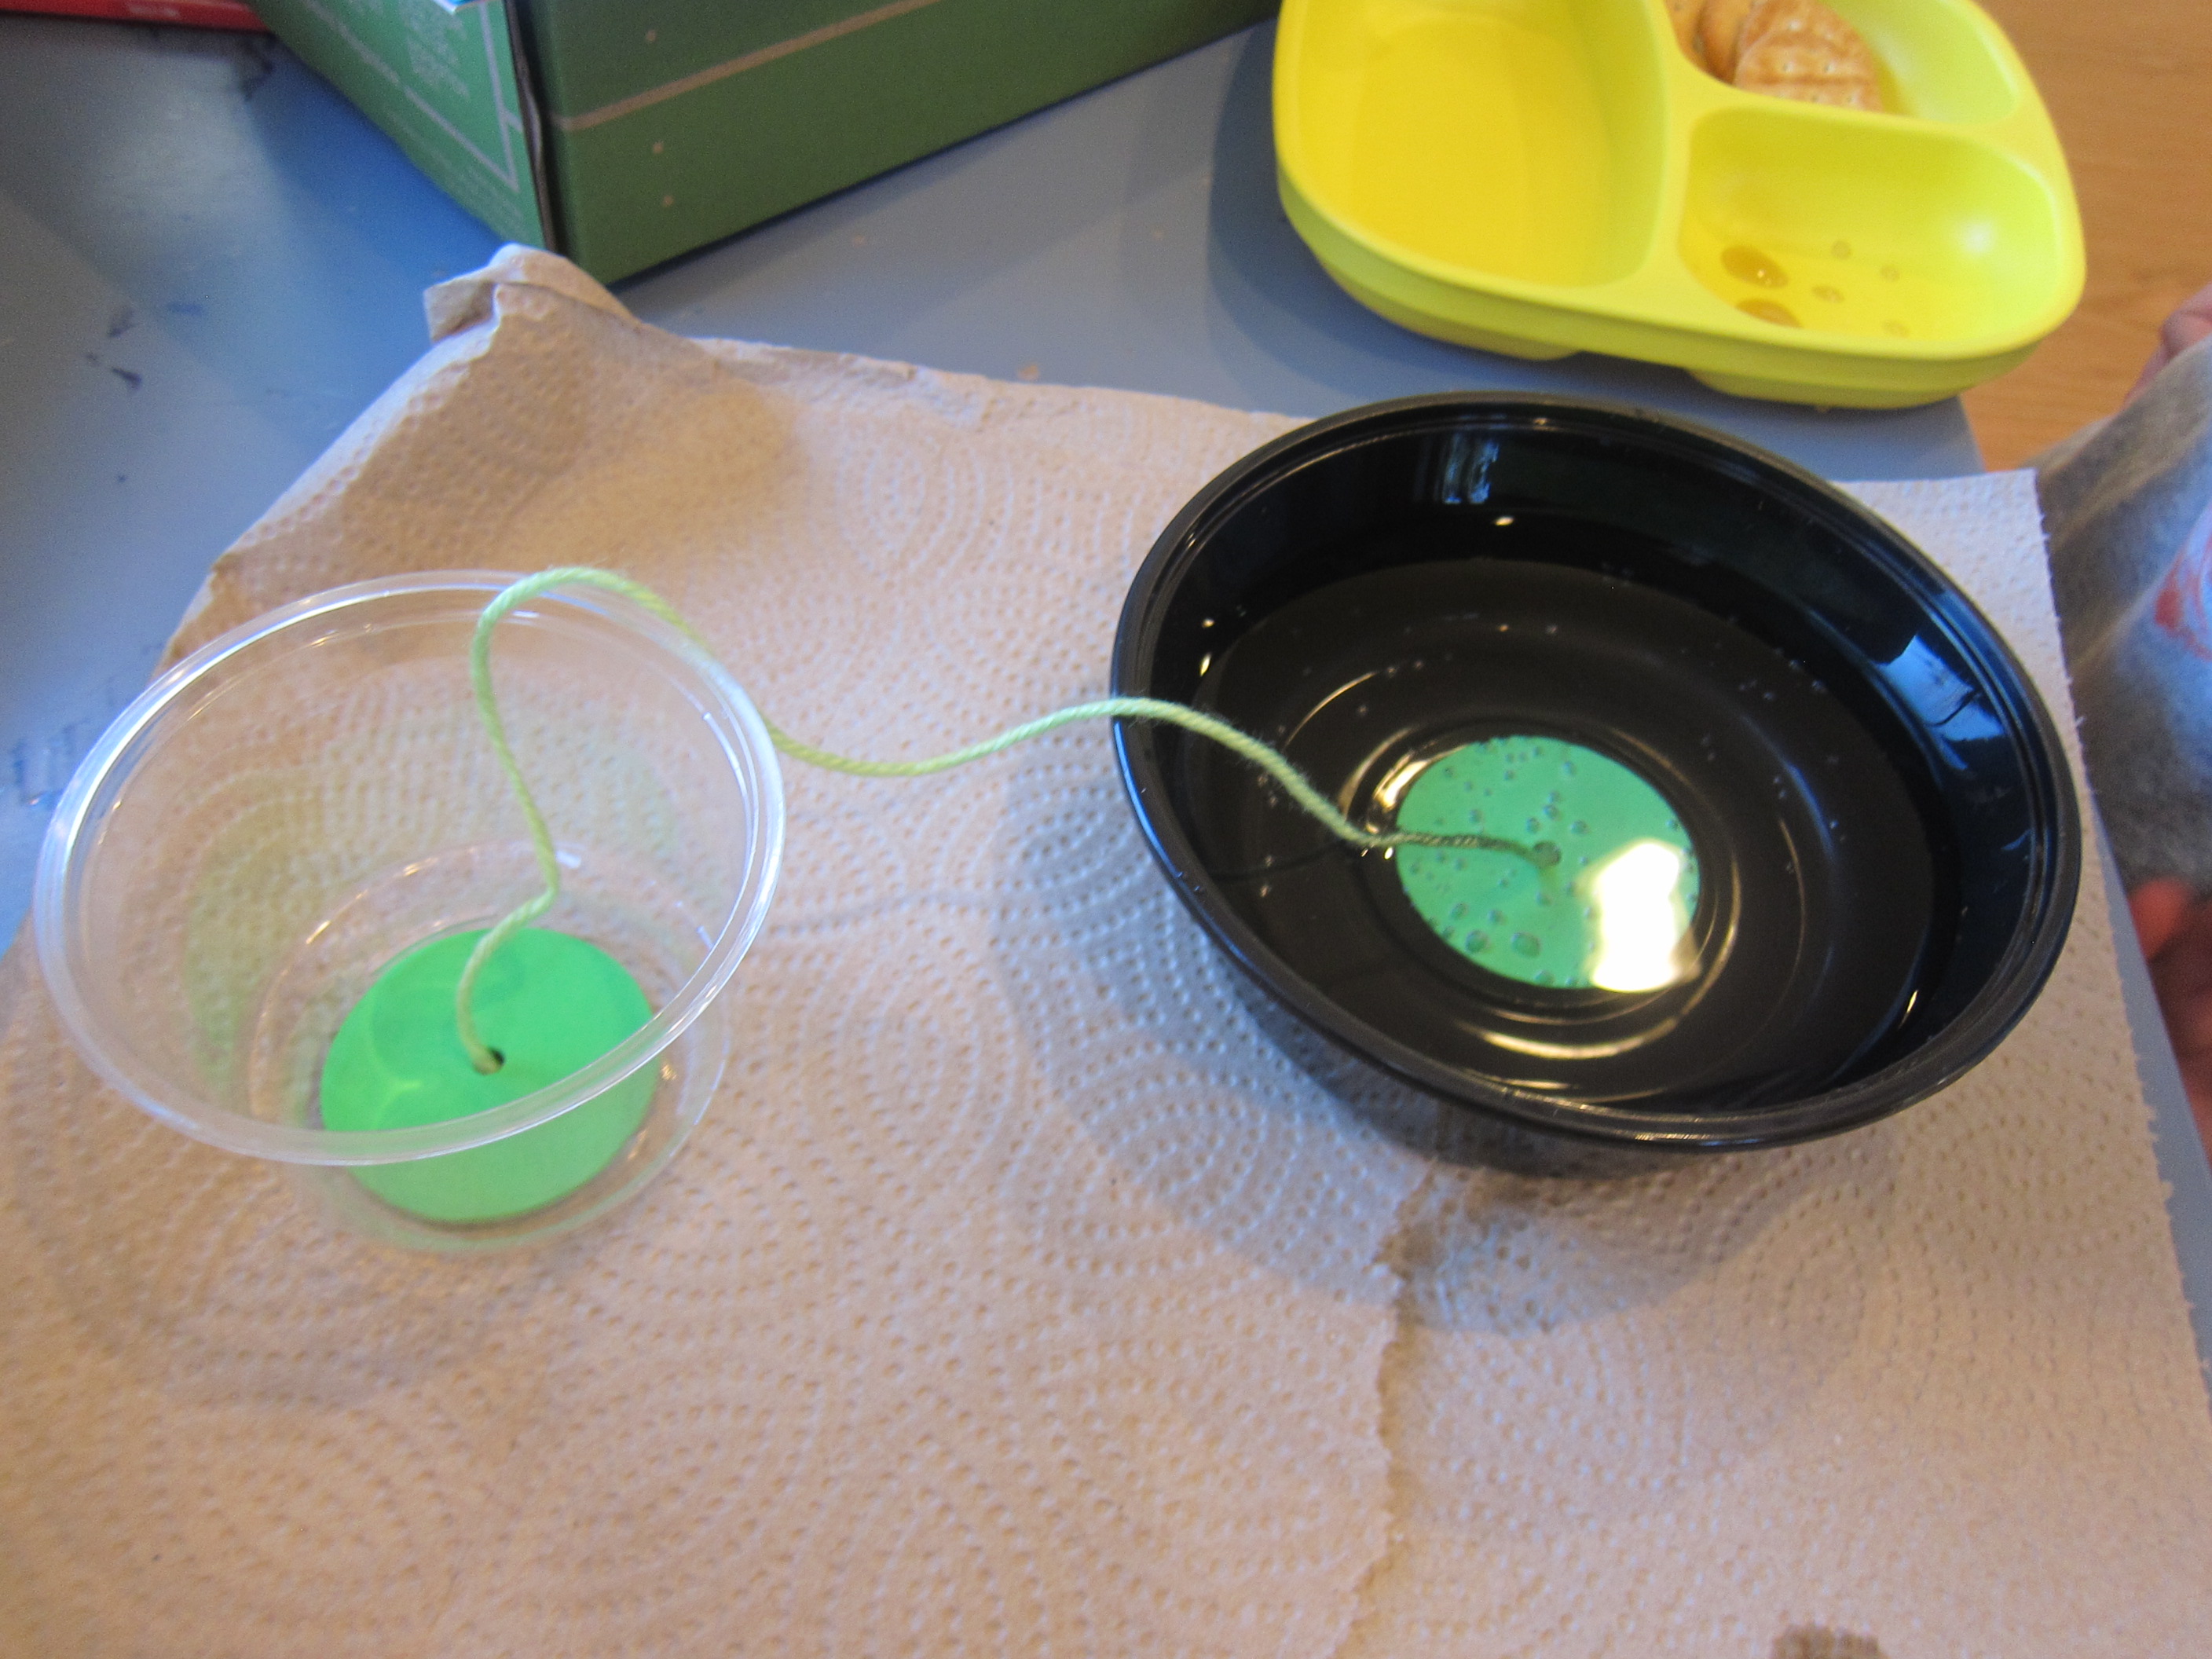
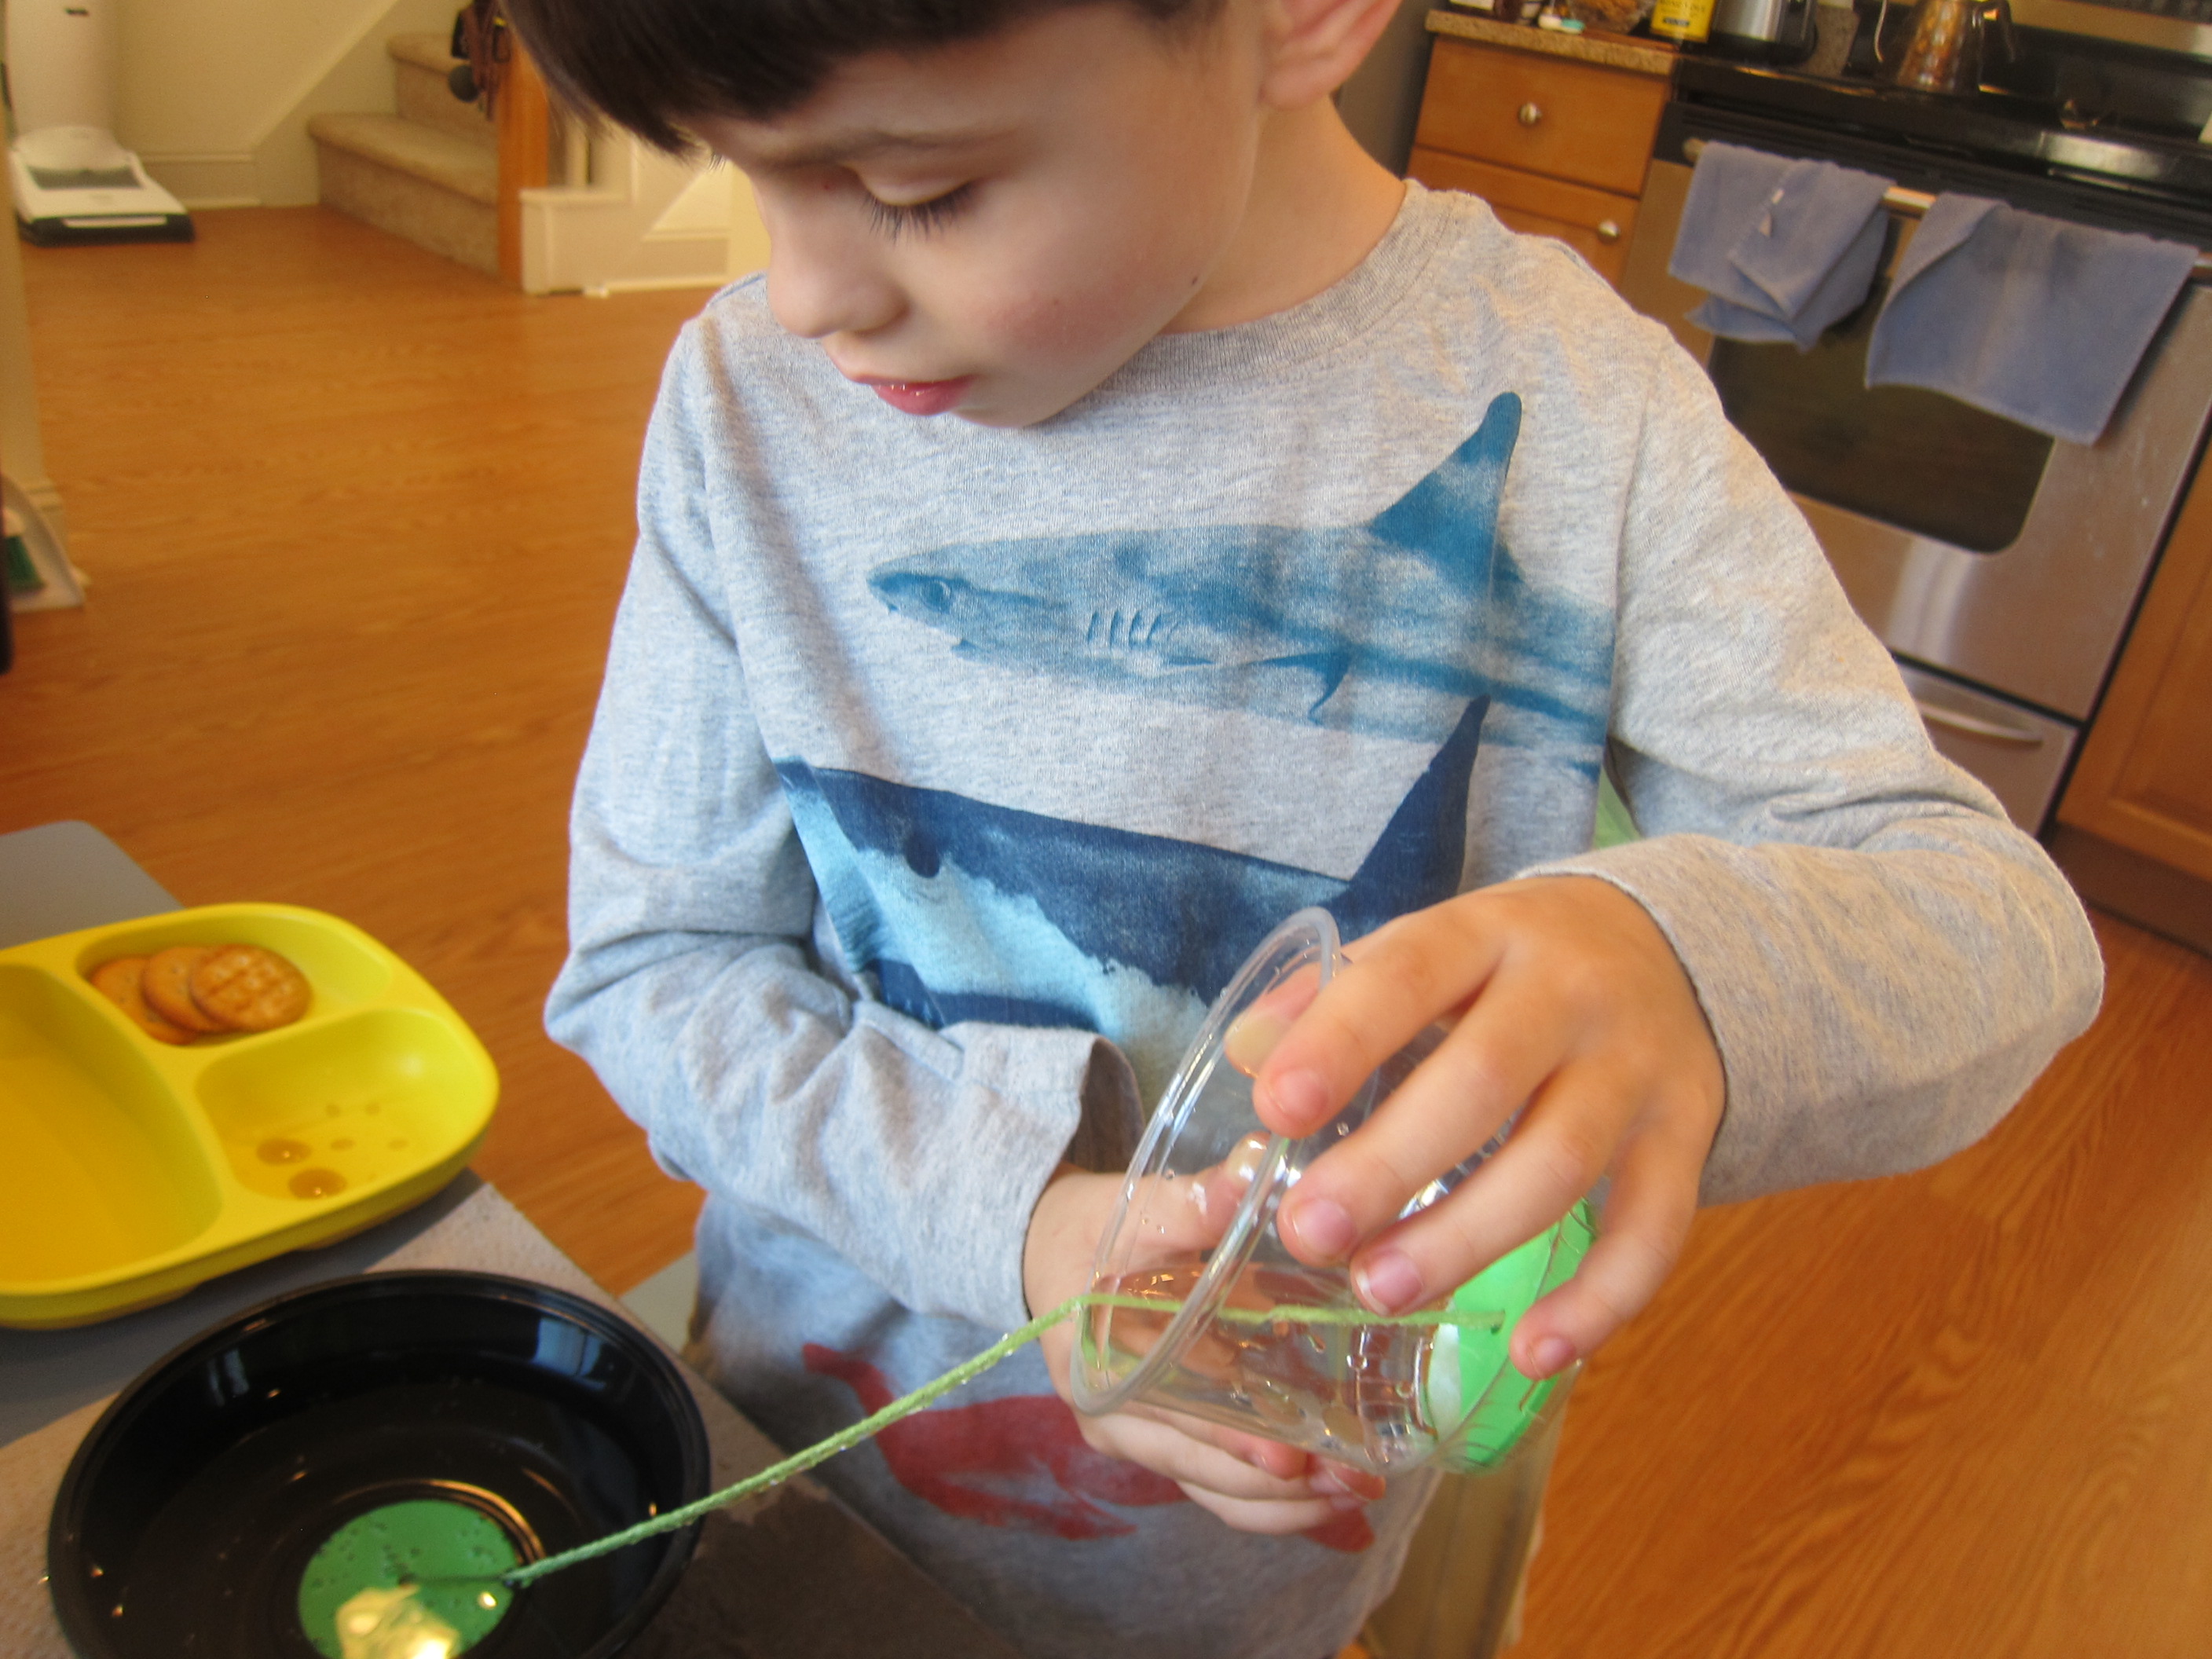
Thoroughly saturate the yarn, then fill the cup with a little water and begin pouring toward the bowl, making sure the yarn is taut. The water “walks” along the yarn, preferring to stick to itself.

Kiwi Surface Tension (15)

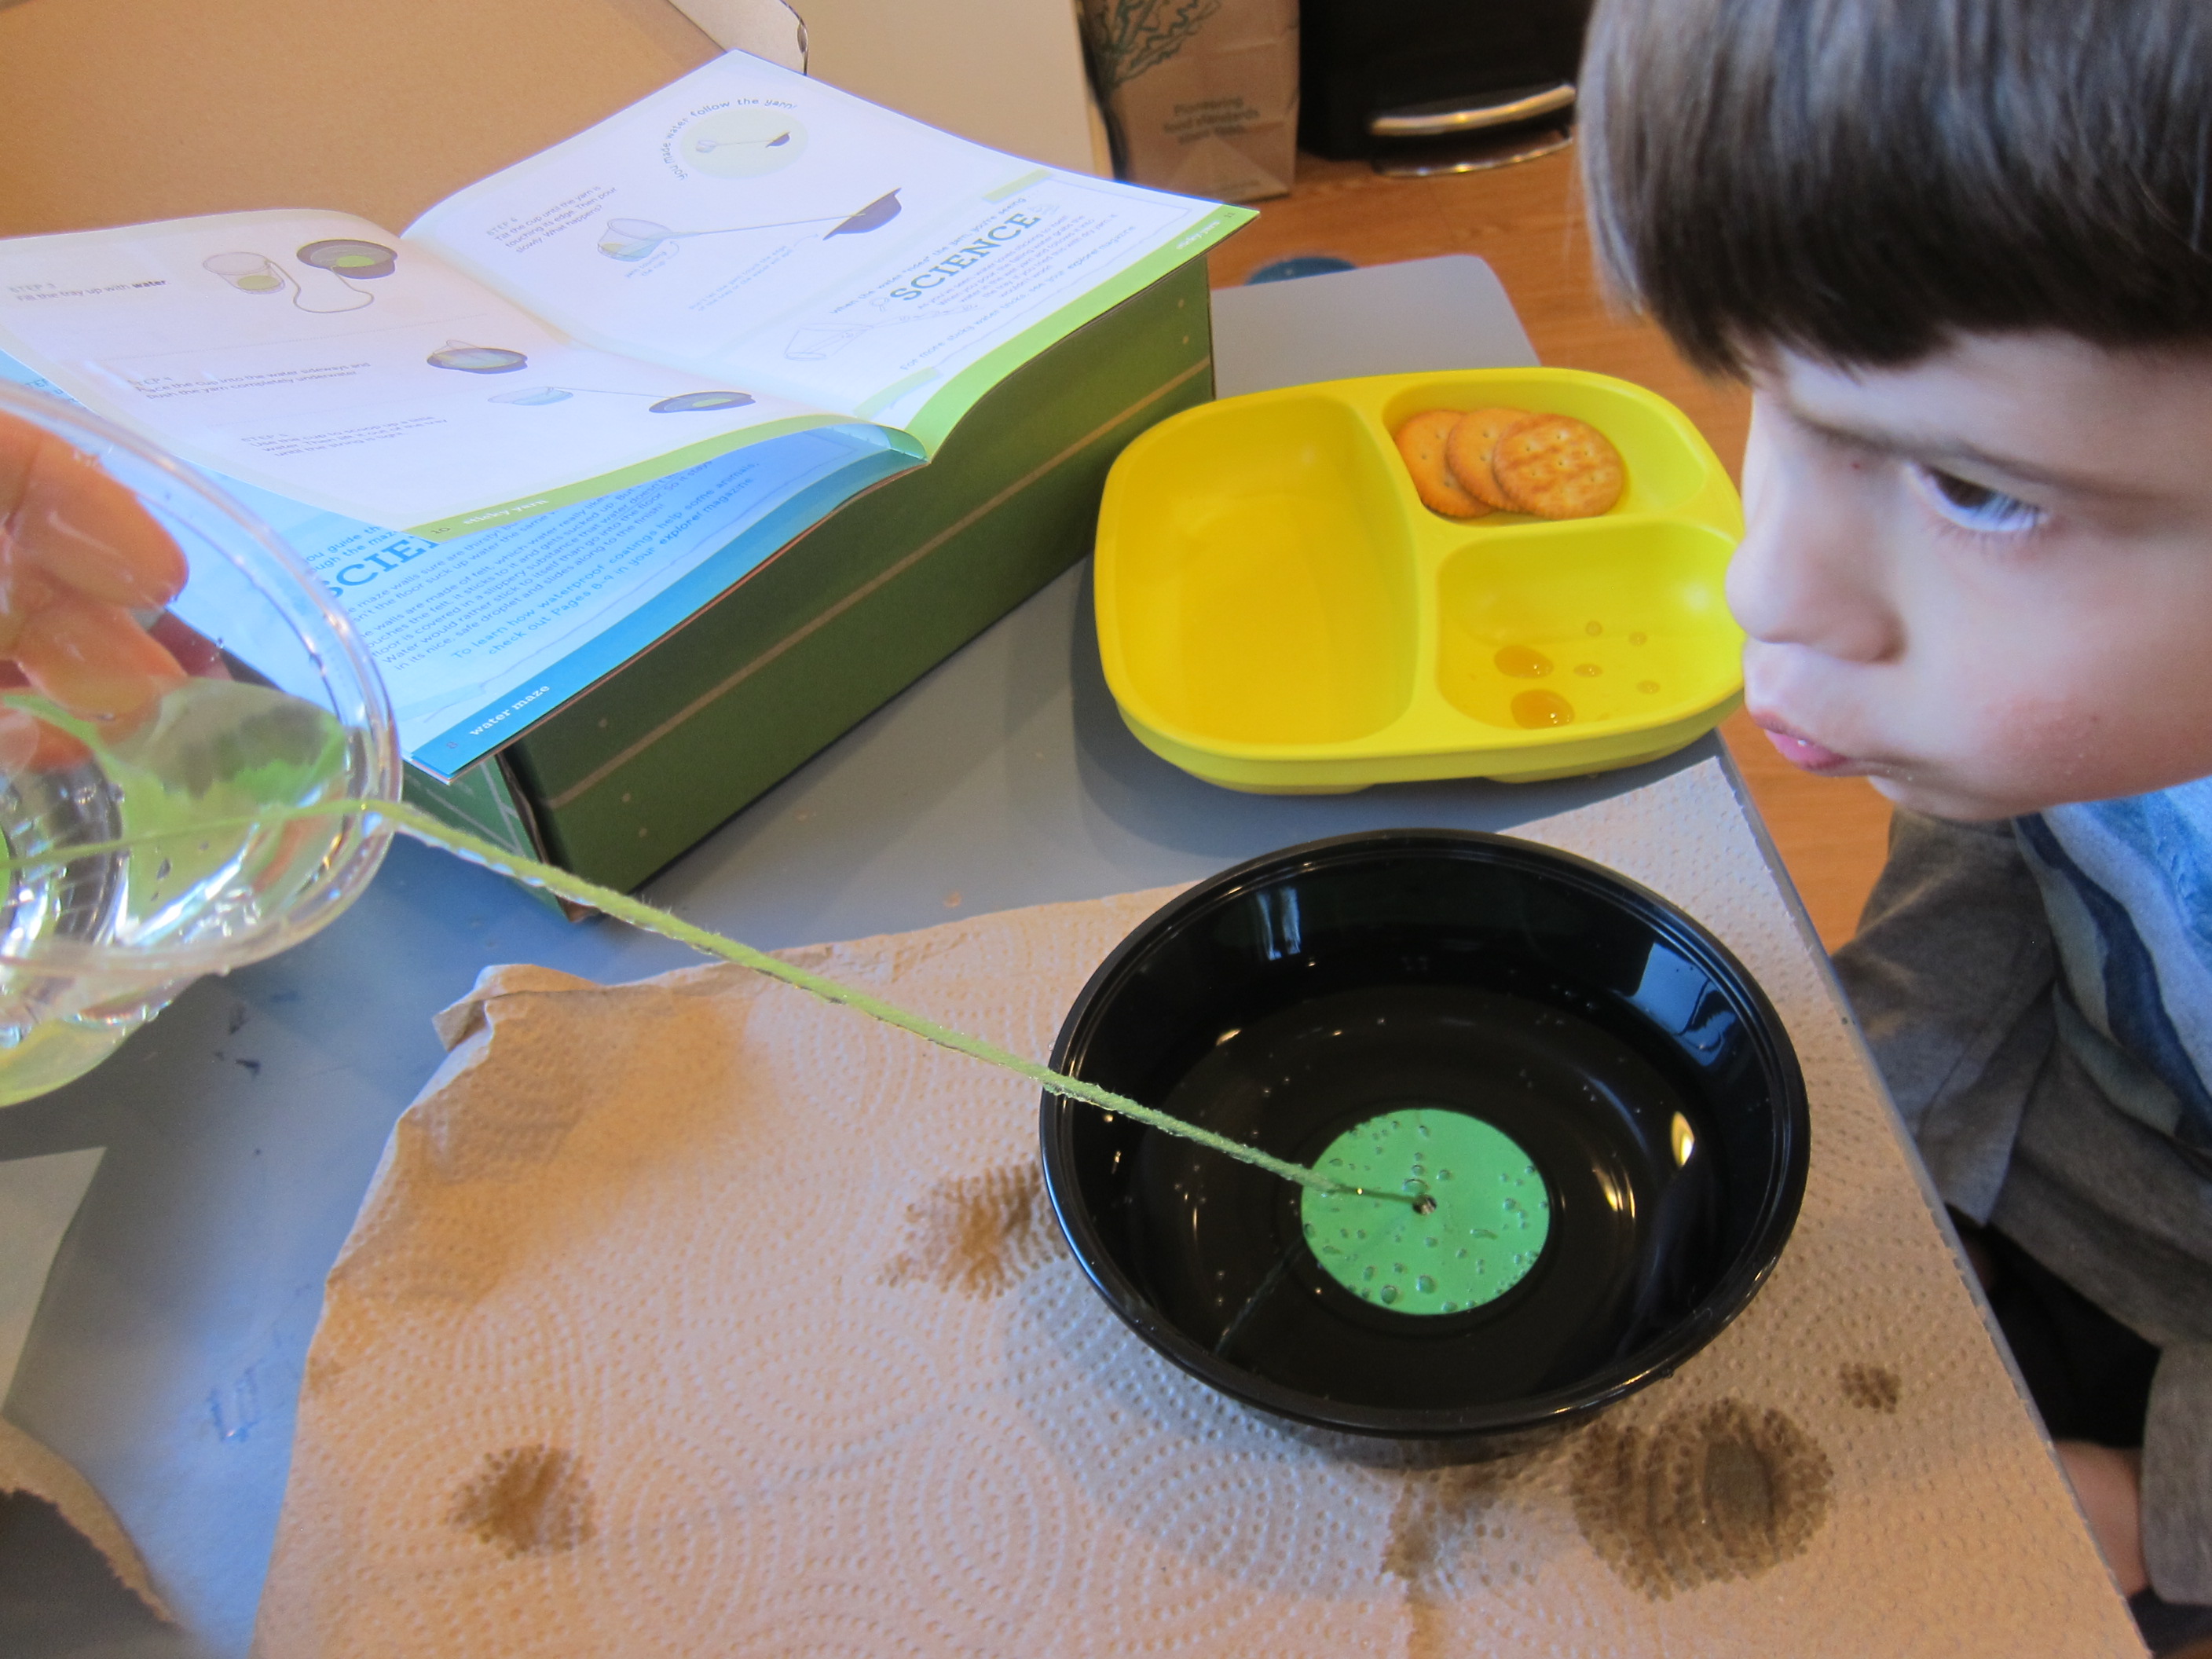
Travis quickly learned that if the yarn wasn’t taut or if he poured too quickly, the water would spill down. Slow and steady won the race, and it was so fun to watch!

Kiwi Surface Tension (16)

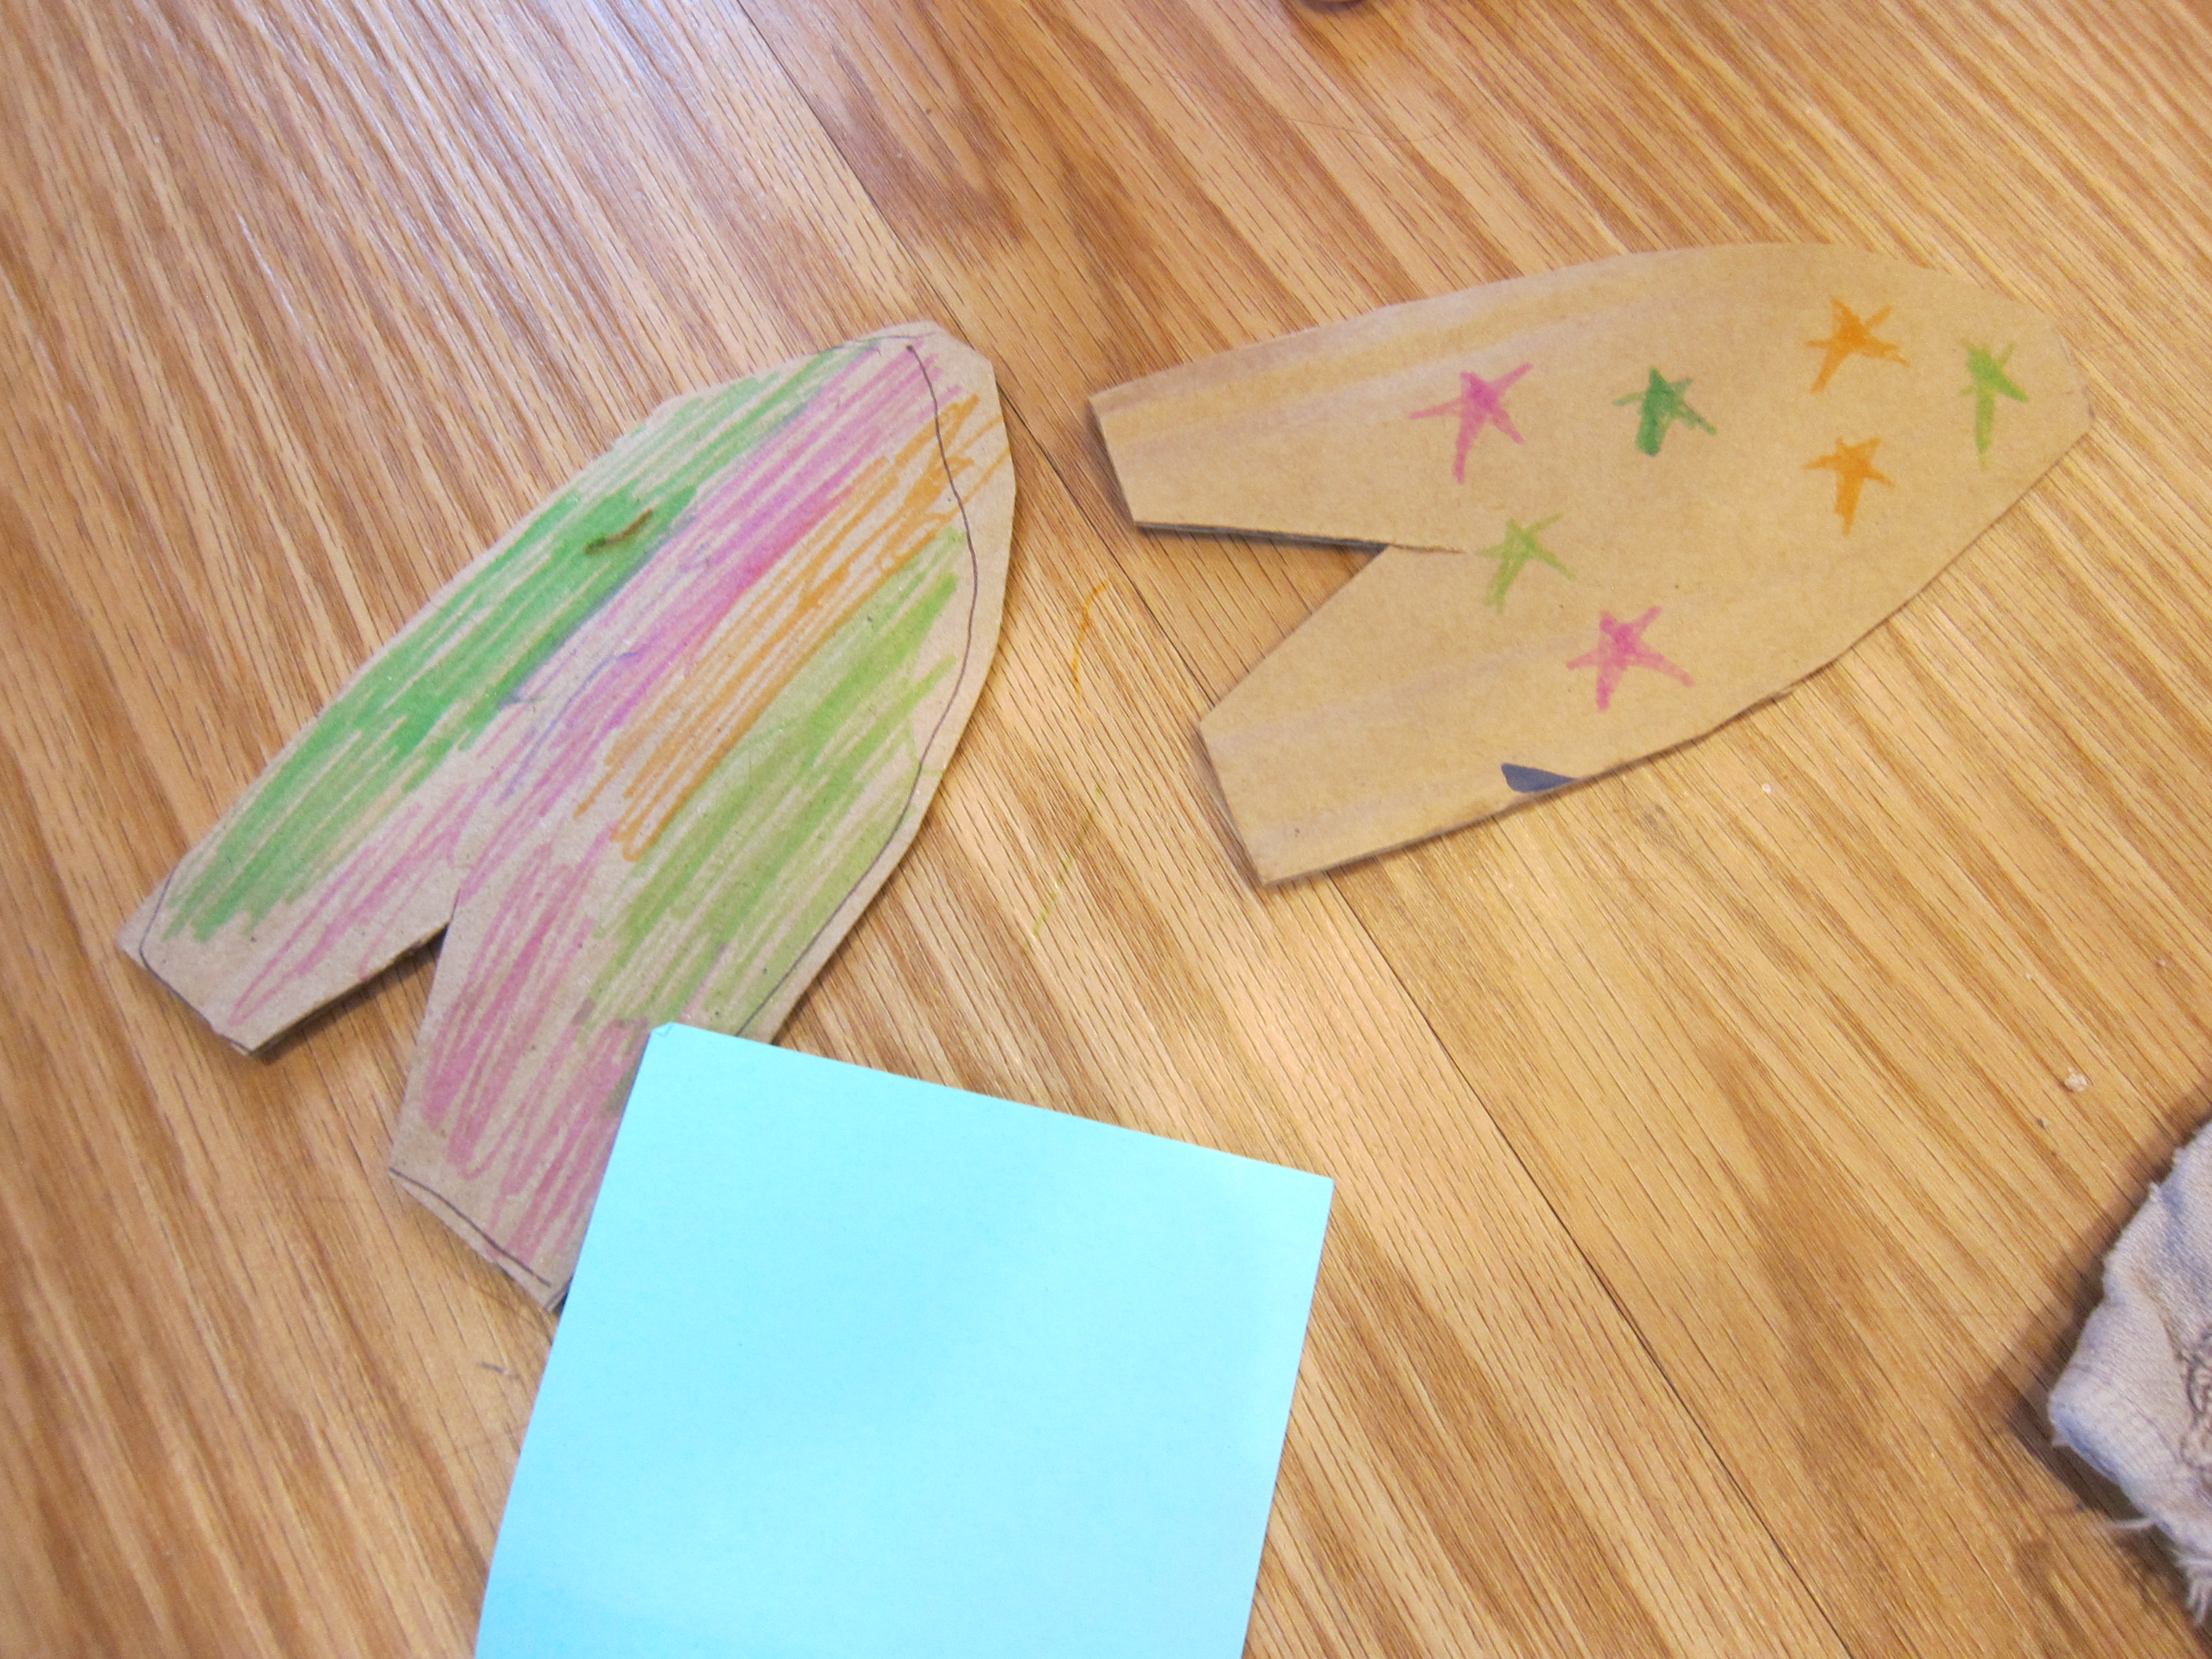
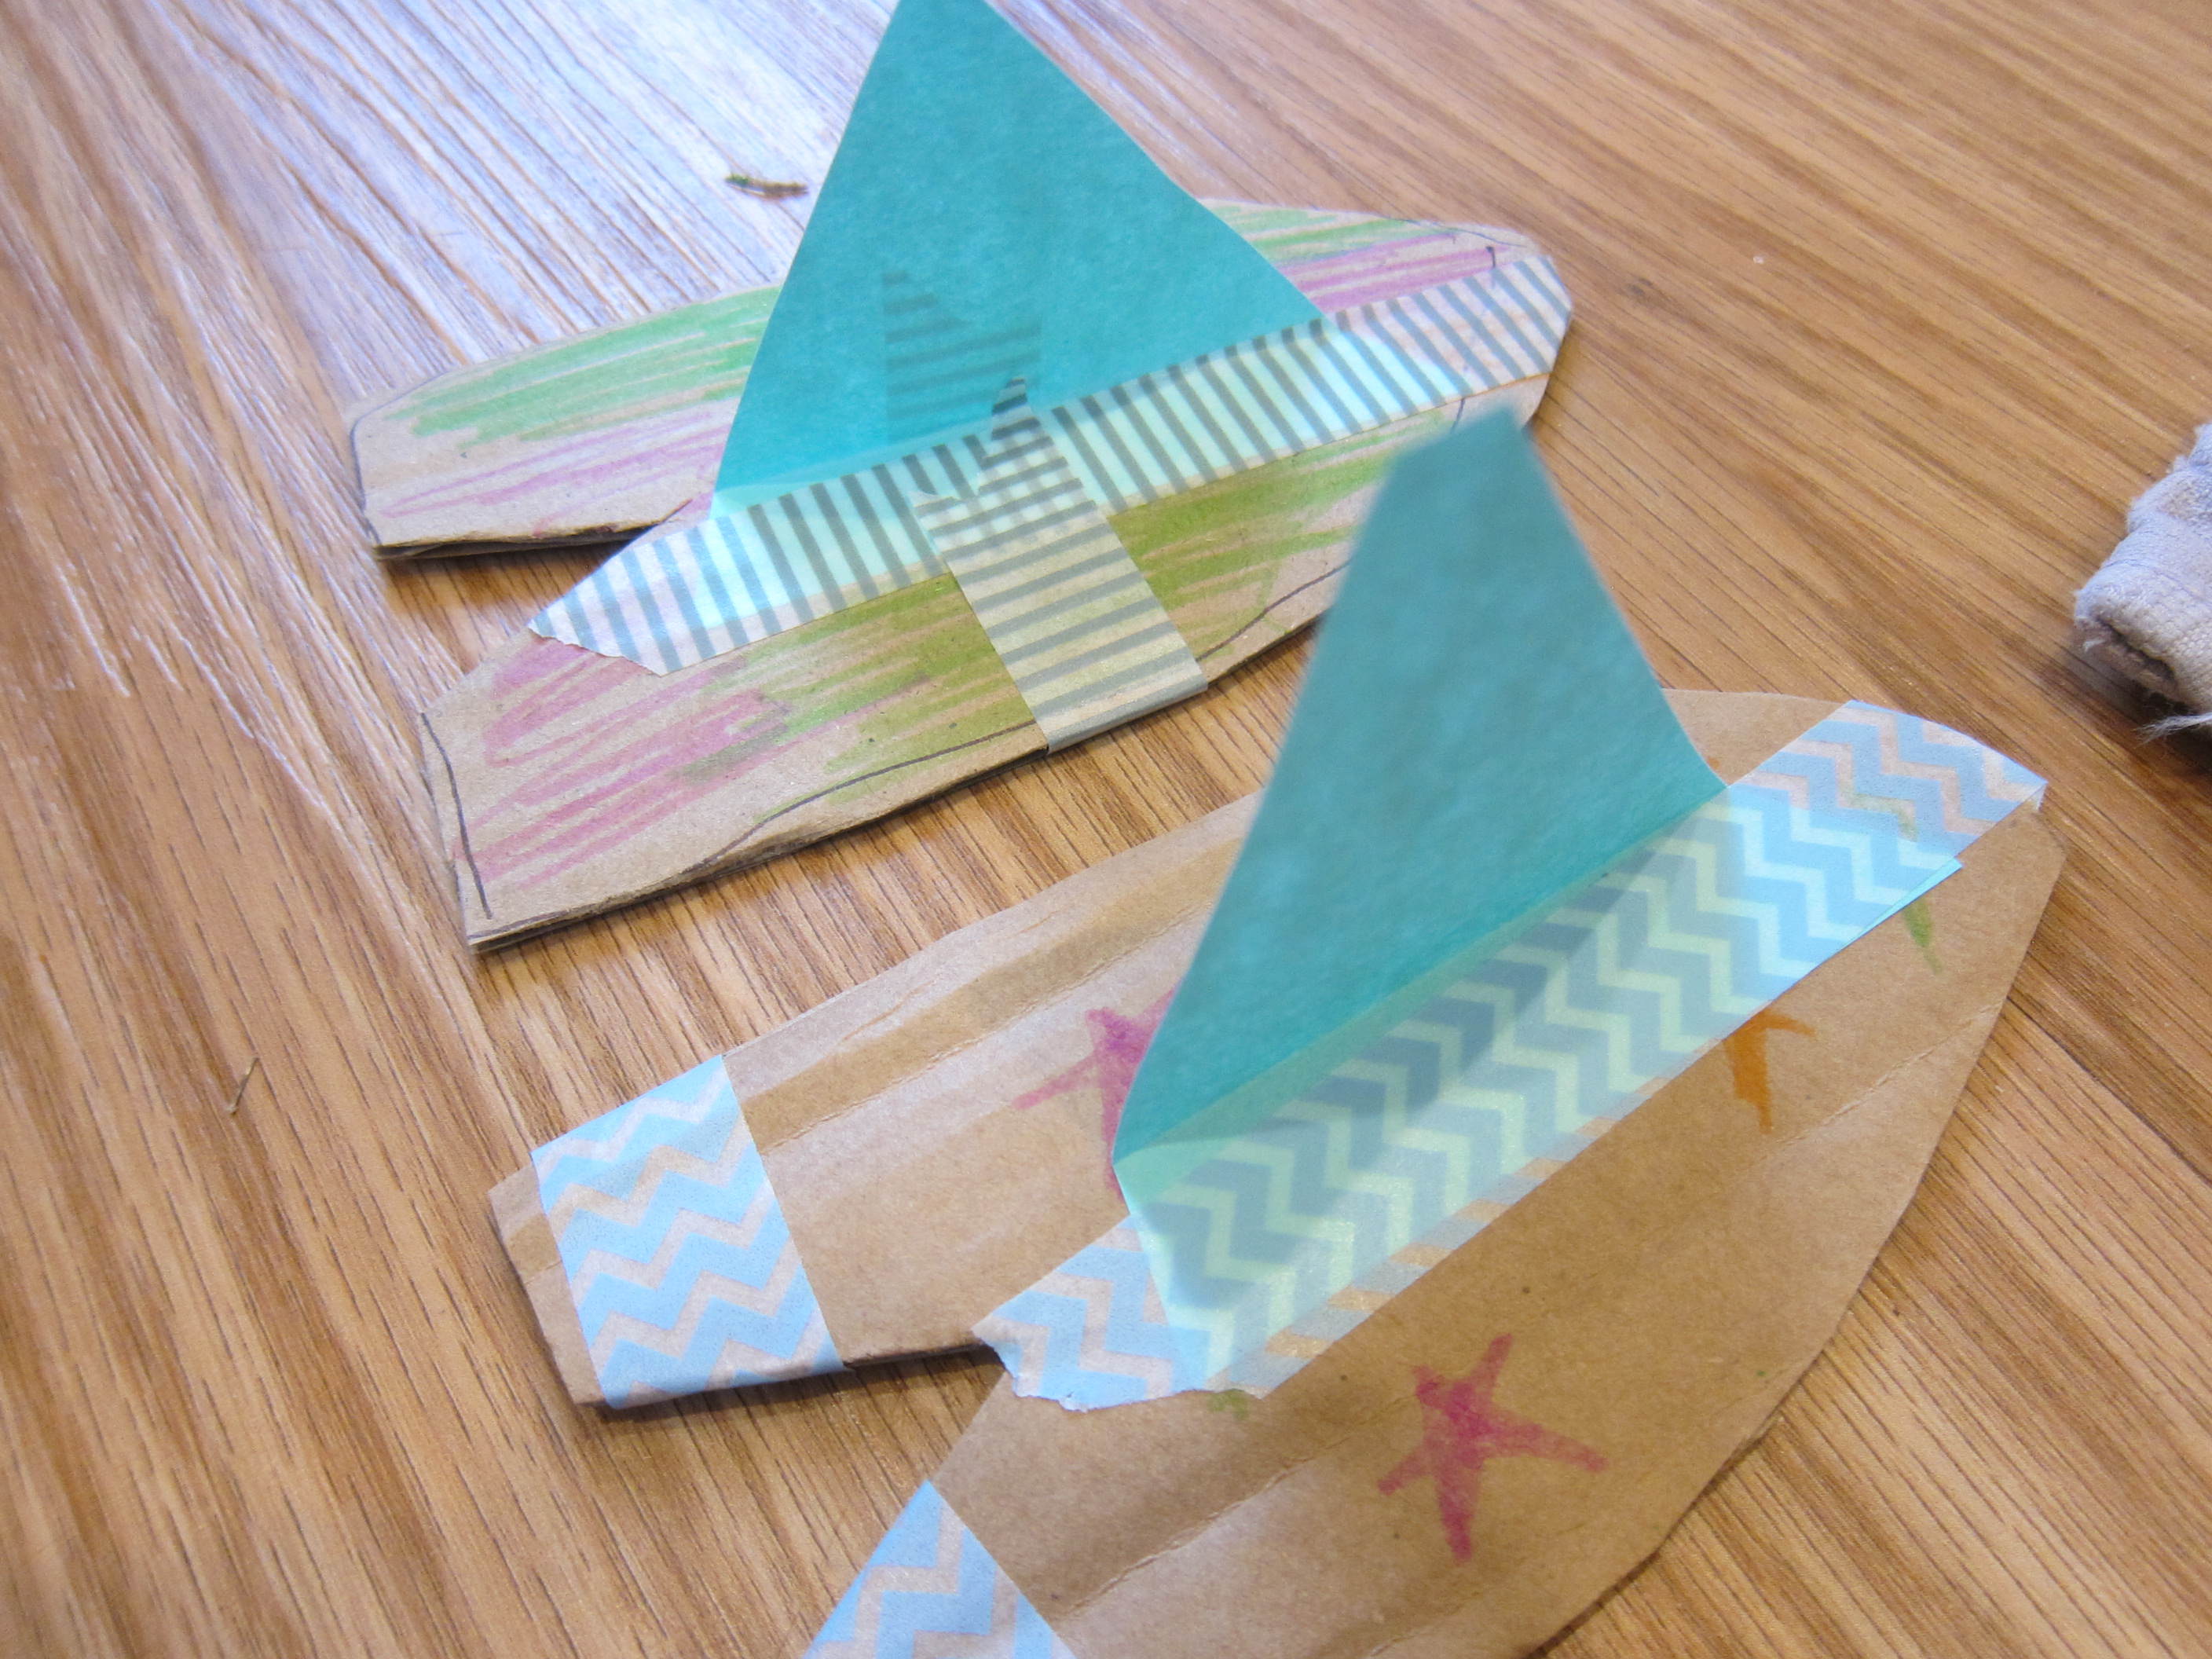
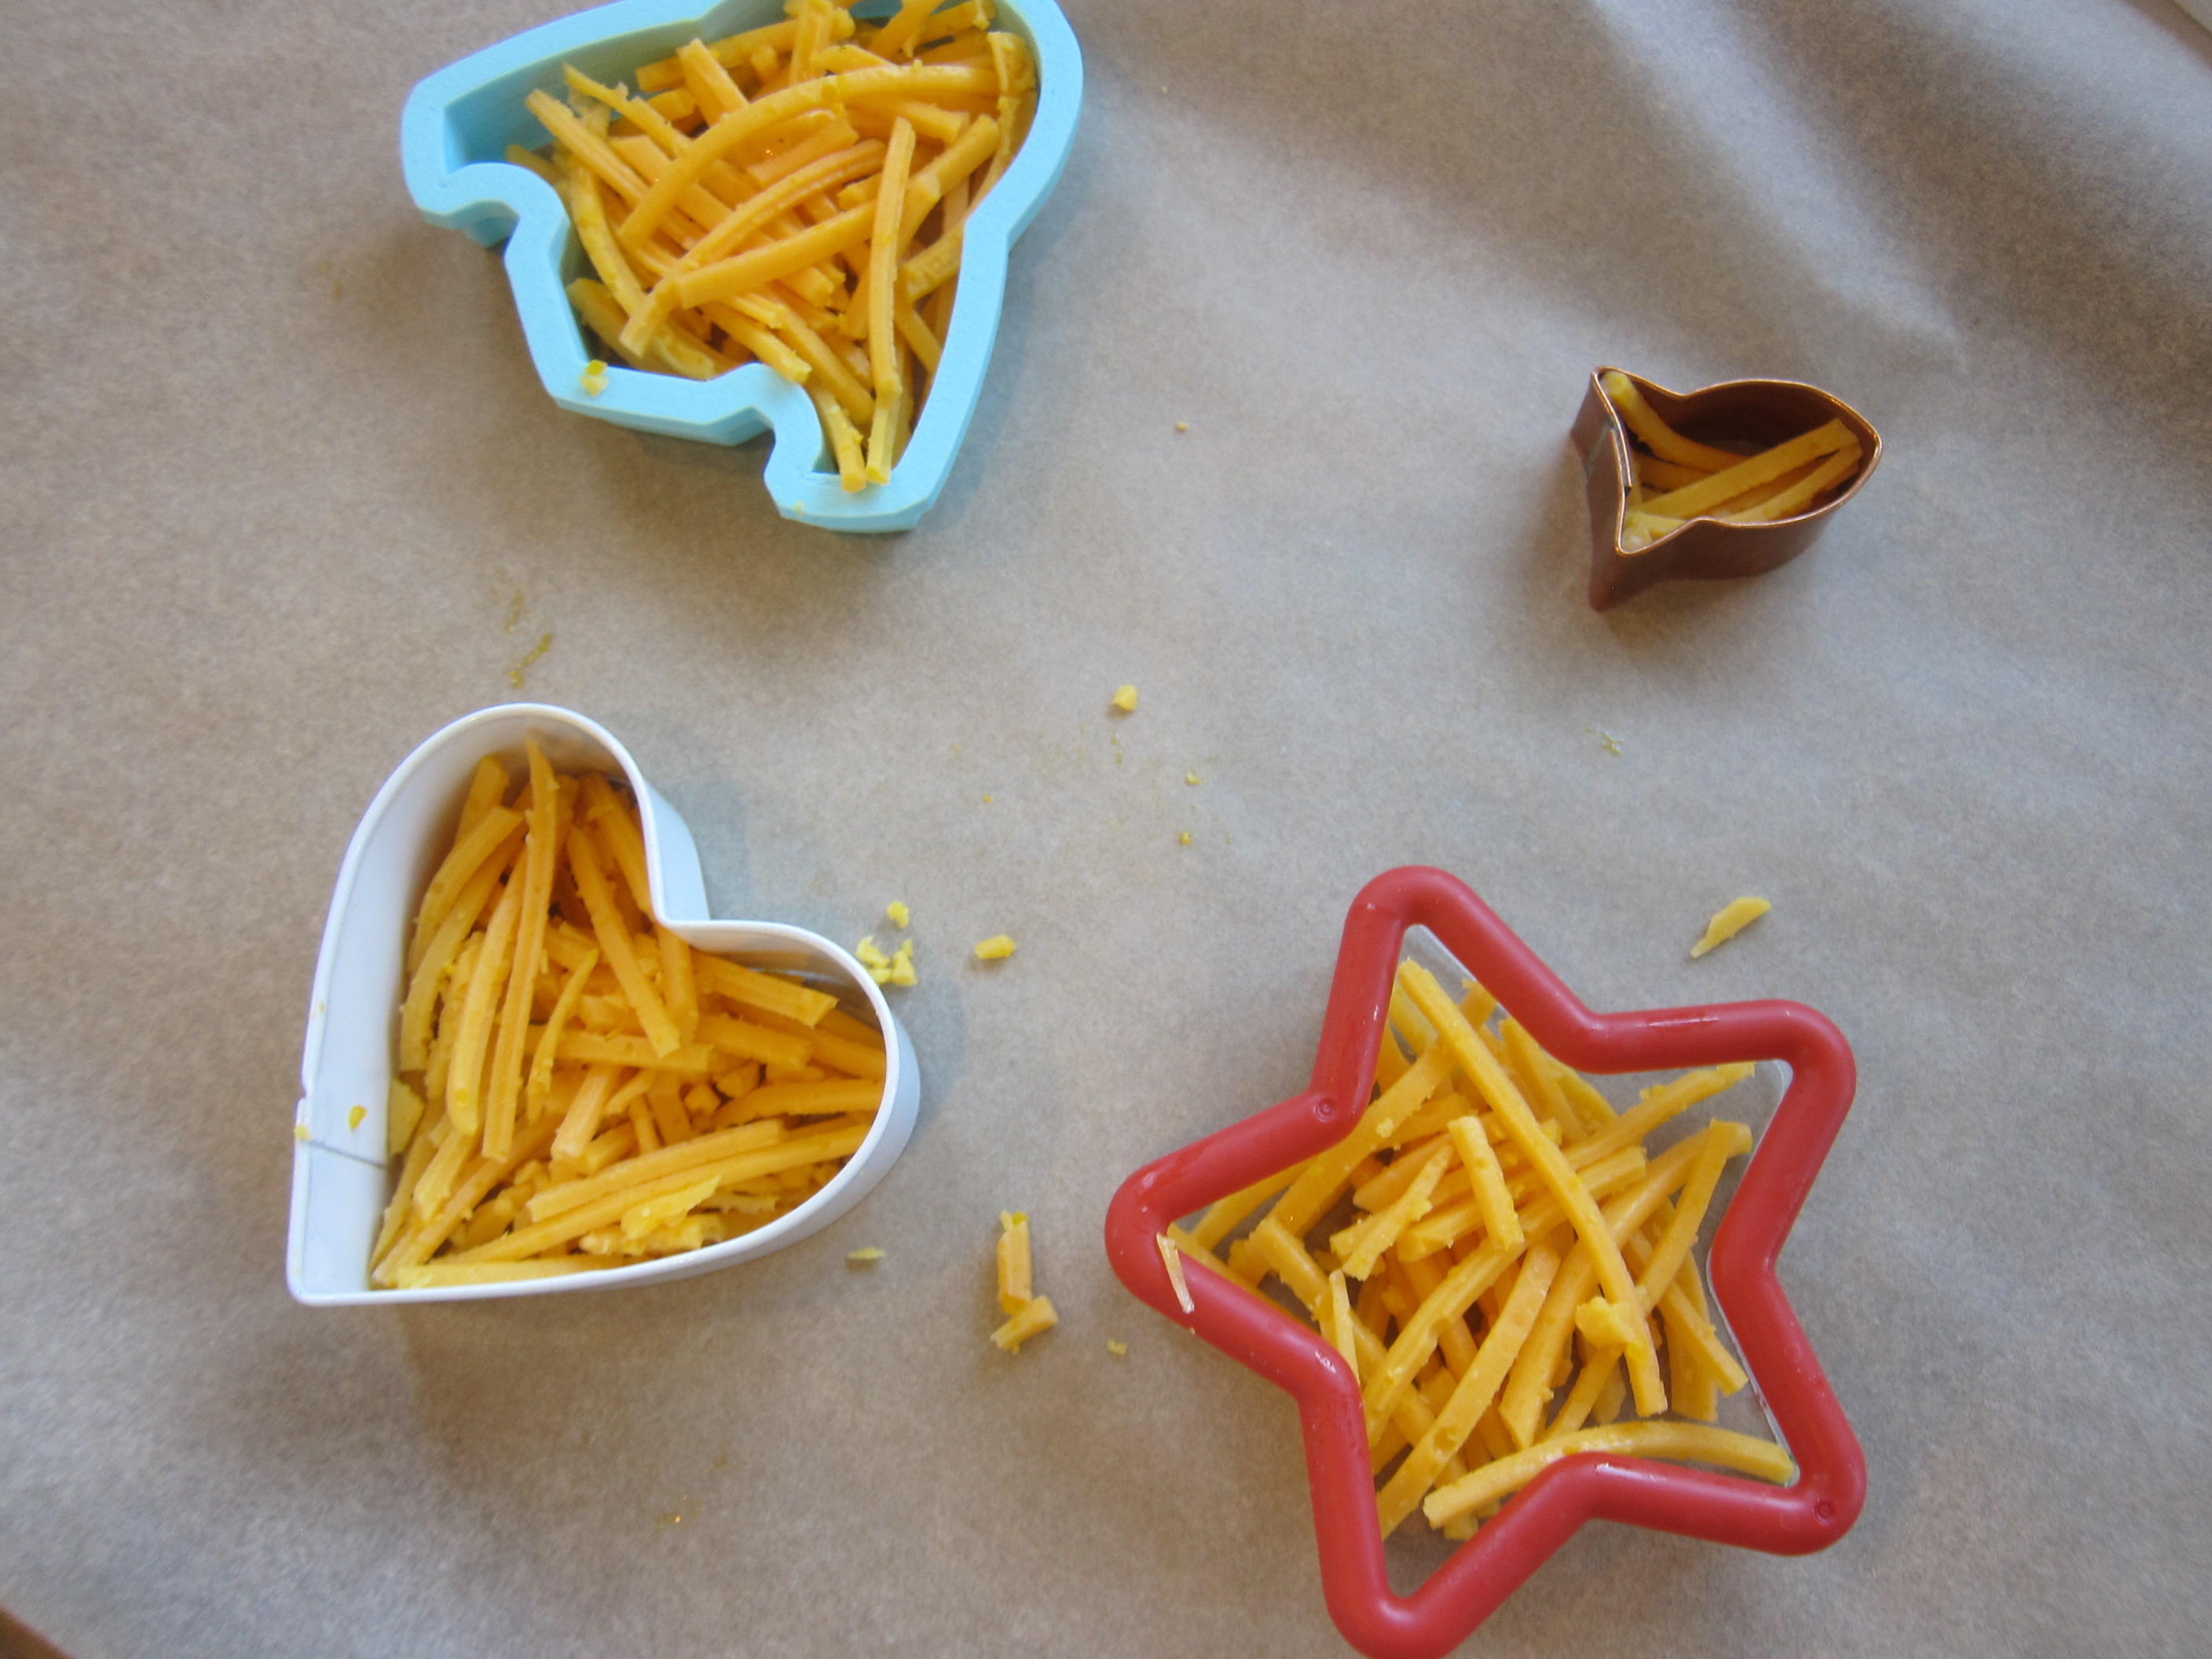
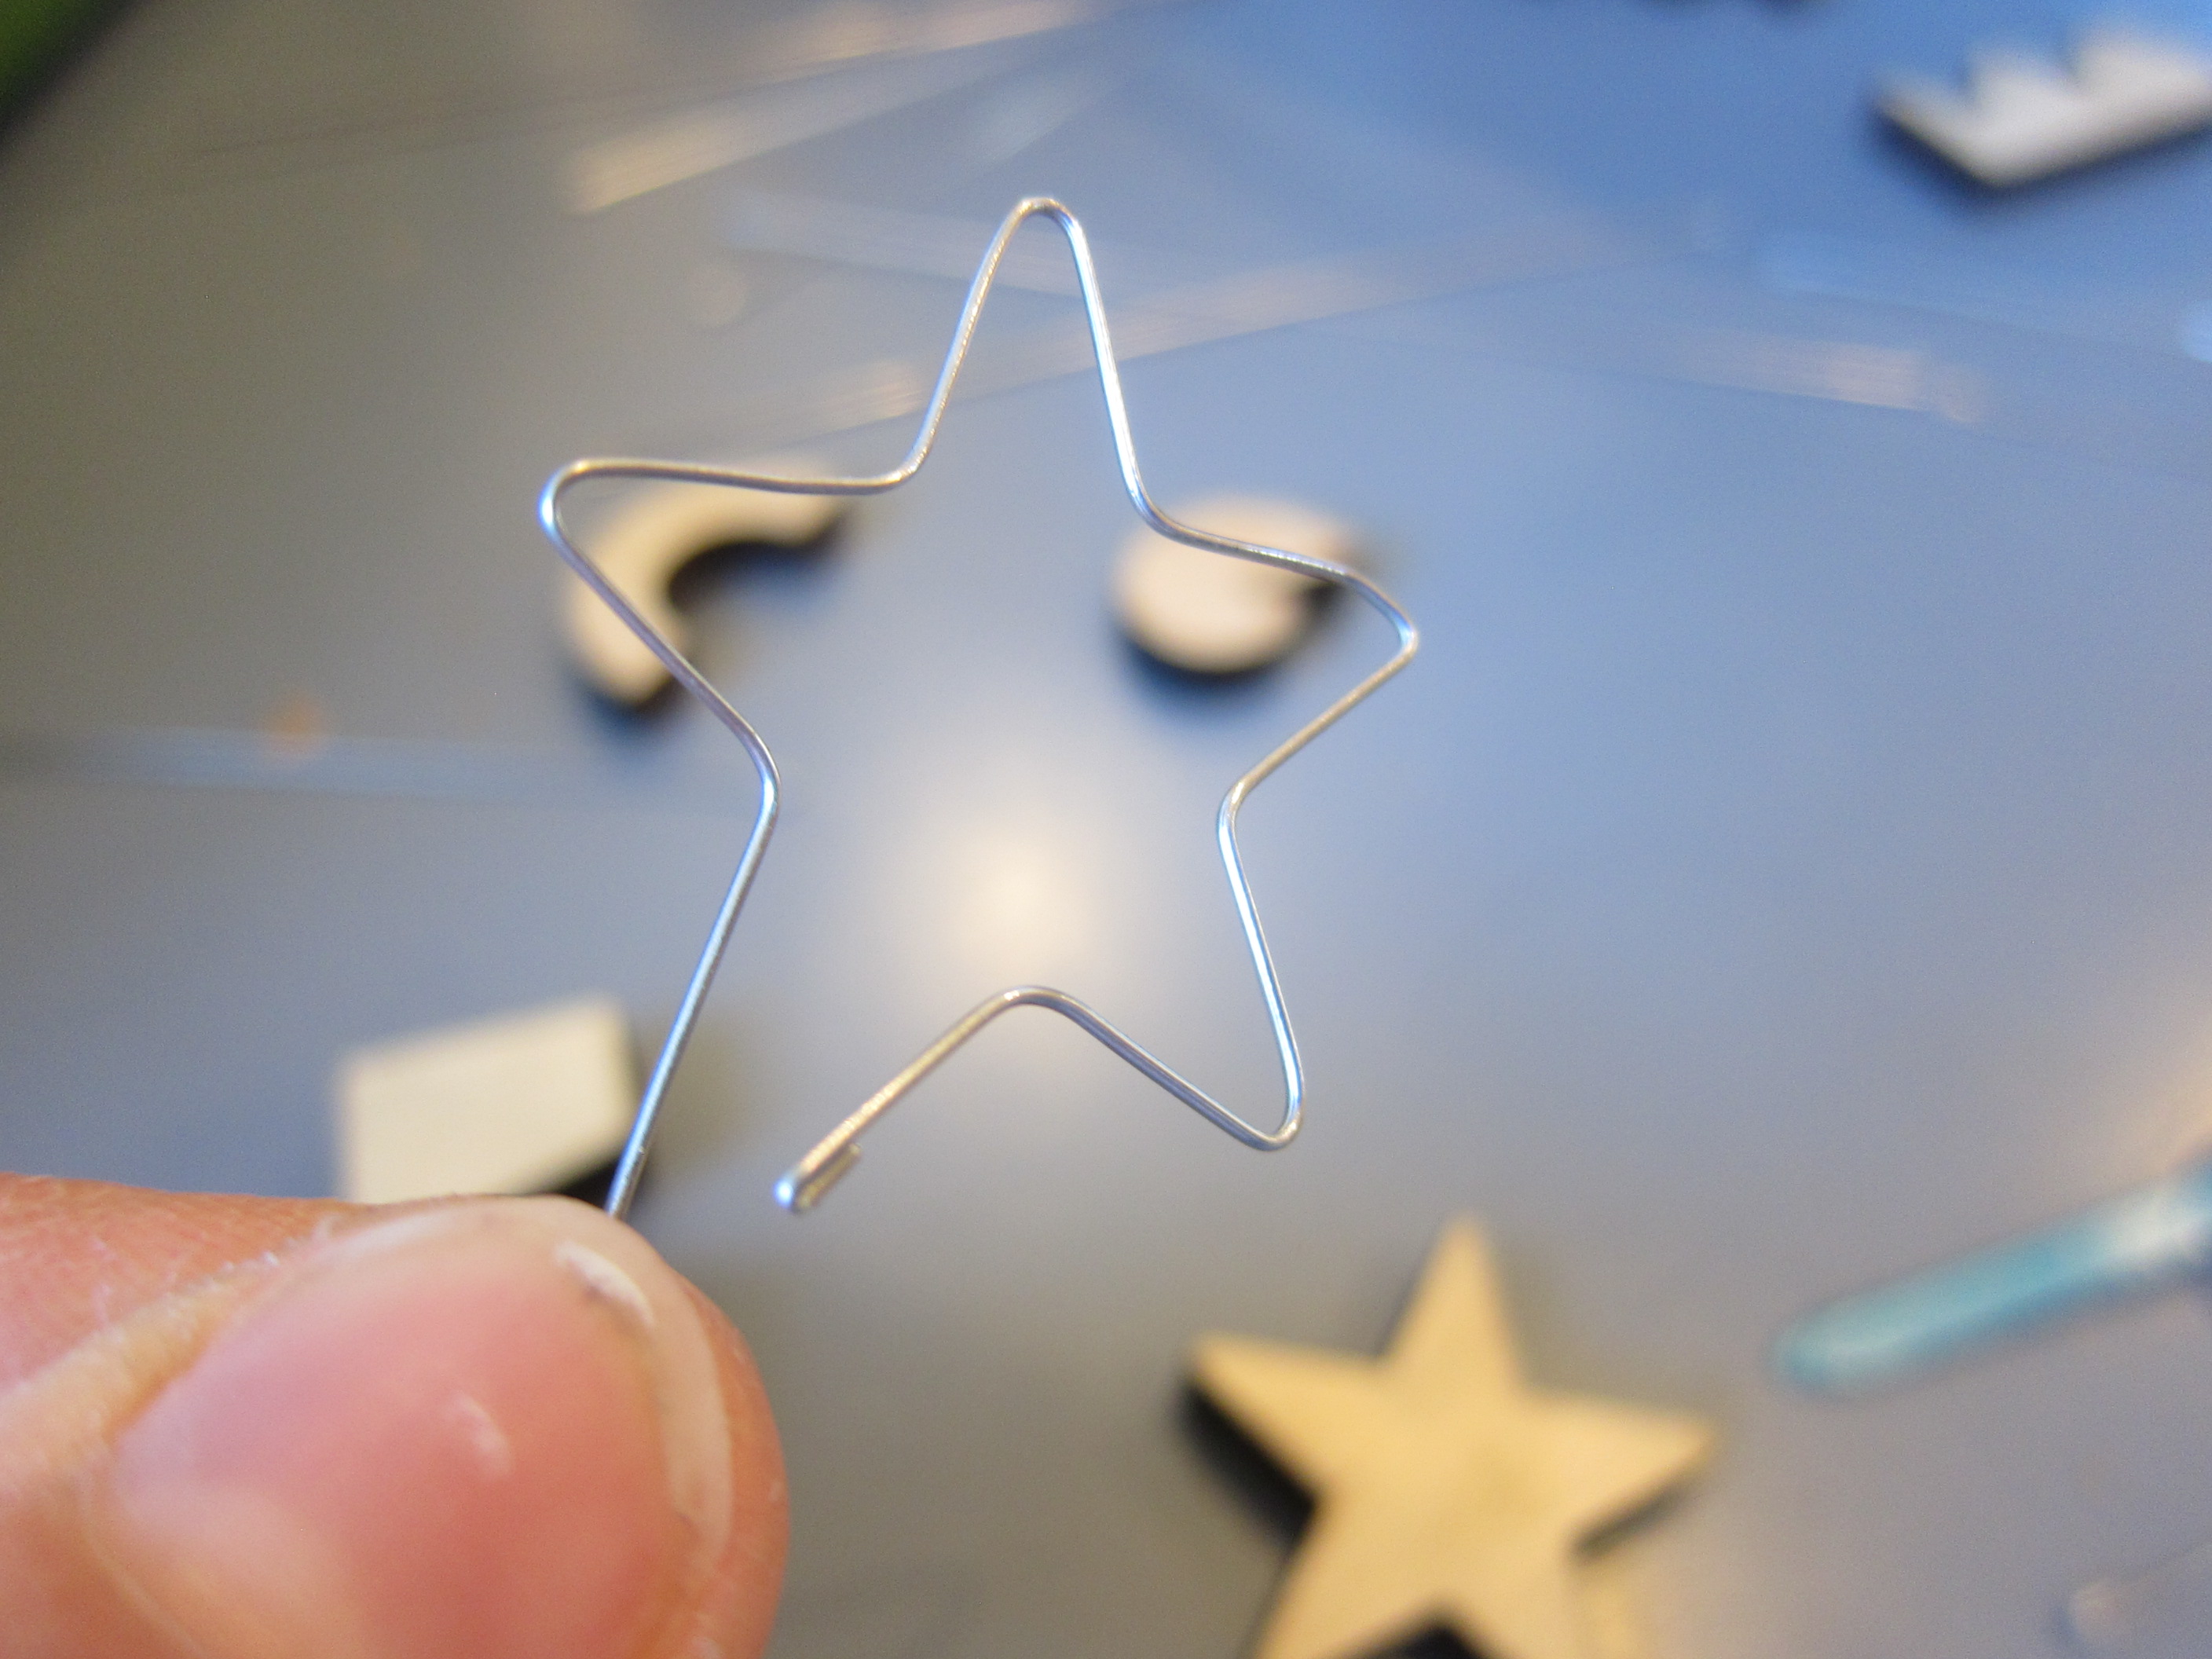
Finally, it was time to make a Water Strider, a lesson about real-life creatures like this insect that manage to not break surface tension. First we experimented with the provided wires using the provided molds to bend them into waves…

Kiwi Surface Tension (17)

…or even stars!

Kiwi Surface Tension (19)

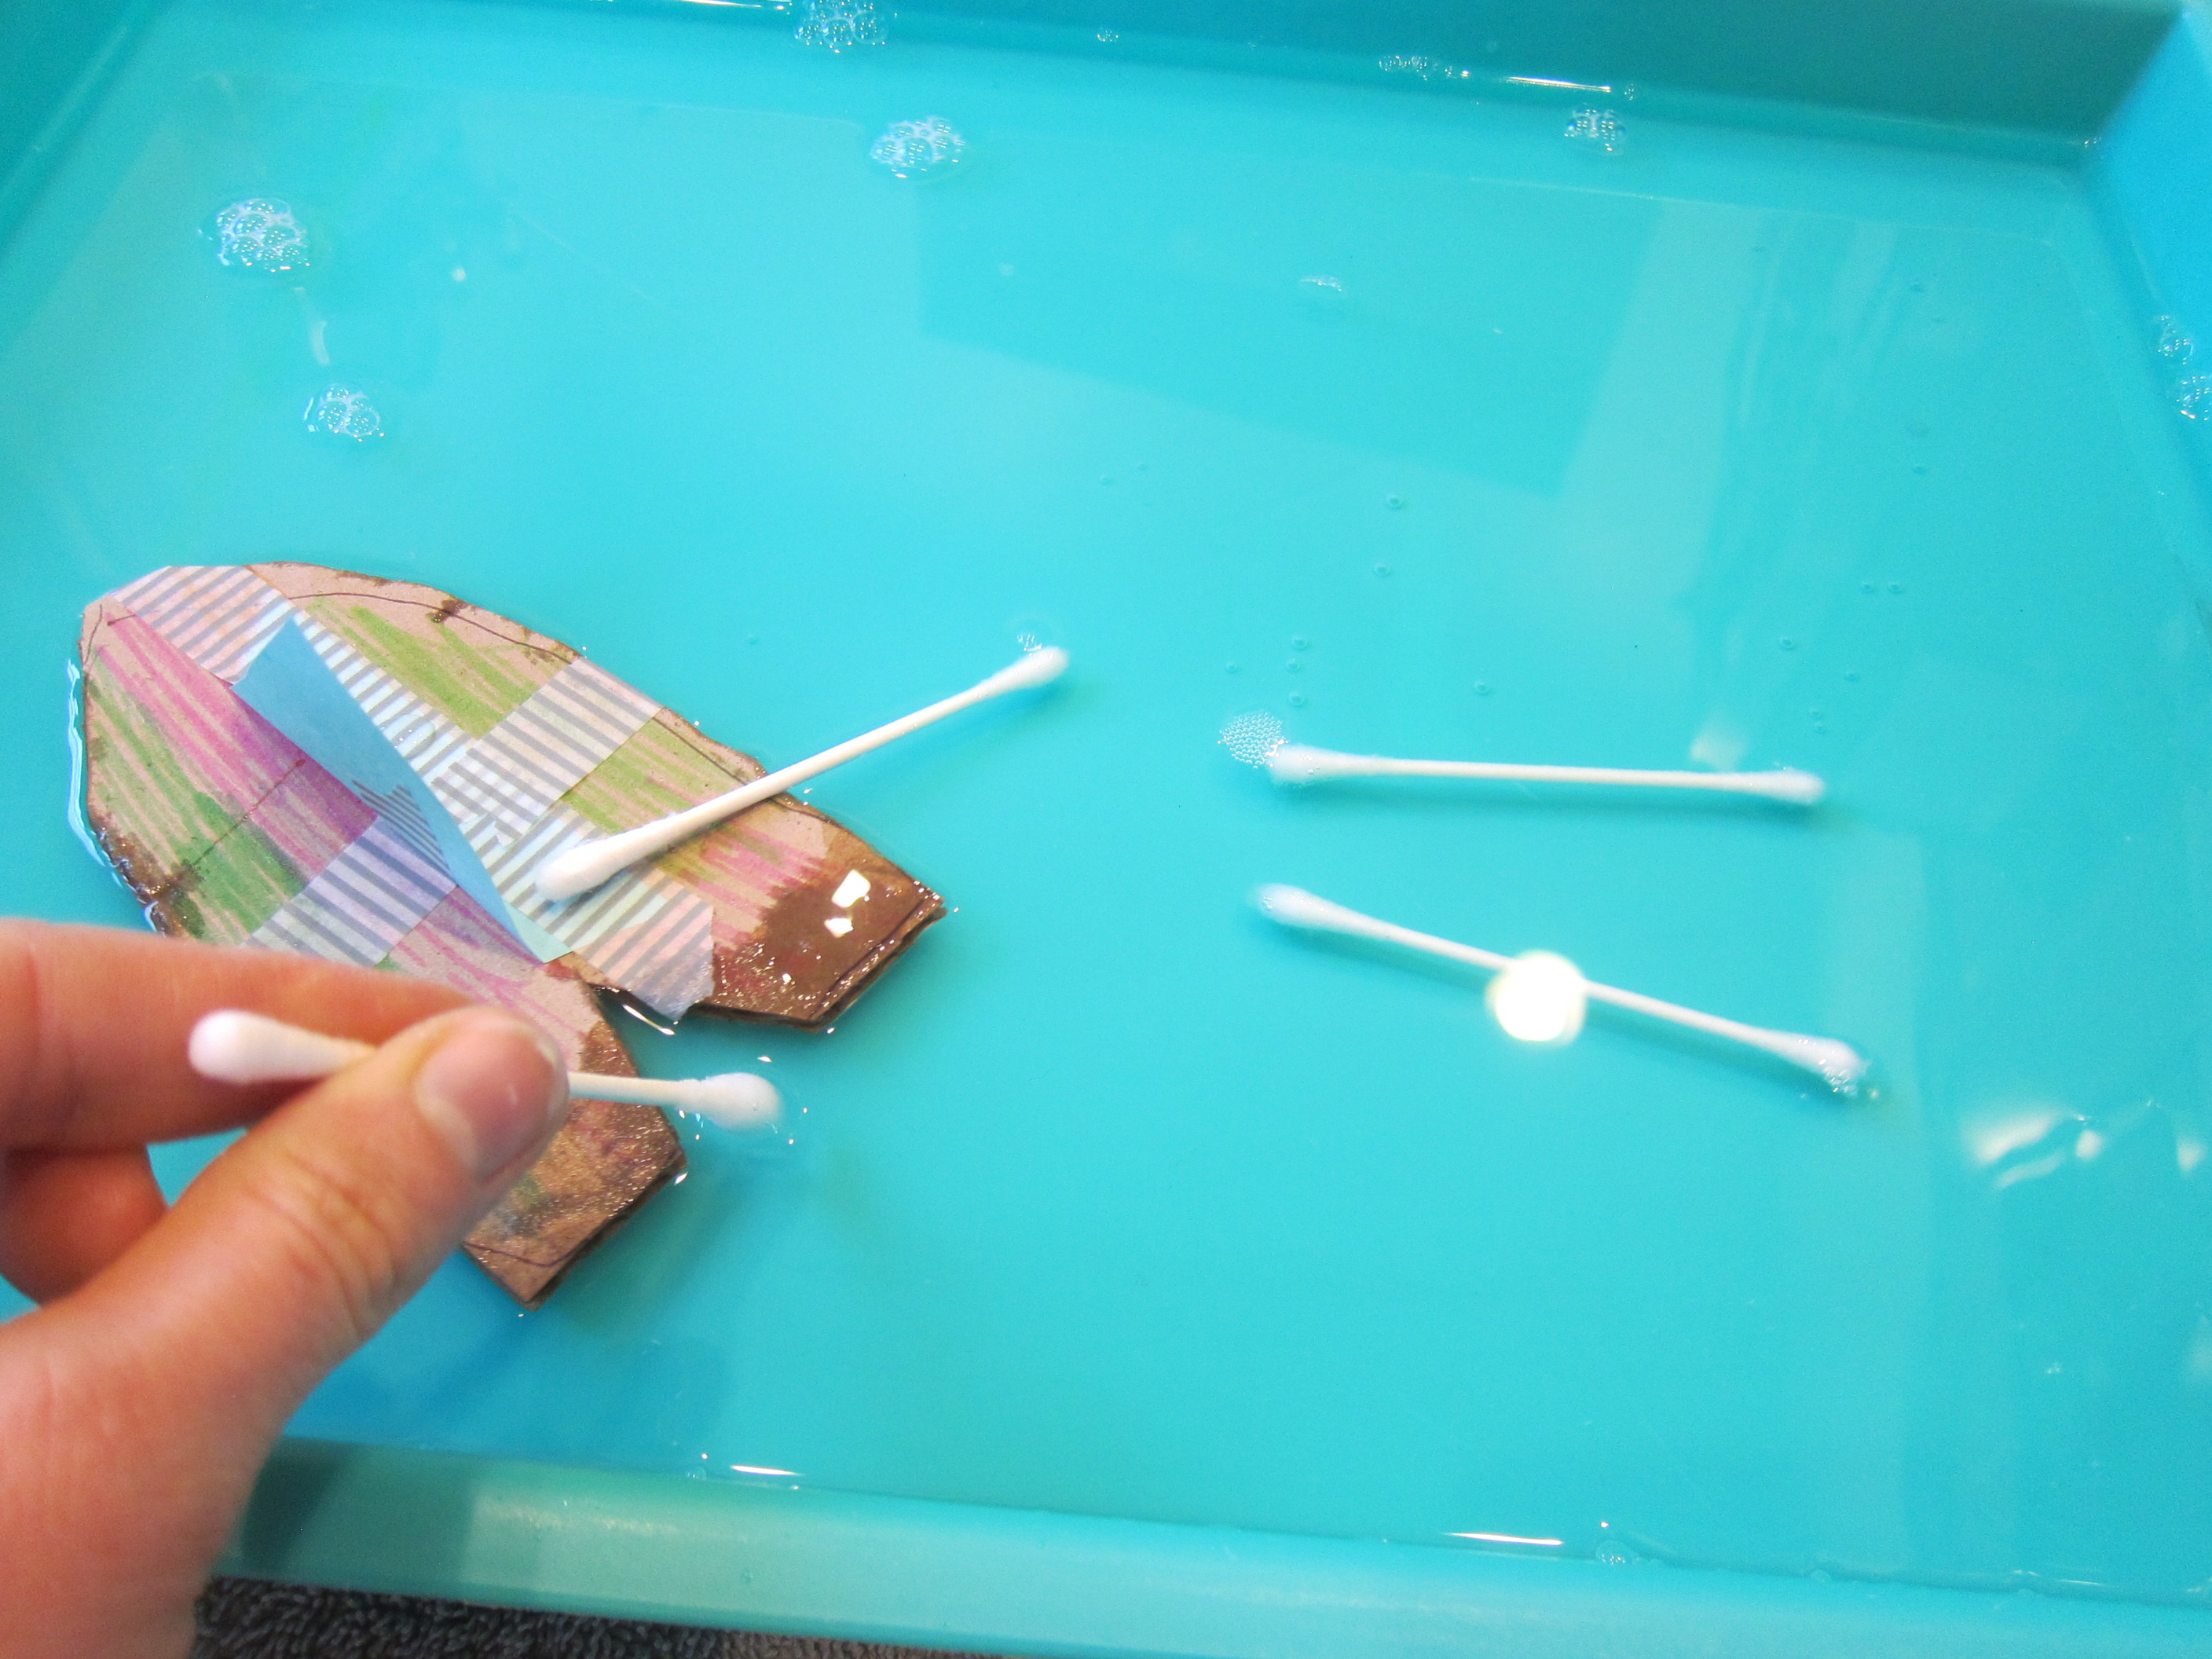
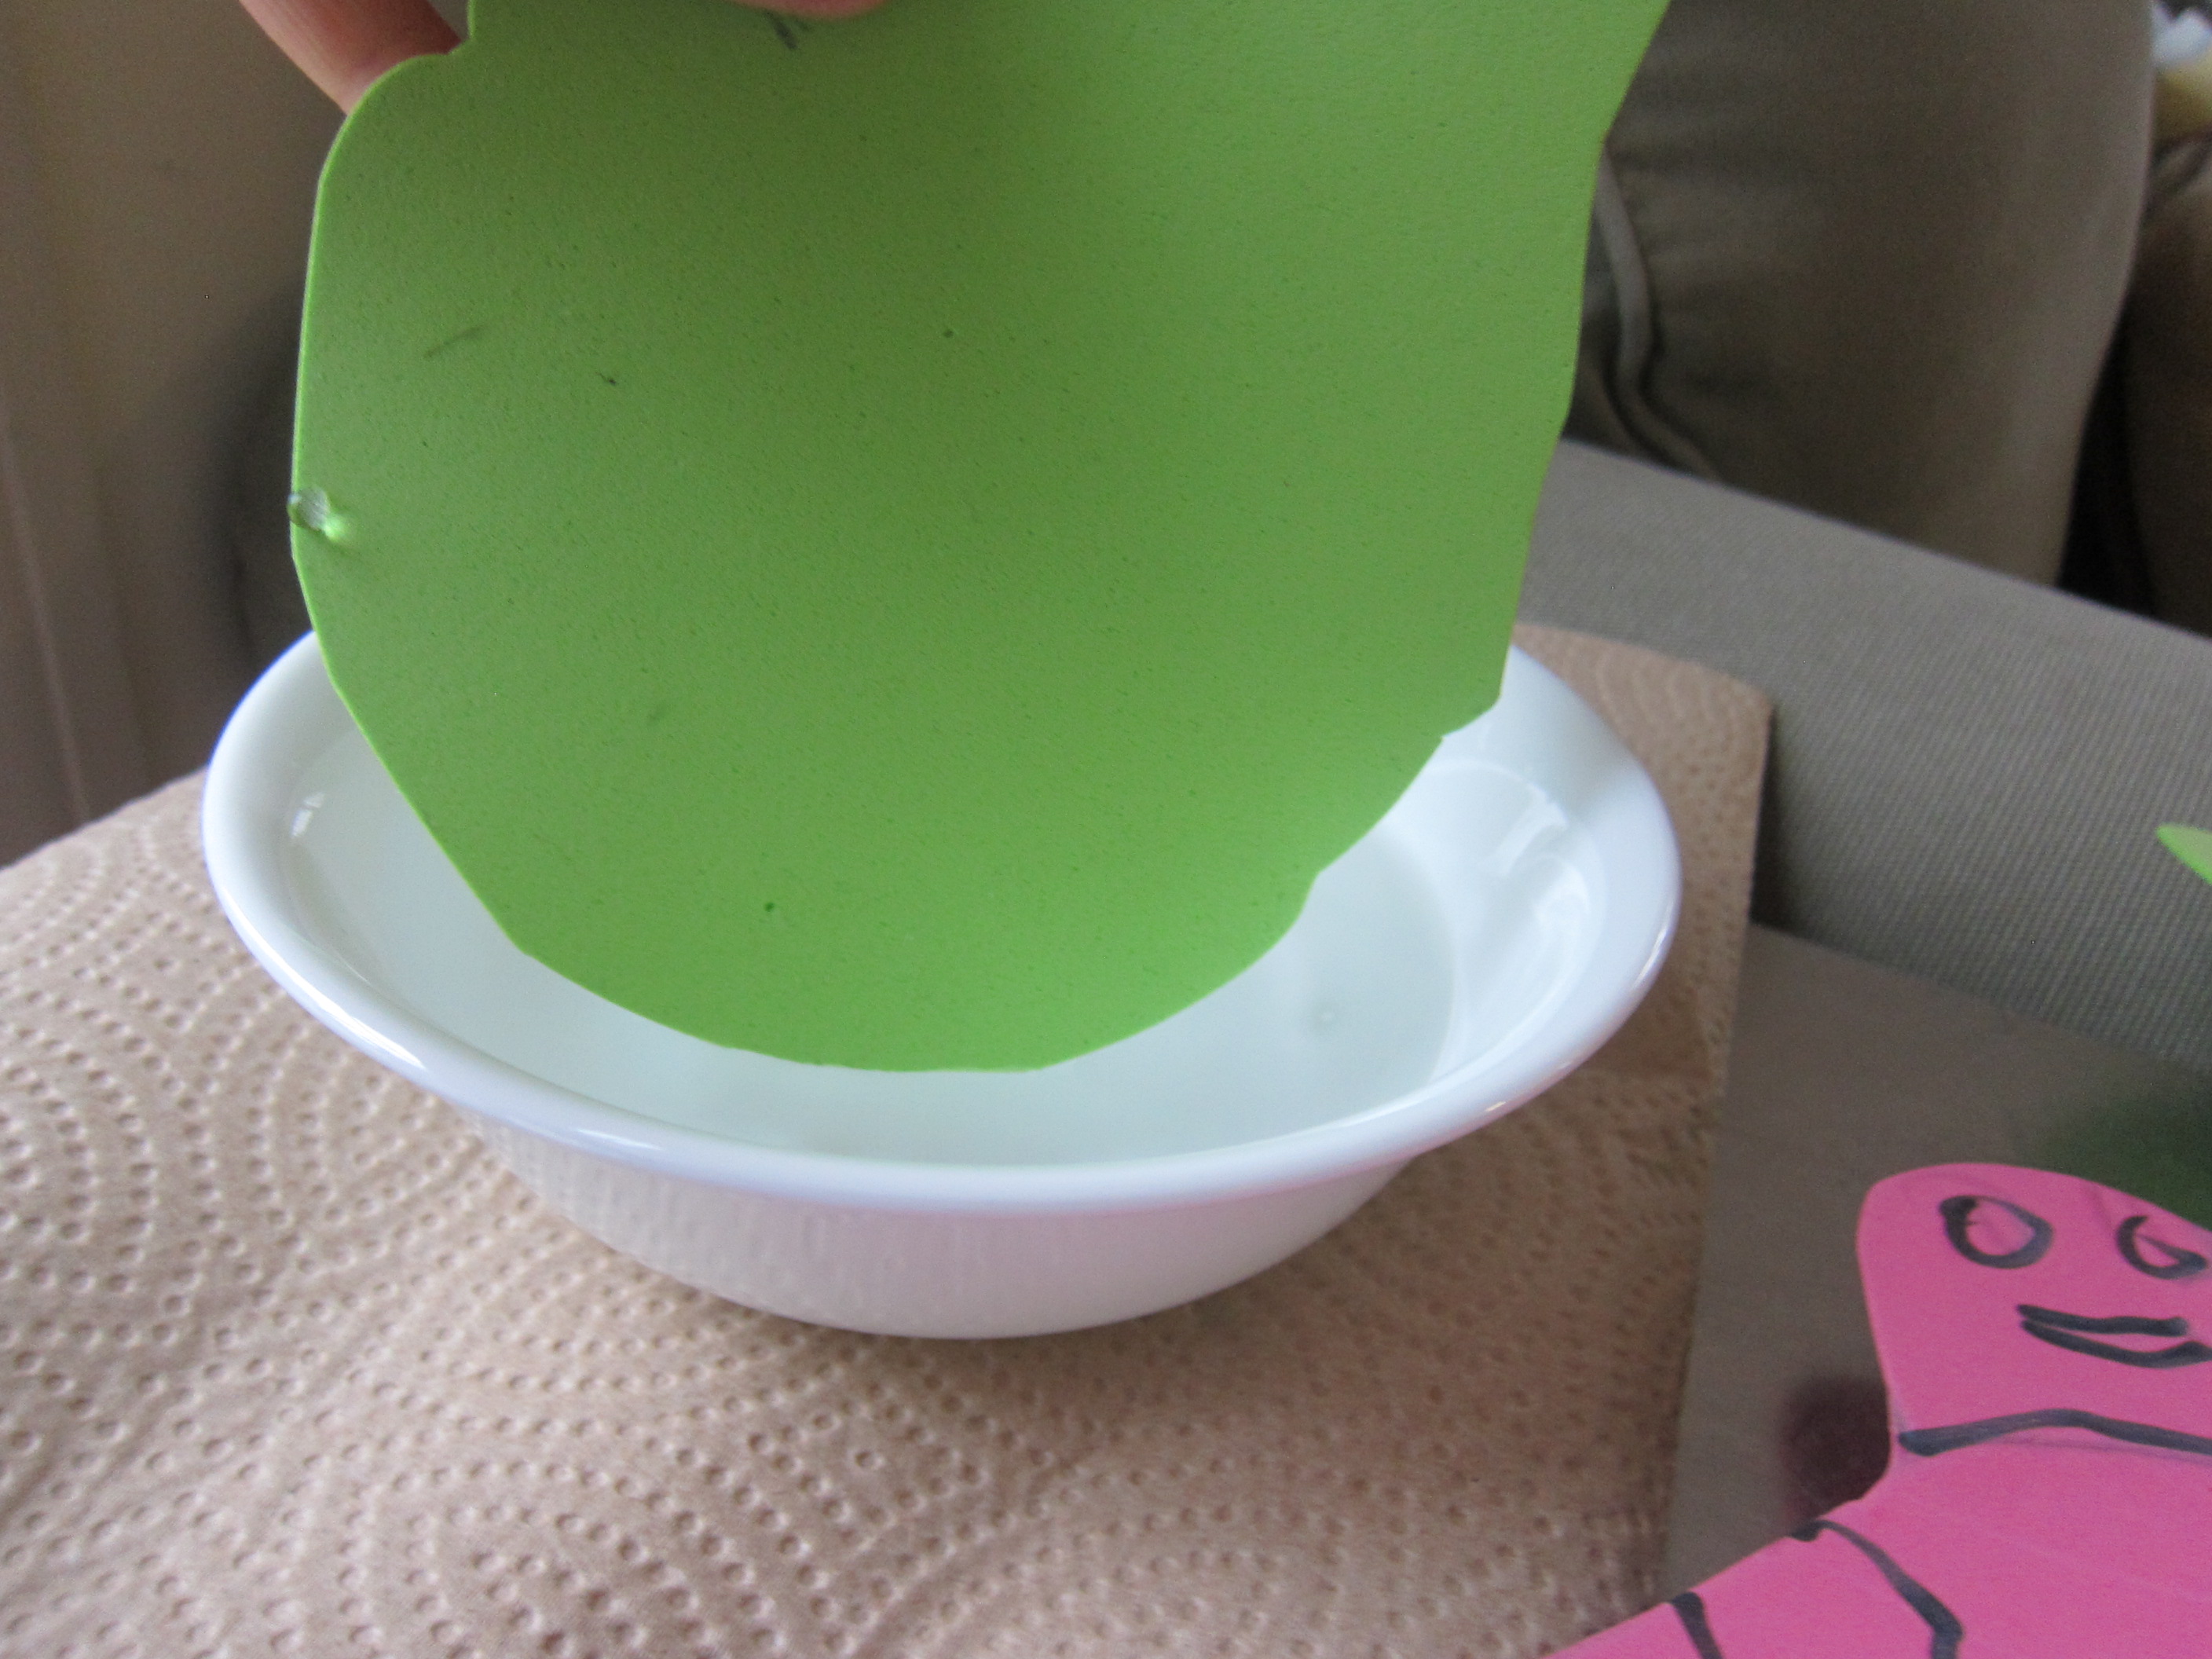
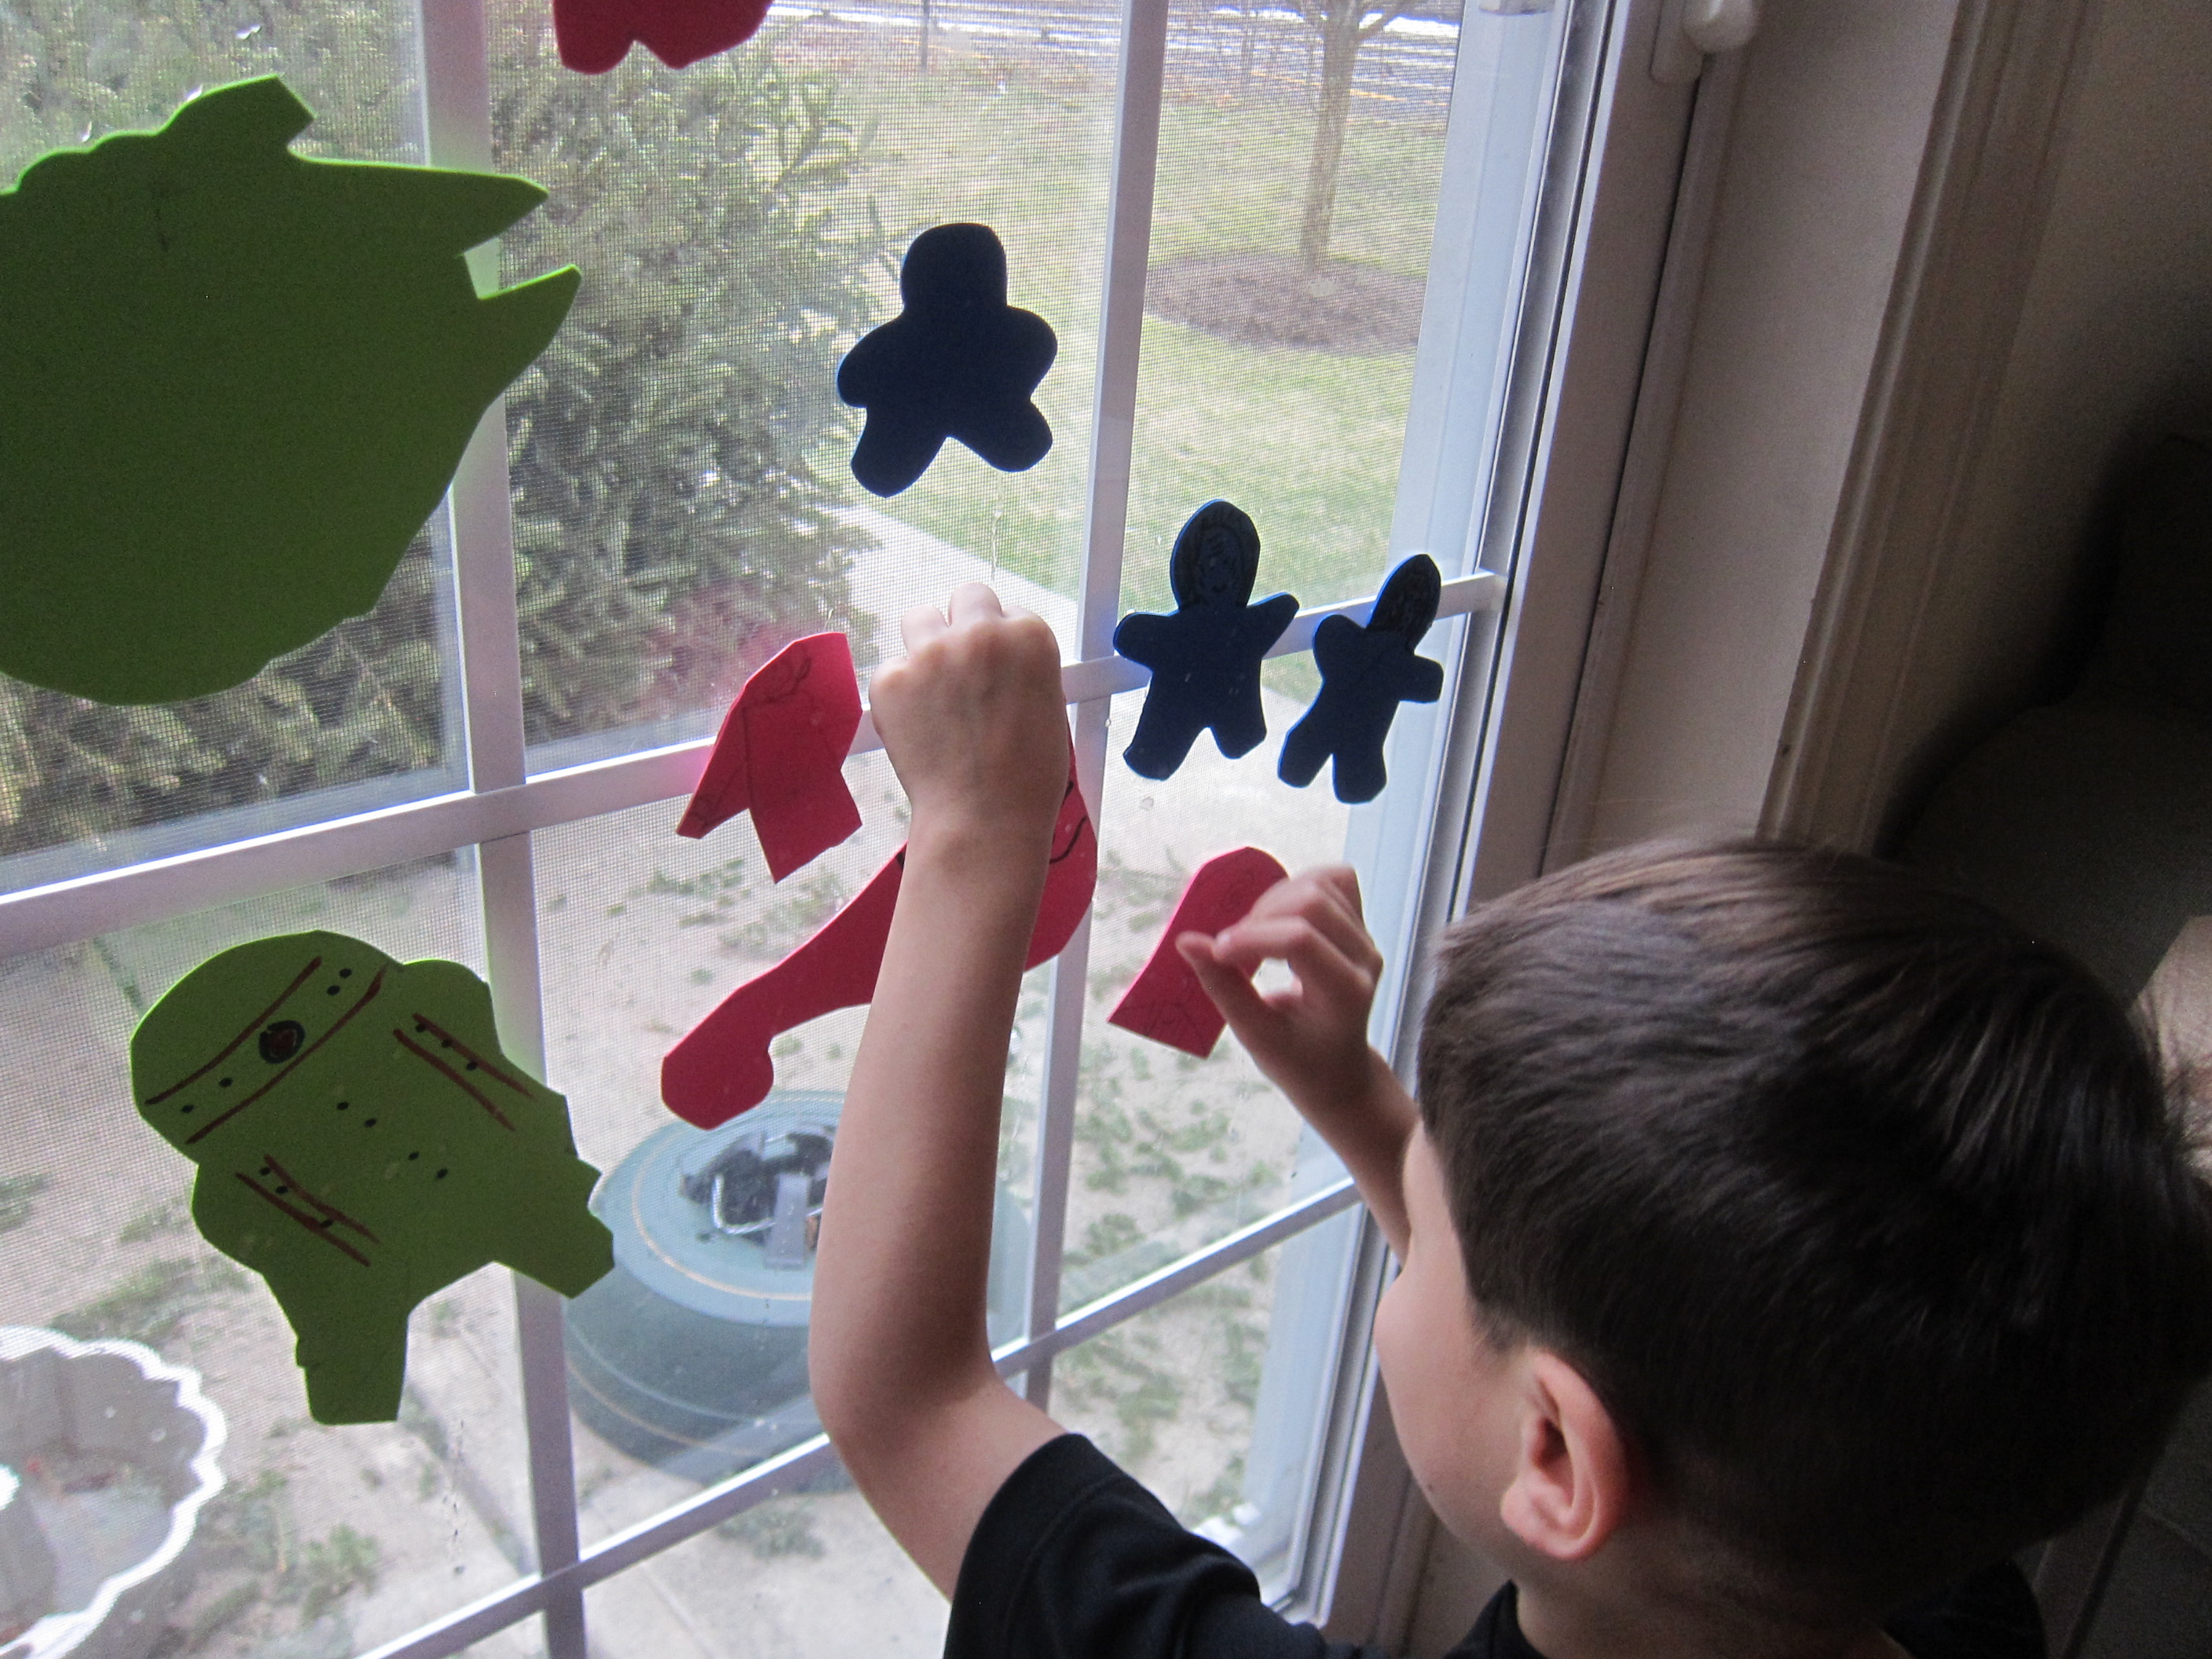
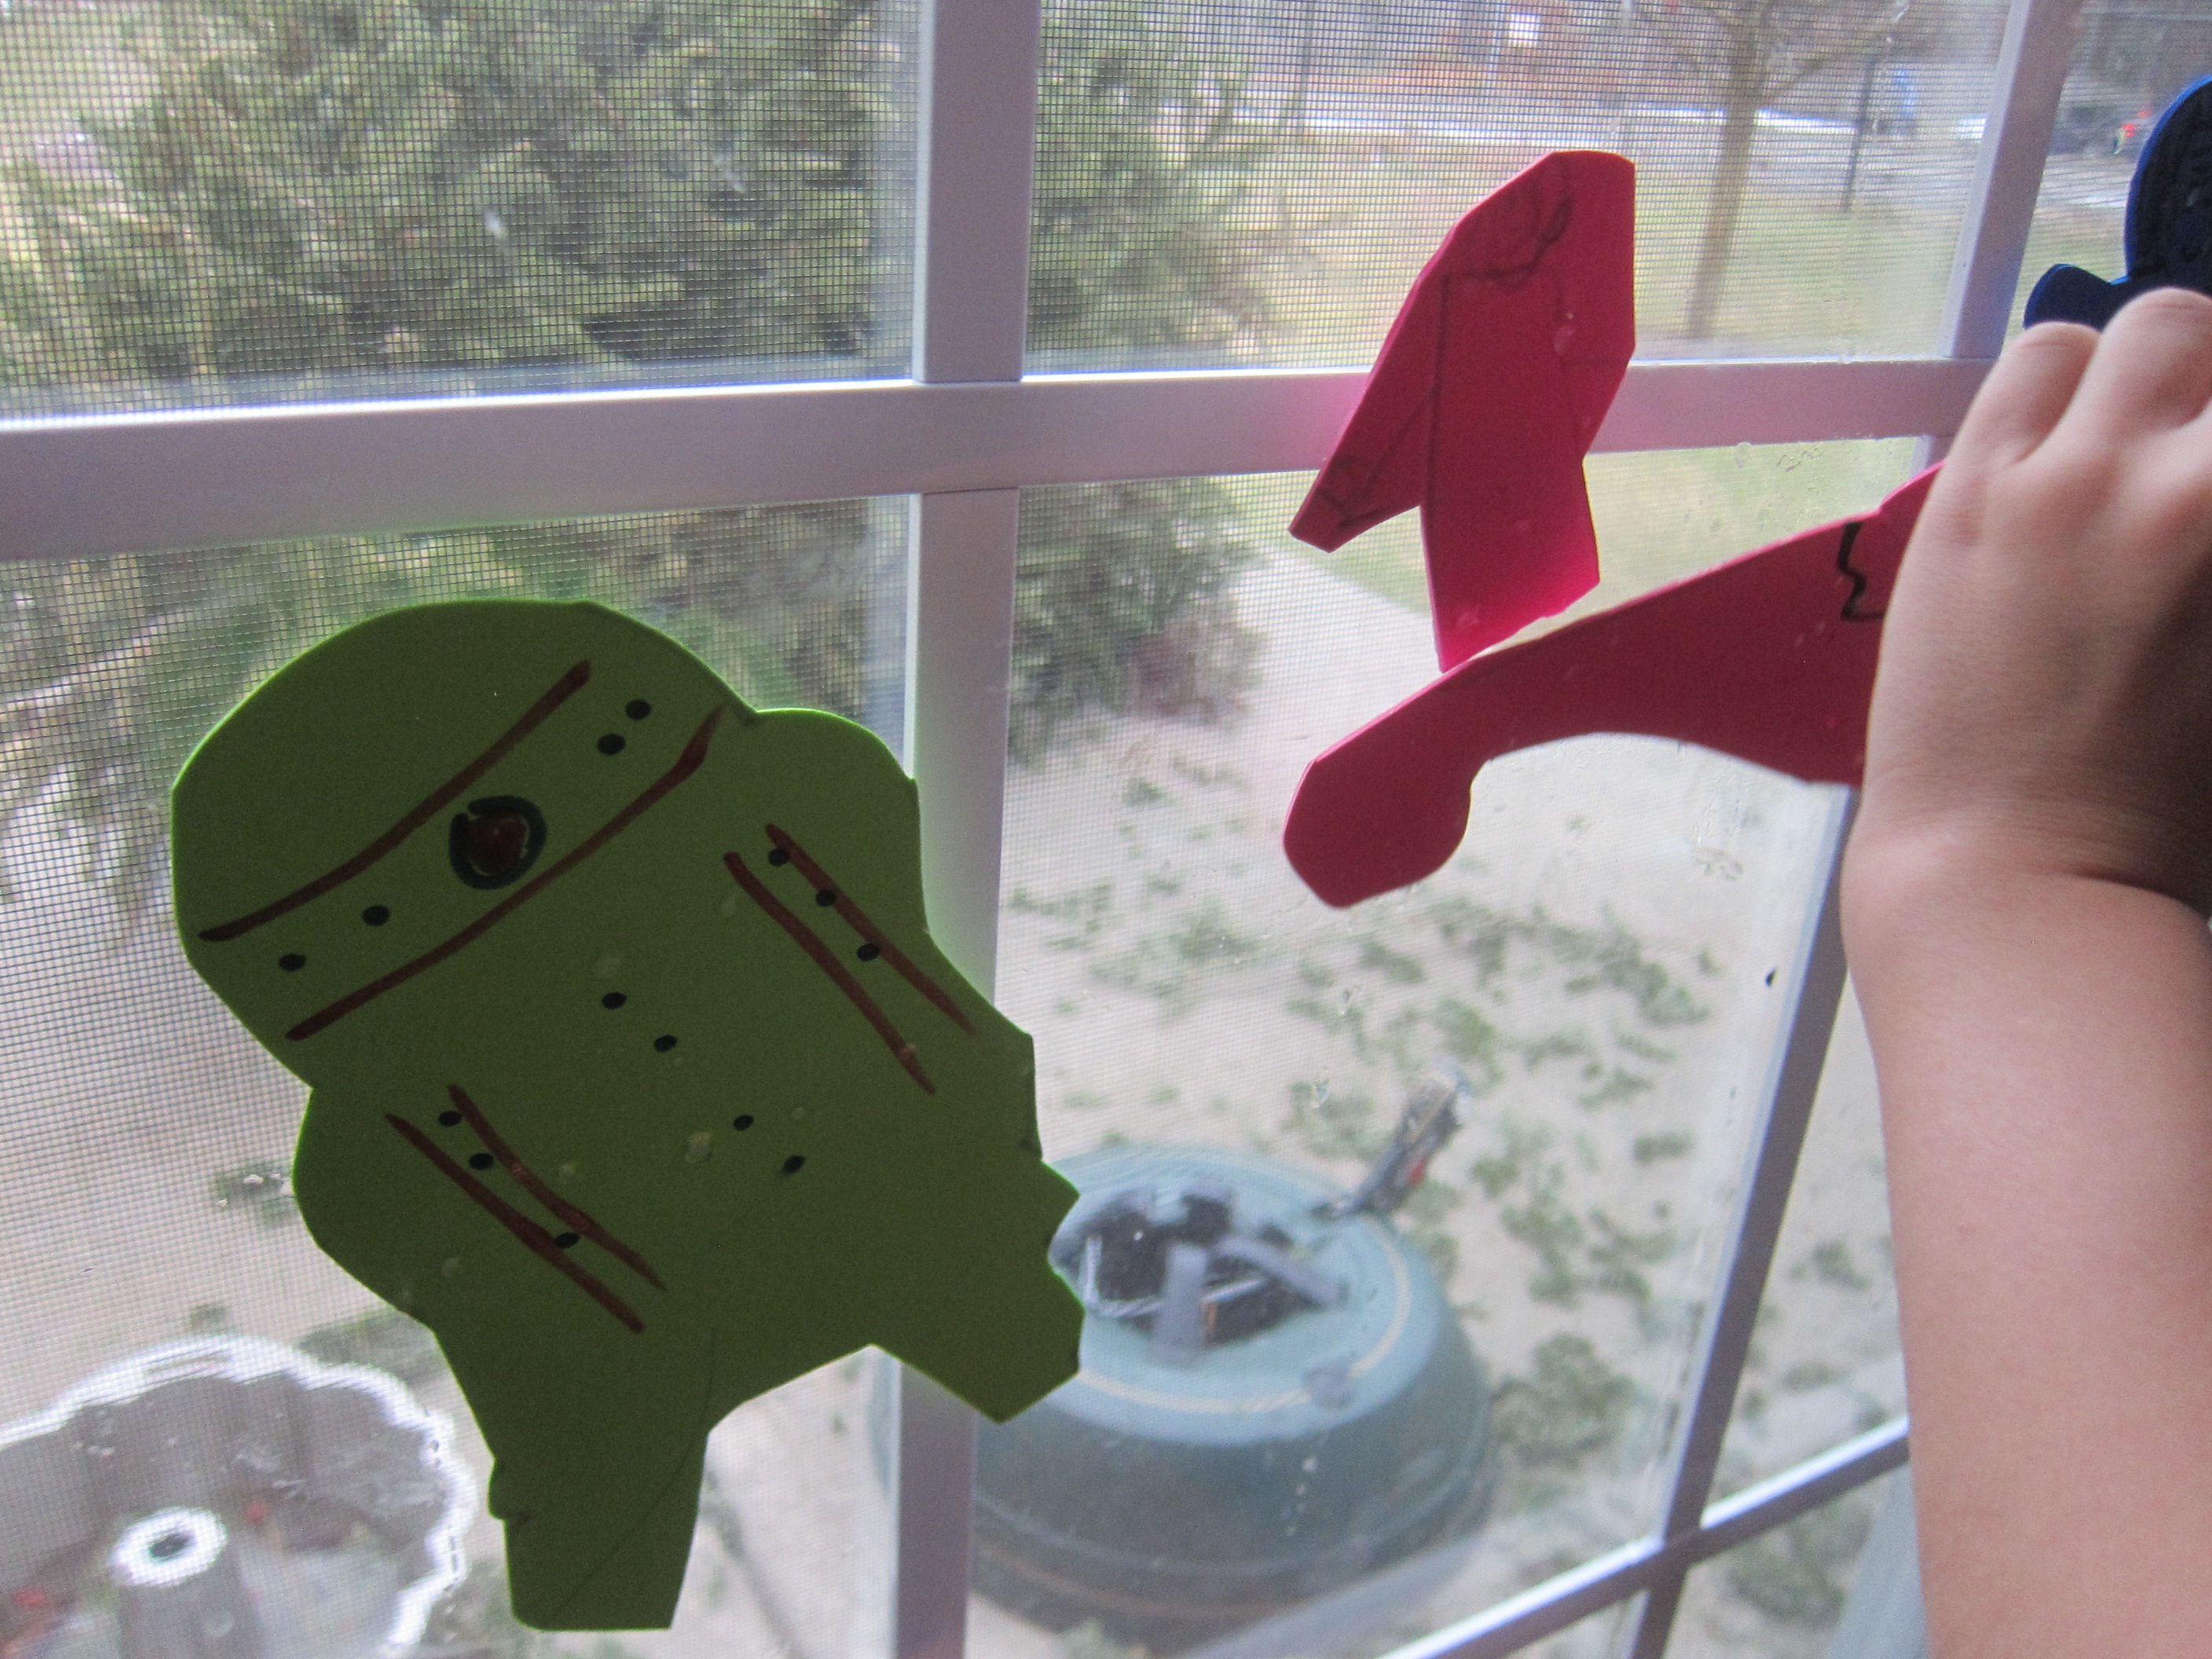
He practiced lowering these into the bowl of water with the provided wooden dipper so they rest on the water and don’t sink.

Kiwi Surface Tension (20)

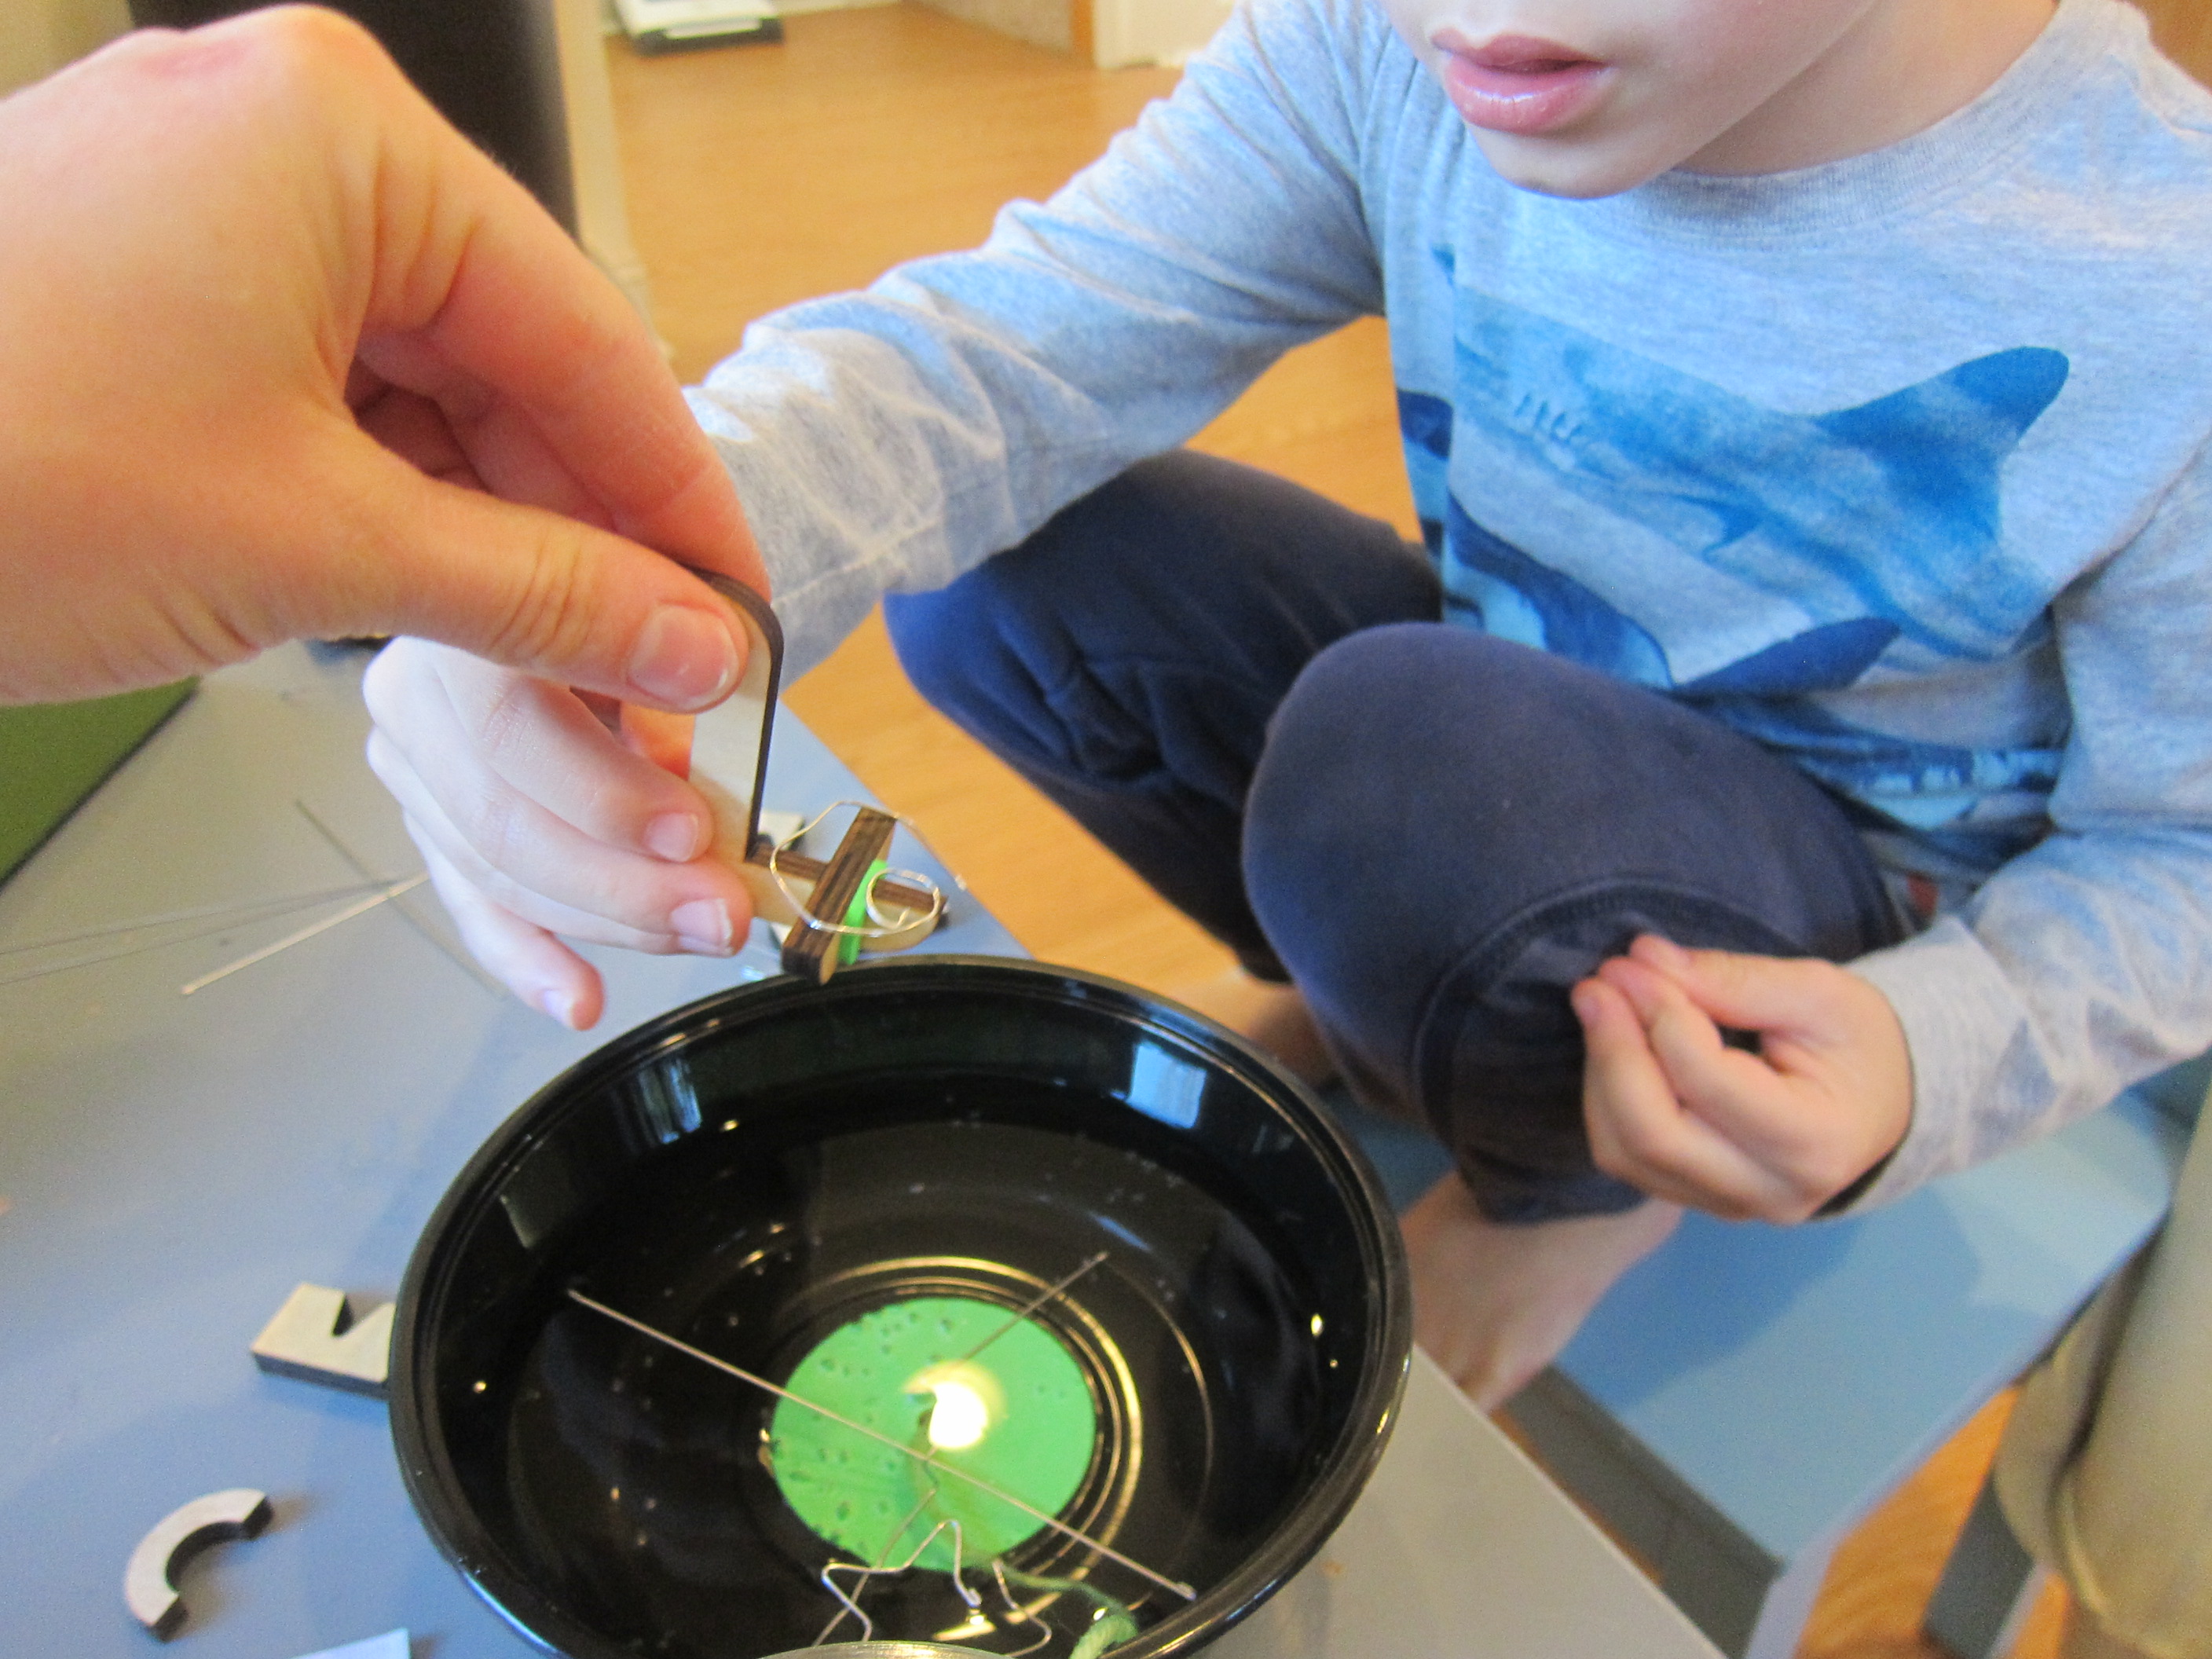
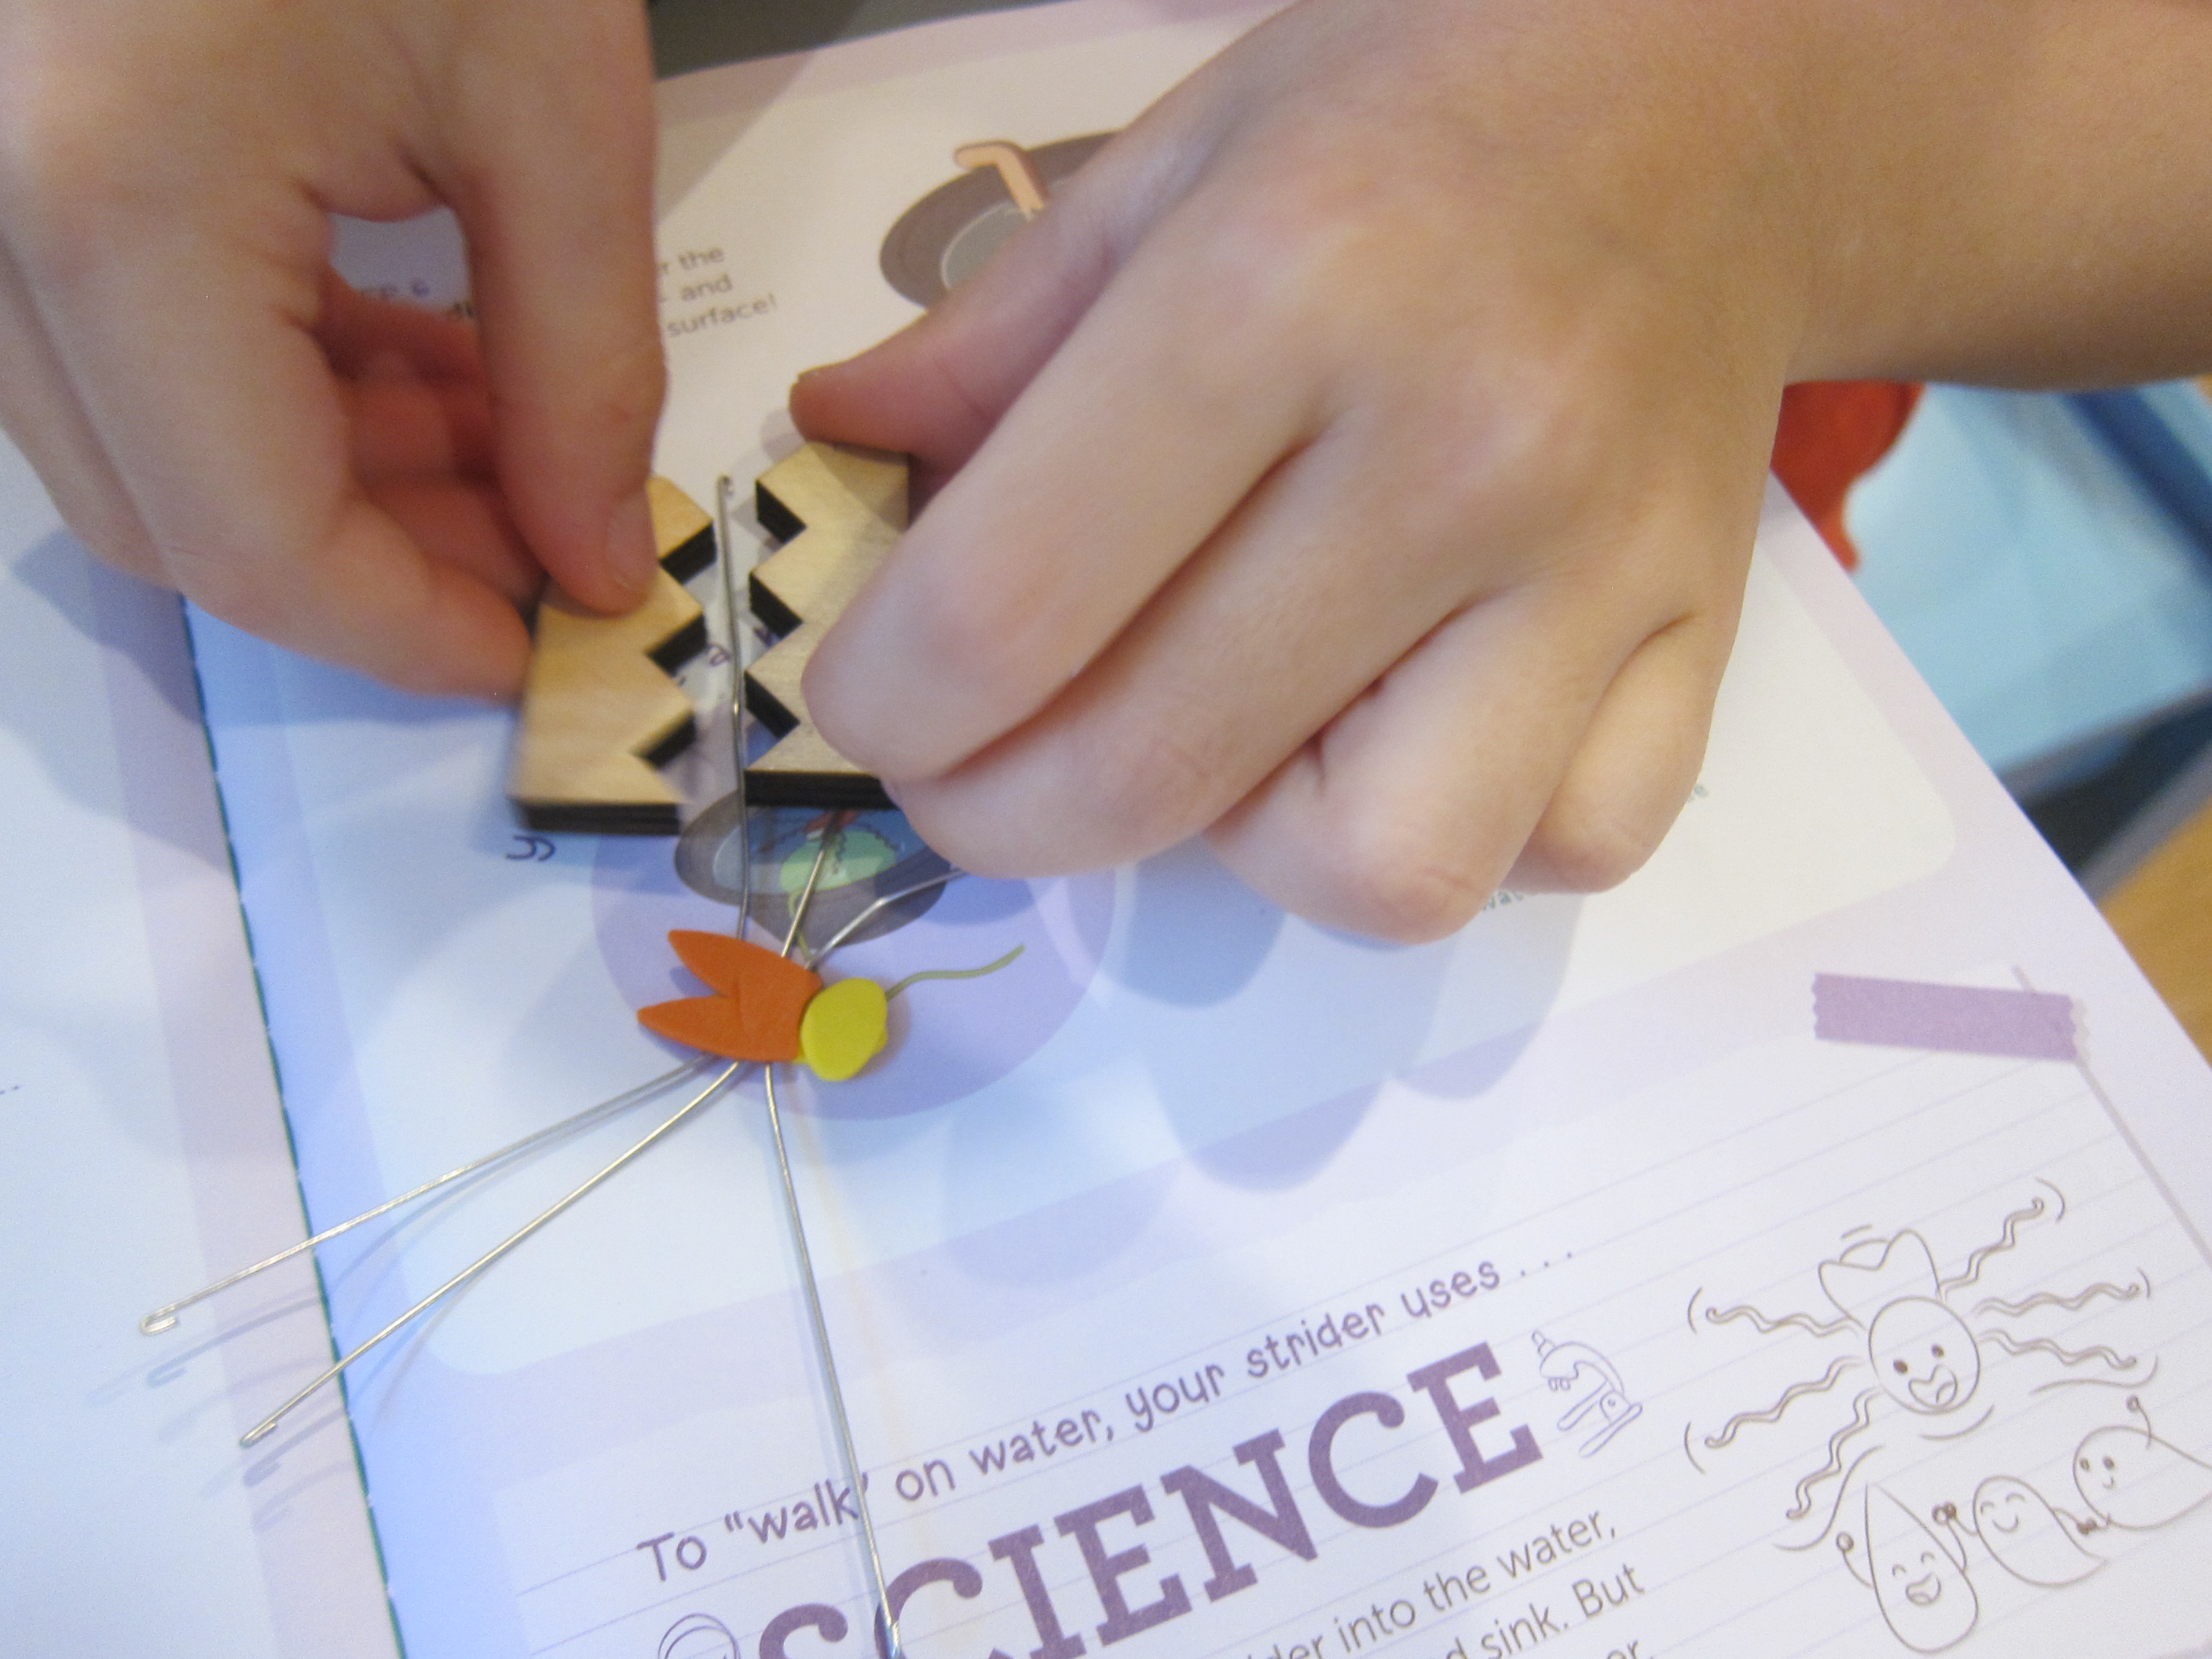
Making the little “water strider” required very deft finger work, pinching three wires between two tiny bits of sticky foam. Travis crimped the legs with the wooden presses and then we lowered it down into the water bowl with the dipper.

Kiwi Surface Tension (22)

The bug walked on water all right! Travis tested out pressing on it with a finger to make sure we were really seeing surface tension at play, and at that point the bug sinks.

Kiwi Surface Tension (25)

There were a couple quick experiments in his Explore magazine for further fun. First we tried The Unspillable Bottle, an old activity that failed for us in the past, but today we got it right! Place mesh netting from an onion bag over the top of an empty water bottle and secure with a rubber band.

Kiwi Surface Tension (28)

Now fill the bottle with water. Place an index card over the top and flip the bottle over. Slowly remove the index card… and the bottle won’t leak!

Kiwi Surface Tension (29)

Travis loved the Runaway Pepper experiment the followed. Simply crank your pepper mill a few times over a bowl of water, then add one drop of dish soap in the middle.

Kiwi Surface Tension (27)

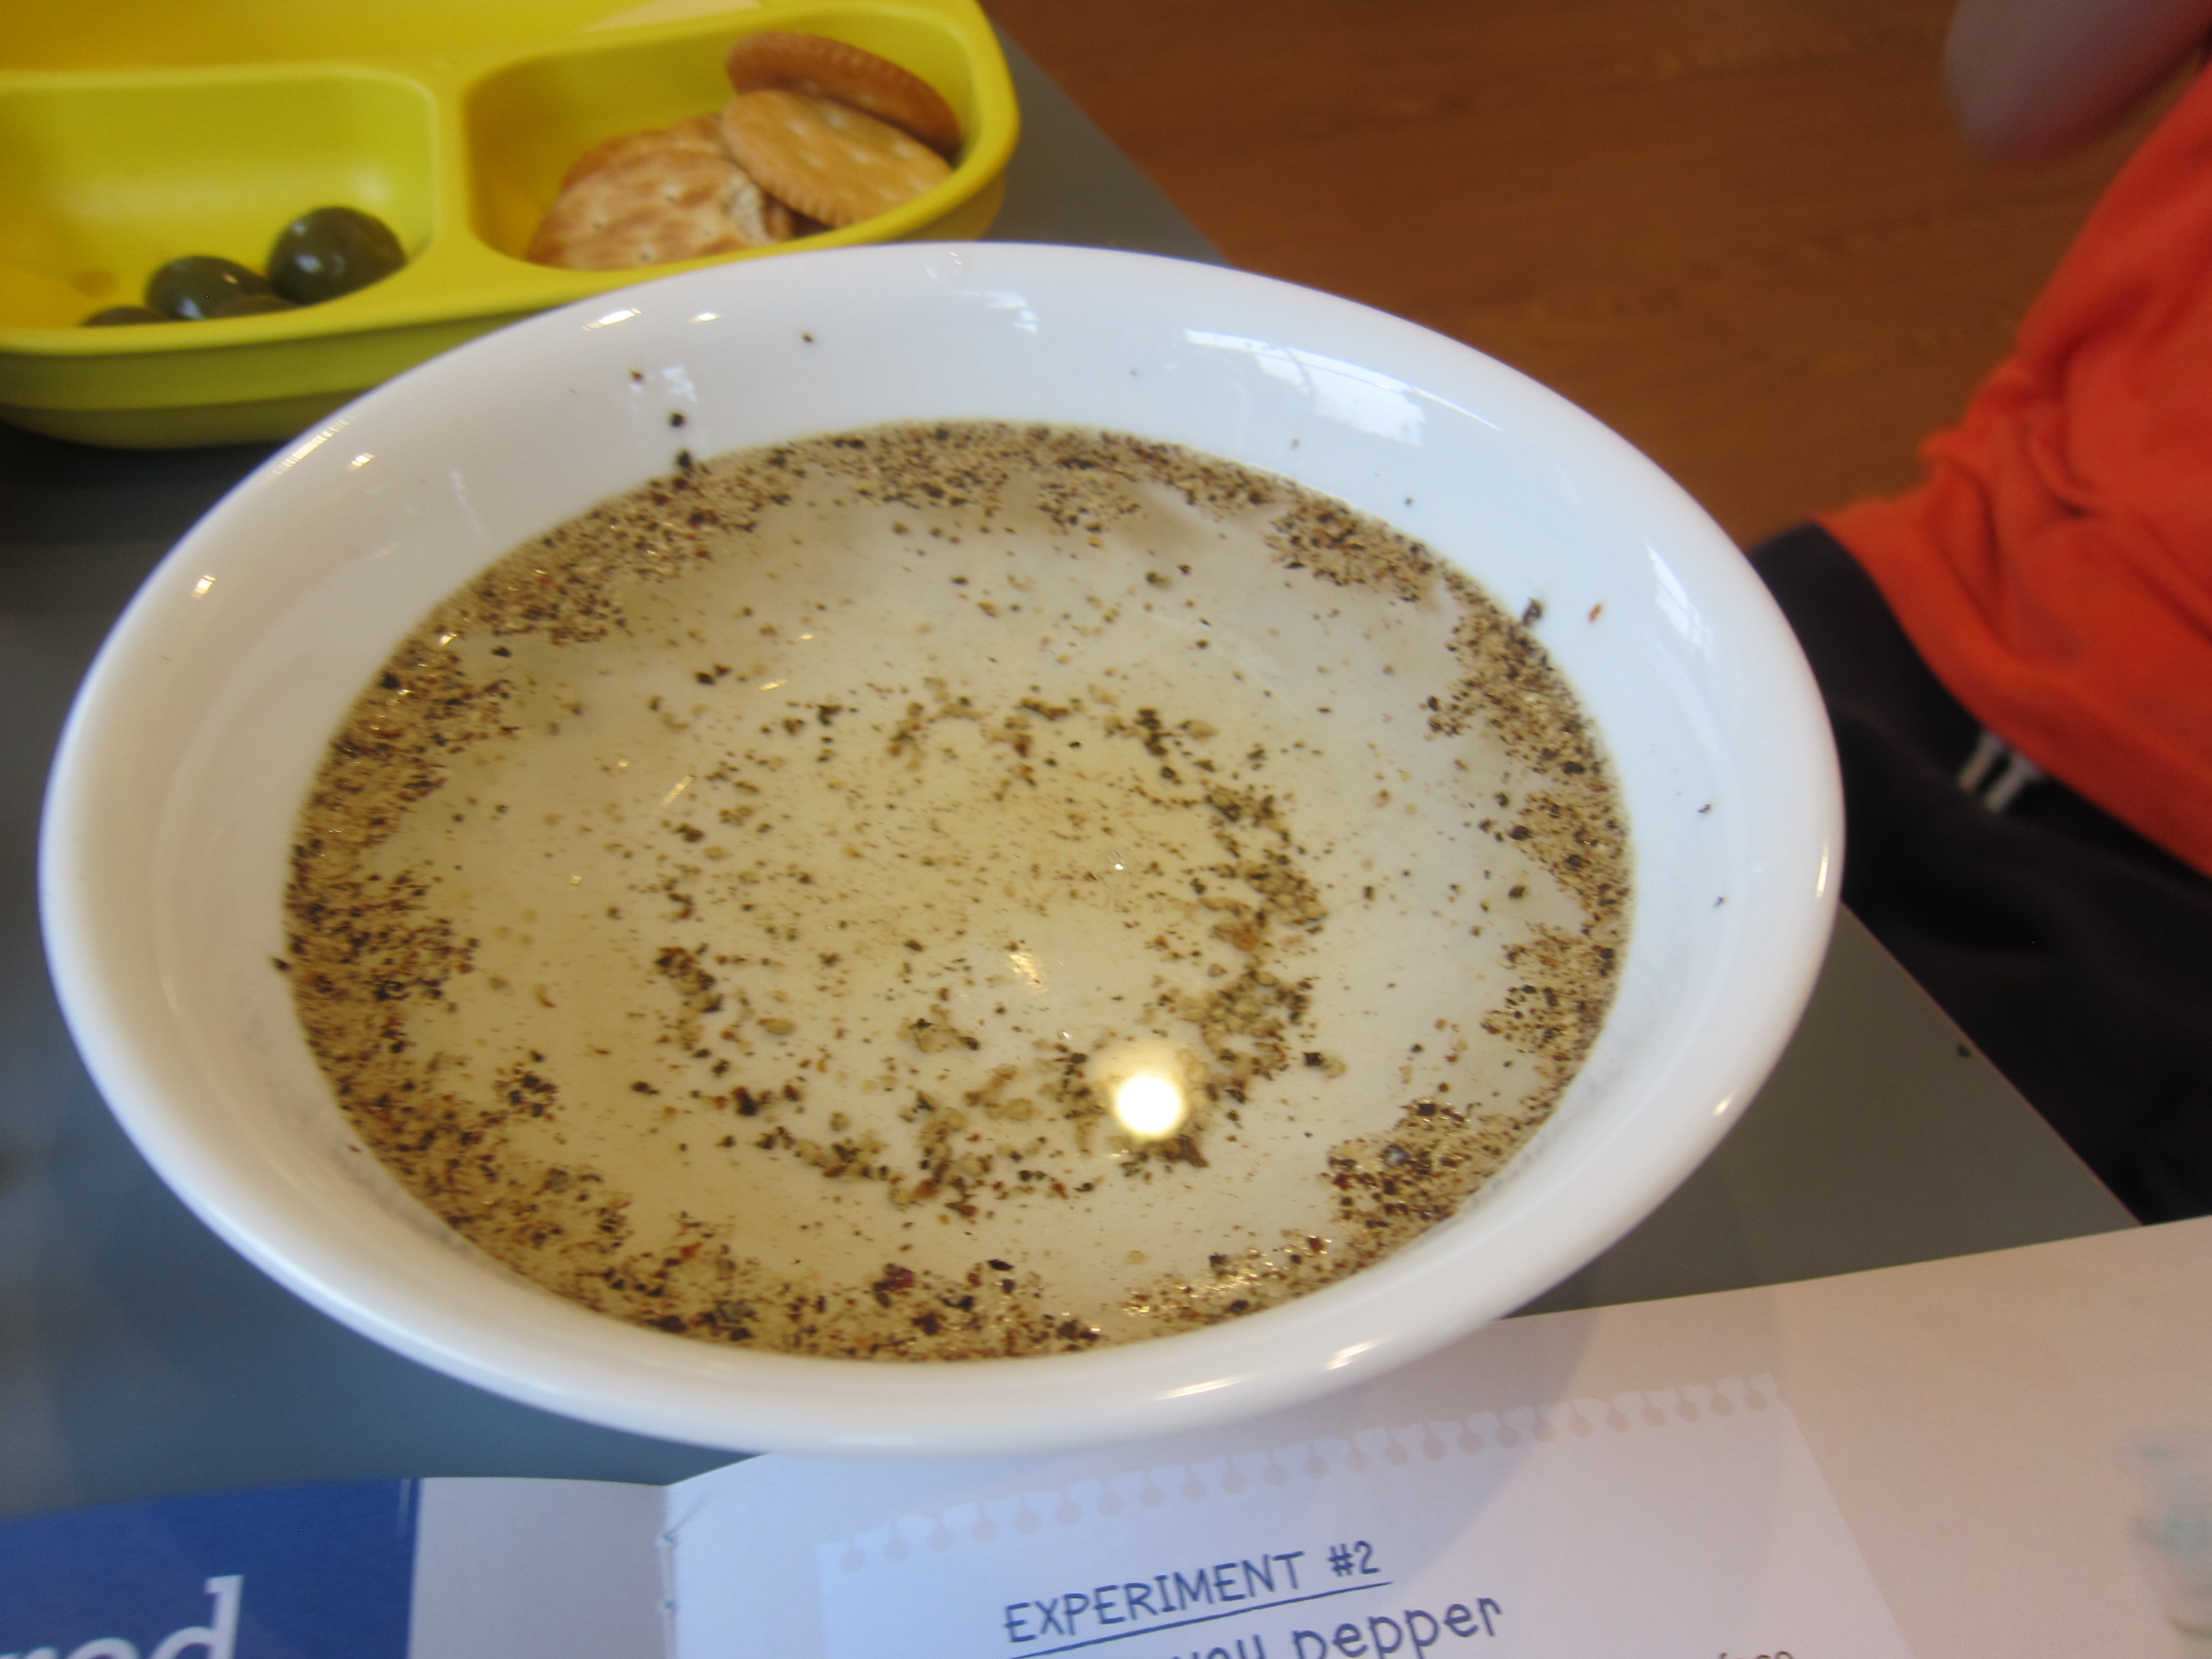
The pepper runs away! We leave you with this clip of it in action:

Cheesy Soup Skimmers

Cheesy Soup Skimmers (3)

This quick kid-friendly cooking project makes a tasty lunch and has a little science lesson thrown in, too!

We wanted to test what could float in a bowl of soup, and decided to make cheesy “crackers”. (Note: I used Daiya’s shredded non-dairy cheddar for the experiment, which worked great. Other non-dairy cheese will most likely work, too, but I can’t say for sure).

Travis picked a few fun cookie cutter shapes, including hearts, stars…and Darth Vader’s helmet! Sprinkle a thin layer of the non-dairy cheddar into each cookie cutter over a baking sheet lined with parchment paper. We also made a few free-form shapes for comparison on the side.

Cheesy Soup Skimmers (1)

Be sure to lift off the cookie cutters before baking! Bake at 350 degrees F for 8 minutes, just until the cheese sets.

Cheesy Soup Skimmers (2)

Let cool completely, then carefully peel the cheese shapes off the parchment paper and slip on top of a bowl of soup. We particularly liked these with tomato soup.

Cheesy Soup Skimmers (4)

The kids loved seeing the cheese float. And then they tested out a few oyster crackers, too! That’s where the science comes in: if you press on the cheese skimmers, they will break the surface tension of the soup and sink to the bottom of the bowl. The crackers will always float for a different reason, though, namely density!

Cheesy Soup Skimmers (5)