Gallant Challenge: Endangered Animal Art

Endangered Animal (2)

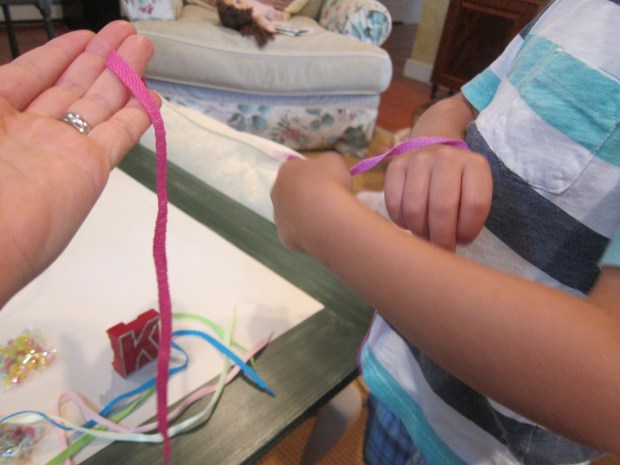
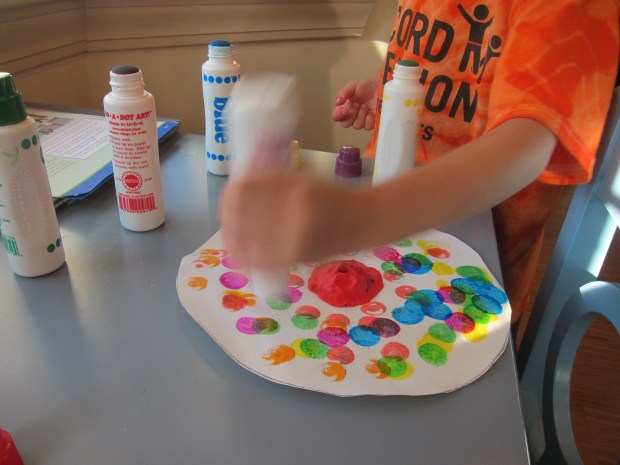
Travis is inspired every time he reads the profile on Gallant Kids in his Highlights magazine. This month’s read was about a girl who paints pictures of endangered animals and sends the proceeds from her sales to charities that aid animals. We loved the idea, and immediately decided to make some pictures of our own.

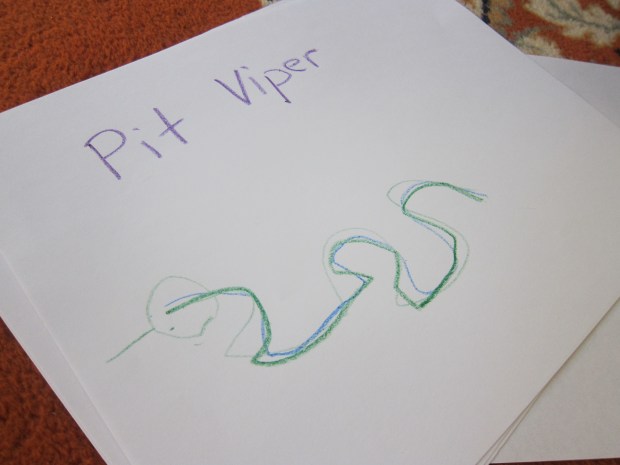
Because Travis loves snakes, we looked up which species have populations that are decreasing or at risk.

Endangered Animal (1)

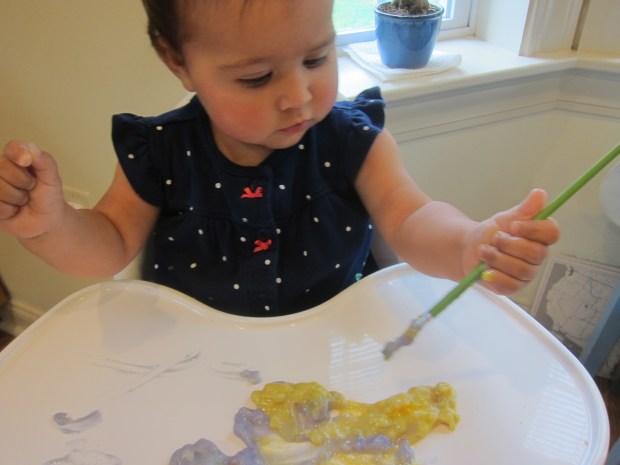
First, Travis drew a pit viper.

Endangered Animal (3)

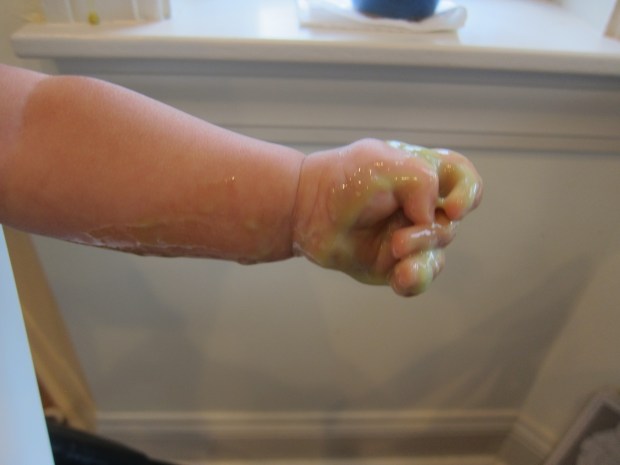
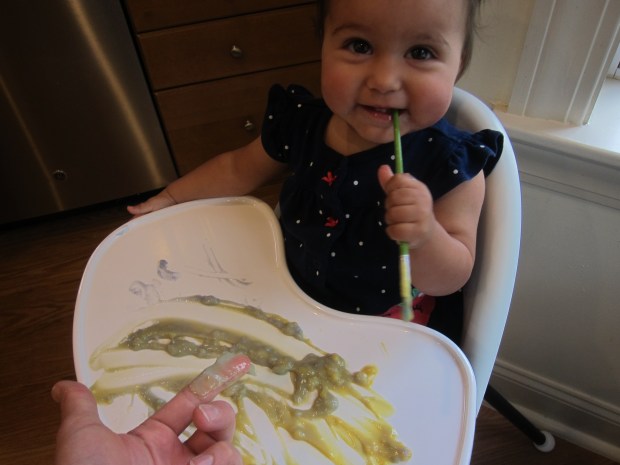
He was so proud of the colors he blended together and immediately wanted to draw more snakes.

Endangered Animal (4)

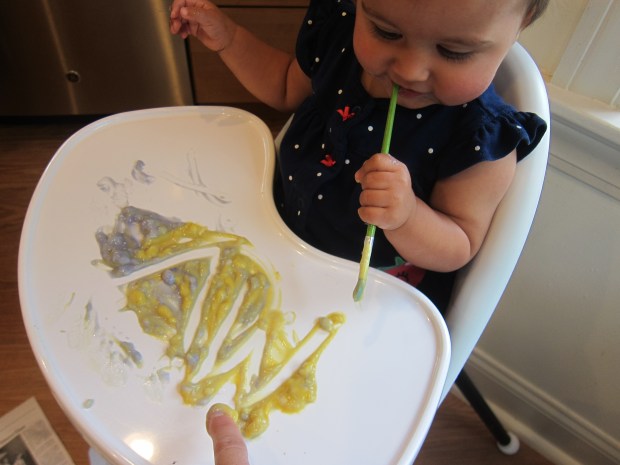
Pretty soon, he had an “art gallery” wall filled with a snake pictures, featuring everything from a yellow-horned lancehead snake…

Endangered Animal (5)

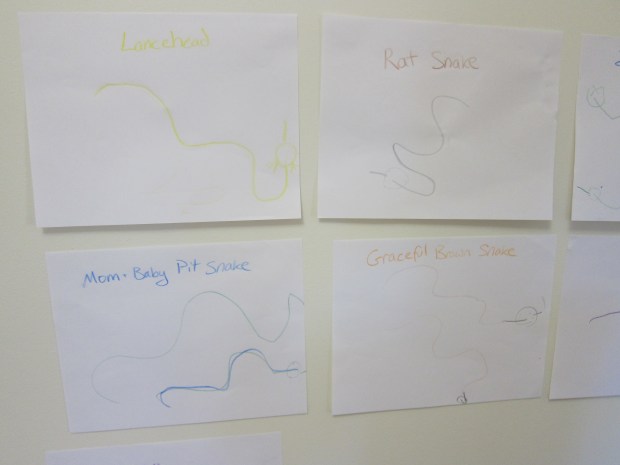
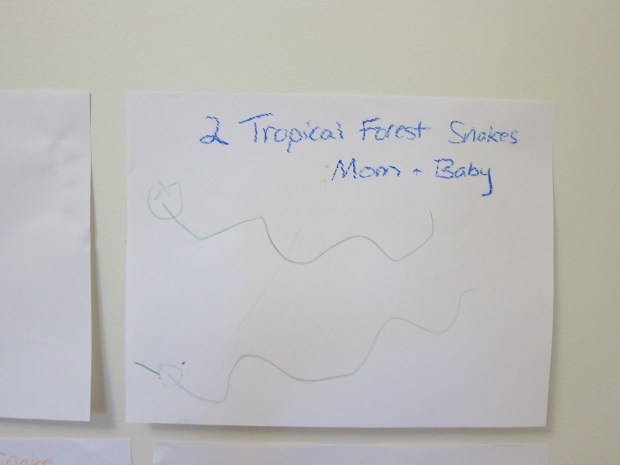
…to mom and baby tropical forest snakes.

Endangered Animal (6)

Obviously Travis won’t be making money from these little drawings, but I loved how proud he was, how the activity got him thinking about conservation and protecting animals, and how it challenged his artistic skills as he thought hard about how a snake’s body and head should appear on the page.


Snack Animals

Snack Animals (8).JPG

Independence is so crucial to kindergartners, and I have loved watching Travis’s confidence grow since school began only a month ago. Now, he wants to do all the little steps himself each day, from buttoning shirts to buckling his backpack. Being able to serve themselves drinks and snacks is also key for kids’ independence at this age, so we created this adorable snack animal to keep easy snacks at hand!

To start, remove the lid from an empty oatmeal canister, and trace twice on cardboard. Note: I found an old cereal box easier than stiffer cardboard packaging for tracing and cutting out. That said, it means your final animal won’t be quite as sturdy and might sit on your counter instead of standing!

Draw legs below each circle and cut out; these will be the front and back of your animal.

Snack Animals (1)

Travis decided we should turn ours into a cow, but really any animal will work! Highlights magazine also suggested a pig or a deer.

Snack Animals (3)

For the cow, we painted the legs white with black spots.

Snack Animals (2)

I cut an additional shape to be the cow’s head, which we glued to one of the circles.

Snack Animals (4)

Don’t forget to paint the canister, too, which received its own coat of white paint and black dots.

Snack Animals (5)

Once the paint dries, glue the head piece to the lid of the canister. Glue the back legs to the back of the canister.

Snack Animals (6)

Let the glue dry, then stuff with treats! You can also add yarn for a tail, depending which animal you choose. Pink would have been cute on the pig version!

Snack Animals (7)

As noted, our cow kneels down a bit, but Travis loves that he can help himself to an afternoon treat.

Snack Animals (9)

Peace Pendant

Peace Pendant (6).JPG

There’s been a bit of discord in our home lately, not unexpected with a five year old! Kindergarten routines are new, which makes things understandably tough, and Travis is at an age where asserting oneself and independence are so important. This craft now serves as a token to make peace whenever we get caught in a clash of wills at home!

Trace two circles on craft foam, one purple, one yellow.

Peace Pendant (1)

Leave the purple circle whole and cut the yellow one into a peace symbol. The latter was tough for Travis, so I helped out. Glue the yellow to the purple, cutting to fit if needed.

Peace Pendant (2)

Travis loved adding stick-on craft gems for decoration. Groovy!

Peace Pendant (3)

Glue a piece of wide ribbon into a loop, and then adhere to the back of the purple foam.

Peace Pendant (4)

Thread a length of string or yarn through the ribbon so it can be worn as a necklace. Now whoever needs to stop and take a deep breath can pause and put on the pendant! Try it and see if it brings a little peace to your home.

Peace Pendant (5)

Floor Art

Floor Art (3)

Veronika is entering such a fun stage of development. No longer are projects and crafts simply things I make for her, but she’s old enough now to get involved in the process. To wit, today I gave her a crayon for the first time. The moment was, quite simply, beautiful.

I laid a long piece of craft paper down in the playroom, securely taping it at all four corners. If you prefer, or worry that your little one will rip up paper, use cardboard instead.

Floor Art (1)

I set out a box of jumbo crayons, the perfect first crayon for the under-age-one set. She took to it more immediately than I ever imagined, not putting the crayon in her mouth, but instead testing out a few scribbles.

Floor Art (2)

I thought I might need to guide her hand..

Floor Art (5)

…but nope! She delightedly began scribbling all over the paper, and even stayed on it instead of wandering to the floor by accident.

As she “drew”, I drew along with her, including a few simple shapes I pointed out.

Floor Art (4)

I added a few simple patterns like black, green, black, green, or square, circle, square, circle. I chatted about these shapes to her as she continued to scribble.

Then I laid her down on her back and traced her! This got giggles.

Floor Art (6)

I guided her hand to show her where eyes, a nose, and a mouth would go on the resulting outline. As I drew on a purple shirt, she happily scribbled over this first “self-portrait.”

Floor Art (7)

For additional art fun, I drew a second human outline on cardboard and cut out a few clothes from construction paper.

Floor Art (11)

I let her help me glue these down with a glue stick, a slightly sticky but delightful process. Clearly she enjoyed this first art class!

Floor Art (10)

Leaf Canvas Craft Challenge

Leaf Craft Challenge (5).JPG

What was this month’s craft challenge from Highlights magazine? To use a leaf as the canvas for painting! You’ll want to use acrylic pants for the craft, which will hold up better than tempera paint.

No doubt there are fantastic artists who could create a whole miniature scene on their leaf. For my kindergartner, the project was more about the novelty of using nature as the canvas.

We found some giant leaves on a nature walk and knew those were the ones to use!

Leaf Craft Challenge (1)

At first, he painted along the lines of the leaf’s veins, which was great for reinforcing a recent science unit on trees and nutrition.

Leaf Craft Challenge (2)

Then he had fun blending colors and seeing how they mixed on the leaf.

Leaf Craft Challenge (3)

At the end, he liked making big blobs of paint.

Leaf Craft Challenge (4)

Whether your little Picasso makes something abstract, something highly detailed, or just has fun smearing paint, this was a simple and fun alternative to painting on paper.

Leaf Craft Challenge (6)

Pudding Painting

Pudding Paint (6)

Veronika is almost old enough to start making her first works of art, but there’s one problem with this girl: everything goes in her mouth! The solution, if your baby is the same, is edible paint.

Pudding Paint (1)

Today, I whipped up a batch of vanilla pudding (Whole Foods 365 is vegan). Let the pudding chill in the fridge, then add food coloring for “paint” colors.

Pudding Paint (2)

I gave Veronika a paint brush, which instantly made her look so proud; she’s seen big brother paint, and now it was her turn.

Pudding Paint (4)

Turn a little of the pudding paint out onto a highchair tray (or tape down paper, if you prefer) and let your little artist go to town.

Pudding Paint (5)

First she just made a few smears. Then she wanted to focus more on the paintbrush. Once the tip of it got in her mouth and she discovered the pudding was yummy…

Pudding Paint (7)

…her smile was priceless. Then she really got her hands into the mix.

Pudding Paint (11)

I showed her how to make circles and squares, plus a few letters.

Pudding Paint (8)

Soon we had green, where or blue and yellow “paints” had mixed.

Pudding Paint (10)

This was a fantastic foray into the world of art, as she nears 10 months old!


Pudding Paint (9)

Gallant Challenge: Kindness Bracelet

Gallant Bracelet (2)

After reading this month’s Gallant profile in Highlights magazine about a young girl who sends bracelets around the world with the message to do a kind deed, Travis was inspired to make bracelets of his own!

We had a kit at home to make bead bracelets on shoelaces (which were glow-in-the-dark for added fun). Older kids might enjoy weaving friendship bracelets or something else a touch more complicated.

Gallant Bracelet (1)

As he worked, Travis brainstormed who might like to receive one of the bracelets. Perhaps a waiter at a restaurant, he decided. Or his upcoming bus driver for Kindergarten!

Gallant Bracelet (3)

And of course family members! When he finished the first one for his grandmother, he was so proud.

Gallant Bracelet (4)

He presented it to her and explained that now she could do a kind deed to pay it forward, in whatever way she chose.

Gallant Bracelet (5)

This was such a simple activity, but such a great way to get kids crafting and thinking about the chain of events that can spread good deeds in the world. Thanks Highlights!

Mosquito Badminton

Mosquito Badminton (2)

Are you kids sick of swatting away mosquitoes this summer? Then this quirky take on backyard badminton is sure to have them giggling!

To make our “mosquito”, we first inflated a balloon. Any color would work, but Travis chose blue.

I twisted together a mosquito body out of black pipe cleaners. Certainly there is some imagination at work here, but it featured two antennae, a proboscis, and wiggly arms and legs.

Mosquito Badminton (1)

Cut eyes from cardstock or poster board and then tape the mosquito body and eyes to the balloon.

Use flip flops as the “racquets”! Travis thought it was hilarious to bop the mosquito around outside.

Mosquito Badminton (3)

We didn’t make it a true competition, but if you want to keep score, try this: If the balloon lands on the ground on your side, that’s a point for the other team or person. First side to reach 5 points wins!

Mosquito Badminton (4)

Melted Crayon Suncatchers

Crayon Suncatcher (8).JPG

It’s so fun to harness the power of the sun when you make art in the summertime. Travis and I used melted crayons in a project once before, but that one relied on the indoor heat of a hairdryer. This time, we put the sun’s heat to work!

To set up, lay a piece of black construction paper on a baking sheet. The dark surface and the metal will help absorb as much of the sun’s heat as possible. Cut two equal sheets of wax paper, and place one on the black paper.

Crayon Suncatcher (1)

The next step was a bit tricky: remove the paper wrapper from crayons and use the edge of a craft stick to shave off bits of wax. Travis found this to be quite difficult, and in all honesty, I did too.

Crayon Suncatcher (2)

After he’d tried for a bit, I made sure our wax paper was covered with enough shavings. Cover that with the second piece of wax paper.

Crayon Suncatcher (3)

Now place in direct sunlight (just like we did with a solar oven a few days ago)! Depending how hot the day is, your crayons may need anywhere from 1 hour to several in order to melt. You can press down, on occasion, to help the process along.

Crayon Suncatcher (5)

To turn it into a suncatcher, cut the wax paper into rectangles or other shapes, and punch a hole in the top of each piece.

Crayon Suncatcher (6)

Thread them onto a dowel (or attach with string), and hang up in the window to catch the sun.

Crayon Suncatcher (7)

What beautiful sunshine!

Crayon Suncatcher (9)


Sundial

Sundial (12).JPG

Last summer Travis helped make two DIY versions of a sundial, but he was really too young to understand how we were tracking the sun. This year, he was ready, and our model a bit more precise!

First, he traced a circle on a piece of sturdy poster board.

Sundial (1)

Cut out and find the exact center of your poster board by measuring halfway lengthwise and crosswise.

Sundial (2)

We used a dowel as our centerpiece, and used clay to hold it in place; Travis pressed down the clay, and then made sure the dowel was nice and secure.

Sundial (4)

We headed out the next morning as soon as sunlight hit the patio, and I showed Travis how to trace a straight line along a ruler following the dowel’s shadow.

Sundial (6)

I pointed out how looong the shadow was this time of day, too, and challenged him to notice how that would change as the day went on.

Sundial (7)

We missed a few morning hours because we were out and about! But by 1 p.m. we were steadily marking on the hour. As we had guessed, the dowel’s shadow was much shorter in the middle of the afternoon, then began to lengthen again.

Sundial (8)

After 5, we lost our sunlight on the patio!

Sundial (9)

So now it was time to head inside and decorate the sundial. Dot markers were the perfect tool for the job!

Sundial (10)

Travis loved the way it looked and now has a neat visual of the sun’s path across the sky each day.

Sundial (11)