Sand Art

Sand Art (7)

You can make sandboxes inside from so many indoor-friendly materials – oatmeal flakes, cornmeal, salt. But every once in a while, I like to buy refill packs of real sand and Travis has a blast shoveling through it. This time, instead of just shoveling our sand, we made art!

First, divide your sand into several containers – make sure they have lids.

Add a few drops of food coloring to each container. Seal the lids and shake tightly.

Sand Art (2)

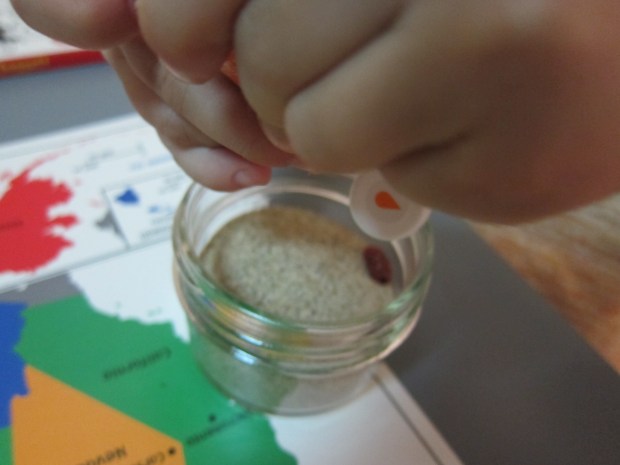
Our color didn’t disperse as well as I hoped, but we left it to sit overnight, and after stirring through the following morning, we had enough of a sandy rainbow.

Sand Art (4)

My plan had been to fill a mason jar using a funnel, adding one layer of each color at a time, but Travis was so delighted he just started adding colored sand to the jar by the spoonful.

Sand Art (5)

The bottom of our jar was a bit of a muddled mess, but eventually we poured in our colors one at a time for a pretty, layered effect.

Sand Art (6)

Seal the jar and display your lovely sand art some place prominent!

Flower Making with Corks

Flower Making (4)
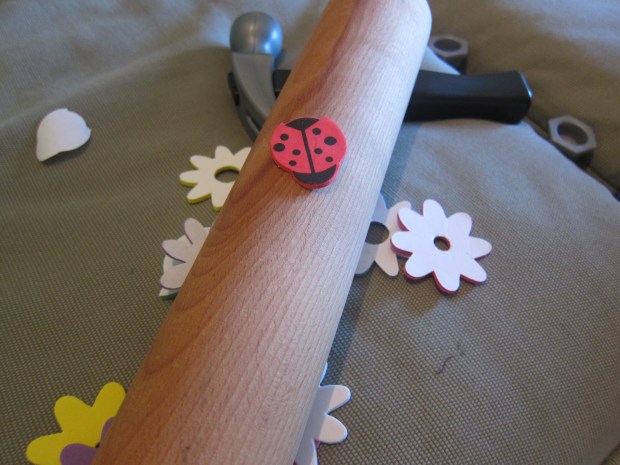
Travis always loves to play with the leftover stems and leaves after I bring home a bouquet of flowers, snip off the ends, and arrange the rest in a vase. This project was a cute way to upcycle the stems!

First, glue down your stem and a few leaves on white paper. Travis loved deciding where his leaves should go!

Flower Making (1)

We’ve been exploring different ways to stamp this week, so to make the flower petals, we dipped old corks into paint, and stamped on top of the stem (and sometimes to the side etc.)

Flower Making (2)

Very simple and perfect for spring!

Flower Making (3)

Rolling Pin Stamps

Rolling Stamp (3)

Our stamping fun continues! This time we used old foam stickers to make a 3-D stamp, and used paint instead of ink.

First, apply any foam stickers in fun shapes to an old rolling pin (or one you don’t mind getting dirty!).

Rolling Stamp (6)

In order to roll the entire length of the rolling pin in paint, I slopped the paint down on newspaper – this already made the craft exciting! Once it’s very painty, roll your rolling pin across a piece of sturdy paper or poster board.

Rolling Stamp (1)

“Flowers!” Travis said with delight.

Rolling Stamp (4)

We didn’t have any additional poster board, but he still liked testing out the rolling pin over extra sheets of newspaper, keeping up the fun for quite some time.

Rolling Stamp (5)

Overall, a super cute DIY stamp.

Stamp Pad & Eraser Art

Stamp Eraser (1)
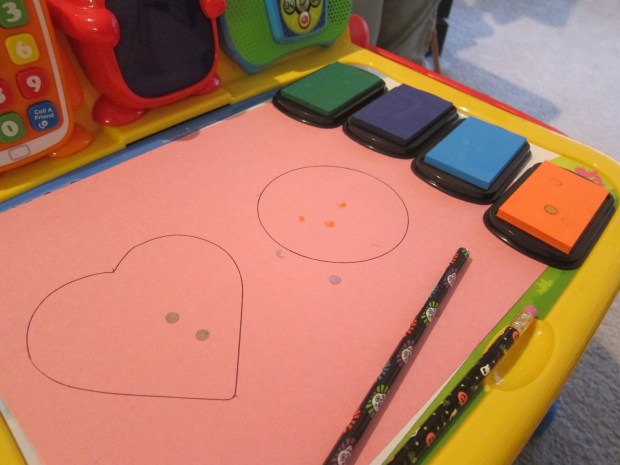
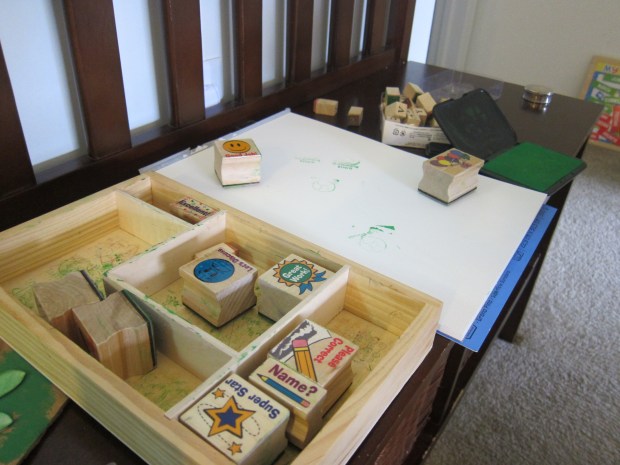
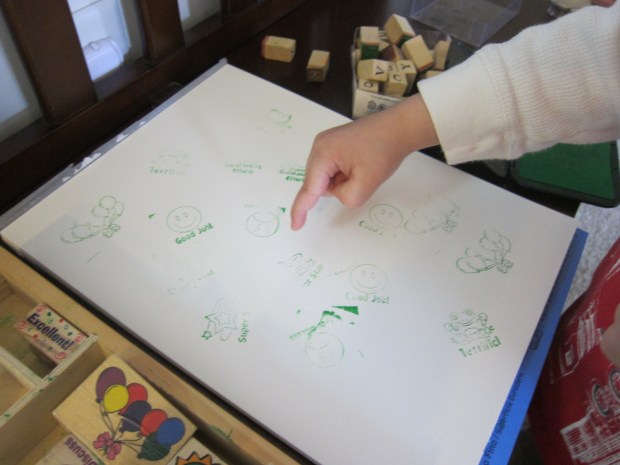
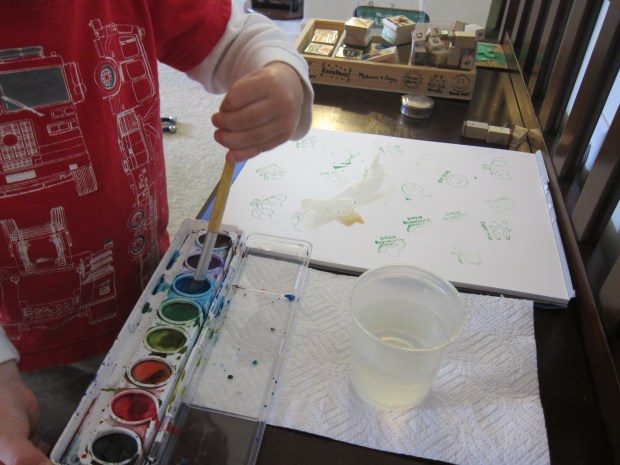
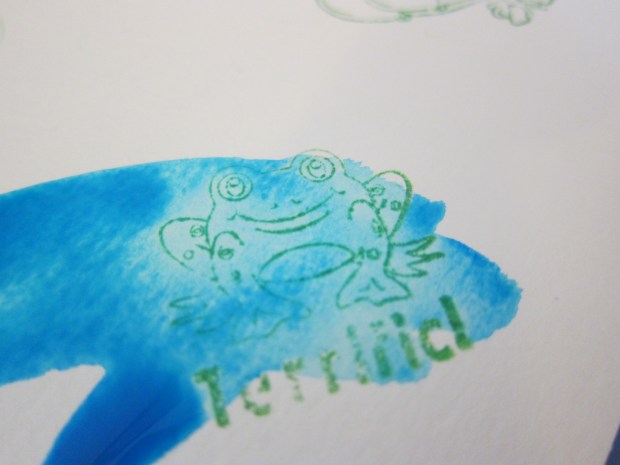
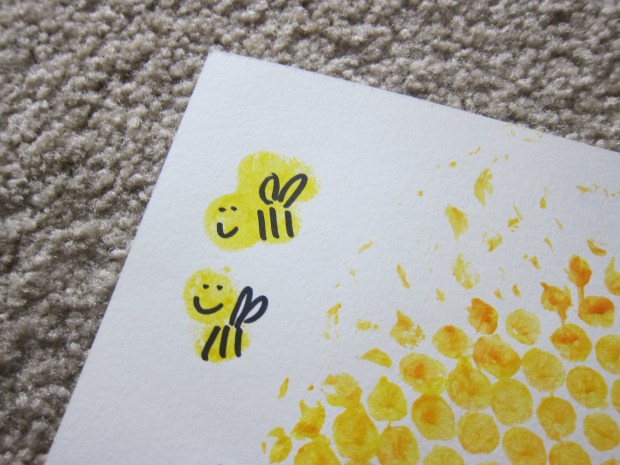
We’ve been playing with stamps a lot this week, including in a few new colors of washable ink. Travis literally greeted me first thing with a demand to use our new ink pads (note to self: don’t leave the ink out where he can see it from his bed), so I wiped the sleep from my eyes and dove into this novel stamping game. I thought the cute variation on dot markers would delight Travis!

First, outline a few shapes on paper for your child with cookie cutters – this part is optional, as of course you can just dot the paper at random, but the shapes mean you’ll have a nice craft at the end.

Stamp Eraser (4)

I set Travis up with a couple of pencils (unsharpened, but with good erasers!) and our washable ink in various colors, and he quickly took to pressing the eraser into the ink before transferring over to the shapes.

Stamp Eraser (3)

The craft turned out to be a little tricky for his hands! Most times he only pressed down a half-circle of eraser, instead of achieving a full circle. Also, you never realize how tiny a pencil eraser is until your child is trying to fill in a cookie cutter shape! When he got bored, I filled in a few final dots.

Stamp Eraser (5)

These looked pretty hanging in our window! Had we done them in the winter, they might even make cute homemade ornaments.

Stamp Erase r (6)

Cardboard Postcard

Cardboard Post (6)

For kids interested in stamps and letters, this project is fantastic. Not only do they get to make a unique creation, but you can really mail it!

For sturdy backing, we made our postcards on cardboard, which I simply trimmed from a package that had arrived earlier in the week. Travis decorated with a “message” – he loves pretending to write words these days!

Cardboard Post (2)

I made sure to leave room on the side for lines and the address of our recipient.

Cardboard Post (1)

Turn the card over and decorate – we used glue and cut up pieces of tissue paper.

Cardboard Post (3)

If you like, use a paintbrush to deal your design with an additional layer of glue; this gives your creation a better chance of making it through the mail intact… though I confess we skipped this step!

Cardboard Post (7)

Once the glue dried, we were off to the post office! I think we made the clerk’s day when we showed her what we wanted to mail. Now your lucky recipient will receive a surprise in the mail!

Cardboard Post (8).JPG

Stamps and Watercolors

stamp watercolor (11)

This mixed media project was perfect for a lazy Sunday morning – no special equipment required, very hands on, and with a neat little twist that kids will love.

It started when Travis requested his set of stamps, so first we simply dotted them all over a piece of watercolor paper.

stamp watercolor (1)

Our ink is running out just a tad, but this almost made it more interesting – Travis was quite intrigued that some stamps came out “full” and some only “half” if the ink had faded.

stamp watercolor (3)

Then I asked him if he wanted to use watercolors over the stamps, which received an enthusiastic yes! He’s very deliberate about choosing colors lately, and loved selecting which watercolor to use before applying to the paper.

stamp watercolor (6)

The twist is that the watercolor will run off the stamped areas quite quickly – the same effect as when you paint over waxy crayon – which had him so excited he was nearly shaking with enjoyment.

stamp watercolor (7)

He proceeded to choose which color should go over which stamp for some time.

stamp watercolor (8)

The end result is a bit messy and haphazard, but still a delight!

stamp watercolor (9)

Bubble Wrap Bee Hive

Bubble Wrap Bee (4)

Travis loved when we painted with bubble wrap a few weeks back, so we did it again this morning – but with more precision!

Having recently seen a colony of bees buzzing at a local preserve, I thought that would make a good theme. I cut plastic wrap roughly into the shape of a domed beehive. Travis helped cover it with orange and yellow paint.

Bubble Wrap Bee (1)

We flipped the bubble wrap over to press the bubbles onto paper – leaving behind what look so much like honeycombs! Travis particularly loved that the back of the bubble wrap was dry during this step, knowing the front had been so wet.

Bubble Wrap Bee (3)

My original intent was for him to dip his thumb in yellow paint to make bees around the hive, but Travis balked at the idea (he doesn’t want to get messy, these days!) Instead, we used a yellow dot marker.

Bubble Wrap Bee (5)

Once the paint dried, I colored in the bees stripes, wings, and smiles. Bzzz!

Paint with Your Feet

Paint Feet (4)

We enjoyed tactile foot play earlier in the week with foot sensory bins, and continued the theme yesterday evening. This game would no doubt be even better on a bigger piece of fabric outside on a sunny day, but we made do on a rainy day with the bathroom floor and a plain white t-shirt from the craft store!

First, Travis chose his colors, and we filled a big bin with a generous portion of each.

Paint Feet (2)

I started out painting his foot one color at a time, and then he would stamp on the white shirt.

Paint Feet (3)

After a while, he wanted to paint his feet himself – and then painted his knee as well, to which I could only shrug, ‘why not?’. Then of course he had to try standing in the paint! (Note: hold your child carefully, paint is slippery). I would lift him out and place him on the t-shirt to take a few steps each time before he climbed back in the bin.

Paint Feet (5)

In retrospect, I wish we’d done this to music so he could have danced around, but I still loved our final product.

Paint Feet (6)


Tissue Paper Globe

Tissue Globes (6)

Our Earth Day fun continued with this very easy tissue paper project. It’s a cute way to celebrate this beautiful planet we call home!

First, encourage your child to trace a circular shape onto the paper you’ll use as a background, which is great fine motor skill practice! Our paper plate was larger than our paper (whoops!) so I did some quick thinking and cut off the outer rim.

Tissue Globes (1)

Then it’s time to cut blue and green tissue paper into squares. Travis still can’t quite master this of course, but he had fun playing at it beside me while I cut up lots of little squares. (Note: No cats were harmed in the making of this project!)

Tissue Globes (2)

I showed Travis how to wad up the paper, dip in glue, and apply to his circular Earth, which was fun for a moment…

Tissue Globes (3)

…but then he quickly decided it was way more fun to use his finger as the glue applicator!

Tissue Globes (4)

I indulged this messy impulse, and added a wad of tissue paper wherever he had made our Earth sticky.

TIssue Globes (5)

Happy Earth Day!

Four Seasons Tree Pictures

Tissue Paper Tree (6)

The buds are on the trees, and we’re discussing the annual cycle of a tree and the seasons a lot this week! It was the perfect time to make a beautiful picture showing all the stages of a tree throughout the year.

To set things up, I cut 4 trunks from brown construction paper (preschoolers can help with this step!) and glued them down to poster board.

Tissue Paper Tree (3)

Then it was time to rip up tissue paper for our 4 different trees – Travis was an eager participant for this part! We used pink for spring flowers, green for summer leaves, and orange and yellow for the fall. I had intended to use white tissue paper for winter snow, but we decided cotton balls would be more fun!

Tissue Paper Tree (1)

I set out a dish of glue, and showed Travis how to wad up each piece of tissue paper, dip in the glue, and then apply. So he wouldn’t get confused, we worked on one season at a time, starting with bright pink flowers for spring.

Tissue Paper Tree (5)

He was definitely proud to determine where each leaf or flower should go, and very seriously told me, “I’m all done!” when finished with one season and moving on to the next. A very cute way to talk about the seasons.

Tissue Paper Tree (7)