Drawing with Cars

Drawing with Cars (6)

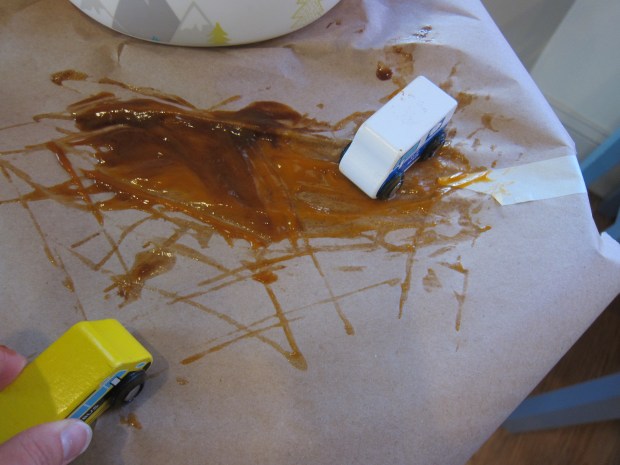
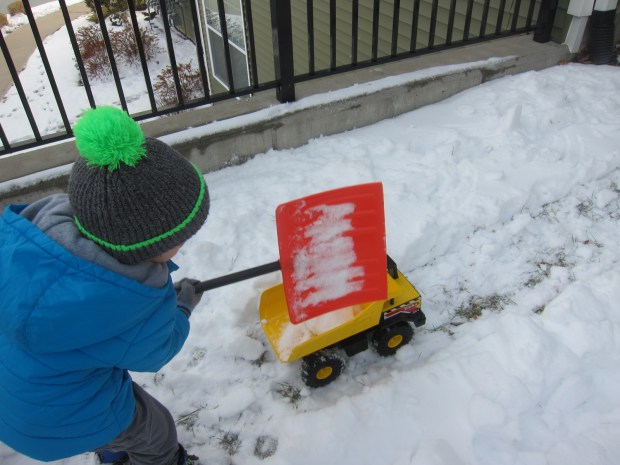
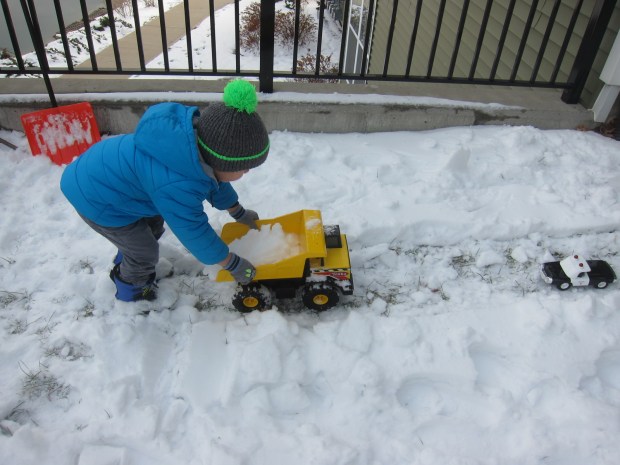
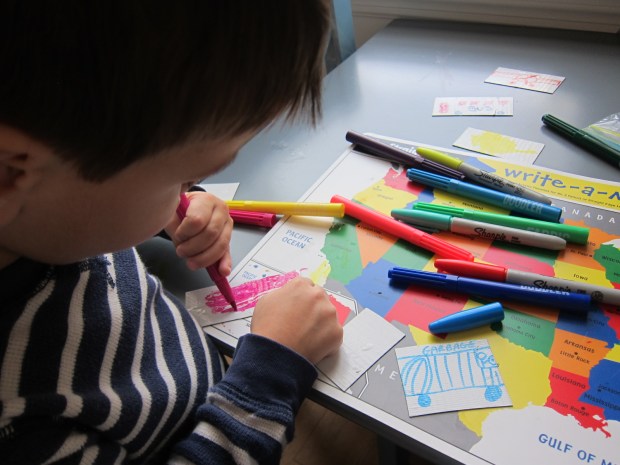
Kids love to paint with cars, but this time there was a twist on the activity! As opposed to letting the tires make the art, Veronika’s cars had passengers along. Crayon passengers that is!

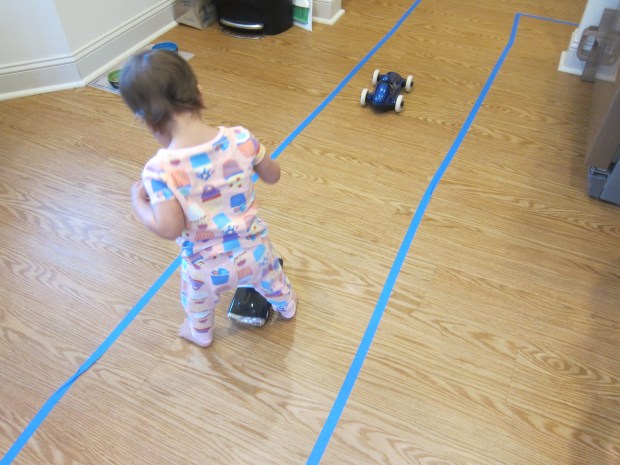
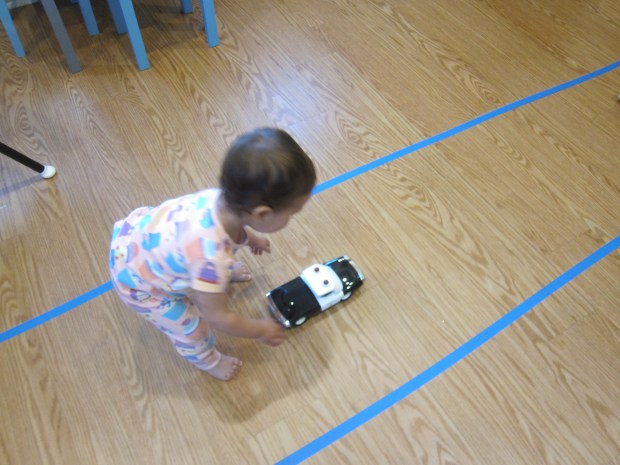
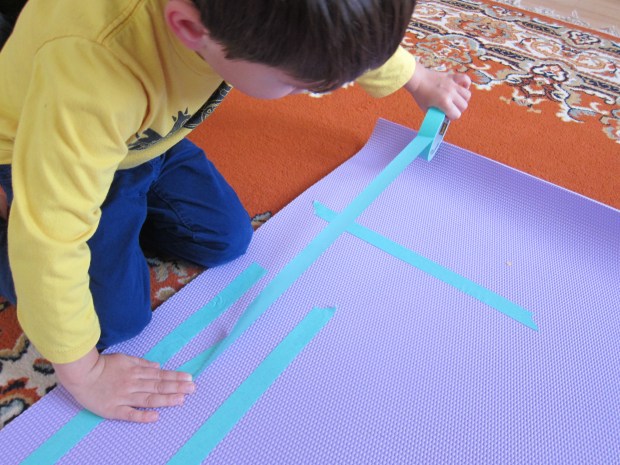
To set up, I taped a long piece of craft paper to the floor so we had a good long “road”.

Drawing with Cars (1)

Use masking tape to attach jumbo crayons to the side of toy cars. The bigger the car, the better this worked; the crayons were a little wobbly on some of Veronika’s smaller cars.

Drawing with Cars (2)

I mostly tried to tape crayons to the same color car, but we had a few mismatches, like our yellow car with a black crayon.

Drawing with Cars (7)

Now it was time for Veronika to drive! She took the cars for a few spins around the road, and the crayons left fun scribbles in their wake.

Drawing with Cars (3)

To be honest, she was soon more interested in the pieces of tape than the crayons! But this was still a cute art project while it lasted.

Drawing with Cars (4)

A Tape Road

A Tape Road (3)

I’ve designed lots of little roads made from tape for the kids before, but this one was different: one big tape road that inspired all sorts of different ways to play!

For starters, Veronika loved watching me lay down long strips of tape, and loved running along them as I did so!

A Tape Road (1)

Now she had a grand avenue that was just begging for our biggest toy cars to drive along it.

A Tape Road (2)

Although smaller cars were fun, too!

A Tape Road (8)

I added two stop signs at one “intersection” for a little early learning about road safety, though of course I didn’t expect Veronika to understand this part.

A Tape Road (9)

These wide boulevards were also fantastic just for running along, a me-sized road!

A Tape Road (4)

She then was busy driving her dolly stroller down it. It would be the perfect size for any ride-on kid cars, too. In sum, an easy and fun way to play indoors.

A Tape Road (6)

Car Tracks in Baby Food

Car Tracks (2)

Veronika loves to vroom cars around on the floor (she even says “vvvv” as she does so!) and so I thought: Why not turn it into an art project?

I taped craft paper down to her highchair tray, and spooned on a little bit of jarred baby food. I added a few trucks (firetrucks and school buses are favorites) and let her go wild.

Car Tracks (1)

She immediately began vrooming the wheels through the blobs of food, and was rewarded with car tracks. I showed her how we could stretch these out to the edge of the paper, or make tracks that zig-zagged back and forth.

Car Tracks (3)

The paper seemed more hindrance than helper, so I stripped it off and repeated the game right on her high chair tray; luckily it’s an easy one to clean! She liked this version better.

Car Tracks (4)

And took a few tastes of her artwork, too!

Car Tracks (5)

A thoroughly enjoyable little activity, with a snack built right in.

Texture Track

Texture Track (5)

This was admittedly an ambitious game with a ten-month-old, since it involved lots of tempting materials. But Veronika loves vrooming cars on the floor (she’ll do so for ages, going “vvvvv”), so I knew she’d enjoy the game!

To set up, fold a piece of cardboard in half. Cover half in shiny aluminum foil.

Texture Track (11)

Next, I filled a shallow tray with just a thin layer of sand. Definitely keep the amount small if you’re worried your little one will spill it.

Texture Track (1)

I set up the ramp to go up and into the sand tray. With Veronika watching, first I chugged a car sloooowly up the ramp.

Texture Track (4)

Then I let it zoom (“fast!”) down the shiny side. It comes to a stop in the sand.

Texture Track (2)

There is so much to talk about as you play the game (the textures of the materials, different paces). Don’t be surprised if your baby wants to grab at the ramp or the foil!

Texture Track (6)

Soon Veronika wanted to try her own hand at zooming the cars up and over.

Texture Track (8)

The sand was her favorite part by far.

Texture Track (9)

She loved running her fingers through it, and the crunchy sound that the cars made when we simply drove them back and forth in the bin.

Texture Track (10)

Moving Objects

Moving Objects (1)

Ladies and gentlemen, we’re on the move around here! And by that I mean first and foremost that I have a crawler. Not only is Veronika fascinated by things that move, but now she herself is on the go!

But I also realized the other day that Veronika was making a motion of vrooming a car along her mat. How quickly babies pick up on things! The timing makes sense; at this age, babies are fascinated by anything that shows cause and effect, and moving objects are the perfect example. You can cater to that fascination with moving toys.

First, I set her up with a bunch of toy cars, and simply let her vroom.

Moving Objects (7)

This is a fun time to introduce types of cars (firetrucks, school buses) even thought that’s a bit beyond comprehension.

Moving Objects (6)

Another great toy to show this movable cause-and-effect is a bead maze. Veronika has shown interest and expertise at these from a young age, and loves moving the beads over…

Moving Objects (2)

…up…

Moving Objects (4)

…and just twisting them in place.

Moving Objects (3)

So if you’re looking for a way to pass the day with your nine-month-old, get moving!

Tape City

Tape CIty (8).JPG

Tape + cars is one of those classic games that never goes out of style. Simply grab a roll of painter’s tape, and turn your floor or carpet into roads and cities. I used to make these roads for Travis when he was a toddler, but this was the first time I put him in charge, and the results were fantastic!

For starters, we decided to lay our city out on mommy’s yoga mat, which added a new feel to the game. Travis began with long roads, and loved unrolling the tape.

Tape City (1)

Then he decided the road ended at a restaurant, so we needed a parking lot.

Tape City (6)

From there, his imagination was off and running! Soon we had an airport runway marked by cones…

Tape City (3)

A farm…

Tape City (4)

And he even decided we needed a swamp! Uh oh, hope the cars don’t drive in.

Tape City (5)

He had fun making side streets (venturing boldly off the yoga mat!), which then turned into roads that were blocked off for construction.

Tape City (7)

The tape might not have been as neat or precise as a grown-up’s lay out would be, but I loved seeing his engineering and creativity at work.

Tape City (2)

What will your child add to their tape city? Please share in the comments!

Truck Stop

Truck Stop (3)

Just a super quick post today! We haven’t played with blocks in a while, and needed a way to make them novel. Enter this cute “truck stop” idea from High Five magazine.

Travis added a fueling station first of course, where the trucks and buses could gas up.

Truck Stop (1)

Then he decided we needed a diner for the truckers to eat at!

Truck Stop (4)

What novel way has your child played with blocks recently? Please share in the comments!

Truck Stop (2)


Snowy Road

Snow Road (3)

You’ll be the coolest mom or dad on the block if you give this simple twist to outdoor snow play: give your kids permission to bring their toy cars outside to join the fun! Travis was hesitant to venture into the cold, so I headed out first with a shovel and made a road in the snow. Once he saw what I was up to, he couldn’t resist.

He was very into the process of making the road itself, and started to shovel his own route next to the one I had created before he even turned his attention to the cars. Let your civil engineers take over the road building, too, if they prefer!

Snow Road (2)

We found that this game works best with bigger toy cars; little ones get bogged down in the snow.

Snow Road (6)

The best vehicle was our big dump truck, which of course had the added benefit that we could load it with snow…

Snow Road (4)

…zoom it to the dump, and then unload.

Snow Road (5)

What’s your favorite novel way to play in the snow? Let us know in the comments!

Snow Road (7)


Cereal Box Racetrack

Cereal Racetrack (9)

The next time you polish off a box of cereal, think twice before tossing it into the recycle bin. Cereal boxes make for fantastic upcycled crafts! Proof? This easy car racetrack.

To start, begin cutting down the long side of the box, about two inches in from the edge. Continue to cut all the way down, around the bottom, and back up the other side.

Cereal Racetrack (1)

Now snip the corners where the sides meet the bottom, so the piece lies flat. Repeat this step on the other side of the box, again two inches in from the edge. Join those two pieces together and you’ll have one long track. We did this with two cereal boxes, so the image below shows the resulting tracks from both boxes.

Cereal Racetrack (3)

Line your race tracks with colored duct tape to create the perfect racing surface.

Cereal Racetrack (4)

You can add embellishments such as pipe cleaner hoops for your cars to travel through.

Cereal Racetrack (5)

Later, we were feeling especially fancy and cut construction paper into decorative “flames,” which we then taped onto the pipe cleaner hoops.

Now ladies and gentlemen, start your engines!

Cereal Racetrack (8)

Travis got the hang of giving his cars a push (rather than keeping a hand on them) quite quickly, and in fact his cars beat mine in many races!

Cereal Racetrack (7)

A super easy and super fun way to race inside on a winter day.

Cereal Racetrack (6)

Duct Tape City Bus Playset

Duct Tape Bus (11).JPG

This was a project that sounded daunting, and so I put it off for a while. But it turned out to be very easy and very cute. My hesitation stemmed from the fact that I needed to purchase magnet sheets and duct tape sheets (note: not a roll of duct tape), which I couldn’t find at my local craft store. Both are readily available on Amazon, so armed with these supplies, we were off and running… er, driving!

Duct Tape Bus (1)

To make duct tape vehicles, peel the sticky side off the duct tape sheet and line up evenly with the sticky side of the magnet sheet. Cut out rectangles to be your cars, buses, and trucks.

Duct Tape Bus (2)

Travis loved the idea of drawing our vehicles. We used permanent marker, and he scribbled away with imaginative designs.

Duct Tape Bus (5)

Meanwhile I added a few vehicles that he could readily recognize, including a city bus…

Duct Tape Bus (3)

…and a propeller plane (Travis’s current obsession). Garbage trucks and cars rounded out our city neighborhood.

Duct Tape Bus (4)

To make your cityscape, tape down two pieces of paper to the back of a baking sheet. Adults and older kids can map out streets and buildings.

Duct Tape Bus (6)

Travis was thrilled to help decorate, and was very focused on drawing a crossing guard. I was so proud when I saw him draw in a nose and smile, his most true-to-life people yet!

Duct Tape Bus (7)

Once your city is drawn, add your magnet vehicles and zoom them along however you like!

Duct Tape Bus (9)

This playset is one your kids can return to over and over again.

Duct Tape Bus (8)