Toilet Paper Roll Binoculars

Binoculars (6)

At last! Spring has sprung, and we are eager to look for signs of it on these first warm days. It was the perfect chance to put together some easy homemade binoculars before setting off into the woods!

To make the binoculars, you’ll need three toilet paper tubes. Cut one of them open down the middle and leave the other two intact.

Binoculars (1)

Glue the two whole rolls together with hot glue. Affix the open tube on top with more hot glue (this is a grown-up step!).

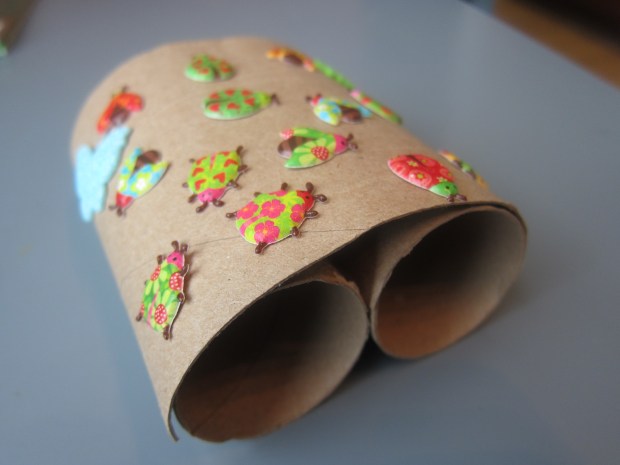
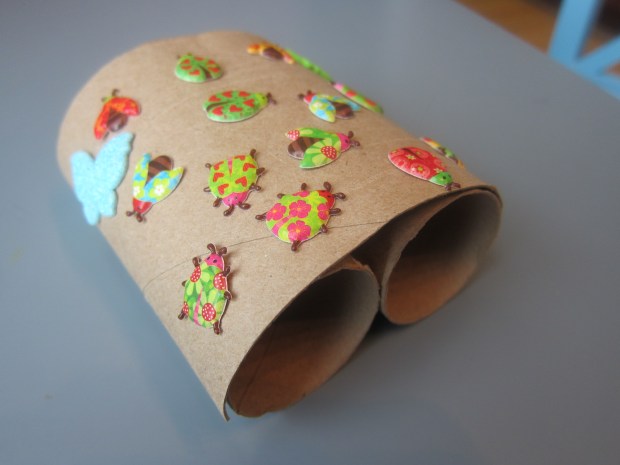
Travis loved decorating his binocs since we had puffy bug stickers.

Binoculars (4)

Perfect for spring!

Binoculars (5)

All we needed as the finishing touch was a string for around his neck, which I affixed with a little more hot glue.

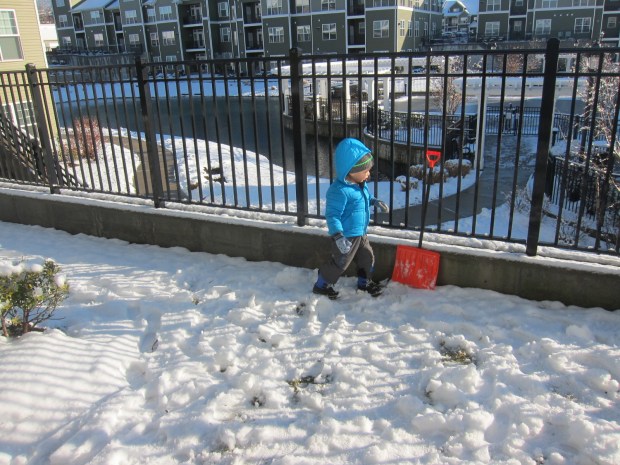
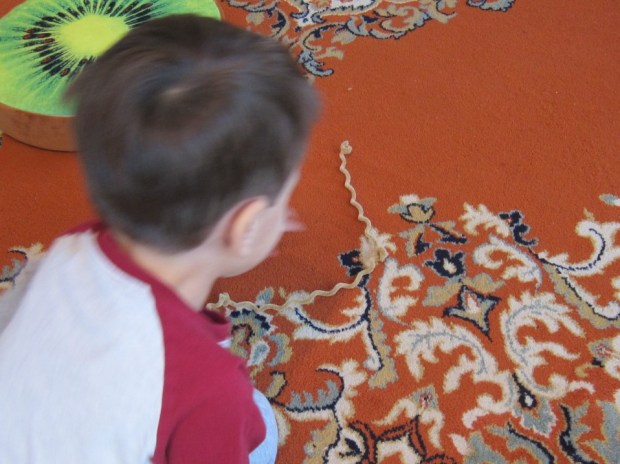
Then it was time to head out. Travis loved peering through the “lenses” for the first signs of spring!

Binoculars (10)

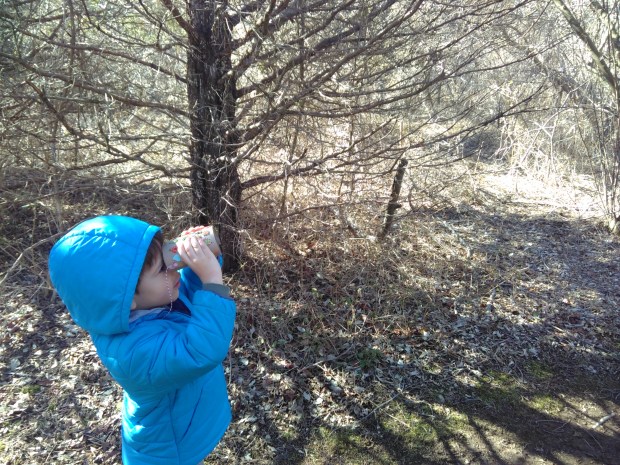
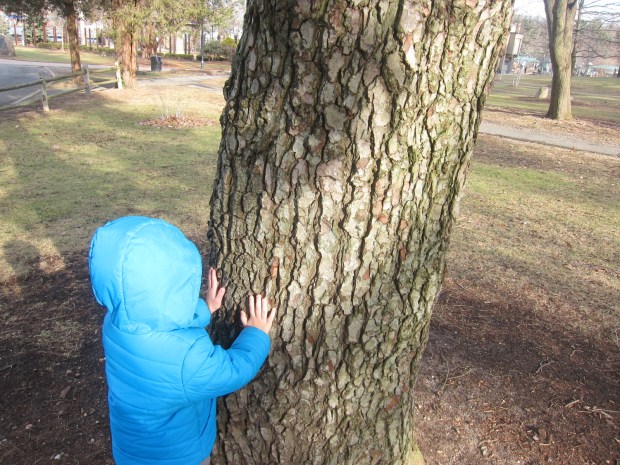
And look what we found – buds!

Binoculars (9)


Green Time: Play in the Snow

Snow Play (7).JPG

We’ve been so eager for a snowfall so we could get to our second installment of outdoor play suggestions from Ranger Rick Jr. Last night we got our wish – only about three inches, but because I doubt we’ll have much more snow this winter, we took advantage of it!

The first thing we had to do was test out the sled we bought but haven’t had a chance to use. There’s a tiny hill just off our apartment, and Travis enjoyed a few mini runs down it.

Snow Play (1)

Whoops, but as you can tell, he was not a fan lying down to try out a snow angel next.

Snow Play (2)

Making a small snowman was a bigger hit…

Snow Play (4)

…as was building a snow fort. Based on the magazine’s image, we used a bucket to build the fort, which worked so well! Although we didn’t have enough snow to build our walls up high, this is definitely how we’ll fashion future forts.

Snow Play (3)

Meanwhile, I loved that these suggestions got us out into crisp morning sunshine to make first tracks in the snow – especially since it had all melted by afternoon!

Snow Play (5)

Green Time: Evergreen Trees

Pine Tree alt

We’re still enjoying our first edition of Travis’s subscription to Ranger Rick Jr., which has already been the inspiration for scrapbooking, animal crafts, and more! There appears to be a recurring monthly feature called Green Time, encouraging play or activities outdoors. Me being me, my plan moving forward is to highlight these adventures on the blog!

January’s suggestion to get outside was to get to know an evergreen tree, an up-close-and-personal exploration of these verdant trees. Travis and I took advantage of mild temps (for January) and headed off to the park. When I told him we’d be getting to know a pine tree, Travis asked which one was going to be our friend!

Soon enough we’d spotted it, a majestic pine. We listened for sounds, although it was hard to distinguish much nature with cars nearby and plane traffic overhead. But we did get to use our sense of touch on the tree bark…

pine tree (1)

Sense of smell on the needles…

pine tree (2)

And simply got to know our friend. Travis was dusting him off here with an extra pine needle.

pine tree (7)

Needles and pinecones were easy to spot. It wasn’t the right time of year, unfortunately, to see insects or bird’s nests.

pine tree (4)

But we loved this burl on the trunk!

pine tree (6)

Thanks for getting us outside, Ranger Rick!

Ice Lanterns

Ice Lanterns (9)

This is a beautiful project to showcase finds from winter nature walks! It’s a multi-day project, requiring two separate rounds of freezing, but kids will love the final glowing result.

First you’ll need those winter treasures – think holly leaves, little berries, pinecones, and pine needles.

Ice Lanterns (1)

Arrange some of the items in a plastic container (or multiple containers, if you have enough nature items), and fill halfway with water. Freeze overnight.

Ice Lanterns (2)

The next day, Travis was very eager to check out the layer of ice we’d created.

Ice Lanterns (3)

Add a second layer of winter finds over the ice, and also place a glass jelly jar inside. Add water to the top of the plastic container, and freeze again overnight.

Ice Lanterns (4)

Note: If the weather is cold enough, you can even do the freezing outside!

For the final lantern, you need to release the glass jelly jar, leaving behind a hole for a candle. Fill the jelly jar with warm water just for a minute or two, and it should slip out.

Ice Lanterns (5)

Now run water around the outside of the plastic container, and release your whole ice lantern.

Ice Lanterns (6)

Note: Because our pinecone extended past the middle of our container, our jelly jar wasn’t centered. This didn’t present a problem; it just meant that our final ice lantern wasn’t going to glow as evenly! You can see in the above photo how our candle hole is on one side of the lantern, instead of directly centered.

Finally, place a battery operated tea light inside, and watch the lantern light up the winter night!

Ice Lanterns (7)

You can leave these outside, or take them inside for a warm winter glow.

Ice Lanterns (8)

Indoor Snow Play

Indoor Snow (6)

Baby it’s cold outside! When the kids want to play out in the snow but the temperatures are hovering near zero, do the opposite: Bring the snow inside! If nothing else, the novelty of this idea is sure to delight any little ones feeling cabin fever.

First, we braved the cold for just a few minutes to shovel up snow, filling a few large plastic bins. Travis loves his child-sized shovel, and would happily have stayed outside longer if I let him.

Indoor Snow (1)

Inside, set down your snow on towels to contain any drips.

Indoor Snow (2)

Waterproof mittens are a definite plus…

Indoor Snow (3)

… although Travis decided he liked using his regular mittens best.

Now just have fun with the snow! Fist we made snowy roads for his cars to drive down.

Indoor Snow (4)

By far his favorite activity was stirring together a snow soup. I gave him little odds and ends from our craft bin, such as blue stones, buttons, and sparkly pom poms.

Indoor Snow (8)

You can’t have indoor snow play without adding some glitter.

Indoor Snow (7)

Finally, we made a little indoor snowman! The snow wasn’t the right texture for perfect snowman building, so two tiers was the best we could do. We decided he looked more like a Snowfrog, and put him outside on the patio where he won’t melt.

Indoor Snow (9)

Here’s wishing you and yours a happy and healthy 2018, hopefully with warmer weather to come soon!

Pipe Cleaner Caterpillar

Pipe Caterpillar (5).JPG

I was delighted to see Travis pretending this morning that he was on a “nature walk” around our apartment, taking along a bucket and finding “treasures.” One of the items we never found on a true nature walk this fall was a wooly bear caterpillar – so we decided to make a few to find around the house!

Wrap pipe cleaners around a pencil tightly, then simply slide off. I only had brown pipe cleaners at home, which served our purpose perfectly, but feel free to be inventive with colors: shiny caterpillars, multi-colored caterpillars, whatever suits your child’s fancy!

Pipe Caterpillar (1)

Travis immediately was wiggling them around the “forest floor.”

Pipe Caterpillar (3)

He then stretched out some of the coils so they could be worms instead – I love when his imagination takes a game in a direction I hadn’t anticipated.

Pipe Caterpillar (6)

He then wanted a turn coiling a pipe cleaner around the pencil, which was tricky for him, but he loved trying it out.

Pipe Caterpillar (7)

We ended up gluing googly eyes on just a couple of the caterpillars, for an extra adorable touch.

Pipe Caterpillar (4)

More Fall Leaf Fun

Fall Fun (5)

I posted about our Fall Find It walk a few weeks back, but now the fall colors are even more vibrant so we set off in the woods again. Forty degrees felt warm after an early arctic blast, making us doubly sure to get out into the sunshine. We added in a few suggestions from Parents magazine to add novelty to this particular walk!

First, we decided to see if we could find the whole rainbow, ROYGBIV, that is. Blue proved to be elusive, but we did wind up with this neat line-up. Finding a purple shade was a particular triumph.

Fall Fun (1)

Then we searched for the biggest leaf, and kept dropping contenders whenever we spotted one that was even bigger. We were impressed to bring home this one at 9.5 inches… until reading about a record-setting maple leaf that was 20 inches!

Fall Fun (4)

Perhaps the most fun suggestion was to find shapes in the leaves, similar to the game you’ve most likely played identifying shapes in the clouds, but with an eye to the ground this time. We spotted this little fellow that looked like a bat.

Fall Fun (3)

I found one that I thought looked like a rooster, and Travis decided the frilly one looked like a caterpillar! All in all, some simple and good fun that I recommend for your next nature expedition. What other leaf games do you and your family play? Please share in the comments!

Fall Fun (2)

Bird-Beak Buffet

Bird Buffet (7)

Some recent fun with a homemade bird feeder has us talking about birds, the various things they eat, and why some birds’ beaks look very different from others. It was the perfect opportunity to pull out this cute game from our Barefoot Books’ Kids Garden kit!

I recommend gathering all your materials ahead of time so you can lay all of the following items in front of your child at once. Otherwise, there is bound to be some curious exploration and possible trouble! First, you’ll need 4 beaks:

  • 1 pair of chopsticks (“Heron Beak”)
  • 1 eyedropper (“Hummingbird Beak”)
  • 1 slotted spoon (“Pelican Beak”)
  • 1 pair of tweezers (“Sparrow Beak”)

BIrd Buffet (1)

Then set out 4 bowls of bird “food:

  • 1 plate of unshelled nuts as pretend field mice for the Heron
  • 1 tall bottle with a narrow top filled with water as flower nectar for the Hummingbird
  • 1 bowl of ping pong balls floating in water as fish in water for the Pelican
  • 1 bowl of sesame seeds and grass clippings as seeds in the grass for the Sparrow

Bird Buffet (2)

I recommend having a towel under your play area, since two of these bird meals involve water! Now let your child experiment with which “beak” is best suited for each food. The ladle and ping pong balls were an easy first guess, and Travis had fun pretending to be the pelican.

Bird Buffet (3)

The most enjoyable challenge was using the tweezers to grip the grass clippings and sesame. He was very focused on it, and so proud each time he could move some grass or a sesame seed.

Bird Buffet (4)

The eyedropper was a delight of course, and we talked about the hummingbird’s long narrow beak being well suited to dip inside a flower.

Bird Buffet (5)

The one that gave us consternation was picking up nuts with the chopsticks. We decided we wouldn’t want to be herons!

Bird Buffet (6)

From there, Travis had fun mixing and matching his birds. He used the eyedropper in the “pelican’s” big bowl of water, and loved using the slotted spoon to move unshelled nuts from the dry bowl into the bowl of water, then fishing them out with a utensil or his hands.

BIrd Buffet (10)

He also mixed water into his sesame seeds, and found other ways to have fun with the eyedropper (as a spoon etc.), resulting in lots of enjoyment even after the stated purpose of the game was done.

Bird Buffet (8)

We hope to follow up with some bird watching outside once the weather warms up, paying close attention to the birds’ beaks!

Pine Cone Bird Feeder

Pinecone Feeder (6)

With daylight savings officially upon us and darker, colder days here to stay, we’re thinking about the winter to come… and in particular, helping out our feathered friends.

On our latest nature walk, we selected three large pinecones for the project. Travis was very curious to see how we would turn them into bird feeders!

First we needed to smear them with peanut butter, a gooey and fun step.

Pinecone Feeder (1)

To cover the pine cones with bird seed, we filled the bottom of a paper bag with the seeds, added our pine cones, and then shook the bag.

Pinecone Feeder (2)

The shaking was arguably the best part of the project!

Pinecone Feeder (5)

And of course, leftover seeds are fun to play with.

Pinecone Feeder (4)

Ideally, we’d have a tree or bush to hang the feeders from, but the best I could do was to hang them from the bicycle handles on our patio. We can’t wait to see if any feathered friends visit for a nibble!

Pinecone Feeder (7)


Leafy Linens

Leafy Linens (10)

This lovely fall project would make a beautiful decoration for a Thanksgiving table, or a perfect gift for school teachers around the holidays.

The first step (as with so many of our autumnal projects it seems!) was to bring home a few treasures from a walk in the park. Look for a variety of leaf shapes, ideally flat and still quite fresh and sturdy.

Leafy Linens (2)

Set out the leaves, along with a foam paint brush and fabric paint – don’t use tempera paint here, since the linens will go through the wash. I gave Travis a selection of seasonable colors, such as red, green, and gold. Use neutral-colored napkins if you plan these for a holiday table. We chose to make ours onto white handkerchiefs, which will make great table centerpieces or gifts.

Paint a leaf with a foam paintbrush, ensuring you have a nice, even layer.

Leafy Linens (4)

Place the leaf, paint side down, on the fabric, and roll over it with a brayer or old rolling pin. This new tool was Travis’s favorite part of the project, and he eagerly rolled over each leaf.

Leafy Linens (3)

Carefully lift up the leaf for the big reveal – neato!

Leafy Linens (8)

Repeat with different leaf shapes and colors until your fabric is filled.

Leafy Linens (7)

Towards the end, our prints got a bit messy as the brayer itself was coated in paint, so you may want to give yours a wash or two as your work. Travis didn’t mind though, and loved mixing our paint shades.

Leafy Linens (5)

We plan to give these to his preschool teachers as the holidays approach!

Leafy Linens (6)