Crunch Time

Crunch Time (7).JPG

After a fun snack time making and eating apple nachos, we had a big green apple leftover on the counter. I realized I could easily entertain Travis by turning this last apple not into a snack but into a building material. This activity is great for keeping kids busy, whether you’re nursing a younger sibling, cooking a family dinner, or prepping for a big holiday feast later this month!

Crunch Time (1)

Travis and I started with a firm base, and I showed him how he could attach two apple pieces together with a toothpick.

Crunch Time (2)

Pretty soon he was off and running with it, building up up up.

Crunch Time (3)

He loved seeing how horizontally-added toothpicks helped stabilize the structure – a little engineer at work!

Crunch Time (5)

Kids can make the design as simple or as complicated as they like. We finished ours with a triangle tower on top.

Crunch Time (6)

And soon it was home to a Duplo bunny.

Crunch Time (8)

How do you keep kids entertained while you’re busy in the kitchen? Please share in the comments!


Feeding Time Activity Bag

Feeding Activity (1)

One of the biggest differences about bringing home baby number two is that you still have to (and want to!) entertain child number one… Who now demands your time and attention even doing the things that have to get done, like nursing, oh, twelve times a day. Cue this brilliant suggestion from Hands on As We Grow for a feeding time activity bag.

Okay, ours is actually a basket, not a bag, but the toys within are only for my preschooler to use when the baby is nursing, meaning they feel special and different.

Stock the basket with simple games that a child can do by him or herself – you don’t to have to get down there to open packages up!

To wit, we stocked ours with goodies like Button Art. Travis jumped at this activity, taking to it with alacrity, and so excited he didn’t want the nursing session to end.

Feeding Basket (2)

The next time his sister was hungry, he fell to the sticky foam. This stuff is ingenious (no mess!) and was soon making cakes and other concoctions.

Feeding Basket (1)

Later in the day, he couldn’t get enough of sponge animals (I did get these started for him, in cups of warm water), not only revealing the animals but using them in games all about the room.

Feeding Basket (4)

Other simple ideas for your kit? Think stickers books, paint-by-number, coloring books, or any other quiet activity your child would enjoy.

Feeding Basket (5)

Happy nursing!


Pineapple Pumpkin (and More Pumpkin Fun)

Pineapple Pumpkin (8)

We had so much fun at the pumpkin patch this year; Travis needed to come home and carve one right away. We even sorted and saved the seeds for roasting (full recipe below). With our final three pumpkins, we got a little craftsier, putting together these three painting projects.

First up was Mr. Pineapple Pumpkin. Paint your pumpkin with a layer of yellow acrylic paint and let dry overnight.

Pineapple Pumpkin (1)

Once dry, I added upside-down V marks with a sharpie to mimic the exterior of a pineapple.

Pineapple Pumpkin (4)

Travis helped glue on two eyes, and we used dot stickers (cut in half and slightly overlapped on the top) for the mouth.

For the pineapple stem, attach two pieces of green sticky-back craft foam together, leaving a sticky overhang on either side. Cut leaf-like shapes into the foam. Attach one sticky portion to the stem, then wrap tightly and use the remaining sticky edge to hold the “stem” in place.

Deck out your pineapple fellow with a blingy pair of shades for the final touch!

Pineapple Pumpkin (5)

Needless to say, this particular pumpkin craft required significant adult help for a four-year old. For something he could do entirely on his own, I set Travis up with puffy paints and a whole pumpkin.

Pineapple Pumpkin (2)

He loved squeezing out all the colors, which almost looked like goopy spider webs.

Pineapple Pumpkin (7)

Kids who are too young to carve might also love attaching feathers to a pumpkin, or sticking on pre-cut foam shapes for a funny face. Many sets of facial features come available in craft kits, and Travis enjoyed selecting this goofy look.

Pineapple Pumpkin (6)

What pumpkins are adorning your stoop this year? Please share in the comments!

I’ll leave you with this easy pumpkin seed recipe:

Scoop seeds from 1 pumpkin (about 1 cup). Rinse well and pat dry. 

On a baking sheet, drizzle with 1 and 1/2 tablespoons melted butter and sprinkle with 1 teaspoon salt.

Roast at 200 degrees F for 40 minutes. Increase the heat to 325 degrees F and roast a final 5 minutes.


Early Explorers Toys & Games

LP Toys (29)

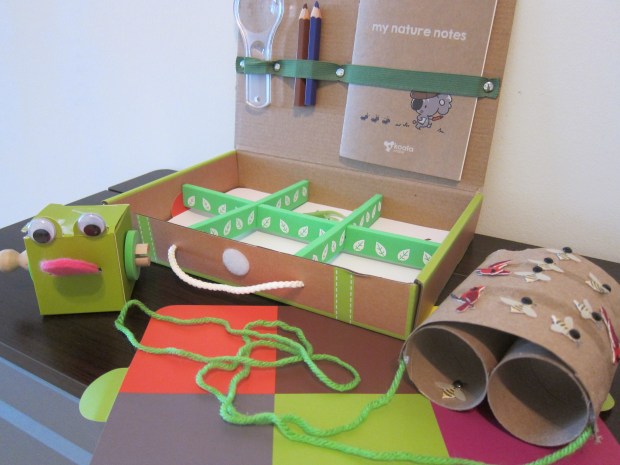
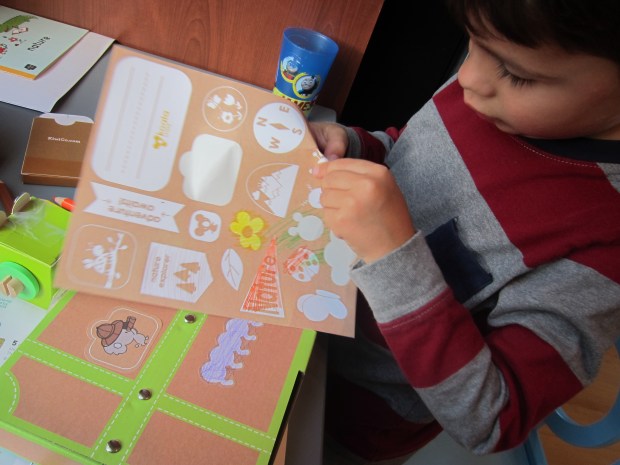
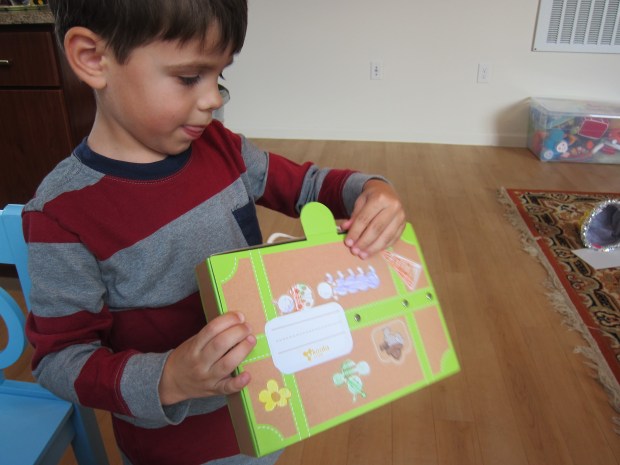
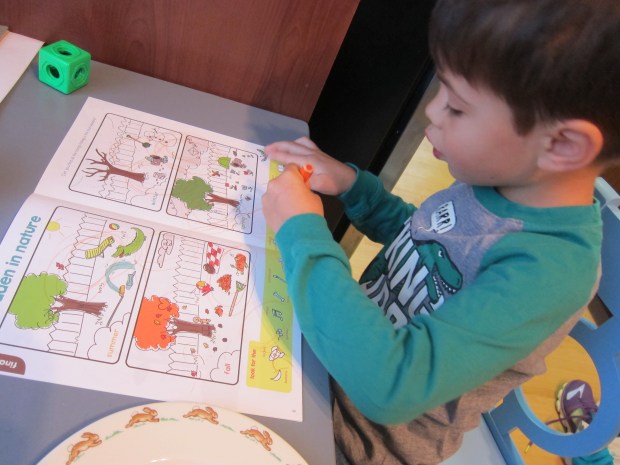
This month’s offering from Travis’s Early Explorers subscription was literally a package devoted to fun – toys and games that is! One look and we knew we were sure to have a good time with this one. We received all the recurring elements, such as an activity booklet, flash cards, postcard, and stickers for Travis’s wall map and suitcase.

LP Toys (1)

Even adults can learn a lot from this one – I sure had never heard of games like turumpo, galimoto, and daruma otoshi from around the world. Then it was time to get busy with the booklet’s additional suggestions.

LP Toys (10)

Toys Craft:

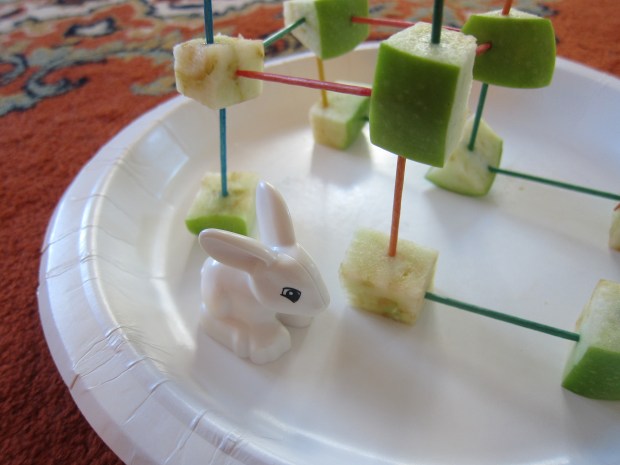
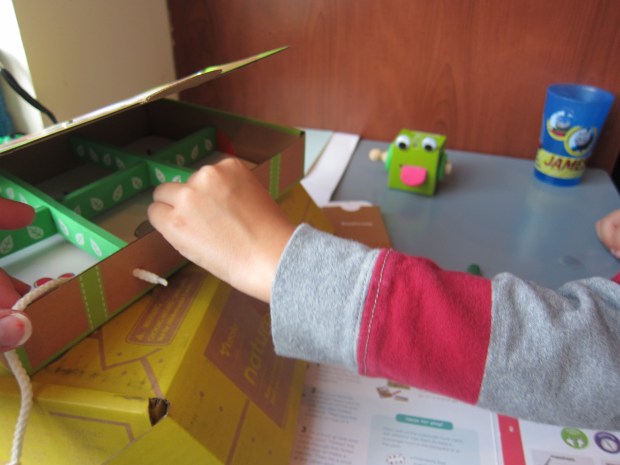
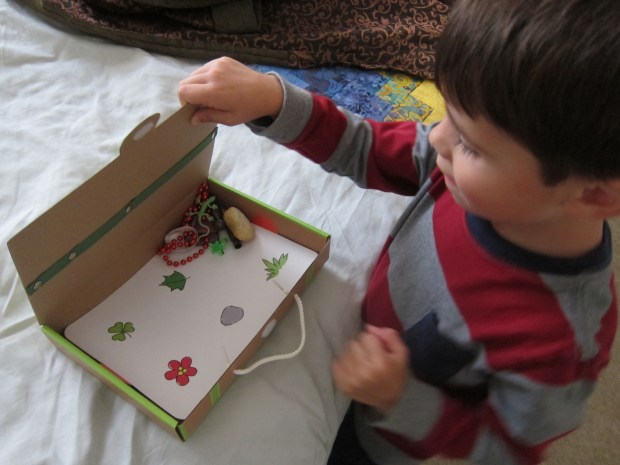
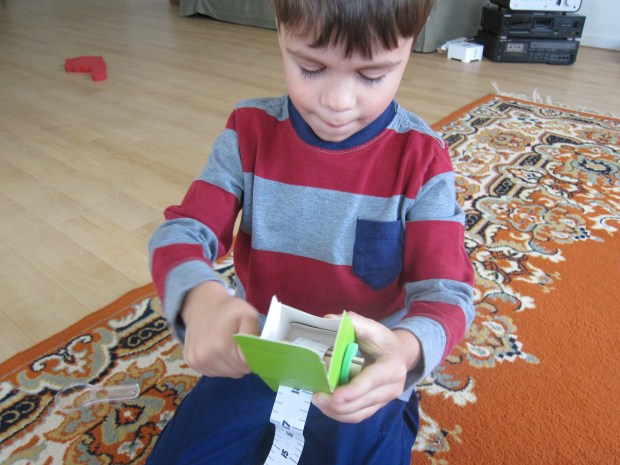
We loved the craft for a homemade marble maze. To construct it, you only need a shoe-box lid and straws. Travis marked a circle in one edge for Start, and a “smiley face” in red at the bottom for Finish. I do love his slightly-glowering smiley faces these days!

LP Toys (5)

Next we cut straws to various lengths, and he helped me decide where each should go. I glued them down and we let it set overnight.

LP Toys (4)

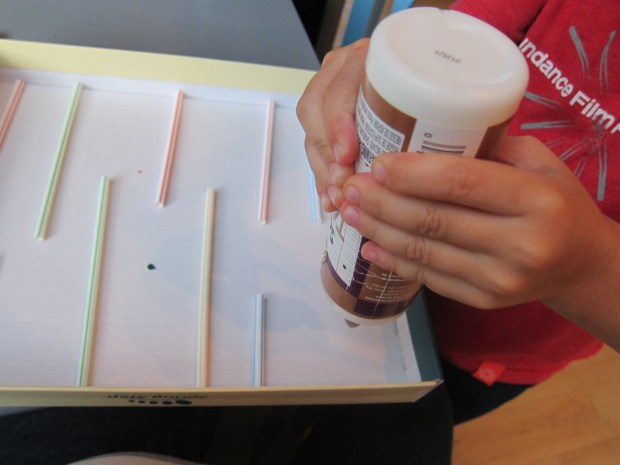
In the morning, it was time to test our toy! Travis loved tilting and learning how to maneuver a marble among the straws.

LP Toys (8)

We had fun with suggestions in the booklet such as: timing ourselves; going backwards from Finish to Start; and testing out ways we could make the maze even harder. When the opening between two straws was narrow, this was the biggest challenge.

LP Toys (9)

You can also try making multiple mazes, or roll something through it other than a marble!

Toys Science:

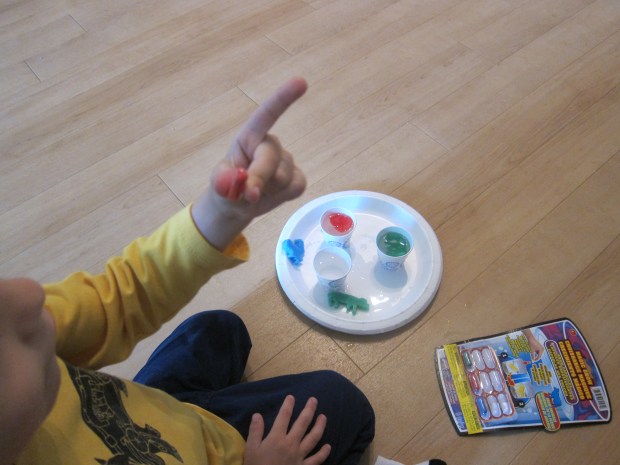
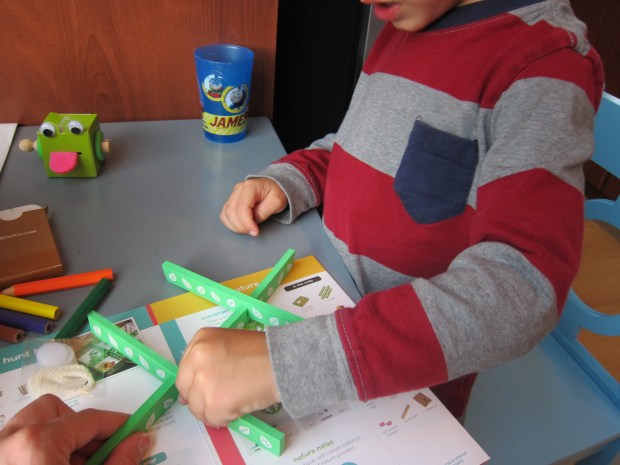
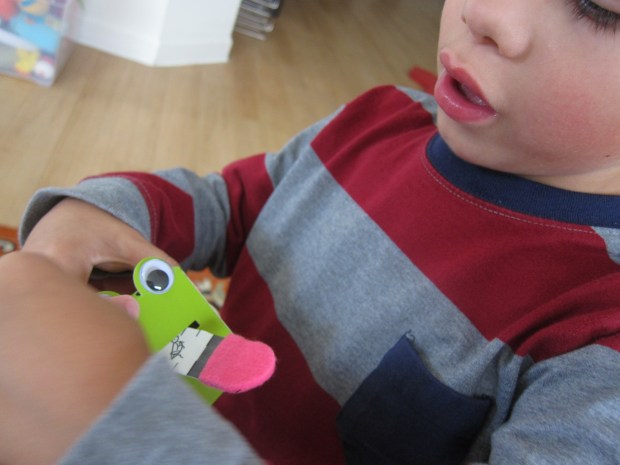
The booklet challenged us to make a new toy – a STEM endeavor if ever I’ve seen one! I pulled out our craft bin and a few other odds and ends from around the house, and encouraged Travis to come up with anything he wanted.

First up was this toy wheelbarrow – a matter of attaching an empty ribbon spool between two dowels.

LP Toys (18)

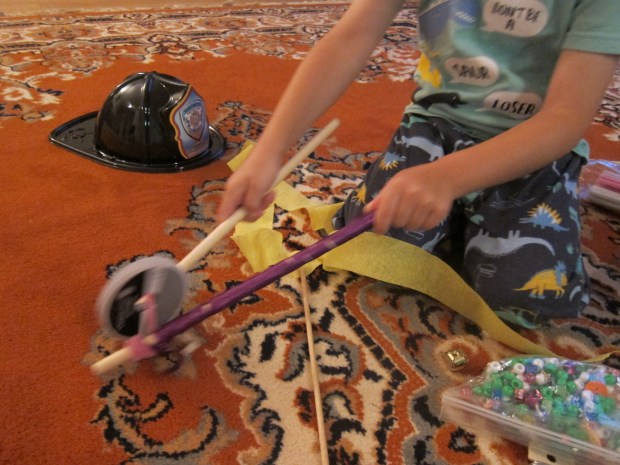
Next he wanted to build with craft sticks, much as you would with building blocks. Lots of tape helped make a sturdy frame.

LP Toys (19)

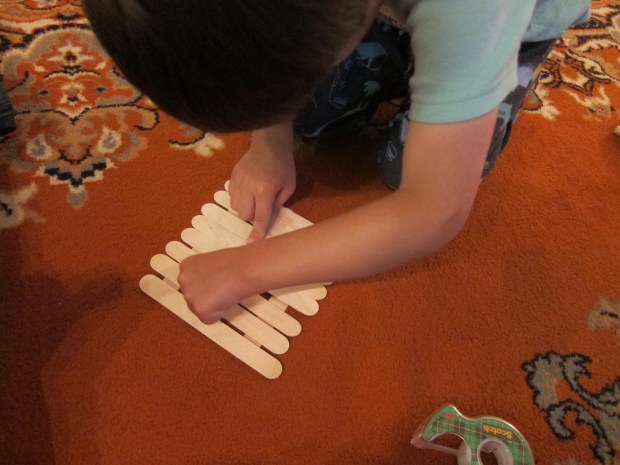
The construction soon turned into a game with a goal post that we could shoot wooden craft beads through for points.

LP Toys (20)

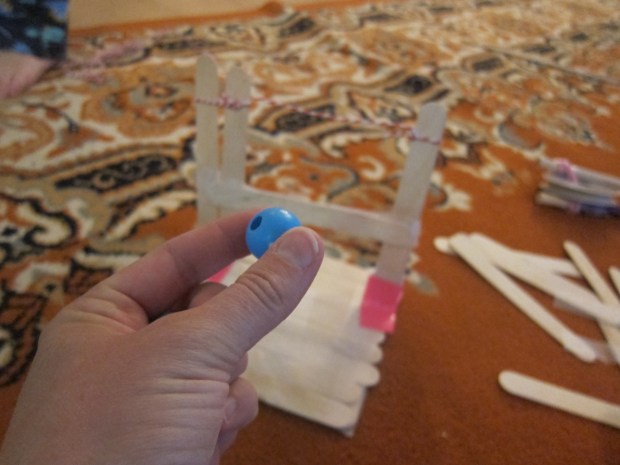
I loved watching his creativity through this whole process, involving at various points: black dot stickers; floral wire; Velcro stickers; and more. Some “toys” worked and some didn’t, but he had a blast and it filled a morning. I’d love to hear what your child makes in the comments! What will you name your new game?
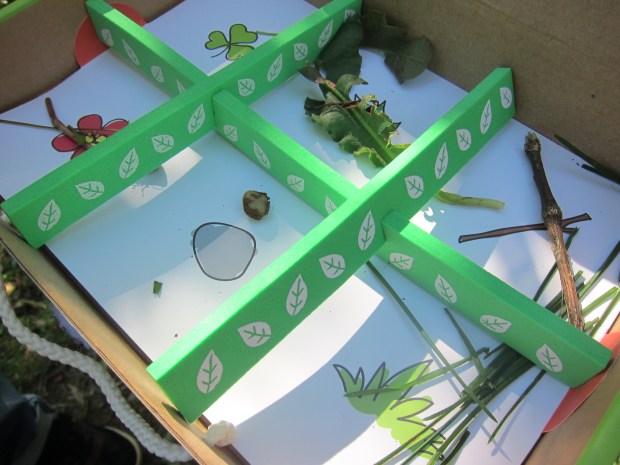
Toys Keepsake:

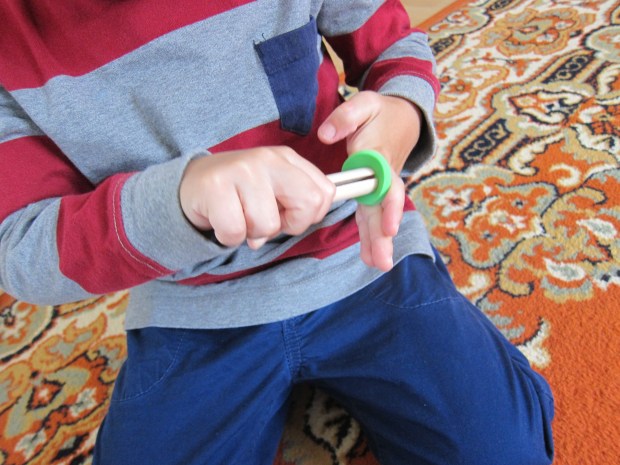
Travis loved the keepsake in this package, a felt tic-tac-toe pouch with x’s and o’s that handily store inside the pouch when not in use. He needed a few games right away.

LP Toys (3)

Toys Field Trip:

If you’re lucky enough to live near a toy factory of some sort – the Crayola Experience in Easton, PA perhaps, or the Vermont Teddy Bear factory in Shelburne, VT – then there’s your ideal field trip to accompany this theme! Failing that, seek out local exhibits that feature a specific toy. We were lucky enough to find two such exhibits near us.

lego (4)

First up, a Lego building competition at a local cultural center, where we got to see fantastic creations, vote on our favorite, and try our hand at building our own.

lego (7)

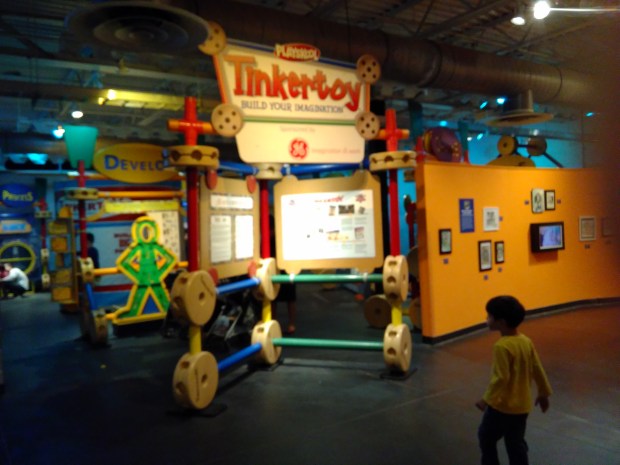
Then, our local children’s museum hosted a Tinkertoy exposition, which was a fun chance to check out this classic.

LP Toys (26)

While we were there, we got to see other traditional toys too, like this decorated doll house.

LP Toys (15)

What do you find in your area?

Toys Further Activities:

We used the booklet as a jumping off point for further, well, games! I have a set of tangrams (from Melissa and Doug) so it was fun to try and recreate the patterns in the booklet (although our shapes differed from the classic Chinese version).

LP Toys (16)

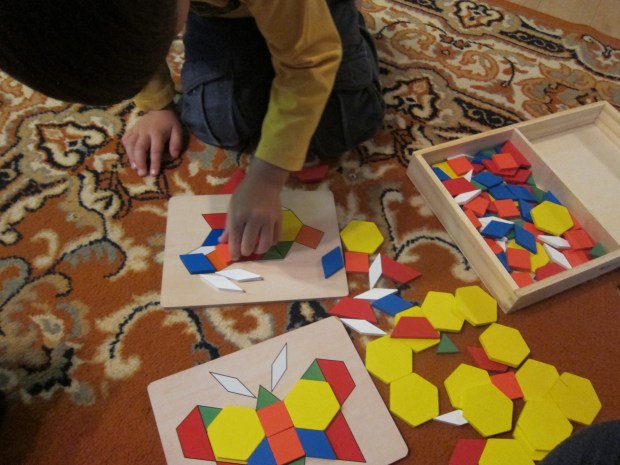
But Travis loved the activity so much he spent a whole evening busy at work!

LP Toys (17)

Then we headed outside to play the French version of hopscotch, called escaragot (snail), in which the board is curved, not the traditional American line.

LP Toys (28)

We had fun experimenting with other animal forms, including a turtle and a crab!

LP Toys (27)

Then we had a tabletop board game “tournament.” Pull out all your board or card games, and make it family game night!

LP Toys (21)

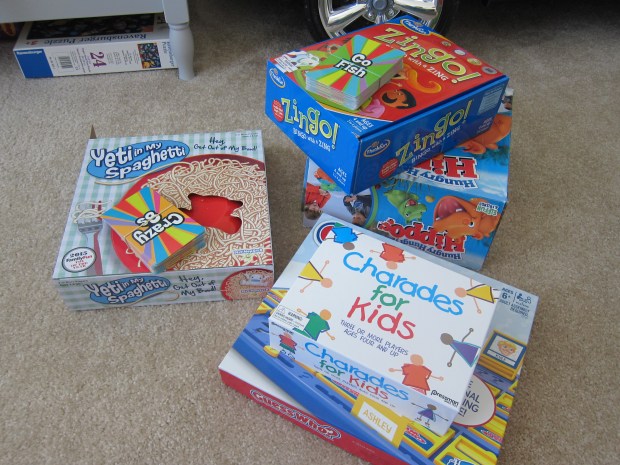
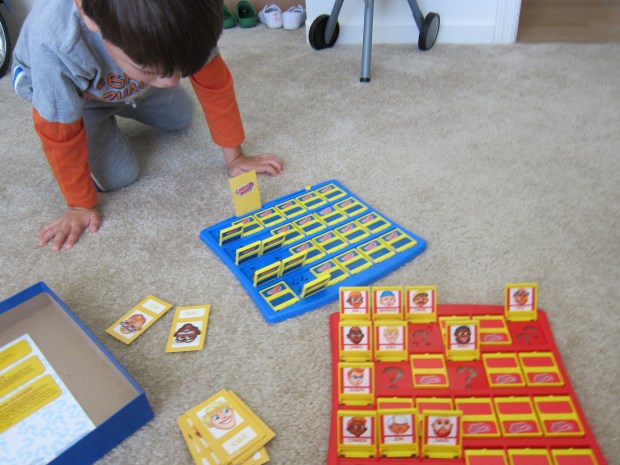
The extent to which this is actually a “tournament” may depend on your kids’ ages. For Travis, we’re still just getting used to learning rules and turn-taking, but he had fun with Guess Who? Go Fish, Charades, Yeti in my Spaghetti, and more.

LP Toys (22)

Bigger kids or larger families can actually keep a scoresheet and turn it into a true tournament.

Then of course there’s good old block building. Make it special by trying to recreate buildings you’ve visited, or famous landmarks.

LP Toys (14)

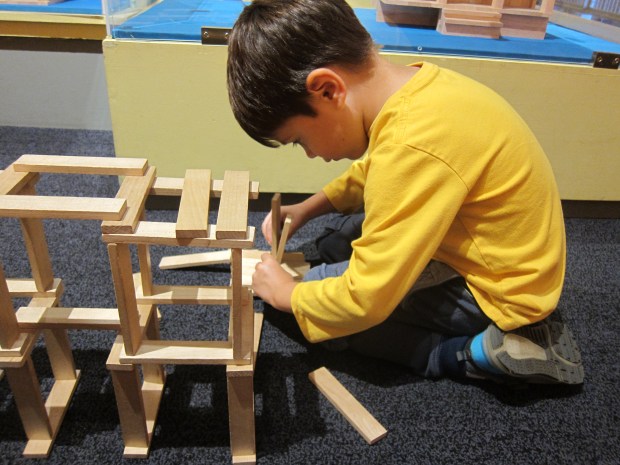
Since we’d had a recent trip into the city, we tried to build skyscrapers. Keva blocks are great for this purpose, but any wooden block set (or plastic) would also work well.

LP Toys (13)

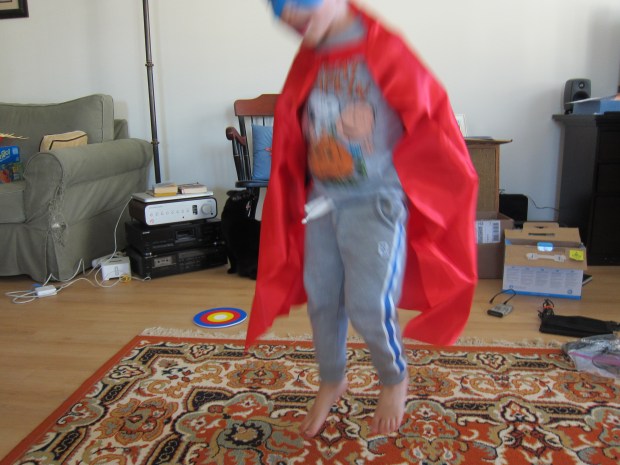
Finally, we chose to purchase the kit’s optional add-on this month, which was a Superhero game – not just dressing up like one, but training to be one. Needless to say, Travis was in heaven.

LP Toys (24)

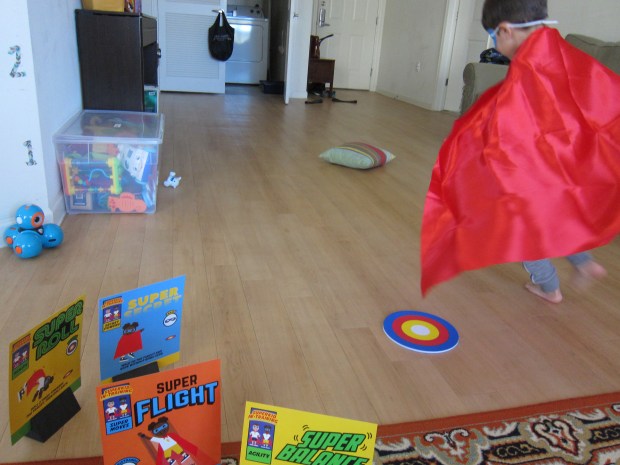
Soon we were jumping hard enough to shake the Earth, flying around the room, leaping over targets, and more.

LP Toys (25)

Easy Pinecone Wreath

Pinecone Wreath (5)

We’ve had a kindness wreath up on our door for over a year now – a project that we loved, but the time now feels right for a change. We used fall nature finds to craft this easy wreath on a store-bought twig frame.

As the title of this post suggests, you’ll need pinecones of course, but feel free to add other treasures that your children bring in from nature. We added some beautiful fall foliage!

Pinecone Wreath (1)

You can use ribbons to attach the pinecones, but I worried this wouldn’t be strong enough. Instead, we wrapped floral wire around each pinecone – Travis loved this new material (under adult supervision, of course).

Pinecone Wreath (2)

I did the wire wrapping, but he selected the perfect spot on the wreath for each pinecone.

Pinecone Wreath (3)

To attach the leaves, we simply tucked in their stems.

Pinecone Wreath (4)

Is there a homemade wreath hanging on your door for this autumn? Please share in the comments!

Pinecone Wreath (6)


Milk Jug Bird Feeder

Milk Jug Feeder (8).JPG

It’s that time of year when we start thinking about our feathered friends, providing them with seeds for the colder weather ahead (even though it’s been unseasonably warm!). In the past we’ve made everything from pinecone feeders to a little cafe. I wanted to try this version because it looked nice and roomy for the birds, but it posed a bit of a vegan challenge: the base of the feeder calls for a gallon milk jug. I briefly considered reusing a relative’s milk gallon, but had a hunch the non-dairy milk bottle from Califia Farms would work. It does, but grown-ups, do take care in the step below that calls for an Xacto knife and scissors!

Milk Jug Feeder (1)

First, cut a window in the front of the jug for birds to fly into. I started this with a knife, and finished the cut-out with scissors.

Milk Jug Feeder (2)

You’ll also need to make a hole near the top of the bottle to thread through yarn.

Travis took great pride in painting this project, everything from selecting the color blue…

Milk Jug Feeder (3)

…to mixing shades of blue…

Milk Jug Feeder (4)

…to making sure every last bit was covered.

Once the paint had dried, I tied yarn through the hole in the top and we headed outside.

Milk Jug Feeder (5)

Travis loved scooping in the bird seed.

Milk Jug Feeder (6)

Find the perfect spot to hang your feeder, then wait for your feathered friends to arrive!

Milk Jug Feeder (7)


Nature Hunt Treasure Stick

Nature Hunt Stick (6)

This neat idea from KiwiCo’s website is a great way to bring home treasures from the outside world. Bonus points if you craft it while you’re still out in the woods!

We went for a short walk after a morning of classes, bringing along two Y-shaped sticks that I’ve hoarded just for this purpose.

Nature Hunt Stick (1)

As we walked, we gathered anything we deemed a “treasure” – leaves we liked, little flowers, berries, and more.

Nature Hunt Stick (4)

Back at the park entrance, we seated ourselves at a picnic table and I showed Travis how to wind yarn (which I’d brought along) around the Y of his stick. Keep wrapping all the way up the Y, then tie the yarn off.

Nature Hunt Stick (3)

Now tuck in your treasures!

Nature Hunt Stick (5)

Travis and I each made one, reflecting the various things we’d found beautiful along the way.

Nature Hunt Stick (8)

A great way to get outside with your little one in these wonderful autumn days.

Nature Hunt Stick (7)


Acorn Owls

Acorn Owls (3)

It’s autumn, and for us that means the best time of year for nature walks. Some of the supplies we bring home are perfect to play with together, crafting into games or animals. But this one was more of a grown-up project that I put together for Travis, involving very fine fingerwork. He loved playing with the resulting toy! Bigger kids can, of course, help make the “owls” as well.

The longer and taller an acorn you can find for this project the better, and you’ll also want acorns without the caps. My acorns actually weren’t ideal, but I worked with what I had after a pretty stroll.

Acorn Owls (1)

Cut out tiny owl features from various colors of felt. We had pink wings and yellow beaks. If I had been patient enough, I would have cut small felt eyes, but instead used a sharpie for this final step.

Acorn Owls (2)

Glue on the details, and let dry completely. You can also cut out a felt tree or branch for the owls to hang out on. Travis delighted in these little creatures.

Acorn Owls (4)

Perhaps next time we’ll turn our acorns into different animals – what would you suggest? Please share in the comments!

Acorn Owls (5)

Leaf Drawings

Leaf Drawings (7)

A recent nature walk yielded up the first of fall’s changing leaves, and we knew we had to make art with them when we got home!

My original title for this post was going to be “leaf butterflies”, since when I saw all the pretty leaves, I immediately thought of little butterfly and bug wings. Travis had plans of his own, hence the more generic title of “leaf drawings.” Read on!

For the original butterfly idea, I drew a few bug bodies in crayon, and Travis helped select which leaves would be their wings.

Leaf Drawings (2)

Liberal application with a glue stick was all we needed to attach “wings” and googly eyes to each critter.

Leaf Drawings (4)

But Travis wanted to make his own picture with the remaining leaves, and began gluing and coloring.

Leaf Drawings (3)

“It’s you and me in a leaf pile!” he explained proudly, showing me his first one. A second “leaf pile” work of art soon followed.

Leaf Drawings (6)

What other drawings would you make featuring leaves from a nature walk? Please share in the comments!

Leaf Drawings (5)

Nature Crate

Koala Nature (26)

It seemed funny to receive this crate late into Travis’s Koala subscription, especially since we received glowing nature just about a year ago. But we’re always game to explore nature around here, and fall is the perfect time to do it.  So bring on the projects! As always, you can DIY these crafts with materials from your local craft store, with only a little variation.

First, we put together the Scavenger Hunt Box. Color in the provided stickers with the included pack of colored pencils, and decorate the provided cardboard box.

Koala Nature (14)

The mechanics for the inside of the box are simple; slot three foam dividers together, and insert into the box.

Koala Nature (15)

There are various scavenger hunt cards that then can be placed in the box (more on that later!), so choose which you’ll start with, place in the box, and top with the dividers. A simple Velcro sticky dot closes the box, then loop the provided cord through two holes for a handle.

Koala Nature (16)

Travis was so proud of his box, which he toted all around the apartment.

Koala Nature (17)

Indeed, your child may decide that it’s just as fun to fill it with treasures that aren’t from nature, and that’s ok!

Koala Nature (18)

The second project (although actually the one we put together first) was Discovery Tools – a frog measuring tape and a magnifying glass. As with many Koala projects, this involved a nice opportunity to exercise fine motor skills. We folded up the provided green “frog box.”

Koala Nature (1)

Then we pushed a foam ring onto the clothespin and inserted the clothespin into a hole in the box.

Koala Nature (2)

Next, we attached two pieces of sticky pink felt at the bottom of the measuring tape. Now thread the measuring tape through a slit in the box, then through the clothespin. Seal the clothespin with a second foam ring.

Koala Nature (3)

Now twist the clothespin so the measuring tape winds up.

Koala Nature (5)

Travis absolutely adored his frog, and spent the entire afternoon winding up the tape, pulling the “tongue” out as long as it would go, and winding again.

Koala Nature (6)

We took a quick moment to add the finishing touch, two frog googly eyes, before he was back to winding and unwinding.

With the third project, Nature Notes, it was time to put it all together! I confess I was initially disappointed this third activity wasn’t a “craft”, but rather a booklet of nature walk ideas … but I stand corrected, because wow was there lots to discover and do! First, the kit comes with bumpy plastic inserts that slip beneath the pages of the nature notebook to make “nature rubbings.”

Koala Nature (20)

Travis loved watching the images appear!

Koala Nature (21)

But the real fun is in taking it all outdoors. The notebook is so chock-full of activities there were almost too many for me to describe in this post.

For starters, now we could use those three scavenger hunt cards in the box. First we tackled the card simply looking for items: flowers, sticks, clovers etc.

Koala Nature (30)

Next up was a color hunt – definitely the prettiest!

Koala Nature (32)

The final card, a shape hunt, proved quite tricky, especially the rectangle and square.

Koala Nature (33)

Perhaps this square of moss counted, but we couldn’t fit it in our box.

Koala Nature (35)

As we walked, we also used the Nature Notes booklet for lots more activities, including: discovering with all five senses; peering at items with our magnifying glass;

Koala Nature (27)

and his favorite, a bug hunt.

Koala Nature (28)

He loved this worm.

Koala Nature (34)

And look how huge this daddy long legs was!

Koala Nature (36)

Don’t forget to measure with the Froggie, too! Soon we were measuring flowers, leaves, sticks, and more.

Koala Nature (29)

Whoa, this branch was longer than our tape!

Koala Nature (11)

The Nature Notes includes a few helpful prompts, such as finding out how wide across is a leaf…

Koala Nature (31)

… or the width of two flower petals.

Koala Nature (8)

As a final component of our kit, we put together the suggested set of DIY Binoculars, almost identical to a project we put together back in the spring, but we lost the old pair! I hot glued together two toilet paper tubes, then hot glued yarn on the edges. Cut a third toilet paper tube down the middle, and stretch over the top of the other two tubes. Glue into place.

Koala Nature (23)

Travis decorated this set with bees and birds!

Koala Nature (25)

So in sum, lots of fun, lots of learning, lots of getting out there in the dirt, and all kinds of exploration to be had. Thanks Koala!

Koala Nature (19)