A Box is a Box

Box is a Box (e)

With big brother involved in box play for home school, I threw in a few boxes for Veronika, too! We started out with the very simple (a box hat!) and moved on to ideas that were more complex.

Box is a Box (a)

She loved climbing in one that was just the right size for sitting in, so we made it into a “boat”. We rowed all around the living room, of course.

Box is a Box (c)

Next up was making a garage for some of her cars. She loved helping to decorate this, and we added a cut-out for her cars to drive in and out.

Box is a Box (b)

If a box is big enough, it can become a cave for your toddler. Because she loves painting, we decided to paint the outside of the “cave”.

Box is a Box (g)

Of course I knew this would be an invitation to a mess, but she loved the big tray of paint and large brushes I laid out.

Box is a Box (i)

Not only did she love crawling in once the paint was dry, but she climbed on top and made it a slide, too!

None of these ideas were very complicated, especially compared to past projects like mailboxes, houses, railroad stations, and even castles. But it was a case in point that boxes never fail to entertain!

Shadow Play

Shadow Play (2)

With big brother engaged in a game ofshadow tag today, Veronika fit in some learning about shadows, too! She says “Hi shadow” every time we go for a walk, so I knew she was interested in the topic already.

First, I showed her how we could change our shadows with movements. Waving hands is the obvious choice, but try stomping a foot, wiggling an arm, or turning your head.

Then I stood still so she could fill my shadow in with nature finds! This might have been easier with big items like leaves, but she loved sprinkling in grass.

Shadow Play (1)

Next up we tried covering just a portion of our body with a small blanket, and observing how this changed the shadow. This turned into a game of “peek-a-boo shadow!” of course.

Shadow Play (3)

And of course you can never go wrong with a game of shadow tag. Toddlers will giggle as you stomp in their shadow, even if they don’t understand the rules quite yet.

Kindergarten Home School Week 9: Tuesday

Home School 41 c

Technically today was Travis’s half day, but we were incredibly busy!

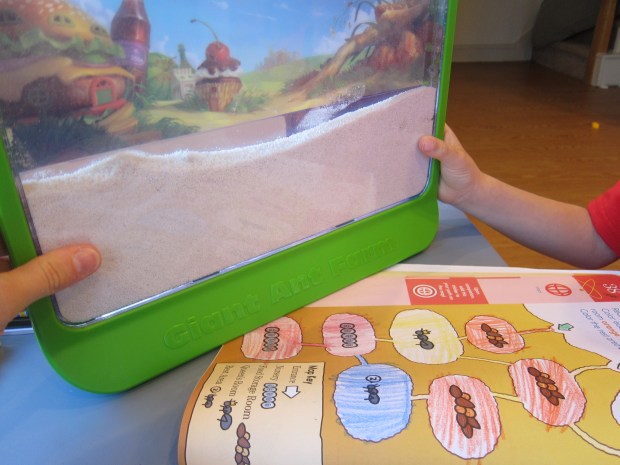
9-9.30: STEM. Both of Travis’s workbook pages today inspired lots of hands-on play. The first was about mapping, specifically with an ant colony. He colored in the picture according to directions, and then I surprised him with… a real ant farm! I’ve had this in my back pocket (so to speak) for a while, but have always been nervous about it. Well, the time seems right. Our ants are actually still on their way in the mail, but Travis helped set up the sand for their habitat and we can’t wait for this science project to begin!

Home School 41 a

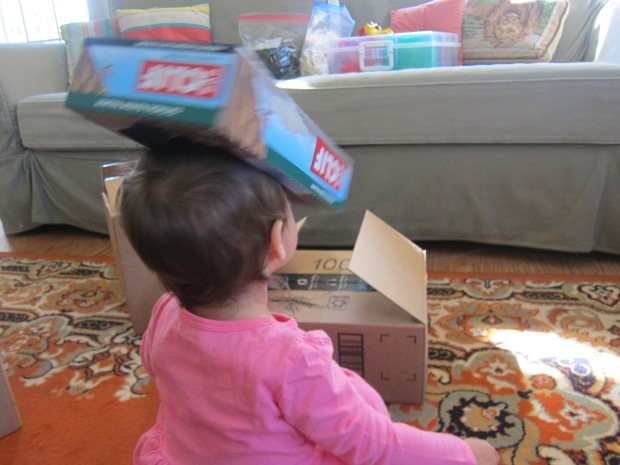
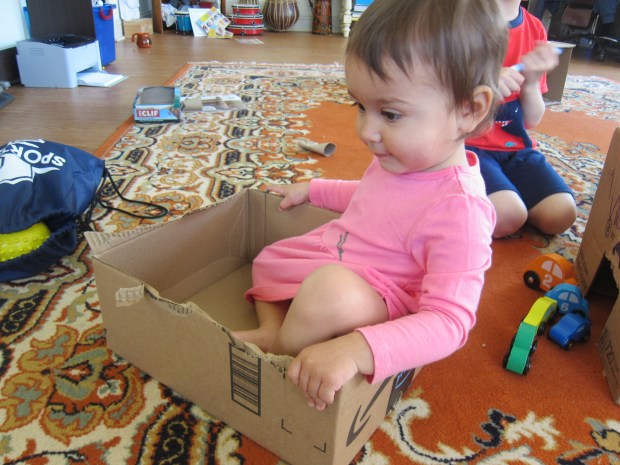
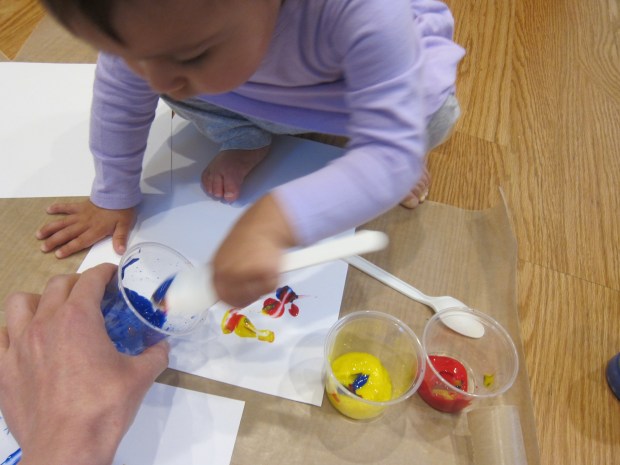
The second workbook page counted toward the E in STEM: imagining how to reuse boxes. After he drew ideas on the page, I surprised Travis with a collection of boxes I’ve been saving. What could we make them? A robot was up first with toilet paper tubes for arms.

Home School 41 e

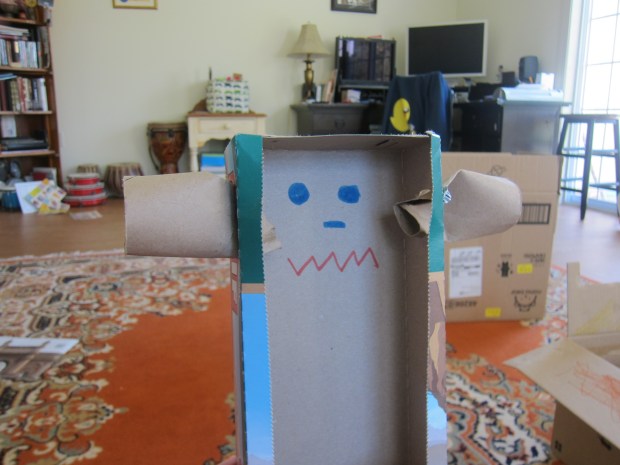
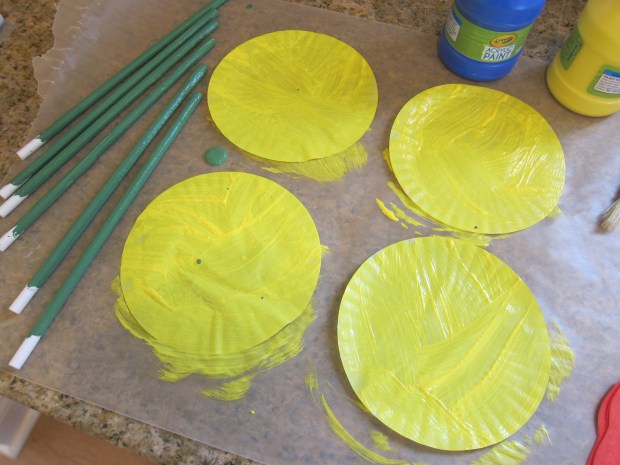
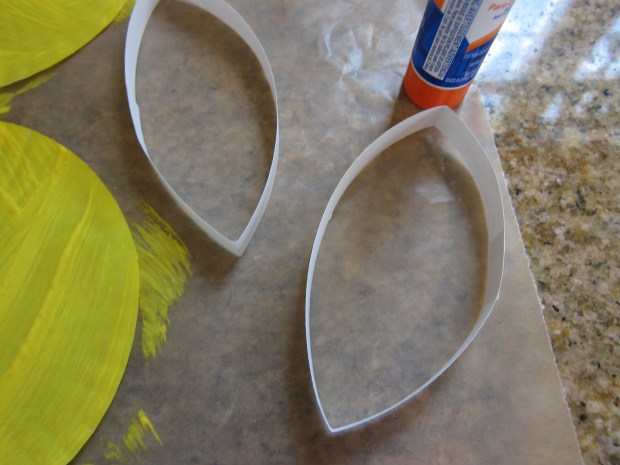
But then the robot turned into a rocket with a little help from tissue paper and a coffee filter cone!

Home School 41 f

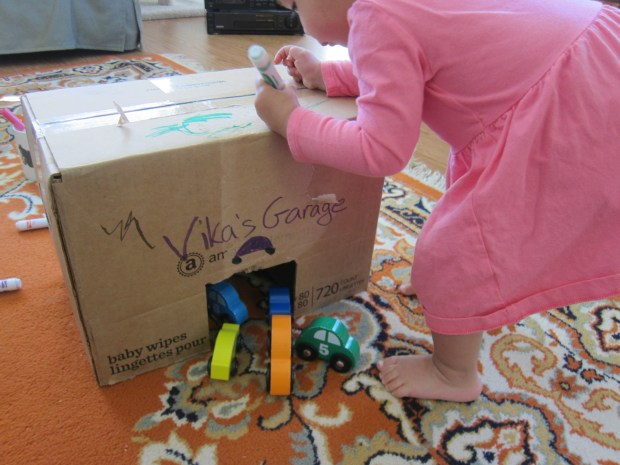
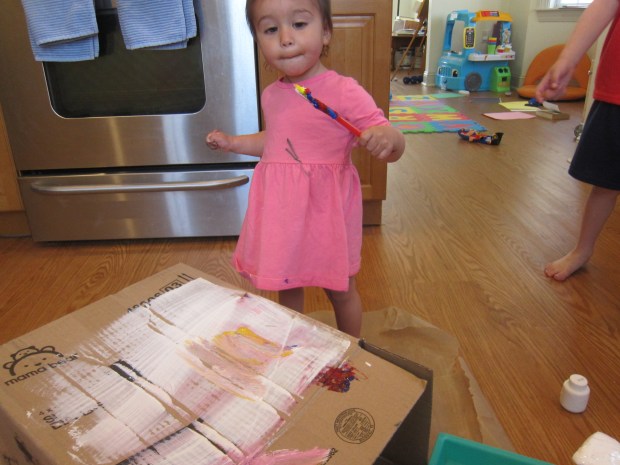
This was perfect for blasting toys into space. Travis also colored a few boxes to be background sets for play, like a fiery volcano in reds and oranges.

Home School 41 d

9.30-10: ELA. Travis did 20 minutes on Lexia. I asked if he wanted to write a story for Writers Workshop about our box play, but he said no. Instead he happily did a few pages of his Star Wars writing workbook.

10-10.30: Snack/recess.

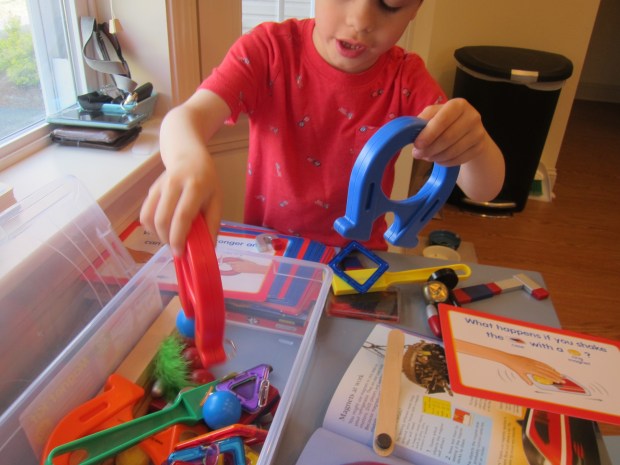
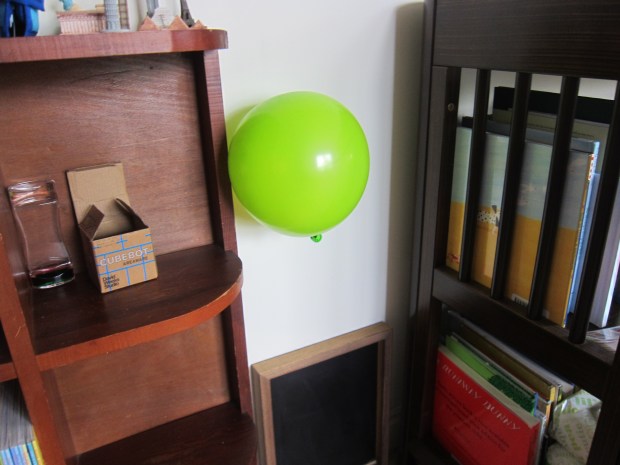
10.30-11.30: Science. We read two pages in his encyclopedia, on electricity and sound, with a QR code video to watch about each. Both pages featured balloon experiments! For electricity, I demonstrated the classic balloon-on-sweater static electricity trick.

Home School 41 j

For sound, we held a balloon in front of a speaker to feel the vibrations.

Home School 41 h

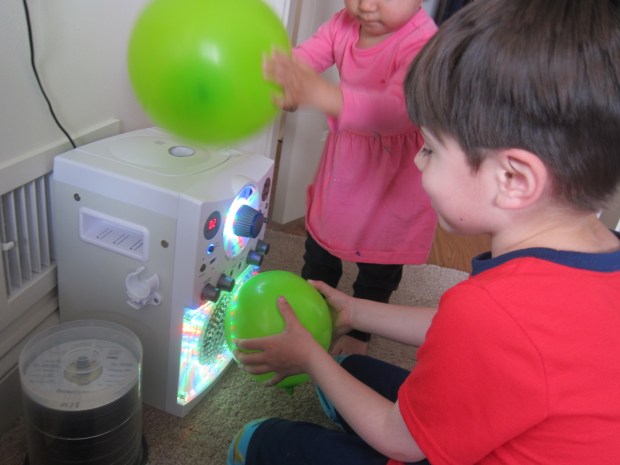
This prompted Travis to remember his old record player, which led to almost an hour of musical fun!

Home School 41 i

11.30-1.30: Lunch/free play.

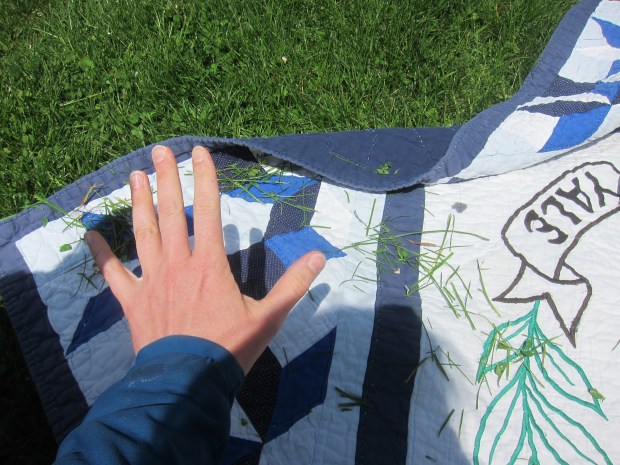
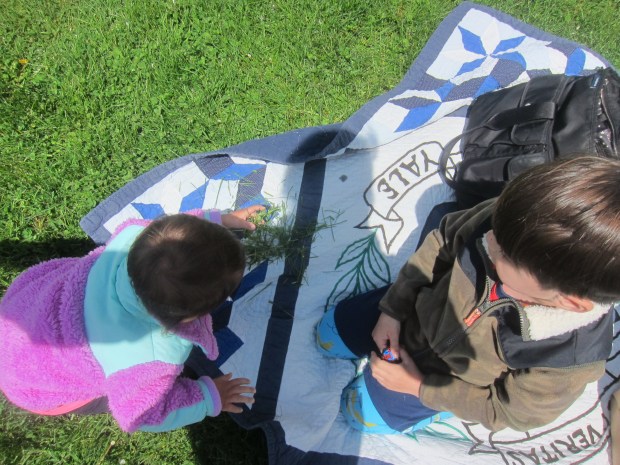
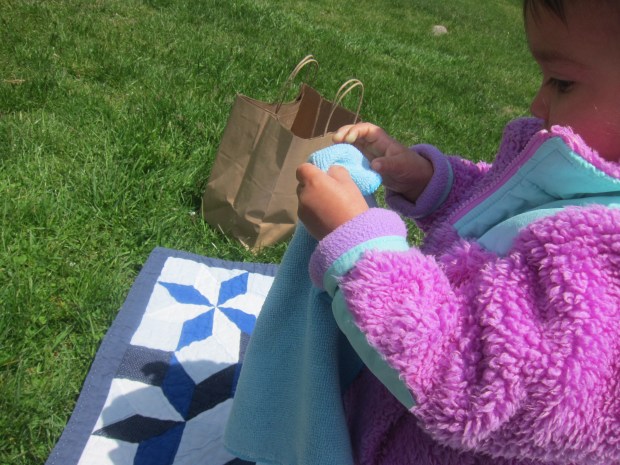
1.30-2.30: Outside. We turned an afternoon in the park into a lesson on spring poetry! Plus we played shadow tag.

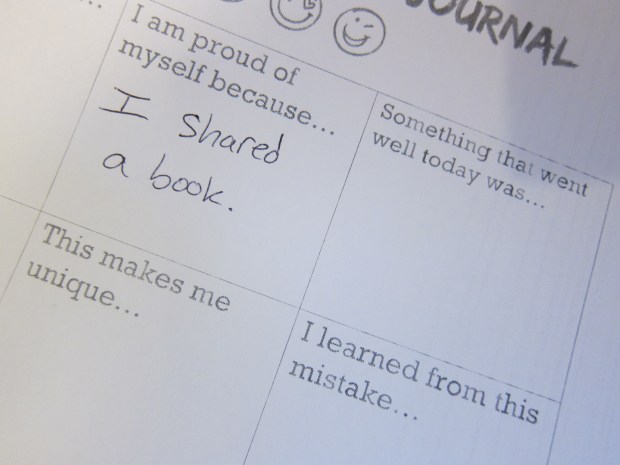
2-2.30: Social/emotional learning. There was a nice prompt from Travis’s teacher to read the book In My Heart and begin to fill in a self-esteem worksheet.

Home School 41 alt

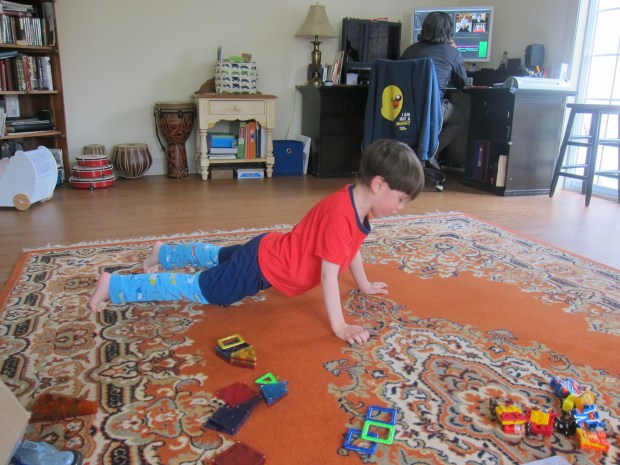
To get moving real quick, I asked him to do 10 jumping jacks, 20 push ups, and run in place for 20 seconds.

Home School 41 k

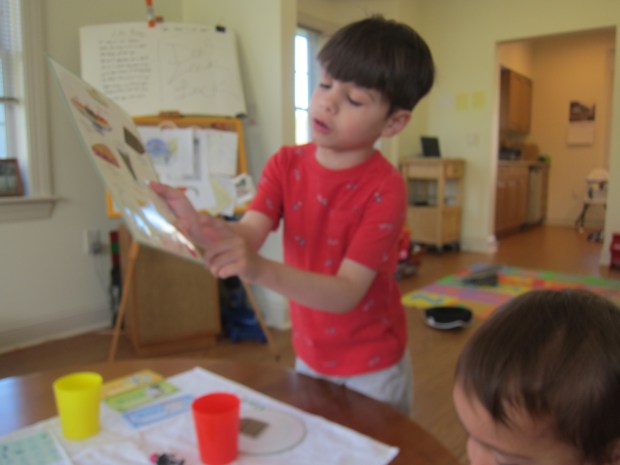
2.30-3: Every school specials teacher will have a Zoom with the class now, and today was Library! This was a good reminder on how to sit and pay attention for a full 30 minutes. The librarian led them through Simon Says, a read-aloud, and a song before Travis got to share a favorite book.

His bedtime story was the non-fiction I’m a Caterpillar, a cute book about the butterfly life cycle that doubles as a great easy reader.

Kindergarten Home School Week 9: Monday

Home School 40 h

The first thing to note about the day is how Travis needed me. Beyond all the school lessons I had planned, he wanted me in his games every time there was “recess” or “free play”, reminding me how sorely he misses interaction with other kids. It is hard to be there not just as a teacher and mom and chef, but also as playmate! Luckily, the constant need for my attention was woven through with lots of fun, and here’s what we did:

9-9.30: Letter F/Food. After completing a workbook page on letter F with a focus on food, we set up a restaurant!

Home School 40 b

Using an old play set, Travis thought it was just a riot to be my waiter, including menus to look at and guest checks to fill out.

Home School 40 c

This doubled as our math lesson for the day because everything had prices. If my check was $28, which bills did he need?

Home School 40 d

We also had an adorable waitress, when she wasn’t busy with math of her own.

Home School 40 e

9.30-10: Letter G/Games. After a workbook page on letter G, we switched over to a game of “golf”.

Home School 40 f

I had hoped for this to count as his P.E. for the day, but it was short-lived. He much preferred selecting a board game. Taking the time to sit and play a few rounds together really mattered to him.

Home School 40 i

10-10.30: Snack/free play.

10.30-11: ELA. Travis did about 20 minutes on Lexia. Little sister learned about emotions!

11-11.30: Science. Our encyclopedia page today was about magnets, prompting me to pull out an old magnet set. It turned out to be the hit of the day! Travis wanted to go through all of the experiment cards, plus just had exuberant fun with the set.

Home School 40 g

11.30-1.30: Lunch/free play.

1.30-2: Zoom. From now on his teacher will lead the class in circle time songs every Monday. It was really hard for Travis to sit still for this; he’s out of practice when it comes to following teacher rules. Something to work on…

2-2.30: Writing. Travis opted to do a few pages in his Star Wars book instead of writing an “Over the Weekend…” assignment.

2.30-3: Spanish. This week’s silly video was his teacher asking her niece what foods she likes and doesn’t like. Travis then went through the food from our earlier restaurant play and gave a big thumbs up “si me gusta!” or thumbs down “no me gusta!” to each one.

Home School 40 m

Lessons ended there, and it was time to make a batch of homemade lemonade. Too rainy for a walk, so we’ll need our exercise and sunshine tomorrow!

Home School 40 j

His bedtime story was the non-fiction Wild Ideas.

DIY Abacus for Toddlers

DIY Abacus (5)

This giant version of a classic abacus is a great way to get toddlers thinking about counting, long before they are aware of concepts like addition and subtraction. To set up, you simply need any object that your toddler can slide along a string, as well as a sturdy stool or chair. Tie a string to one leg of the stool with a secure knot, then add whatever items you’ll be sliding.

DIY Abacus (1)

First, I tried out large wooden beads on one string and pipe cleaners looped into circles on a second. Tie the other end of the strings securely to the stool. But Veronika wanted to grab these big items off so much that this version was short-lived!

DIY Abacus (2)

I moved on to a second version, this time stringing small pony beads onto the string. Now, Veronika loved sliding the beads back and forth!

DIY Abacus (6)

She already mimics counting up to about 5, so I showed her how to slide and count. “One, two, three!” she parroted.


DIY Abacus (4)

Of course, being a toddler, she also just loved the way the strings dangled on the stool, and enjoyed solo time twisting the beads around.

DIY Abacus (7)

This was a great way to keep her busy – and make her feel included! – for part of home school. Other ideas for threading include large buttons or straws cut into pieces.

Orange Pineapple Smoothie

Orange Pineapple Smoothie (1)

This tropical smoothie is a great way to start the day with an extra vitamin C boost, perfect for keeping those little immune systems strong!

Ingredients:

  • 1 cup frozen pineapple chunks
  • 1 small banana, peeled and sliced
  • 3/4 cup orange juice
  • 3/4 cup almond milk
  1. Combine all the ingredients in a blender and process until smooth.

Orange Pineapple Smoothie (1)

Homemade Potato Man

Homemade Potato Man (2)

We don’t own a classic Mr. Potato Head doll, but the toy is great for so many reasons. Of course there’s the pure silliness of mixing and matching the facial features, but Mr. Potato is also a teaching tool for the names of facial features and for emotions. With an extra potato in the fridge, today I made Veronika this silly homemade version!

To start, I drew two faces on the potato with permanent marker: one side of his face was happy and the other was sad. Veronika wanted to add a few pen marks of her own.

Homemade Potato Man (1)

Poke two toothpicks into the sides of the potato as arms, then use hot glue to add pom poms to the tips, covering up the sharp points. You can also add pom poms or even buttons on top for a hat! Two wiggle eyes completed the look.

Homemade Potato Man (3)

If you want to get more detailed, draw other features with permanent marker, too. Finally, I sliced a bit off the bottom so Mr. Potato could stand upright. Now I presented him to Veronika, and she was smitten!

Homemade Potato Man (5)

She loved that his expression changed whenever she turned him around, and this was a great way to talk about emotions. “Mr. Potato is feeling sad,” I told her… and oh no she pouted her lip in sympathy until we turned him to his smile.

Homemade Potato Man (4)

We also pointed to all his features, rattling off a vocab list of eyes, nose, mouth, and ears. She loved finding these and then touching the corresponding part on me.

Homemade Potato Man (6)

And then she just loved playing with him as an “action figure”! Have you ever made toys out of food? Please share in the comments!

Homemade Potato Man (7)


Cling Wrap Painting

Cling Wrap Painting (9)

Veronika loves to smoosh her fingers through paint, and today I found a way to make that smooshing a part of the process, minus the mess!

To start, cover your work surface and lay down sheets of white paper. Set out plastic cups filled with paint, and add a plastic spoon in each cup.

Cling Wrap Painting (1)

I showed her how to use the spoons to dribble paint onto the paper. Veronika liked making both big blobs and using the edge of the spoon more like a paintbrush.

Cling Wrap Painting (3)

When each page was filled with enough splotches and blobs (and just when her hands were itching to get messy in the paint!) I laid a piece of cling wrap over the paper. Make sure the paper is completely covered.

Cling Wrap Painting (5)

Now use your hands to smooth over the paint.

Cling Wrap Painting (7)

The blobs will squish and flatten in a fun sensory way. You’ll get some color mixing, too! I pointed out to her where our blues and yellows had made green, or where red and blue had mashed together for purple.

Cling Wrap Painting (6)

Lift up the cling wrap and set the painting aside to dry completely before displaying your little one’s art.

Cling Wrap Painting (8)

This was a novel painting method, and her hands even stayed (mostly!) clean.

Cling Wrap Painting (2)

Blob Painting

Blob Painting (4)

Veronika is so into painting these days, but all too often she drops the brush and decides to smear with her hands instead. I wondered if using a few novel tools might distract her from doing so!

For this project, you’ll need anything your toddler can squeeze paint out of. We used two versions: an old infant medicine syringe (for pushing) and an empty cosmetic bottle (for squeezing).

I filled each with a little paint, and showed Veronika how to either squeeze or squirt blobs of paint onto the paper. As it turned out, both methods were a little advanced for her muscle development, but she loved seeing the blobs that appeared!

Blob Painting (1)

I folded the paper in half over the blobs we had made, then opened back up to show her a big smeary picture. As an alternative version, place another piece of paper over your blobs, rub firmly, and then lift up.

Blob Painting (3)

She loved the way both versions came out!

Blob Painting (2)

We continued squeezing and blobbing the paint, and she started to use the medicine syringe tip more like a paintbrush.

Blob Painting (8)

For extra fun, we tested out blobbing onto different surfaces, like coffee filters or paper towels.

Blob Painting (6)

Did this project keep her from painting with her hands?

Blob Painting (7)

Not entirely, but it definitely mixed up the art experience around here!

Blob Painting (9)

Spring Flowers Craft

Spring Flowers (7)

These sweet handmade flowers make the perfect bouquet for Mother’s Day, whether to give to a mom or grandma in person, or to share over Zoom!

Ideally, we would have used green straws as flower stems, but because we’re a bit limited on craft supplies (thanks coronavirus), we settled for painting white straws green. I also painted white cupcake liners yellow.

Spring Flowers (1)

Once the paint dried, we were ready to assemble our flowers! Travis helped make four kinds:

Daffodil: Trace a three-pointed petal shape on each of 3 yellow cupcake liners. Align them so they make a 9-pointed circle and glue together. Trim a fourth (white) cupcake liner down, and glue into the center. Glue a small yellow pom pom in the middle, then tape to a green straw as the stem.

Spring Flowers (4)

Calla Lily: Cut blue construction paper into an equilateral triangle. Tape a green straw so that it points up at one of the triangle corners. Wrap the other sides of the triangle tightly around the straw, and tape into place. Fold a yellow pipe cleaner in half, and insert down through the “flower” into the straw.

Spring Flowers (5)

Daisy: Cut three strips out of white construction paper. Glue each in half to form loops, then glue the loops one atop another.

Spring Flowers (3)

Cut a circle from yellow construction paper and glue in the center. Tape to a green straw for a stem.

Poppy: Cut six circles from red tissue paper, then trim around the edges to resemble the petals of a flower. Glue the pieces one atop another.

Spring Flowers (2)

Cut a circle from black construction paper and glue in the center of the tissue paper. Poke the end of a yellow pipe cleaner through the black circle and then all the way through the tissue paper layers; thread the pipe cleaner down into a green straw.

Spring Flowers (6)

Gift your flowers to someone special. Happy Mother’s Day!

Spring Flowers (8)