Heart Pump

Heart Pump (5)

For kids interested in the body and how it works, this visual representation of the heart is fantastic! It’s obviously simplified, but serves as a nice illustration of how this vital body part works.

First, we cut a red balloon in half. Discard the narrow tail, and set aside the other half.

Heart Pump (1)

Fill a mason jar with water until about half full, and add 3 or 4 drops of red food coloring; Travis was thrilled we’d made “blood.”

Heart Pump (2)

Stretch the top part of the balloon over the jar, making sure it lies flat.

Heart Pump (3)

Cut two small slits in the balloon, about 1 inch apart. Insert straws into each, one red and one blue (Note: the color doesn’t really matter, but helps to differentiate). Tape the blue straw shut.

Heart Pump (4)

Now press down on the balloon and your heart will “squeeze” the blood out through the straw “arteries”. Make sure you place the jar on a plate or tray, because the squeezing gets messy!

Heart Pump (7)

Travis absolutely loved this, and had to pump the heart until our jar was all out of “blood.”

Heart Pump (8)

You can wow your kids with quick facts, like how their heart really pumps in a similar way about 70 times per minute.

Here’s a quick clip of the action:

Baby Felt Play

Felt Play (6)

I can’t believe Veronika is nearly five months old, and getting to a point where games with her aren’t just about developing her senses, but also interactive! This craft is a perfect example; it was fun to put together while she played on her playmat, and entertained her nearly all morning while big brother was at school.

Felt Play (1)

To start, cut a long piece of felt from any one color. I only had short felt squares, so ended up tying together three strips of my base color.

Felt Play (2)

Using additional bright felt colors, cut out shapes. I kept these fairly simple, including circles, squares, triangles, stars, and diamonds.

Felt Play (3)

From here, there were so many ways to play! First, I simply let her explore with hands… and mouth.

Felt Play (5)

It was a fantastic toy while she was sitting in her high chair, keeping her hands busy as I prepped meals.

Felt Play (4)

Next, I lay her on a blanket and we concentrated on some early learning. Point out what your baby is looking at (“Look, a blue circle” or, “You’re touching the red star”).

Felt Play (7)

We also counted through the shapes a few times, all the way up to eight.

Then I challenged her gross motor skills, putting the felt a little out of her reach at tummy time.

Felt Play (9)

Her little legs started scrunching in an imitation crawl almost immediately. I gave her a bit of a boost and she was so proud when she made it to the felt.

Felt Play (11)

Finally, the toy is great for dangling. Veronika loved discovering she could pull off the shapes, one by one.

Felt Play (8)

Once the shapes are all off, simply thread back on to the long felt and begin again!

Felt Play (10)


Colorful Scarf Circle

Scarf Play (4)

This activity takes all of two minutes to set up, but your baby will reap great benefits from it. It’s perfect for times when you want to visually stimulate a baby who can’t sit up yet; great for tummy time; and also encourages gross motor development towards rolling or crawling.

Here’s the set-up: lay a soft blanket on the ground, and simply surround it with pretty scarves. Before I draped each one down, I let Veronika see it and grab it if she wanted to, then added it to the circle.

Scarf Play (3)

Now baby goes in the middle! The bright colors immediately caught her eye. Since Veronika isn’t rolling on her own yet, I nudged her gently to her side.

Scarf Play (5)

From here, she could complete the roll, and seemed intent on getting closer to the bold blues and reds. If your baby is already rolling, he or she might enjoy rolling back and forth between these scarves for quite some time!

Scarf Play (6)

Once on her tummy, she had plenty to look at, which was a nice way to shake up tummy time.

Back on her back, she enjoyed running her hands over soft fabrics, or grabbing on to the tassels, leading to great tactile play.

Scarf Play (7)
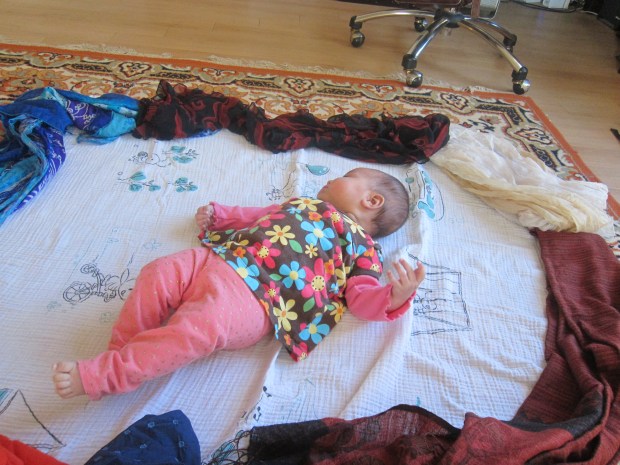
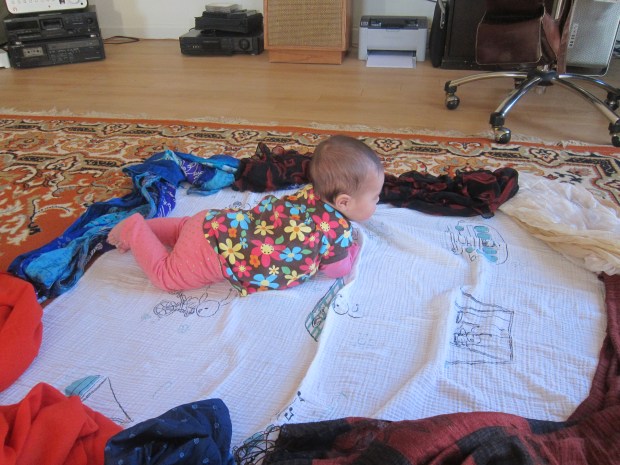
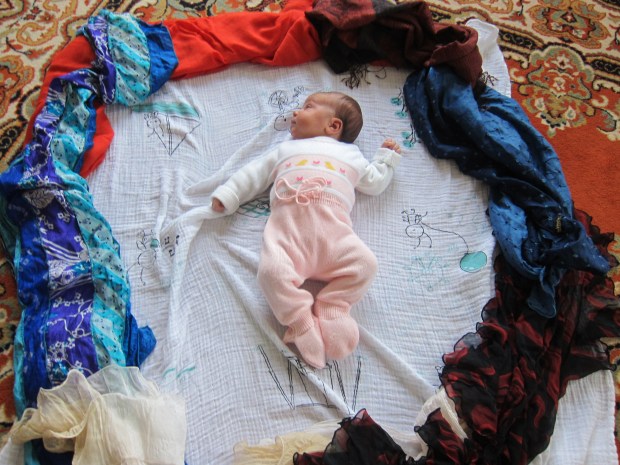
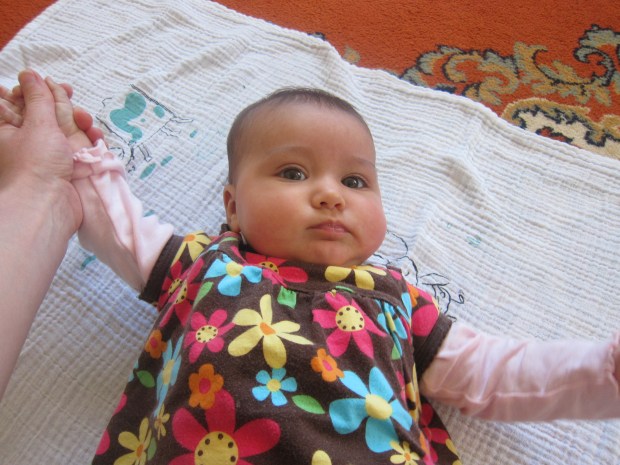
Note: There’s also no need to wait until your baby is rolling for this game. I’ve been setting Veronika up in a similar circle of scarves since she was tiny. The only difference is that now the game is more interactive.

Scarf Circle (1)

Diaper-Free Time

Diaper Free (4)

Whether or not your baby has sensitive skin and is prone to diaper rash, giving him or her diaper-free time on occasion is fantastic. It’s good for the skin, and also their gross motor skills! Their little bodies can wiggle and move in new ways when unencumbered with a bulky diaper, so on today (and future days), here’s a little activity to sneak in.

Veronika does indeed have sensitive skin, so this is actually something we started early and often; I try to give her about 15 minutes of diaper-free time each day, and she usually spends the time cooing and giggling.

Diaper Free (5)

Practicality comes first: you’re going to want baby on a surface that can get wet (or poopy). I always put down an old burp cloth on top of her playmat, and this double-layer has caught any accidents along the way.

Diaper Free (1)

Next, I always increase the room temperature by about two degrees while she’s bare below the waist – the last thing you want is a shivering baby!

She immediately starts to kick and play in new ways. Her toes definitely seem to get higher, and she’ll start reaching and rolling for all her toys.

Diaper Free (3)

She’s also a little scooter, scooching clear off the burp cloth (to which I gently return her). Her first rolls were diaper-free, and in general she seems to just love the freedom.

Diaper Free (6)

Car Picture Game

Car Ride (8).JPG

Veronika had the longest car trip of her life so far this past weekend, and I knew she’d need some extra entertainment. For this easy game, tailor the pictures to your baby’s interests. Good sources are magazines, picture books you don’t mind cutting up, or family photos.

Veronika particularly loves animals, so we went through big brother’s old Ranger Rick Jr. to cut out cute pictures. I also added a few random images, like cars and hearts.

Car Game (1)

Laminate the photos and then trim down to size. (Note: if you don’t have a laminator, a copy shop in town can usually do so for you). Punch a hole in the top of each image.

Car Game (2)

Thread a string through the pictures, and suspend for your child in the car.

Car Game (4)

You can attach them to the brim of a car seat with safety pins, but I didn’t want them dangling that close to Veronika’s face.

Instead, I threaded the string around the headrests of the rear seat, and they dangled exactly where she could see them.

Car Ride (7)

She stayed mostly calm throughout a six hour drive, so hopefully these pictures helped!

Change of Face

Change of Face (5)

It’s fun to widen your baby’s social circle at around four months old. Whether friends or relatives, be sure to let your little one enjoy sitting in new laps and checking out new faces. You can invite folks over for a luncheon or coffee, or head to their house; either way, now is a great time to devote a day to this change of faces, especially since babies are delighted by facial features around now.

A weekend with relatives was the perfect excuse. Veronika loved checking everybody out!

Change of Face (1)

Encourage people to play favorite games with your little one. She liked hearing familiar words and tunes, but from different voices. One that we love is “Trot, Trot to Boston.”

Trot trot to Boston

Trot trot to Lynn

Be careful of the bridges

That you don’t fall in!

Change of Face (4)

On the last line, give a gentle dip backwards.

Family members can also read favorite books, or recite old classics like Itsy Bitsy Spider.

Change of Face (2)

Either way, your baby will love the face time!

Change of Face (3)

Play the Name Game

Name Check (2).JPG

Although it’s great to talk to your baby in full sentences, this can also make it hard for a baby to separate the name of an item from the noise. So today we played a game that focused on nouns!

Name Check (4)

I divided common items into four categories:

  • Toys: block, rattle, and car
  • Food: banana, apple, and lettuce (Note: these were soft toys, not the real version)
  • Clothing: shoe, sock, and diaper
  • Kitchen: spoon, bowl, and cup

Within each category, I placed them before her and named them. “Where is the rattle?” you can say, before handing over the rattle, saying just “rattle” again as baby touches it.

Name Check (1)

She had clear favorites, reaching for them. I gave her time to touch (and mouth!) each object, and then named all three in the category again before moving on to the next.

Name Check (3)

She was really fascinated by the kitchen items, since these are new to her – a nice reminder that solid food isn’t far off!

Name Check (5)

And ha, she seemed to look at me and say, “A diaper, Mom? Really?” when I presented her with that.

Name Check (8)

Good thing she didn’t put that one in her mouth! Socks were more interesting.

Name Check (7)

Breaking down language like this on occasion is great for your baby’s brain, so take a pause and enjoy this little game. What categories of items did you show your little one? Please share in the comments!

Name Check (6)

What Happens Next?

What Happens (6).JPG

If you follow along with the Wonder Weeks for your infant (which I loosely do; I like to be aware when a wonder week is approaching, but have never used the app or explored further resources), then watch for one at about 19 weeks old. Veronika is right on schedule with this Wonder leap, as she starts to understand the sequence of events. It’s an exciting development for your baby, so don’t be upset by a day or two of unusual fussiness!

To help Veronika through the leap, today we played a game simply called, “what happens next?” As much as I could throughout the day, I talked about what would happen next with each action. Some were easy. Hold out your arms and say, “I’m going to pick you up next.” And then do!

What Happens (2)

Cause-and-effect toys work great for this game. What happens if I shake rice in a container? It makes a noise!

What Happens (3)

What happens next if I wind up a jack-in-the-box? The bunny pops out!

What Happens (4)

You can also walk around the house looking for cause-and-effect. Think light switches, faucets, or other easily observable changes.

What Happens (5)

And of course, as you’re getting your little one dressed or doing diaper changes, talk through it step-by-step. “Next I’m going to put on your diaper!” “Next we’ll put on your pajamas!” Even though she doesn’t entirely follow, Veronika babbles and smiles along whenever we chat like this.

What Happens (7)

What happens next? A big kiss I think!

Ready to Clap

Ready to Clap (2)

Following up on Patty Cake, today Veronika and I played another game to prep her for clapping. This time, she automatically tried to clap one of my hands between her two, almost as if it were a toy. This is a great first step towards bringing her own two hands together.

To make clapping fun, we put it to music of course – this time it was If You’re Happy and You Know It, concentrating on the first verse. 

I alternated clapping my own hands…

Ready to Clap (1)

…bringing her two hands together in an imitation clap..

Ready to Clap (3)

…letting her clap one of my hands between her two.

Ready to Clap (4)

…and even modeling on a teddy bear!

Ready to Clap (7)

We did then move on to the other verses, but only briefly. Get those baby toes tapping.

Ready to Clap (5).JPG

And those arms up for “hoorays”!

Ready to Clap (6)

This might be a fun activity to involve big siblings, too, who can help out with the motions.

Finally, a cute video never hurts. We love this version from Little Baby Bum. We’ll certainly have something to clap about soon when Veronika does her first real one!

Draw Your Baby’s Family Tree

Family Tree (6)

Following up on our extra large photo album, today I made another project to help Veronika recognize and know the closest members of our family.

On a piece of construction paper, first draw a basic tree shape with markers.

Family Tree (1)

I added brown lines for each family member we’d include in an upside-down V (to look like each picture is hanging from a wire).

Family Tree (2)

Now cut faces from photos, and “hang” on your tree. Whoops, you’ll notice I had to leave a few spaces blank until my next trip to the drugstore, but you can always add to your tree as you go.

IMG_0004.JPG

Veronika and I talked through all the family members, which is great since some relatives live near and some far. Make sure to point to each person as you say the name.

Family Tree (4)

And don’t forget a picture of baby!

This tree works great for tummy time.

Family Tree (5)

It’s also nice if you hang it on the wall, especially in a place your little one lies often and can take in the details of the family slowly.