Torn Paper Apple Sun Catcher

Apple Tree Suncatcher (8)

Before the fall ends, I wanted to do a few apple-themed crafts with Veronika, and this particular activity resulted as an extension of an apple-themed story time. So start with an apple book your child loves! Apples by Gail Gibbons, is a classic, and we also read Dr. Seuss’s Ten Apples Up on Top and Secrets of the Apple Tree from Usborne Books.

Apple Tree Suncatcher (1)

Now it was time to make an apple! Tape down a piece of contact paper with the sticky side up. I drew a big red circle on the paper with a marker, and then tore up pieces of construction paper in red and green. I invited Veronika to start filling in the apple with the torn pieces.

Apple Tree Suncatcher (2)

She was less interested than I thought she would be, but she did lay down a few pieces of paper and I then filled in the rest.

Apple Tree Suncatcher (3)

When finished, cover with a second sheet of contact paper, wedging a brown paper stem in between, and then cut out.

Apple Tree Suncatcher (6)

This is yet another craft that makes a dazzling display in the window.

Apple Tree Suncatcher (7)

It would probably have been even prettier with red tissue paper, but we recently used ours up! Still, the construction paper worked in a pinch.

Apple Tree Suncatcher (9)

Spider Sticky Wall

Spider Sticky Wall (8)

We had our roll of contact paper out this morning, so I thought it would be fun to make a sticky wall for Veronika. And what better theme for an October sticky wall than spiders of course!

For this activity, tape a large piece of contact paper to the wall, sticky side out.

I cut circles from brightly colored construction paper for the spider bodies and then trimmed pipe cleaners into smaller pieces for legs. I wanted each spider to have multi-colored legs so they were silly, not scary.

Spider Sticky Wall (1)

Veronika loved playing with the pipe cleaners while I prepped all our materials! Then we starting hanging up bodies. She immediately latched on to what we were doing, and loved giving each spider its legs.

Spider Sticky Wall (4)

Although I briefly mentioned that real spiders have eight legs, we weren’t really concerned about scientific accuracy today. As a two-year-old, she simply began adding legs wherever she wanted. Also, our pipe cleaners kept falling down (they don’t stick well to the contact paper unless you press really hard on them), which made for lots of spiders who were constantly losing limbs.

Spider Sticky Wall (5)

But that was half the fun! Veronika thought it was so funny when the legs fell, and she narrated her play to herself as she worked. “Let’s give this guy yellow legs. Pink fell down! He needs a green leg!” and on and on for about 20 minutes.

Spider Sticky Wall (9)

Between their bright fuzzy legs and their happy smiles, it’s safe to say we had the cutest spiders in town.

Spider Sticky Wall (7)

Pumpkin Craft for Toddlers

Pumpkin Art for Toddler (9)

This pretty suncatcher craft was a nice alternative to playing with real pumpkins!

To start, I taped a large piece of contact paper on to our craft table, sticky side up, and then set out a tray filled with squares of cut tissue paper. We had squares in red, orange, and yellow.

Pumpkin Art for Toddler (2)

Veronika immediately loved pressing the tissue paper onto the sticky surface and seeing that they got left behind when she lifted her hand away.

Pumpkin Art for Toddler (4)

I helped a little so that we could completely fill in a roughly circular area.

Pumpkin Art for Toddler (5)

Cover with a second sheet of contact paper, sticky side down, then trim into a pumpkin shape.

Pumpkin Art for Toddler (7)

For a stem, I simply taped on a rectangle of green construction paper. Hang in a window or doorway and watch the sun play tricks through the colors.

Pumpkin Art for Toddler (6)

You’ll get a neat double dose of orange, first from anywhere your toddler has actually attached orange tissue paper, and second from any place that yellow and red overlap!

Pumpkin Art for Toddler (8)

Not-So-Spooky Spider Handprint Window Cling

Not Creepy Spider (7)

It’s October which means it’s officially time for all things spooky! For this particular decoration, we started the night before to give the paint time to dry. In the morning, we then could quickly assemble a few spiders in the window.

Tape a piece of contact paper onto a table, with the backing still on. Paint your child’s hand with black washable paint, making sure to paint only the palm and 4 fingers, but not the thumb.

Not Creepy Spider (2)

Press onto the contact paper, then immediately repaint the hand and press again so the palms overlap and the 4 fingers stick out in the opposite direction. An 8-legged spider!

Not Creepy Spider (3)

Veronika loves getting paint all over hands, so I didn’t have to sell her on this project one bit. We made two baby spiders and then she giggled as I painted my own hand for a mommy spider. We invited big brother Travis to contribute a medium spider, but he didn’t want his hand painted.

Not Creepy Spider (4)

Once the paint dried, we added wiggle eyes for decoration. You can add smiles or other accessories to your spiders, too, if desired!

Not Creepy Spider (5)

For the web, use white glue to create a web design in the corner of a windowpane. The internet tells me that this will peel off easily when the time comes, and I sure hope so!

Not Creepy Spider (8)

In the meantime, peel the backing off the contact paper spiders, and simply stick to the window. They look just spooky enough up there.

Not Creepy Spider (6)

Very Sticky Play and Recycled Sculpture

Very Sticky Sculpture (13)

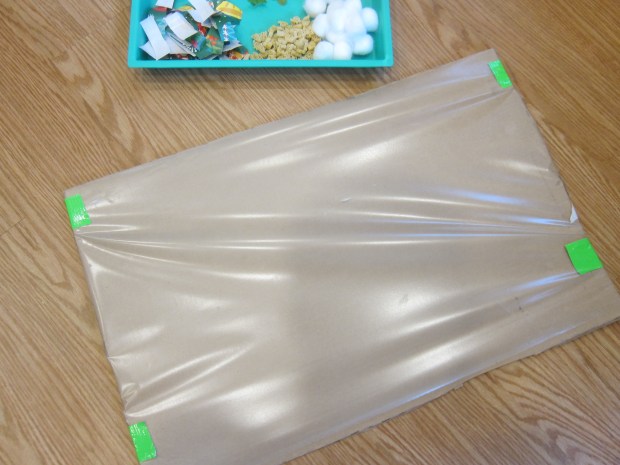
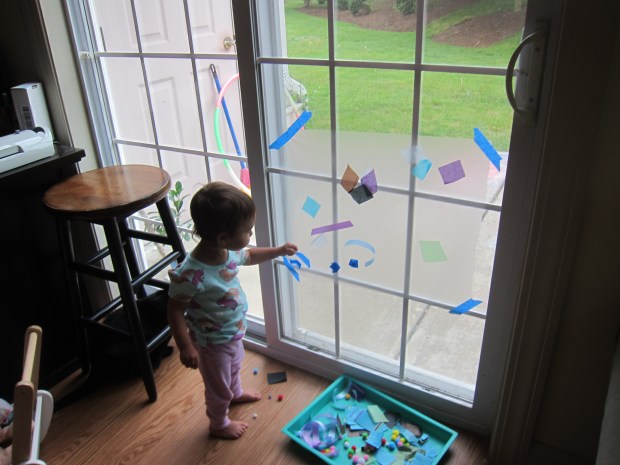
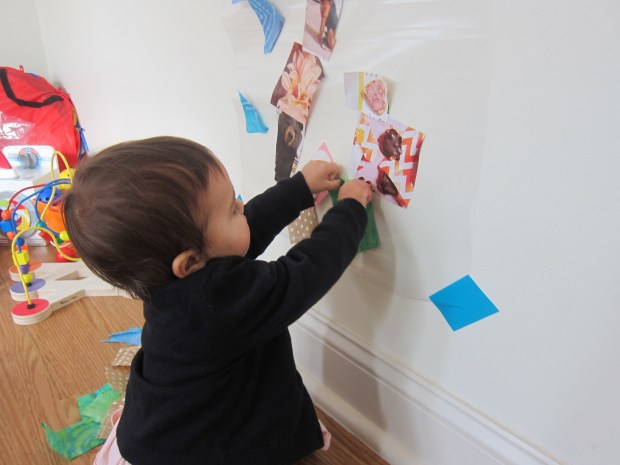
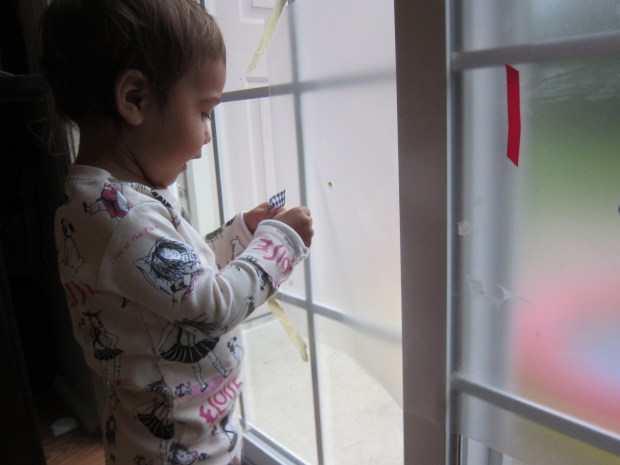
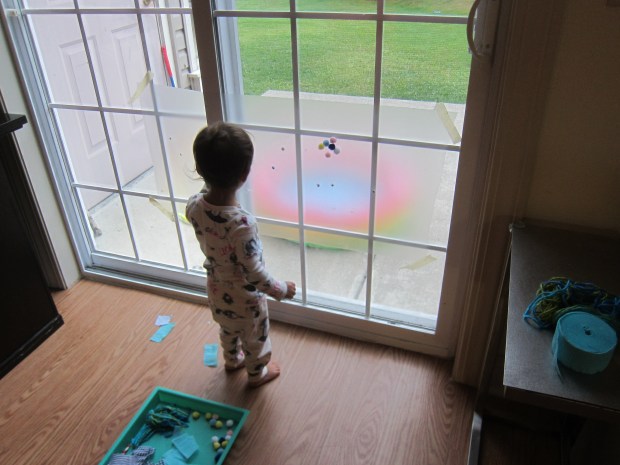
It’s near the end of the month, which is when I sort through my craft bin, think about stocking up for the month ahead, and don’t mind getting rid of leftovers. With the end of a roll of contact paper left,  the morning was ripe for some sticky play! We combined a few old favorite ways to play with this material with some fantastic new finds.

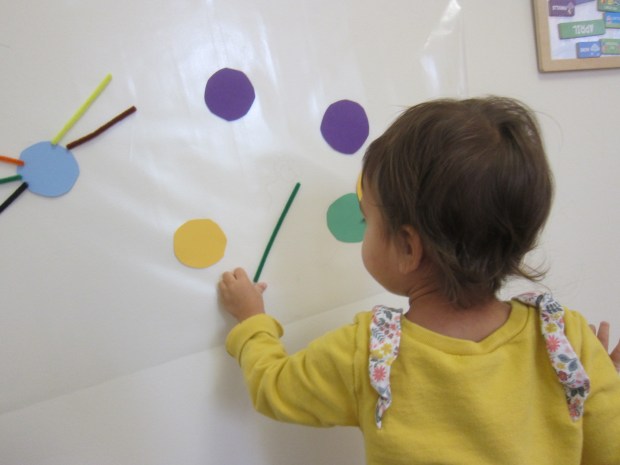
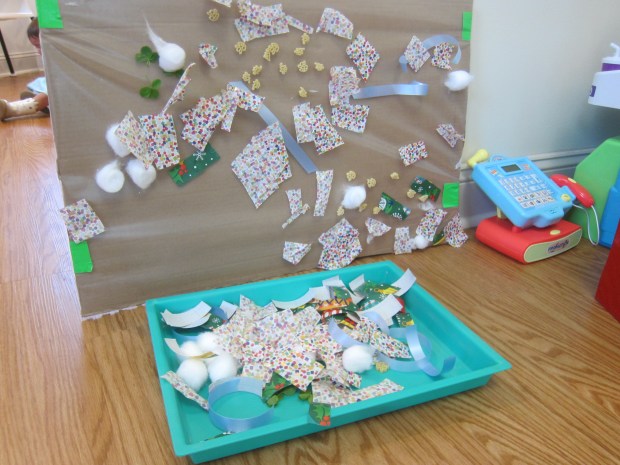
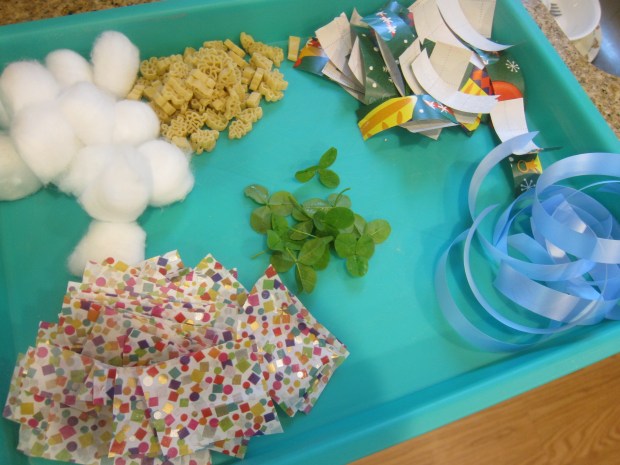
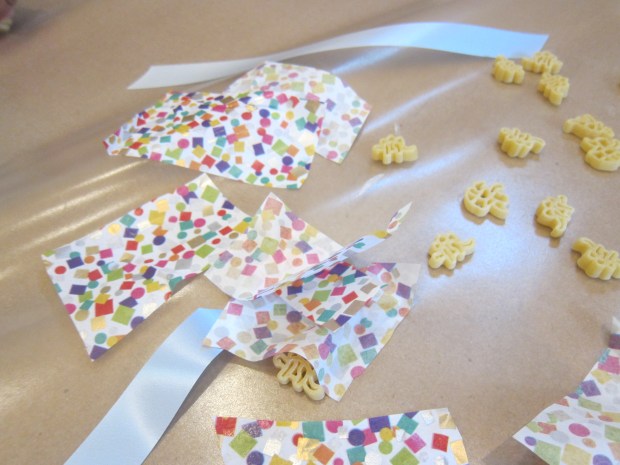
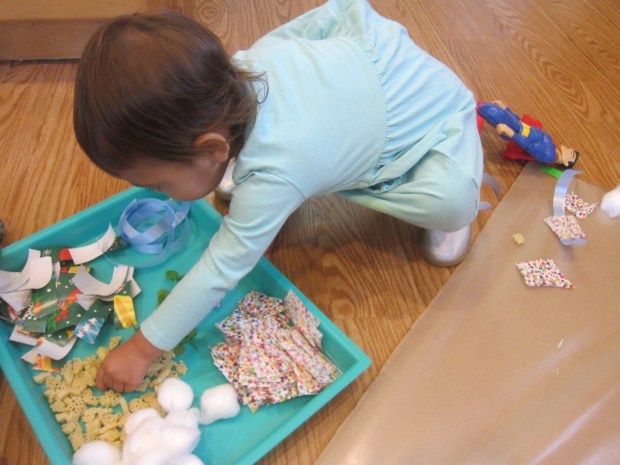
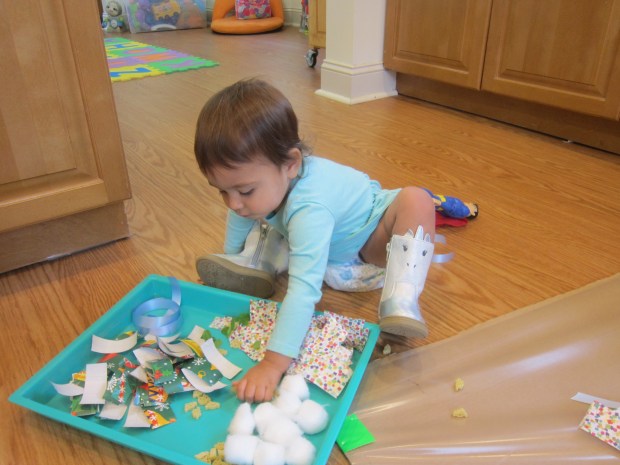
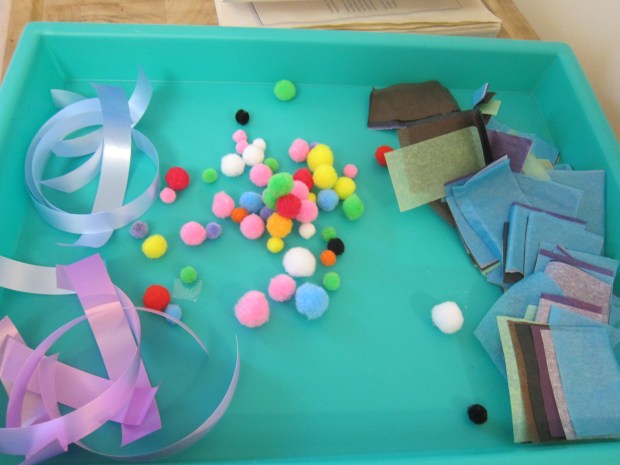
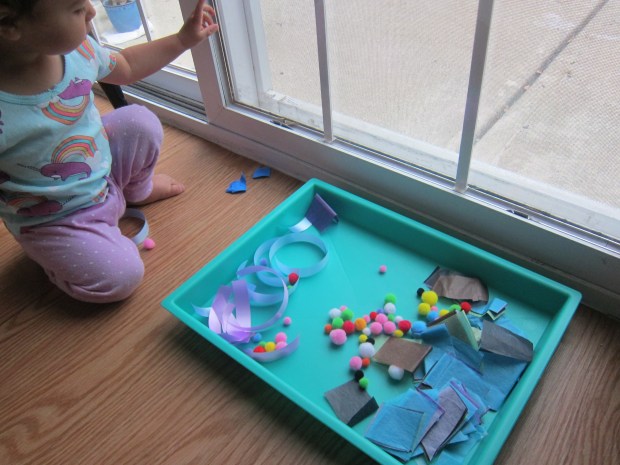
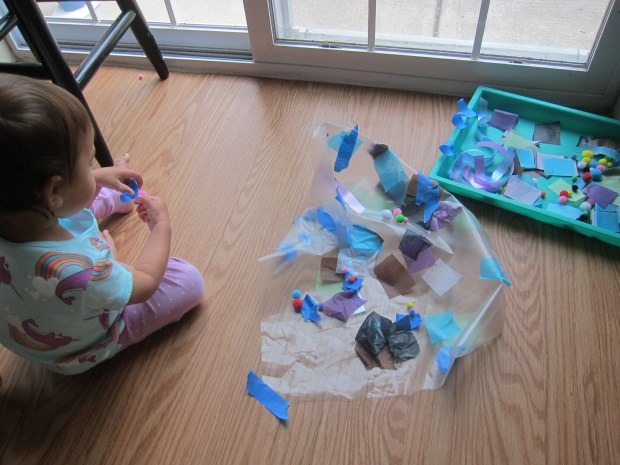
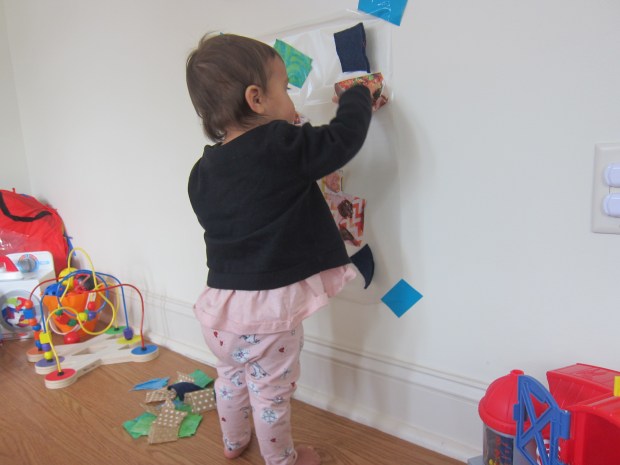
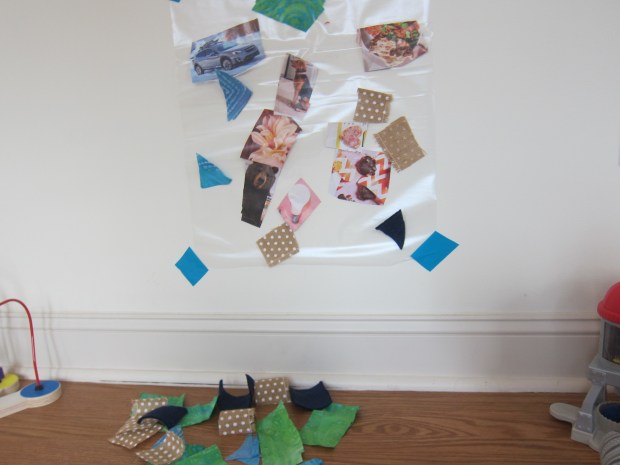
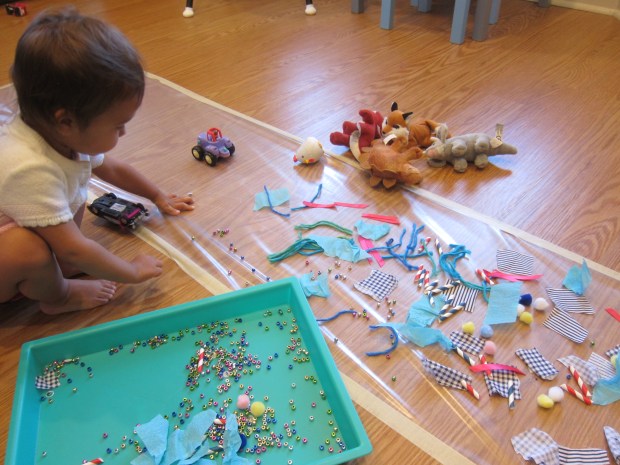
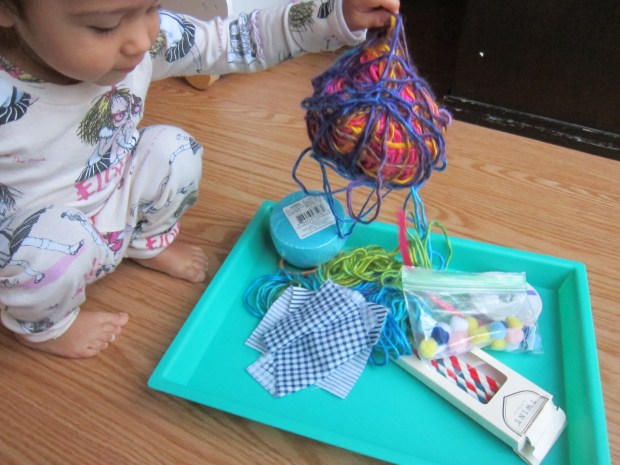
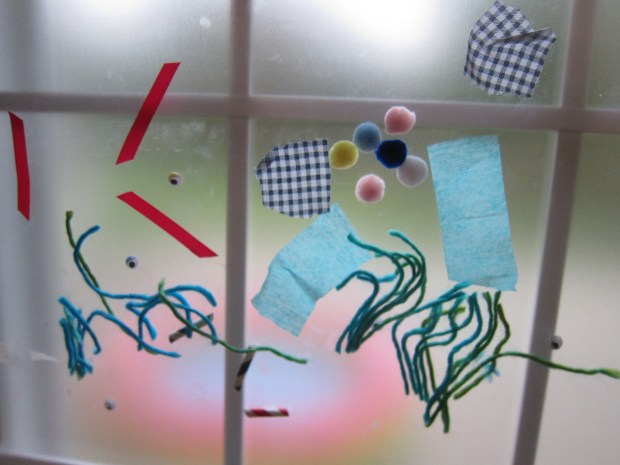
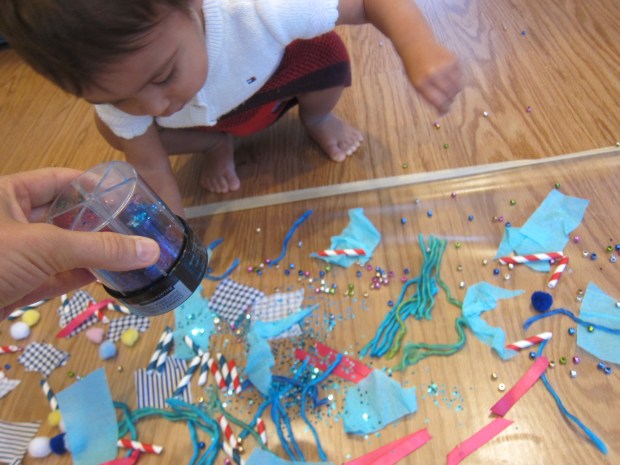
First up was a classic “sculpture” on the wall. Veronika loved helping me sort through the craft bin as we filled a tray with leftover odds and ends like yarn, pieces of ribbon, cut up straws, small pom poms, and strips of crepe paper.

Very Sticky Sculpture (1)

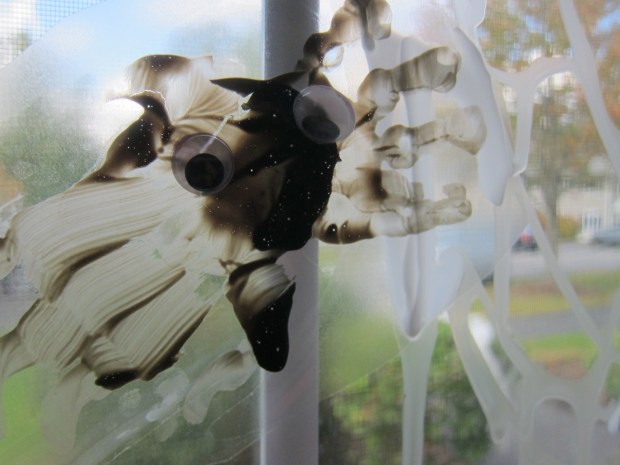
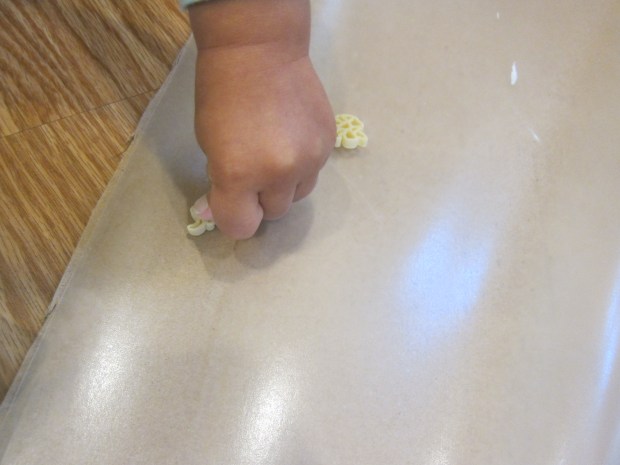
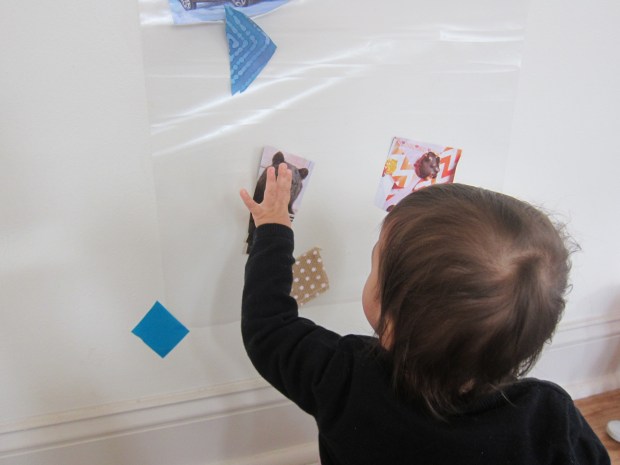
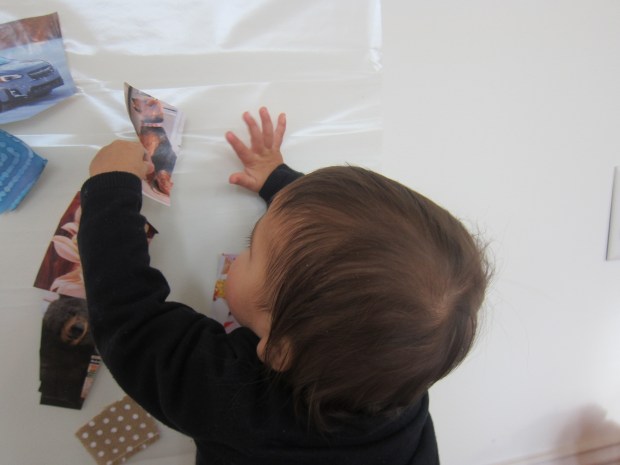
The favorite turned out to be leftover wiggle eyes! ” A little eye!” she said with delight, and she promptly trotted over to stick this on the contact paper.

Very Sticky Sculpture (2)

To add a little learning, you can talk about all your various materials: textures, size, 3D versus flat ones, etc. If siblings are working together, it can also be a great lesson in collaboration.

Very Sticky Sculpture (3)

But honestly Veronika was so interested in the wiggle eyes that we didn’t end up with too much decoration on this wall version.

Very Sticky Sculpture (4)

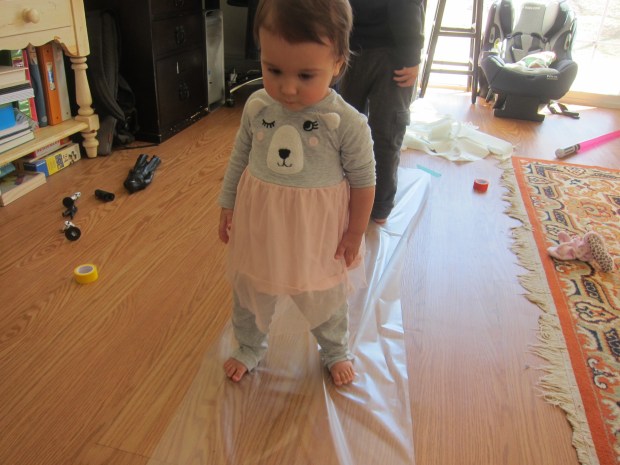
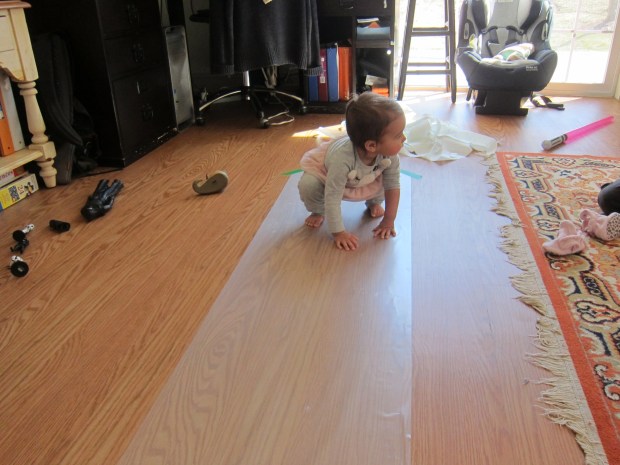
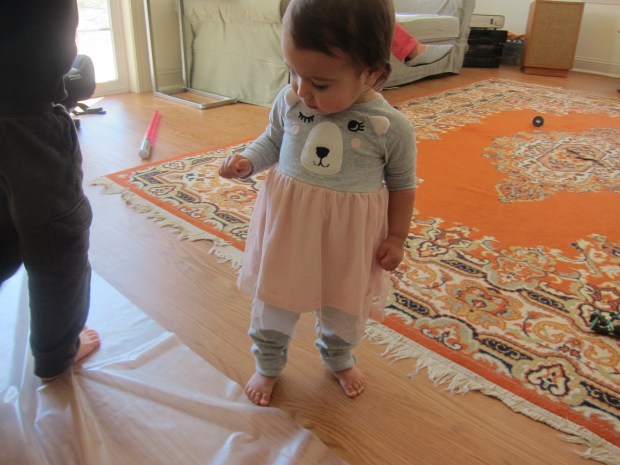
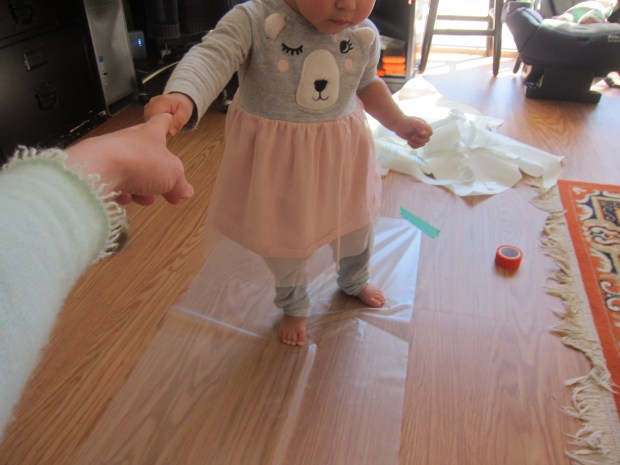
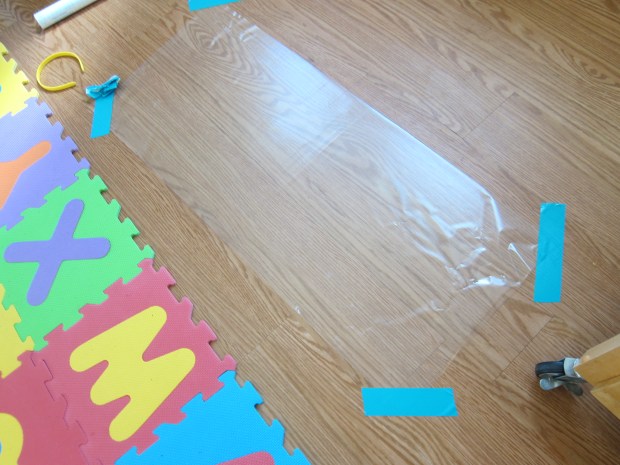
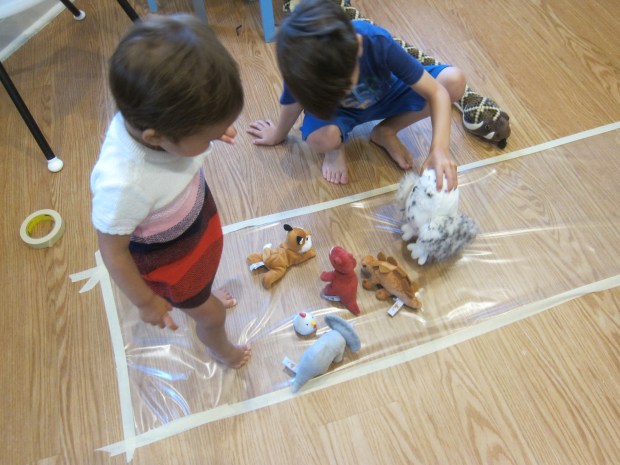
So next, I taped the final piece of contact paper down to the ground, which is always fun for stepping on. “Sticky feet!” Veronika said.

Very Sticky Sculpture (7)

Encourage your kids to lie down too, or crawl across it for a novel sensation.

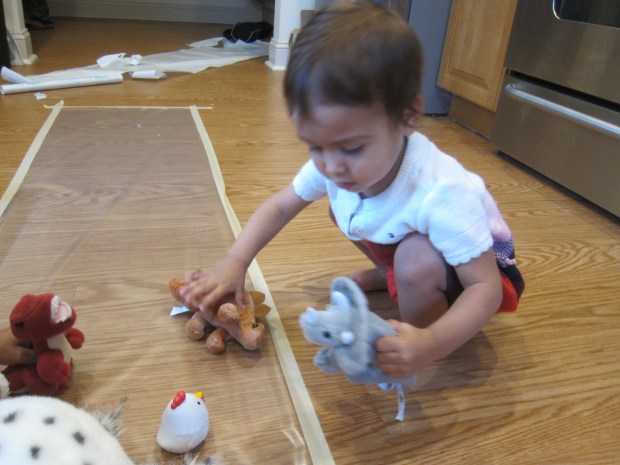
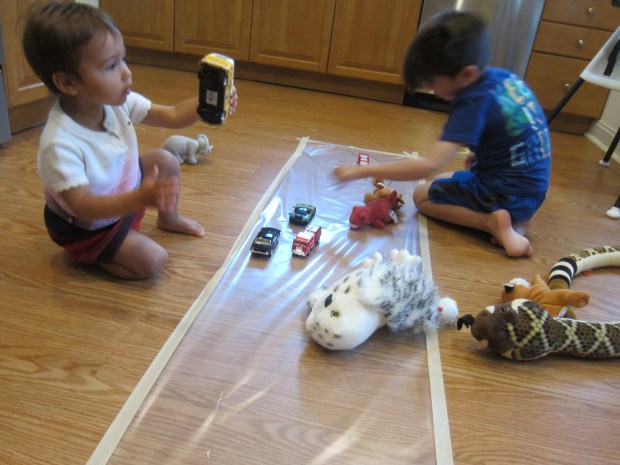
Here’s where the novelty kicked in; we decided to see if stuffed animals could stick and soon had dinosaurs stomping through swamps.

Very Sticky Sculpture (8)

Hmm, what about toy cars?

Very Sticky Sculpture (10)

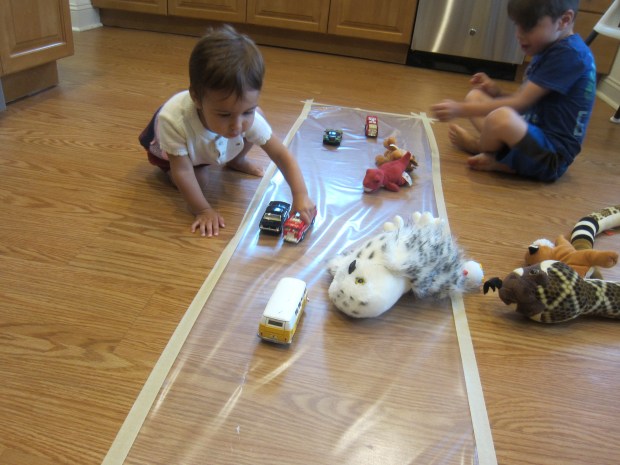
Well now Travis discovered that if he wound up the car tires, they still could move forward on the sticky contact paper… but as slooooowly as a snail.

Very Sticky Sculpture (12)

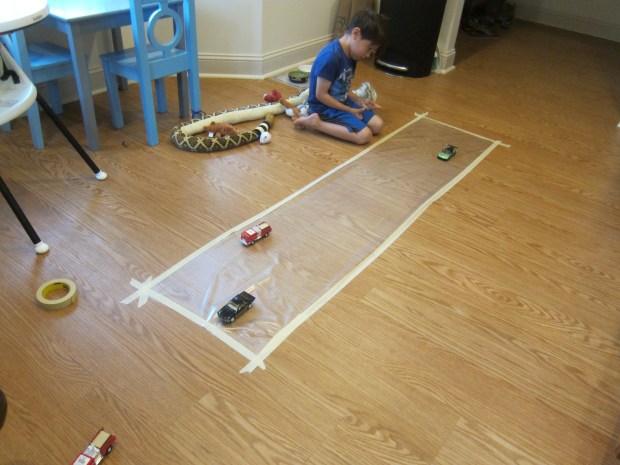
This led to an hour of “racing” play. Even I thought it was neat!

Little sister Veronika wanted to add her tractor and bus to the mix.

Very Sticky Sculpture (11)

When the races were done, we used up all those remaining leftover art supplies. This time, tiny beads were the biggest hit, which the kids sprinkled by the handful over the paper.

Very Sticky Sculpture (14)

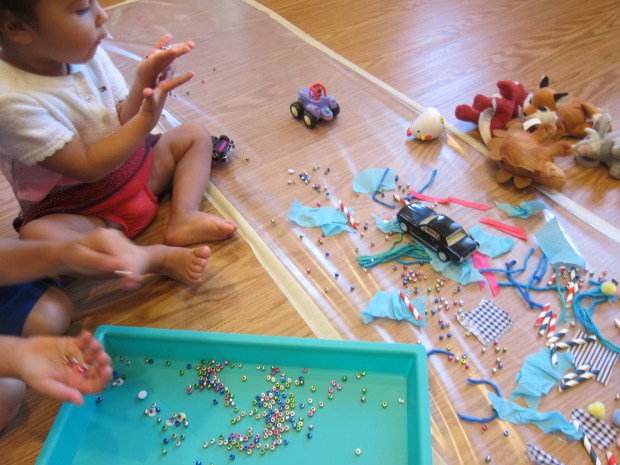
Travis asked for glitter. Oh heck why not, it was already such as mess that I handed it over.

Very Sticky Sculpture (15)

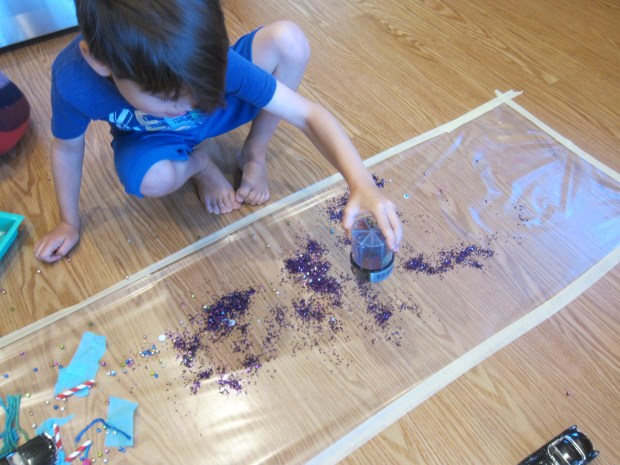
Travis loved this even more than Veronika!

Very Sticky Sculpture (16)

Although of course she loved it too. You know you have a happy toddler when they start rolling around in glee.

Very Sticky Sculpture (17)

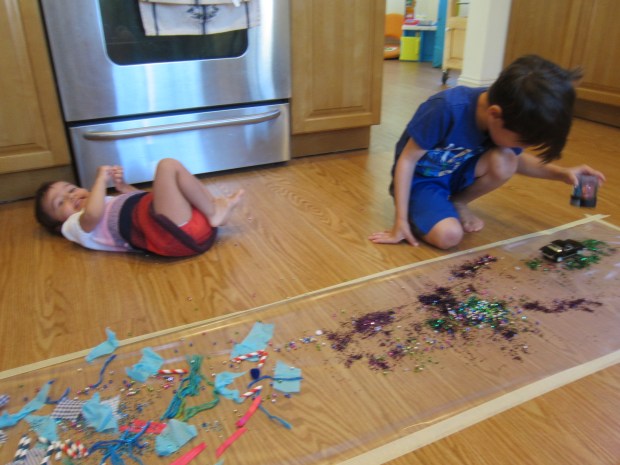
And then I folded up their sticky “sculpture” and the mess was gone.

If you do have leftover bits of glitter on the floor, here’s a quick hack: a lint roller gets them up much easier than a dust broom. You’re welcome.

Toddler Collage

Toddler Collage (11)

It’s near the end of the month, which means time to empty out odds and ends from the craft bin as we stock up for next month. I knew exactly who would be a willing partner in my clean-out… my toddler!

I wanted Veronika to have a large “canvas” to work with for this project, so taped a piece of contact paper, sticky side out, to the largest piece of cardboard I could find in the house. You could also do this on a smaller scale, but whether big or small, the cardboard is nice because it means your toddler can leave the project and come back to it later. The same can’t be said if you tape the contact paper to the floor.

Toddler Collage (2)

I set out a tray with all the craft bin odds and ends, including: wrapping paper pieces, tissue paper squares, cotton balls, strands of ribbon, plus some clover from outside (flowers would be pretty, too!). I also added uncooked dinosaur-shaped pasta pieces.

Toddler Collage (1)

Veronika immediately needed to investigate all of the components of the tray of course!

Toddler Collage (3)

It turned out that the dinosaur pasta was the big hit. She loved sticking it to the contact paper, either by tossing on big handfuls, or by pressing one piece in carefully at a time.

Toddler Collage (6)

The ribbon was also fun, because the ends curled up until she pressed the length of it with her finger to secure it down.

Toddler Collage (10)

She was less interested in the cotton balls and tissue paper than I thought she would be!

Toddler Collage (5)

When she initially tired of the activity, I tucked the cardboard and the tray aside, waiting for her next creative impulse.

Toddler Collage (9)

By the end of the day, we had a masterpiece.

Toddler Collage (12)

Sticky Board

Sticky Board (6)

I needed to keep Veronika occupied while I cleaned today. Enter a classic toddler activity: a contact paper sticky board! Thinking quickly, I taped a square of contact paper, sticky side out, onto the patio door.

Next I put together a little tray of odds and ends: squares of tissue paper, pieces of ribbon (too short to be choking hazards), and pom poms.

Sticky Board (1)

Now it was up to Veronika to decide what should go where!

Sticky Board (3)

This was the perfect activity to leave her mostly solo as I cleaned, since she loved discovering that the contact paper was sticky, pressing curious fingers against it.

Sticky Board (5)

Then she could explore the various materials at her own pace.

Sticky Board (4)

Wouldn’t you know, her favorite part was the painter’s tape I had used to hang the contact paper! So I ended up ripping off a few extra pieces of that for her, and she quickly added them to her collage.

Sticky Board (8)

By the end, she had pulled the whole thing off the patio door, which was just fine of course; it simply meant that the play continued on the ground! And I had time to finish my cleaning.

Sticky Board (9)

Sticky Feet

Sticky Feet (6)

This is really an update on a game we played back in January, when Veronika was almost walking but not quite. I taped a piece of contact paper to the ground in hopes of strengthening her leg muscles and held her hand as she strained to lift her feet from the sticky surface.

Now, there is no doubt about it: she’s a walker! The purpose was more to explore all the ways she could move across the sticky surface. Once again, I taped down contact paper (make sure you give your child at least 2 feet in length to explore). When she first stepped onto it, she immediately went into a crouch so her hands could feel the sticky surprise, too.

Sticky Feet (1)

We discovered that lifting up our fingers and toes made a fantastic sound!

Sticky Feet (3)

She liked to step off of it and then back on again, as if testing the difference between the sticky and non-sticky surface each time.

Sticky Feet (8)

She also was determined to walk solo across it, although needed a hand a few times to pry her feet loose.

Sticky Feet (5)

You’ll notice it intrigued big brother, too!

Sticky Feet (4)

This game truly never gets old. The older your toddler grows, the more you can encourage him or her to dance on contact paper, run on it, or jump on it. It’s a challenge that never grows stale.


Contact Collage

Contact Collage (7)

Sticky contact paper might just be the perfect medium for art projects with toddlers; everything sticks instantly but there’s no glue required (i.e. no mess and no drying time). This particular project also incorporates great ways to talk about shapes, build vocabulary, and more.

To start, I taped a piece of contact paper up to the wall, and peeled off the backing so the sticky side faced Veronika. You can make this surface as small or as large as you want. Feel free to cover the full length of a wall! Veronika trotted over and was quite curious about the way the paper stuck to her fingertips.

Contact Collage (2)

I gave her a pile of things to stick up on the paper, including pictures cut from magazines and fabric scraps in various textures, everything from soft cotton to bumpy burlap to fuzzy felt.

Contact Collage (1)

She immediately began sticking things up, declaring, “Sticker, sticker!”

Contact Collage (3)

I let her select which items to put on where. The magazine pictures interested her far more than the fabric to begin with, and I said the name of each item (“dog!”) as she applied it.

Contact Collage (5)

For a little learning, I cut some of the fabric scraps into squares and others into triangles. I also pointed out the different textures as she hung them, using descriptive words for how each one felt.

Contact Collage (6)

She was so proud arranging and rearranging her canvas. Although the magazine pictures were stuck in place, the fabric could be pulled off and moved elsewhere.

Contact Collage (7)

My girl looked so big, standing at her artwork. This one really made me feel like I have a toddler, no longer a baby.

Contact Collage (8)

What a masterpiece!

Contact Collage (9)

Sticky Step

Sticky Step (3)

Veronika is so close to walking, but still walks very stiff-legged when she holds our hands, her knees barely bending. This activity will not only delight your toddler, but is also great for strengthening those little leg muscles and encourage high stepping!

Tape a piece of contact paper to the floor, sticky side up. The set-up itself was of course fascinating for Veronika, who loved “helping” with the tape.

Sticky Step (1)

I held her hands and helped her walk along the sticky surface. At first she looked so surprised, but once she saw my encouraging smile, she bravely marched across the contact paper, knees lifting high to pull up with each step. She kept looking back over her shoulder at me in delight, as if to say, “Mom do you feel this too?”

Sticky Step (2)

Have fun with the contact paper while it is out! It’s great for sticking on lightweight toys.

Sticky Step (6)

And she kept dabbling in placing her toes on it, as if just to make sure it was still sticky.

Sticky Step (5)