Monster Stew

Monster Stew (1)

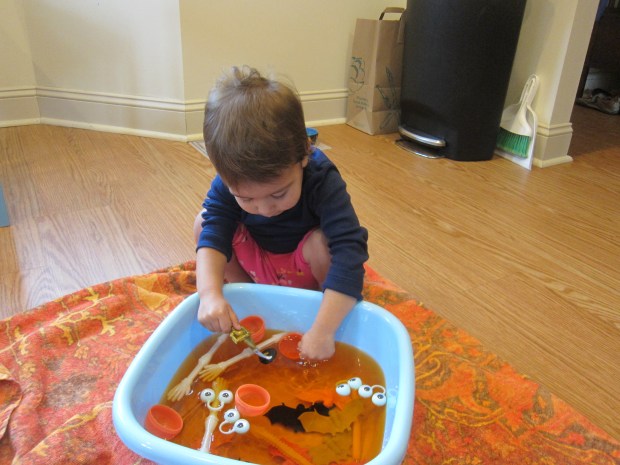
There were no real monsters in this watery sensory tub for Veronika, just a chance to splash and play in a seasonable way.

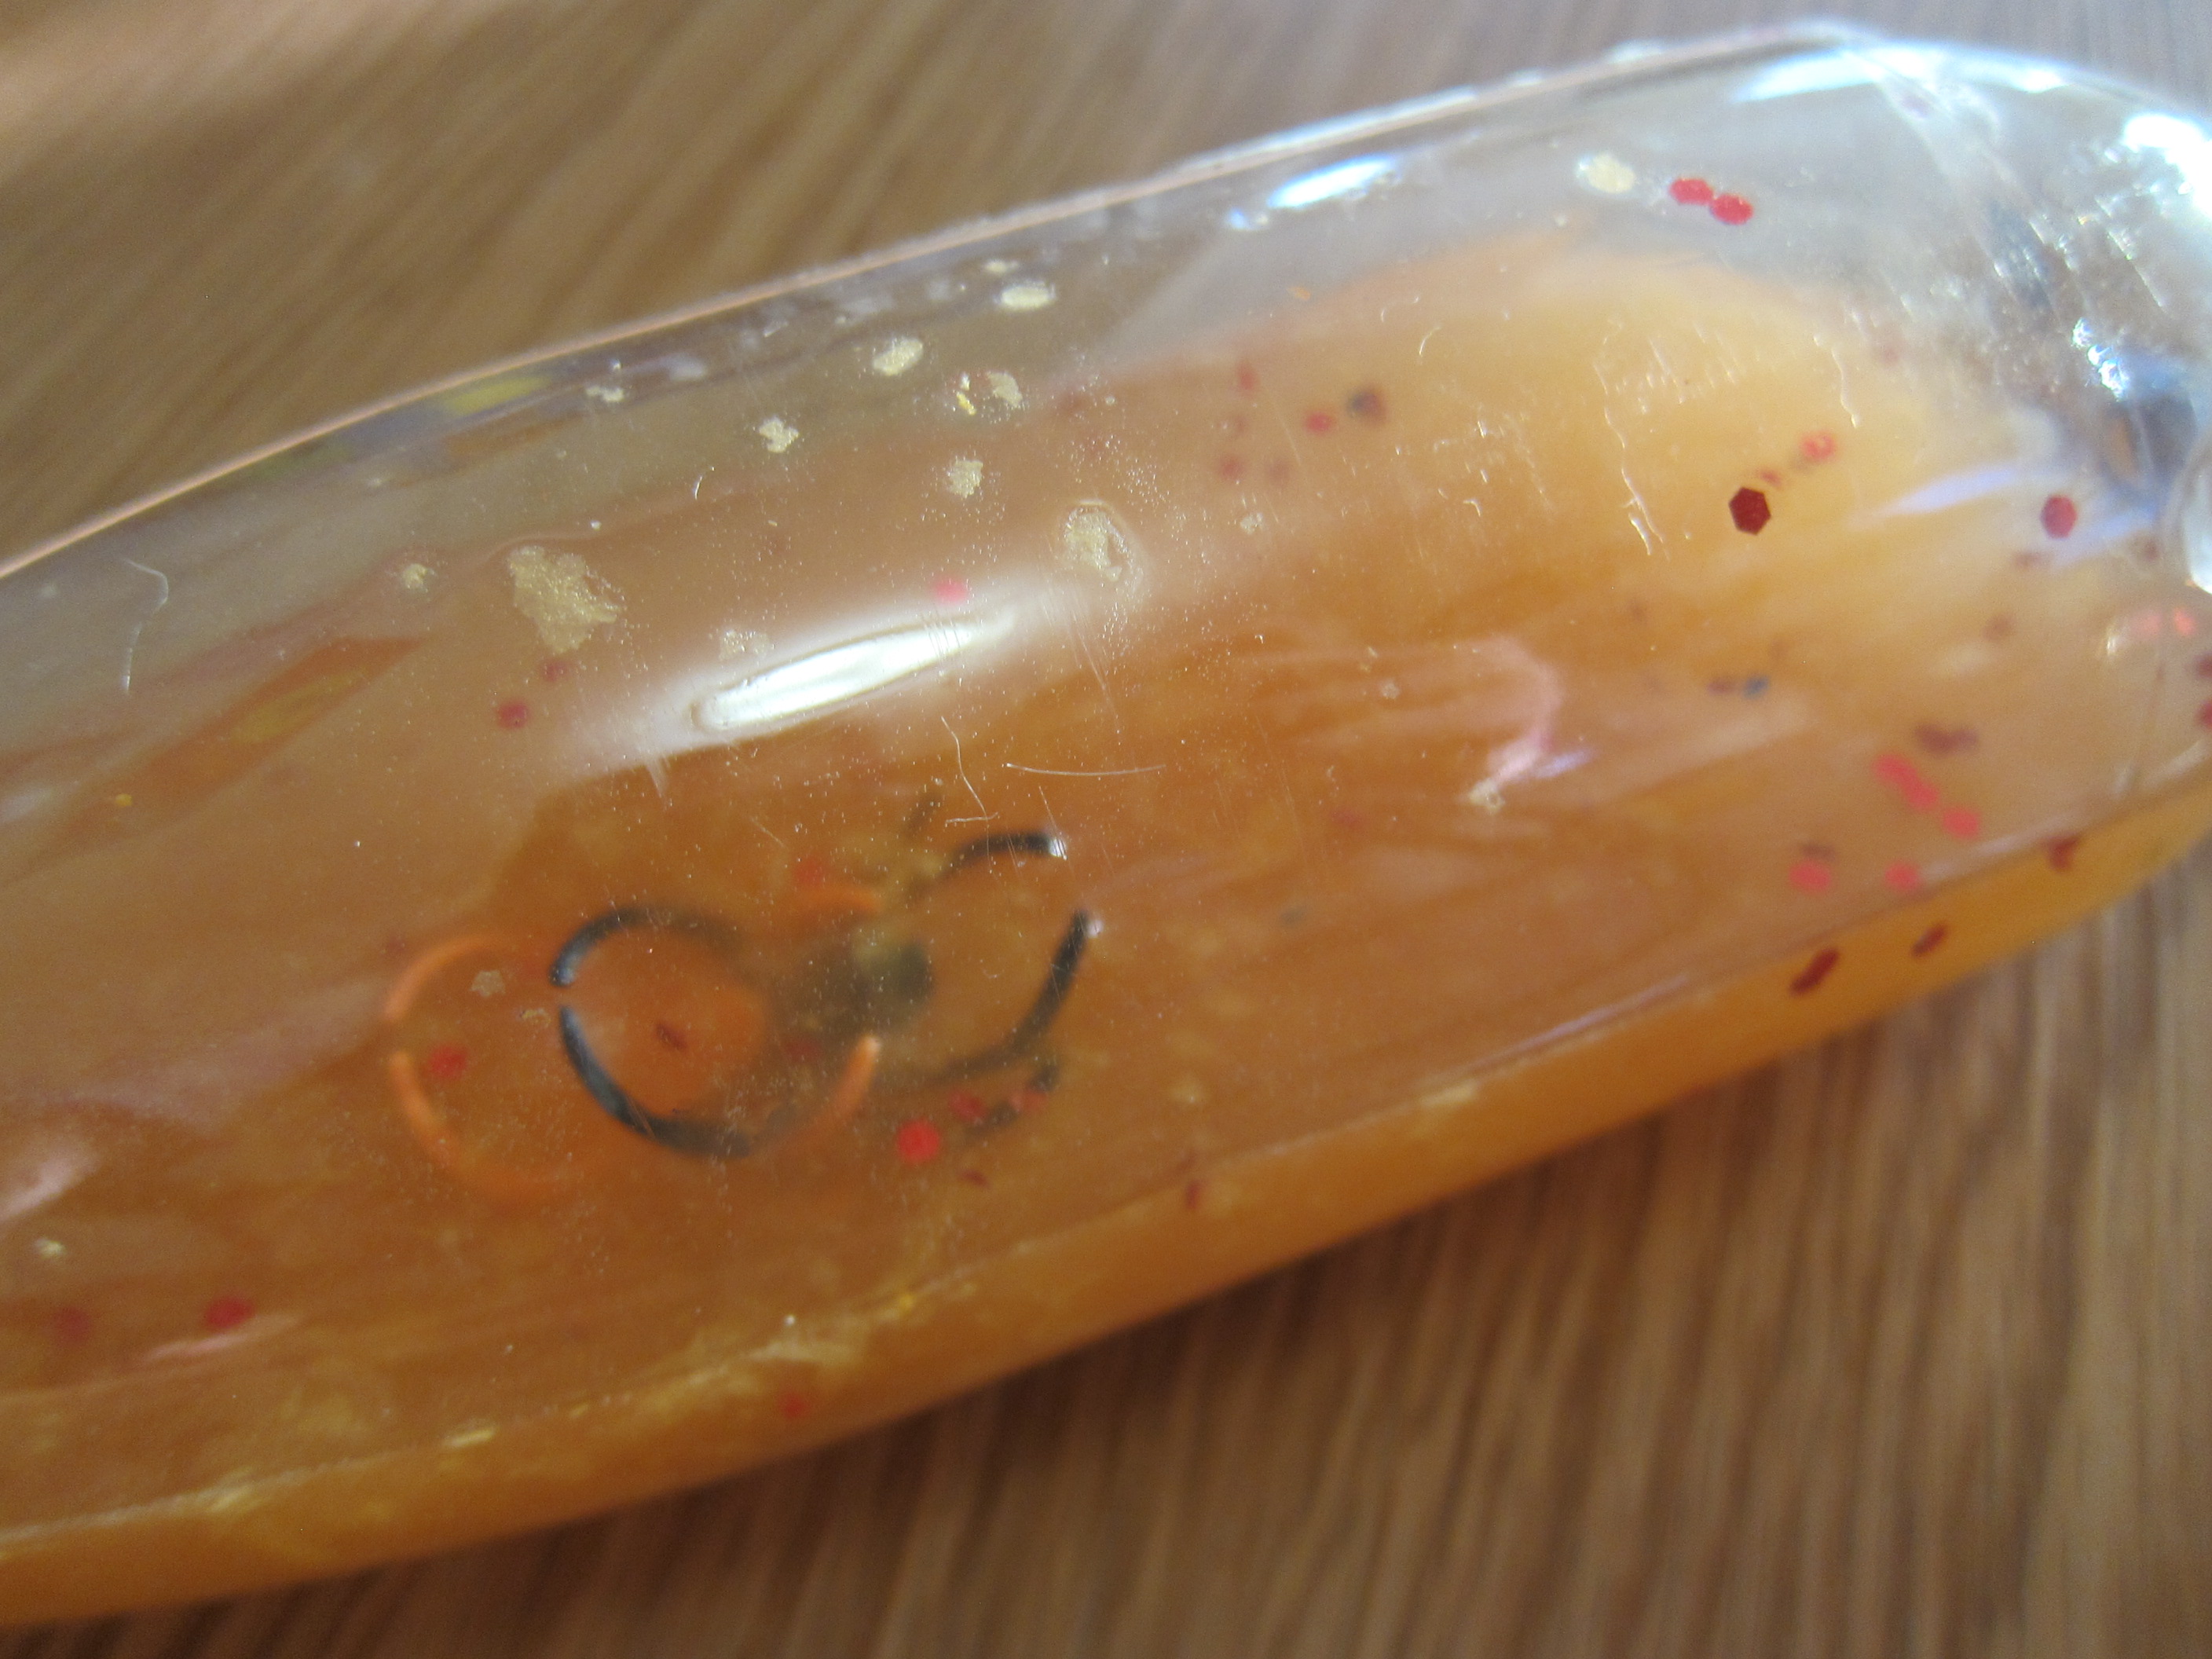
To make the broth for our “stew”, I filled a basin with water and tinted it orange with food coloring.

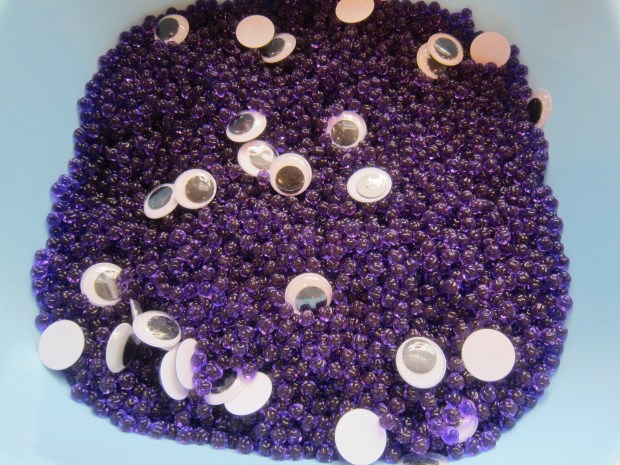
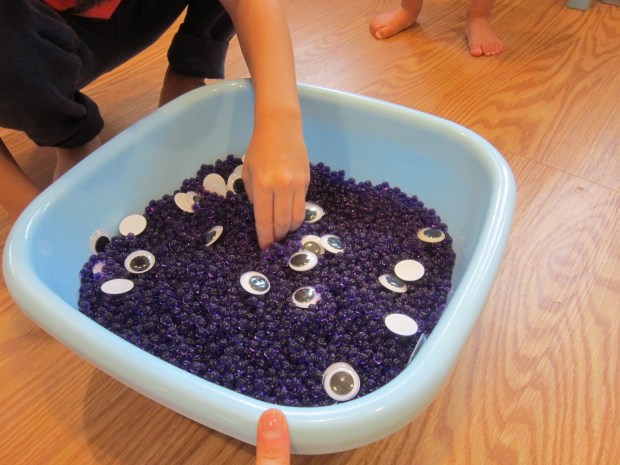
Now we needed to add a few monstrous ingredients! In went lots of items from the dollar store, including skeleton hands, plastic bats, and monster eye rings.

Monster Stew (2)

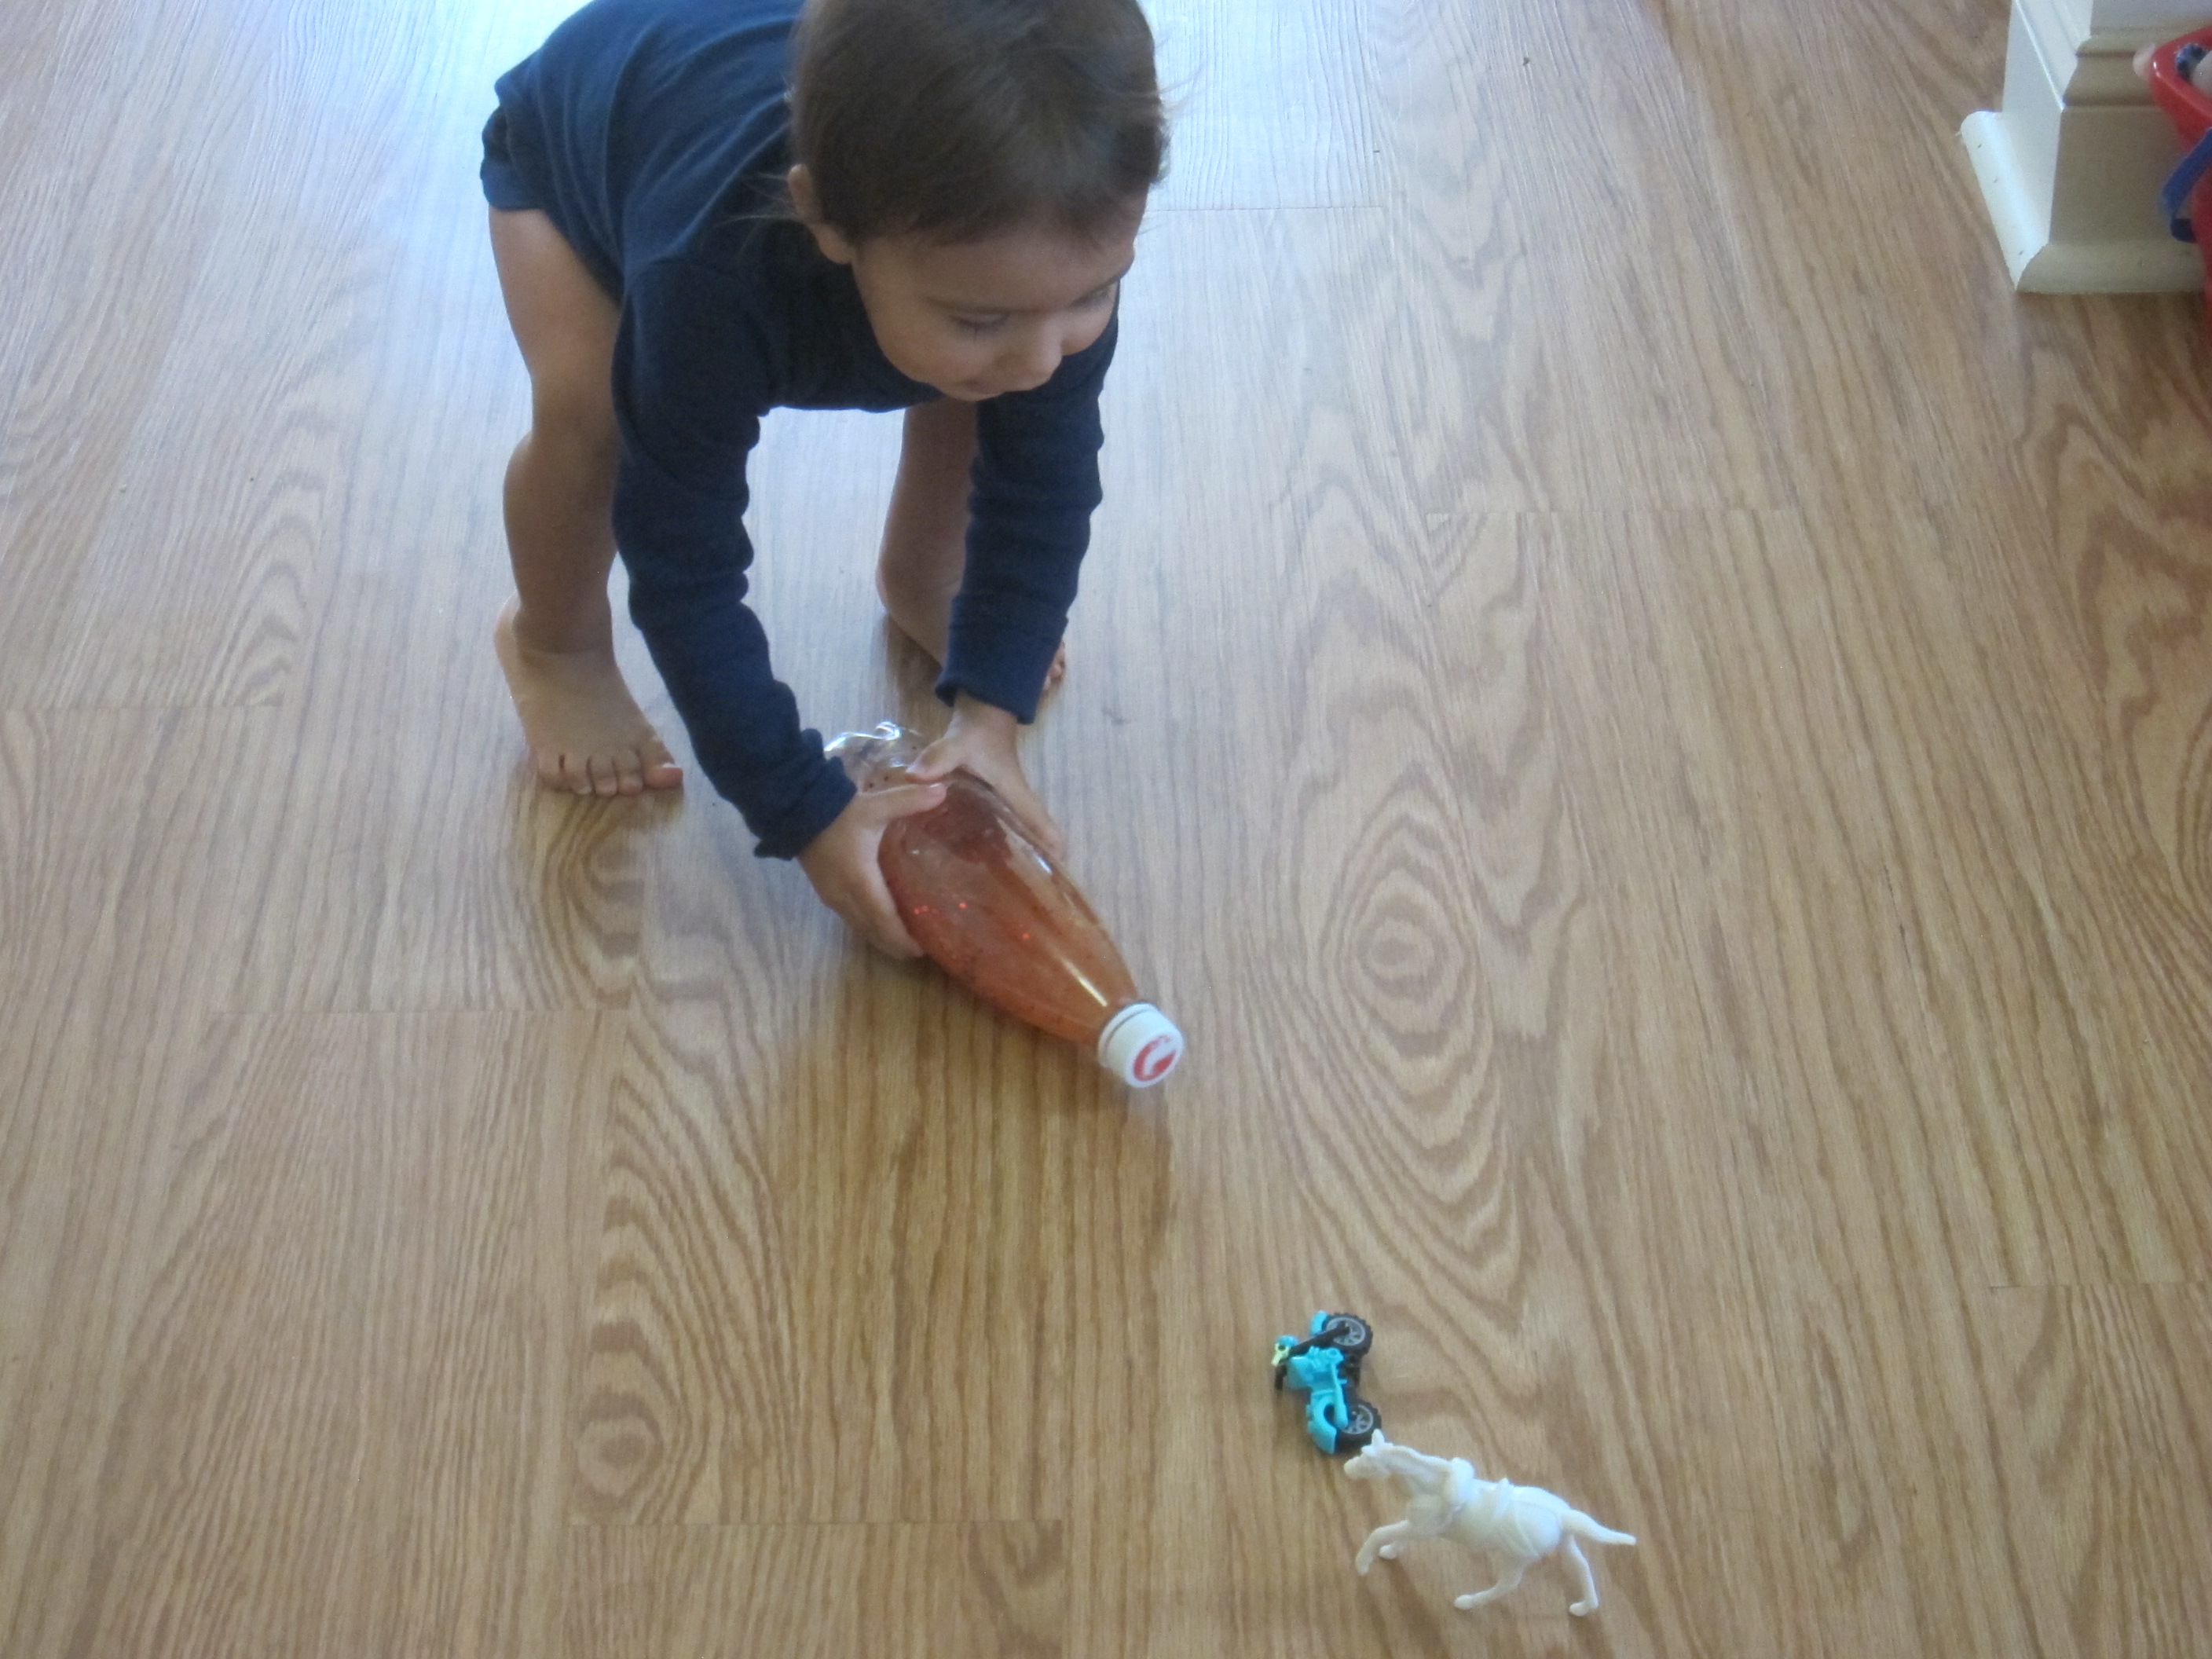
I had originally hoped to use mini plastic jack o’ lanterns as scoops for her to fill and pour with, but the store was sold out. Instead, I added orange plastic eggs, broken in half, which worked perfectly as little cups.

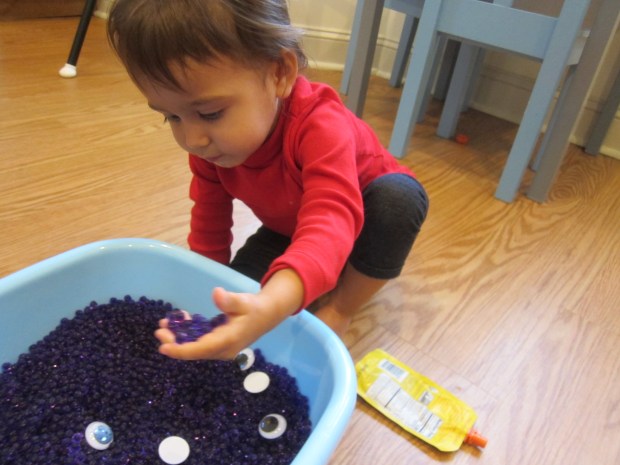
That was a good thing, because this was definitely her favorite part of the sensory game. She loved to scoop and pour over the rest of the eerie ingredients.

Monster Stew (3)

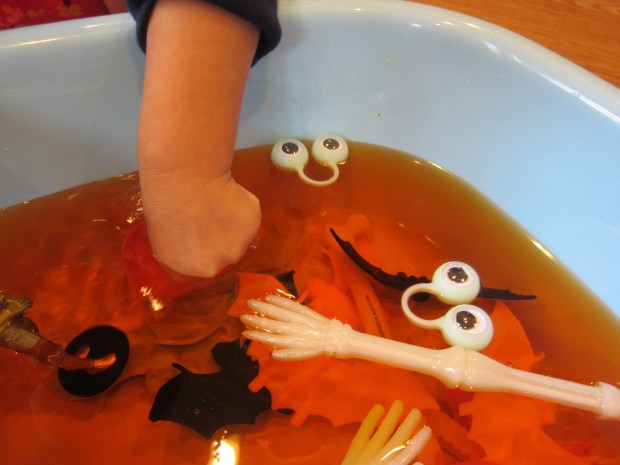
The skeleton hands were perfect for stirring with.

Monster Stew (5)

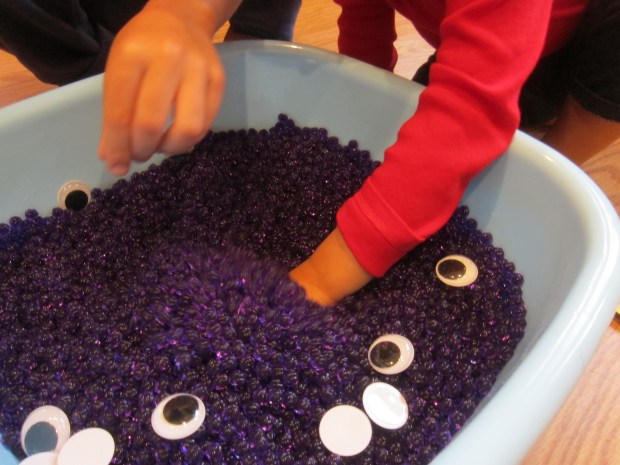
It was also fun to reach down to the bottom of the stew and dig out handfuls of bats or eyes.

Monster Stew (4)

In sum, this was simple and spooky sensory play, just right for October. It was a nice way to introduce some of Halloween’s monsters without them seeming too scary.

Monster Stew (6)

Halloween Countdown Day 13: Monster Sensory Tub

Monster Sensory Tub (1)

This activity doubled as the day’s sensory play and a way to tick off a box on our countdown to Halloween. And it couldn’t have been easier!

I filled a tub with purple water beads and water so the beads could grow to full size. The kids were so impatient to play, though, that I handed over the bin when the beads were only half as big as they could eventually get. To add spooky monsters, all we needed were large wiggle eyes.

Monster Sensory Tub (2)

At first the eyes were floating on the surface. But Travis loved burying them as deep under the water beads as he could, and then unearthing the “monsters”.

Monster Sensory Tub (4)

They were so eerie swimming to the surface. Veronika jumped right in to copy him!

Monster Sensory Tub (5)

She also loved scooping up handfuls of the water beads and then letting them trickle back down.

Monster Sensory Tub (6)

Before I knew it, the game changed slightly. Star Wars Stormtroopers needed to escape from the monsters!

Monster Sensory Tub (9)

This kept the kids so busy and happy the entire time I was prepping dinner. A definite spooky win.

Monster Sensory Tub (8)

Slimy Spaghetti Sensory Activity

Spaghetti Potion (6)

Veronika enjoyed a recent craft with spaghetti so much that I thought we’d do a repeat today, this time with more of a Halloween theme!

Spaghetti Potion (1)

I cooked a package of spaghetti and divided it in half. My intention was to tint one half orange and one half black with food coloring. Because I had to mix colors to achieve black, it was more of a deep bluish purple, but that was just as eerie and witchy in its own way!

Spaghetti Potion (2)

That was it! I set the two big bowls (er, cauldrons) of spaghetti “slime” in front of Veronika, along with a few other kitchen tools like colanders and sieves.

Spaghetti Potion (3)

She immediately was busy ladling, scooping, and transferring.

Spaghetti Potion (5)

Spaghetti bubbling up from the steamer basket looked like little worms!

Spaghetti Potion (7)

She kept the colors together for a while, but soon was mixing and matching.

Spaghetti Potion (8)

I knew Veronika would love this, but I hadn’t counted on big brother Travis wanting to get involved! He immediately wanted his own ladle and whisk and began making batches of witch’s brew.

Spaghetti Potion (4)

I had put newspaper on the floor, so believe it or not, clean-up was a breeze.

Spaghetti Potion (9)

Luckily our all-natural food coloring washes off hands easily, too, so a quick wash and the fun was done.

Halloween Countdown Day 12: Scavenger Hunt

Halloween 12 Scavenger Hunt (1)

Part of the reason we started our countdown to Halloween this year is that some traditions just can’t happen safely while social distancing (we’re looking at you, trunk-or-treating).

Instead, I pitched the idea of a town window scavenger hunt to a local family group. Within a week it was organized and ready to go!

The goal was for kids to spot 8 Halloween images in the windows of 8 stores along our town’s main street. No need to go in the stores (although patronizing local businesses safely is also an excellent goal right now).

The scavenger hunt was set up with various degrees of difficulty for different ages. Young toddlers like Veronika could circle each image.

Halloween 12 Scavenger Hunt (4)

Elementary school kids could draw a line from each shop name to the proper image, or write the name of the store in a provided space. The kids loved spotting silly spiders and ghosts!

Halloween 12 Scavenger Hunt (3)

At the end, they turned in their score cards for a free scoop of sorbet at a local shop.

Scavenger Hunt alt

A rather sweet treat, no tricks!

Halloween 12 Scavenger Hunt (2)

How is your town organizing Halloween for kids this year? Please share in the comments !

Halloween Countdown Day 11: Orange Playdough Pumpkins

Halloween 11 Playdough Pumpkins (2)

Playdough is always fun, but even more so if you connect it to the season or a holiday for your kids. Today, we specifically decided to have Halloween playdough fun.

First I pulled out only orange and green playdough, and showed Veronika how to roll little balls of the orange into pumpkins.

Halloween 11 Playdough Pumpkins (5)

Green made cute stems! We then used craft sticks as our “carving knives” to make features in the pumpkins. Veronika thought this was great fun, even though she was mostly just mashing at them while I carved more deliberate triangles and toothy smiles.

Halloween 11 Playdough Pumpkins (1)

We could also roll out long ropes of green playdough to be the pumpkin patch vines.

Next, I pulled out a few Halloween-themed cookie cutters. Now we could make flatter versions of pumpkins and ghosts.

Halloween 11 Playdough Pumpkins (6)

Soon we had little ghosts flying through the air.

Halloween 11 Playdough Pumpkins (8)

Big brother Travis wanted in on the action!

Halloween 11 Playdough Pumpkins (11)

He came over to make lots of pumpkin and ghost shapes, and then used the craft sticks to carve into them.

Halloween 11 Playdough Pumpkins (9)

Pretty soon, the kids were just having wild playdough fun. They were so busy with this step in our countdown to Halloween that I could declare it a mission accomplished.

Halloween 11 Playdough Pumpkins (12)


Halloween Sensory Bottle

October Sensory Bottle (6)

Veronika recently enjoyed a few autumnal sensory bottles, so today I made another version, this one specifically with a Halloween theme. The items inside include both “tricks” and “treats”!

I first filled an empty bottle about three-quarters of the way with water. Next I added faux candy corn. (Note: In a pinch you can add real candy corn, just be aware that it will dissolve over time). These were the treats of course.

Then I added a few spider rings. These were the tricks!

October Sensory Bottle (2)

A little bit of orange-red glitter topped things off. Because Veronika had attempted to unscrew the caps from her fall sensory bottles, this time I judiciously used hot glue on the cap before handing it over.

Knowing she couldn’t open it, she was much more focused on what was inside. She loved shaking it!

October Sensory Bottle (4)

And rolling it. The candy corn and spiders would sort of float to the surface and then settle back to disappear again. Perfectly Halloween spooky!

October Sensory Bottle (5)

She also thought it was a delight to throw it on the floor, and although I wasn’t as big a fan of this version, she was having so much fun that I let it be.

October Sensory Bottle (8)

This sensory bottle is enjoyable for young toddlers or even for babies doing tummy time. Perfect for a first Halloween, in sum.

October Sensory Bottle (9)

Halloween Countdown Day 10: Haunted Snacks

Jack O Orange (5)

Halloween lends itself so easily to food play, transforming simple fruits and veggies into haunted treats with just a few tricks. To wit, today the kids enjoyed banana ghosts and jack o’ lantern clementines as part of our countdown to the big shindig.

For the “Casper Ghosts”, peel a banana and carefully cut in half lengthwise. Curvier bananas are better for this, because you’ll get that perfect curled ghost tail.

Halloween 10 Casper Banana

Add three chocolate chips: two for eyes, and one for the round O of a mouth.

Halloween 10 Casper Banana (2)

Now it was the kids’ job to make the ghosts “disappear”, a task they were happily up to. Starting with the eyes of course!

For a Jack-o’-Orange, first draw jack o’ lantern features on the skin of a clementine. Show your kids how to poke whole cloves in along the lines.

Jack O Orange (1)

This was tricky for Veronika, but I helped her poke cloves straight in, or she simply enjoyed sprinkling them on top as I worked.

Jack O Orange (2)

She was delighted by her end result!

Jack O Orange (4)

Travis, meanwhile, took the task so seriously and concentrated hard as he worked his way around the lines I’d drawn.

Jack O Orange (6)

He loved it so much he wanted to make another as a present for his great-grandmother!

Jack O Orange (8)

These oranges really are more potpourri decor than a snack (they’ll make your kitchen smell amazing!), so make sure there are extra clementines on hand to satisfy your little beasties.

Jack O Orange (3)

Halloween Countdown Day 9: Go Batty

Halloween 9 Get Batty (3)

Today we got silly with our Halloween countdown with an activity that was equal parts imagination and learning. Halloween decor features so many creatures that we think of as scary, but that have fascinating science behind them. Think spiders, black cats, and in this case… bats!

To set the scene, we first watched a Wild Kratt’s bat episode. The kids thought they were just watching a cartoon, but there was lots to learn about echolocation! We also checked out a quick nature clip about the sounds that bats make to echolocate (navigate by bouncing sounds off the walls).

Halloween 9 Get Batty (7)

Now the question was, could the kids do it?

We dressed up in black gear (capes and hats!) and they closed their eyes in the middle of the living room.

Halloween 9 Get Batty (6)

I encouraged lots of chirpy baby bat noises. For Veronika, this was just silly fun, but Travis was so proud that he really could make it through our first floor without bumping into any walls.

Halloween 9 Get Batty (8)

For extra batty fun, I traced a bat template onto black construction paper, then cut these out and taped to craft sticks. Now each kid had a bat to fly around!

Halloween 9 Get Batty (2)

Travis loved hanging the bats upside down on walls and windows, and it led to lots more play throughout their evening.

Halloween 9 Get Batty alt

Now Halloween bats won’t seem quite so spooky!

Pumpkin Halloween Masks

Pumpkin Halloween Masks (6)

We made a quick paper bag mask for Veronika today, which prompted the idea to make masks for our pumpkins, too! This is, incidentally, a great craft if your kids are constantly asking if it’s time to carve the pumpkins into jack o’ lanterns yet (ahem, like mine are). Adorn them with these mask faces now, and everyone is happy until carving day!

First, Travis helped me design a few masks for our biggest pumpkins. The lights were out from a storm (spooky!) so we drew by flashlight, which perfectly fit the mood. Let your kids design however they like, or provide examples like silly cheeks and big toothy grins.

Pumpkin Halloween Masks (1)

I repeated the activity with Veronika once the lights were on the next morning, drawing a brightly-colored jack o’ lantern face against an orange background while she scribbled on another piece of paper.

Pumpkin Halloween Masks (2)

She loved helping punch holes in the sides of each paper when we were done.

Pumpkin Halloween Masks (4)

I threaded bright yarn through the holes and then tied securely around each pumpkin.

Pumpkin Halloween Masks (5)

Our pumpkins have faces, and there’s no risk of rotting!

Halloween Countdown Day 8: No-Bake Pumpkin Pie

Halloween 8 No Bake Pumpkin Pie (7)

What better way to wait out the anticipation before you can carve your pumpkins… than to eat them! This pie should successfully tide everybody over until jack o’ lantern time. Bonus points: the recipe is easy enough that even my two-year-old can help!

First, combine 1/2 cup non-dairy milk and 1 packet instant vanilla pudding mix in a container with a lid. Seal and shake. Fun!

Halloween 8 No Bake Pumpkin Pie (1)

Pour the pudding mixture into a large bowl. Stir in 1 cup canned pumpkin pie filling. Fold in half a container of non-dairy whipped topping (such as So Delicious Coco Whip).

Halloween 8 No Bake Pumpkin Pie (3)

Spoon the mixture into a prepared graham cracker crust (such as Mi-Del), then spread the remaining whipped topping on top. Veronika was eager to hold the spatula and help smooth out the top!

Halloween 8 No Bake Pumpkin Pie (4)

But mostly, she wanted to taste-test every step of the way. She earns an A plus for making sure every step of the recipe was delicious.

Halloween 8 No Bake Pumpkin Pie (2)

Pop the pie in the freezer for at least 2 hours and voila, a pie that never needs to bake.

Halloween 8 No Bake Pumpkin Pie (6)

Your kids might think it’s Halloween magic!

Halloween 8 No Bake Pumpkin Pie (9)