Paint Popsicles

Popsicle Painting (7)

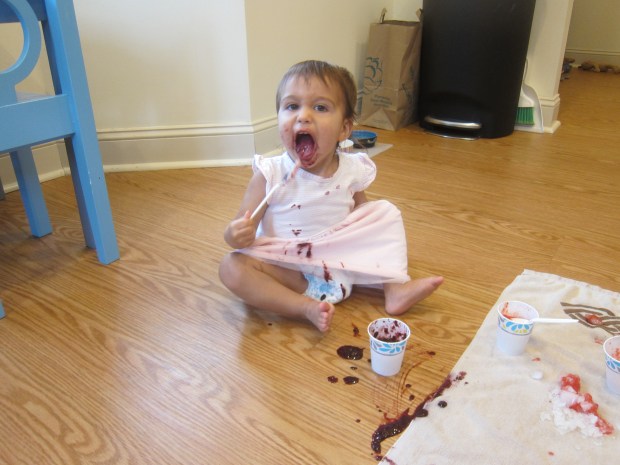
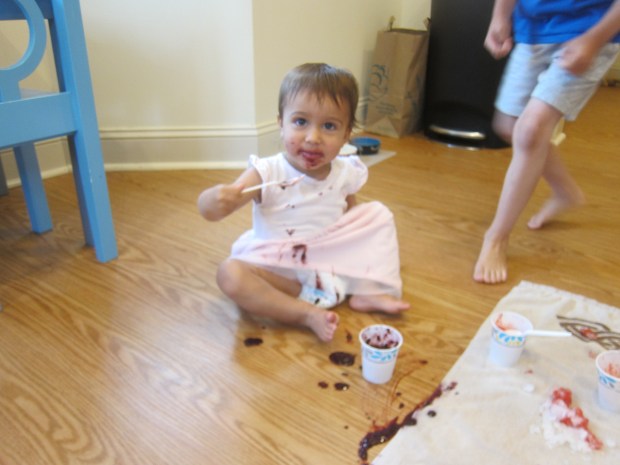
For a cool toddler art project, today Veronika and I played around with paint popsicles in a few different ways. In retrospect, I would have waited on this activity until she was a little older, since today she really just wanted to eat a popsicle! But we did get in a little art, too.

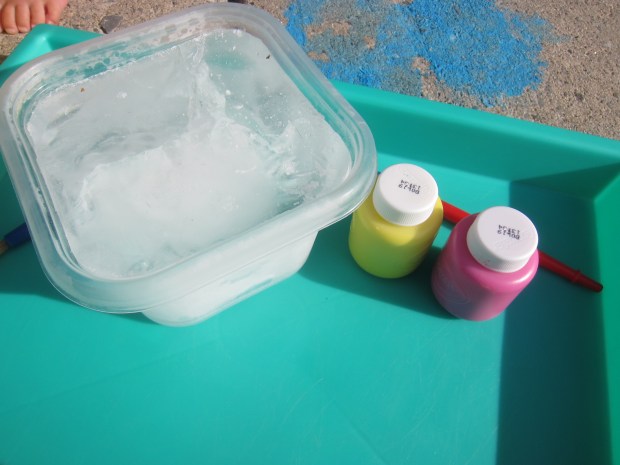
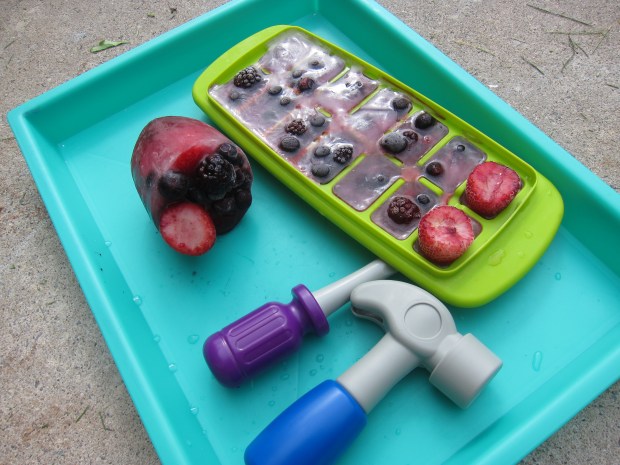
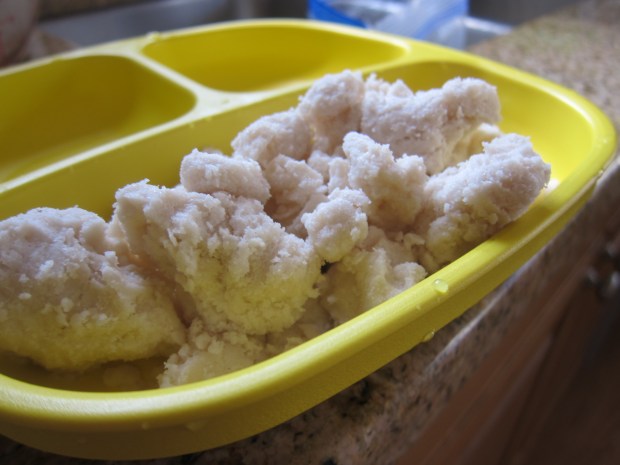
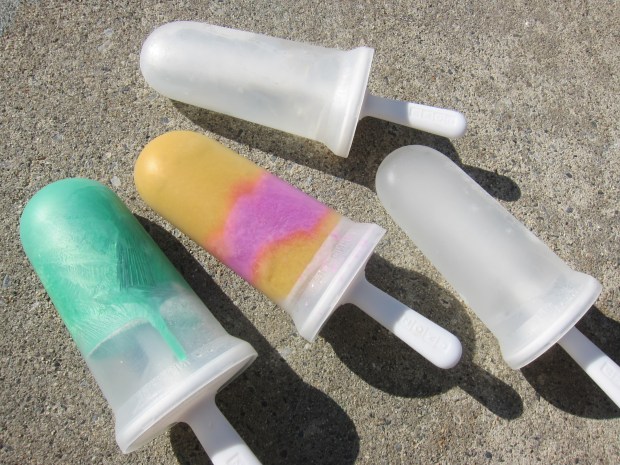
The night before, freeze two kinds of “popsicles”. I poured tempera paint (in pretty metallic colors) into two popsicle molds, and then filled two more with plain water. Insert the sticks and freeze overnight.

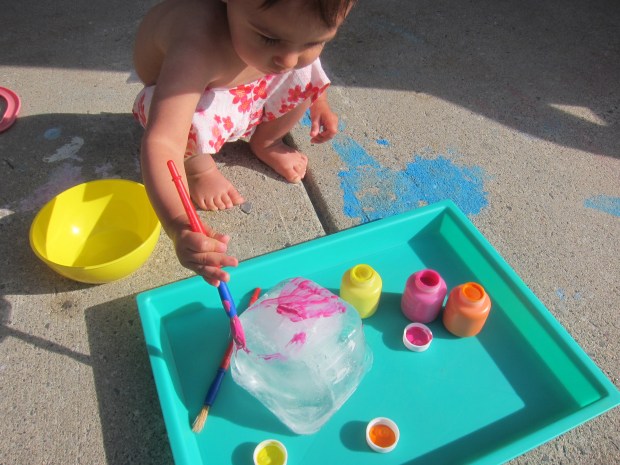
The next morning, we headed out to the patio, already scorching hot!

Popsicle Painting (3)

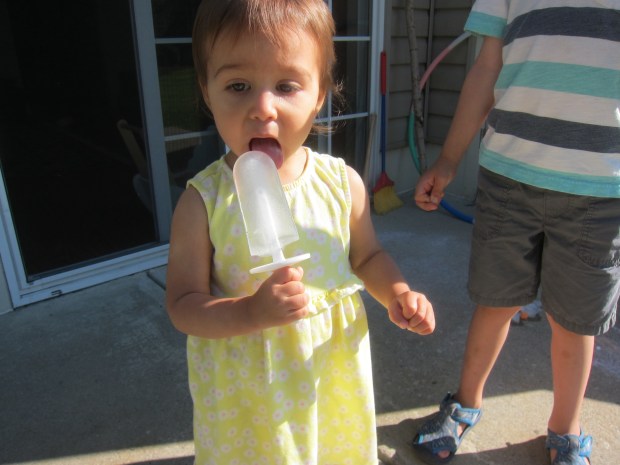
We started with the plain ice popsicles, which was when I realized we were going to have a bit of a problem. Veronika spotted the popsicle molds, and wanted a taste! This didn’t matter with the plain water, but I worried what would happen when we got to the paint version.

Popsicle Painting (4)

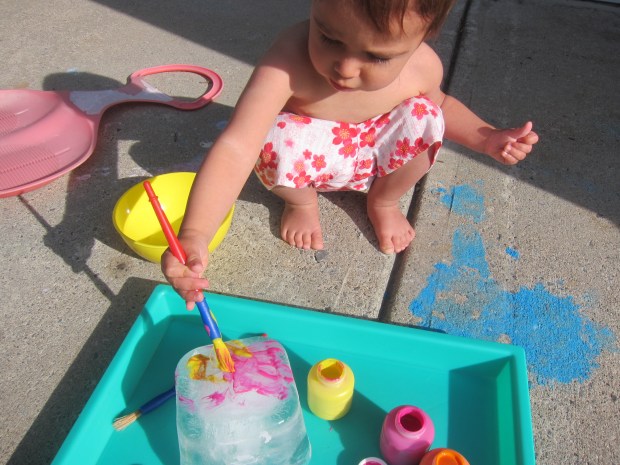
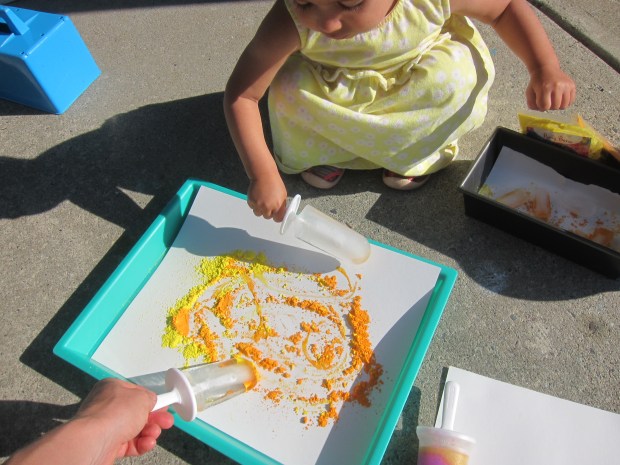
Luckily, I was able to divert her attention to the craft: sprinkle a little powdered paint on a piece of poster board or thick paper. Use the ice “popsicle” to turn it into beautiful swirls of paint. She watched for a few minutes before joining in (and I did still need to deter a few licks).

Popsicle Painting (5)

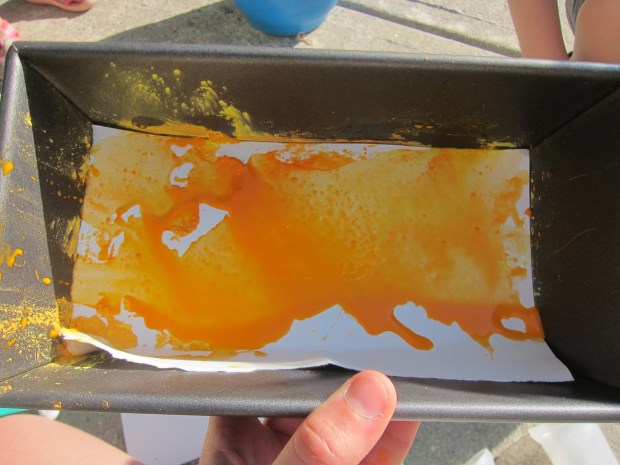
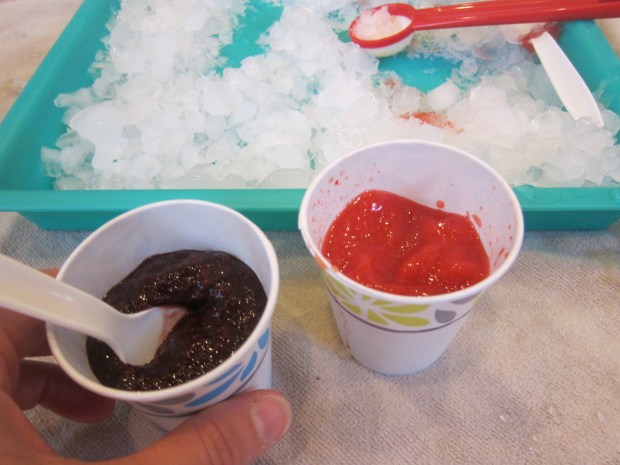
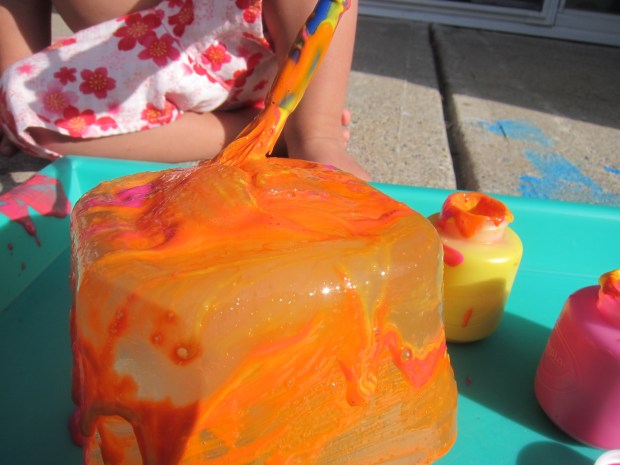
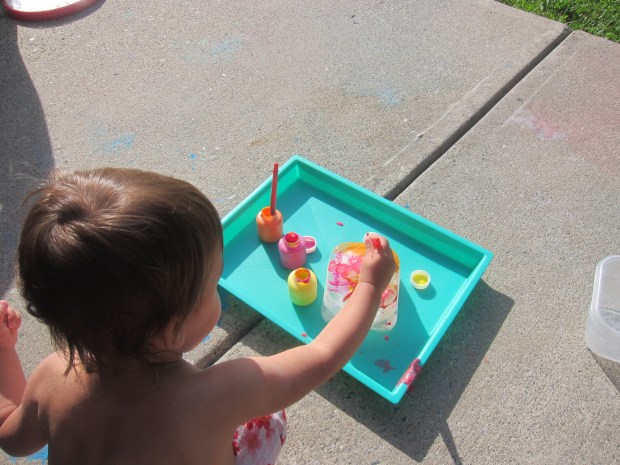
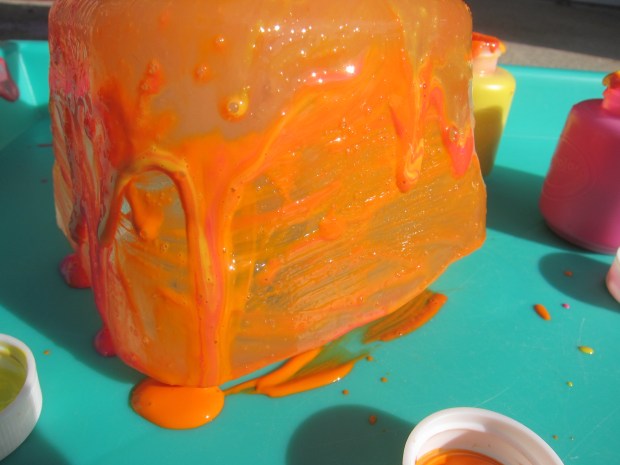
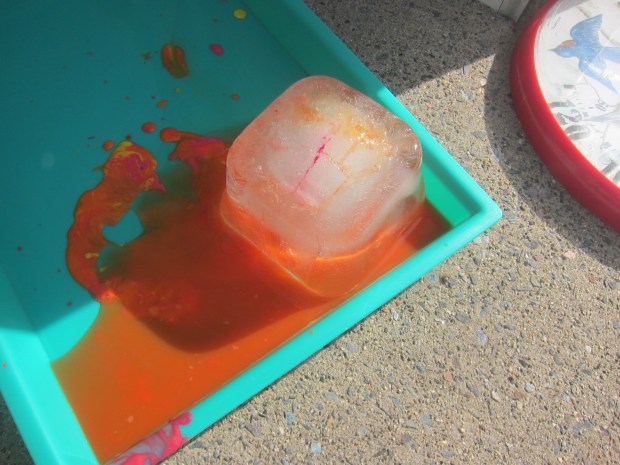
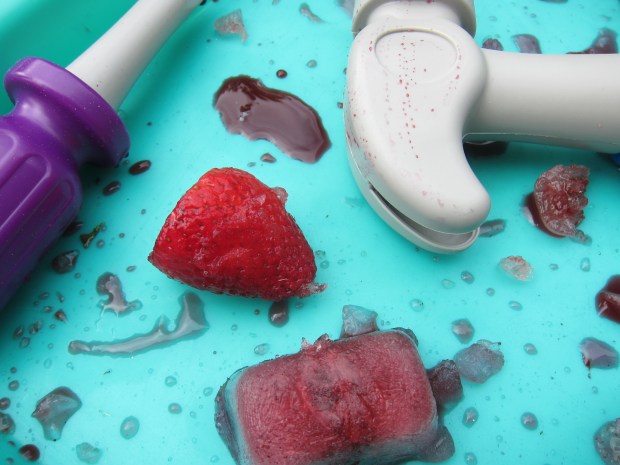
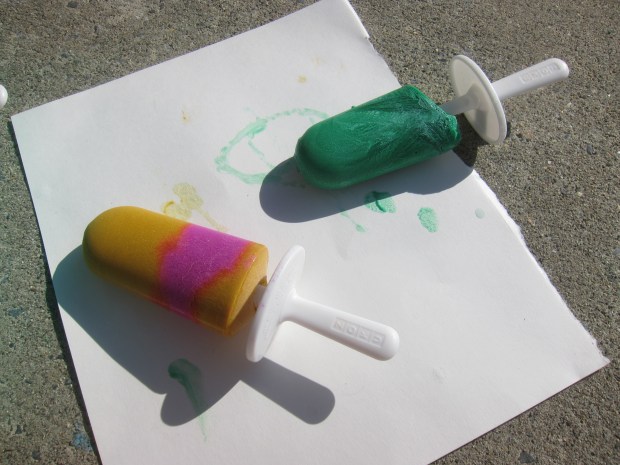
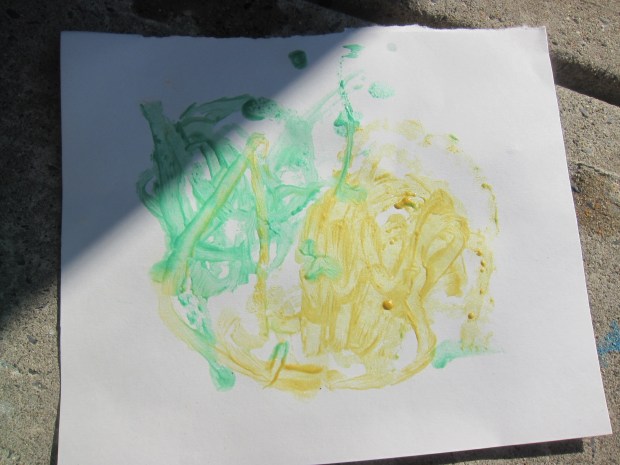
As a result, I only briefly showed her the “popsicles” made from actual paint. These are similar in concept, except now there’s no need for powdered paint. Simply swirl the icy paint over thick paper. The more it melts, the more paint gets left behind.

Popsicle Painting (9)

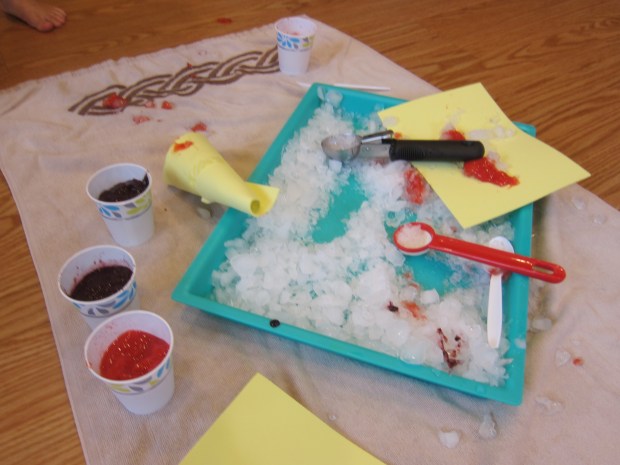
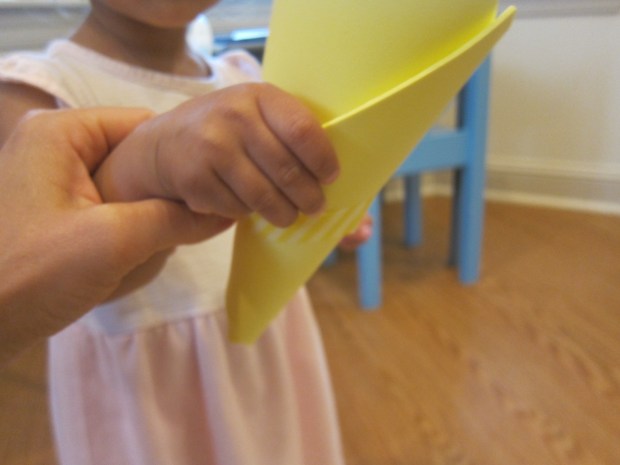
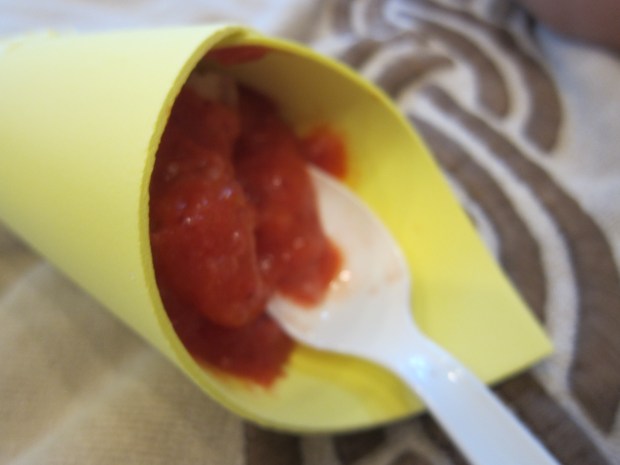
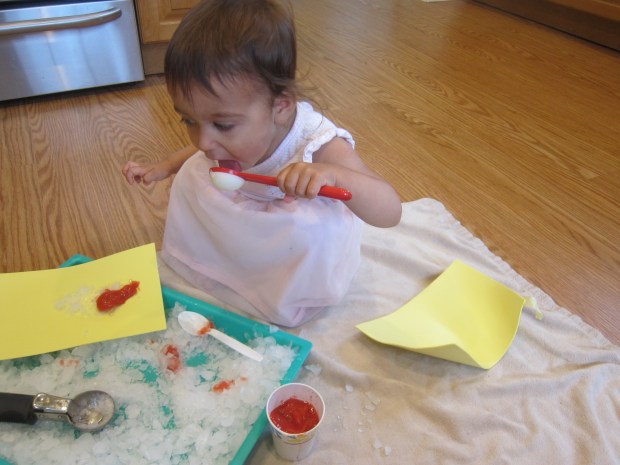
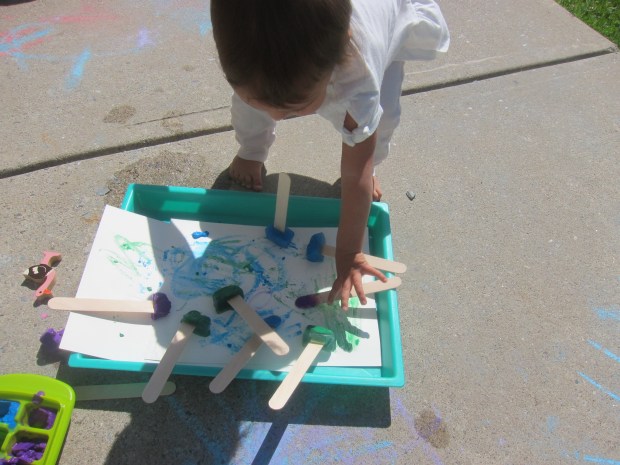
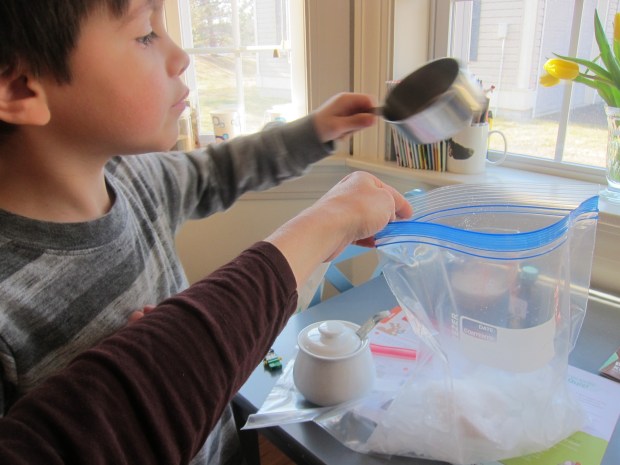
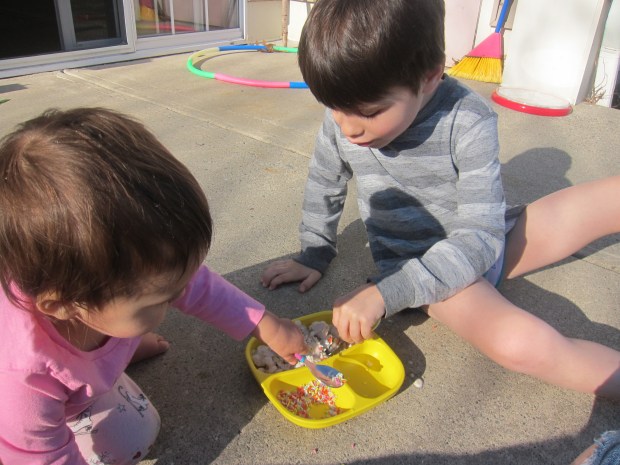
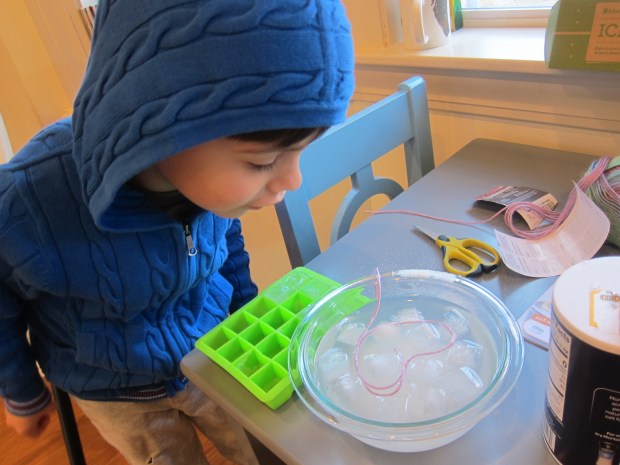
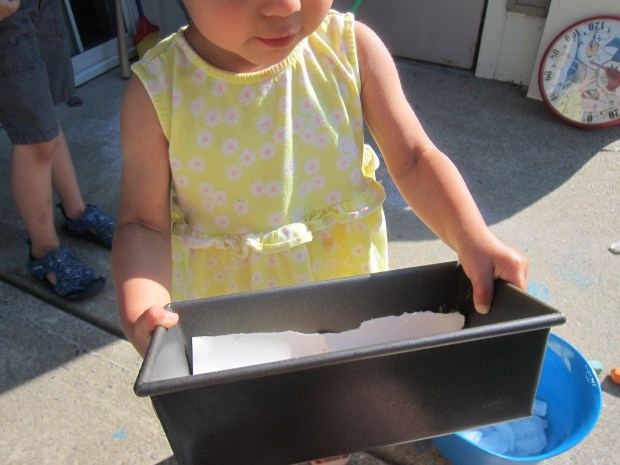
But with her temptation to eat them, I detoured to a version she would be less likely to try to devour. We sprinkled powdered paint onto paper in a container small enough for her to hold in her hands.

Popsicle Painting (1)

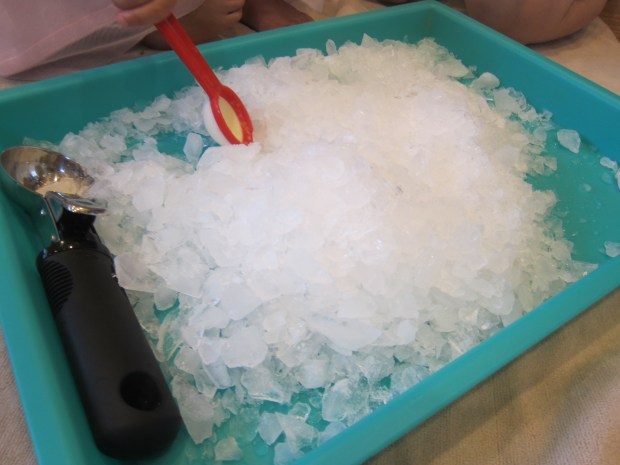
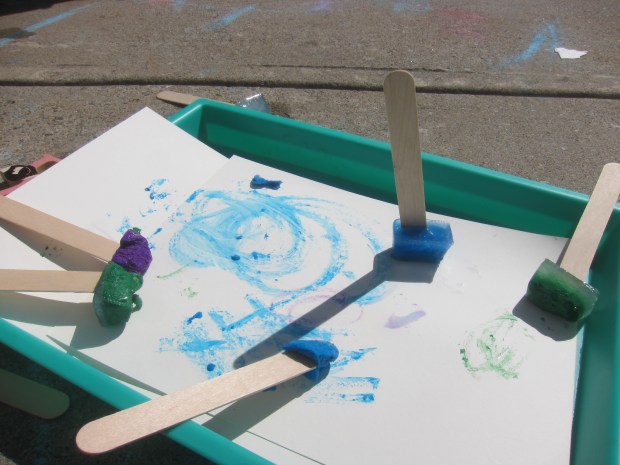
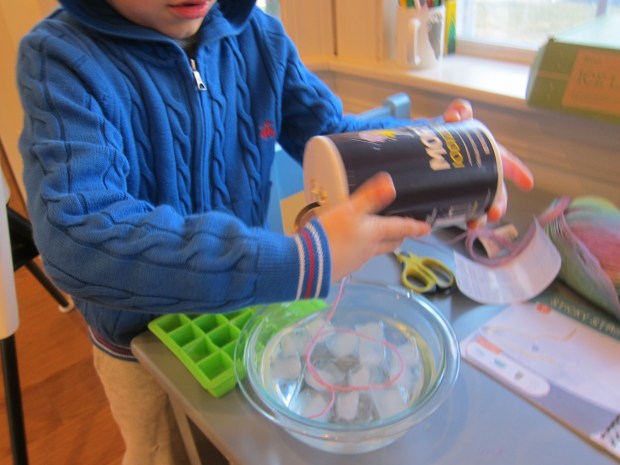
Add ice cubes and show your toddler how to shake it side to side. Again, the ice melts and leaves pretty swirls of color behind.

Popsicle Painting (2)

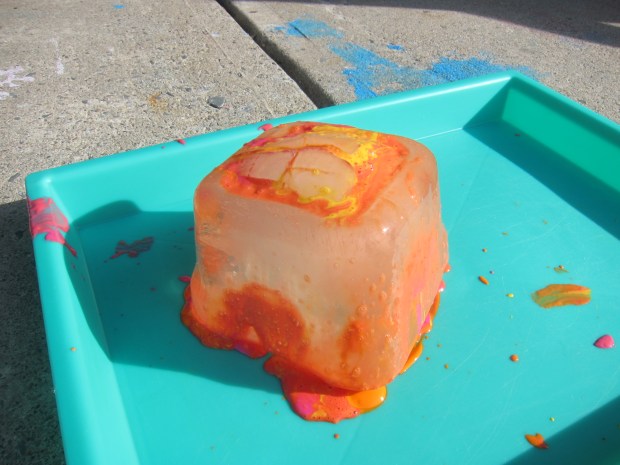
As you can guess, this activity was short-lived, but fun nonetheless!

Popsicle Painting (6)

Edible Sno Cone Creation Station

Sno Cone Creation Station (10)

Here’s an activity that will a) cool the kids off; b) provide sensory play; c) fire up the imagination; and d) give them a yummy snack! I told the kids they were going to open up their own sno cone stand, and the excitement began.

I set out a tray of crushed ice (an easy task thanks to our fridge filtration system, but a blender can do this for you, too), then added ice cream scoops.

Sno Cone Creation Station (1)

For “cones”, we folded conic shapes from craft foam. These turned out to be very easy to break, so next time I would probably stick to little plastic bowls.

Sno Cone Creation Station (3)

All they needed now were fruit syrups to flavor the ice! For these, I simply pureed fruits in the blender. We had pink from strawberries and deep purple from a mix of blueberries and blackberries.

Sno Cone Creation Station (9)

If you have condiment squirt bottles, those would be perfect to use here! I gave the kids paper cups filled with each syrup instead, along with plastic spoons.

Sno Cone Creation Station (5)

As with a recent nature soup activity, I loved that this game could engage both my toddler and 1st grader in different ways. For Veronika, it was all about the sensory aspects. First she just loved spooning through the ice.

Sno Cone Creation Station (2)

When she tasted plain ice, she copied big brother and said, “It’s yummy!” but I don’t think she really thought so.

Sno Cone Creation Station (7)

“It’s cold!” she added instead, looking confused. So we showed her how to spoon the berry syrup on top of her ice. Well now she couldn’t be stopped!

Sno Cone Creation Station (11)

In retrospect I would have done this activity in just a diaper to avoid berry stains, but it was worth a few purple splotches. She was having such delicious fun I let it be.

Sno Cone Creation Station (12)

Travis, meanwhile, enjoyed the role-play aspect of the game. He loved using the ice cream scoop to properly fill a “cone,” and then asking me for my order, adding strawberry or purple berries on top accordingly.

Sno Cone Creation Station (8)

And of course he did lots of tasting, too!

Ice Cube Bags

Ice Bags (7)

If it’s going to be hot, then I’m going to put the heat of the sun to work for me! These ice cube sensory bags turn into a color mixing experiment the longer they’re out in the sunshine.

For set up, I thought it would be fun to freeze cube-shaped ice instead of ice in a standard ice cube tray. I colored one-third of them yellow with food coloring, one-third red, and one-third blue.

Ice Bags (1)

In the morning, I set up three gallon-sized zip-top bags for Veronika: one had yellow and blue ice, one had red and blue, and the third had blue and yellow.

Ice Bags (2)

At first, it was all about the sense of touch. “Ooh! cold!” Veronika said, squeezing her hands on the ice.

Ice Bags (6)

It was fun to watch the ice cubes slip and slide around in the bag!

Ice Bags (5)

As the cubes melted, the color mixing became more apparent.

Ice Bags (4)

As mentioned, you can move the game outdoors to the hot sun to speed the process along. Pretty soon your primary colors will have given way completely to secondary colors!

Ice Bags (8)

Melty Masterpiece

Ice Block Paint (5)

Veronika has already used ice as a paint brush, so now it was time to use ice as her canvas! This is a fantastic art activity for outdoors on a hot day.

Overnight, freeze a cube of ice in a large plastic food container. In the morning, I simply popped out the cube and set it on a tray for Veronika, along with 3 colors of paint.

Ice Block Paint (1)

She immediately wanted to paint “all by self,” dipping her brush into one of the colors and watching it run over the ice.

Ice Block Paint (2)

The neat trick here is that the sun will work to melt the ice at the same time your toddler works to paint it, resulting in beautiful drippy colors.

Ice Block Paint (4)

She painted until it was completely coated in paint and gleaming.

Ice Block Paint (6)

It was fun to watch the paint run down the sides together!

Ice Block Paint (7)

We were curious how long it would take to melt completely, and left her melty masterpiece outside in the sunshine. After only about an hour, we had a peach-colored puddle instead.

Ice Block Paint (3)

An ephemeral but fantastic art project for toddlers.

Ice Block Paint (8)


Tea Scented Ice Sensory Play

Scented Ice Play (7)

We’ve been busy with ice lately during a heat wave, and today we added an olfactory element to the fun: ice cubes scented with tea! You’ll want strongly scented teas for the best results with this activity. Think flavors like cinnamon, maple, ginger, mint, or other bold scents.

Scented Ice Play (1)

The night before, I brewed strong cups of 3 tea varieties, using 3 or 4 tea bags for each mug of hot water. Let cool and then pour into the compartments of an ice cube tray.

Scented Ice Play (2)

Partly to add a visual sensory element to the game and partly just so I would remember which cube was which, I also color-coded the three different teas with food coloring. Yellow was for peppermint, red for cinnamon apple, and blue for maple ginger.

In the morning, it was HOT out on our patio and the ice was frozen solid, the perfect combination.

Scented Ice Play (3)

The ice cubes came out of the tray within moments. I held each different scent up to Veronika’s nose in turn. Look how happy the maple ginger made her!

Scented Ice Play (4)

She loved leaning in for a big whiff of each, asking for “more more” insistently since at first the cubes were too cold for her to touch and lift.

Scented Ice Play (5)

Then she wanted to take a lick! She loved the peppermint best.

Scented Ice Play (6)

As the ice melted, the yellow, blue, and red coloring began to trickle off. I couldn’t decide if I was glad I’d used color or not. The kids were more into the smells and tastes anyway, not the sensory look of the colors, and it just meant messier fingers. But oh well!

Scented Ice Play (8)

And then they discovered that the ice on the hot patio melted in a matter of seconds.

Scented Ice Play (9)

I guess this disproves the theory that watching ice melt is dull!

Scented Ice Play (11)

Both kids loved smelling the tea and swirling the cubes and tasting until the last drop of ice had melted.

Scented Ice Play (10)

A perfect sensory experience for a hot morning.

Frozen Painting, Two Ways


Frozen Painting (7)

It’s beginning to feel a lot like summer, so all things ice are on my mind! To wit, today Veronika tried painting with frozen cubes in two ways.

I set up both games the night before. For the first, I filled compartments of an ice cube tray with water. After about an hour, when the water is firm but not frozen solid, insert a craft stick for a handle into each cube.

In the morning. I gave Veronika these ice “paintbrushes” alongside a paint-with-water book. The ice did all the work!

Magic Painting (1)

I showed her how to swirl it in the paints on the page, then make color magically appear.

Magic Painting (2)

Beyond the magical wow factor, there was the fun of the colors, the thrill of cold ice, glee watching the cubes melt, and more.

Magic Painting (4)

Her final work of art wasn’t bad for a nineteen month old!

Magic Painting (6)

For the second game, I had also frozen cubes the night before, but with paint! Fill the compartments of an ice cube tray with washable paints nearly all the way, then top off with water. Again, insert a craft stick after about an hour in the freezer.

Frozen Painting (2)

For this craft, we headed outside to get messy! Place thick watercolor paper on a tray, and use the frozen paint cubes directly on the paper.

Frozen Painting (4)

The more the paints melt, the deeper the colors.

Frozen Painting (3)

Big brother Travis discovered you can make cool etches with the edge of the craft stick, one the paint melts off.

Frozen Painting (12)

Some of our paint cubes didn’t lift out of the tray neatly, but Veronika loved scooping and stirring at these leftover globs of half-frozen paint, so that was half the fun!

Frozen Painting (9)

I helped scoop the paint onto the paper so she could mush it about with a craft stick.

Frozen Painting (11)

You’ll notice we made an enormous mess, but I had expected as much! Luckily the paint will wash off after the next good rain storm.

Frozen Painting (13)

The kids filled page after page with these frozen cubes, and loved every minute.

Frozen Painting (10)

Yummy Edible Frozen Excavation

Frozen Berry Excavate (3)

Travis used to love hammering into ice as a toddler, and today was Veronika’s first opportunity to do the same. This time, as a twist, I made the game edible.

The night before, I froze berries in individual compartments of an ice cube tray. I also made one larger block of ice full of berries in a Tupperware container, hoping to add some variety.

Frozen Berry Excavate (1)

It was a hot and humid morning to head to the patio with our icy treasures. I simply set the blocks of ice out on a shallow tray, and gave Veronika her toy hammer and screwdriver (to serve as a chisel).

Frozen Berry Excavate (2)

At first everything was frozen solid, so she wasn’t very interested after an exploratory tap or two.

Frozen Berry Excavate (6)

But thanks to the weather it all soon started to melt. This was great because it meant Veronika felt like her hammering was really making a difference, even though the sun honestly did most of the work.

Frozen Berry Excavate (8)

When she reached the first berry, she immediately needed to give it a try!

Frozen Berry Excavate (9)

Whoops! The blackberries were a little sour. Then she discovered she could mash and smoosh the berries that had been released from the ice. This was even more fun!

Frozen Berry Excavate (12)

The melting ice cubes became almost like paint, too, since the dark blue of the berries left swirls of color behind.

Frozen Berry Excavate (10)

All in all, this was a gorgeous pause in morning sunshine, part sensory play and part snack!

Frozen Berry Excavate (15)

Ice-Cream Snowballs

Ice Cream Snowballs (7)

The weather hit an unseasonable 75 degrees F today, so we celebrated with homemade ice cream!

This project was a fantastic (edible!) addendum to Travis’s recent exploration of crystallization. To start, fill a large zip-top plastic bag about halfway with ice. Add 6 tablespoons coarse salt.

Ice Cream Snowballs (1)

In a sandwich-sized zip-top bag, combine 1/2 cup plain non-dairy creamer, 1 tablespoon sugar, and 1/2 teaspoon vanilla extract. Seal tightly.

Ice Cream Snowballs (2)

Place the creamer mixture in the larger bag, making sure it’s covered by the ice cubes. Now shake!

Ice Cream Snowballs (3)

Travis and I took turns, as the recommended shake time was 7 minutes.

Ice Cream Snowballs (4)

Whoops, a spill at about the 4 minute mark! But we were undaunted and kept going.

Ice Cream Snowballs (5)

At 5 minutes, we declared our ice cream done (and our arms exhausted).

Ice Cream Snowballs (6)

The ice cream turned out amazing! It looked crumbly at first, but after a few minutes it softened up just enough and was just like store-bought ice cream. Rainbow sprinkles were a must of course.

Ice Cream Snowballs (8)

Wow, ice cream on the back patio in March!

Ice Cream Snowballs (9)

What a treat this was for the kids.

Ice Cream Snowballs (10)

Melting Race

Melting Race (5)

Here’s a clear way for even kindergartners to learn about how temperature affects states of matter: have a “race” between two toys trapped in ice, and see which one emerges first!

Before heading off to school, Travis selected two toys that fit into paper cups. We filled the cups with water and placed them in the freezer. By the time he got home, the toys were trapped in giant ice cubes. Oh no! Peel off the paper cups, and place the resulting ice blocks in larger plastic cups.

Melting Race (2)

We filled these cups with water, one cold, and one warm (don’t use hot or the race will be over too quickly!). Travis was proudly in charge of pouring the cold water.

Melting Race (3)

He hypothesized that the warm cup would melt the ice faster, and the results were immediately evident. Within a few minutes, the front wheels of the truck were already out of the ice. “It’s coming free!” he exclaimed.

Melting Race (4)

About 15 minutes later, the car was completely free. Meanwhile the poor dinosaur was still in ice for hours, only breaking free at bedtime.

Melting Race (6)

Sticky String

Sticky String (4)

Here’s a simple ice project, but one that has a bit of  a “wow” factor to it!

For set up, fill a bowl with water and add ice cubes on top.

Place a piece of yarn over the ice, making sure it is fully saturated. Travis pretended this was spider silk, and we were testing how strong it was. What an imagination!

Sticky String (1)

Sprinkle the yarn generously with salt. How much do you need to use? Unfortunately, I can’t give you an exact answer, as Travis just dumped in a lot of the container, but I would imagine a tablespoon or two is plenty.

Sticky String (2)

Now wait for 1 minute. He proudly helped count to 60 seconds!

Sticky String (3)

Lift gently on the yarn and watch as the ice cubes rise. I thought the yarn might be strong enough to pick up one cube, but it could even pick up a whole clump. So even mom said “wow!”.

Sticky String (5)