Alphabet Rocks

Alphabet Rocks (3)

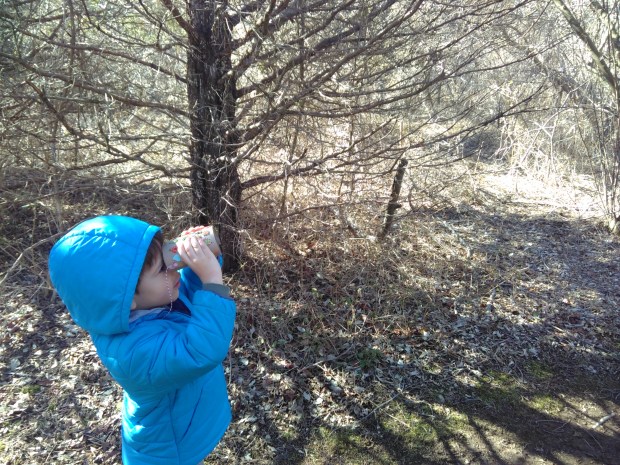
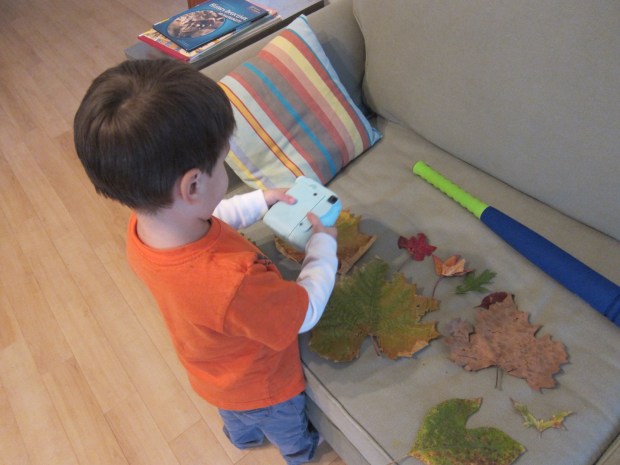
I’ve been wanting to make these adorable letter-learning rocks for Travis for weeks now, but it required finding 26 relatively smooth stones, and we simply hadn’t had a chance to get to the beach. Finally on a sunny spring weekend we headed to the shore, perfect for collecting rocks.

Sands (3).JPG

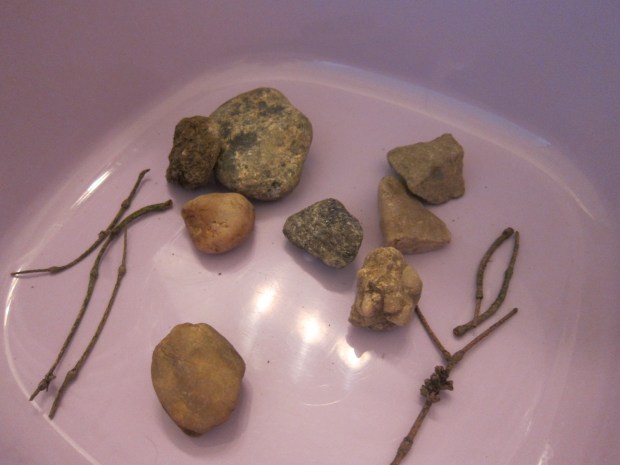
Travis adored the collection process, finding rocks and shells and other treasures along the way. Do take care in selecting your rocks. You need them to be large enough and flat enough to paint the letters of the alphabet. Ultimately some of mine worked better than others!

Alphabet Rocks (1)

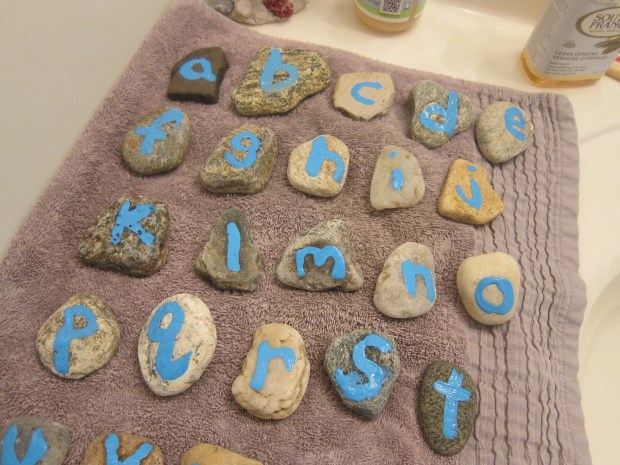
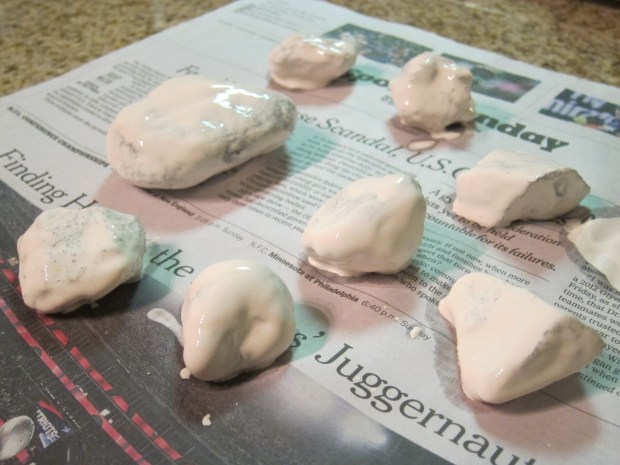
Once home, we washed the rocks and left them to dry overnight. The next day I painted them with lower case letters using acrylic paints. You can alternate several colors if you prefer. My original plan was to alternate blue and gold paint, but the gold didn’t show up well on several rocks, so all blue it was!

For a decorative touch, add dots of white paint around each letter. Once dry, make a black dot in the center with a sharpie.

Alphabet Rocks (2)

Now the rocks were ready for play!

Alphabet Rocks (4)

There’s so much you can do with these. In addition to just spelling sight words (your child’s name, go, stop etc.) we used the rocks for two specific purposes.

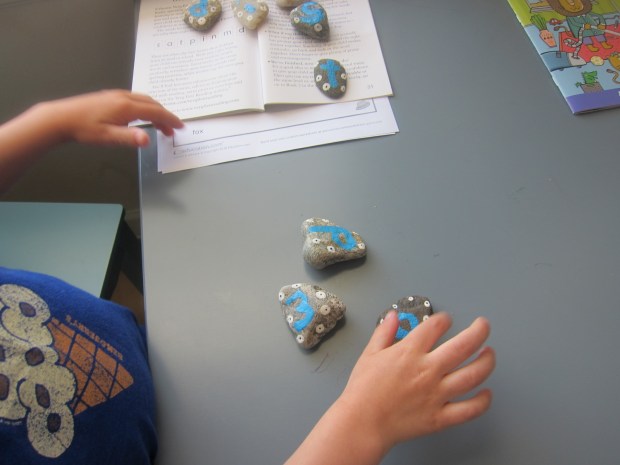
The first was as a learning aid to our Usborne Starting to Read Pack.

Alphabet Rocks (5)

Travis is very tactile, so having to select the rocks that went with each word on the page helped reinforce what he was seeing.

Alphabet Rocks (6)

We also loved using the rocks as a supplement to activity worksheets from Education.com. If you’re not familiar with the site, it’s full of activities and lesson plans for children, ages preschool through middle school. For example, kids will love to discover and learn new words with reading-to-picture match up sheets. Be sure and check out Education.com more learning resources just like the one we used.

For our purposes, Travis first found the alphabet rocks that corresponded with each word before we matched it with its picture.

Alphabet Rocks (8)

This made it so much more tactile and engaging for him than a two-dimensional activity.

Alphabet Rocks (9)

Overall, these rocks are a fantastic tool to reinforce letter learning and early reading. How do you plan to use the rocks? Please share in the comments!

Nature Hide and Seek Game

Nature Hide (5).JPG

I love activities that combine a nature walk with a later project or game, and this one does precisely that. We set off to find brown and green items from nature that would camouflage two empty toilet paper tubes.

Okay, maybe walking around our apartment complex doesn’t quite count as a nature walk… But there’s always green things to find!

Nature Hide (1)

We returned with a bucket full of treasures, and I laid them out on the table so Travis could take stock.

Nature Hide (2)

He loved using glue and deciding which leaves should go where.

Nature Hide (3)

We left our little camo tubes to dry overnight, then headed off on a walk the next afternoon.

Nature Hide (4)

Travis was the hider first… Perhaps he didn’t find the most secretive hiding place, but it was adorable to watch him try.

Nature Hide (6)

Mommy hid the treasures next, and Travis set off to find them.

Nature Hide (8)

Gotcha!

Nature Hide (7)

Overall this was simple, fun, and a neat way to throw in a little lesson about how animals and insects use camouflage to hide in the wild, too.

Toilet Paper Roll Binoculars

Binoculars (6)

At last! Spring has sprung, and we are eager to look for signs of it on these first warm days. It was the perfect chance to put together some easy homemade binoculars before setting off into the woods!

To make the binoculars, you’ll need three toilet paper tubes. Cut one of them open down the middle and leave the other two intact.

Binoculars (1)

Glue the two whole rolls together with hot glue. Affix the open tube on top with more hot glue (this is a grown-up step!).

Travis loved decorating his binocs since we had puffy bug stickers.

Binoculars (4)

Perfect for spring!

Binoculars (5)

All we needed as the finishing touch was a string for around his neck, which I affixed with a little more hot glue.

Then it was time to head out. Travis loved peering through the “lenses” for the first signs of spring!

Binoculars (10)

And look what we found – buds!

Binoculars (9)


Rock Snowman

Rock Snowman (6)

A recent burst of warm(ish) weather got us outside over the weekend, and my little collector is always eager to bring home treasures from our walks. In fact, I always carry a zip-top plastic bag with me when we outside just for this purpose!

Rock Snowman (3)

Today we returned him with a variety of rocks and sticks, so thought we could build little winter snowmen.

Rock Snowman (1)

First the rocks needed a good coat of white paint, and we left them to dry overnight.

Rock Snowman (2)

When we settled in to build our snowmen, it turned out we really only had one rock large enough to be the base, which meant only one snowperson could be built. The rest of the rocks ended up as little “snowballs.”

Rock Snowman (5)

I put together the snowman for Travis with hot glue – three rocks glued together, two little sticks for the arms, and buttons and googly eyes hot glued on.

The finishing touch was a little top hat I simply made from construction paper.

Rock Snowman (7)

Don’t have rocks on hand to make a snowman? Check out our shredded paper or glowing bottle versions instead!

More Fall Leaf Fun

Fall Fun (5)

I posted about our Fall Find It walk a few weeks back, but now the fall colors are even more vibrant so we set off in the woods again. Forty degrees felt warm after an early arctic blast, making us doubly sure to get out into the sunshine. We added in a few suggestions from Parents magazine to add novelty to this particular walk!

First, we decided to see if we could find the whole rainbow, ROYGBIV, that is. Blue proved to be elusive, but we did wind up with this neat line-up. Finding a purple shade was a particular triumph.

Fall Fun (1)

Then we searched for the biggest leaf, and kept dropping contenders whenever we spotted one that was even bigger. We were impressed to bring home this one at 9.5 inches… until reading about a record-setting maple leaf that was 20 inches!

Fall Fun (4)

Perhaps the most fun suggestion was to find shapes in the leaves, similar to the game you’ve most likely played identifying shapes in the clouds, but with an eye to the ground this time. We spotted this little fellow that looked like a bat.

Fall Fun (3)

I found one that I thought looked like a rooster, and Travis decided the frilly one looked like a caterpillar! All in all, some simple and good fun that I recommend for your next nature expedition. What other leaf games do you and your family play? Please share in the comments!

Fall Fun (2)

Fall Friends

Fall Friends (9)

Here’s a quirky, sweet project to compliment any fall nature walk – make a collection of the items you find, then bring them home and turn them into “friends”.

Travis loved this element to a stroll we took at a local Audubon society, delightedly filling up the bag I brought along. Although unseasonably warm weather means we didn’t find too many brightly colored leaves yet, there is no shortage of neat things to find. Big seed pods were especially a hit, as were little acorn caps, pieces of bark, and other small treasures.

Fall Friends (1)

To make our friends once home, I gathered odds and ends from our craft bin – pom poms and buttons were good options for eyes.

Fall Friends (2)

Ribbon and decorative tape could make smiles. Travis thought it was funny that the tape made a straight line for an “angry friend” (who actually was his favorite!) instead of a curved smile.

Fall Friends (3)

Adults, you may need hot glue depending on what materials you’re working – pipe cleaner arms and legs needed the help of the hot glue gun, as did items we glued to roly-poly seed pods.

Fall Friends (10)

In sum, have fun with this one. What will be the body of your friend – bark, a rock, a big leaf? The only limit is your child’s imagination!

Fall Friends (7)

Sink or Float? Nature Experiment

Sink Float (4)

Spring is finally here, and we are getting outdoors as much as we can! Yesterday we turned it into a treasure hunt, and I posed a question to Travis… what did he think would sink or float, once we returned home?

Sink Float (1)

We returned with our bag of treasures and he couldn’t wait to find out, so I drew a tub of very full water in the middle of the afternoon. This in and of itself was super exciting!

Sink Float (2)

Now it was time to start tossing in our items one by one. Floating pinecones and bark were a big hit…

Sink Float (7)

…as were flowers, pine needles, and bits of grass.

SInk Float (3)

While we collected things, Travis was very into teeny tiny pebbles, and he was quite surprised that these sank! This was a great way to talk about how floating didn’t depend on the size of something, but on its density compared to that of water.

Sink Float (5)

Once all the items were in the tub, it was time to swish them about with a rake for a while. The play only ended once his shirt was soaked! All in all, great fun.

Sink Float (6)