Rock Painting

Rock Painting (8)

Veronika has enjoyed painting methods in the past that involve closing a box lid, rattling something around, and seeing the messy artwork that results (think a toddler Jackson Pollock).

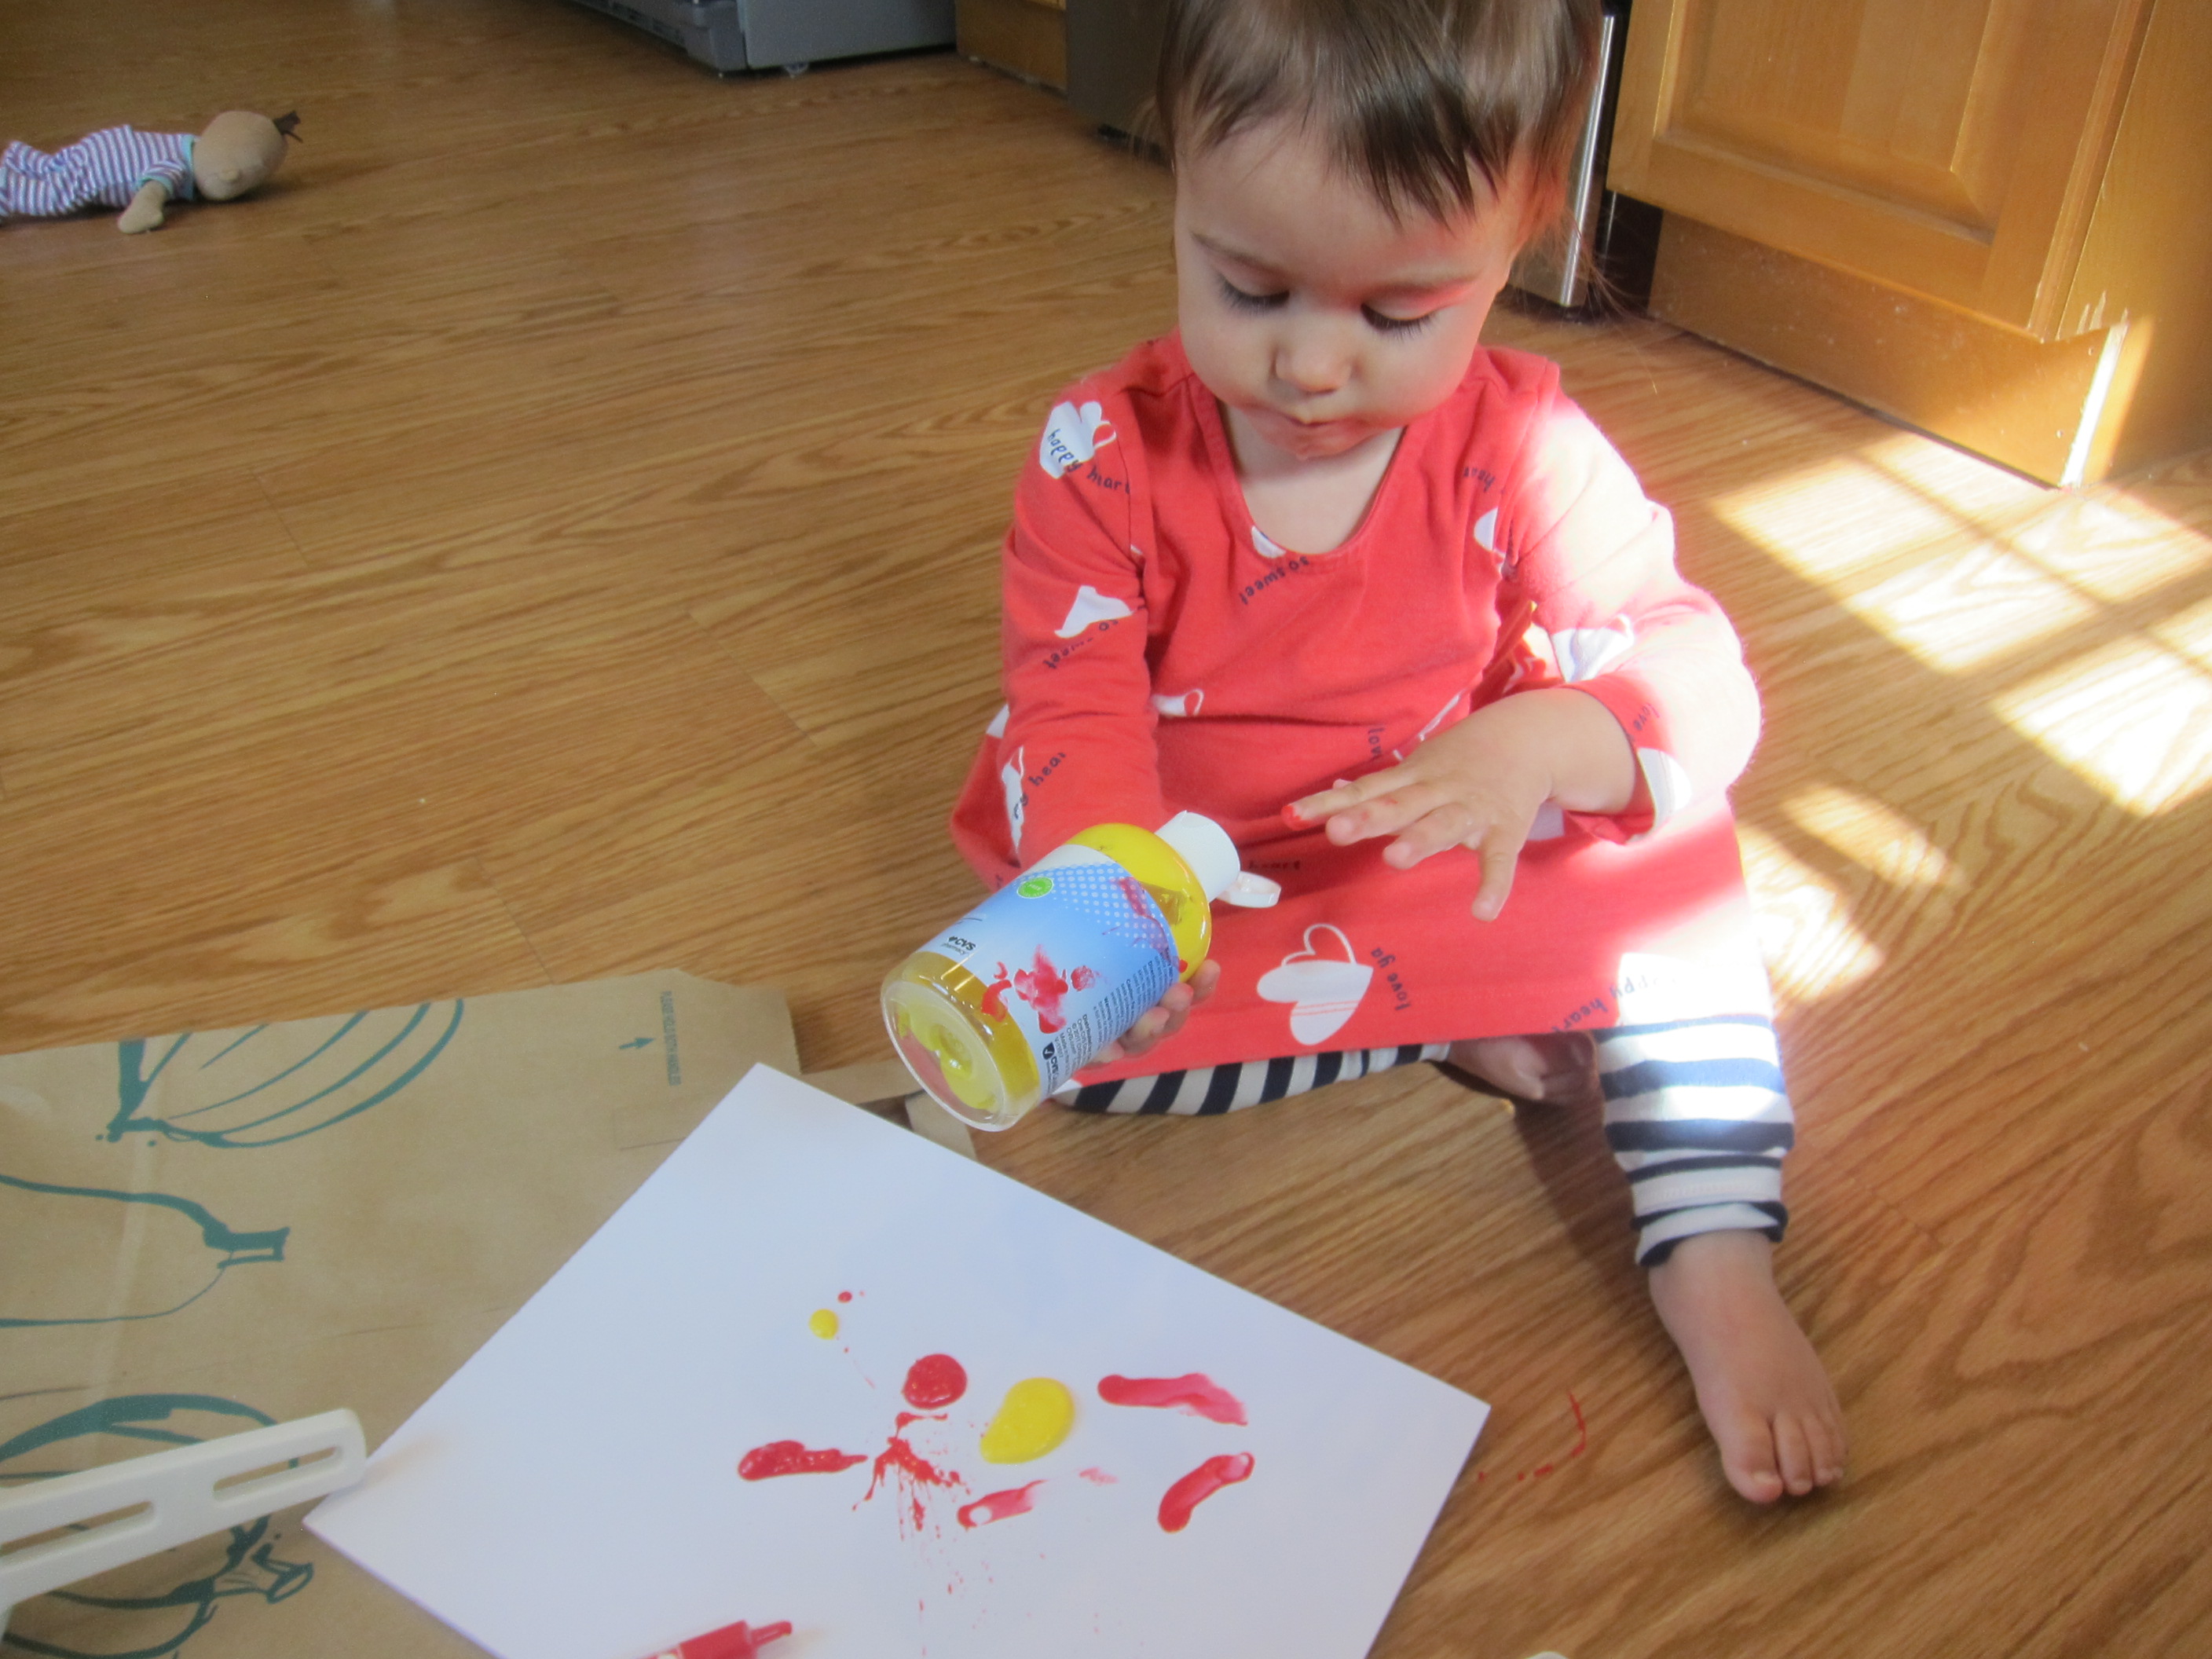
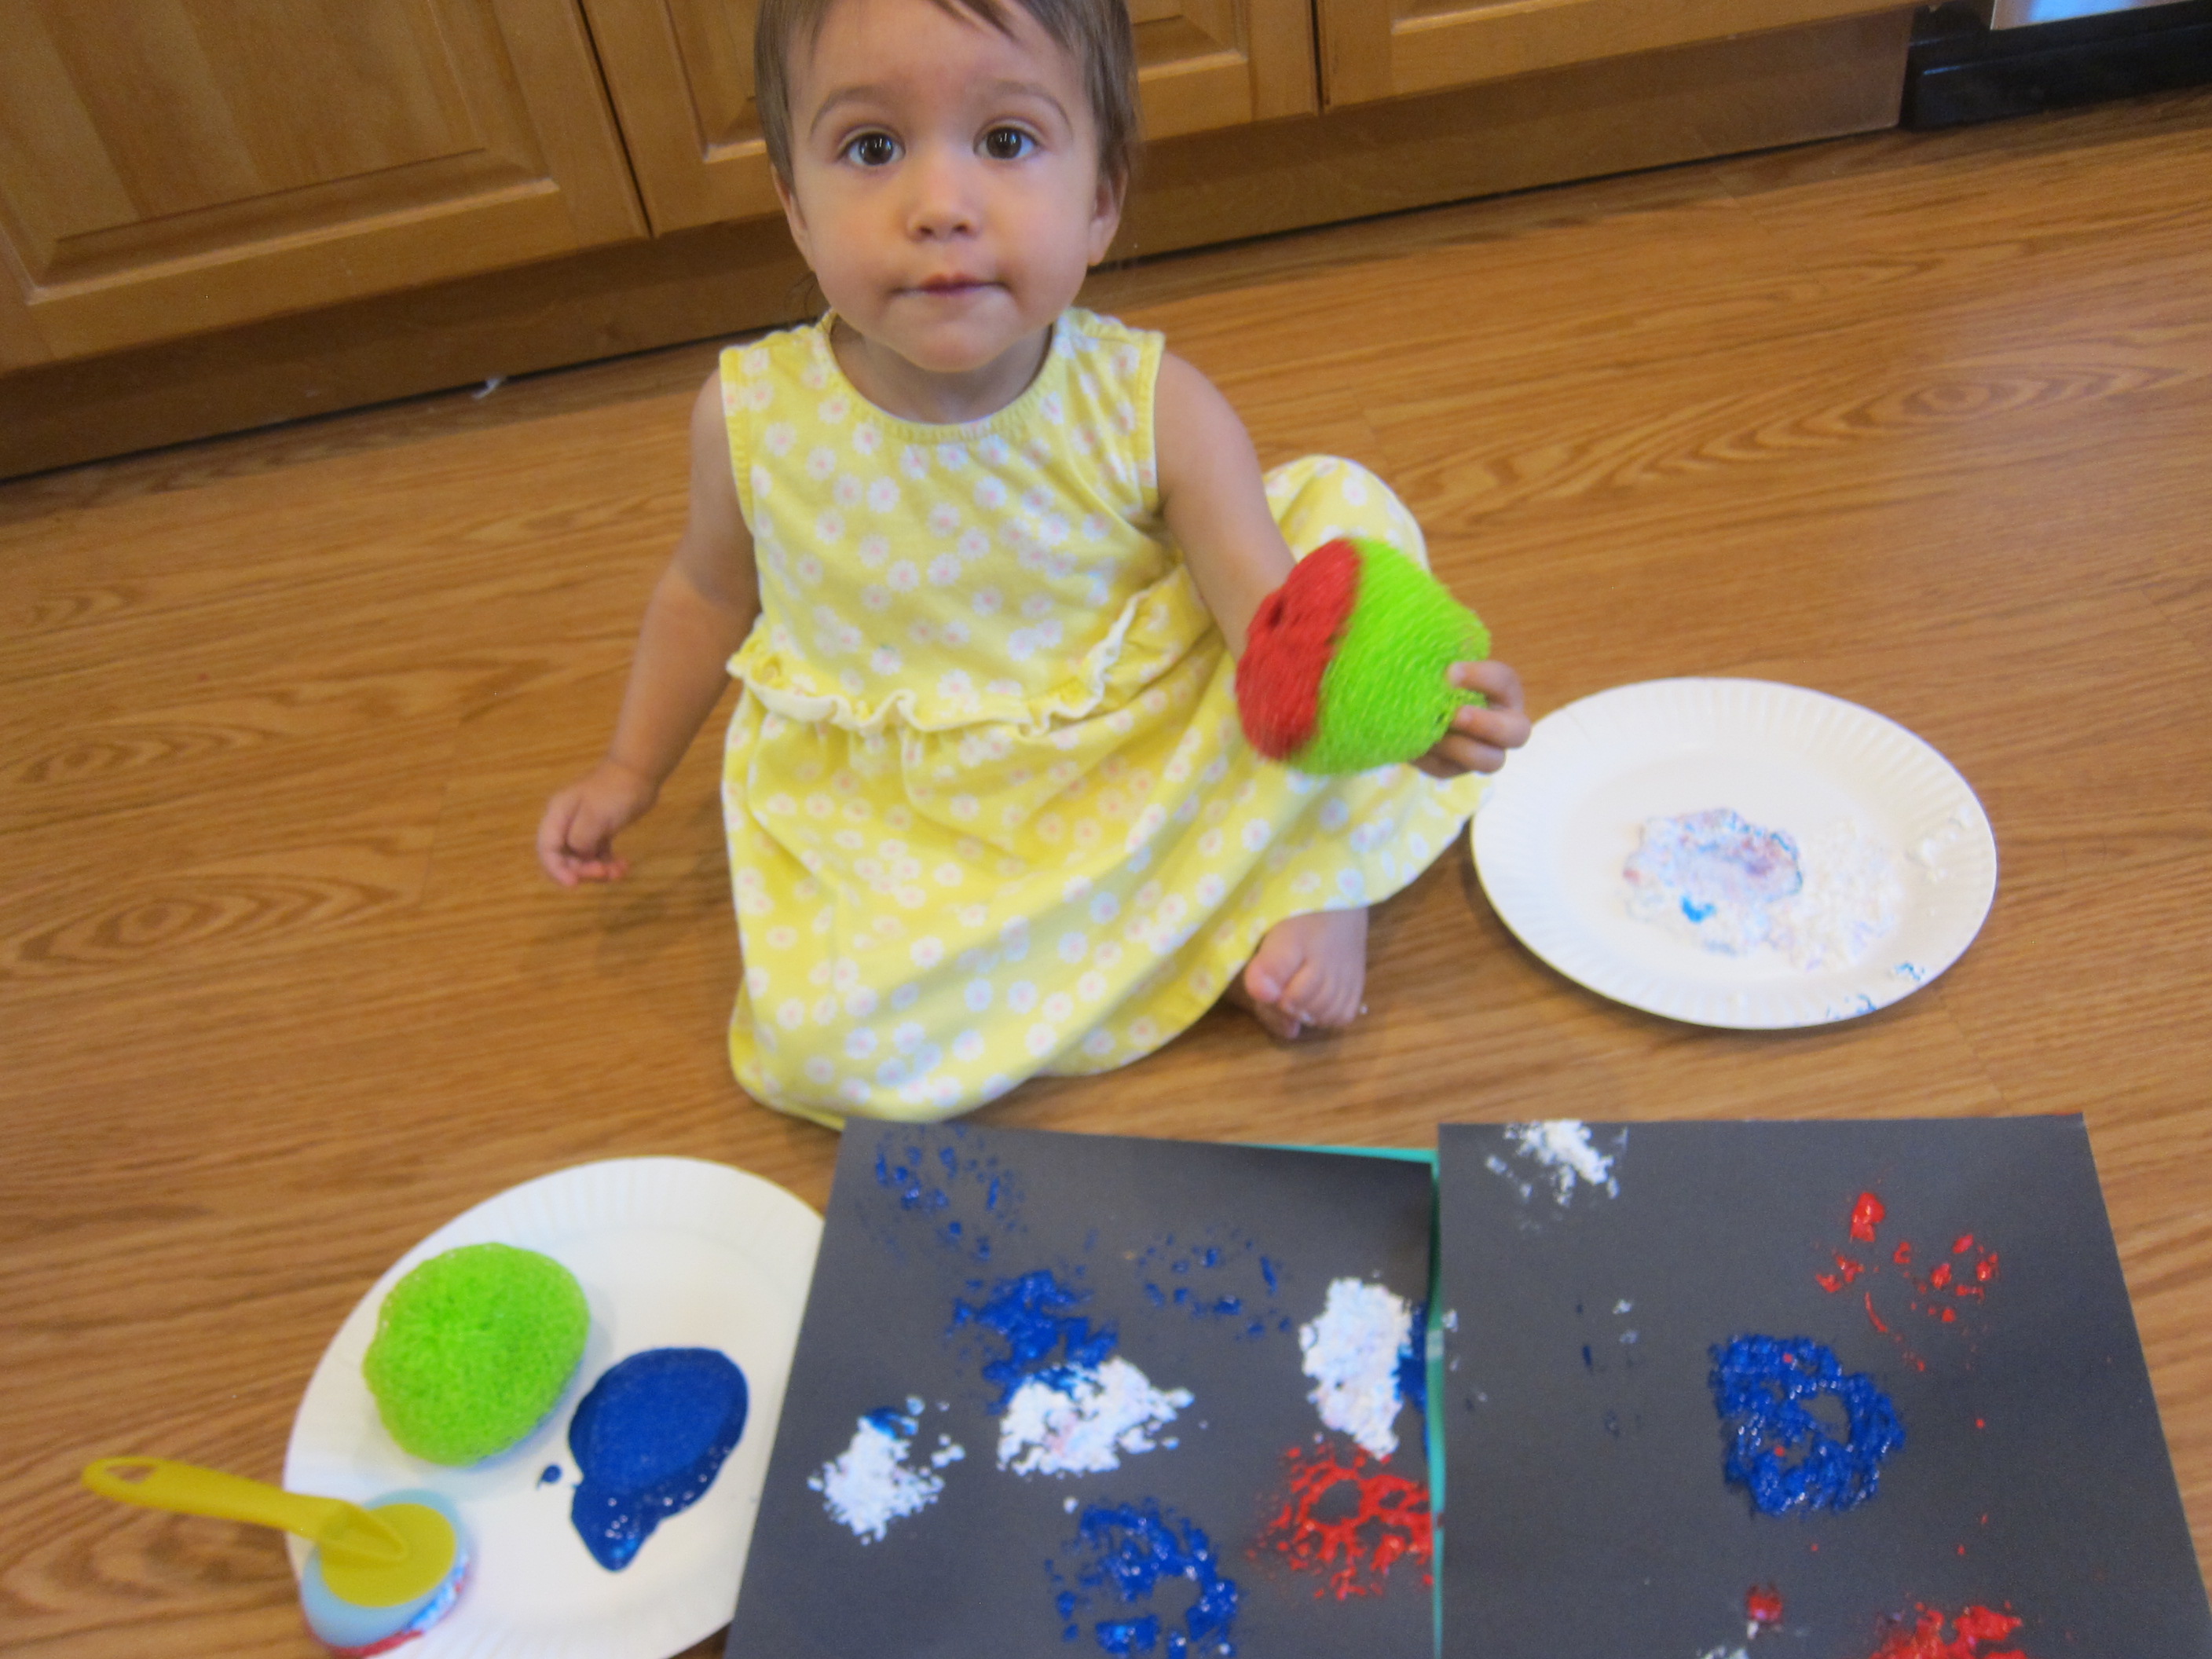
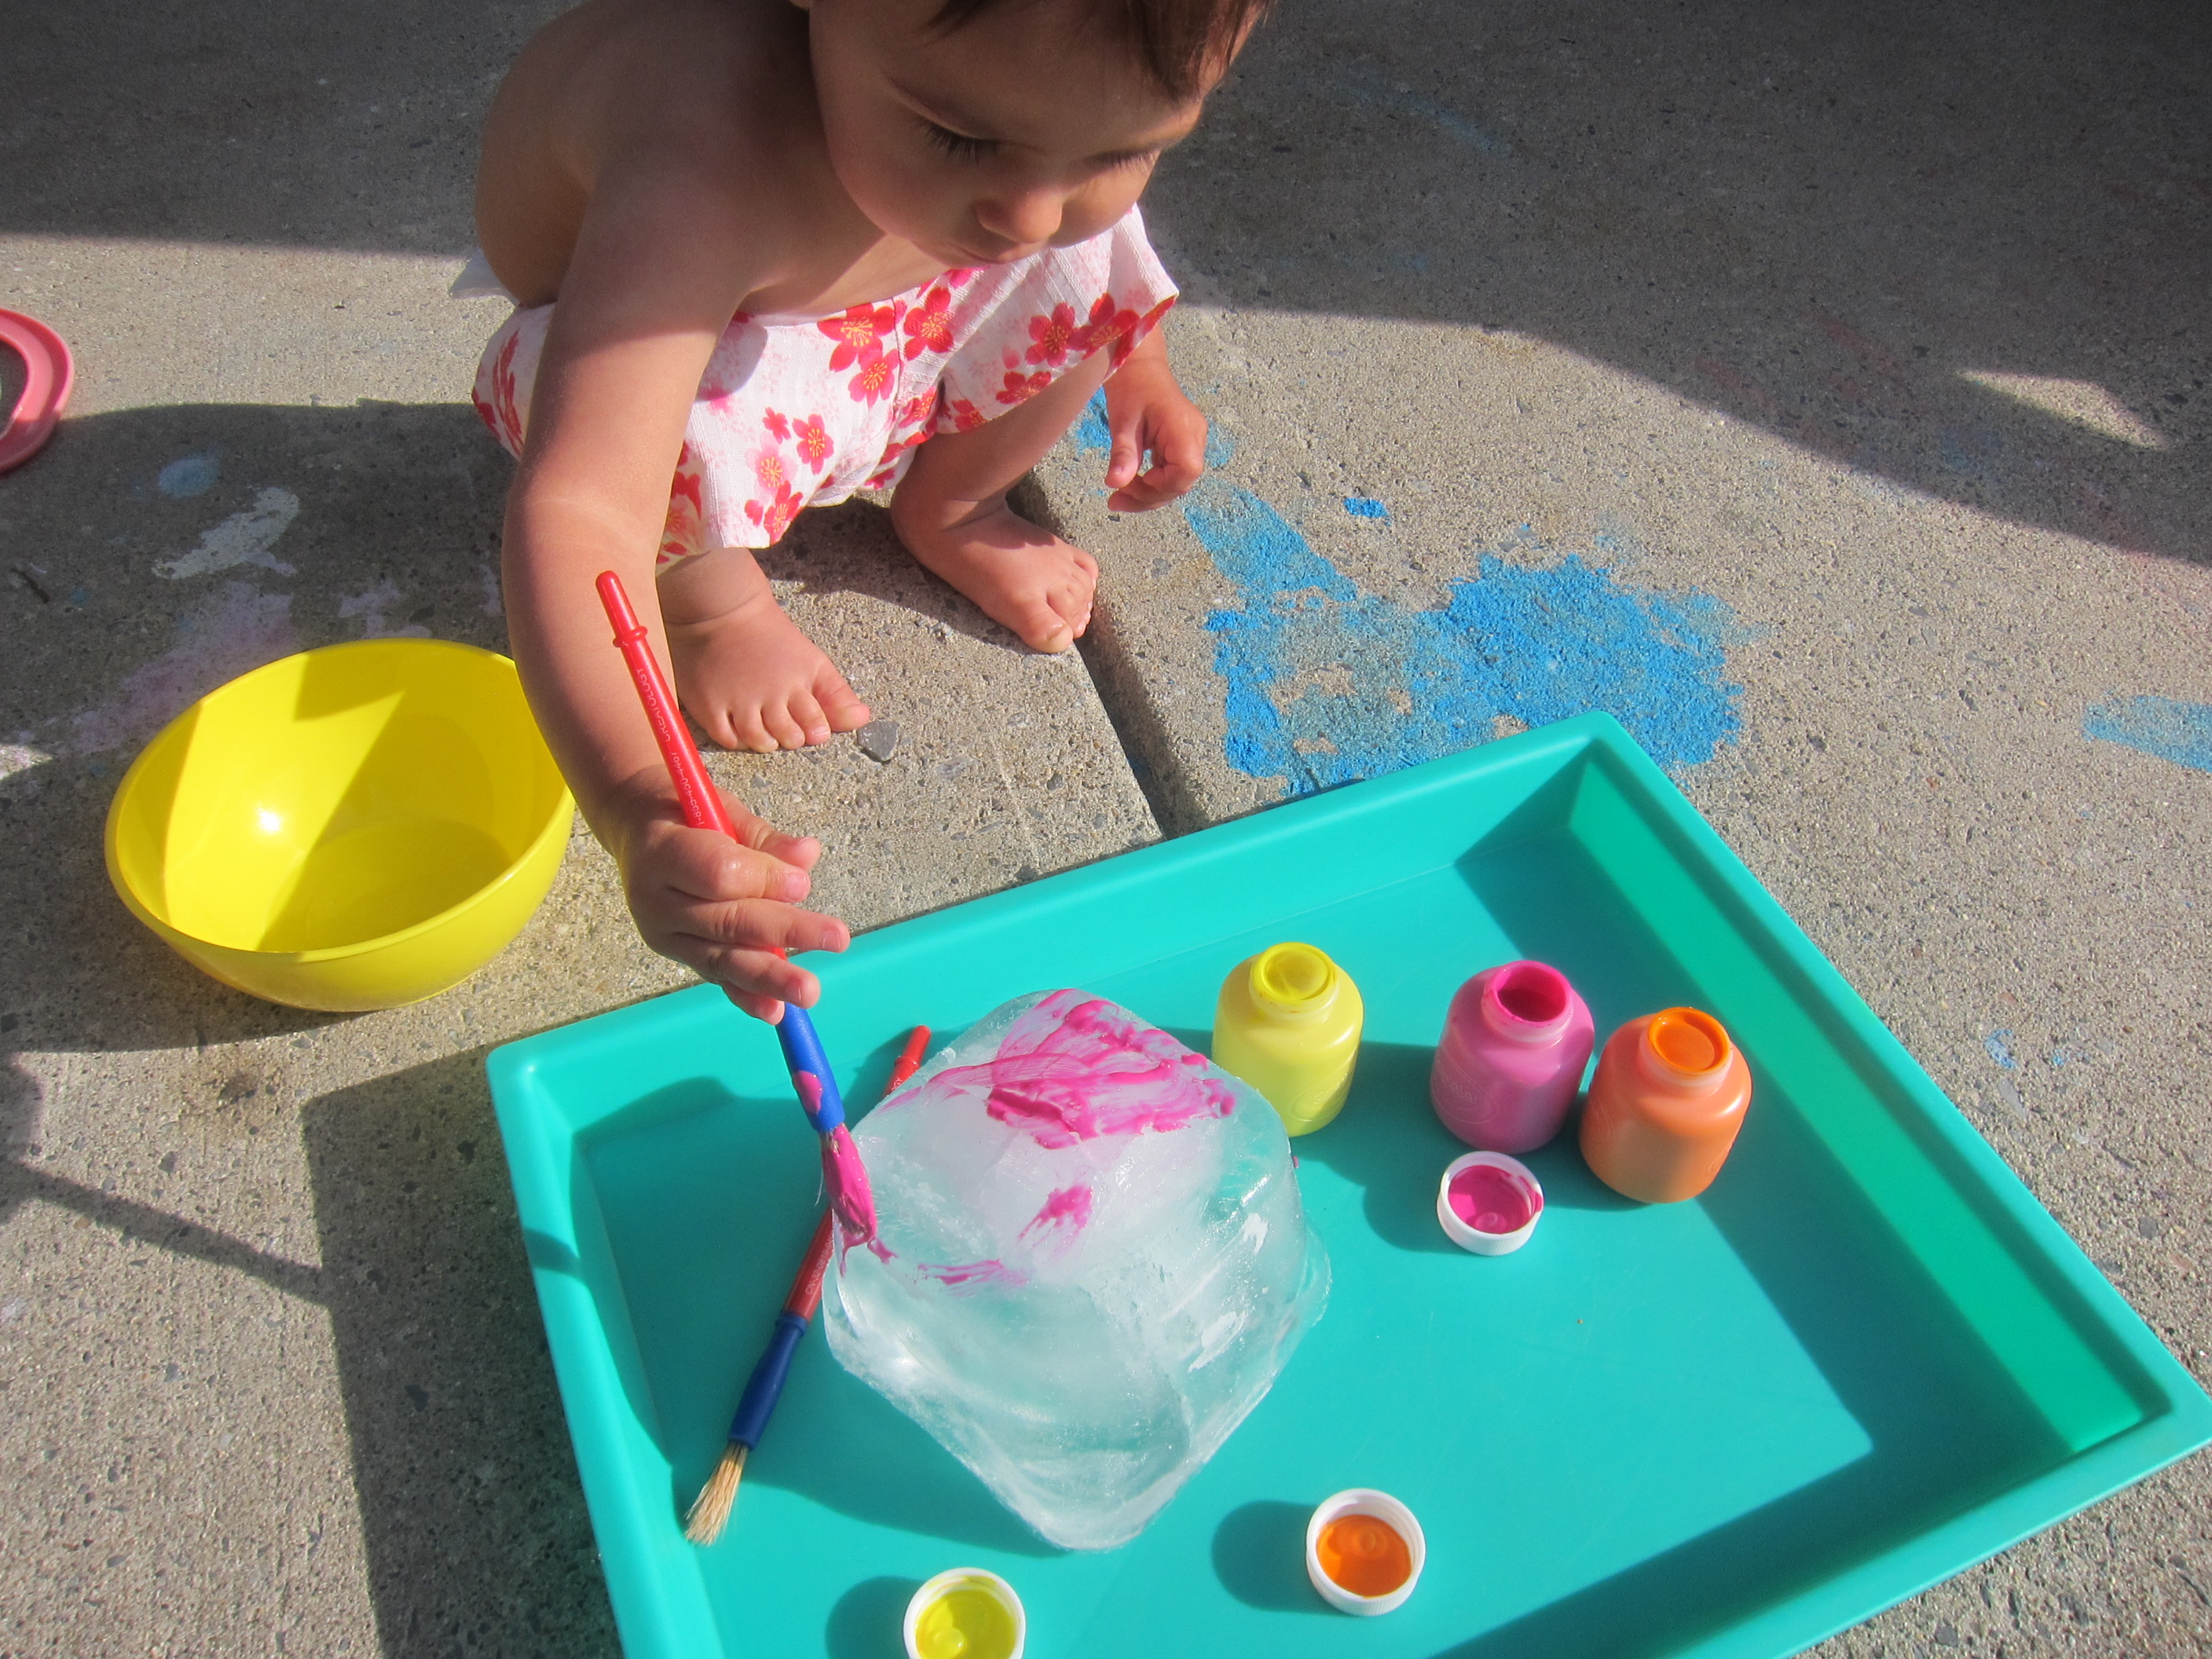
She also loves rocks, so this craft combined the two perfectly! She loves to collect pebbles, and considers the most mundane little ones her “treasure.” Today I asked if she wanted to paint with one of her rocks.

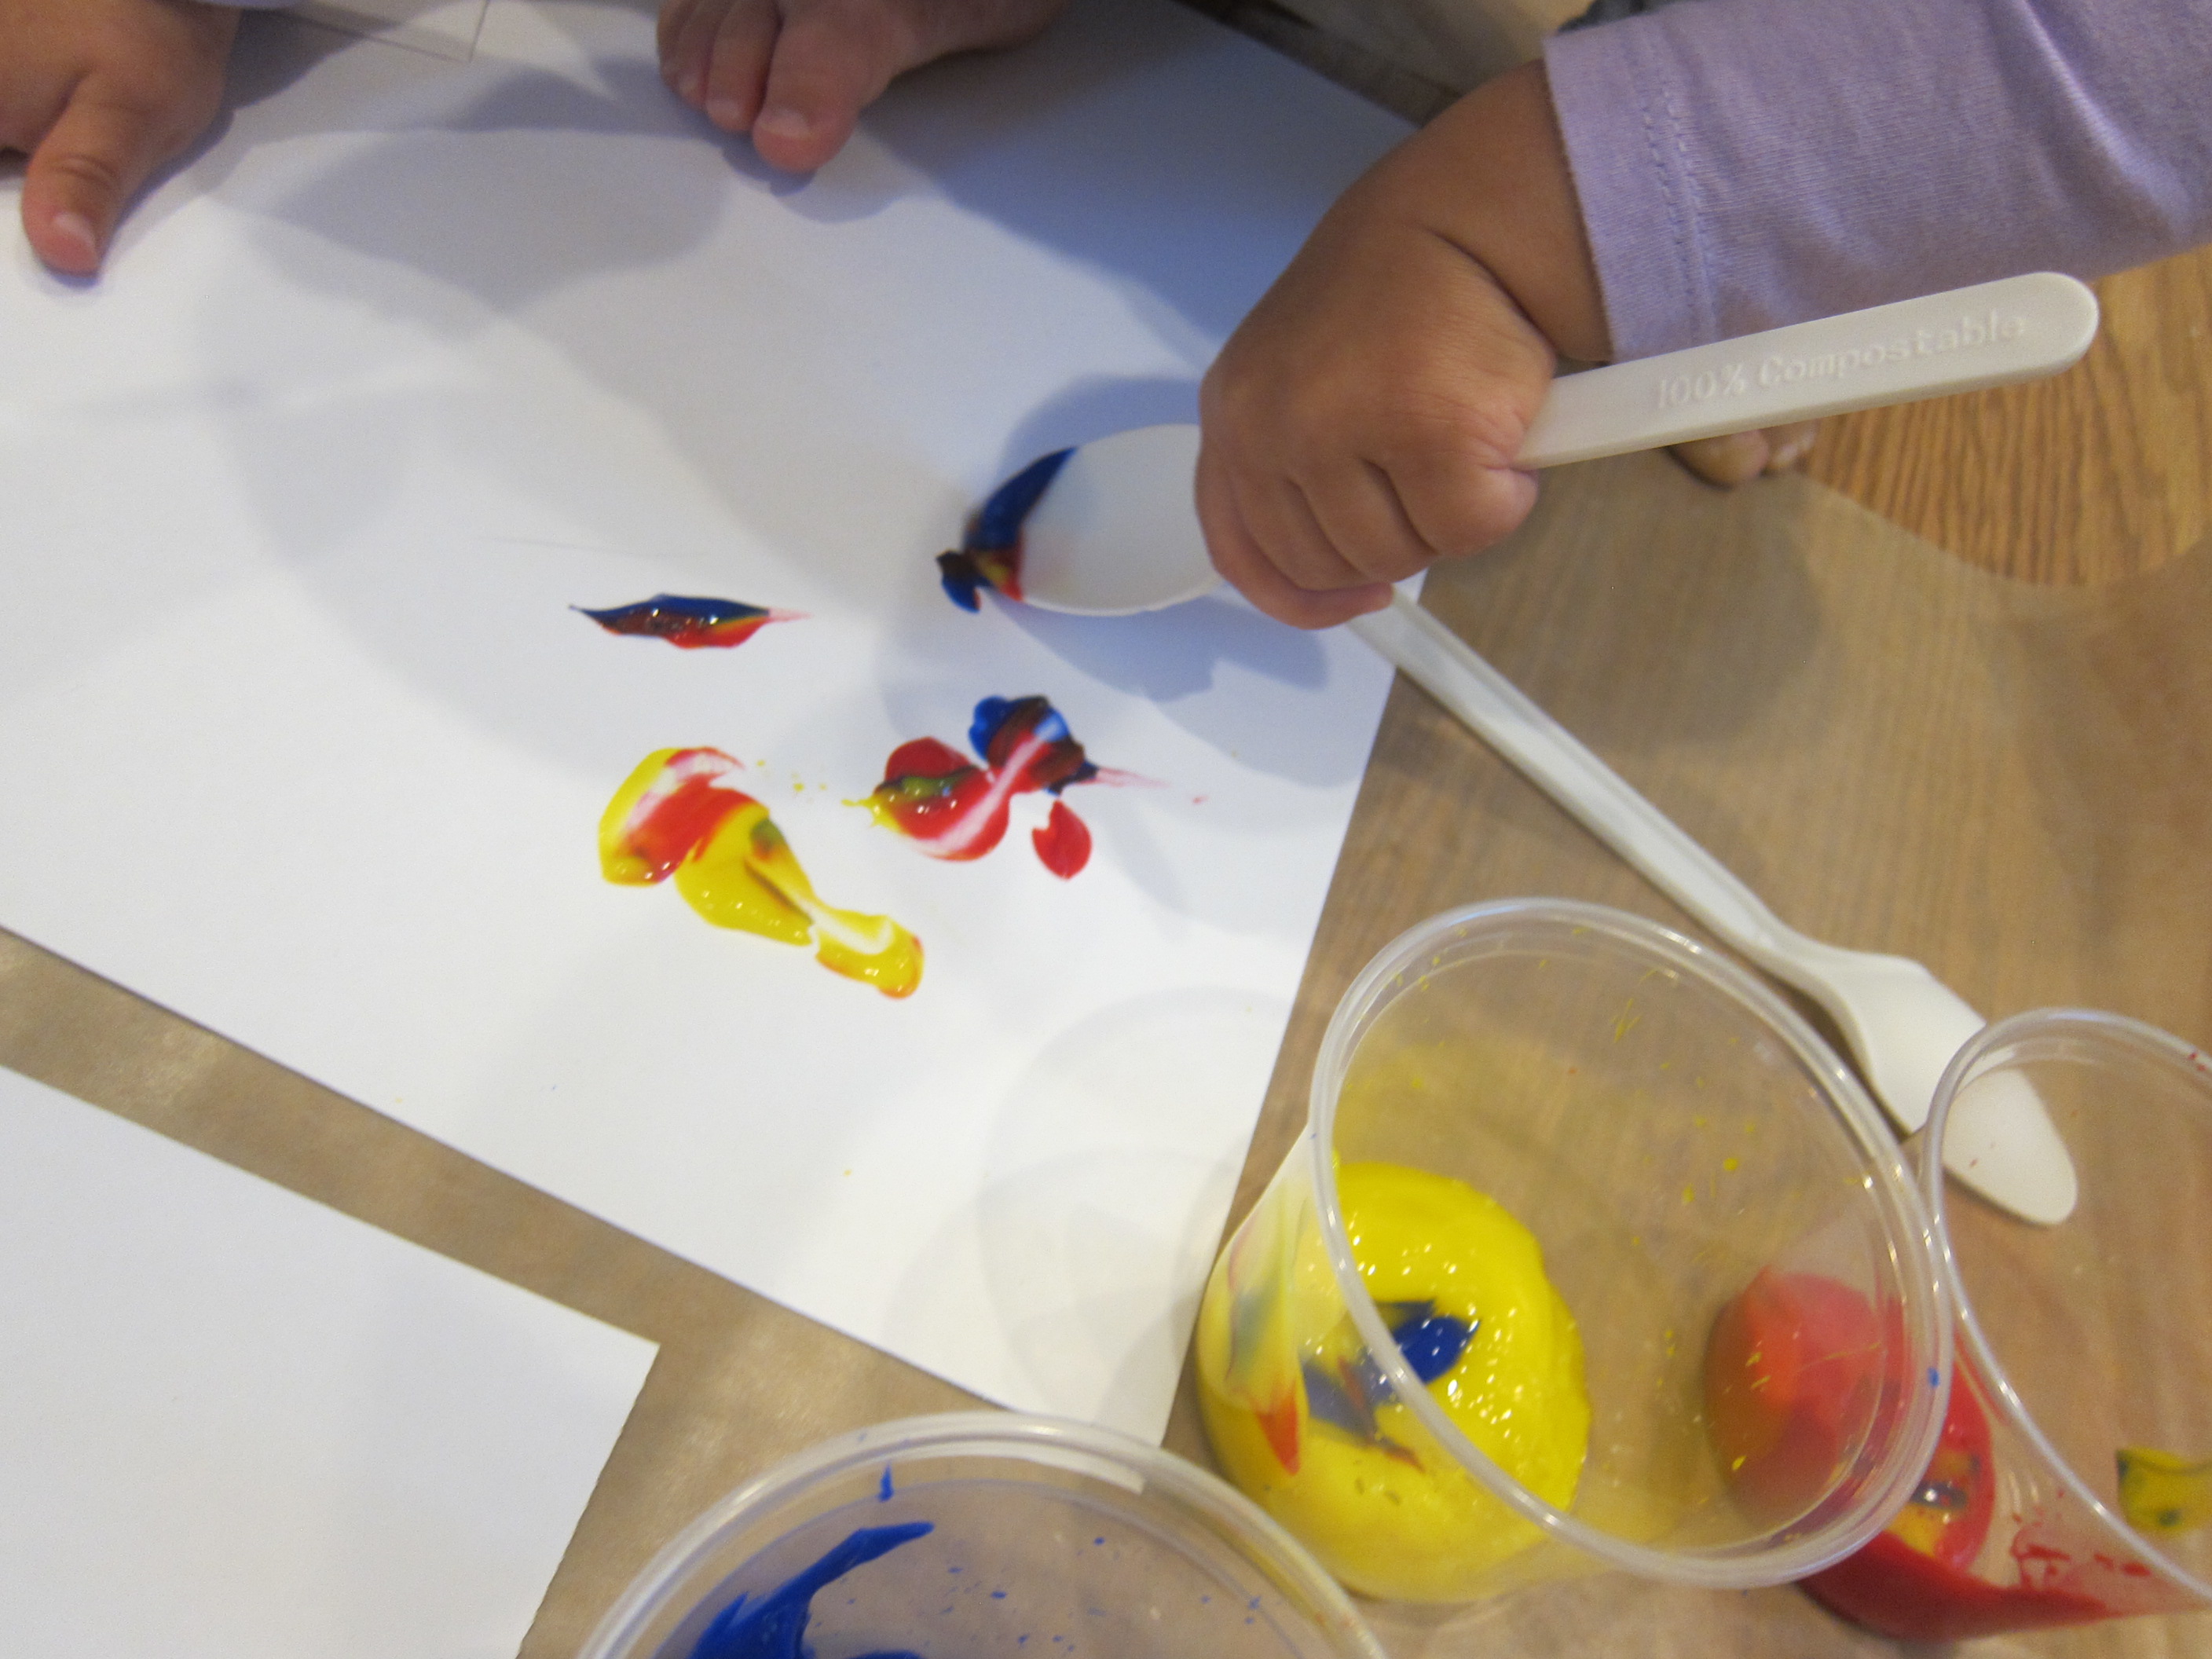
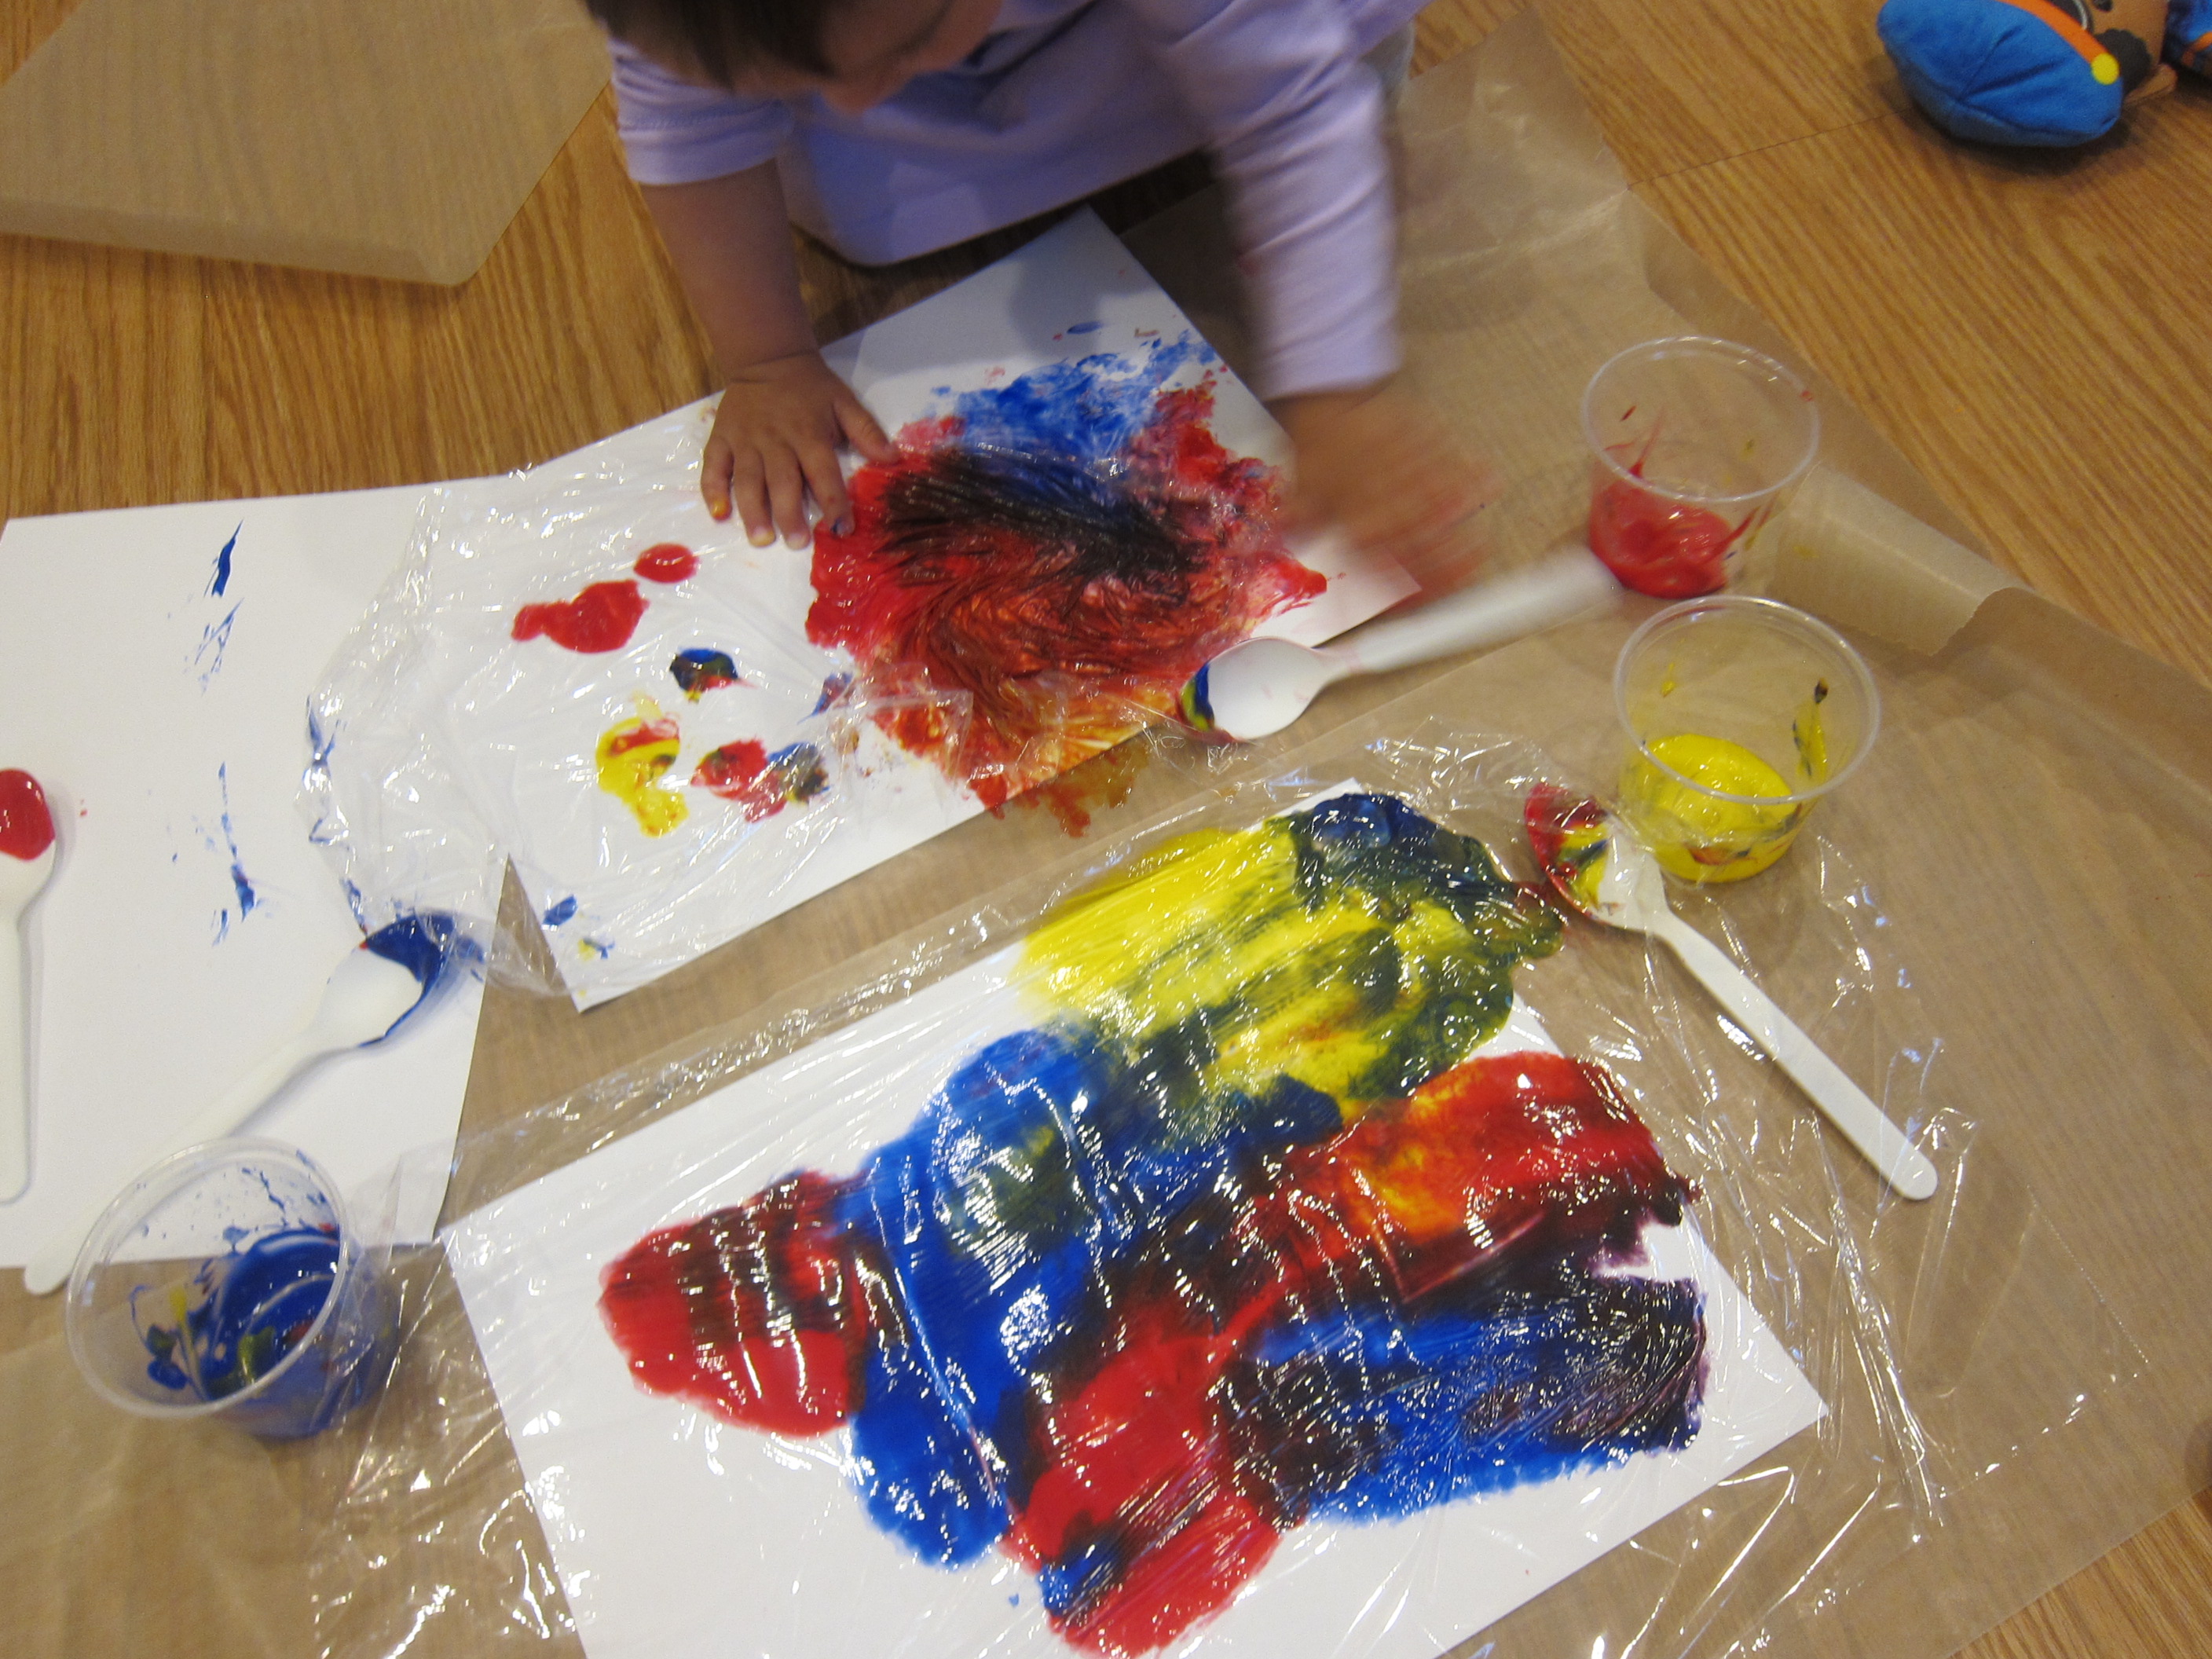
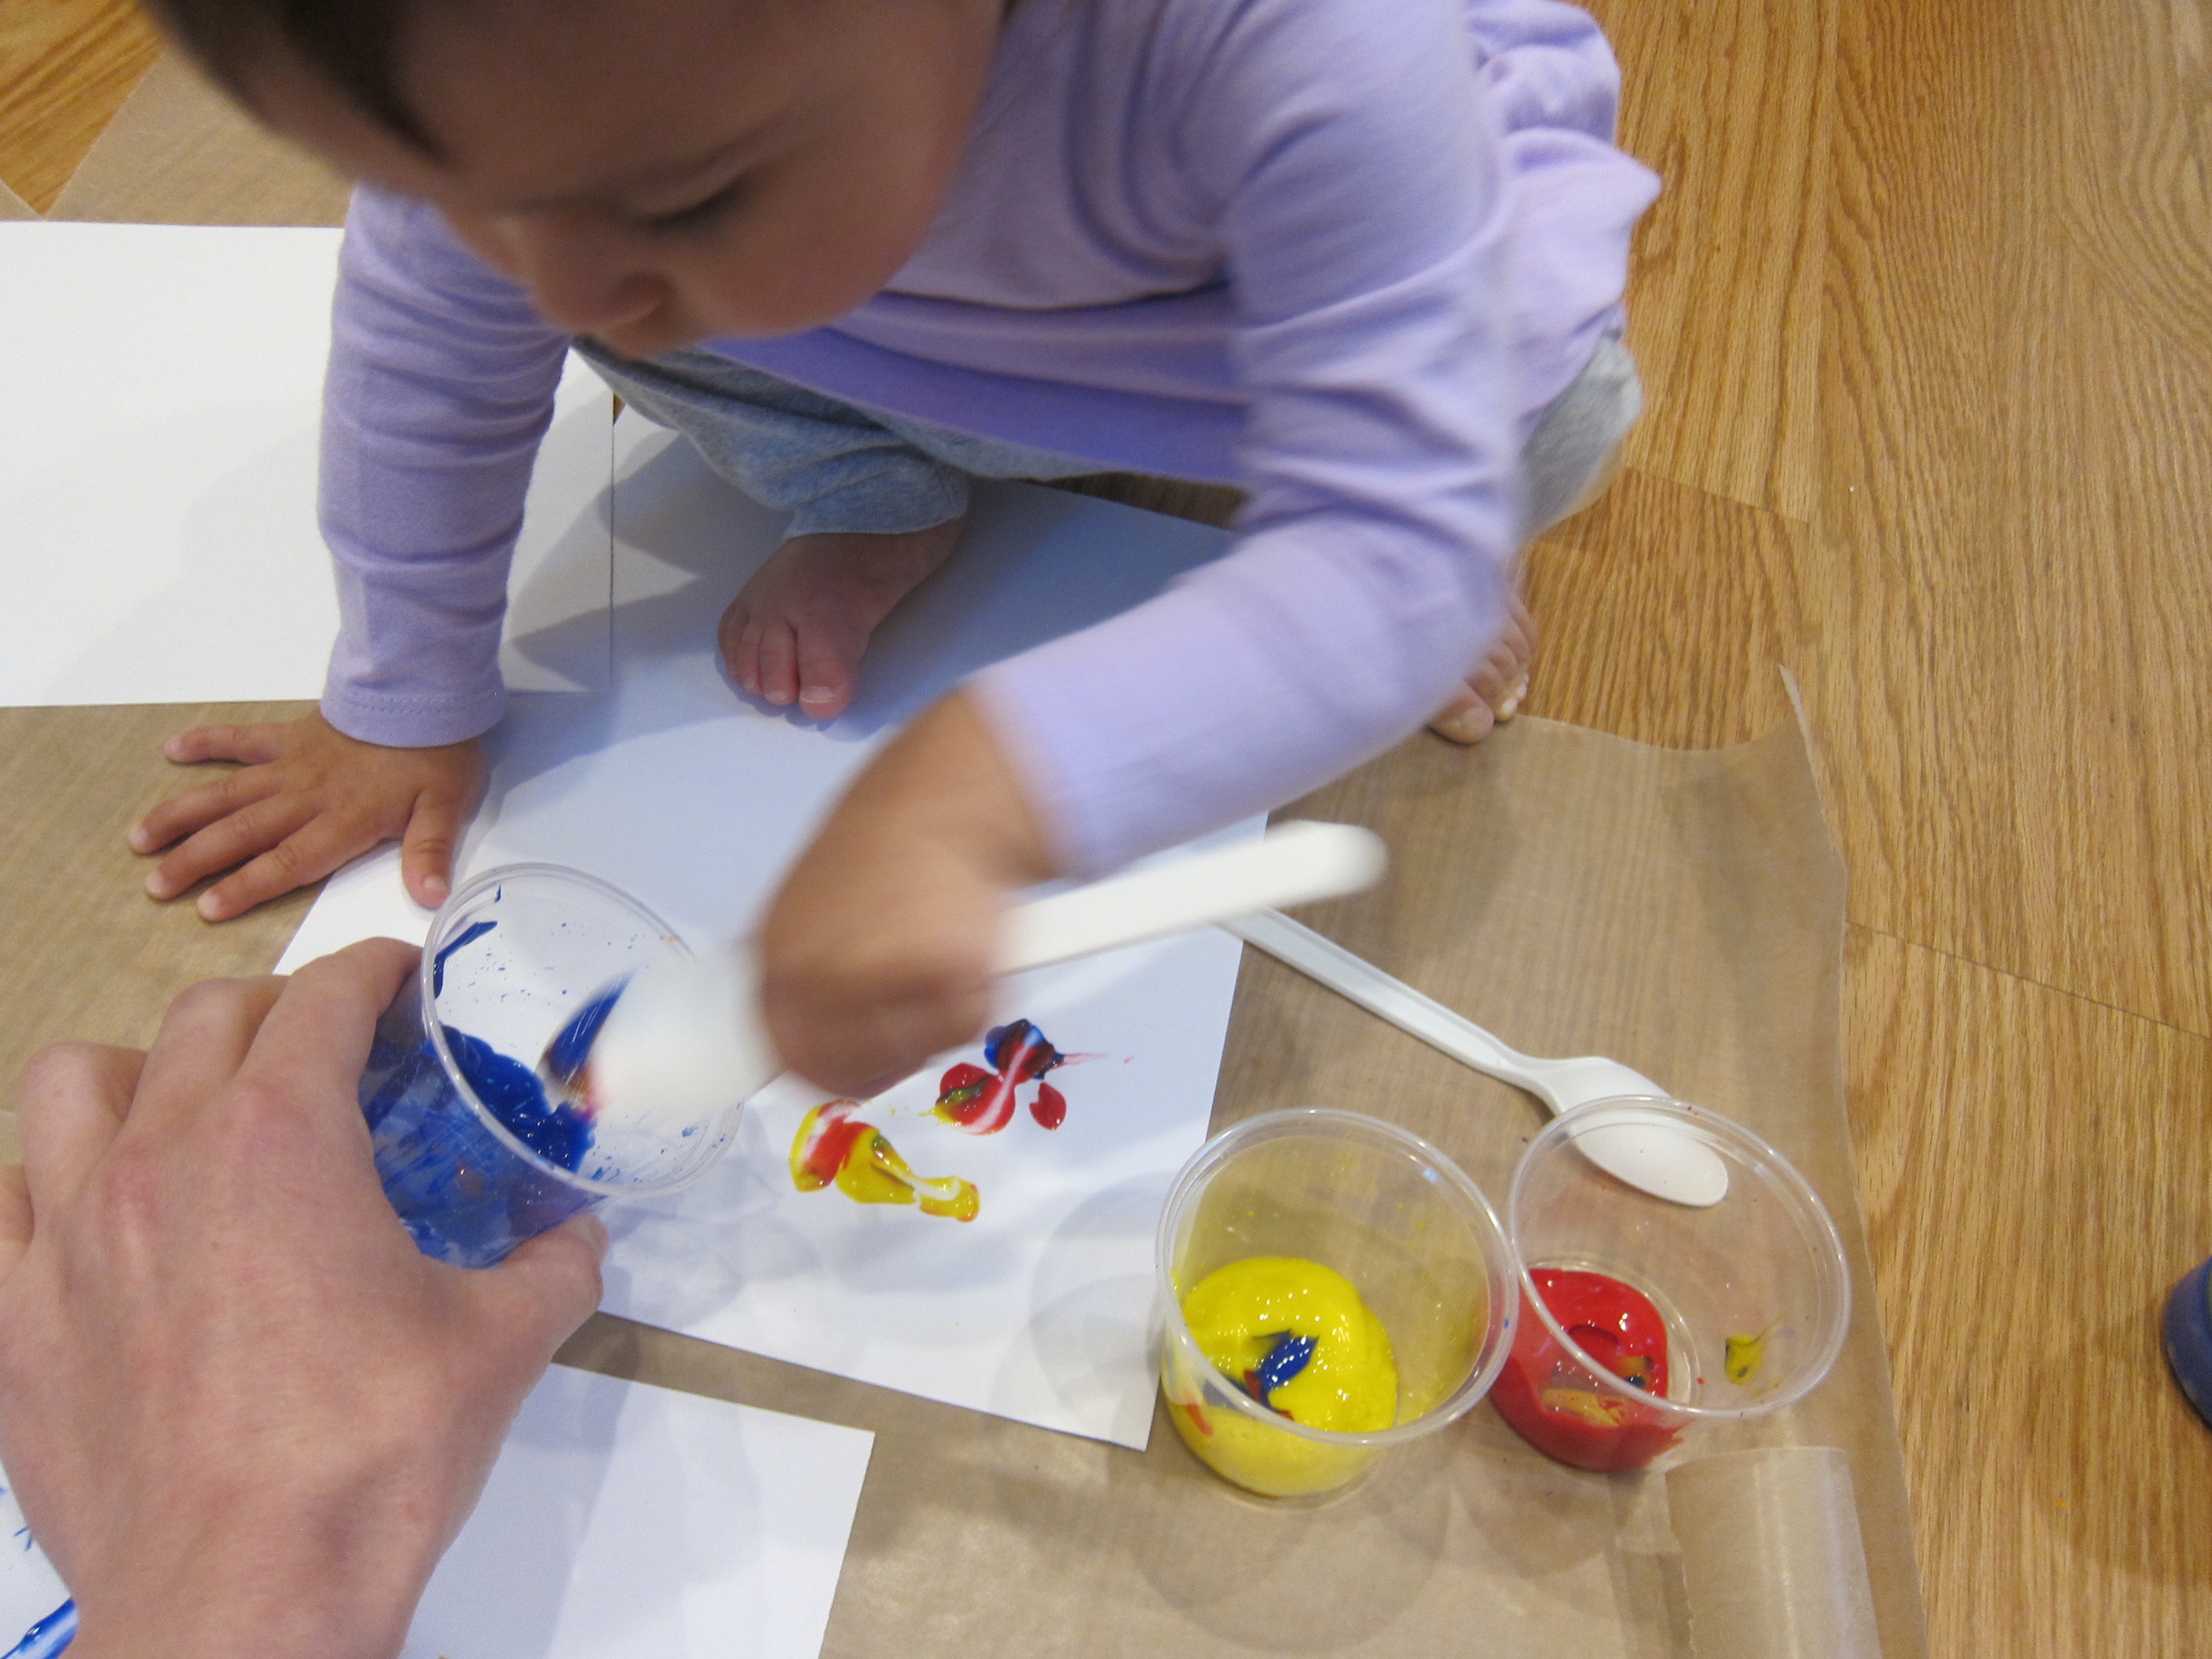
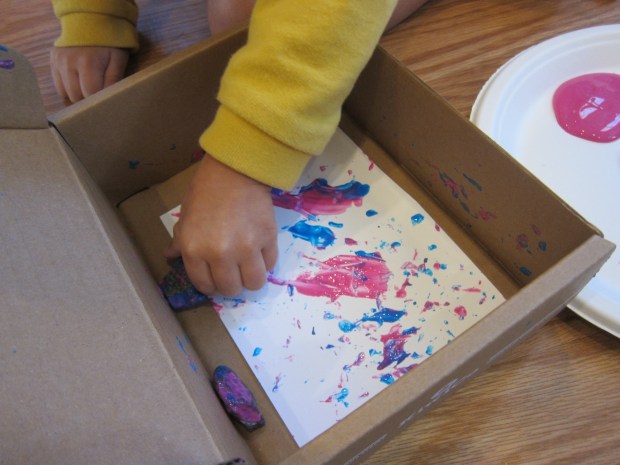
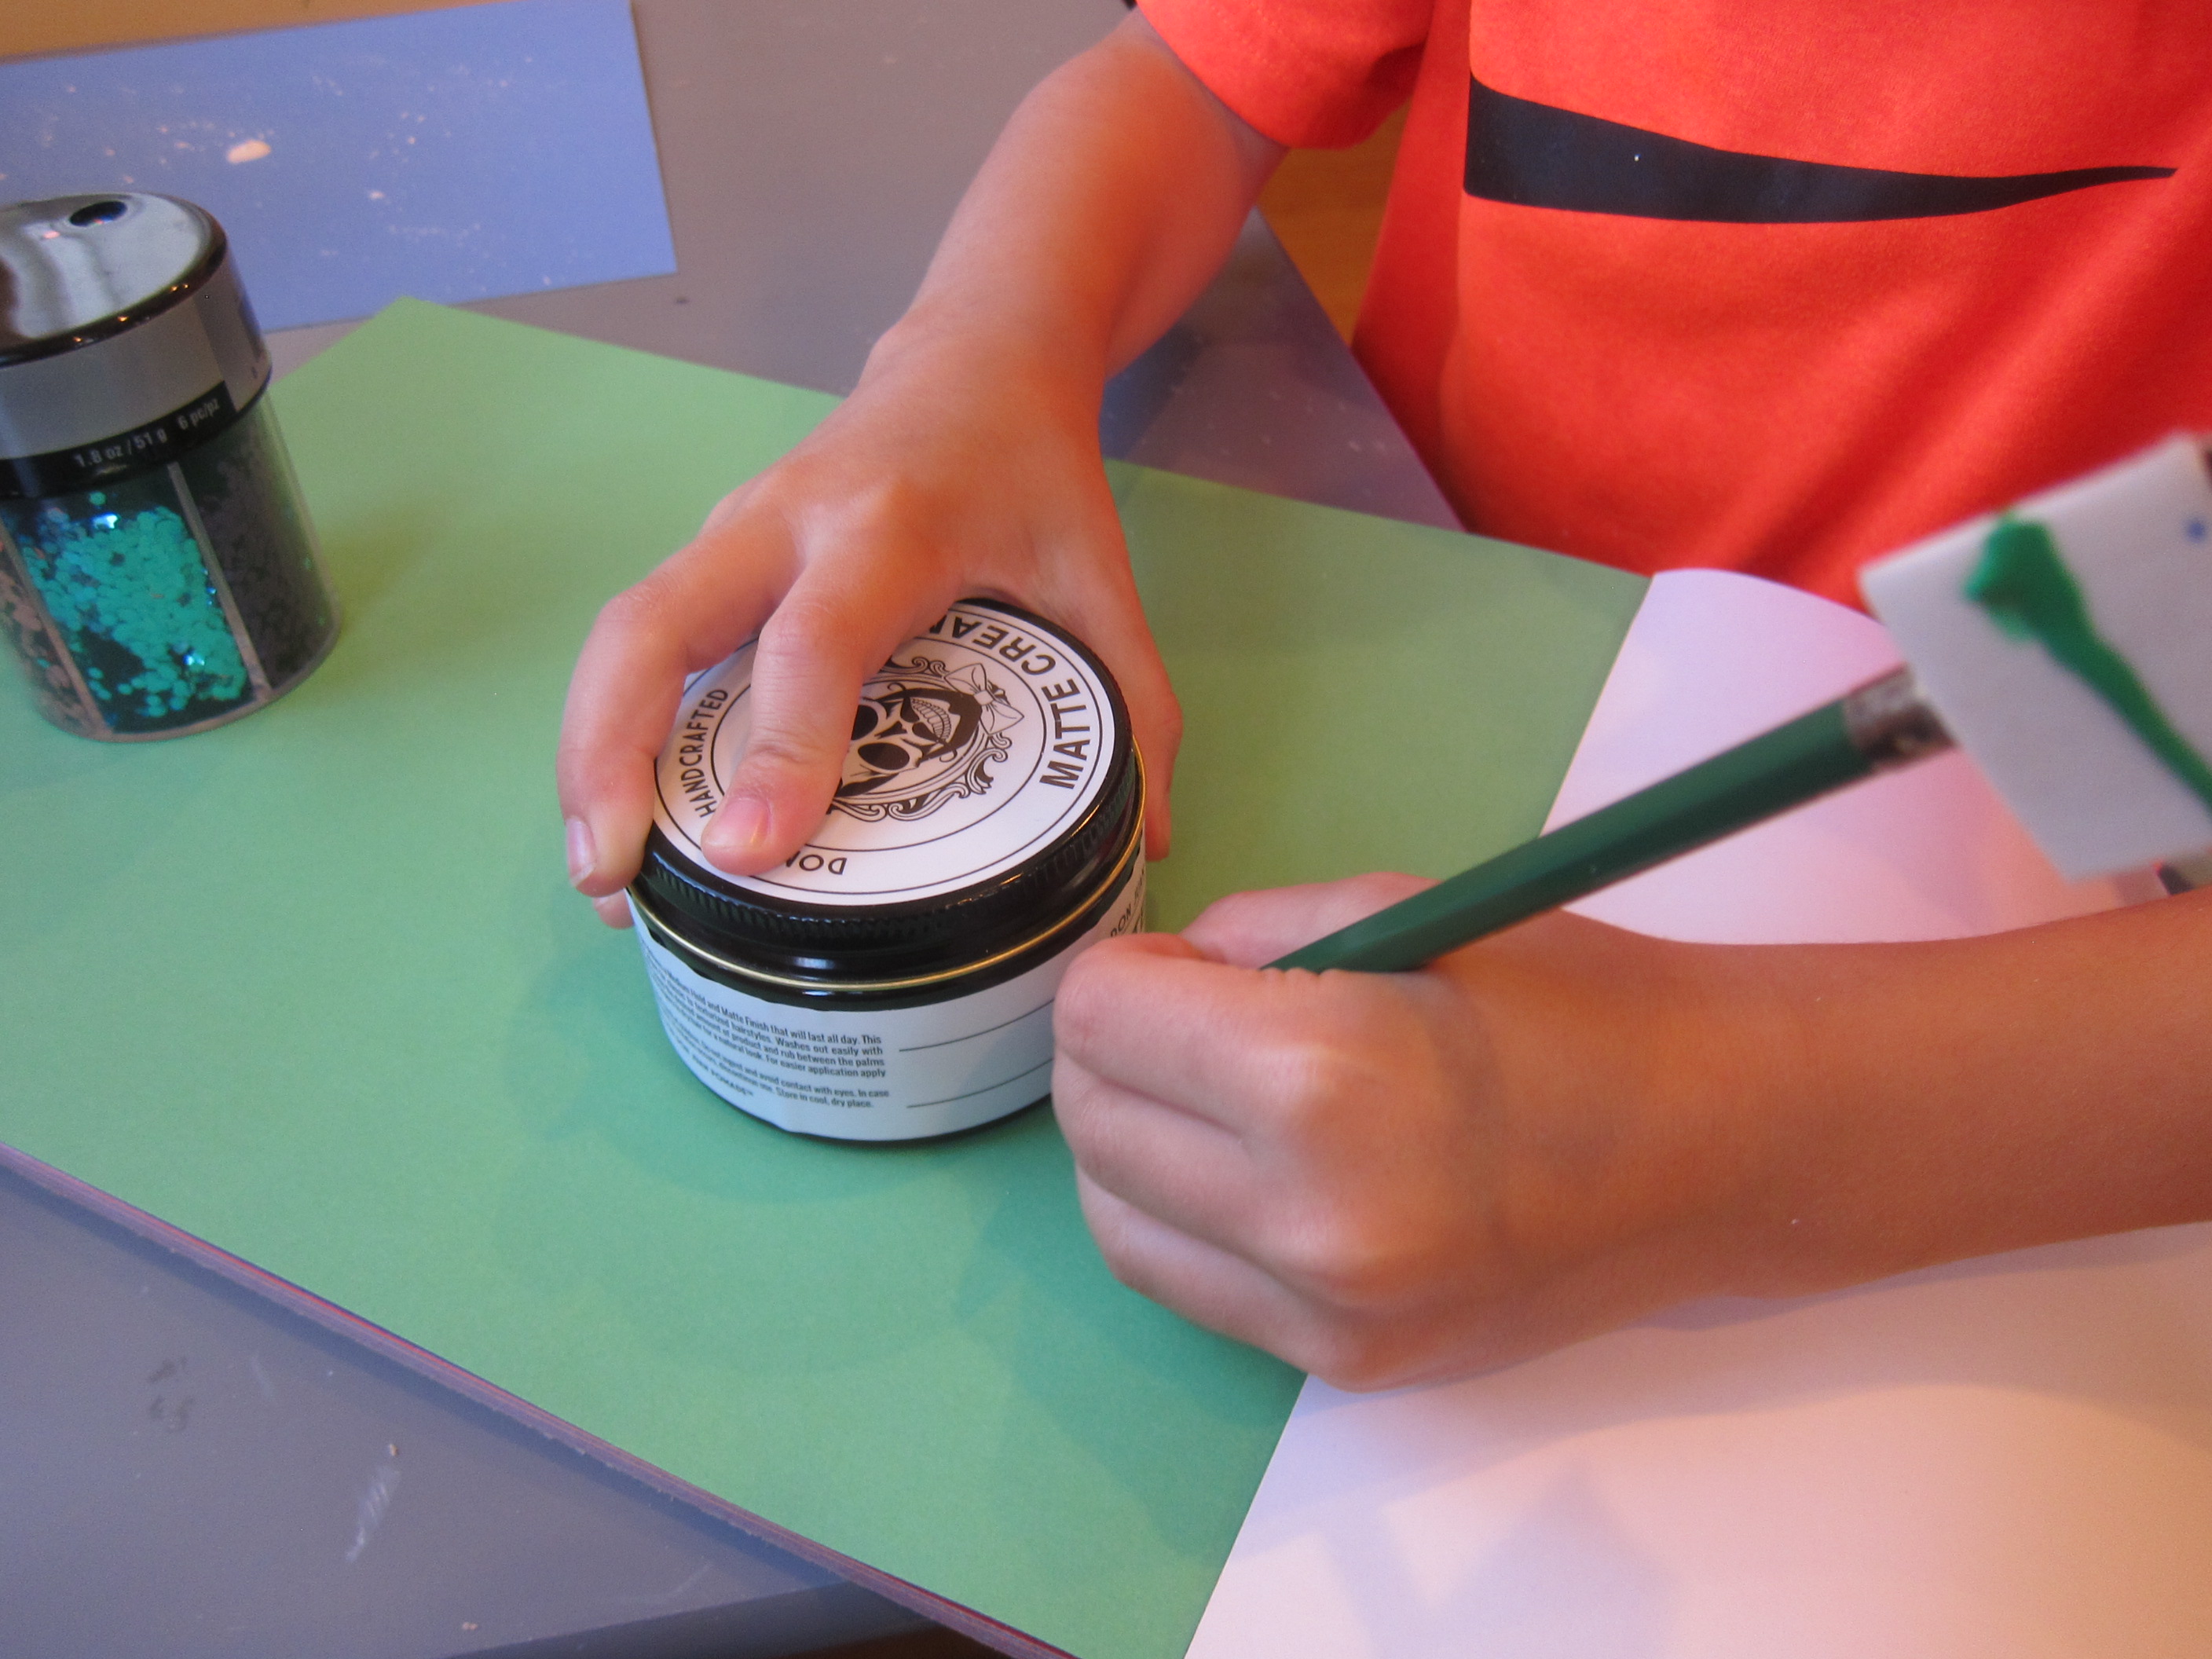
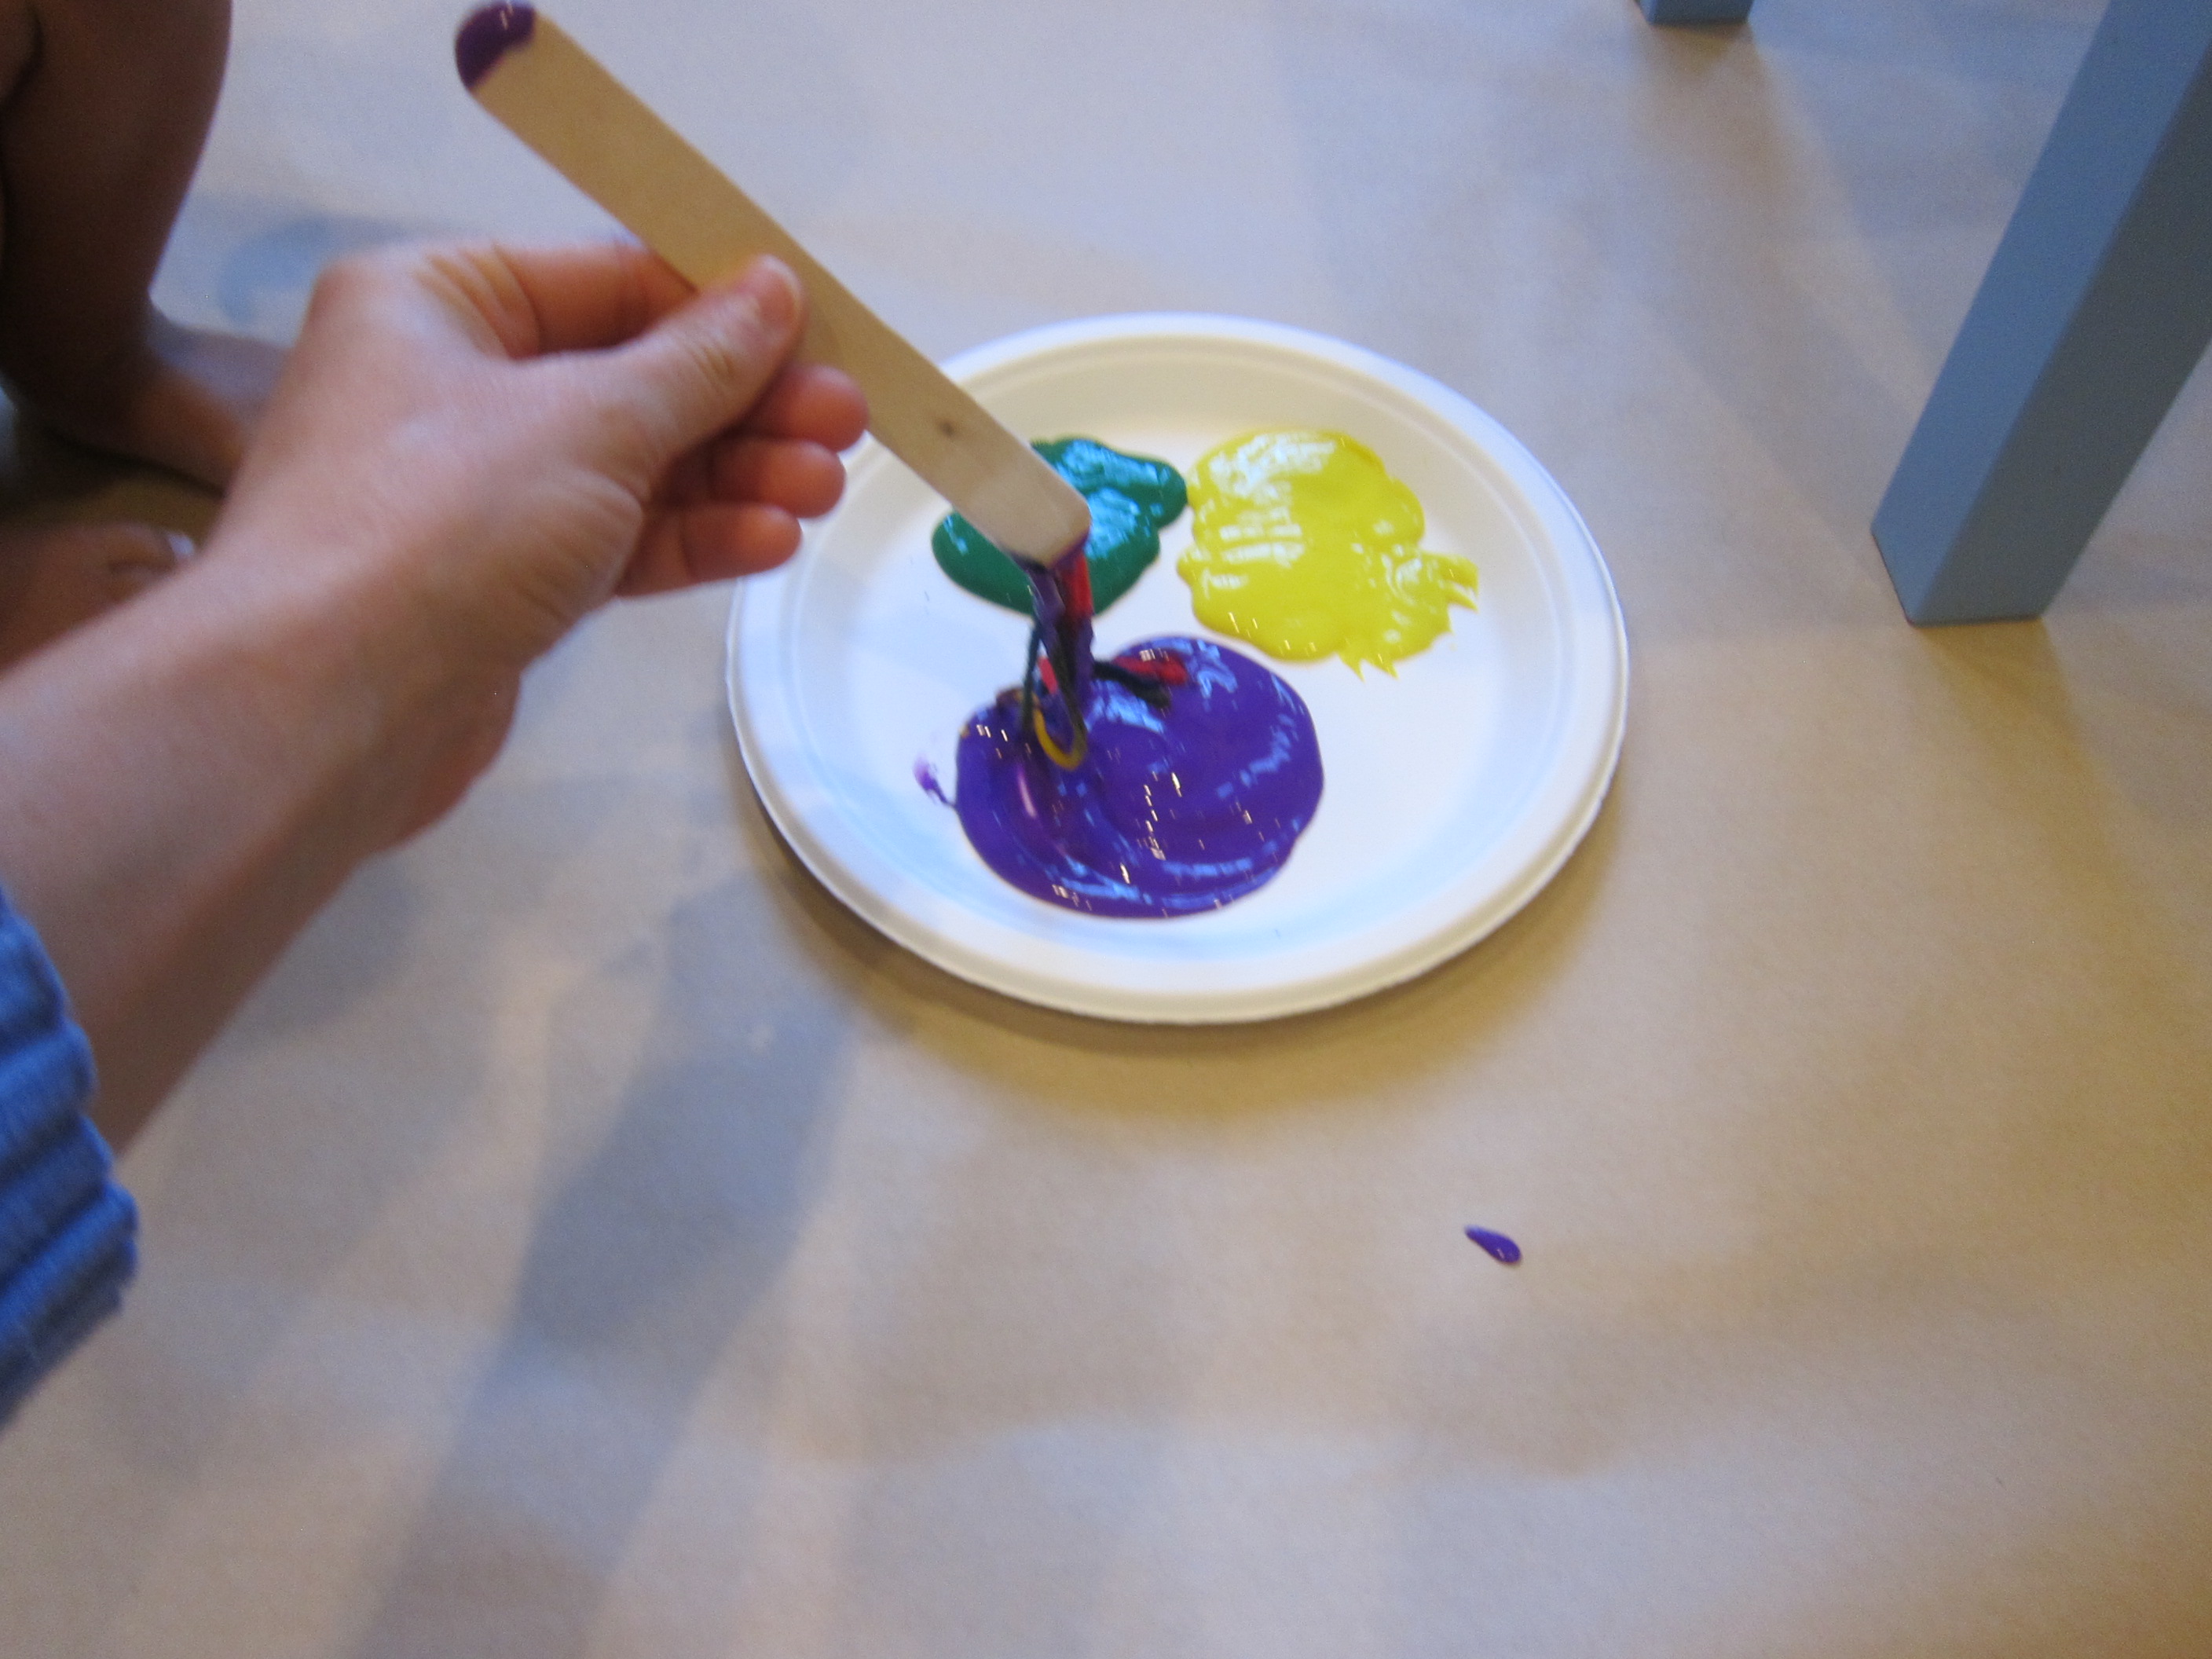
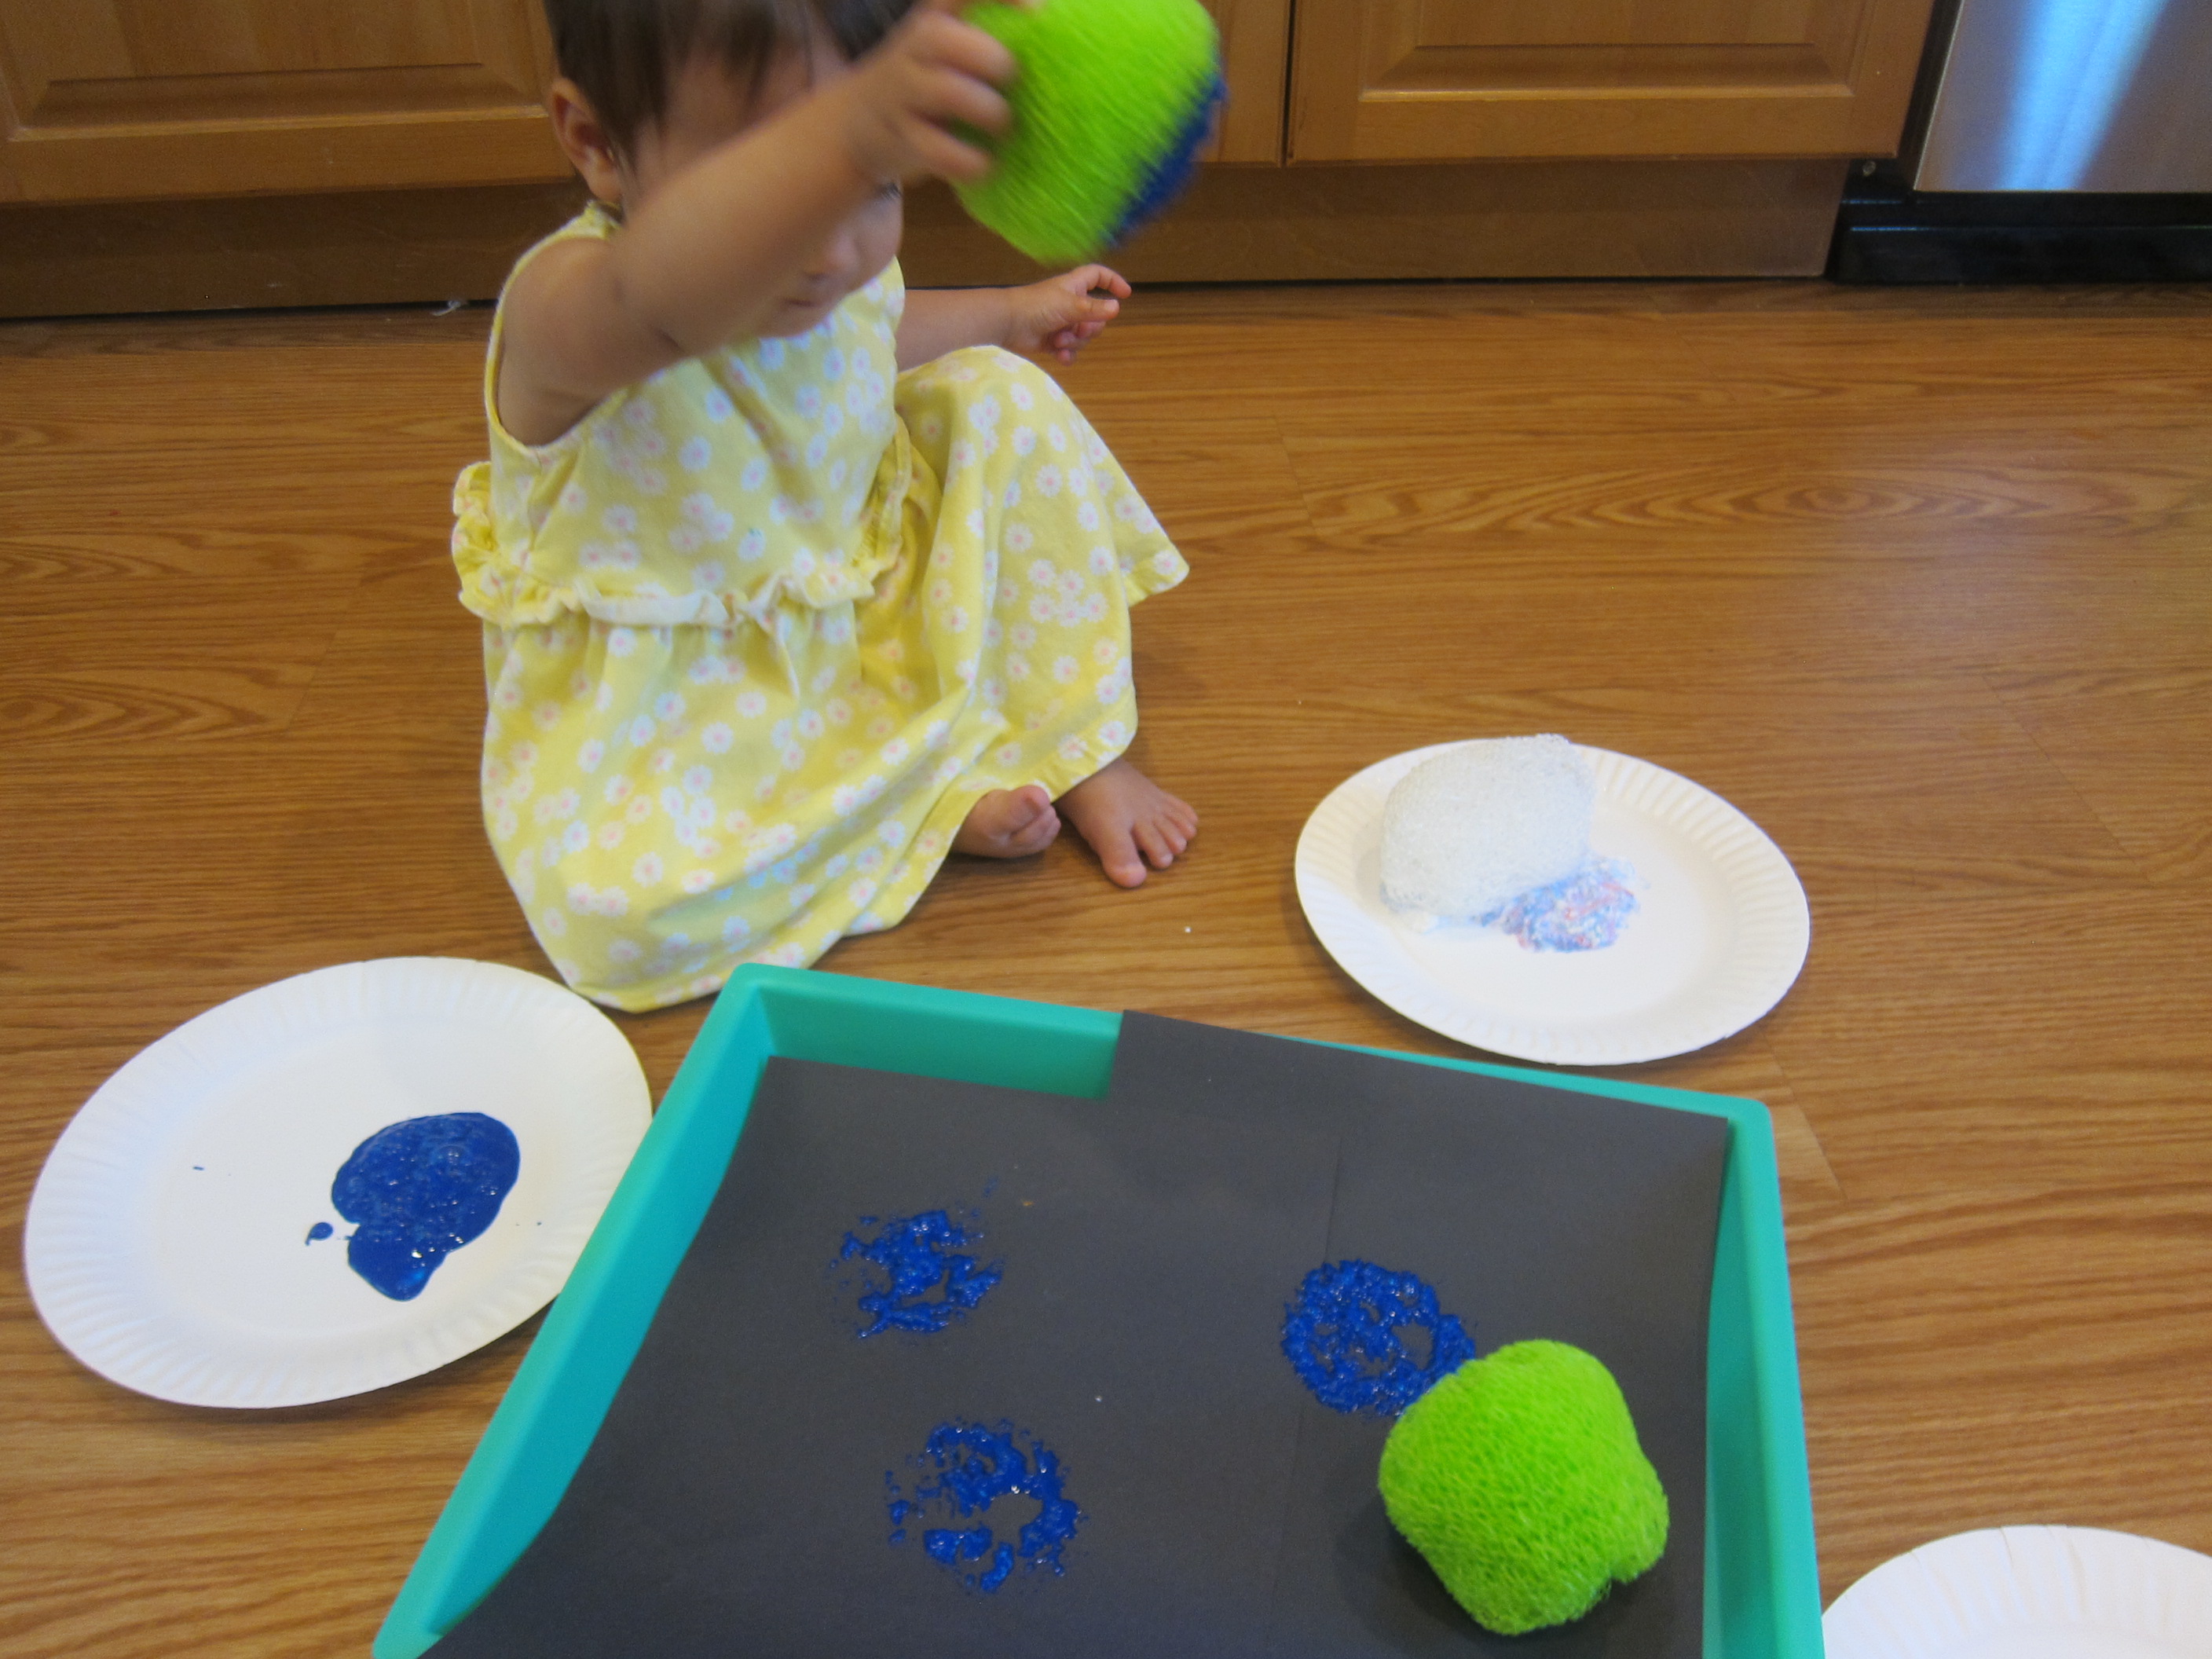
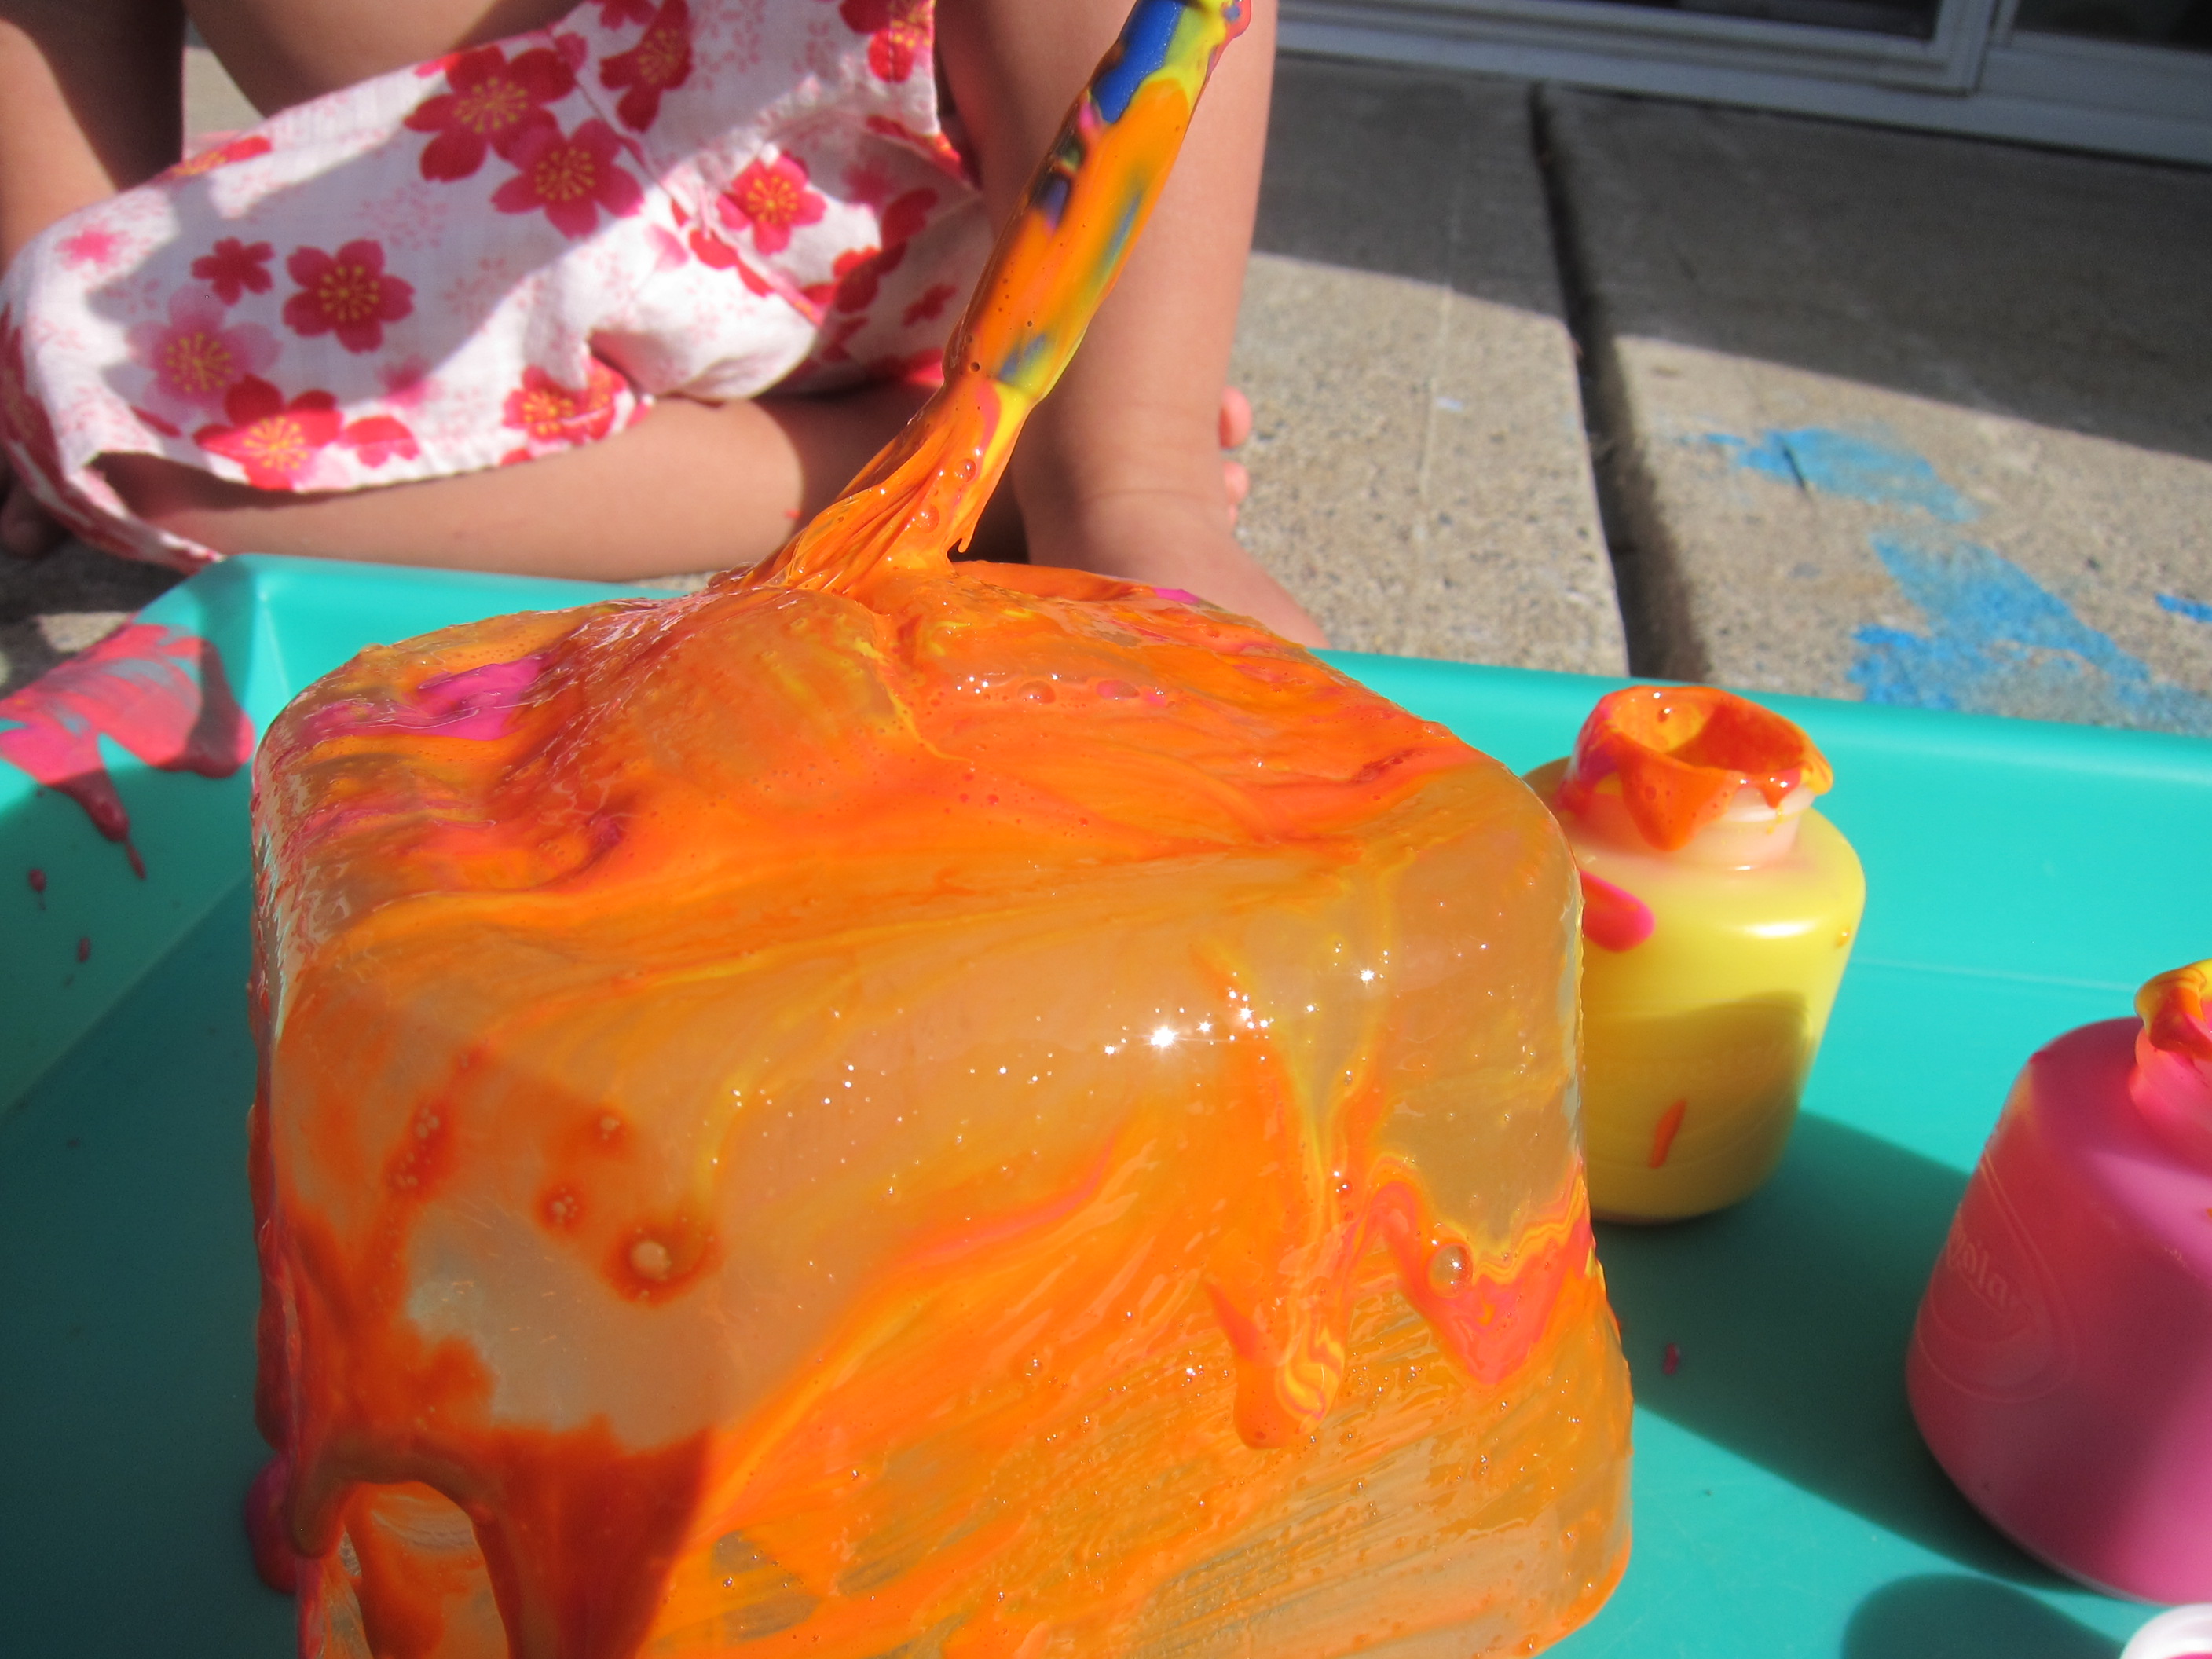
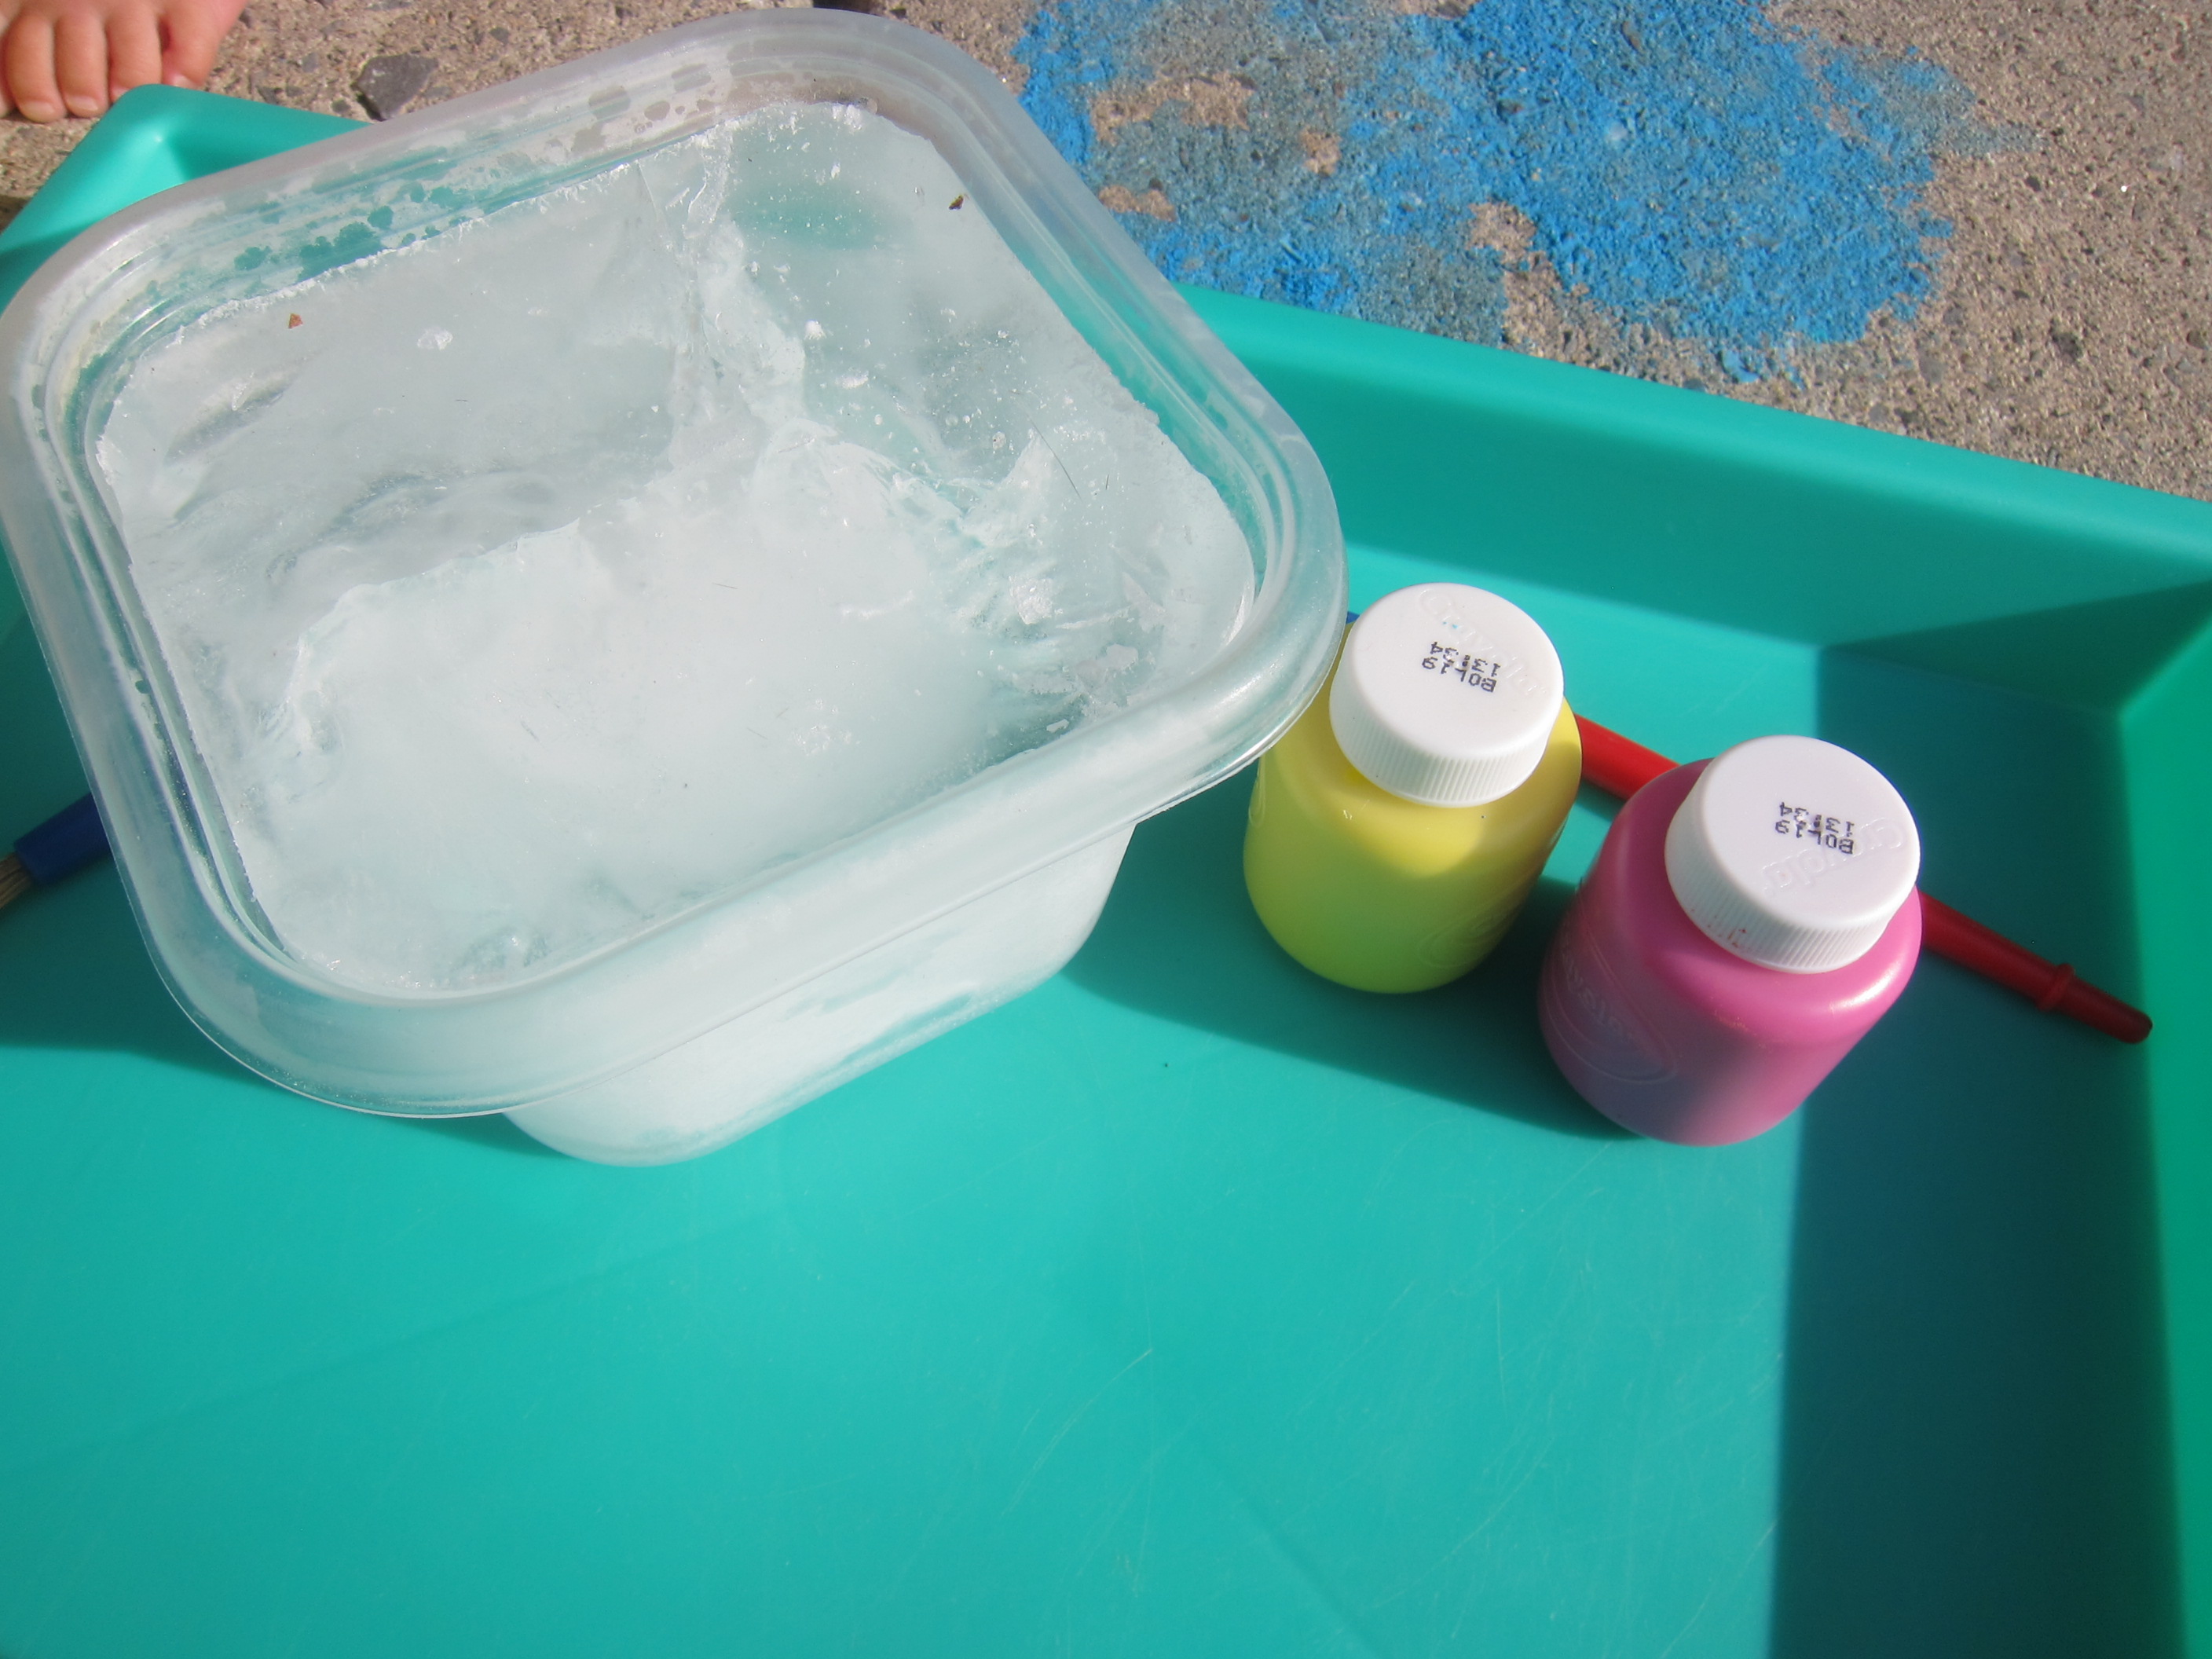
I cut a square of watercolor paper to fit inside a small shoebox, then set out a few colors of paint on paper plates. I next showed her how to dip a rock in the paint. “Can you dip yours?” Yes!

Rock Painting (1)

“Should we put it in the box?” Yes!

Rock Painting (5)

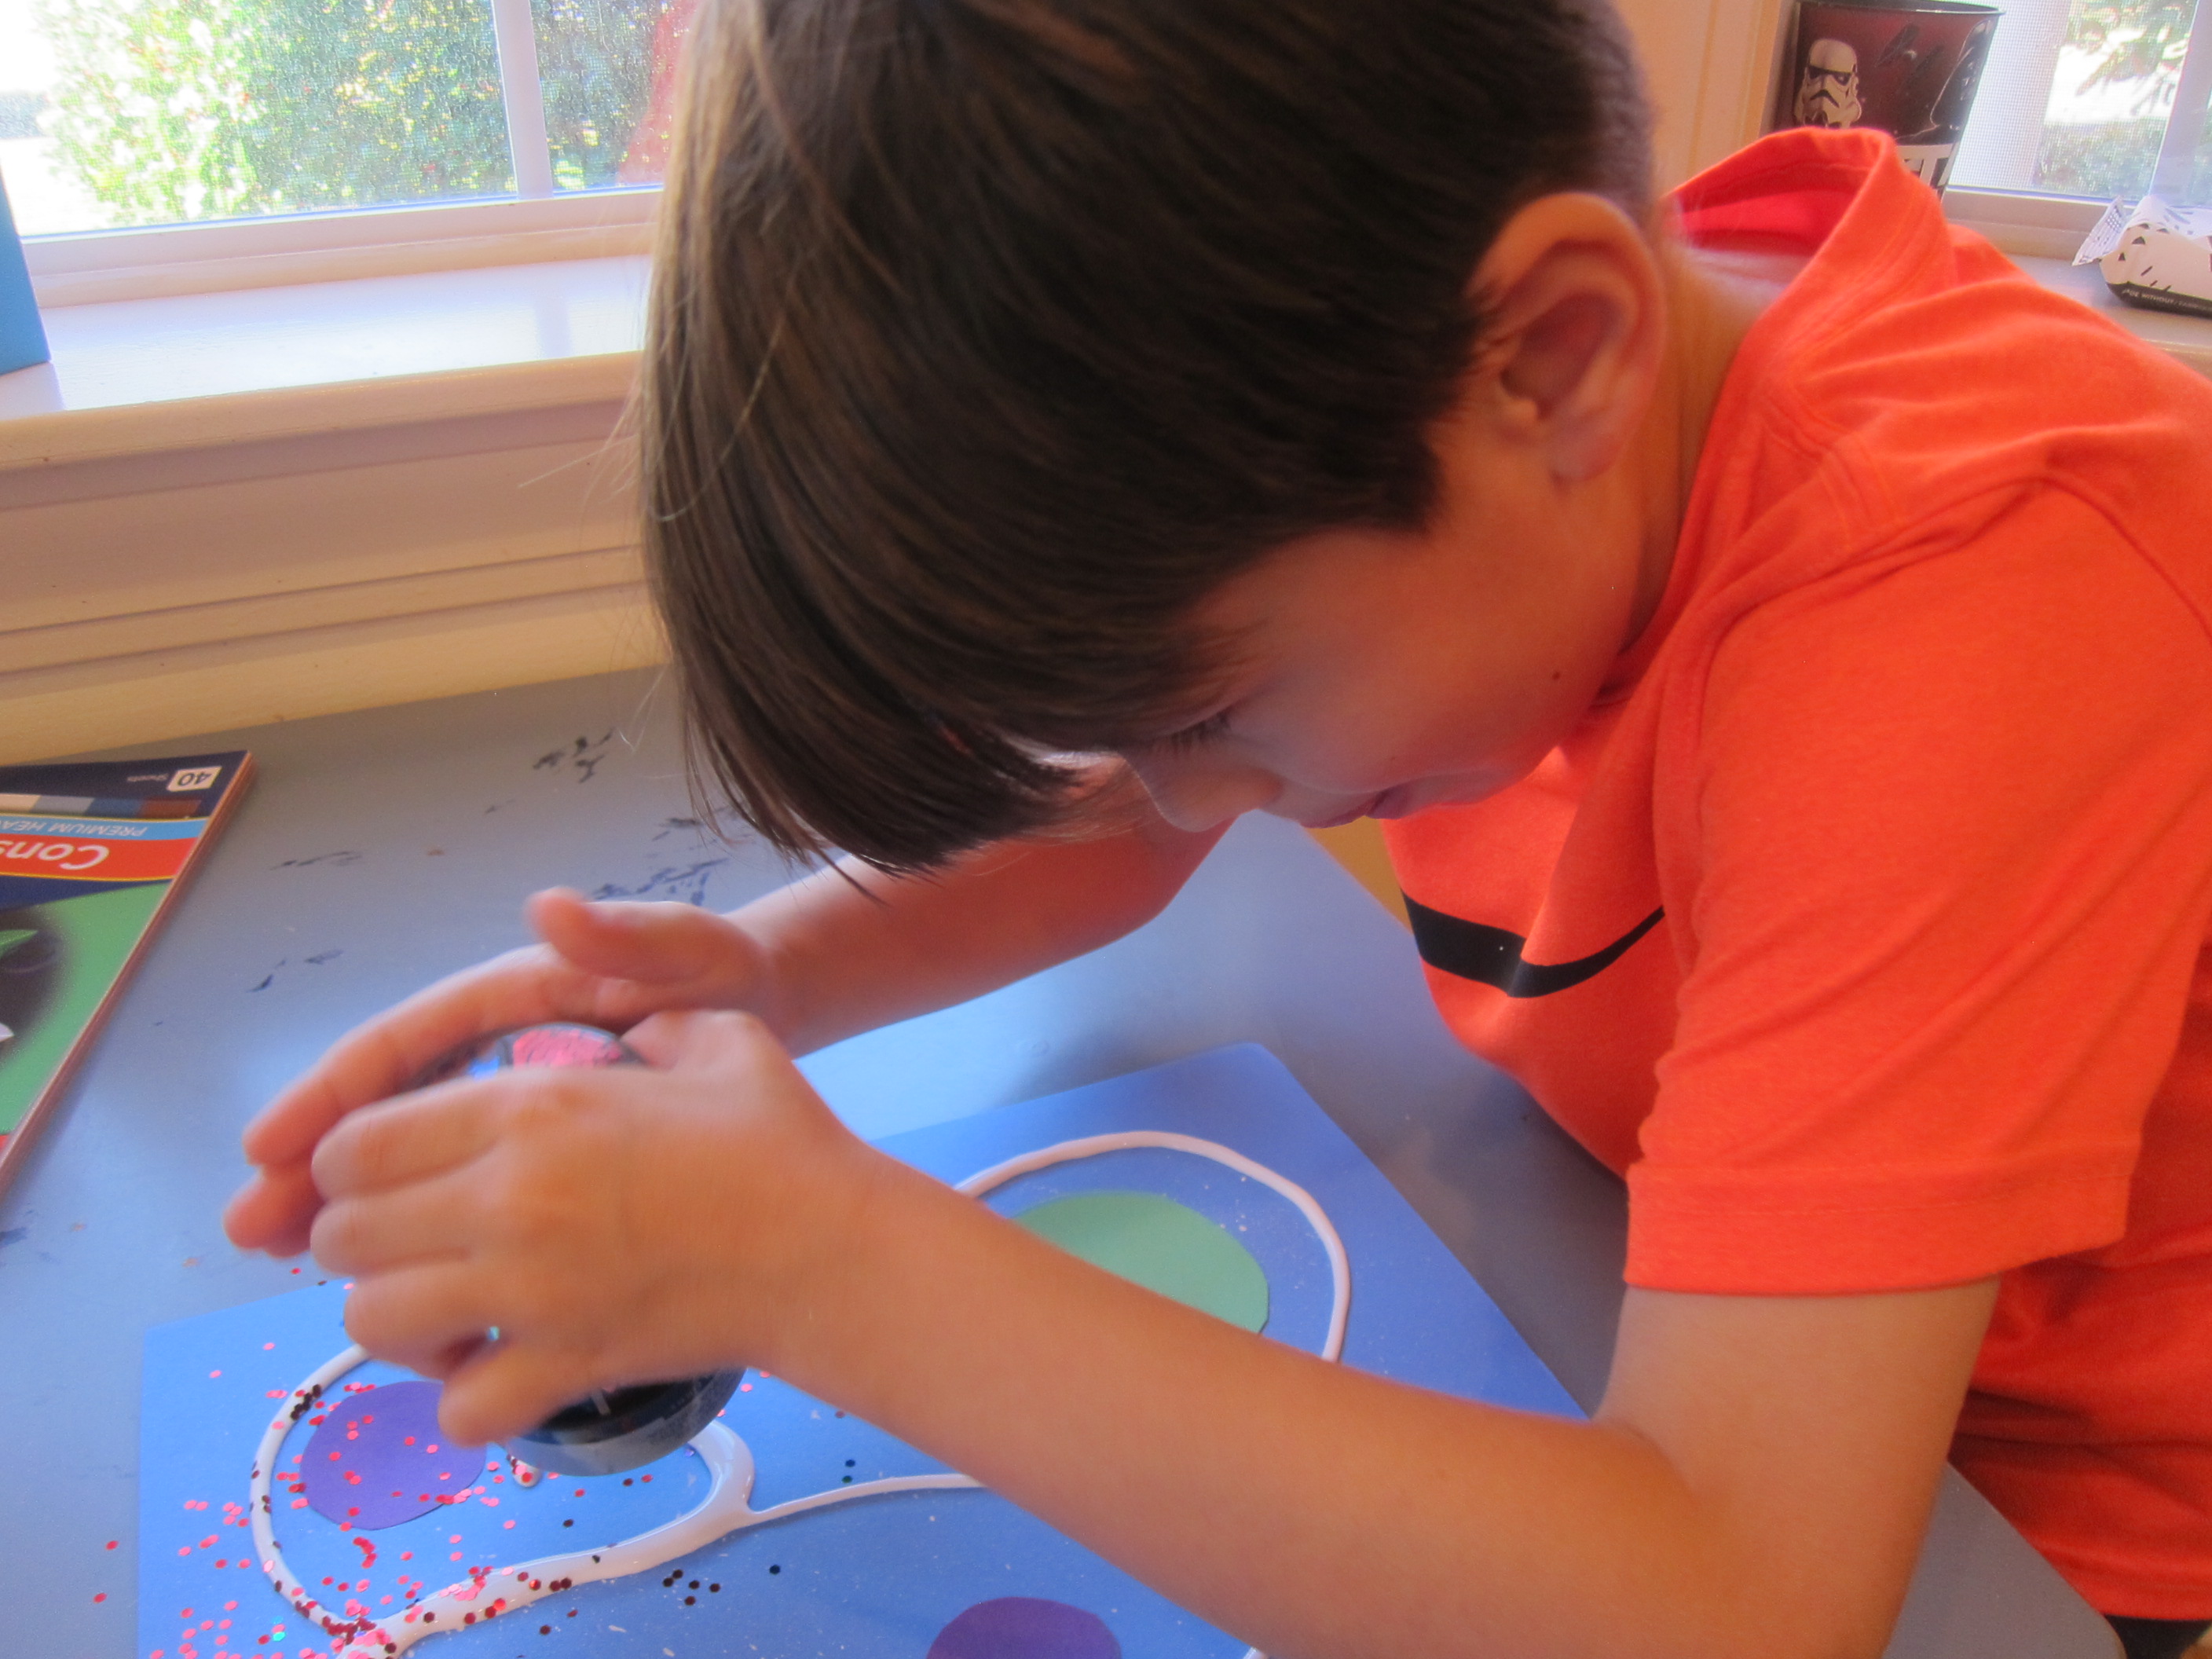
Close the lid and help your toddler shake the box around.

Rock Painting (2)

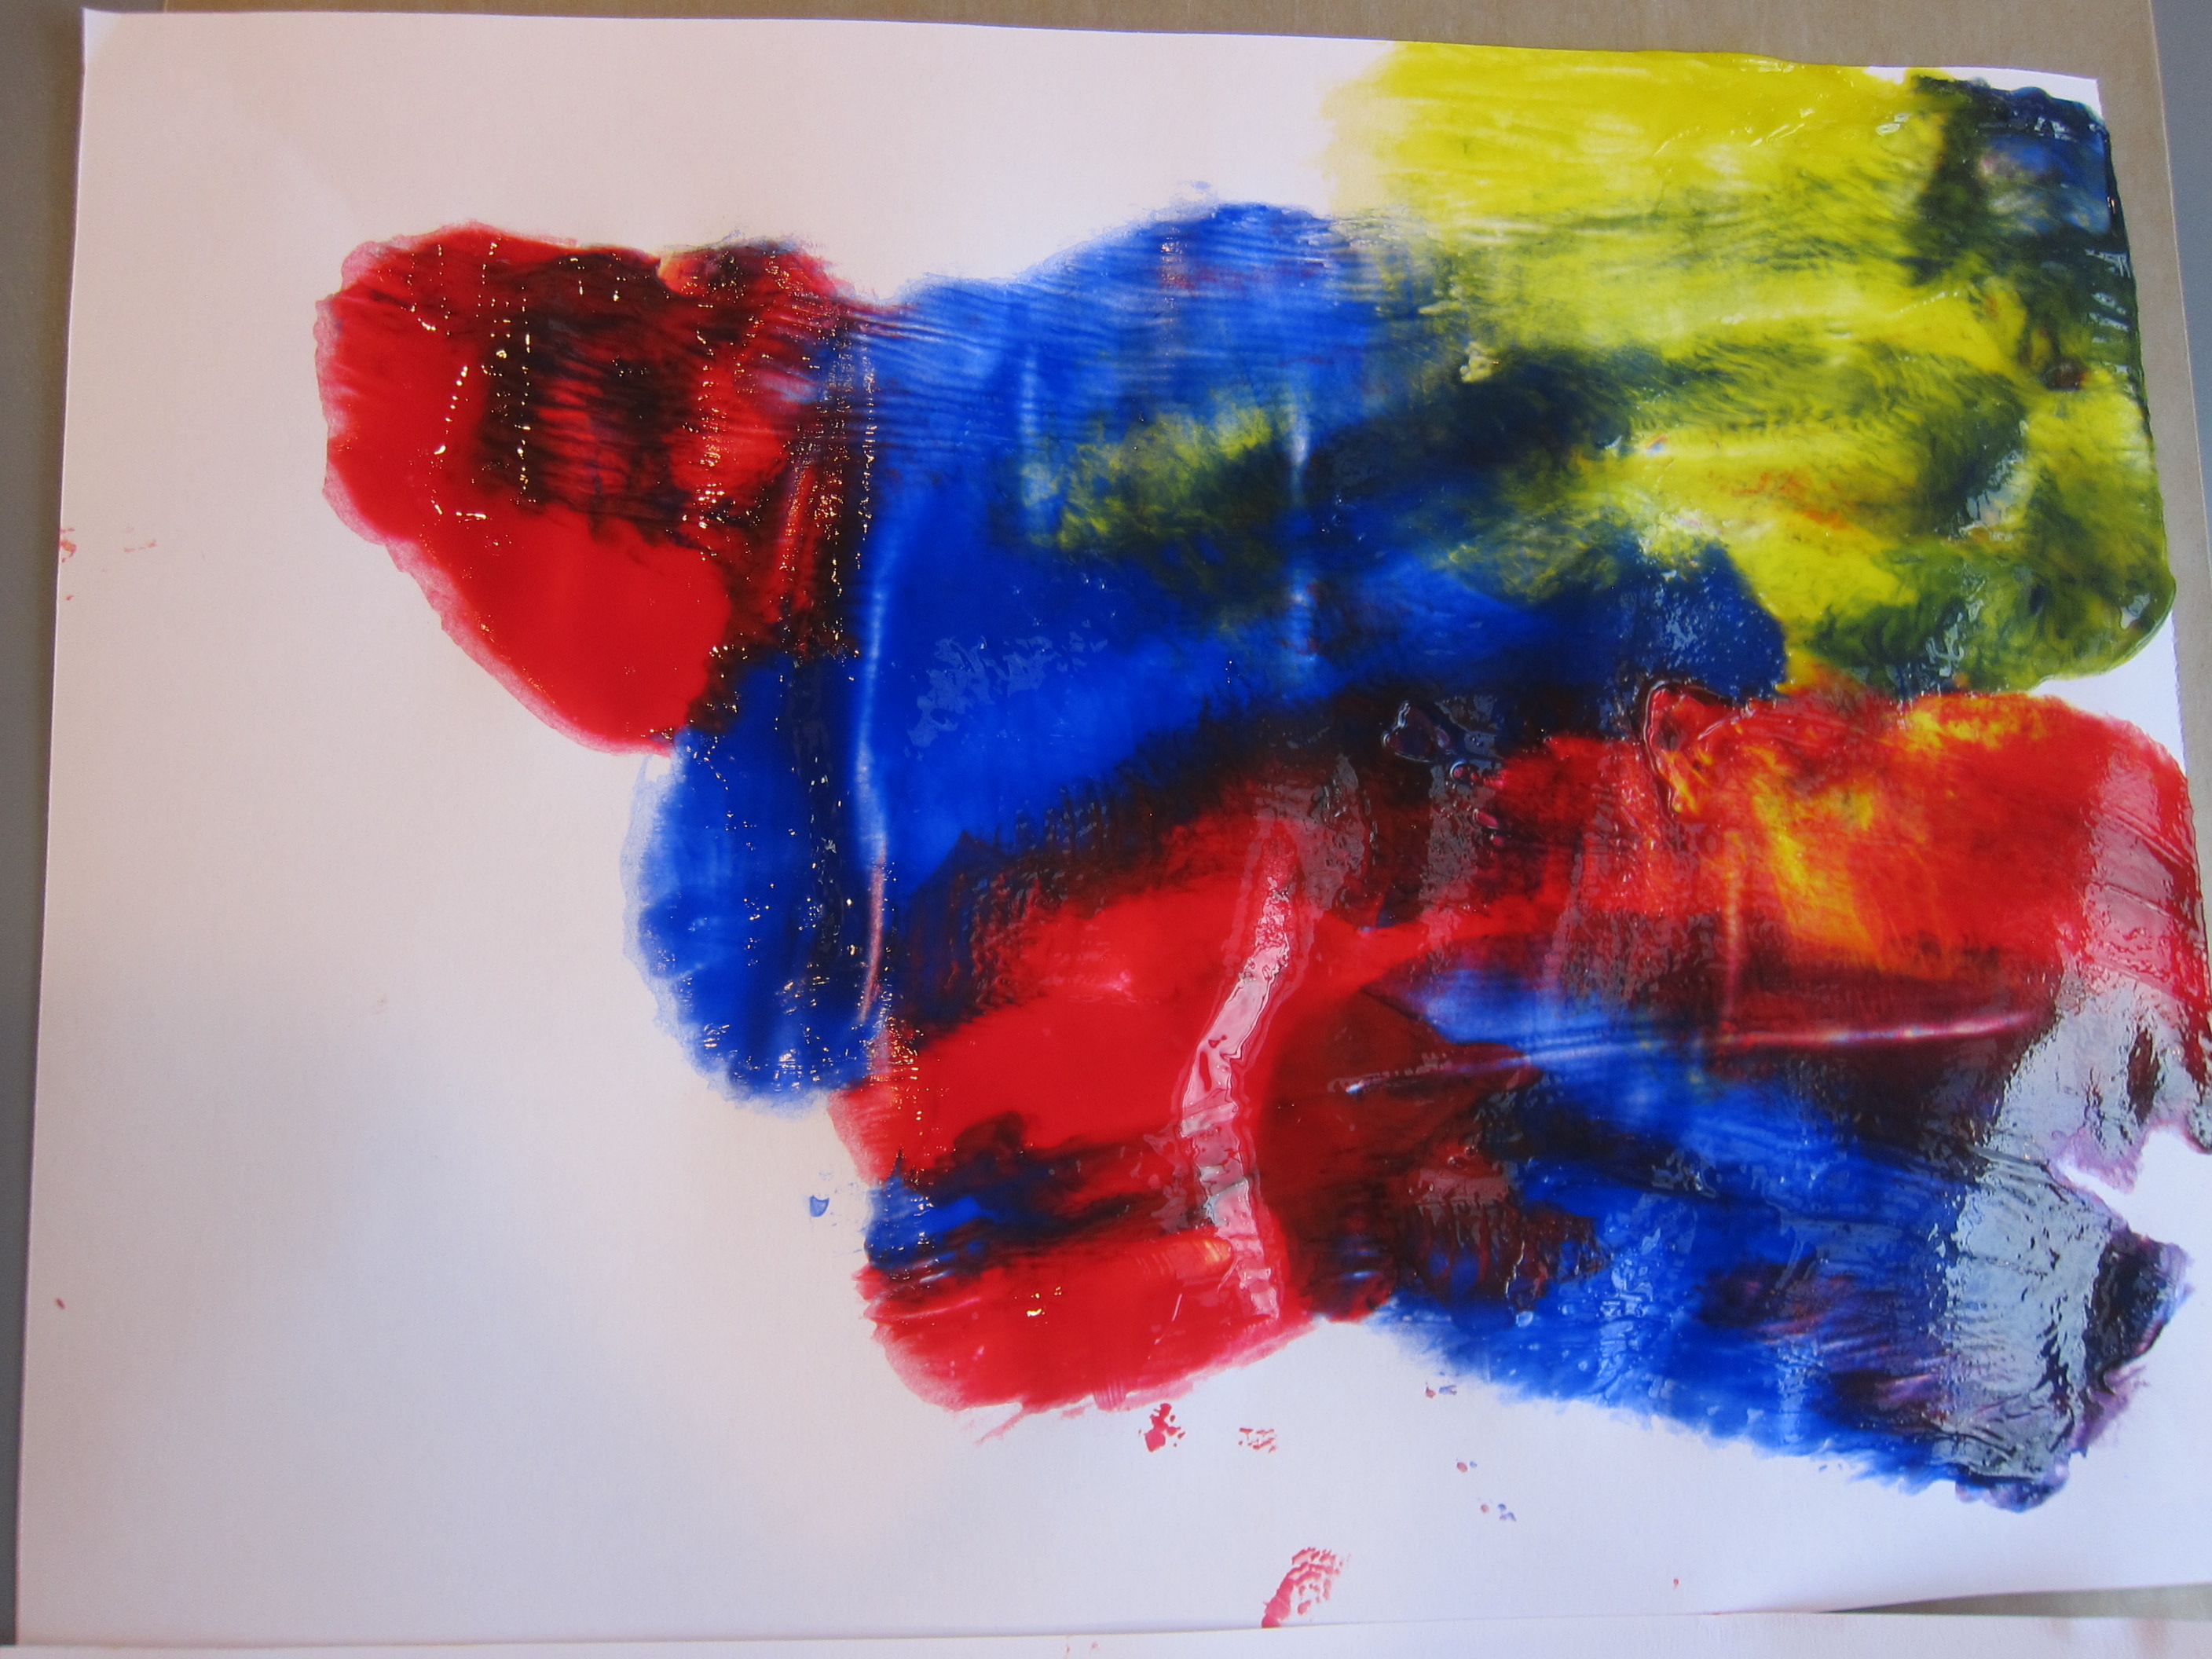
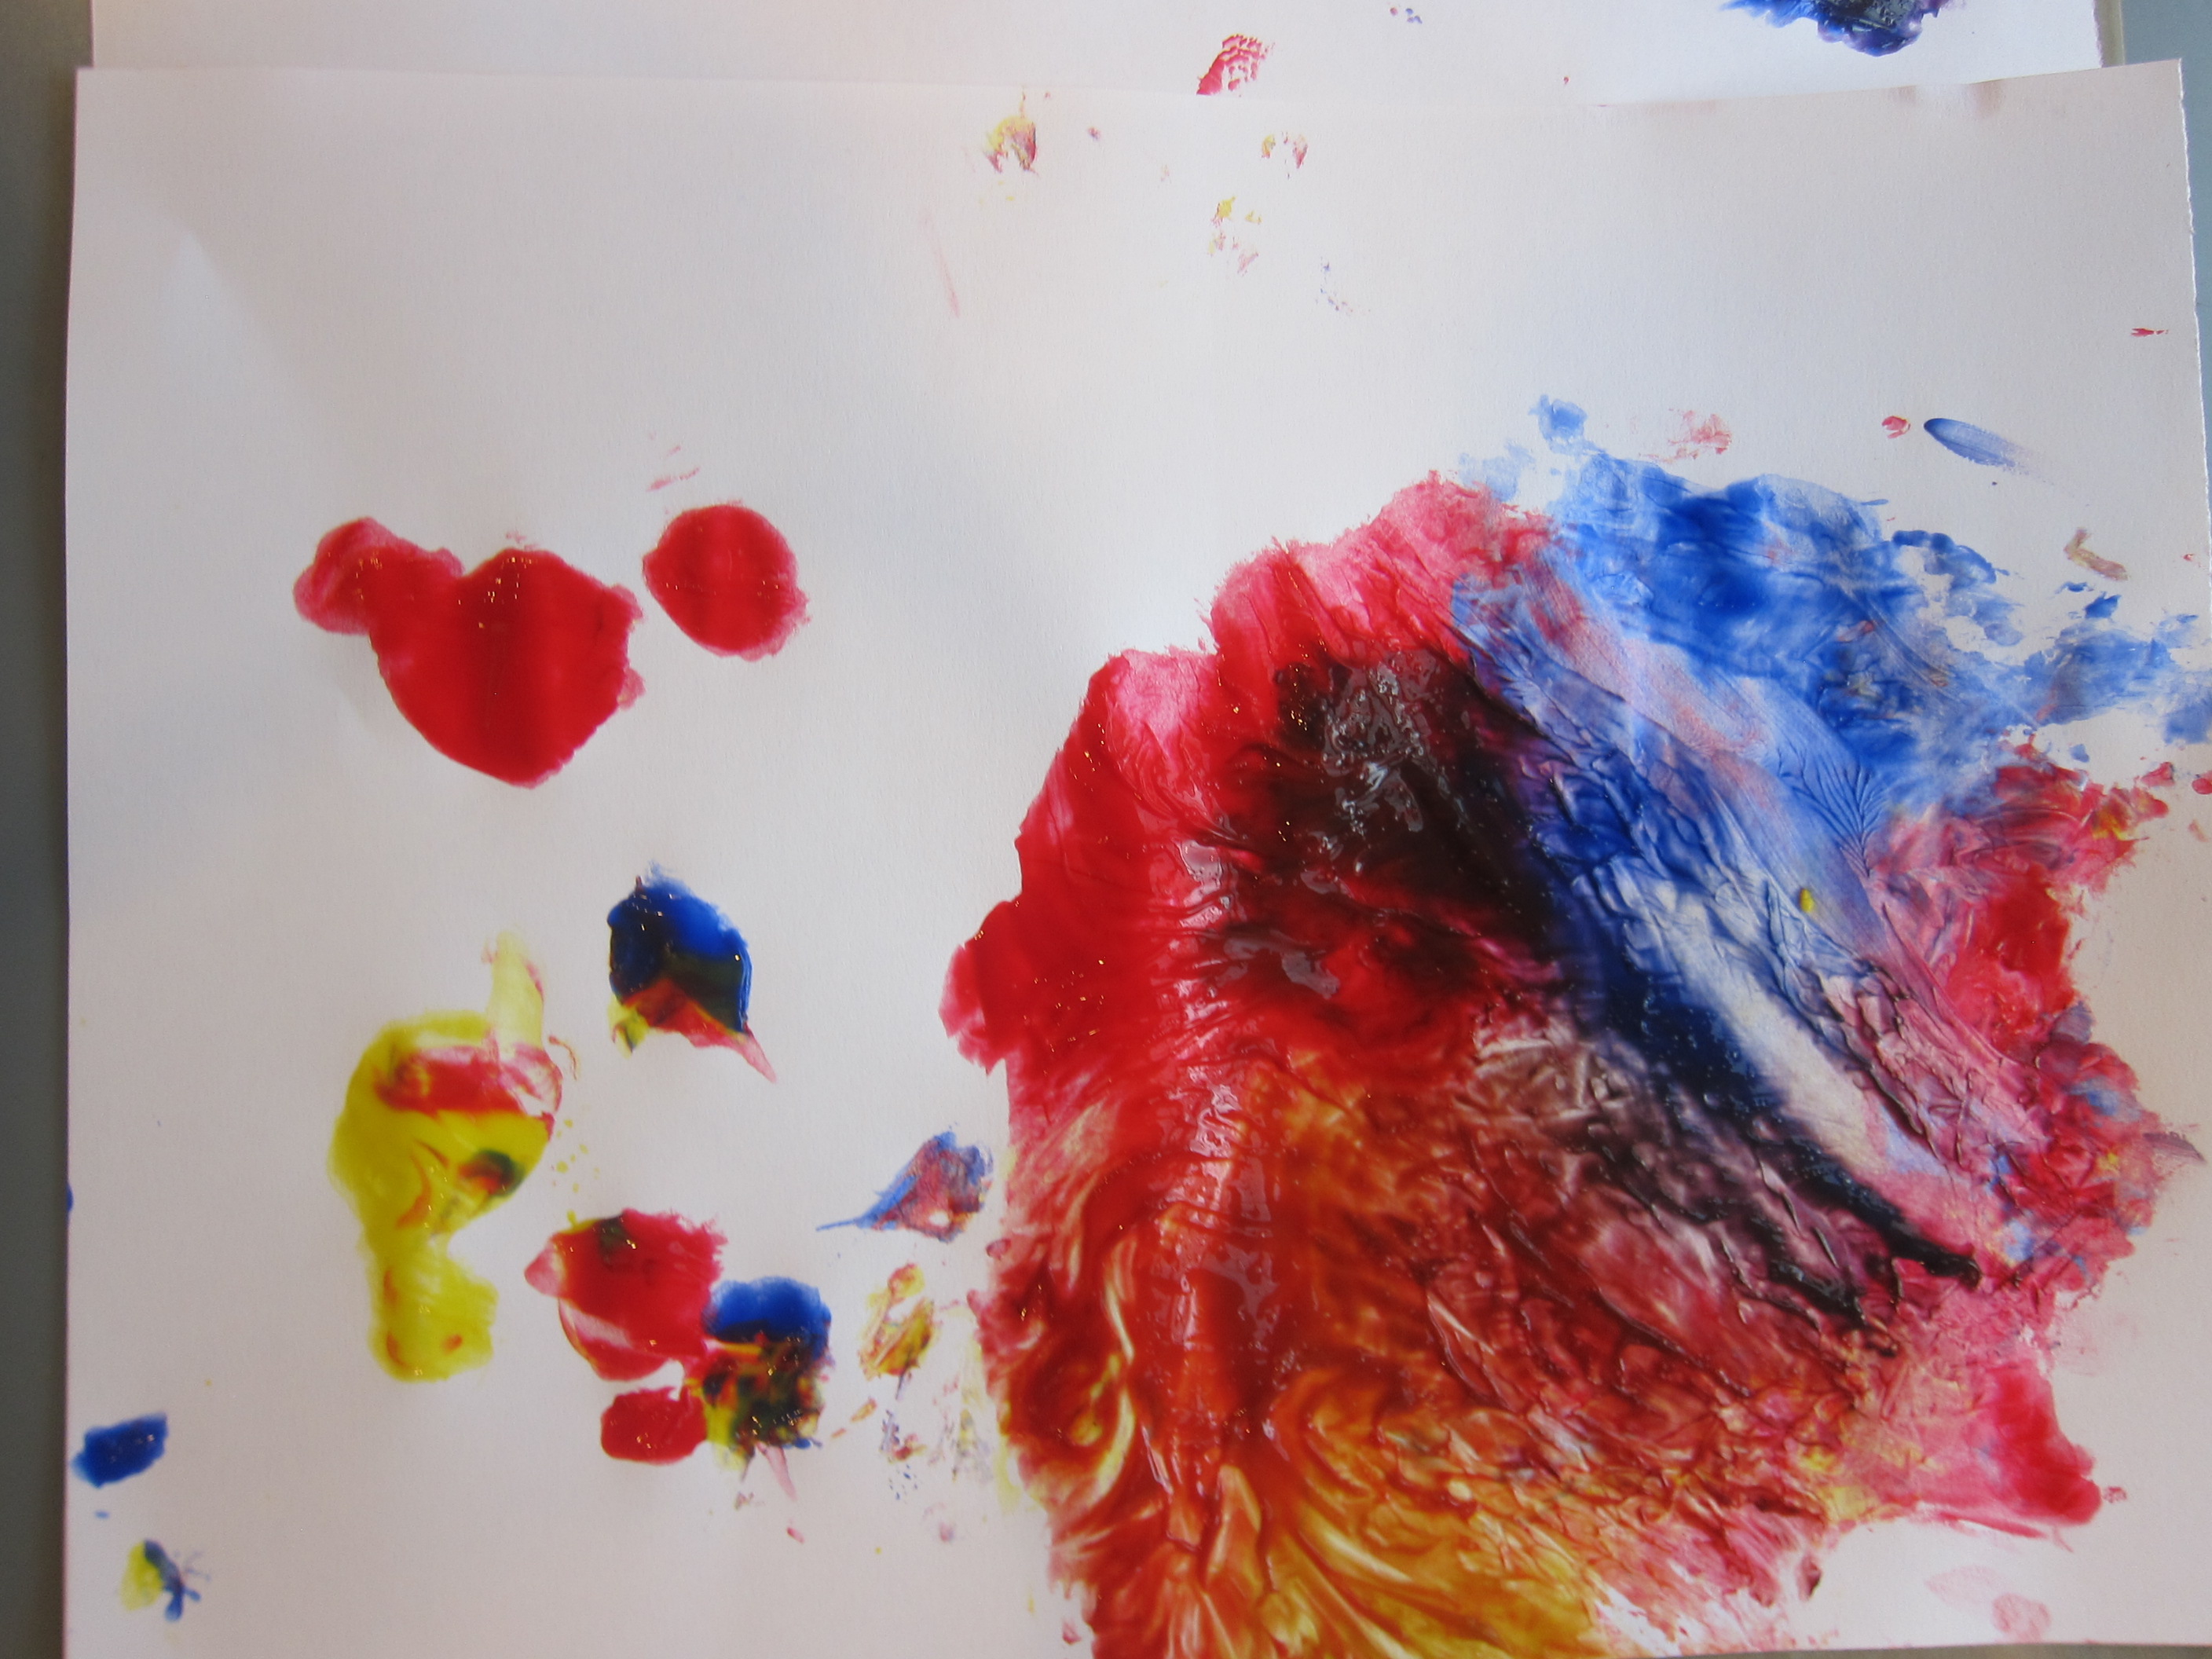
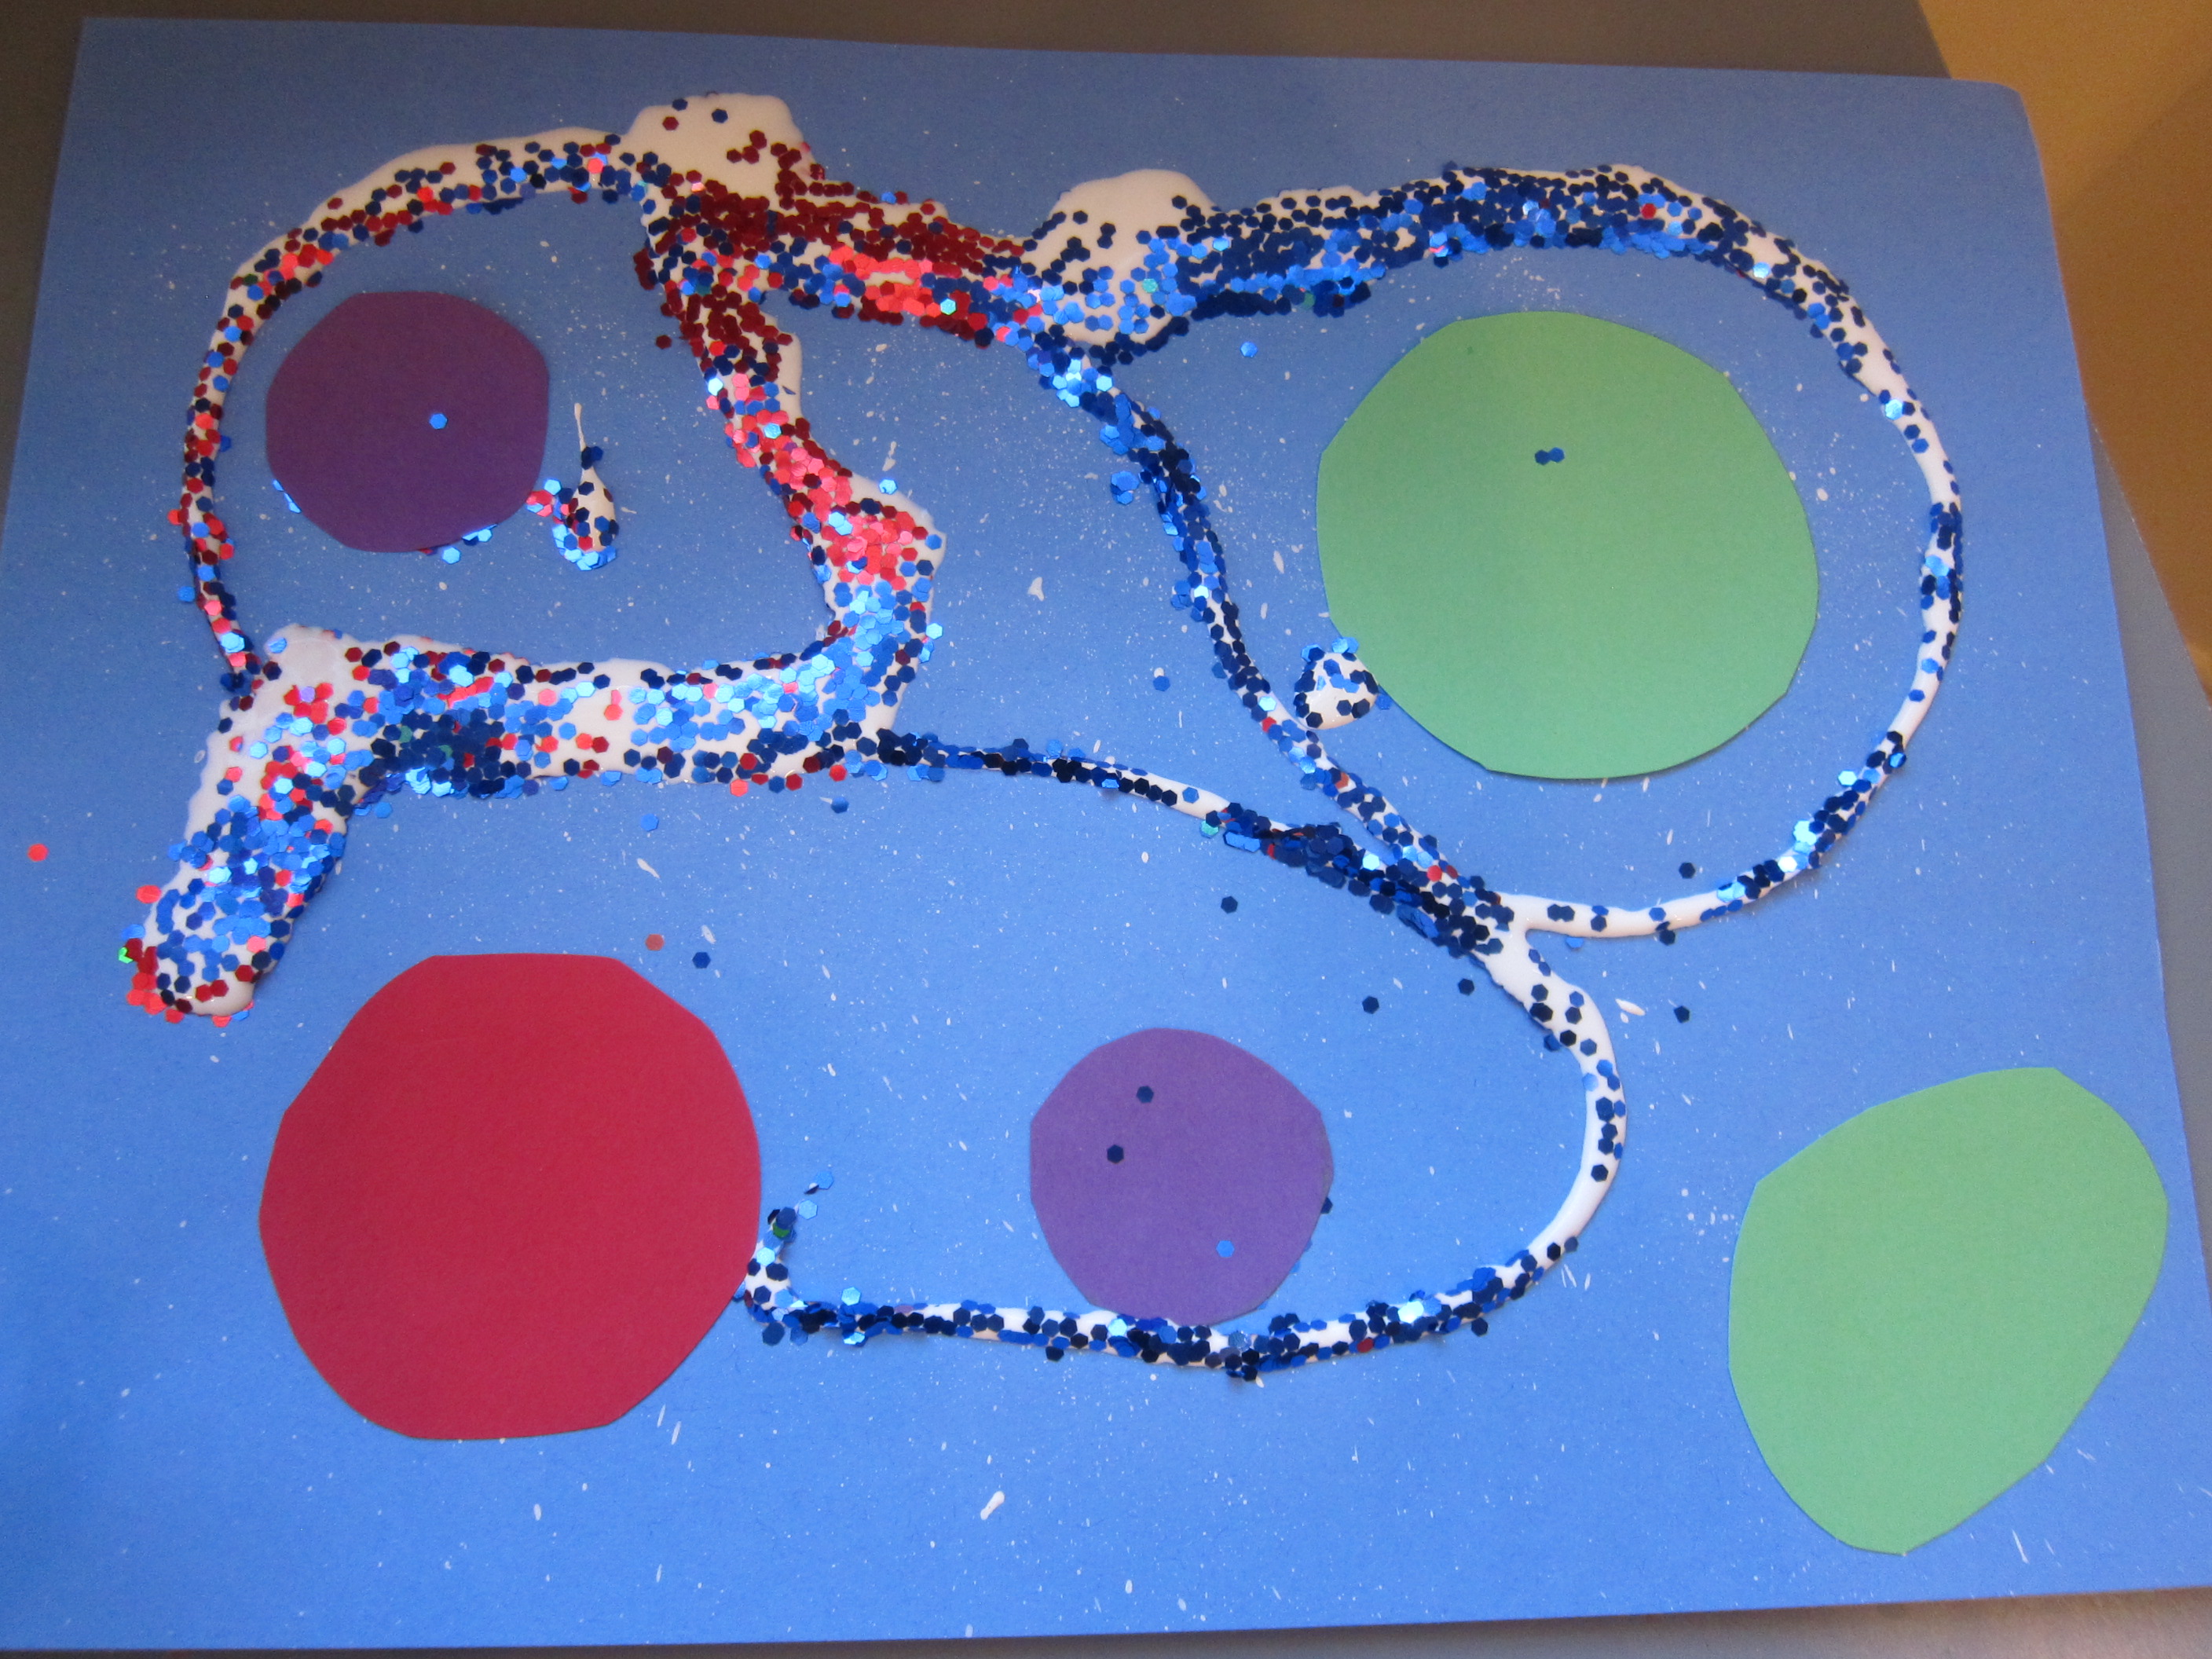
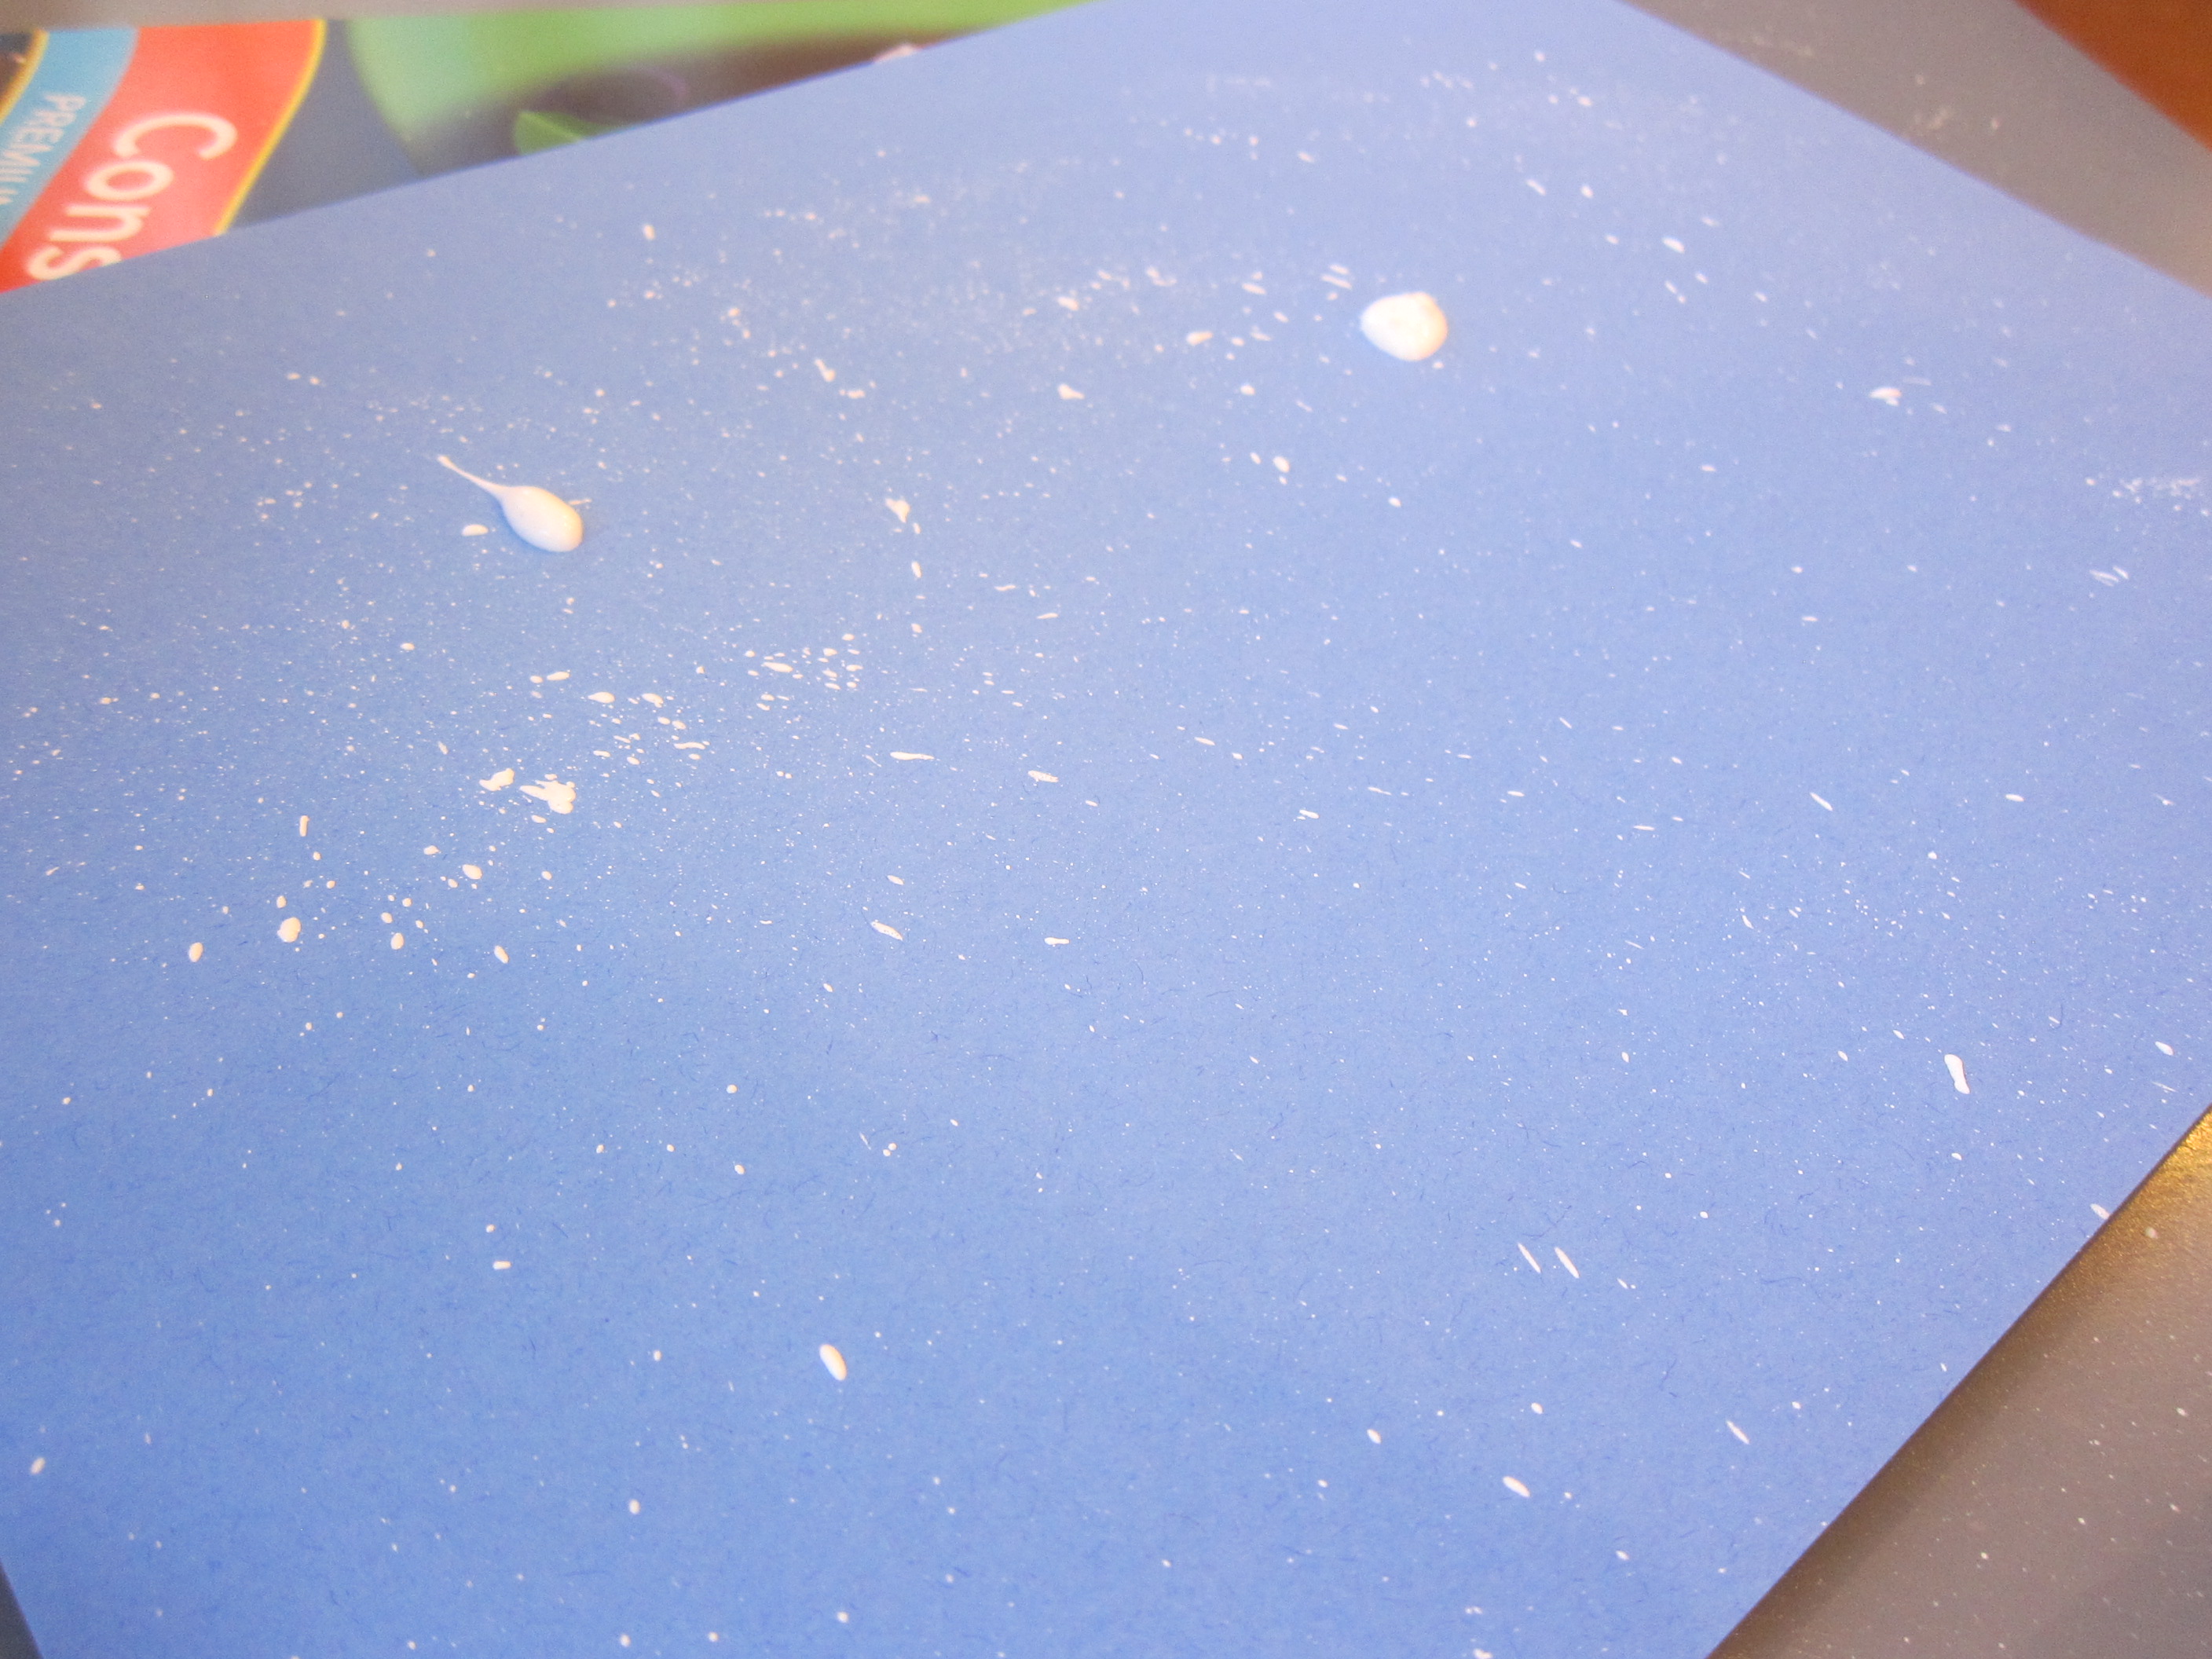
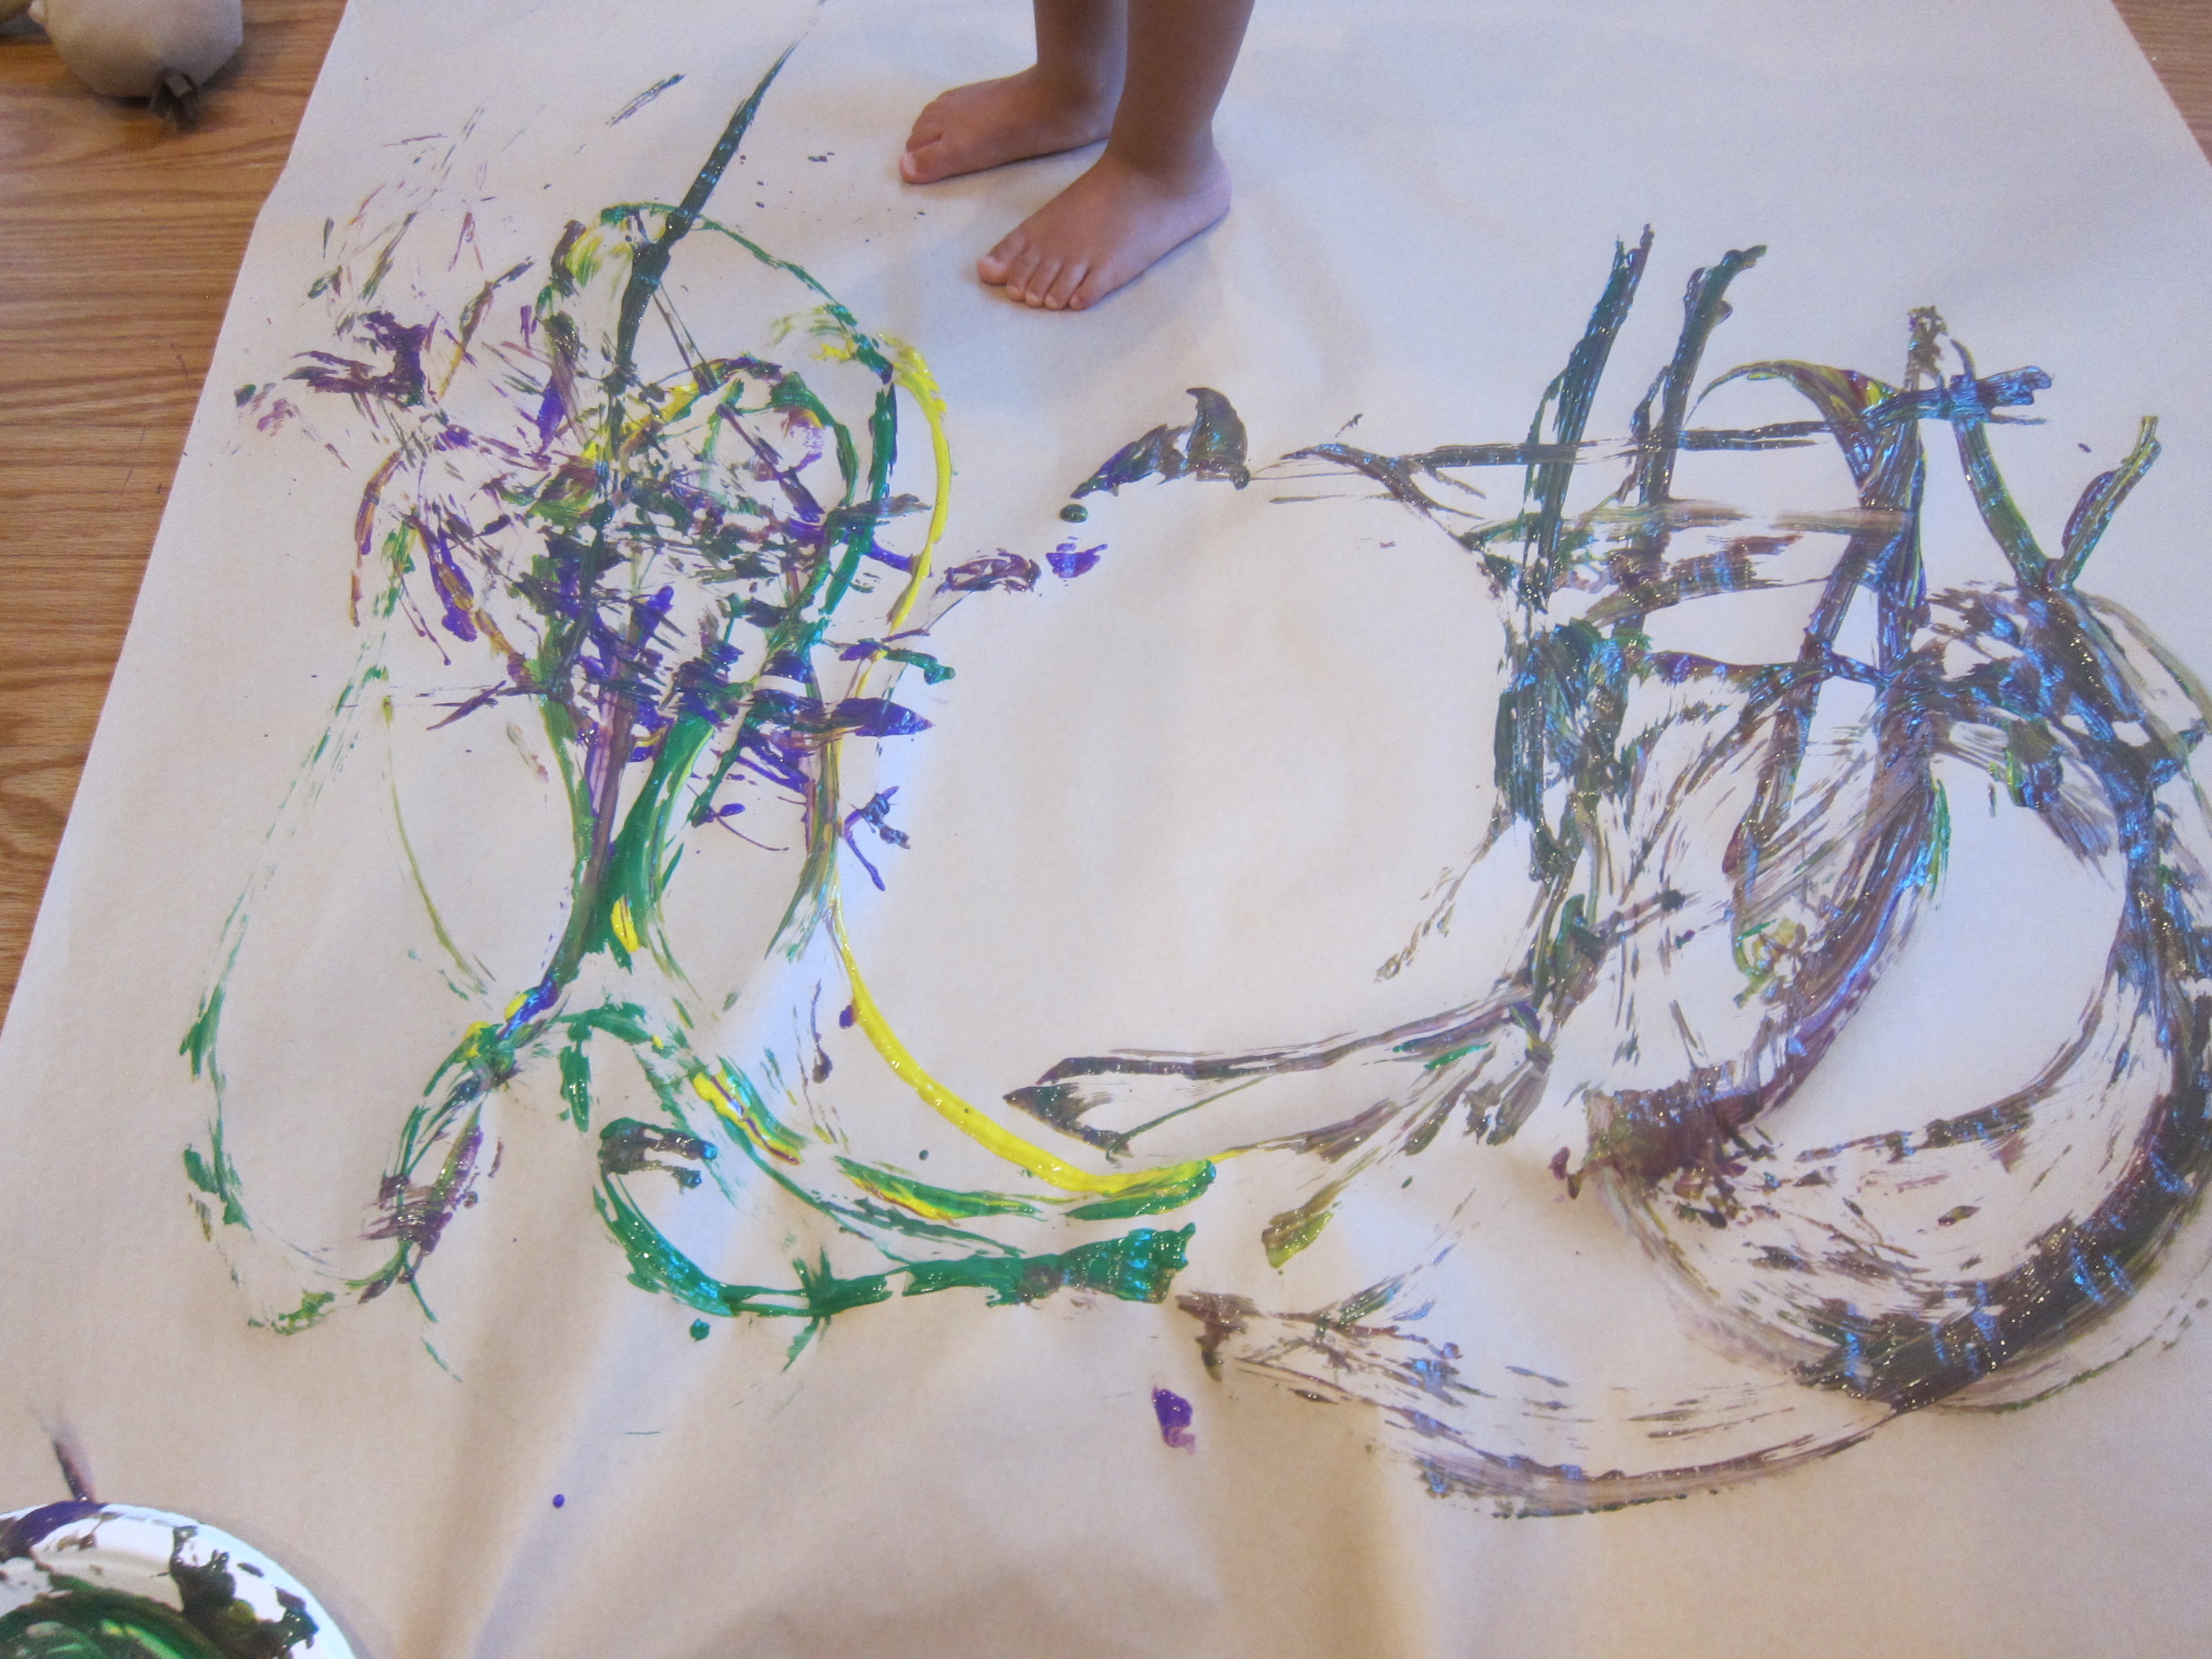
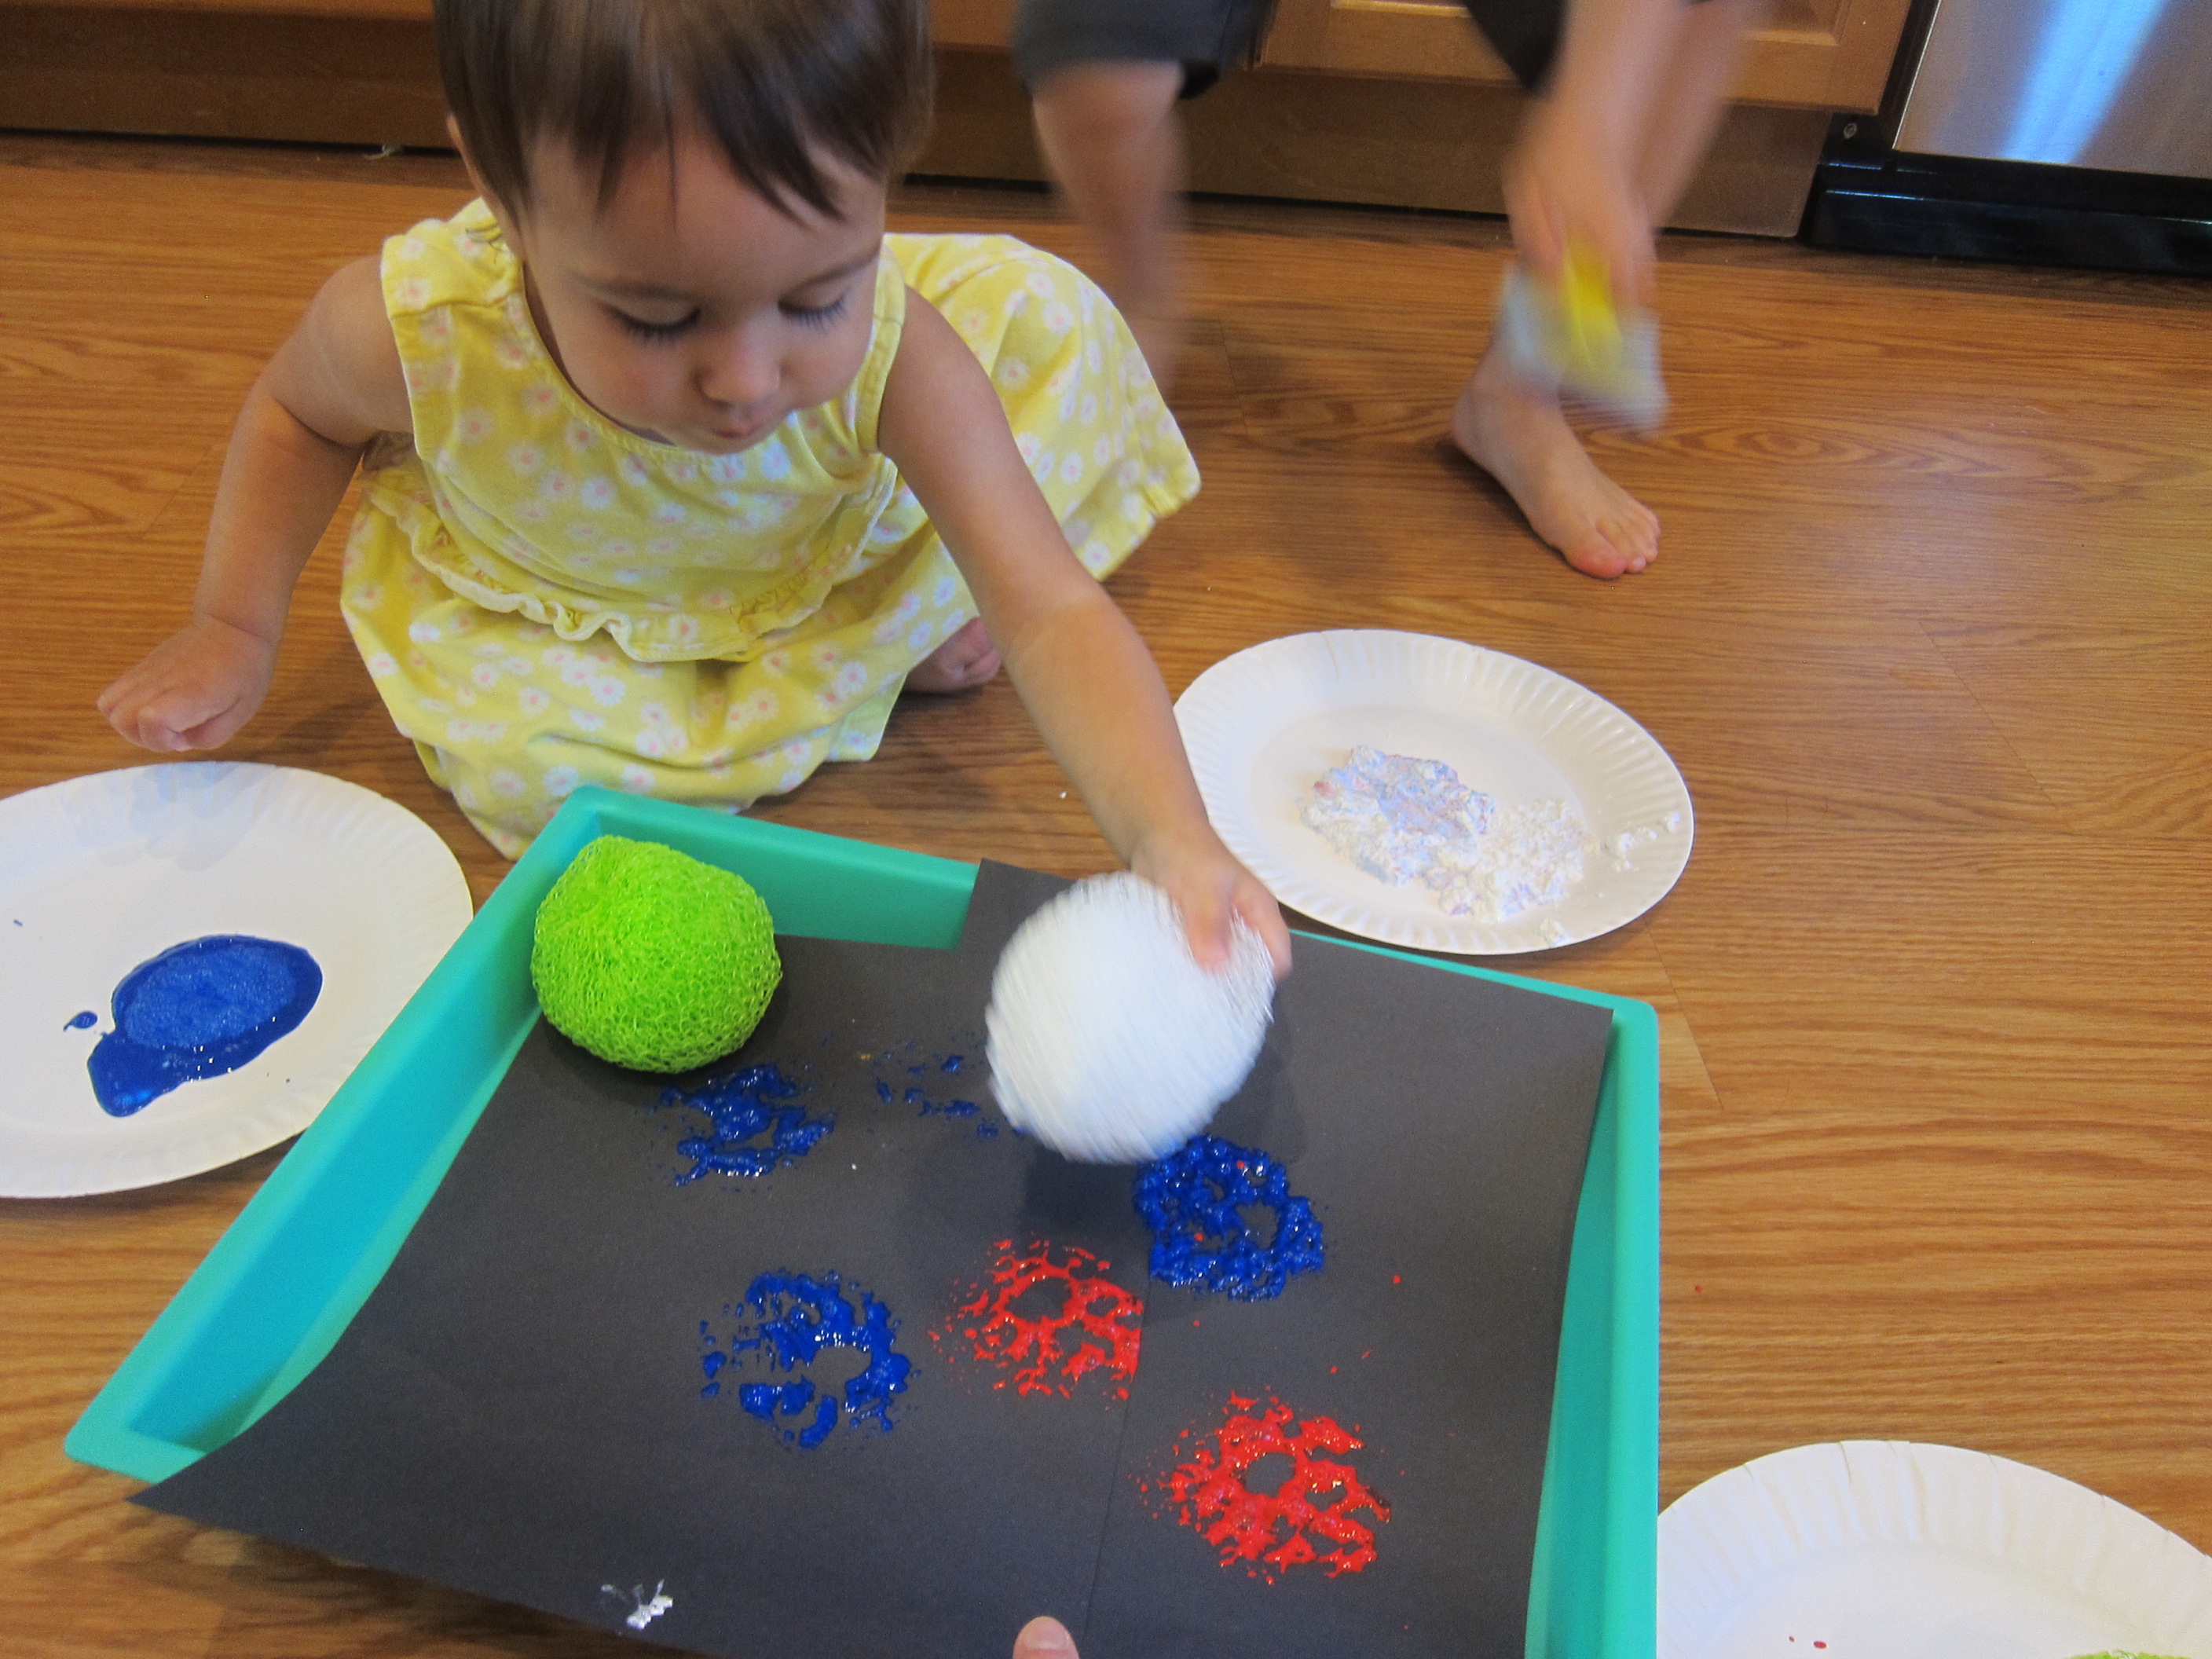
When you open it up, the rock will have splattered paint in neat designs. We quickly repeated with a second color.

Rock Painting (4)

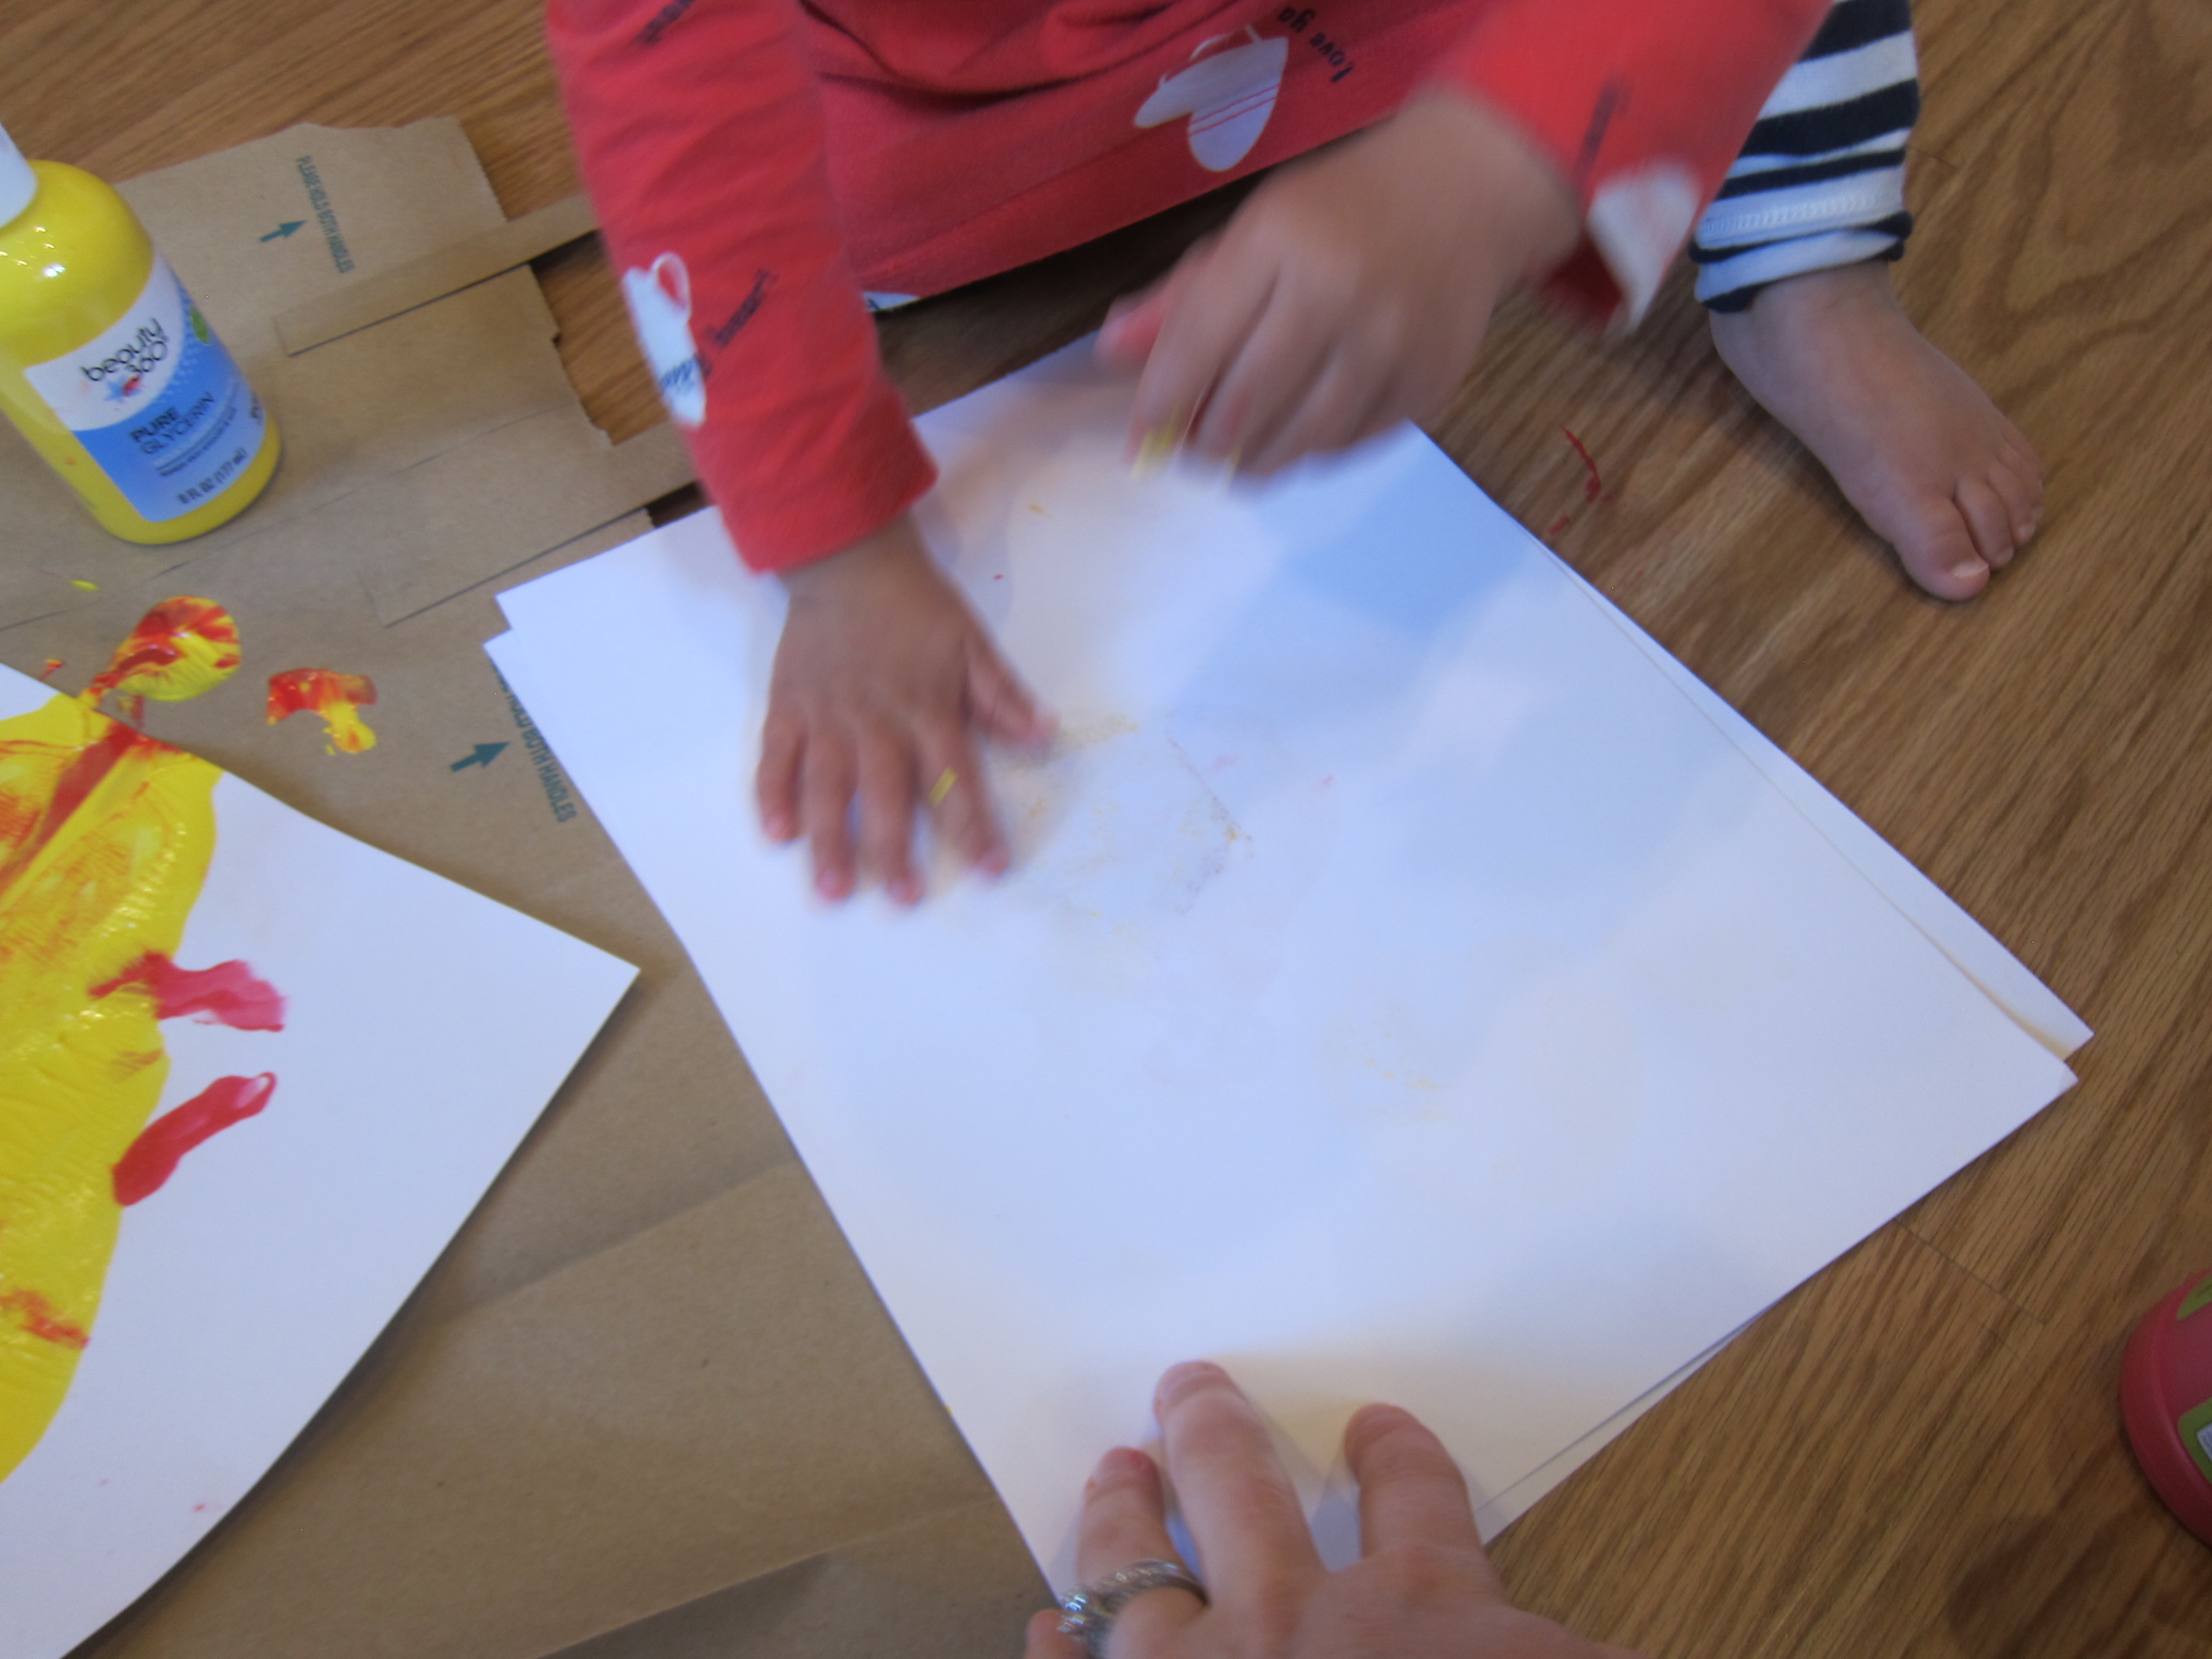
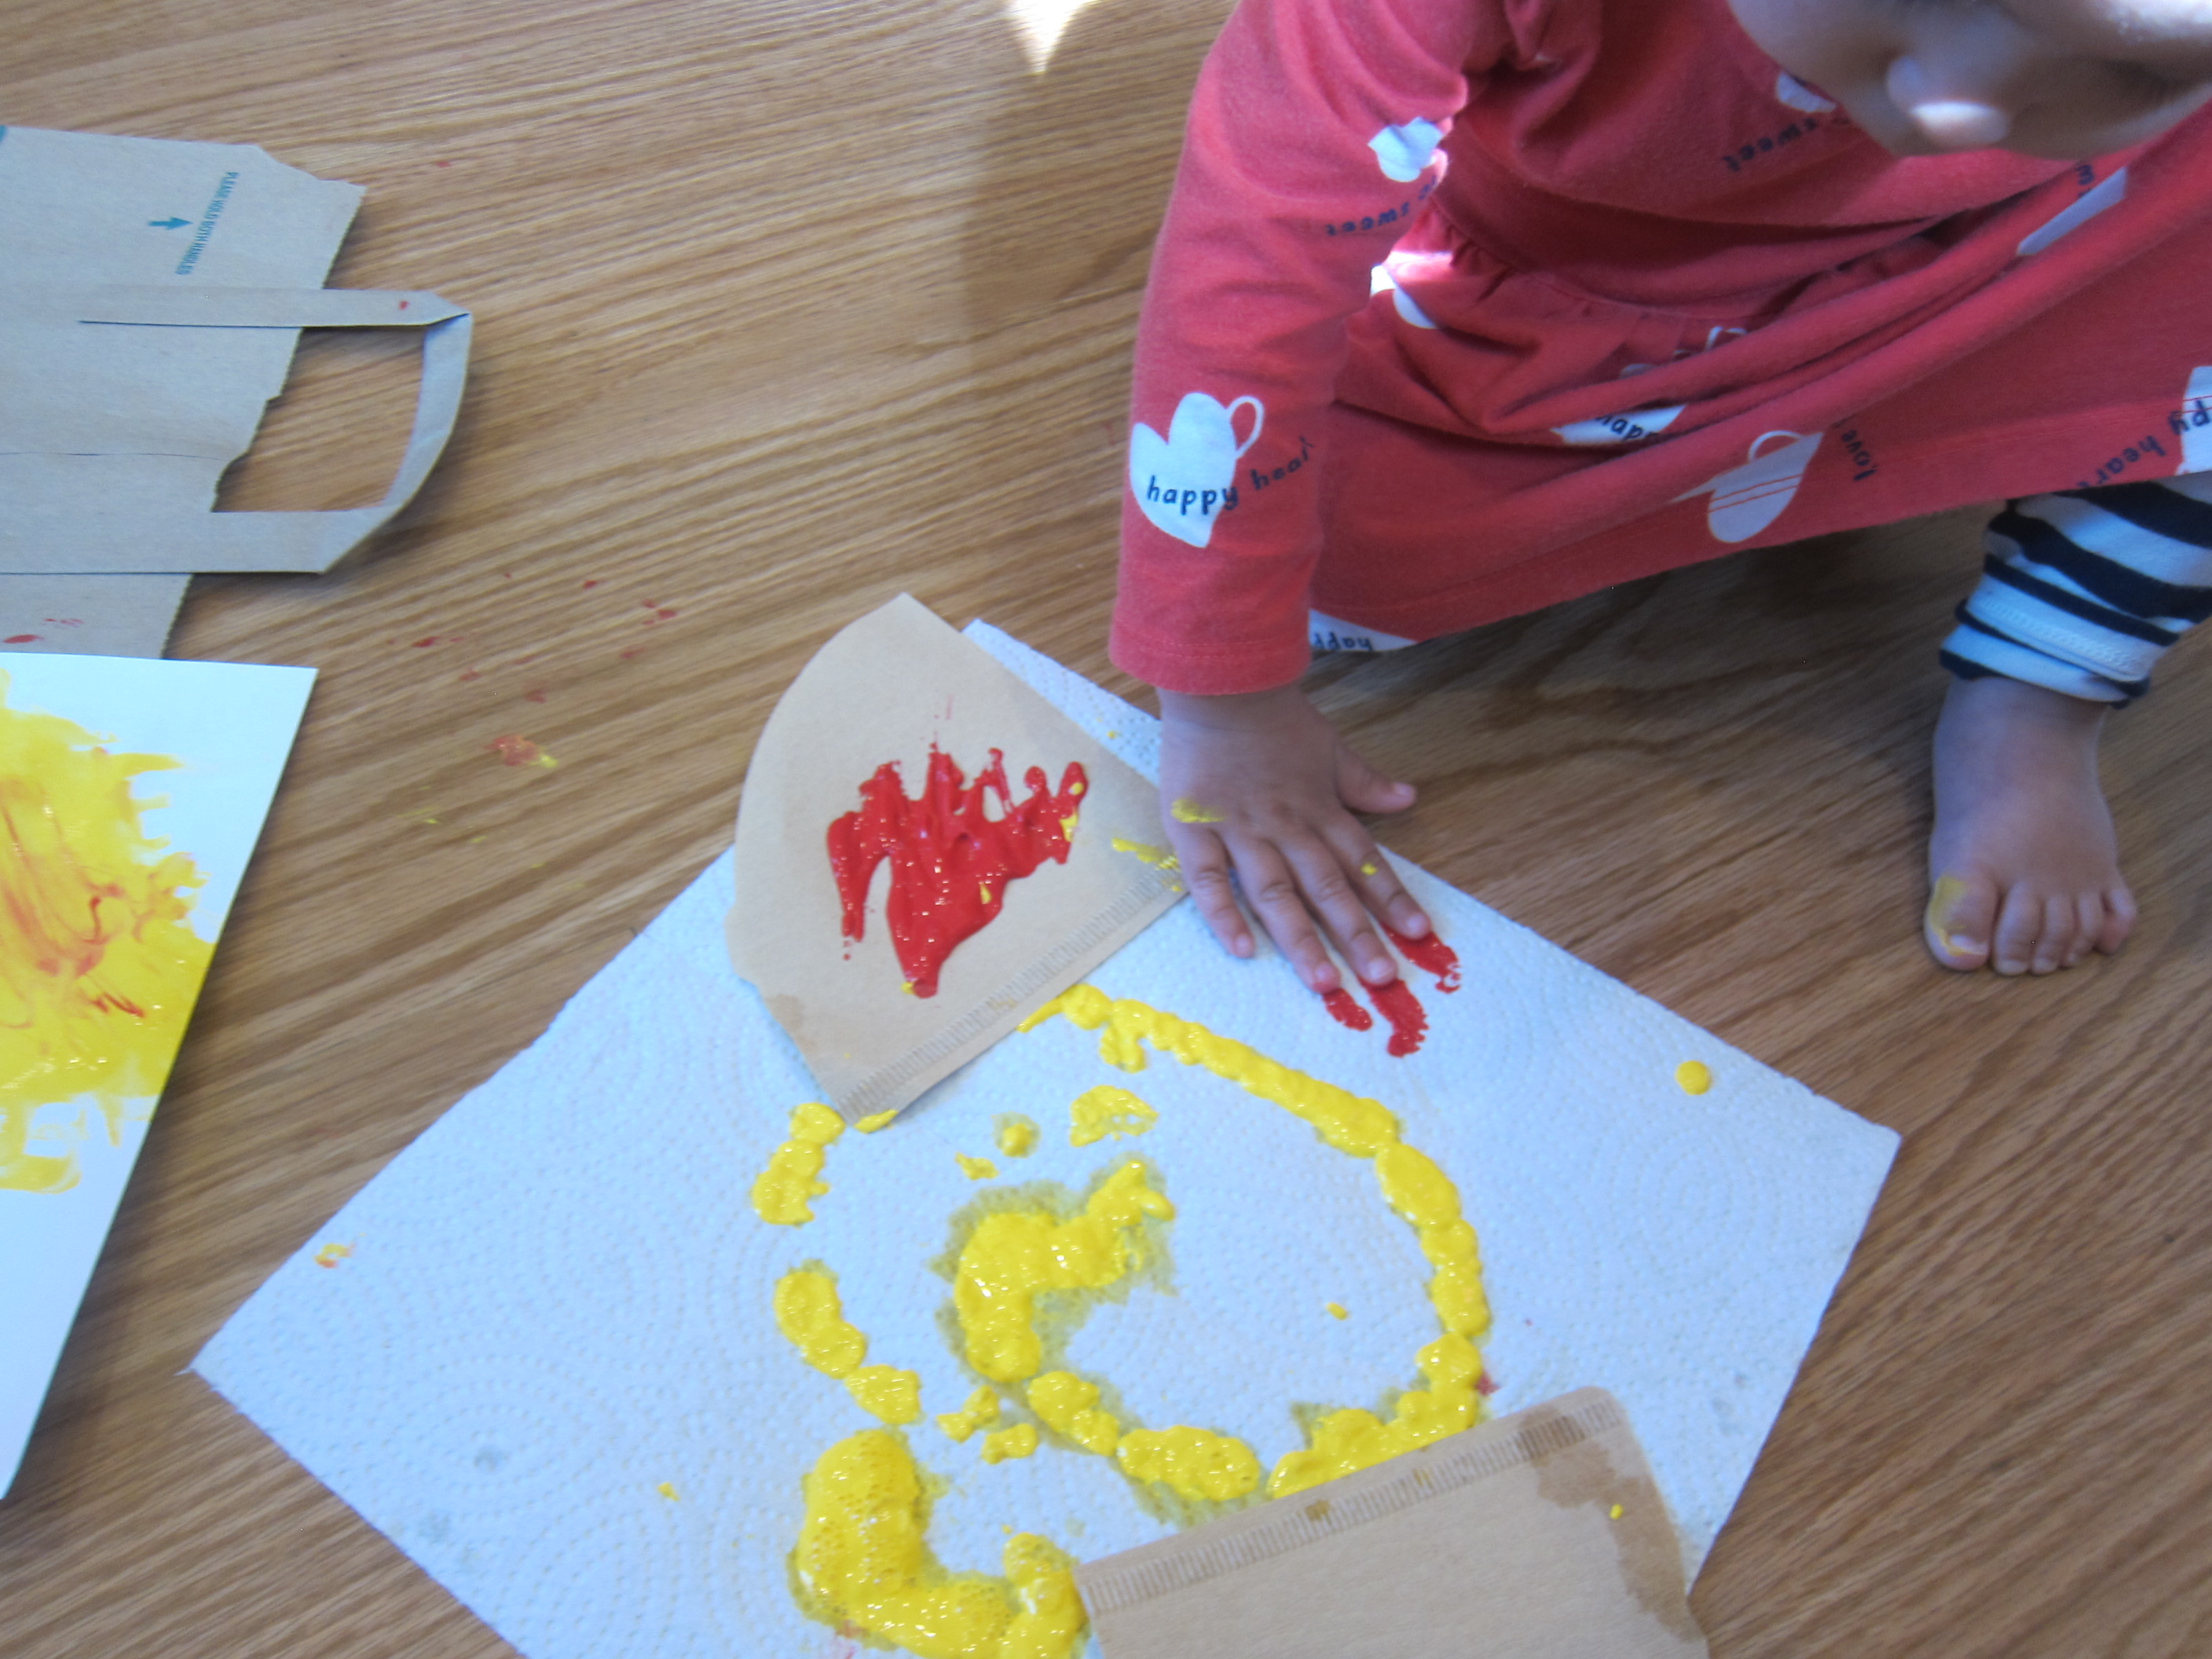
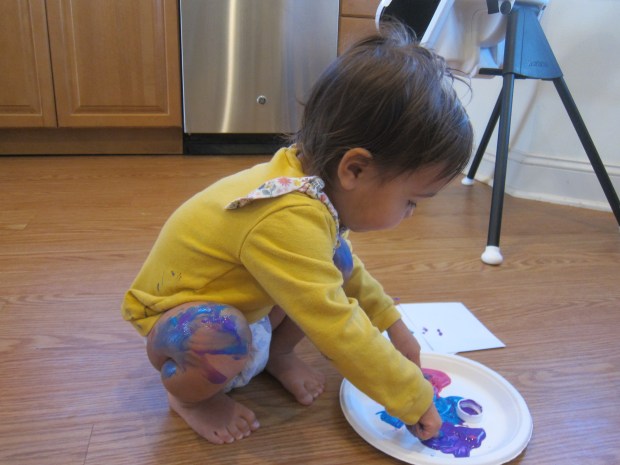
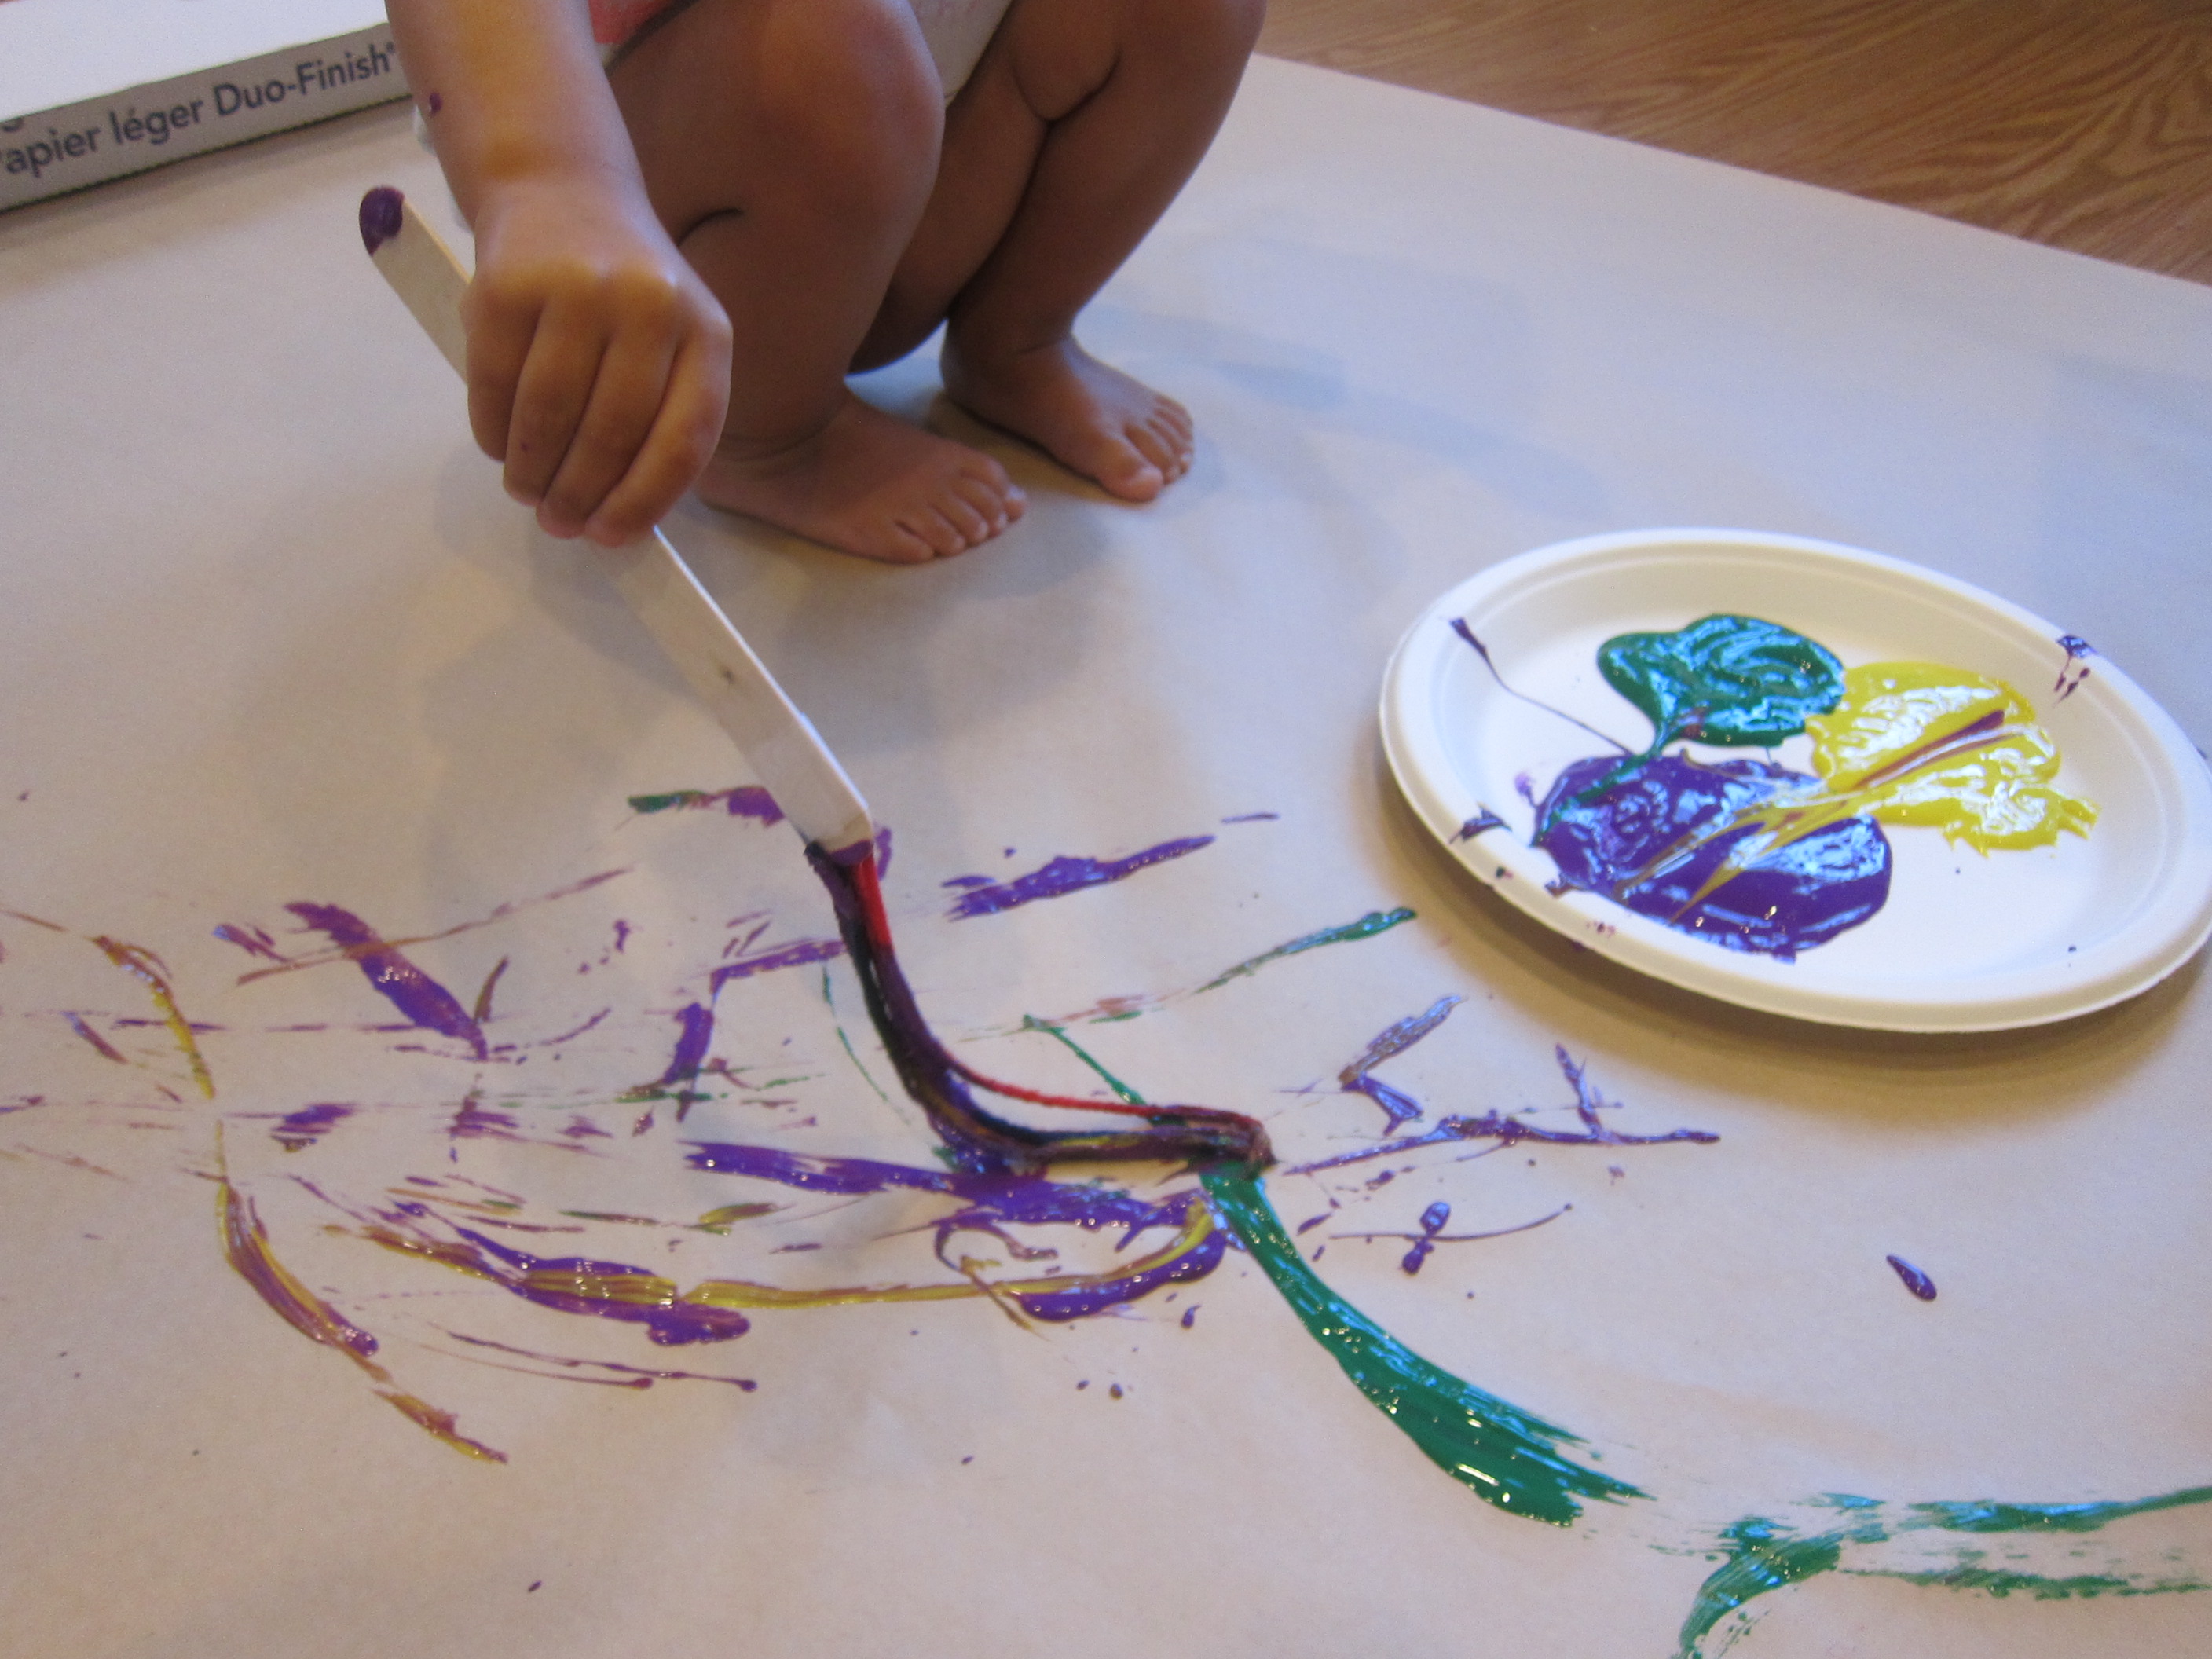
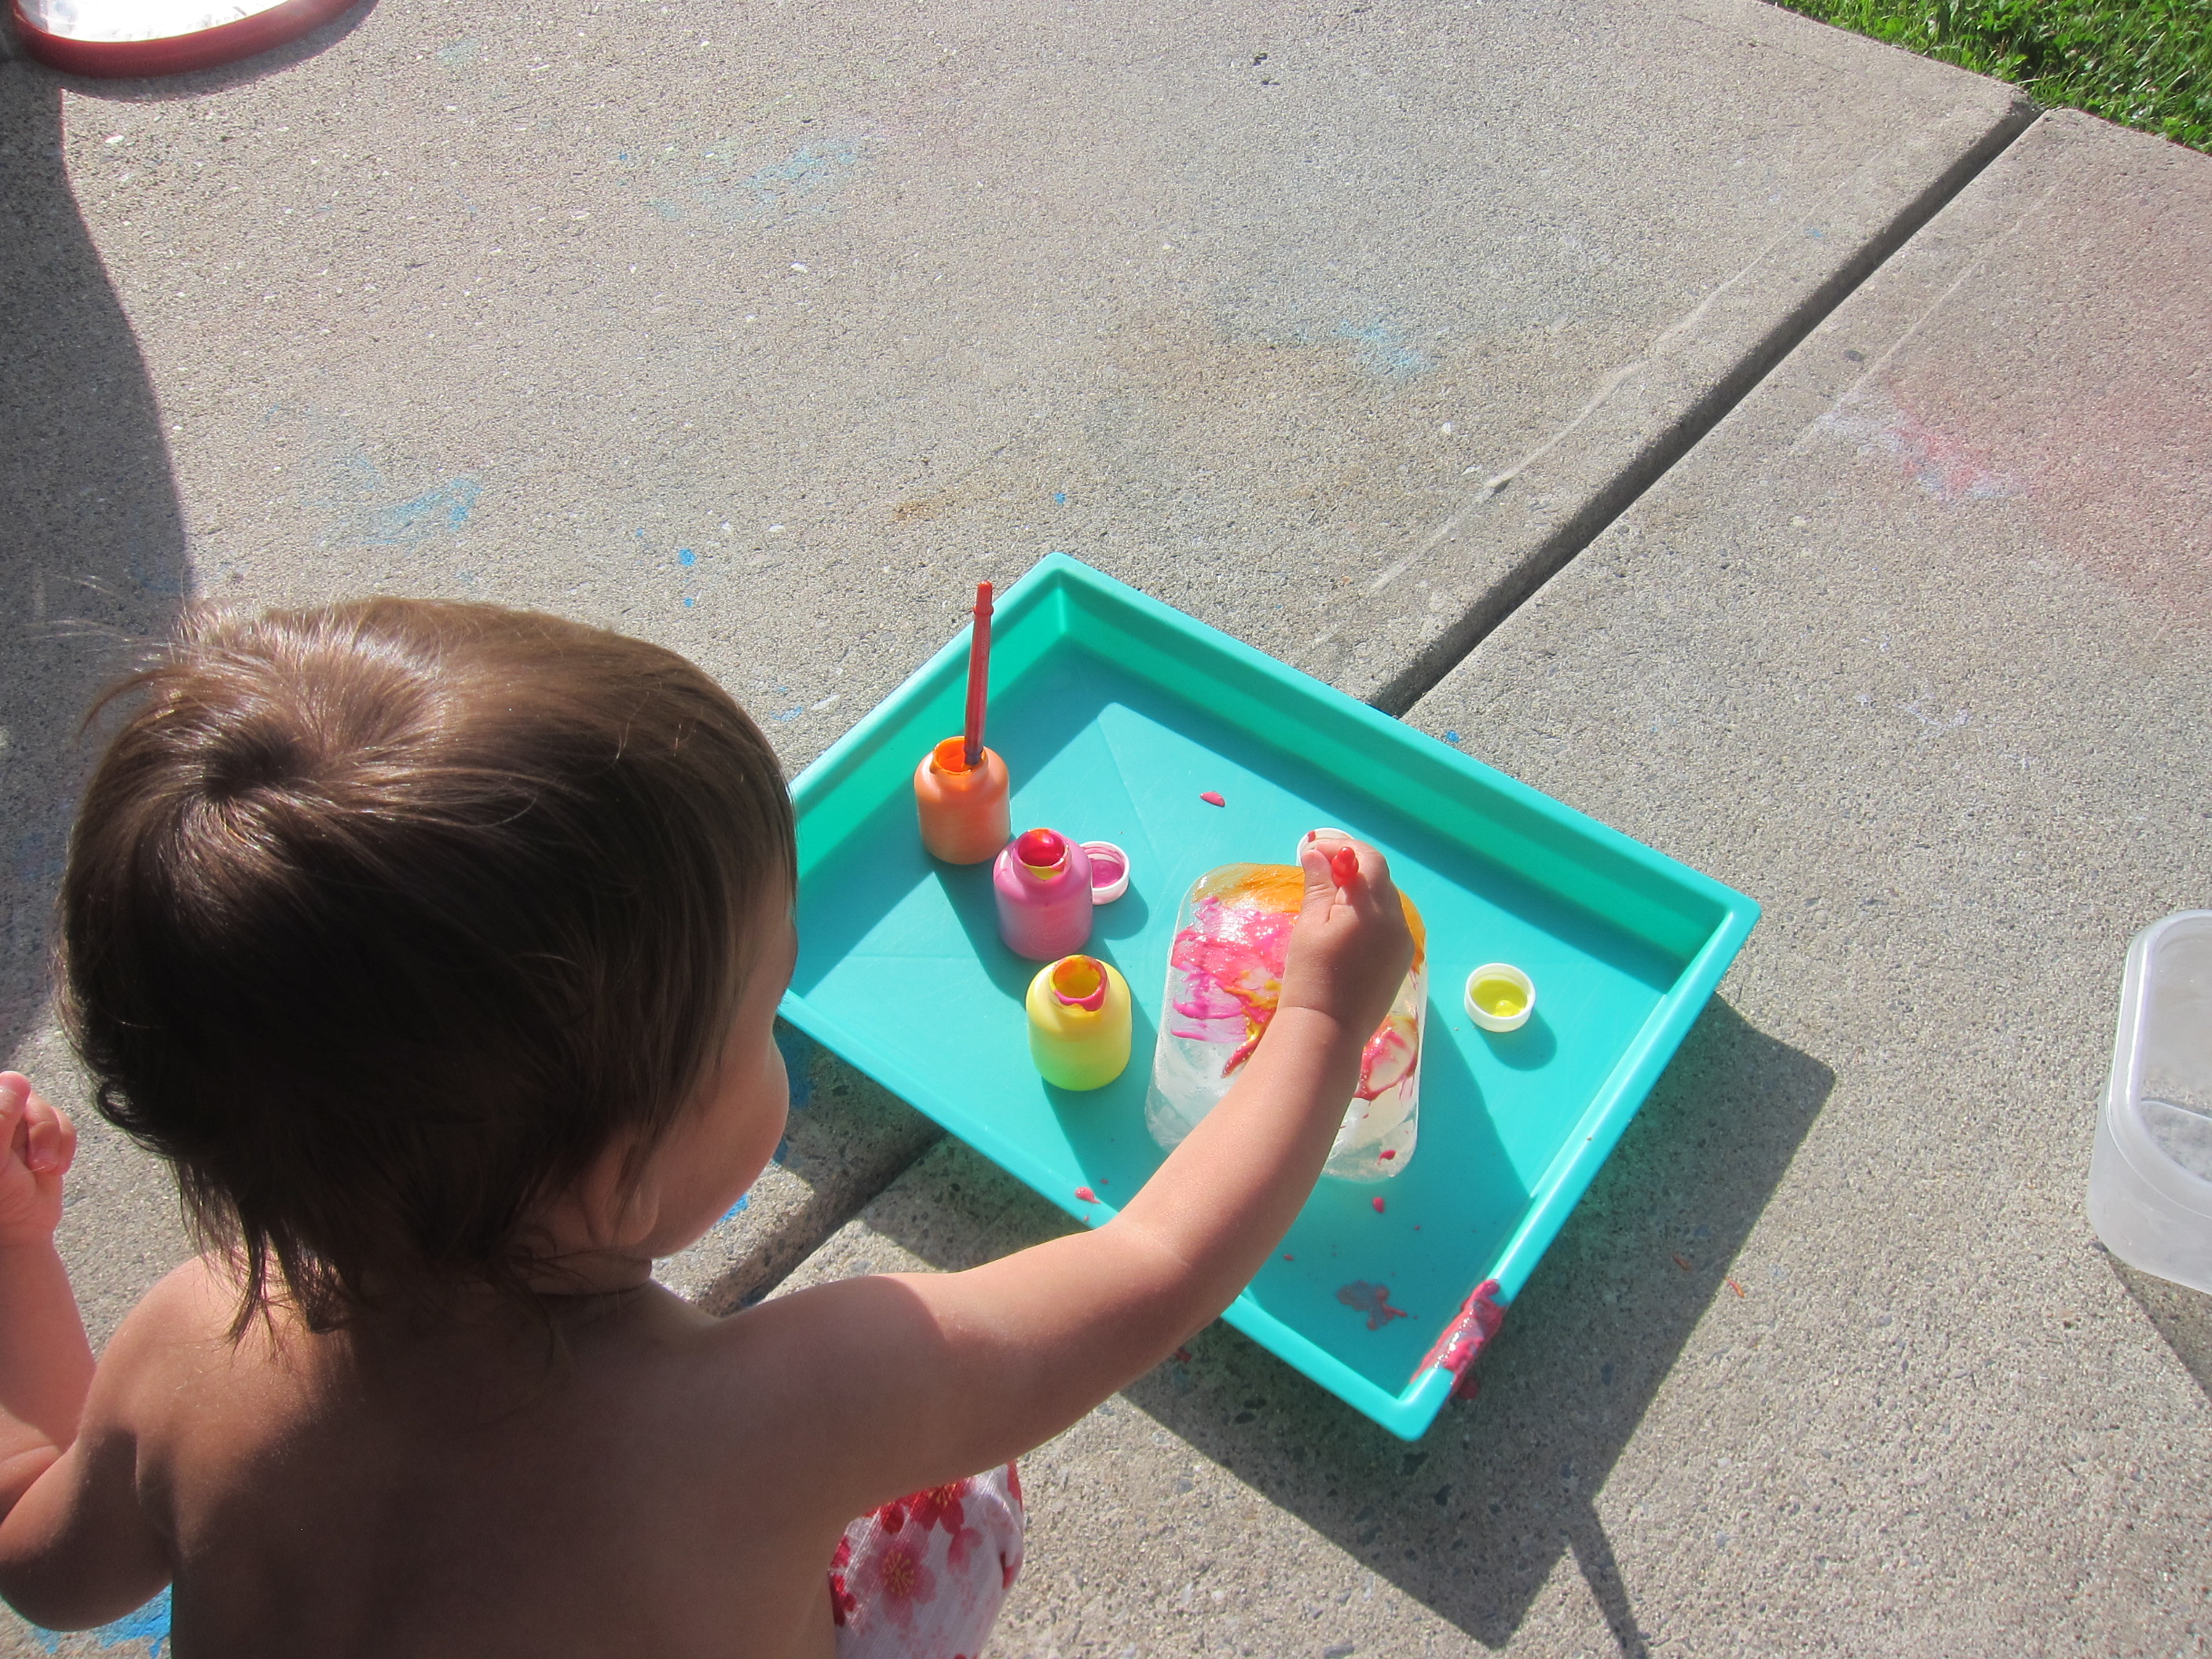
I loved watching Veronika put her own spin on the project, too. After a few rounds of shaking the box, she actually preferred to dip the rock in one of the paint colors and then dot it onto the paper. A rock paintbrush!

Rock Painting (6)

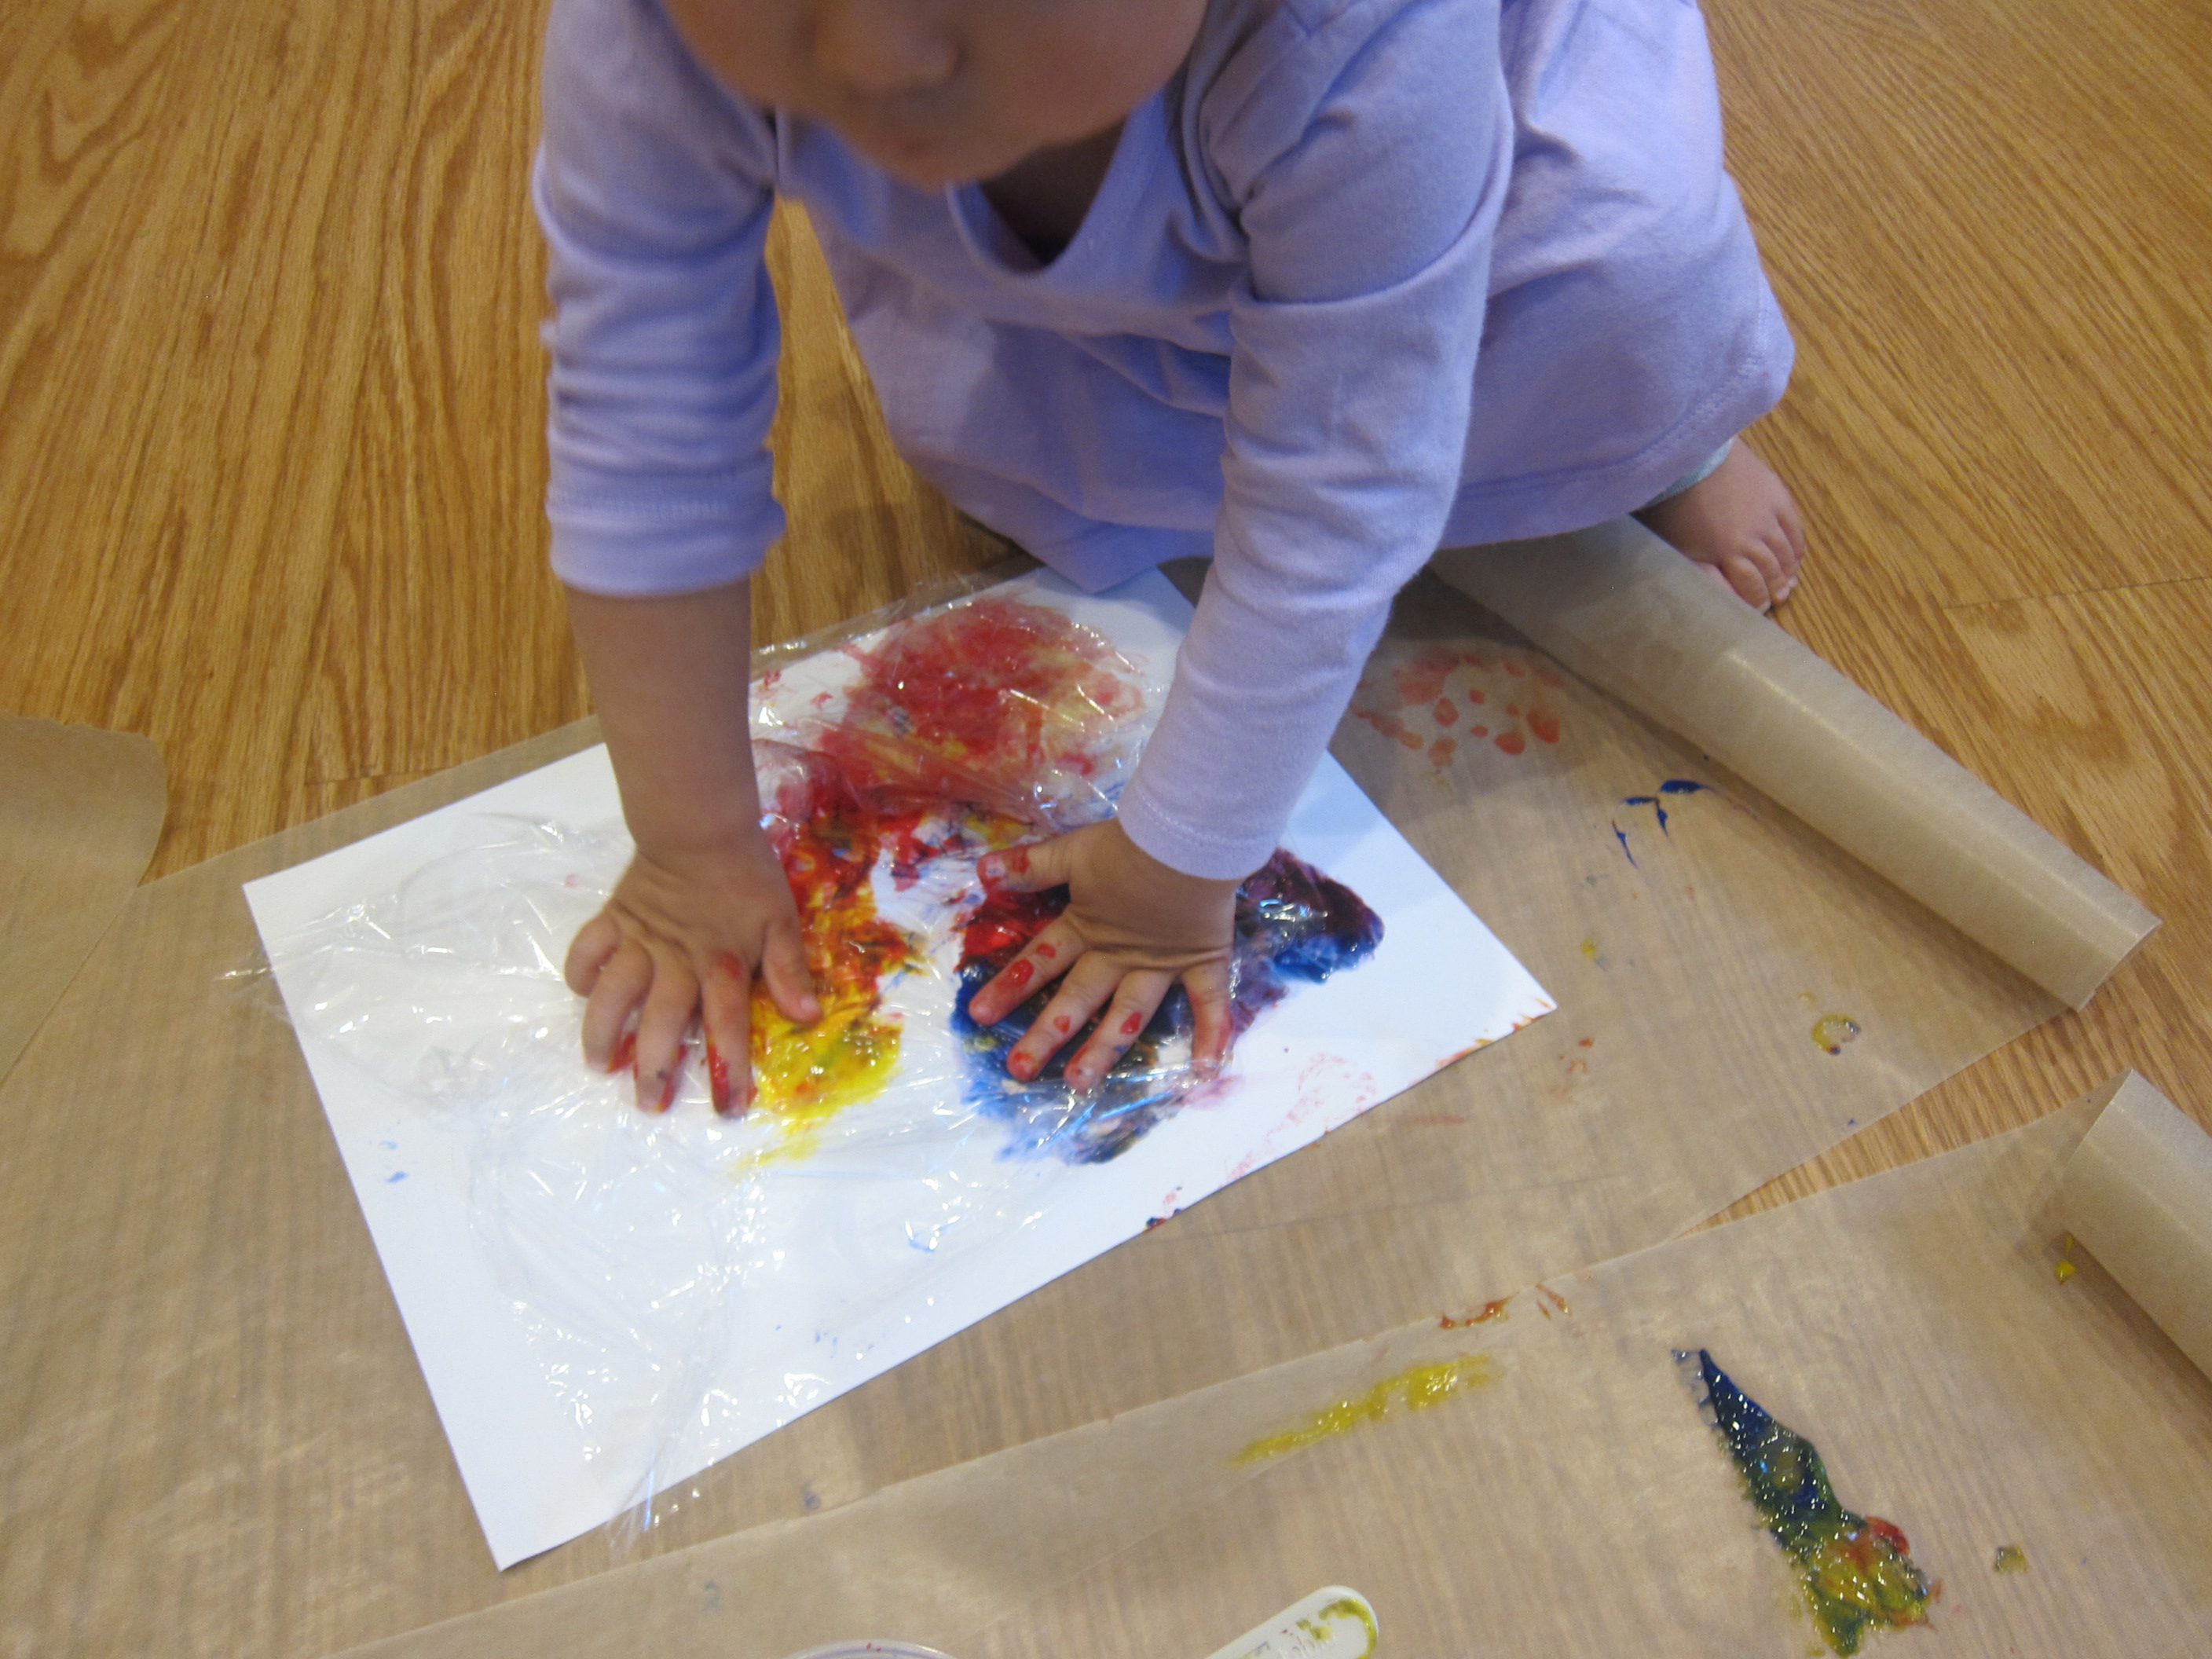
After that she discovered that she could be her own canvas. So this project turned into not just rock painting, but Veronika painting. Bath time!

Rock Painting (9)

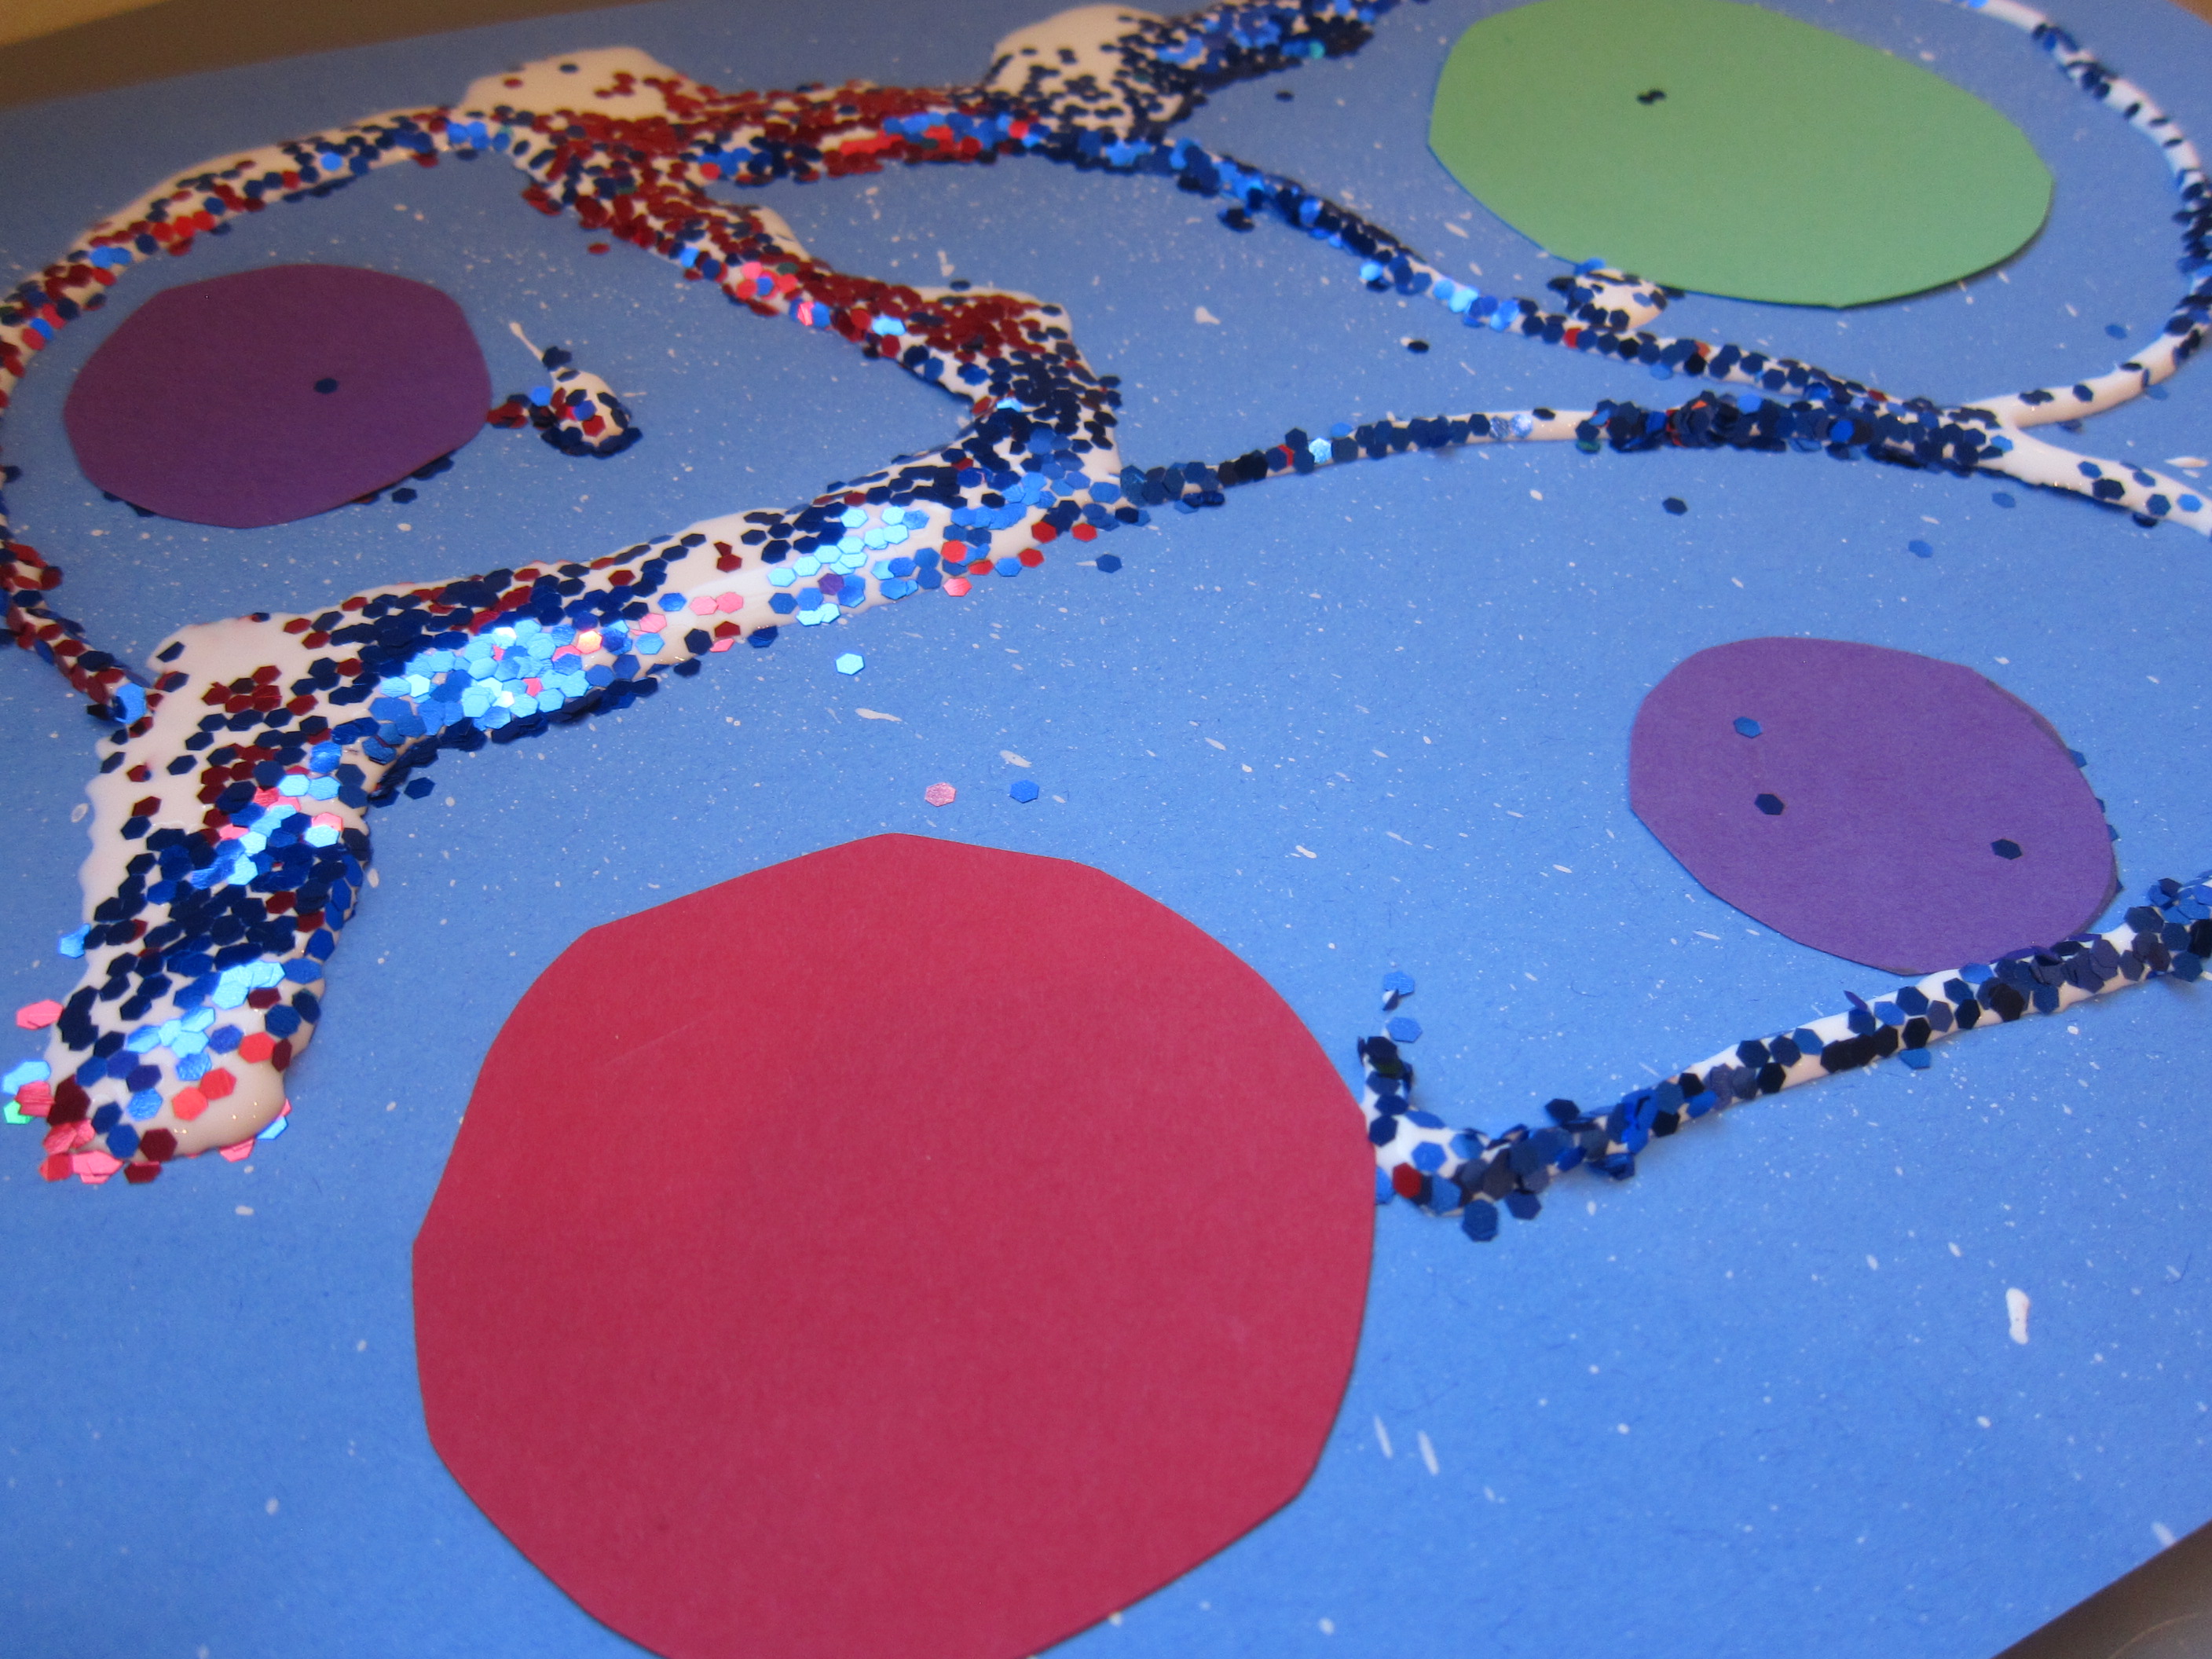
Either way, the resulting craft makes such pretty little postcard-sized works of art that perhaps we’ll use them for thank you notes!

Rock Painting (10)

Halloween Countdown Day 19: No Mess Pumpkin Art

No-Mess Pumpkin Art (8)

Here’s a quick seasonal spin for a toddler to paint in a zip-top bag. This time, instead of plain paper inside the bag, I inserted a template of a pumpkin.

You can squirt in orange paint, but where’s the fun in that? Add a little blob of red and a little blob of yellow and it will become a lesson on color mixing, too! Now simply seal tightly and hand across.

No-Mess Pumpkin Art (2)

Veronika was so surprised when she touched the red paint and realized her hand wasn’t messy.

No-Mess Pumpkin Art (3)

Same thing with the yellow!

No-Mess Pumpkin Art (4)

Now she was doubly intrigued. She either used the flat of her palm for squishing the paint, or sometimes scratched at it, too.

No-Mess Pumpkin Art (6)

As soon as our red and yellow started to mix, I pointed out that she was making orange. In retrospect, I should have added more yellow, as the red was definitely dominant. But we achieved a neat tri-color effect on the pumpkin.

No-Mess Pumpkin Art (7)

Note: Your piece of paper will be so saturated with paint that likely it will tear if you try and remove it from the bag. So this project isn’t a keeper, but it is fun in the moment!

No-Mess Pumpkin Art (5)

Galactic Art

Galactic Art (7)

Travis isn’t as interested in simple arts and crafts as when he was younger. So I love when I can still find ways to pique his interest, and I thought this quick craft might fit the bill. It involved a novel tool to paint billions of stars in a made-up galaxy: an old toothbrush!

I showed him how to dip the toothbrush in a plate filled with white paint, then scrape his finger along the bristles so little speckles of white jet out.

Galactic Art (1)

Pretty soon we had a whole Milky Way!

Galactic Art (2)

Next we needed to add planets to our galaxy. We definitely weren’t going for an exact replica of the Solar System here, but did have fun rounding up a pile of items that were circular to trace, aiming for a variety of different size circles.

Galactic Art (3)

One of those items happened to be a glitter jar, so then Travis insisted our galaxy needed glitter! Once the planets had all been glued down, we made a thick stream of white glue and sprinkled the glitter over this. Tap off any excess into the trash.

Galactic Art (6)

The glitter sort of eclipsed those original speckles of white “stars” we’d made with the toothbrush. But oh well, Travis was so engaged and happy with the process that I was happy, too.

Galactic Art (8)

String Painting

String Painting (6)

We’ve used string to help spread paint lately, but for this craft, yarn actually becomes the bristles of a brush. These long wobbly “paintbrushes” are sure to delight any toddler. Just one note of caution: there is a high probability that paint is going to splatter! In other words, it’s an activity best done in an old t-shirt and diaper.

To make the brushes, I cut about 5 strands of yarn per brush, and taped them securely to the end of a craft stick. Your yarn can be all one color, but I have a multi-hued ball of yarn that gave us some fun rainbow pop.

String Painting (1)

Place out a big sheet of craft paper and paints (Veronika requested yellow) and you’re ready to go!

At first Veronika was going to dip the handle end of her craft stick in the paint, but I quickly showed her how to dip in the strands of yarn instead.

String Painting (2)

She loved it! The yarn creates beautiful stringy lines, and she enjoyed seeing the results of her work.

String Painting (5)

As you paint, the yarn will start to clump together. This means you’ll get thicker lines, plus color mixing if you have more than one color of paint set out in front of your child.

String Painting (8)

As with a recent pumpkin painting activity, Veronika sat in the middle of the paper while she worked, so I loved watching the string marks appear all around her.

String Painting (9)

Needless to say, the yarn was fun for her to splat down on the paper, which sends drops of paint flying. But again, plan ahead, dress for the mess, and the messiness becomes half the fun!

String Painting (7)

Fireworks Printing

Fireworks Painting (6)

We’re busy decorating for the upcoming 4th of July, and this was a fantastic way to make prints that looked just like exploding fireworks!

I had a few plastic scrubber sponges which I knew would be perfect for the craft. (Note: look for these in the cleaning supplies aisle of the supermarket).

I set out black construction paper for the night sky, along with paper plates containing red, white, and blue paint. Using one scrubber sponge per color, dip in the paint and then press to the paper.

Fireworks Painting (2)

“Pop!” I said, as I demonstrated to Veronika. “We made a firework!” Saying “pop!” was half the fun of the game, and Veronika proceeded to pop pop pop her fireworks all over.

Fireworks Painting (3)

In this way, we  filled up the black paper rather quickly!

Fireworks Painting (7)

That meant this was a great art project, but definitely not a way to keep your toddler occupied solo.

Fireworks Painting (4)

Even though we can’t watch real fireworks this year, at least our home will be spangled with them!

Fireworks Painting (5)

Melty Masterpiece

Ice Block Paint (5)

Veronika has already used ice as a paint brush, so now it was time to use ice as her canvas! This is a fantastic art activity for outdoors on a hot day.

Overnight, freeze a cube of ice in a large plastic food container. In the morning, I simply popped out the cube and set it on a tray for Veronika, along with 3 colors of paint.

Ice Block Paint (1)

She immediately wanted to paint “all by self,” dipping her brush into one of the colors and watching it run over the ice.

Ice Block Paint (2)

The neat trick here is that the sun will work to melt the ice at the same time your toddler works to paint it, resulting in beautiful drippy colors.

Ice Block Paint (4)

She painted until it was completely coated in paint and gleaming.

Ice Block Paint (6)

It was fun to watch the paint run down the sides together!

Ice Block Paint (7)

We were curious how long it would take to melt completely, and left her melty masterpiece outside in the sunshine. After only about an hour, we had a peach-colored puddle instead.

Ice Block Paint (3)

An ephemeral but fantastic art project for toddlers.

Ice Block Paint (8)


Spice Painting

Spice Painting (5)

Having recently enjoyed a sensory game where she smelled items from the pantry, I thought Veronika might like marrying that game to another favorite: Painting!

To set up, I set out white paint and then chose spices with scents across the board, from spicy to sweet to earthy and back again. Our lineup included:

  • cinnamon
  • black pepper
  • turmeric
  • paprika
  • ginger

Spice Painting (1)

For each spice, I poured a little white paint into a paper cup and then tapped in some of the spice. It was hard to get the mixtures to turn out exactly as I wanted. Too little spice and they just looked like flecks in the white paint. Too much and it became too dry to spread.

Spice Painting (3)

Of course Veronika wasn’t bothered about the consistency! I held each cup up to her nose and described what she was smelling. Cinnamon was sweet, paprika was spicy, and so on. Even though we could also smell the paint, she seemed to enjoy it!

Spice Painting (4)

Then she began smearing the paints all over a piece of black paper (which I thought would look best against the white paint). Whoops, she managed to dump some spices out, too, before I screwed the lids back on tightly.

Spice Painting (7)

Older kids can be more deliberate and careful with the activity, either making a guessing game out of it, or making brushstrokes of each paint on the paper and labeling them.

Spice Painting (6)

It wasn’t long before Veronika tested out some of the spicy paint on her legs, too. Which meant it was time for clean up!

Rainbow in a Bag

Rainbow in a Bag (5)

This is a neat, no-mess way for toddlers to paint a full rainbow!

To start, I needed to make a thick goopy paint. Based on a recipe I found online, I combined 1 cup flour, 2 cups water, and 1 tablespoon salt in a saucepan, then cooked over medium-low heat, stirring with a whisk. It didn’t get as thick as I hoped, but stirring in 1 tablespoon cornstarch did the trick.

Rainbow in a Bag (1)

Once thick, I divided the mixture among 6 paper cups and added about 20 drops of liquid watercolor to each, one for each color of the rainbow. Note: If you are worried about staining, use food coloring instead of the watercolor. However, because I knew this project would be sealed in a bag, there would be no chance for Veronika to smear it on her clothes… Or taste it!

Rainbow in a Bag (2)

I placed a piece of thick white paper in a gallon-sized zip-top bag, then arranged the colors in rainbow order across the paper. Because the paint was so sticky, it grew harder to work as I went, so the colors sort of ended up at a diagonal! But this still worked fine; I sealed the bag and handed to Veronika.

Rainbow in a Bag (3)

At first she was frustrated she couldn’t touch the paint, looking at me with disappointment. Oh that toddler glare!

Rainbow in a Bag (7)

But then she realized the paint blobs felt mushy and squishy beneath her hands, and she loved poking around at them.

Rainbow in a Bag (4)

By the end she had smeared the paints in such a way that we had a full rainbow of stripes across the bag.

Rainbow in a Bag (8)
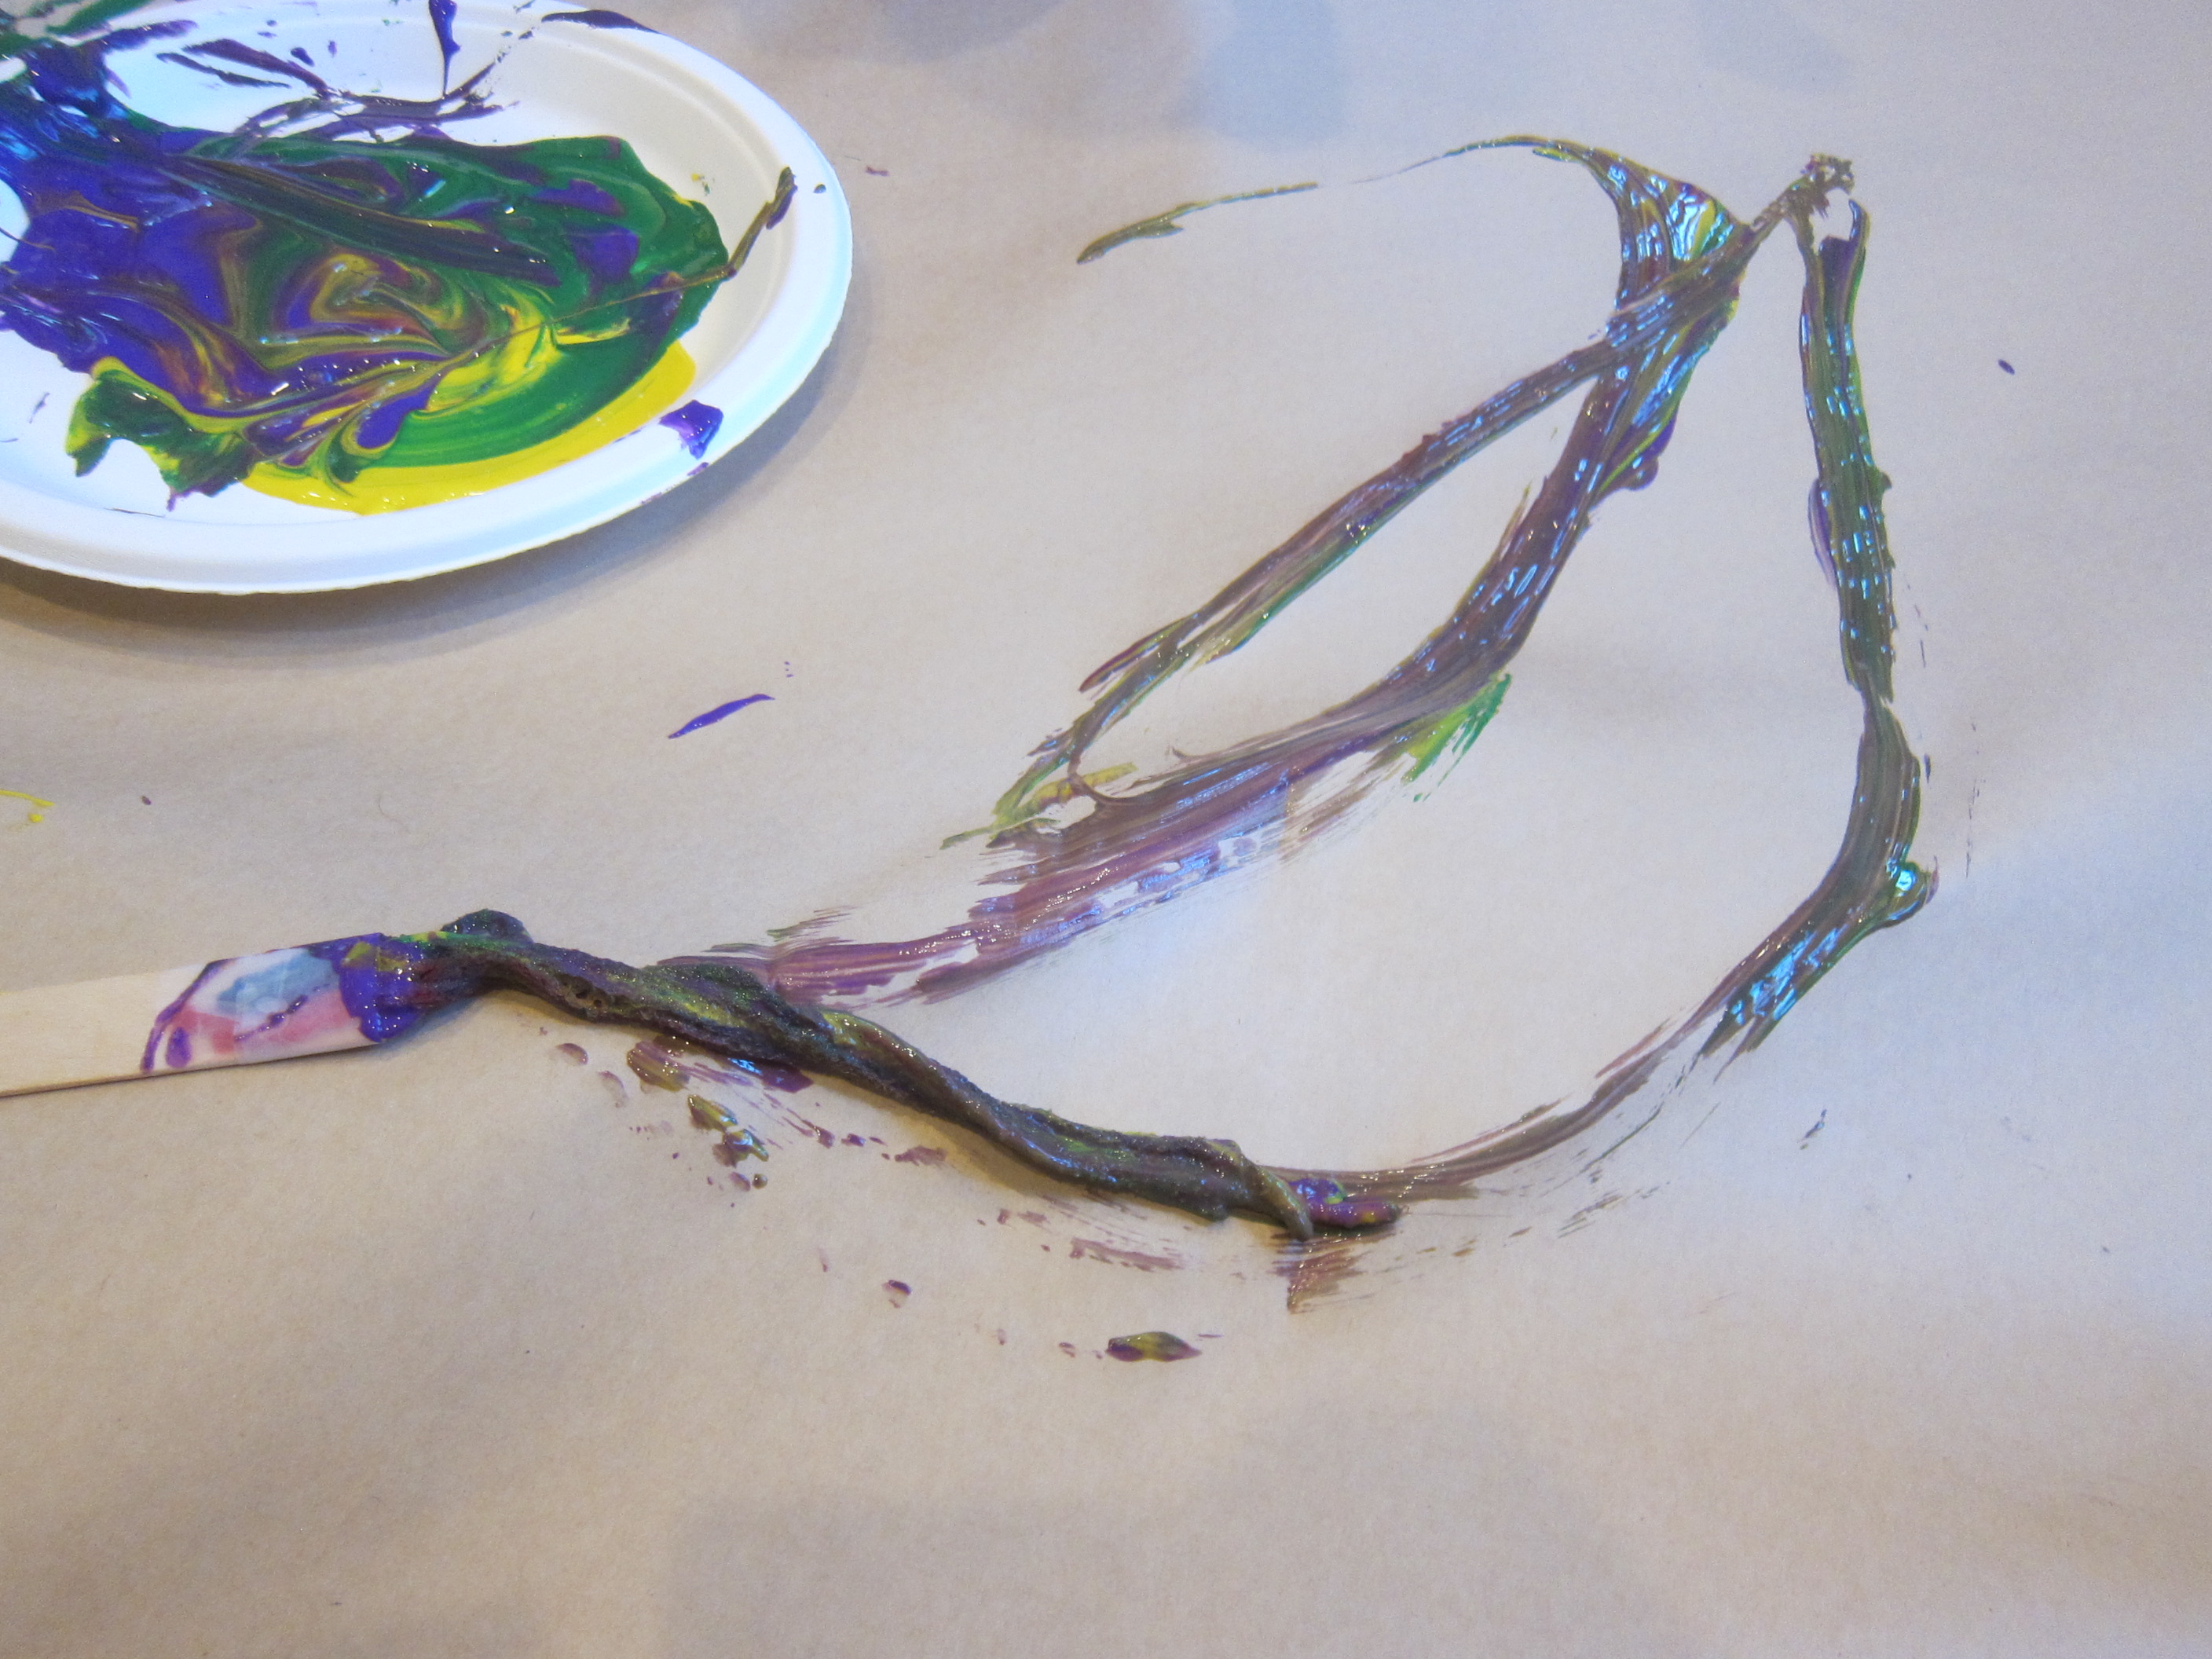
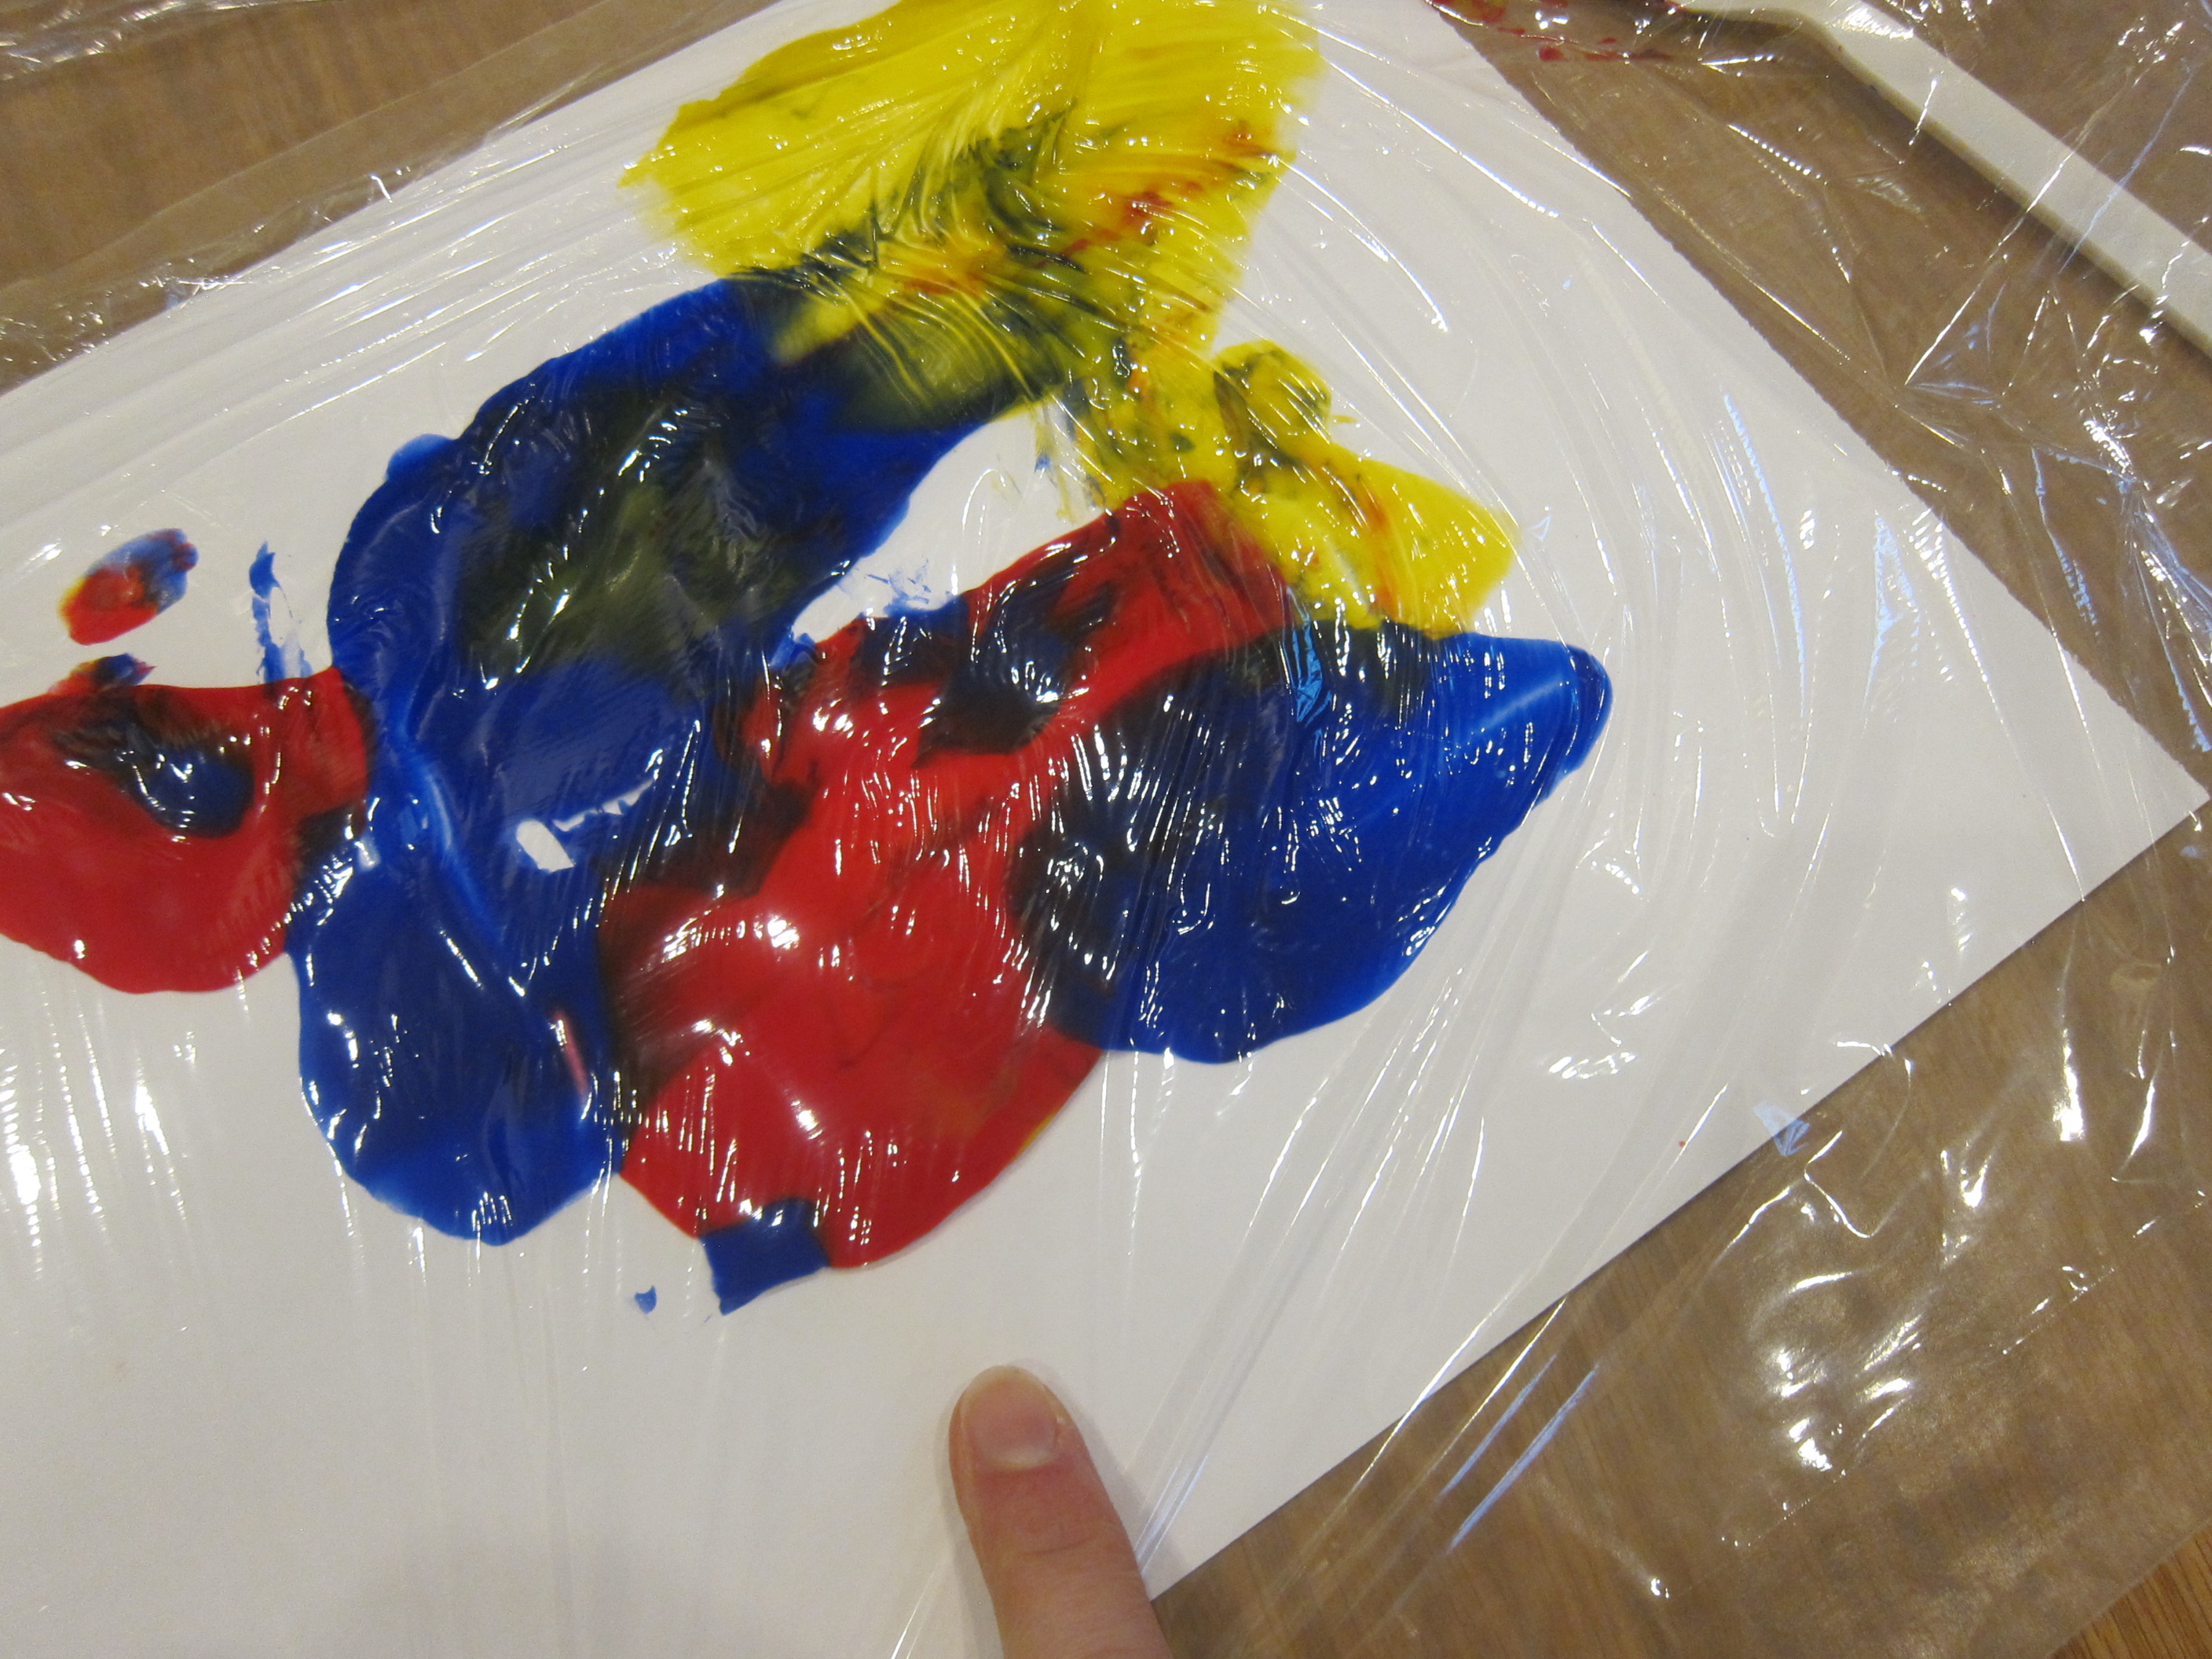
It’s actually too bad that the paint was so goopy, or I would have pulled the white paper out to dry and hang on the fridge. Next time!

Cling Wrap Painting

Cling Wrap Painting (9)

Veronika loves to smoosh her fingers through paint, and today I found a way to make that smooshing a part of the process, minus the mess!

To start, cover your work surface and lay down sheets of white paper. Set out plastic cups filled with paint, and add a plastic spoon in each cup.

Cling Wrap Painting (1)

I showed her how to use the spoons to dribble paint onto the paper. Veronika liked making both big blobs and using the edge of the spoon more like a paintbrush.

Cling Wrap Painting (3)

When each page was filled with enough splotches and blobs (and just when her hands were itching to get messy in the paint!) I laid a piece of cling wrap over the paper. Make sure the paper is completely covered.

Cling Wrap Painting (5)

Now use your hands to smooth over the paint.

Cling Wrap Painting (7)

The blobs will squish and flatten in a fun sensory way. You’ll get some color mixing, too! I pointed out to her where our blues and yellows had made green, or where red and blue had mashed together for purple.

Cling Wrap Painting (6)

Lift up the cling wrap and set the painting aside to dry completely before displaying your little one’s art.

Cling Wrap Painting (8)

This was a novel painting method, and her hands even stayed (mostly!) clean.

Cling Wrap Painting (2)

Blob Painting

Blob Painting (4)

Veronika is so into painting these days, but all too often she drops the brush and decides to smear with her hands instead. I wondered if using a few novel tools might distract her from doing so!

For this project, you’ll need anything your toddler can squeeze paint out of. We used two versions: an old infant medicine syringe (for pushing) and an empty cosmetic bottle (for squeezing).

I filled each with a little paint, and showed Veronika how to either squeeze or squirt blobs of paint onto the paper. As it turned out, both methods were a little advanced for her muscle development, but she loved seeing the blobs that appeared!

Blob Painting (1)

I folded the paper in half over the blobs we had made, then opened back up to show her a big smeary picture. As an alternative version, place another piece of paper over your blobs, rub firmly, and then lift up.

Blob Painting (3)

She loved the way both versions came out!

Blob Painting (2)

We continued squeezing and blobbing the paint, and she started to use the medicine syringe tip more like a paintbrush.

Blob Painting (8)

For extra fun, we tested out blobbing onto different surfaces, like coffee filters or paper towels.

Blob Painting (6)

Did this project keep her from painting with her hands?

Blob Painting (7)

Not entirely, but it definitely mixed up the art experience around here!

Blob Painting (9)