Cotton Cherry Blossom Painting

Cherry Blossom (7)

We had a little fun exploring different tools that we could paint with about a week ago, and that turned into the idea for this quick springtime craft. Soft items like cotton balls or pom poms are perfect for making the delicate flowers of a cherry blossom tree!

To start, I drew the outline of tree trunks for me and Travis, with plenty of branches to fill in. Big kids will probably like to draw their own trunk!

Cherry Blossom (1)

Attach a clothespin to each cotton ball, and set out a big dish of pink paint – exciting!

Cherry Blossom (3)

I showed Travis how to dip in the cotton ball and then press and lift off the paper to recreate these pretty springtime blooms.

Cherry Blossom (2)

His was a bit more smeared, but he still liked the mechanics of the craft.

Cherry Blossom (4)

We ended up with two pretty cherry blossom trees, one by Travis and one by mama. Big kids may wind up with something closer to this:

Cherry Blossom (6)

We’ll have to cap things off with a visit to see the cherry blossom trees in the neighborhood!

Homemade Sidewalk Chalk Paint

Chalk Paint (9)

Are your kids bored of regular chalk? Mix up a batch of this easy homemade paint and they’ll have a blast applying it with paintbrushes all over the pavement.

To make the paint was good messy fun… So make sure you set down some newspaper!

Chalk Paint (1)

First, have your child add 1/4 cup cornstarch to a cup for each color desired.

Chalk Paint (2)

Add 1/4 cup water to each cup.

Chalk Paint (3)

Stir with a paintbrush, and then stir in about 8 drops of food coloring. We like the all-natural colors from Watkins.

Chalk Paint (4)

Travis had so much fun with the mixing that he wanted to make a few extra batches just for fun – good thing I had a big bin of cornstarch on hand!

Then it was time to take the paints outside. The colors weren’t as vivid as they looked in the cups, but we still managed to make pretty flowers…

Chalk Paint (8)

….sunshine…

Chalk Paint (6)

…and general squiggles.

Chalk Paint (5)

Whoops, a spill! Luckily, this stuff will rinse off easily with a hose or in the rain.

Chalk Paint (7)

What are you doing outside with the kiddos now that the weather is warm? Please share in the comments!

Sponge-Print Wrapping Paper

Sponge Wrapping Paper (8).JPG

Enlist the kids help with gift wrapping this year… not just to wrap up the presents, but to make the wrapping paper first. Not only will they enjoy making this easy DIY gift wrap, but they’ll be so proud when they see gifts presented to loved ones in the paper that they made.

To start, cut sponges into shapes and glue onto old jar lids – the sponge should be cut until about the same size as or smaller than the lid. Simple shapes like triangles and squares are easiest, but get fancy if you’re handy with a paring knife!

Sponge Wrapping Paper (1)

I spread out a leftover roll of craft paper, and Travis immediately set to dipping his sponge stamps into paint…

Sponge Wrapping Paper (5)

…and dotting all over the paper. He liked making “patterns” as he worked.

Sponge Wrapping Paper (4)

Sometimes he spaced the stamps far apart, and sometimes he liked clustering them, so we ended up with a final product that was decidedly his creation.

Sponge Wrapping Paper (7)

We also had fun swirling together blue and white paint to make a light blue.

Sponge Wrapping Paper (9)

Once the paint is completely dry, it’s gift wrapping time!

Sponge Wrapping Paper (10)

What fun wrapping ideas have you used this holiday season? Please share in the comments!

Huff and Puff Monsters

Huff and Puff (7)

We’ve made monsters “silly” a few times so far this October – it’s the first year that Travis has really been cognizant of monster decorations around Halloween, and he’s starting to feel a little afraid of them. The sillier and more fun we can make monsters seem, the better!

To prepare the project, pour a little tempera paint into cups, and thin each cup with water, one spoonful at a time. You want each batch of paint to have the consistency of cream.

Huff and Puff (1)

I placed construction paper and the paint cups on the floor (cover your work surface, things are about to get messy!) and invited Travis over. We used dark construction paper as the background for a Halloween feel, but white or any other color would work just as well.

Spoon some of the paint onto your paper, then cut straws in half, and get down low to blow out the shapes of your monsters.

Huff and Puff (2)

Travis soon decided he didn’t love the blowing part of the project, but he loved spooning blobs down, and then watching our creatures appear.

Huff and Puff (3)

“Don’t forget here!” he would instruct, pointing to a thicker portion of paint.

Huff and Puff (4)

We decided the white blobs were “baby bear monsters.”

Huff and Puff (5)

Once the paint dries, finish your new silly friends with a glue stick and eyes. I always seem to be out of googly eyes these days, but mini pom poms did in a pinch.

Huff and Puff (6)

Spooky, not scary!

Huff and Puff (8)

Pasta Mosaic

Pasta Mosaic (14)

It’s finally happening… My little boy who used to happily jump at any art project I suggested has his own agenda now. And while I lament that he’s not quite so pliable or amenable to activities I’ve anticipated, I also am celebrating this three-year-old independent spirit and the imagination that accompanies it.

Cue this project as the perfect example. I thought sorting and making art with pasta might nicely fill some time on a Sunday morning since I had several boxes of dry pasta in the pantry. Sorting is a great skill for little fingers and minds, but silly me, every pasta I had was a variation on penne…in different lengths! It turned out we had regular penne, medium-sized pennette, and super-short ditalini.

Pasta Mosaic (1)

This turned the sorting into a neat challenge based more on length than shape, so Travis actually sat happily to help me sort for a while.

Pasta Mosaic (2)

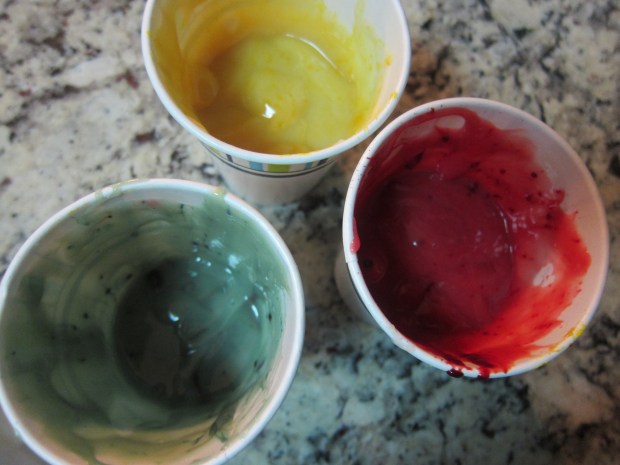
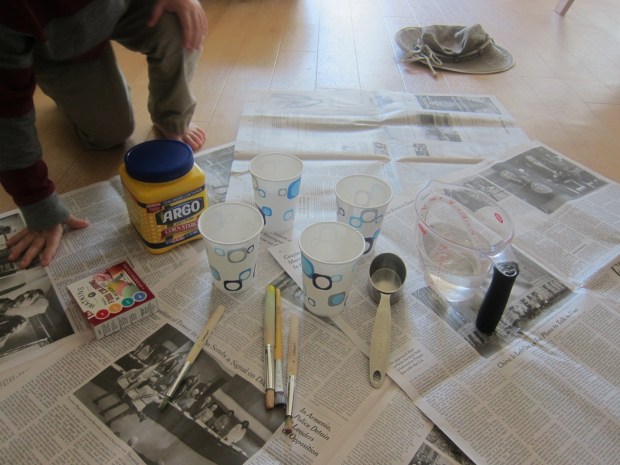
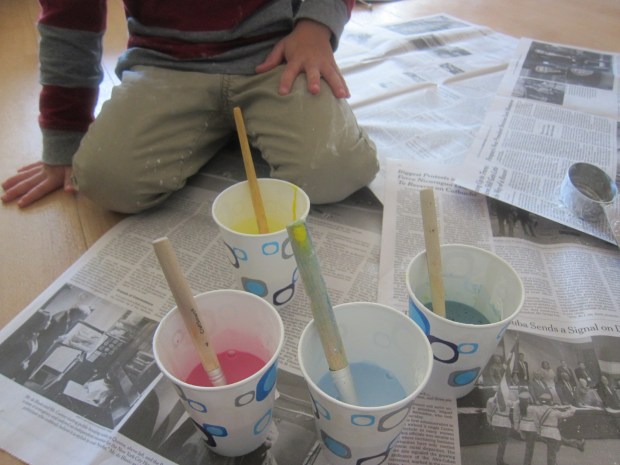
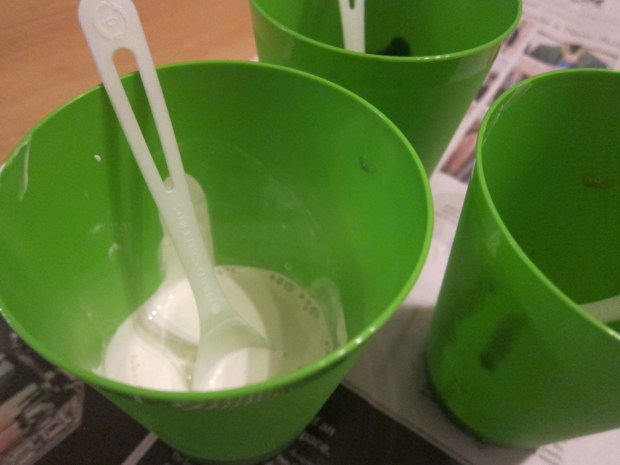
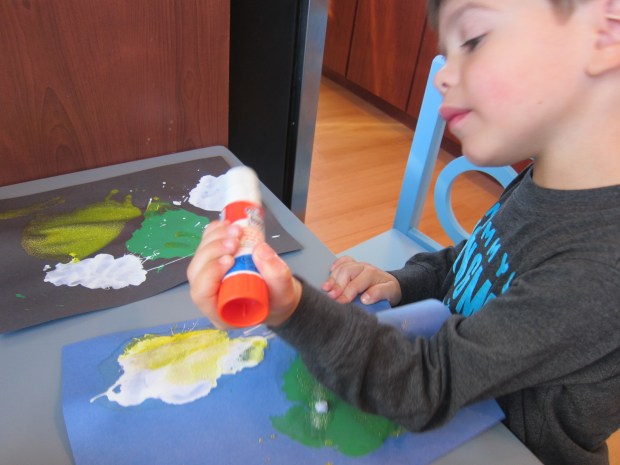
My suggestion to paint the pasta after was met with indifference though! A bit miffed, I pulled out glitter paint. That made things decidedly more sparkly and fun, and we discovered that painting penne is quite silly and tricky since they roll.

Pasta Mosaic (3)

What worked best? Dabbing at them on a piece of wax paper and leaving them to dry? Tossing them into a whole bath of paint and swirling them around?

Pasta Mosaic (6)

Travis decided it was more fun to paint the bowls holding the paint, but eventually we had lots of sparkly painted pasta, and left it to dry.

Pasta Mosaic (5)

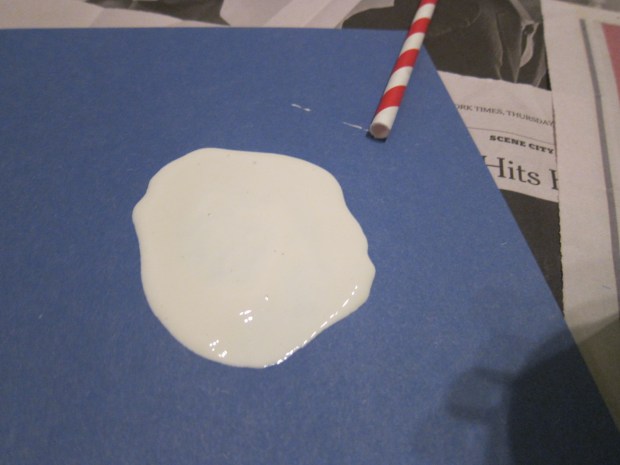
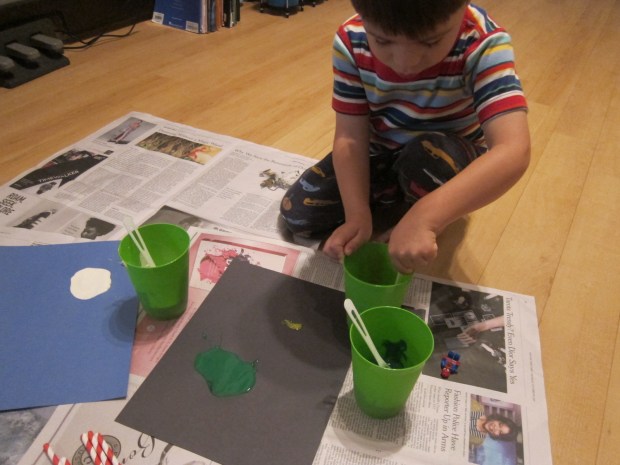
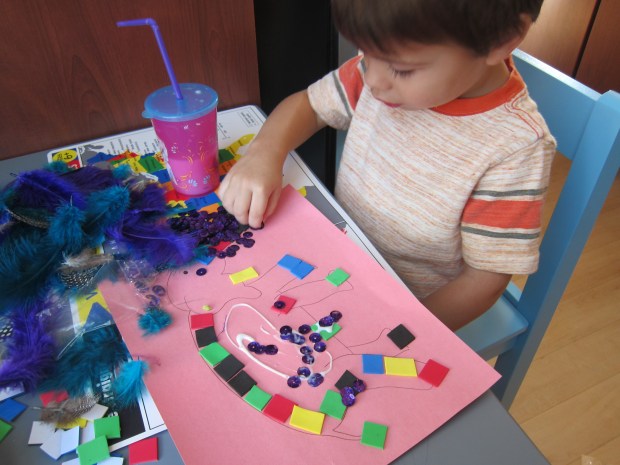
The final idea was to turn all that painted pasta into a mosaic, but Travis was completely uninterested…until I suggested that the glue was caulking, and the pasta was “ants” coming through the floor (a game based on a recent, real-life scenario….).

Pasta Mosaic (9)

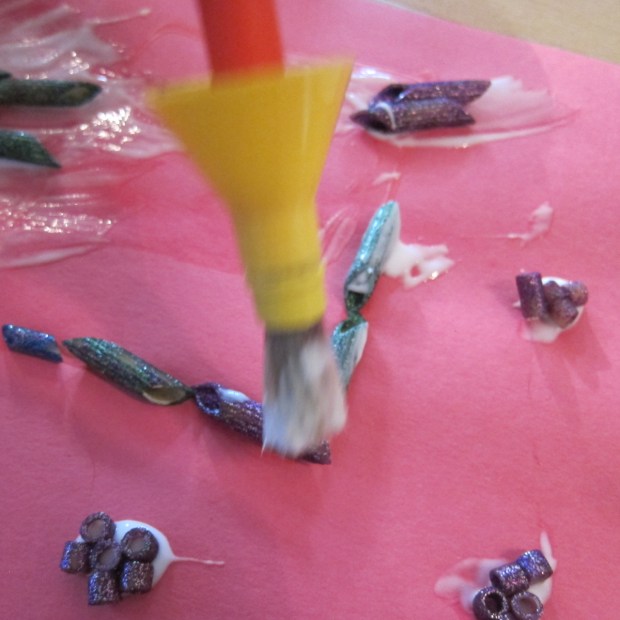
Well then he couldn’t get enough! We caulked and caulked, and filled puddles of glue with “ants” trying to get into our kitchen.

Pasta Mosaic (10)

When I asked if he thought our paper was full enough, he pointed to the remaining pasta pieces and adamently told me, “No Mom, still more ants.”

Pasta Mosaic (11)

Once we’d used up all the pasta, he needed to “caulk” two more pieces of construction paper before he tired of the game.

Pasta Mosaic (13)

So there you have it, a valuable lesson on my son’s ever-growing independence, but also a reminder that incorporating his latest interests and imaginative play might still just get him to sit and make art with his mama.

Pasta Mosaic (12)

Rainy Day Window Painting

Rainy Window (5)

If you’re having a gray and rainy Labor Day weekend like we are, turn any frowns upside down with the slightly-taboo feel of this project… indoor painting on the windows!

Grown-ups, don’t cringe; I promise the paint is going to wash off your windows really easily. The secret? Dish soap!

In the cubes of an ice cube tray, mix equal parts dish detergent and washable paint for each color. Provide your child with q-tips as the paint brushes.

Rainy Window (4)

Travis couldn’t believe I was letting him use the window as his canvas. He jumped right in drawing “clouds” and squiggles.

Rainy Window (1)

His expression here pretty much says it all!

Rainy Window (3)

The beautiful, slightly shiny colors were the perfect antidote to the gray day outside our windows.

Rainy Window (2)

Travis may or may not have discovered it was equally as fun to rub a paint-smeared q-tip over his bare legs. I may or may not have been feeling so lenient of this cozy Snday afternoon that I let him paint away and followed up with a bath…

Rainy Window (6)

Ready for the best #momhack of all about this game? Clean-up is half the fun! After Travis was paint-free, I set him loose with a spritz bottle on the window.

Rainy Window (7)

The glass was sparkly and shiny and paint-free in no time.

Rainy Window (8)

Phoneme Week 8: NT

NT week (9)

We’re still moving slowly through our phoneme pairs (my original iNTent to spend two weeks on each phoneme was ambitious, at best!), but I’ve decided it’s nice to have a poster with a specific letter pair up on the wall for closer to a month. Travis truly gets used to the sight of each pair and can identify the sound. Start off your lesson by tracing N and T (we like Usborne’s wipe-clean alphabet cards), and then dive iNTo the rest of these ideas.

NT week (4)

Phonics Book of the Week: We kicked things off with a read of Underpants for Ants, before realizing – whoops! – we already read this one for ND week. It doesn’t feature NT words other than paNTs and aNTs, but how could we not enjoy such a silly story a second time around?

Guiding Theme: PriNT

Don’t get hung up on one definition of this word; think of its multiple uses (the printed word, prints you make on paper, the printing press, printing as in handwriting), and play around. If you’re lucky enough to live near a newspaper printing plant that gives tours, by all means go! We started out simply by testing all the different ways we could print Travis’s name on paper, including felt-tip pens, crayons, pencils, and alphabet stamps.

NT week (2)

We Read:

We Made:

  • Sun Prints. Although an activity we’ve done before, Travis is nearly a year older and sun prints were infinitely cooler this time. We gathered colored paper and a variety of objects, such as toy tools and Duplo, then left them to sit in the sun for a few hours.Sun Prints (6)We were most curious to see how the bugs would come out – was the sun strong enough? Sun Prints (4)Travis loved lifting the toys for each reveal.Sun Prints (3)
  • Potato Prints. Cut potatoes in half (I find that Yukon golds or red potatoes work better for small hands than large russets). Potato Prints (3)
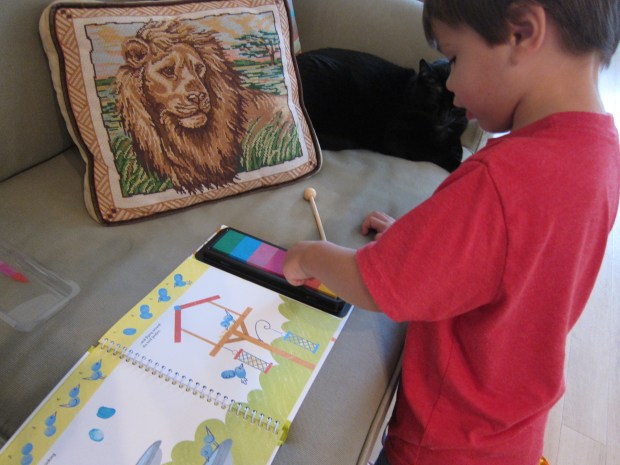
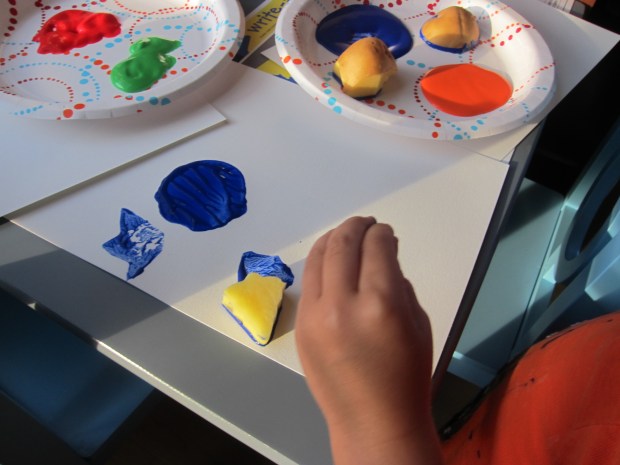
Either whittle a shape using a knife, or press out a shape with a cookie cutter. Potato Prints (4)
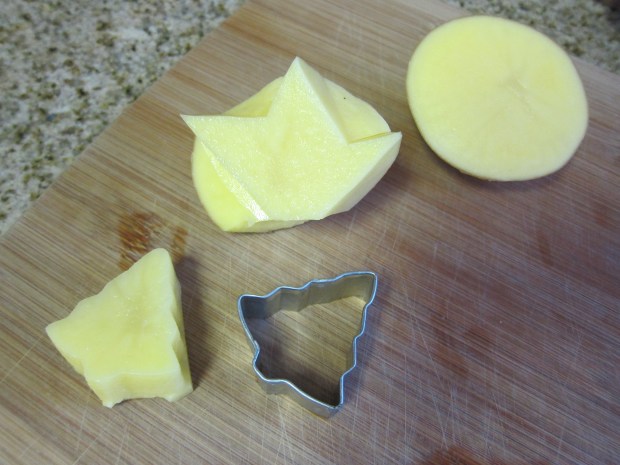
Present your child with trays of different colored paiNTs, then dip and priNT away!Potato Prints (2)
  • String Roller Prints String Print (7)
  • Shaving Cream Prints Shaving Print (7)
  • Flower Prints Flower Prints (6)

We learned:

  • For science of the week, we focused on elephaNTs. First, I staged a huNT for the foods these big tall animals eat – fruits and peanuts placed up high… NT science (3)
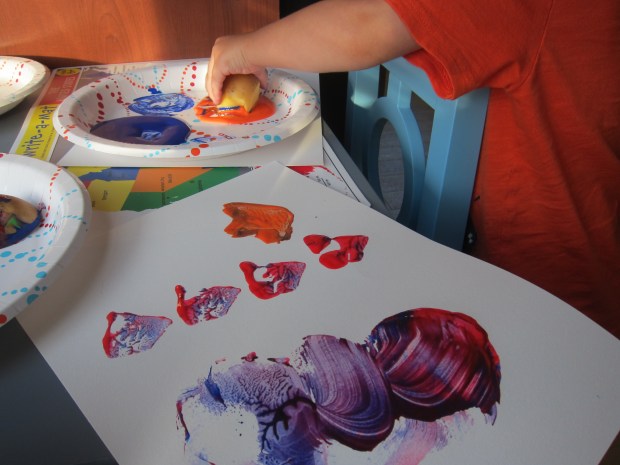
…and “hay” and “grass” (uncooked noodles) hidden down low. NT science (2)
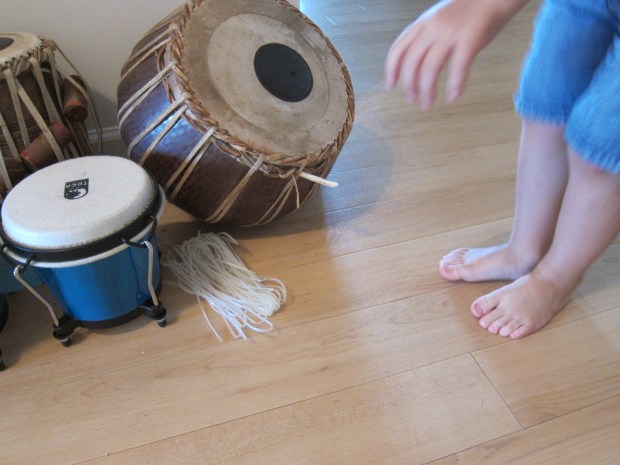
Travis loved cracking open whole-shell peanuts! NT science (4)We finished with an informative read of Usborne’s Beginner non-fiction book on Elephants, including mind-boggling facts about how much they weigh.
  • For math of the week, I simply pulled out all our couNTing books. 1, 2, 3 Make a S’more with Me by Elizabeth Gauthier lined up perfectly with another NT word (teNT). We also enjoyed Counting Dogs by Eric Barclay, Let’s Count from Sterling Children’s, and Usborne’s Count to 100. NT week (20)
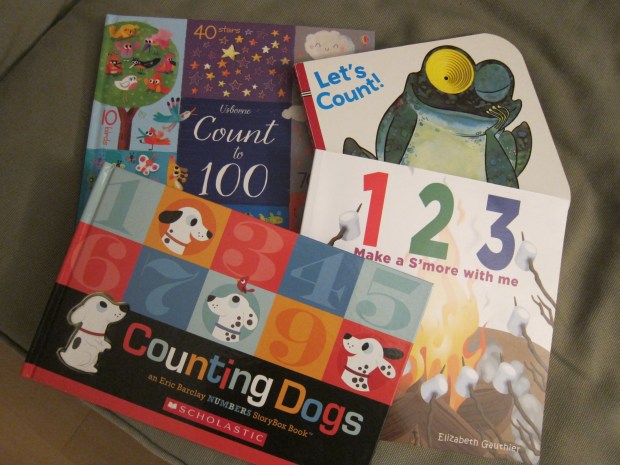
These are all great books for having your child count along on each page.NT week (21)

We Ate:

  • aNTs on a log NT week (26)

Other Words of the Week:

  • Ant: Well, I guess I can consider it appropriate timing that we had real ant visitors waiting for us in our new home! I much prefer my ants virtual though, and we had fun listening to an old favorite – The Ants go Marching.NT week (3)We read up on ants in National Geographic’s slim volume for beginner readers, and then we hiked like ants in our new backyard. Ant Trail (2)Finally – for super-cool mom points – we headed to an ant hill well away from home, sprinkled sugar on the ground, and watched the ants go to town. NT week (11)
  • Aunt: Thanks to timely visits from relatives, Travis got to see several aunts during our NT lessons, which was a nice prompt to discuss all the aunties in the family. One nice idea is to make a family tree and highlight the aunts this time.
  • Plant: First we read Planting a Rainbow by Lois Ehlert, then we made plantable paper, which we’re still waiting to see bloom! We also had fun performing simple science with plants. A stalk of celery in a jar of blue-tinted water let us easily see how water creeps up a plant stalk. NT week (29)
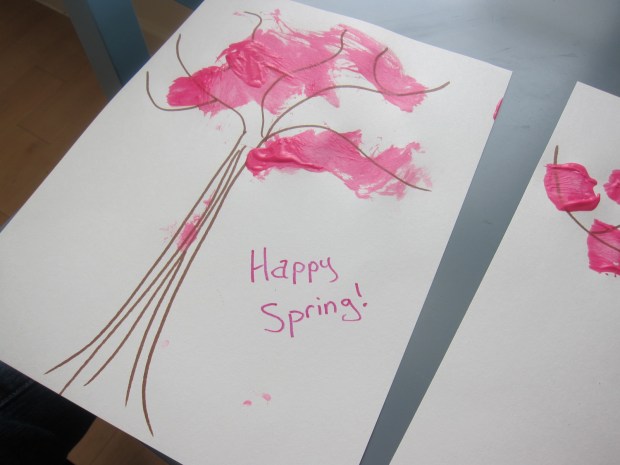
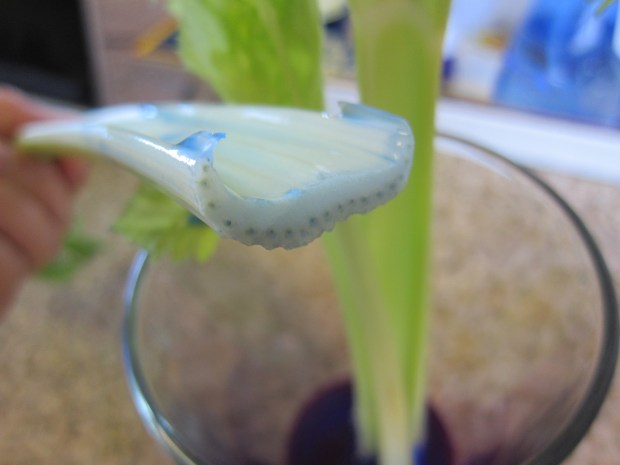
Next we covered a potted plant with a paper bag and observed it four hours later, shaking the bag a little. Water had condensed on the inside of the bag, allowing Travis to see how some water evaporates off a plant!NT week (30)
  • Mint: Aside from peppermint sticks at Christmas, Travis isn’t used to this flavor. Have a taste test and introduce your child to fresh mint leaves compared to a mint candy, and see which they prefer!NT week (8)
  • Elephant: In addition to our science on elephants, we needed a little art! My intent was for Travis to make a mosaic elephant using foam squares as the “tiles.” (Buy the kind with the sticky backing and you won’t even need glue). I drew an elephant shape free-hand on construction paper, but Travis quickly tired of the task with the foam squares. Mosaic Elephant (4).JPG
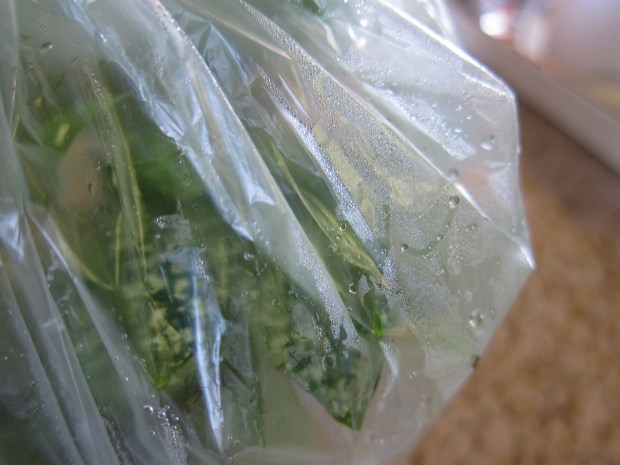
As a result, our elephant turned out more spangled and feathered than mosaicked. Either way, it was quite beautiful. Mosaic Elephant (5)For a final dose of fun, we listened to the Elephant Song and did our best to shake down the jungle.NT science (5)
  • Cent: We played with the coins in Travis’s piggy bank, which always leads to inventive games of shop keeper or grocery store, and is a great way to gently introduce cent denominations.NT week (5)For older kids, you can also make a basic chart of the different coins and their values, and turn it into a matching game.NT week (6)
  • Tent: This word gave us the biggest laugh of the unit – we tested the strength of paper by comparing a paper tent to a paper cylinder. Strong Paper (9)
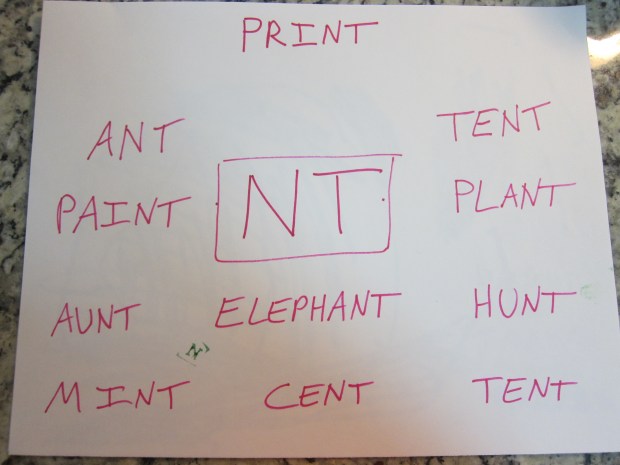
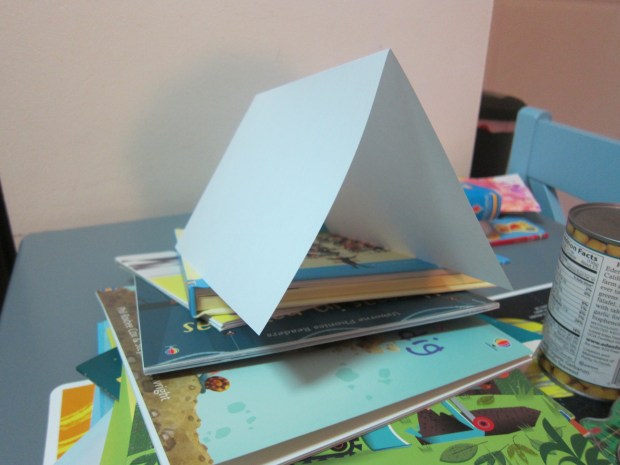
Then we set up his play tent for many a game. NT week (15)Perfect for storytime throughout the weeks that NT was on our wall. NT week (19)
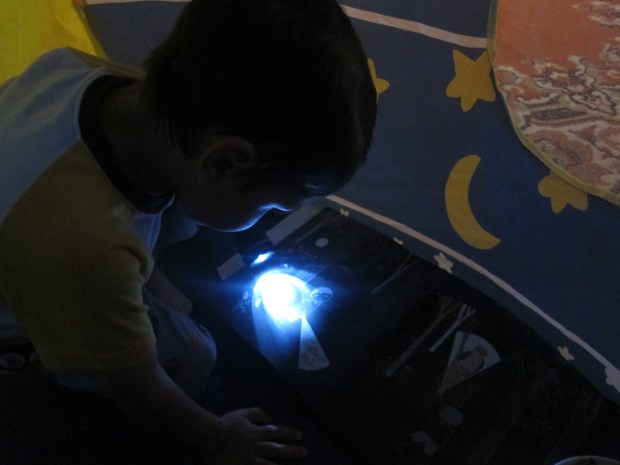
Finally, a field trip to a local state park let Travis see real camping tents set up for the first time!NT week (14)
  • Hunt: Be sure to stage a treasure hunt before your NT unit is over. I drew pictures of furniture (with negligible skill, ha) and rolled each up like a map. NT week (12)Place a small toy in each spot, along with the map clue for the next prize! NT week (13)You can also go on a rainbow hunt in any garden. Rainbow Hunt (2).JPG
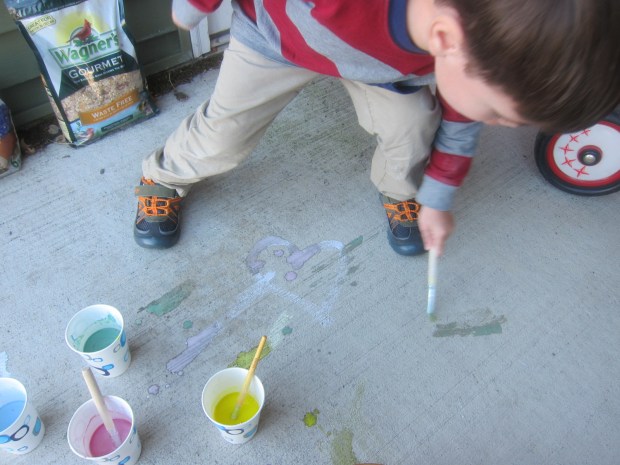
Simply bring along a bucket of paint chips and see if you can match up all the colors of the rainbow on a pretty walk.
  • Paint: No doubt you already do enough ordinary painting with your child, so make it novel this week. Need inspiration? First paint with a balloon.Balloon Paint (3)Then try painting over salt!Salt Painting (7)
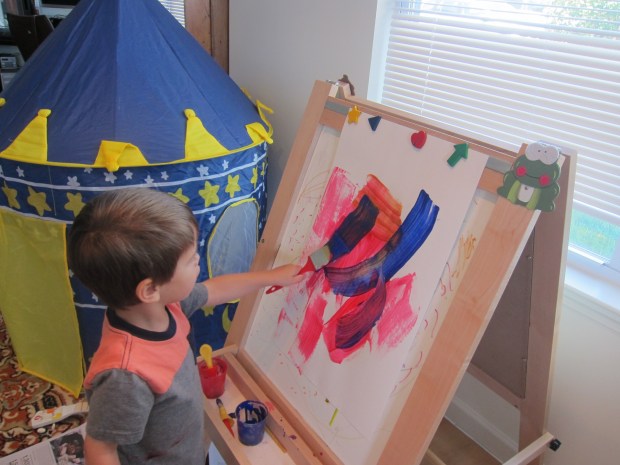
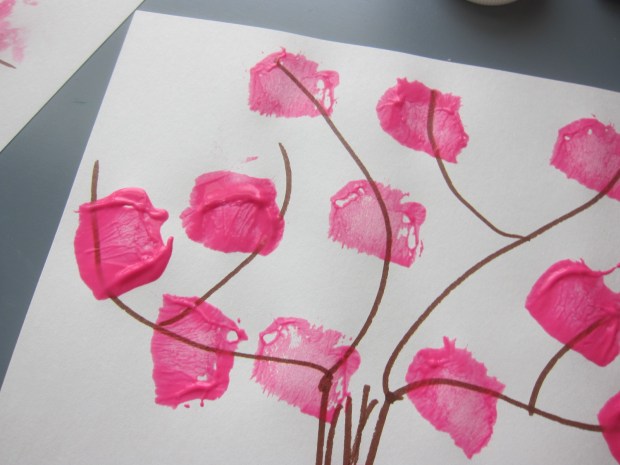
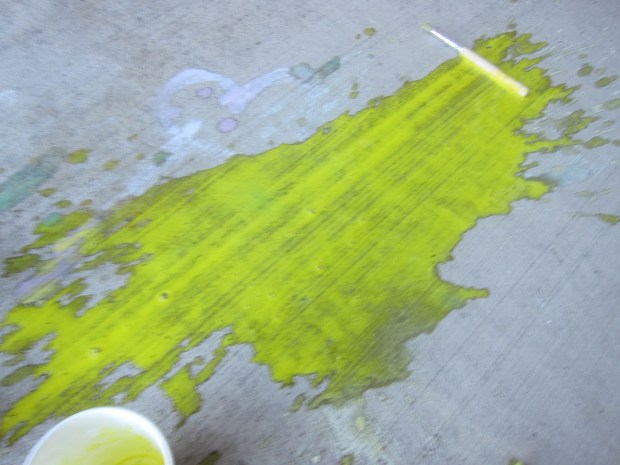
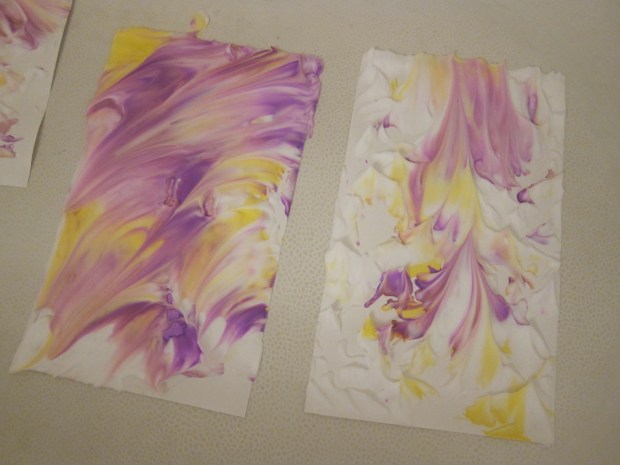
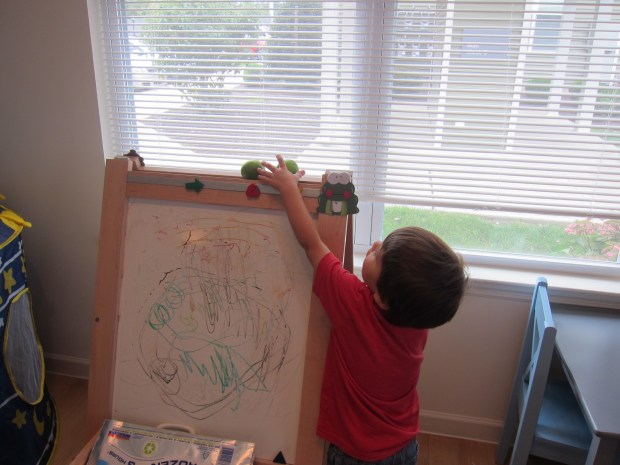
Of course, you can’t go wrong painting at a regular easel; Travis said this picture was of dragon’s teeth. NT week (17)
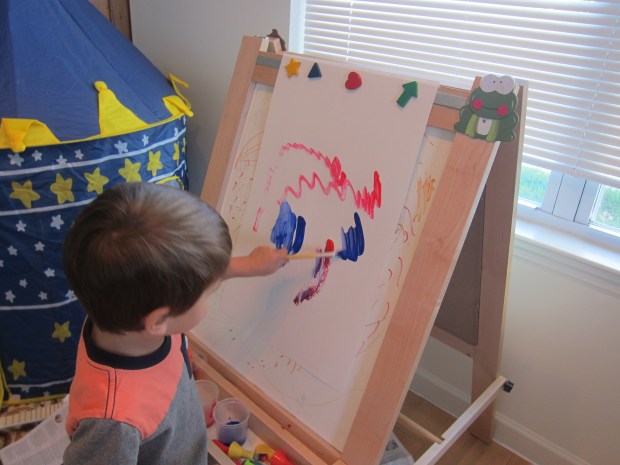
And he had fun exploring the thickness of different brushes.NT week (18)

Pudding Paint

pudding-paint-2

Travis has surprised me recently, more into messy, hands-on activities than educational ones, but I’m more than happy to indulge him. What could be a better, more rewarding mess for tots than pudding paint? When you’re done playing, you’ll have a portion left over for a tasty snack!

I made vanilla pudding from European Gourmet Organic’s mix. It was easy to whip up in the evening, and then I let it chill overnight.

When we were ready to play, Travis helped me divide the pudding into 4 containers – 3 to color and 1 to set aside for snack time! He was practically shaking with excitement when I asked him to help me add food coloring – we used the yellow, red, and green from Color Kitchen.

pudding-paint-1

To my surprise, he was way more into just playing with the pudding than painting with it, even though I laid down paintbrushes and paper.

pudding-paint-3

Instead, he loved pouring the pudding from one cup to the other and seeing what colors he made, scooping it out with a teaspoon, and stirring it.

pudding-paint-5

Inevitably, he also dipped his fingers in!

pudding-paint-6

When this led to clean-up in the bath, we decided why not… and brought in the remainder of the pudding paint to paint the tub. It was easy to rinse off with water and a quick wipe after!

Finally, it was time to enjoy the final pudding portion as a snack, resulting in huge smiles. A great activity all around. If we do it again, I’ll be curious to see if he’s more into the painting itself!

pudding-paint-4

What does your child like to do with pudding paint? Please share in the comments!