Where O Where is O?

O Hunt (3)

O is usually one of the first letters that children feel comfortable tracing, since it’s just drawing a circle. After confidently doing his tracing for the day, I sent Travis on a hunt: He needed to locate three things in the apartment that looked like an O.

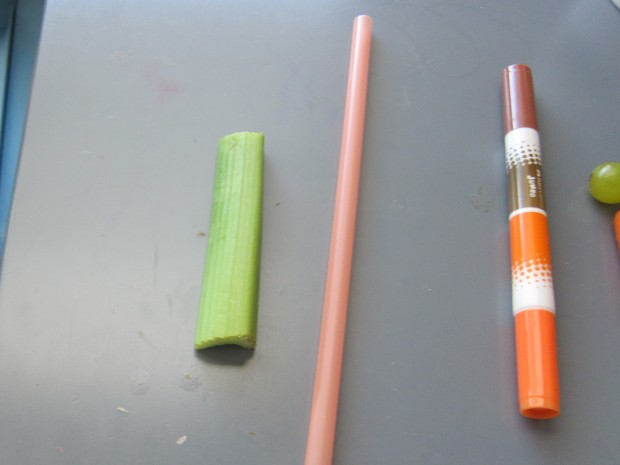
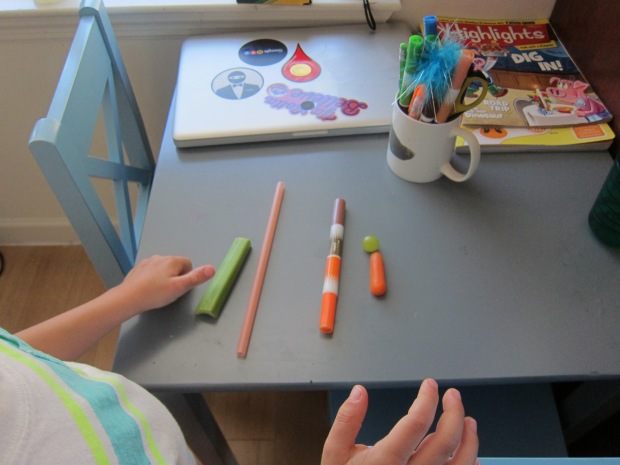
At first he spotted the underside of his marker, but I knew he could look harder than that.

O Hunt (1)

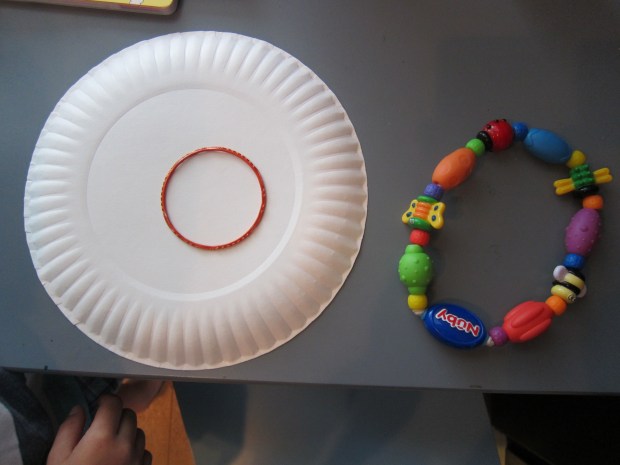
After some searching, he soon had an assembly: a paper plate, mommy’s bracelet, and a toy from his baby sister.

O Hunt (2)

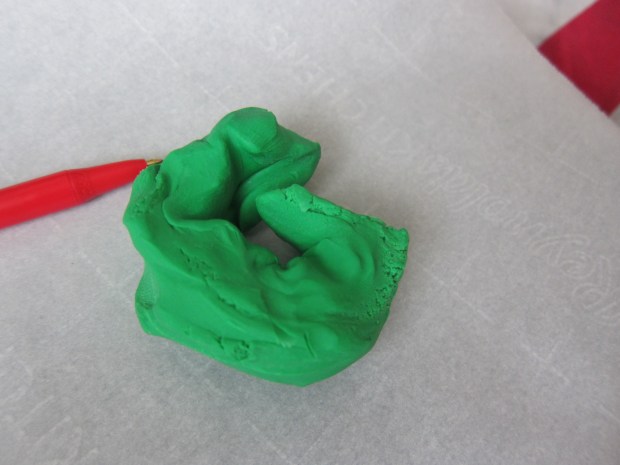
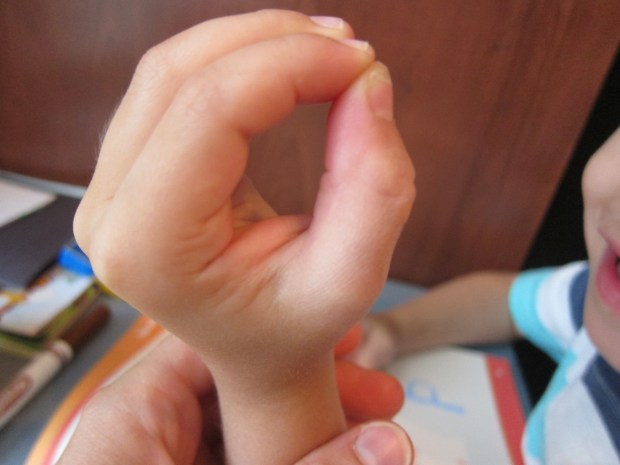
For lower case o, I simply asked him to form one with his hand. This was an easy day!

O Hunt (4)

Noodle N

Noodle N (5).JPG

Travis traced the letter N today and enjoyed the two challenges I presented him with after to make 3-D models.

For the first, I gave him three new pencils. Could he figure out how to position the three to form upper case N?

Noodle N (1)

He had to work closely from a picture to see how it was done, but soon had the first two pencils positioned correctly.

Noodle N (2)

Hmm, should that final pencil be straight up and down, or at an angle? Tada!

Noodle N (3)

Our lower case n made him giggle. Ahead of time, I had cooked a few pieces of spaghetti. I gave him a cooked piece and an uncooked piece. The hard noodle became the straight line of n.

Noodle N (4)

He wiggled around the cooked noodle to form the rest of the letter. Then impishly gobbled it up!

Make an M

Make M (5).JPG

Travis has a hard time tracing M, so I wanted to make today’s lesson a little silly for him. After tracing, I challenged him to make an upper case M – with two pairs of paints!

He really struggled with how to form the letter off of paper.

Make M (2)

I suggested he position the pants in front of himself like a person was facing him and wearing them, but even this was tricky.

Make M (3)

We discussed the motion he makes on paper when tracing M: up, down, up down. Could he see that pattern in the pant legs? Aha!

Make M (1)

Moving on to little m, I made things simpler; I piped glue along an outline of m on construction paper and he only had to make the m by gluing down beads.

Make M (4)

We’ll be back for N soon!

Long L

Long L (1)

L is an easy letter of the day for Travis to trace and we used some equally easy ways to form it today.

After tracing upper case L, I asked Travis to show me L with his left hand. He paused a moment to remember which is his left, but then flashed me an L.

Next he traced lower case l. We lined up all his crayons and I asked him to show me the longest crayon. It was a close call between pink and white, but white one.

Long L ((2)

Using this long crayon, I asked him to make me lower case l – just a long line!

Long L ((4)

Chalk K

Chalk K (3).JPGFor today’s tracing letter, Travis and I only used one material, and one that ended with the letter’s sound rather than began with it: chalk, that is!

First he traced upper case K and lower case k on paper. Travis has a difficult time remembering where the two diagonal lines exit out from the straight line, so I knew our 3-D version would be very beneficial today.

I set out three pieces of chalk: 1 long and 2 short.

Chalk K (1)

I challenged him to make big K, angling the chalk pieces correctly. After just a brief pause, he mastered the upper case.

Chalk K (2)

Now for the real trick: could he convert it into lower-case k, moving the chalk pieces only slightly?

He didn’t miss a beat! Kudos, Travis!

Chalk K (4)

Jellybean J

Jellybean J (2)

Today’s letter of the day for tracing had an edible treat at the end – jellybeans!

Travis easily traced both upper case J and lower case j, and then I told him he was going to love our 3-D model today because it involved a favorite treat.

Place jellybeans on a sheet of parchment paper, and challenge your child to recreate the letter with the candies.

Jellybean J (1)

Travis didn’t even need to look at an example. I helped him make his dot a bit more precise…

Jellybean J (3)

…but then it was impishly gobbled up.

For the big J, I pulled out a few old winter scarves (how jolly!), and I asked him to make them into the upper case letter. This wasn’t as easy as the candy. He looked at me in amused confusion.

Jellybean J (4)

I helped him form one scarf into the hook. He still couldn’t quite see where the second should align…

Jellybean J (5)

Aha, now he saw how to cross it at the top.

Jellybean J (6)

As with the other letters we’ve tackled this summer, these hands-on models are fantastic for reinforcing the two-dimensional lesson of tracing on paper.

Imaginative I

Imagine I (4).JPG

I is generally an easy letter to trace, and Travis enjoys the motions of this letter. But after tracing over it in his workbook, he and I stretched our imaginations to make 3-D versions of the letter!

First, I challenged him to seek out three things in the house that resembled an I. Basically, this can mean anything that’s long and straight.

It took him some wandering around the apartment, but he settled on a straw, a marker, and a piece of celery.

Imagine I (3)

Other good finds might include a stick, pencil, or asparagus spear!

For lower case i, we needed to be sure to include the dot. A baby carrot plus a grape on top did the trick!

Imagine I (1)

There are so many cute ways to come up with an i using found objects. What will your child choose? Please share in the comments!

Height H

Height H (6).JPG

Travis and I focused on the letter H today; it’s one of the first that he mastered, so tracing was a no-brainer for this one. But then we played around with the concept of  an h word (“height”) to form both the upper case and lower case.

Heigh H (2)

First, I set out a variety of Legos in different heights for him. It was up to him to decide how they needed to be combined to form an H, using two longer and one shorter. Hmm, not quite right…

Height H (1)

Tada!

Height H (3)

Next, we played up the concept of height even more by using a ruler for the line of lower case h.

Height H (4)

A sock makes the curve, for a fun final result. He needed no help from me on this one!

Height H (5)

Snake Lengths

Snake Lengths (2).JPG

Travis has been quite into snakes lately and today I invited him to make a few from clay. Little did he know that I was sneaking in some math to prevent the “summer slide” with this little project!

First, he remembered that to make a snake coil, he needed to roll the clay between his palms.

Snake Lengths (1).JPG

I challenged him to make three different lengths and had him name for me which was long, which was medium, and which was short.

Snake Lengths (5).JPG

I suggested we measure the snakes next; of course we needed to check how long the biggest “python” was! First we used a traditional ruler, but then we grabbed other objects from around the house to see how the snakes stacked up.

Snake Lengths (3).JPG

Pennies were his favorite; I showed him how to carefully line up the pennies and make sure the line was straight. The big snake was 15 pennies long, medium was 9, and short was only 5.

Snake Lengths (4).JPG

We tried paper clips next and found that it was easiest to clip these into a chain so they didn’t slide around during measuring.

Snake Lengths (6).JPG

The possibilities here are almost endless. Will you measure your snakes in units of dried beans? Of pasta? Of buttons? Have fun with this one!

Green G


Grape G (6).JPG

Today’s letter for tracing was G. Travis has a hard time with both the upper and lower case of this letter, so I made sure to sit us down when he was well-rested and focused.

He made great progress, and was delighted with the materials I pulled out to make our 3-D versions of the letter.

First up: green clay. “How can this be a G?” he asked, looking at a short blob of clay.

Grape G (1)

“Look, a G” he said a moment later, inadvertently making as smooshed one.

Grape G (2)

To be more precise, we rolled out long coils of clay.

Grape G (3)

With this, we could first loop it into a C and then add the line inwards for a G. Tada!

Grape G (5)

Next up: grapes! (If only they had been green grapes, but red worked in a pinch).

Grape G (7)

Travis worked carefully to form the circle of lower case g, but then needed a little help understanding how to make the rest of the grapes march down in a line for the final flourish.

Grape G (8)

After that, the g got gobbled up too quickly for me to snap a picture!